


Today marks the official start day for the wings! I have been studying and reading over the plans since the wing kit came in last week. After getting the shop organized and setup for the wings, I decided tonight was as good a night as any to get started. Of course, the first thing Vans has you do is go drilling and countersinking hundreds of holes on these gorgeously expensive Main Spars.
The plans has us first attaching the nutplates for the wing tanks. The wing kit instructions are very…..spartan. We are told that at this point, Vans expects us to know how to do things so instructions are basic workflow guides. Luckily, the empennage kit prepares us really well for the work and I am now pretty comfortable at reading the plans to find out what rivets, nutplates and orientation they need to go. The first step is to tape up the gap between the spar flange and the spar bar / doublers to keep drill shavings from going in and causing damage.


There is A LOT of holes for these things. I think its somewhere around 150 holes that need to be drilled and countersunk. I started off match drilling all the mounting holes for the K1100-08 nutplates. They use AN426AD3-4 rivets, so I drilled them all to #40. Reading ahead in the plans, I also noticed that I need to also drill #40 holes for the K1000-06 nutplates that attach the W-822 access plates to the main spars, so I got those holes done as well. I started on the left main spar, then moved over to the right main spar to do the same.
Next up was the countersinking. I chucked up my microstop countersink and put in a #40 bit. I backed the countersink all the way out and worked my way up on a test hole until I had the correct depth, then countersunk the first hole in this expensive piece of aluminum. I dropped in an AN426AD3 rivet to see how it fit, and a few more clicks of the microstop had it at the perfect depth. Then I done the rest of the bazillion mounting holes for the nutplates on both spars.
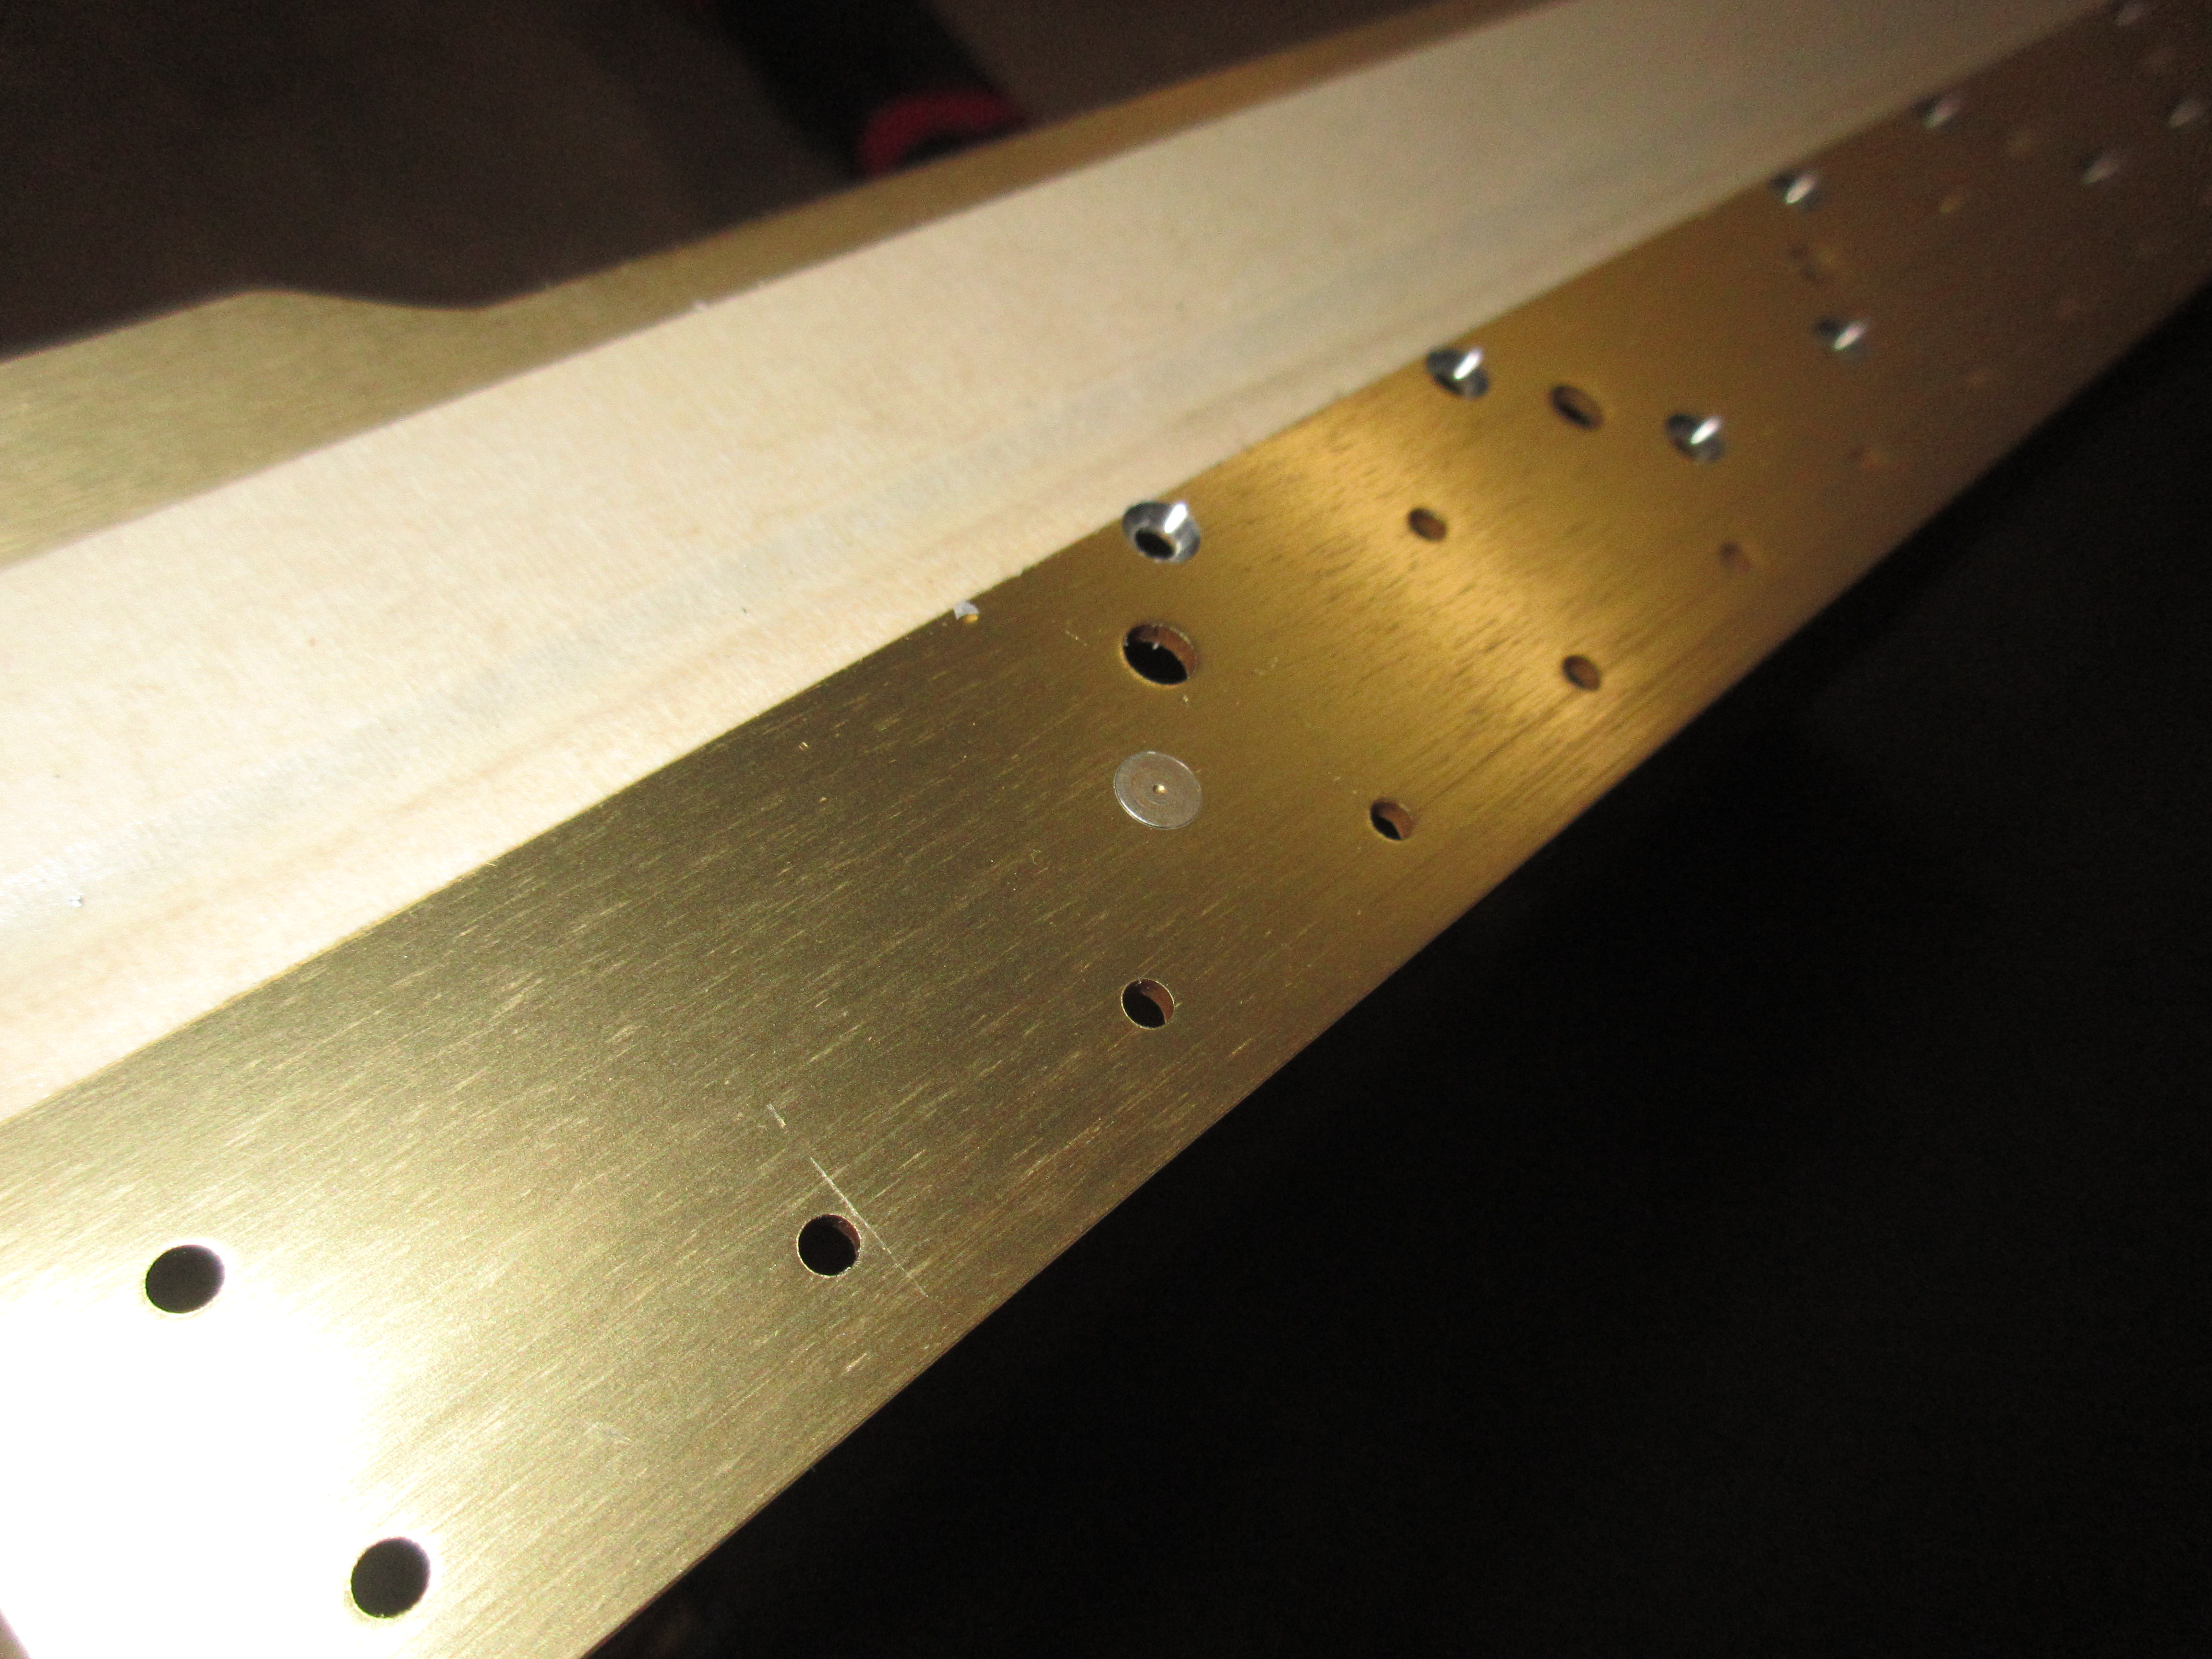
Test rivet fits so snug and flush!
You really have to be careful doing this as there are tons of holes, and the diagonally mounted nutplates in the wing walk area can make you scratch your head a bit. Having done all those, I decided to do the next sets of nutplates which is on the front of the main spar, where it mounts to the center section. I gave the plans a good study to make sure I was correct on their orientation (the K1000-4 nutplate itself gets mounted on the forward side of the main spar), I match drilled #40 and countersunk the AFT side of the both main spars.

After 2.5 hours of drilling and countersinking all these holes, I decided to call it quits for the night. I still need to countersink the actual screw hole for the nutpates, but can’t do that until I have the actual nutplates riveted on to the spars. That will be a good place to start for the next work session. I noticed there are three more holes for nutplates in the spar doubler, but I am not sure what they go to. I will look the plans over tonight and get them tomorrow.
Here’s all the photos from tonight:


Google Photos Link: https://goo.gl/photos/VUijFaG5YJes4sqi6
Hours Worked: 2.5