


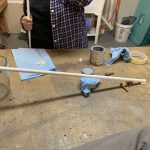
Buy Ambien Online Without Prescription After a short break, I came back down to do a little more work. I decided to go ahead and make the W-818 aileron bellcrank pushrod. We managed to get the W-818 pushrods made, and even got the inside primed. Here’s the time lapse:
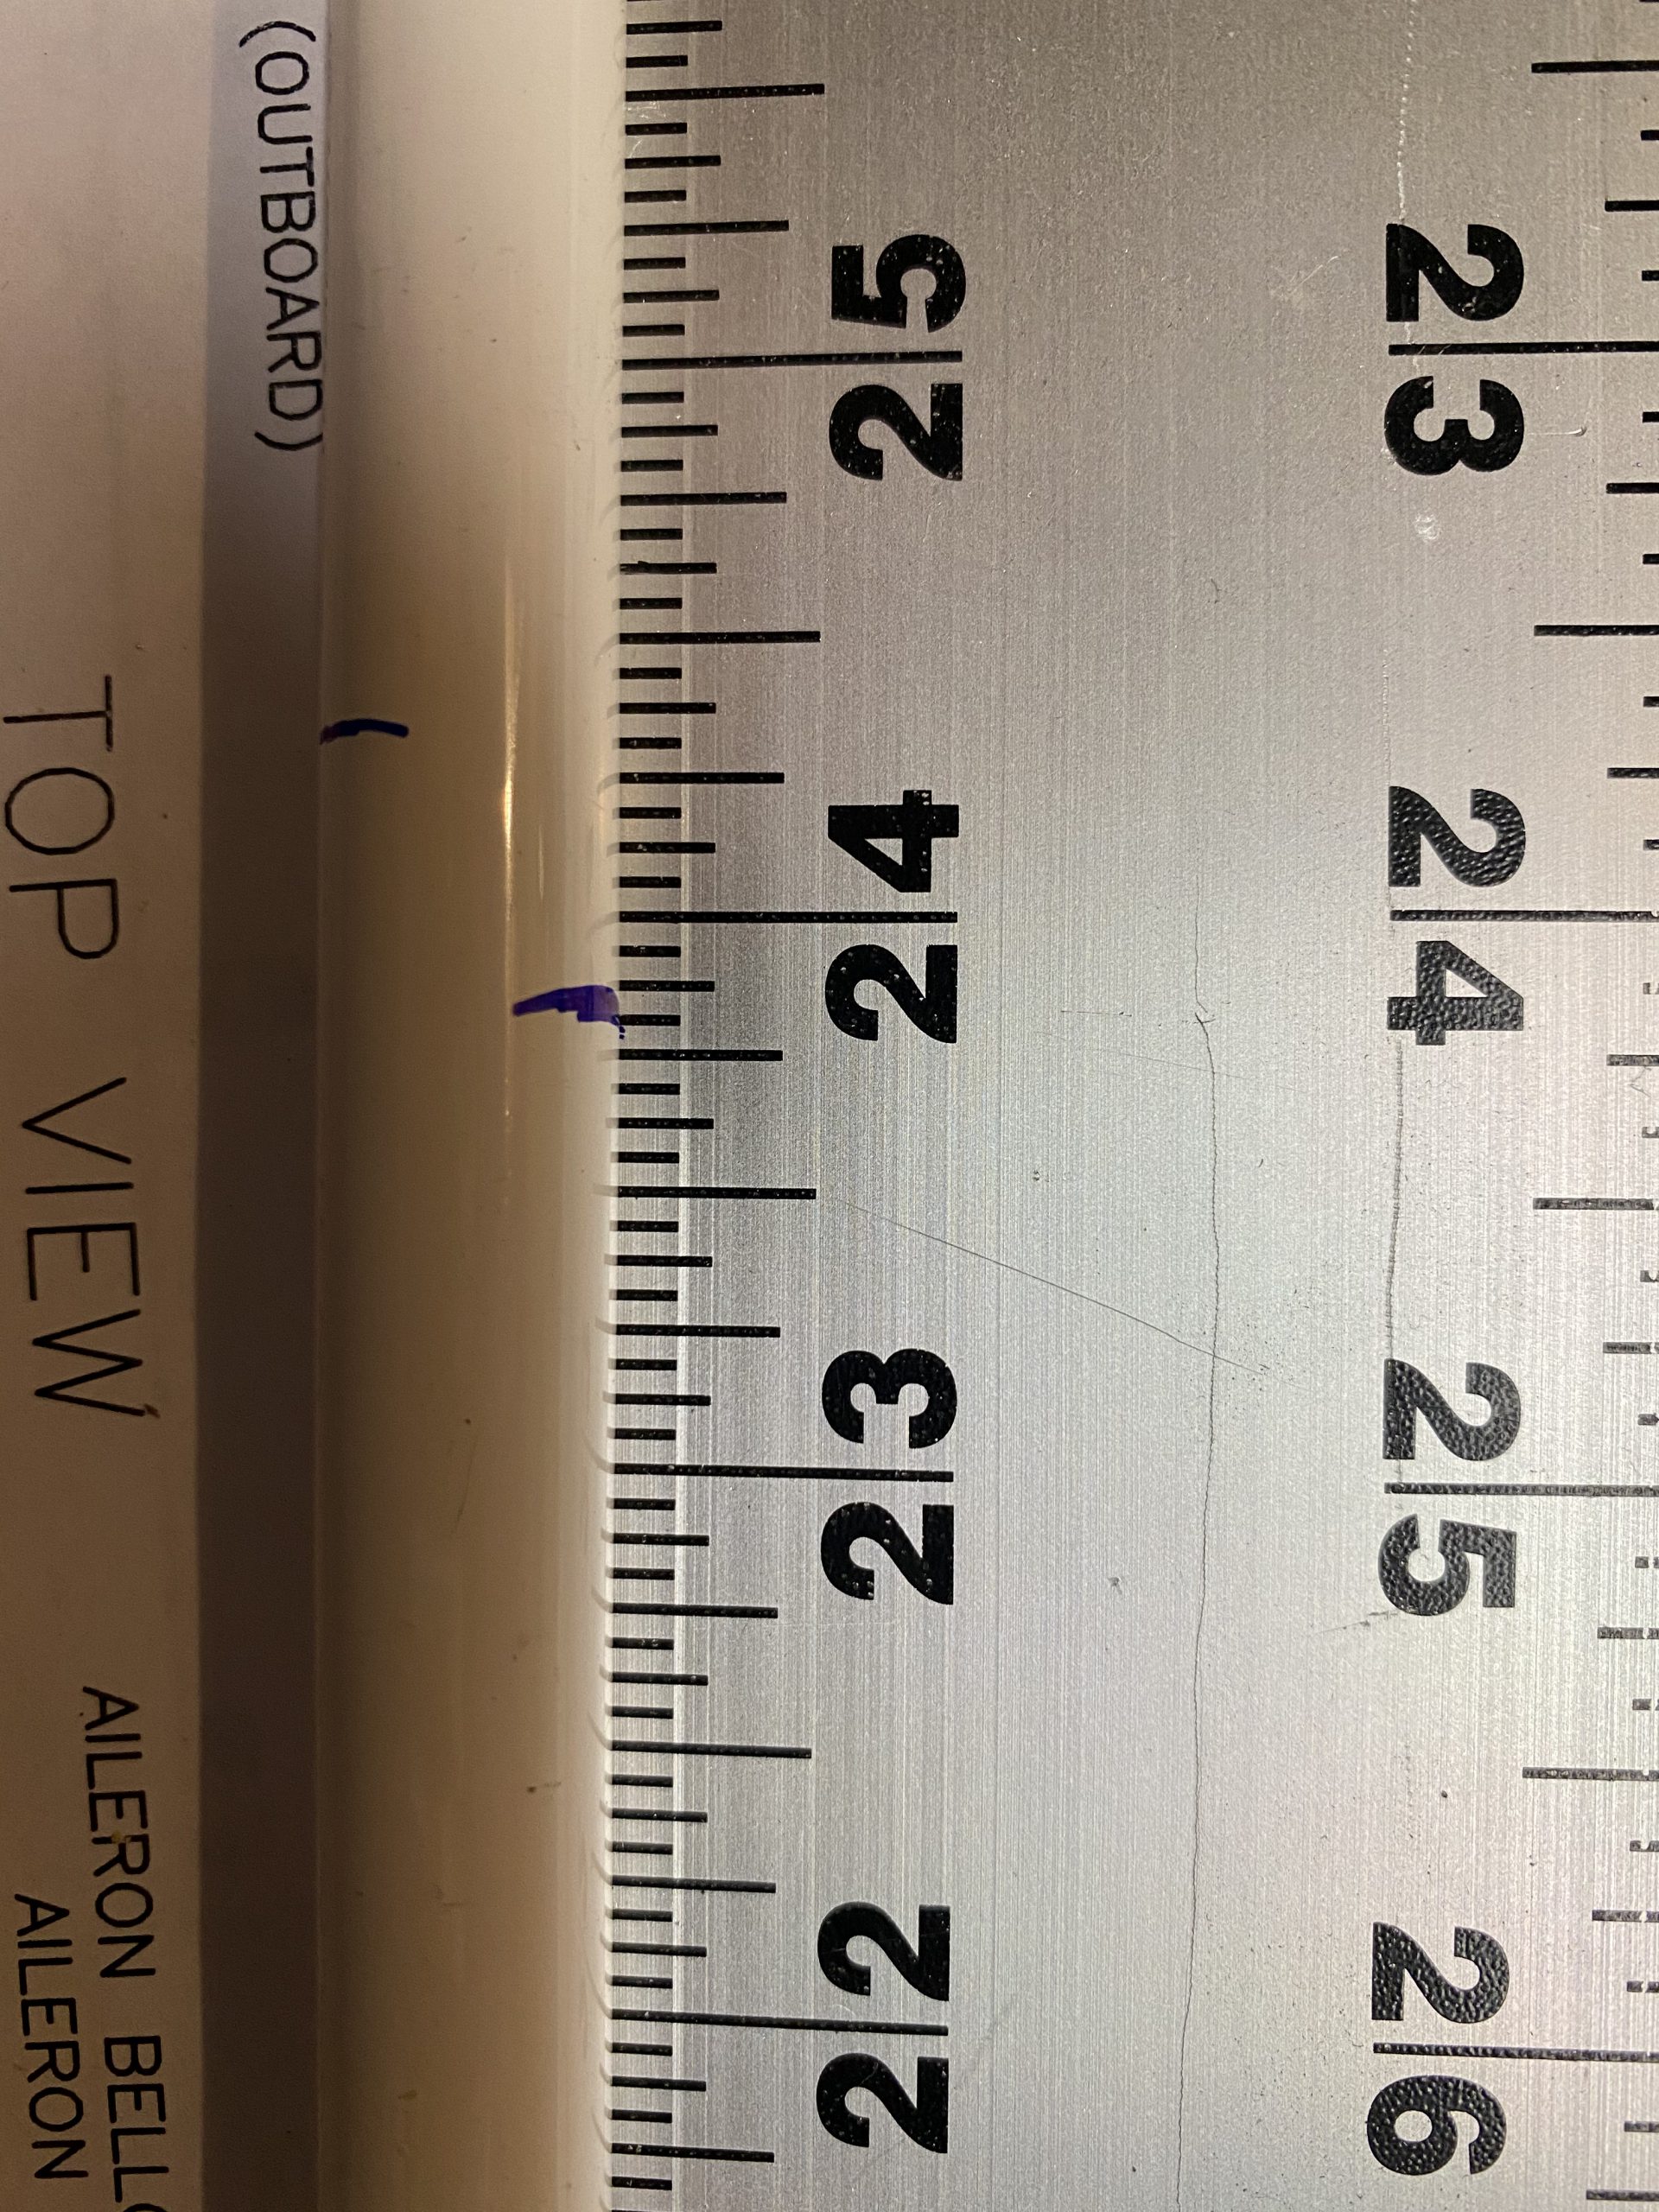
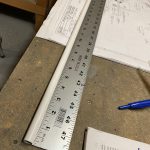
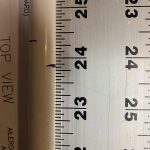
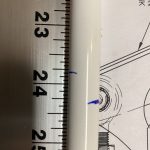
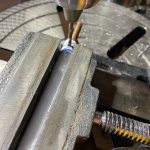
follow It started out by grabbing the ST4130-035 x 1/2″ stock tubing and marking up the cuts. I need to measure out 23 13/16″ for each of these pushrods, luckily my 4 foot rule has 1/16″ markings. So, I laid out the stock tube and made two marks using the straight cut on each end of the tubing.
https://crinerorthopedics.com/faq/ 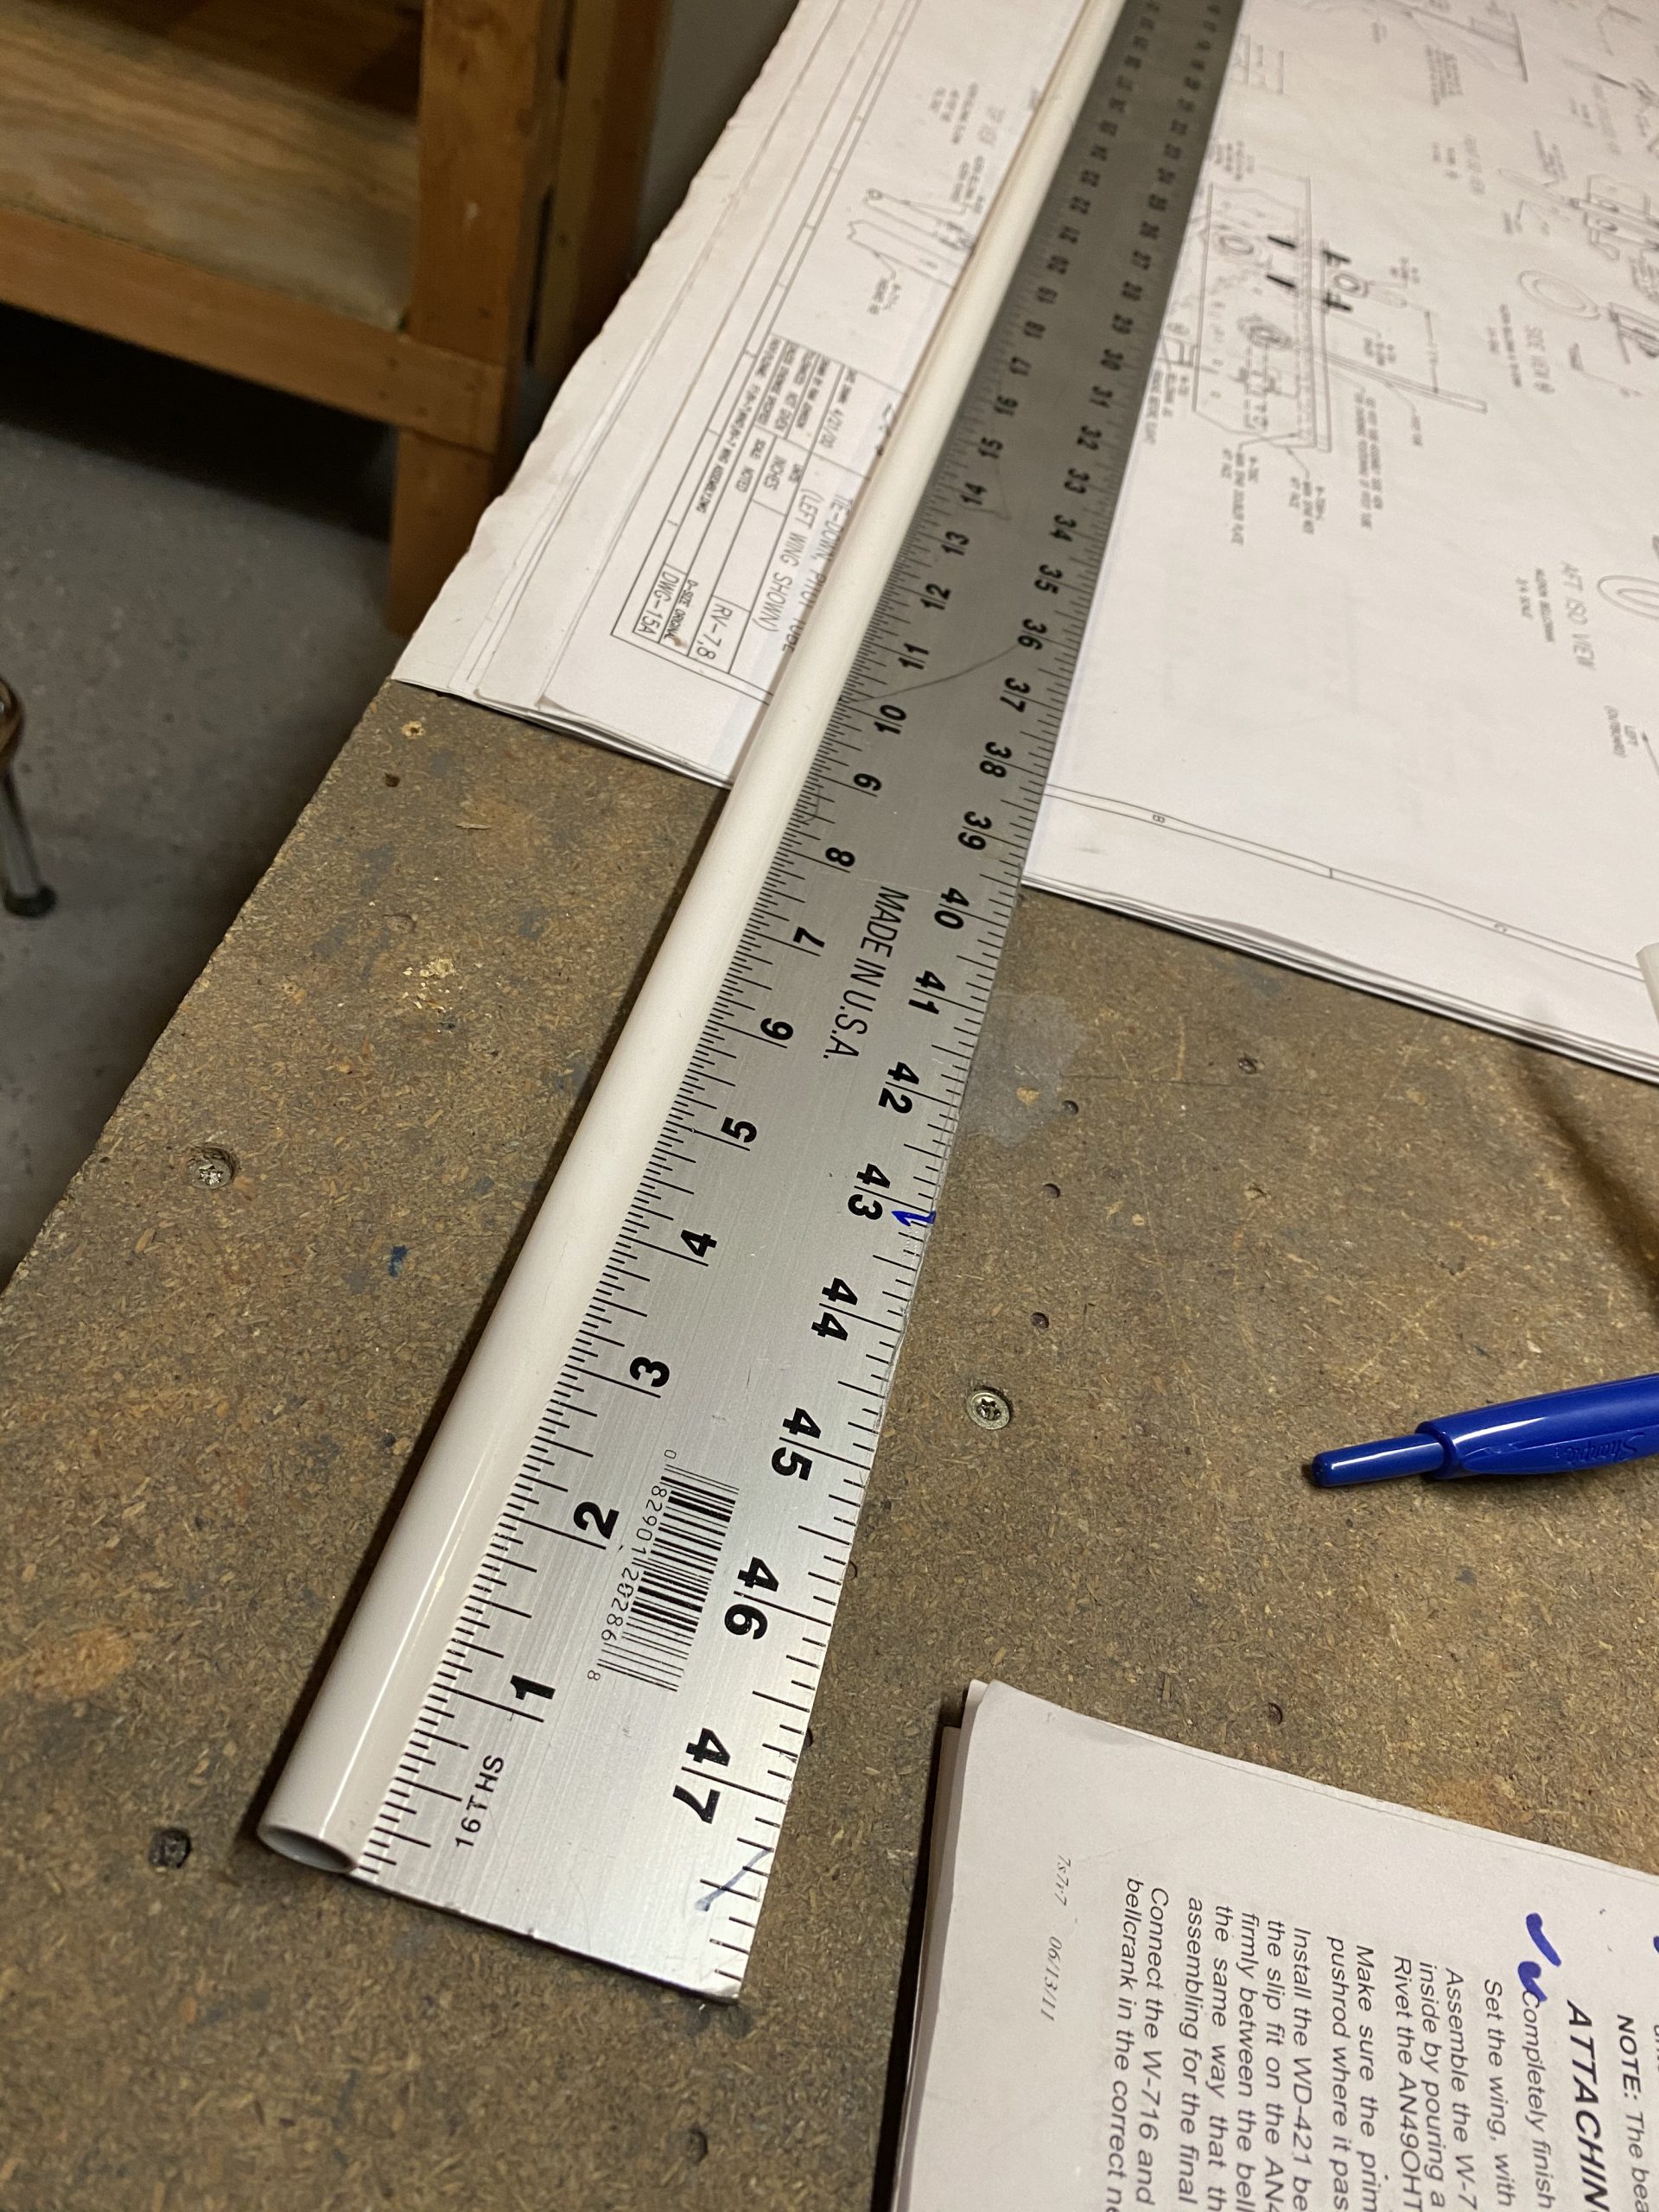
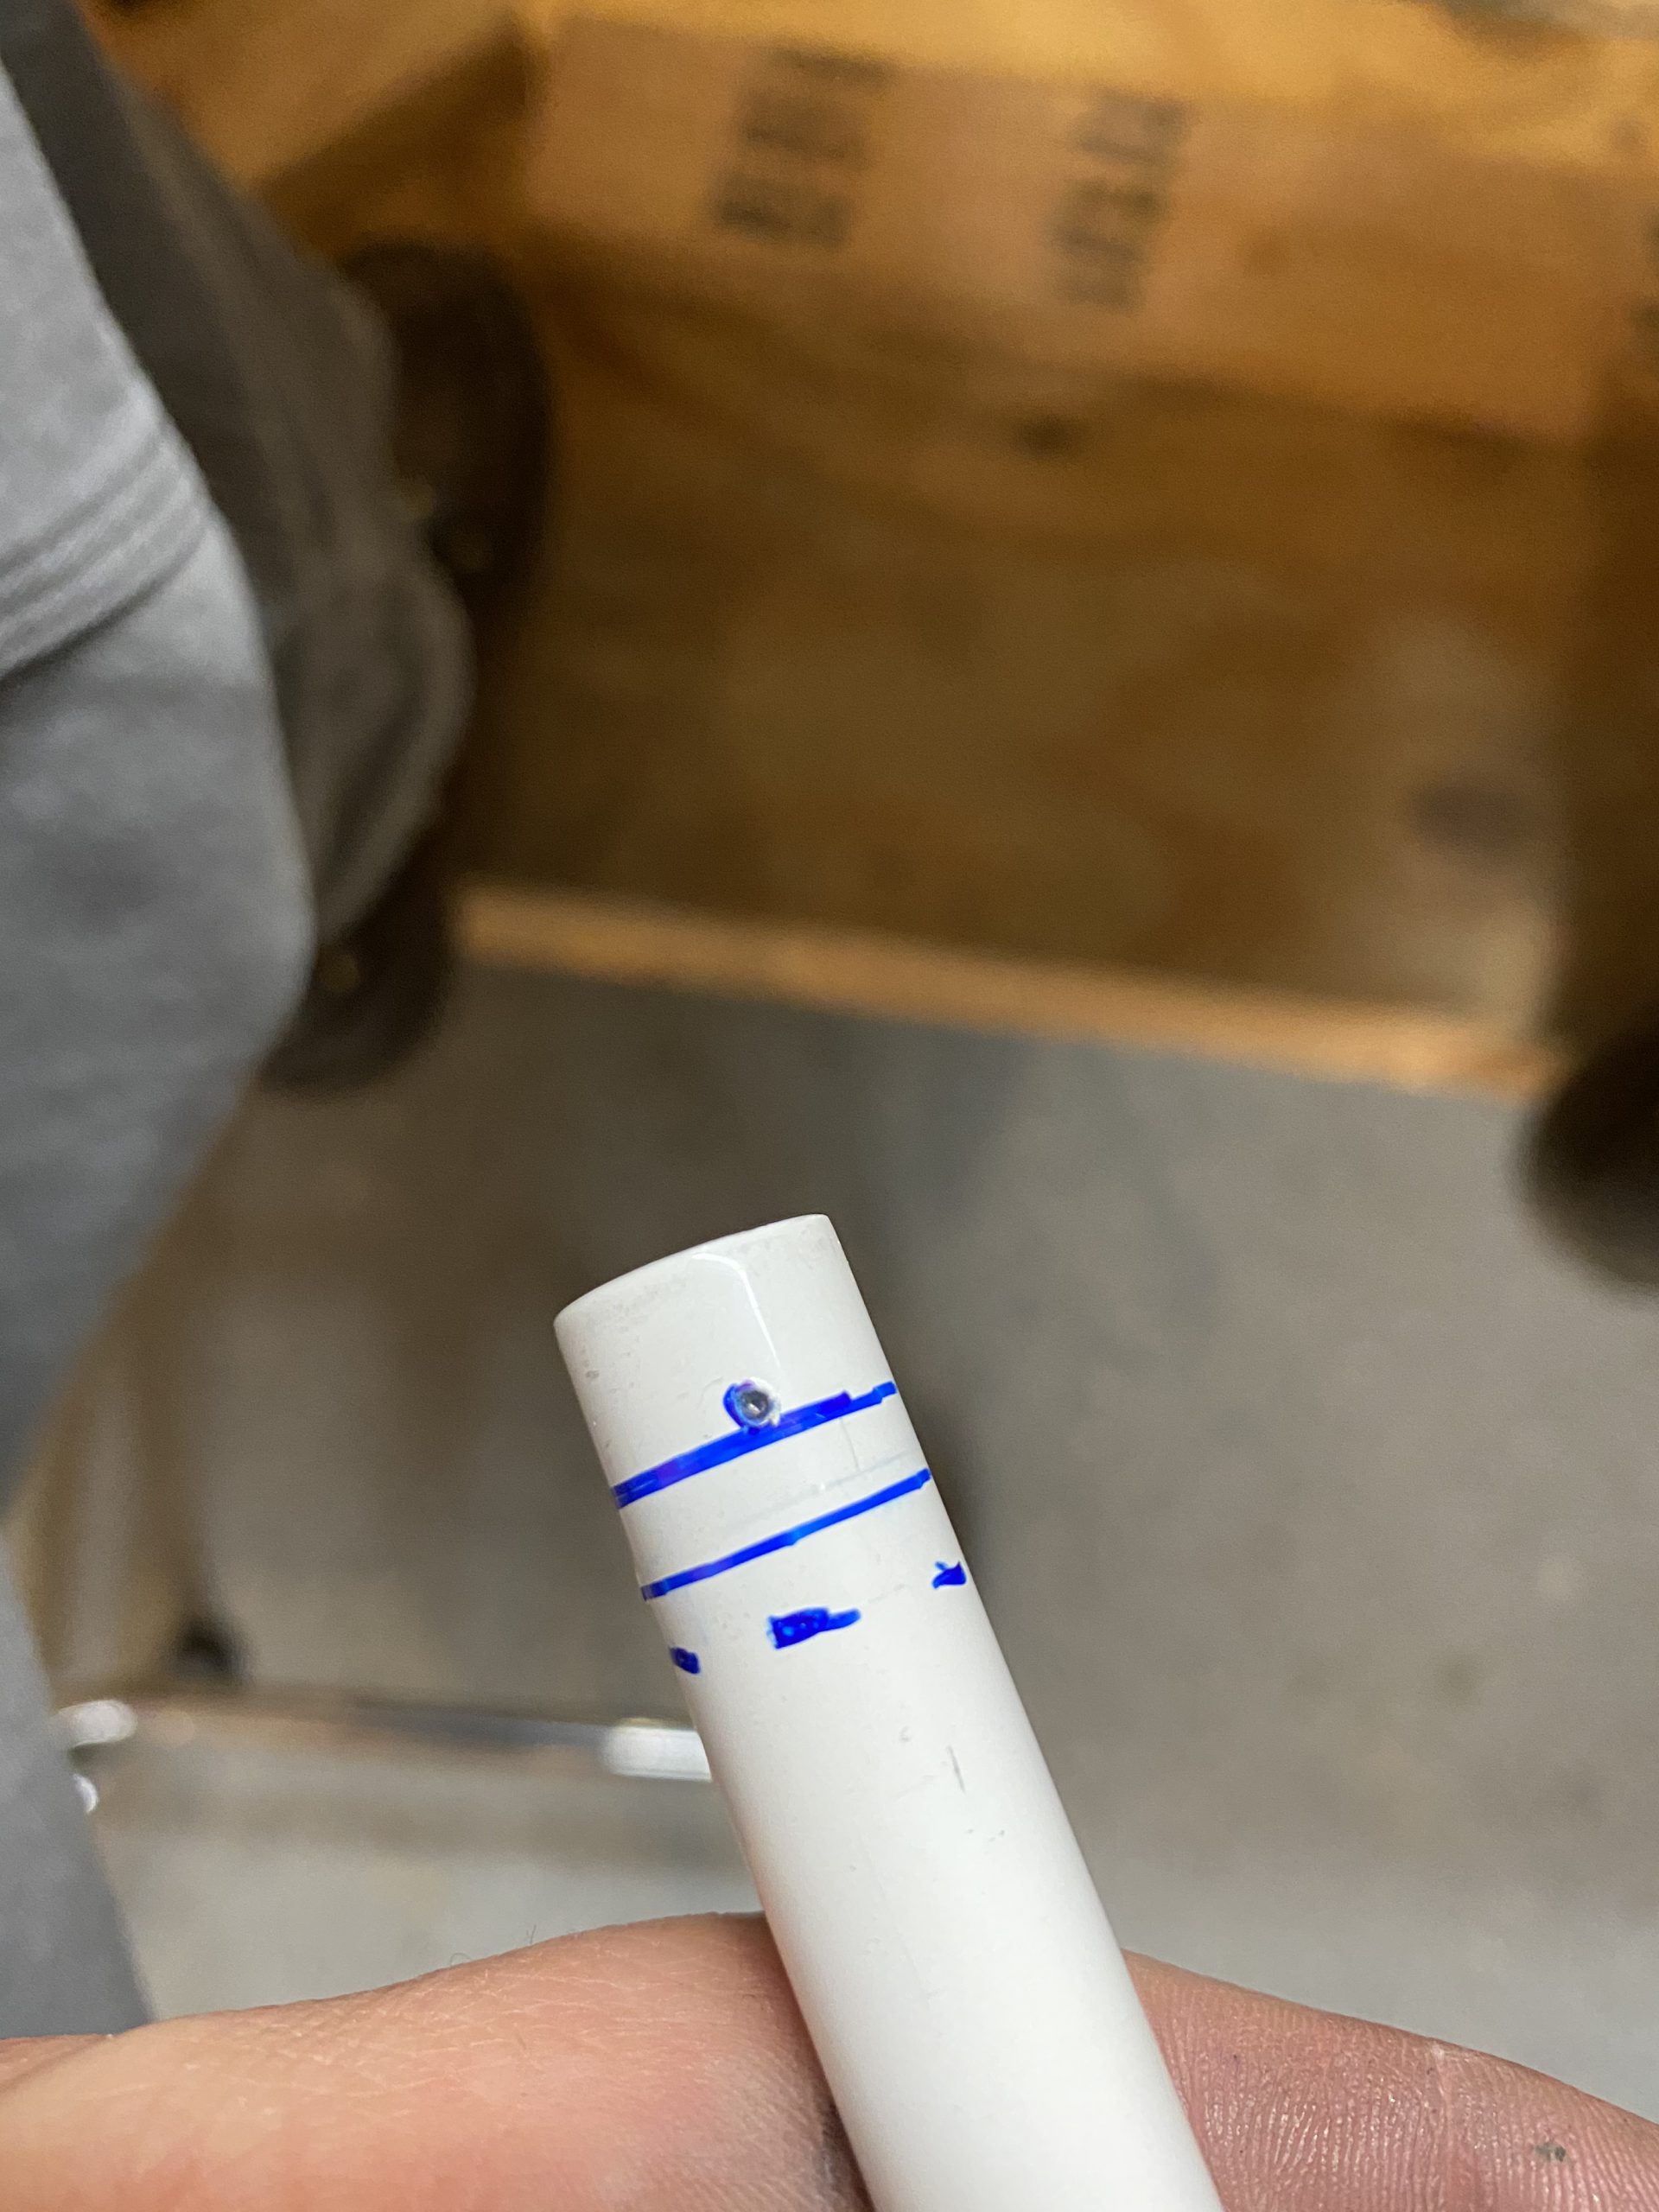
Tramadol Online Purchase You can see the blue sharpie marks here, and there is VERY little excess of tubing left after these cuts! The space between the two marks are the excess, since I measured out from each end of the tube.
here I picked up a little cheap 6″ chop saw from Harbor Freight for this small work. I don’t really need or have space for the big 3.5 HP model, and would likely never use it enough to justify the cost. However, this little 6″ is compact, and was around $35, which seems perfect for cutting the stuff I’ll be doing with the airplane. So, I set it up, and made my first cut on my blue line. It worked really well! I cleaned up the cut end with a flat bastard file, and then used a round file to deburr the inside edges of the tube.
https://www.fogliandpartners.com/elisa-limadori/ 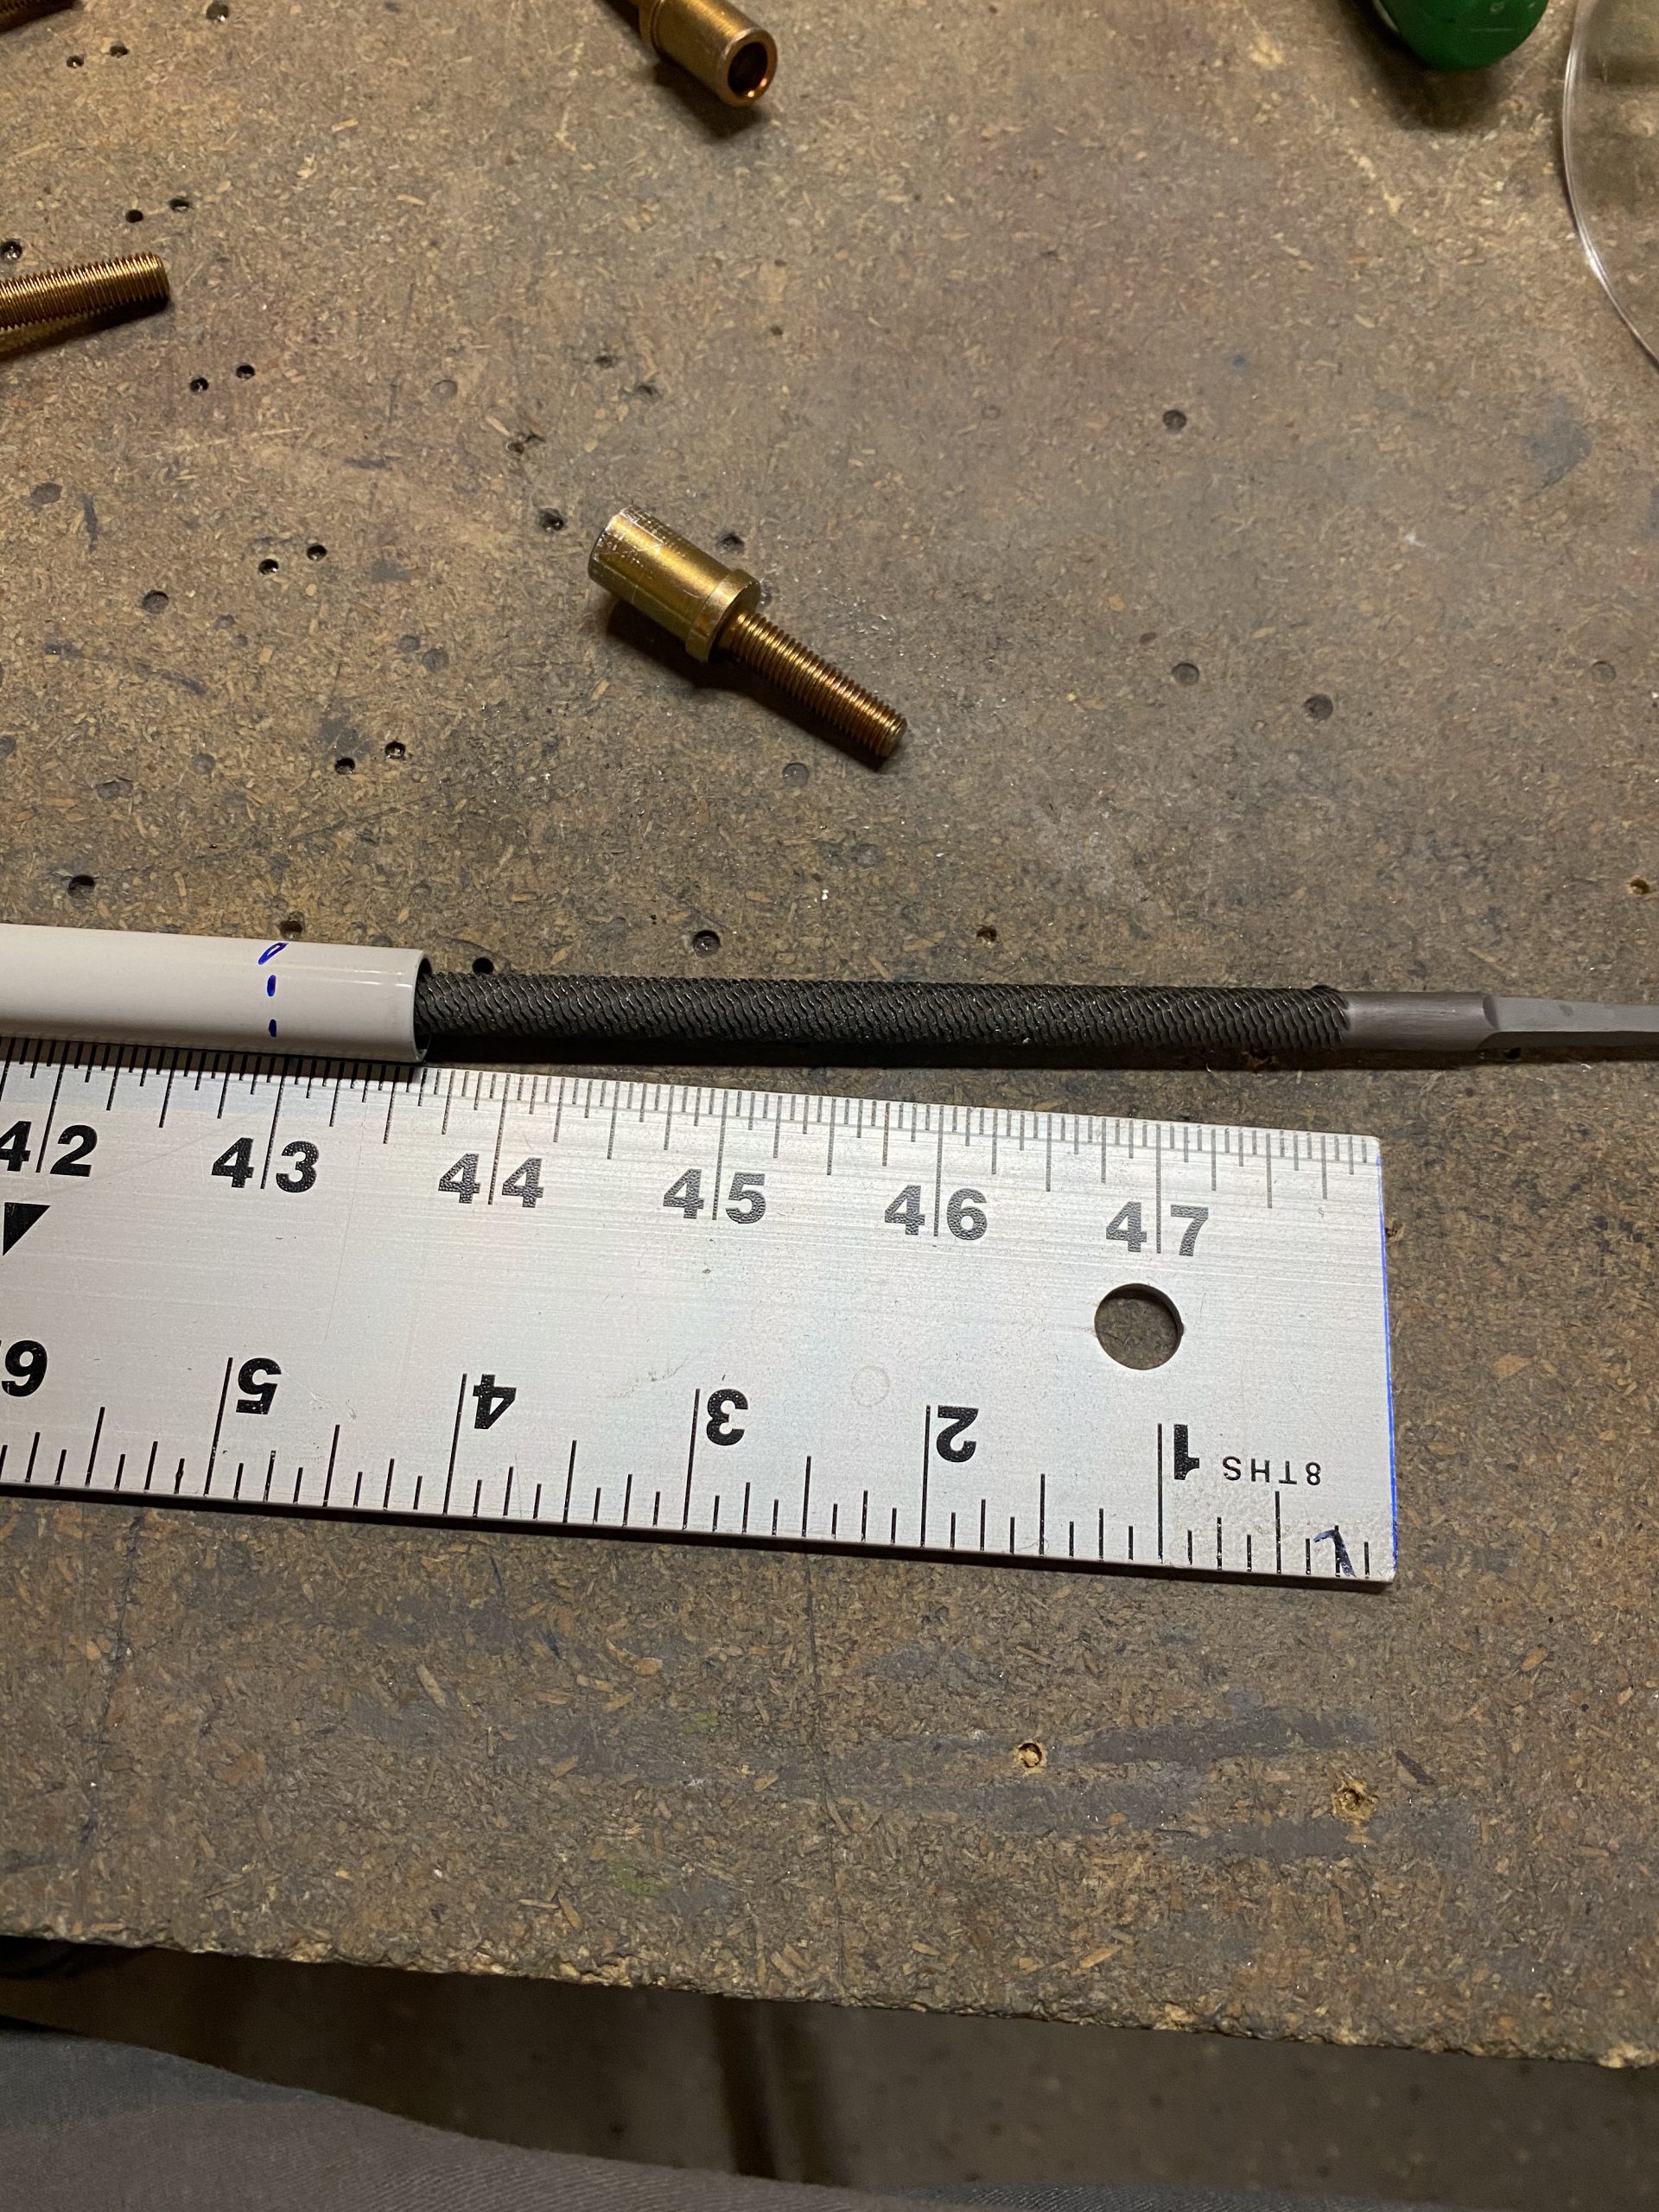
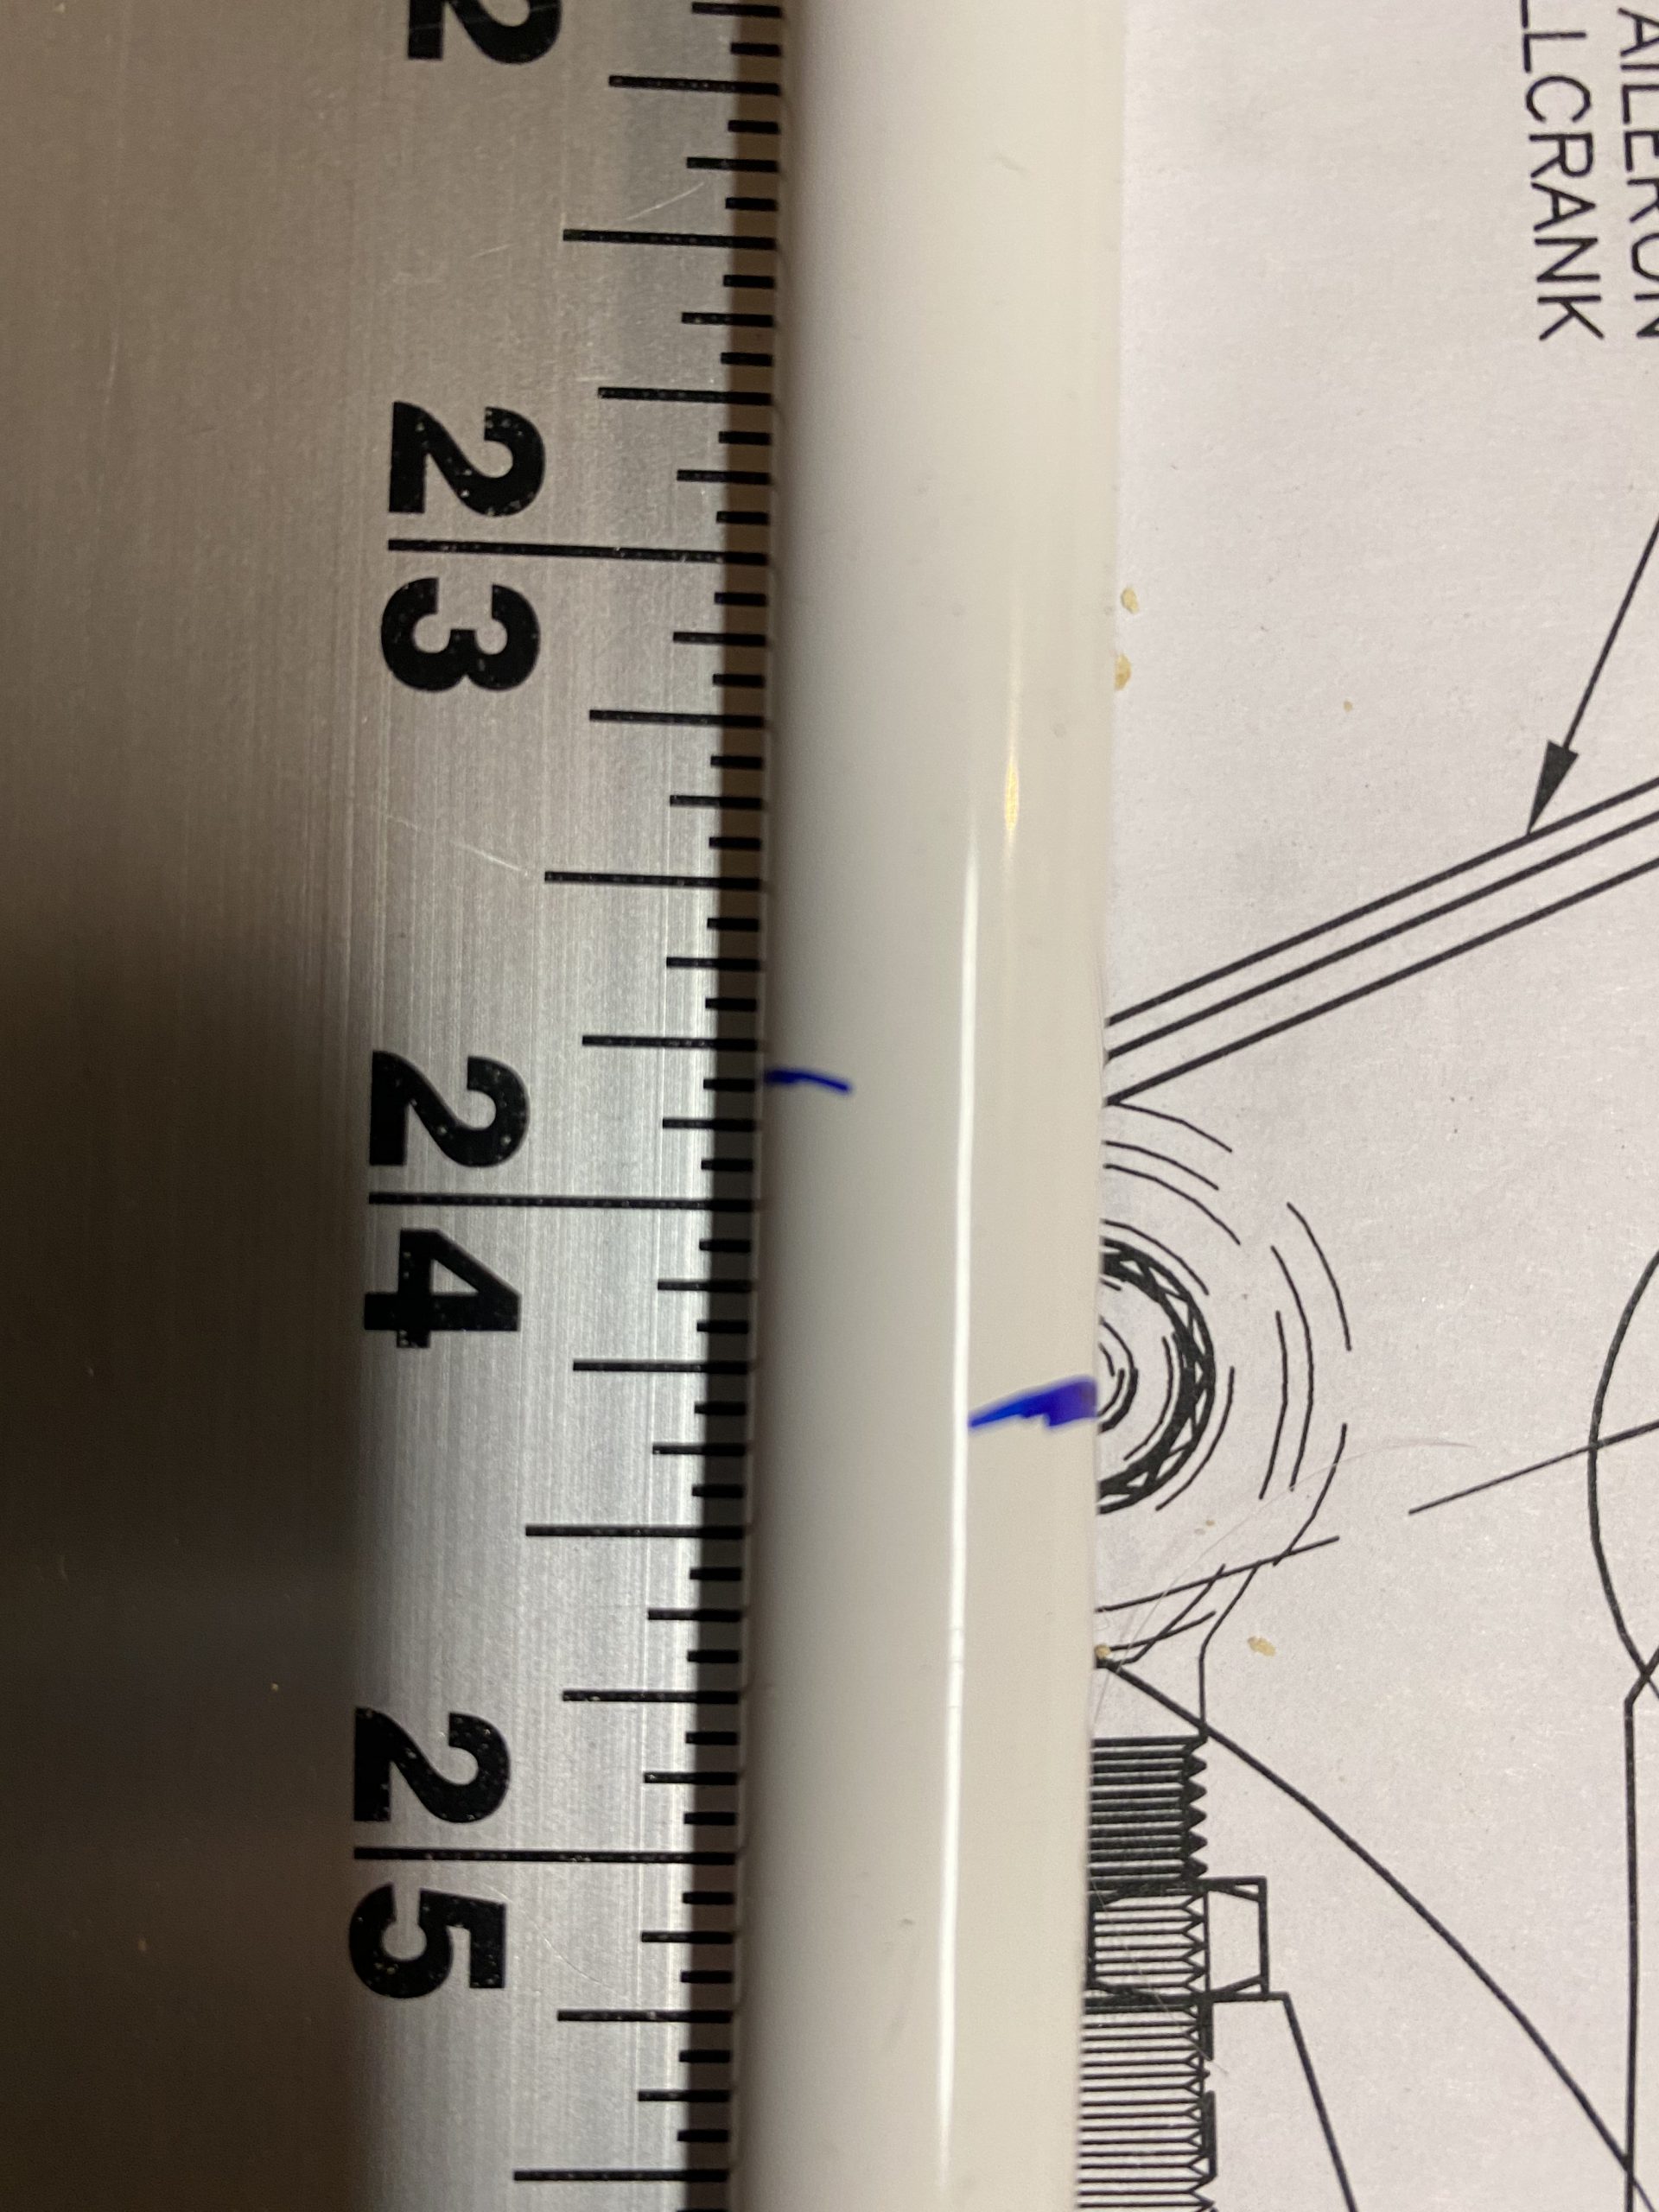
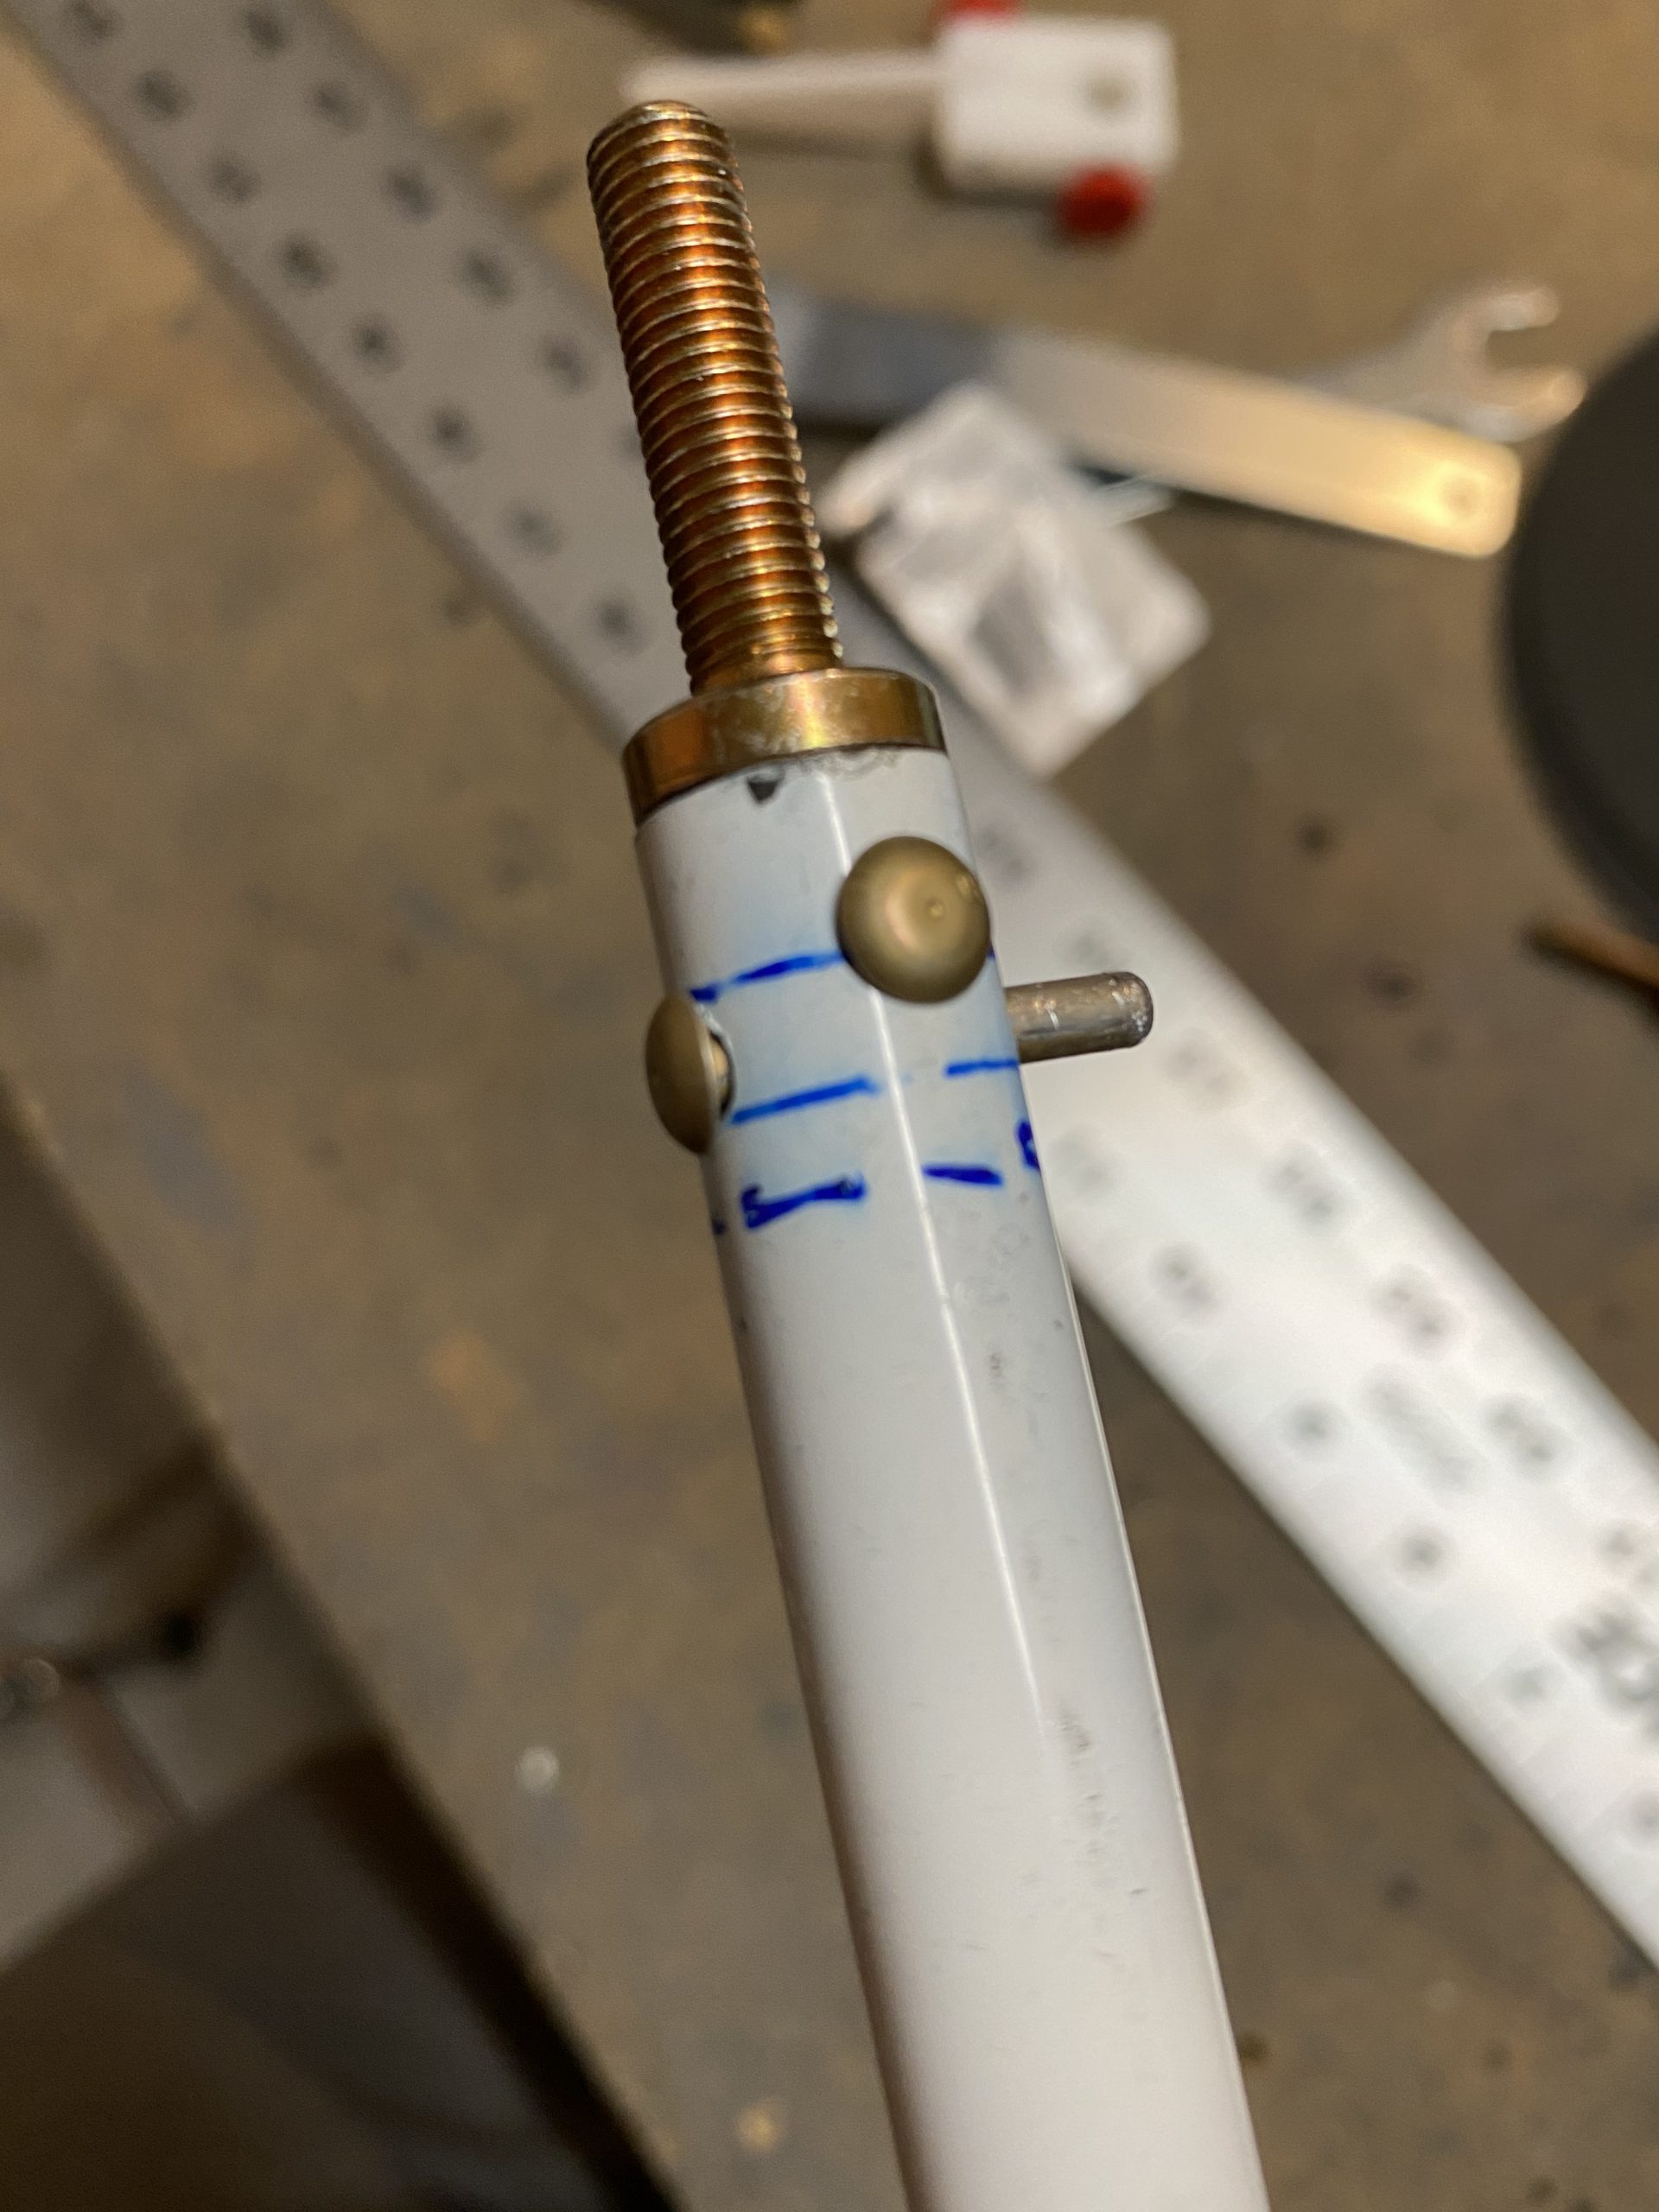
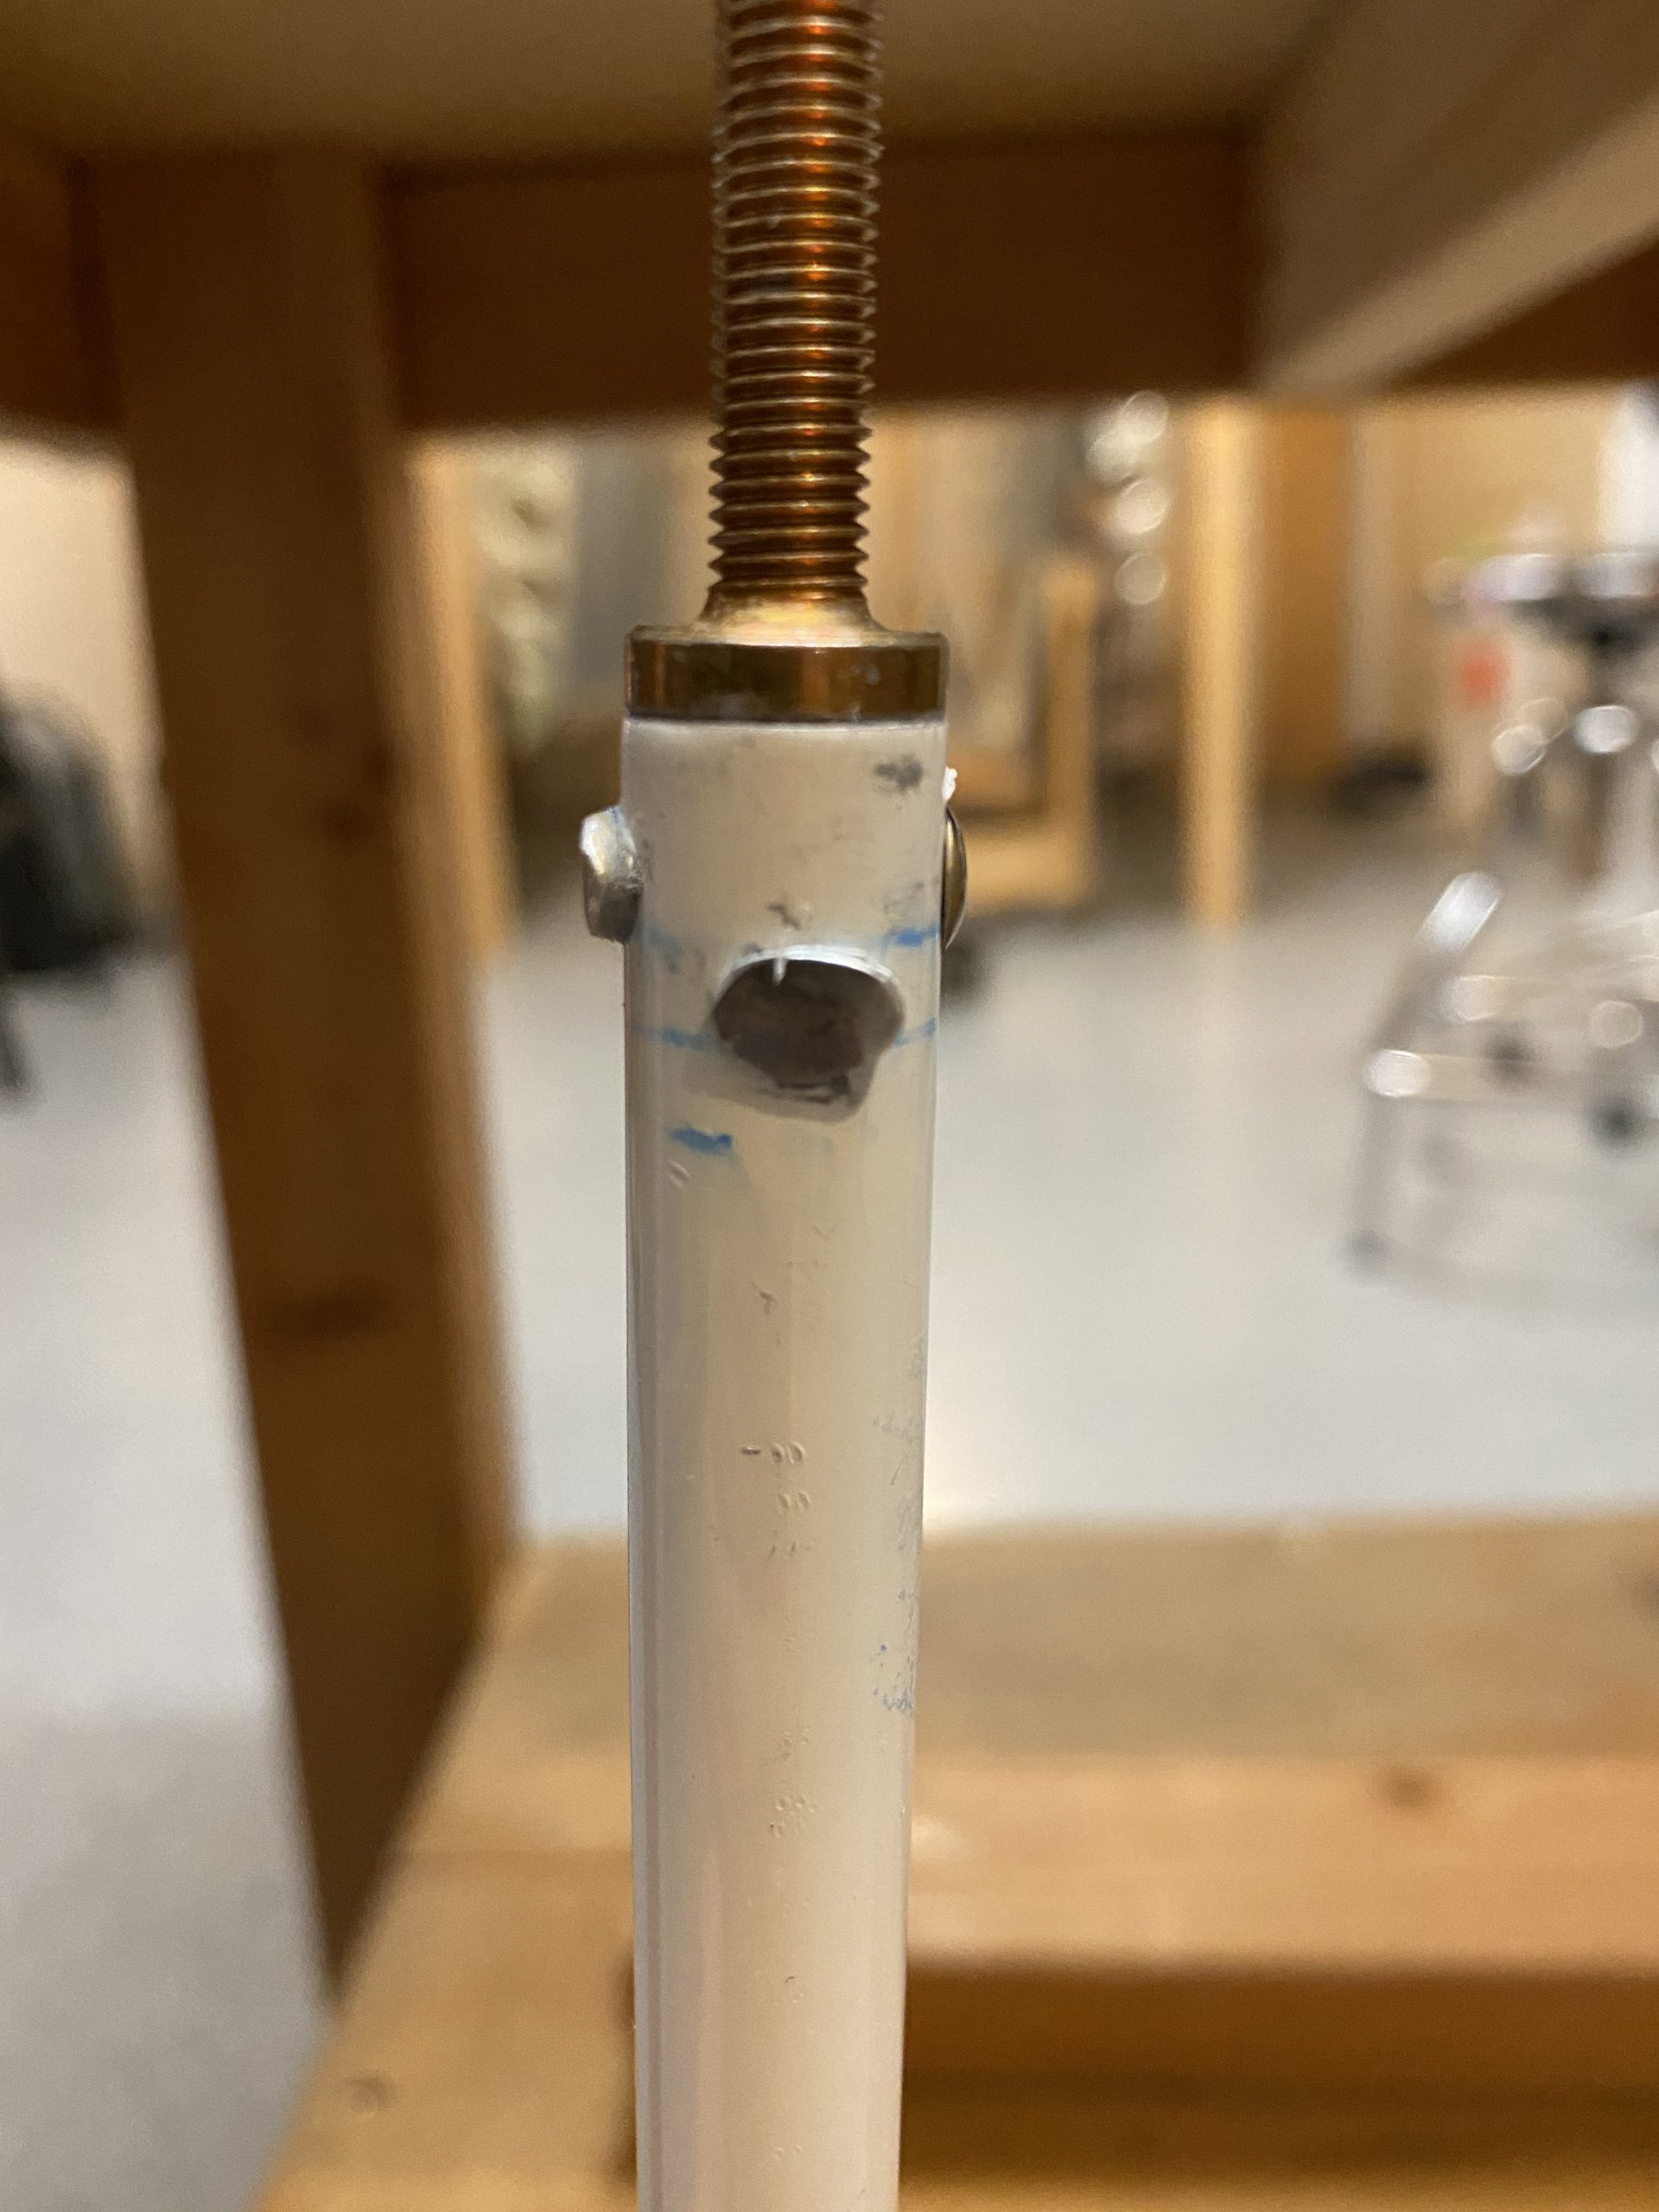
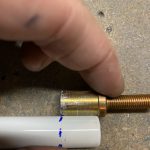
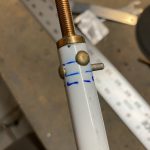
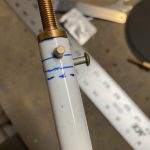
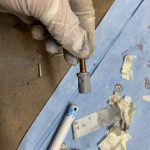
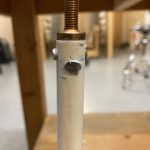
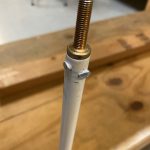
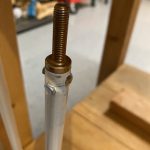
Buy Hydrocodone Online Overnight I also had pulled the threaded ends AN490-HT8P threaded rod end so that I could start deciding where to drill the rivet holes. I made a little blue dashed line to show where the very end of the threaded rod end would be inside the tube, to help me gauge where I needed to put my rivets, which was not an easy decision oddly enough!
go Tammy was down helping me, so we measured and measured and tried all sorts of thing before finally coming up with what seemed like it would work.
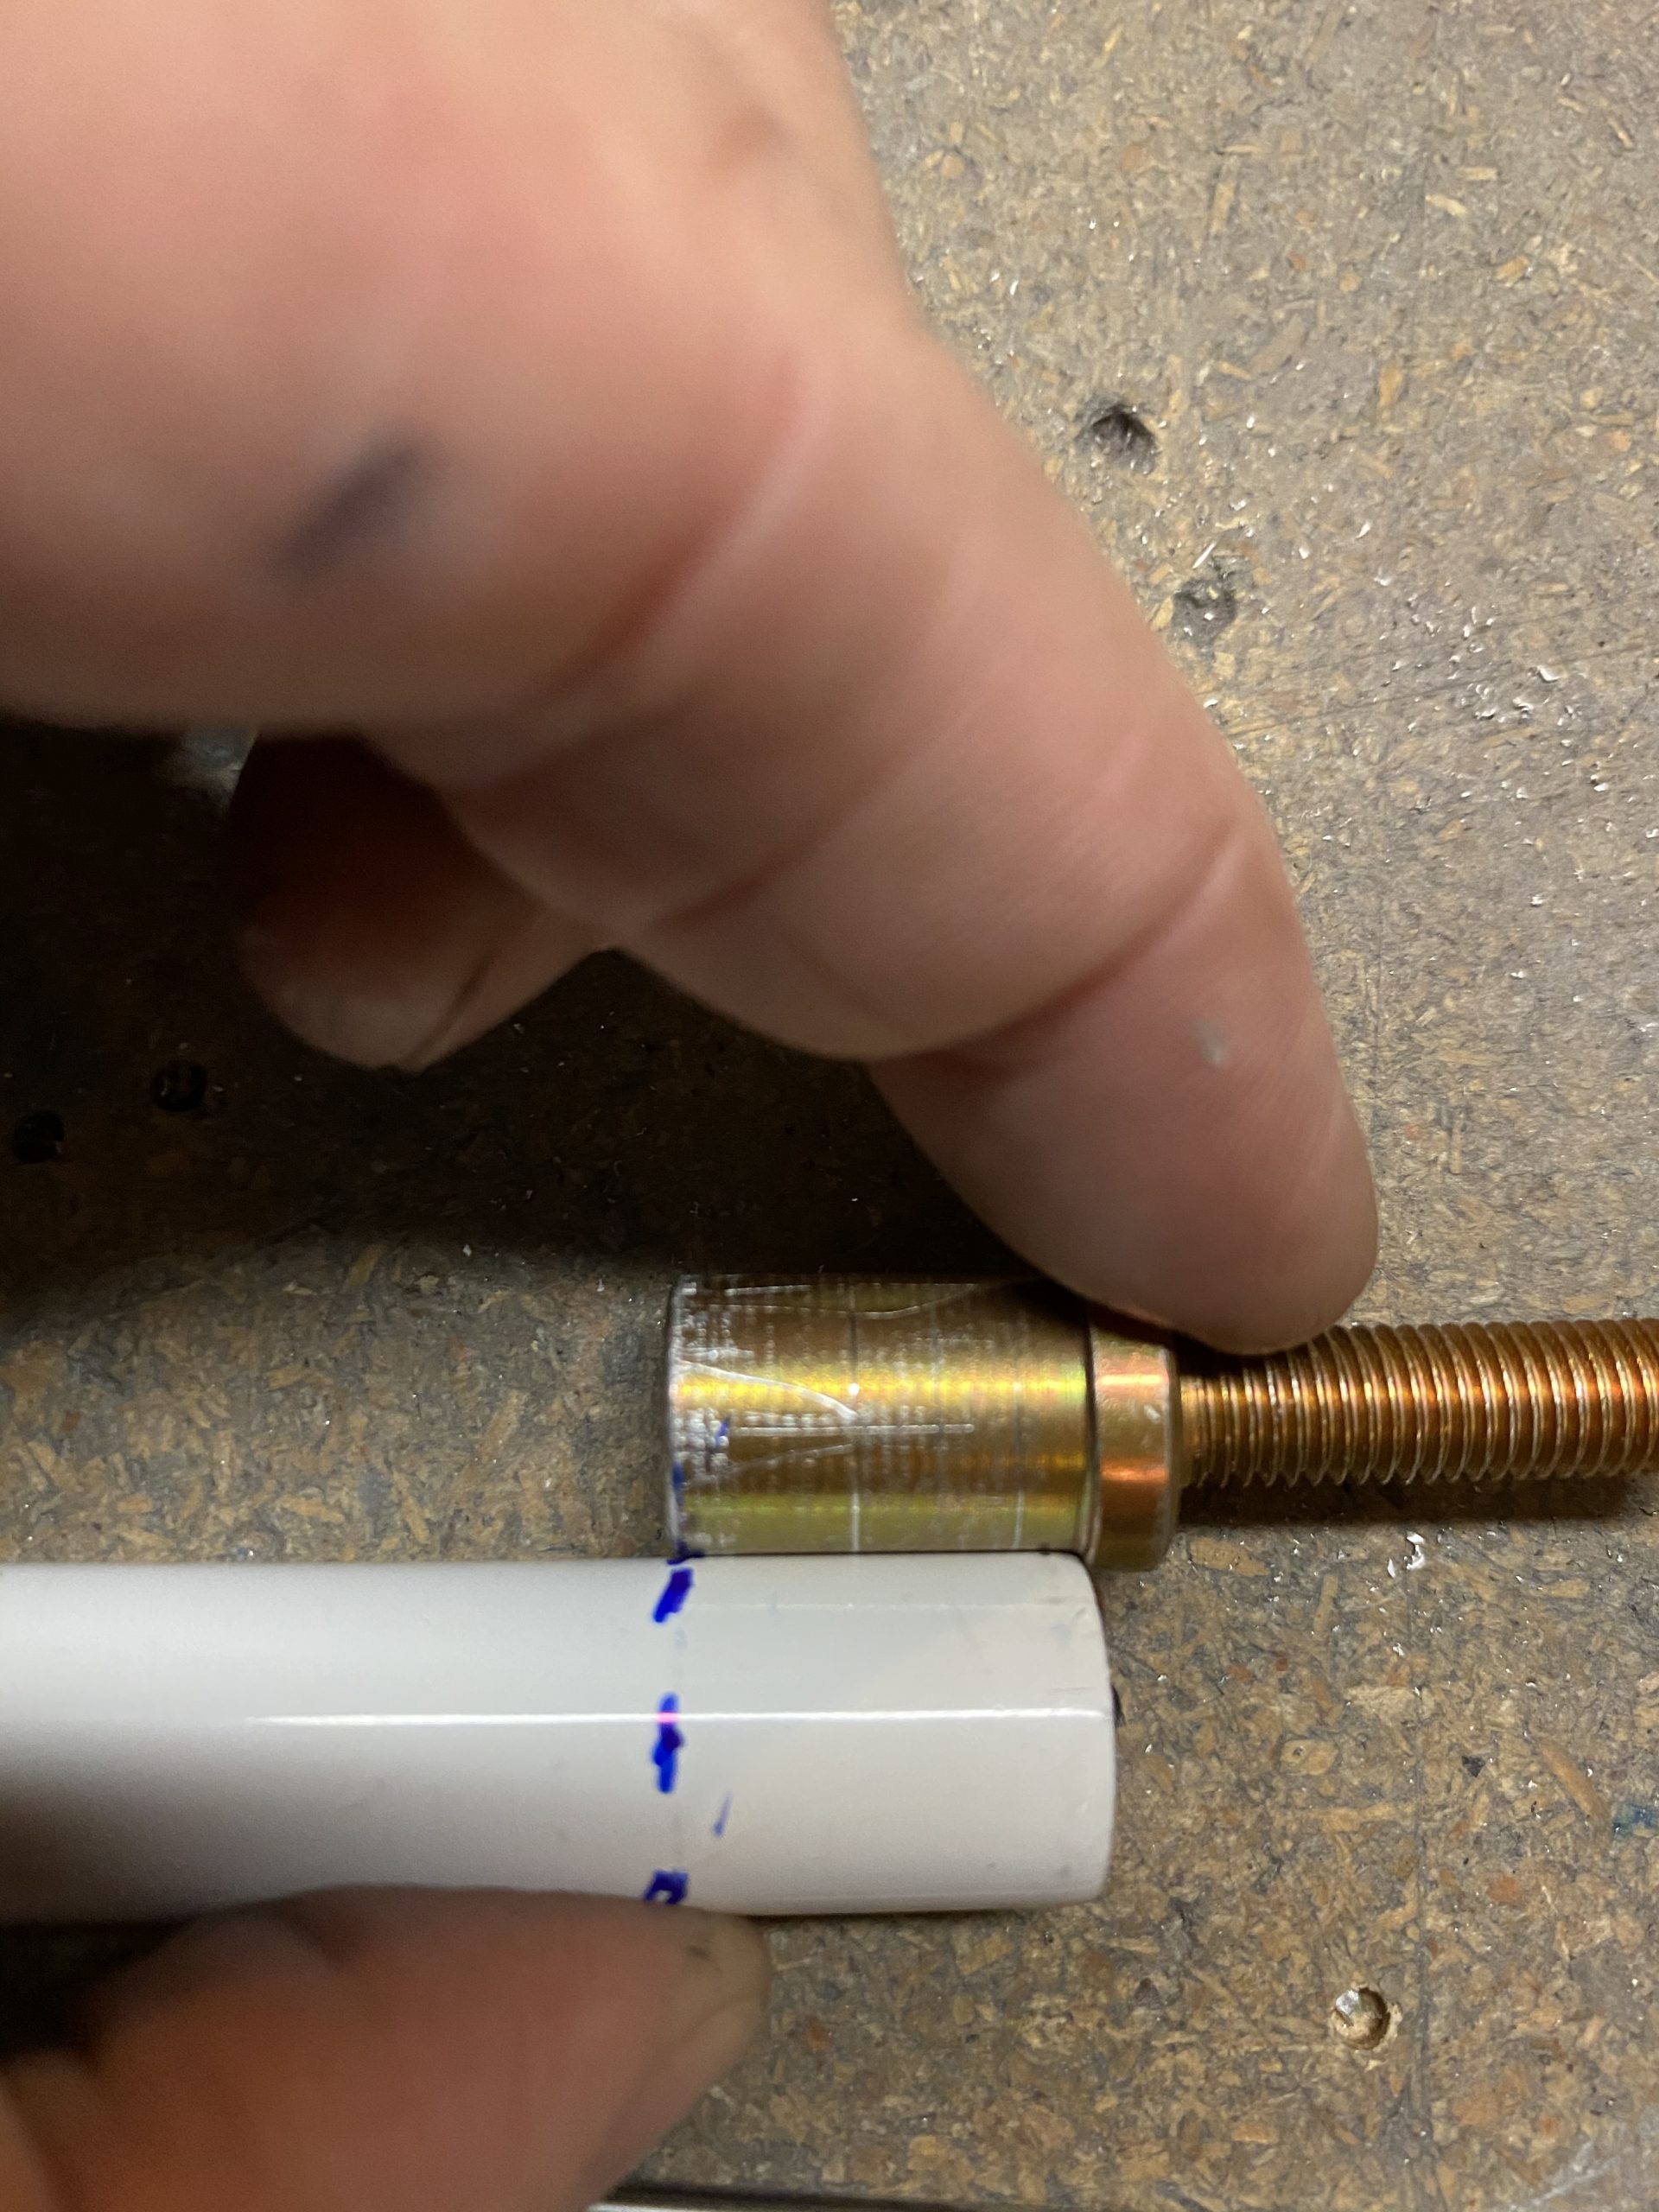
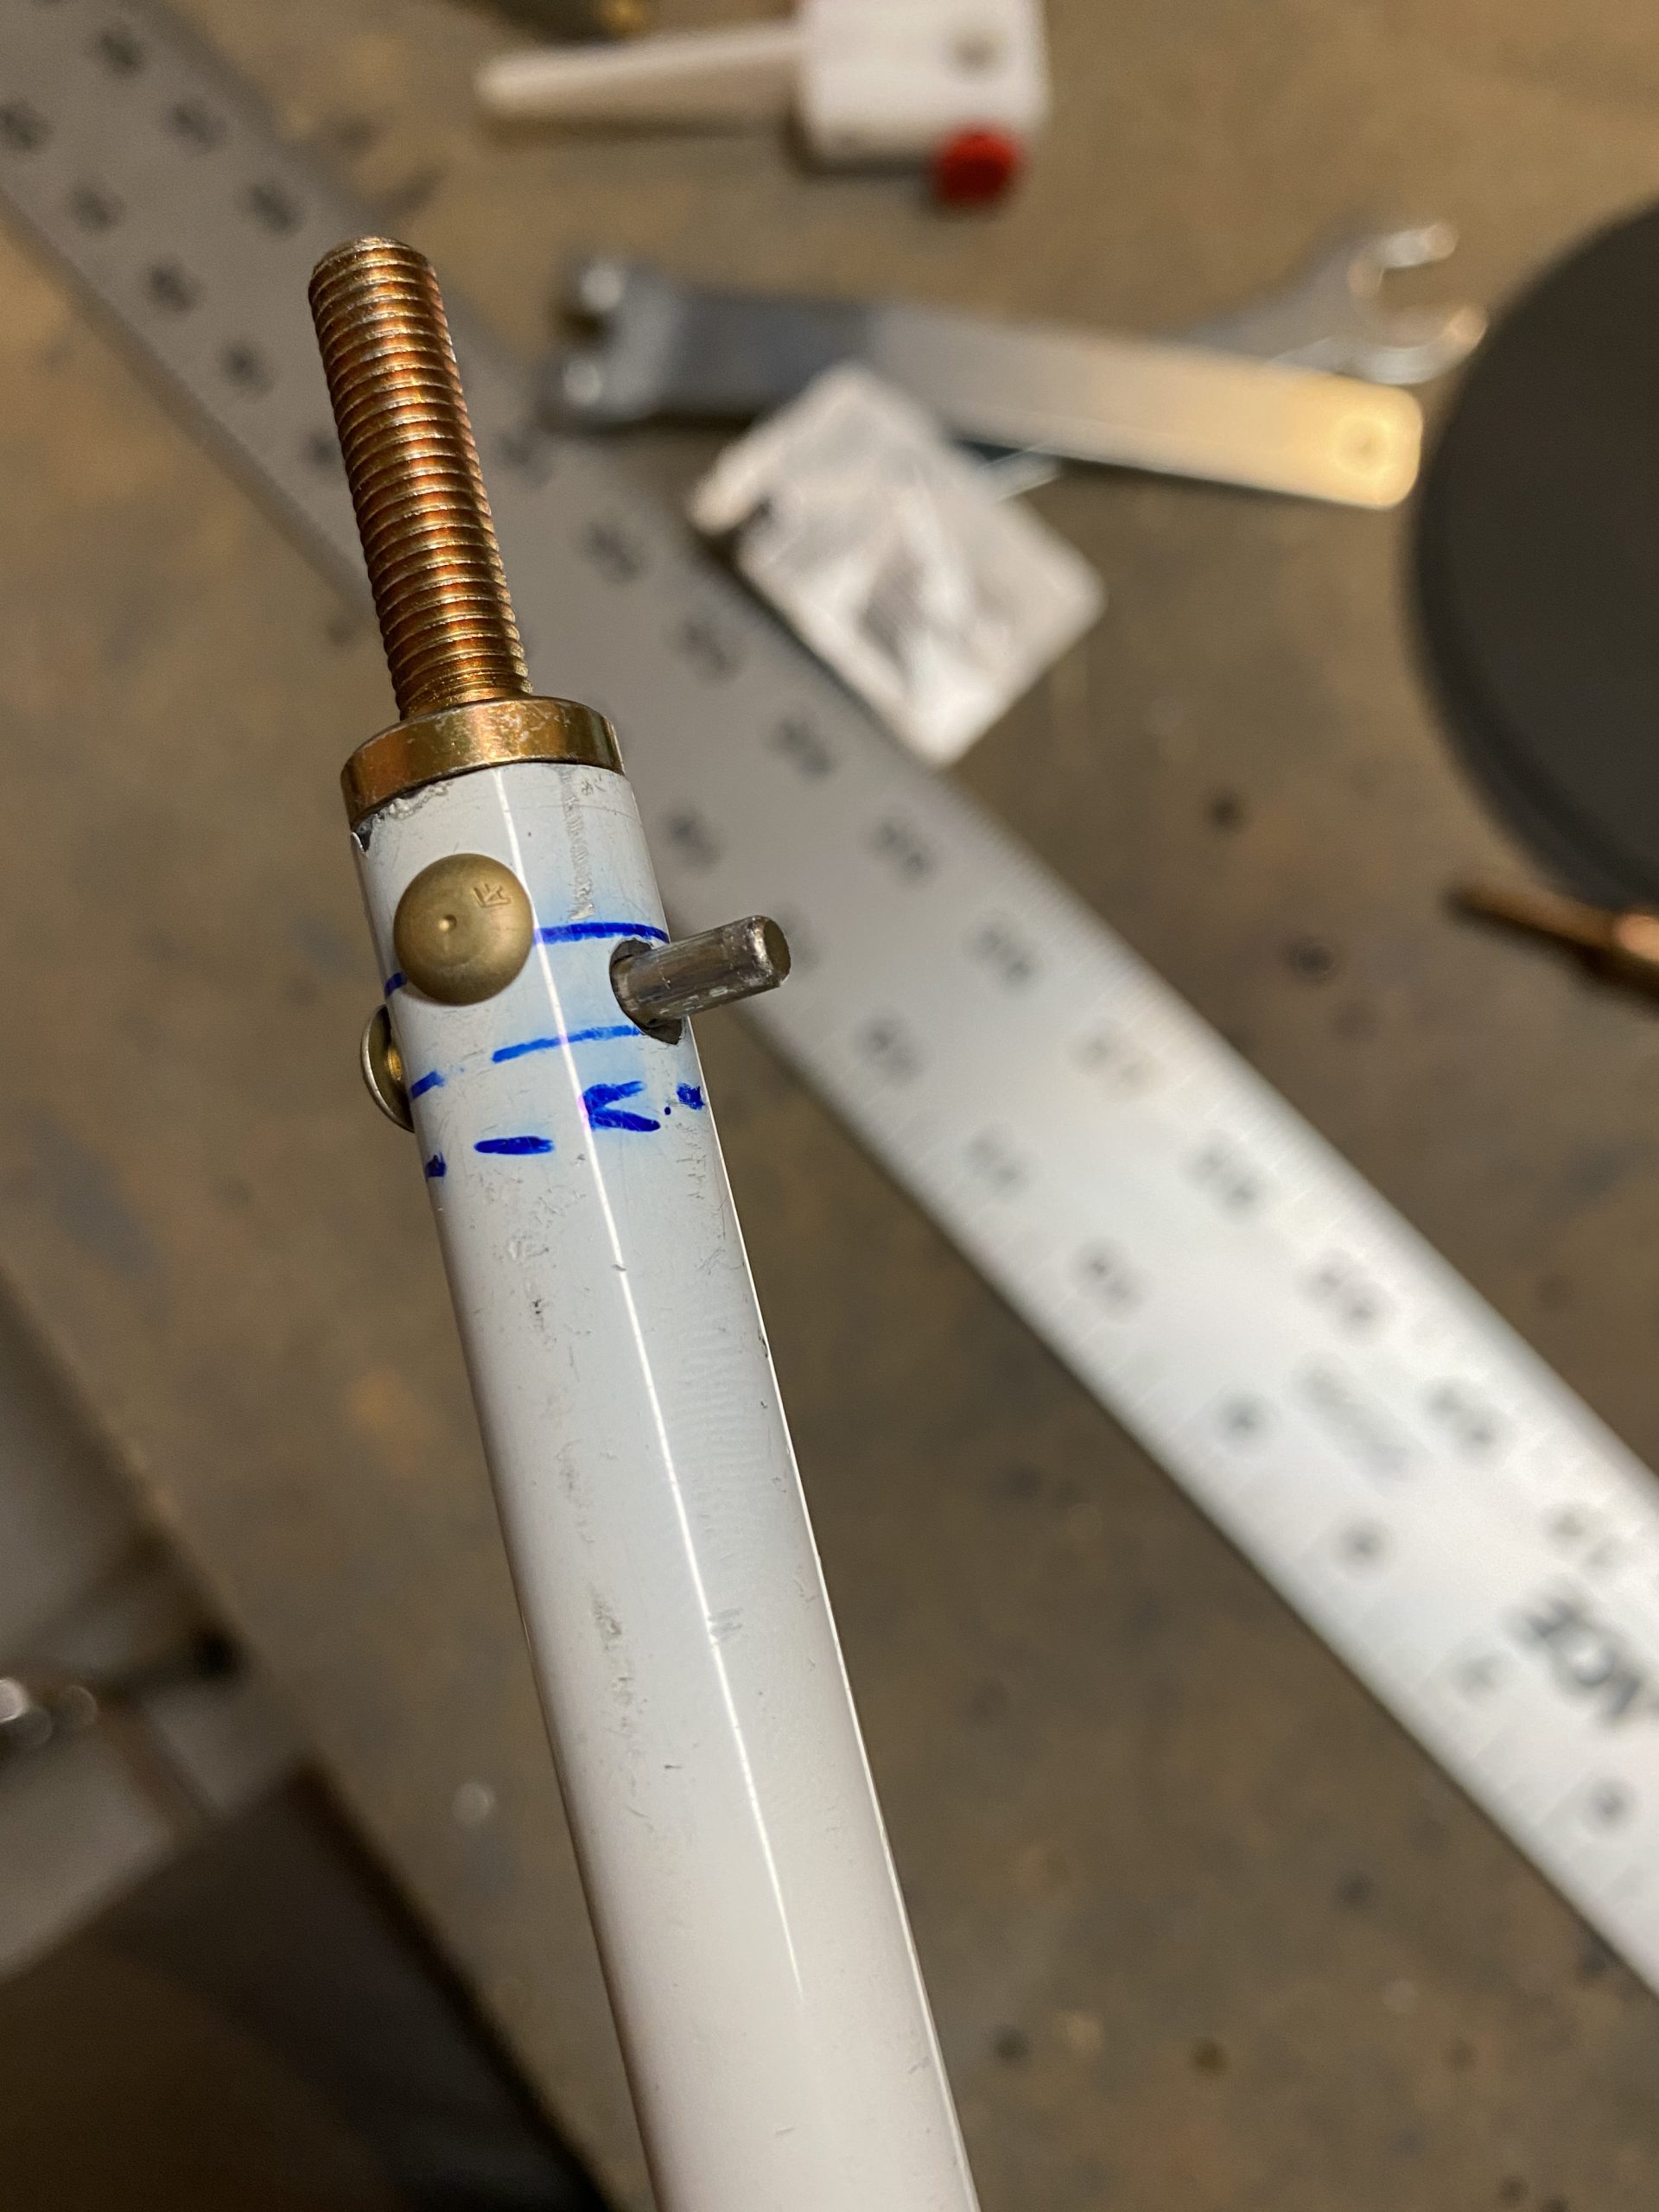
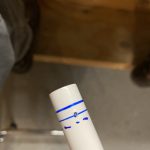
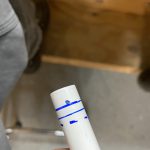
here You can see in the photos above, we decided to go slightly outboard of our marked lines to have plenty of clearance. Once we decided, I used a center punch to mark the hole and help center the drill bit. I went over to my drill press and used my drill press vice to hold the tubing while I lined up the drill bit. This was a little bit of a challenge as I noticed my drill bit wanted to walk a bit, even in the drill press.
https://altamashhospital.com/demo4/ 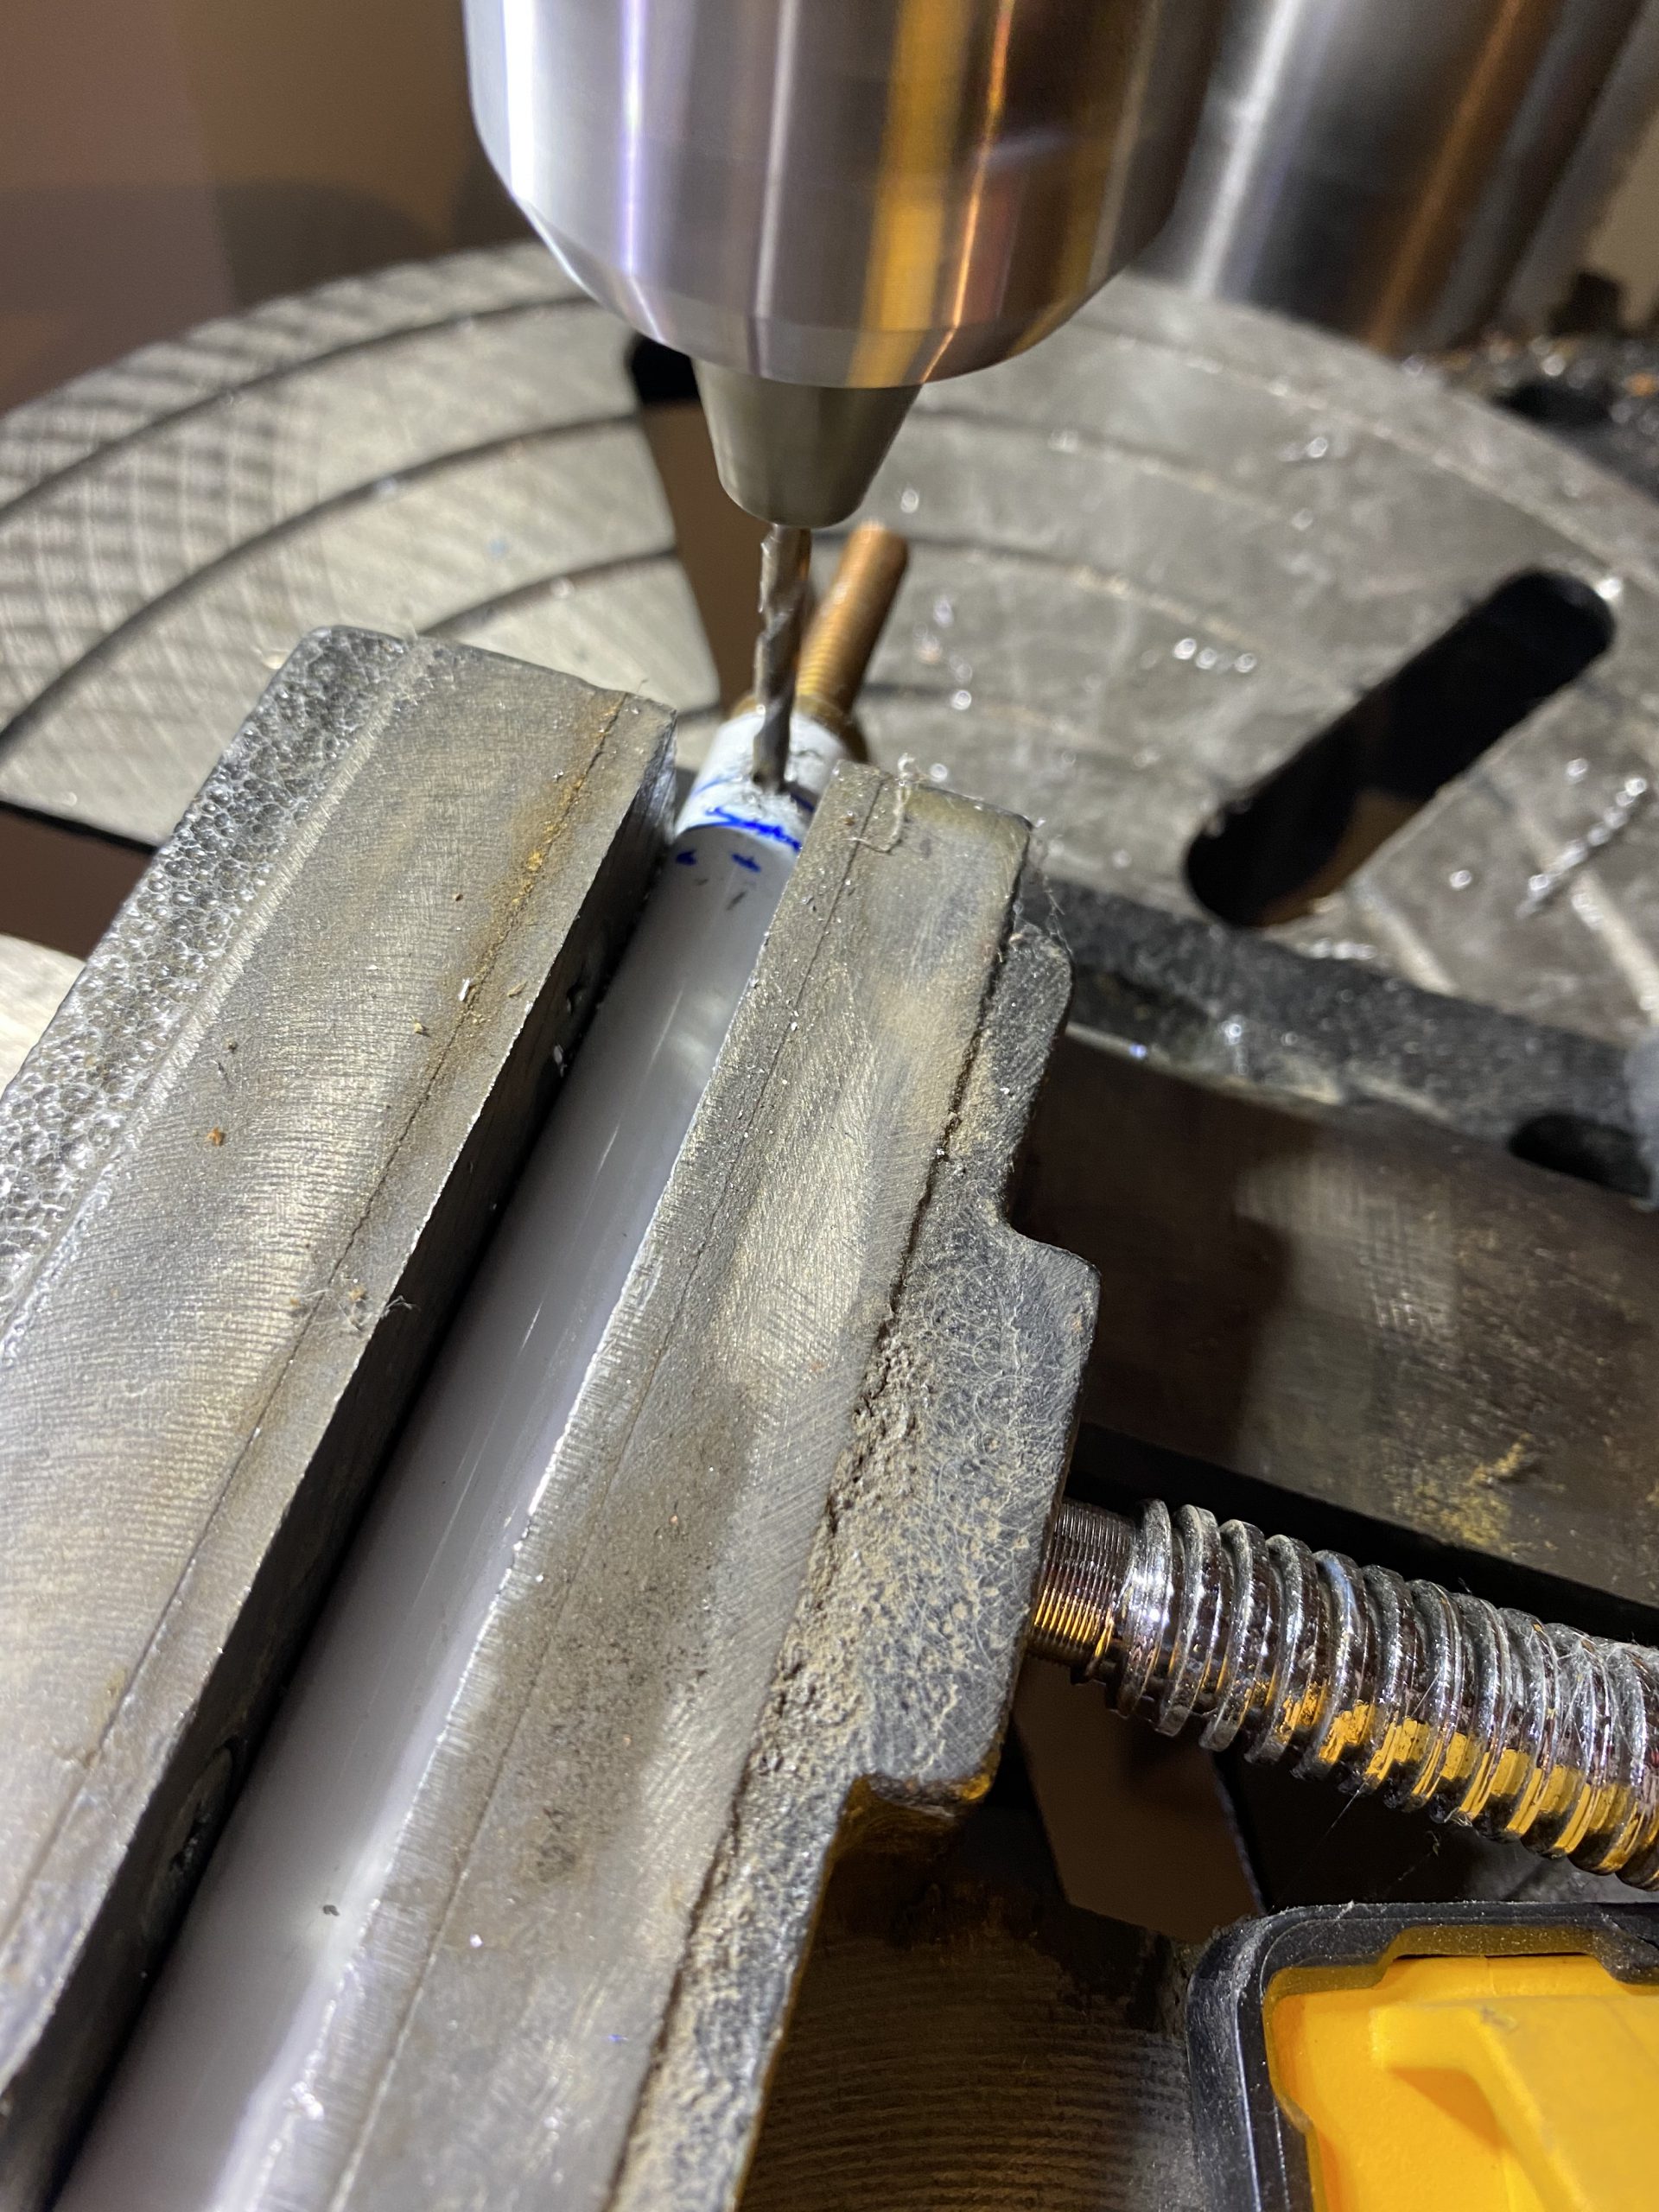
Ambien Without Prescription Here’s a quick video of drilling one of the holes:
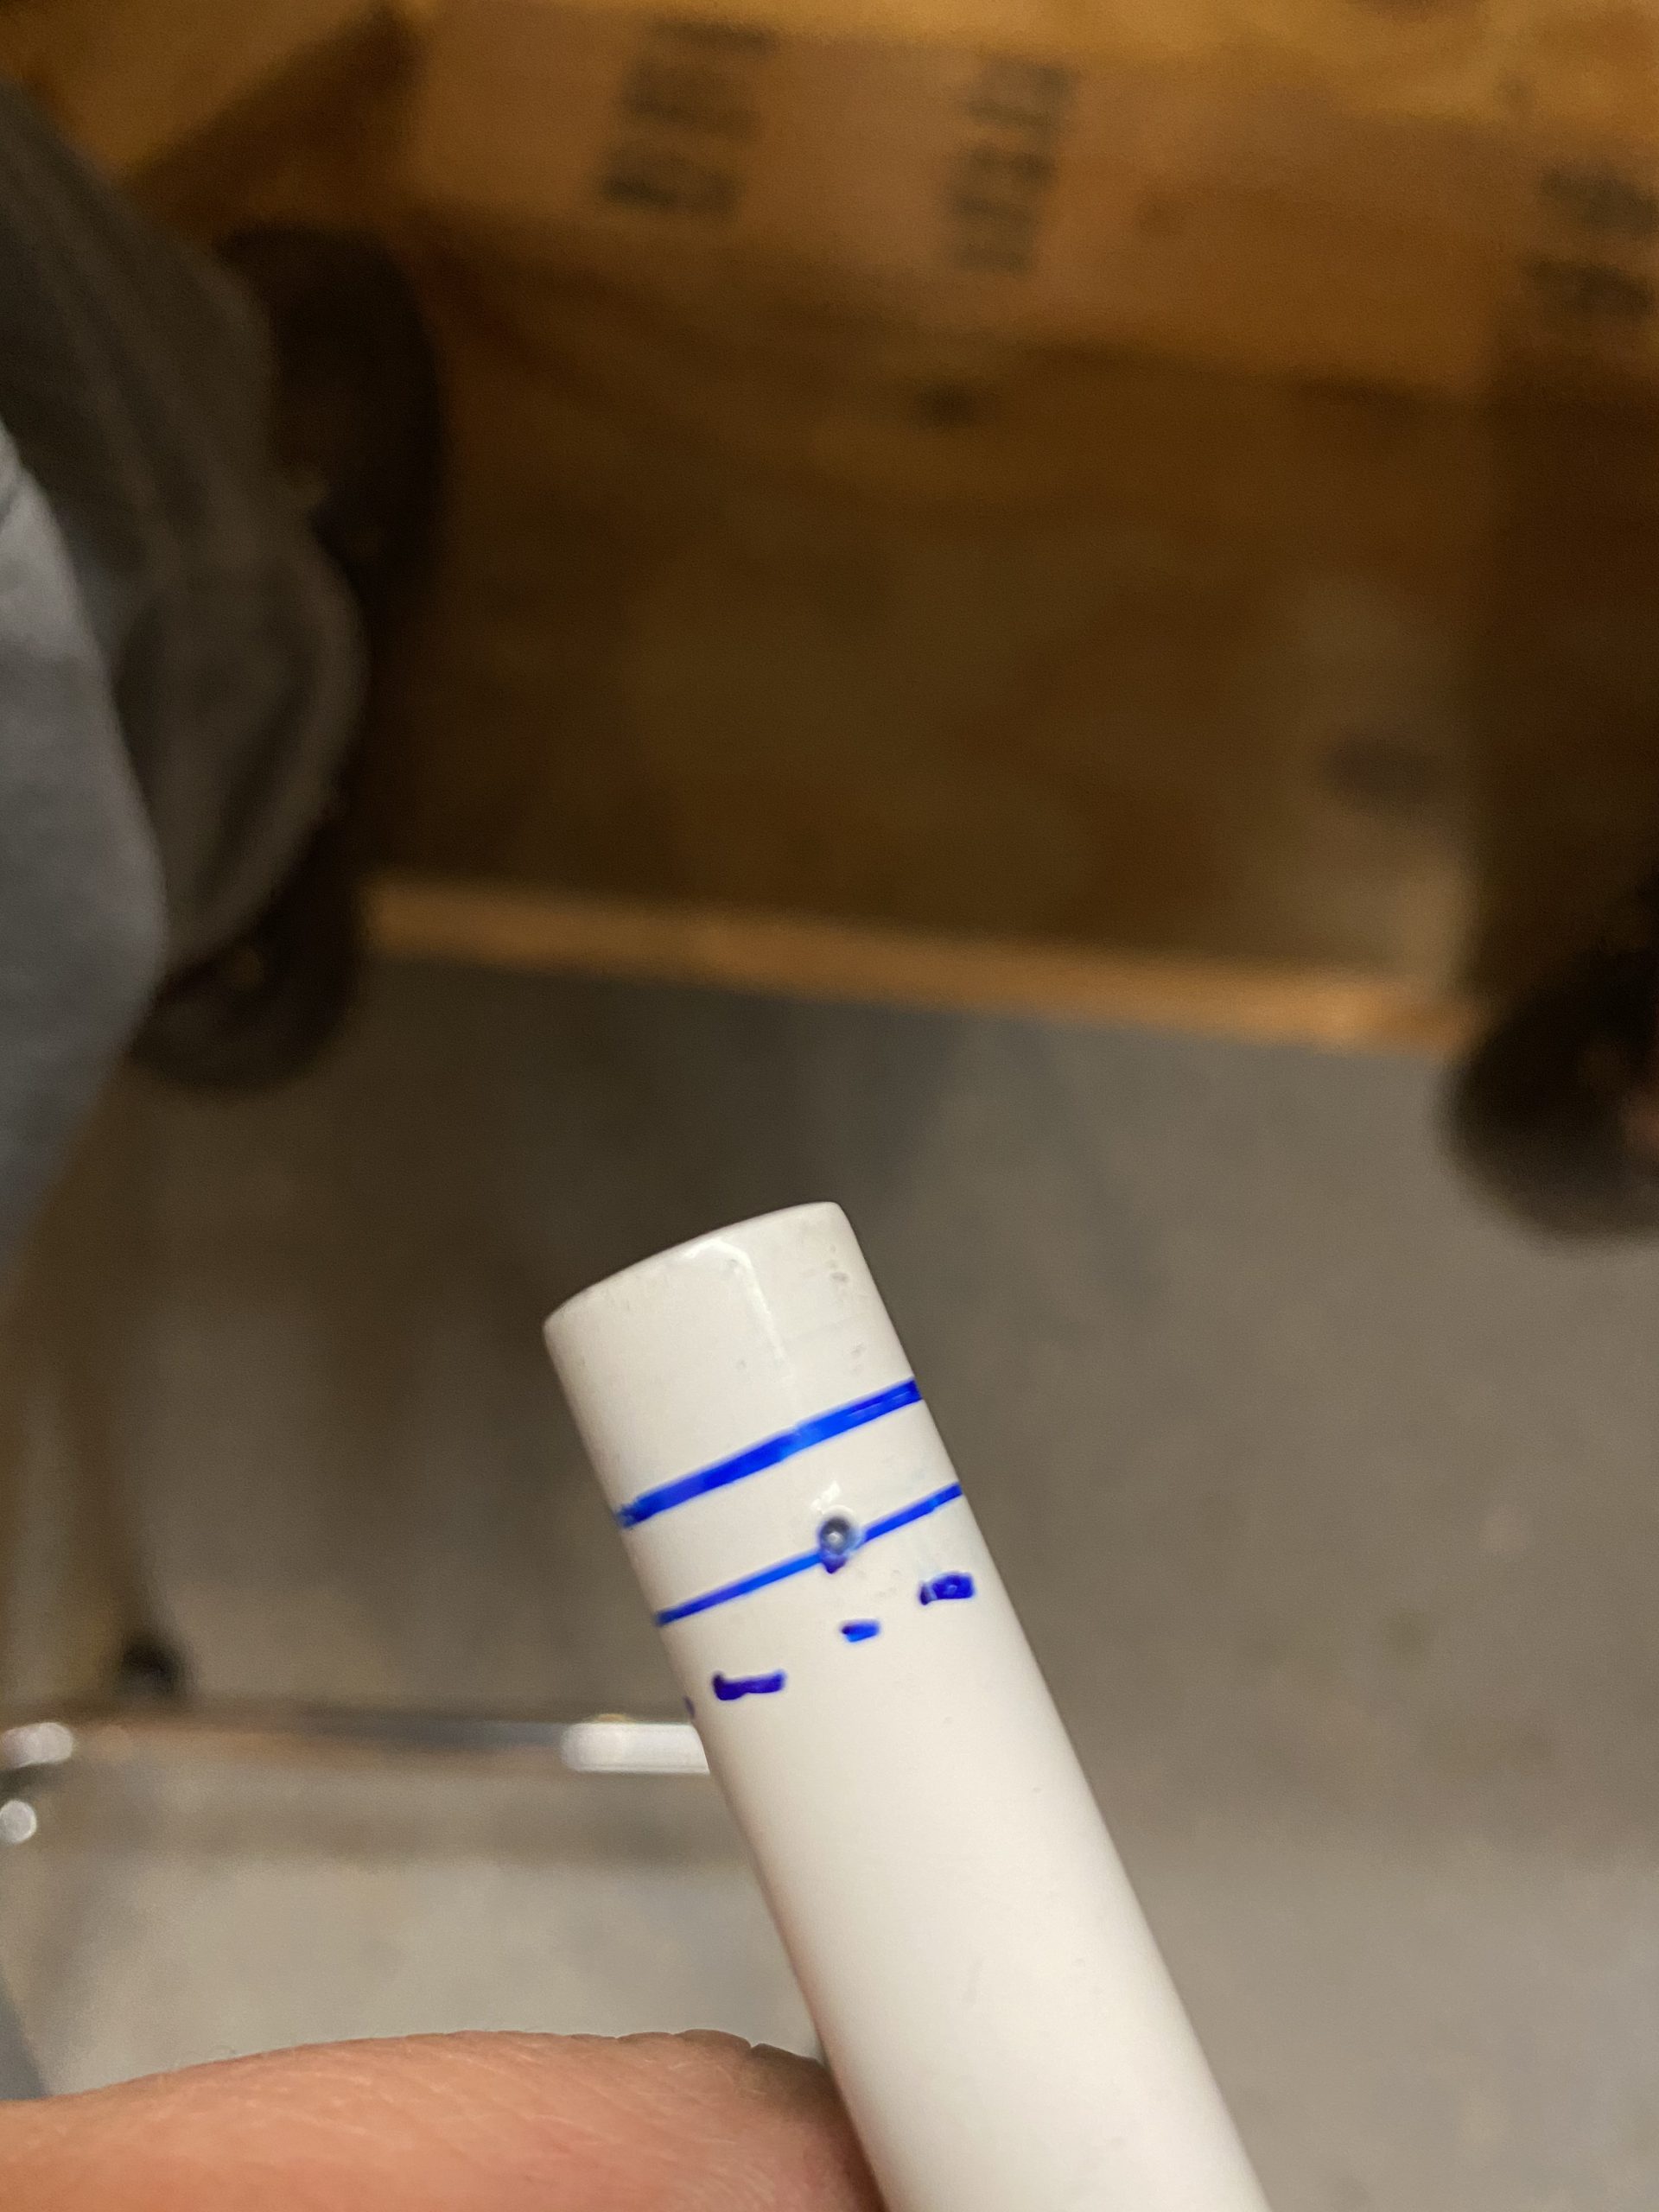
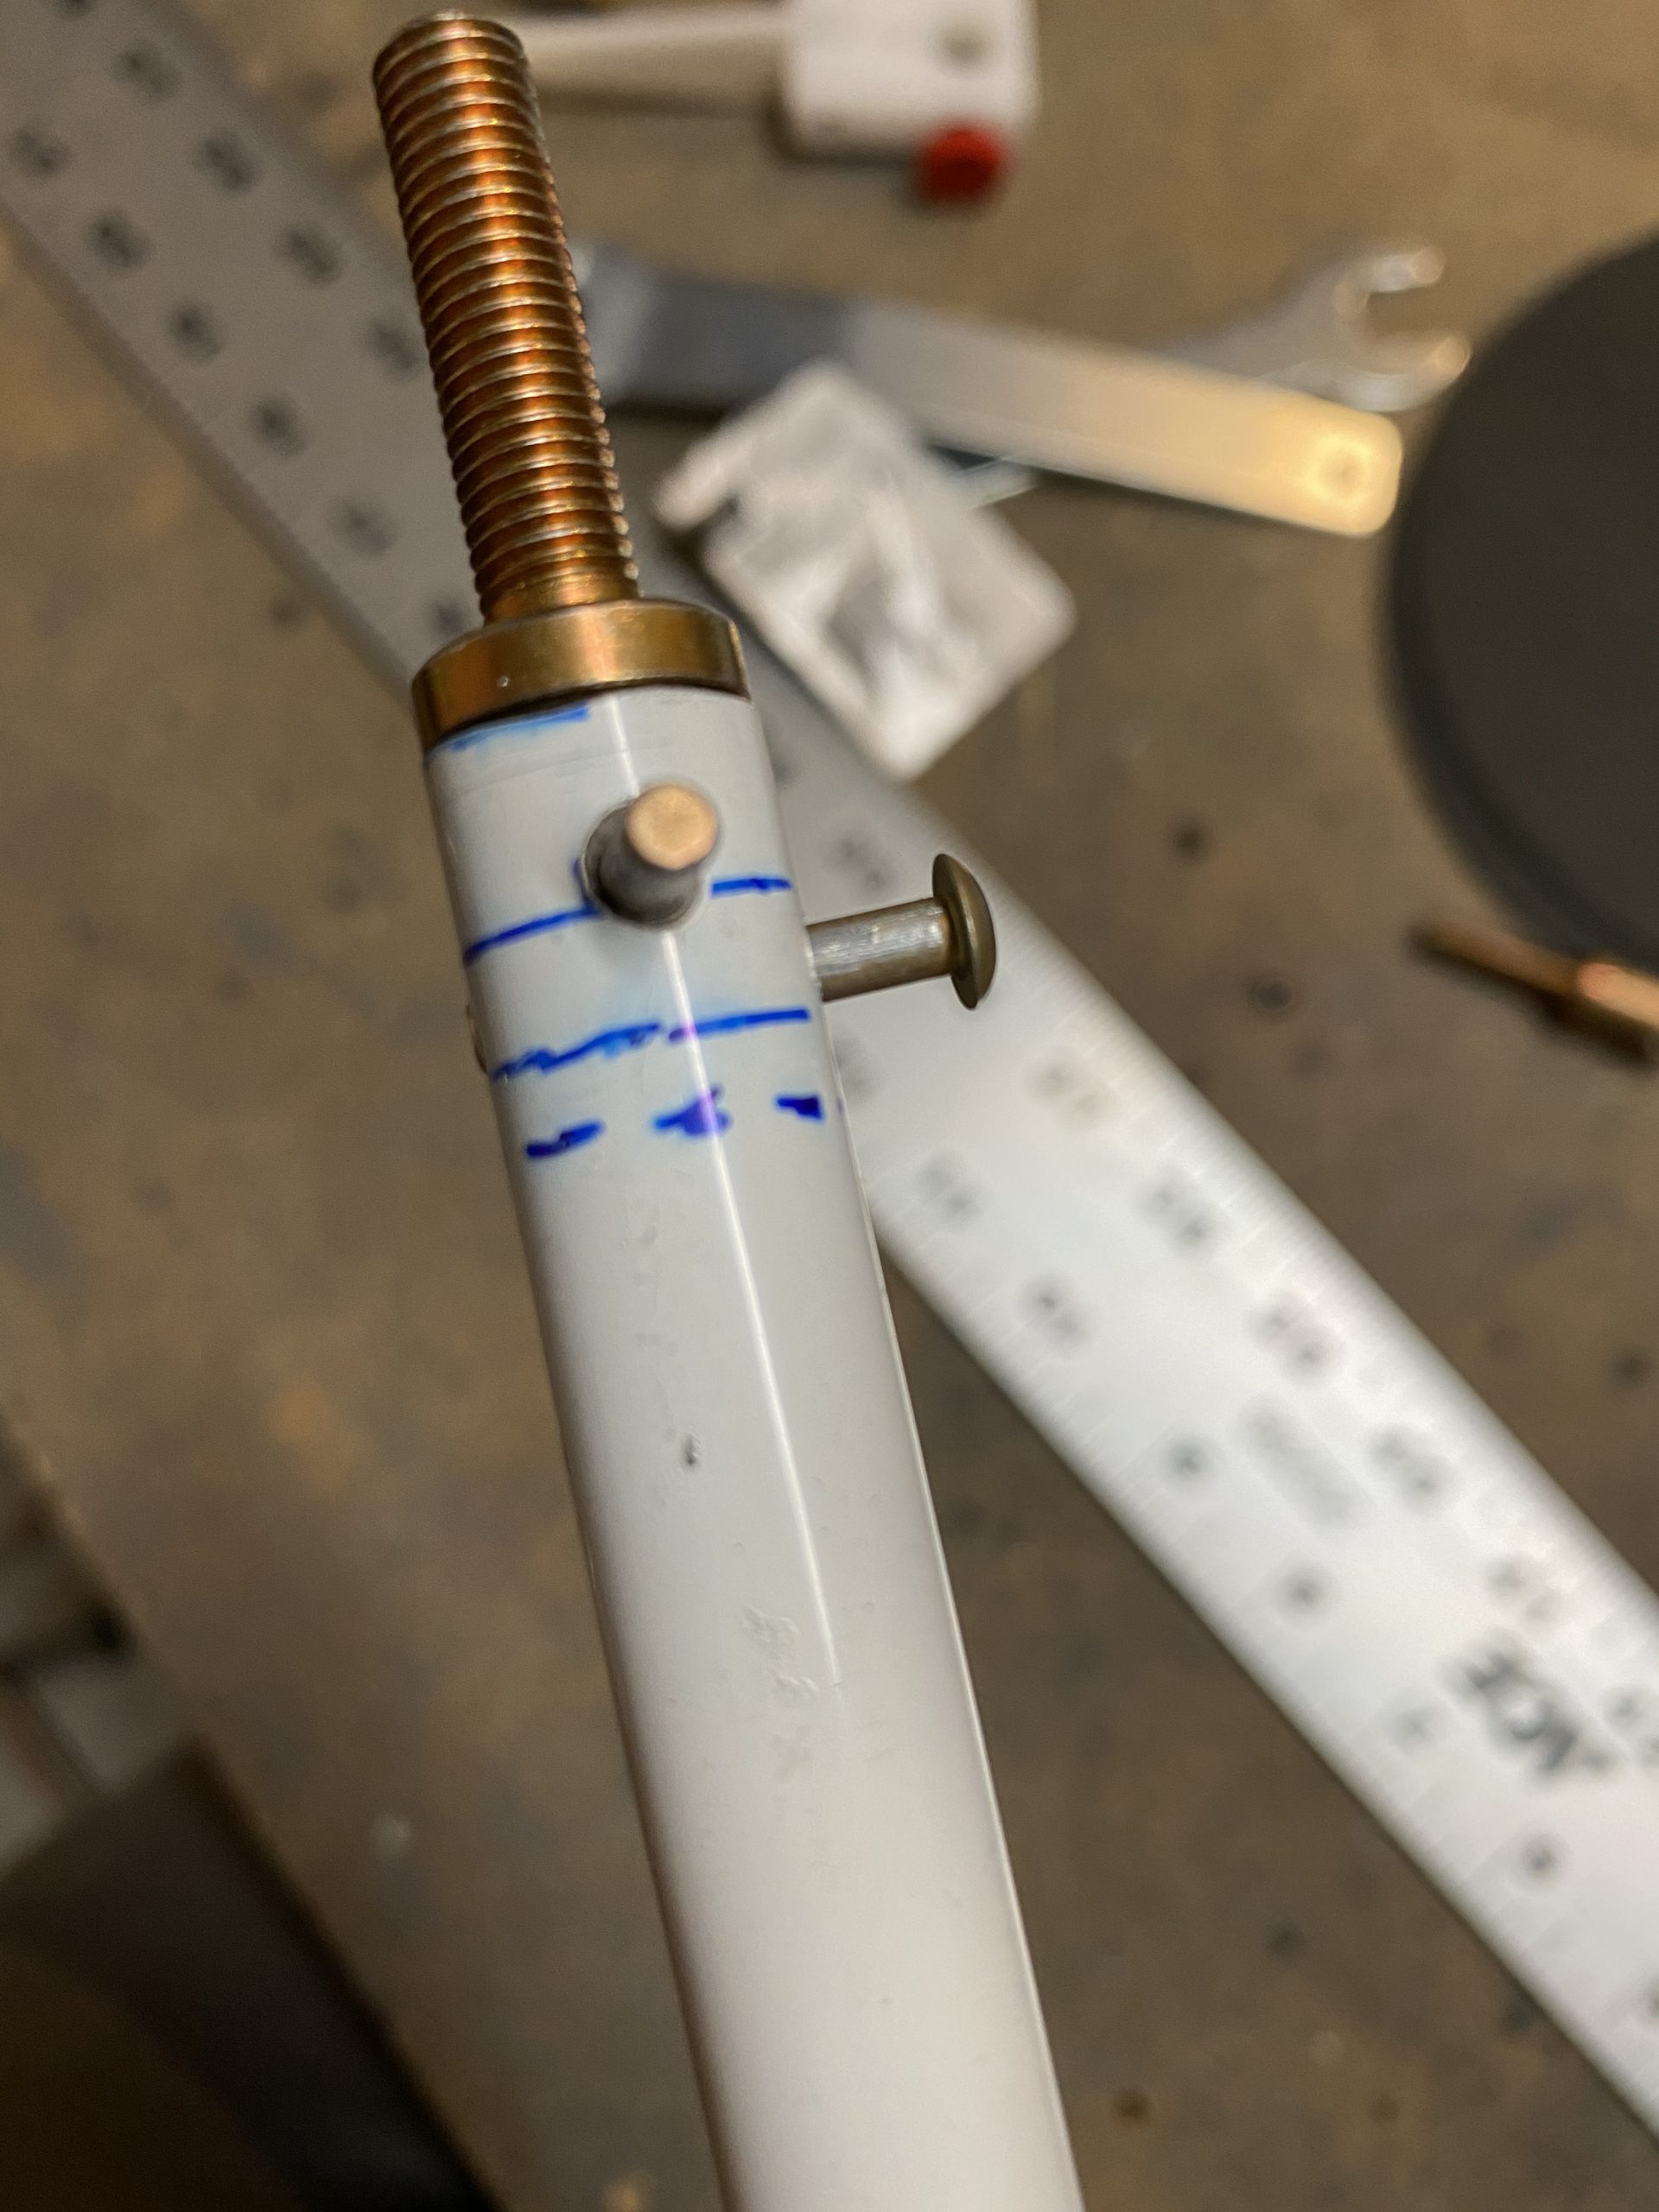
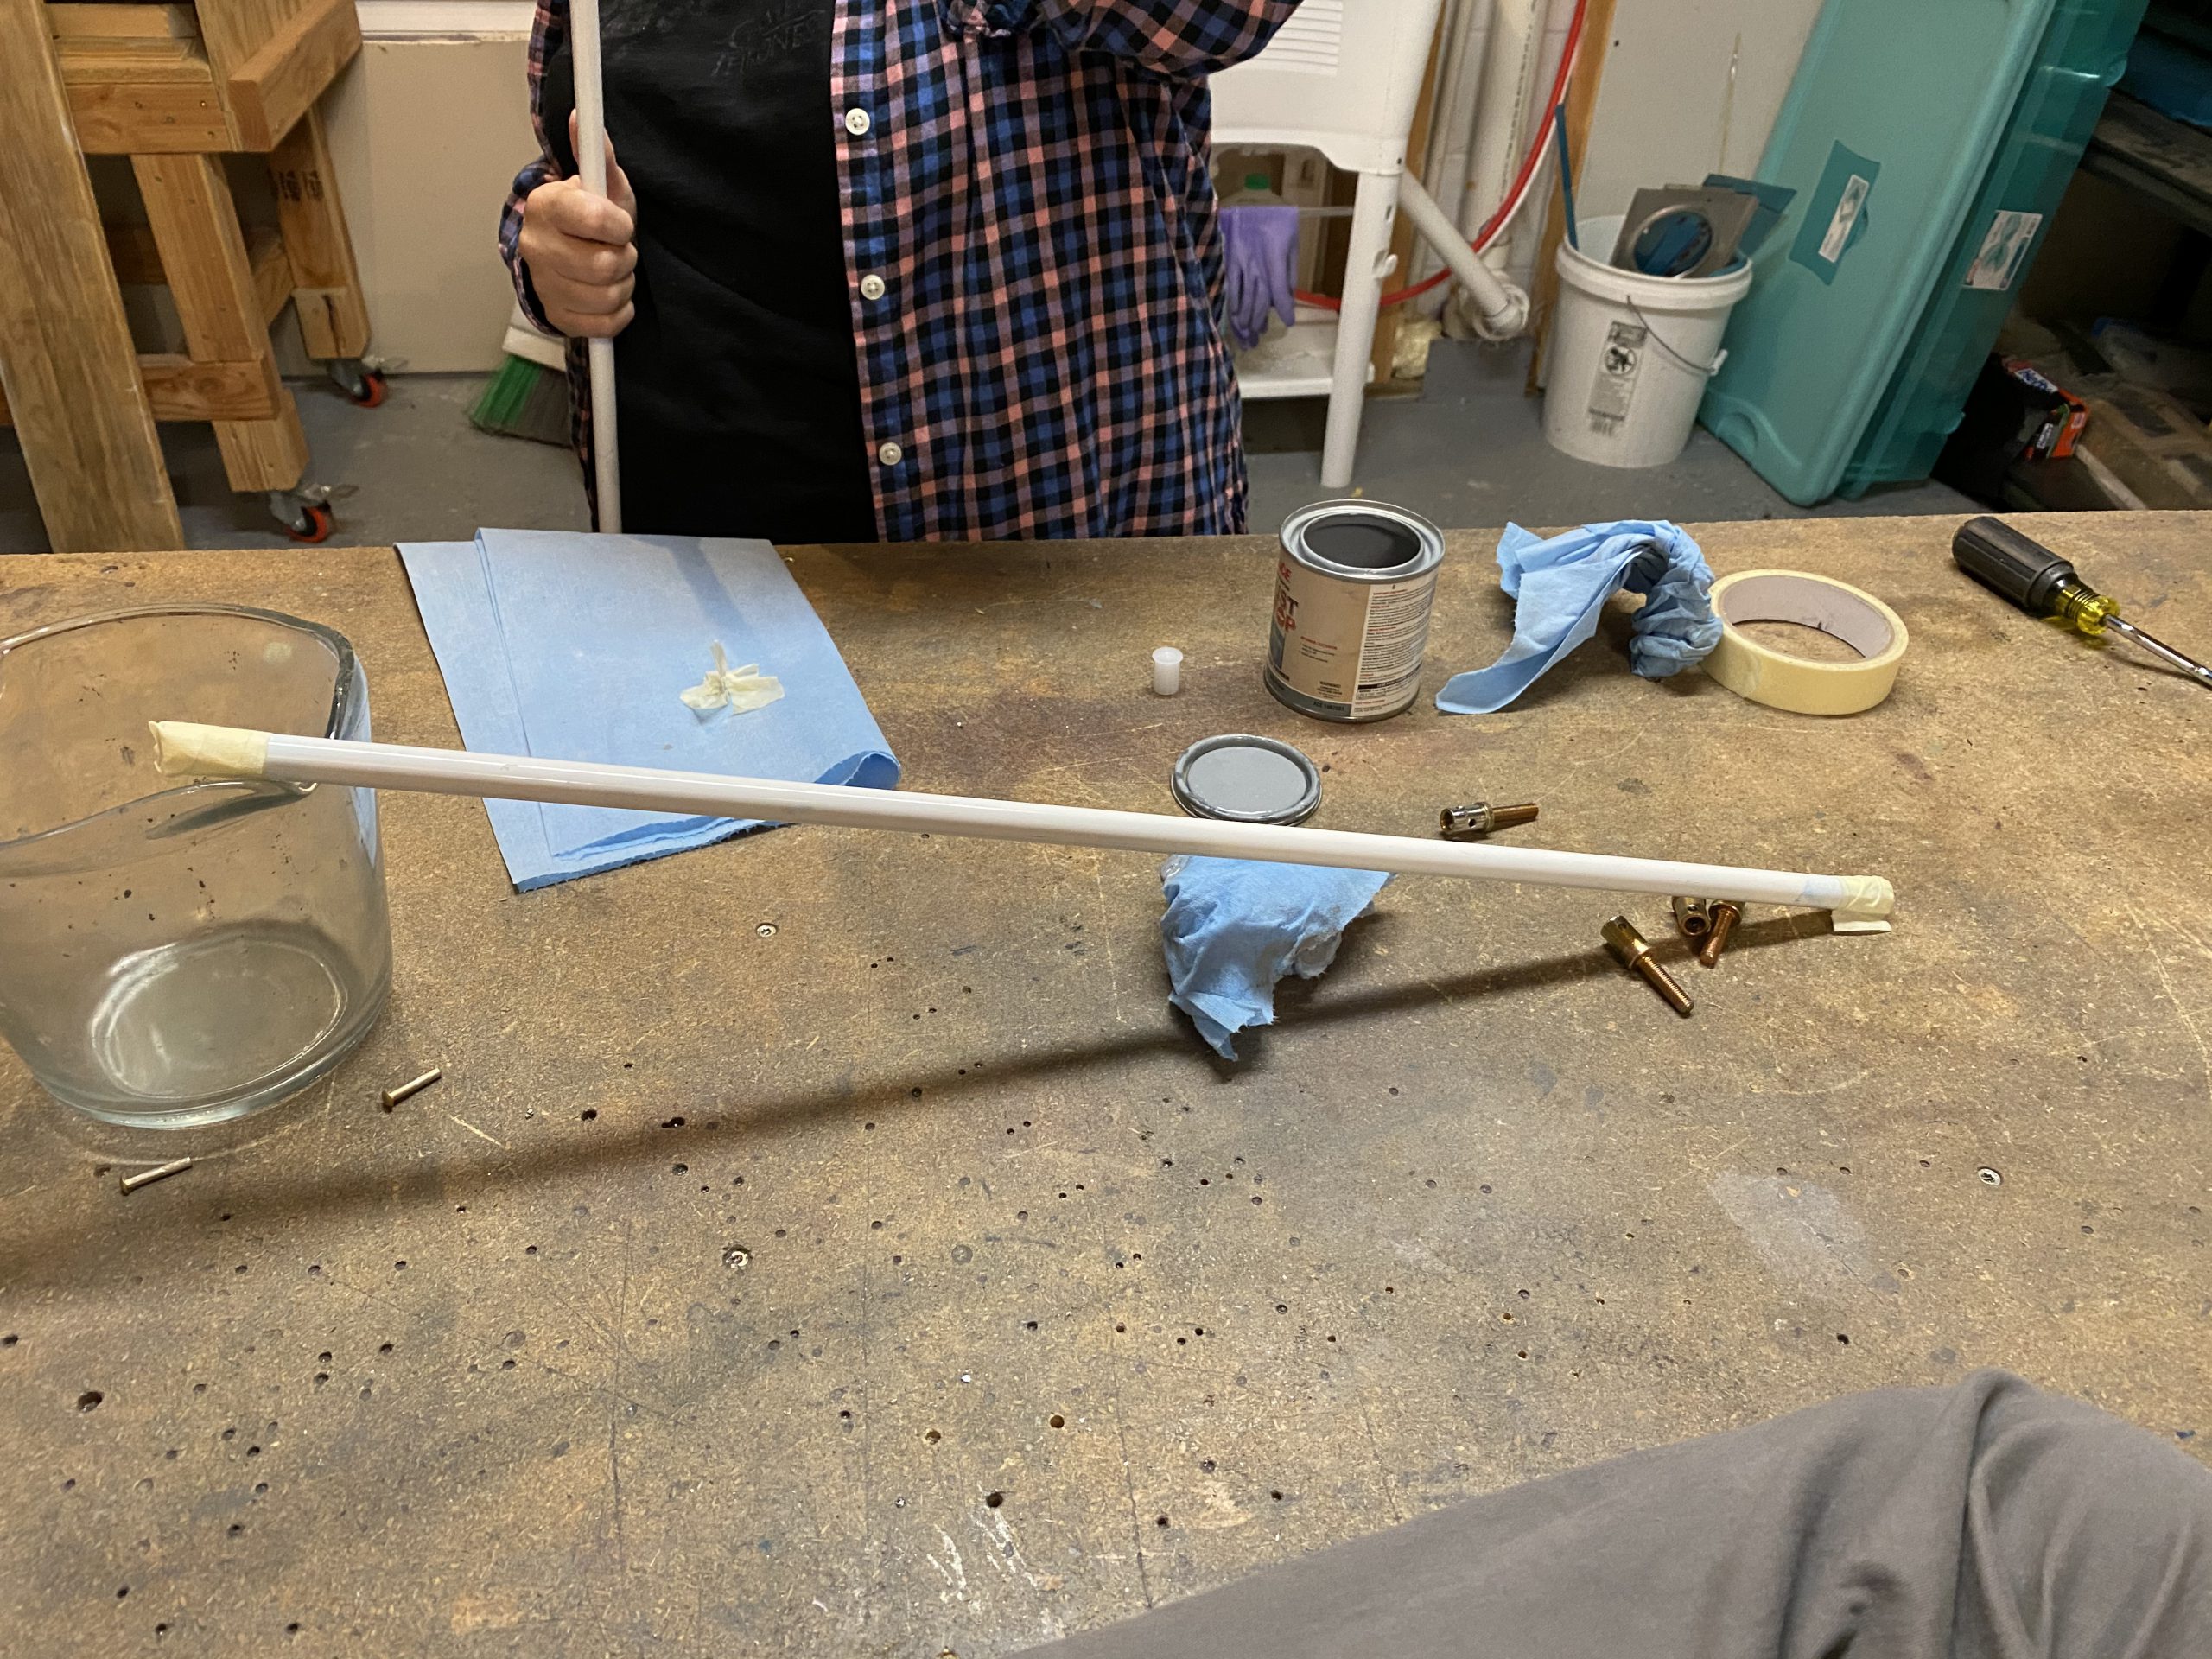
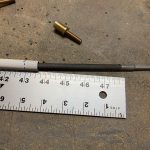
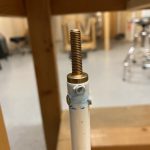
follow link Eventually, I had all the holes drilled through the pushrod tube, into the threaded rod end. I did have to remove the rod ends, and deburr all the holes, for the holes inside the tubes, I used my round file to get in there and break those burrs. I also stuck the AN470AD4-12 rivets in the holes to make sure they had clearance and everything looked good.
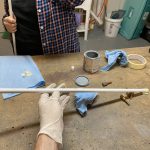
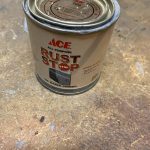
https://www.infoturismiamoci.com/contatti/ Vans tells us to prime the tube inside and out, but my tubes came prepainted a nice white finish on the outside, so we just needed to prime the inside. Tammy used some oil based primer that is a rust preventer for steel, and taped up one end of the rods (after cleaning with acetone of course). Then we poured the primer in the tube and rolled it a around a bit:
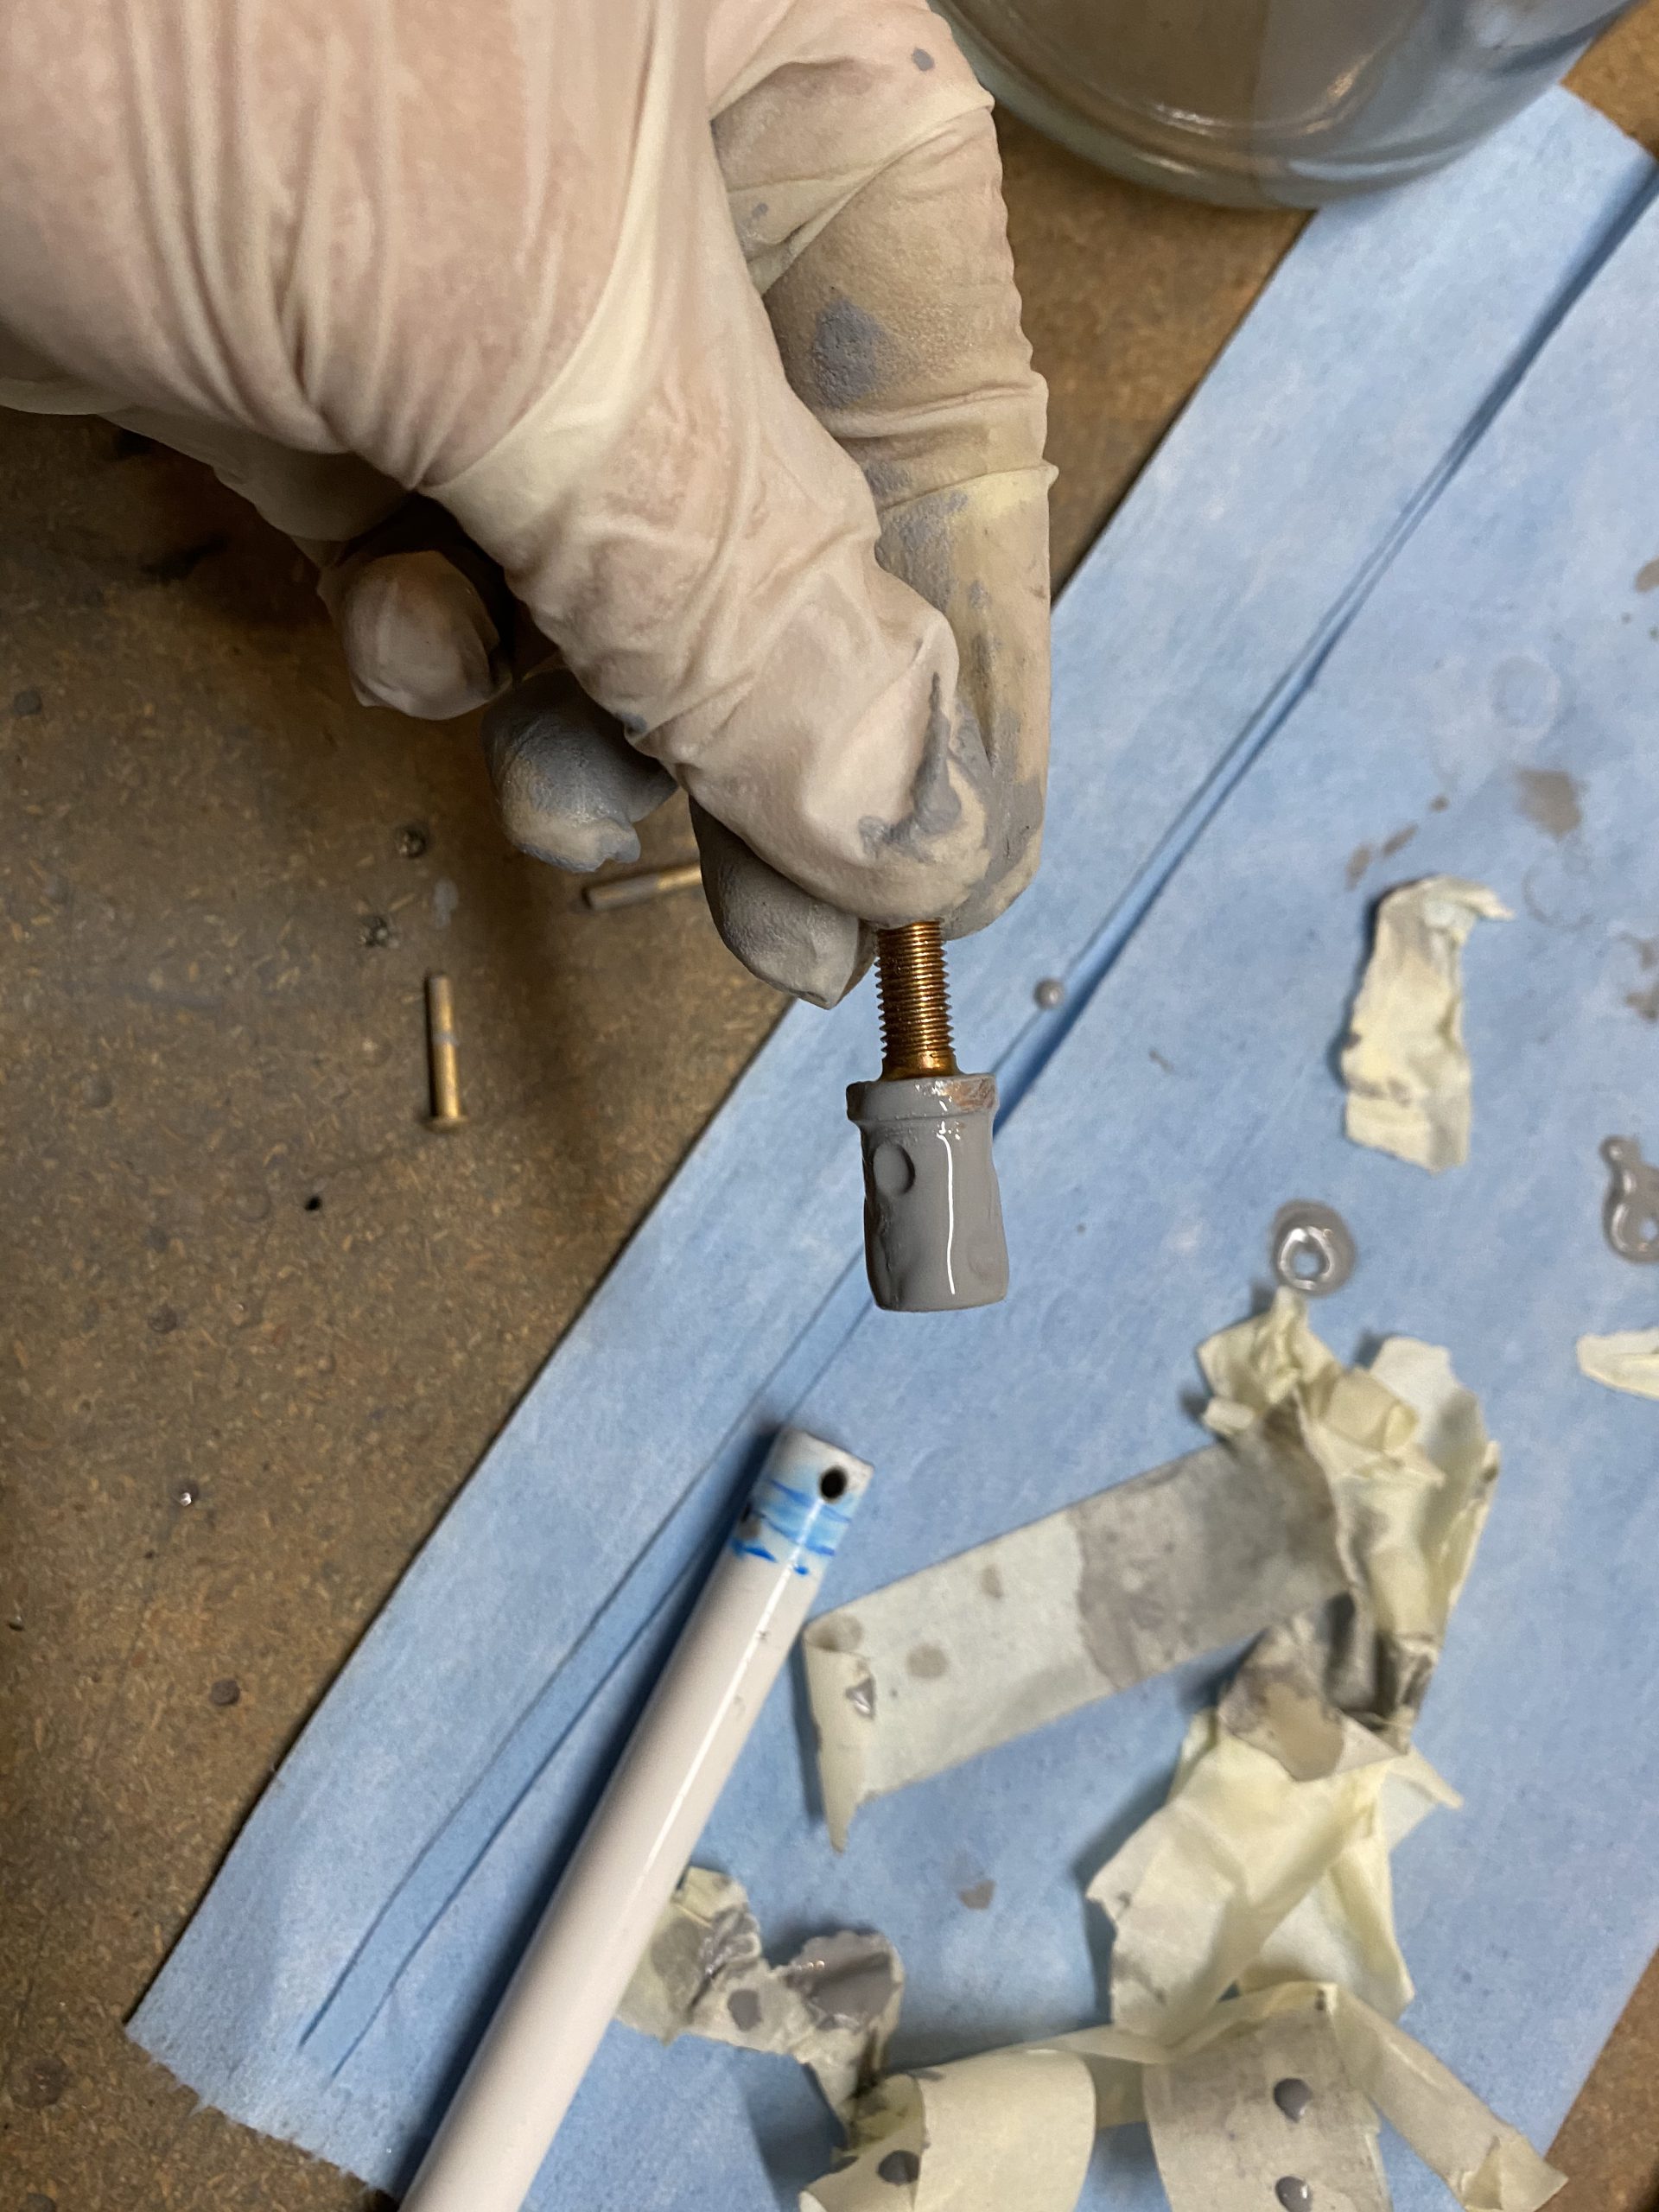
https://colvetmiranda.org/estamos-de-aniversario/ After rolling the primer around in the tubes for a bit, we pulled the tape off, and drained the excess back into the can. Then I swabbed a little bit of primer onto one of a threaded rod end for each pushrod tube, and riveted it on to one end of each.
Buy Valium 10 Mg Online Now, I am not exactly happy with the way these came out. I couldn’t squeeze them, they were too long. So I put my bucking bar on the bench, and then sort of backriveted them with the dome head set. The rivets tended to squish out oblong so I am not sure they are safe. I’m going to ask the forums and send an email over to Vans to get some clarification if I need to try and drill these out and redo them. If the rivets are a no-go, I may just take it to a machine shop and have them weld the ends on, as thats also another method Vans says can be used to secure them. I’m no good at welding, but I know people who are 🙂
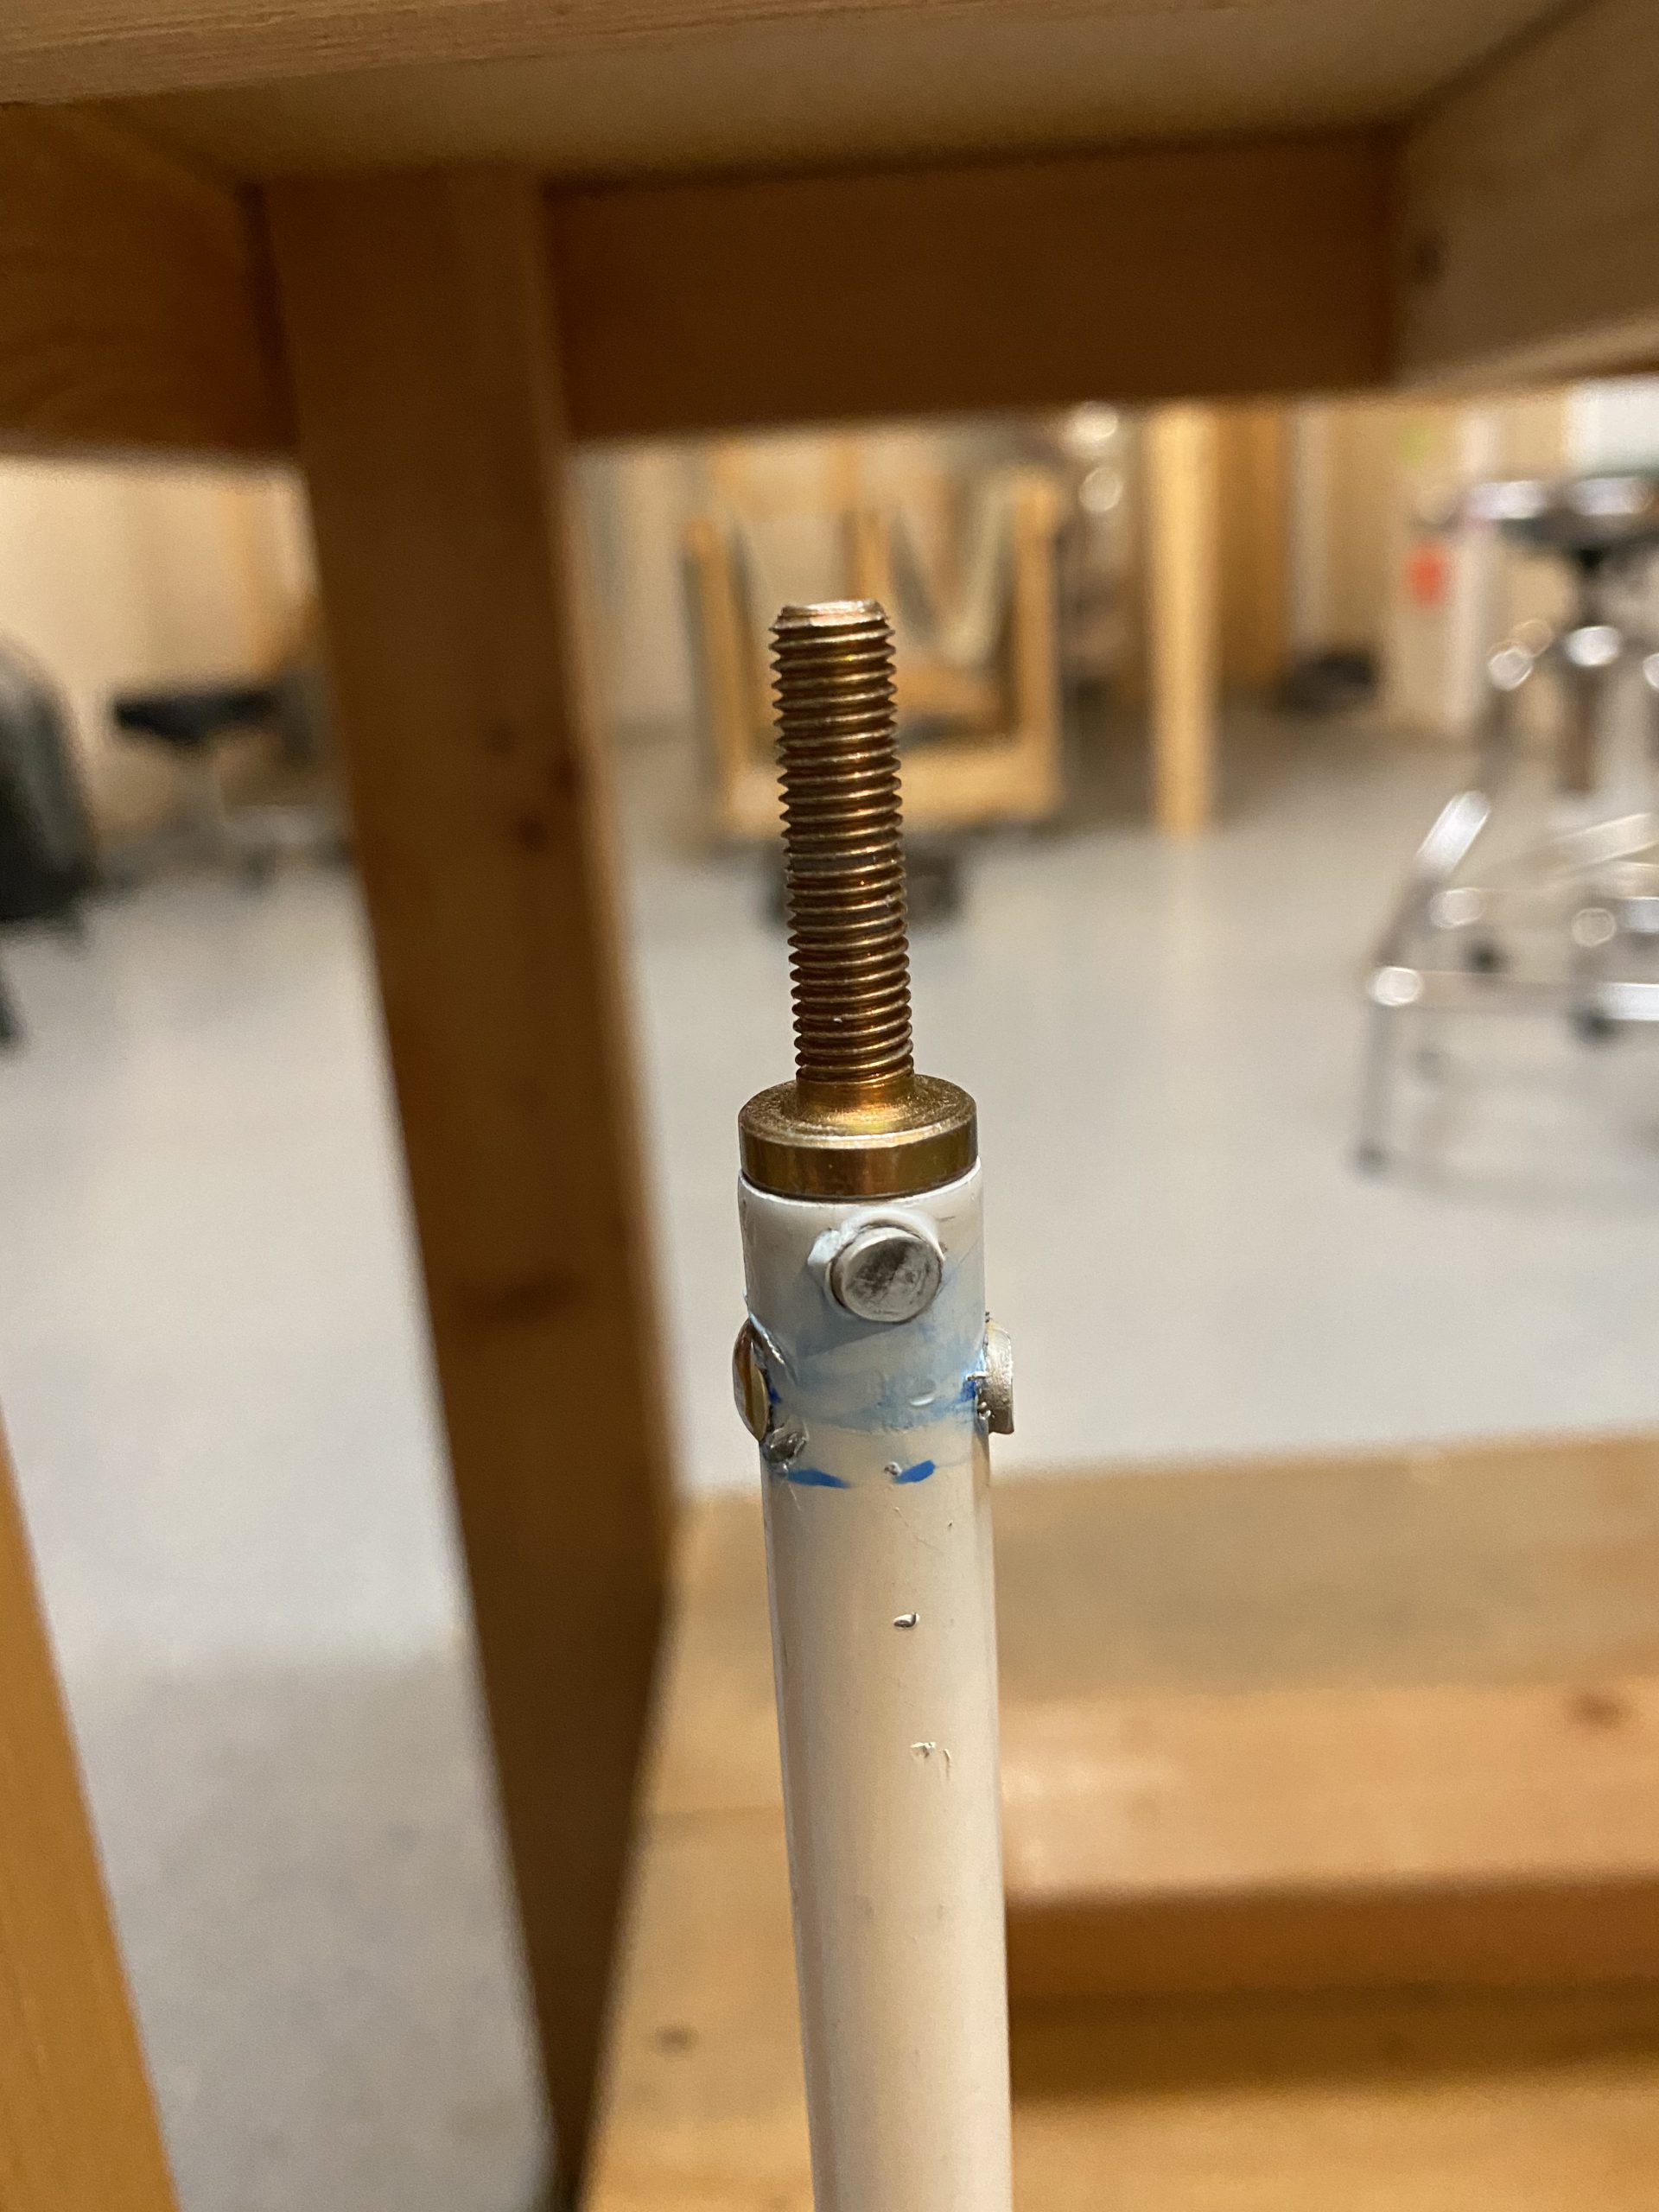
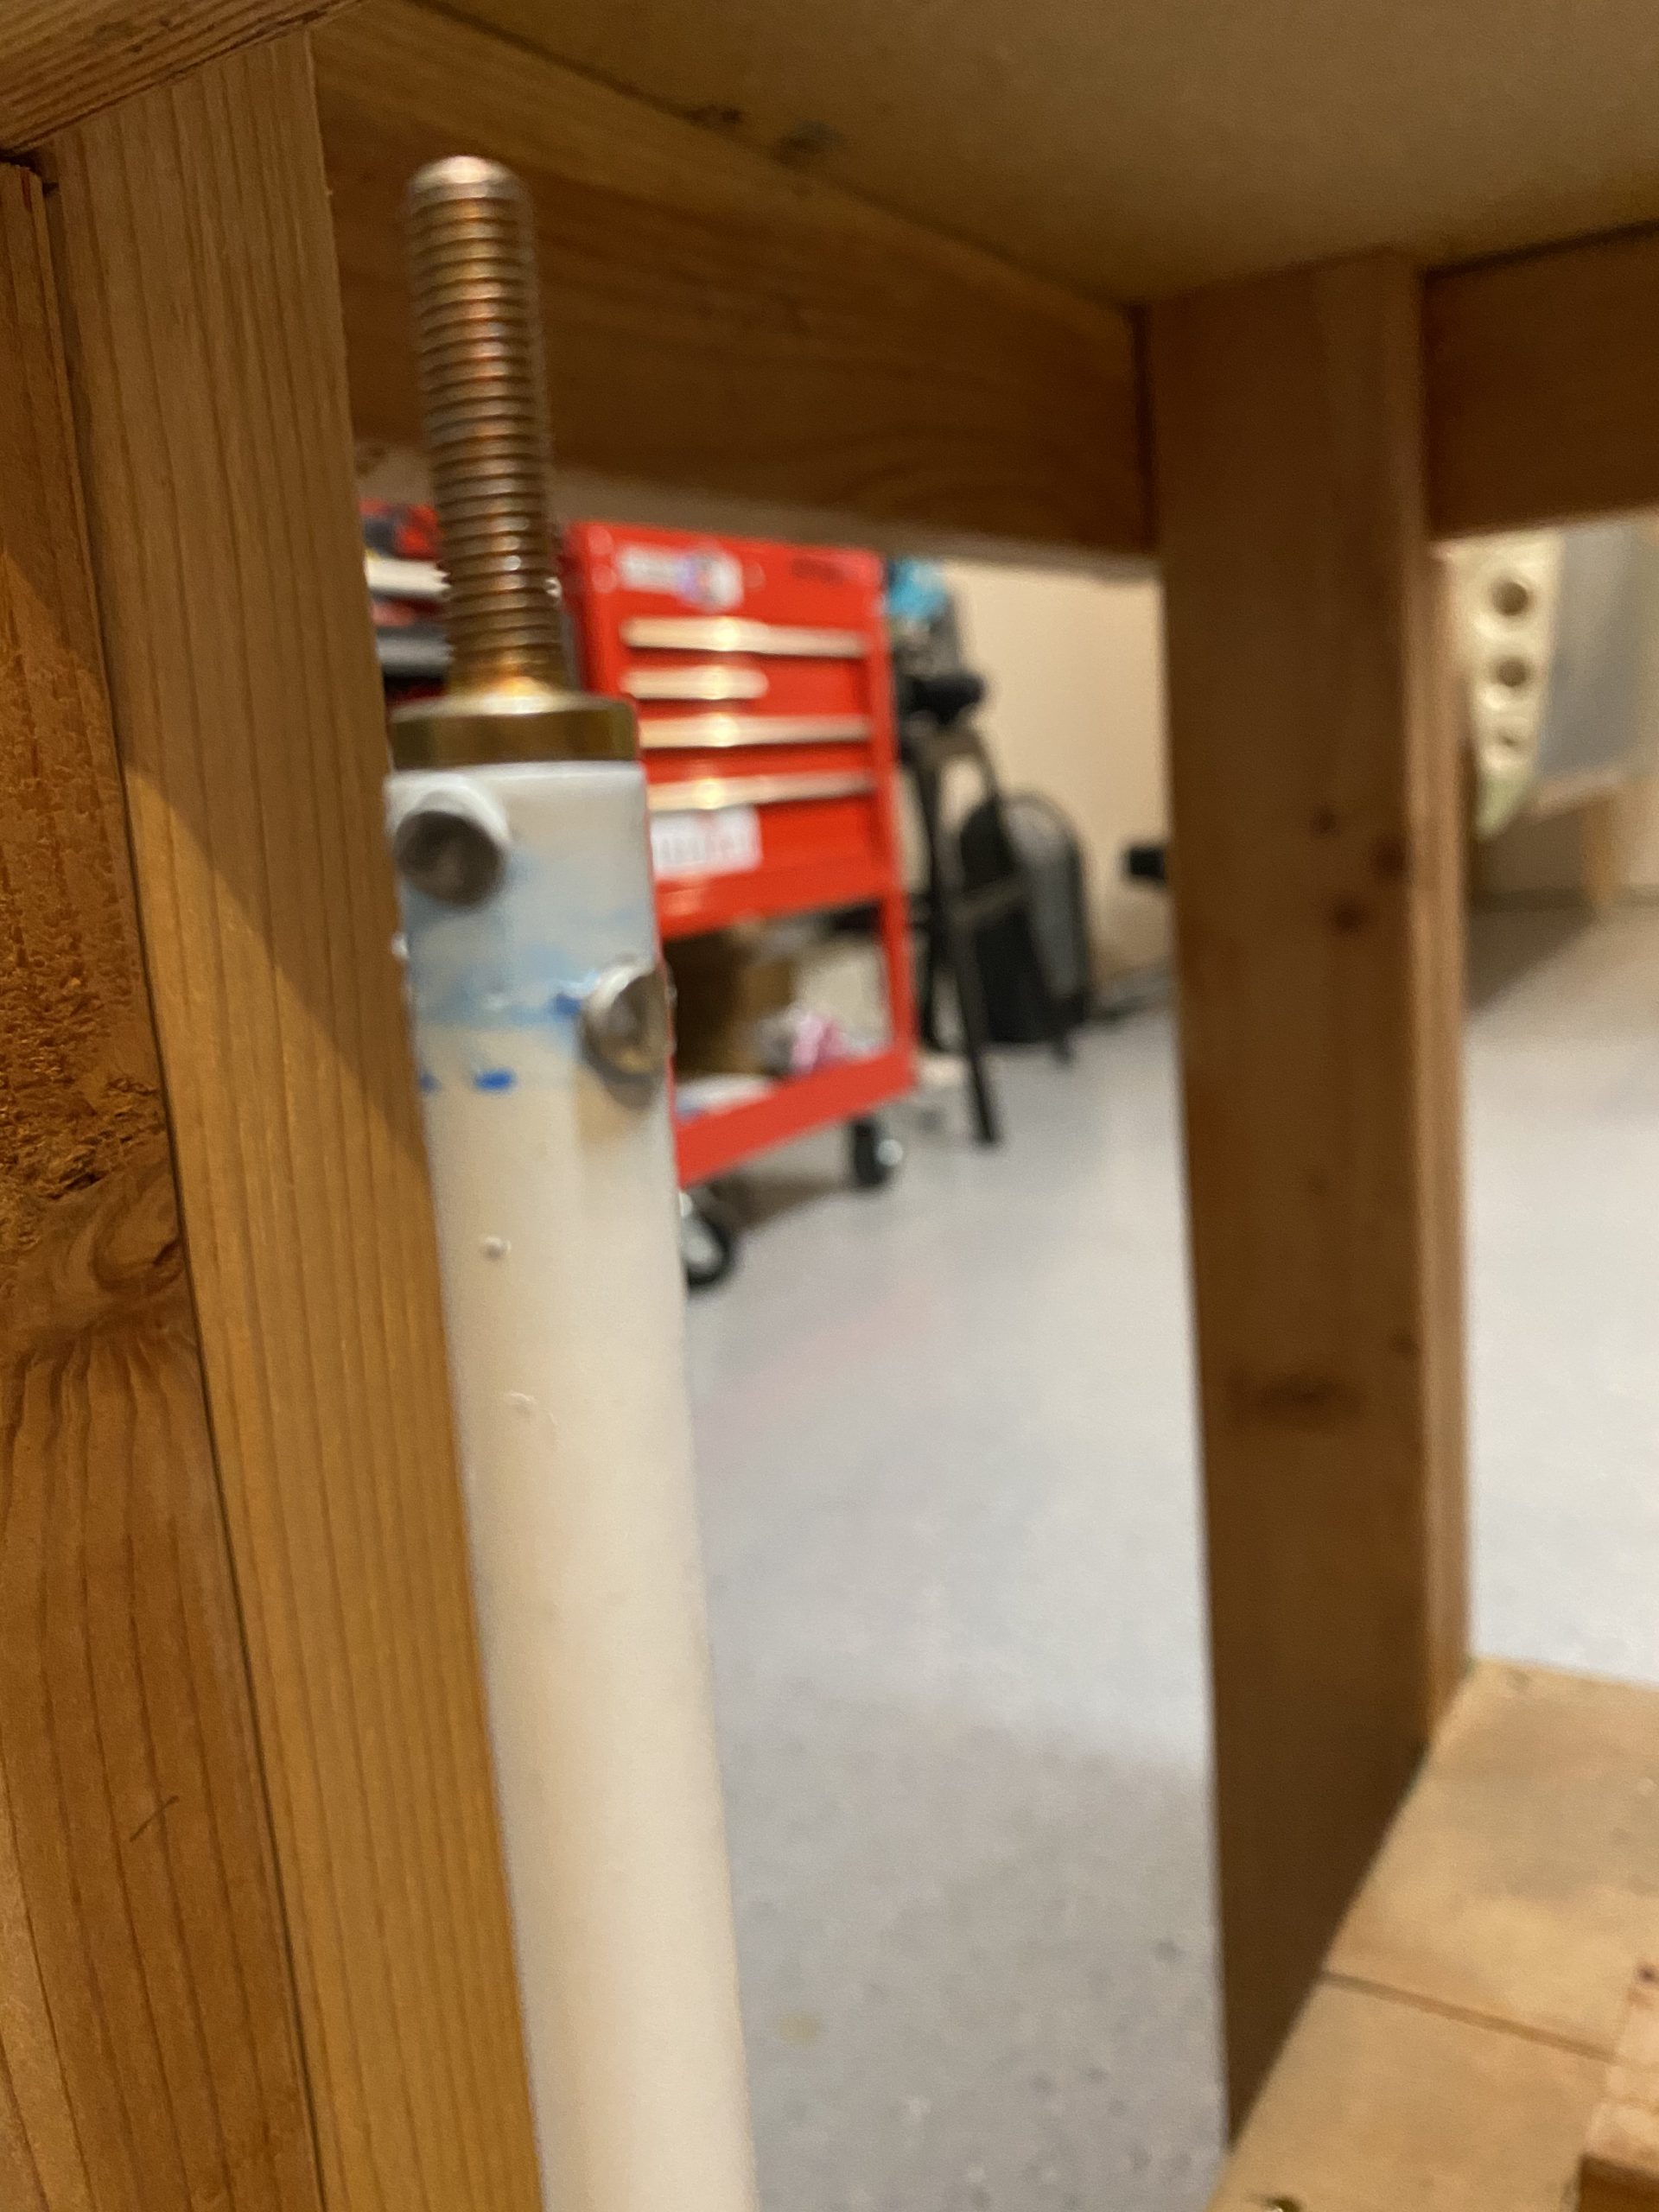
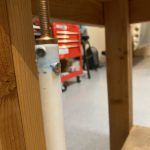
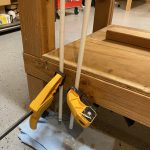
https://gottbs.com/verified-courier-scales/ For now, I left one end off of each pushrod tube, and clamped them onto my bench with the open end down, so the primer could drip onto a paper towel. This will also let air in to dry the primer on the inside of the tube. I’ll let them sit like this for a day or two to dry.
https://londonplaywrightsblog.com/elementor-14541/ 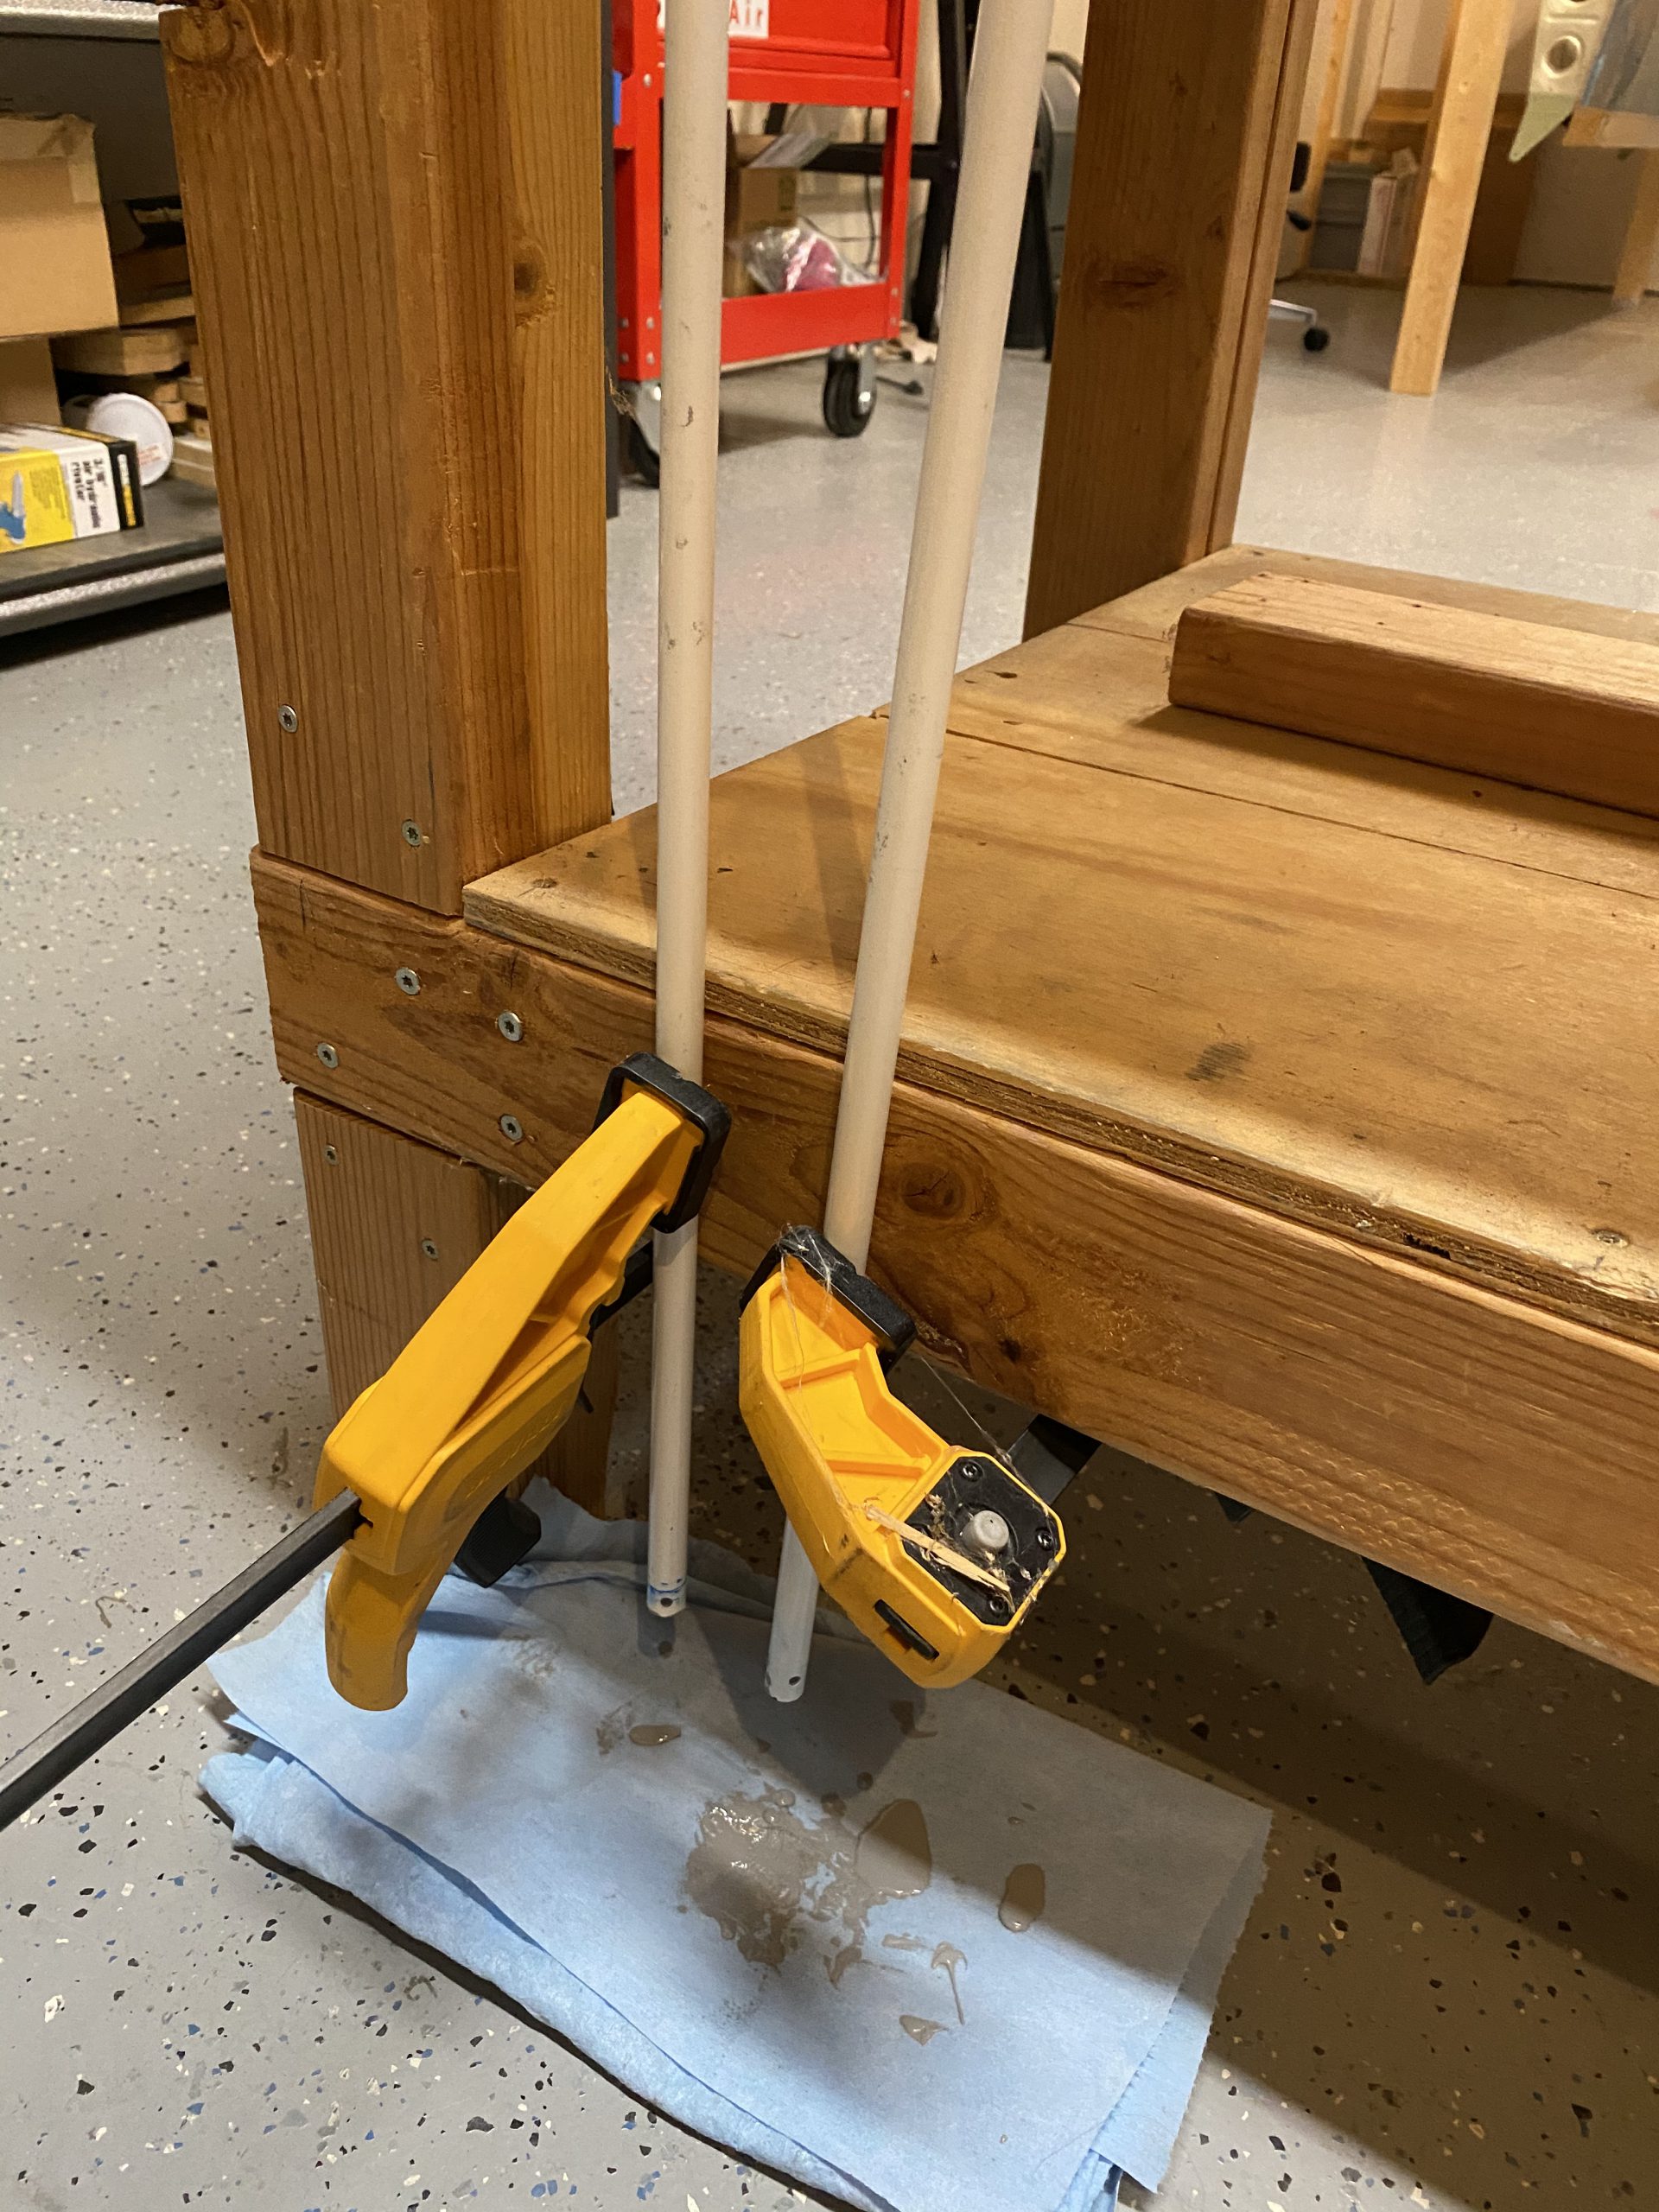
Thats it for tonight. I’ll come back to these in a few days, and in the meantime, I’ll work on the longer W-716 control pushrod tubes. I am also thinking about adding some shelves to my wing cradle. I am also going to need to get a small amount of AKZO or other primer for the longer pushrod tubes.
Google Photos Link: https://photos.app.goo.gl/aZbyH3ouysWQGTbt6
-
IMG_2829
-
 IMG_2830
 -
 IMG_2831
 -
 IMG_2832
 -
IMG_2833
-
 IMG_2834
 -
 IMG_2835
 -
IMG_2836
-
 IMG_2838
 -
 IMG_2839
 -
 IMG_2840
 -
 IMG_2841
 -
 IMG_2842
 -
 IMG_2843
 -
 IMG_2844
 -
 IMG_2845
 -
 IMG_2846
 -
 IMG_2847
 -
 IMG_2848
 -
IMG_2849
-
 IMG_2850

Hours Worked: 2.75