


Buy Soma Online Some changes to the shop tonight, and its time to start working on the control surfaces. I did manage to get the W-421 aileron bellcrank assembled and bolted onto the spar web, where I’ll next install the aileron. I grabbed an overhead timelapse, since I am not sure where to put the second camera just yet.
go to linkPurchase Tramadol Without Prescription
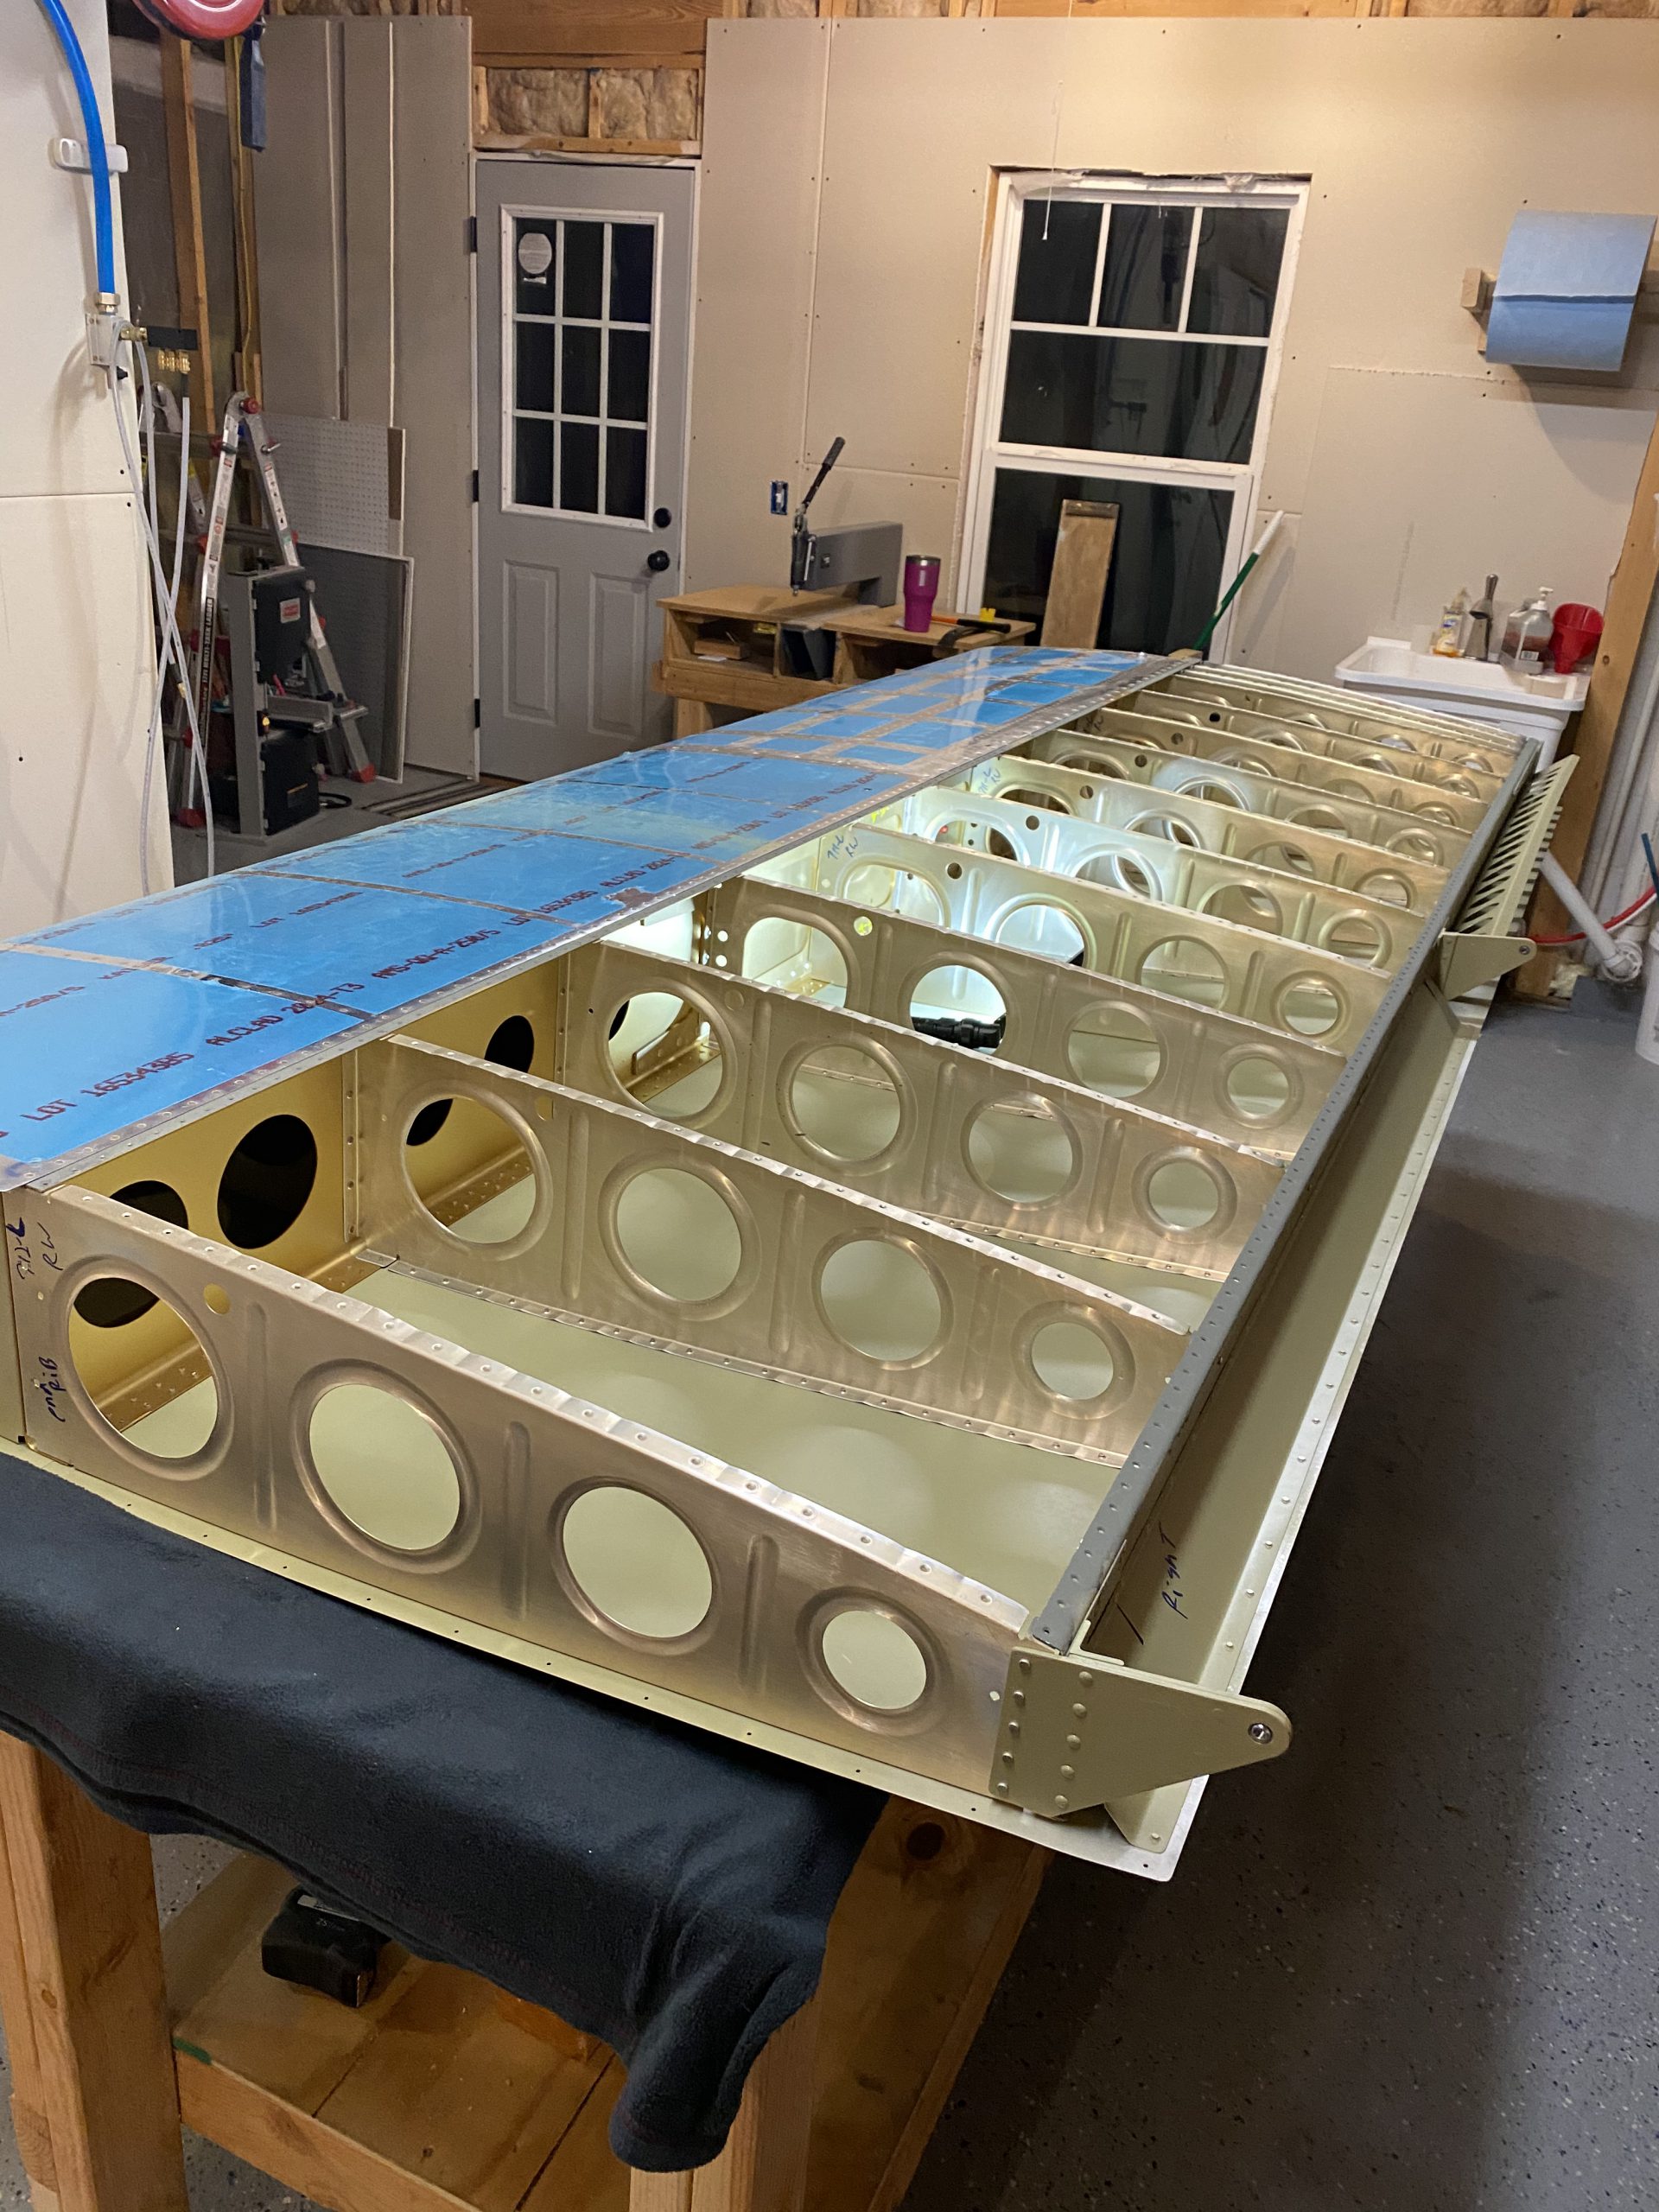
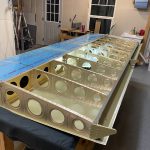
Ambien No PrescriptionBuy Zopiclone 7.5 Mg Online I actually started the session with the wings still in the stand, where I had my wife help me rivet the three or four rivets that I drilled out from the skins. We had a few that were proud of the skin, so I drilled them out, and we riveted new ones in place. They looked great. Took about 10 minutes maybe? Then, we repositioned my work benches in the shop to give a good place for the wing to lay while I did the rest of the work.
Buy Prednisone Online Without Prescription 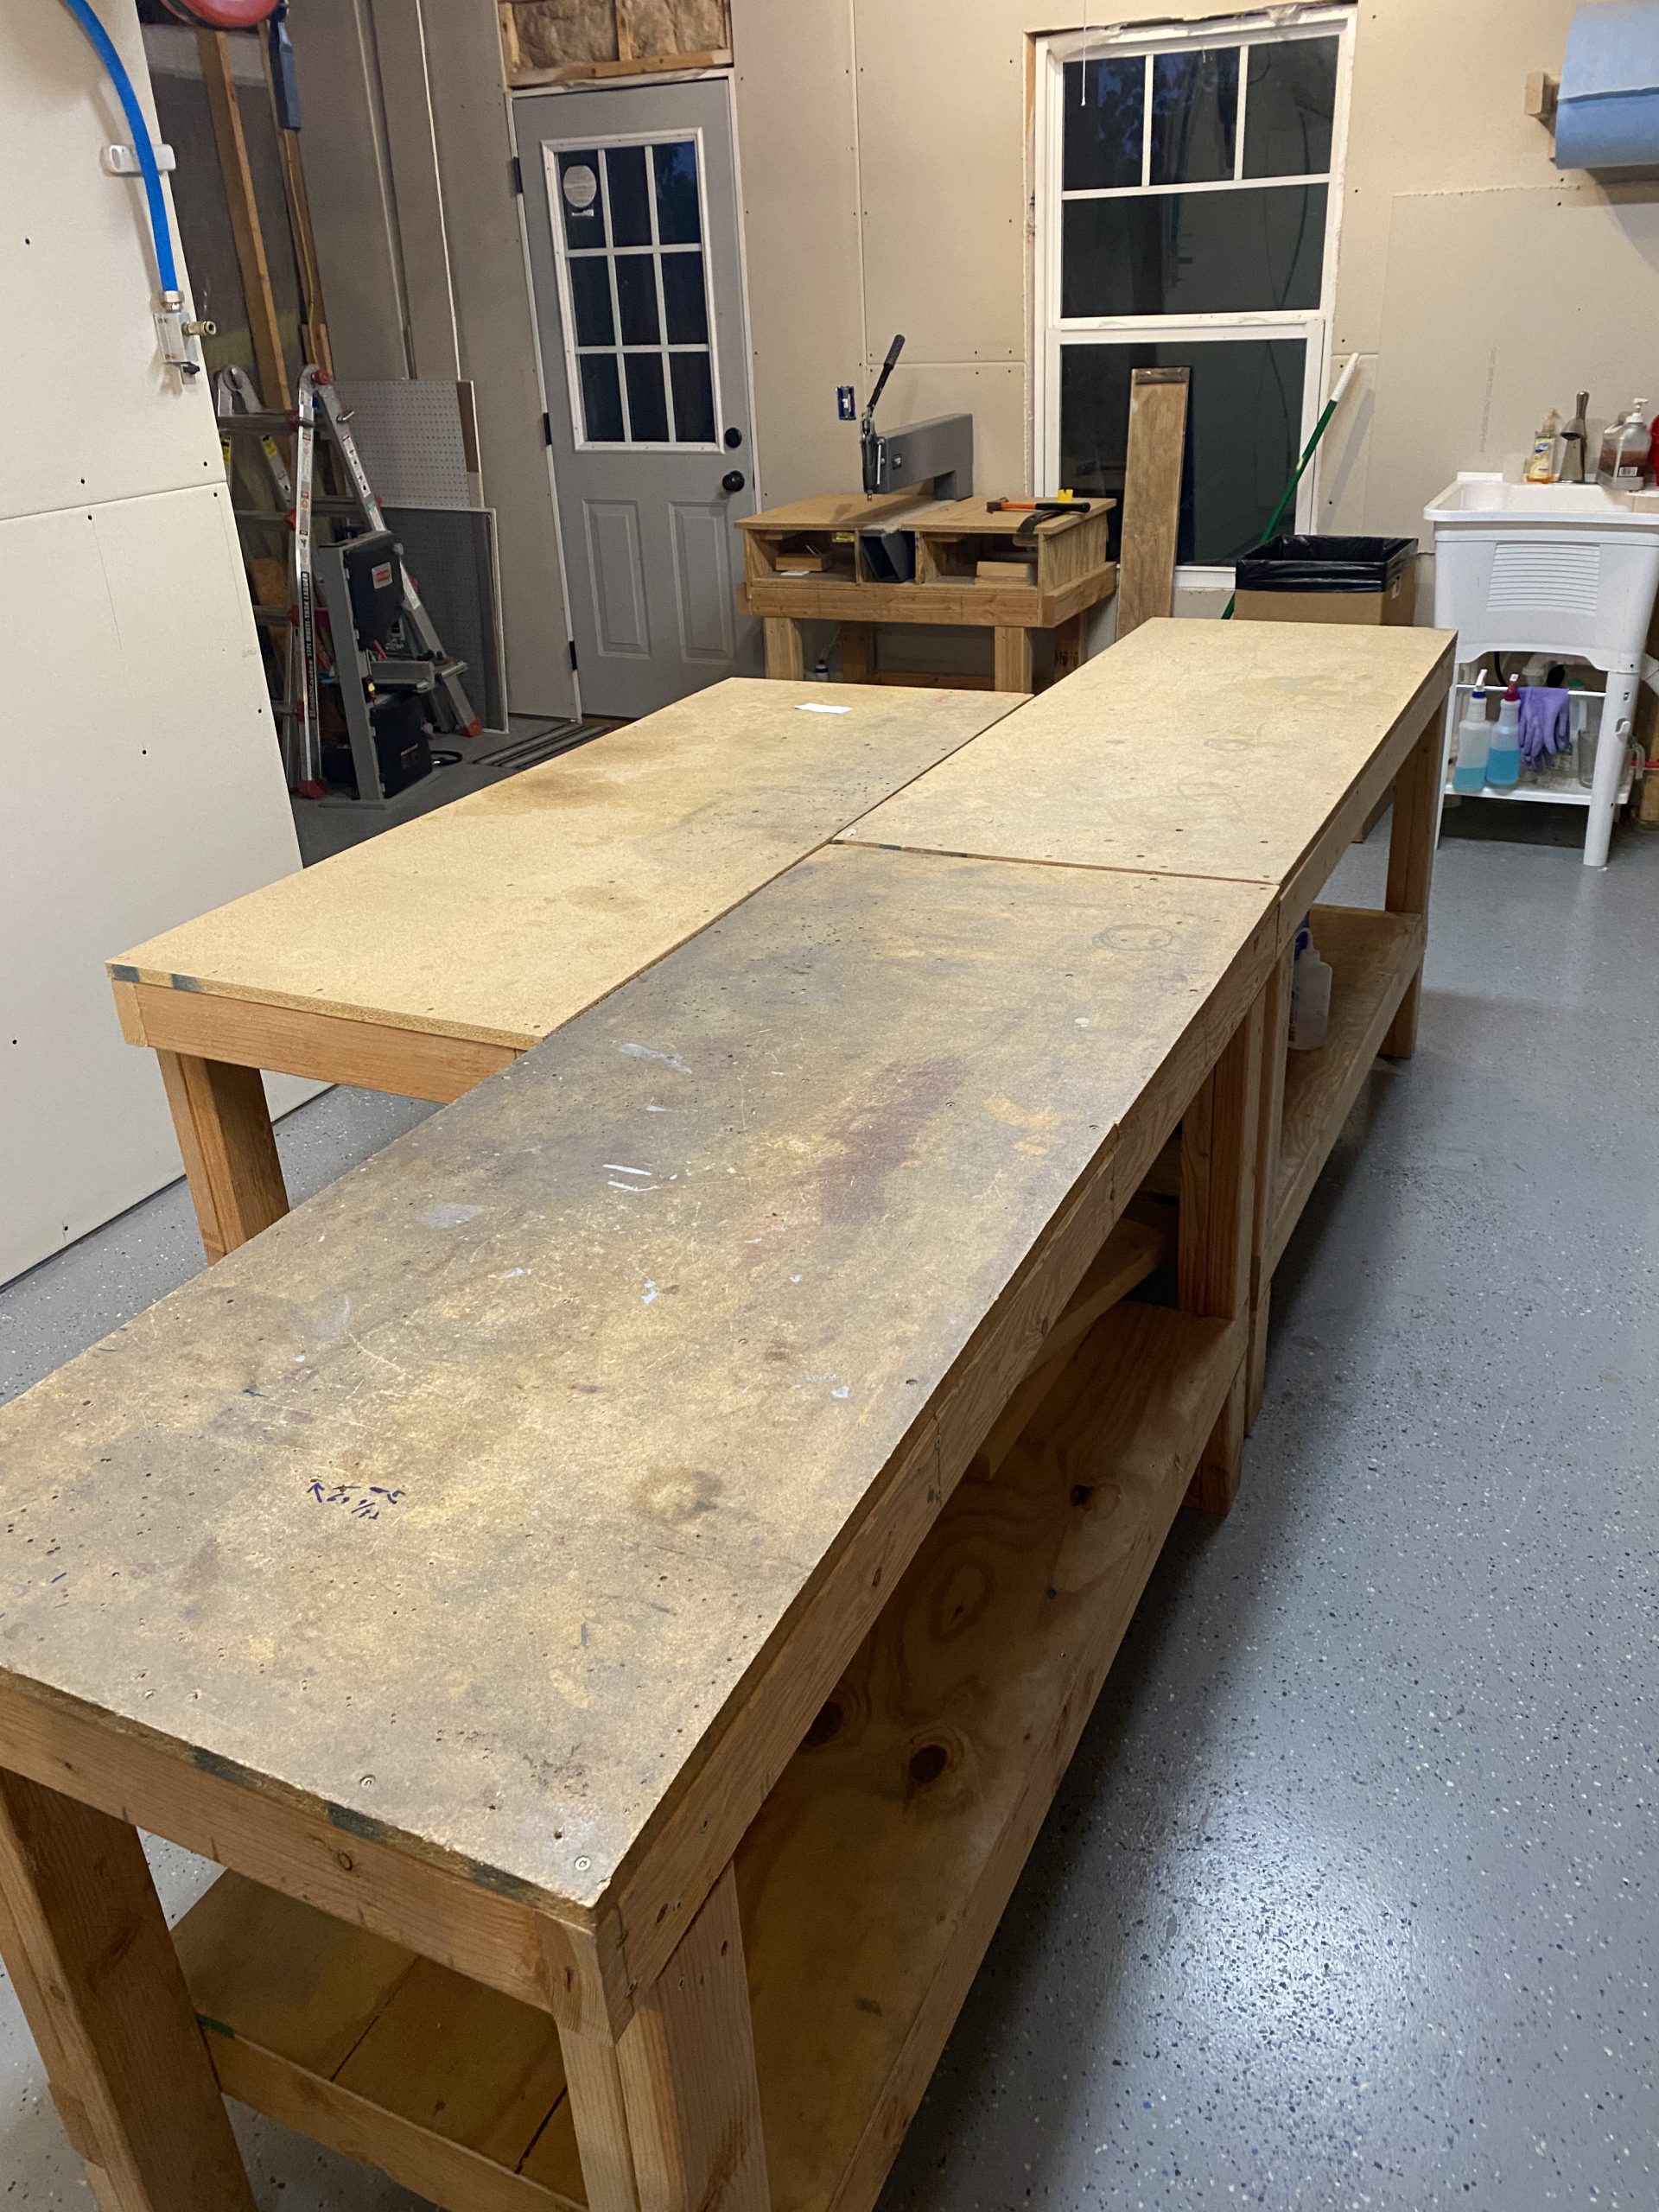
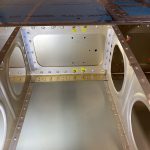
Order Tramadol Overnight Then we laid some old blankets on the benches to protect the wing skins, and moved the right wing from the stand, over to the bench. We laid it with the top skin up, as I had a few more rivets I wanted to drill out and reset on the rear spar. Those went smooth, and then we flipped it back over, with the bottom (open side) facing up.
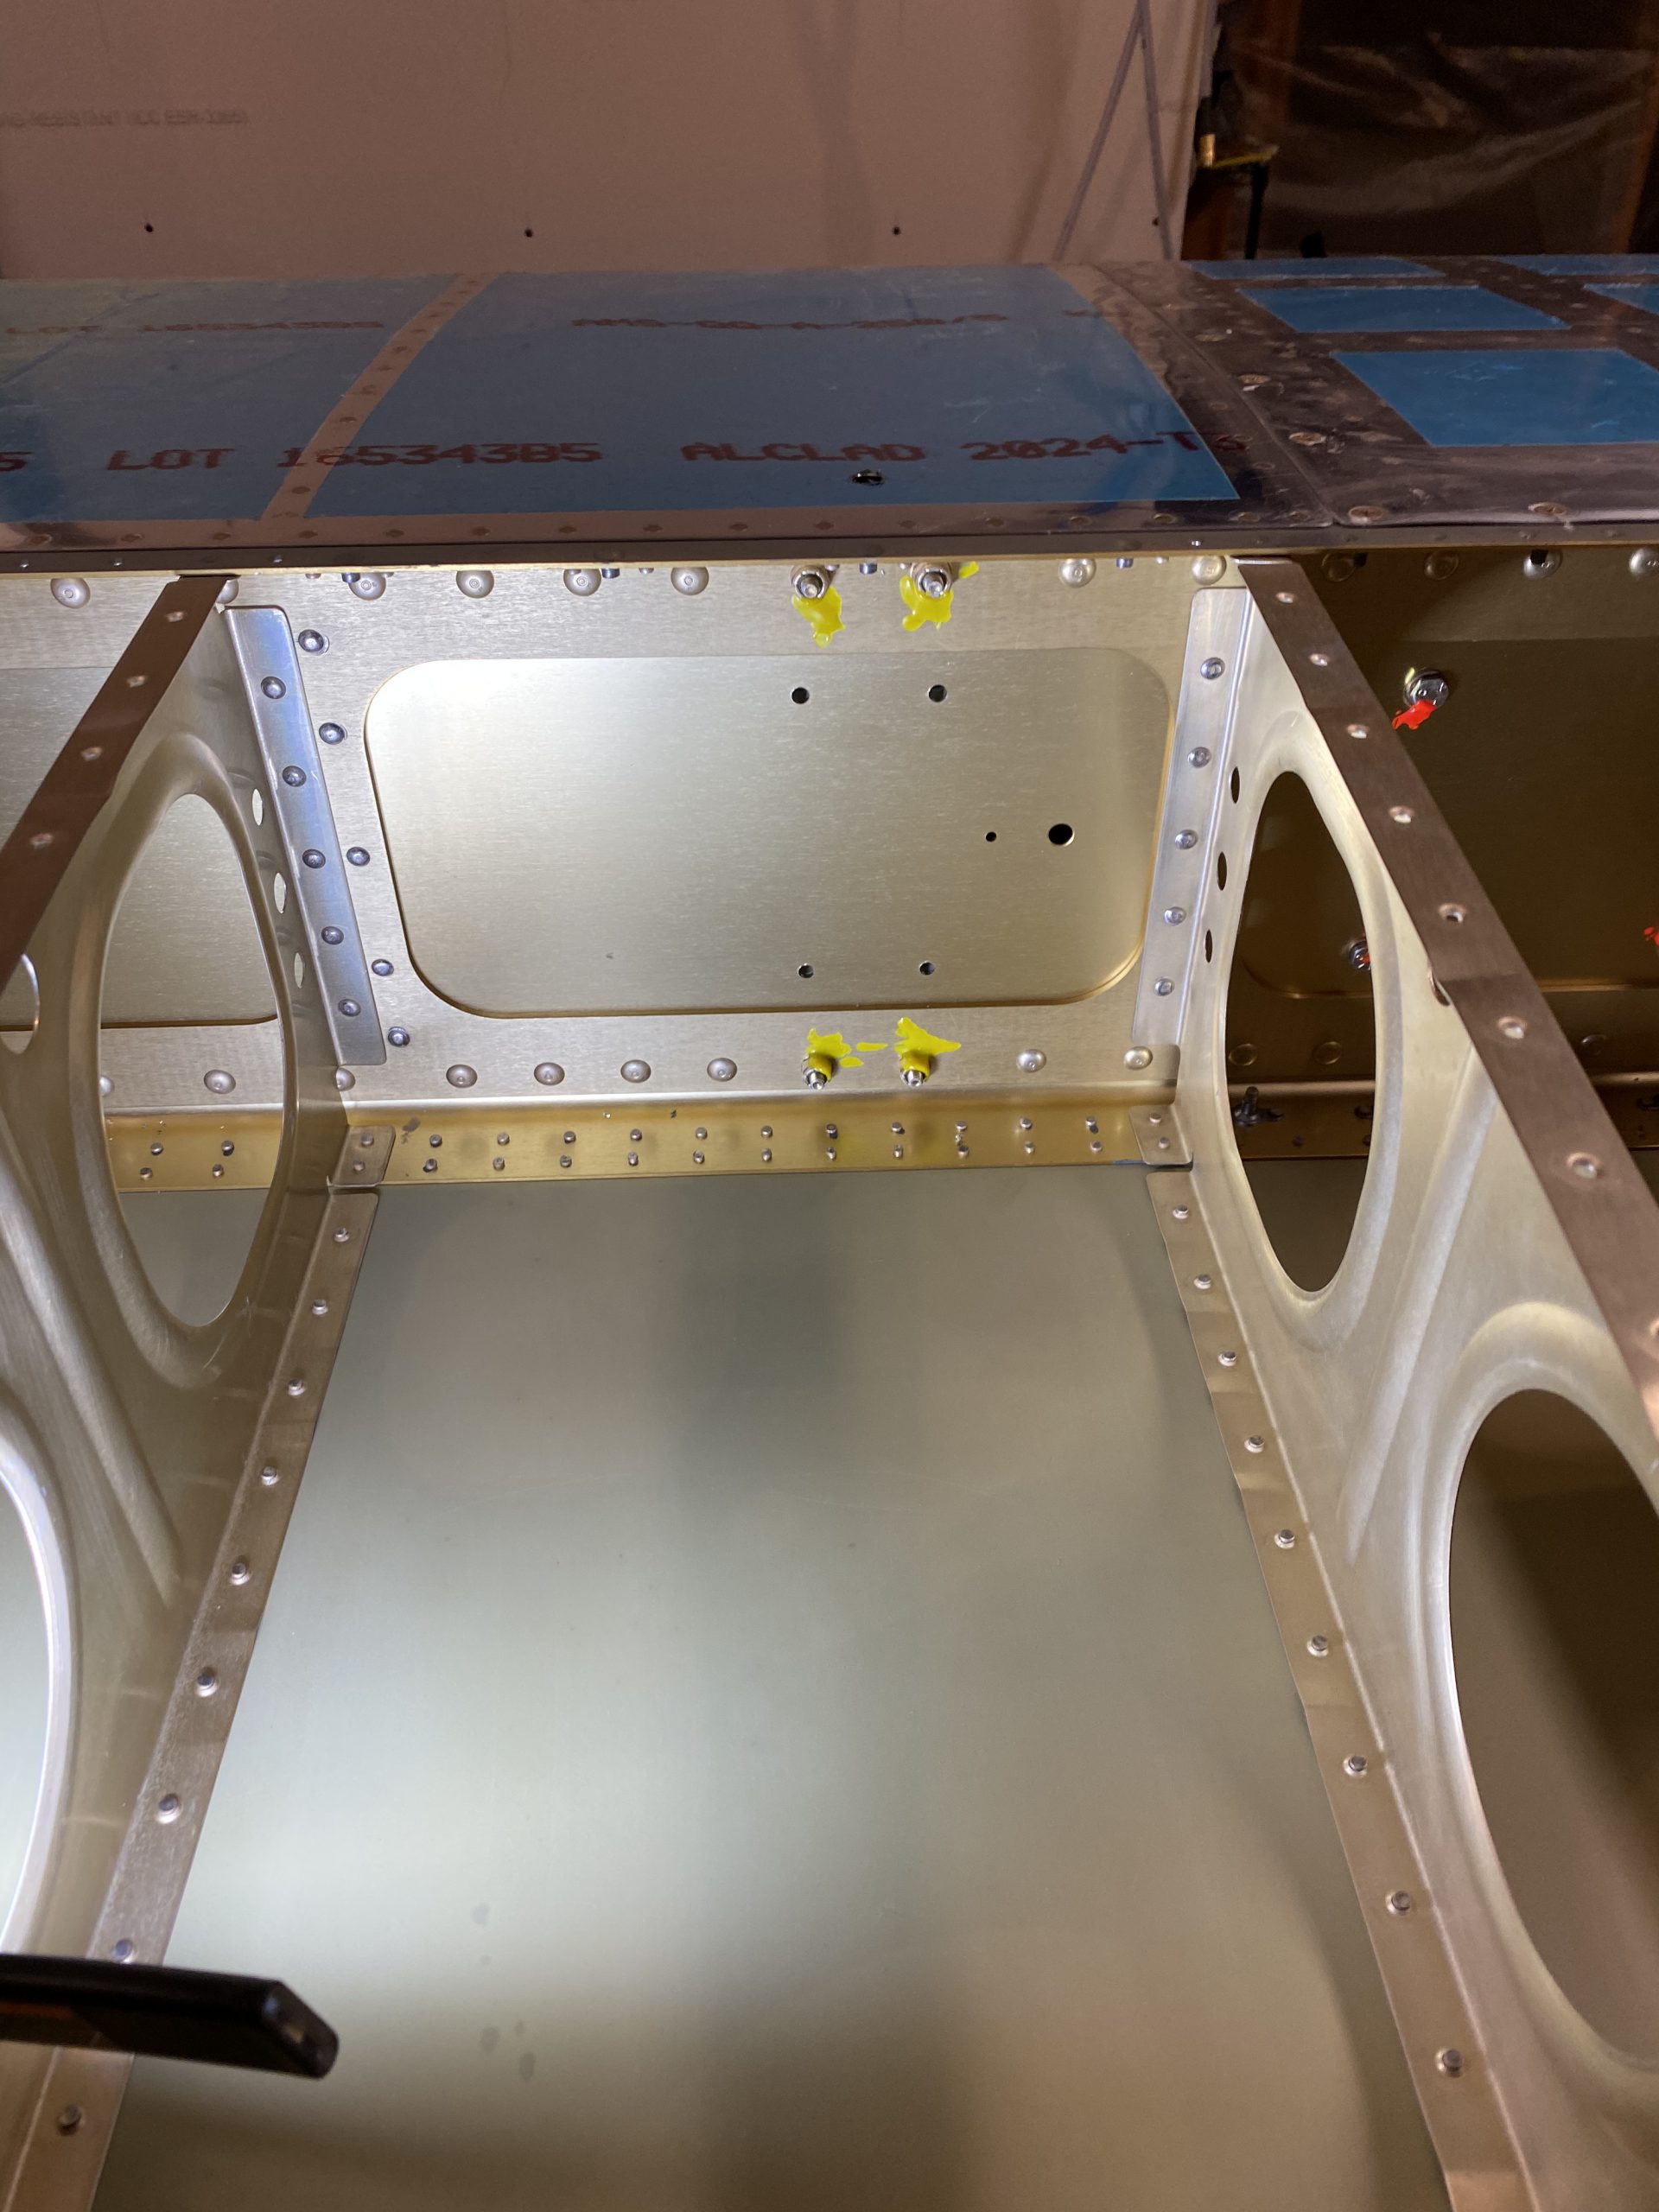
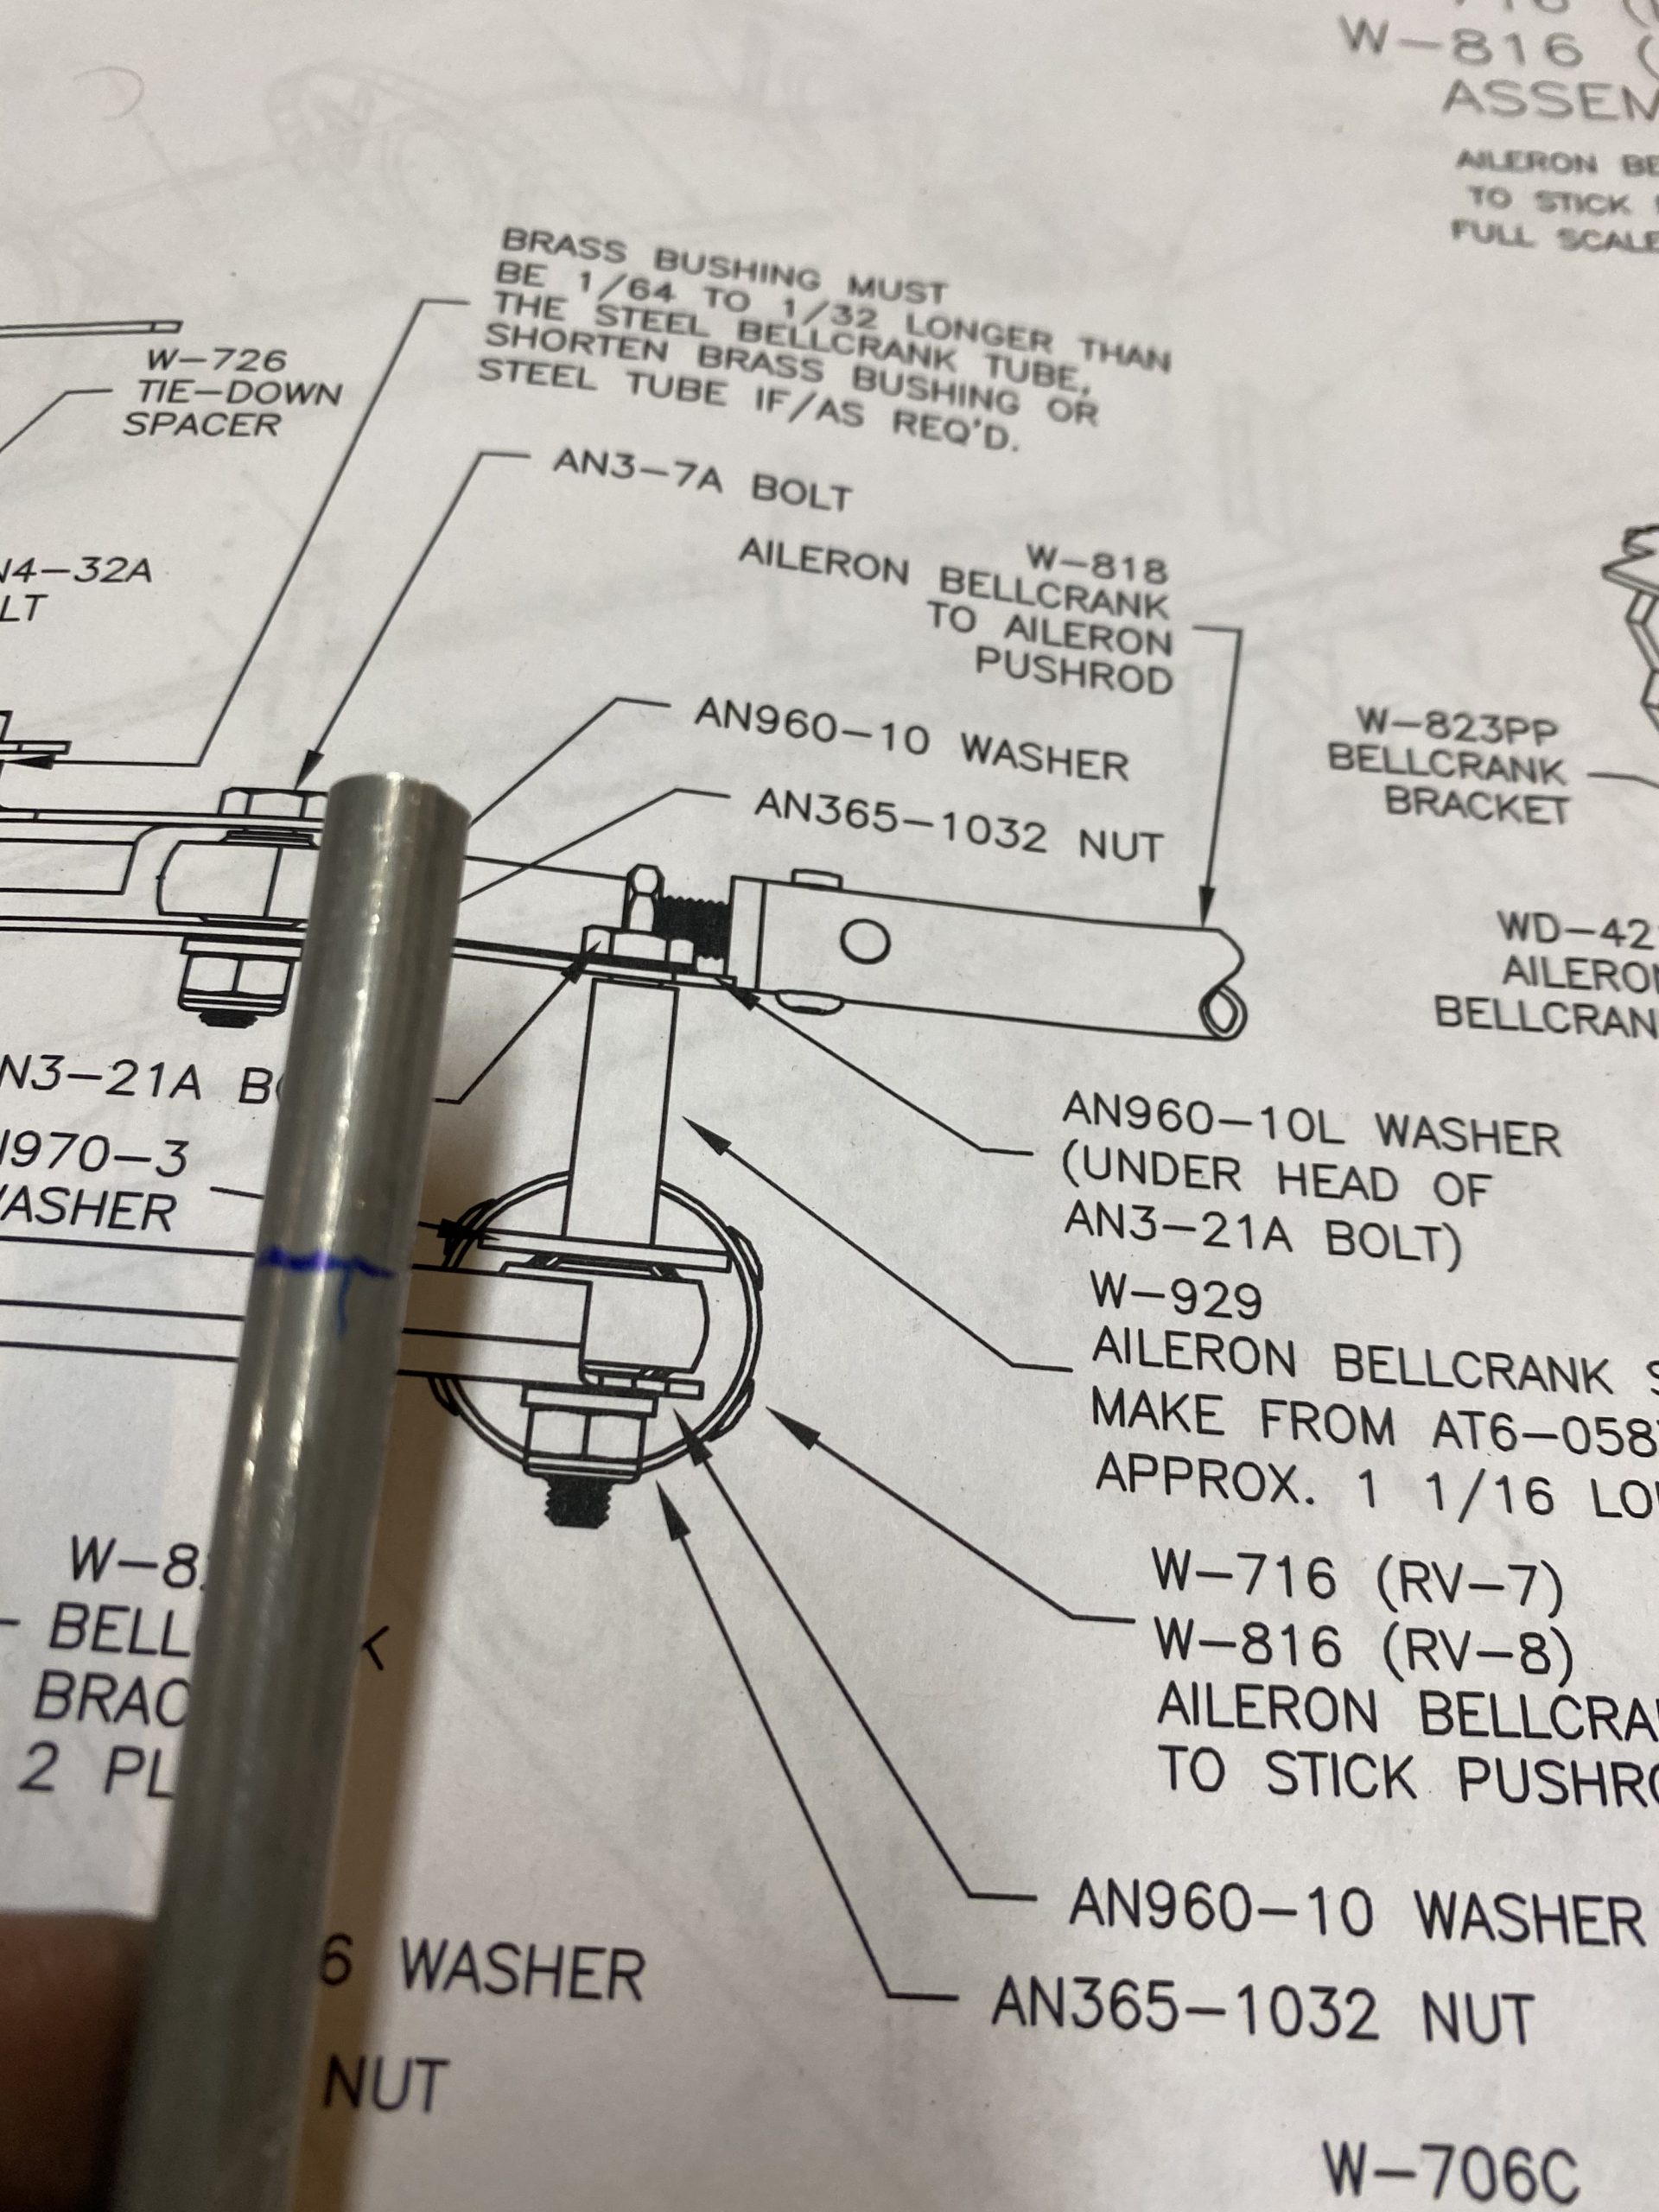
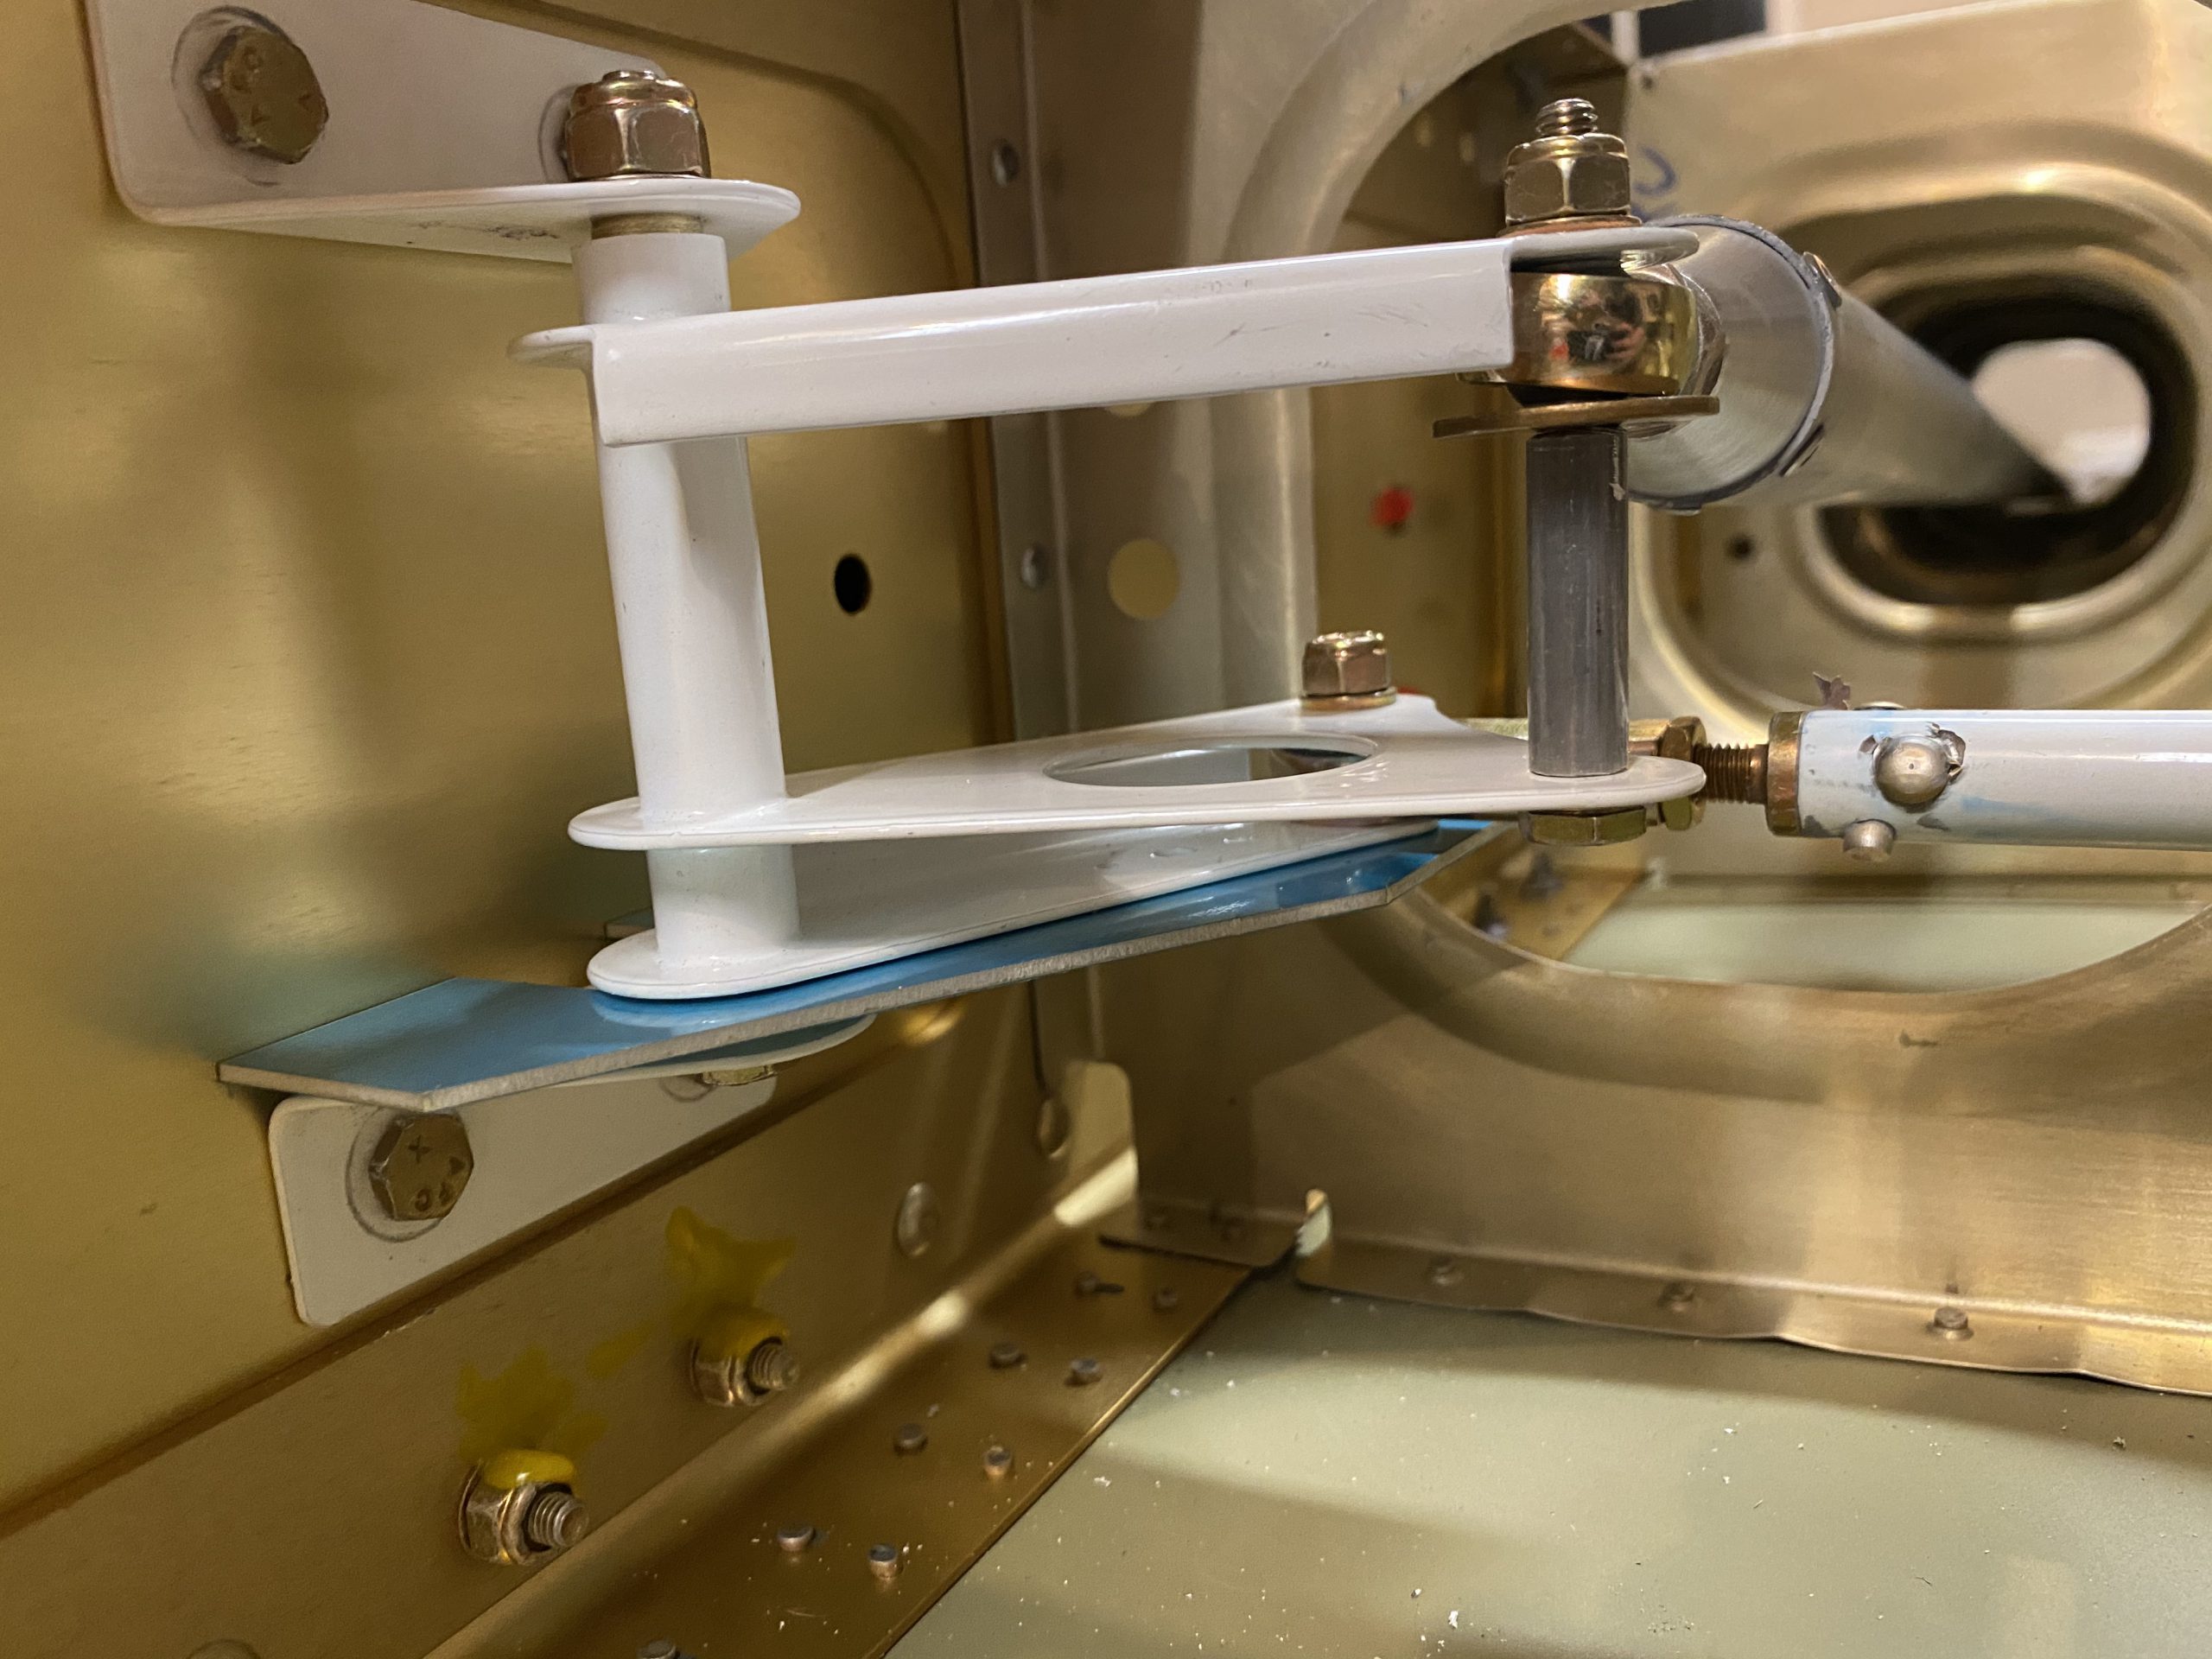
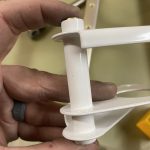
https://altamashhospital.com/demo4/ Next up was to mount the W-421 aileron bell crank to the spar web. So, I setup some lighting, and grabbed the parts I needed. I started out by deburring and drilling the holes in the W-823PP to the proper size, as they were a little under for the AN3 bolts. Must be the painting on them as it didn’t need much. For the bracket that goes on the top side, I inserted the long AN4-32A bolt and then bolted the bracket to the spar.
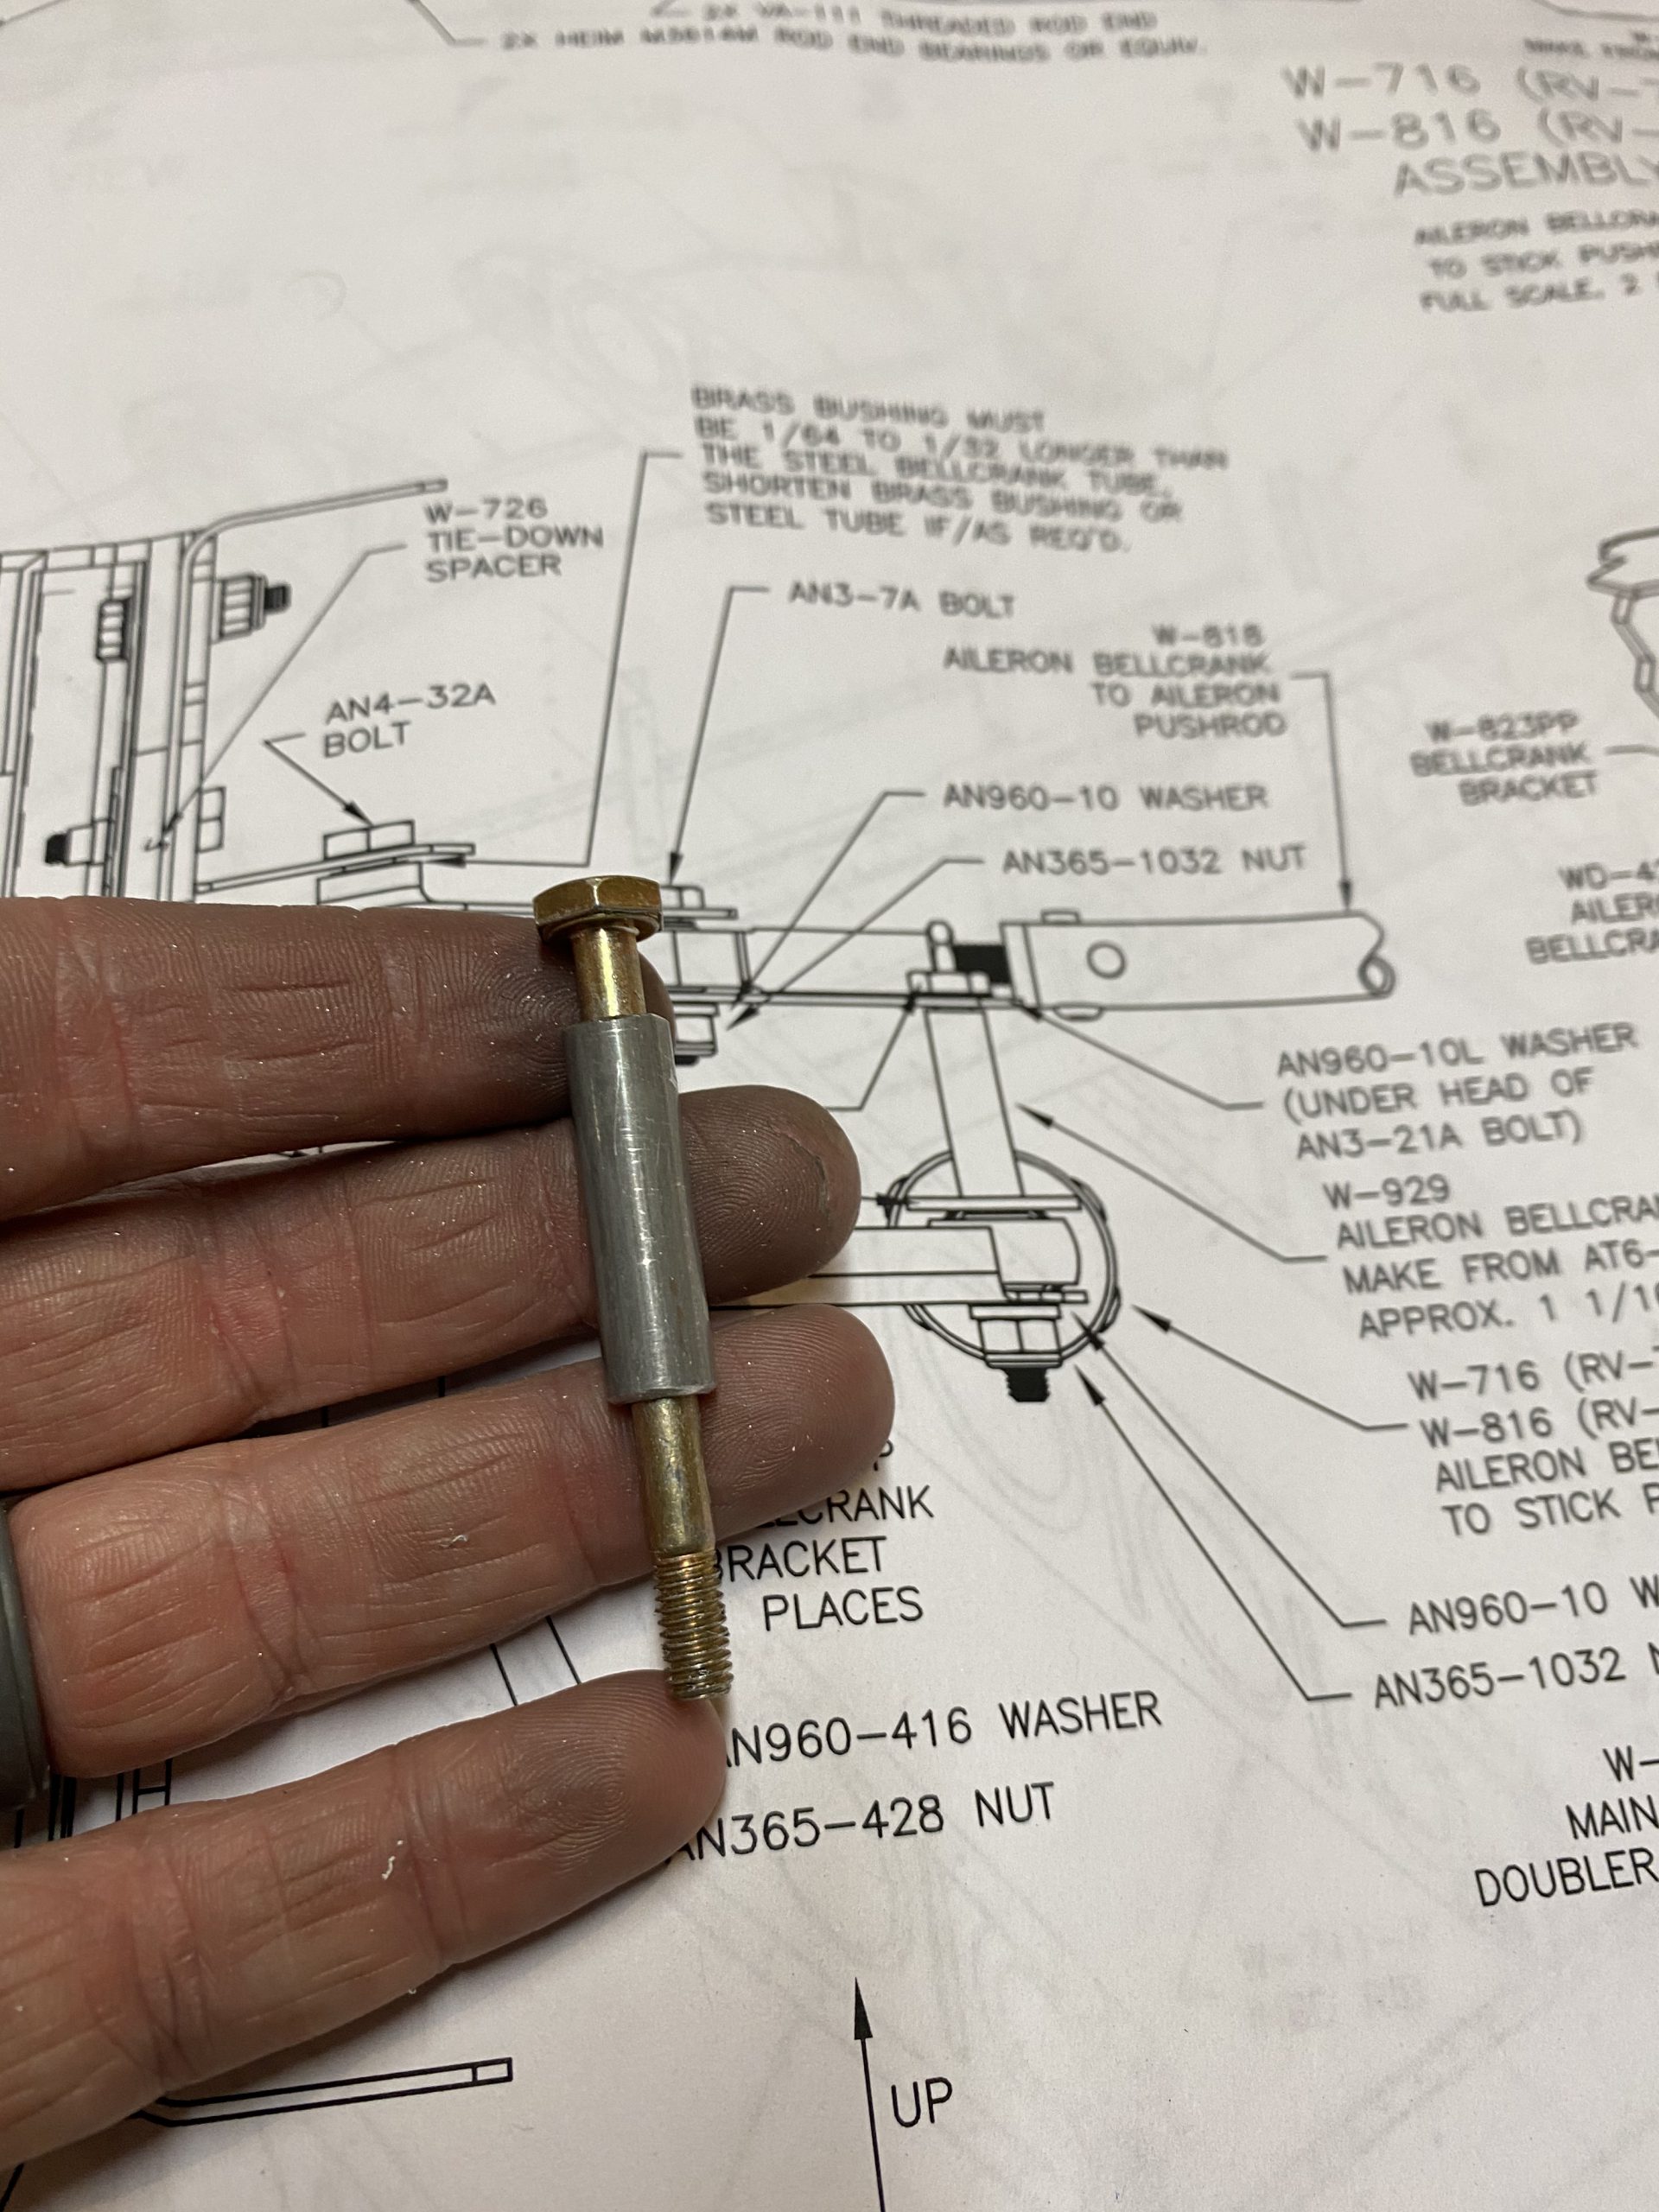
Ambien Online Ordering Keep in mind that the wing is upside down here, so the top is actually laying on the table. So, the bolt has to go in vertically with the nut on the bottom in case it threads off in flight, the bolt will stay put via gravity. In these photos, everything is upside down :-). You can see that we need to put that long AN4-32A bolt in the bracket FIRST, before we bolt the bracket to the spar, as theres no way to get it in otherwise.
Buy Hydrocodone Online Overnight Next up was to get the brass bushing that goes inside the W-421 bellcrank inserted and rotating smoothly. The plans said we needed to drill out the brass bushing to fit the AN4-32A bolt, but I did not have to. The bolt slid very nicely into the bushing. Maybe Vans is sending bushings to size? Vans also says in the drawing that the bushing should be 1/64 to 1/32 longer than the W-421 bellcrank, which my bushing was almost perfectly sized for. HOWEVER, my brass bushing DID NOT fit into the W-421 without some work.
https://gottbs.com/verified-courier-scales/ 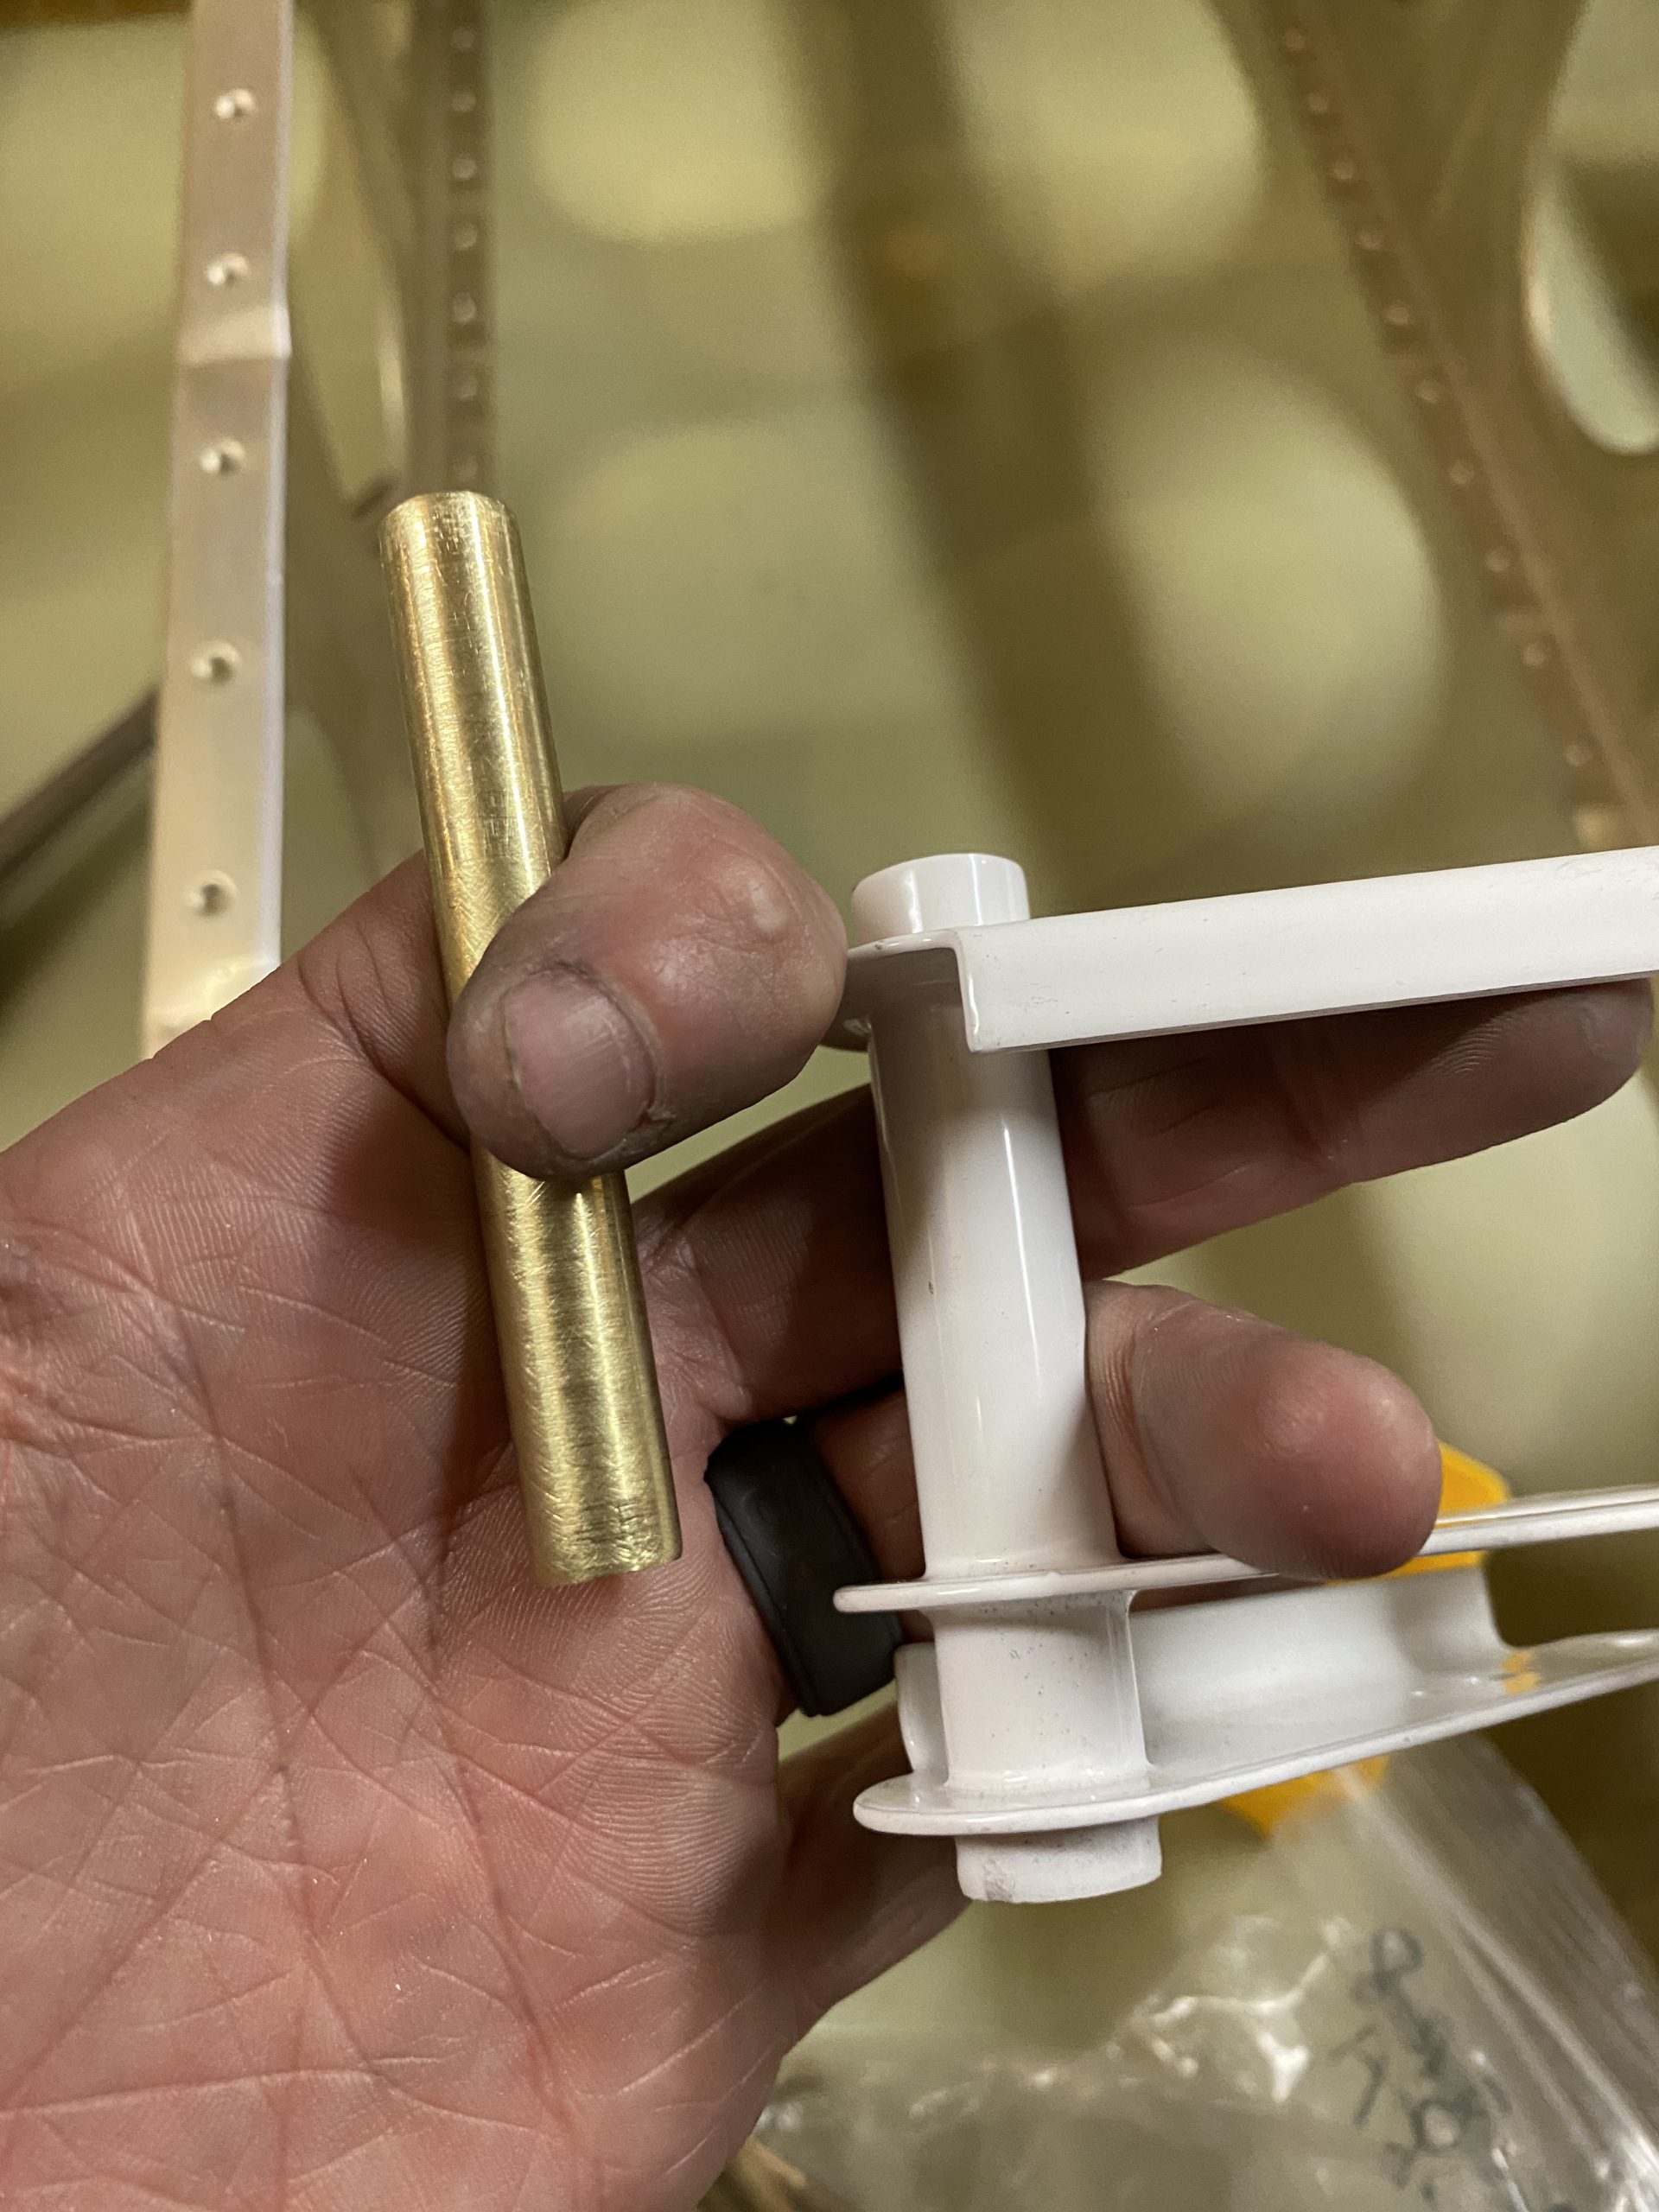
source link The brass bushing was simply too big to fit all the way into the bellcrank. I had to use my round file and smooth out the inside of the bellcrank holes, as there was some rust and roughness in there. Then I had to use emory cloth to smooth off a few thousands off the brass bushing. This took a decent chunk of time, and I even chucked the brass bushing into my drill press and turned it with some emory cloth. Checking every so often and then filing and sanding until I had a very smooth fit that the bellcrank would rotate on freely. Remember, the bellcrank actually rotates around the BUSHING, not the bolt. The bolt compresses the bushing between the two brackets, and since the bushing is slightly longer than the bellcrank, the bellcrank rotates around the bushing. Eventually, I had a nice smooth fit that rotated nicely.
https://www.fogliandpartners.com/sergio-mango/ 
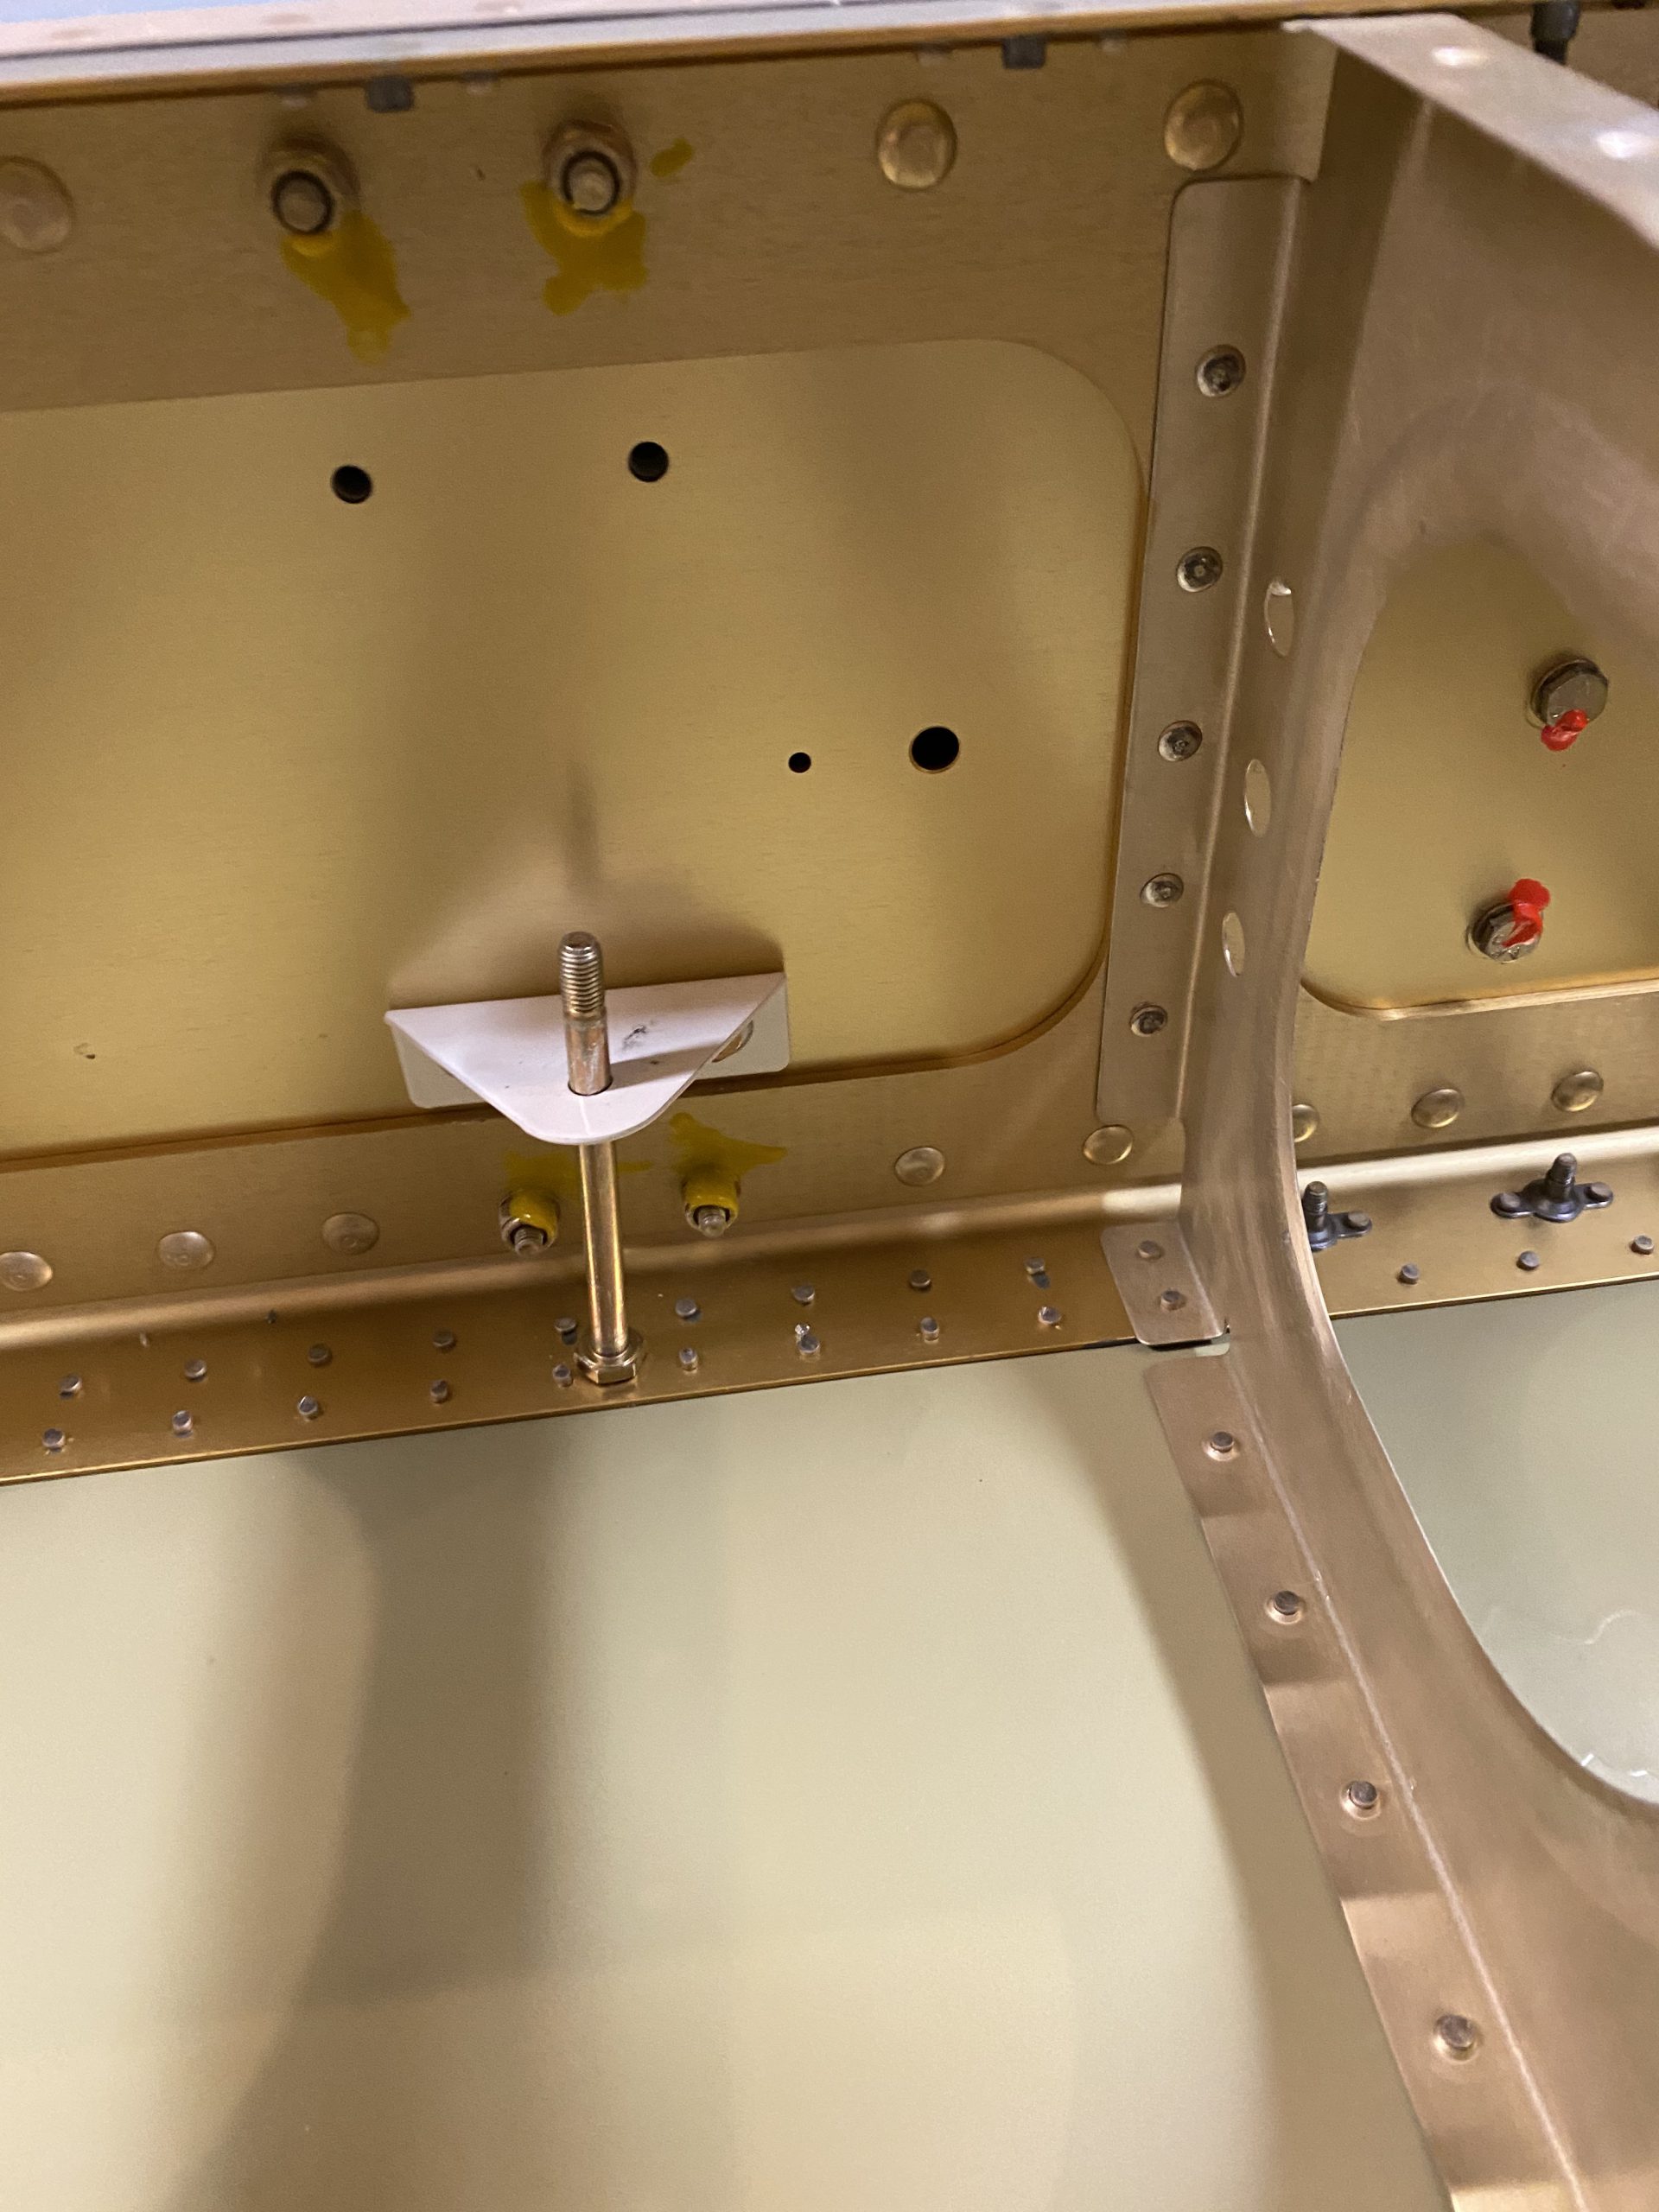
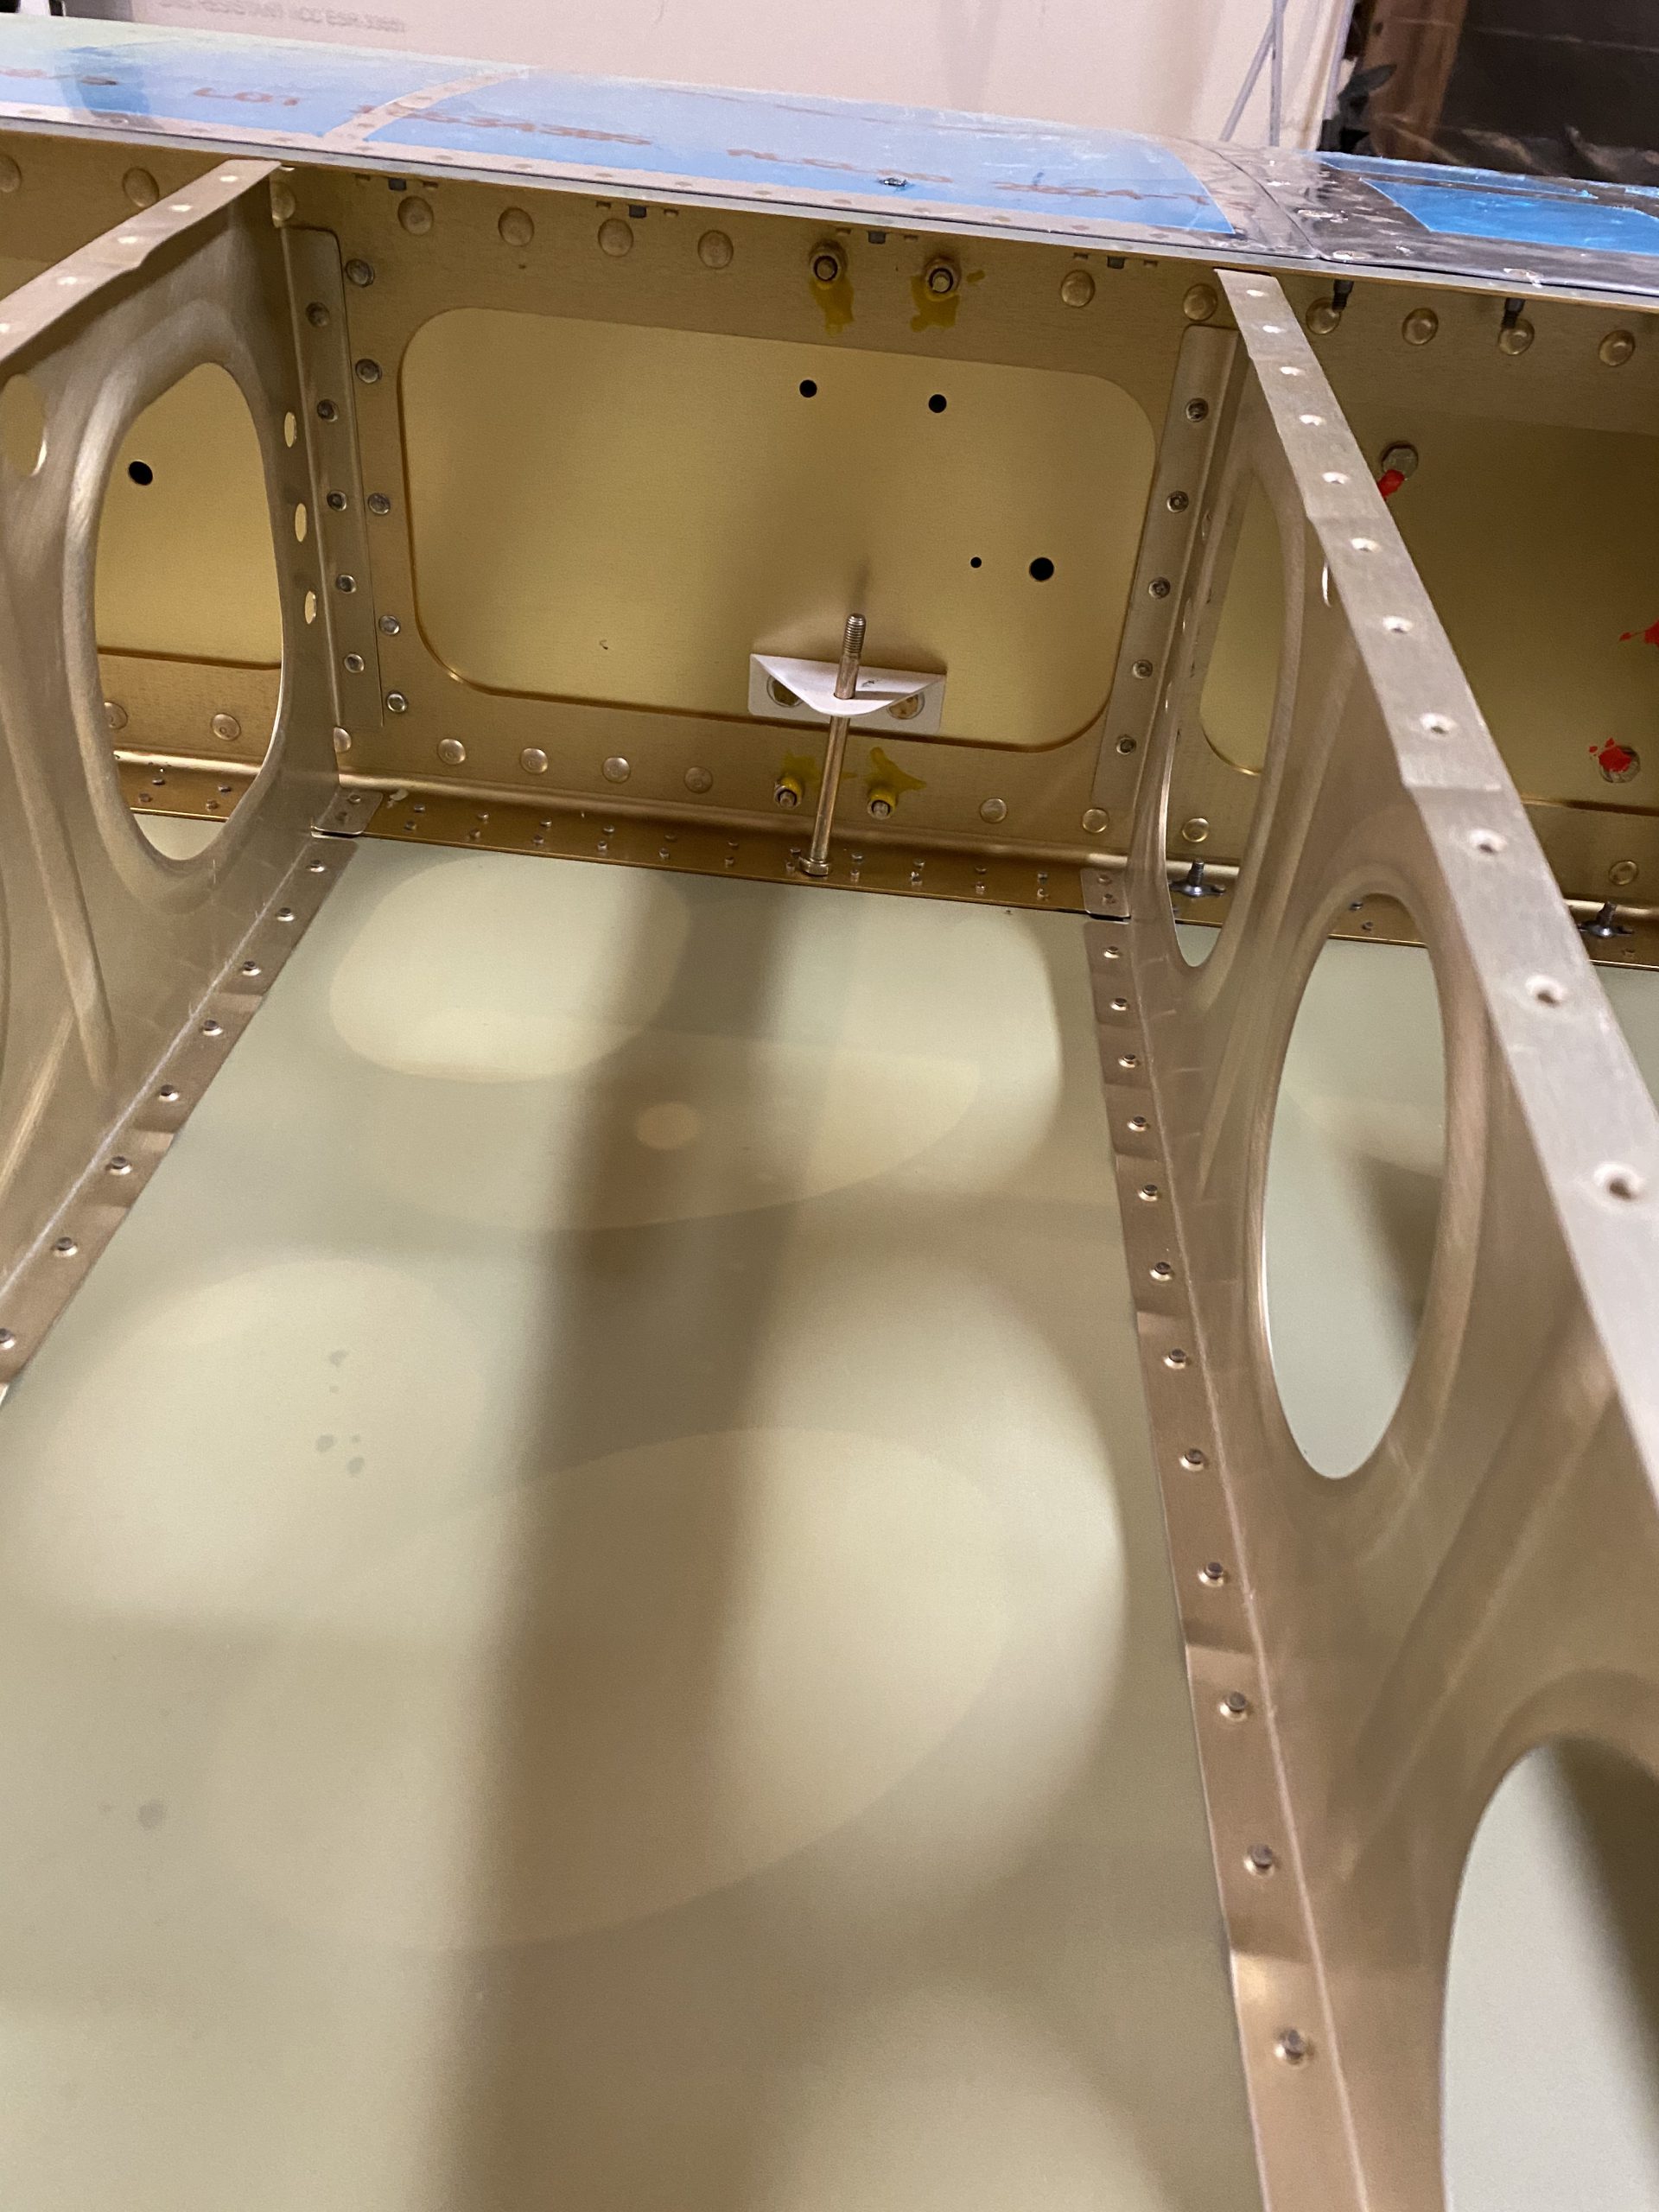
https://ottawaphotographer.com/britannia-yacht-club-wedding-4/ Then I slid the bellcrank down over the bolt in the bracket, and then bolted on the bottom bracket, making sure to get the proper washer and nut as called out on the drawings. Next was to fabricate up a spacer out of AT6-058 x 5×16″ stock tubing. This spacer is used to secure the push-pull tube that goes to the control stick. Vans tells us to cut this spacer at 1 1/6″ long. So I measured it out, and cut it using the little chop saw, then deburred all the edges.
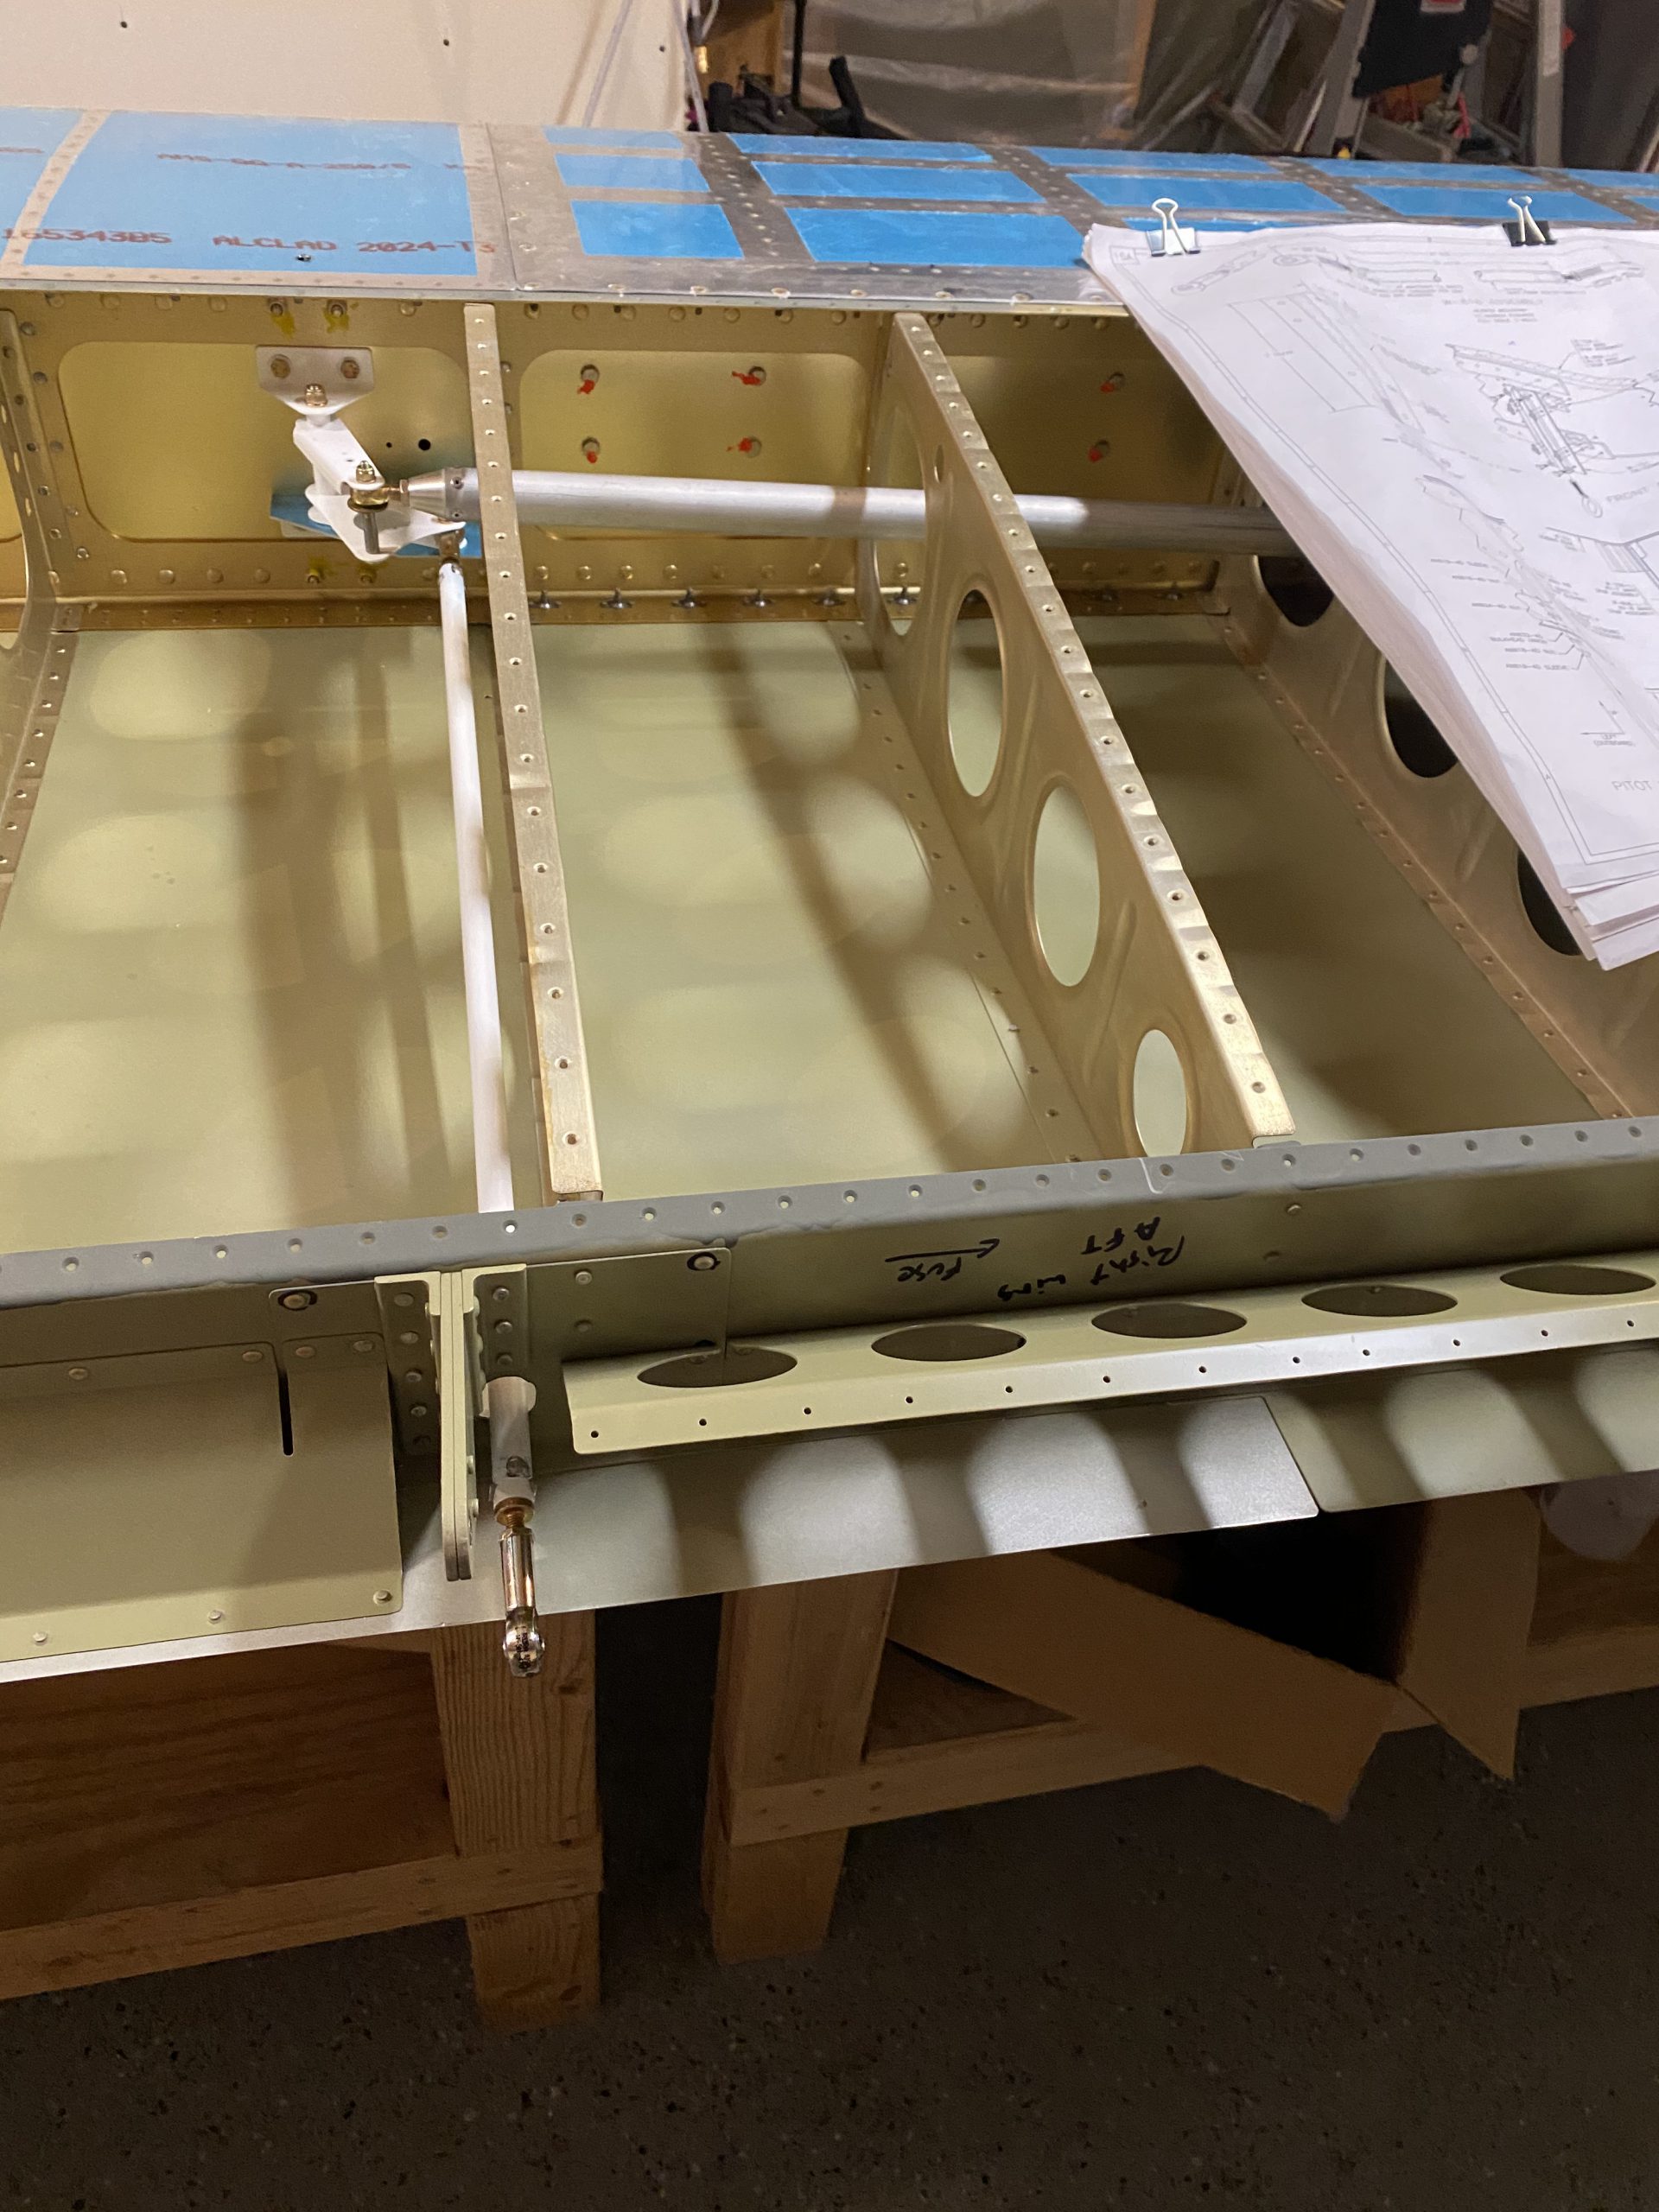
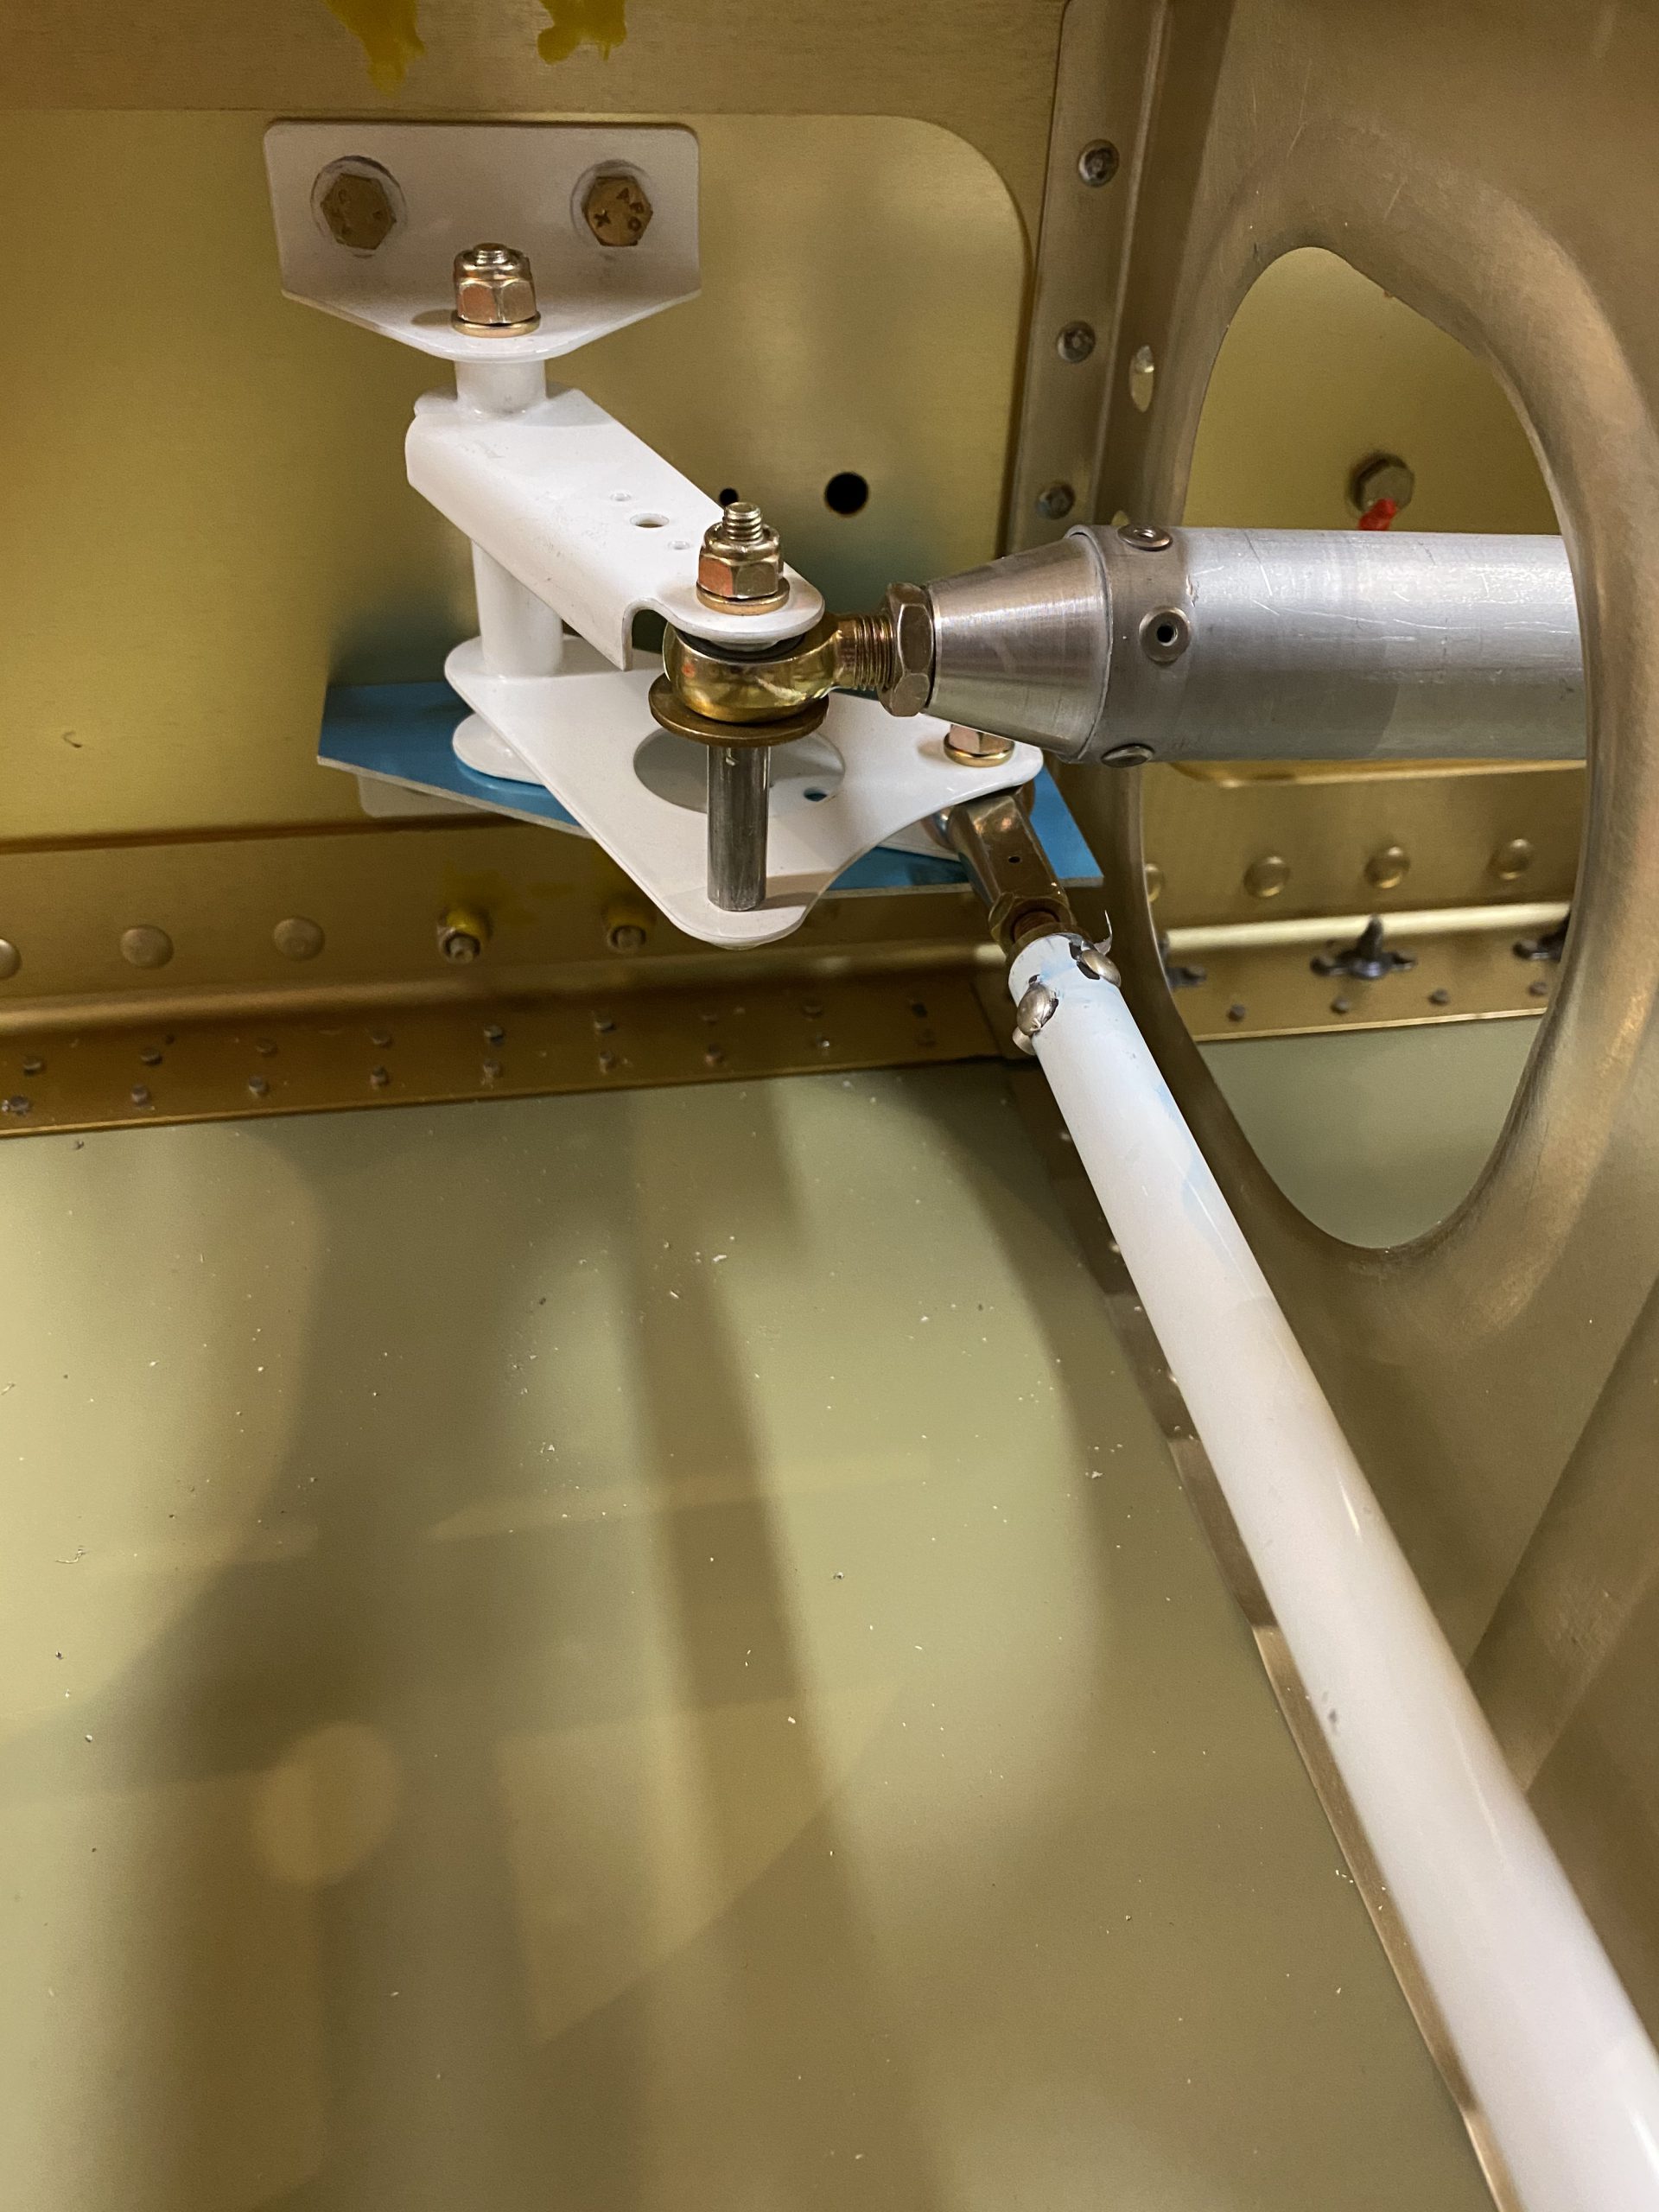
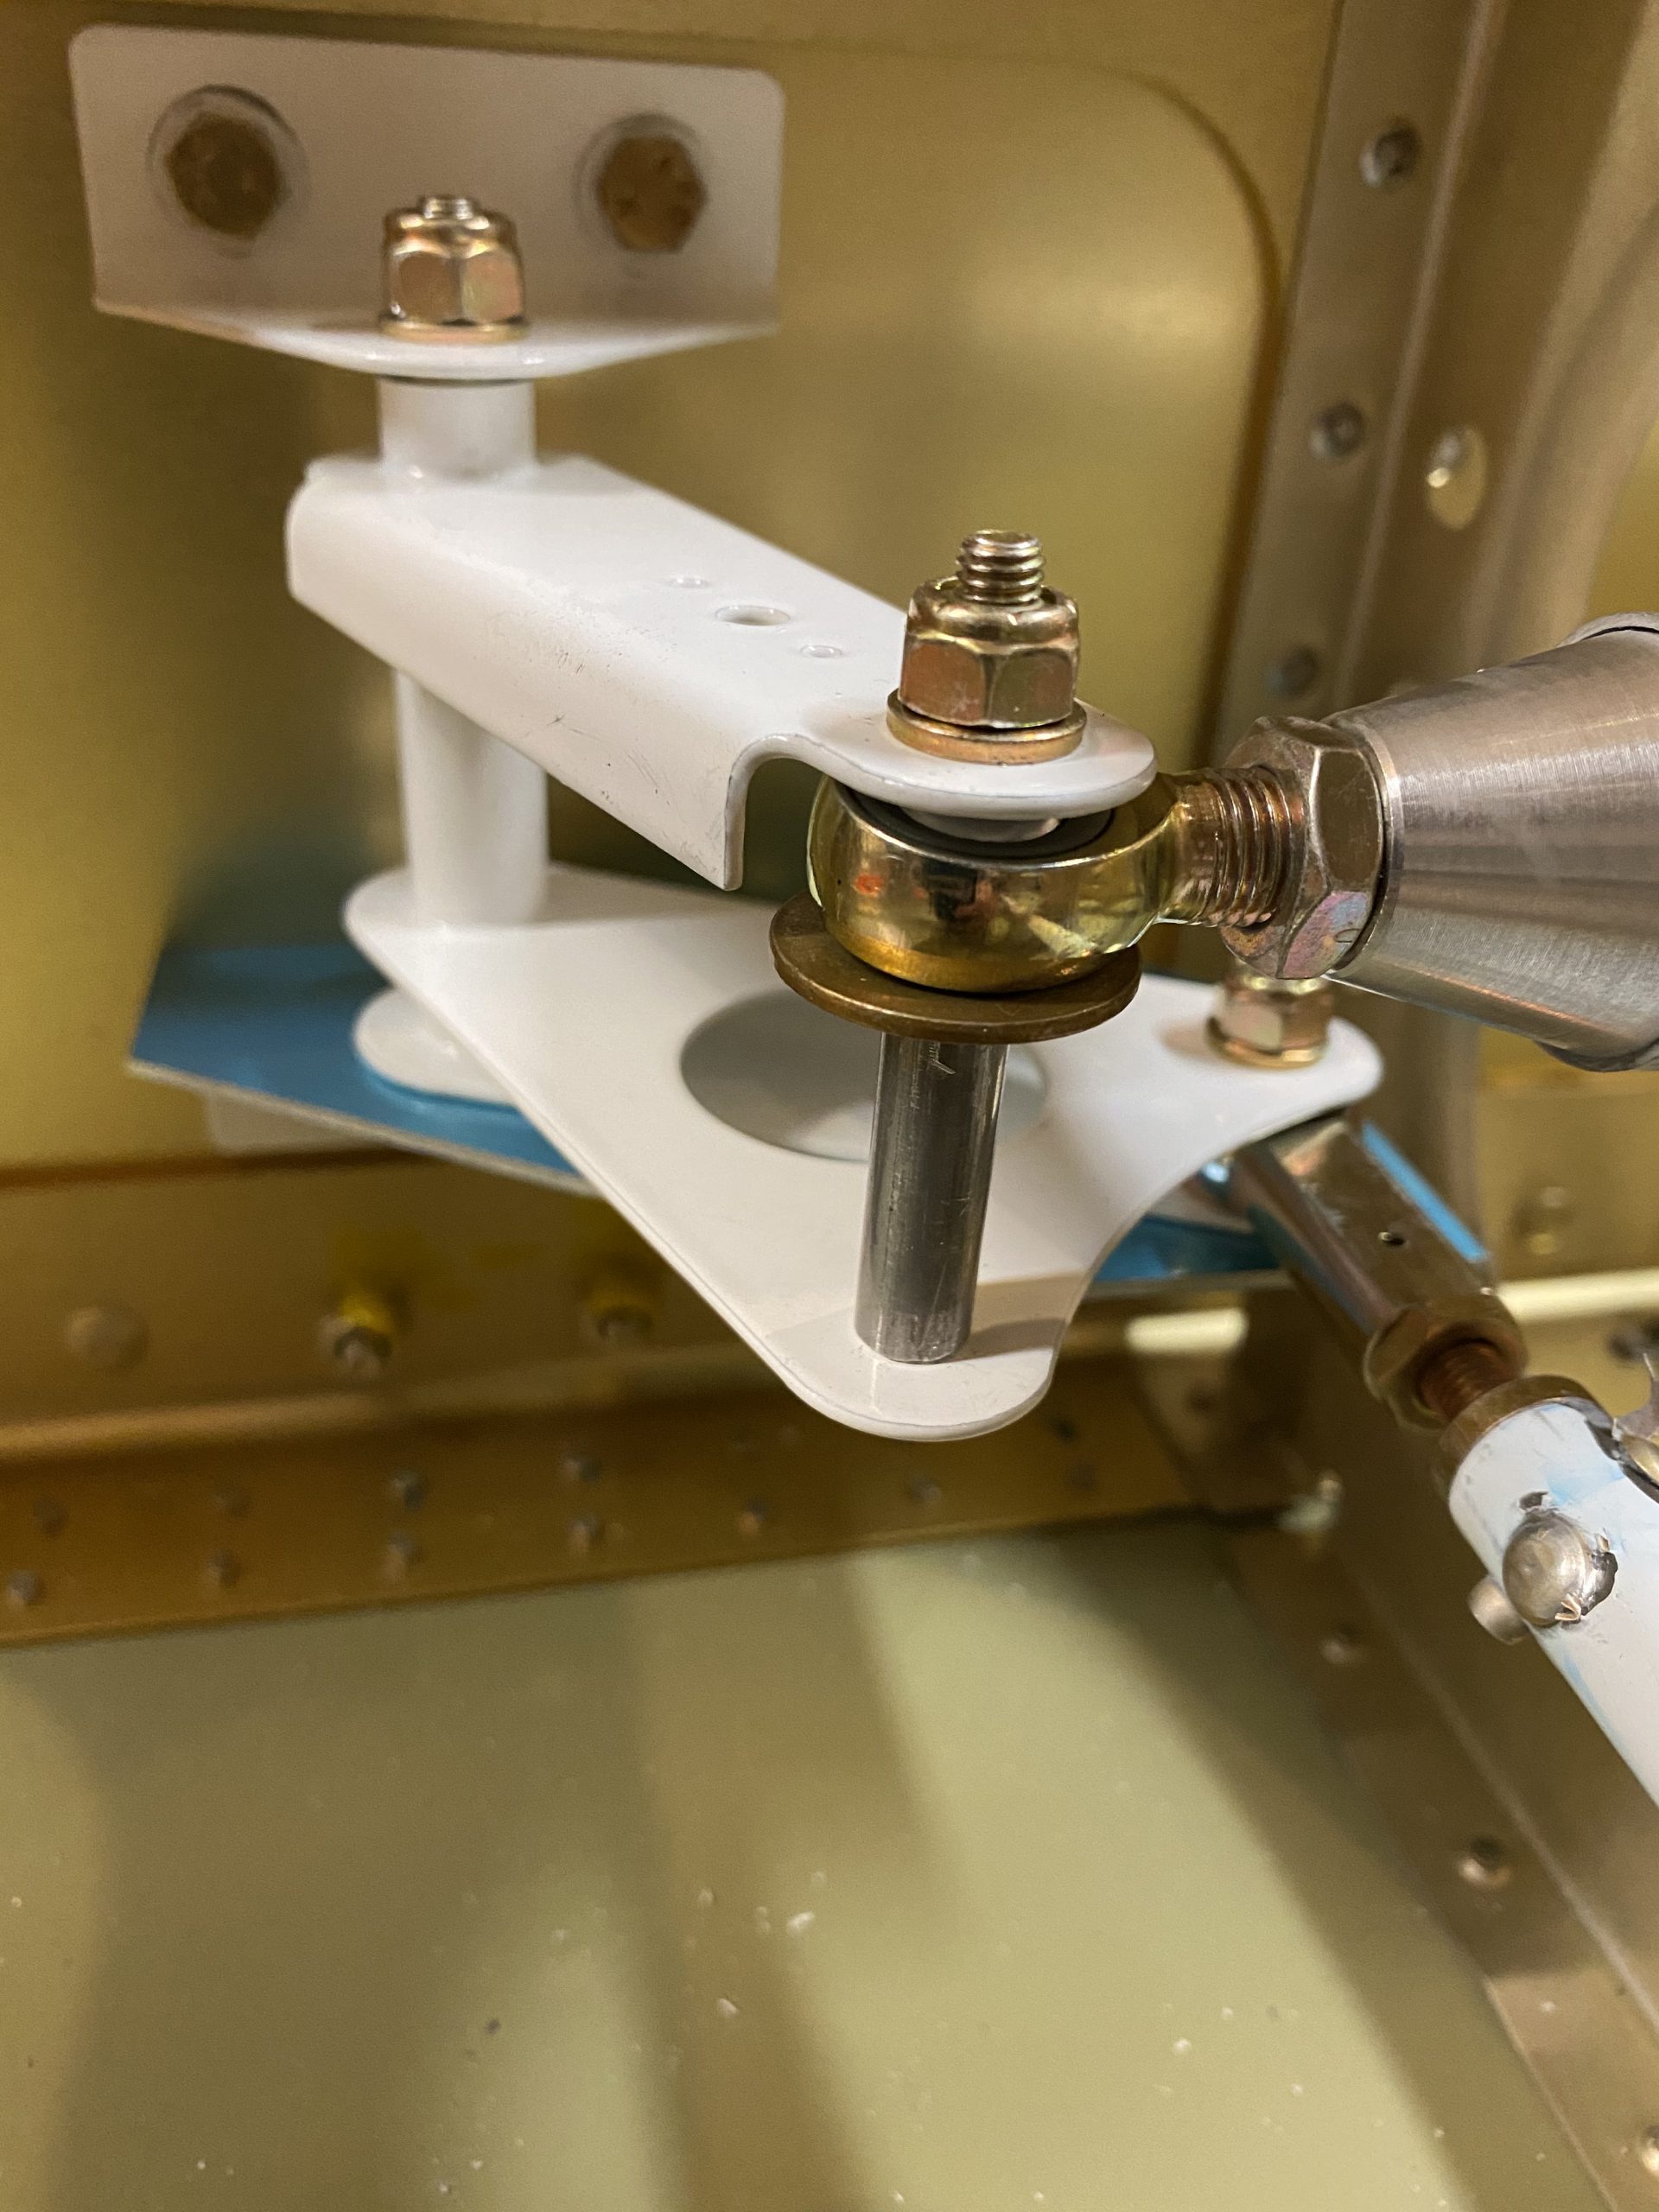
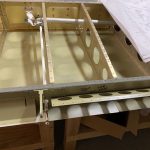
Buy Soma Overnight Now its time to assemble the bellcrank and the push rods in place with the W-730 bellcrank jig to get everything in alignment. I bolted the W-730 jig into place using the An3-7A bolt that goes through the W-818 aileron pushrod and made sure it was flat against the spar web. This hold the bellcrank in a perfectly neutral position so you can adjust the push rod to line up with the aileron in a neutral position. Then, I assmebled the bolt, new spacer, and washers that hold the control push-pull tube in place and gently tightened things down. I did NOT torque these yet, as I am going have to disassemble everything once I install the autopilot servo. You’ll notice no torque seal has been applied to serve as a reminder to me later on down the road when I do buy the autopilot mount kit. That could be years out! I’ll use this for now to get the aileron mounted and in adjustment.
watch This will serve only to get the aileron mounted, and the push rods adjusted. Once I have that done, I’ll remove the pushrod and then paint the ends that were scared up during riveting to prevent rusting. I may actually have them welded, I haven’t decided yet. I also still need to prime the entire longer, W-716 push-pull tube once I have some more AKZO. I also need to apply some grease to the bearing surfaces, like the brass bushing to bellcrank interface. I’ll do that once I final assemble the bellcrank.
https://auracareclinic.com/about-us/ 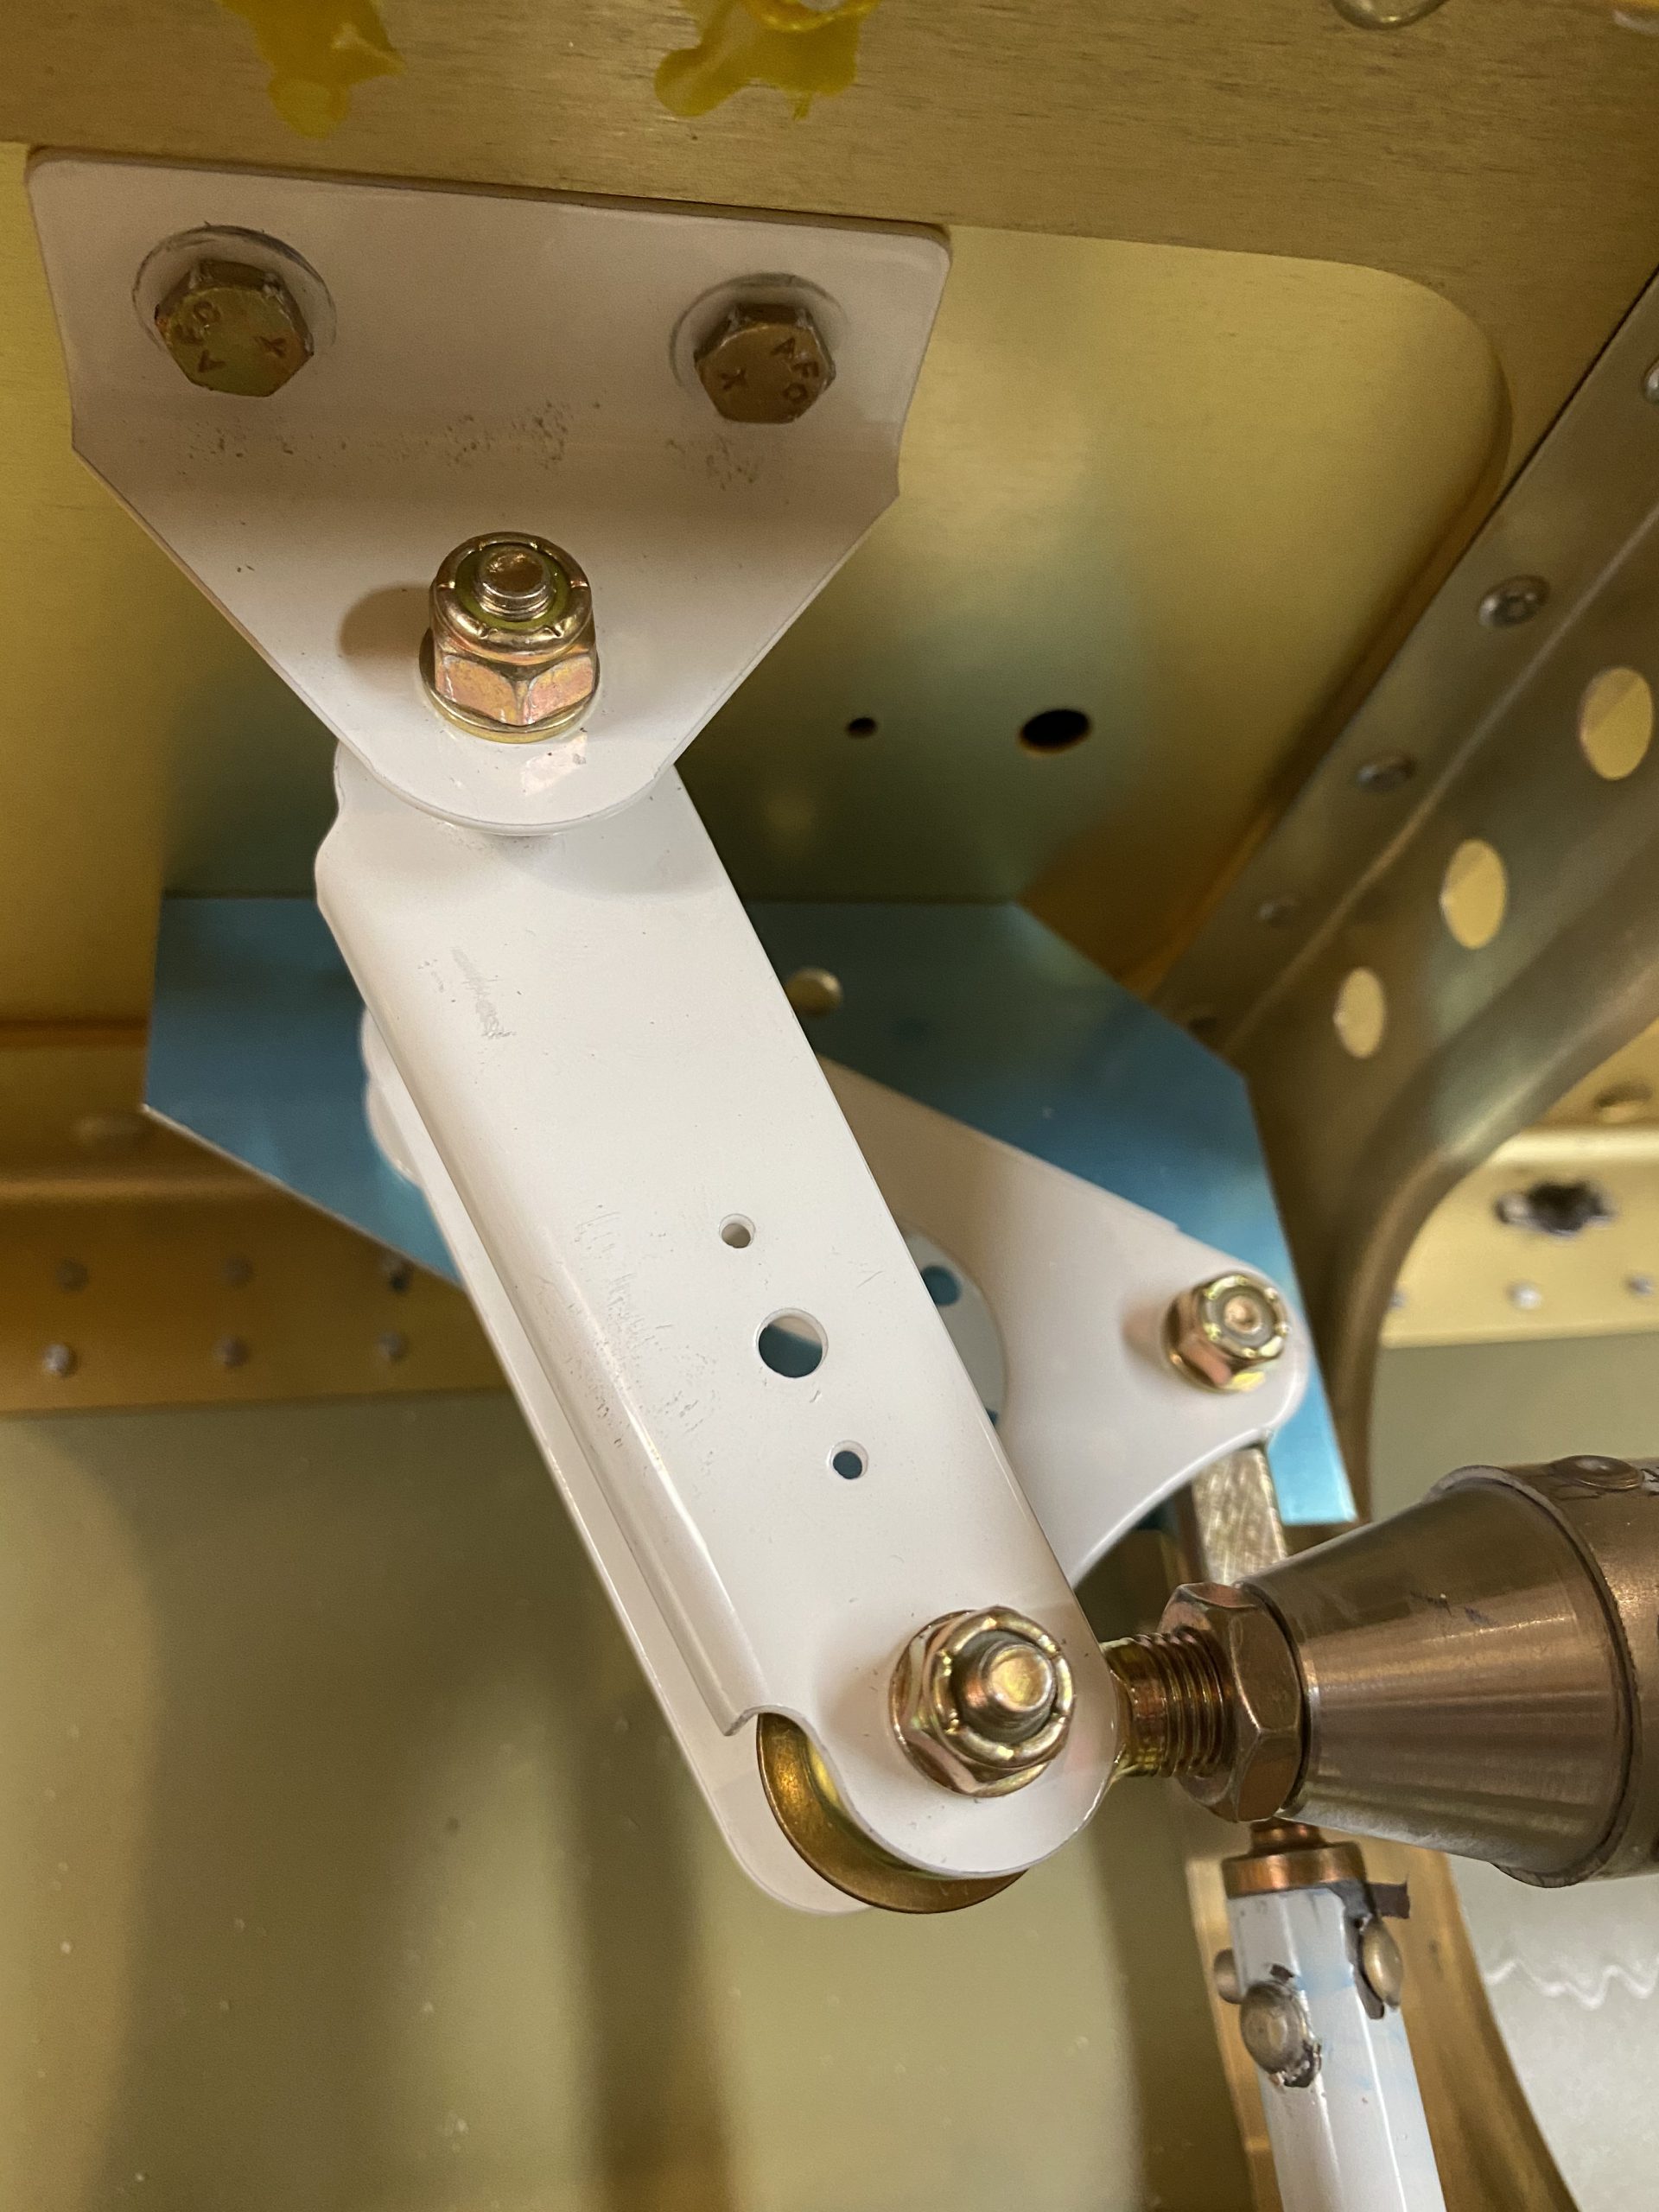
Buy Xanax Online Without Prescription Thats a good stopping point for tonight. I have some Aeroshell 33MS grease on the way for the bushing. I’ll mount the aileron in the next session, and then this wing will go in the cradle, as it’ll be done for the time being. I am leaving the bottom skins off until I am completely done with it, which won’t be until very close to mounting them to the fuselage some years down the road.
Buy Alprazolam No Prescription Google Photos Link: https://photos.app.goo.gl/Y3Ahzr4gAKAcdK4aA
-
IMG_2927
-
 IMG_2928
 -
 IMG_2929
 -
 IMG_2930
 -
 IMG_2931
 -
IMG_2932
-
IMG_2933
-
 IMG_2934
 -
 IMG_2935
 -
 IMG_2936
 -
 IMG_2937
 -
 IMG_2938
 -
IMG_2939
-
IMG_2940


https://www.fogliandpartners.com/professionisti/
Order Valium Without Prescription Hours Worked: 3.75