


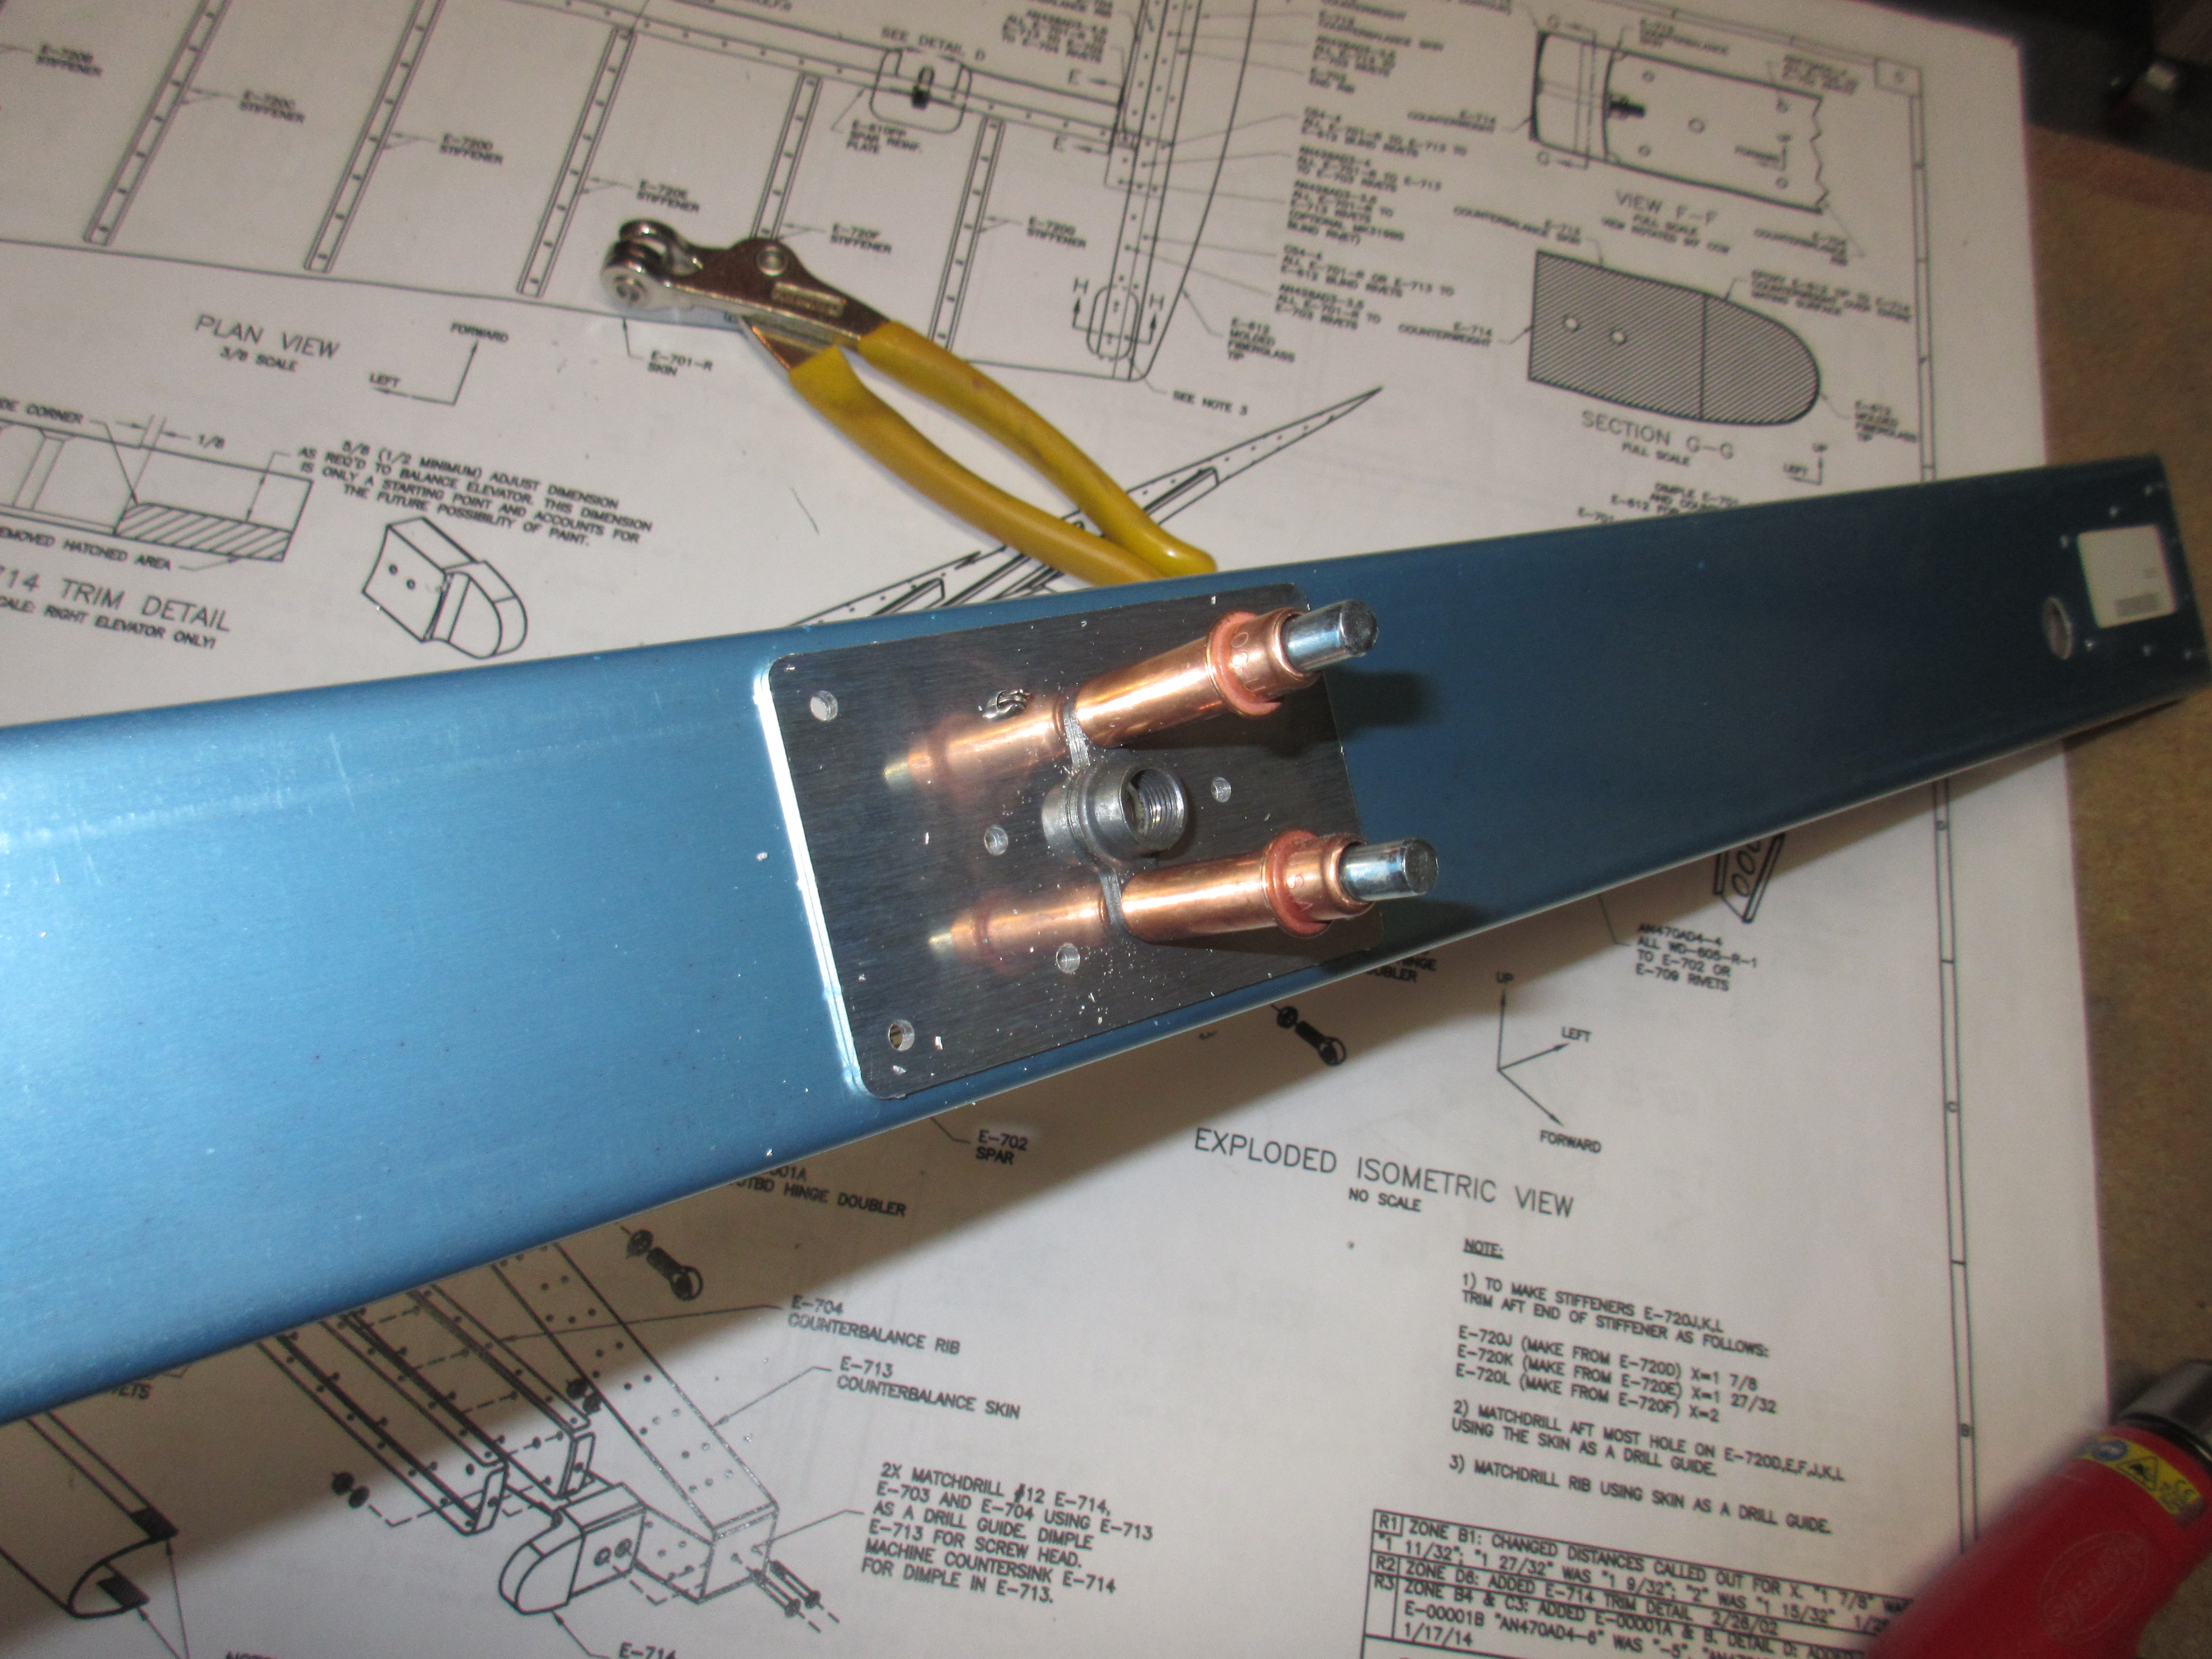
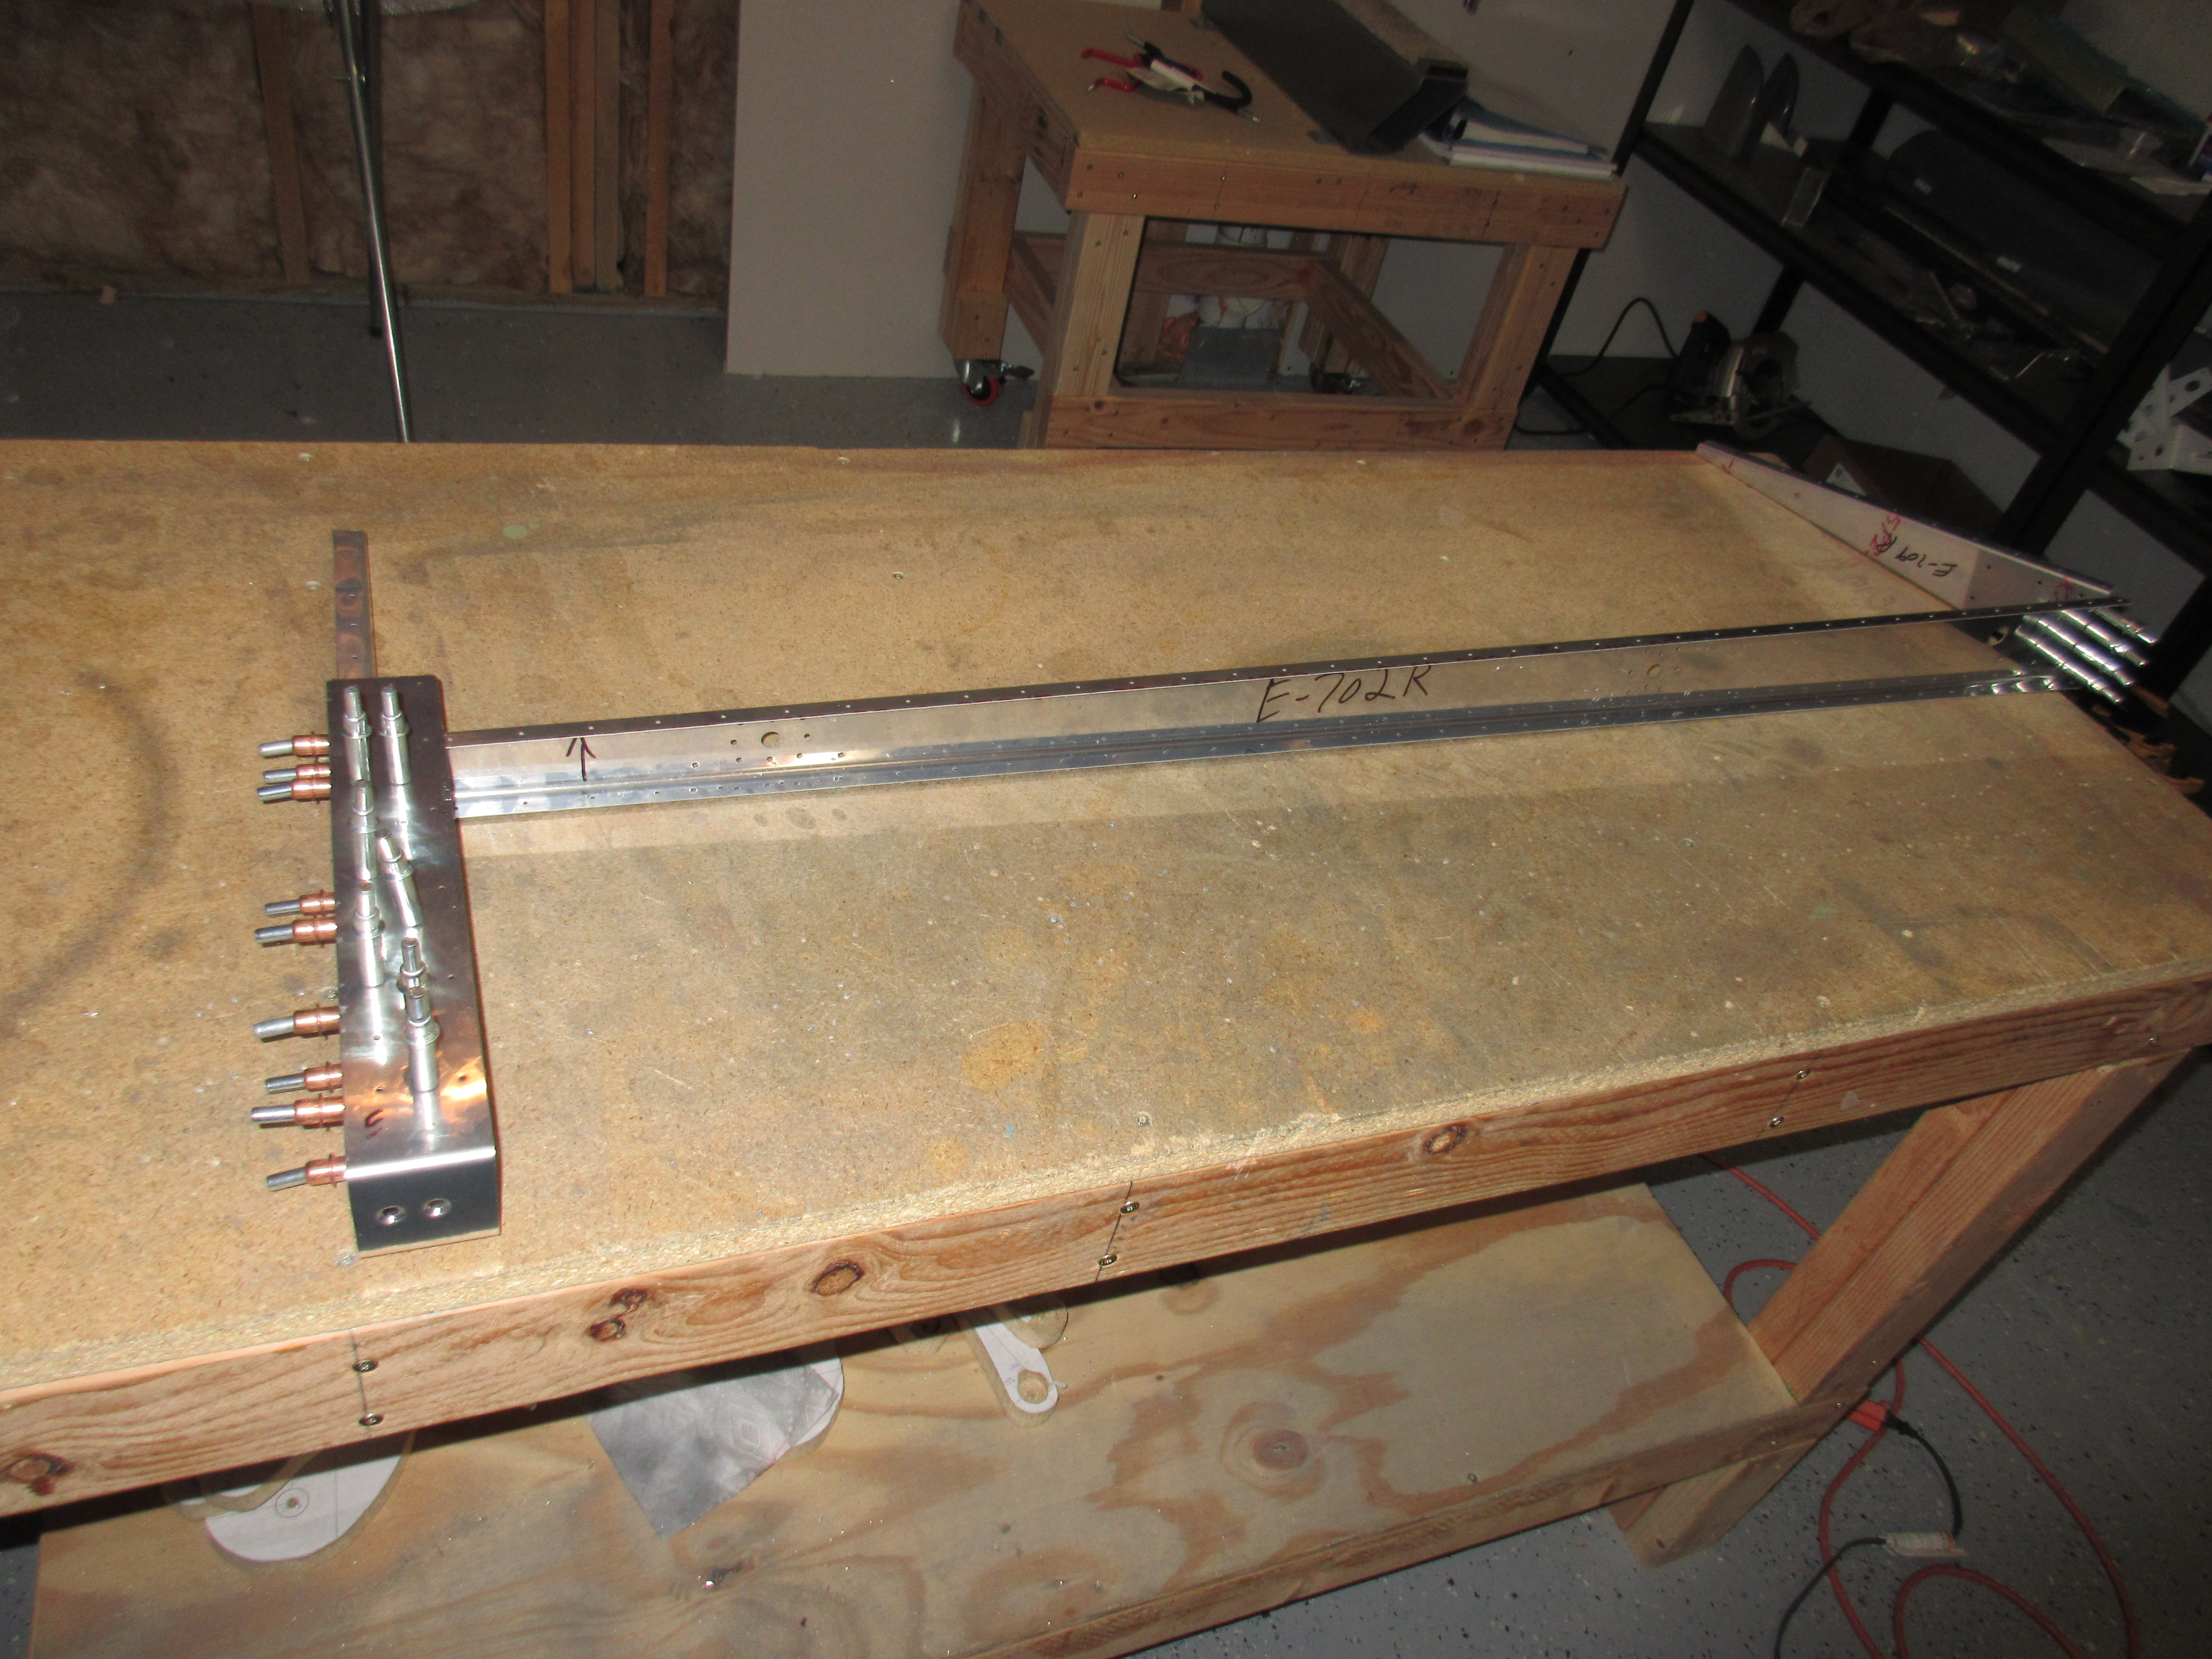
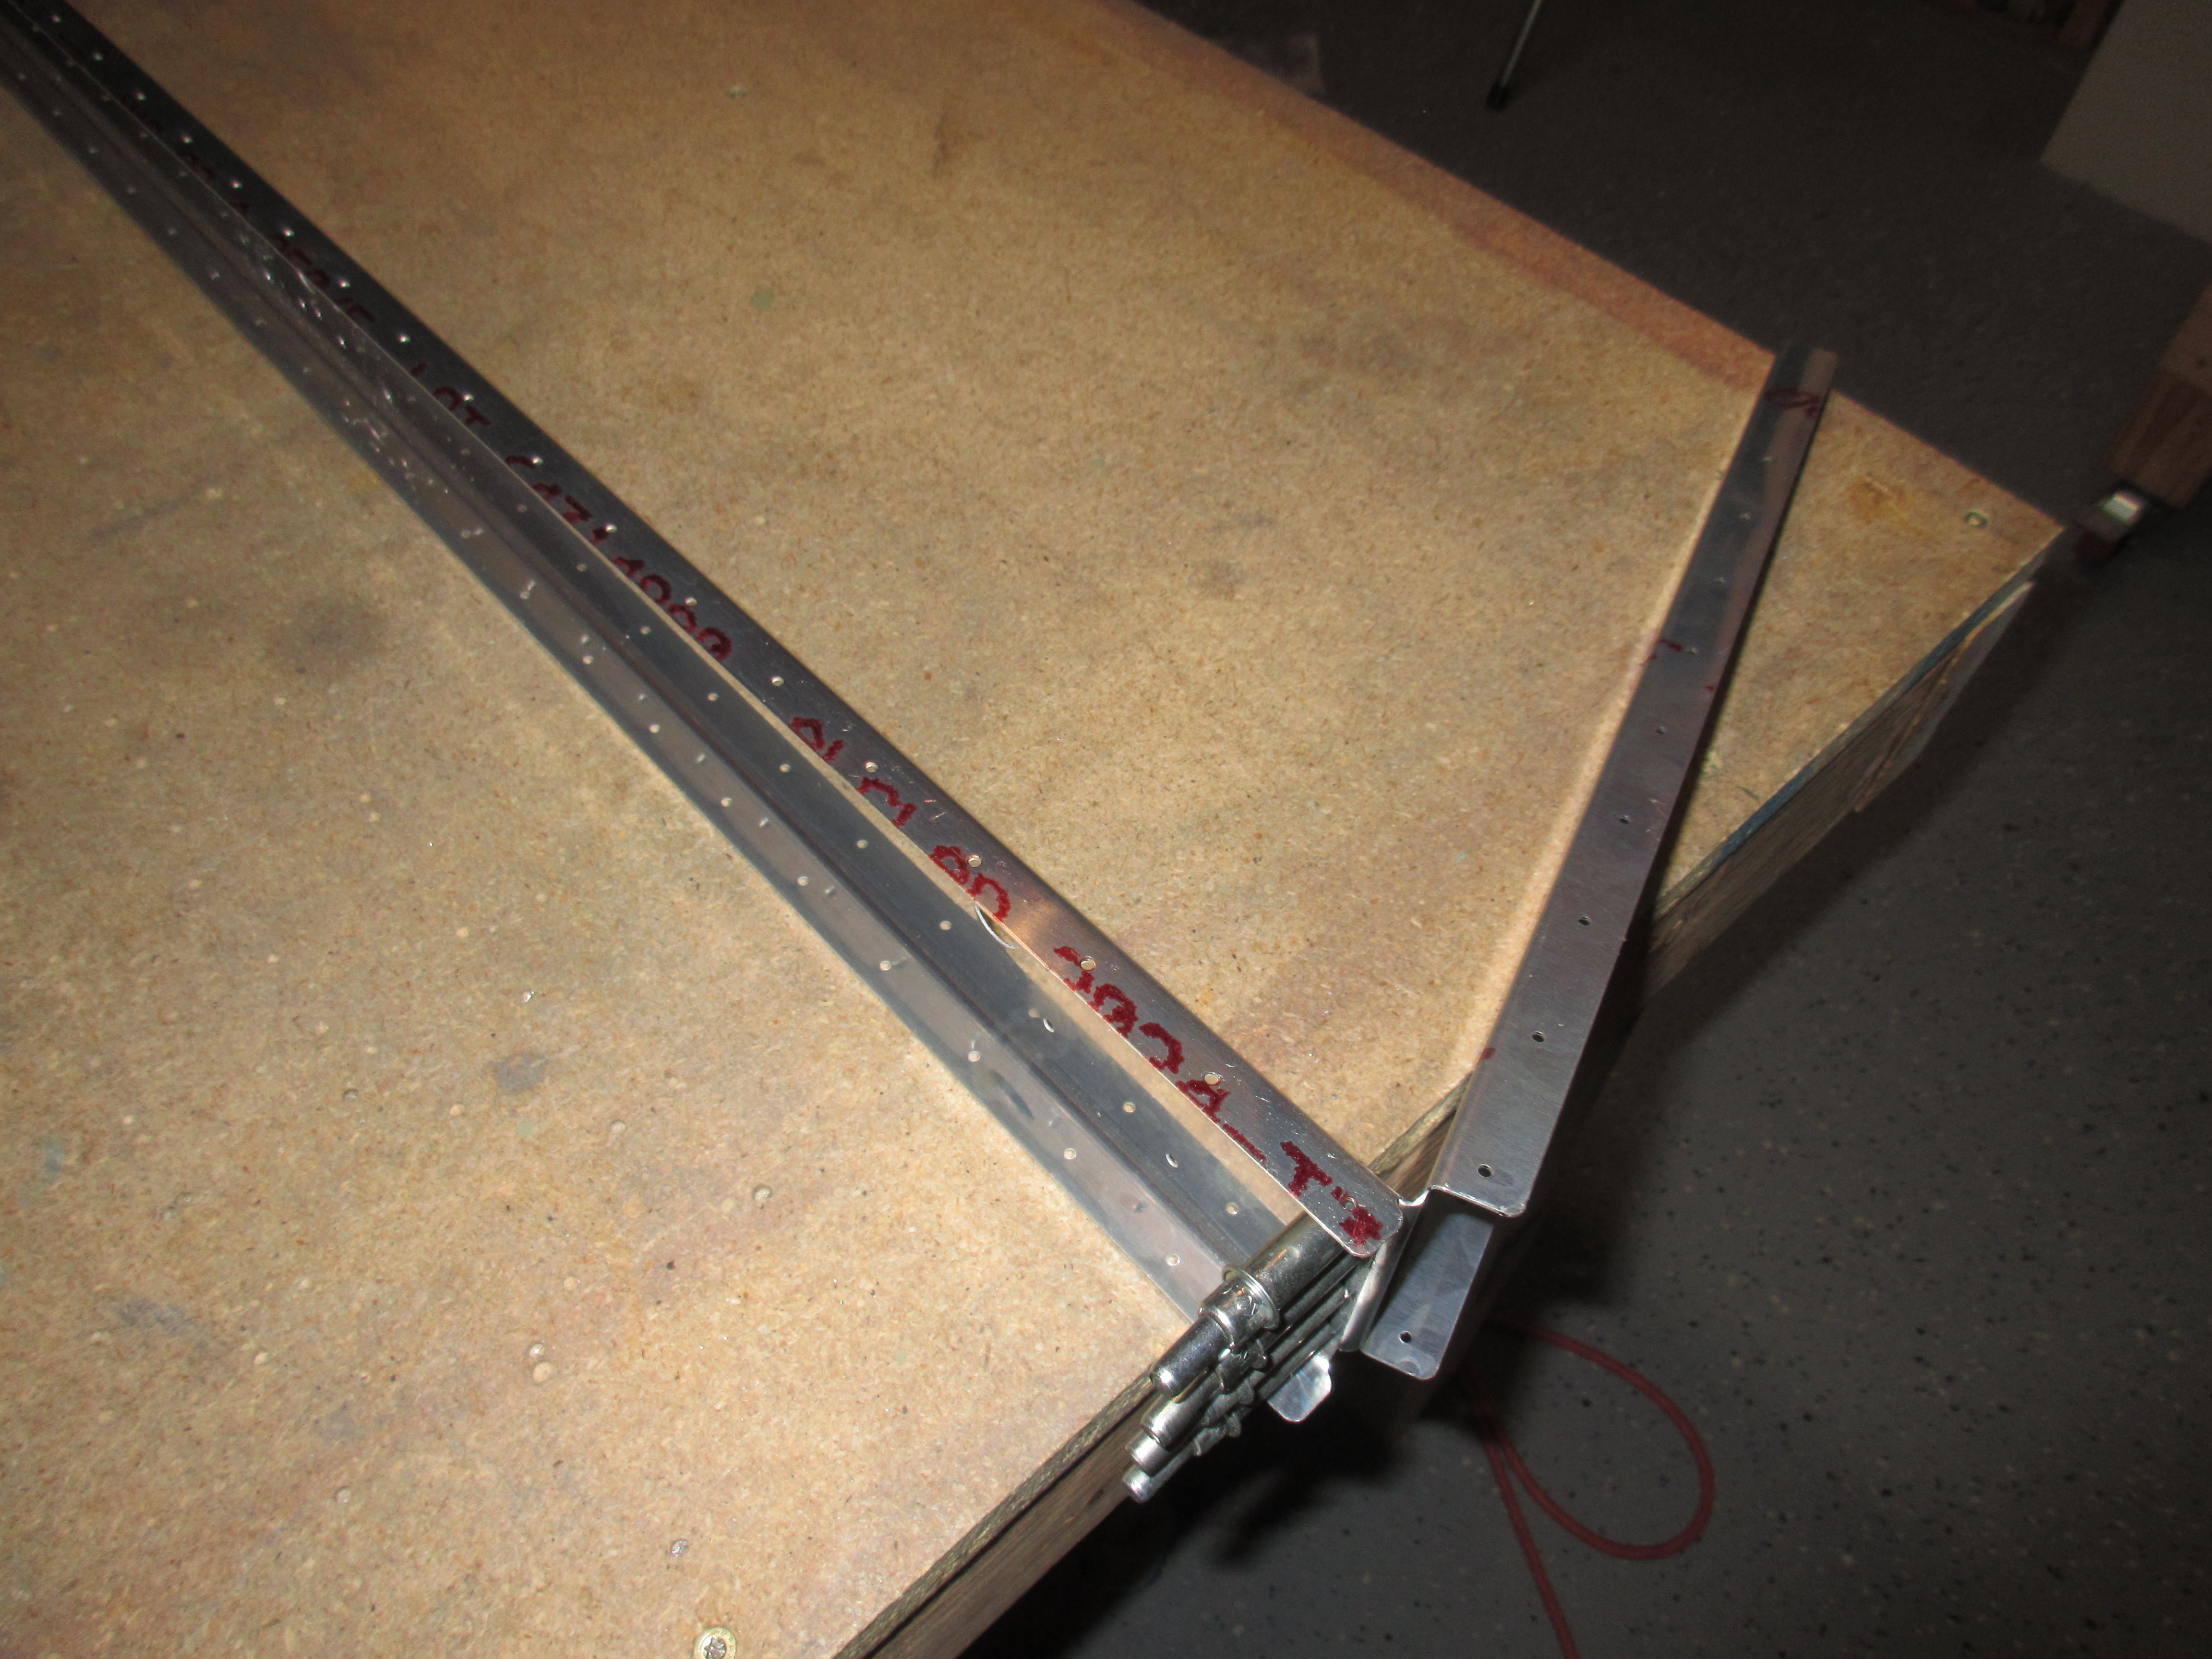
Tonight I assembled the skeleton for the right elevator, and then match drilled the parts. There is a service bulletin SB 14-02-05 for the mounting brackets on the elevator spars that was released by Vans a while back. Luckily, my kit had all the new parts included to address this service bulletin, and tonight I fitted those parts to the elevator spar.
It starts out by separating the E-00001A and B doubler plates and radiusing their edges to fit into the E-702 spar. I used my file to get the radius just right, and then finished off the rough edges. Then I fitted the doublers, the E-610PP and E-611PP plates to the E-702 spar, clecoed them along with the nutplates for the mounting bolts and then match drilled everything.

After the doublers were finished up, the plans have us working on the E-703 end rib and E-704 counter balance rib and fitting the lead counterweight to them.First I fitted the two ribs together and match drilled them.
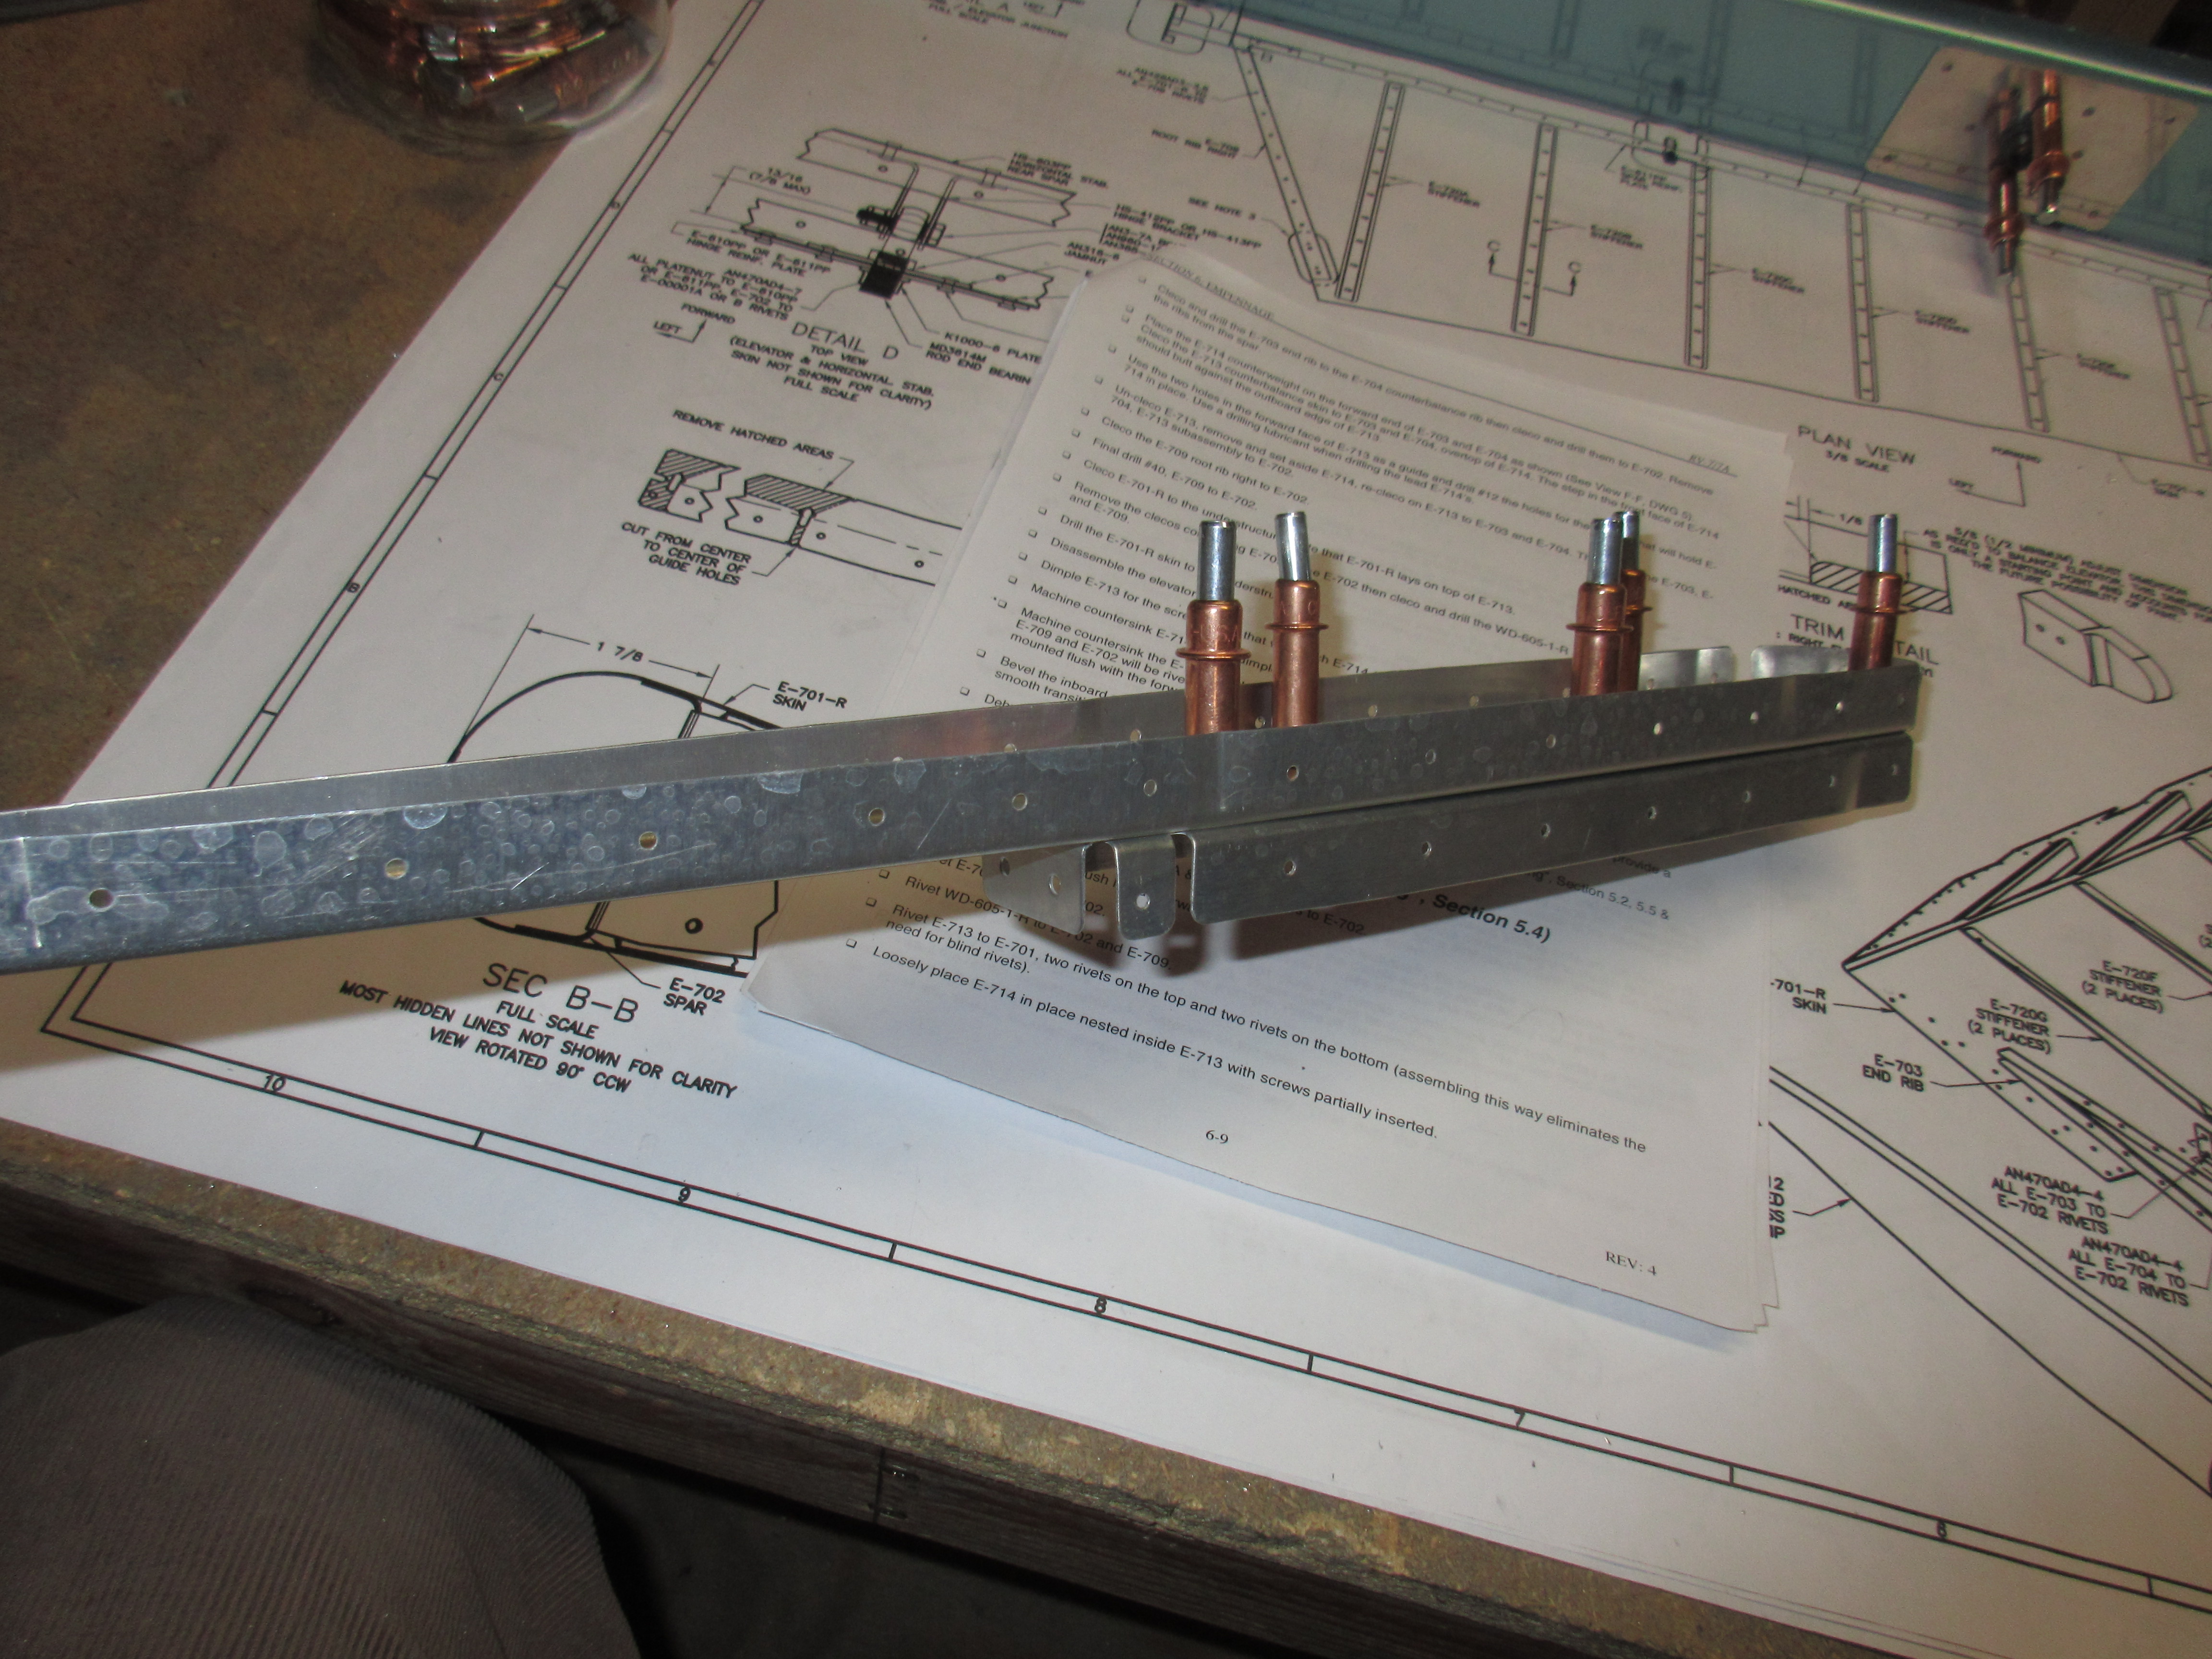
Once they were fitted together, I clecoed on the E-713 counterbalance skin so that I could match drill the lead counterweight using a #12 drill bit. Drilling this big hunk of lead took a lot of Boelube on the drill bit, and pulling the bit out frequently to clean the chips out of the hole.
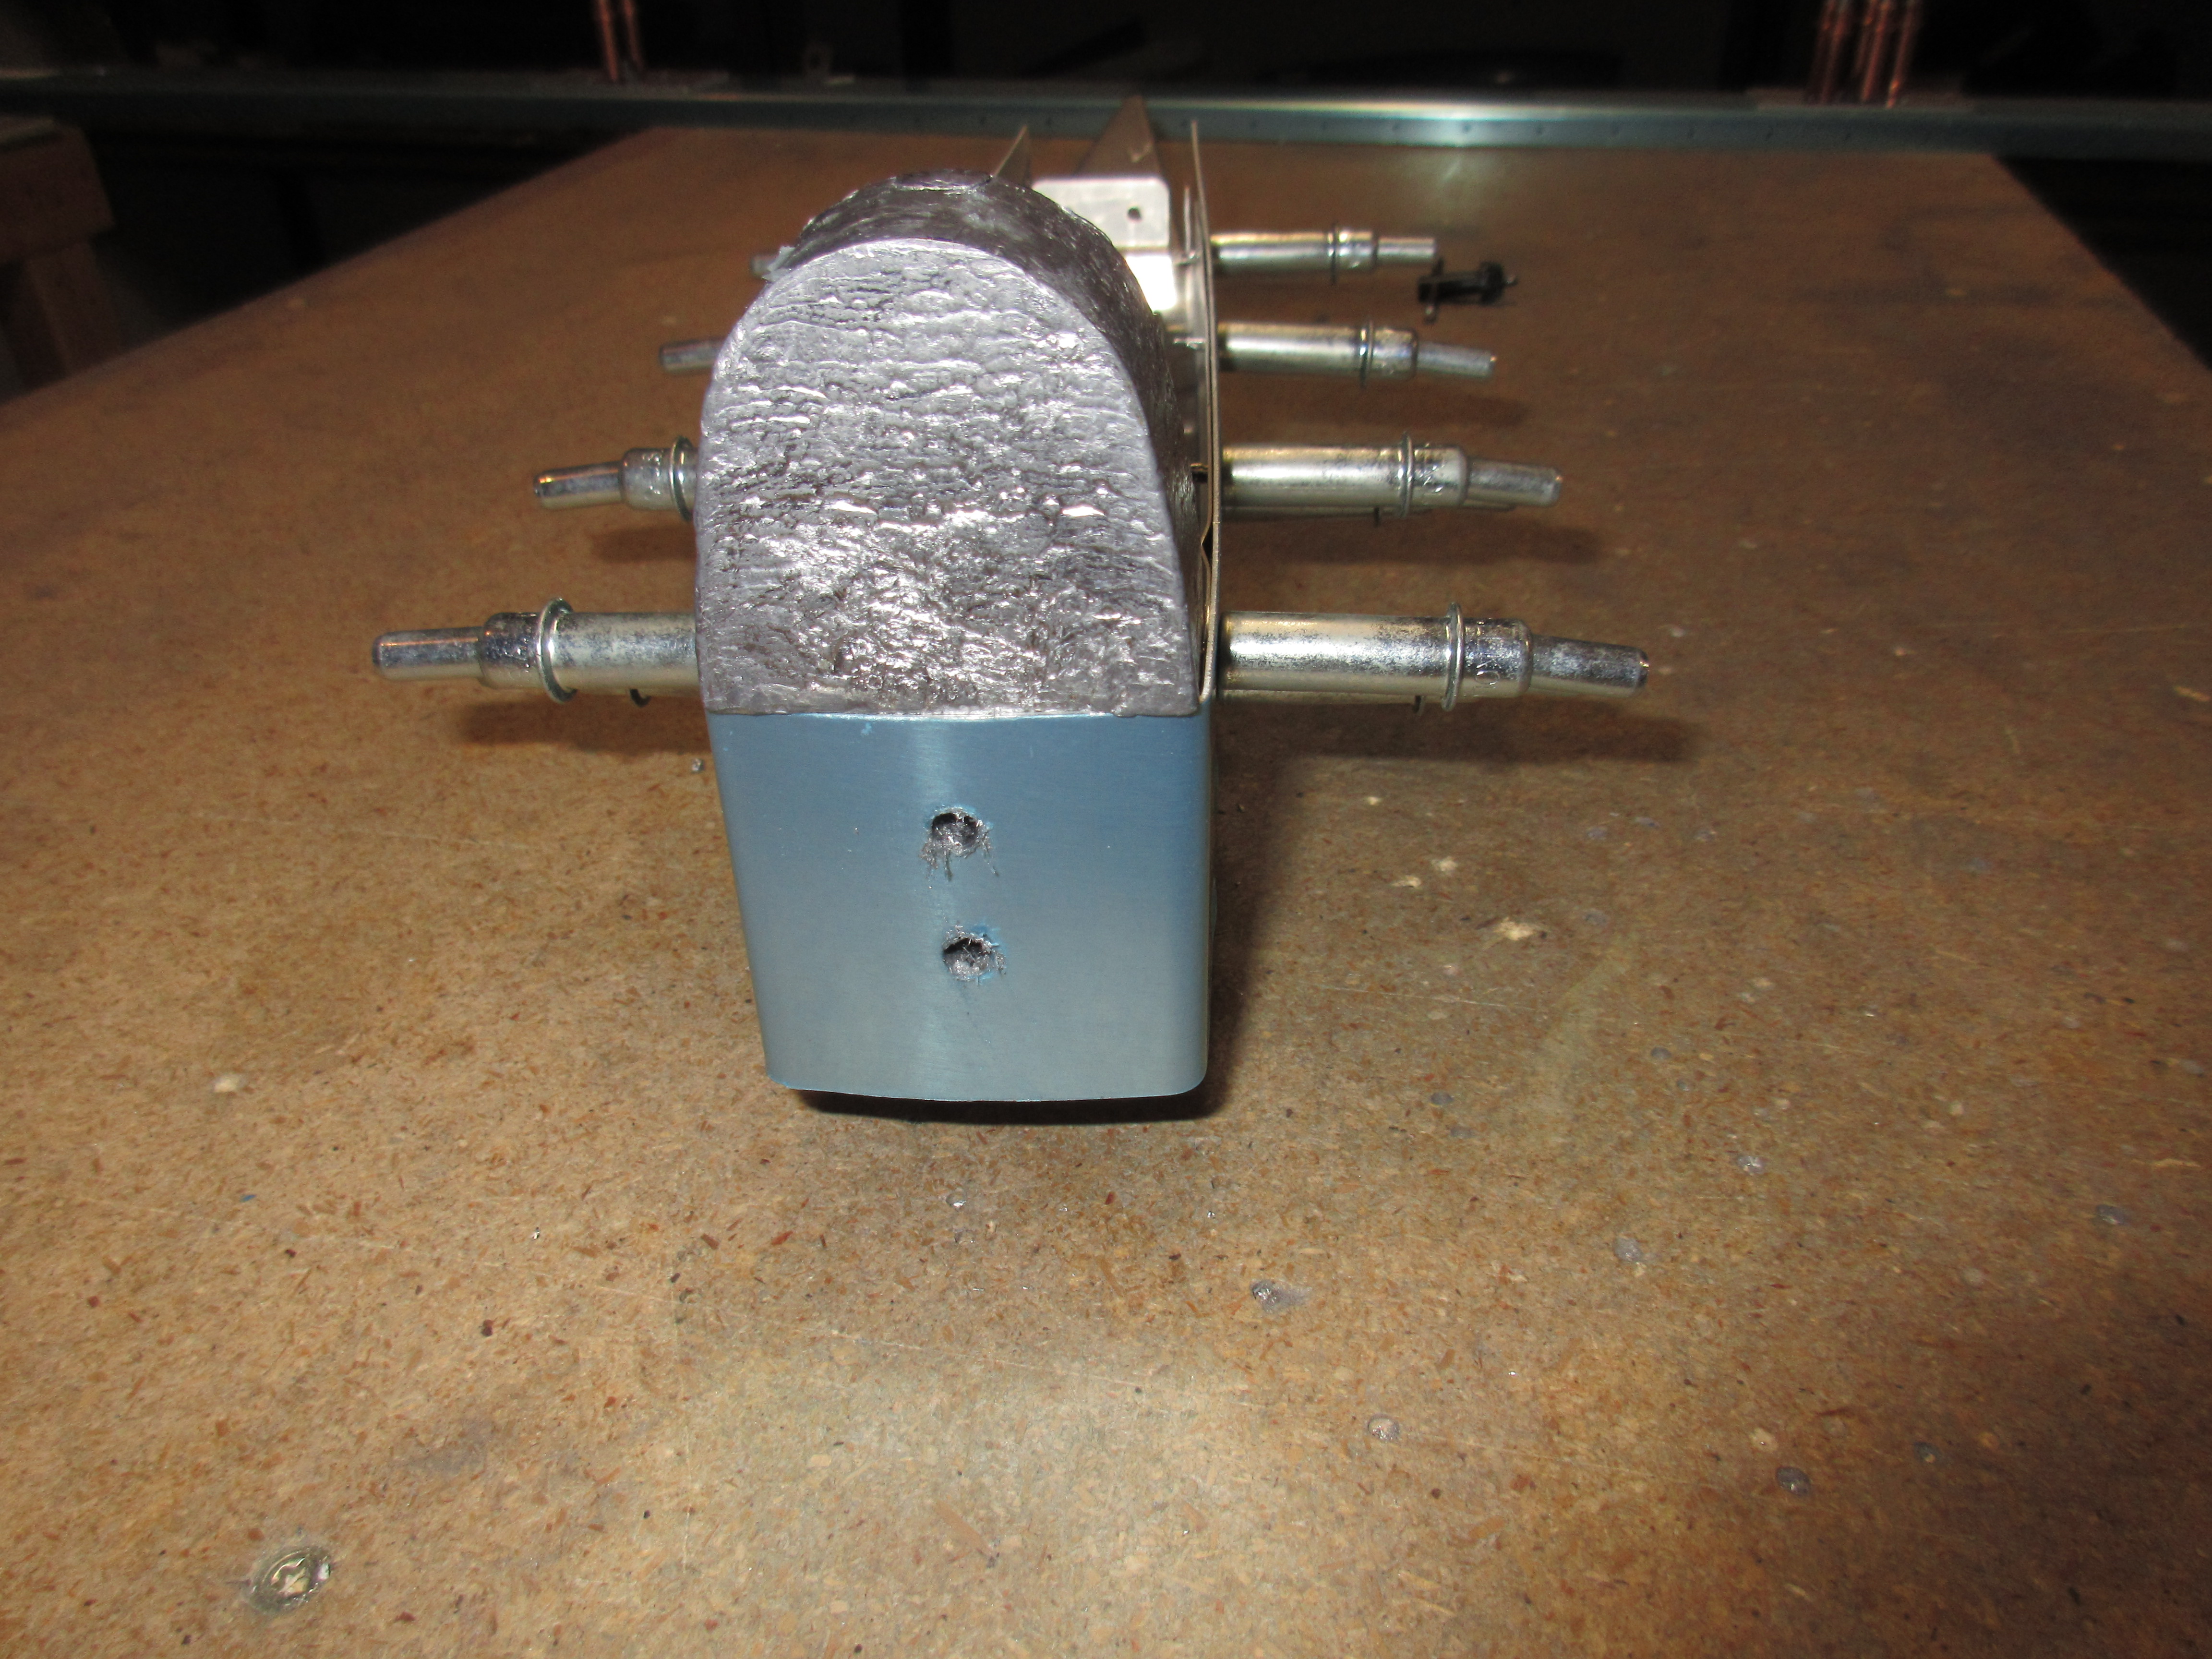
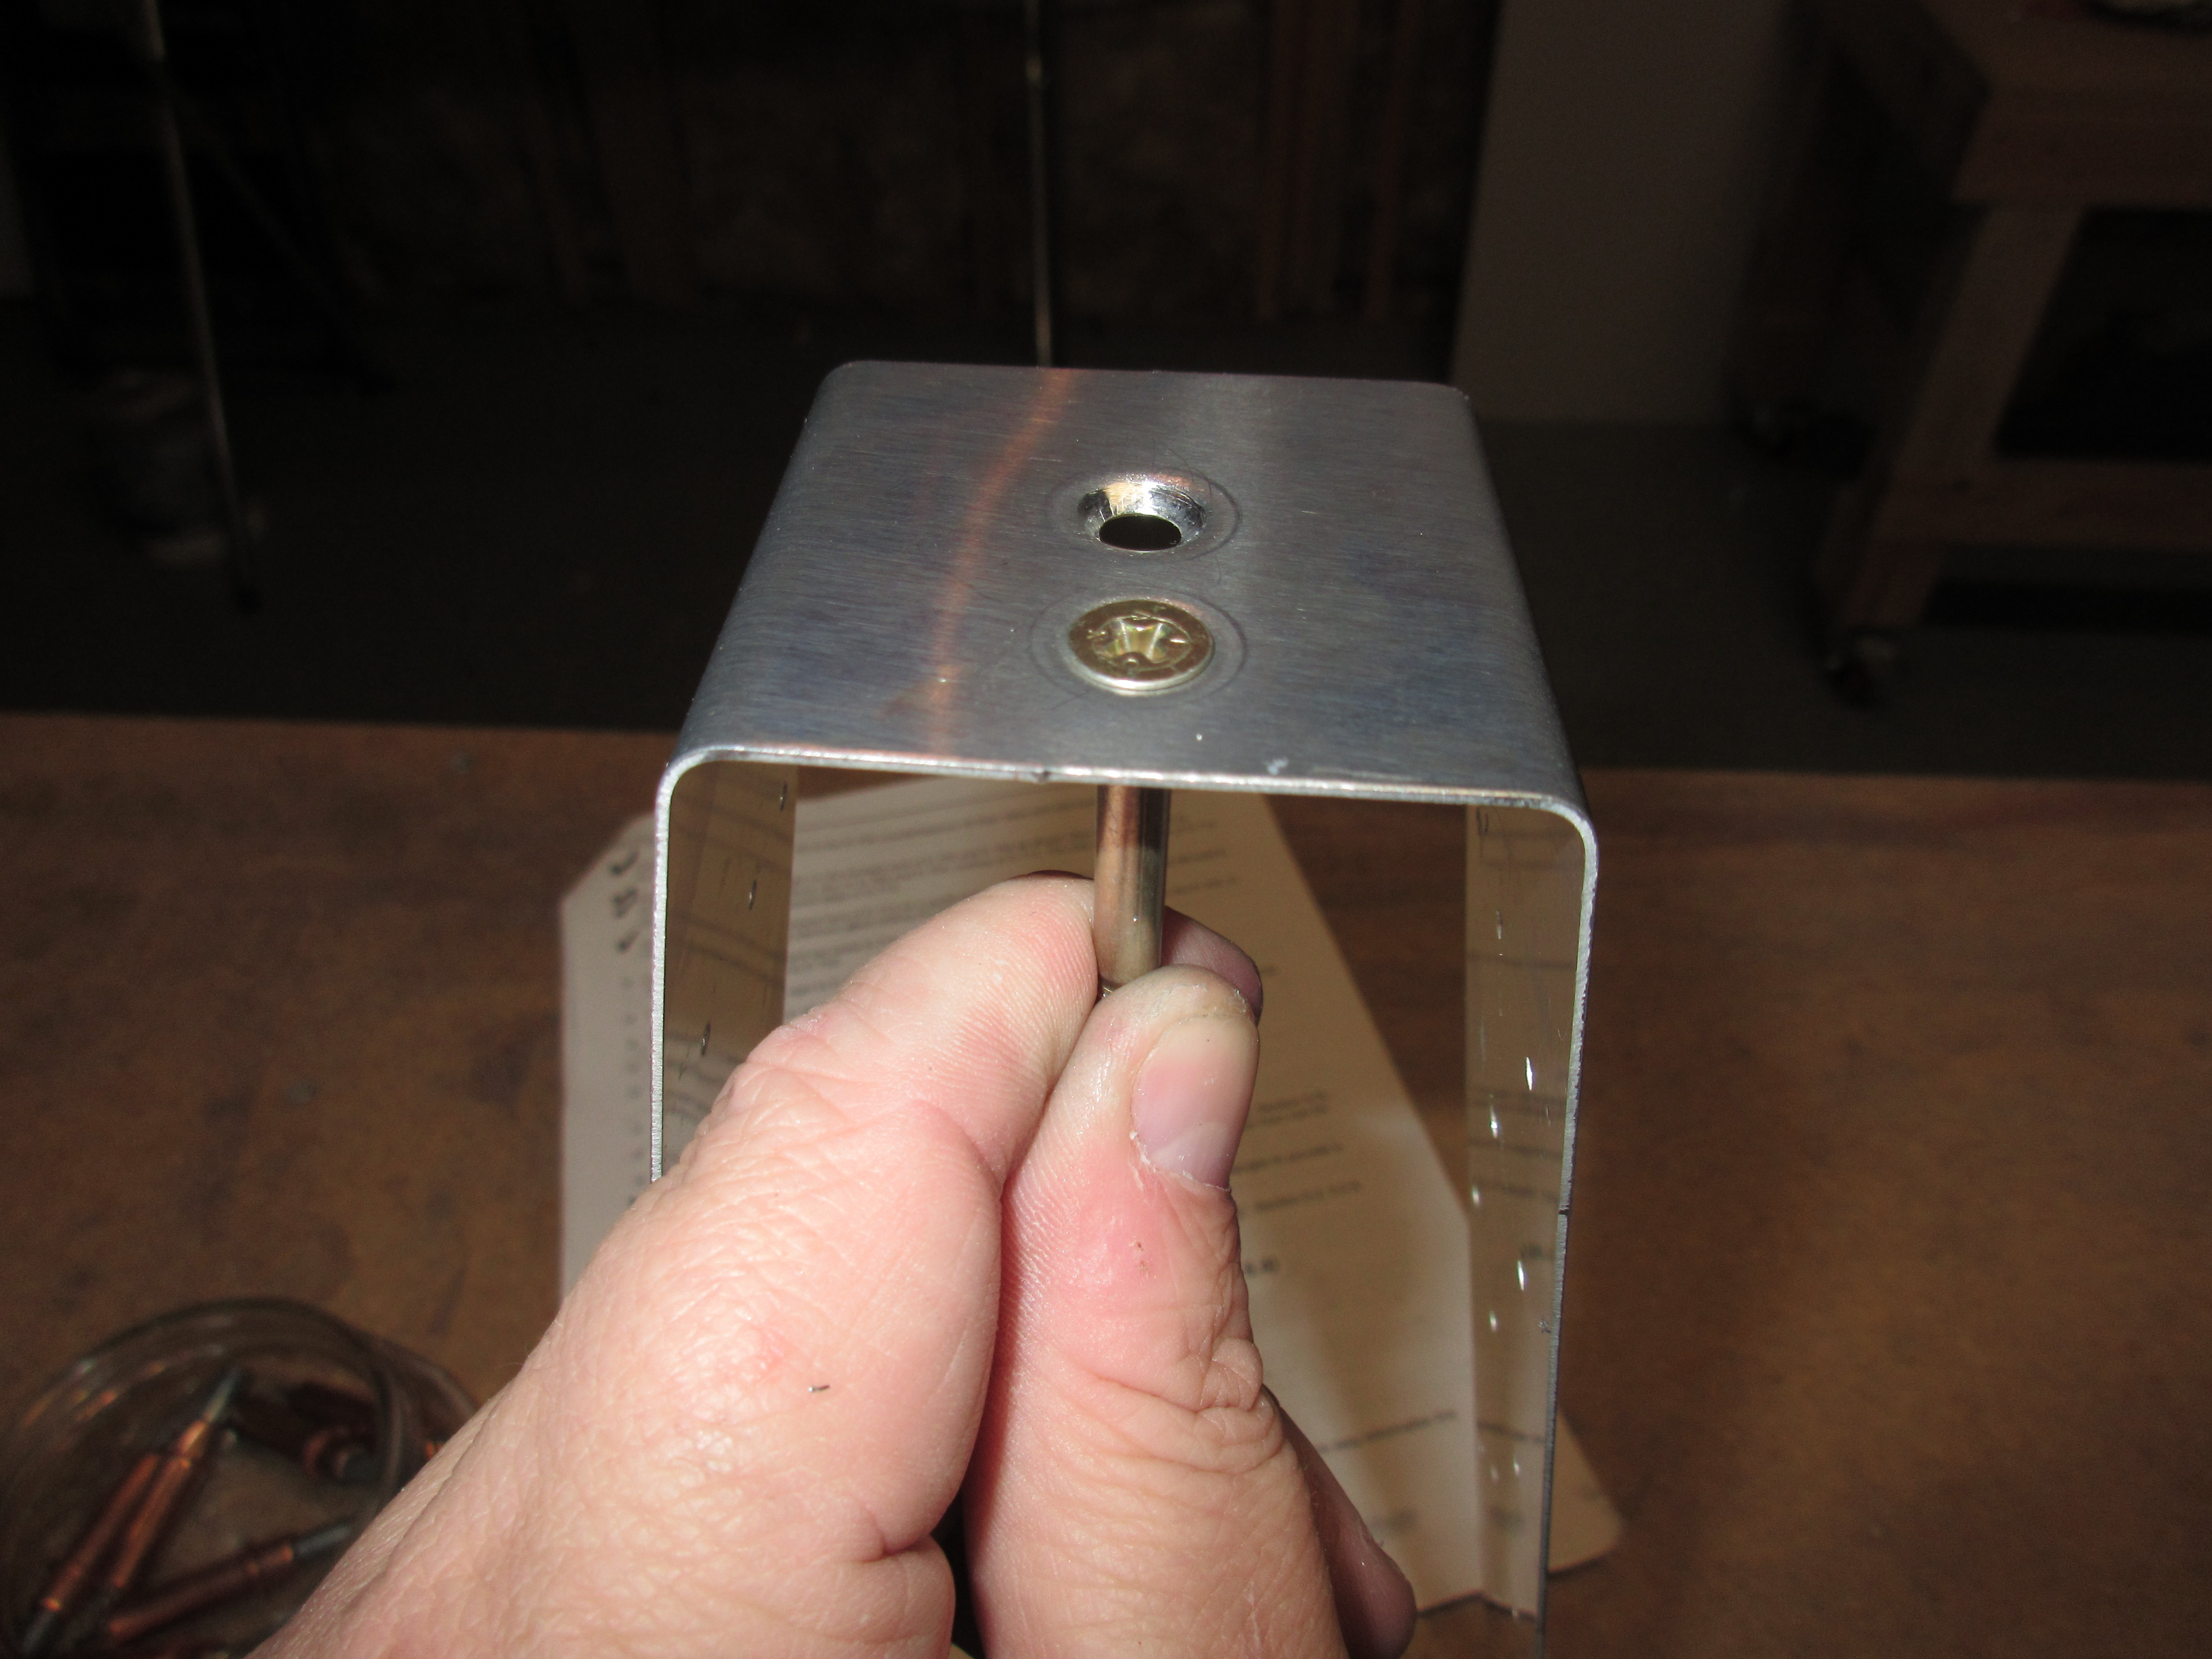
Once I had the holes drilled, I machine countersunk by hand the lead weight and then dimpled the holes on the E-713 skin so the flush head AN screws would fit snugly.
The last step for tonight was to fit the E-709 rib to the inner part of the spar to create the skeleton for the elevator. Then match drill the rib to the spar. I fitted the outside end rib assembly to the spar to finish the elevator skeleton and did a quick test fit with the skin to make sure everything was looking great.
I stopped here for the night, because I need to bend the trailing edge of the elevator skin, and then back rivet the stiffeners to the skin before I can start match drilling it to the skeleton. I think I am going to setup for some priming this weekend, because I have a stack of parts that are collecting on the shelves waiting on priming. I like to prime in batches so I hold all my parts up to a point and then spray them all at once. It’s looking like its getting time to prime!
Link to the Google Photos Album: https://goo.gl/photos/nF92cd5gg6WzbgzT7
Hours Worked: 2.5