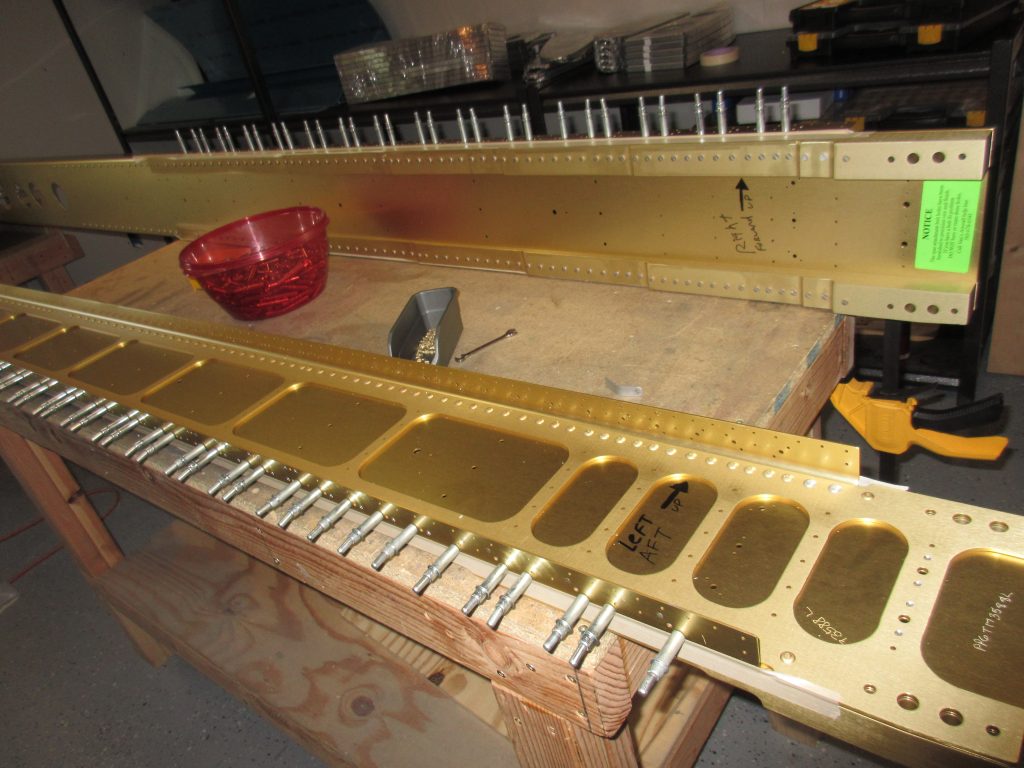
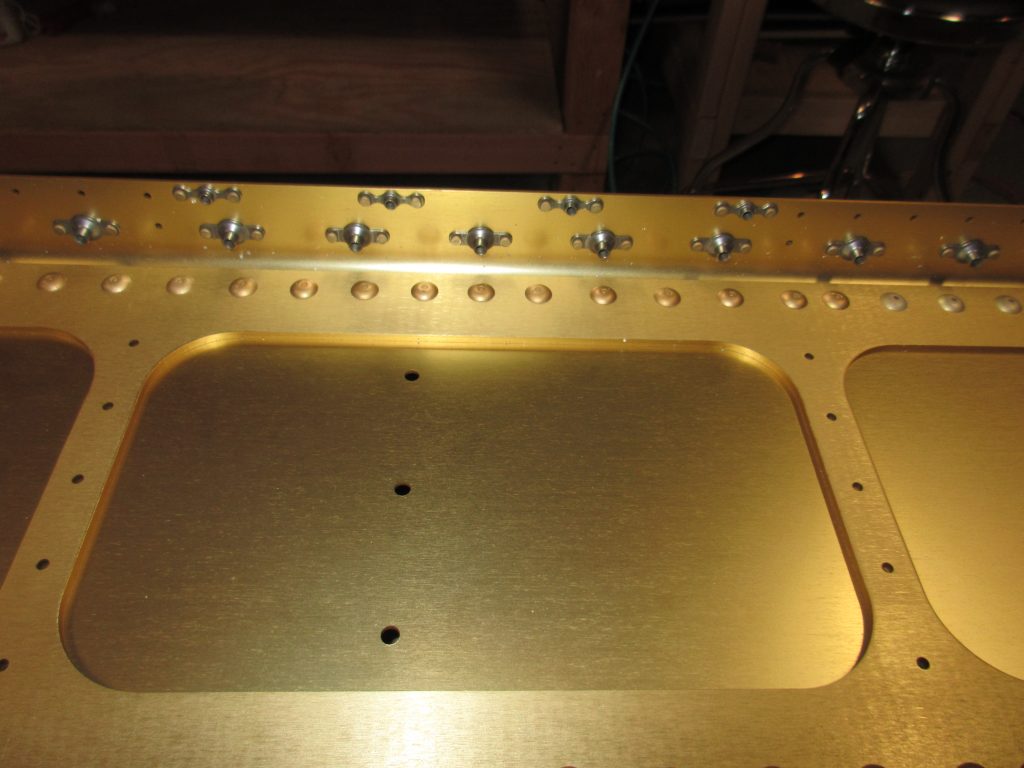
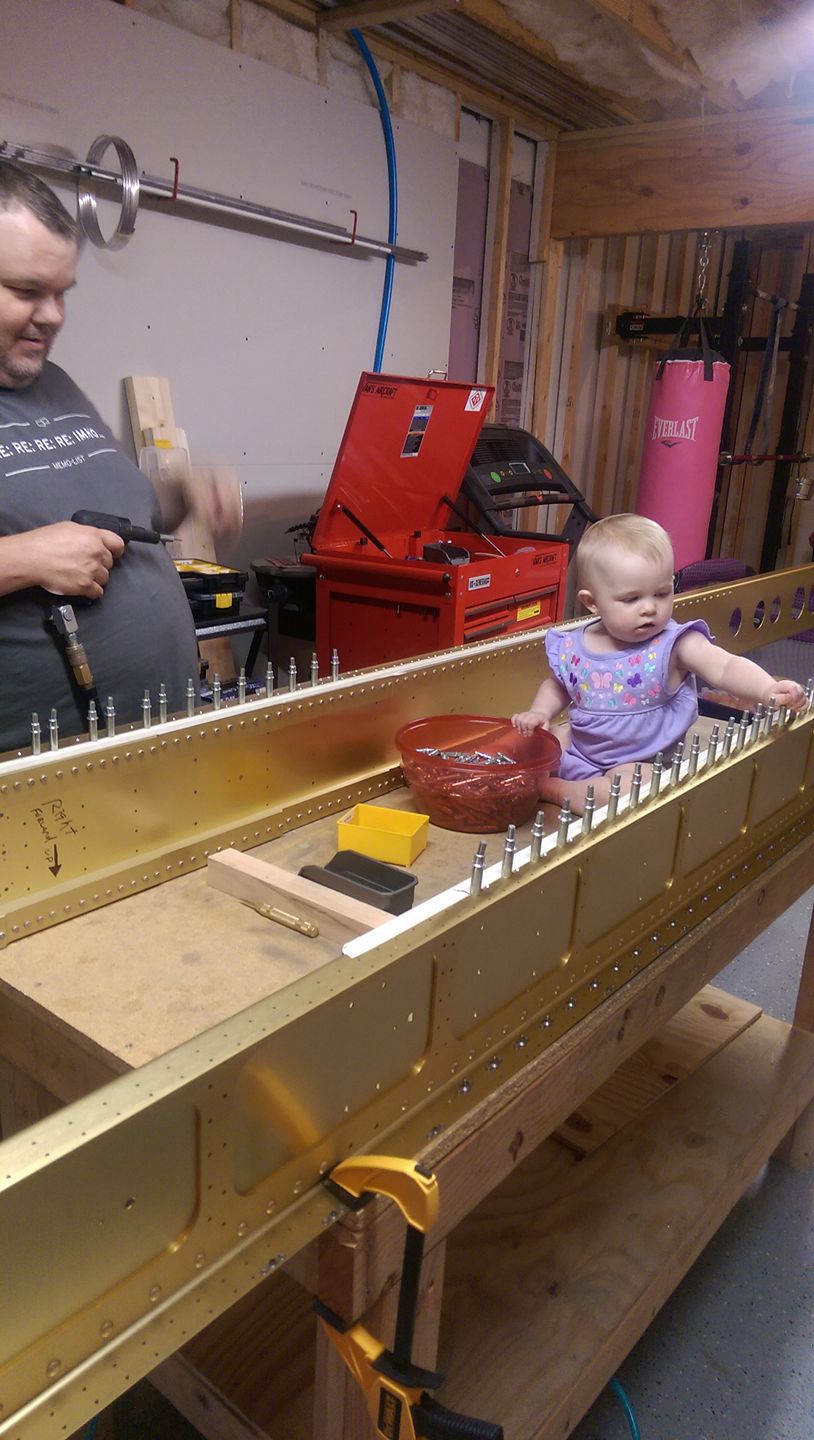
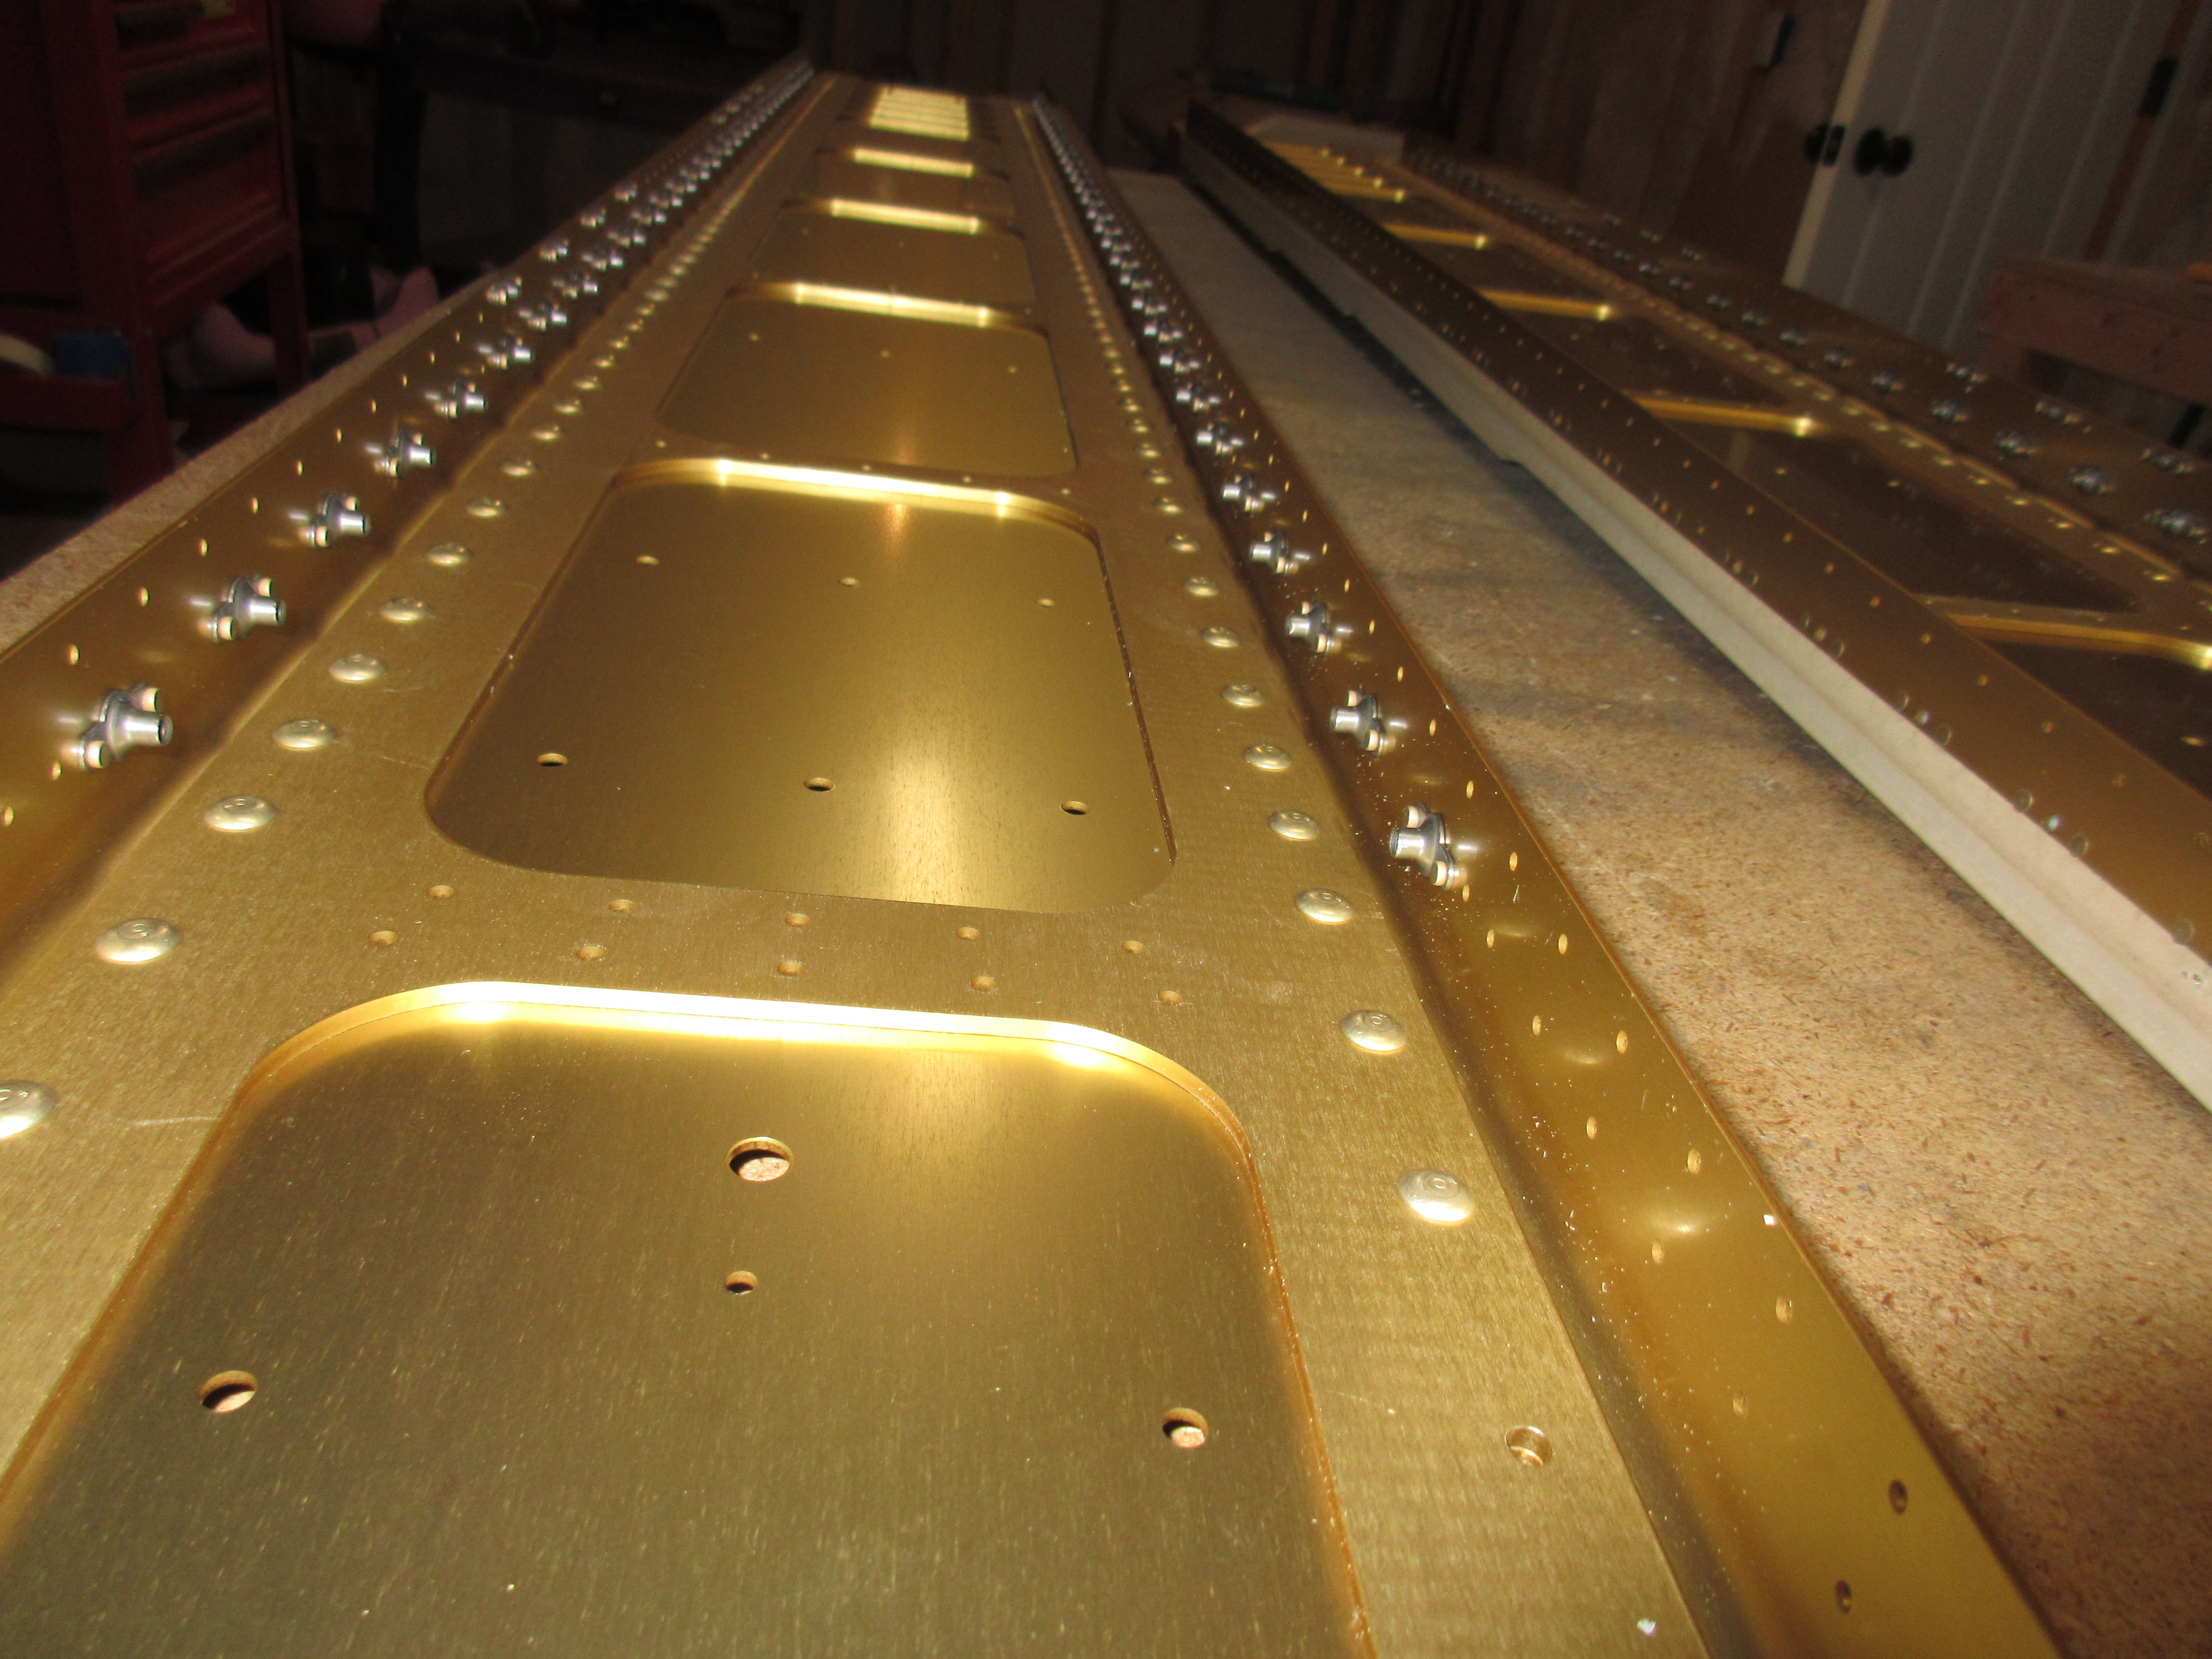
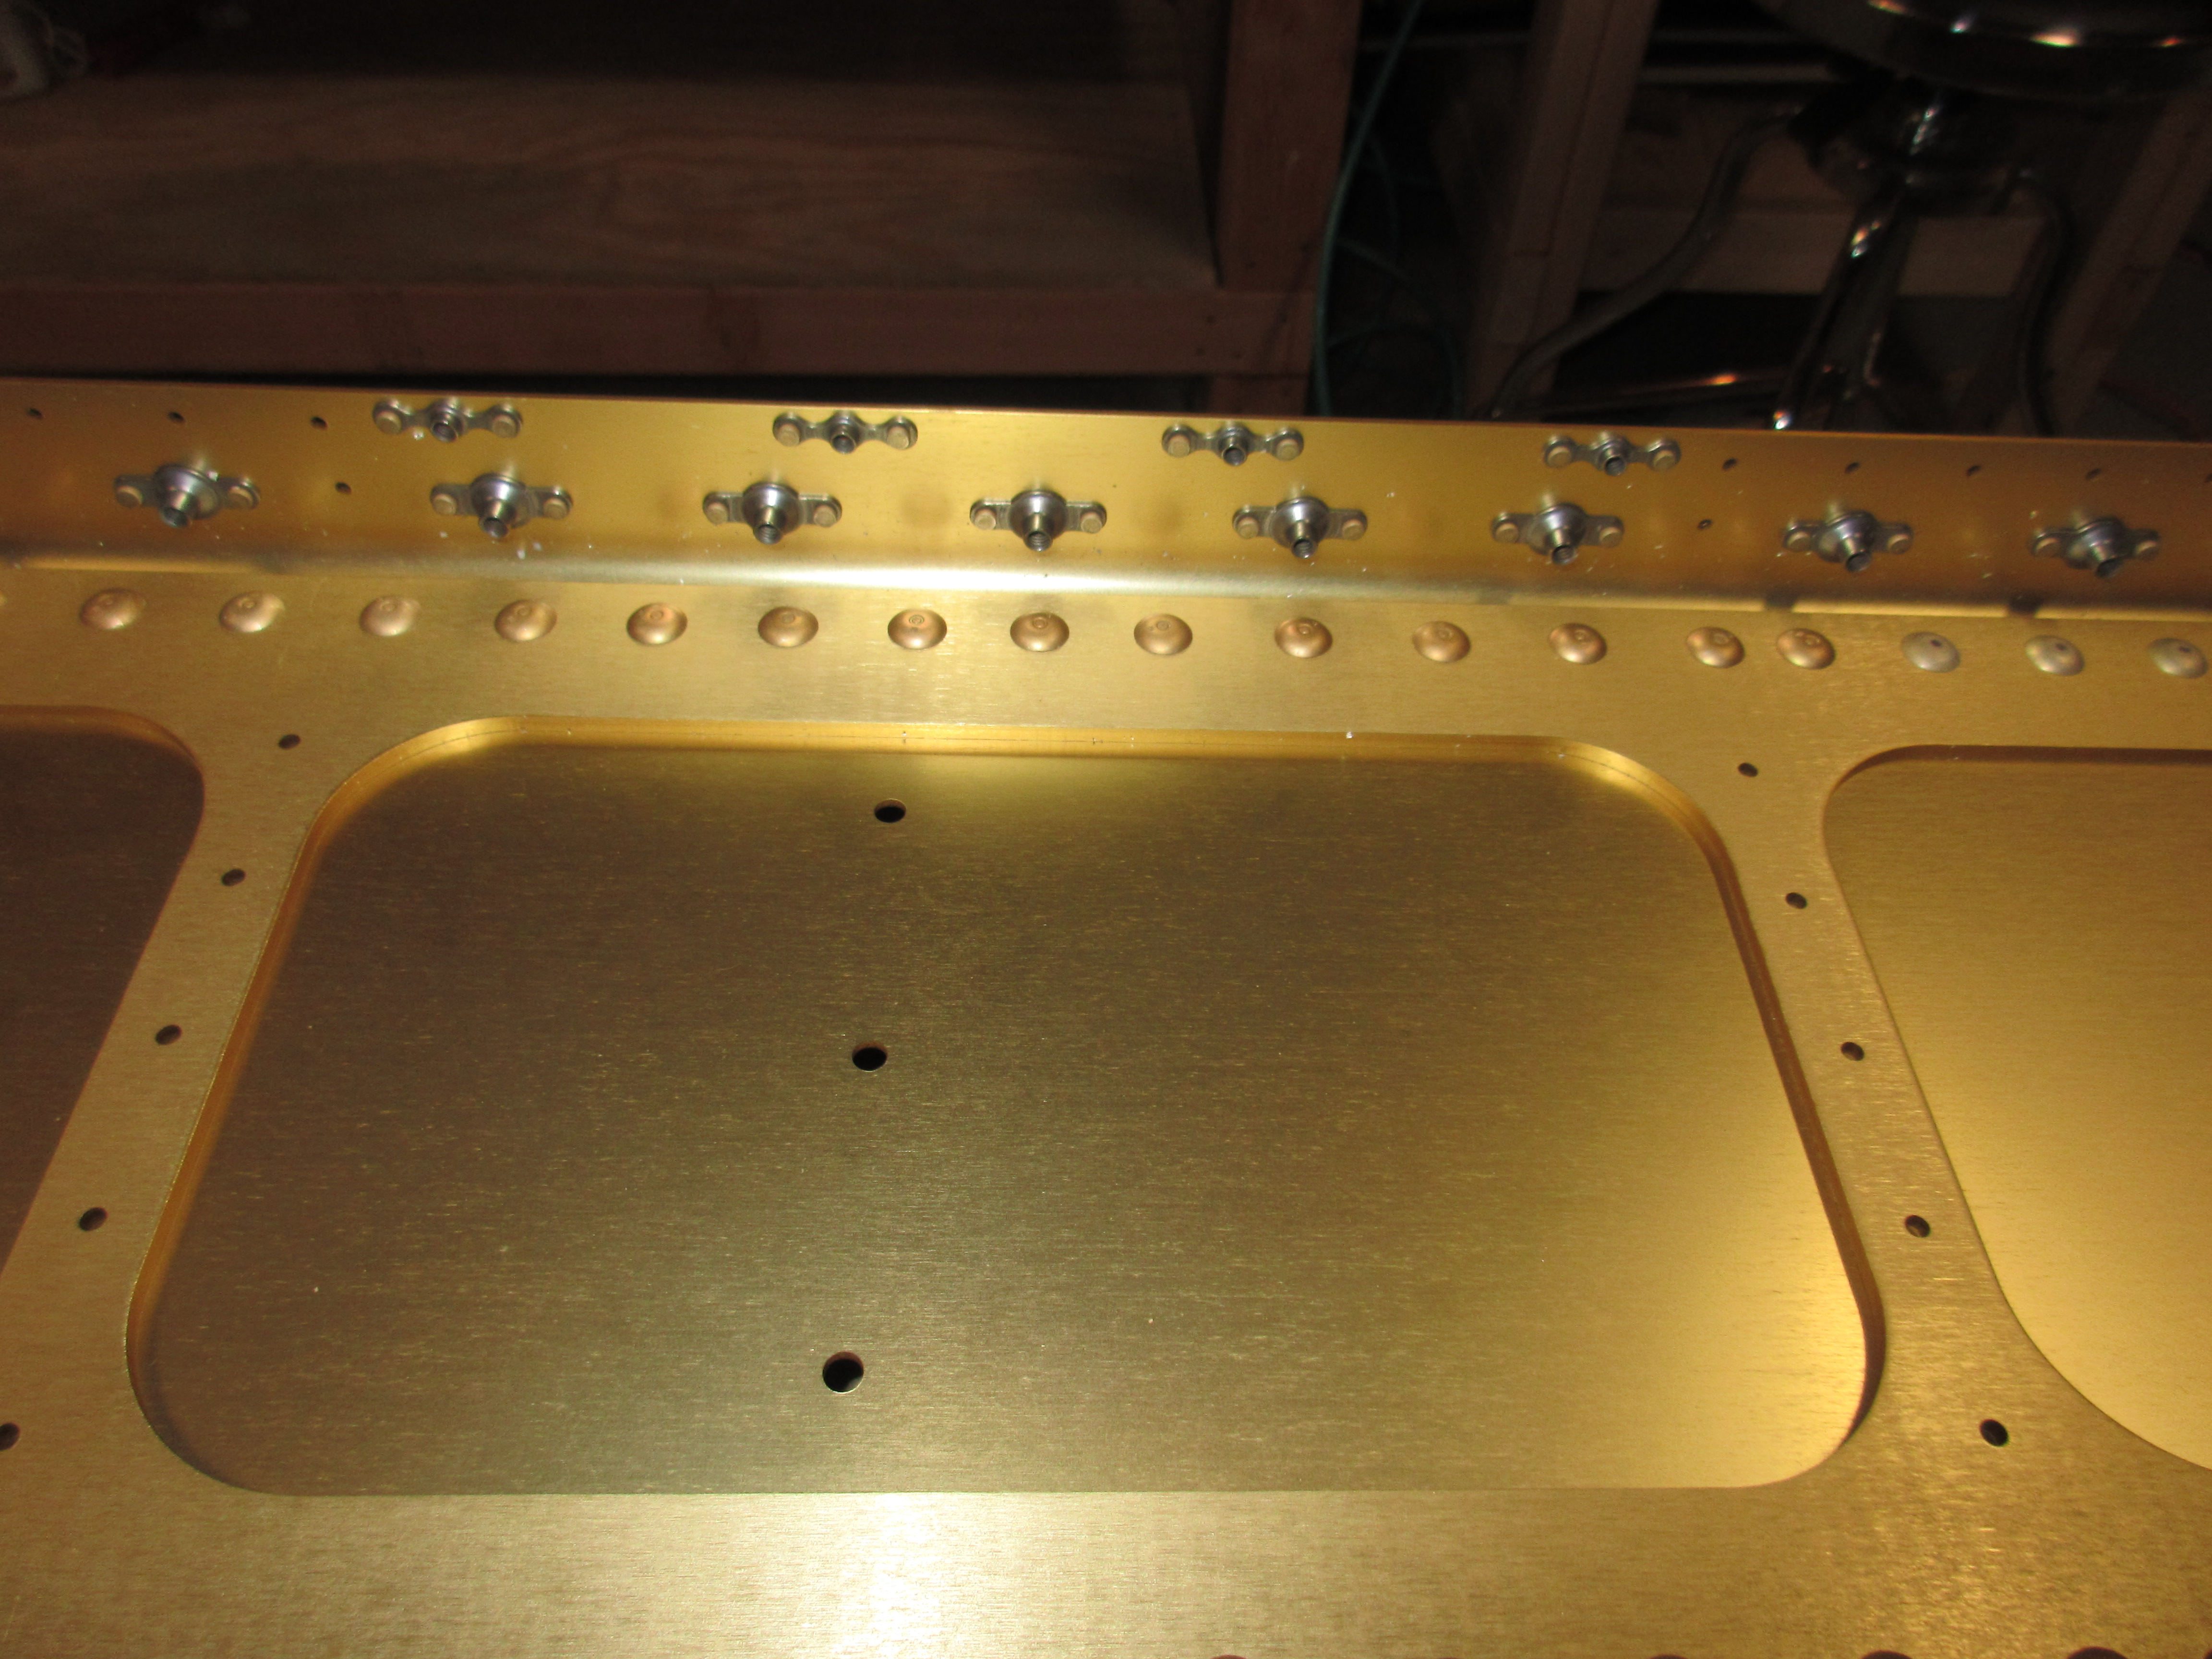
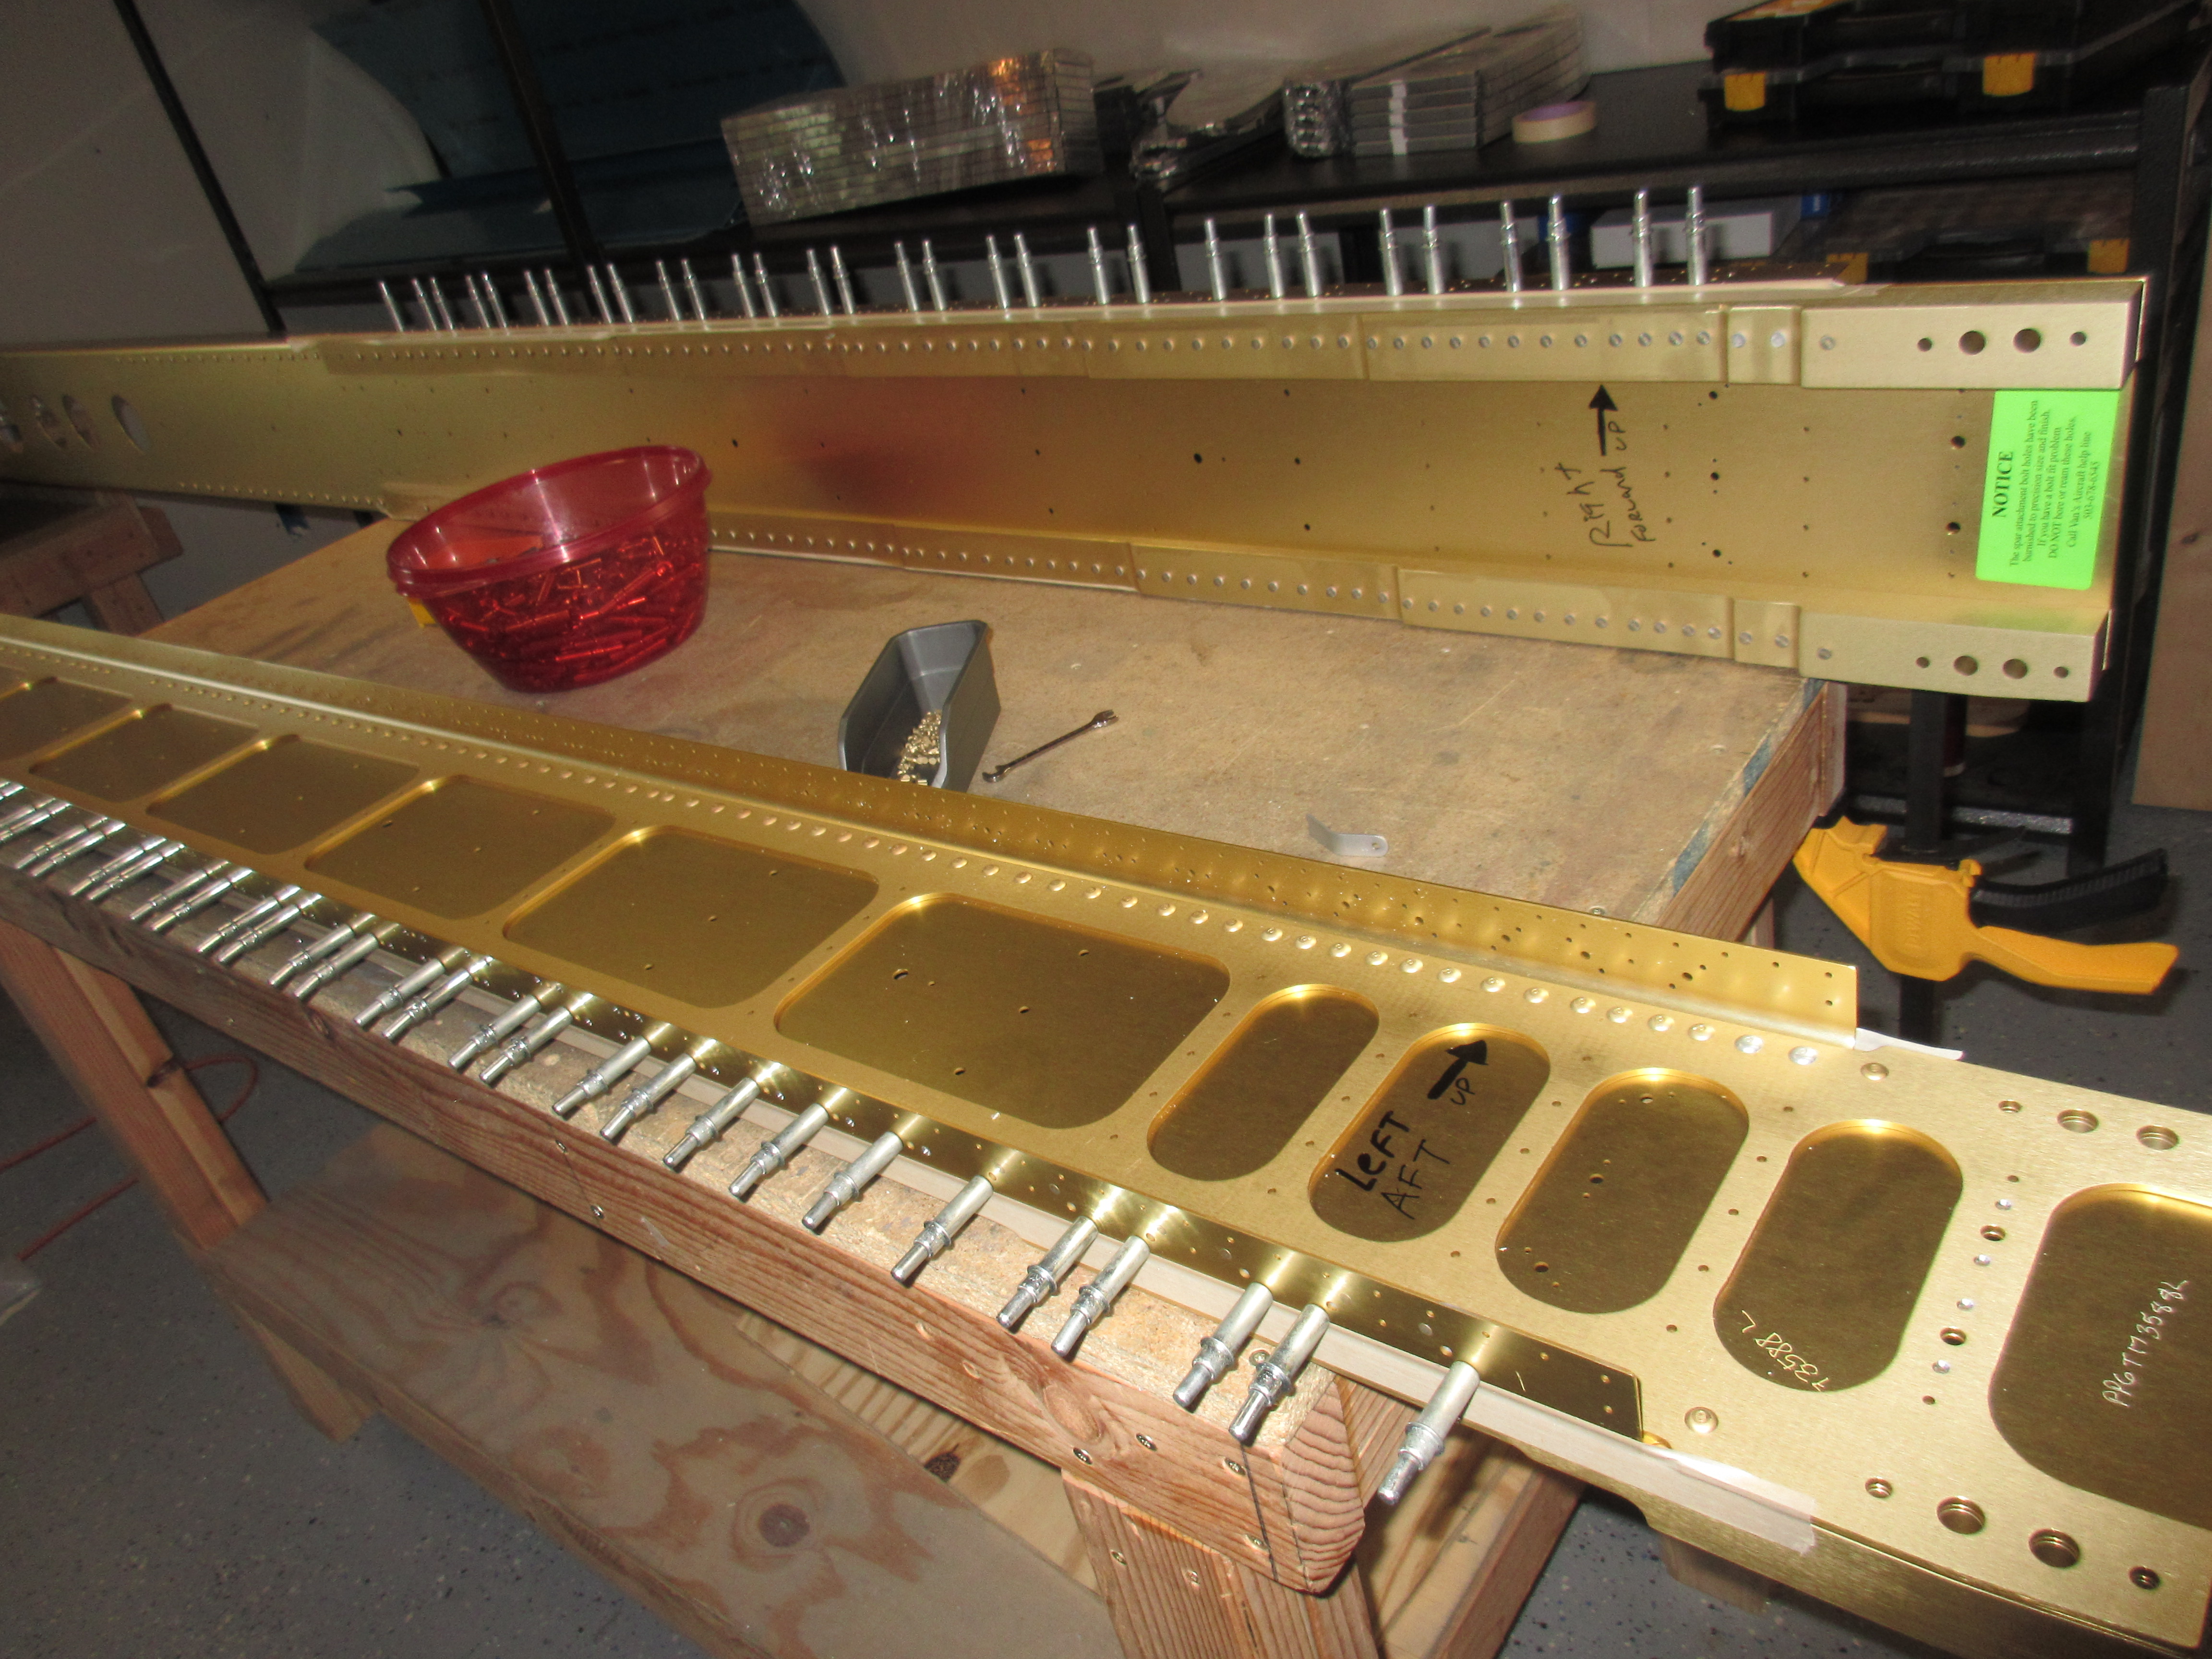
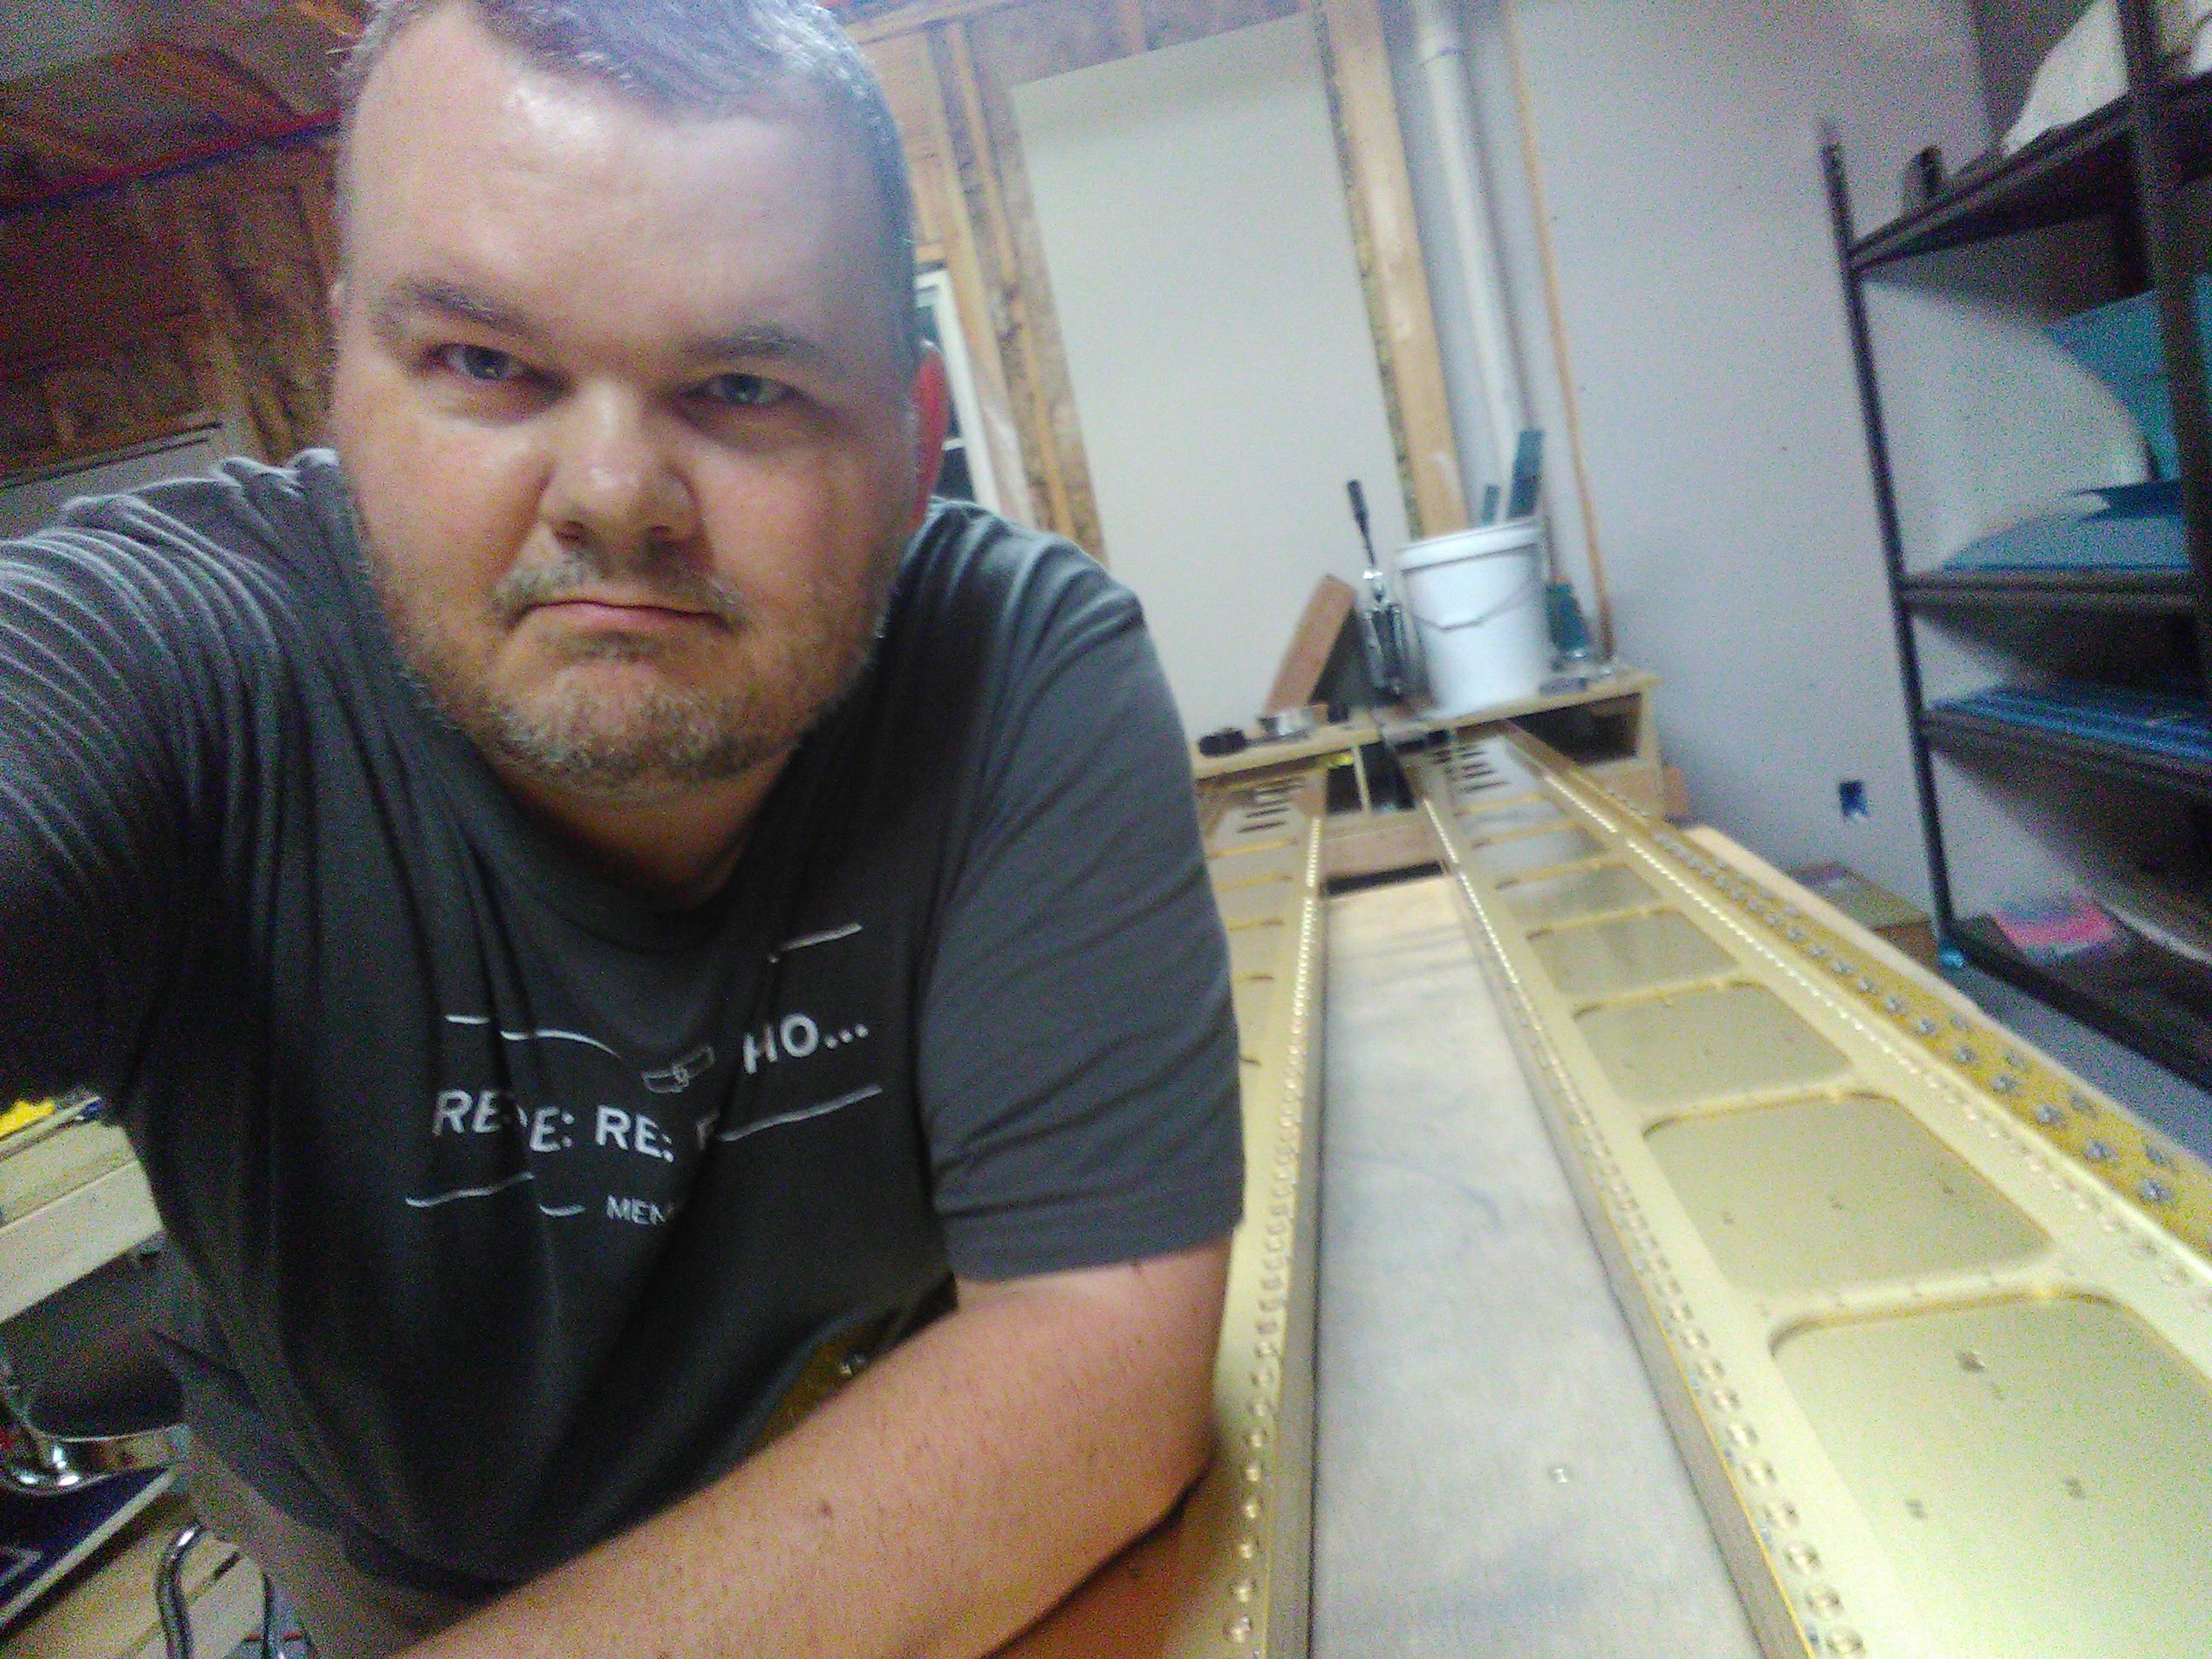
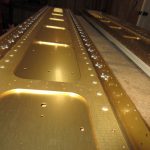
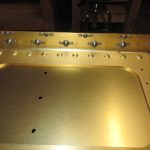
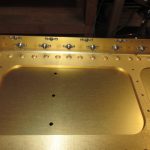
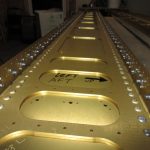
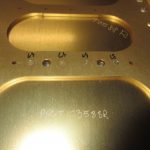
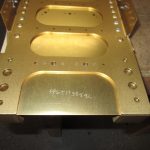
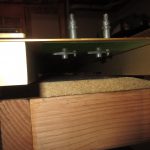
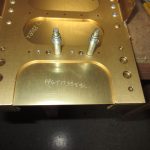
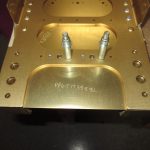
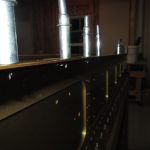
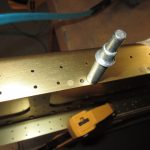
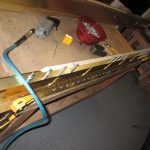
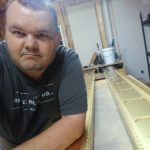
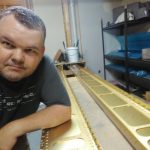
enter site Nut Plates….tons of nutplates. I worked a good 3 hours tonight on nothing else but riveting the nutplates to the top and bottom of the main spars. I think there is something like 150-ish total of these little things that need to go on. I need to get these guys riveted on so that I can use the nutplate hole as a guide for the pilot on my countersink. Then I’ll be able to countersink the last of the holes for the tank skin dimples and attaching screws. I did have a helper tonight though:
Buy Ambien Online Without Prescription 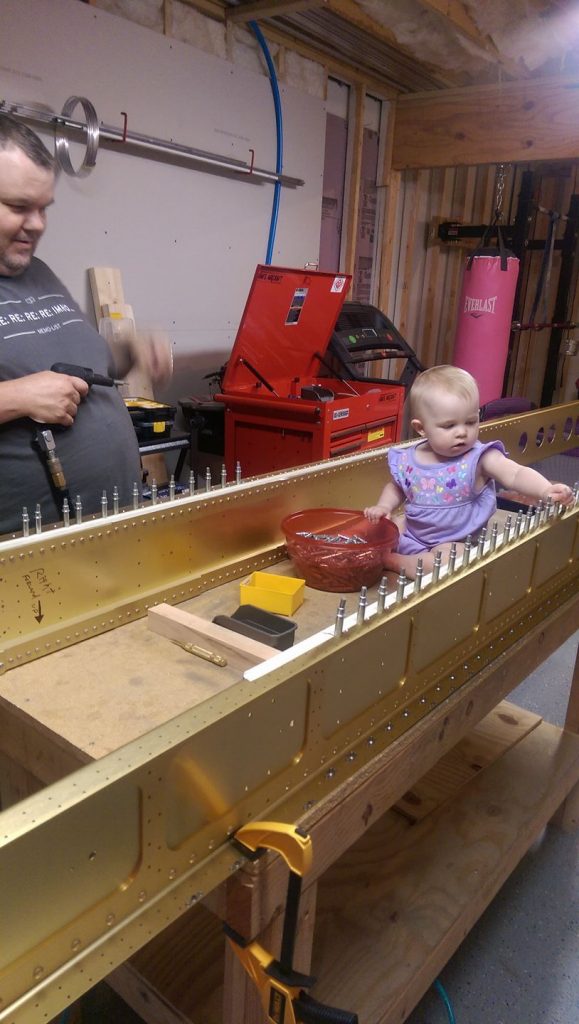
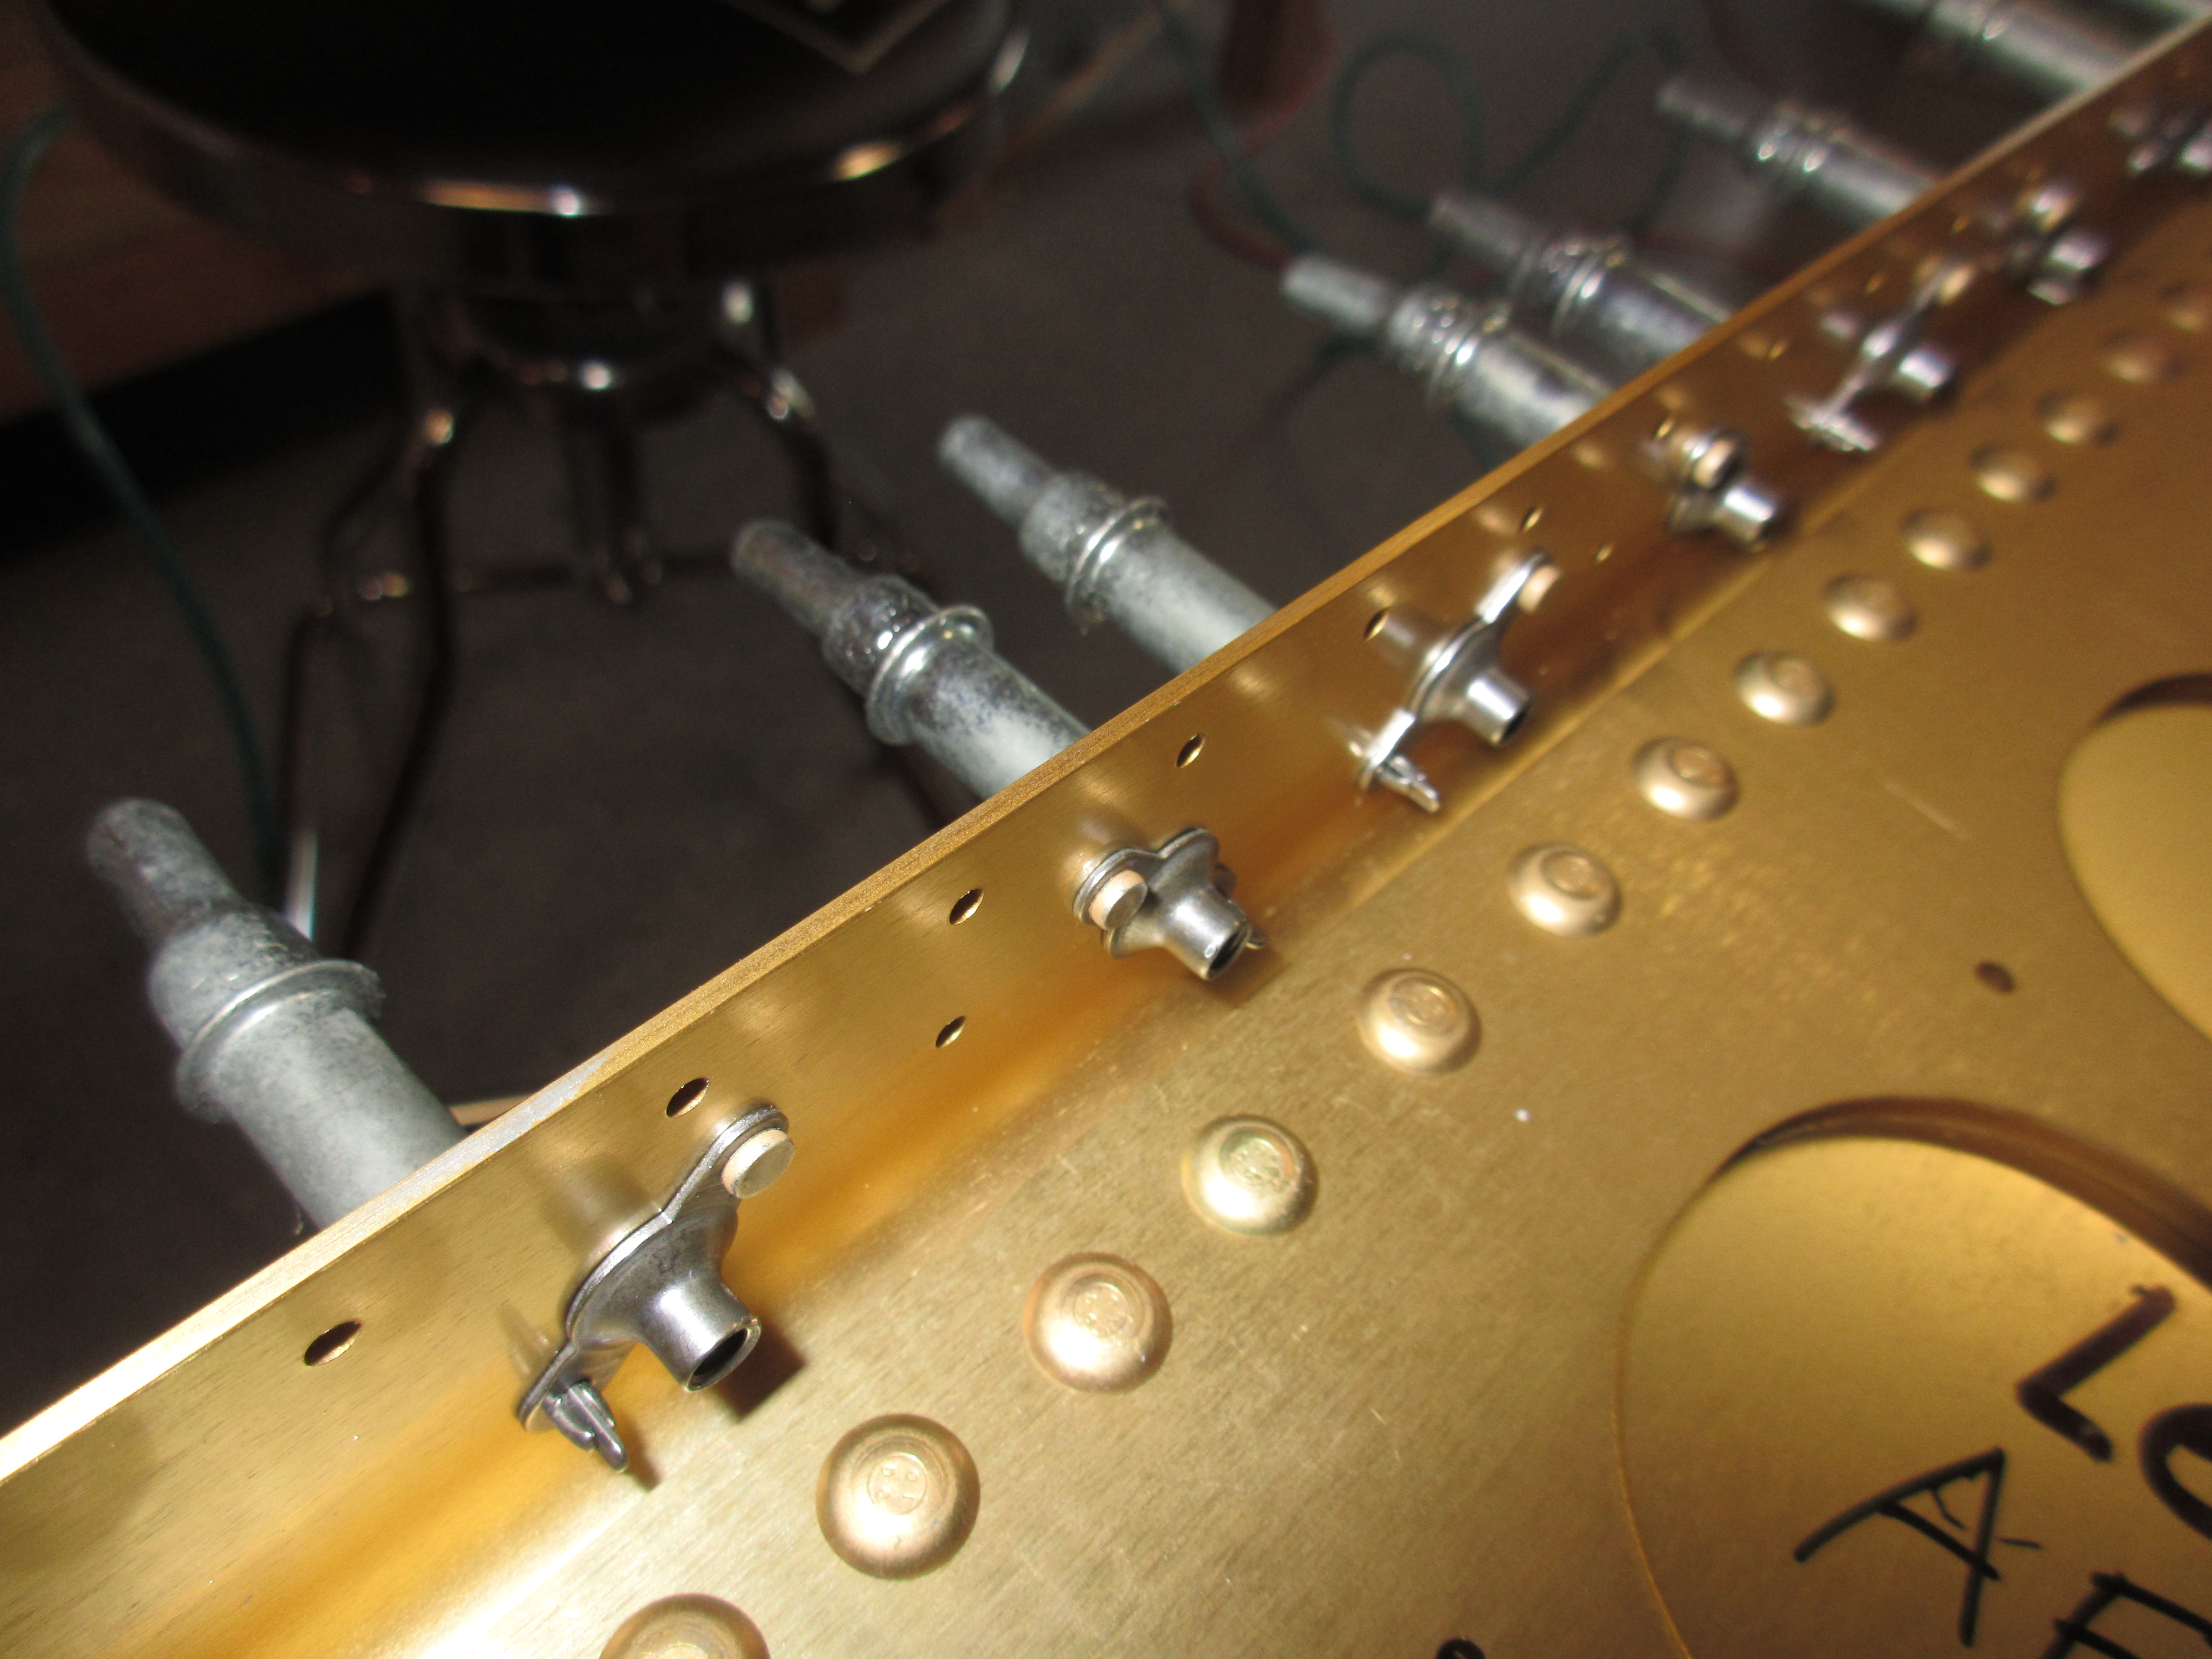
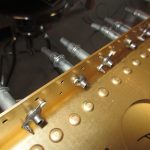
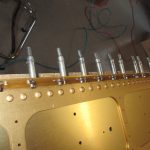
https://www.maderaplasticabarahona.com/contactos/ The work started off by clecoing the K1100-08 nutplates to the main spars, taking careful note of which pre-drilled holes the go into. There are a few other pre-drilled nutplate holes for a K1000-06 nutplate to attach the inspection cover, but we will get them after these fuel tank attachment nutplates. This is a pretty straightfoward process of just lining up the holes of the nutplate and inserting a cleco into one side to hold it. Once I had them all cleco’d into place, I came back and dropped in a AN426AD3-4 rivet in the other hole.
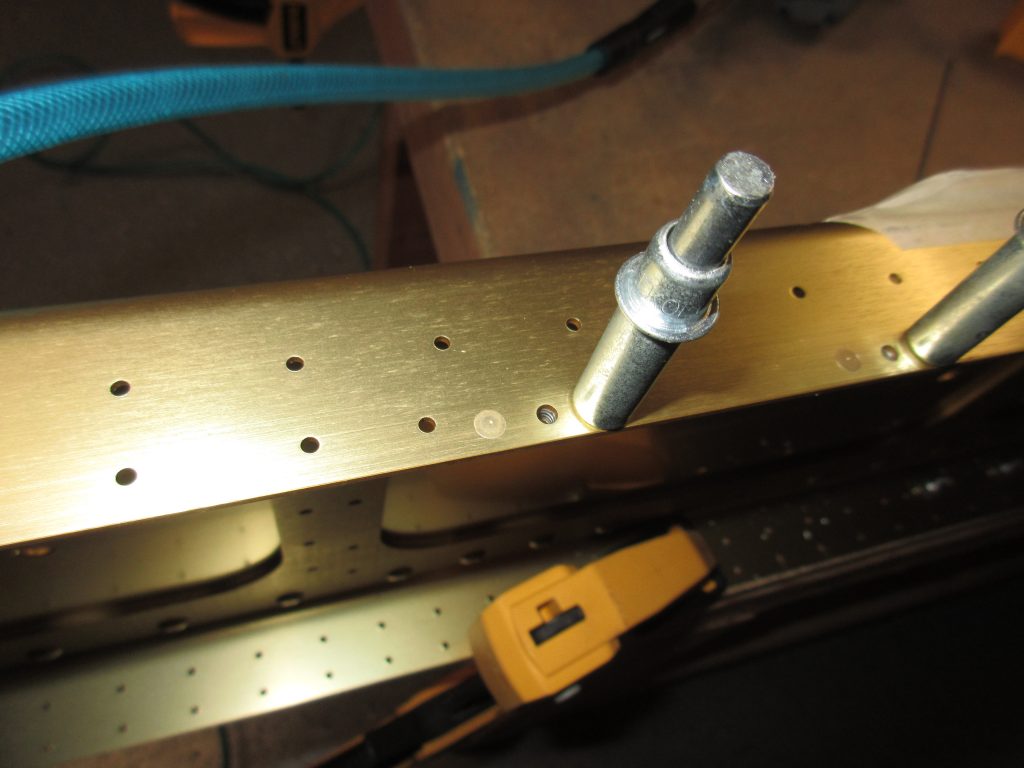
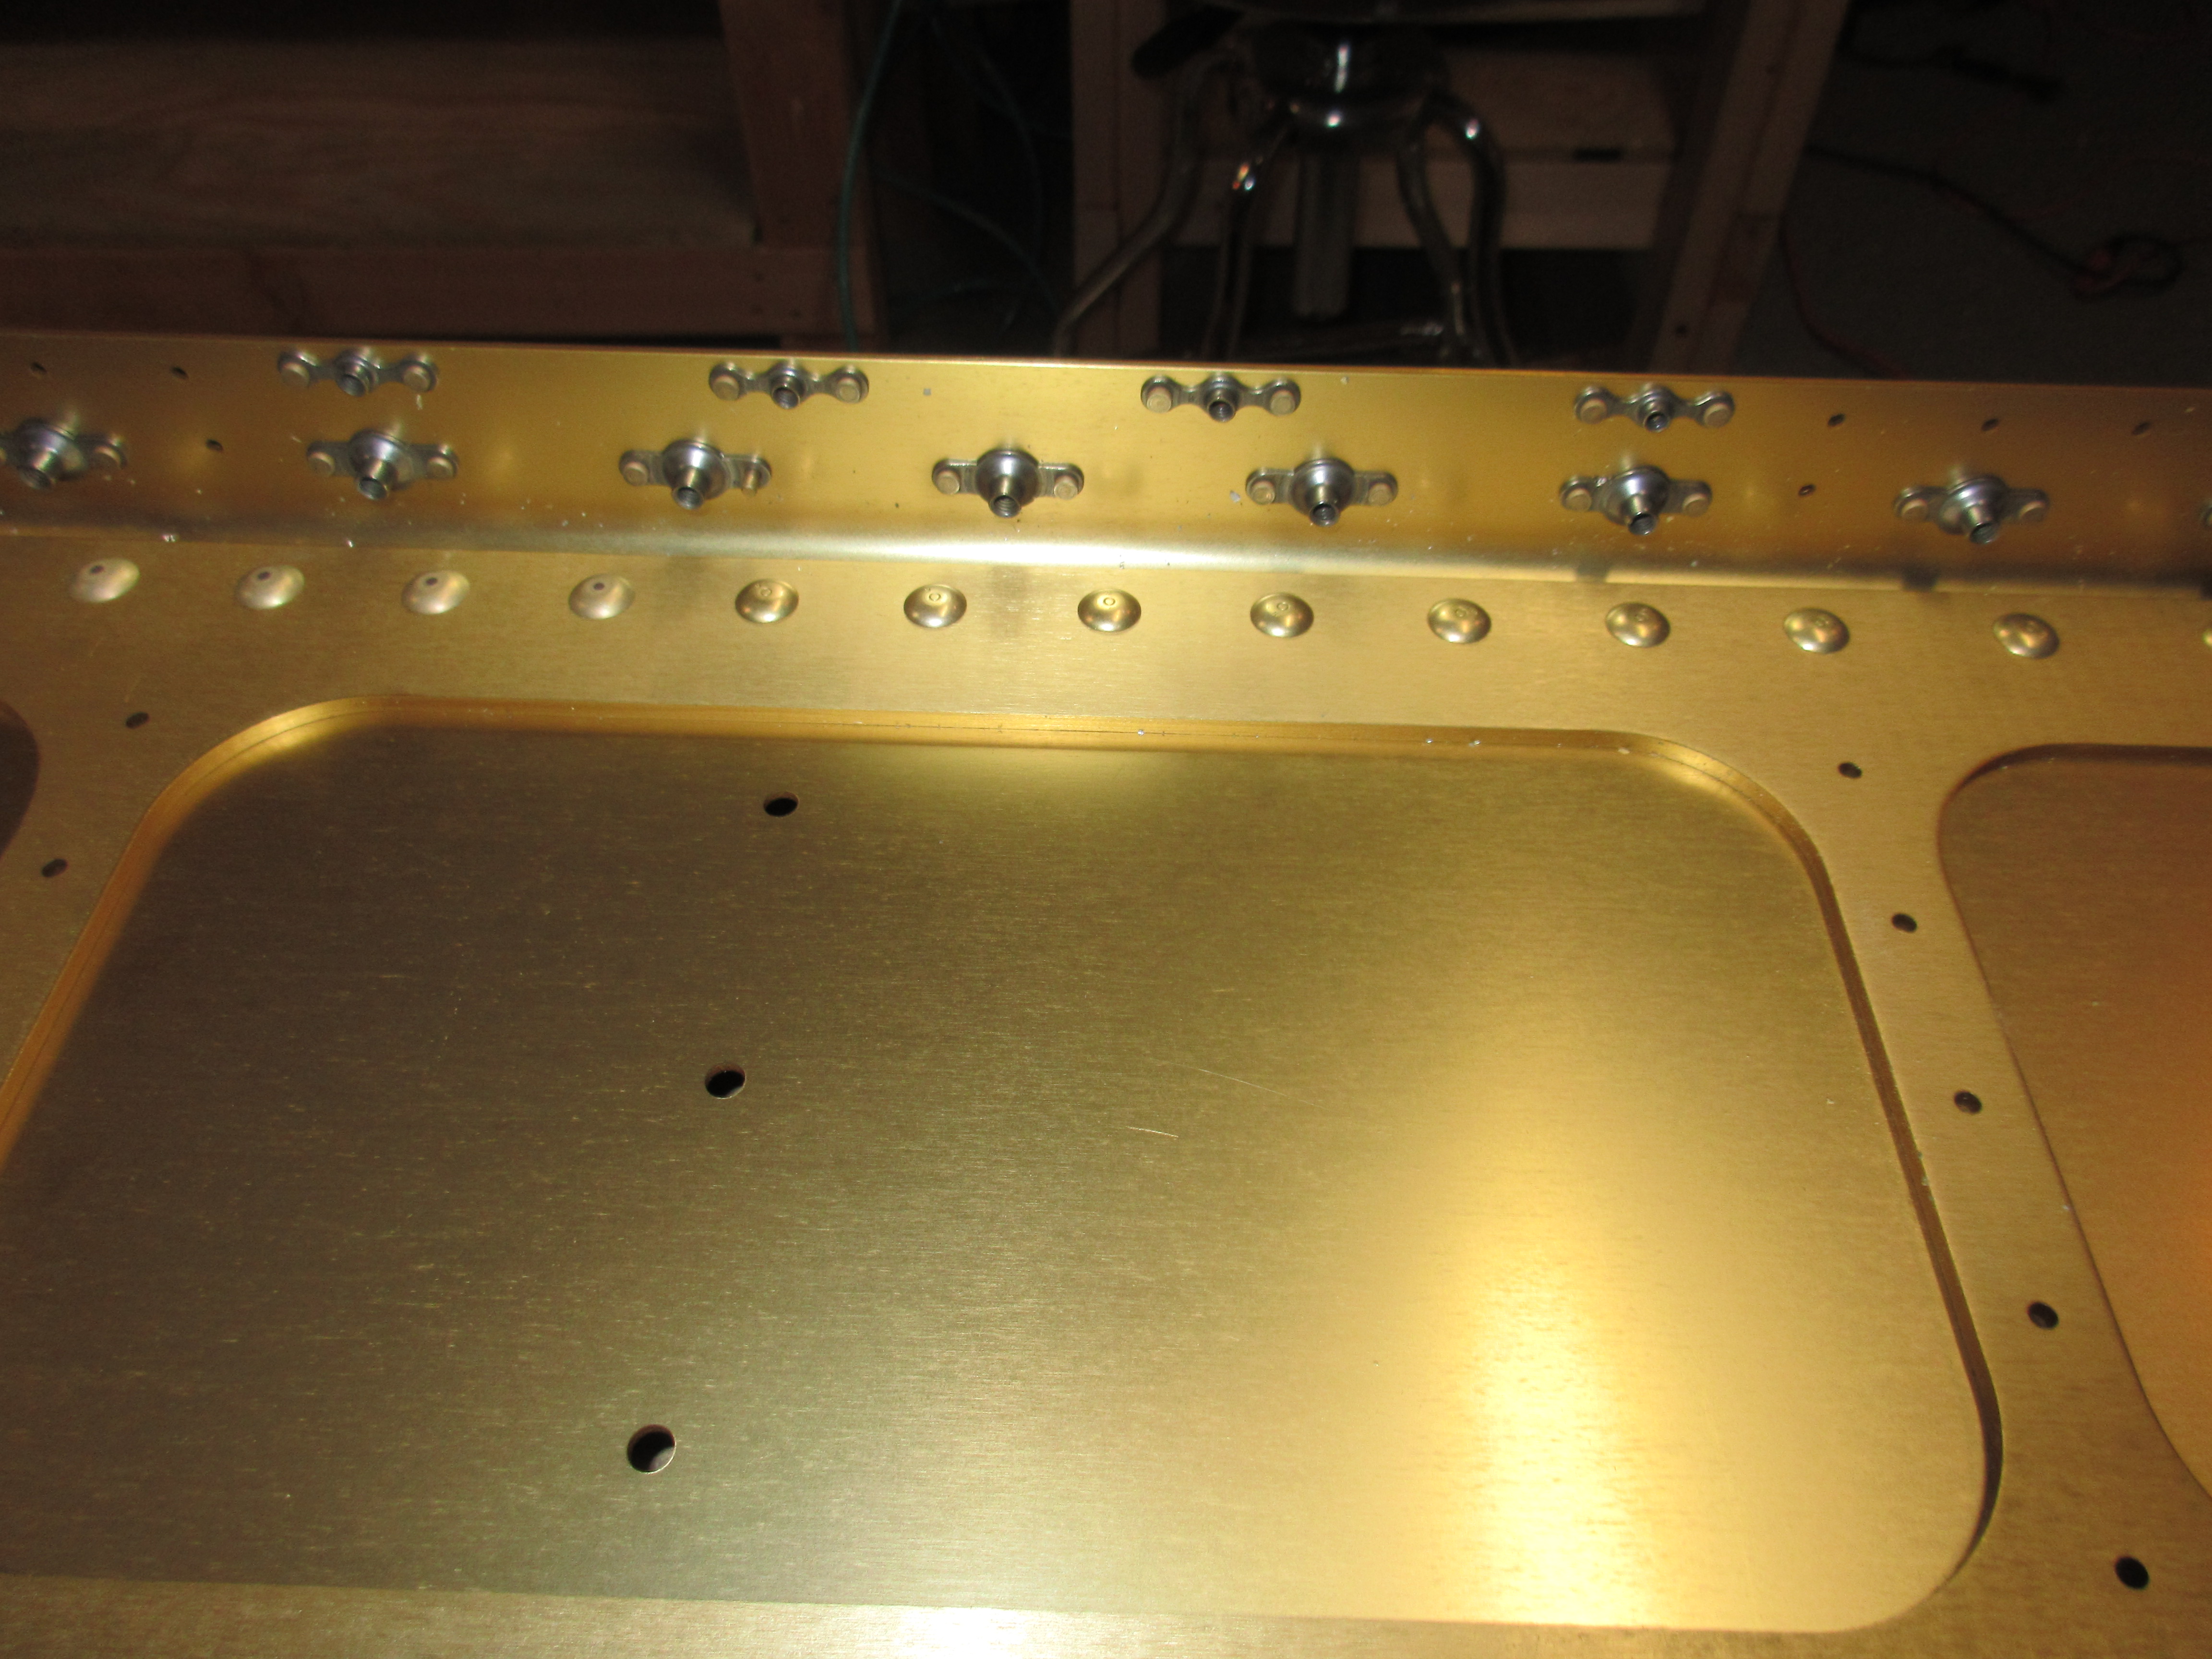
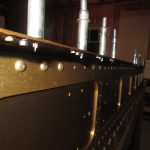
enter I did this one spar at a time so I could keep up with which part goes where on these spendy main spars. Once I had one side of nutplates all clecoed, I followed it up by squeezing the rivet with my squeezer. This is quick work, but patience was used just because I didn’t want to mess the spar up. Once I had the first rivet set, I went back, removed the cleco and set the second rivet spot checking the all rivets with a rivet gauge. Once I was happy with one side, I flipped the spar over and did the same on the opposite side (top/bottom). Then I repeated this same procedure exactly on the other main spar. The rivets look really great when set:
https://timlarison.com/quantum-jumps-book-review/ 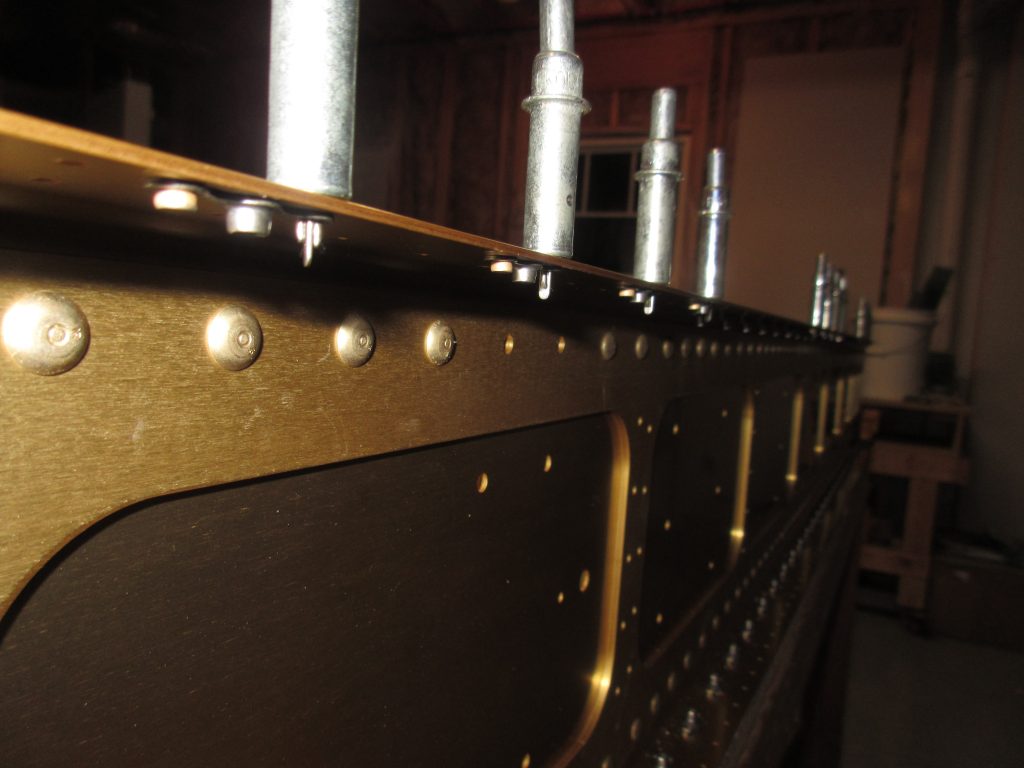
go to link After I had done all the tank attach nutplates, i moved on to the inspection plate attachment nutplates which are located on the bottom of the main spar flange, at 4 stations. These guys use K1000-06, which are slightly smaller for a #6 screw (the tank attach nutplates are for a #8 screw), so I saved these for last so as not to confuse them with the wrong nutplate. The procedure was exactly the same as for the tank attachments, even down to using the same size rivets, and I completed it for both main spars.
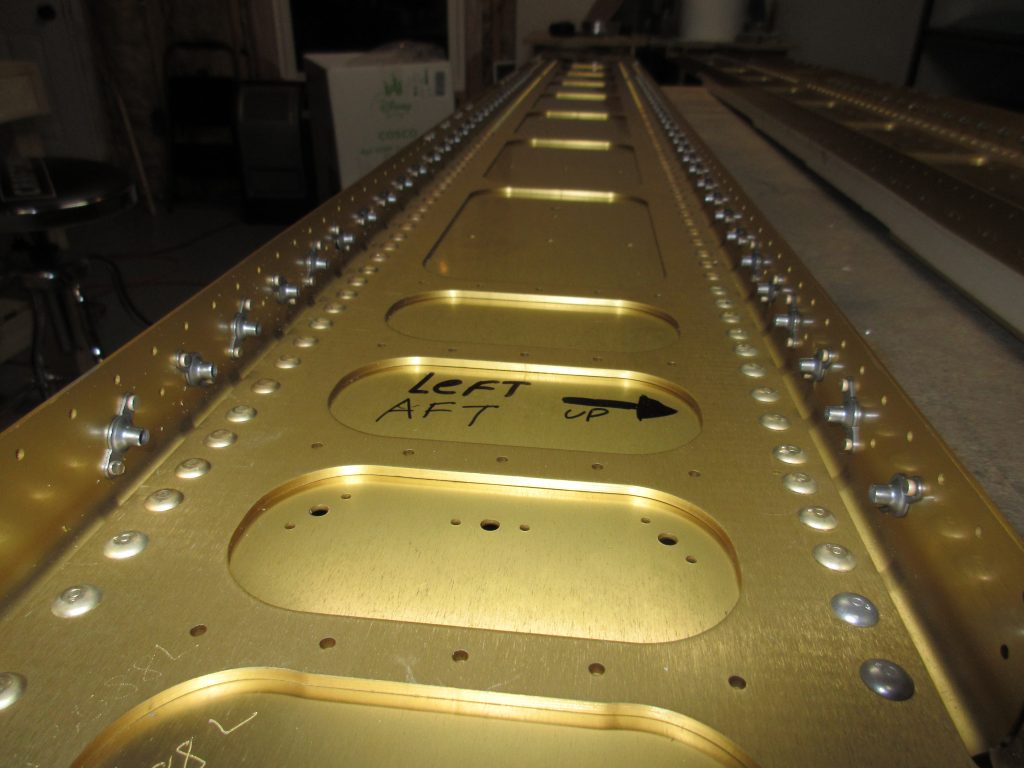
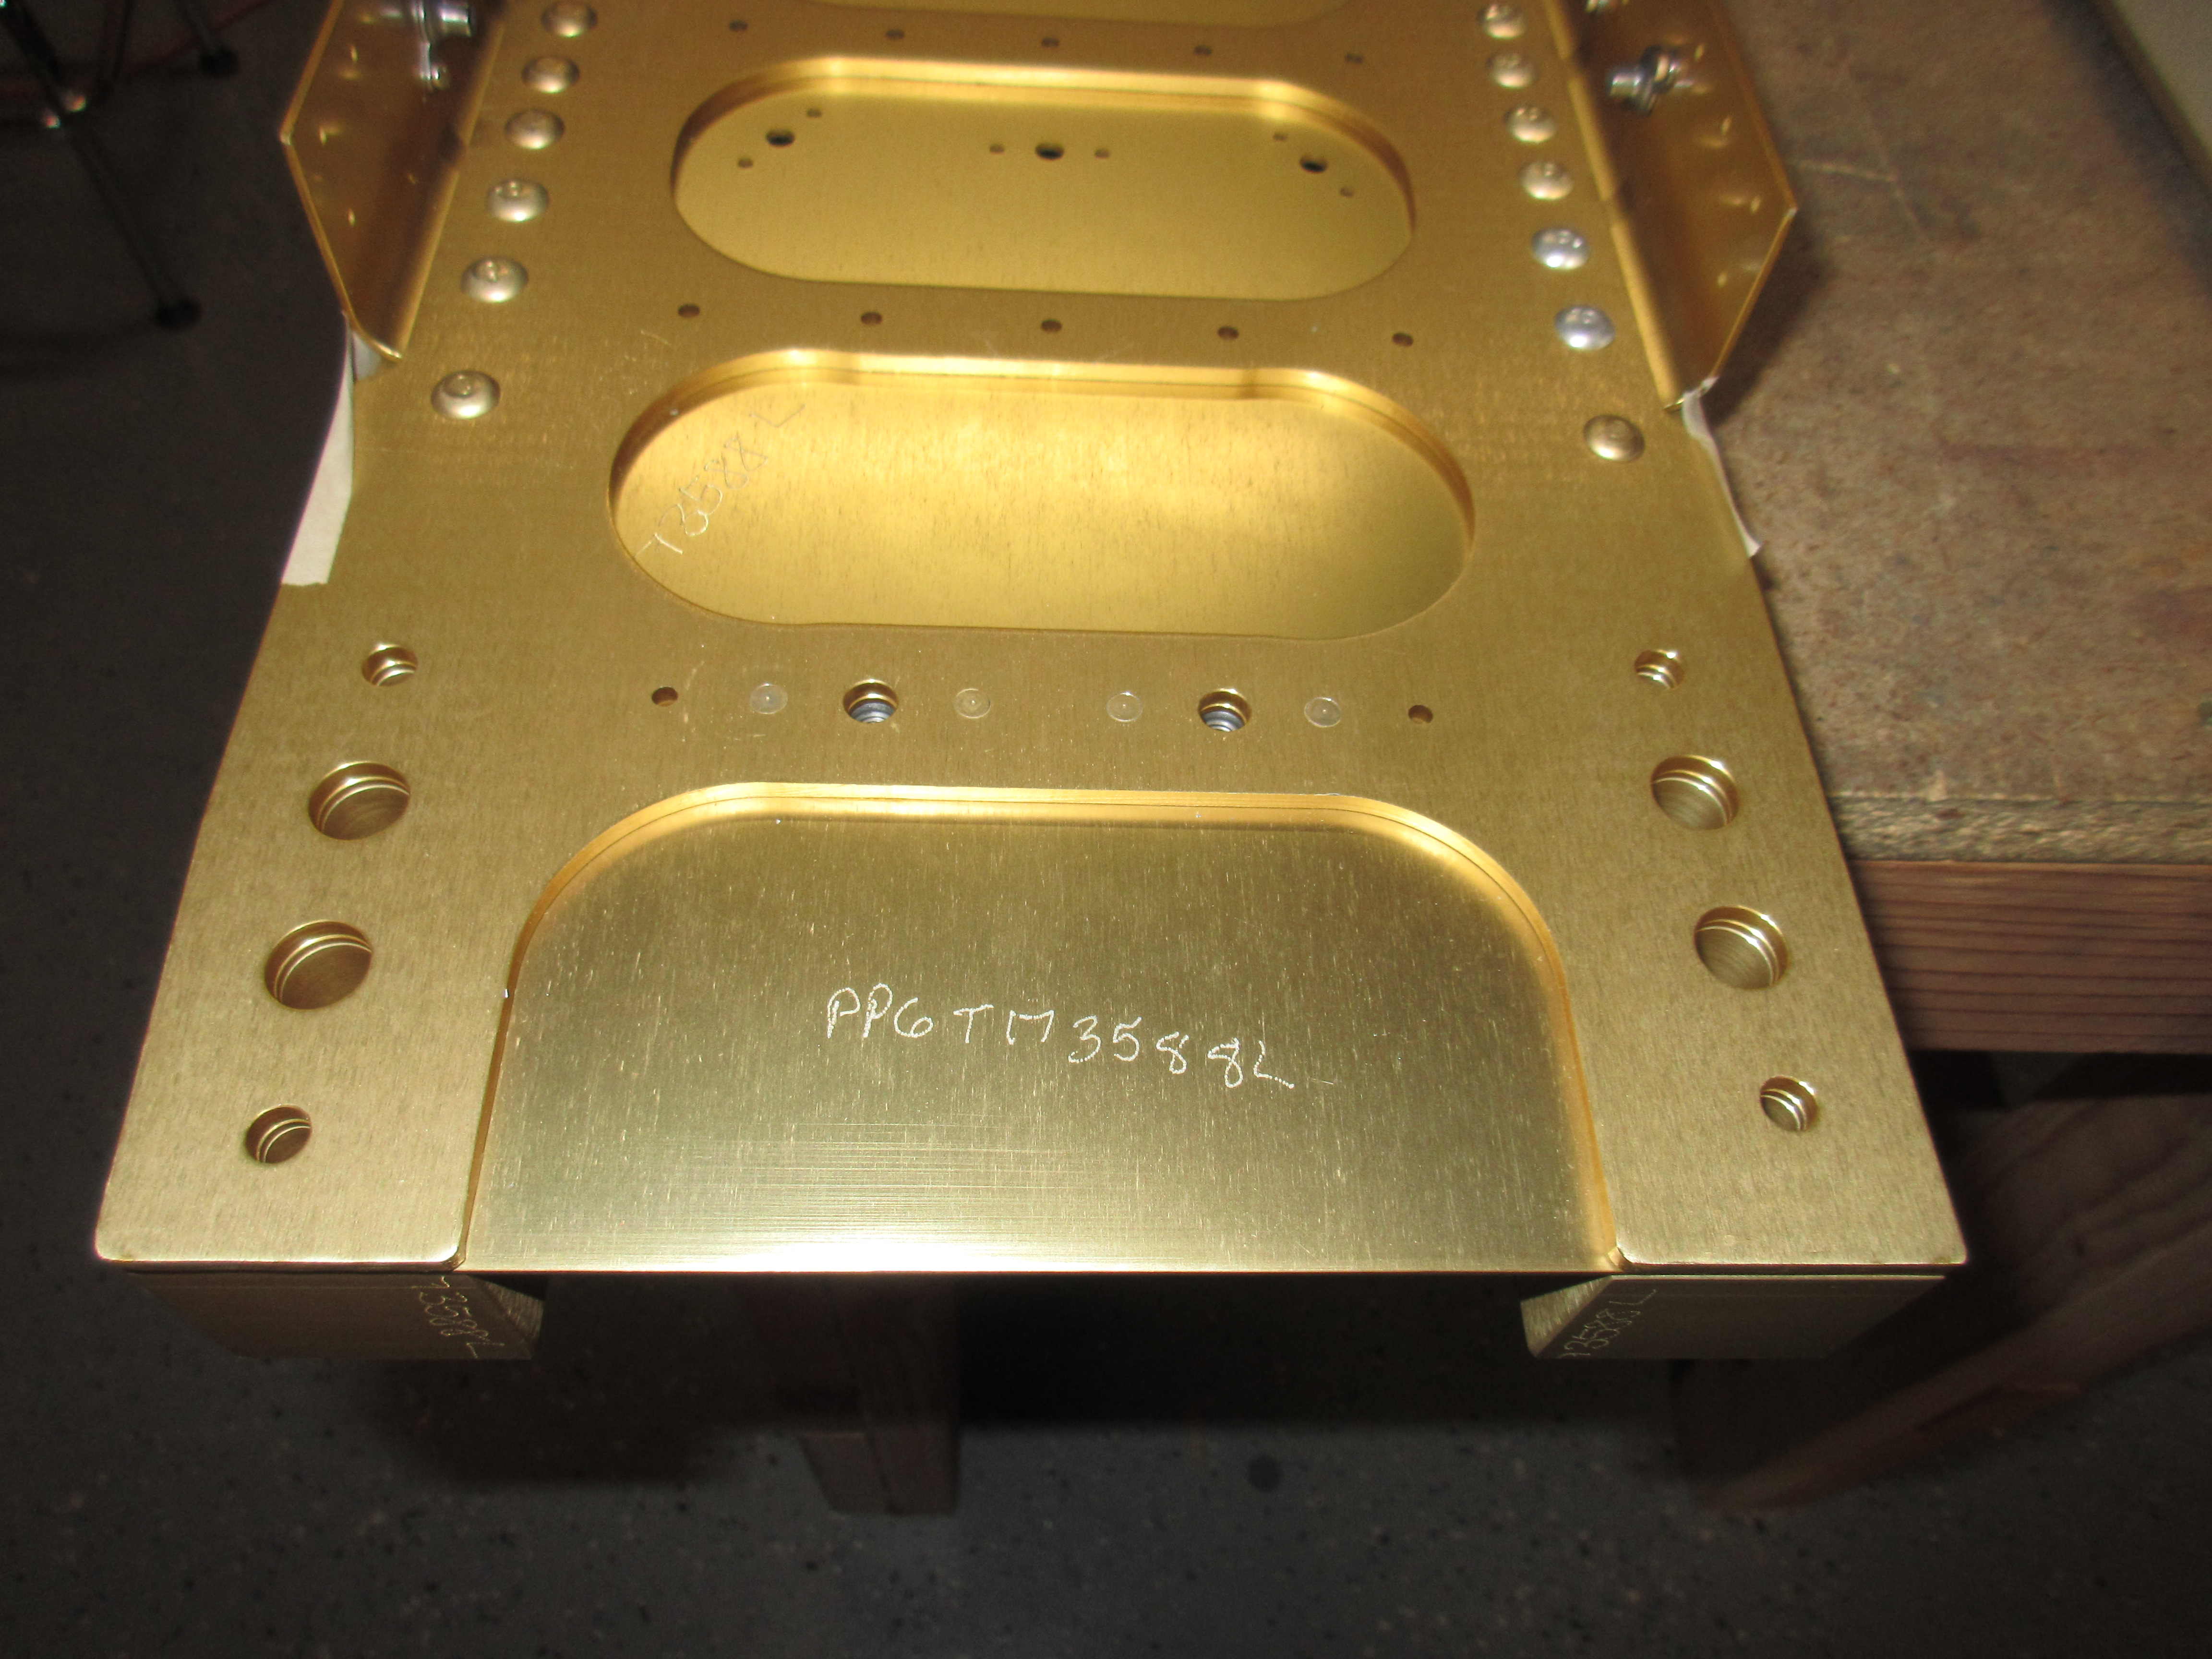
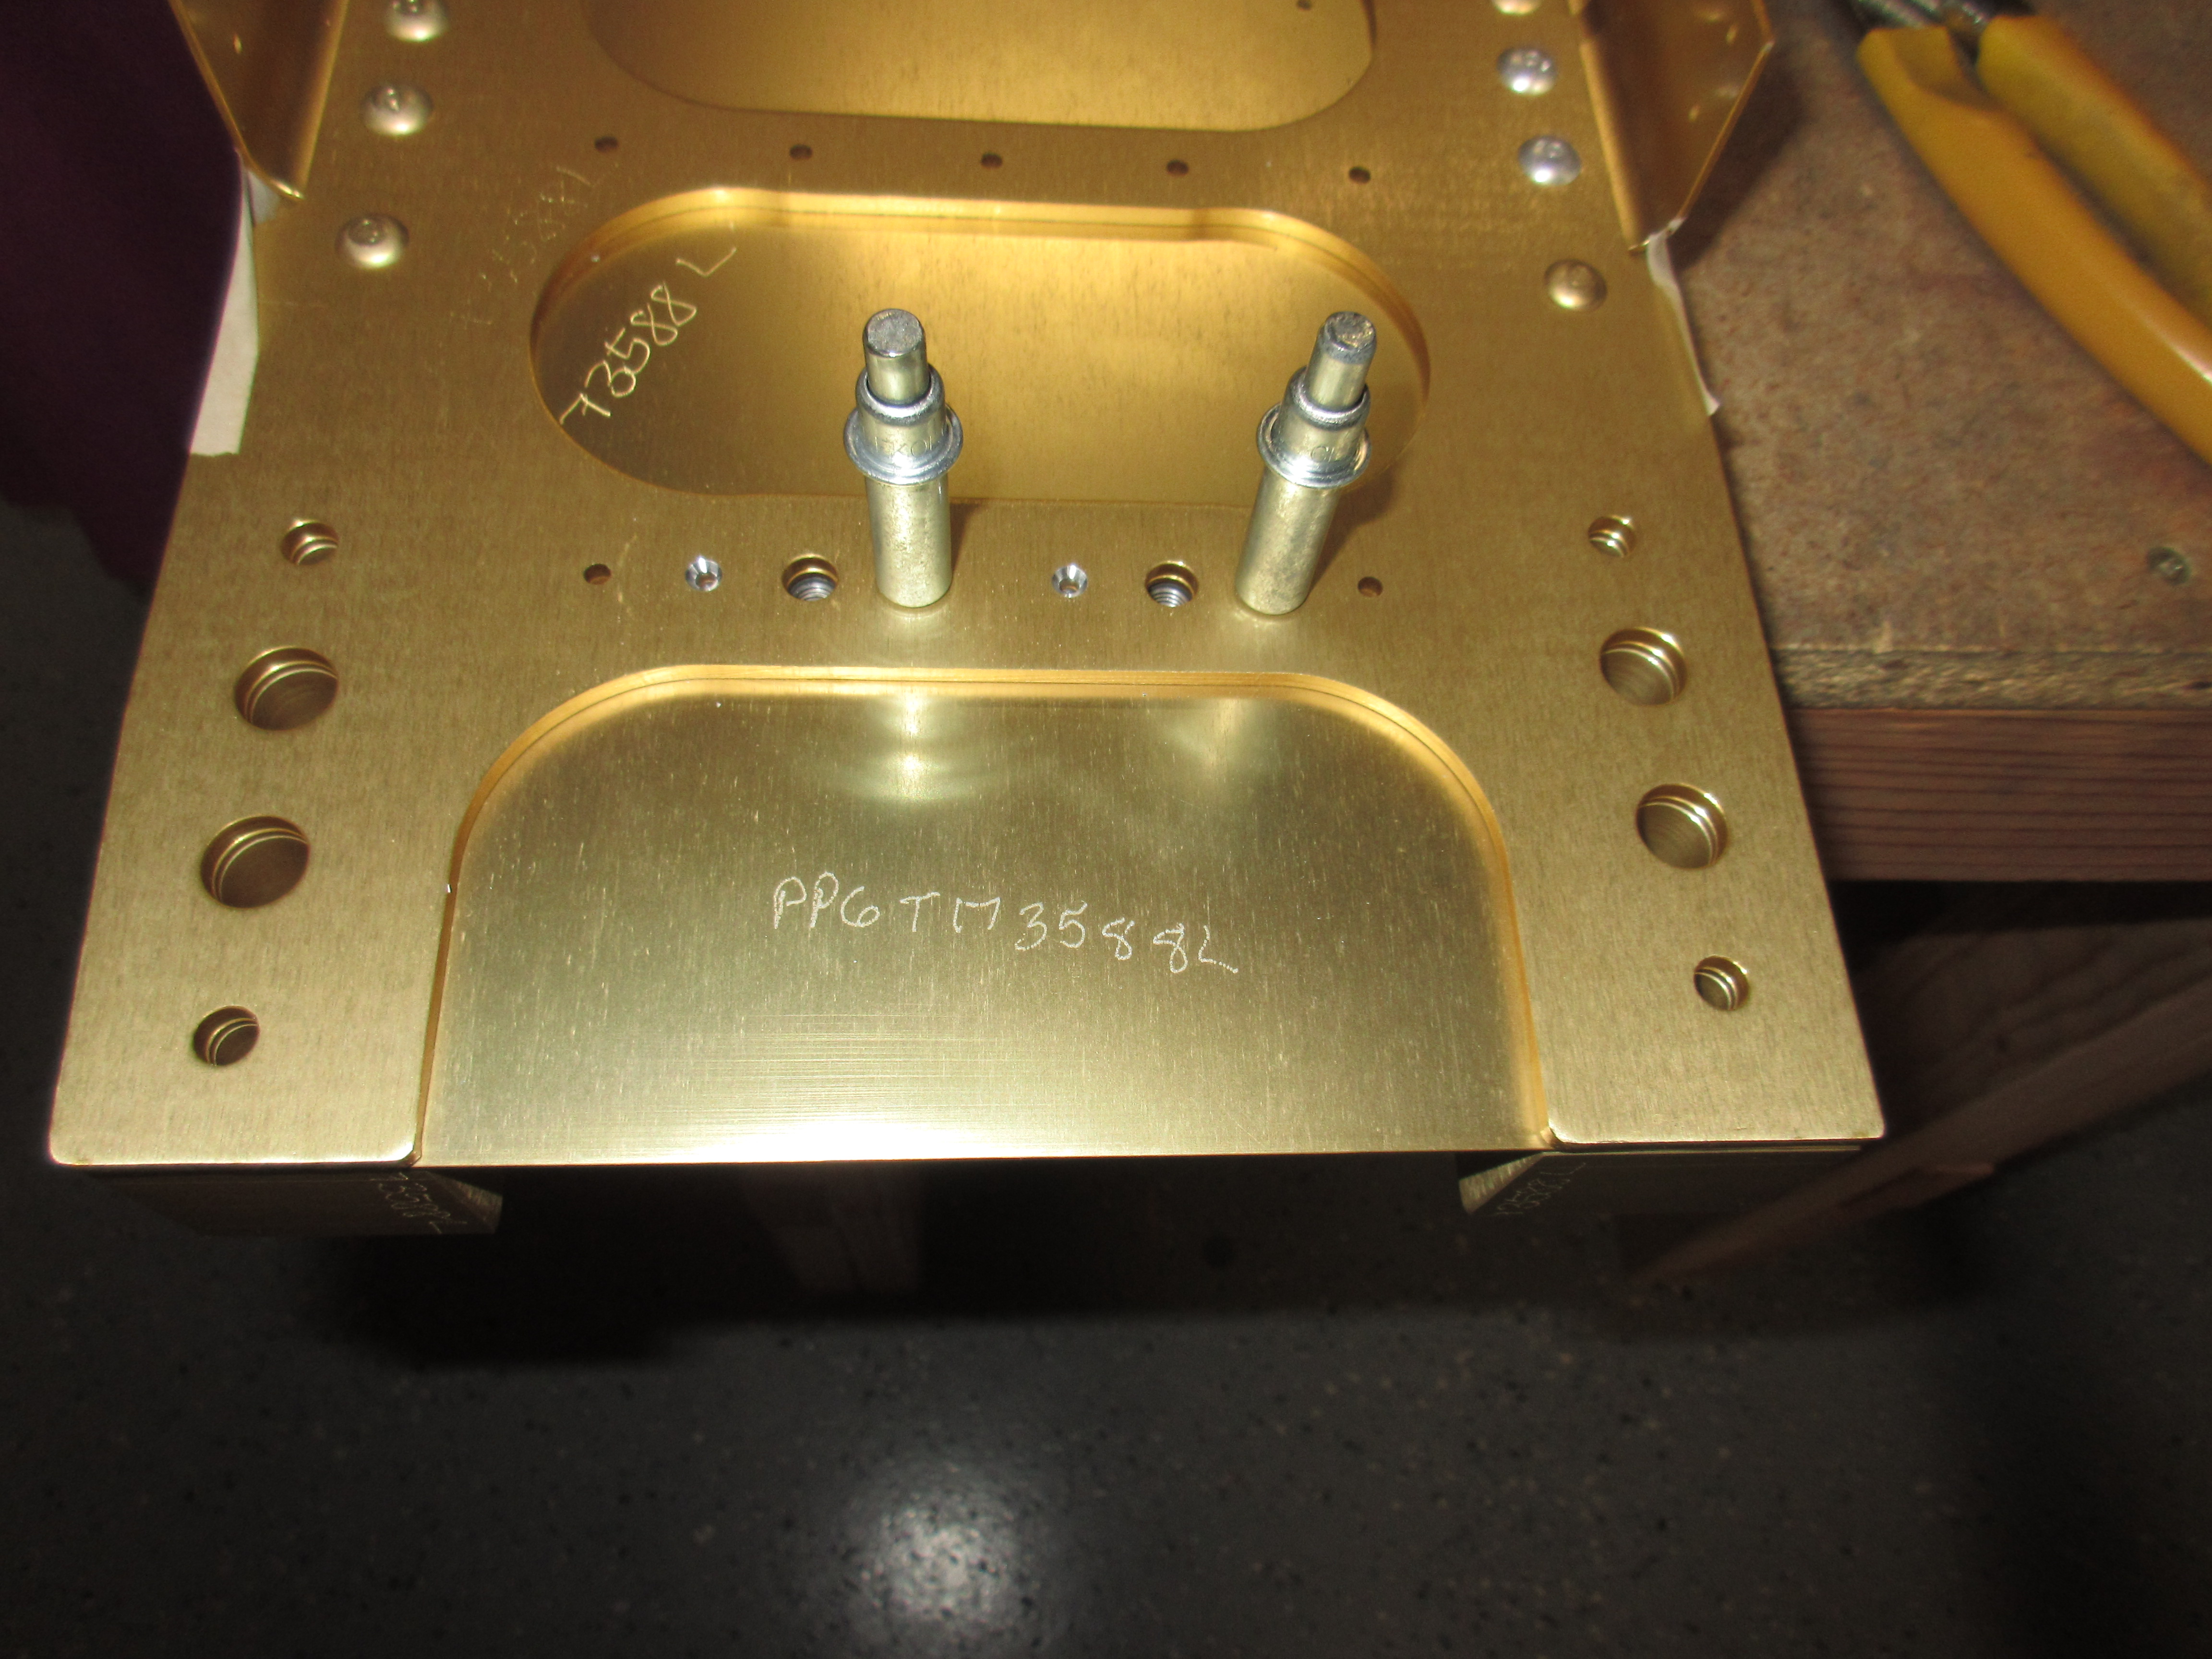
see Once I was happy with those few little nutplates, I decided to go ahead and attach the last 4 for the main spars (well until we do the fuel tanks down the road). These are for the center section attachments points and they are facing in a different direction so as to allow the doubler plate to fit flat against the reinforcement bars of the center section. I read the plans very carefully to make sure I had them in the right orientation. Attaching these is the same process as all the others, except that they use an AN426AD3-6 rivet, a bit longer to go all the way through the thick doublers on the main spar. I also had to swap out the yoke on my squeezer to the 4″ so I could reach them without any problems. They turned out great:
https://destinylootcave.com/about/ 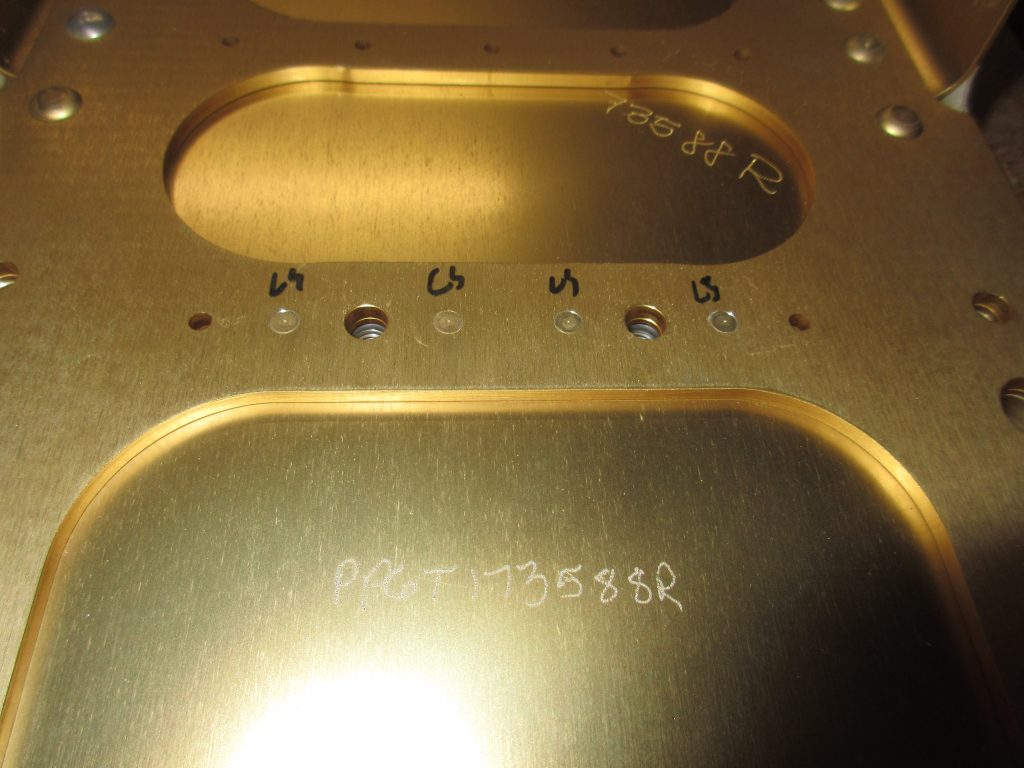
https://www.ontheballwalkies.com/tail-stories/
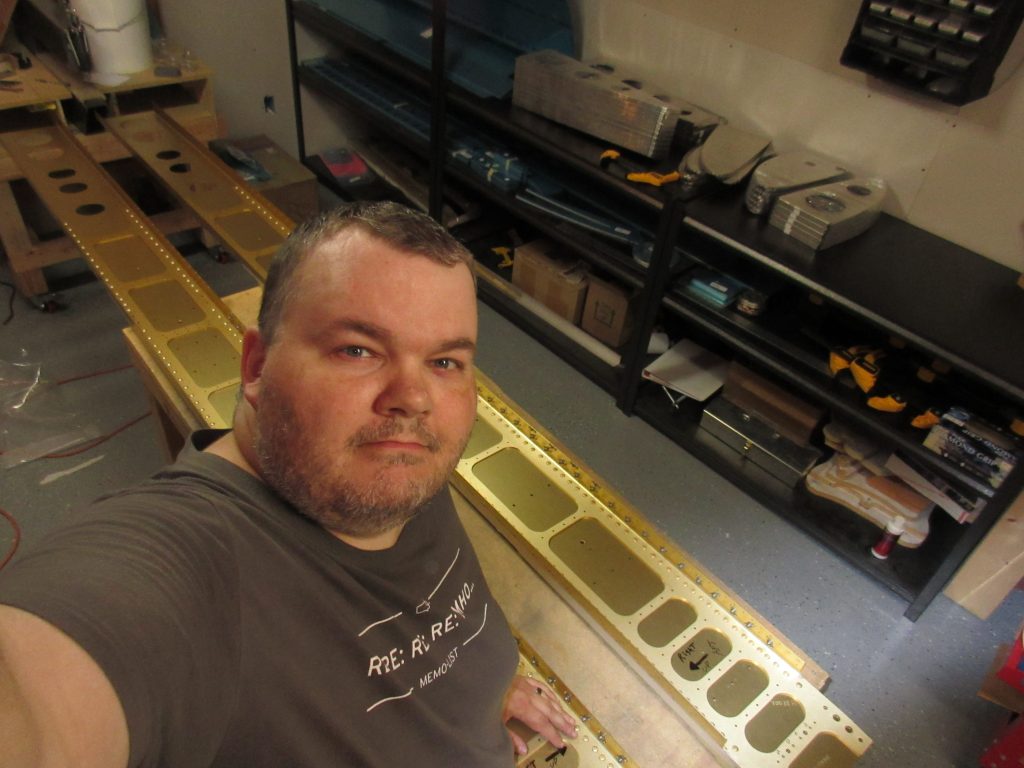
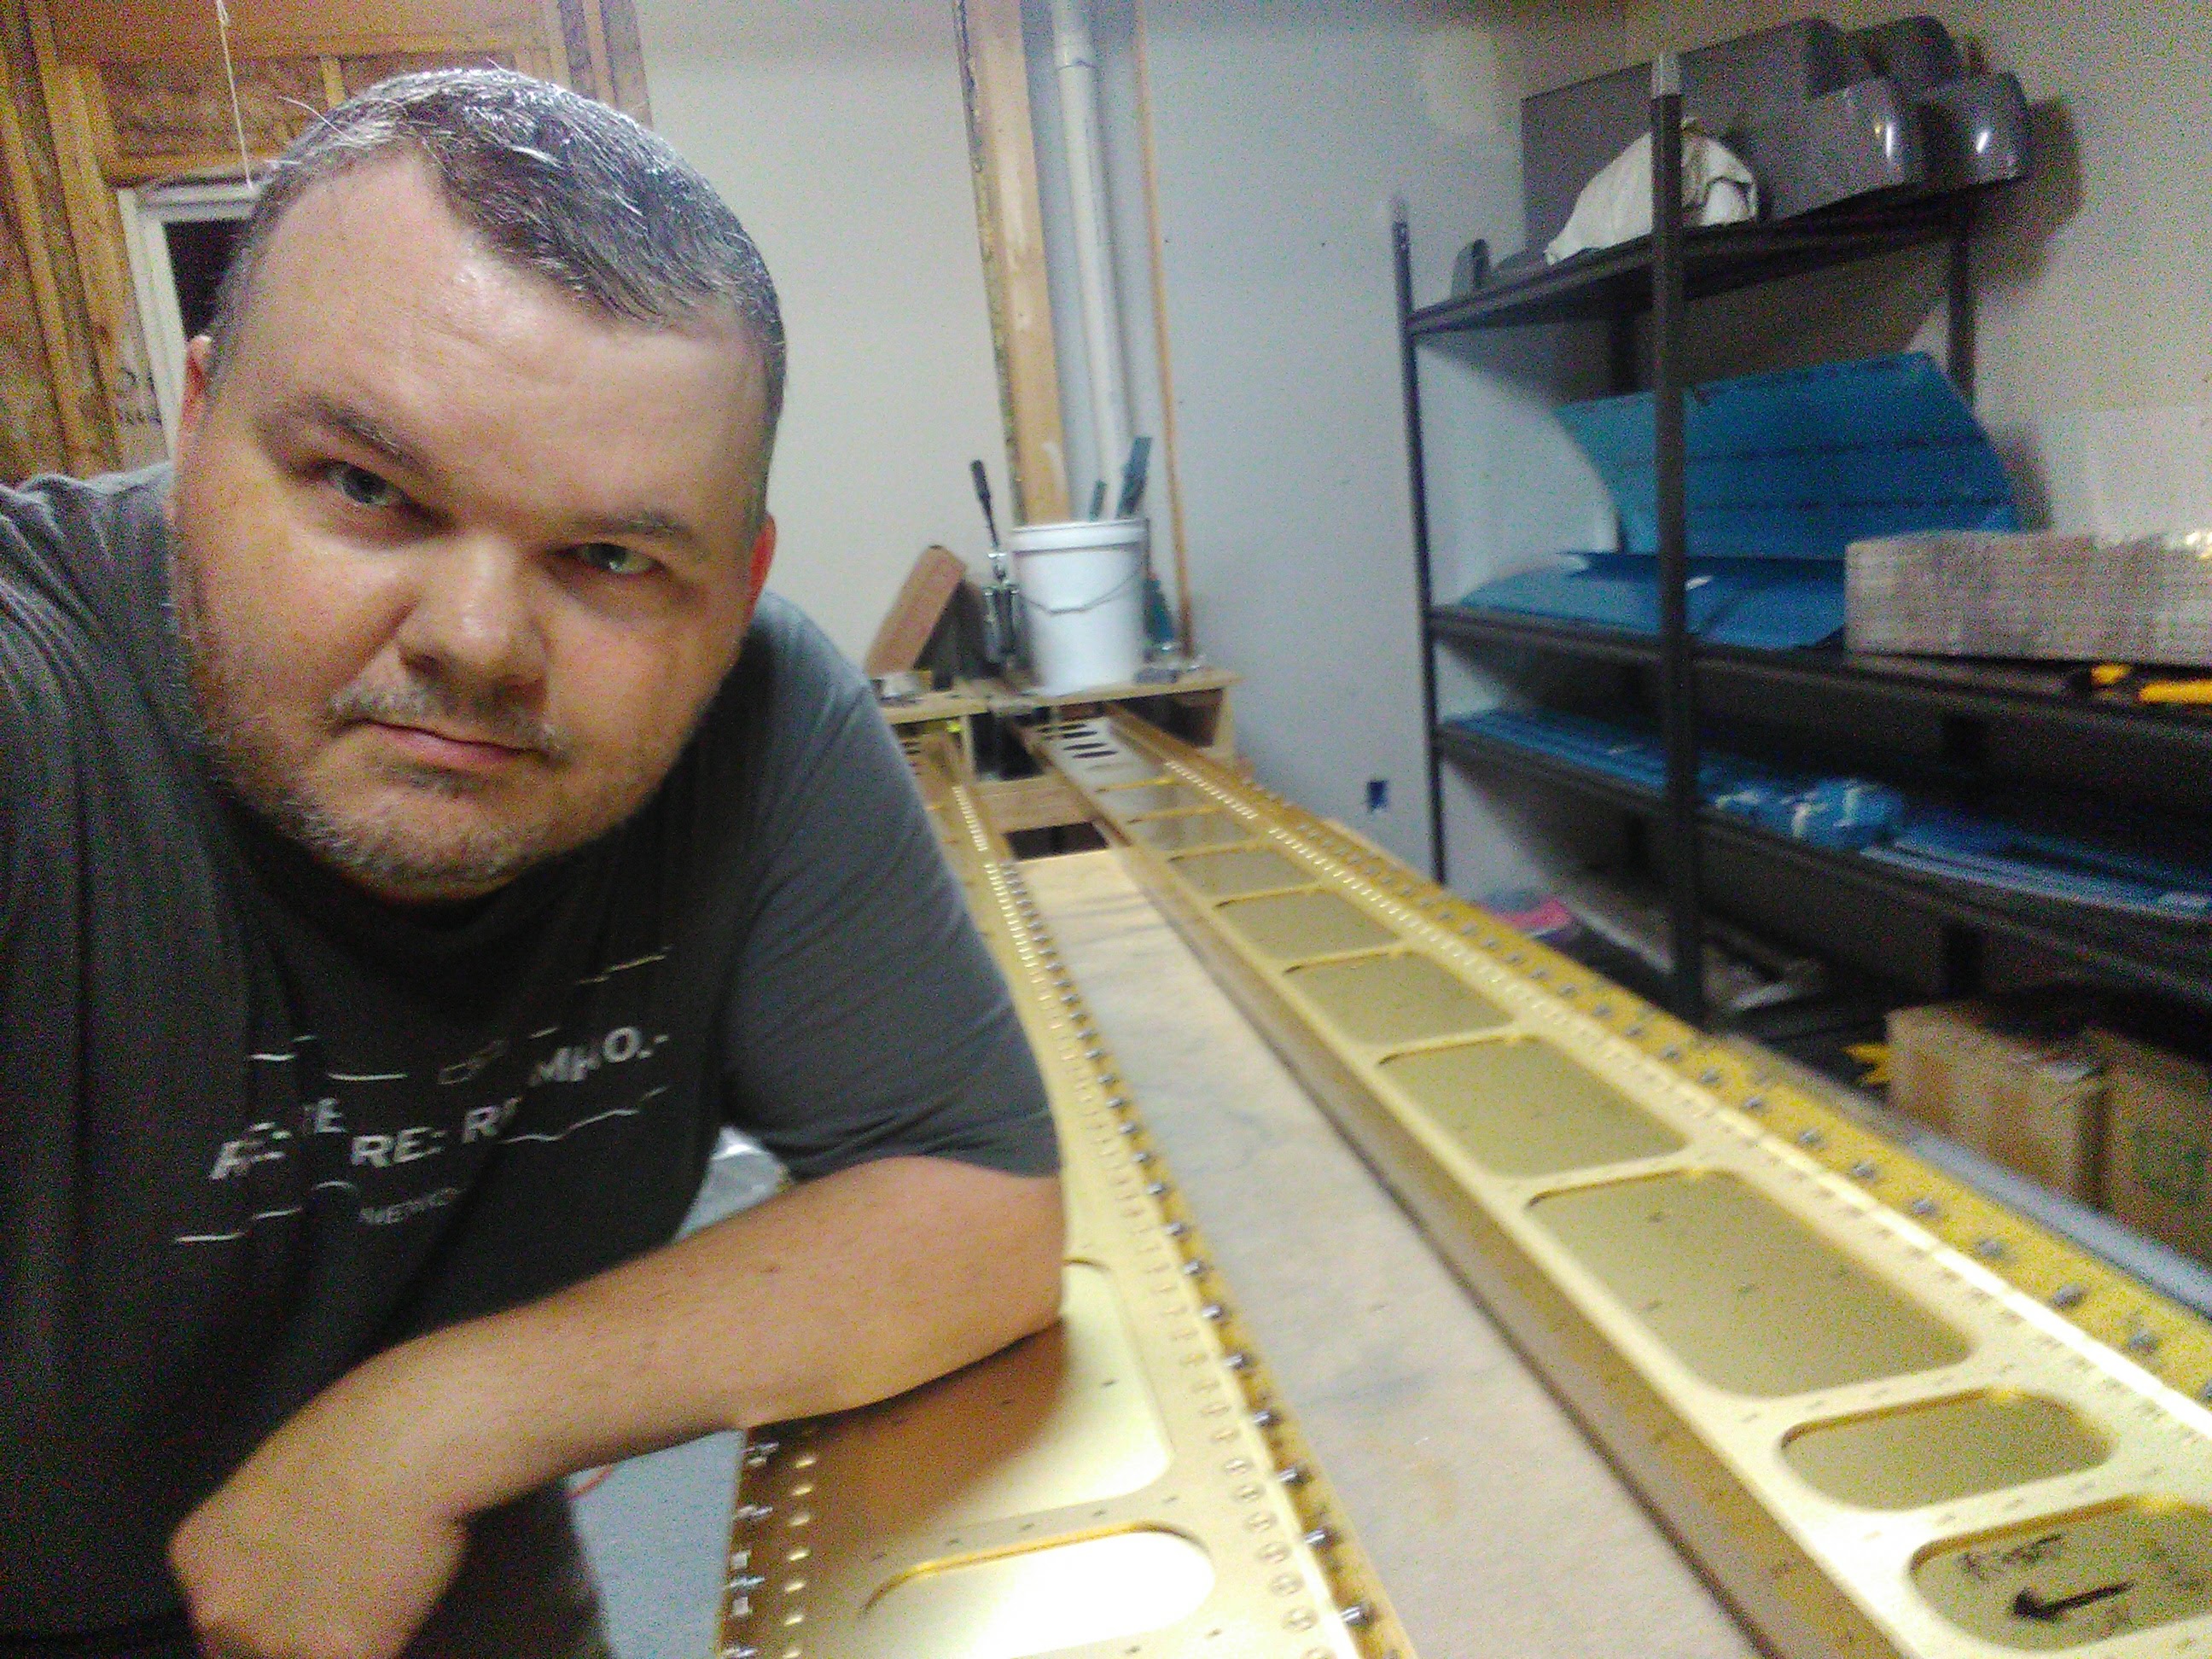
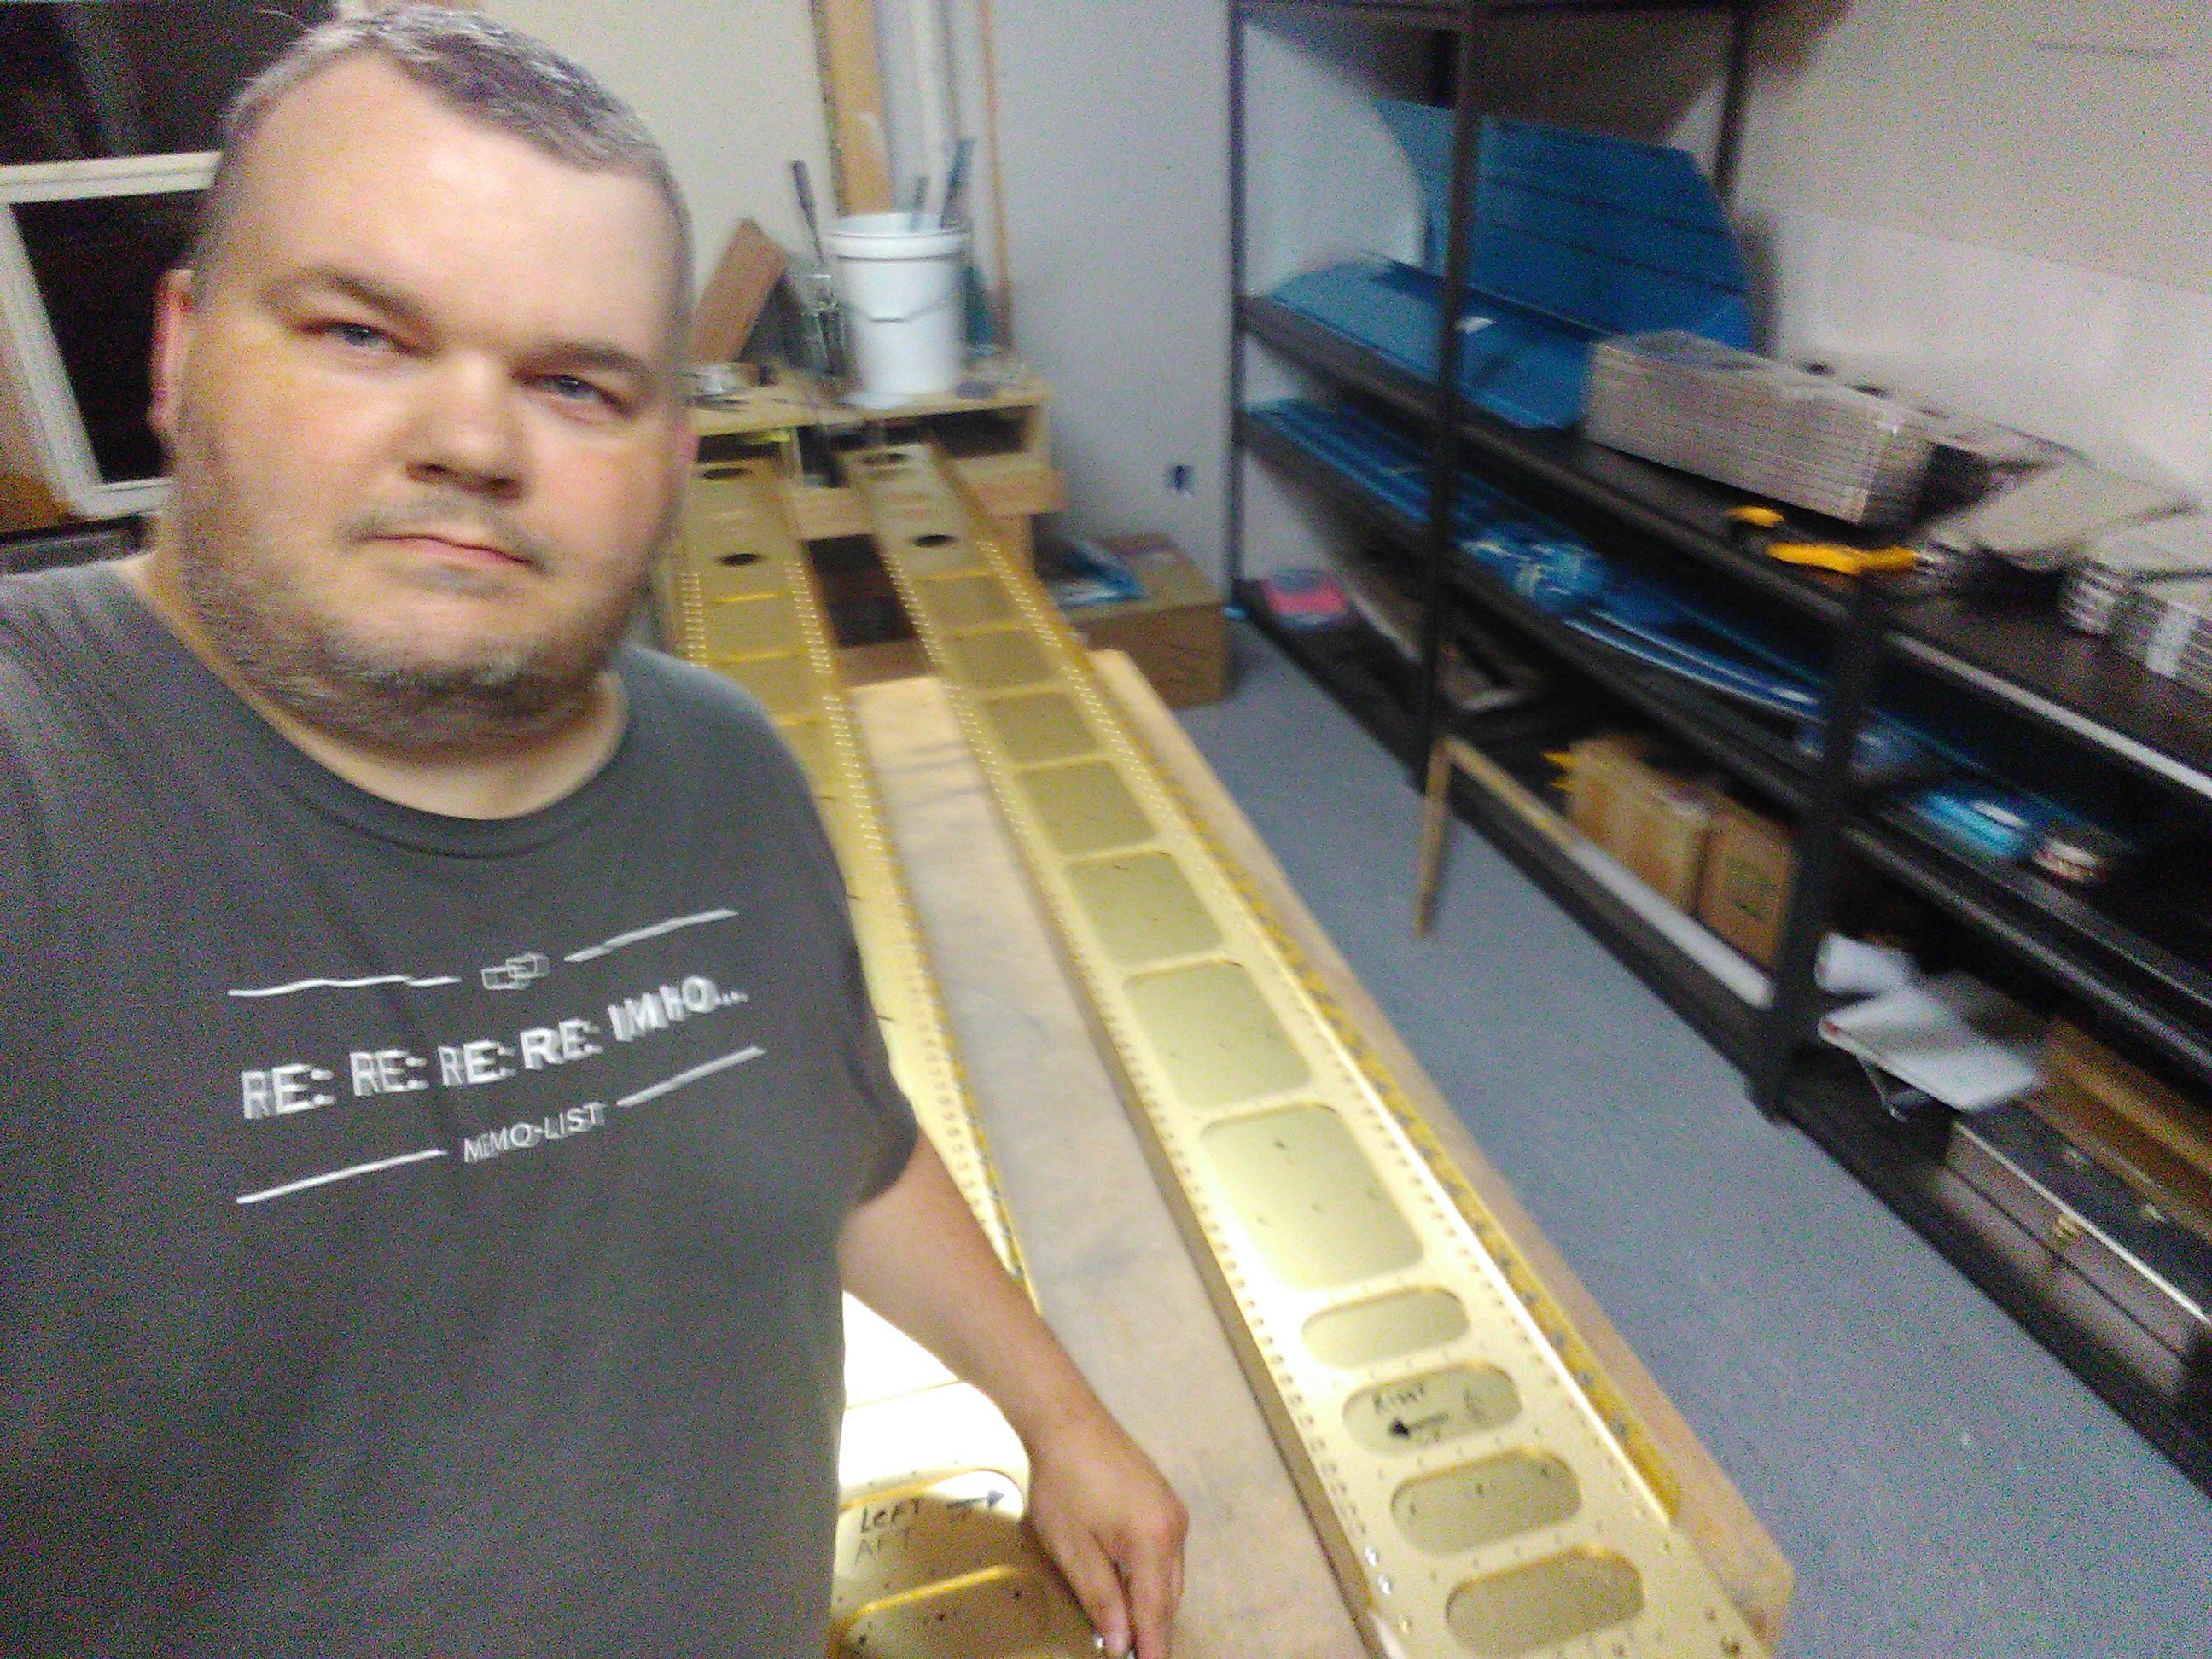
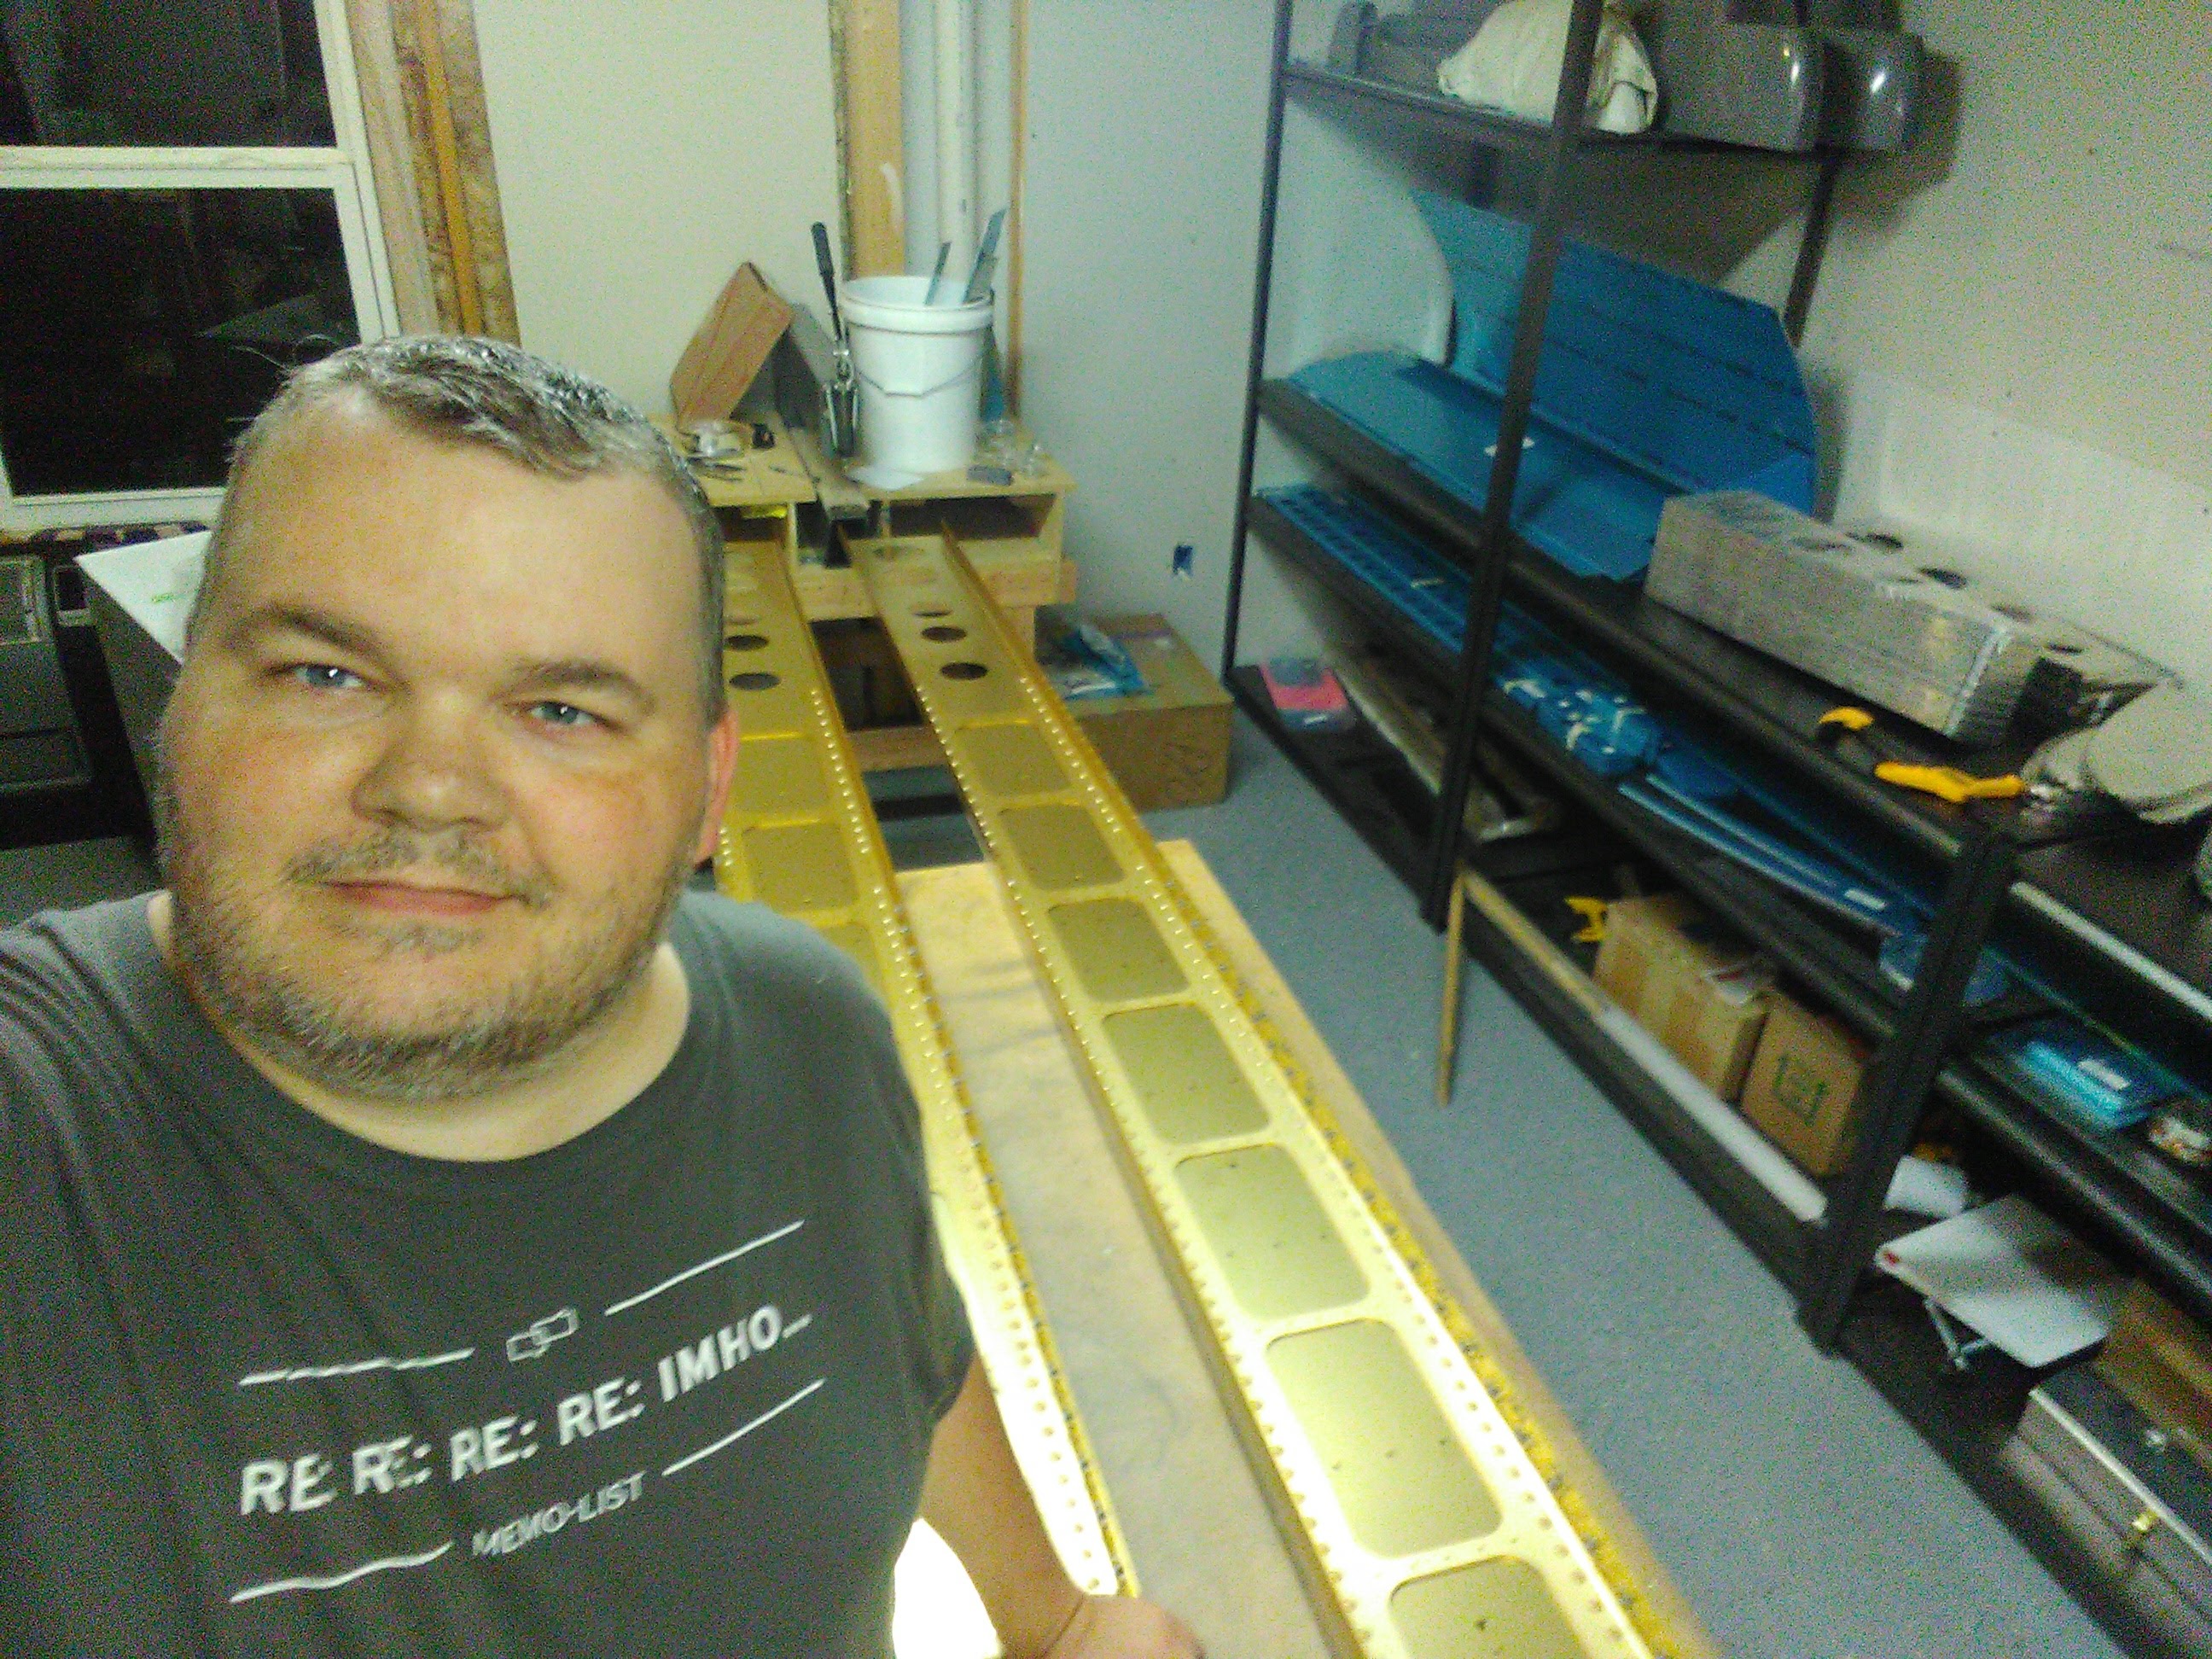
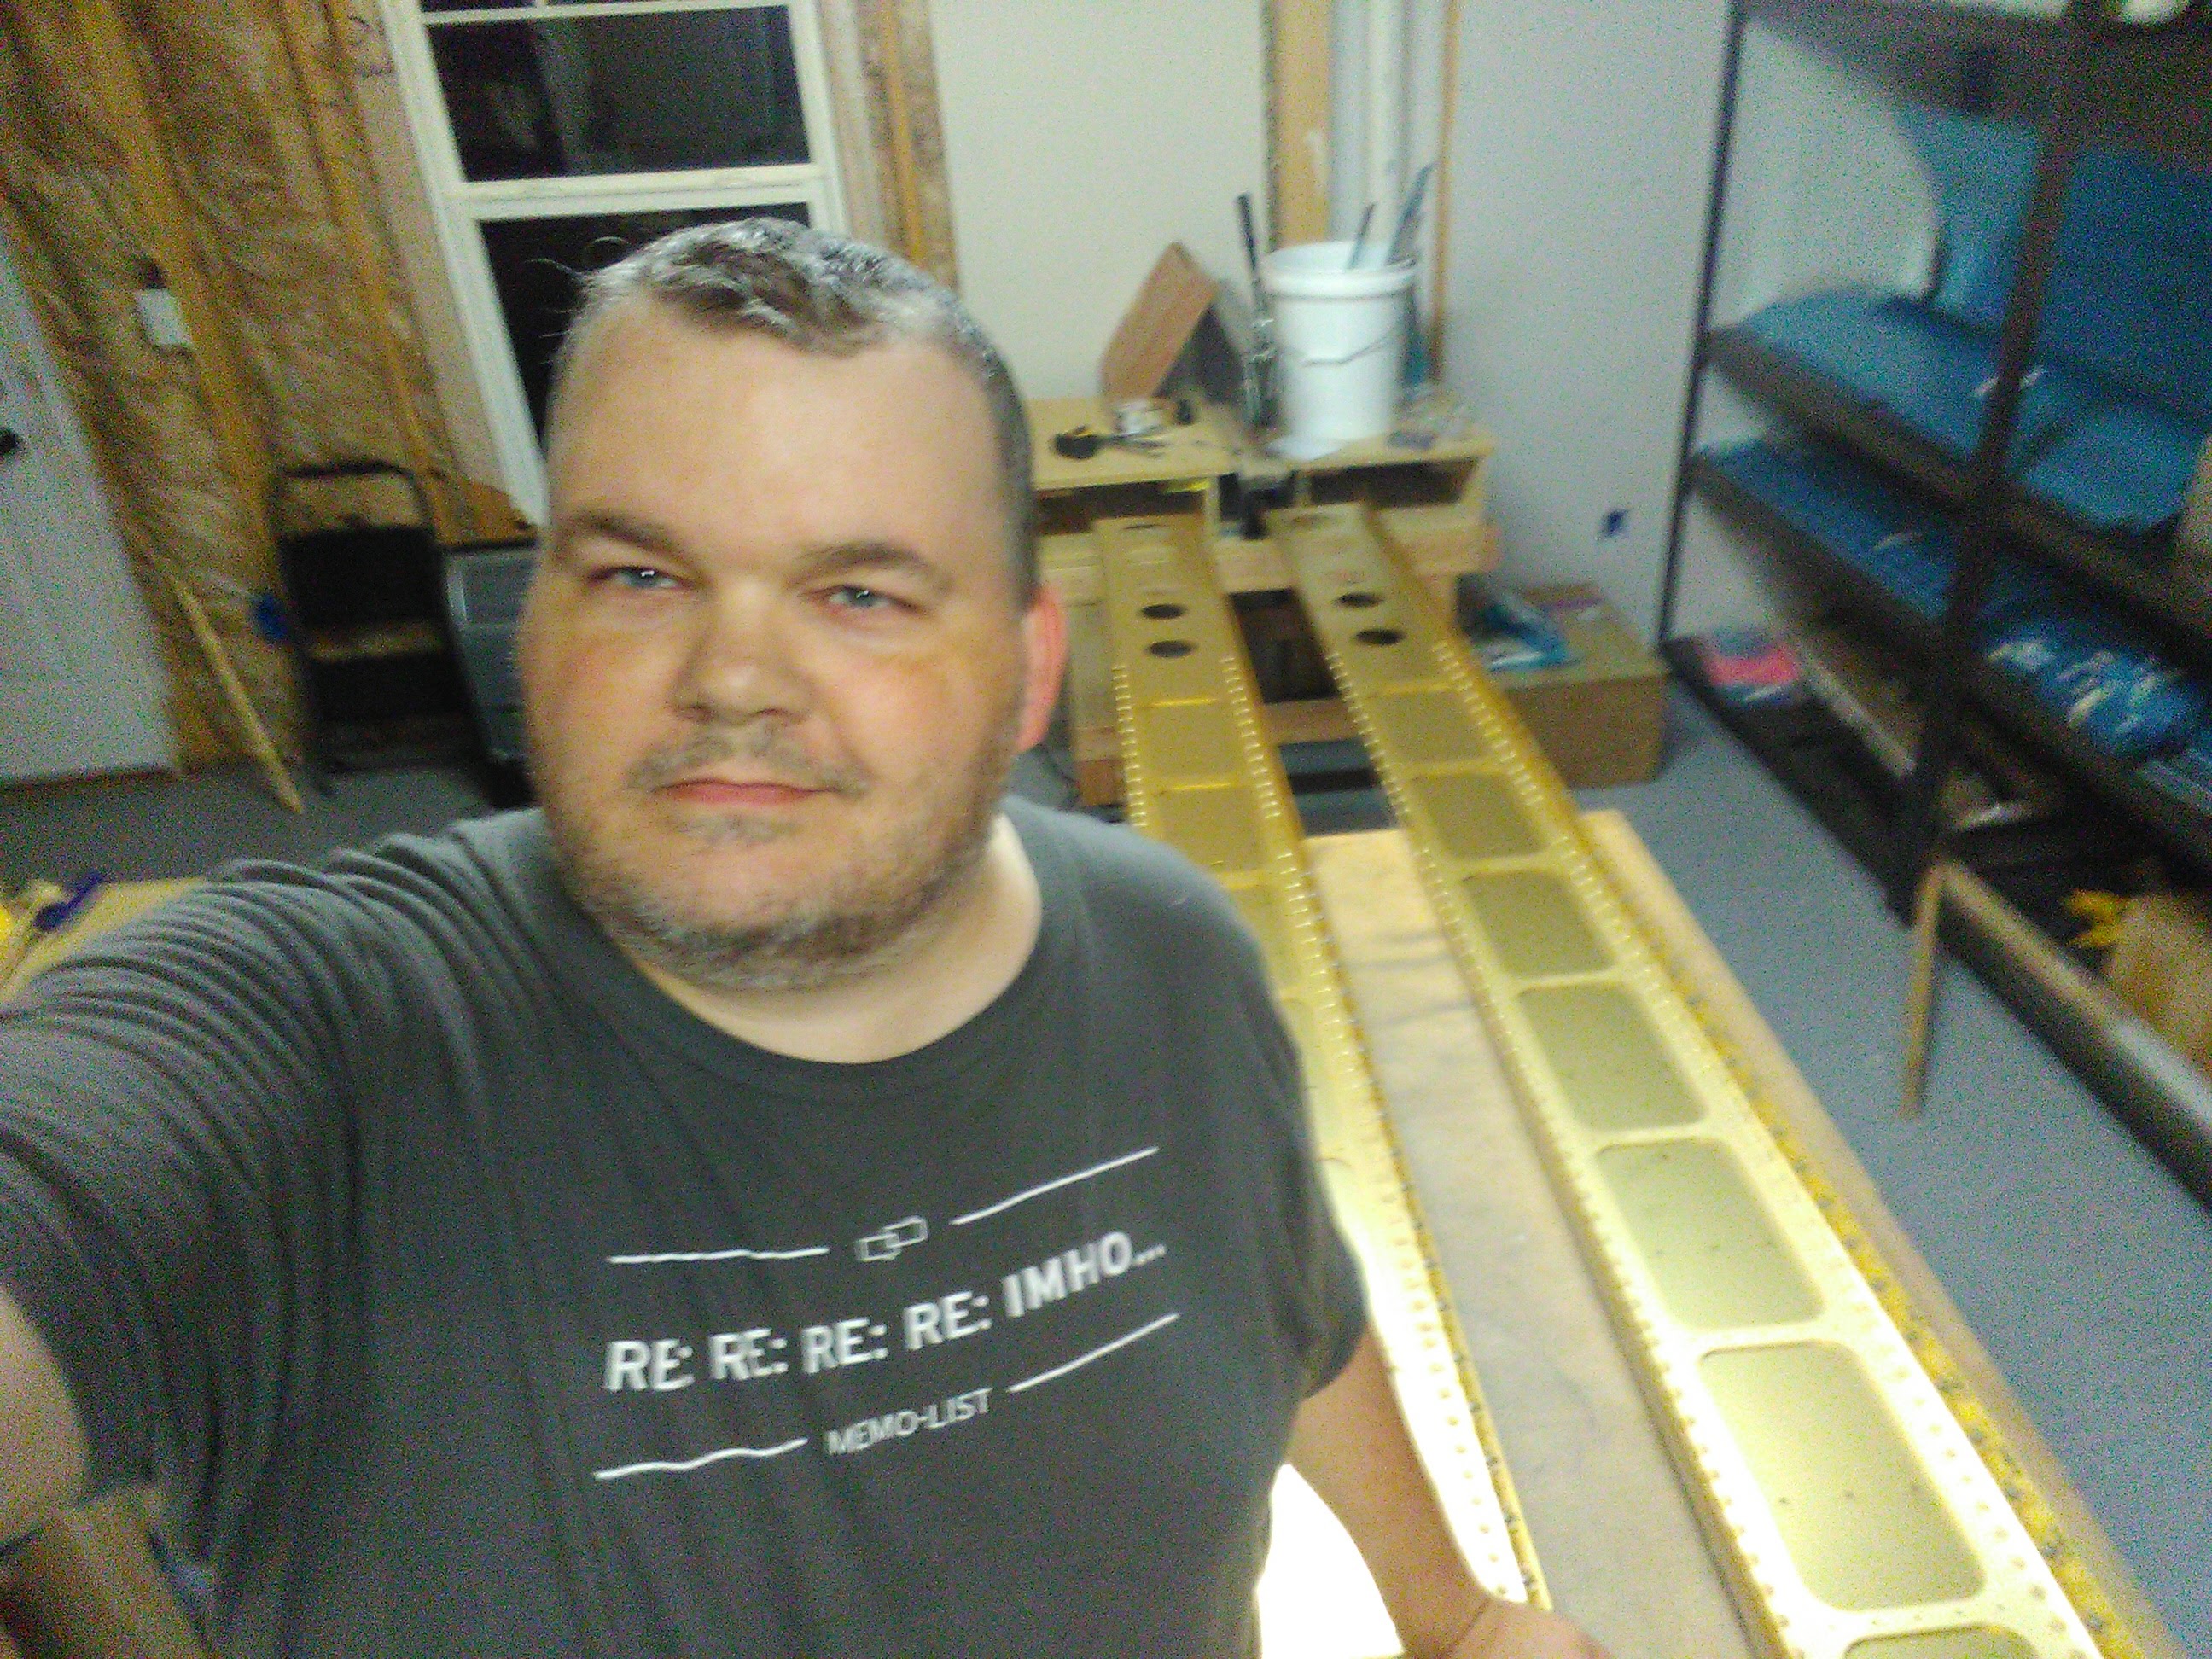
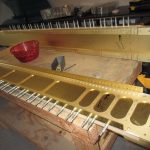
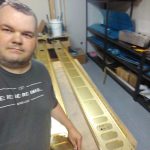
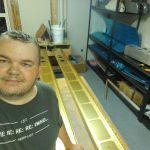
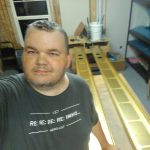
Purchase Klonopin Online Heres a neat shot of all the nutplates fully attached to both main spars, and even a selfie to prove that I am the guy actually doing the work 🙂
Get Online Xanax Prescription That wrapped up the session for tonight. That was a solid packed 3-ish hours of nutplate attachin’ work. It feels good to be back to building after the 8 week hiatus waiting on the wings to get here. Heres the photos from tonights work:
Google Photos Link: https://goo.gl/photos/GhzP7Qx9gVTzQsoW6
Hours Worked: 3


