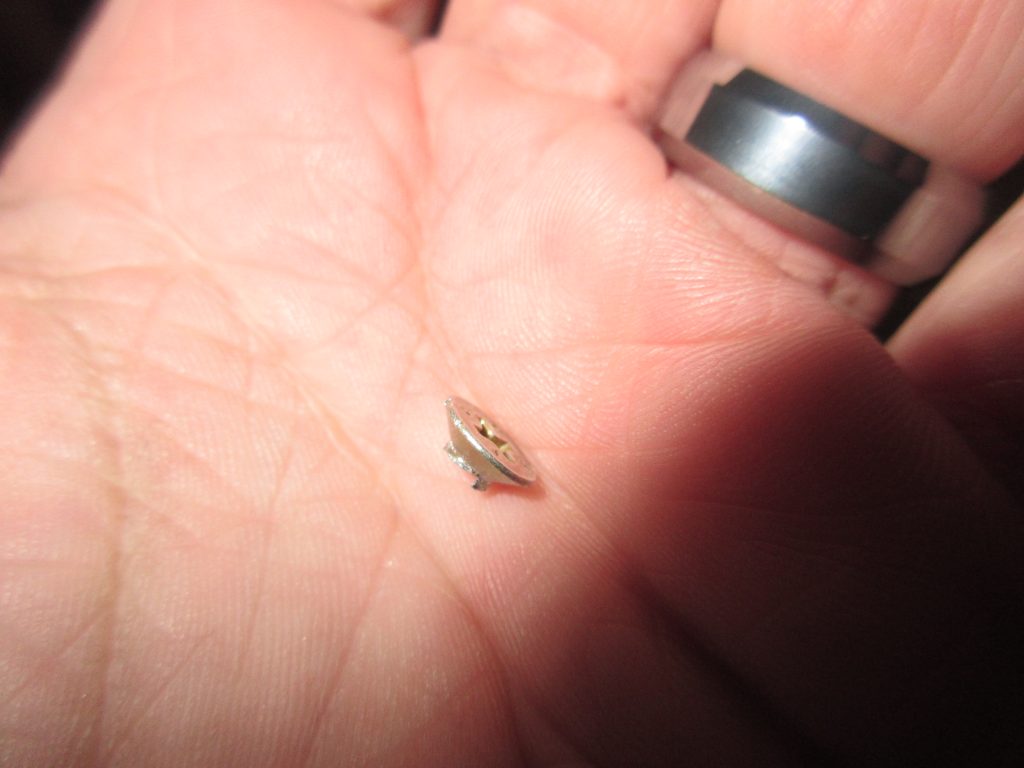
I was able to wrap up all of the fuel tank attachment nutplates and the inspection cover nutplates tonight. In the last session, I installed all of the nutplates, and tonight I finished them up by machine countersinking all the screw holes to accept the dimples in their mating metal. The work started out by first setting up my microstop countersink with a #30 pilot in the #8 nutplate screw holes. Van’s has a pretty good tip on getting this depth correct: Cut the head off a #8 screw and use it as a guide. Once the screw head sits flush with the surface, go a few “clicks” deeper with your microstop so there will be enough depth for the dimpled metal. Here is my homemade “gauge”:
It worked really well. A lot of builders go out and do some weird things using dial calipers, and other extremes, but the main spar has a lot of metal and so long as you go just slightly deeper than the screw head, it’ll be perfect. Here’s a good shot showing how it looks with my “gauge”
You can just barely see the fresh aluminum around the head of the screw. To give it a really good test, I used some scrap sheet aluminum the same thickness as the tank, drilled and dimpled a #8 screw hole in it and made sure it would nest into the countersunk hole flush. It did, so I locked my microstop down at that setting and countersunk all the other fuel tank attach screw holes on both spars.
The next bit of work was to countersink the screw holes for the inspection cover nutplates. Theres three inspection covers on each of the underside of the wings, and the forward 4 holes are all attached to the main spar with #6 screws and nutplates. I did these pretty much the same way as the #8’s above. I cut the head off a #6 screw and used it for my gauge, then set my microstop a few clicks deeper and countersunk a test hole. Then I grabbed one of the inspection covers, drilled it to size, dimpled it and laid it across the spar to make sure it seated flush against the spar. I had to tweak the counterisnk a few more clicks deeper, but finally ended up with a nice flush fit, and then locked it down to do the remainder of the holes in both spars. Heres how the inspection cover looked against the spar:
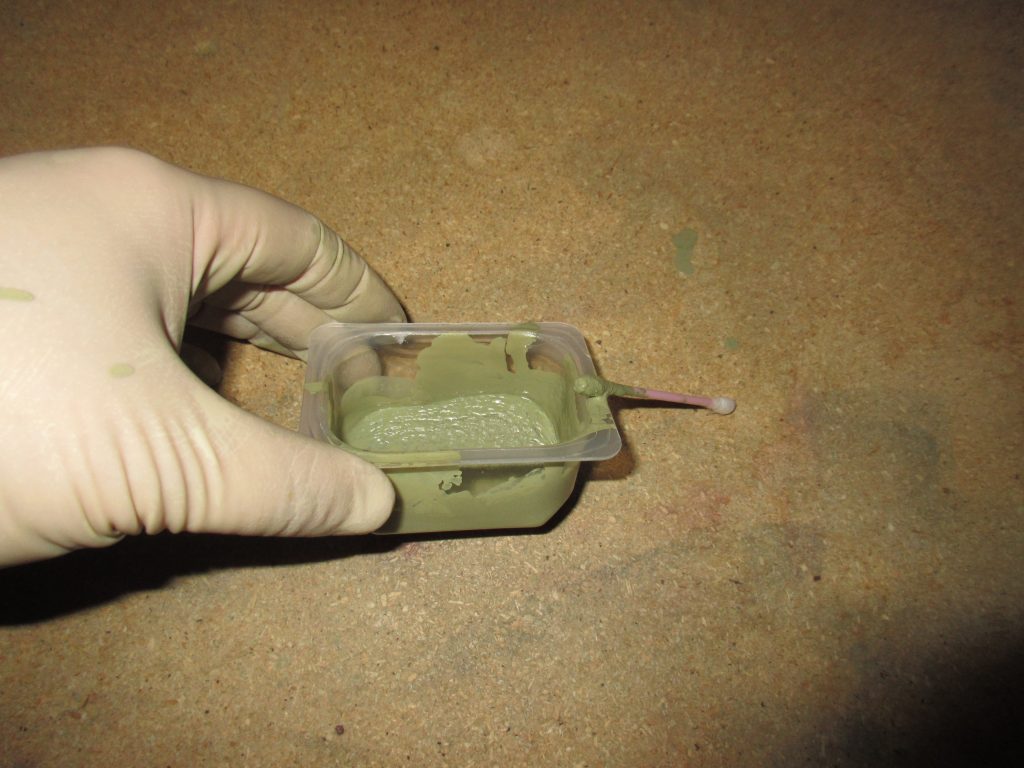
Finally, the last thing to do was to prime these new countersunk holes. The spar ships anodized, and drilling the countersinks leaves the metal in those spots open to corrosion. Vans recommend that we prime these spots to prevent corrosion. So, I mixed up 10 mL of AKZO (5 mL of each of the two parts) and let it sit the required 30 minutes for induction. In hindsight, 10 mL was a bit too much, I probably would have been just fine by mixing about 5 mL total.
Yep, thats a high tech paint applicator and mixing cup…courtesy of Q-tip and Gerber baby food. I used about 5 Q-tips to apply the primer after it had inducted, and the worked well enough. I got a little messy with the application on purpose, as I wanted to fay the primer out from the holes to ensure there was no edges that moisture could penetrate.
I made sure to get decent coverage on all the countersunk holes, and then called it a night. I’ll let this stuff cure until tomorrow and then start another session. It looks like I’ll be building the tie-down brackets! Here’s all the photos from tonight:
Google Photos Link: https://goo.gl/photos/4s2RkHuLaTHUK2Wt7
Hours Worked: 4.25


