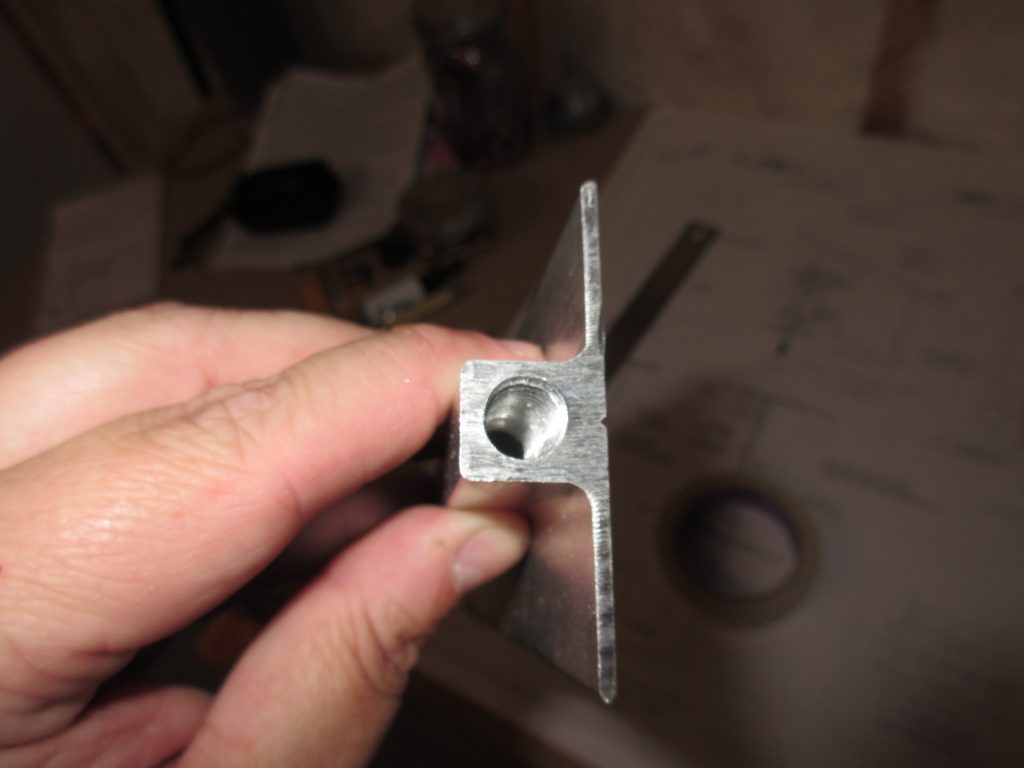
I actually fabricated some parts from the plans tonight. This section of the plans has us fabricate the tiedown brackets that bolt to the main spar and help secure the aileron bell cranks as well. There was a good bit of fabrication from raw materials so it was pretty much, but just a bit slower than I usually work. I started off by tapping the holes in the AEX tie down stock for a 3/8 x16 threaded eye bolt. I had to actually run out to Ace hardware and pickup a tap and tap handle to get this done, so I did that while I was grabbing some dinner. The plans calls for us to go 1″ of depth, so I wrapped some tape around the tap to mark 1″, and clamped the AEX stock to my work bench to start the process.
I have done this process before on other projects, so I lubed up the tap with some Boelube and slowly worked the tap into the AEX stock making sure it was straight. I gave it a few twists into the metal, and then backed the tap out to clear some of the chips. I kept repeating this advance and retreat process until I had the full 1″ of depth as called for in the plans, and then did the second piece of AEX stock for the other wing. The reason I did this first was so that if I messed up tapping the metal, I could just flip the piece around and use the other end, since both ends are identical. Once I was happy with the threads I trimmed the 1/32″ of an inch that Vans calls for in the plans. I am not sure why we need to take the AEX stock down from 7 and 16/32″ to 7 and 15/32″ using a bandsaw very carefully and then finishing it on the bench grinder.
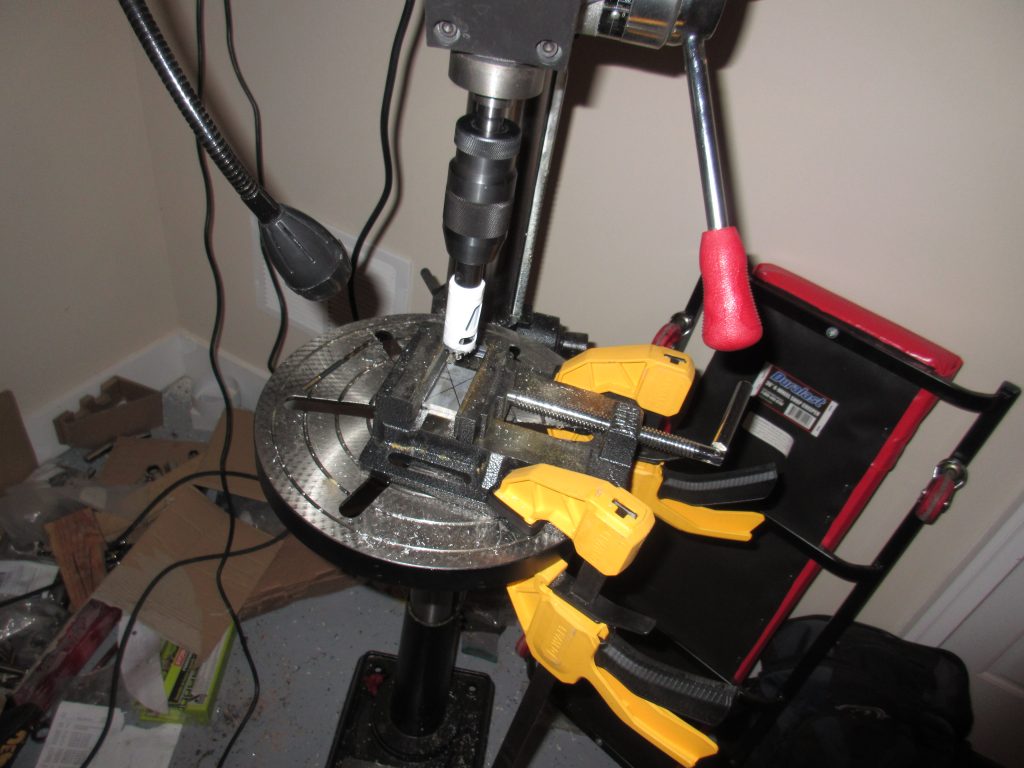
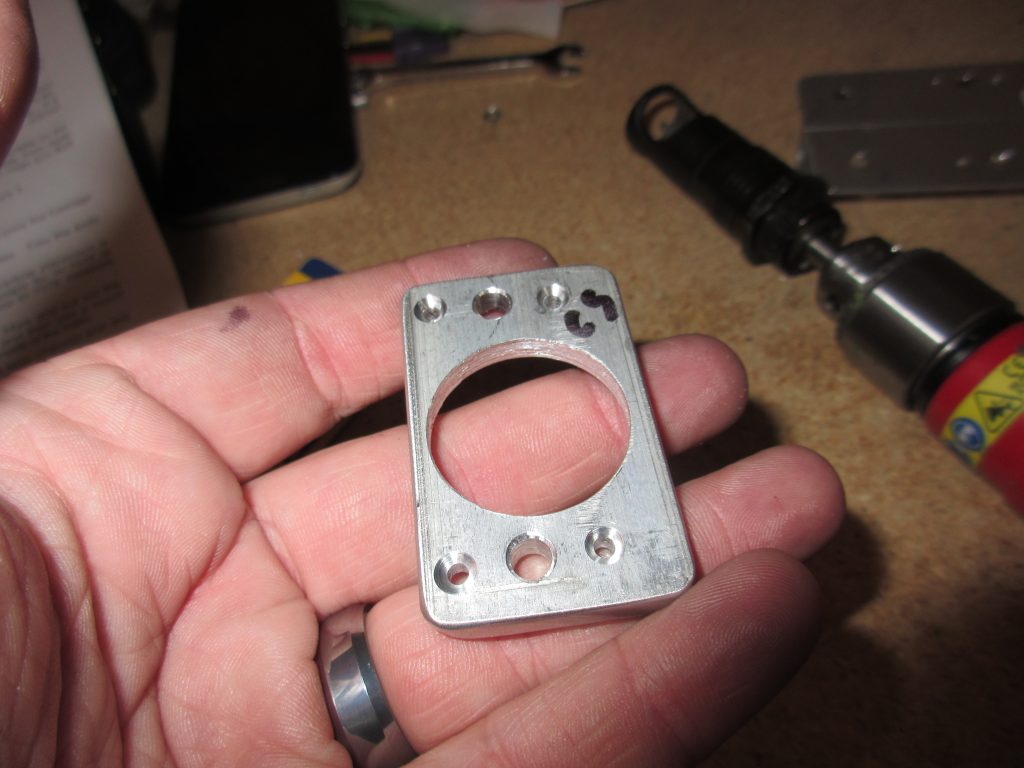
Next up was to fabricate 4 spacers to fit between the tie down bracket and the main spar. These are called W-726 and the plans has a full size drawing of what they are supposed to look like, so they are easy to make from the AB4-187×1.25 stock. I measured them out for 2″ on my bandsaw and cut them out. The next process was to mark the center and then drill the lightening hole using the drill press and a 1″ bi-metal hole cutter.
After I had the lightening holes done on all 4 of these parts, I was happy with them and moved on to finishing their edges. I ran them on the bench grinder to round the corners, and then deburred the edges nice and smooth on the scotchbrite wheel. Then I deburred the lightening hole to make it smooth. They were ready to be match drilled with the tiedown bracket and main spar.
This next part required a bit of measuring, squaring up and clamping to make sure everything was perfect. We first start out by drilling an index hole in the AEX tie down stock to be used to help guide it onto the main spar for easier back drilling. The plans calls out the dimensions, I marked it up and drilled it on the drill press to make sure it was perfectly square, and then repeated the process for the other tiedown.
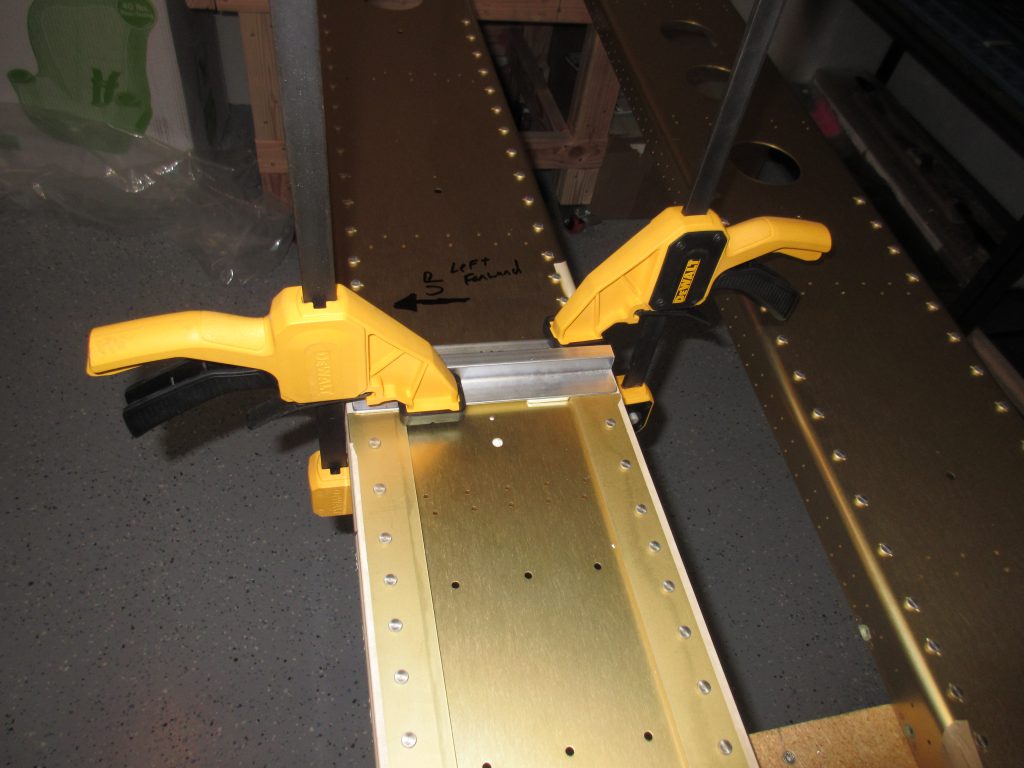
Then I used masking tape to hold the spacers on the main spars while I positioned the tiedown bracket and squared it up with the spar web using a square, using the index bolt to help with alignment. Then I clamped it all down and back drilled everything using a #12 drill bit.
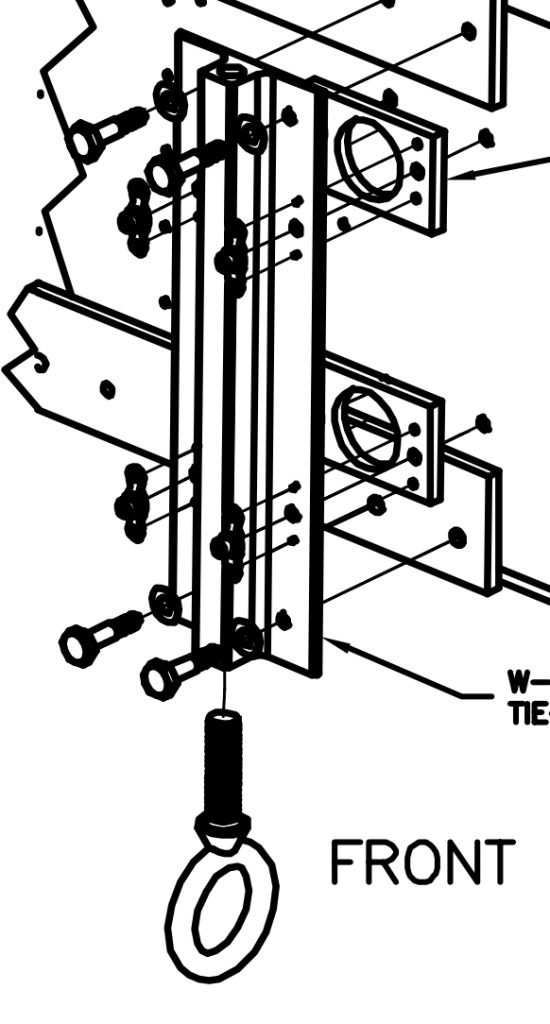
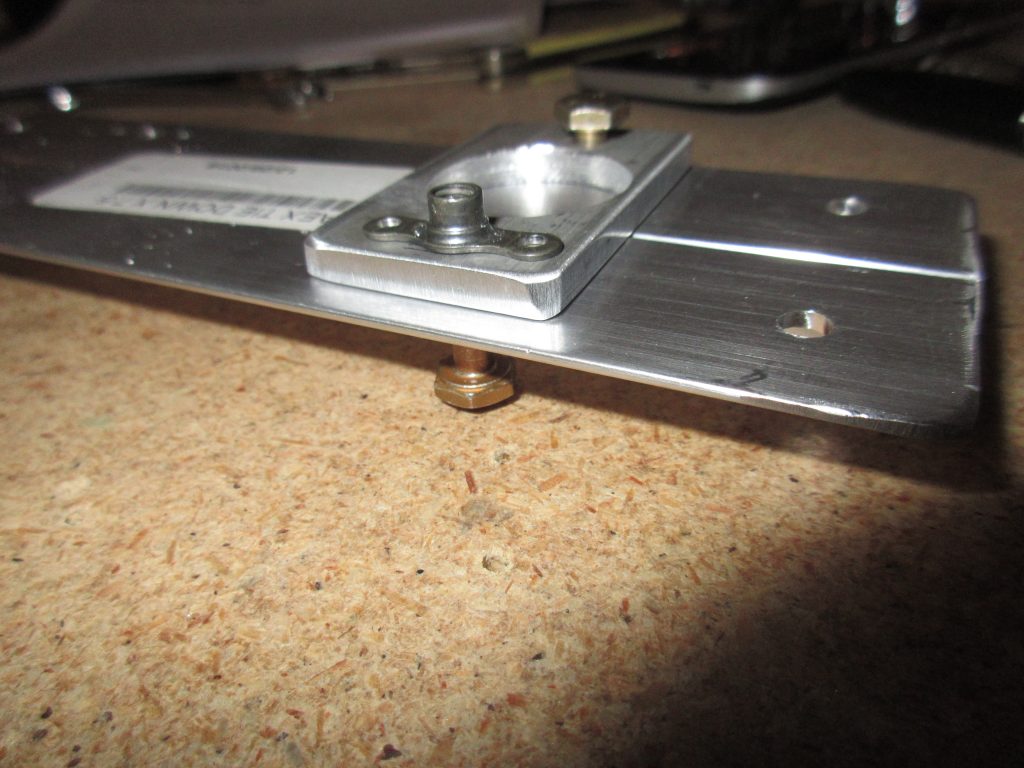
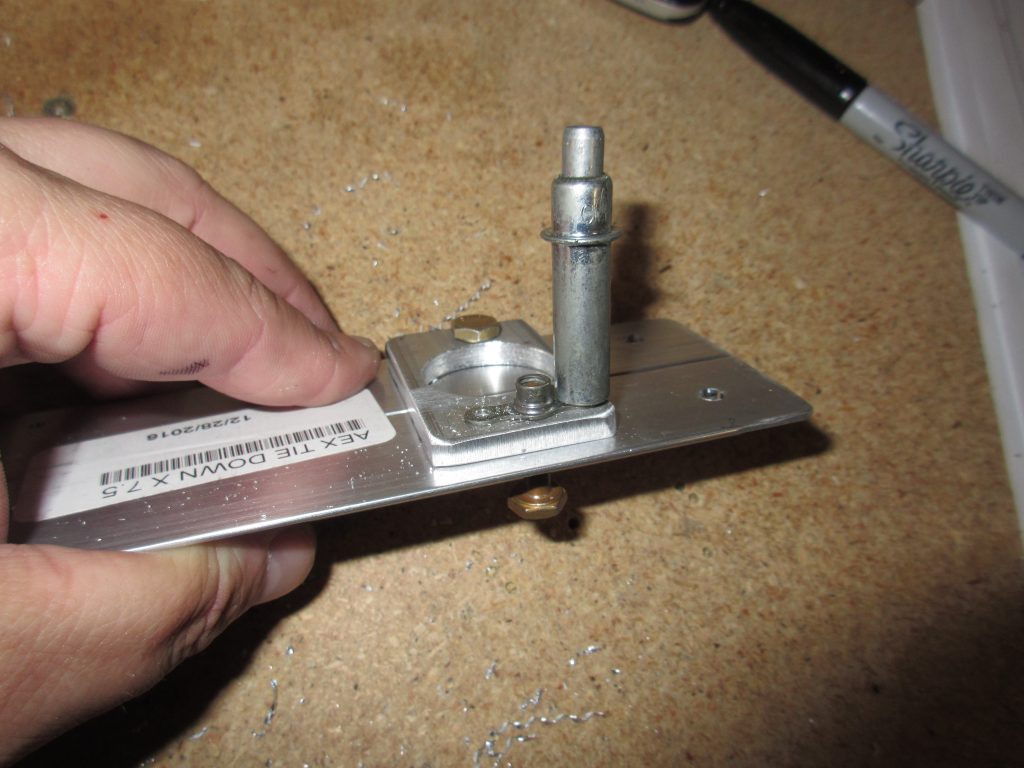
Once I was happy with the left side, I repeated this same process for the right. As I drilled a hole, I would stick a AN3-7 bolt into the holes to make sure nothing moved during drilling. There is some tight tolerances here, and it holes the aileron bell crank, so its pretty vital this is done right. The next step is to drill for the 4 nutplates that secure the W-726 spacer blocks to the AEX tie down bracket. This is pretty clever, as Vans has us put the nutplates on the tiedown bracket and then rivet the spacers to the bracket, that way if you never need to replace the nutplate for any reason, its as simple as just removing the entire bracket and replacing it on the bench instead of having to drill the main spar! See below:
So, theres a couple ways of drilling these nutplates. The route I chose was simple, and didn’t require any special tools. I simply took a couple of AN3-6A bolts and ran them into the tiedown bracket and spacers and threaded on a nutplate to use as a jig for my drill holes. This nutplate would be sacrificial, since its going to drill all 8 of them, but there are extras. Once I drilled the first hole, I clecoed the nutplate and used the bolt and drilled the second hole.

Yes, this nutplate is on backwards, but it doest matter since I am just using it as as drilling jig!!!
Once all the mounting holes were drilled for the nutplates, it was time to countersink the backs if the W-726 spacers for the flush rivets. We use flush rivets here because these spacers need to sit flat against the main spar with no interference on this side. I chucked up my microstop with a #30 pilot countersink and then countersunk all the holes in the spacers.
After I had all the holes drilled, it was time to go back and deburr every hole (except for the ones we countersunk, duh!). I deburred the holes in the tiedown bracket, the spacers and the spars. I also deburred the edges of the AEX tiedown stock as well and rounded the corners to prevent cuts and scrapes in the future, using the bench grinder and scotchbrite wheel.
In the plans, Vans tells us to go ahead and rivet these spacers onto the Tiedown brackets but doesn’t mention priming until the very end of this section, where it appears they are talking about priming the entire tiedown assembly (with attached spacers). I figured these bits of aluminum are both very thick, and will be away from moisture, so I didn’t prime them before riveting them together. I will, however, prime the entire assembly before I mount it permanently, just to be safe. That will only leave the two surfaces of aluminum that are riveted together (facing each other) not primed. I think it will be alright.
Riveting these together is your standard procedure for nutplates. Cleco one side, rivet the other and repeat across all the other nutplates. I used a squeezer because why not? They turned out great!
Completing both of these tiedown assemblies to this point was about 4 hours or more of work, so I called it a night. I’ll drill the hole for the stall warner tomorrow, and may even go ahead and prime these. I am going to go with a Dynon panel, so I will need to order the servo mounting kit because in one wing, the servo attaches to the aileron bellcrank, which then bolts to this tiedown bracket. I’ll get that on its way this week, and a few other odds and ends as well. Here’s all the photos from tonight:
Google Photos Link: https://goo.gl/photos/sPF5MJKnv1kmqRoZ6
Hours Worked: 4.25


