


I picked up some Tapcon screws from Home Depot to use to anchor the wing stands into my concrete floor. These things are pretty dang nice! They worked great. More about them later. Tonight we finished up the left wing stand. Just like the right stand, we got it leveled up screwed it into the floor joists.
Then I made up some brackets for the floor out of some scrap Aluminum angle. After one last check on the stand to make sure its plumb and straight I marked my holes and drilled the hole in the concrete use the Tapcon bit. 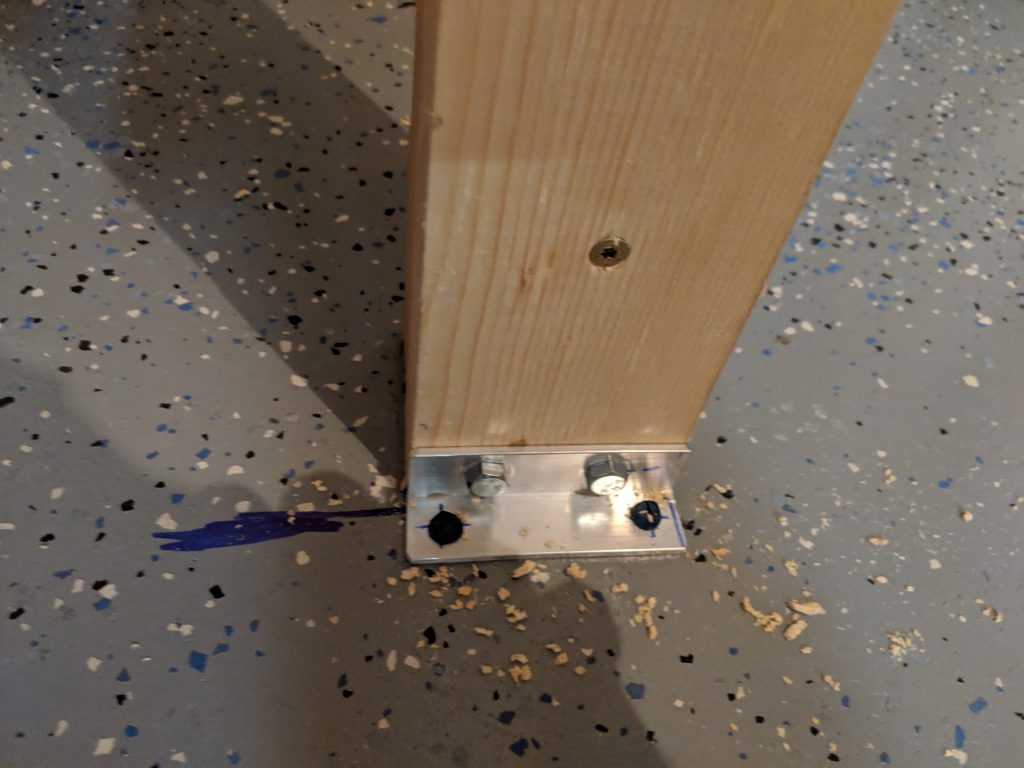
Then I used some lag bolts (5/16 I do believe) to bolt the 4×4 beam to the angle which was held in place by the 1/4″ tapcon screws. I bought 8 Tapcons in a pack, and then the special Tapcon bit that is used to drill the hole for less than $10. Drilling the holes took a bit, since I did not have a hammer drill, but I eventually worked the bit down to the right depth, removing it every so often to vacuum up the concrete dust and cool the bit. I didn’t have to use a whole lot of pressue surprisingly, and the holes were nice and straight. The Tapcons threaded right in like the holes were machined for them. They clamped down with a good bit of force too.
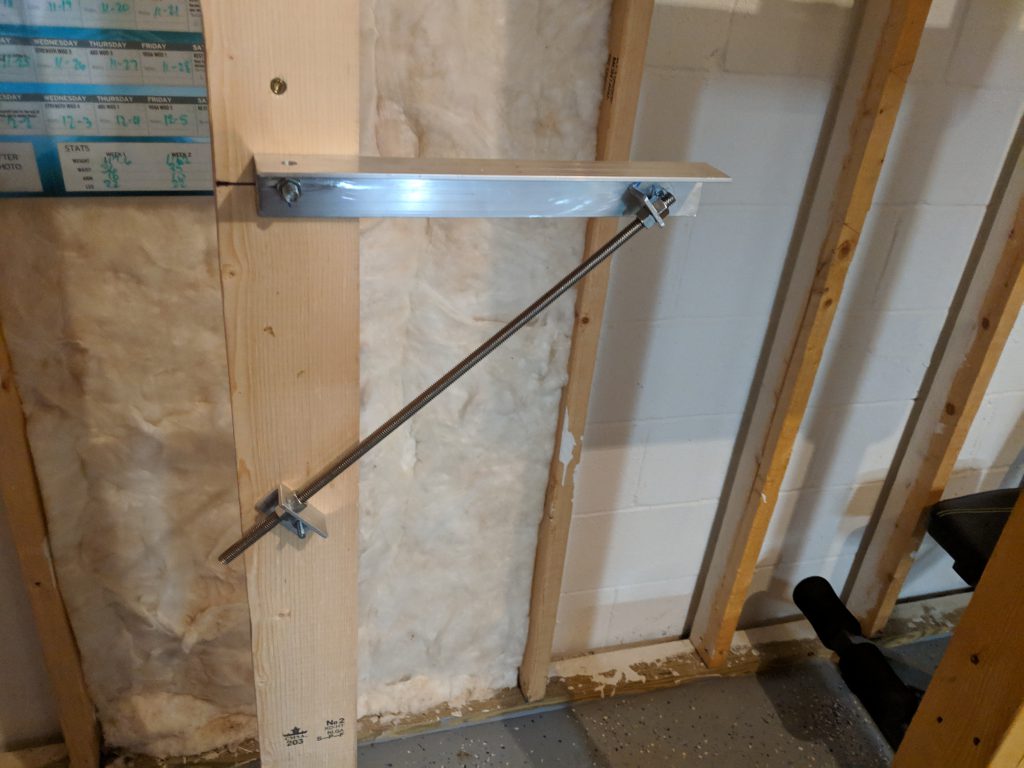
Then I leveled up my spar mounting arms to get ready for the spars. My adjustable screws made this really easy to do. I’ll check it again when the spar is on to see if I have any twist or uneveness.
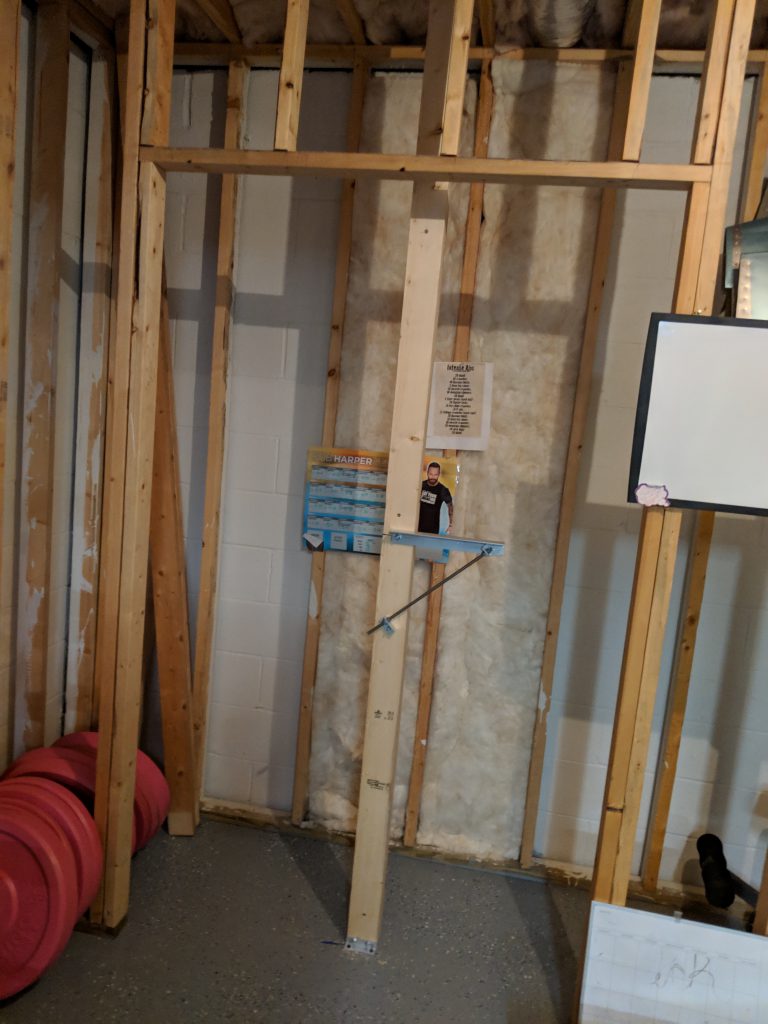
I did both sides of my left stand, and it is ready to have the spar mounted. I need to move some stuff around before I get to that point, so my next “build session” will be me cleaning up and getting stuff moved out of the way. Heres some shots of the beams ready to go!
Google Photos Link: https://photos.app.goo.gl/pZEhtgEJcQVi7zC3A
Hours worked: 2.0
Pingback: Riveting the Right Wing Ribs – Lynn’s RV-7 Build