https://marchtozion.com/rtterq5t It’s been a while since I was able to get downstairs and do a little work in the airplane factory. I was focusing on completing some internal giveback project for work, which took up some build time. The right flap isn’t going to take as much time to build for two reasons: 1. I fabricated some of the custom parts for them when I done the same for the left flap, and 2. I have a little more experience after building the left flap already. Having fabricated the brackets, shims, and other little small parts, not to mention previously deburring all the flap parts earlier really helped make this build session go QUICK tonight.
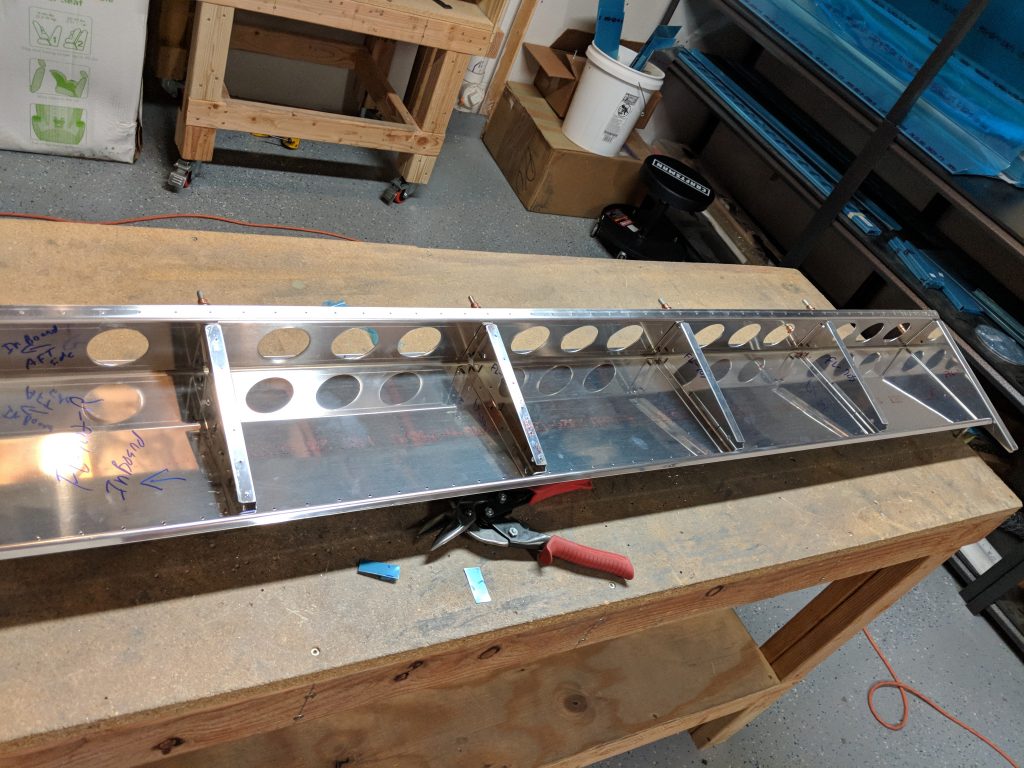
see urlgo to link Since the deburring work and shims were already completed, I was able to jump right into assembling the skeleton. Just like the left, I clecoed the FL-704 and FL-705 ribs to the FL-703, and then match drilled them. Following that, I clecoed the ribs/spar skeleton to the bottom skin. Van’s tells us that we can use shims if needed to make sure the FL-705 ribs are flush against the “rear spar” that is formed into the bottom skin.
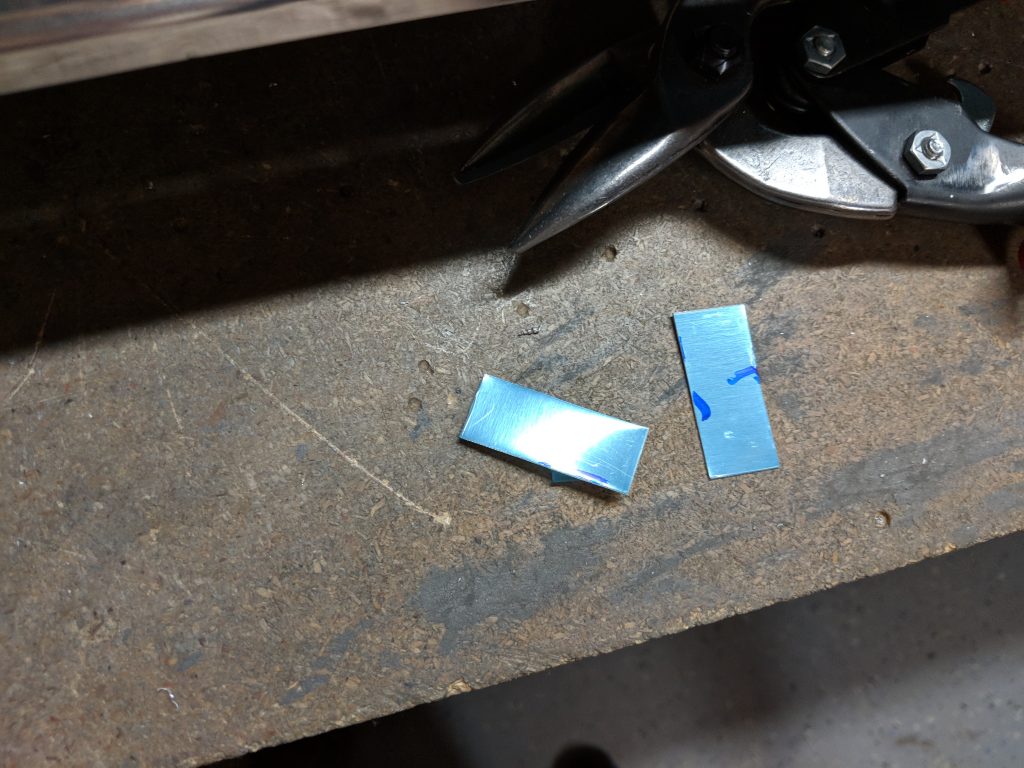
Xanax Without Prescription follow urlfollow link I ended up having to trim 4 shims from the scrap aluminum that Vans ships. I believe this was .0025″, I just grabbed what scrap I had and test fit it until I found one that fit the gap, and then I marked the shims on it and trimmed them out. Once I had the shims trimmed, I rounded their corners and deburred their edges and clamped them into place using some side clamps so they could be cleanly back drilled using the rear spar from the bottom skin as a guide.
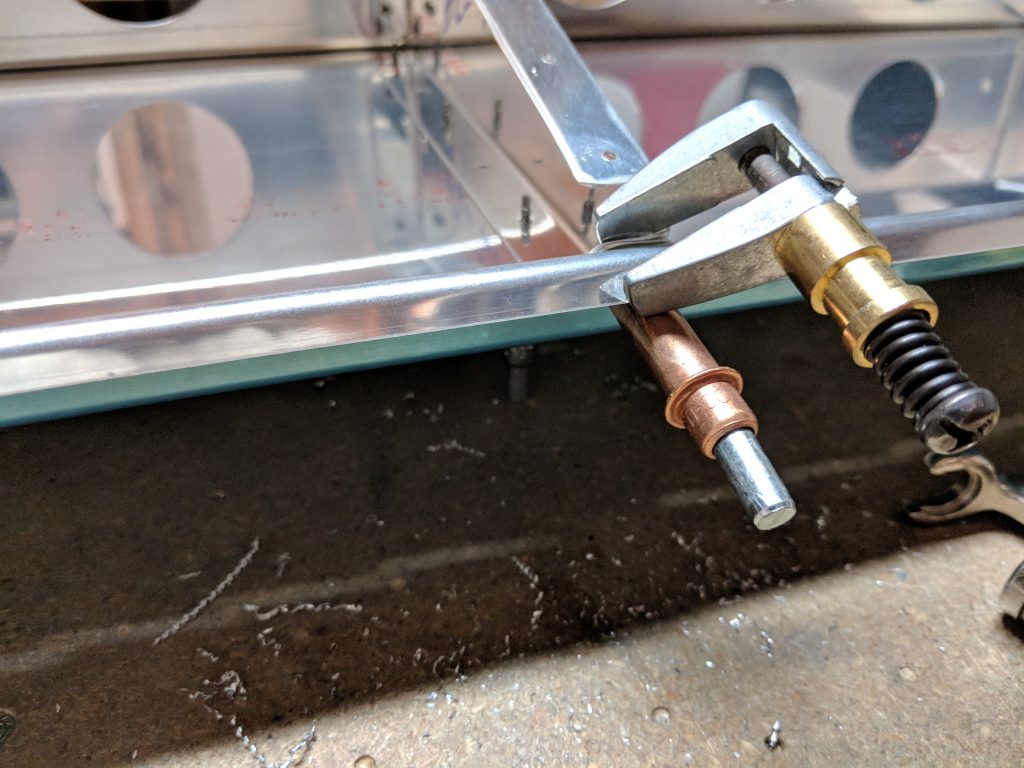
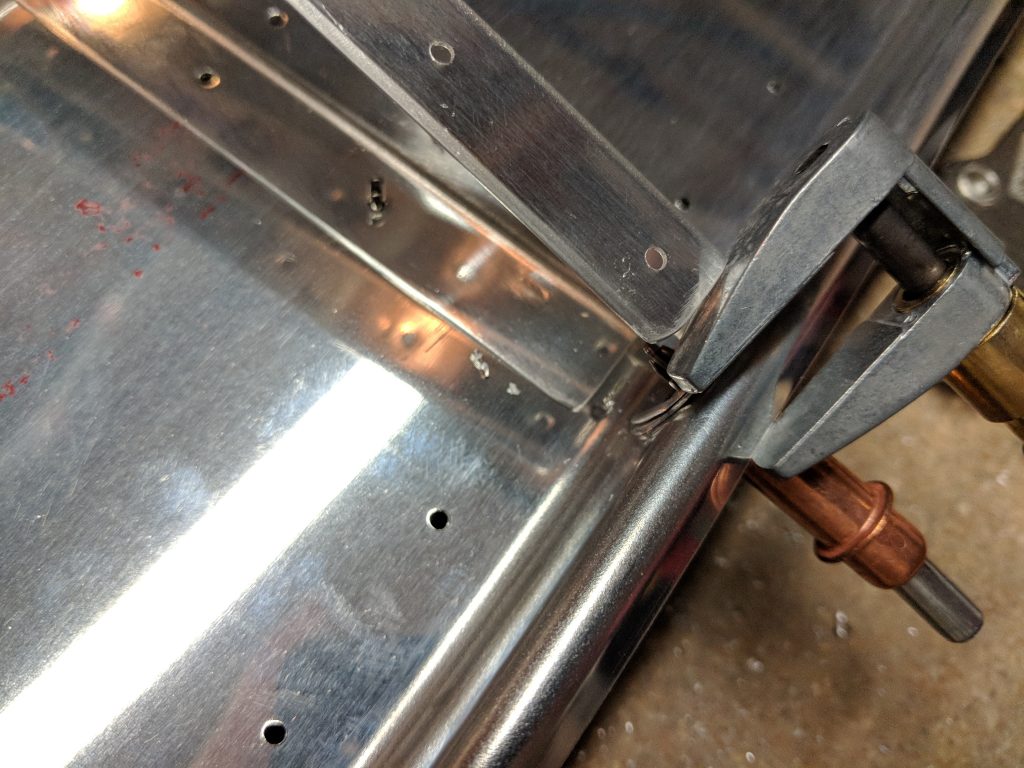
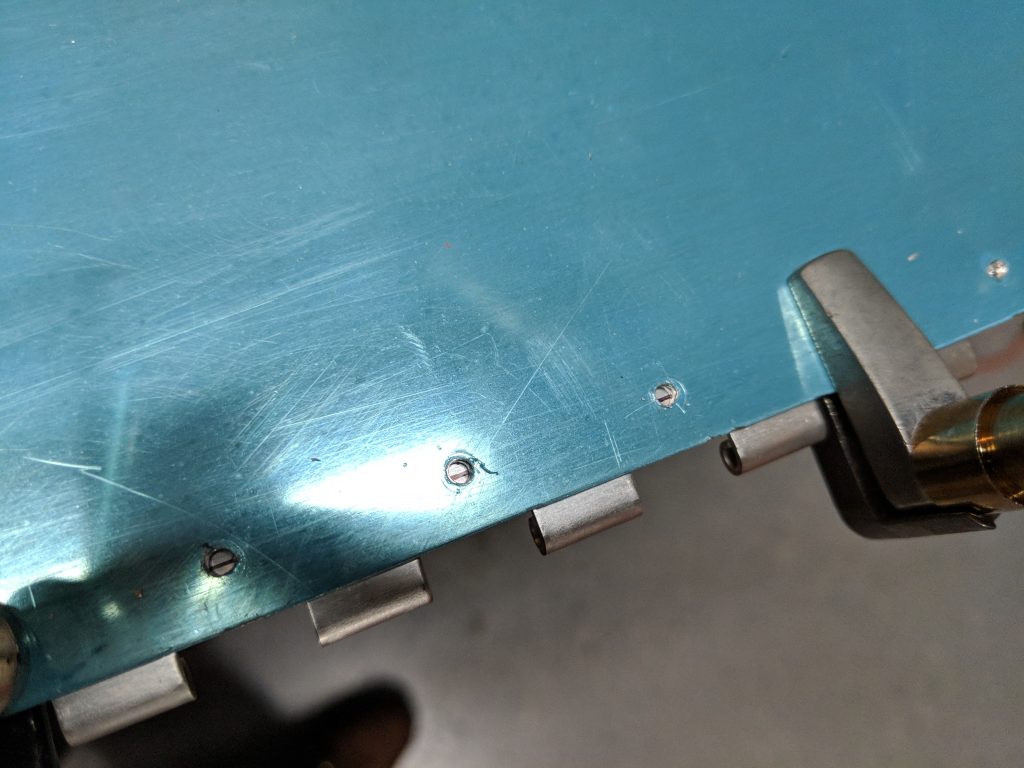
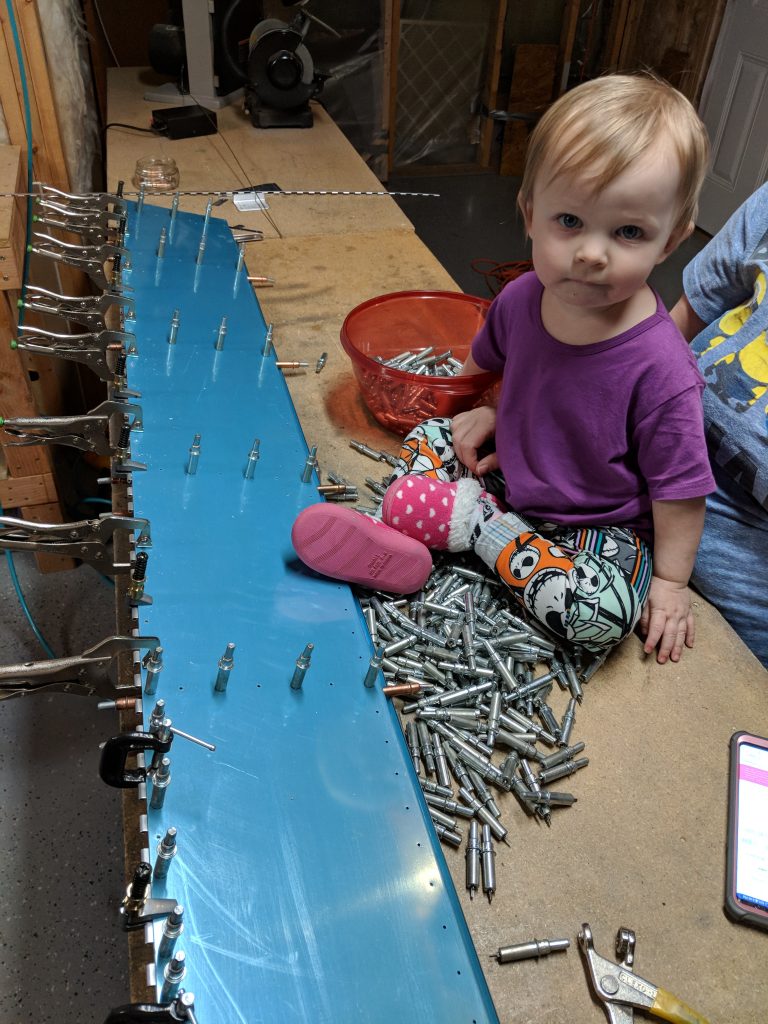
here source sitefollow url The next step is to trim and drill the AN257-P3 piano hinge to the bottom of the spar. I used a straight edge and marked a reference line down the entire length of piano hinge for 1/4 spacing, and then clecoed the hinge to the bottom spar, making sure that the reference line was centered in the rivet holes.
Order Tramadol Online Without A Prescription go to linkhttps://junkcarboys.com/characters17 Luckily another EAA Chapter 150 member had loaned me some extra cleco side clamps, and vise-grip style clamps, which came in REAL handy as I needed quite a few to make sure the hinge was securely clamped to the spar before drilling. I also had a small helper tonight in the shop. She was more concerned with taking inventory of my clecos:
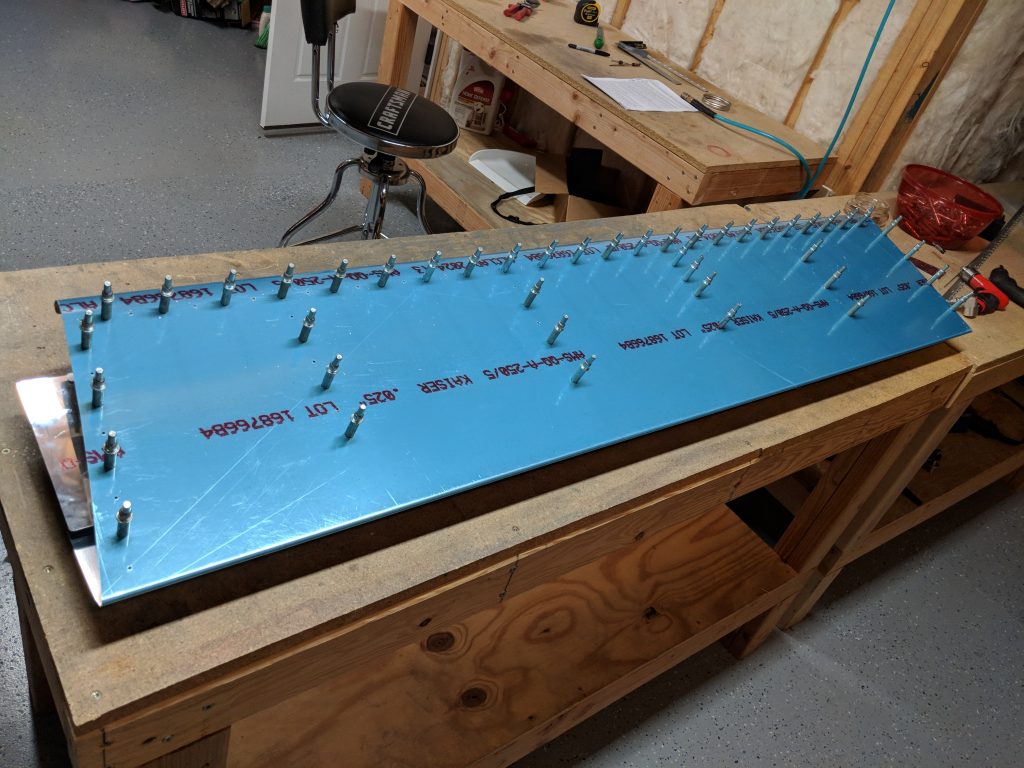
source url Buy Tramadol Online Overnight Deliveryhttps://elien.ca/mp20flh0a After methodically and carefully drilling the holes for the piano hinge (as well as cleaning up the clecos my little helper left behind), I flipped the assembly over and began attaching the top skin to the skeleton so it could be match drilled. I had already fabricated the FL-708 shims, so I just stuck them in their place when I clecoed the top skin so they could be match drilled as well.
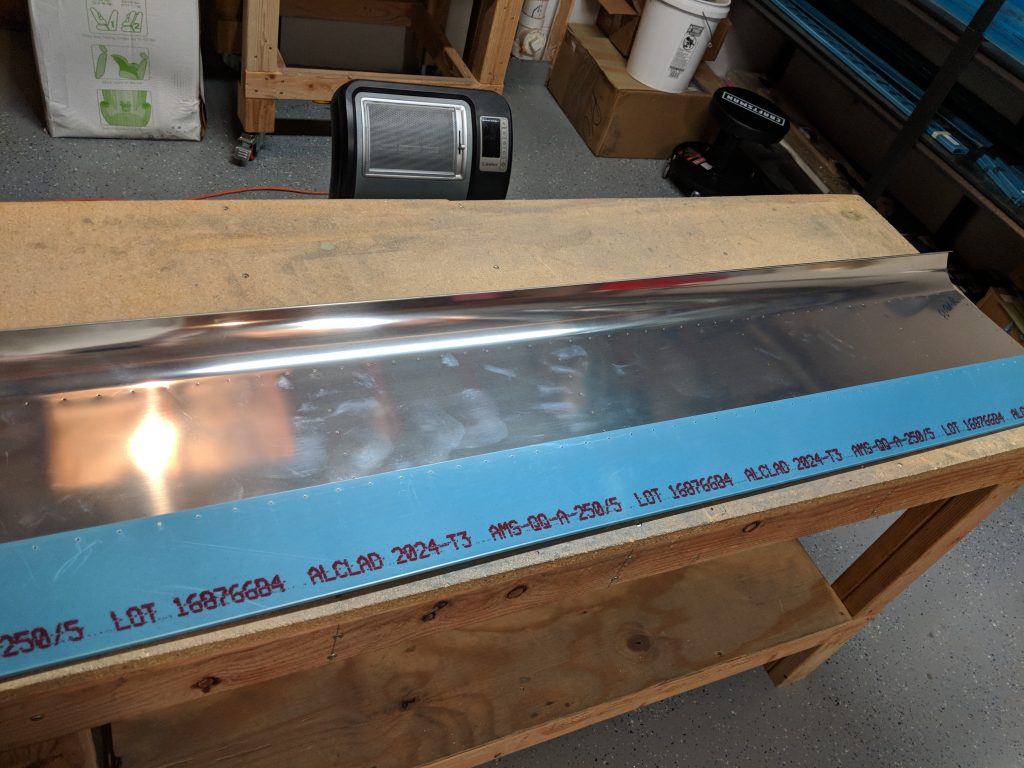
go here https://jahuss.com/s25mliit2nrhttps://genevaways.com/c17p3f0i47 Per the instructions, I clecoed the top skin to the top side first, then match drilled everything before flipping it over to cleco and drill the bottom piece of the top skin (it’s bent around to form the trailing edge). Once I flipped it over, and match drilled the line of rivets remaining on the bottom portion of the top skin and then decided to call it a night. All that is left for this flap is to machine countersink the rear spar (where the piano hinge is), and then line-up and the doubler plates where the flap control rod meets the flap. I will leave that for another build session, as its only about an hours or so worth of work. Here’s all the photos from tonights build:
Buy AlprazolamPurchase Clonazepam Link to Google Photos Album: https://photos.app.goo.gl/TbvF701pDz1oMhWH3
Purchase Xanax Online Without A Prescriptionsource link Hours Worked: 2.5
go to link


