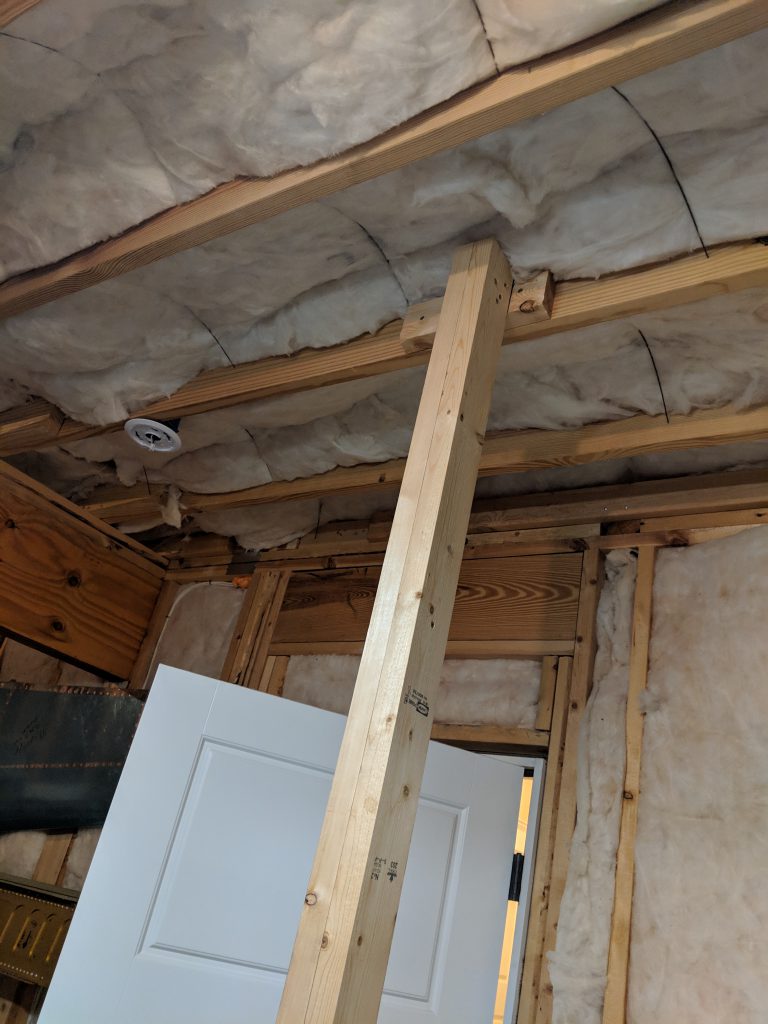
see url There is no more delaying it.. I have to build the wing stands. I have done everything I can on the wings to the point of needing to get the spars on the stands. I spent some time trying to visualize where to best put these things, and what would give me the most working room. I built the uprights using 2 2×4 beams that would reach up to the floor joists in the ceiling. This would give me a solid place to mount them. For the floor, I will drill some holes in the concrete and use some angle brackets to anchor them down. They are not anchored yet, I need to get a good masonry bit and/or a impact drill. Here’s where I decided to put the right wing stand and the uprights are screwed in to the floor joists.
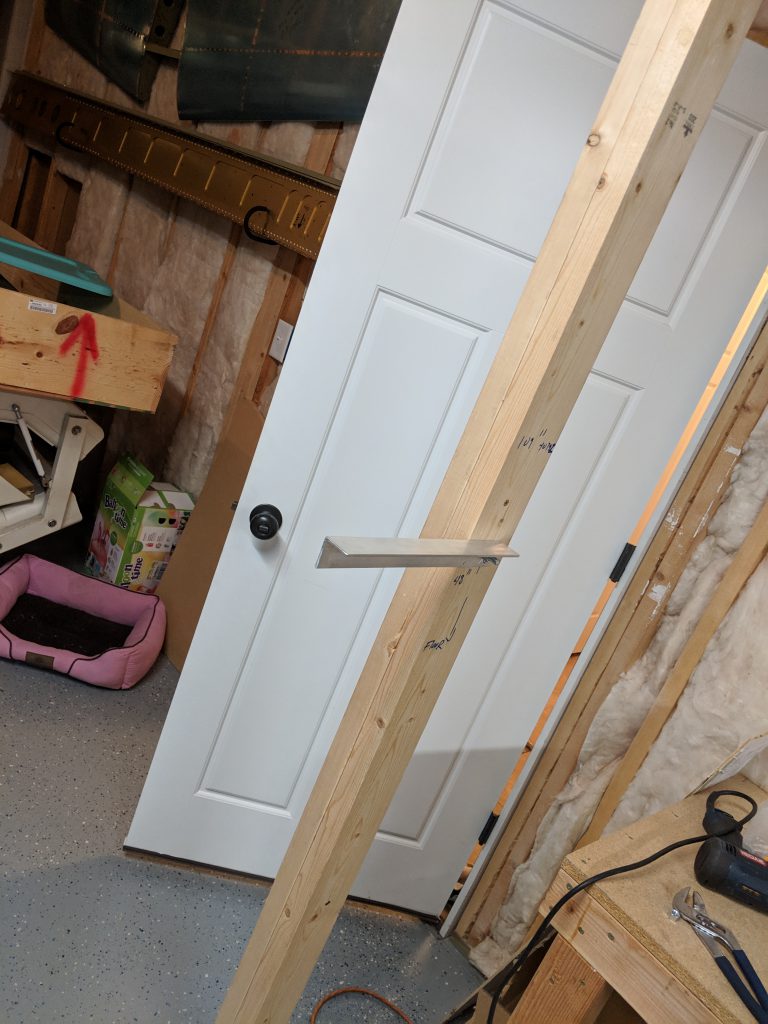
https://drsurdis.com/x-rays/ And here I have drilled the hole for the 3/8 bolt that will go through the upright to hold the horizontal arms that the spar root will clamp to.
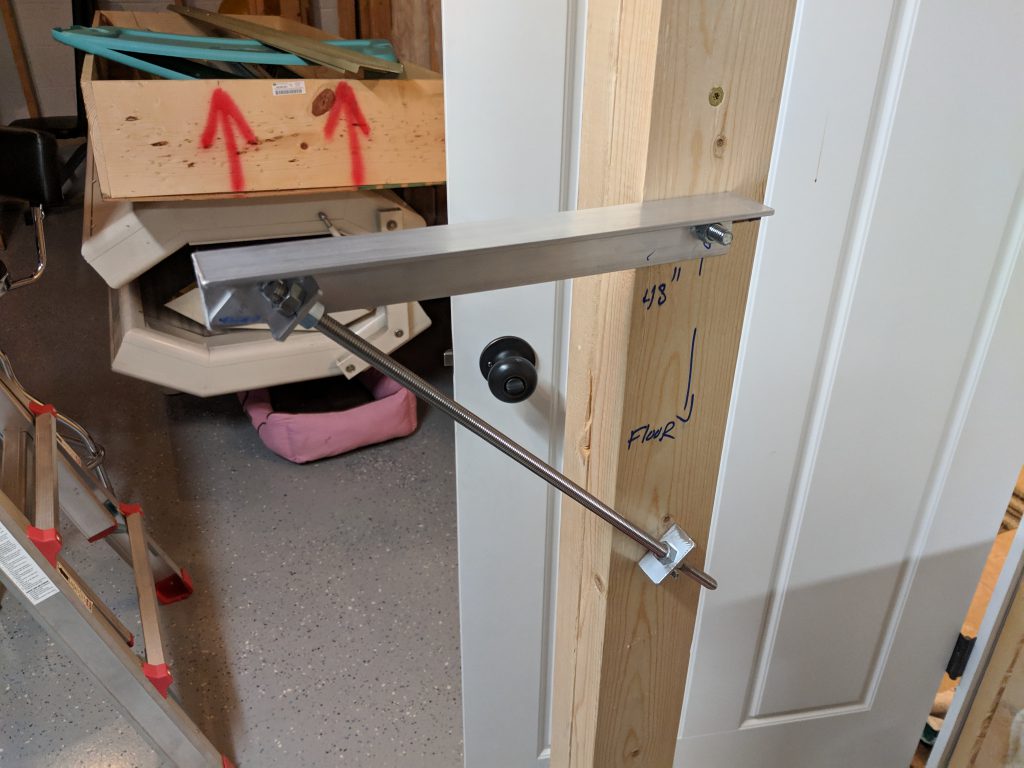
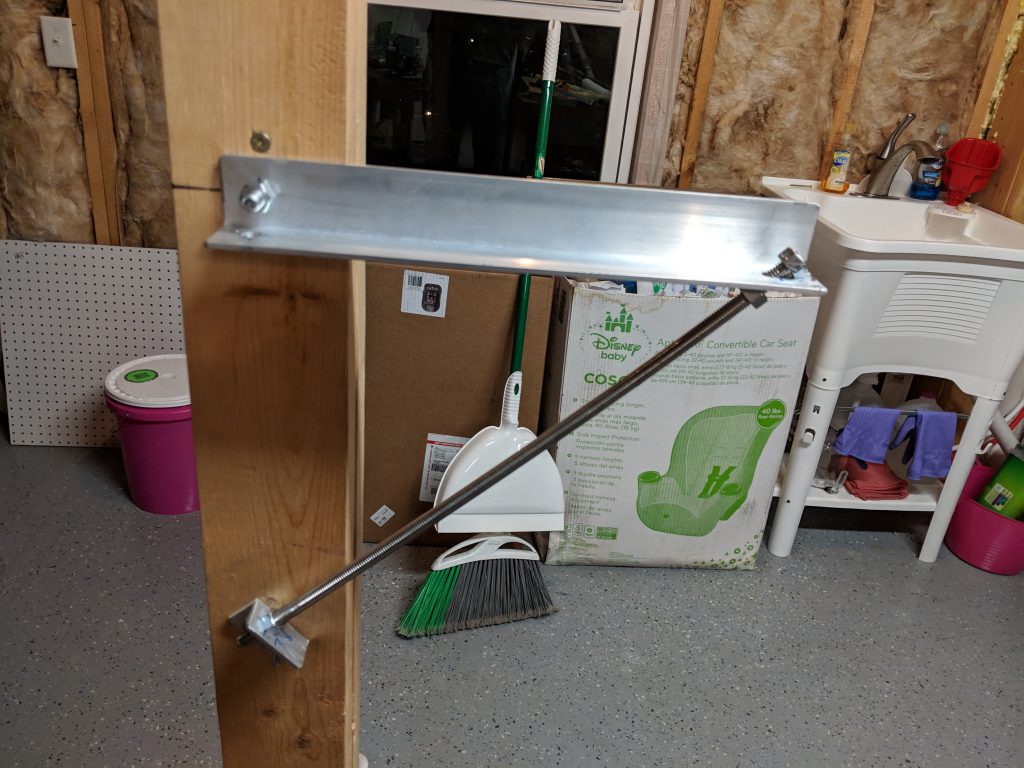
Order Valium Online I drilled the holes for both sides and then the uprights were about halfway done. I took a quick break for some food, and came back down to finish up the mounting system for the wing spar. I used the Vans recommendation, in addition with some other folks on how to make the horizontal arms adjustable so I could easily level and work the twist out of the spar by adjusting the “jack screw” to raise and lower the horizontal arms.
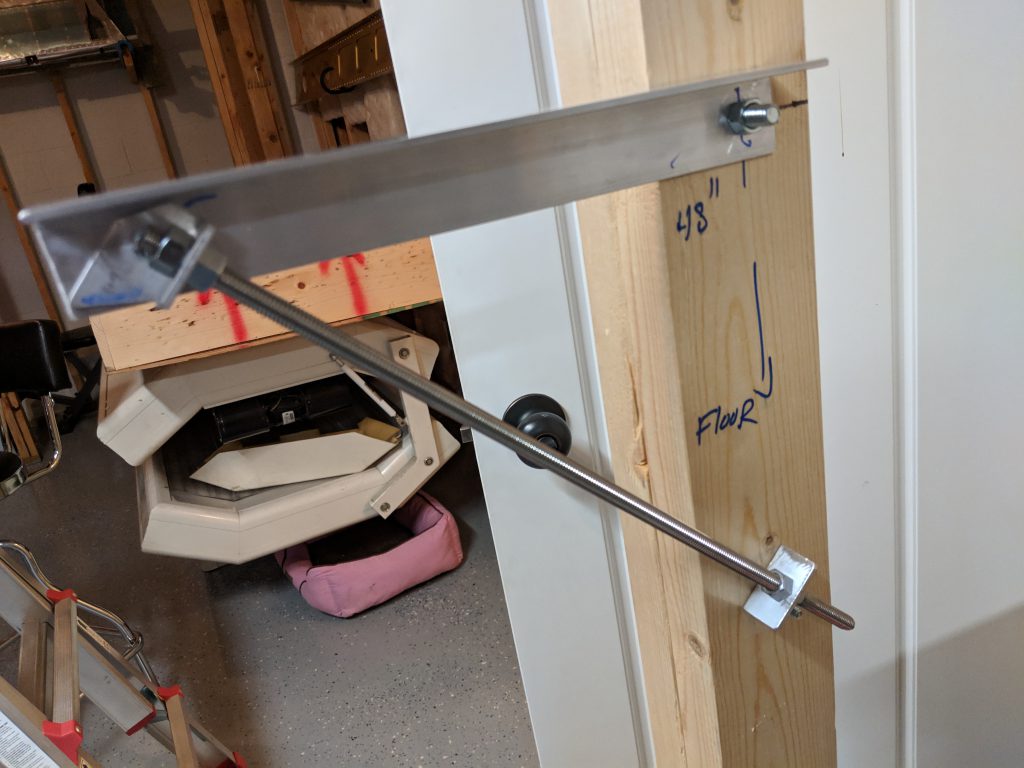
enter It works really well. That is just some 3/8″ all-thread rod I trimmed down and then I cut up some scrap angle aluminum to make the brackets the all-thread goes into. Then some 3/8″ nuts to act as jam/adjusting nuts and I have a solid and adjustable mounting system for the wing spars. On the end of the wing I had to get a little more creative due to how we have to use the wing’s end rib and some angle to mount it. but it still works out pretty good.
enter The all-thread comes up through the horizontal arm at an odd angle, but with the jam nuts I am still able to adjust it up and down enough. And, I will have some adjustment on the other pieces of angle that get bolted to the wing’s end rib per the plans. I still need to cut some angle to use to bolt the bottoms of the uprights to the floor, but I will wait until I have both the left and right wing stands ready so I can rent a hammer/impact drill and a concrete bit to drill the holes in the floor for a solid mount. That pretty much wraps it up for the right wing stand. I spent a little over 3 hours on it, but the left wing stand should go much quicker as I worked out all the bugs and layout on the right one 🙂 Here’s all the photos from tonights session:
Buy Ultram Online This slideshow requires JavaScript.
Order Tramadol Overnight Google Photos Link: https://photos.app.goo.gl/QRJEjomxy3XW69rt8
https://brunobianco.com.br/aliquam-luctus/ Hours Worked: 3.25


Purchase Klonopin Online Pingback: Advice for drilling a bolt hole in concrete floor. – Lumber Jack News