


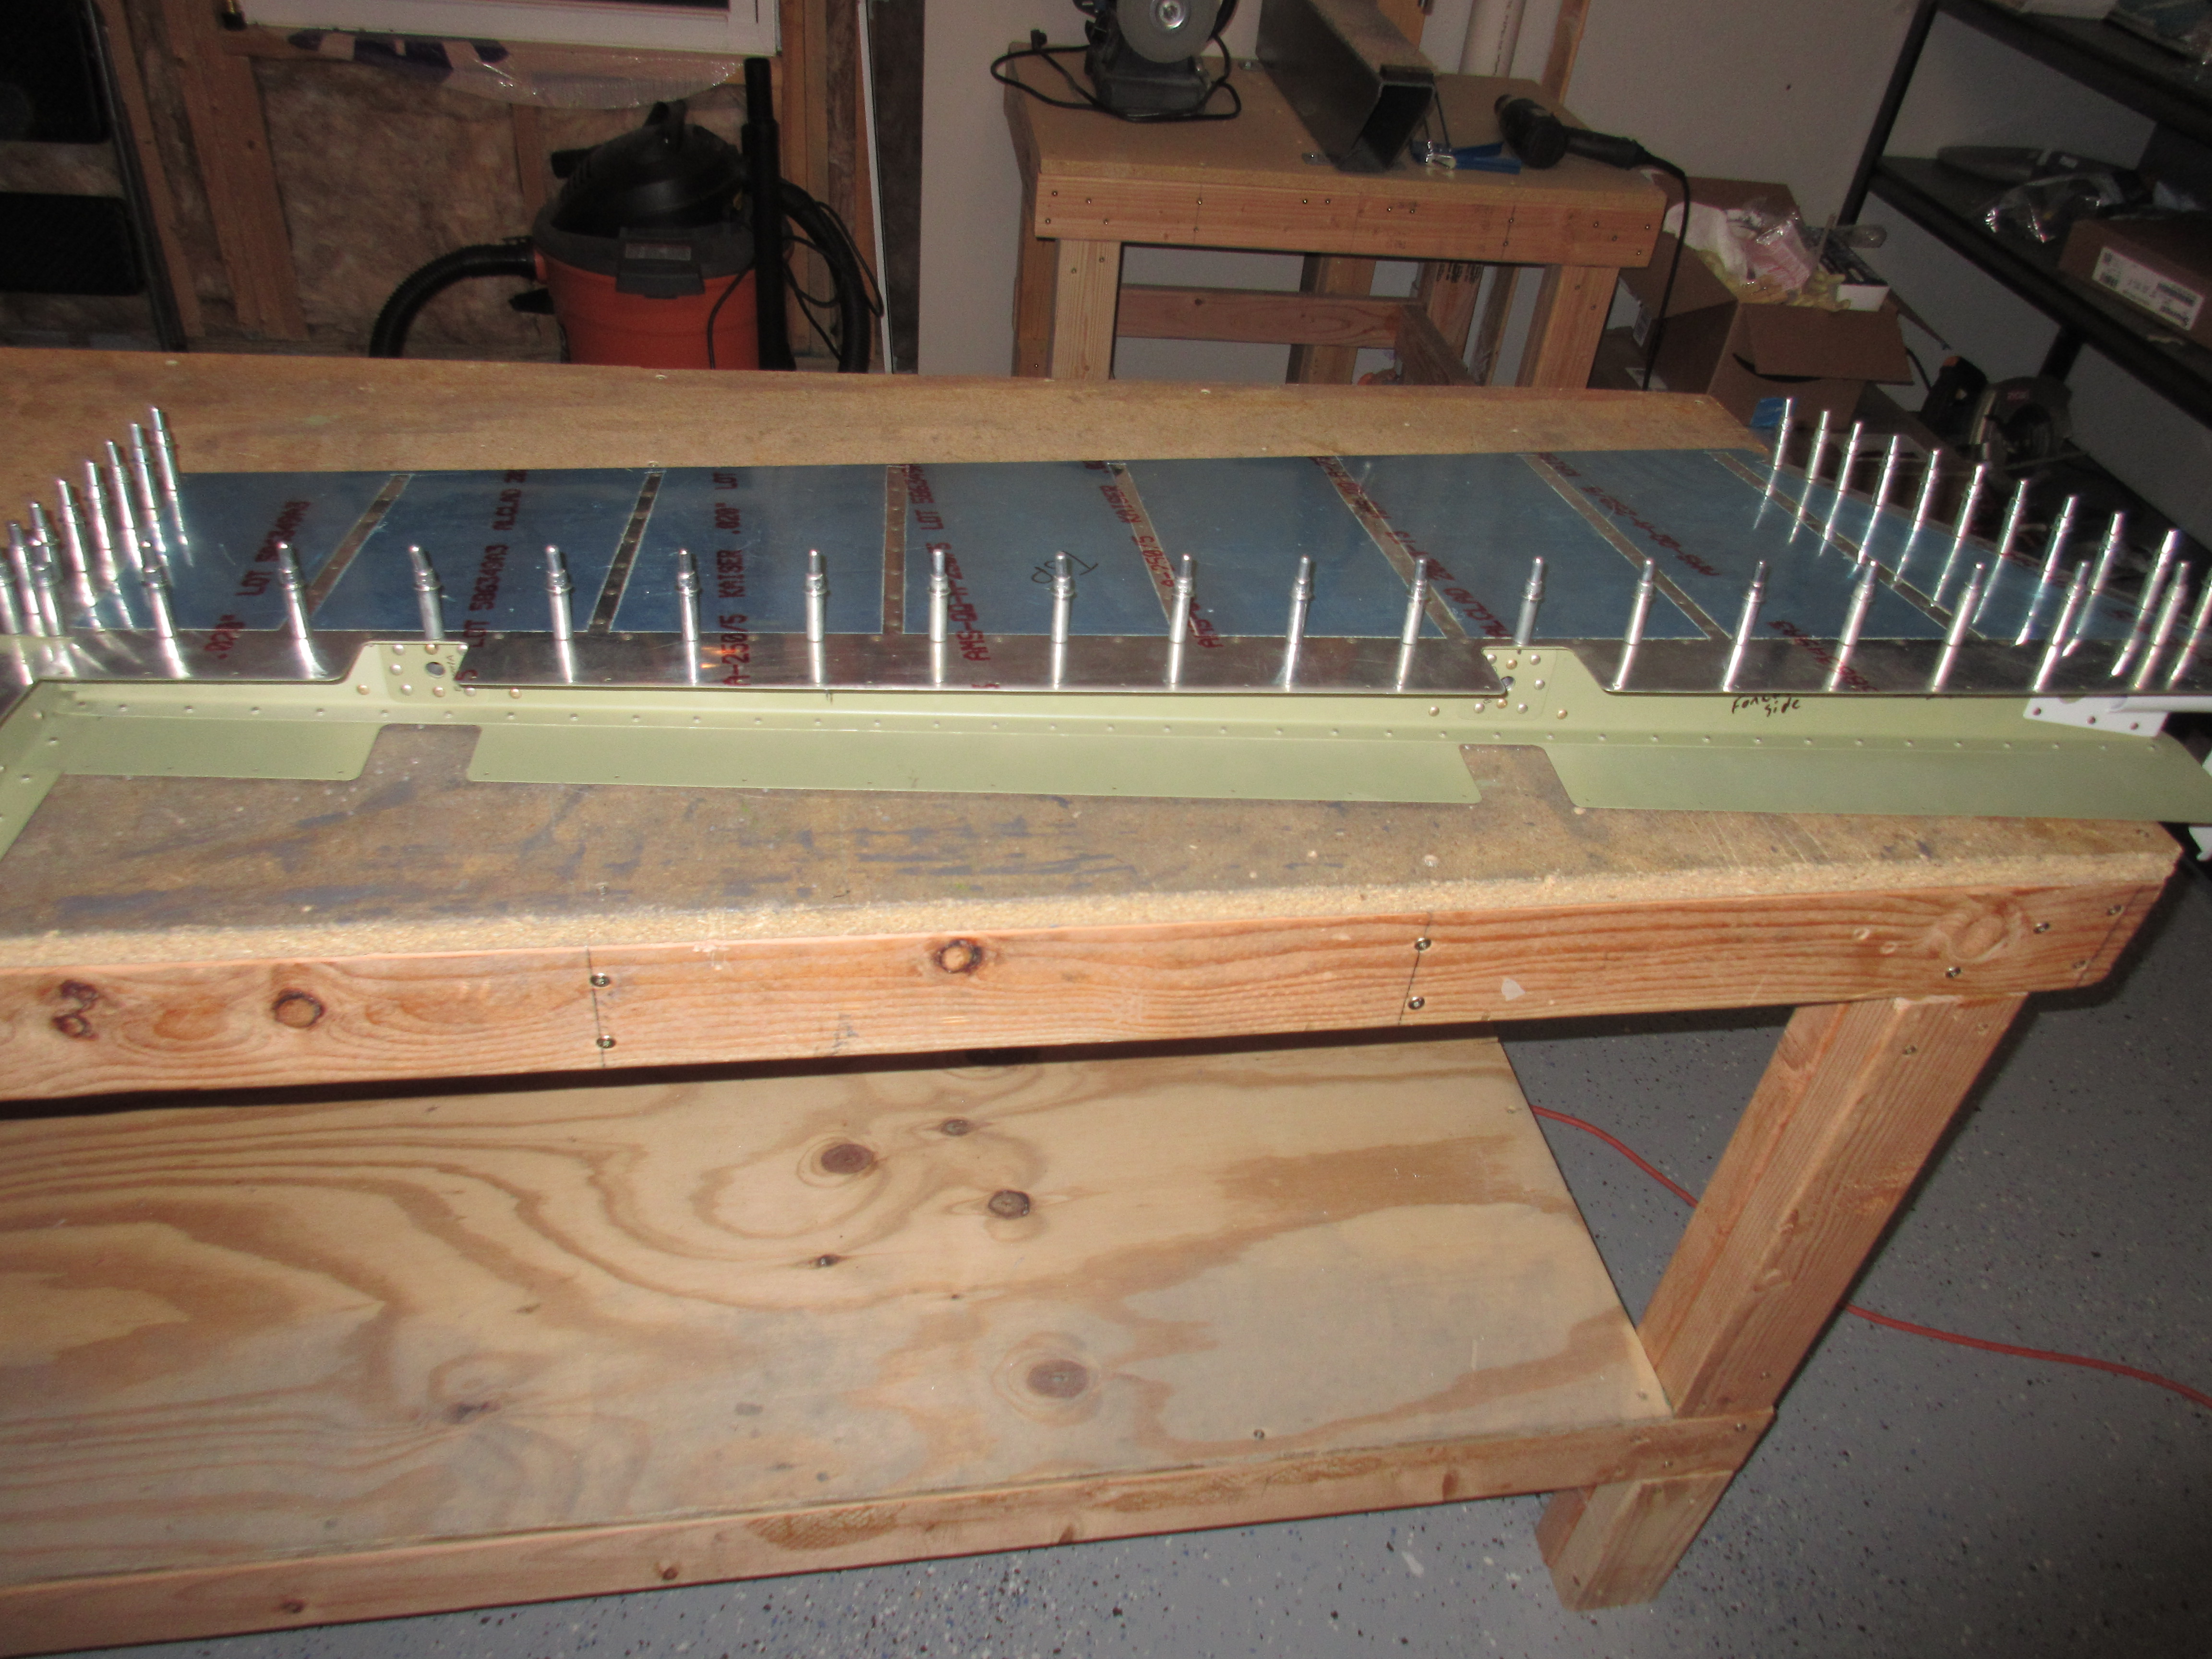
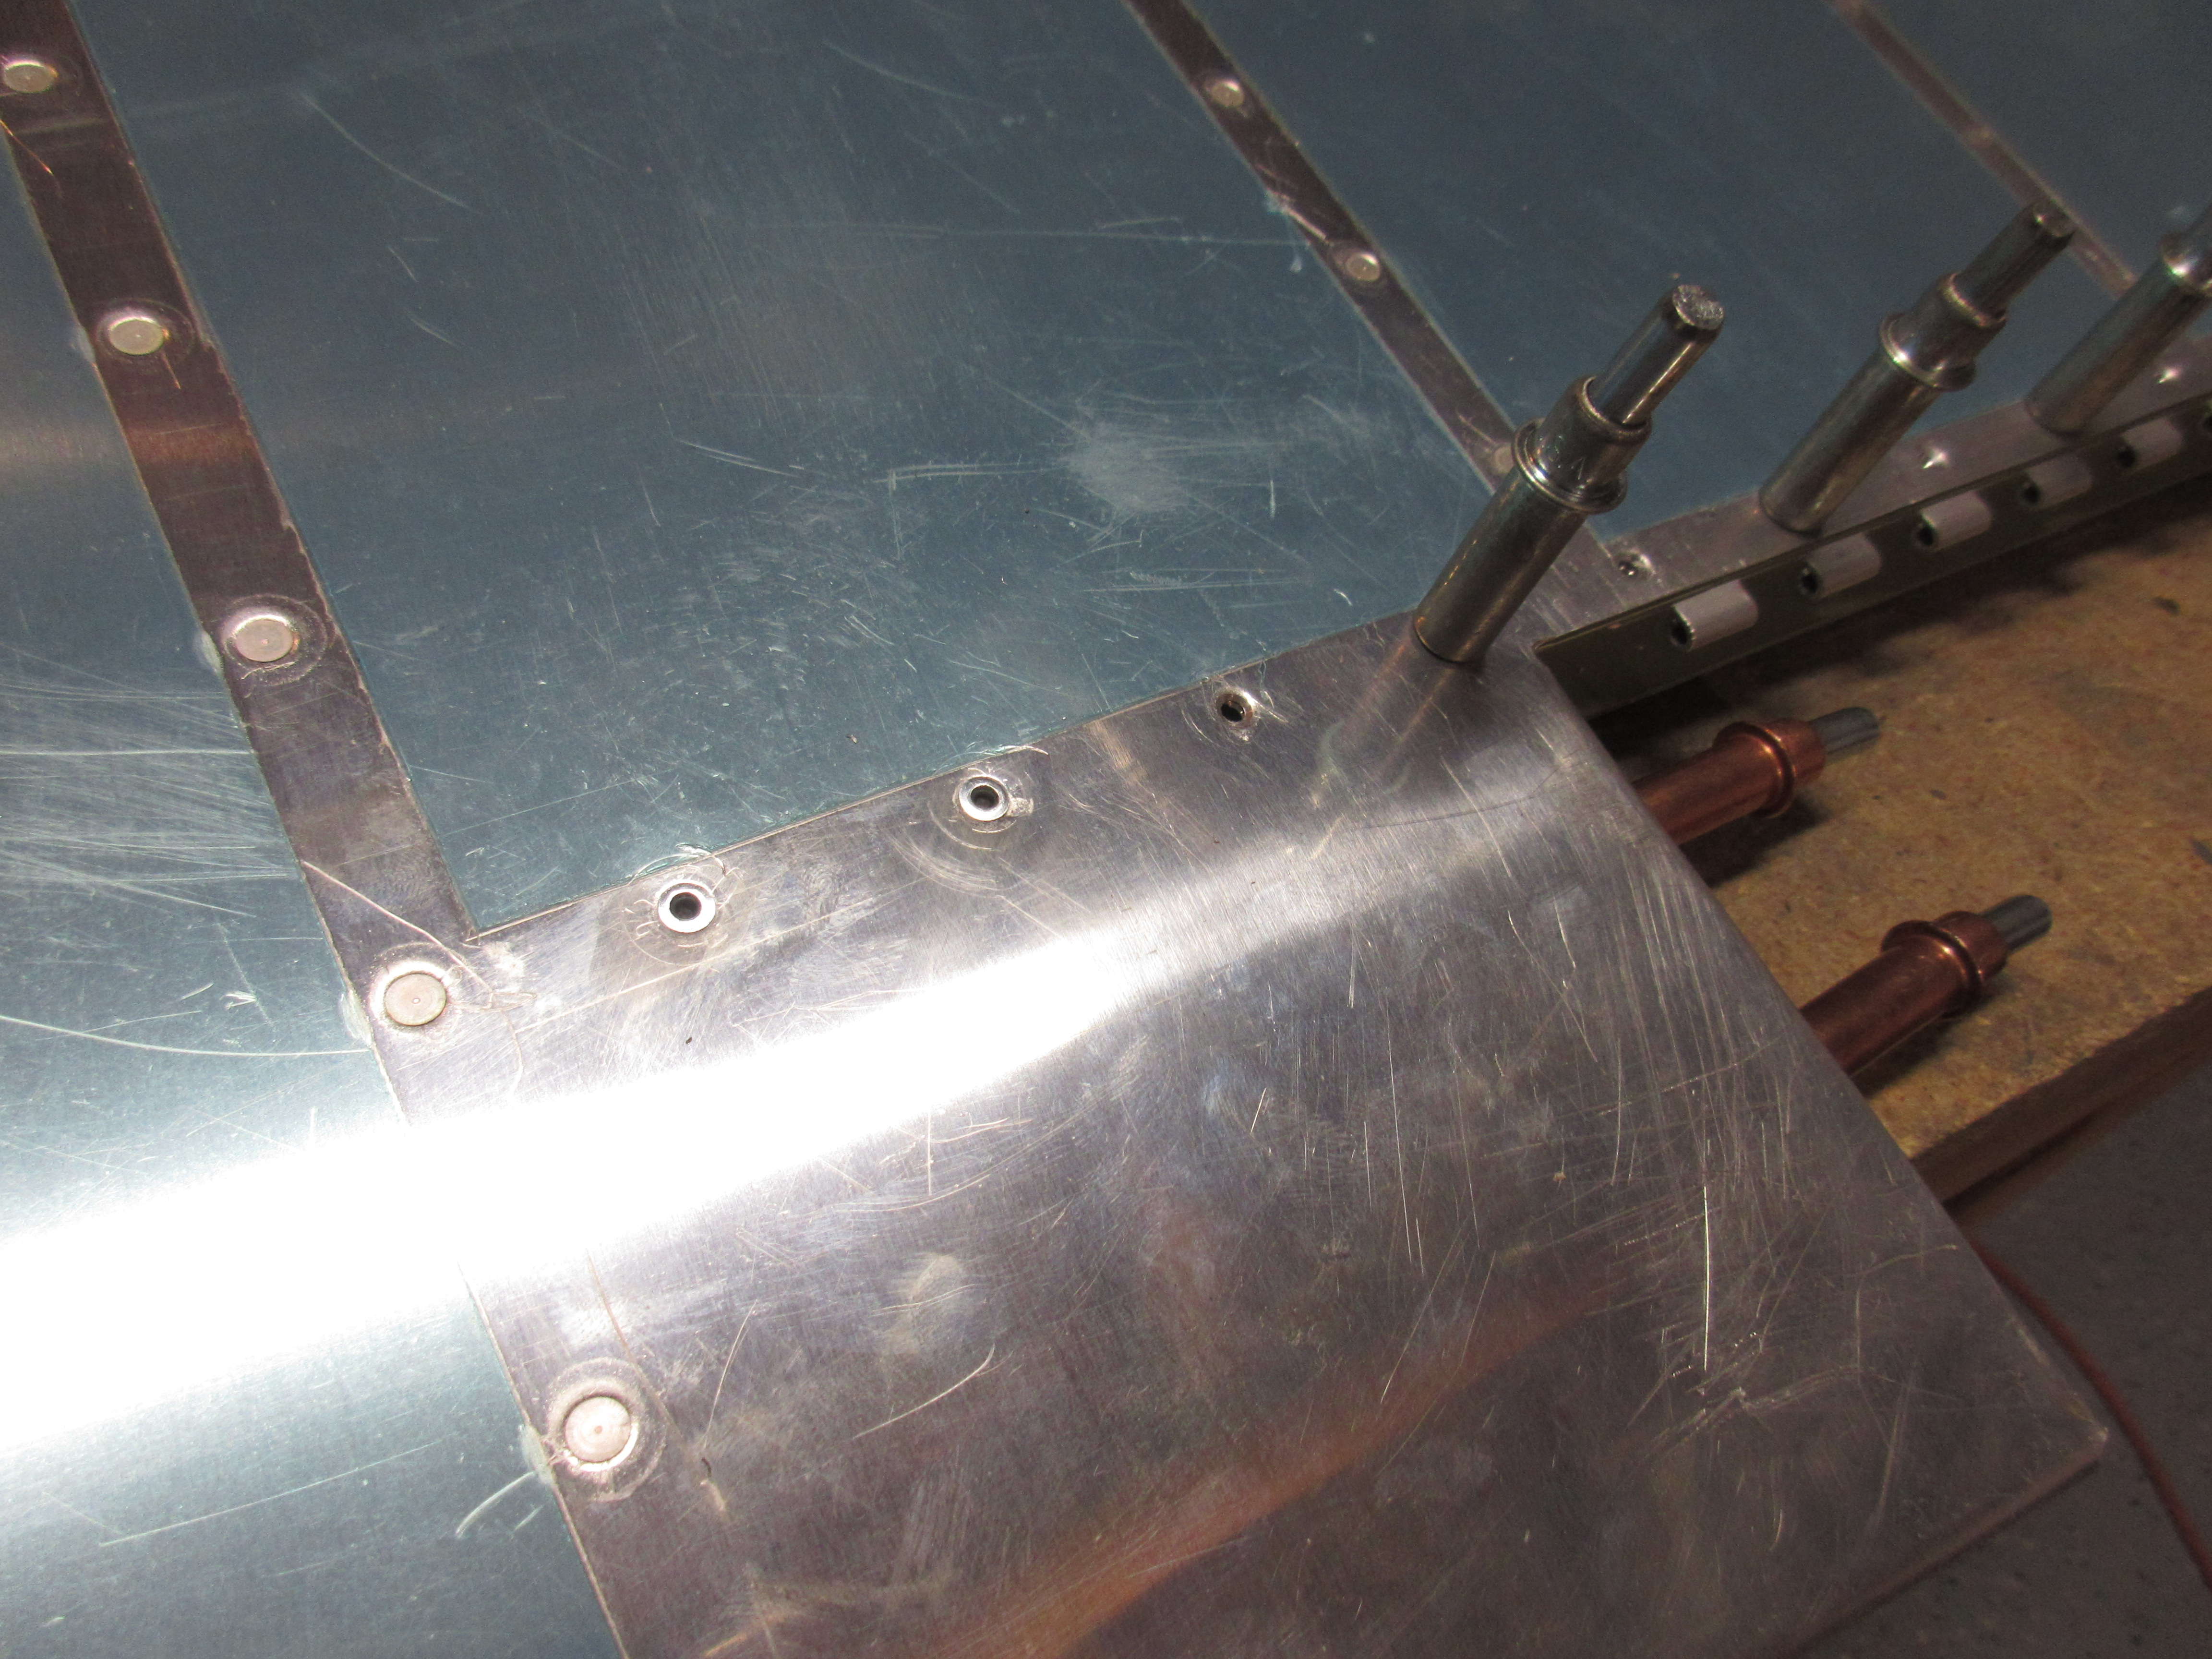
Tonight I was able to close up and rivet both the left and the right elevators. They had been setting and letting the proseal cure, and now it was time to close them up for good. I started out with the easiest one first, the right elevator. This one is pretty simple, as there is no trim tab to deal with. I removed every other cleco, inserted a rivet and then squeezed them with my squeezer.
Since this is all along the edges, I was able to use my squeezer on all but one rivet. I was not able to get the nose of the squeezer in the very last rivet closest to the trailing edge. There was just not enough room to get it in there and squeeze. I am thinking I will use a blind rivet in that one hole, which is perfectly acceptable by Vans’s plans, and even recommended for the very end holes due to the tightness of them. All the rest of the rivets were perfect.
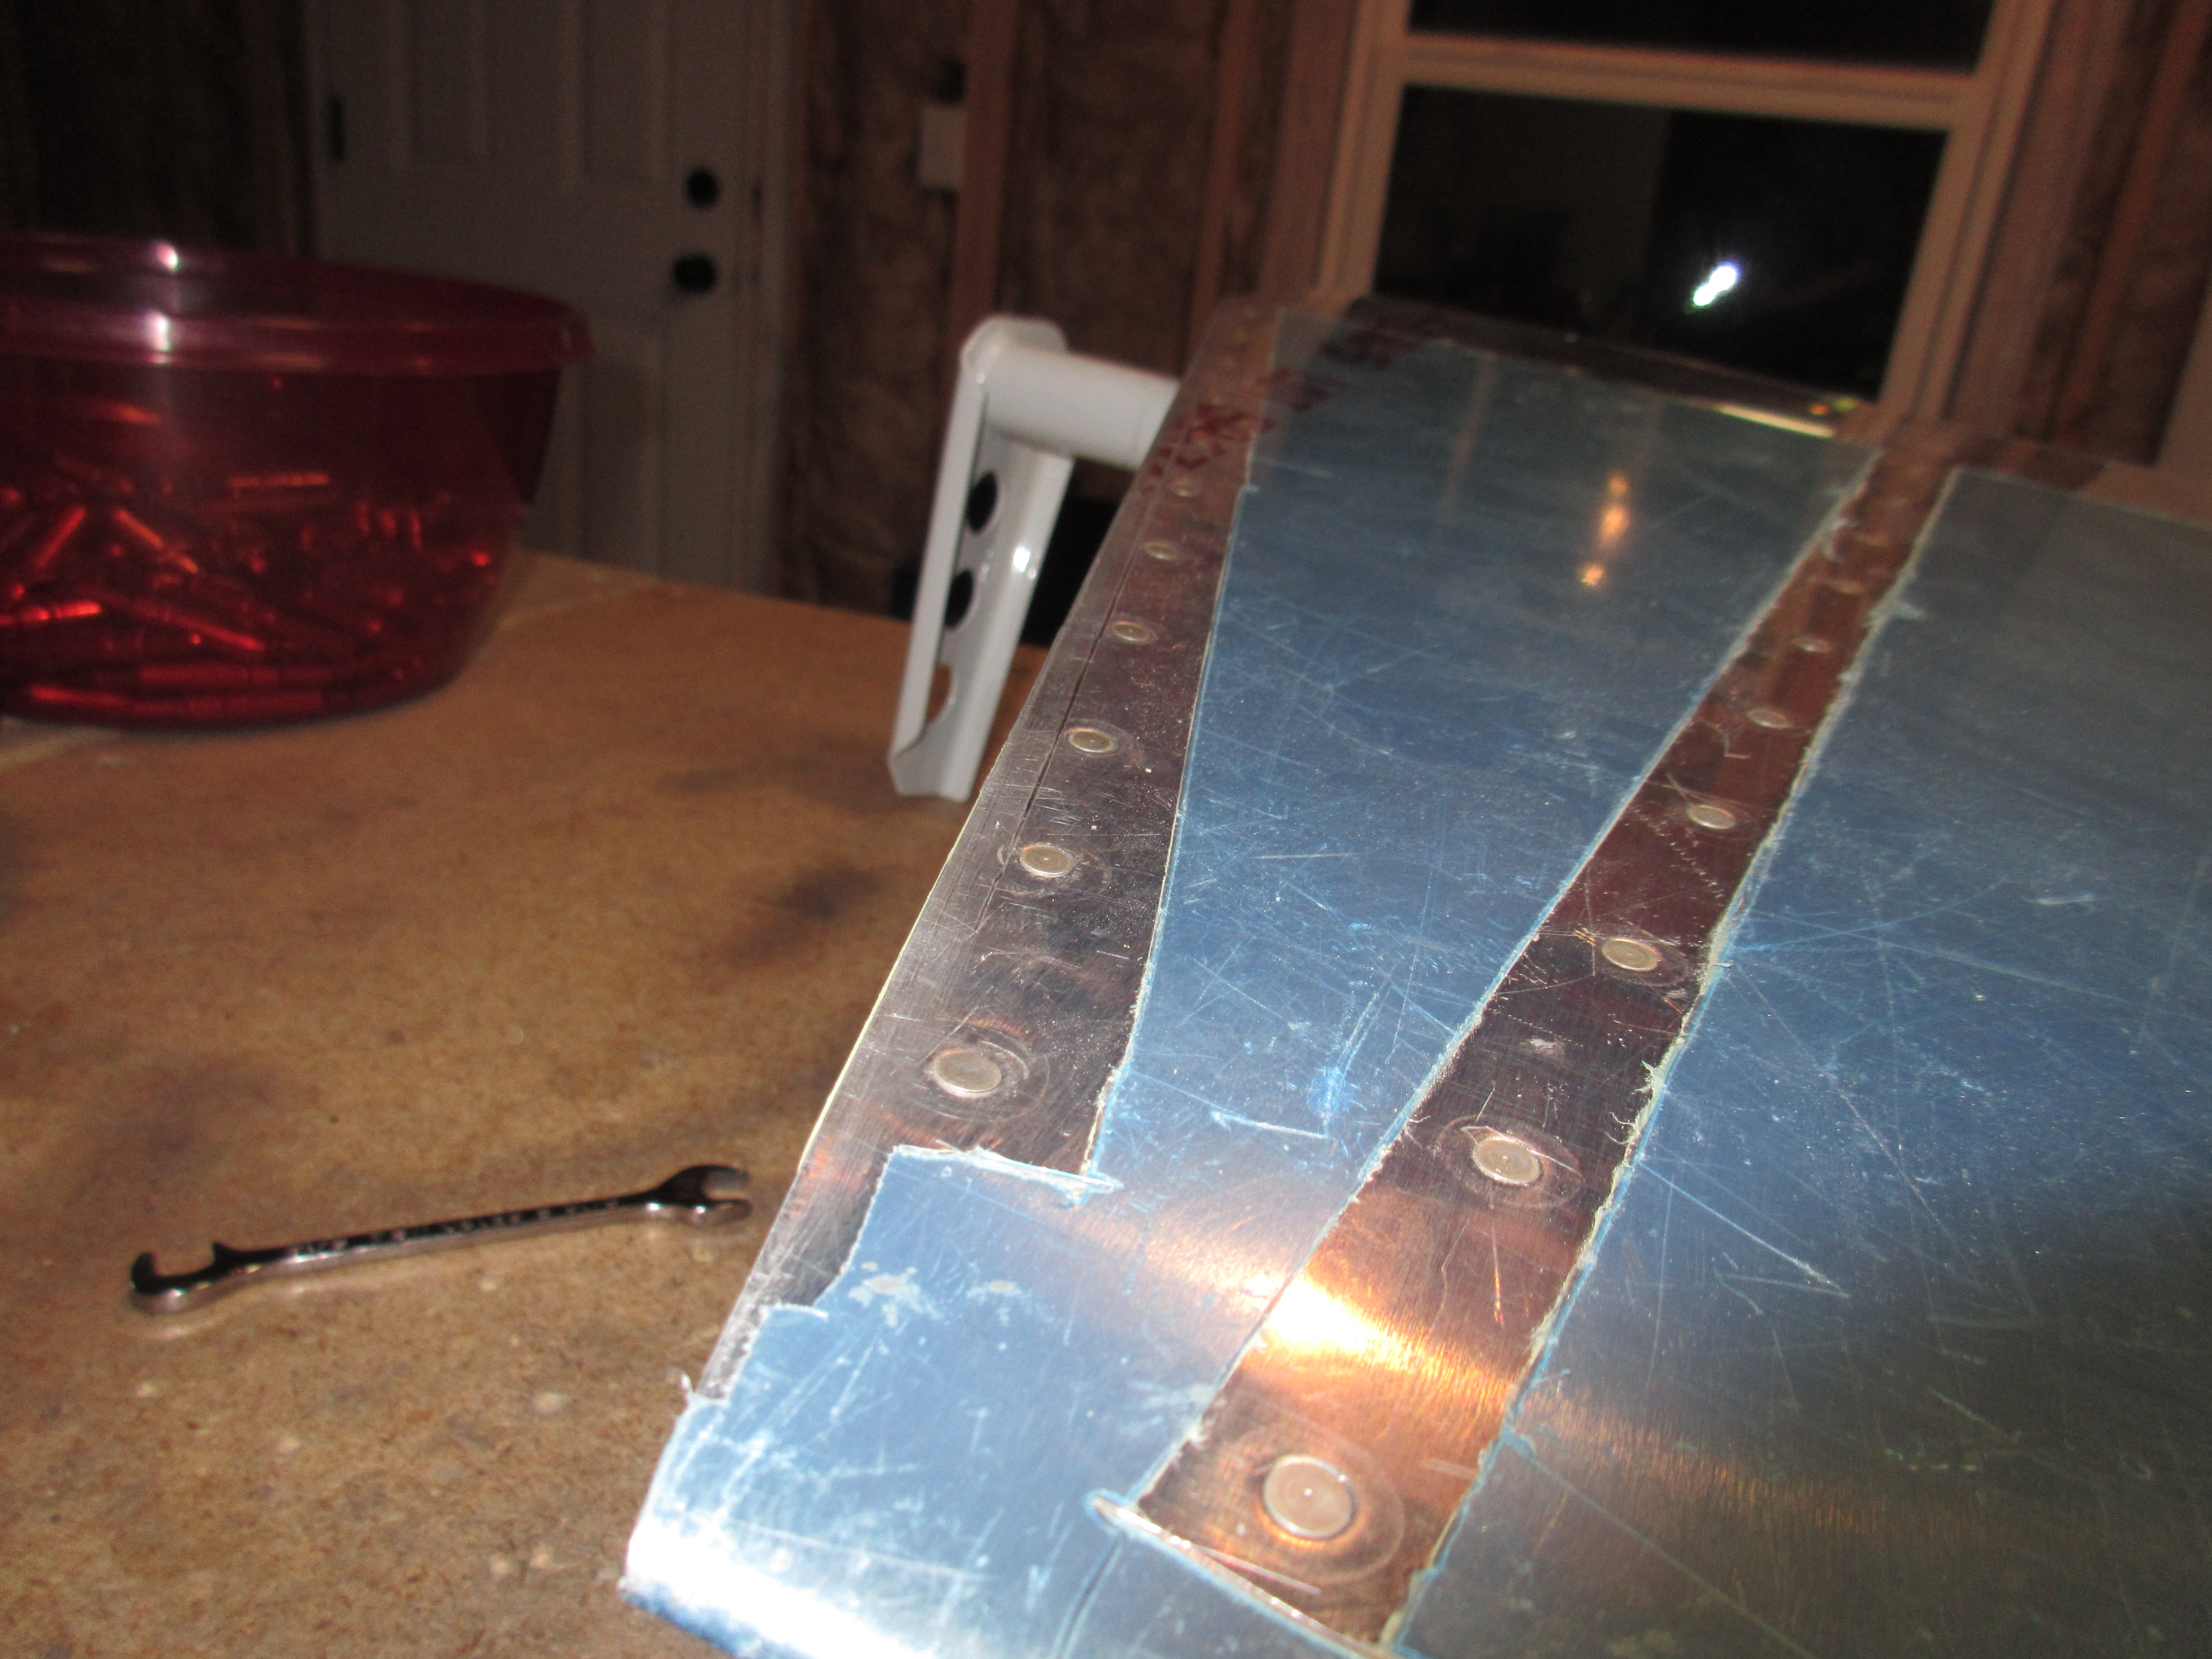
I was able to set every rivet except that one on the end. I will set the elevator to the side, and make a note on this one rivet. Once I make a decision I will come back to it . I do think a blind rivet is the way to go, since it doesn’t involve risking any damage to an otherwise perfect elevator. On the the left elevator!
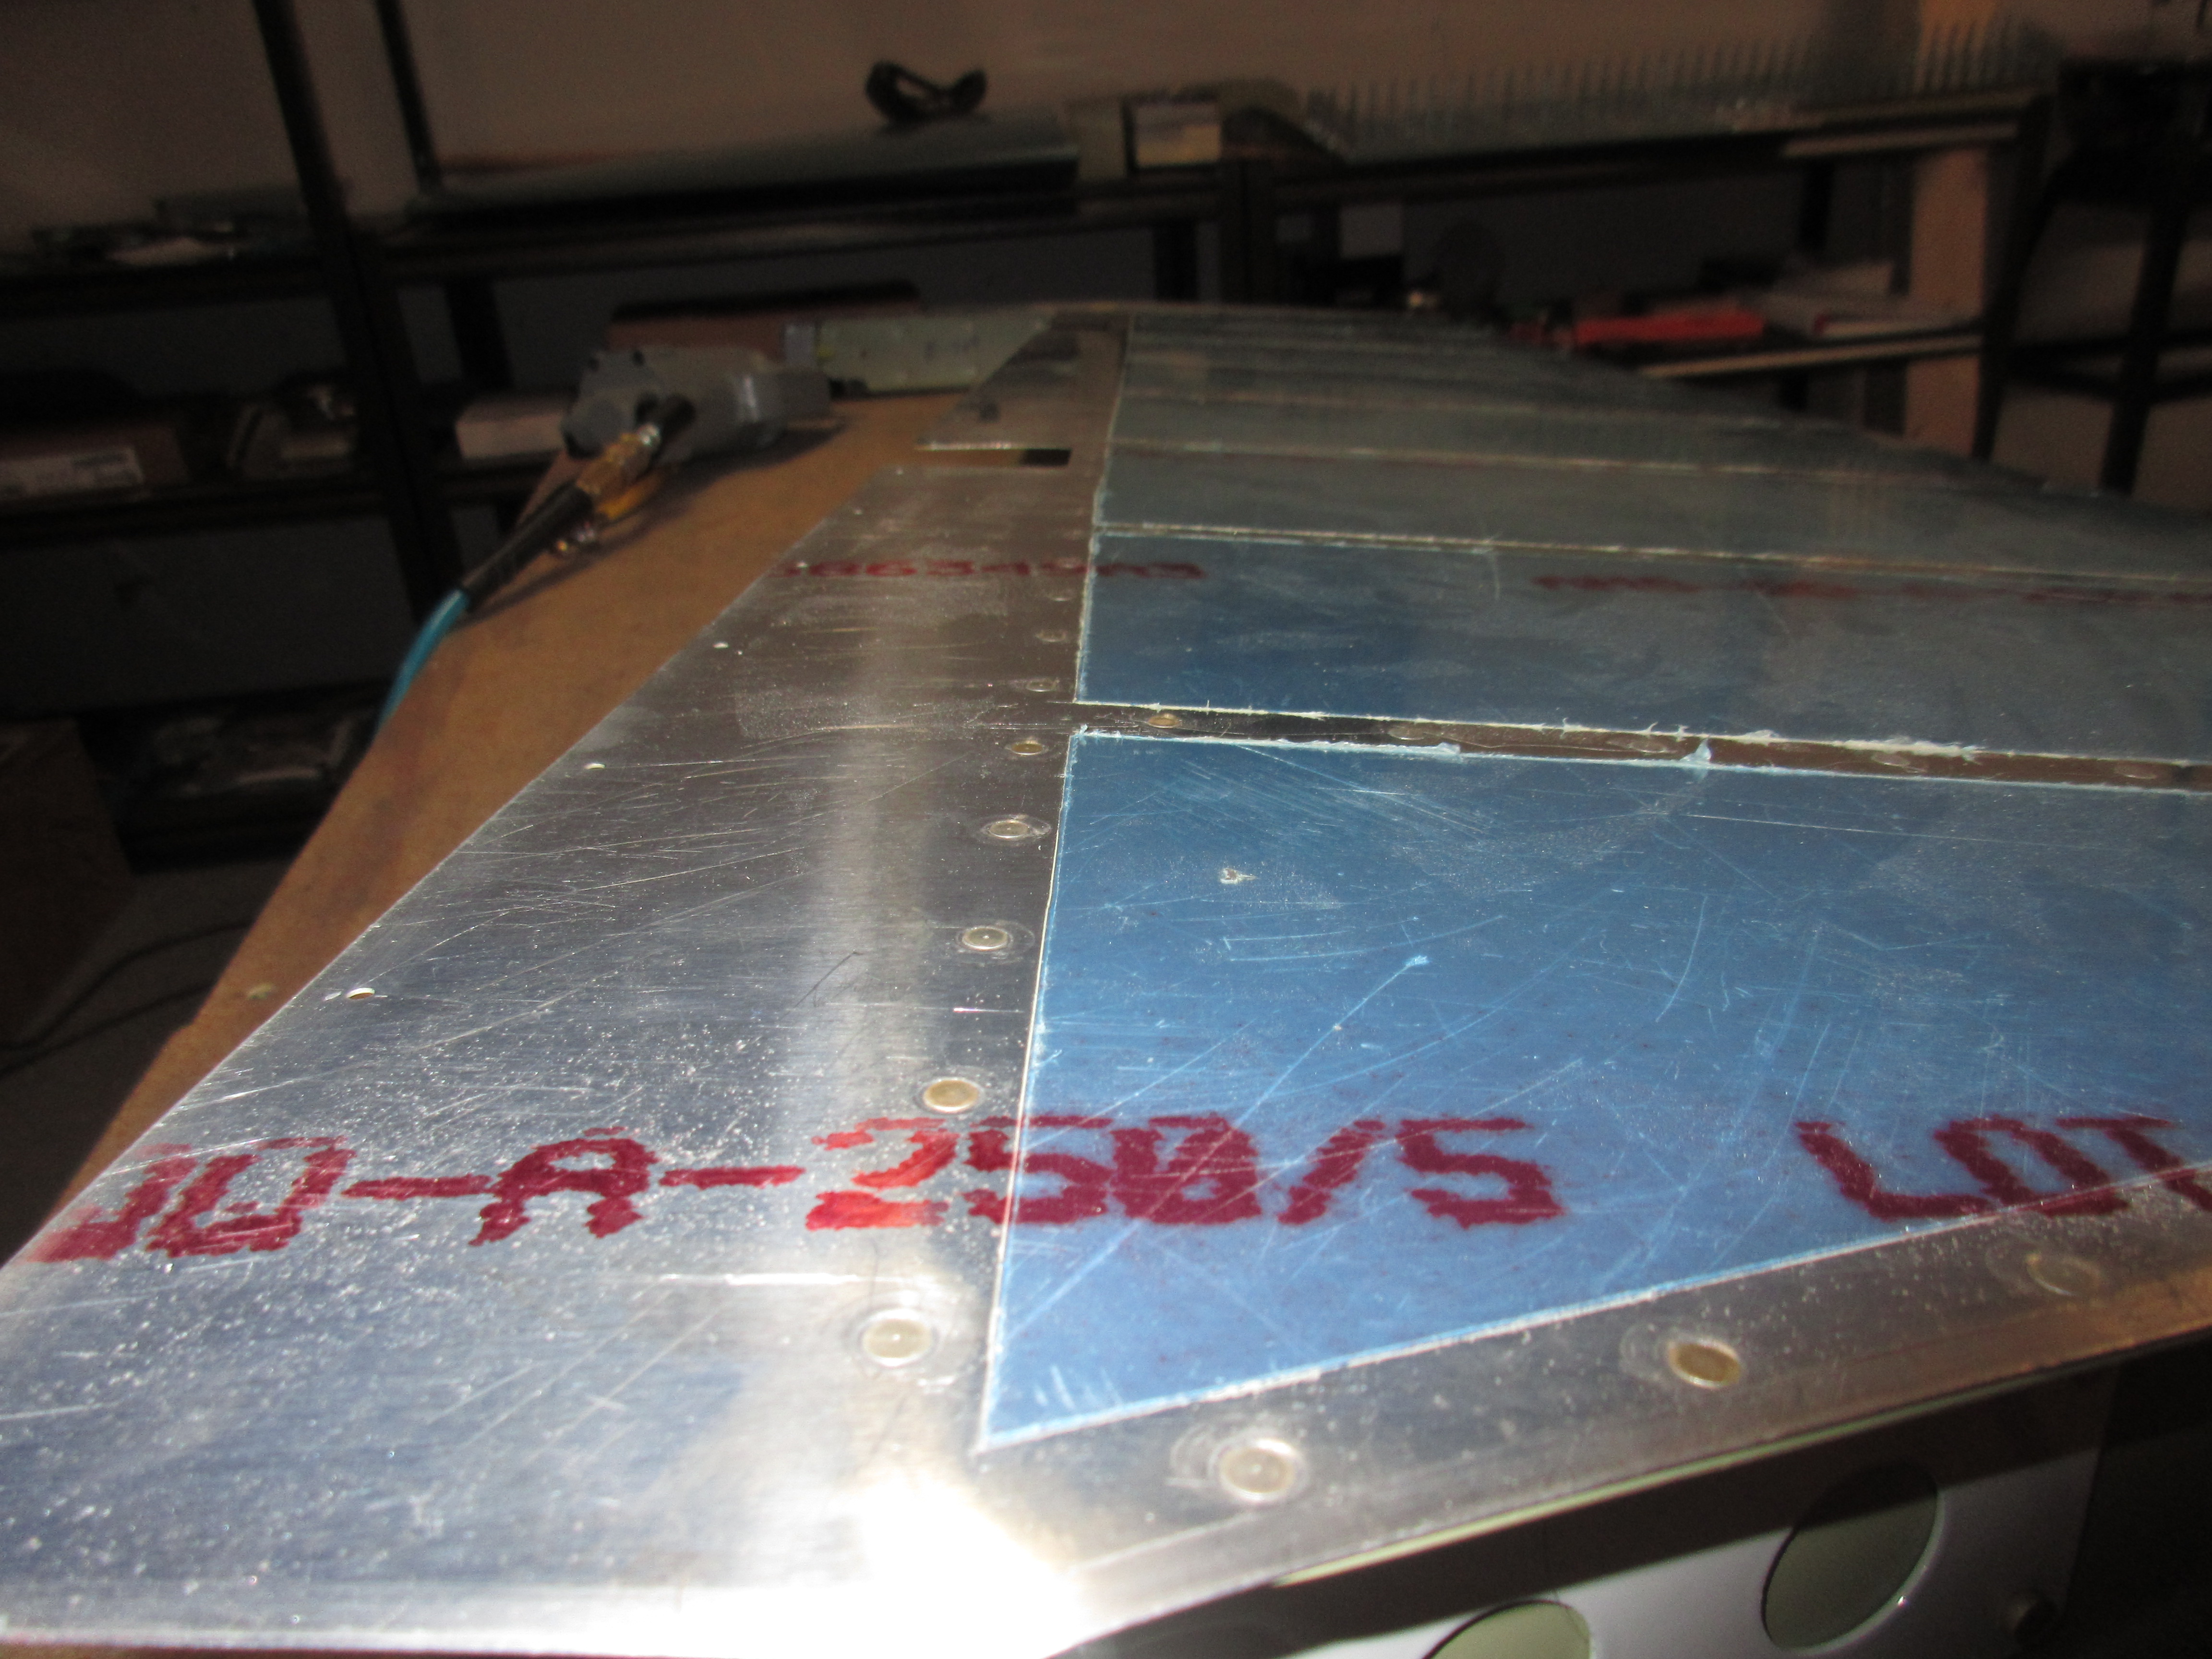
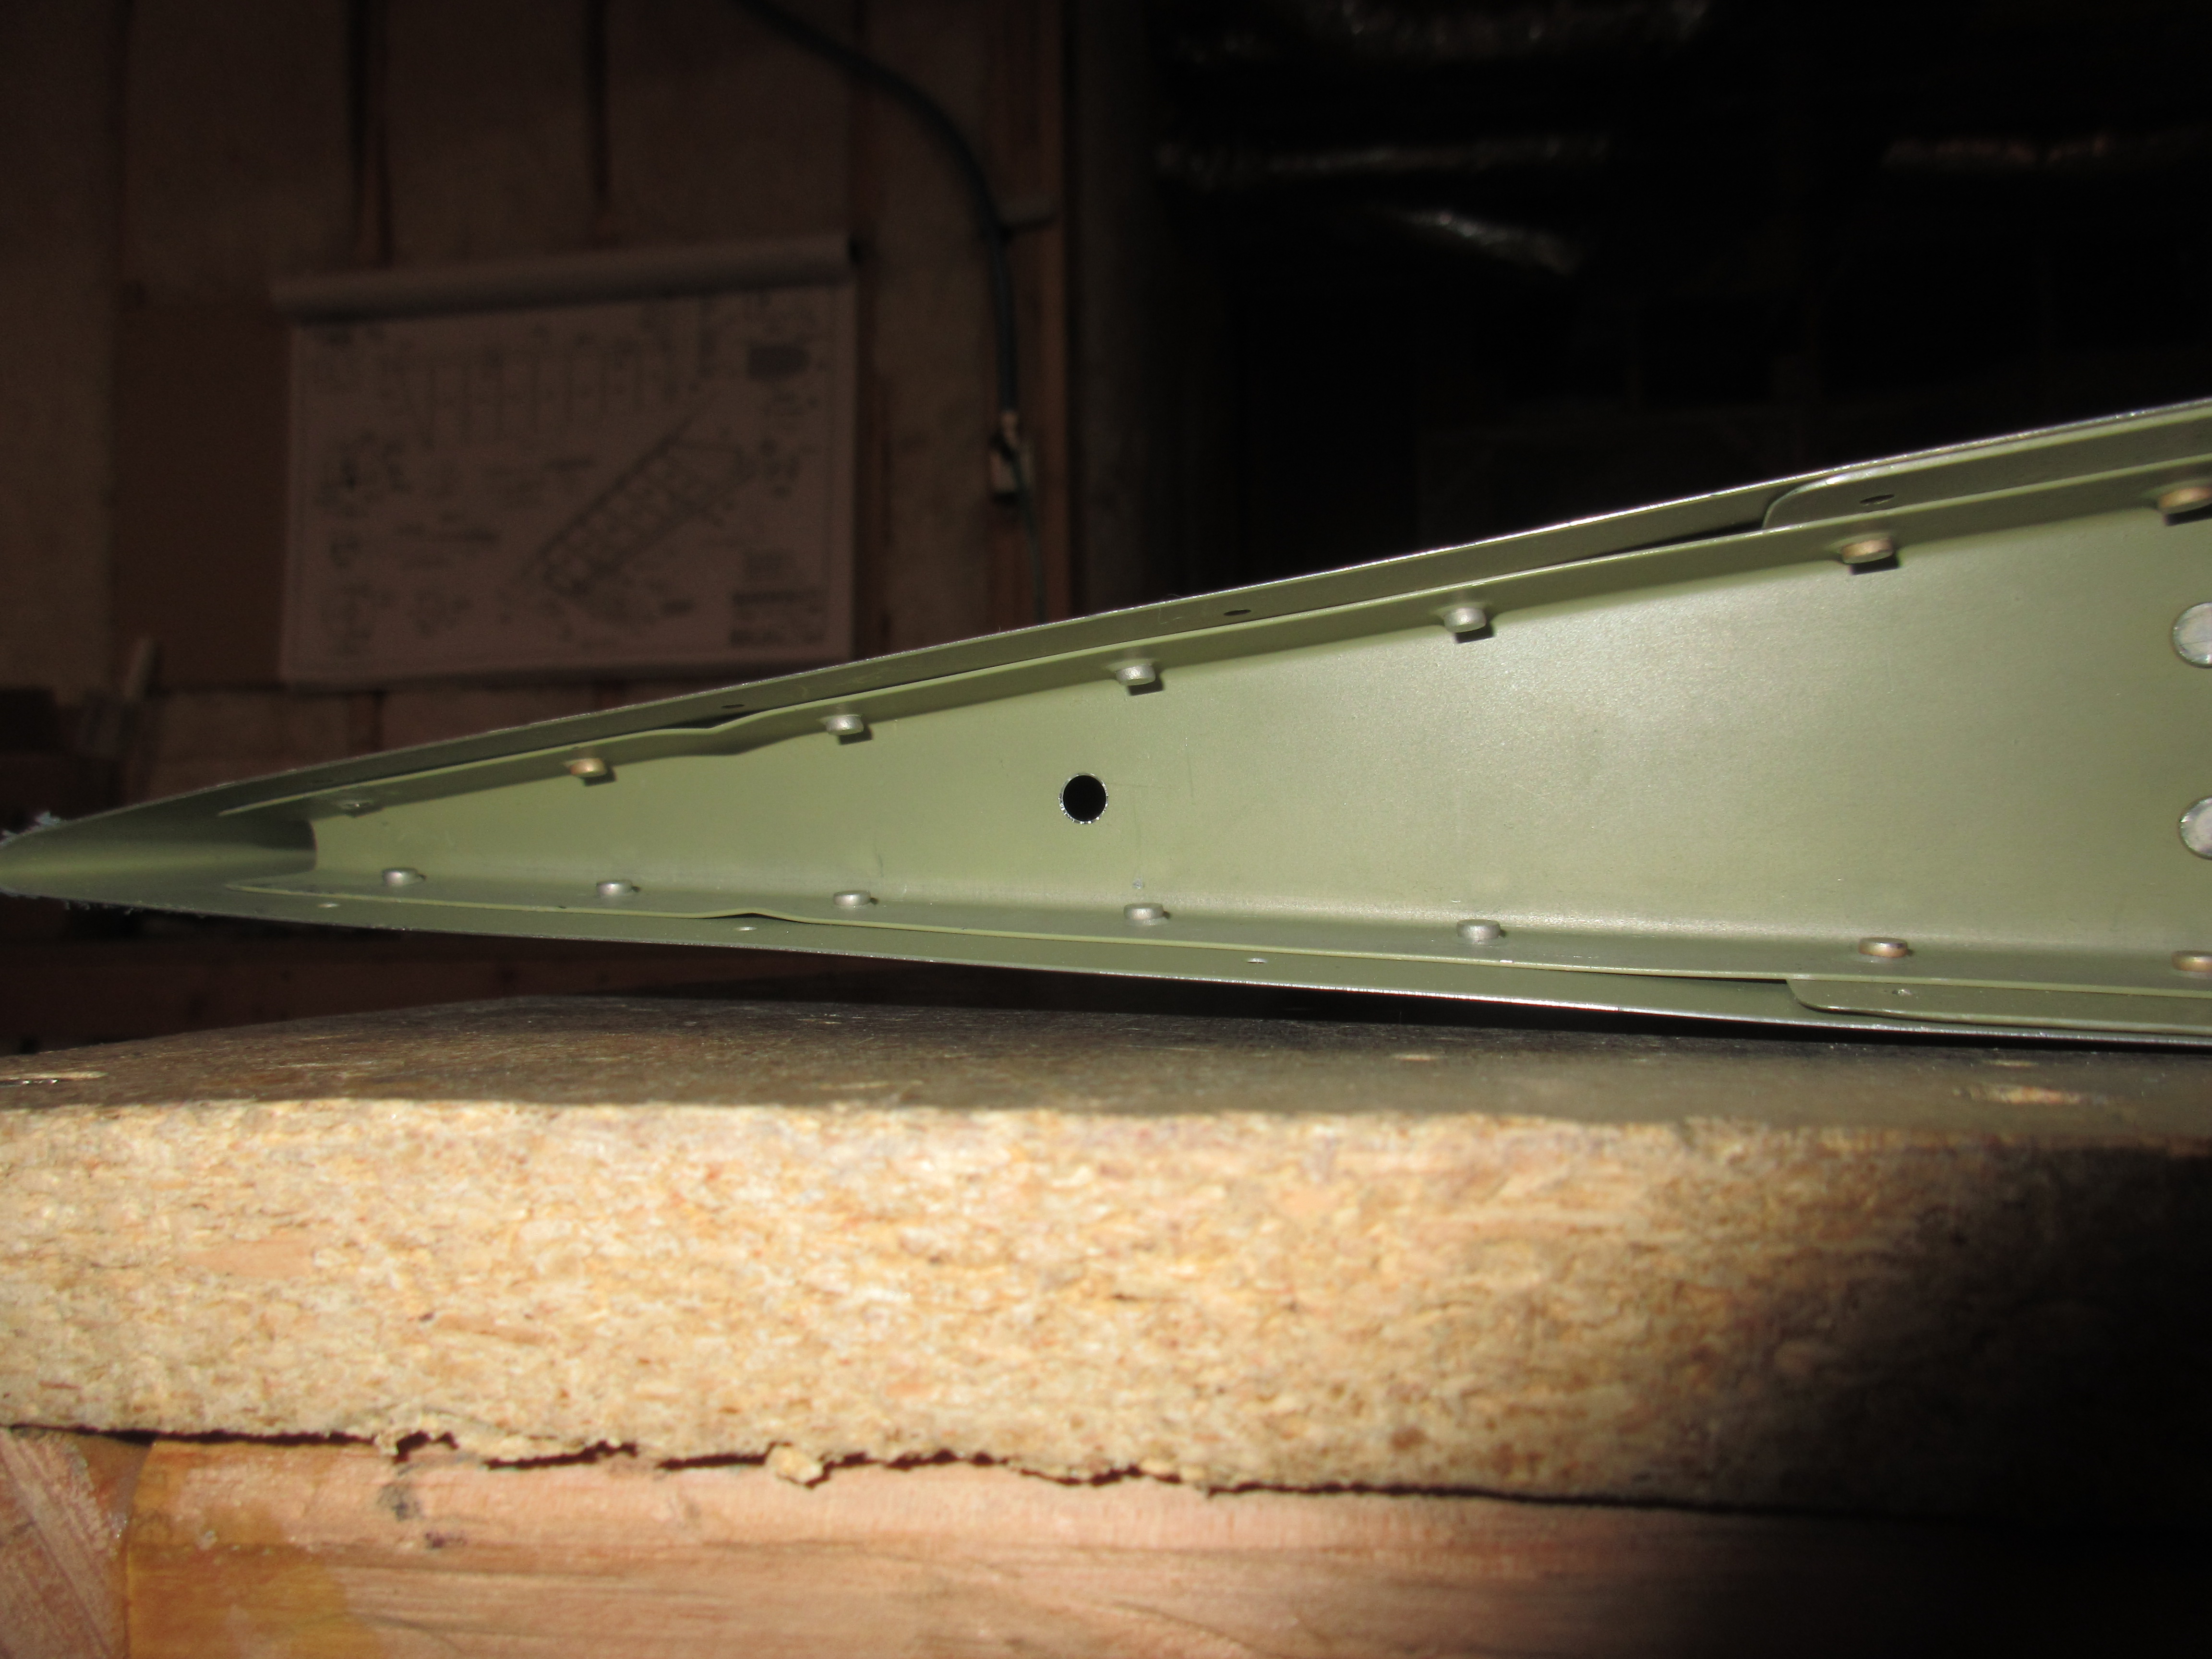
I did pretty much the same thing on the left elevator as the right: Started by removing every other cleco, then riveting those empty holes. The only exception was the work around the trim tab. I left the trim tab off for now, but placed the forward portion of the hinge to the elevator and clecoed it on. The I very gently used a long nose squeezer with a set that would let me get behind the hinge bends to set the rivets. I did this slowly and carefully to avoid bending the hinge, and it turned out great.

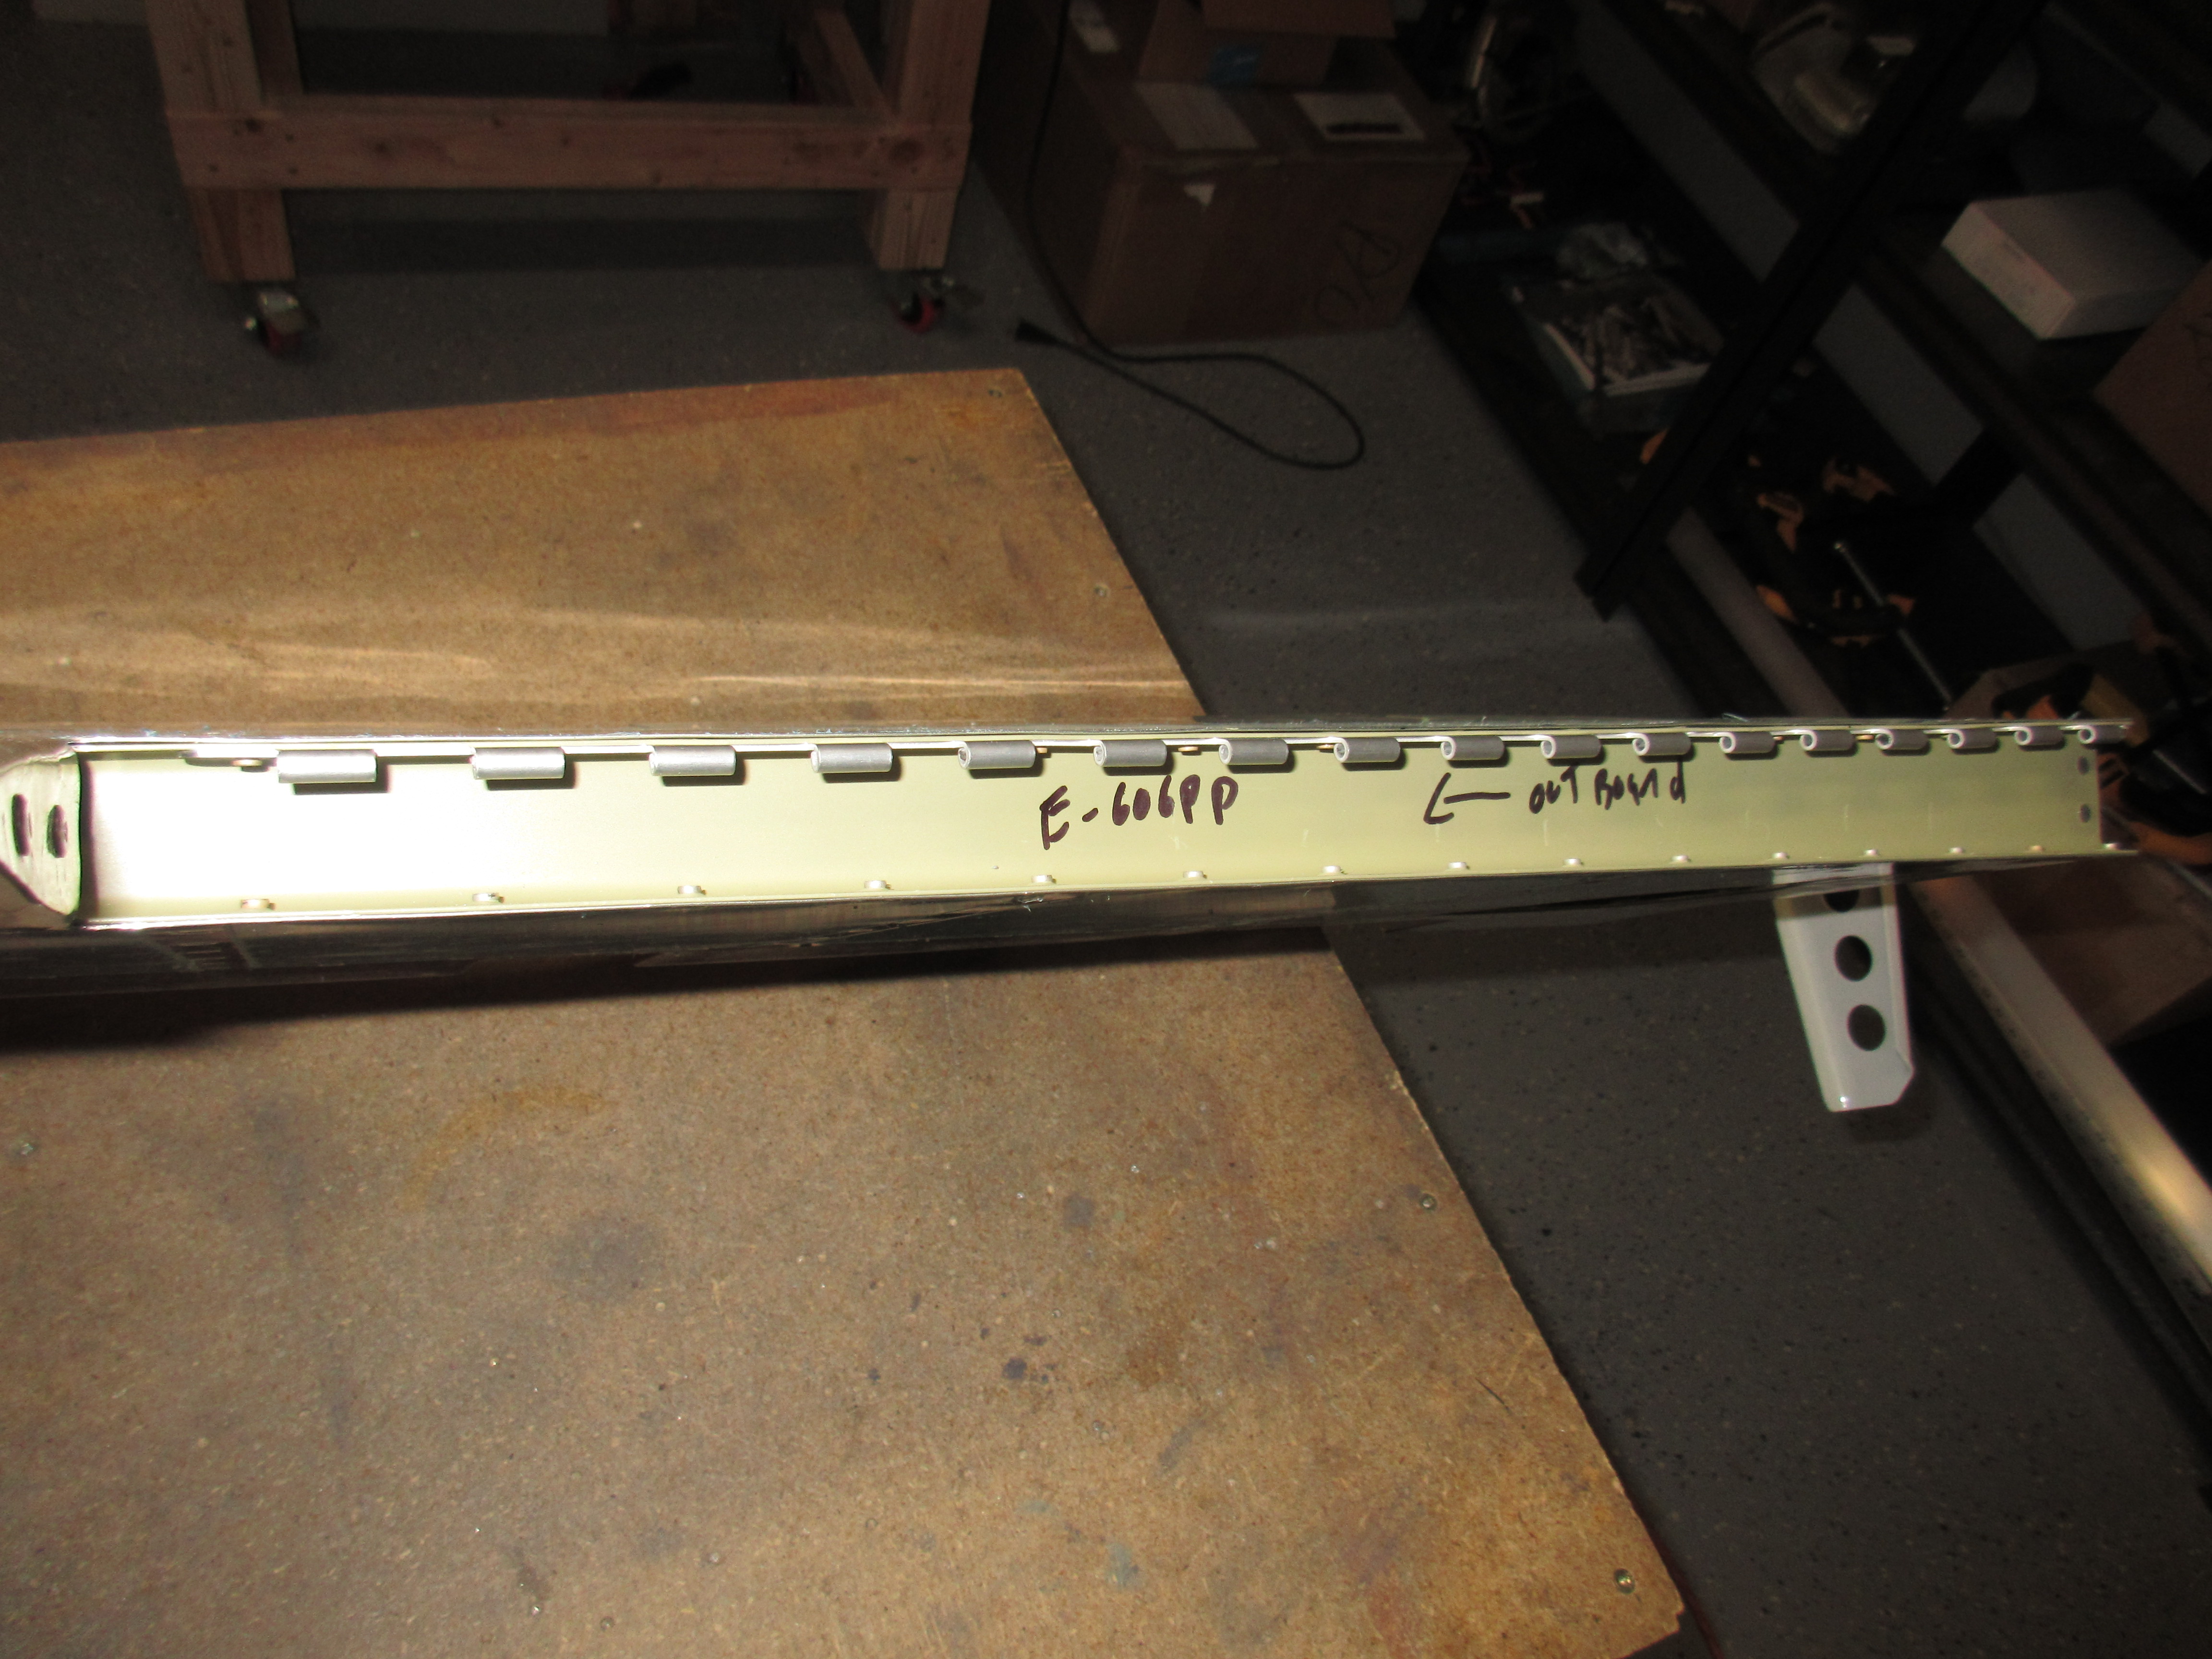
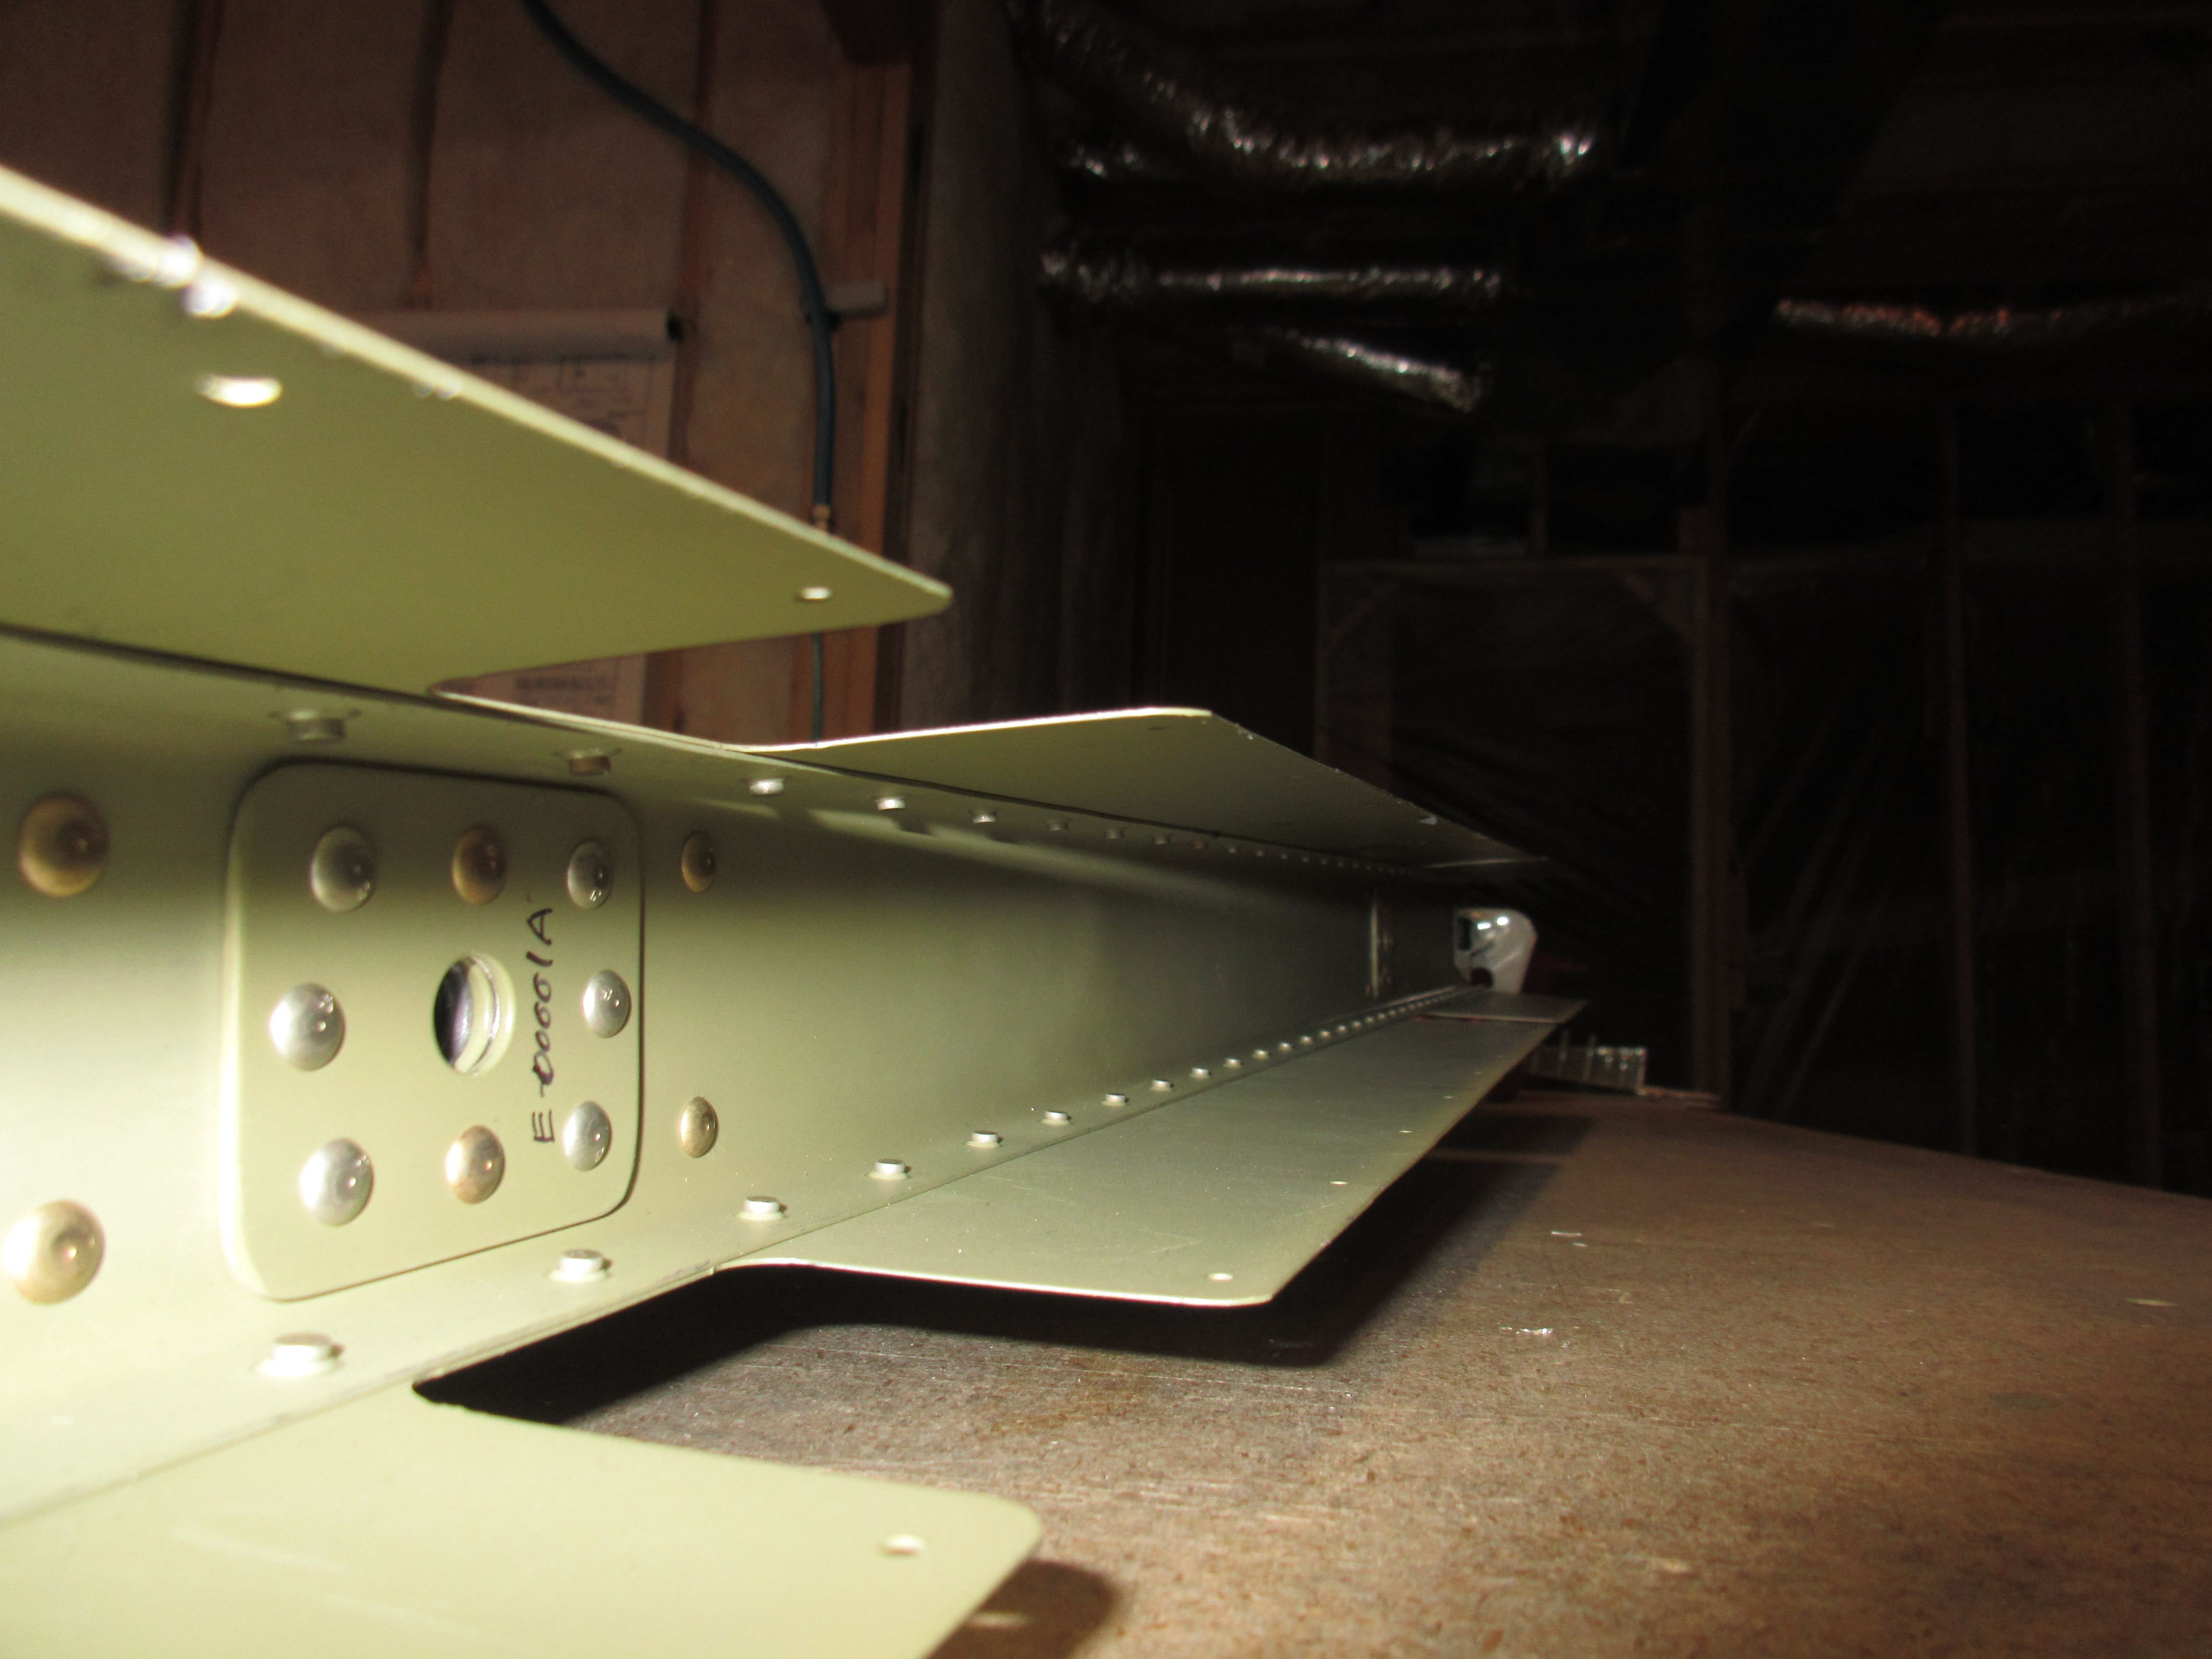
Then, I moved over to the few blind rivets that the left elevator requires. There are a few MK319BS blind rivets that we need to use on the E-701 skin to the E-606PP spar on the very outboard sections, 4 total. I set them and made sure they were completely flush. Then I moved over to the bent tabs on the elevator at the trim tab section, and riveted them with MSP-42 blind rivets per the plans.
The left elevator came out looking really great. I stuck the trim tab on the elevator with the hinge pin to make sure everything still lined up good. The plans has us attach the trim tab by bending the pin, but I did not feel comfortable putting the elevator in storage with the trim tab attached and it flopping around. I think I will leave it off to keep it safe. That’s all for tonight. Here are all the photos:
Google Photos Link: https://goo.gl/photos/DN8NBZXz4HrbjCLw8
Hours Worked: 1.5