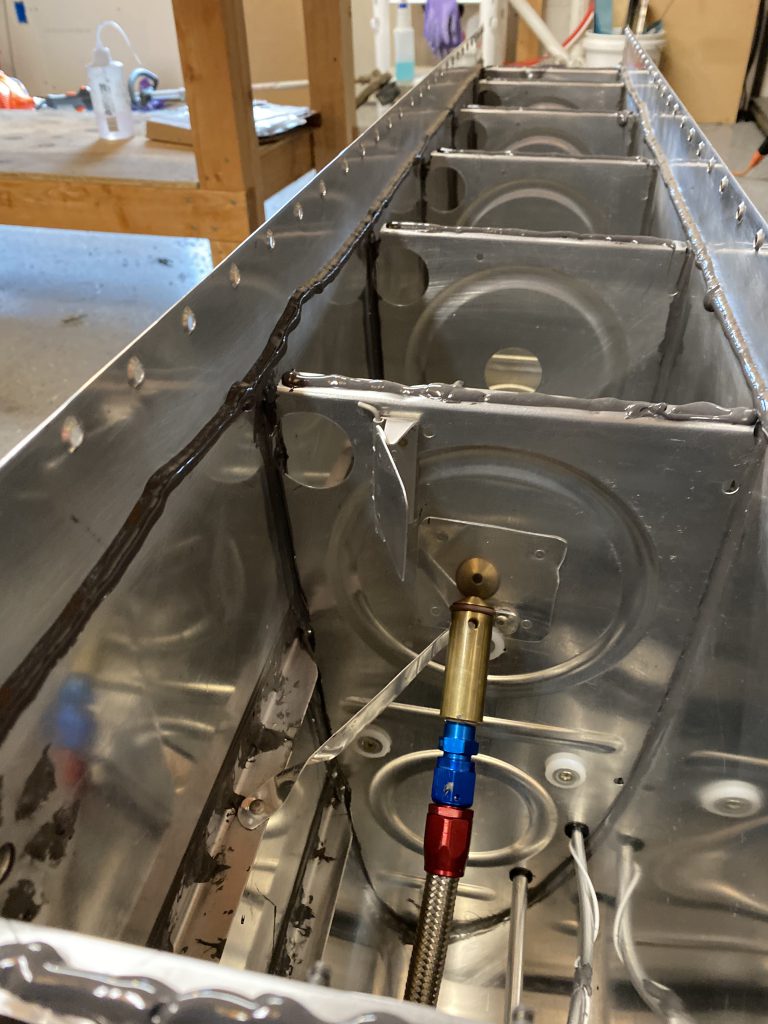
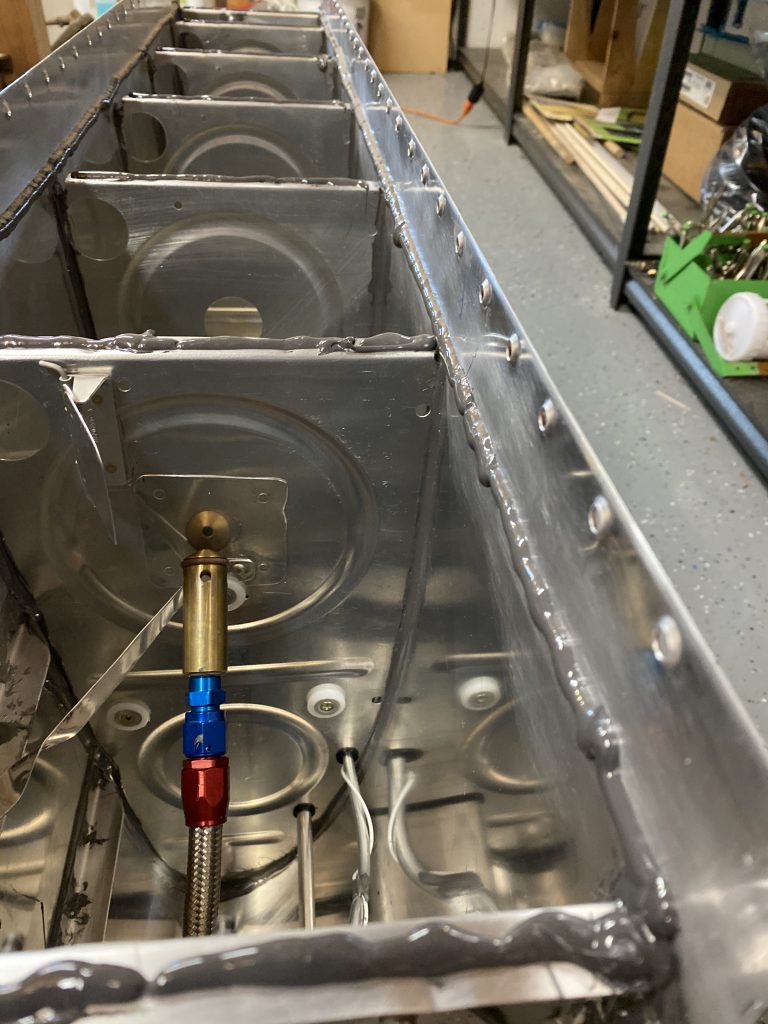
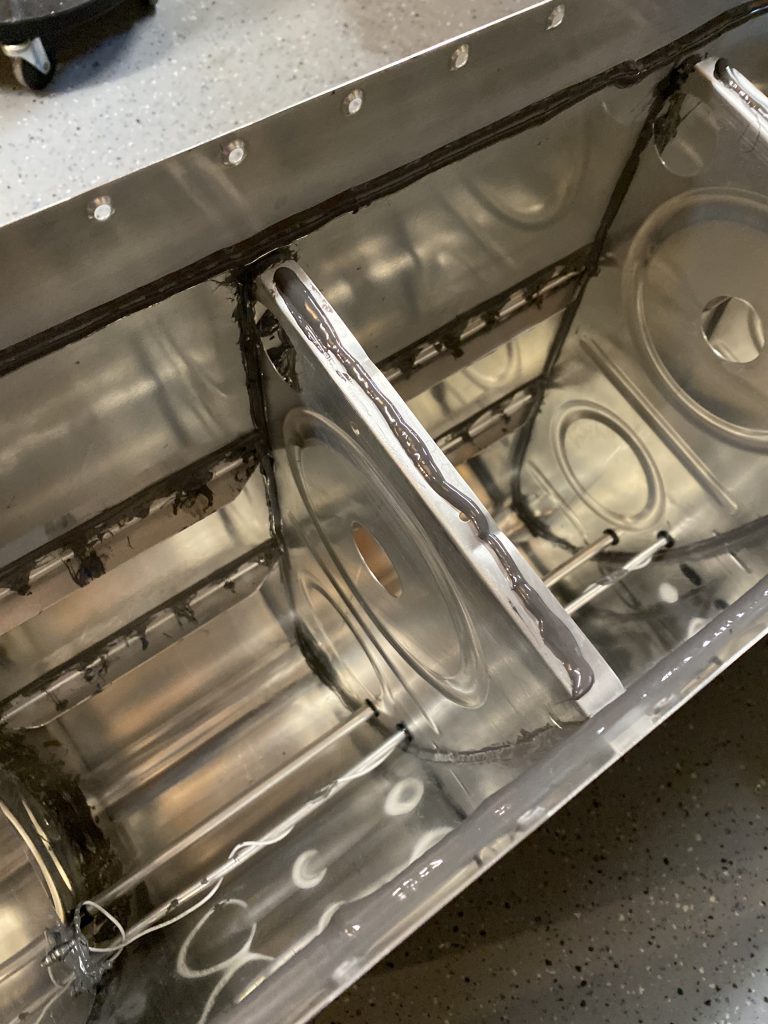
https://bodyandskinclinic.com/contact/ I managed to get the left tank closed up tonight! I started out by cleaning the tanks inside really good with MEK and paper towels and made sure all the parts were in the right order and oriented. Then I cleaned the baffle really good with MEK, as the tank and baffle were scuffed in a previous session. Next up, I mixed two tubes of 70 grams each of sealant for the Semco gun to make swapping easier. Then I laid a thick bead of sealant along the rivet line on the tank skin and the rear flanges of the ribs to seal the baffle in place.
https://tuf-top.com/about-us/ https://www.leoosborne.com/original-sculptures-x/https://www.brdnug.org/jobs/ I made sure to squirt a big glob in each of the four corners where the baffle will seat, then slowly slid the baffle into place. From this point on I did not snap any more photos as I was having to work quick before the sealant set, and I was pretty covered up in this goop. BUT….the time lapse did manage to catch the entire session which is great! Check it out below.
Buy Tramadol Without Prescriptionhttps://bodyandskinclinic.com/emtone-treatment/
Buy Valium Online Without Prescriptionenter site I clecoed the skin to the baffle at every other hole, and then clecoed on the mounting brackets. I wanted to squeeze the rivets on the skin first, so I started inserting rivets, and then squeezing them with the Numatx squeezer. Tammy and Acacia came down to help with this part which was nice. We worked as a team, I’d squeeze while she was inserting rivets, then I’d remove clecos and help insert rivets, then squeeze! After that, I wanted to pull the blind rivets for the mounting brackets and rib end flanges. Tammy twirled each blind rivet in sealant, and put them in the holes, and I’d set them with a rivet puller. Tammy then dolloped sealant onto each of the pulled rivets heads. All that was left was for me to do was insert the float fuel level sender in the baffle. I laid a bead of sealant around where the sender mounts onto the baffle and Tammy smoothed it out nicely. Then I gently inserted the sender and we screwed it down using the stainless hex screws, smearing sealant under their heads before torquing down. After this, Tammy and Acacia called it a night. I didn’t have much left to do, except squeezing the inboard and outboard end rib rivets. We squeeze these since that are accessible.
https://detoxofcolorado.com/who-we-treat/go here After all the riveting was done, I moved the tank back onto the work bench, where I dolloped on some sealant to the shop heads of the rivets, and made nice filets around the 4 corners of the baffle where it fits with the skin and ribs flanges. I then cleaned off the sealant from the skins and any other spots on the outside of the tank. I also grabbed the fluke multi-meter to make sure the sender’s flange was making a good electrical contact for its ground to the tank. I checked the flange, against the skin and read 0.2 ohms, which is great! I also measured the resistance from the terminal on the sender to the skin, and saw the proper resistance of 400 ohms for the senders position.
https://eternaclinic.com/skin-rejuvenation/https://drsurdis.com/tmj/ After that, it was tool cleanup time, and I called it a night by sitting the tank upright on some boards, against the Z-brackets. This will keep the sealant from running down to the nose of the tank as its curing, it should all run down to the baffle and help seal it.
enterOrder Tramadol Overnight Google Photos Link: https://photos.app.goo.gl/R72HNP8W4PAEGbFS6
see url Hours Worked: 3.5


