


Pretty simple build log entry tonight. I got both the top skins dimpled for the left wing, and even got the inboard skin clecoed in place. Heres a couple of time lapse videos of the session:
Heres a little bit better closeup view. When I started clecoing to the skeleton, I moved the camera over to get a good view of that too 🙂
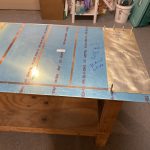
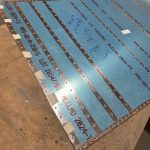
The session started by pulling the skins from the paint booth, they’ve been curing for about 2 days now. Then I setup my DRDT-2 dimpler and removed the blue plastic from the rivet lines on the skins. I used a dull tipped soldering iron to make the removal process a bit easier.
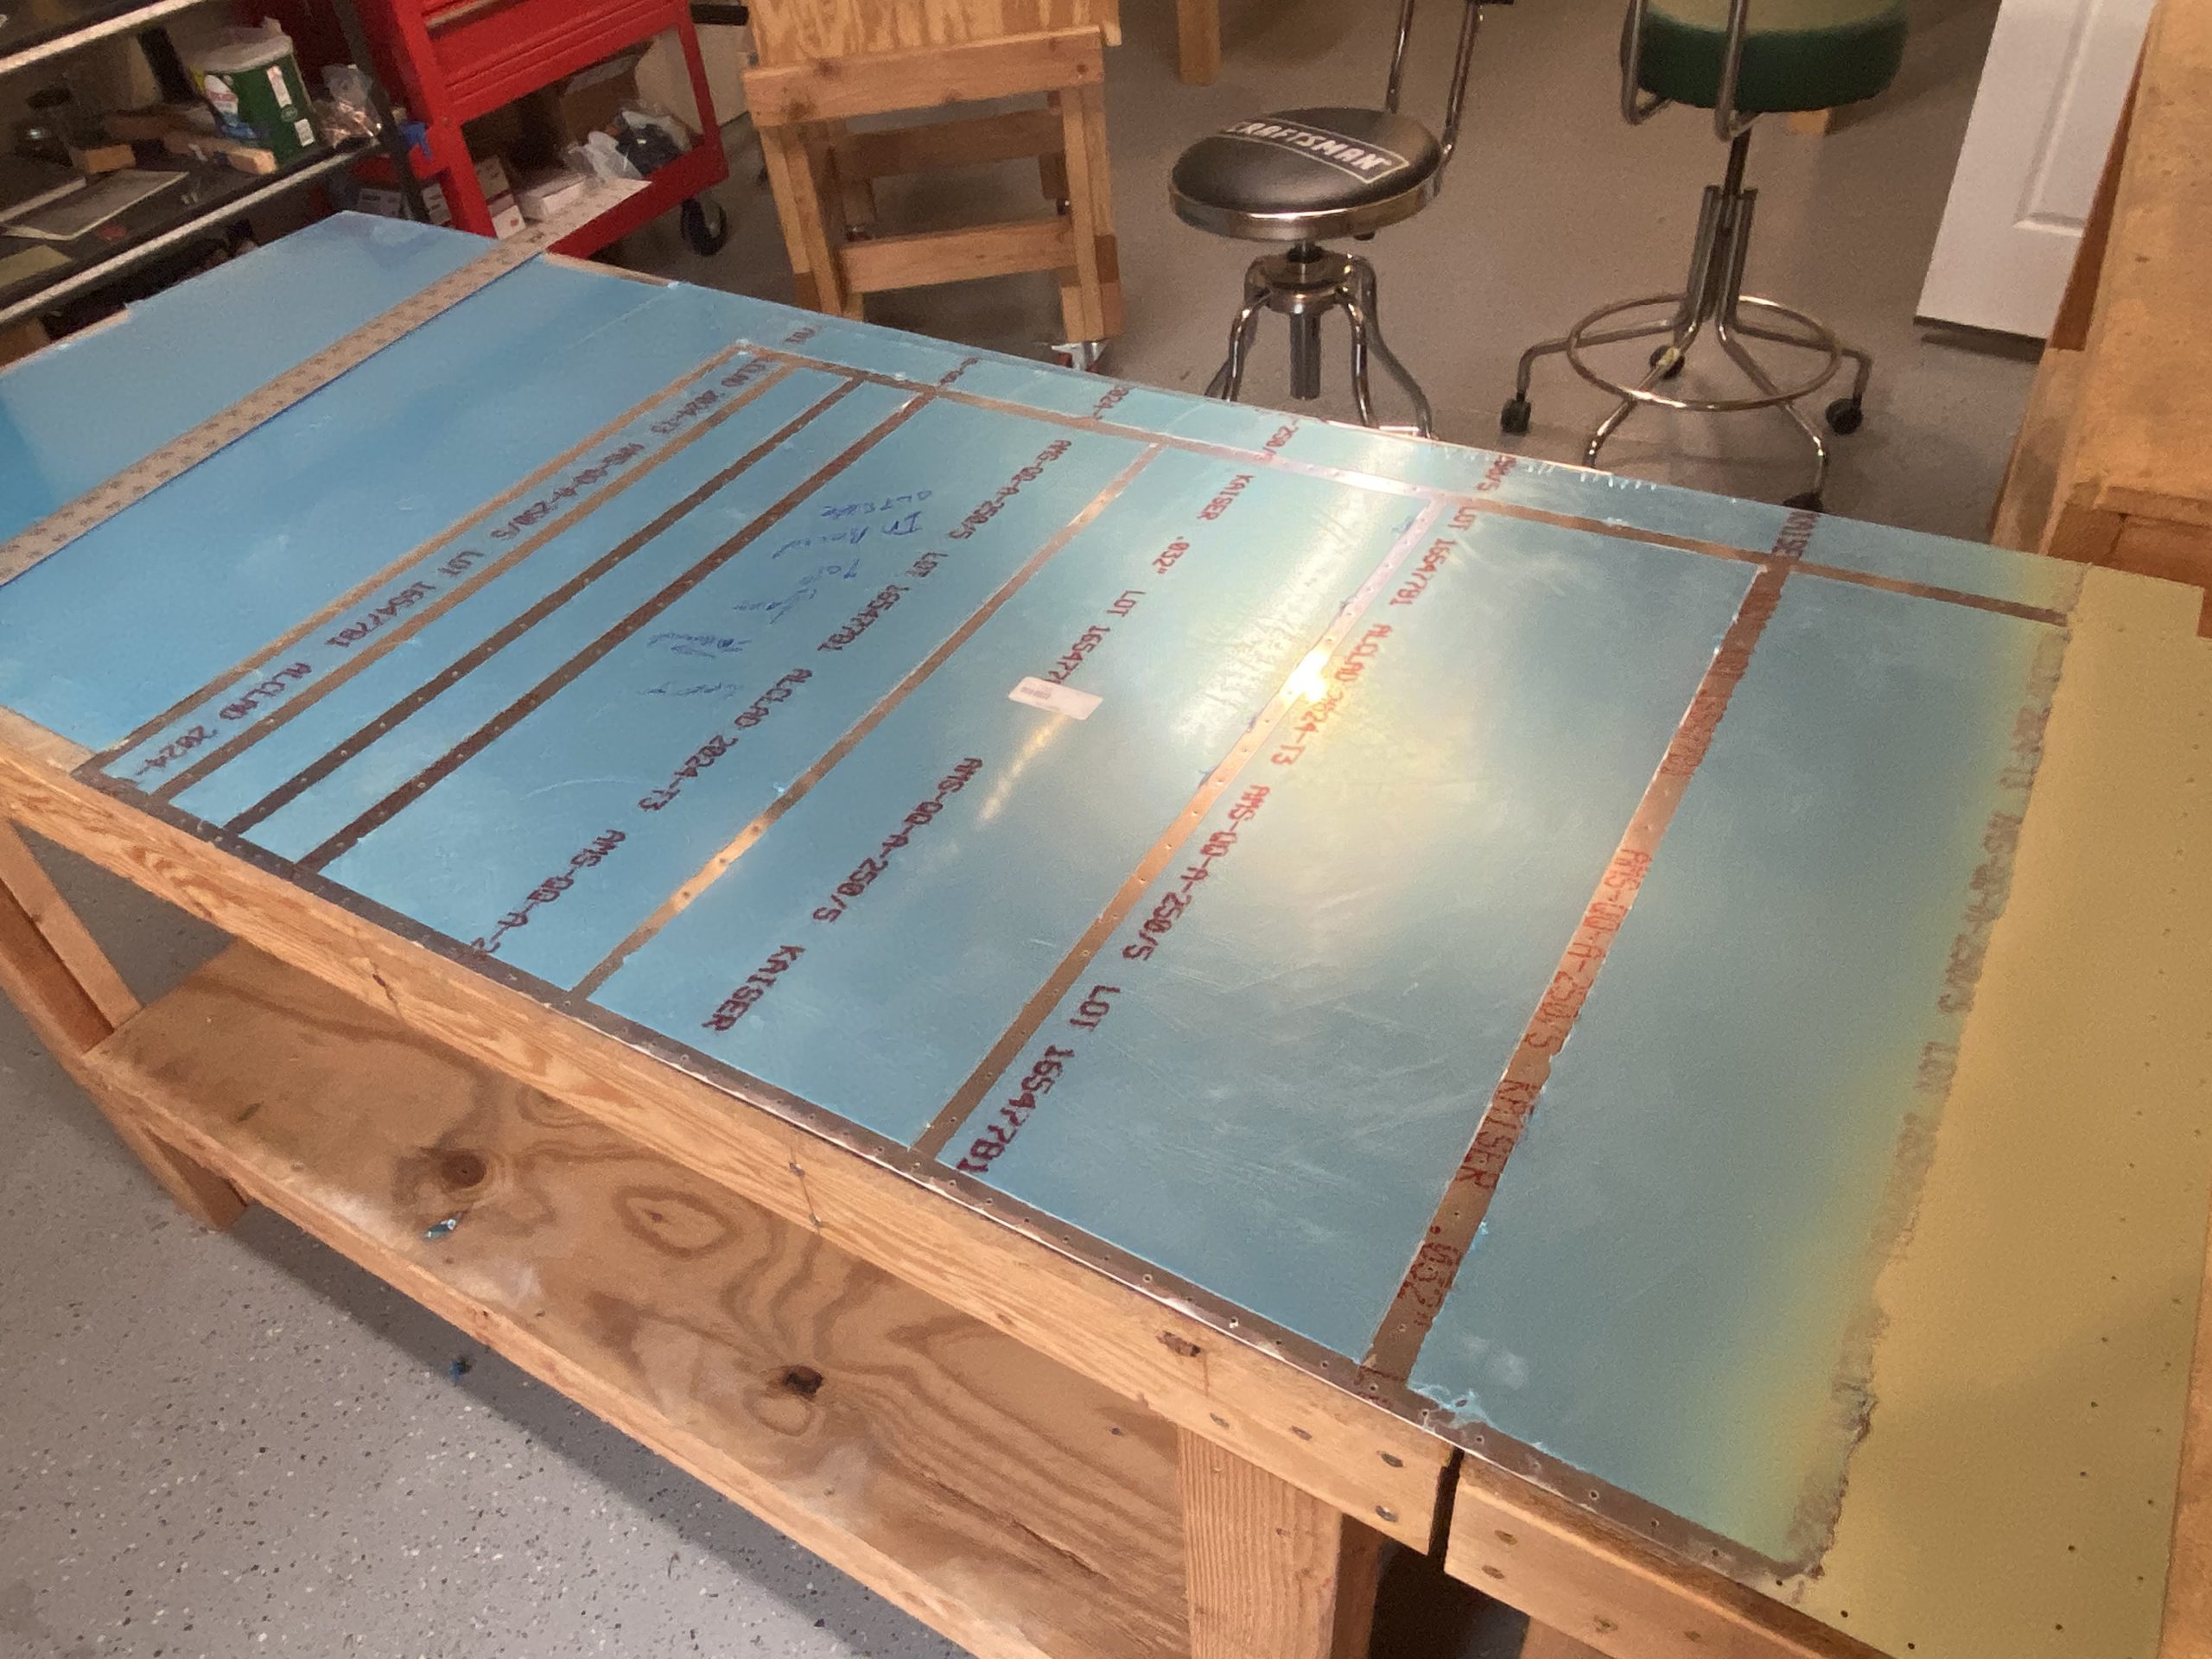
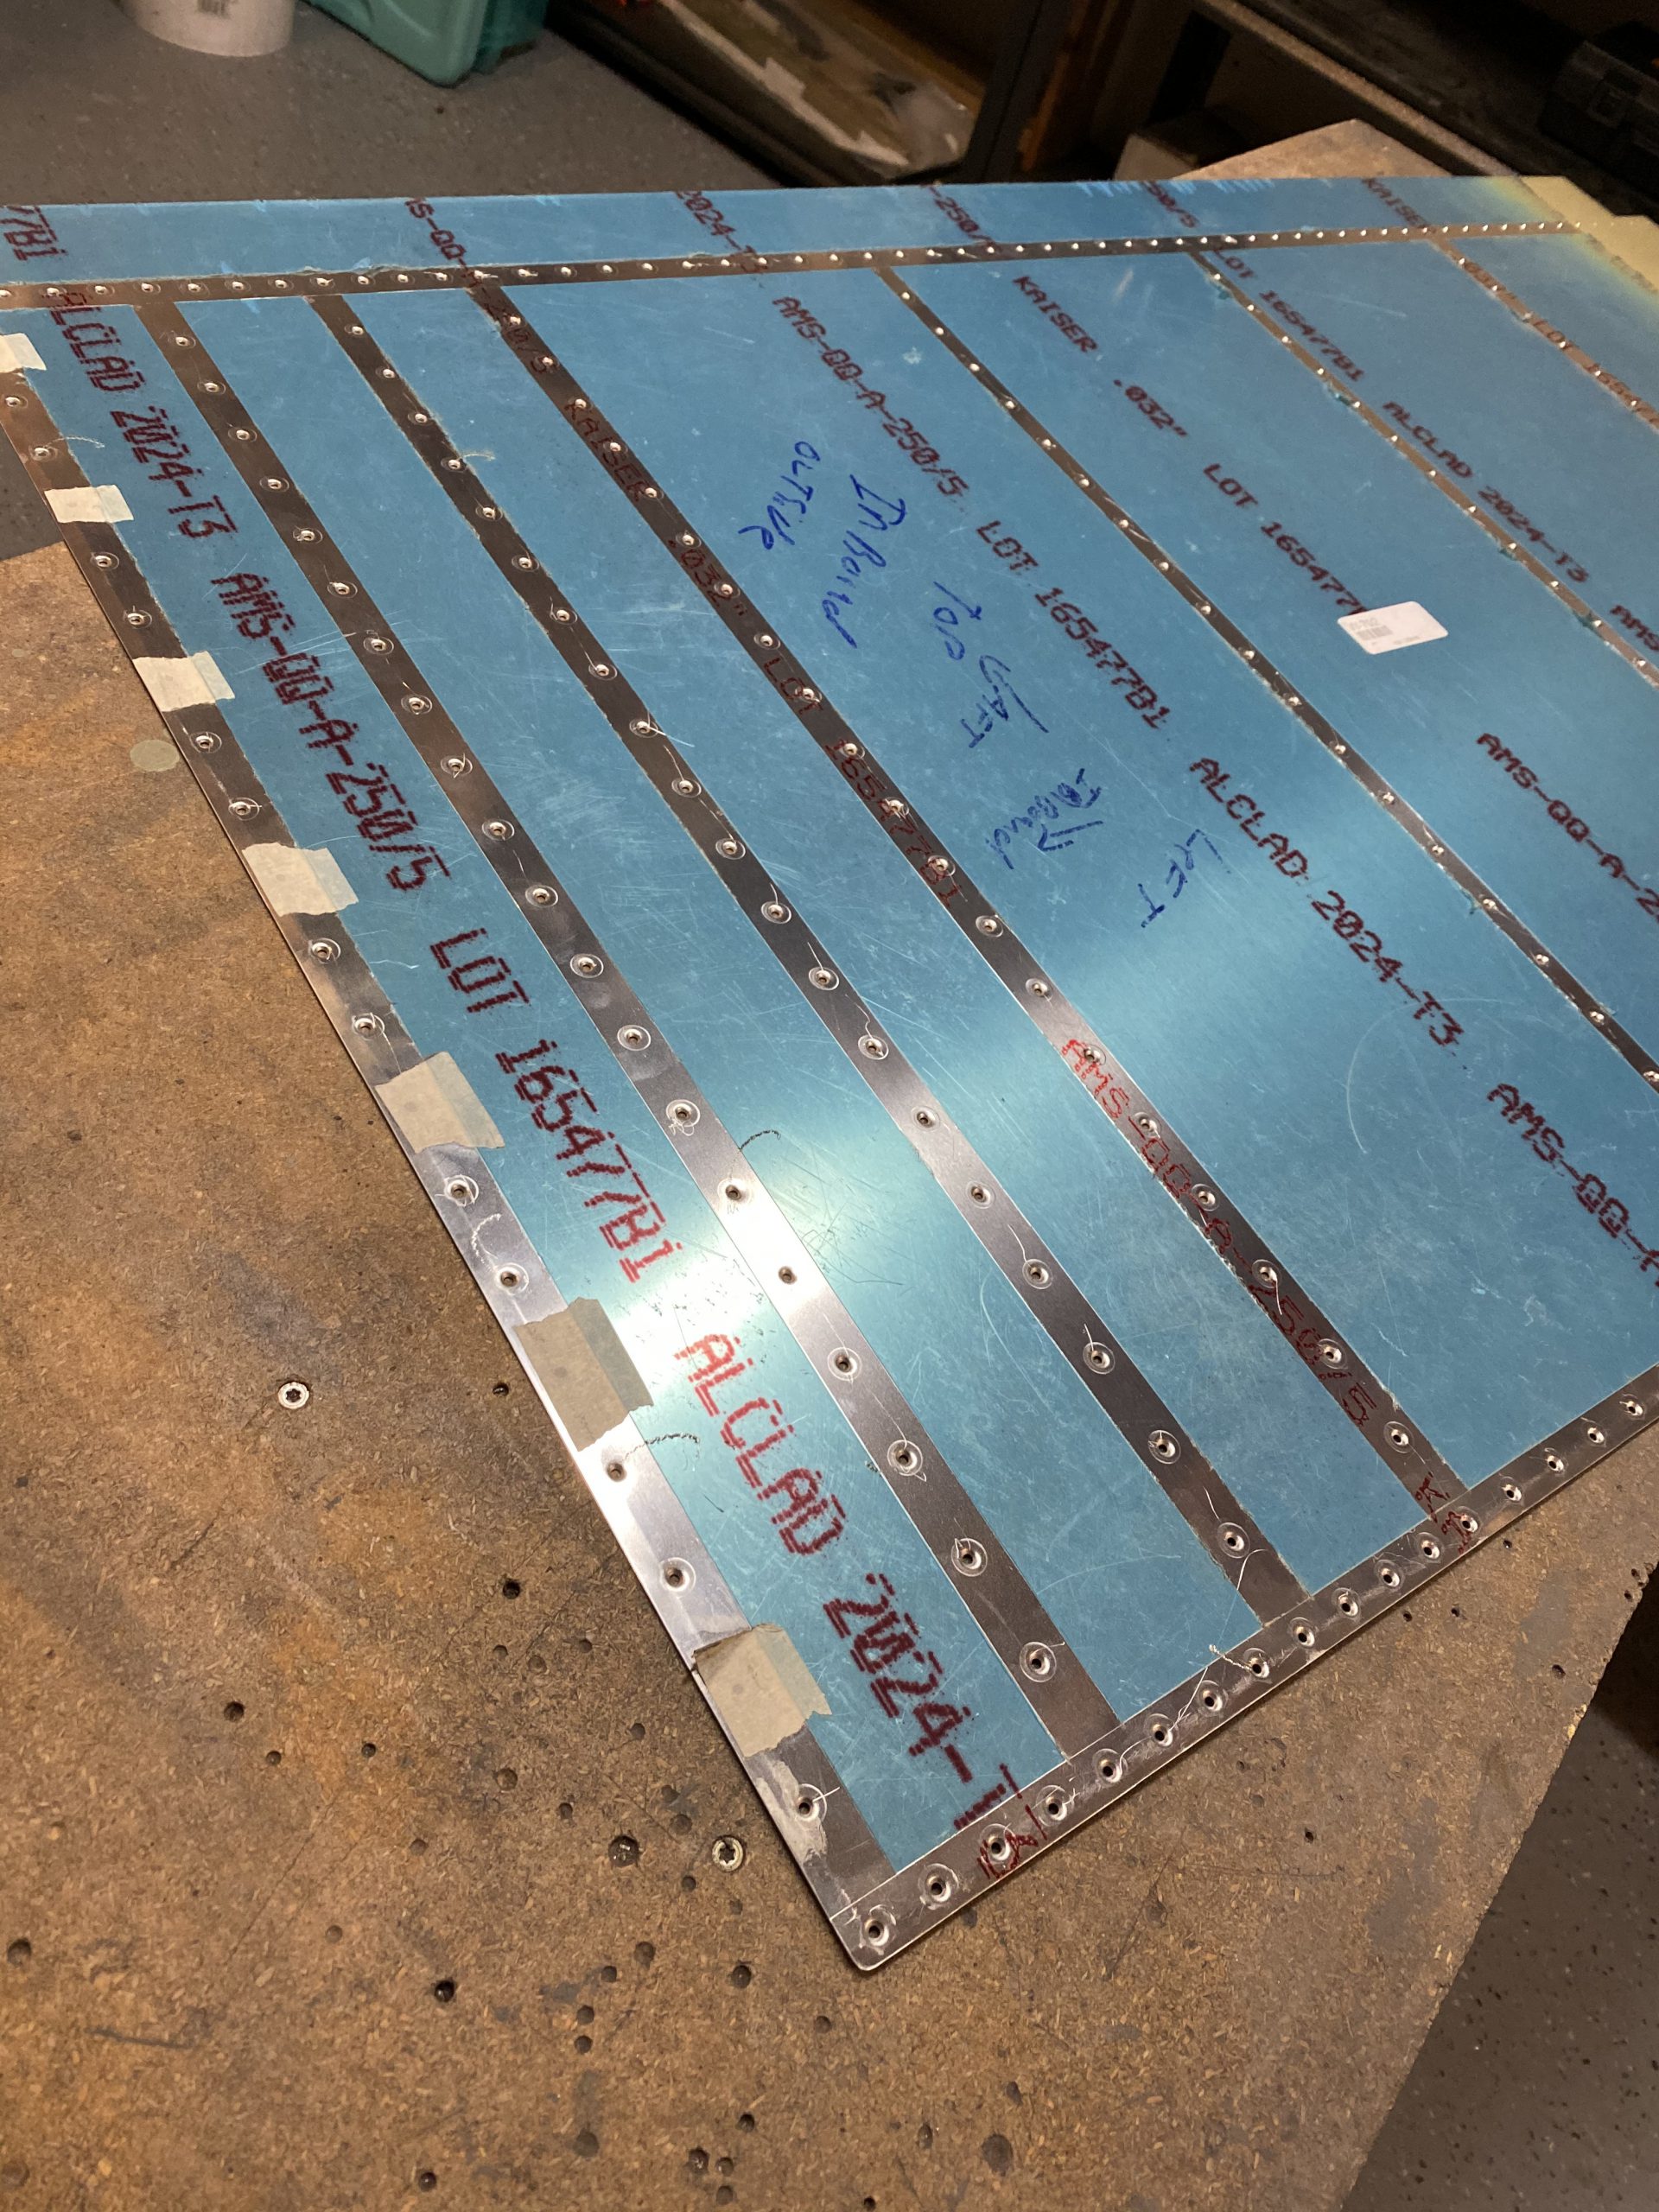
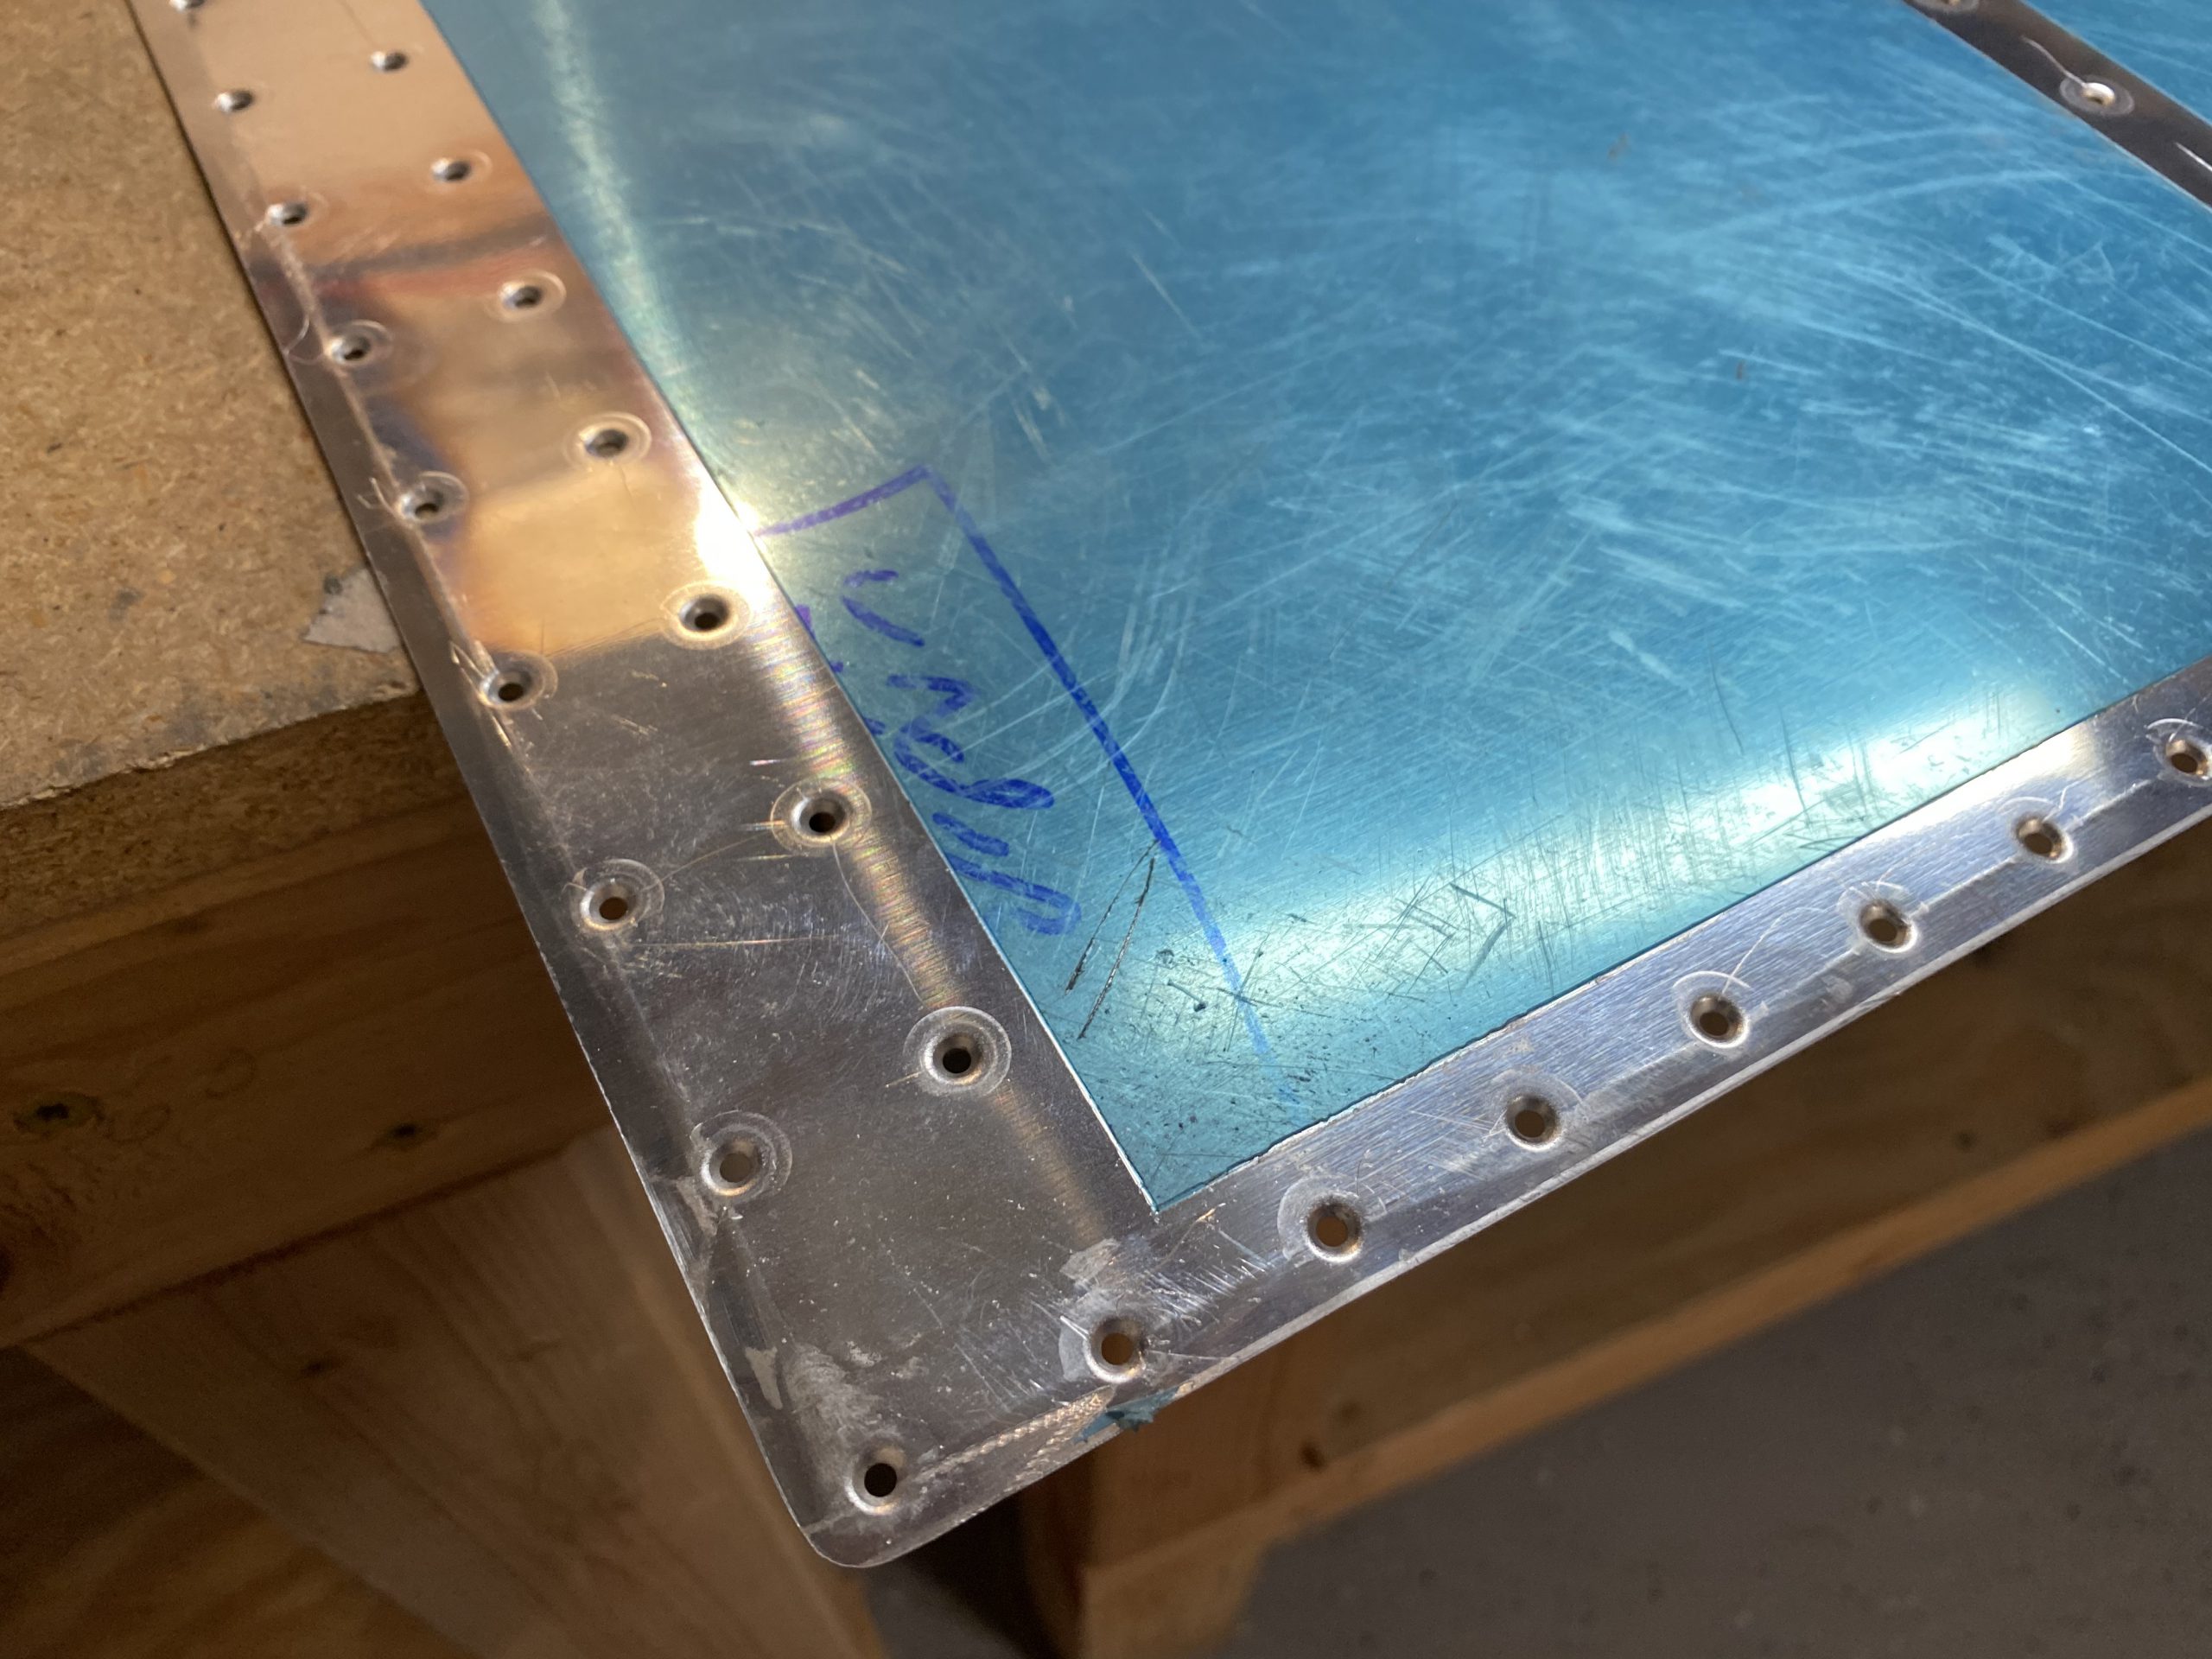
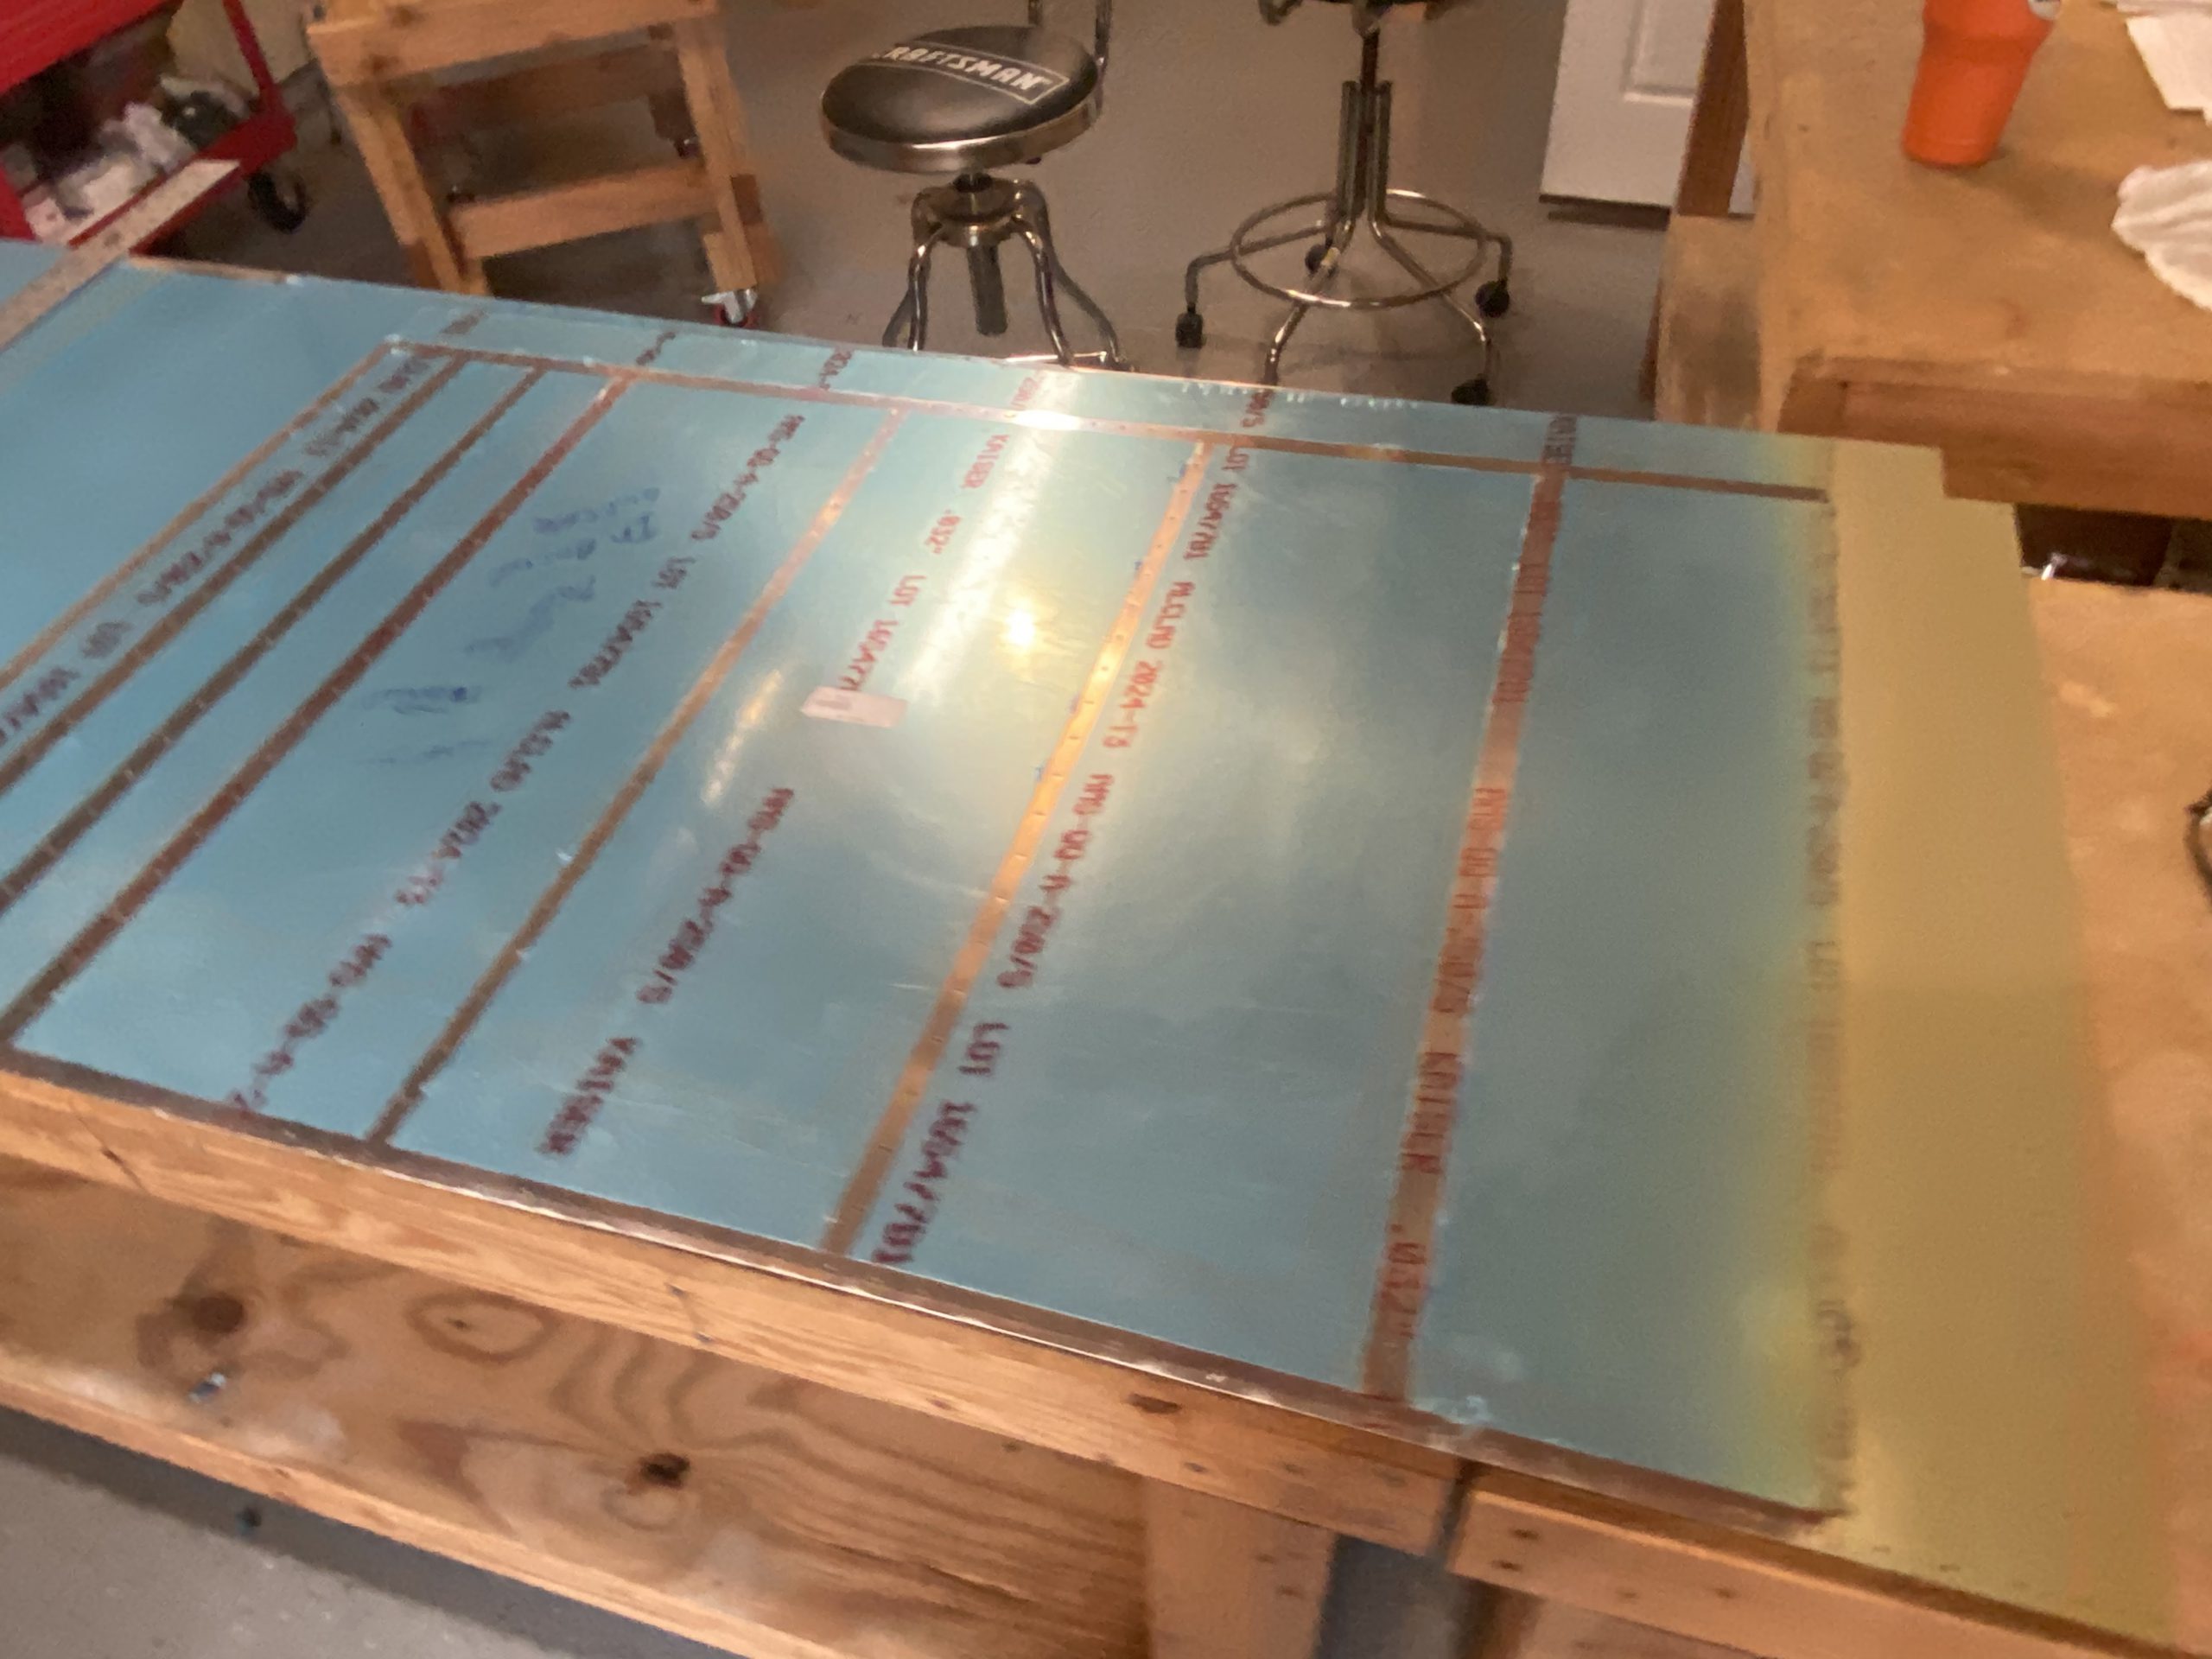
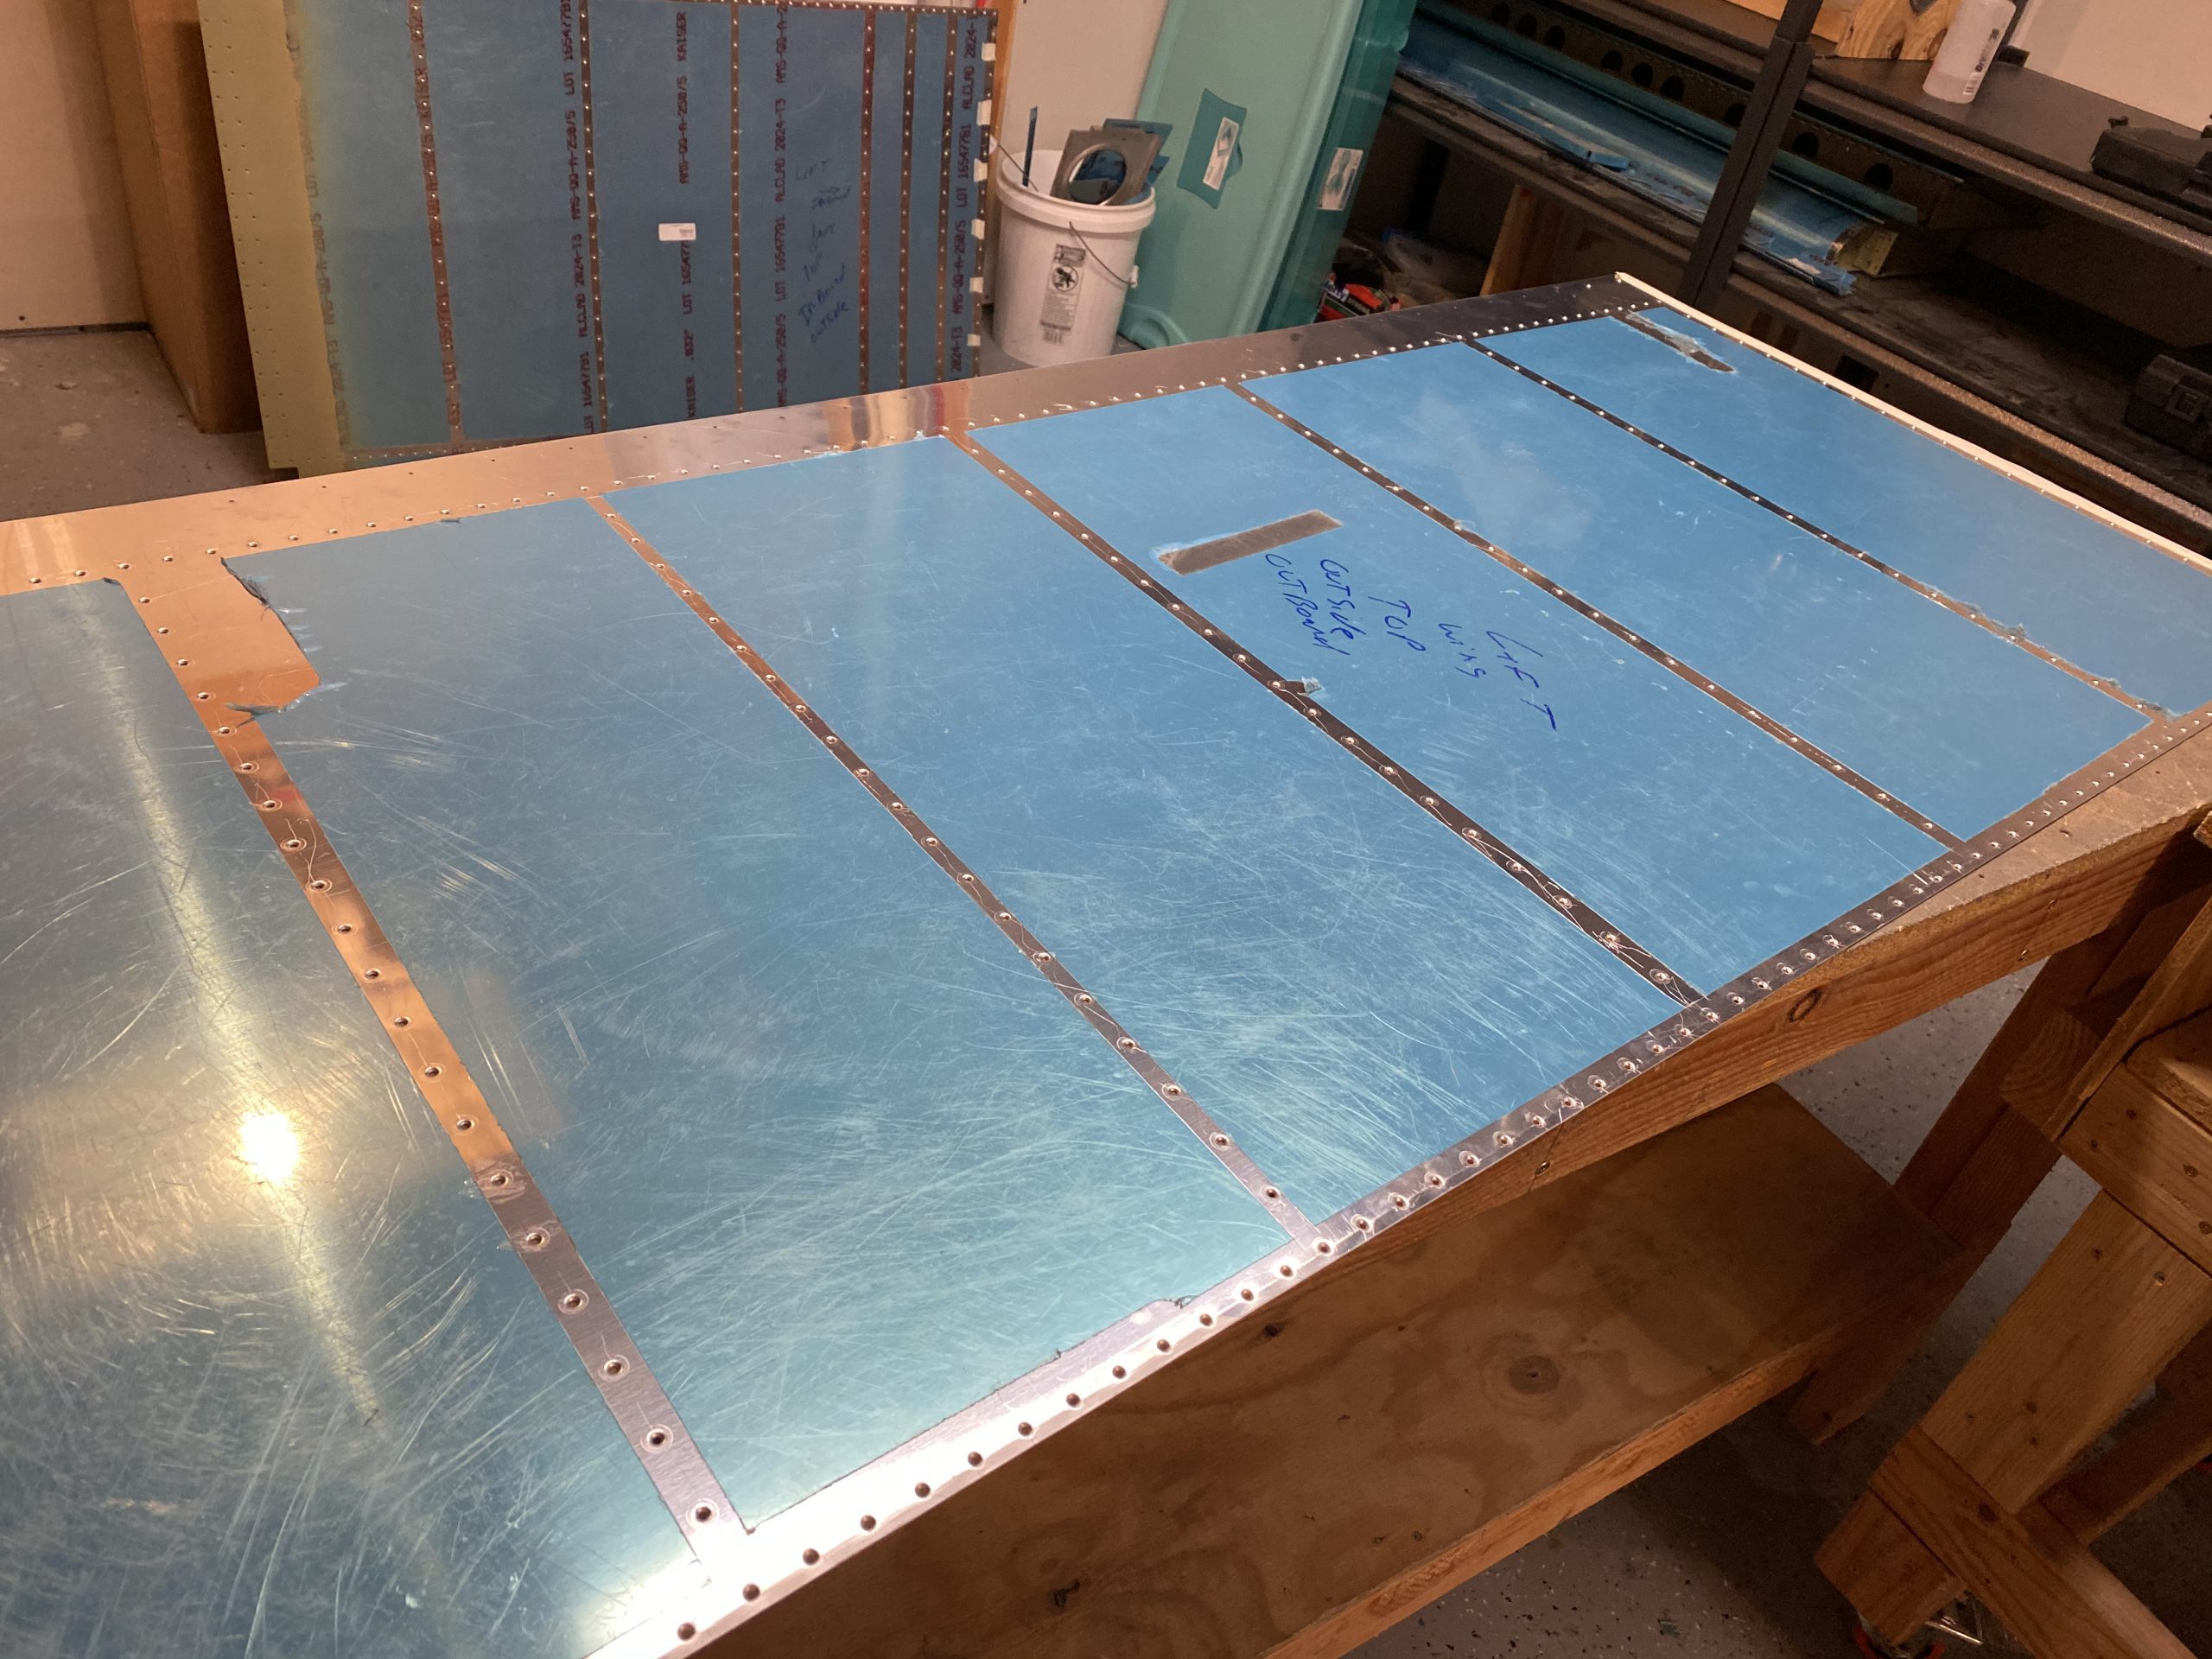
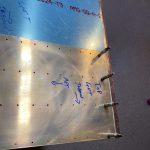
You can see on that right side of the photo above where I sprayed the AKZO primer on the outside facing part of the skin. This is where the inboard skin and outboard skins overlap, so I wanted to make sure there was adequate corrosion protection in this lap joint. Yeah, I sprayed a little to far outside the lap joint, but its no big deal since I plan on painting the airplane anyways. Once the plastic was removed, I masked off a few holes that will be used to attach the fuselage fairing, I dont want to dimple these just yet. Then I used the DRDT-2 to dimple all the skins. After a little bit of easy work, I got both the left wing top skins dimpled:
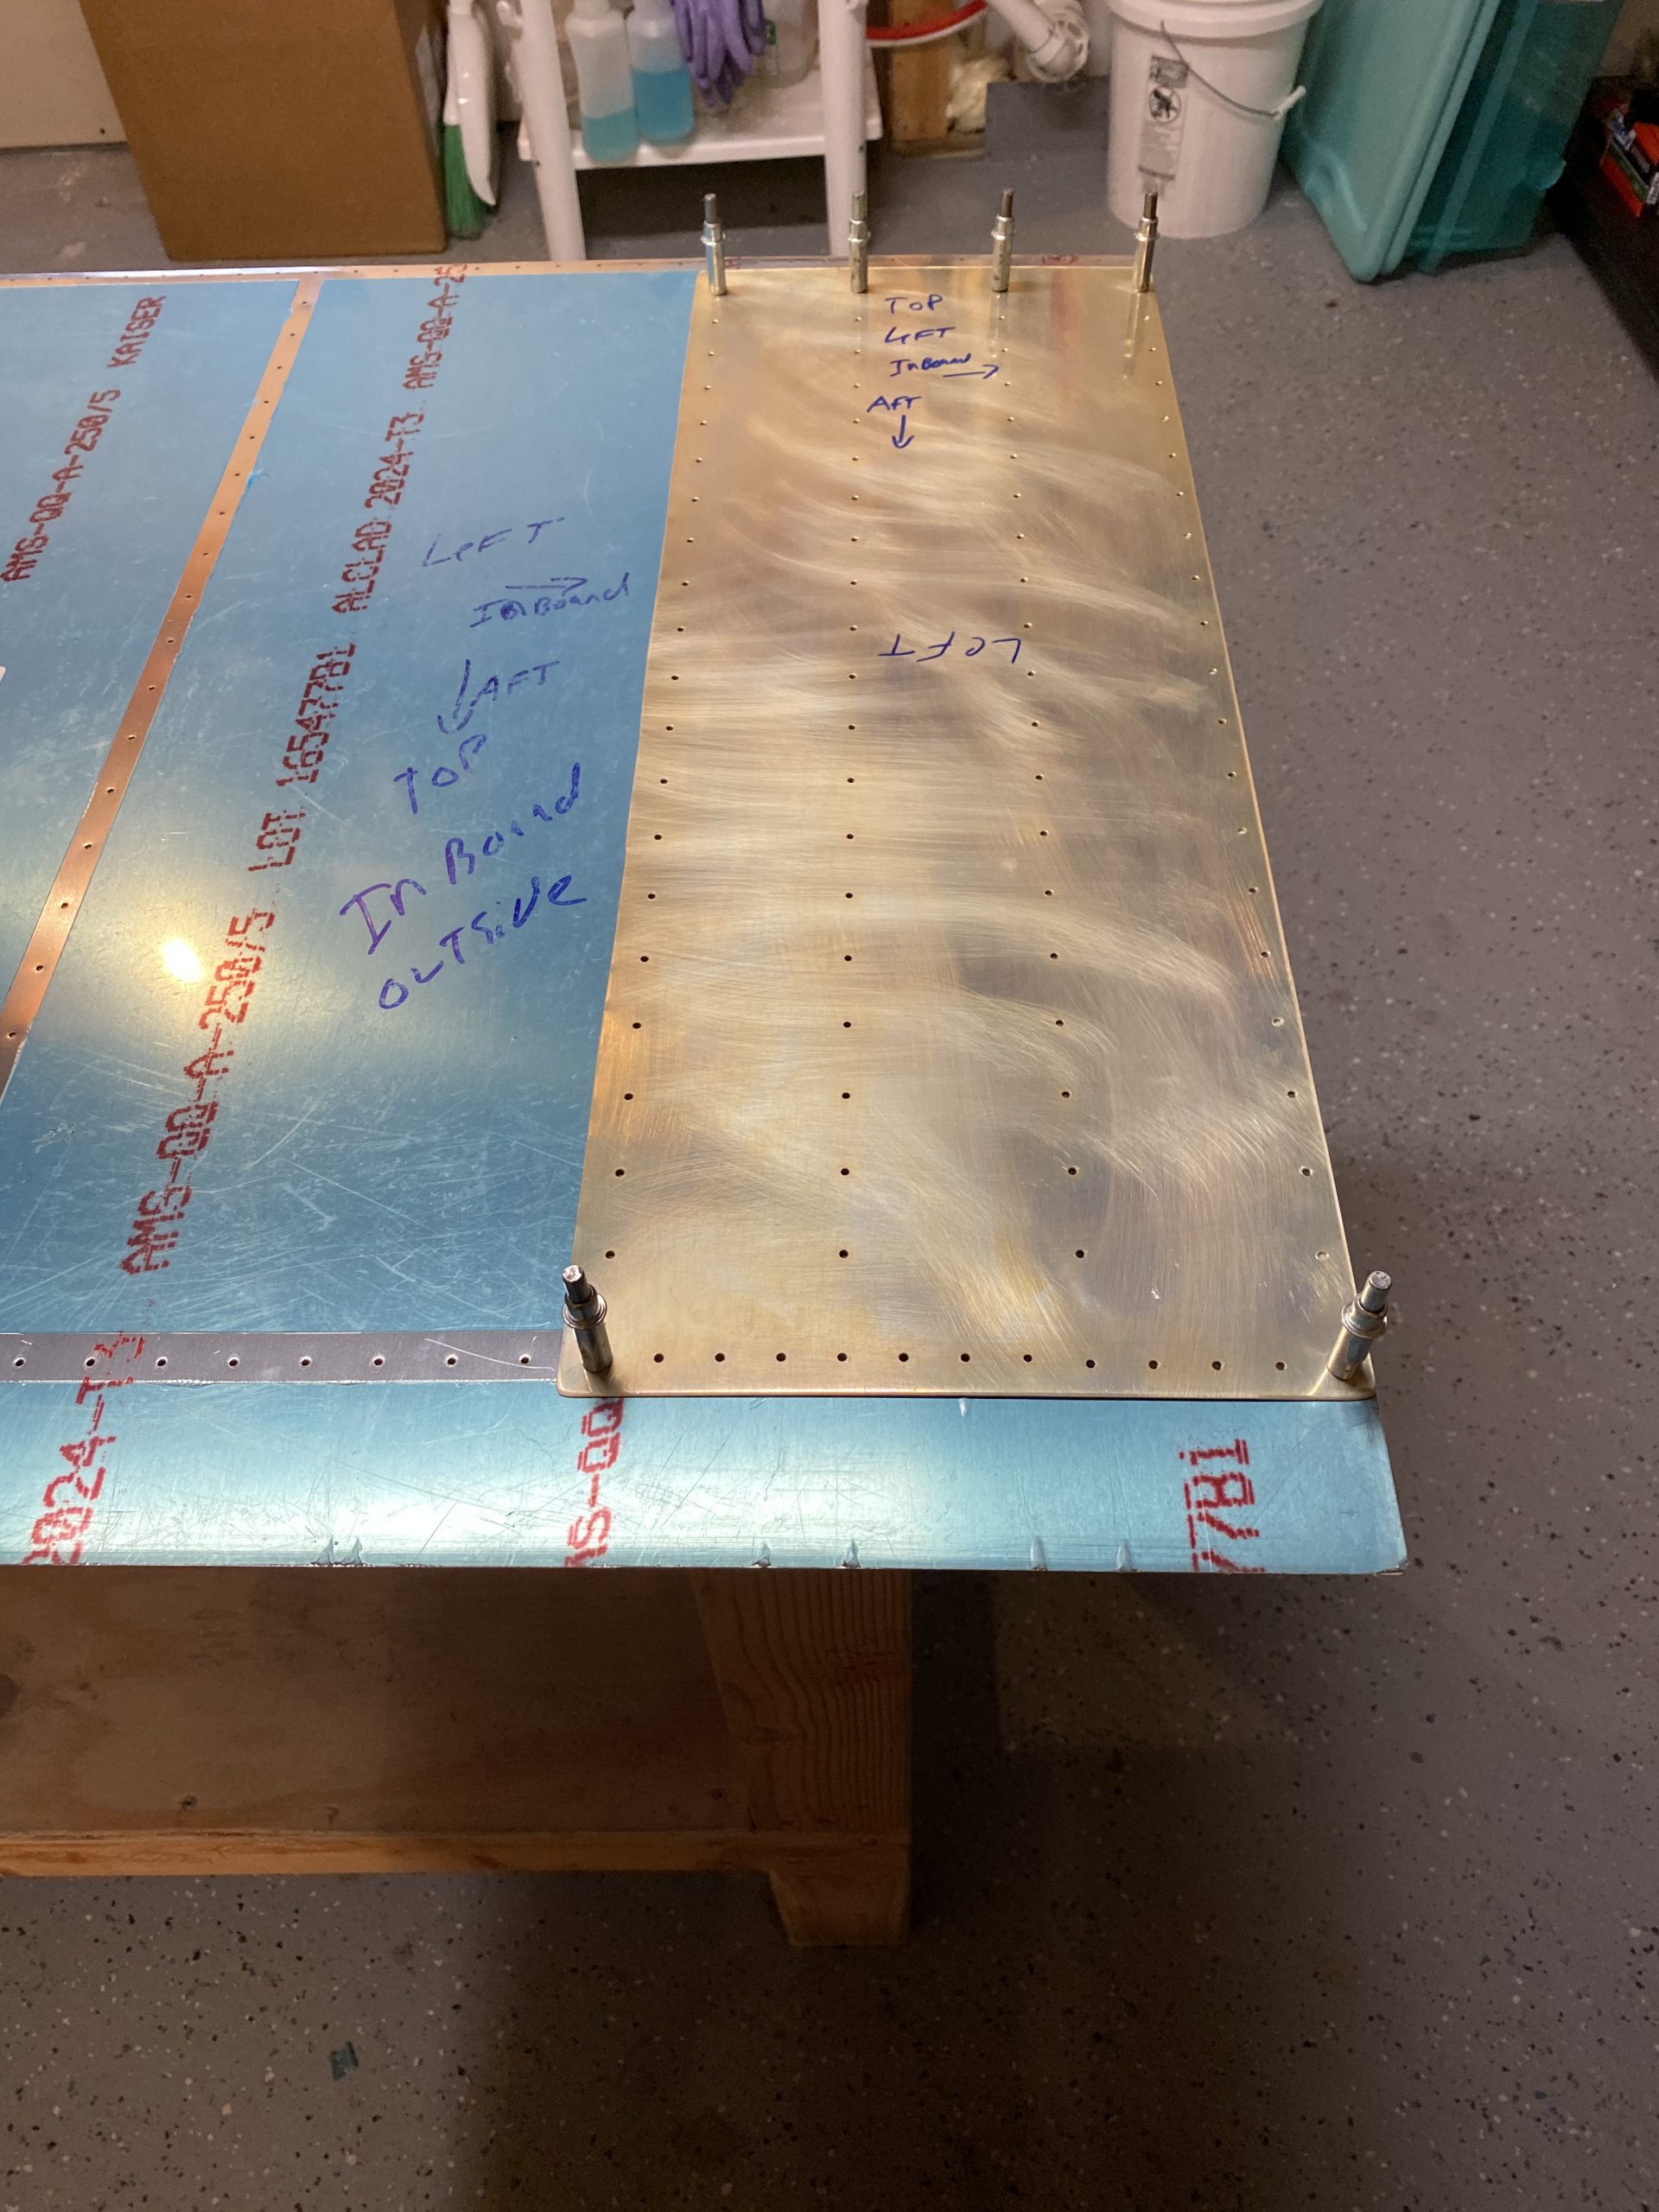
I also needed to dimple the wing walk doubler as it goes under the inboard skin, between the skin and the rib. So I clecoed it in place to verify I had the orientation right, then made some referenc marks. After that I got it dimpled on the DRDT-2
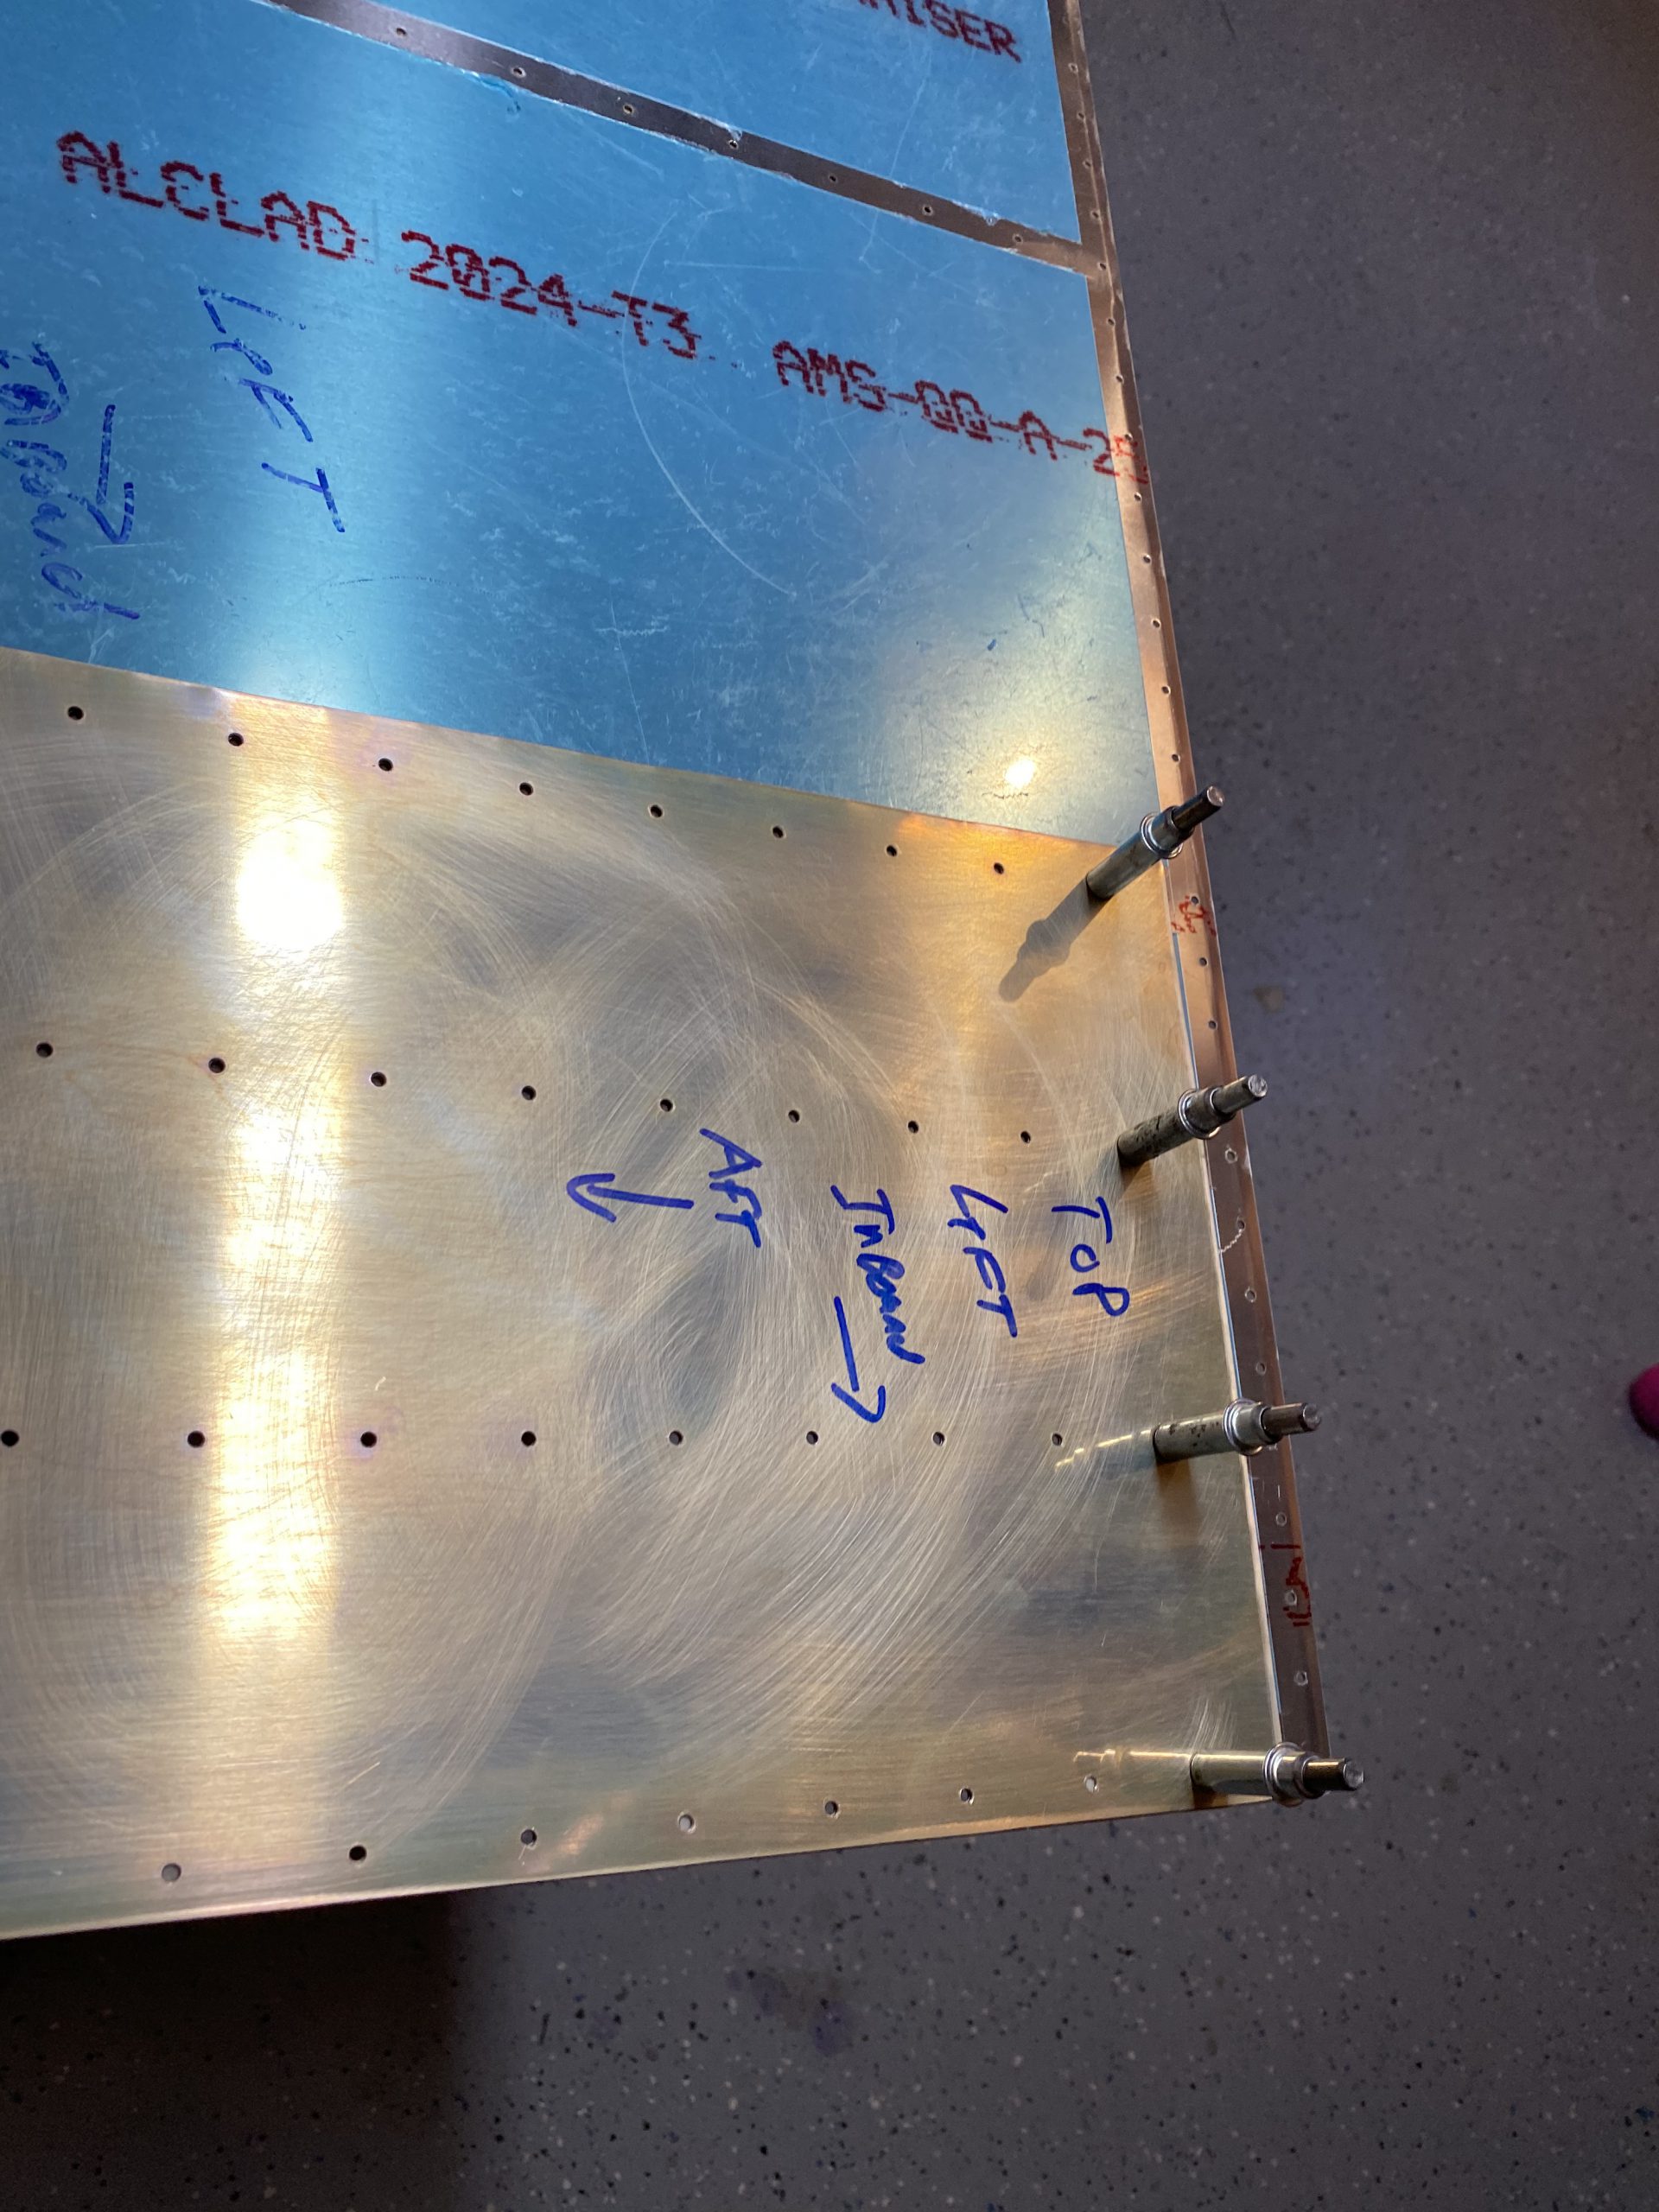
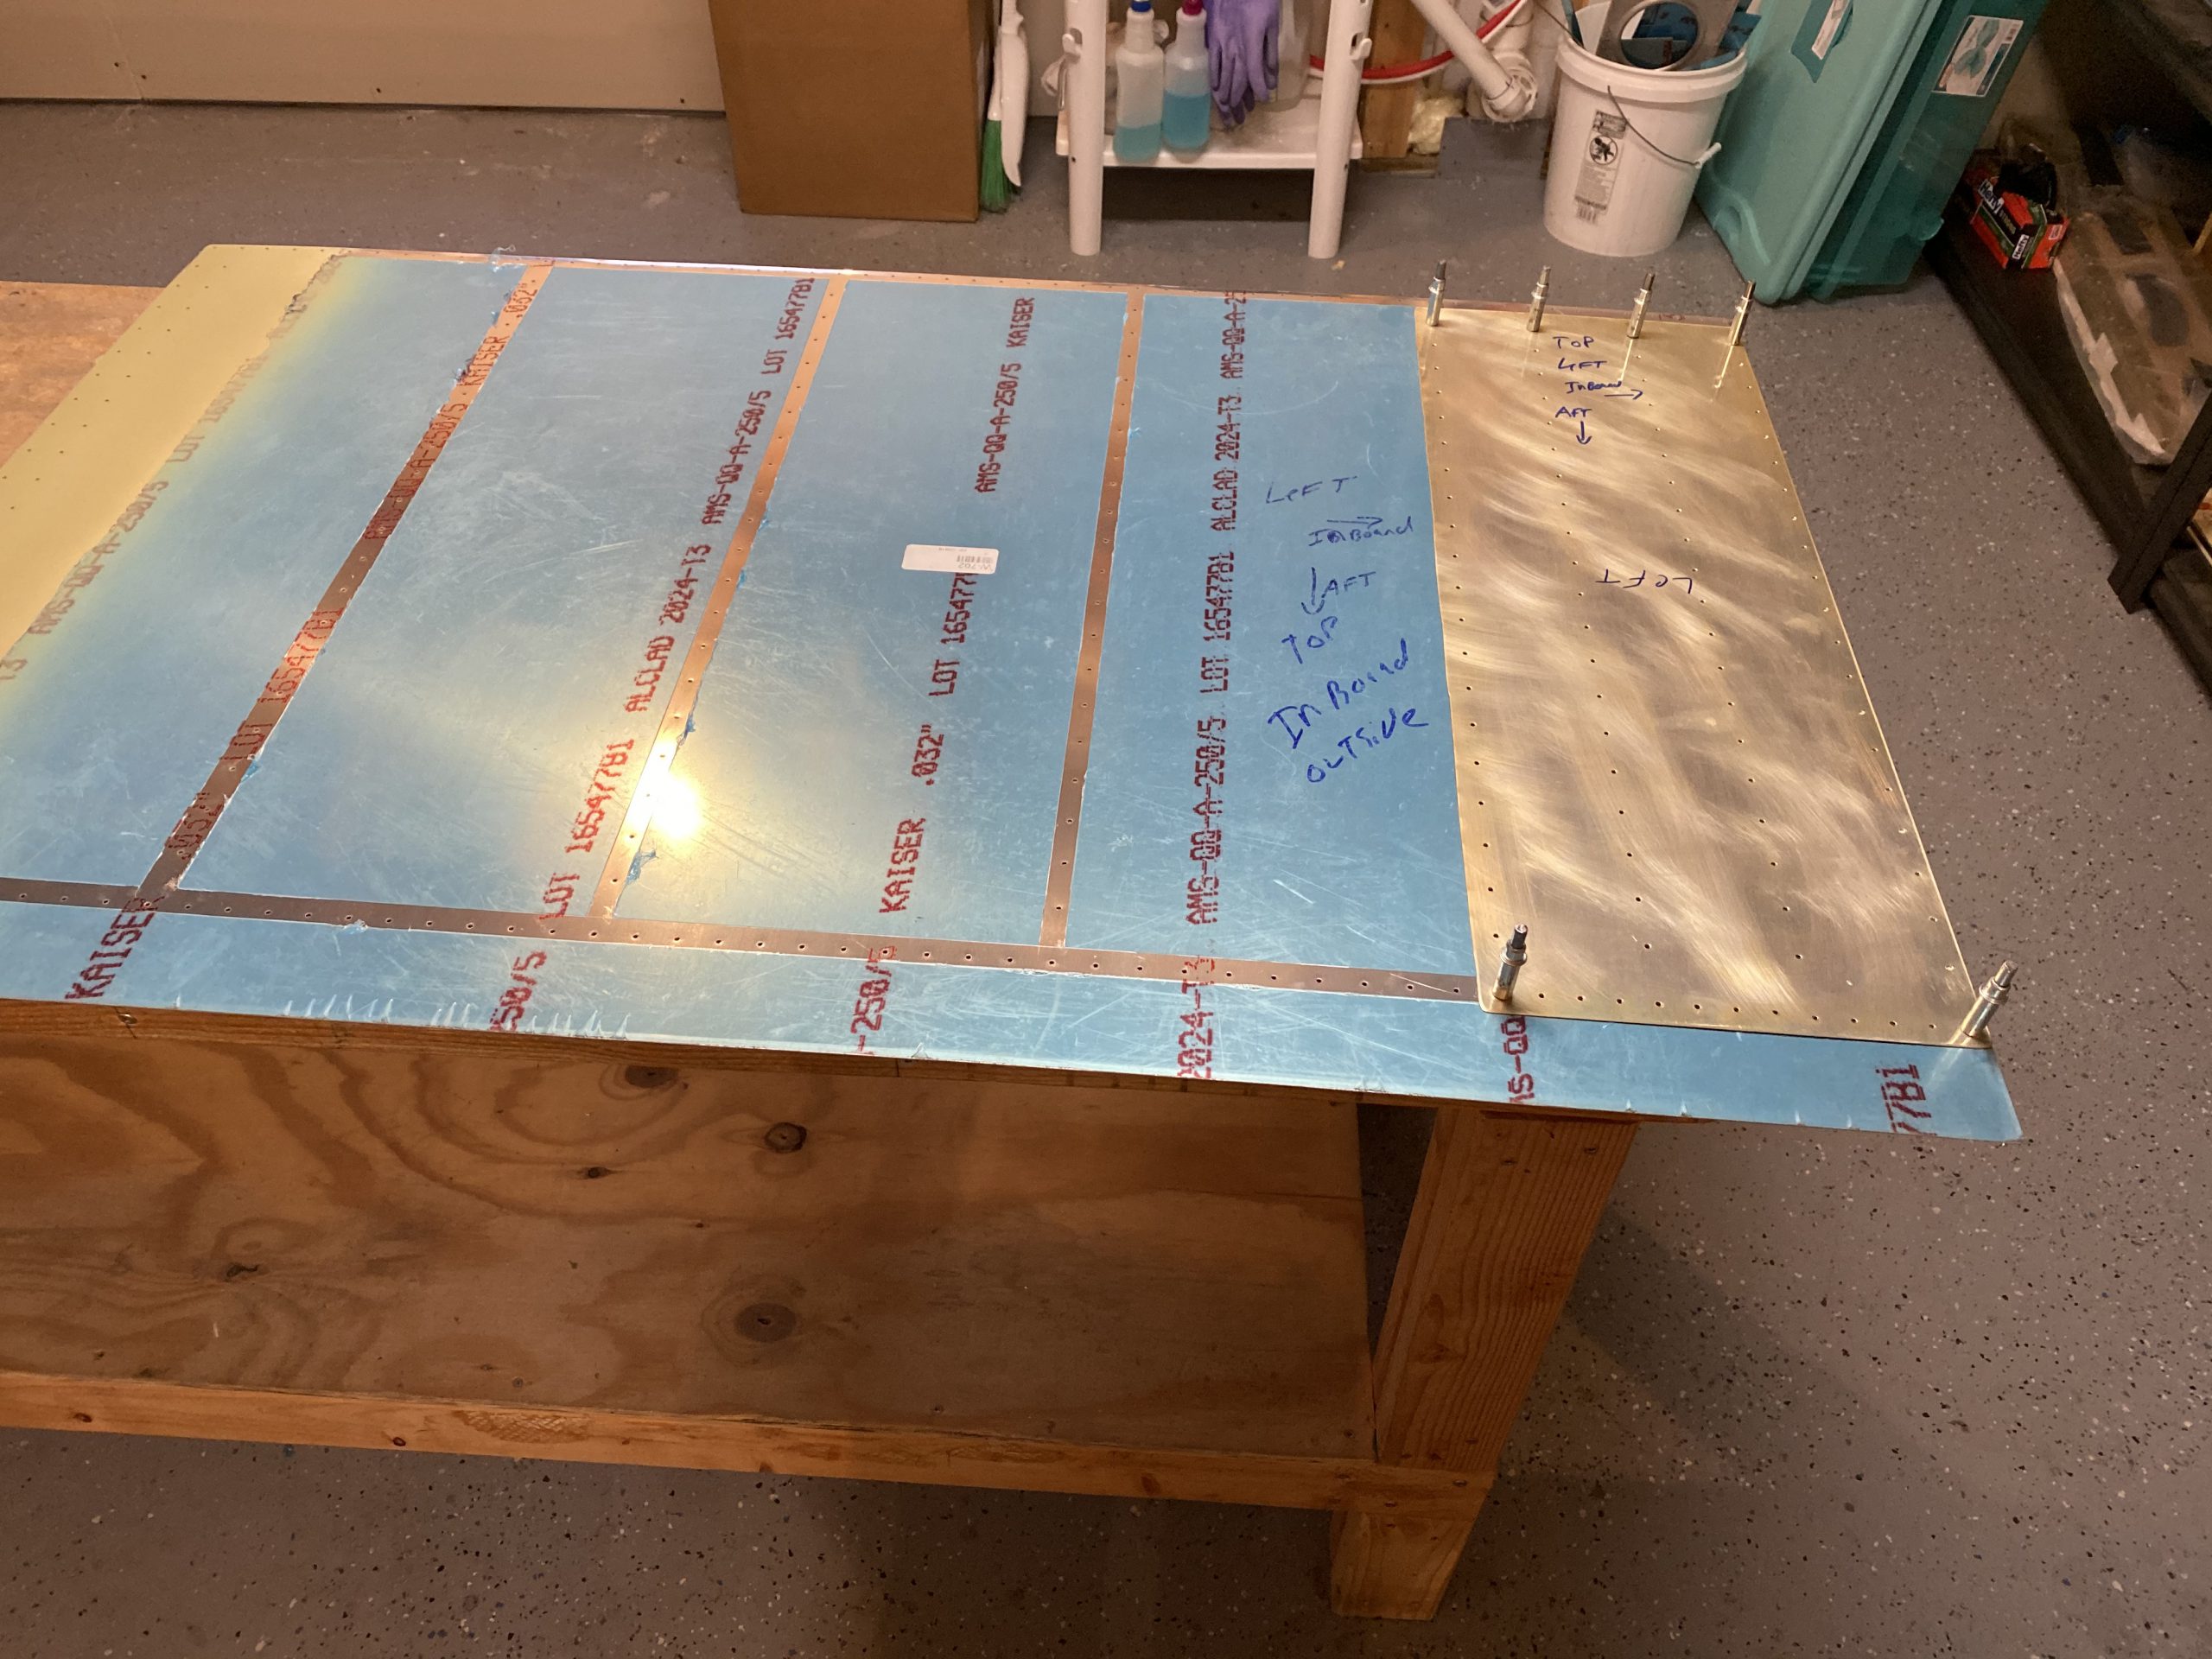
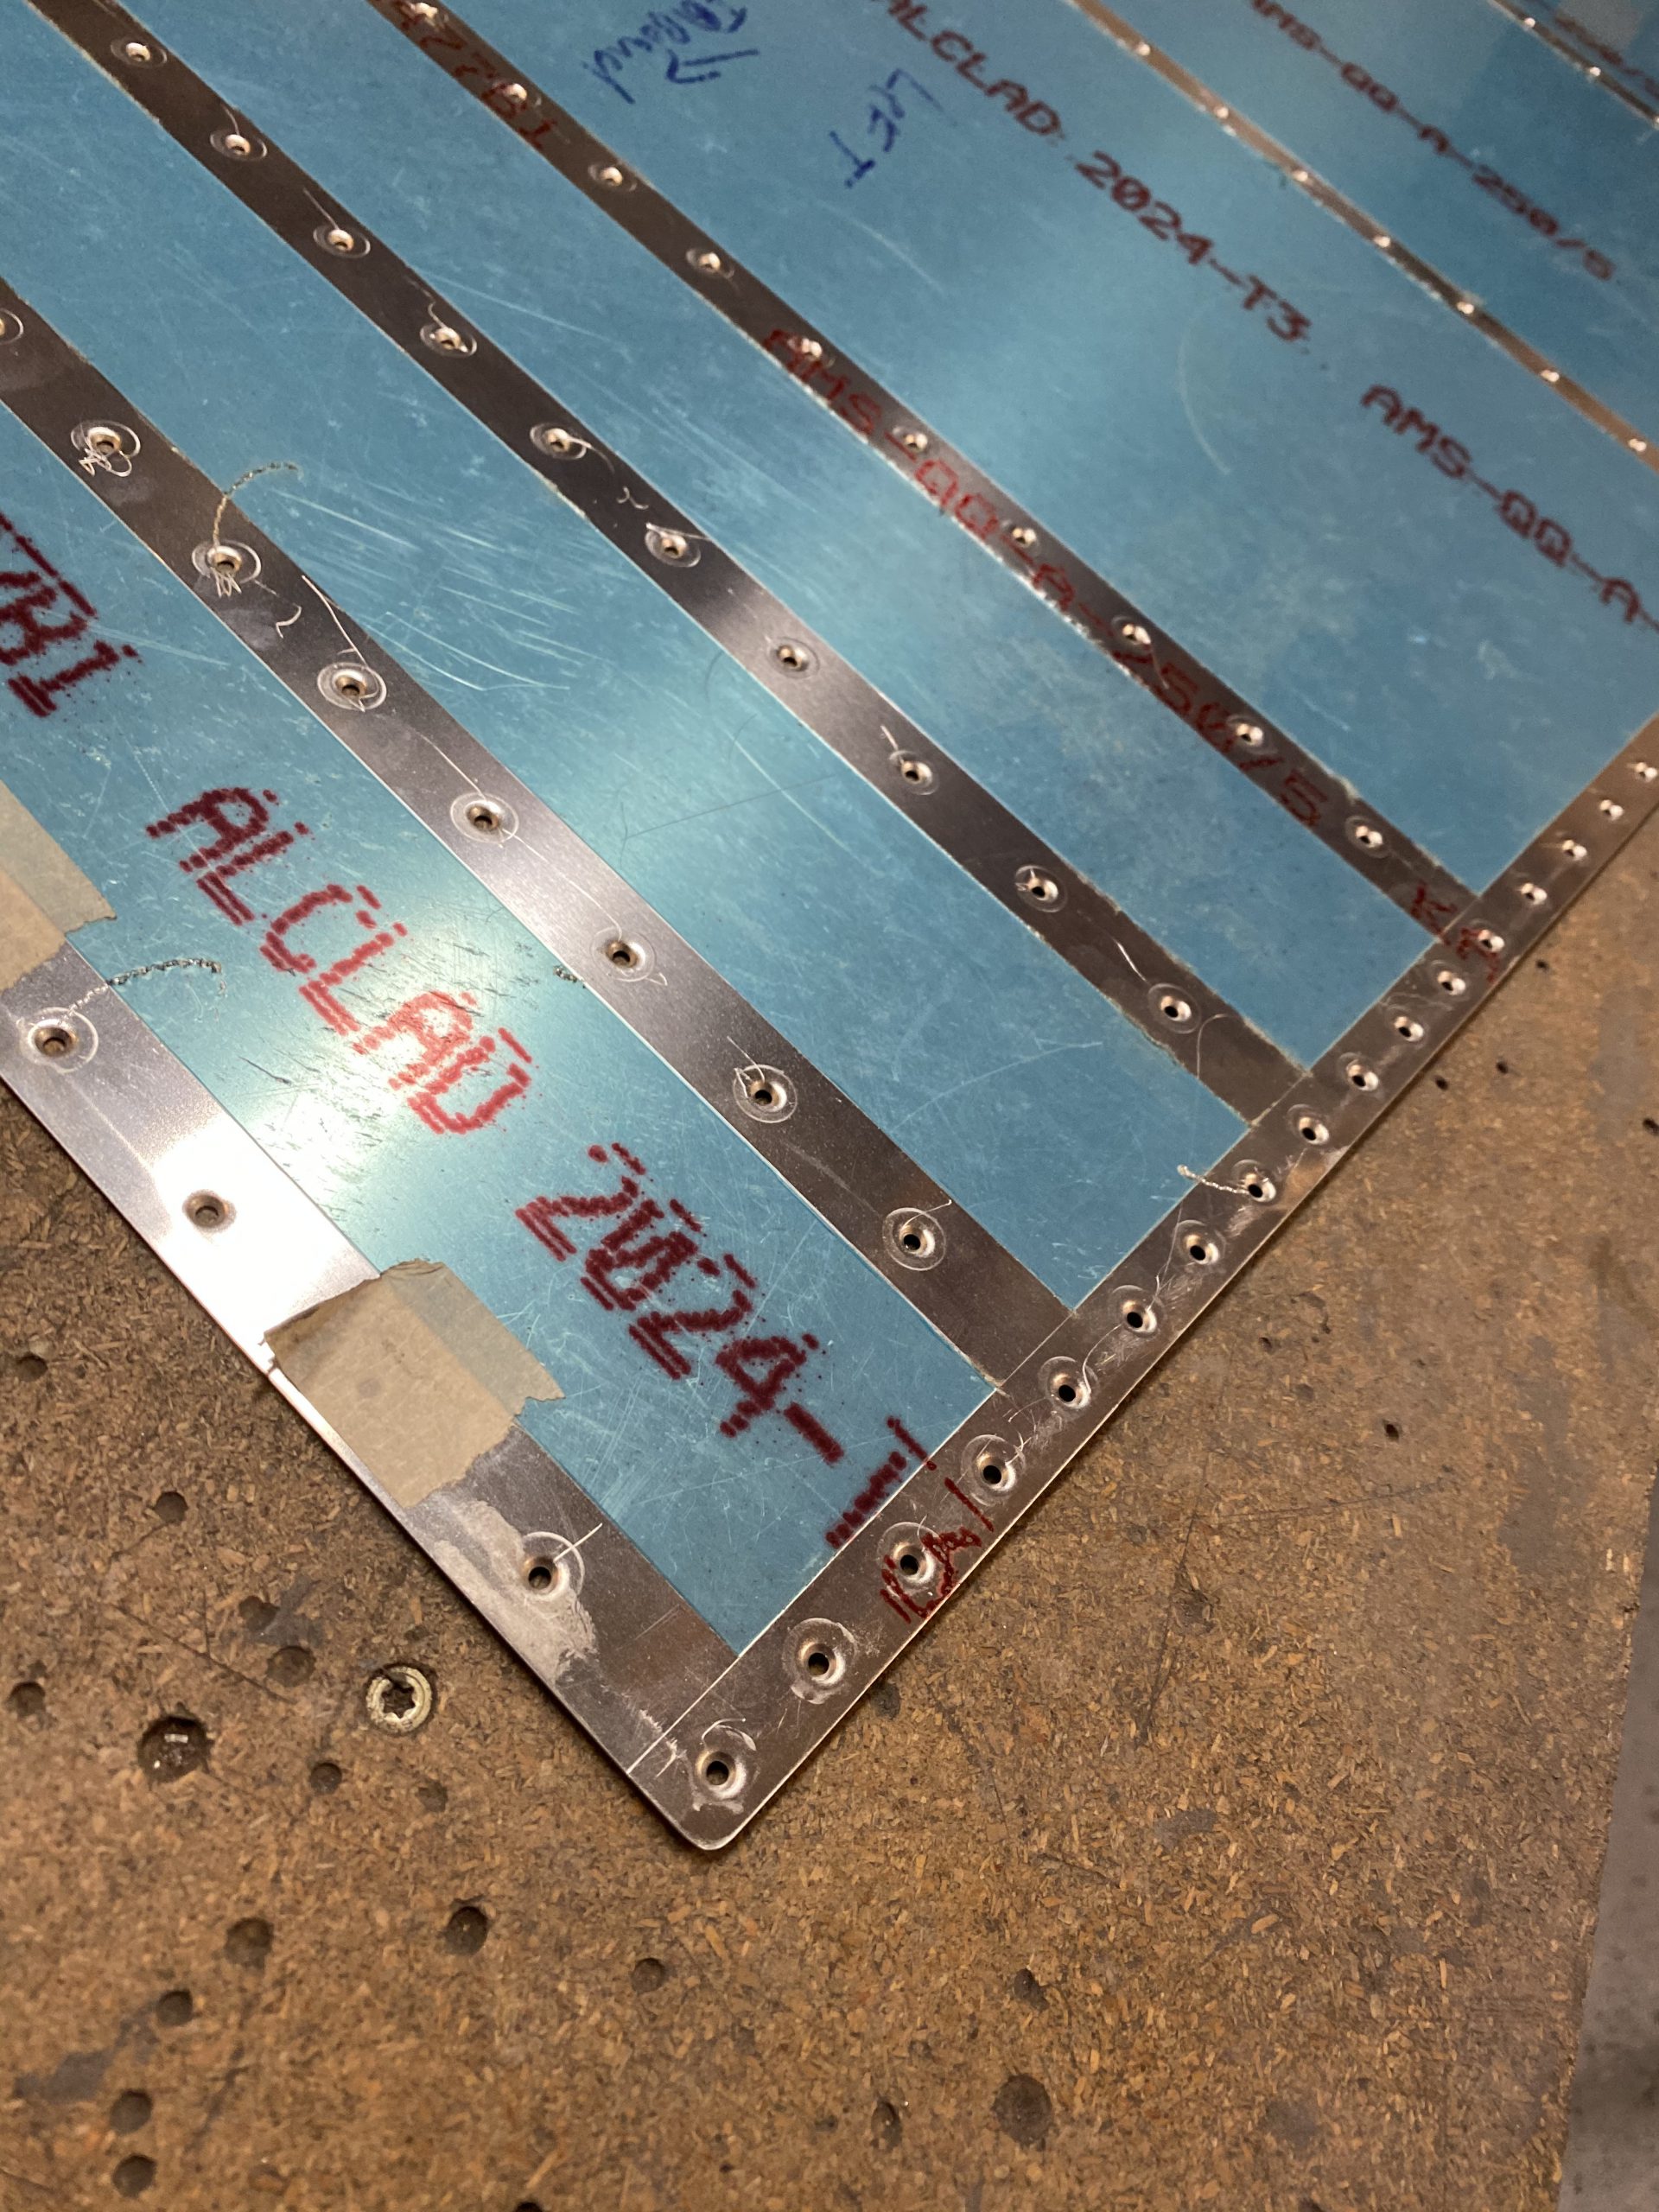
I decided to go ahead and get the inboard skin clecoed in place tonight, including the wing walk doubler. This skin won’t cause any issues with me installing the pitot mast tomorrow, and there is nothing else left to do on that inboard side, so I clecoed the inboard skin in place, and slipped the wing walk doubler behind the skin and clecoed every other hole, so its ready for riveting. I’ll need to find a helper to get the skins riveted. Then I took a little time to ponder my wiring installations, pitot and AOA plumbing etc. I’ll work on getting the pitot mast installed in the next session, I’ve got a nibbler on the way to make cutting the skin out a little easier.
Google Photos Link: https://photos.app.goo.gl/jwmJWH9aYqCfNxuW8
-
 IMG_2547
 -
IMG_2548
-
 IMG_2549
 -
IMG_2550
-
IMG_2551
-
IMG_2552
-
 IMG_2553
 -
 IMG_2554
 -
IMG_2555


Hours Worked: 2.25