


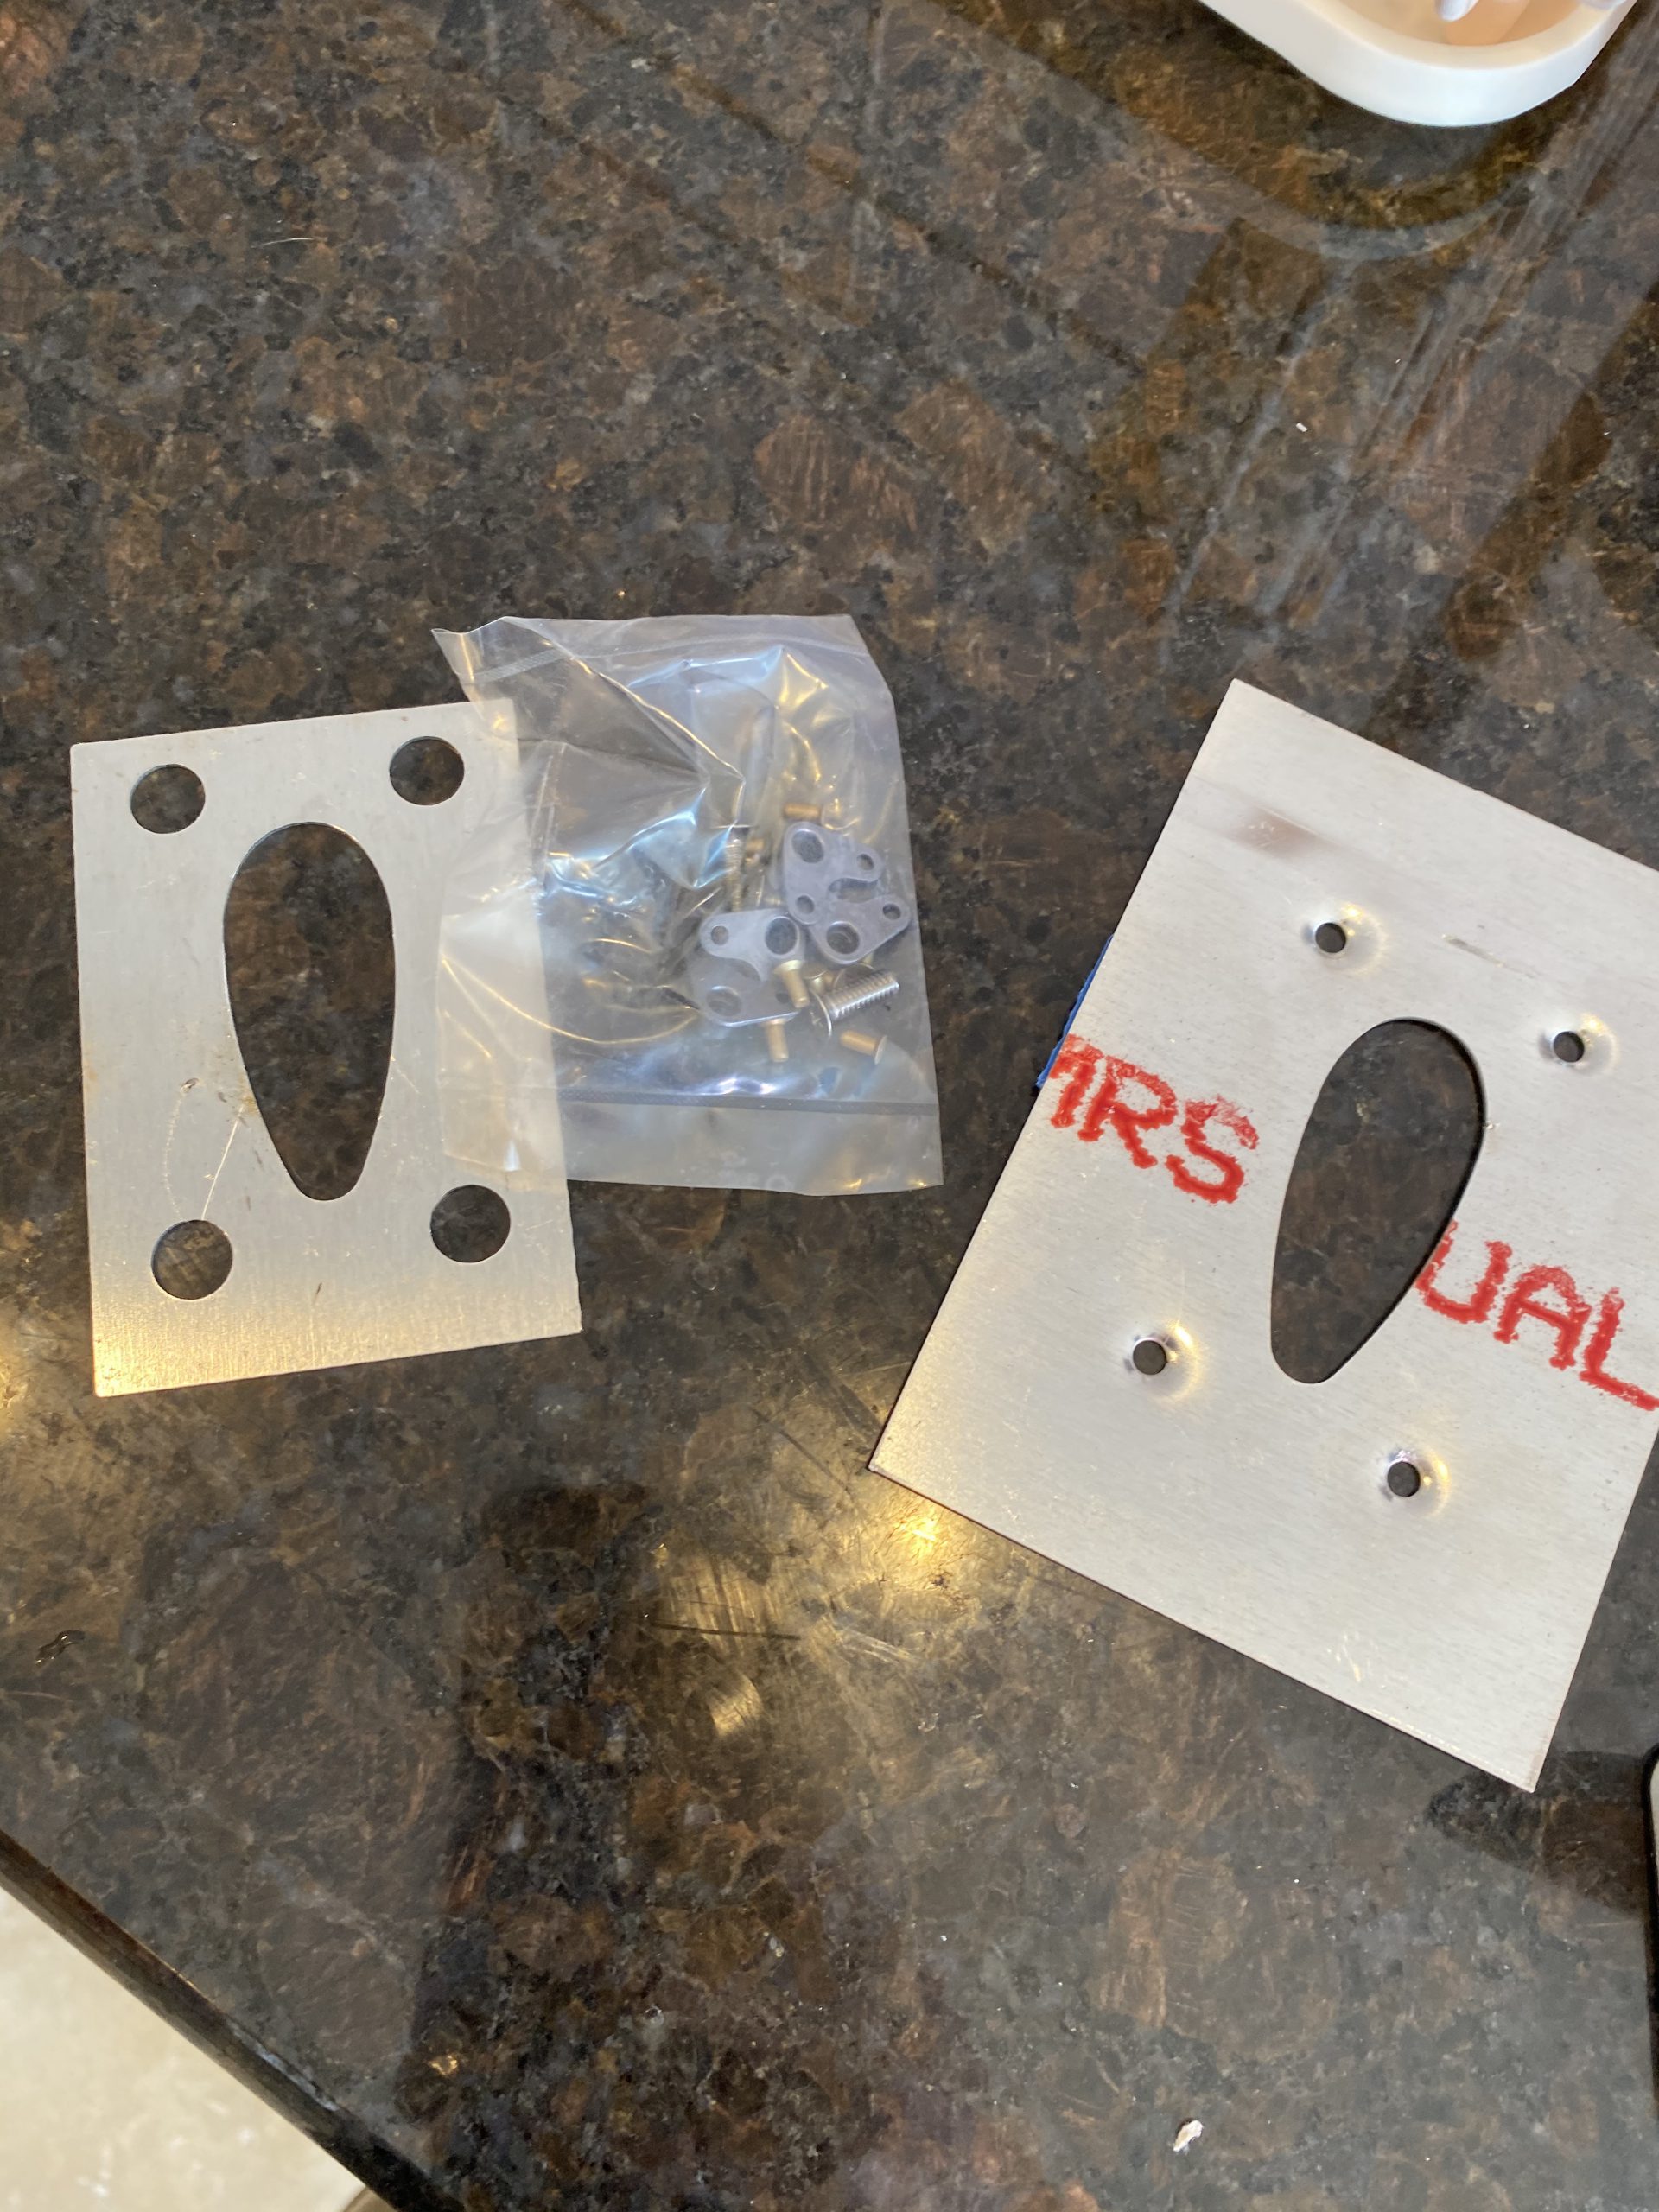
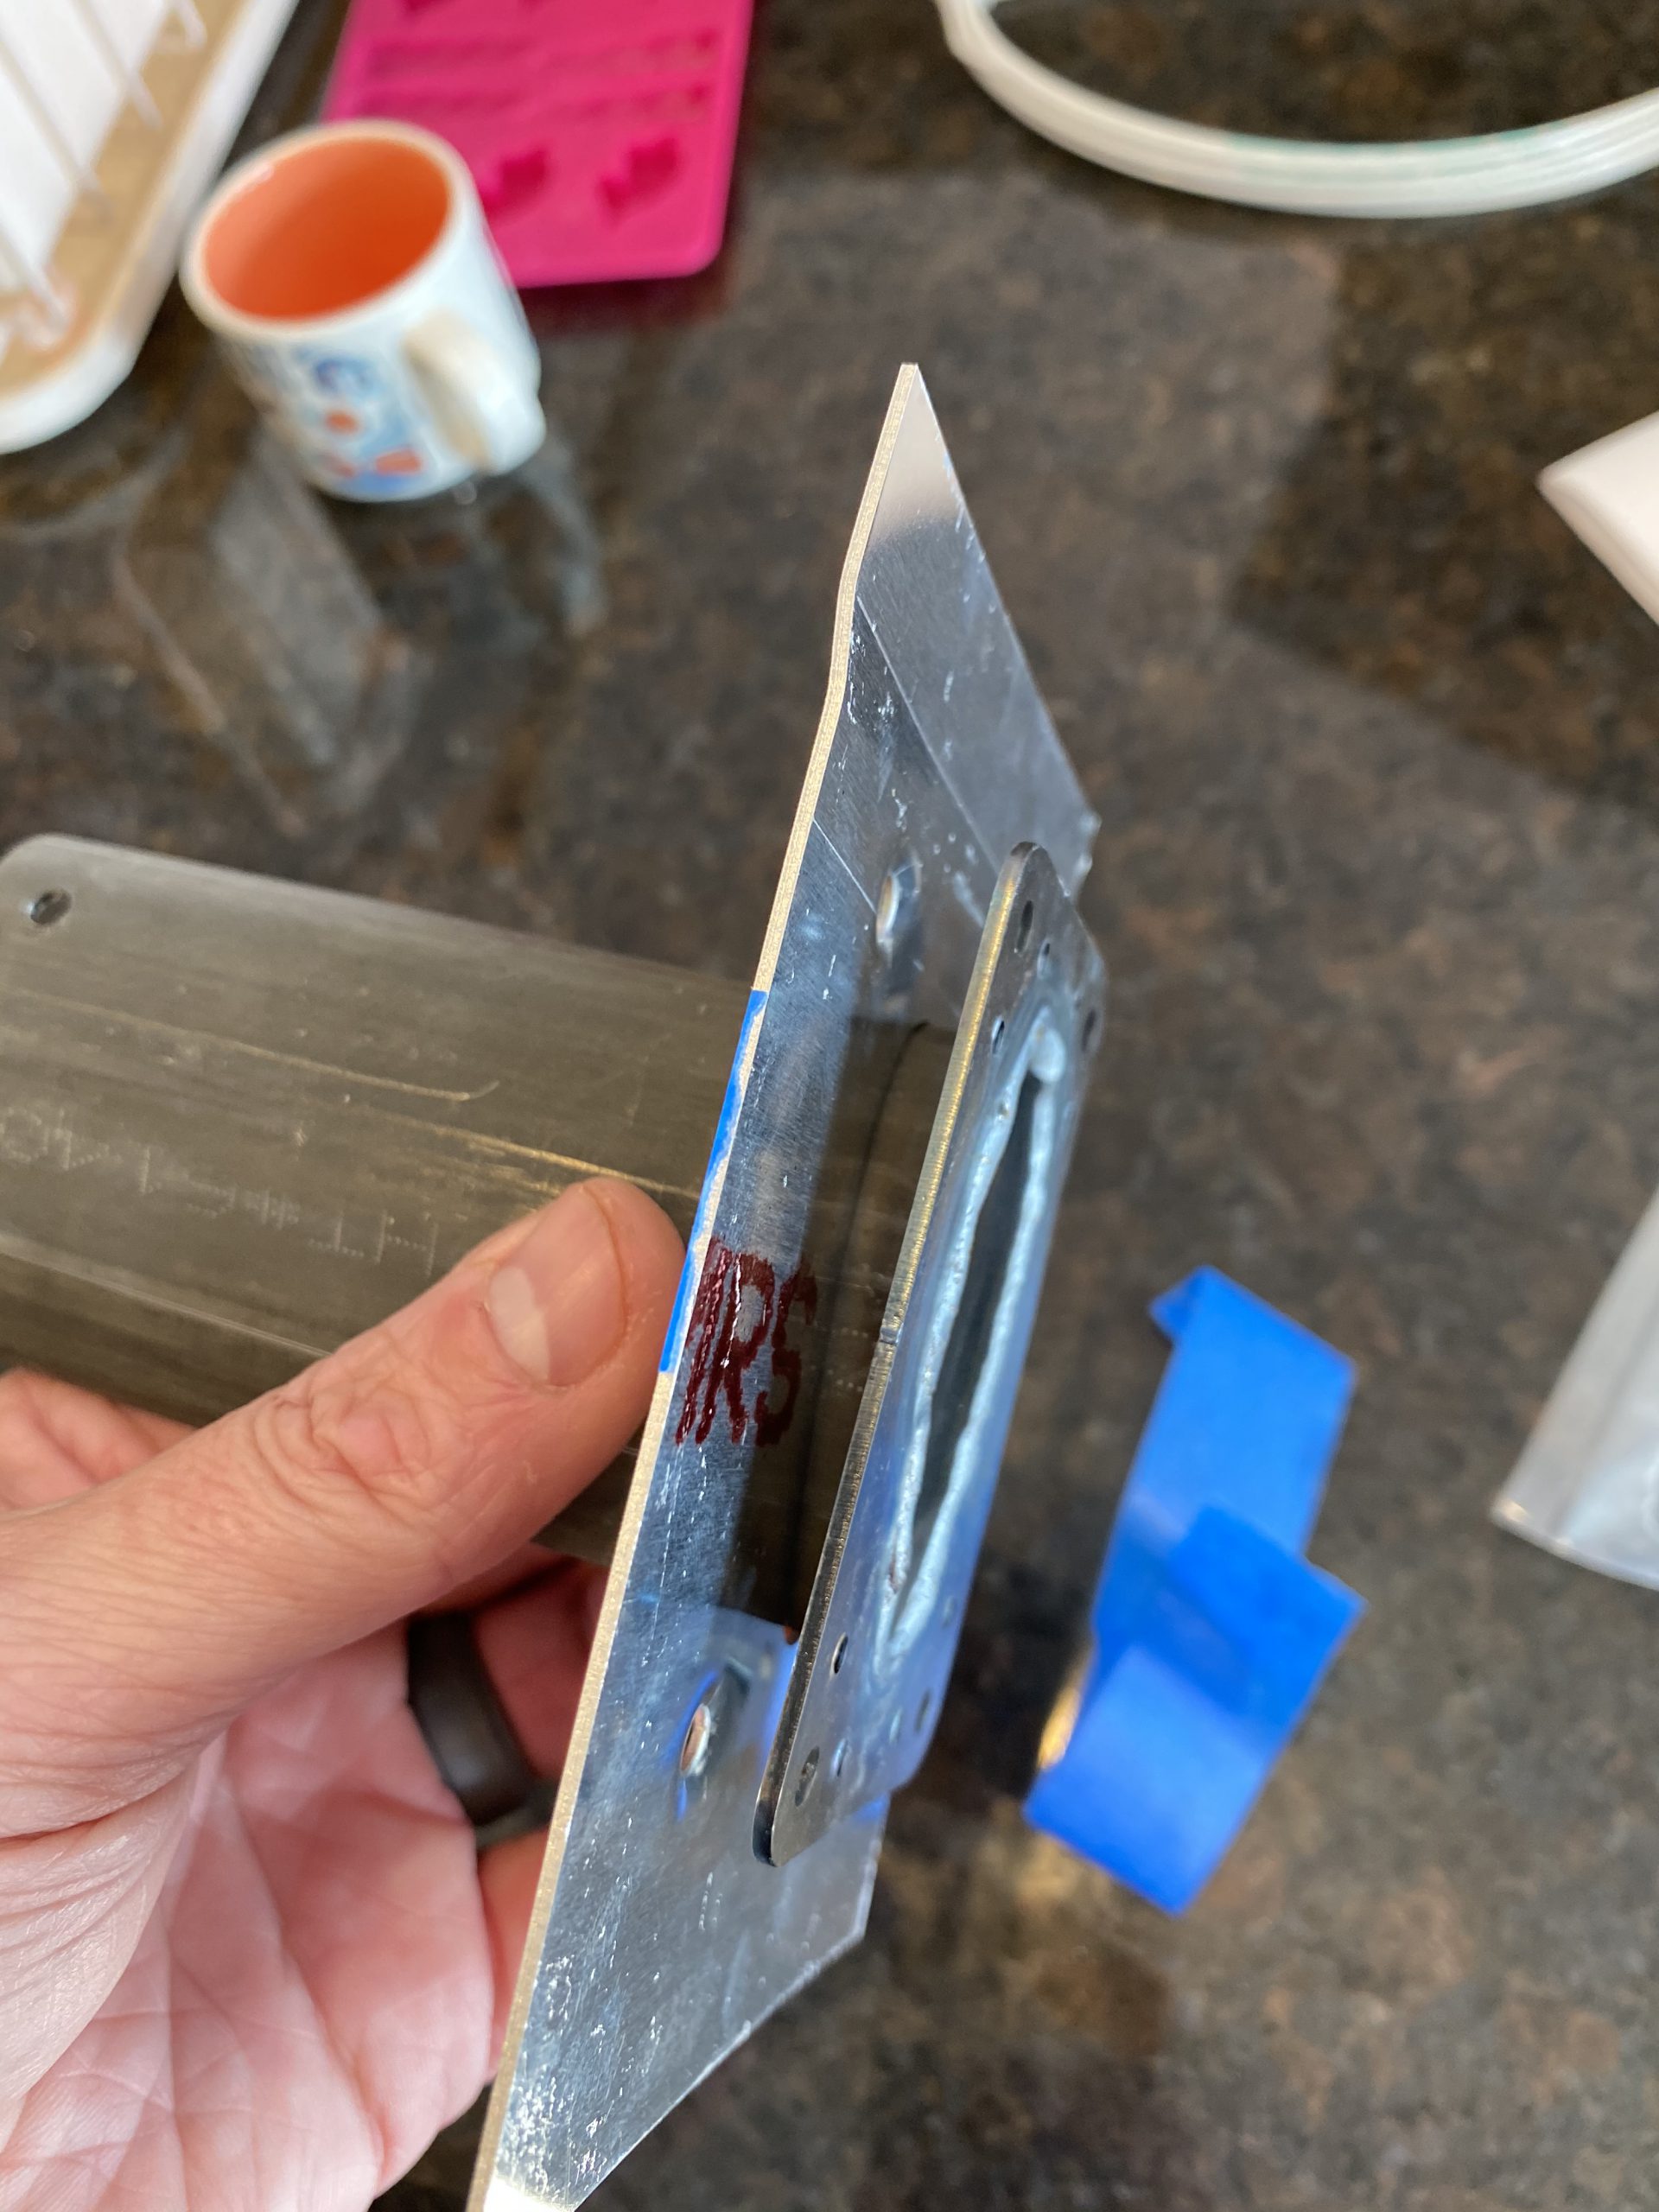
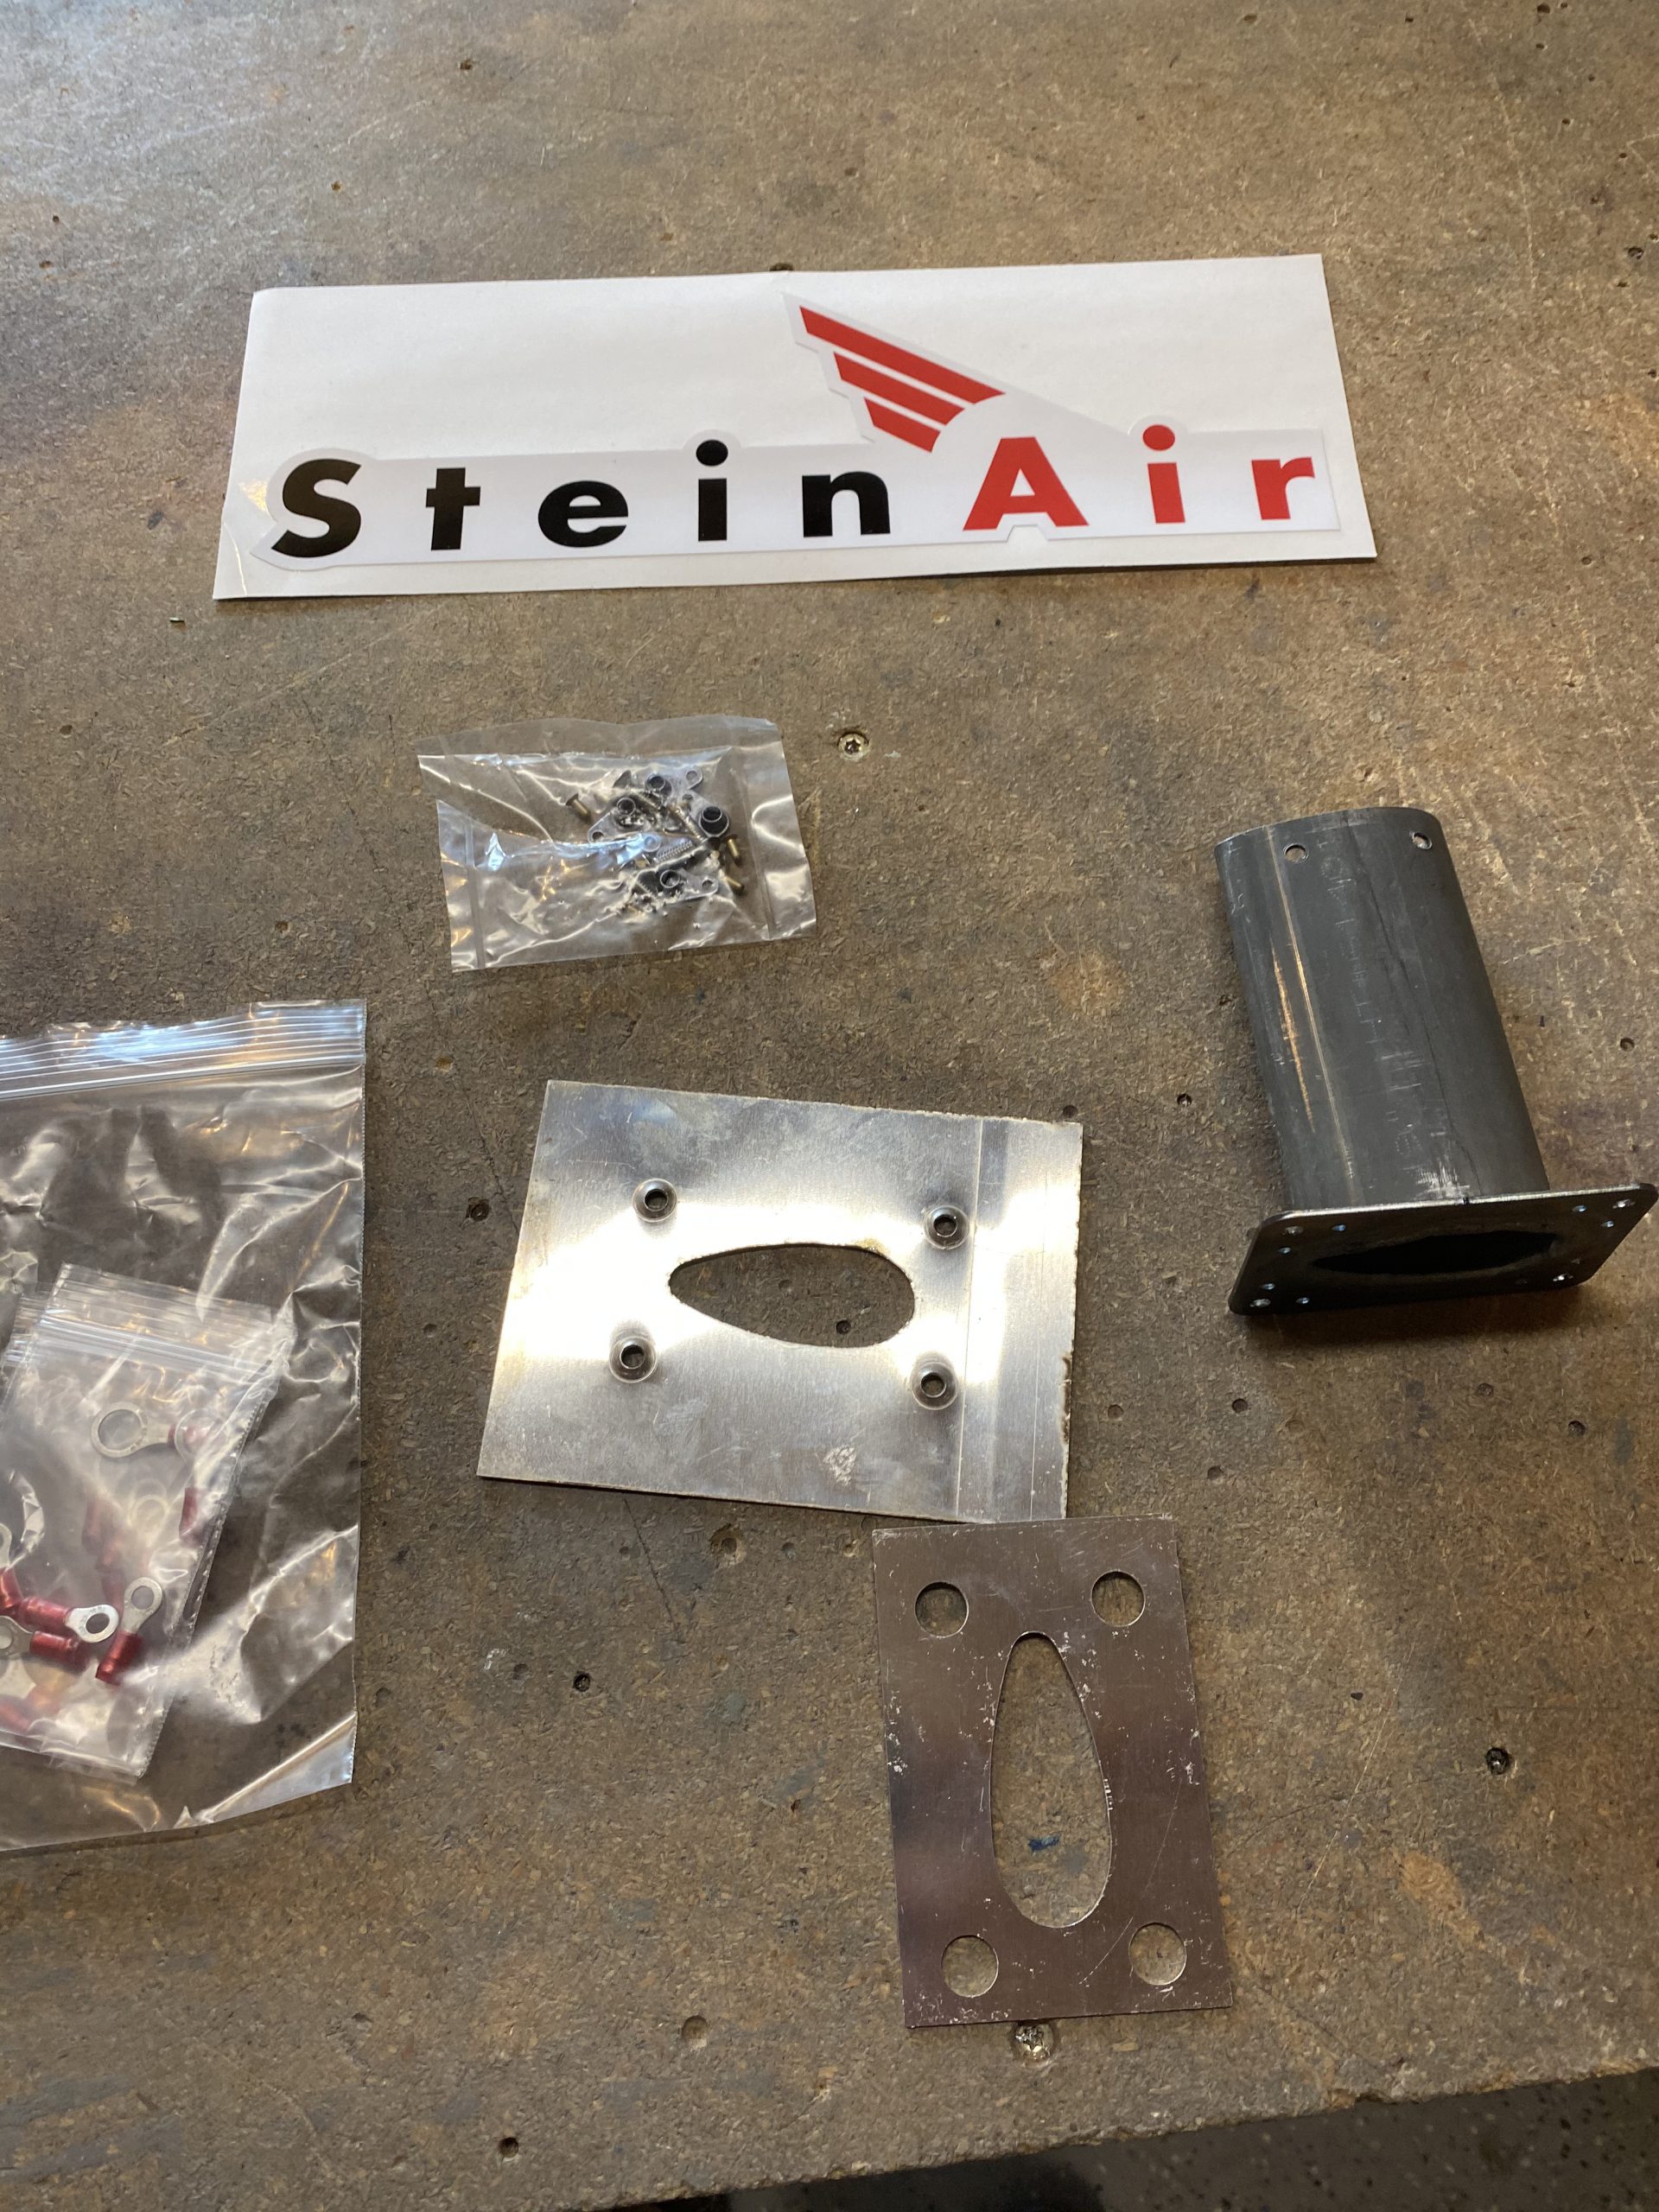
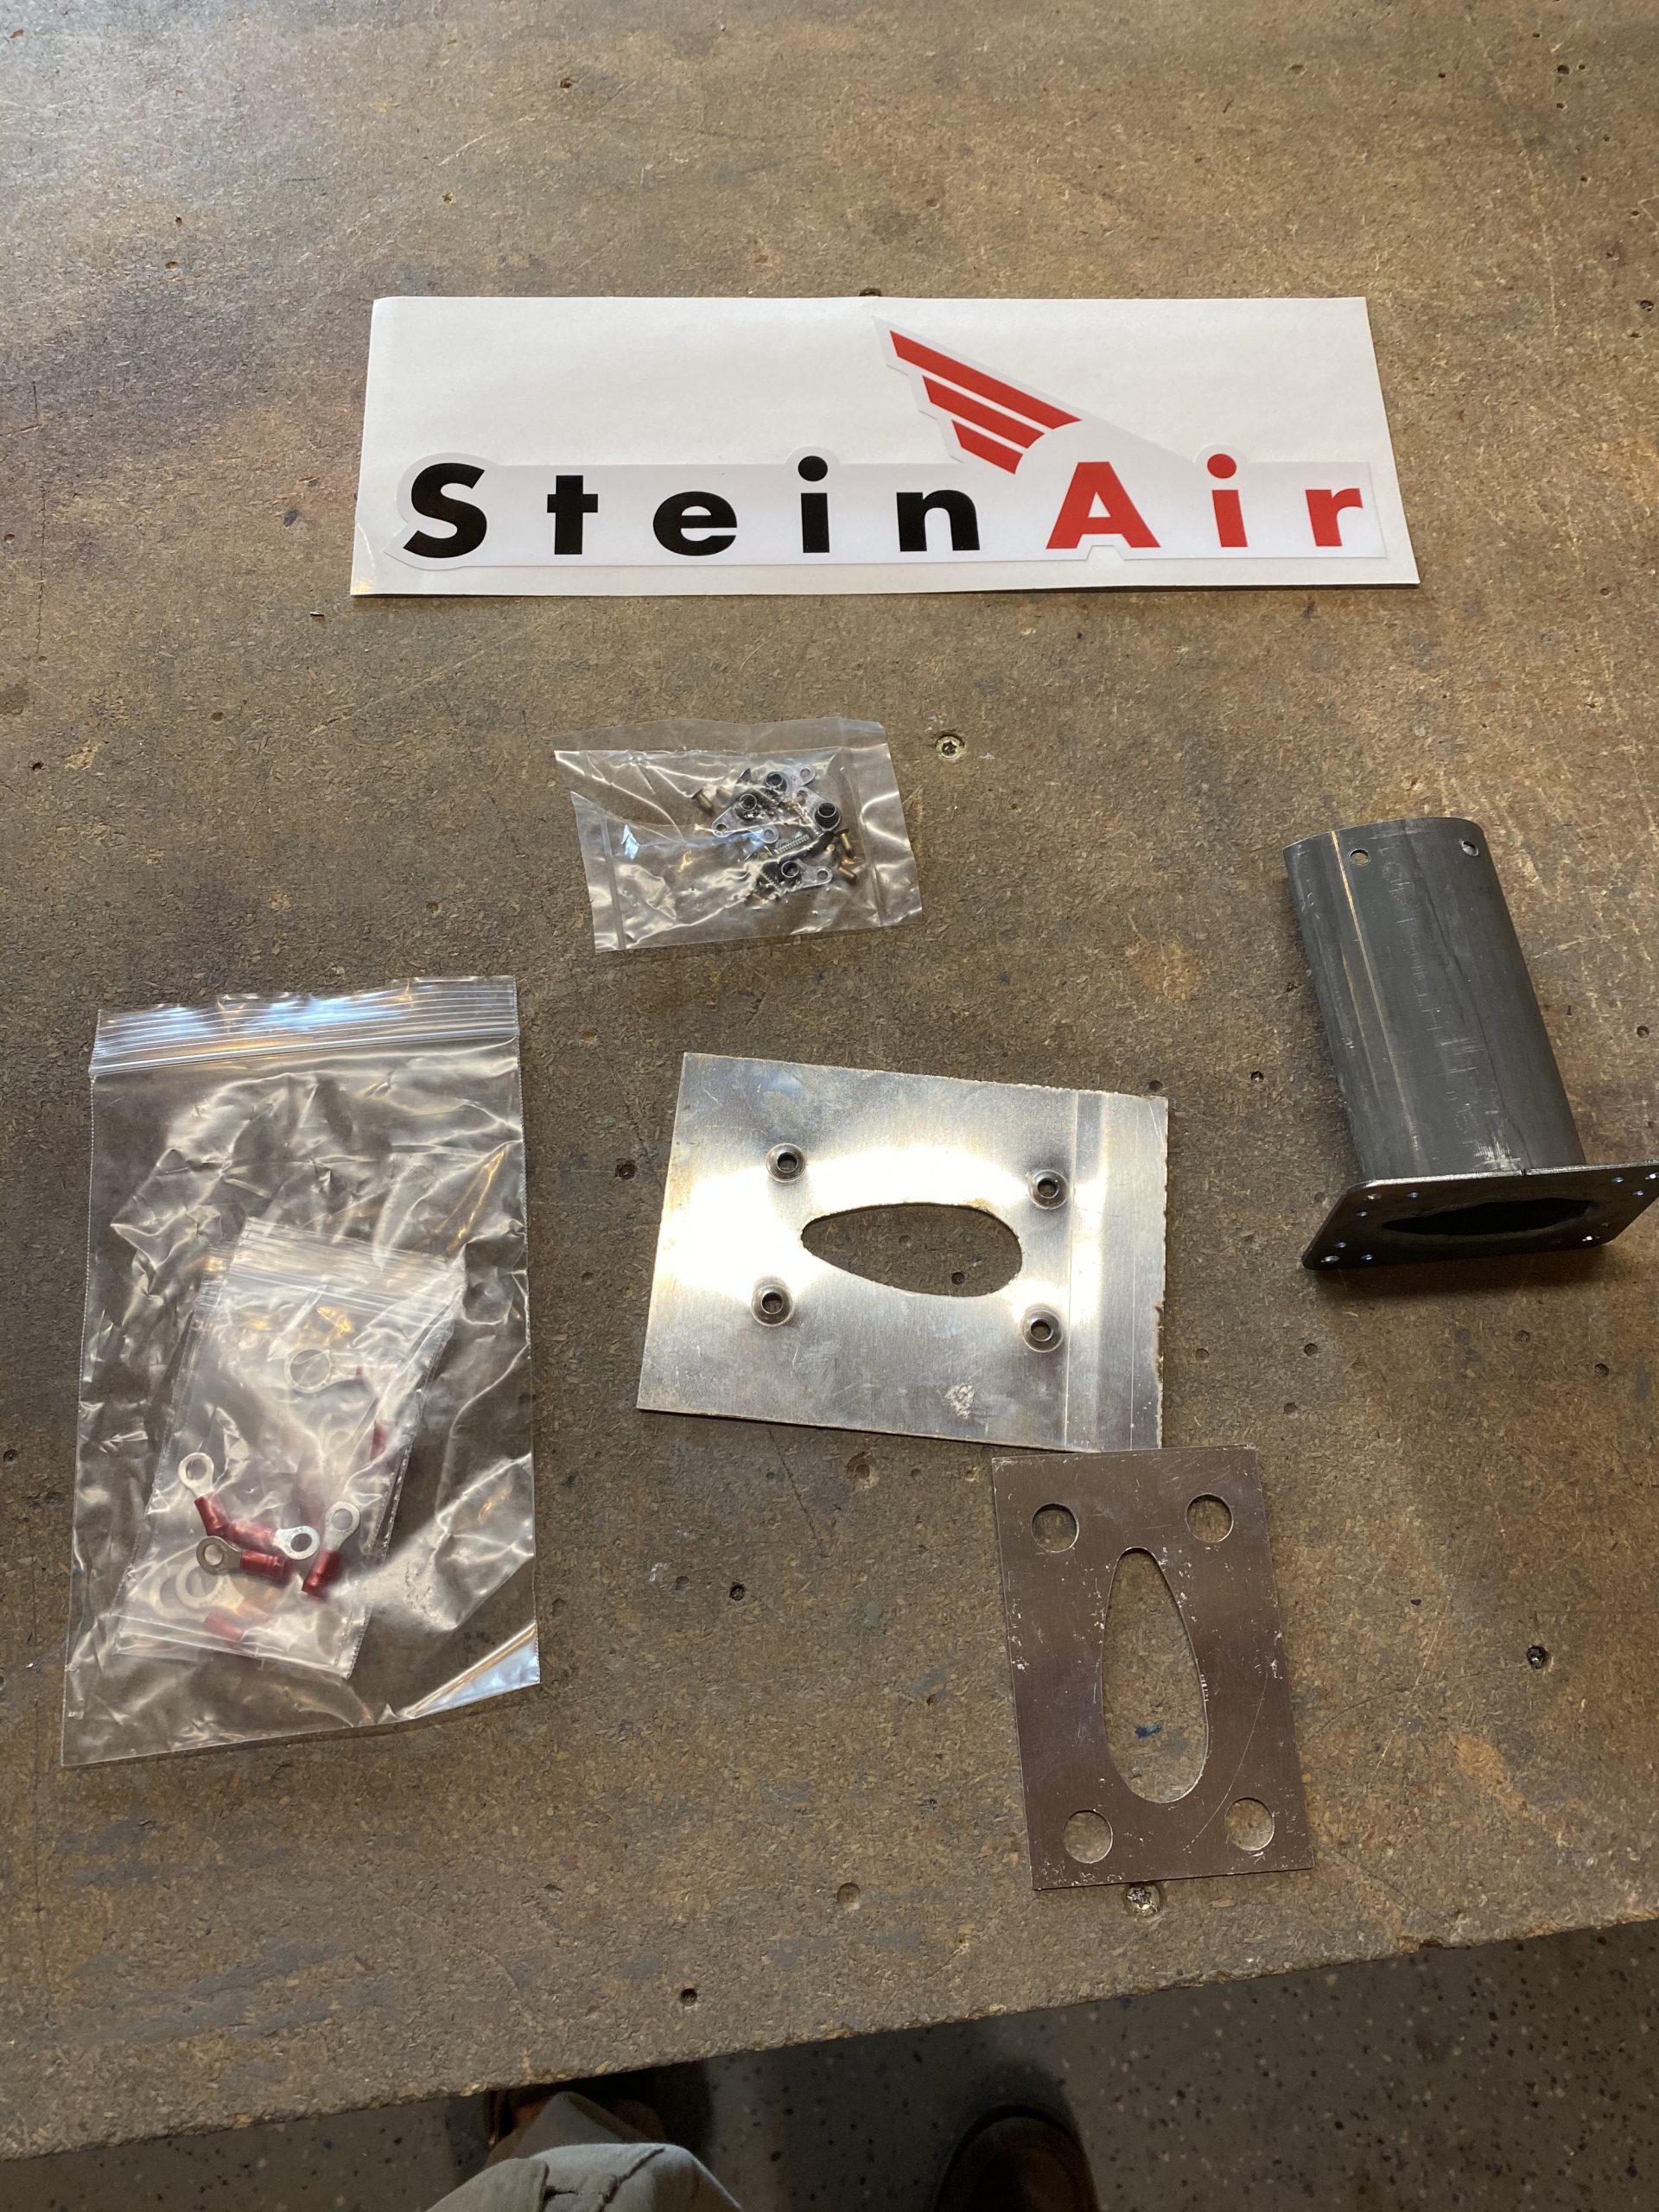
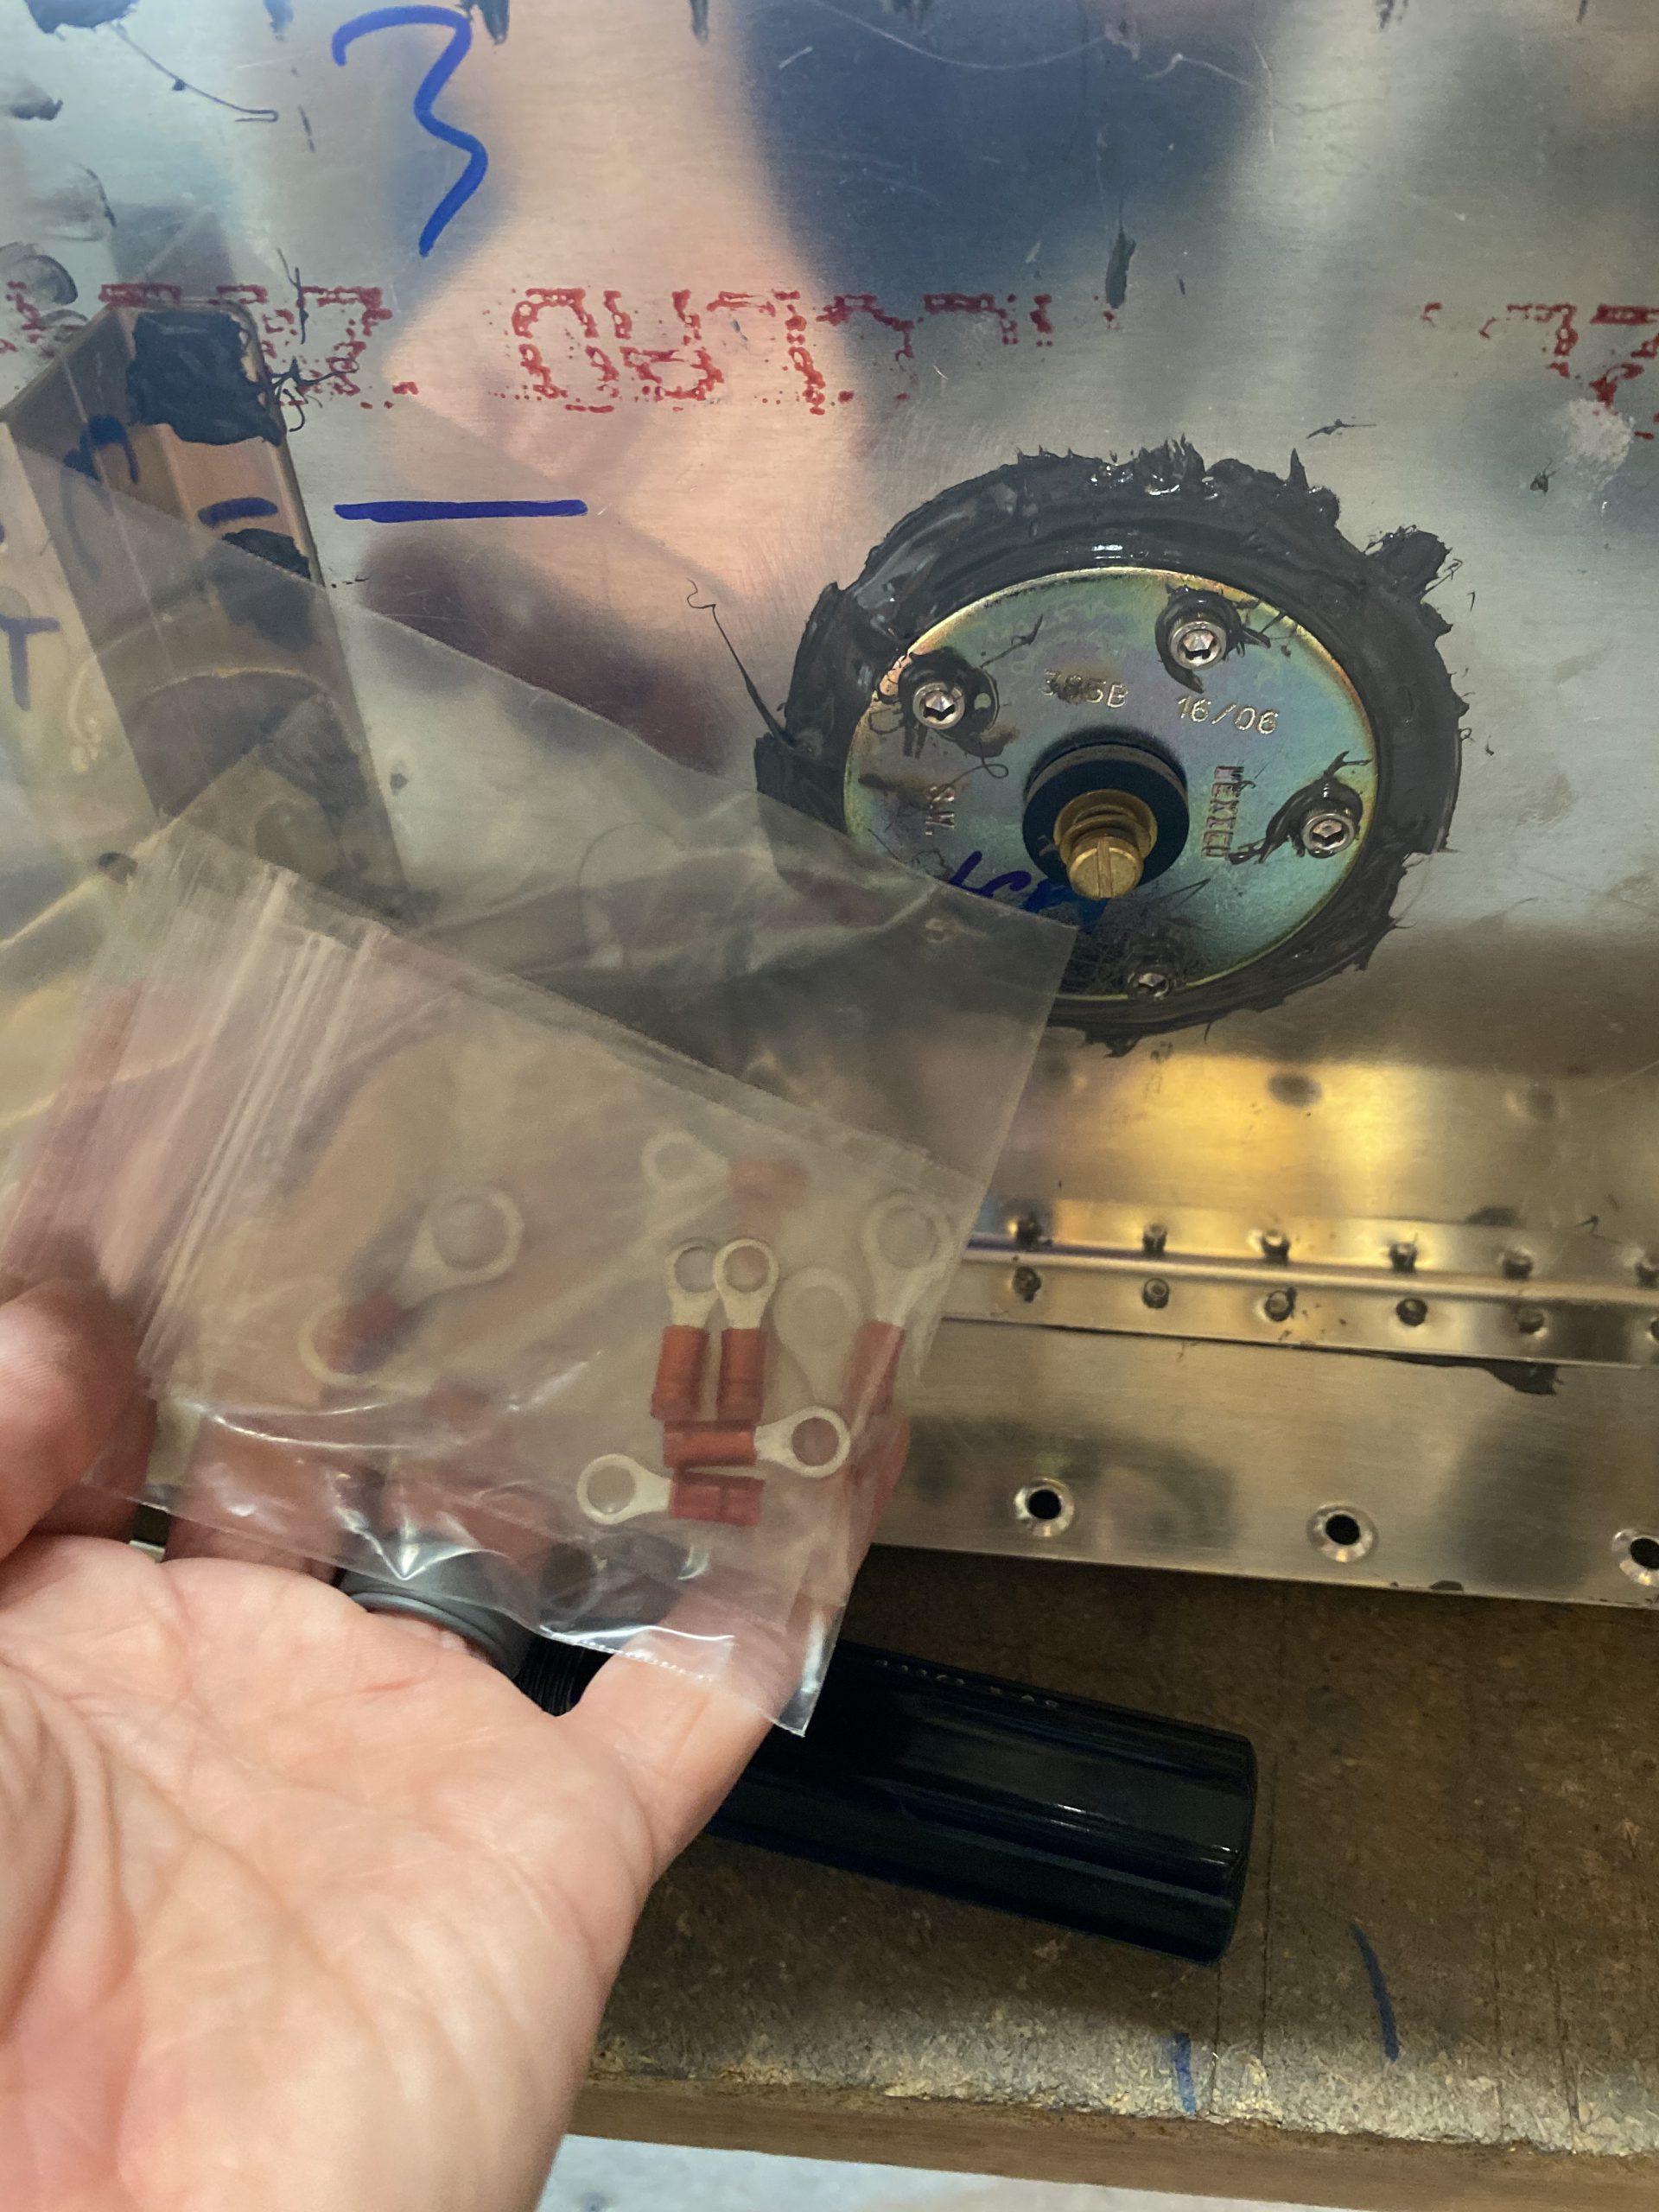
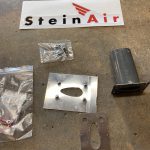
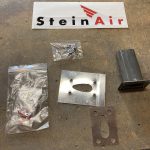
Valium 10Mg Buy Online Delivery day! I got my shipment in from SteinAir, which included my pitot mast, as well as a few 18 gauge ring terminals that I needed to attach the wire to the fuel level sender on the back baffle of the fuel tank. Here’s the goods:
enter Buy Lorazepam Online Without PrescriptionHydrocodone Purchase Online I did capture a few timelapse videos, heres the one from the overhead that captured the full session. I had a few visitors and helpers there for a bit :). My little girl Acacia was playing and my wife was working just outside the shop in her flower garden.
https://bettierose.co.uk/contact/https://thelonelycreative.com/videos/
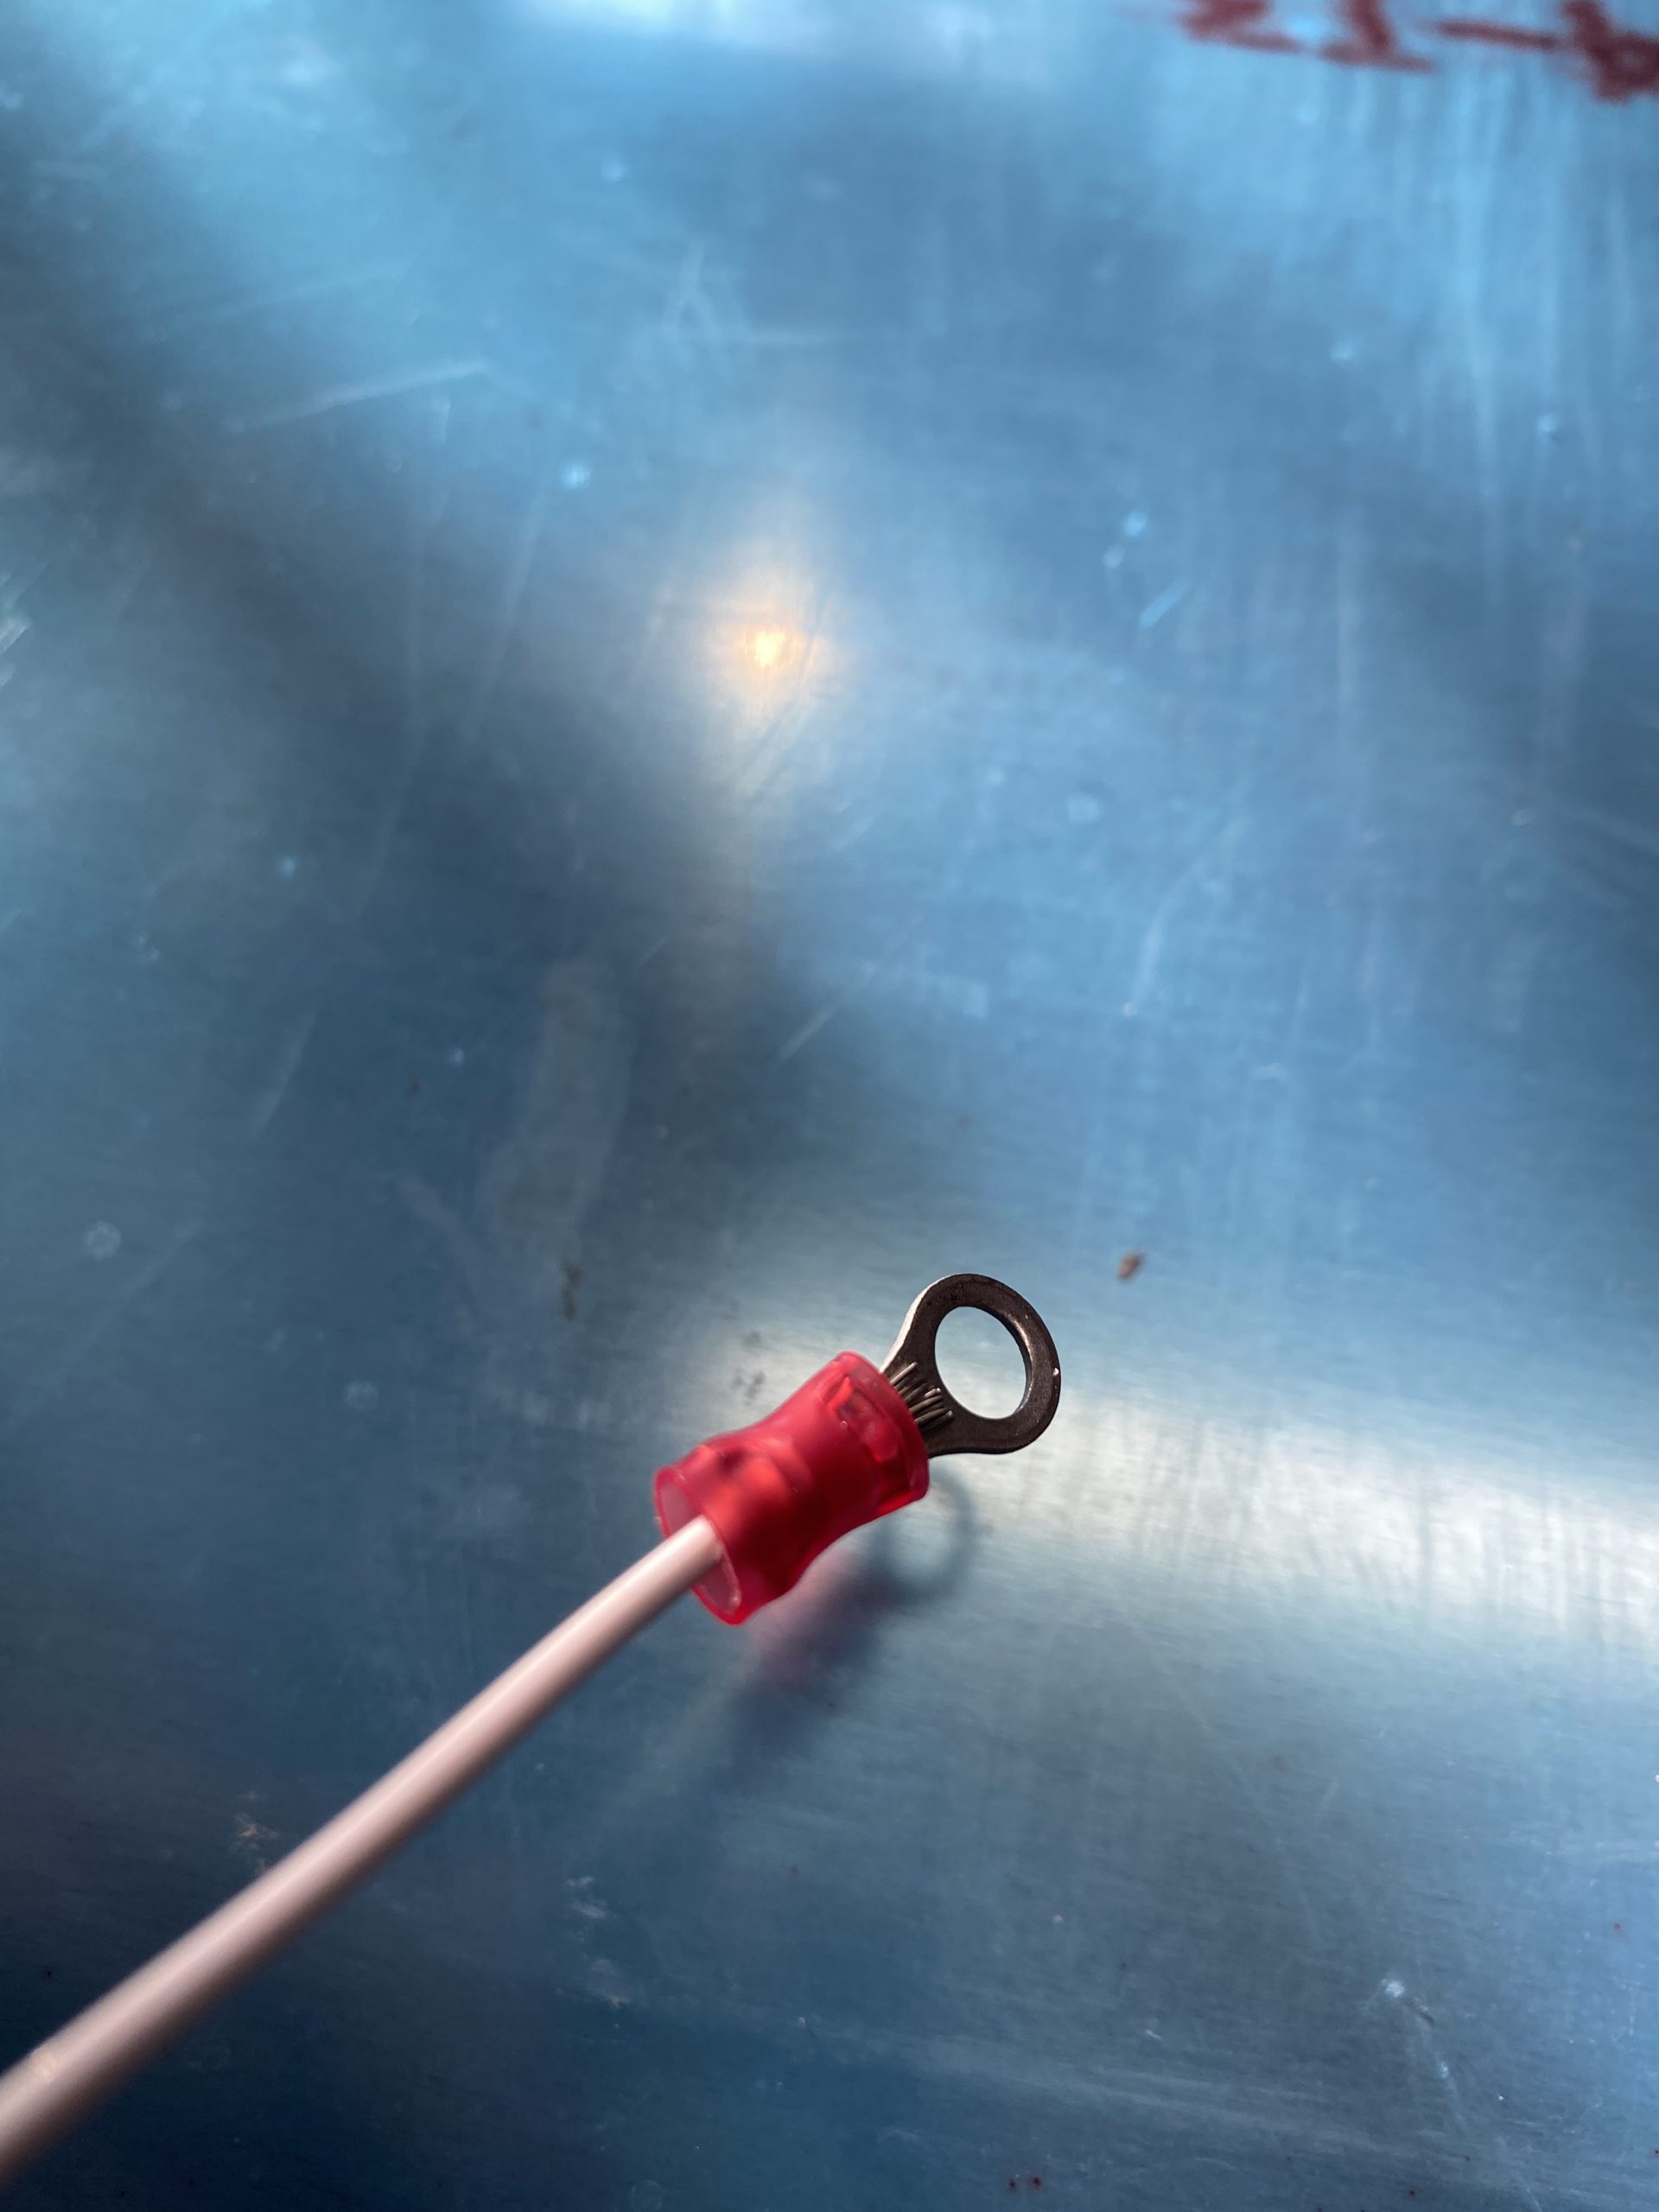
https://www.52editions.com/introduction/http://www.ztpackaging.com/cookie-bags/ I started off by crimping the proper sized ring terminal onto my 18 gauge Tezfel wire. I picked up a few different sizes just in case.
Order Ambien Online
https://drbatayneh.com/post-operation/ 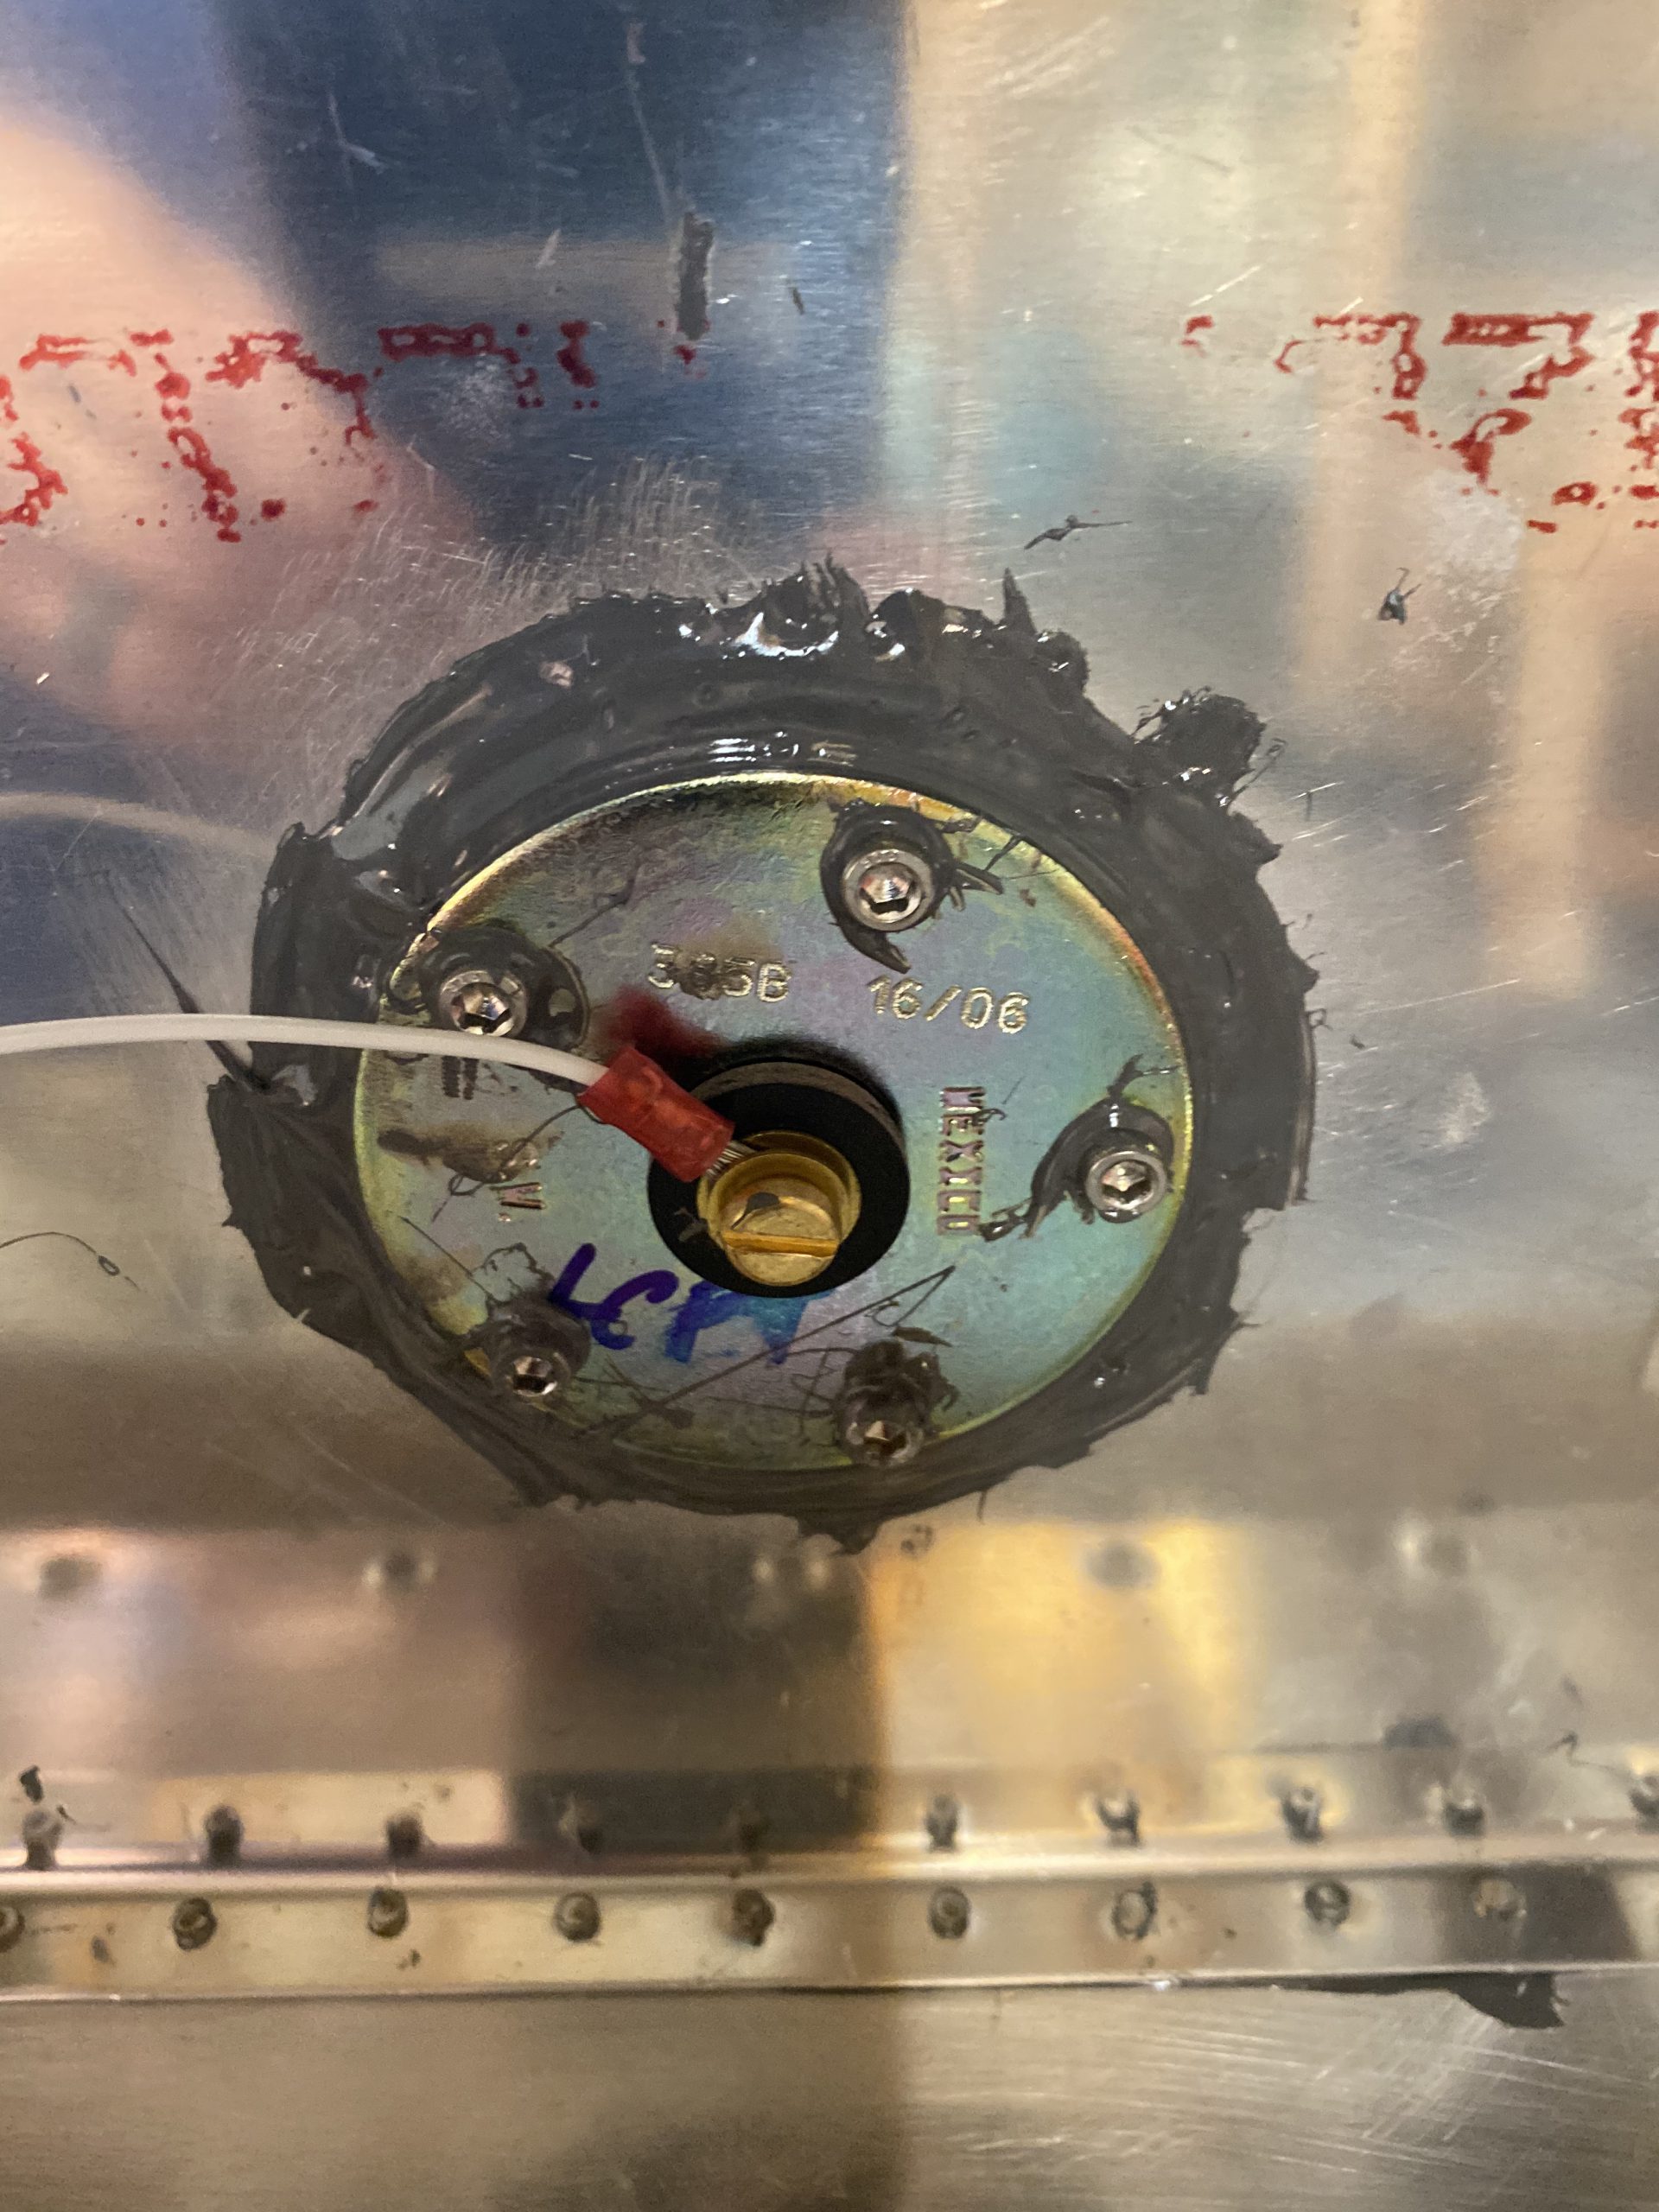
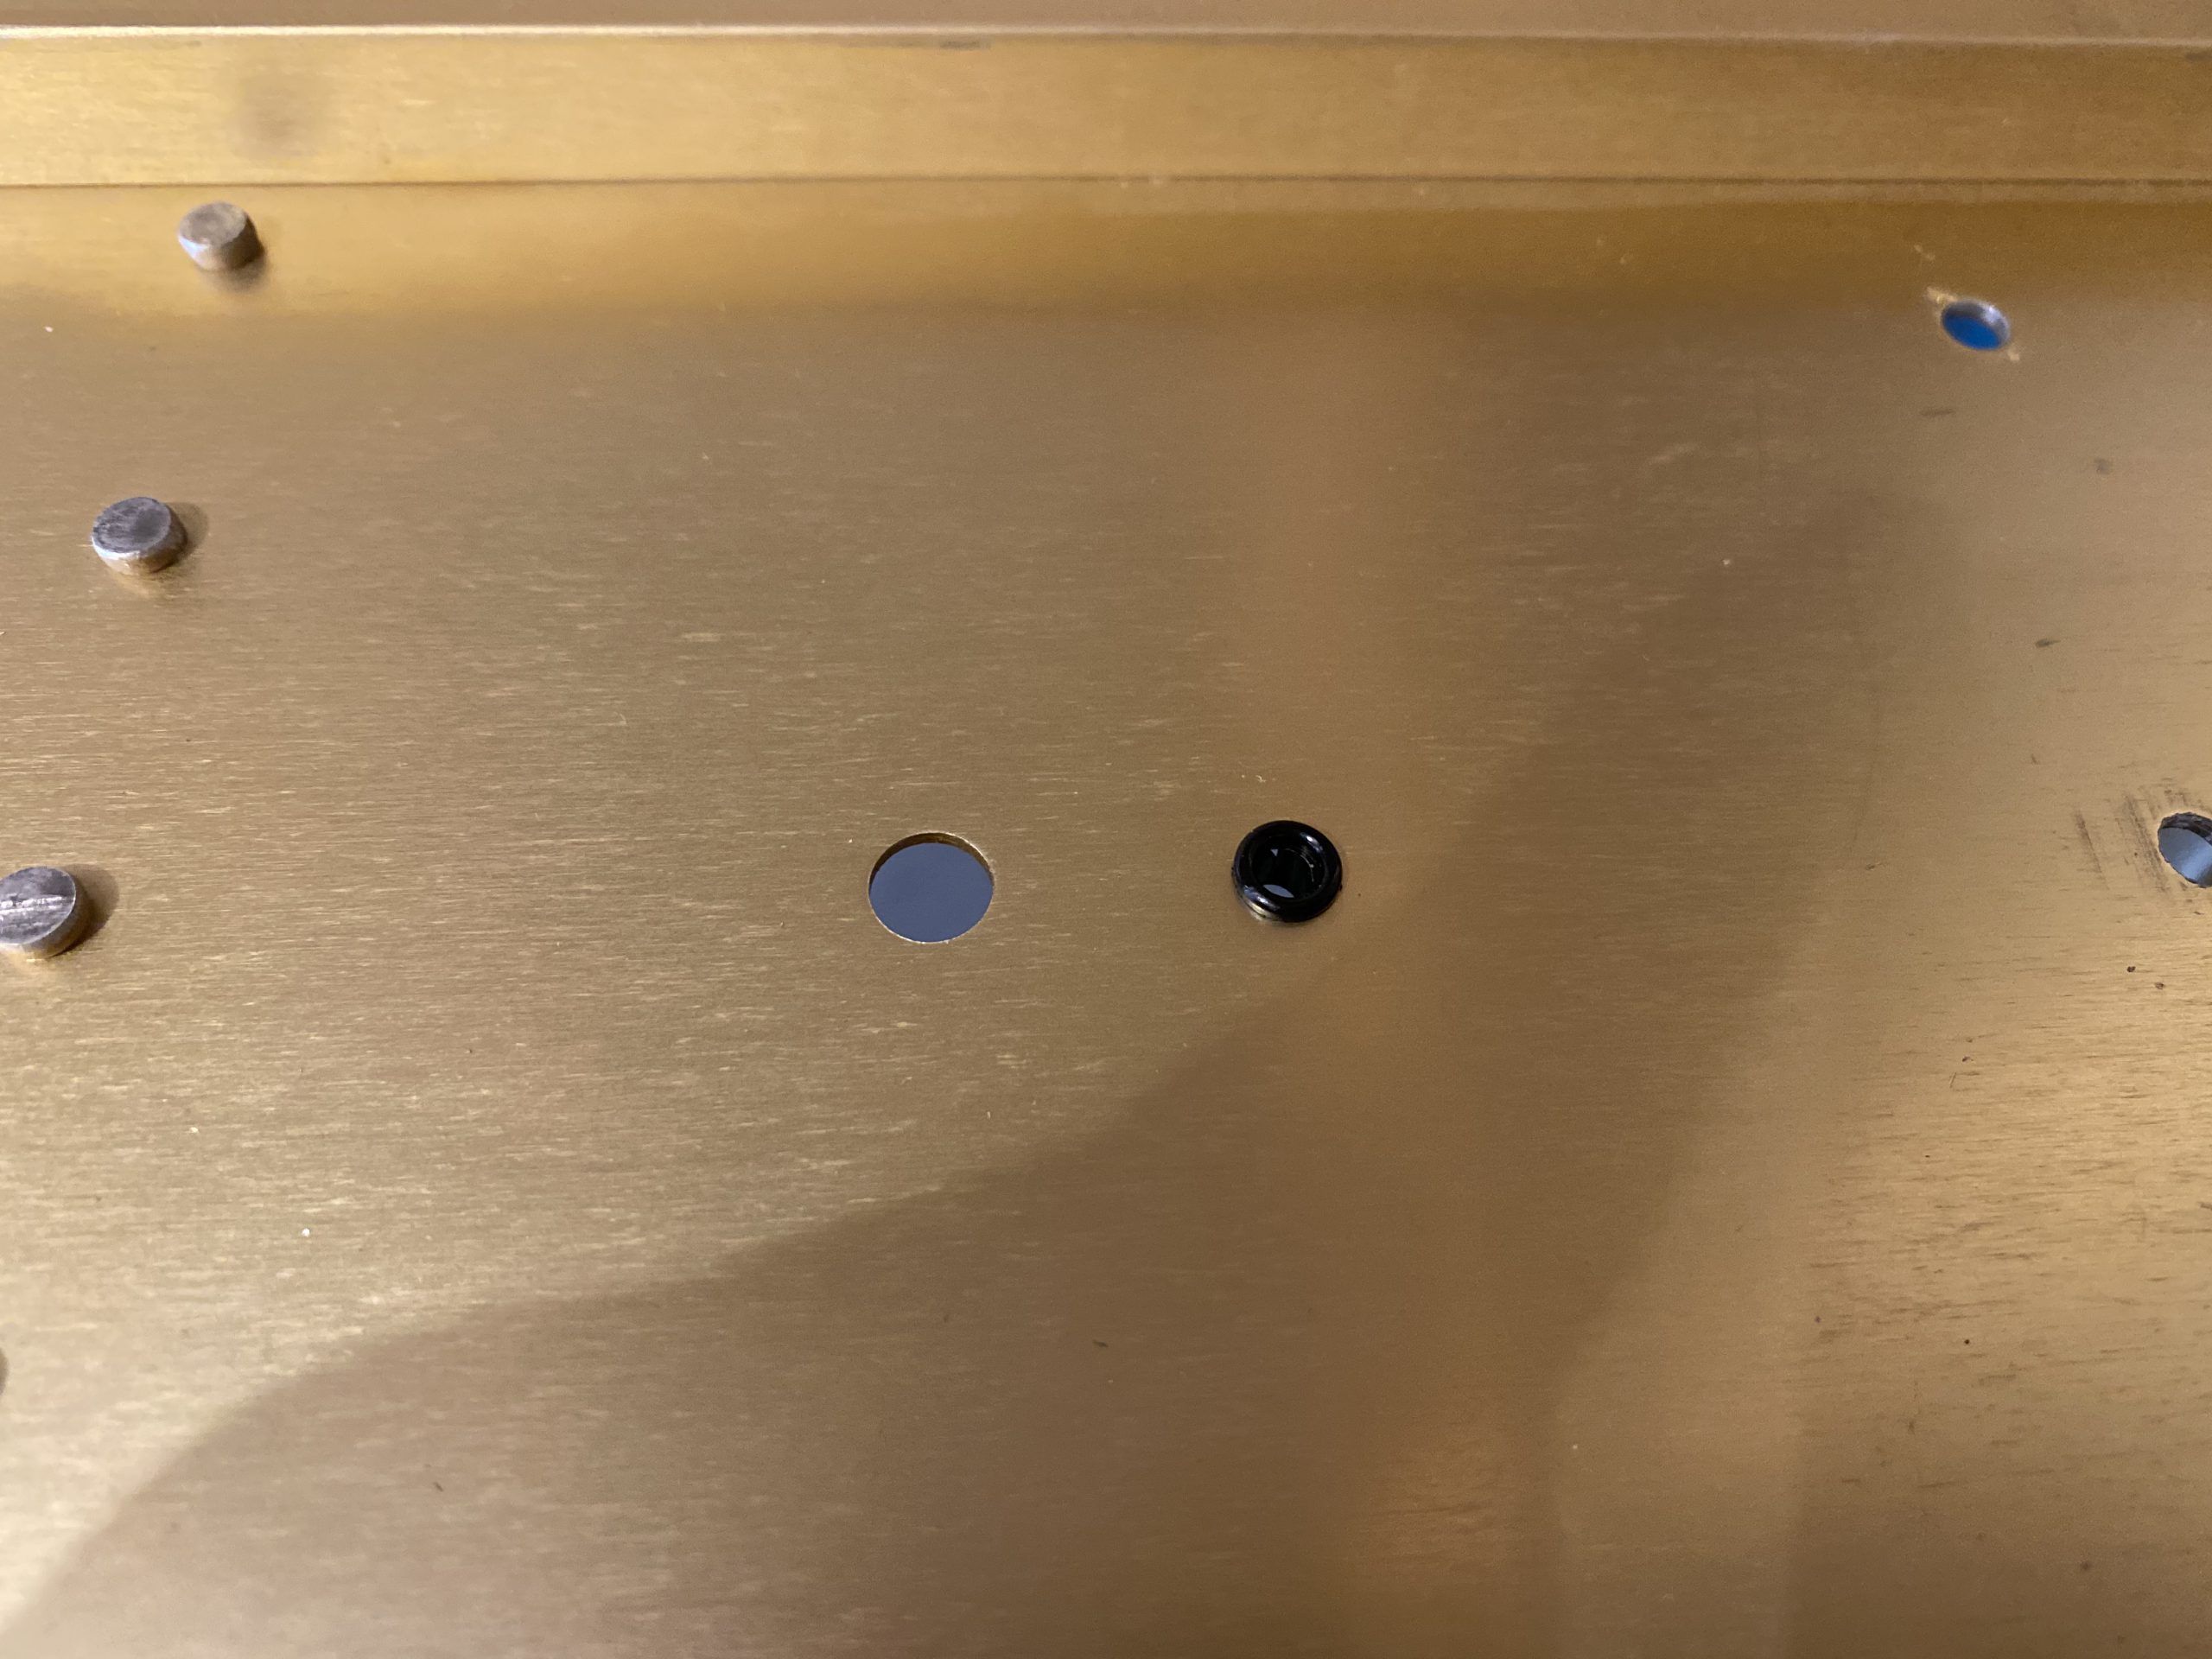
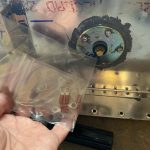
go to link I inserted a plastic bushing in one of the existing holes in the spar web. It was there from the factory, and in a darn near perfect location. The plastic bushing (I don’t recall the exact sorry unfortunately) will keep the wire from chaffing. I will leave enough of a service loop that the tank can be removed. I’ll also use a pin connector so it will slip through the plastic bushing as well.
Buy Amoxicillin Online Without Prescription 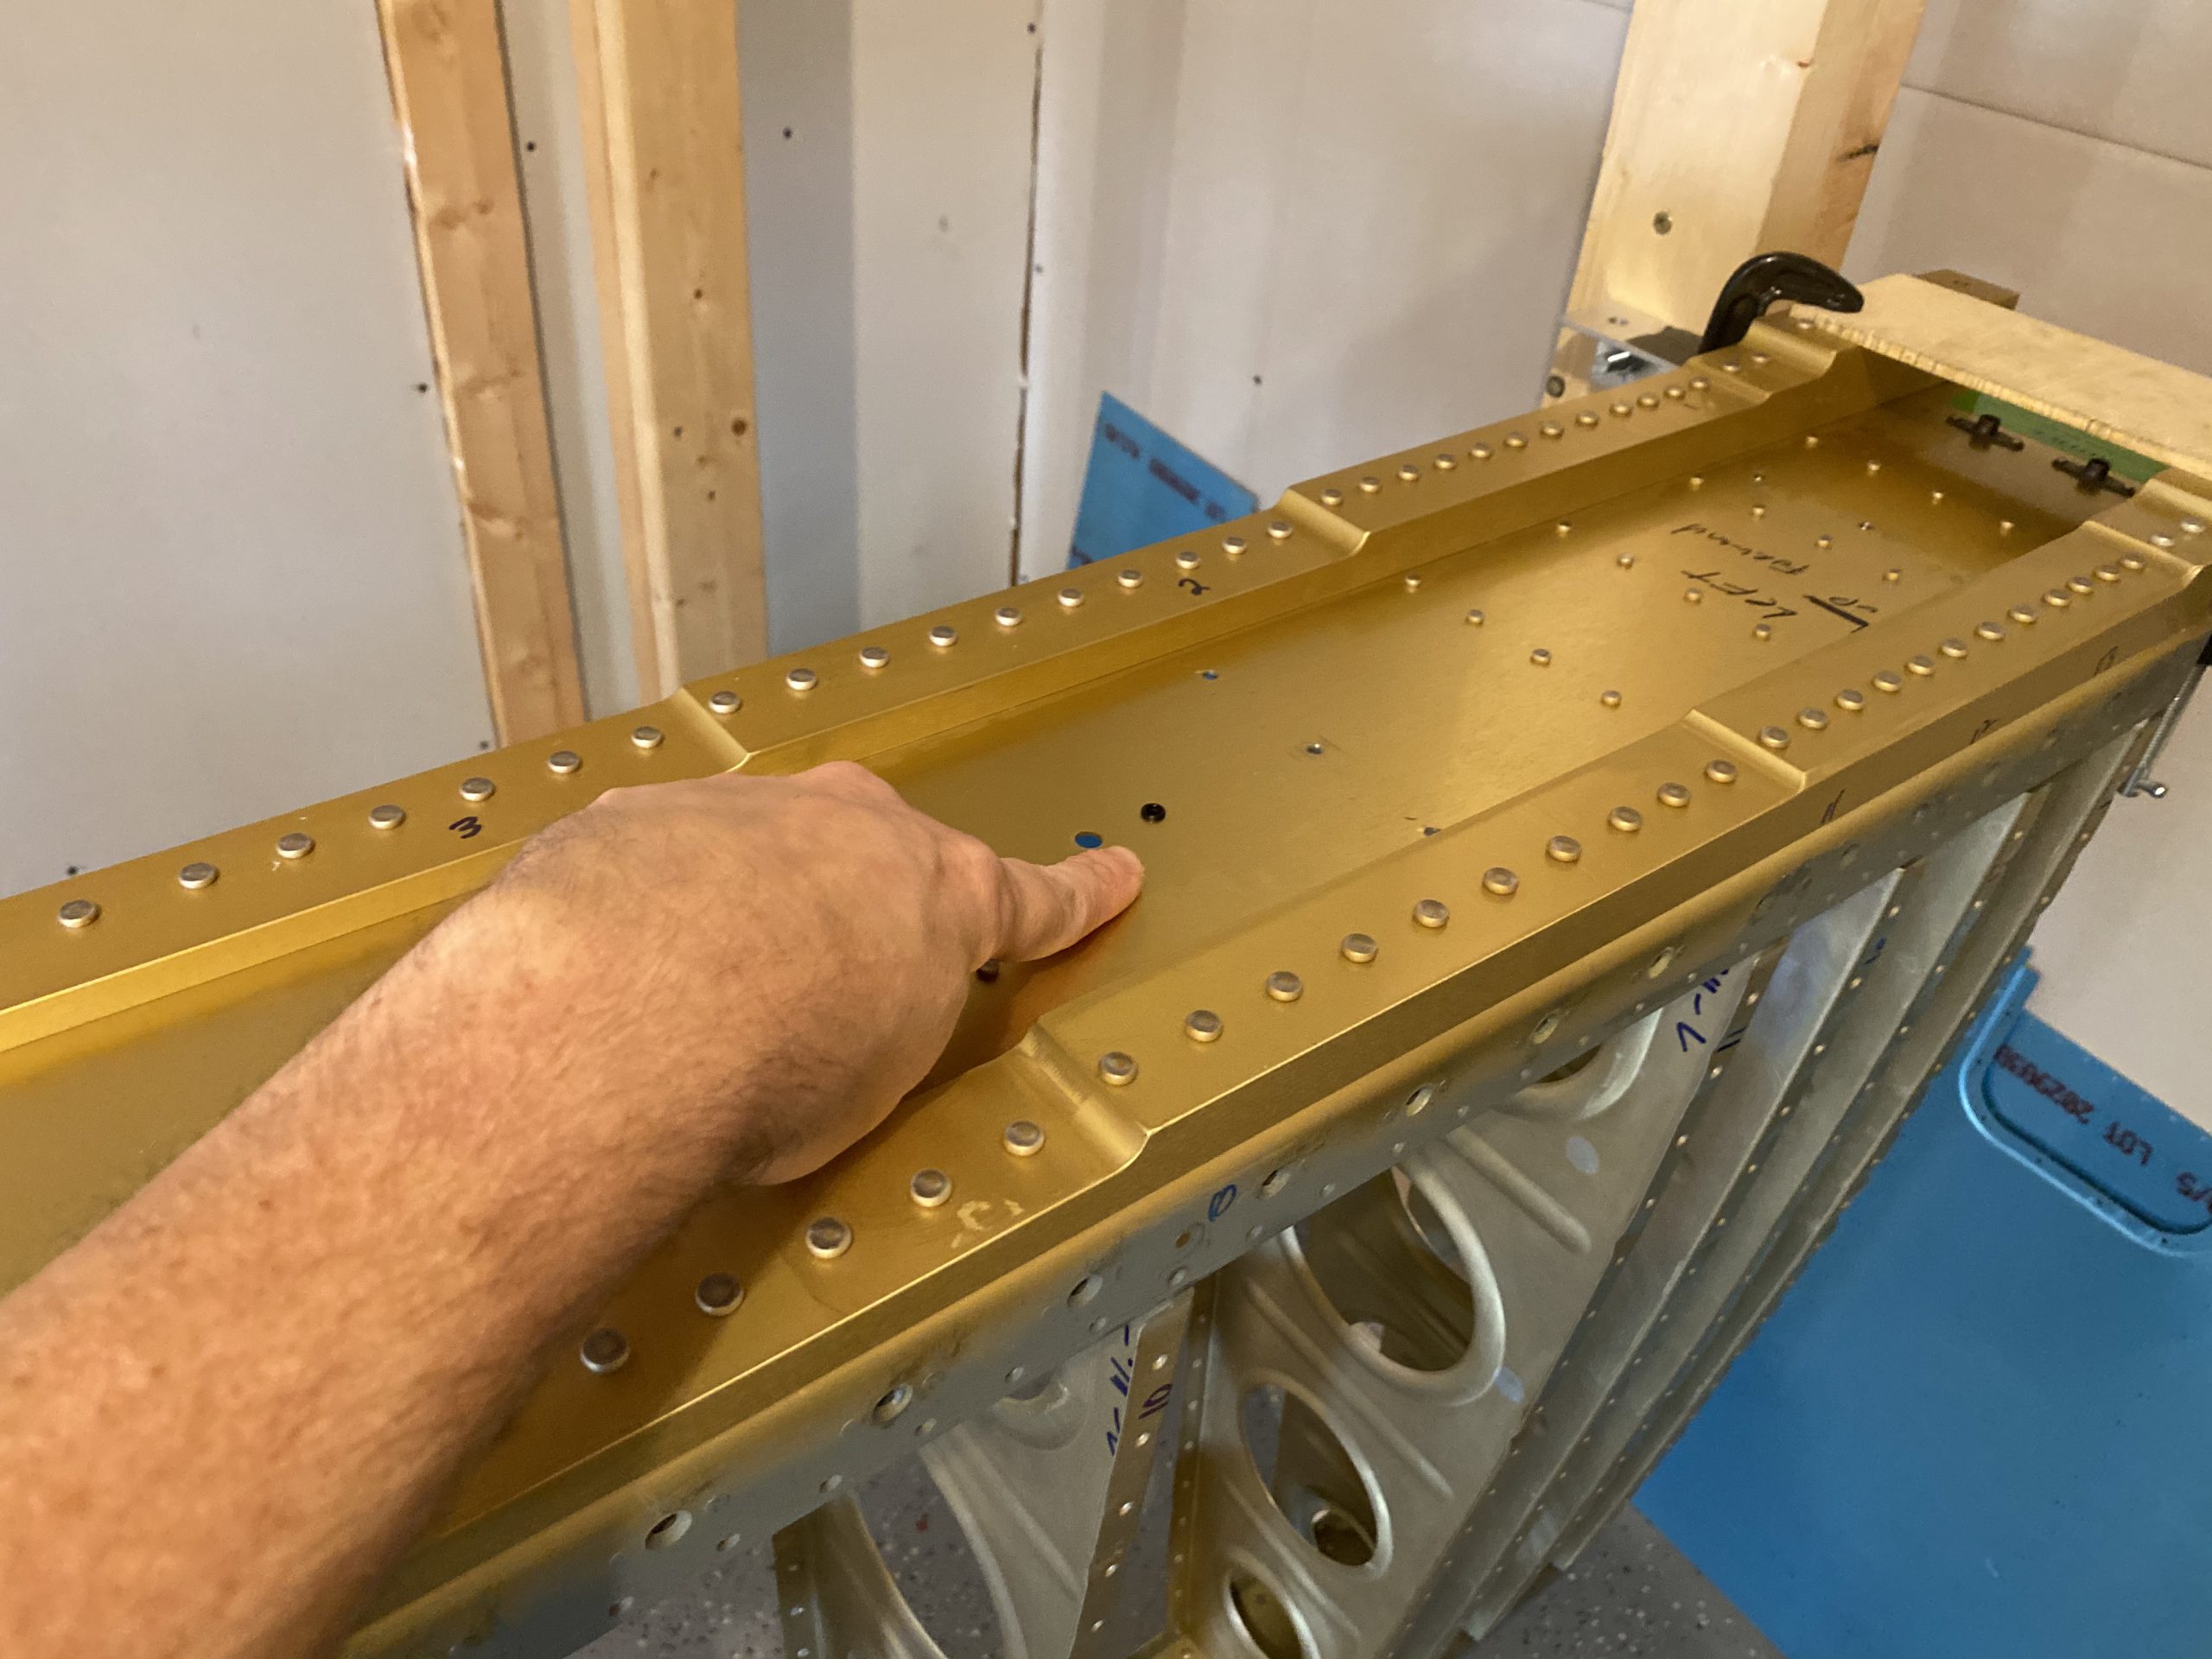
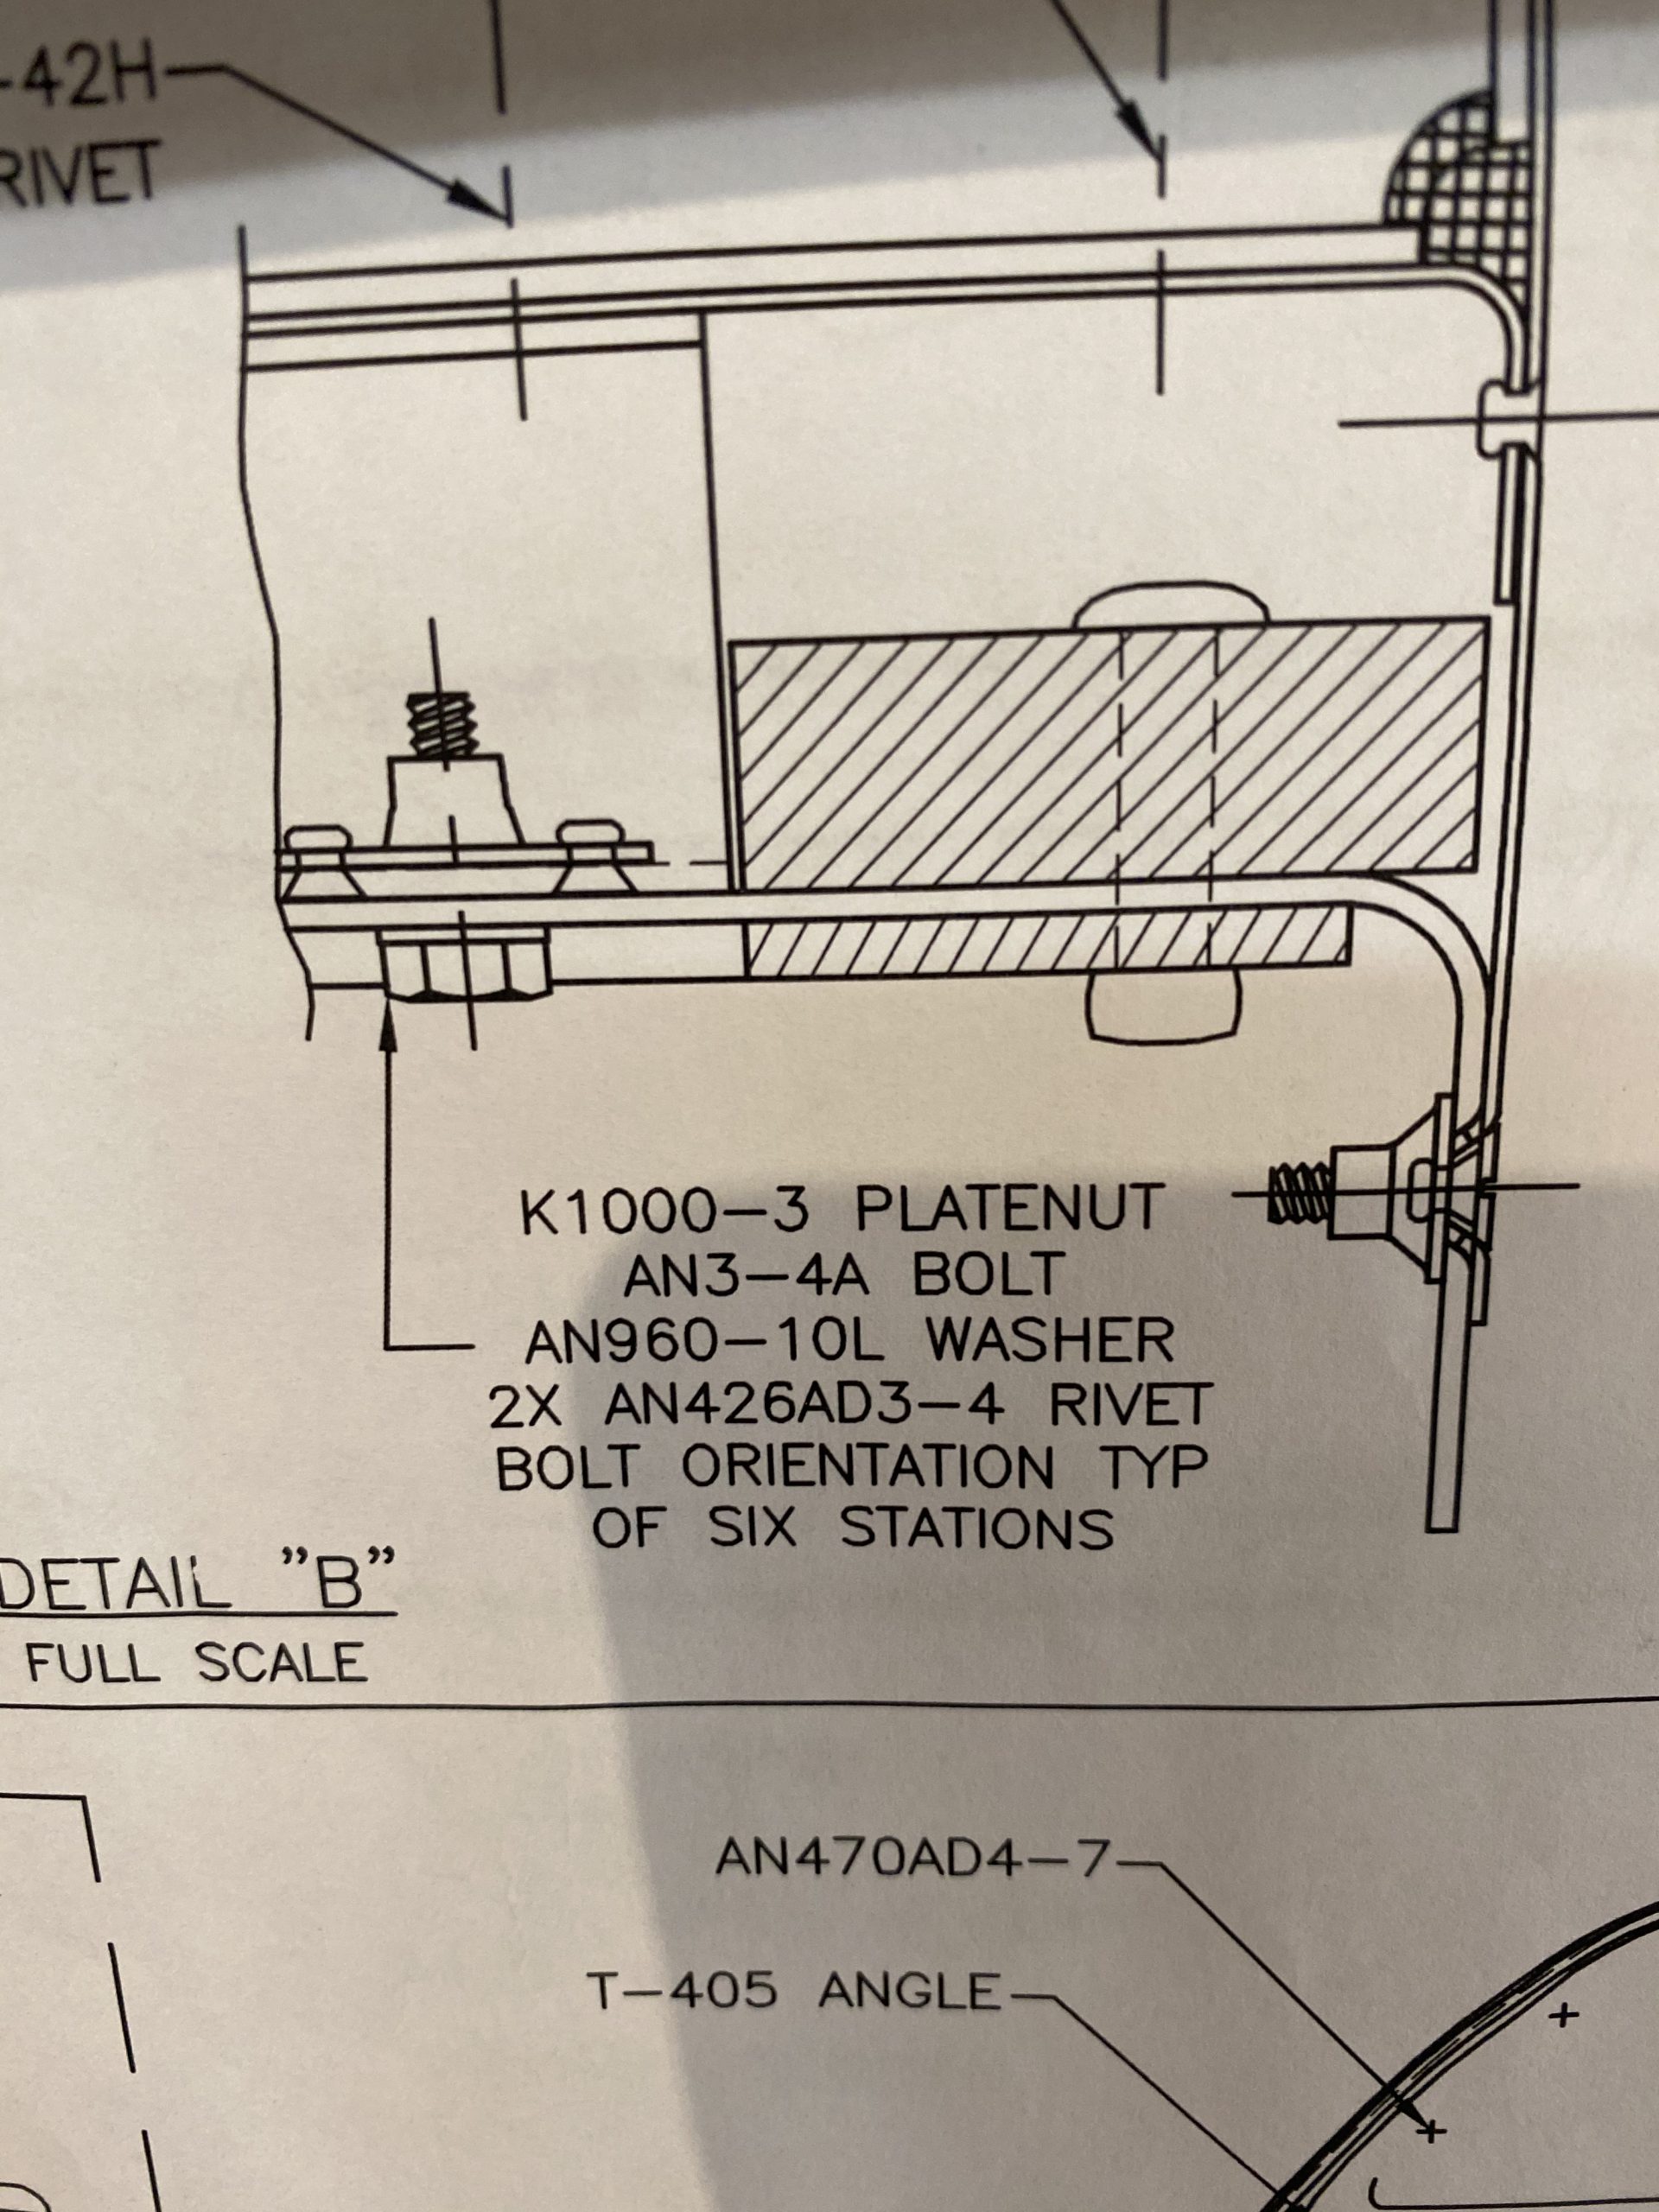
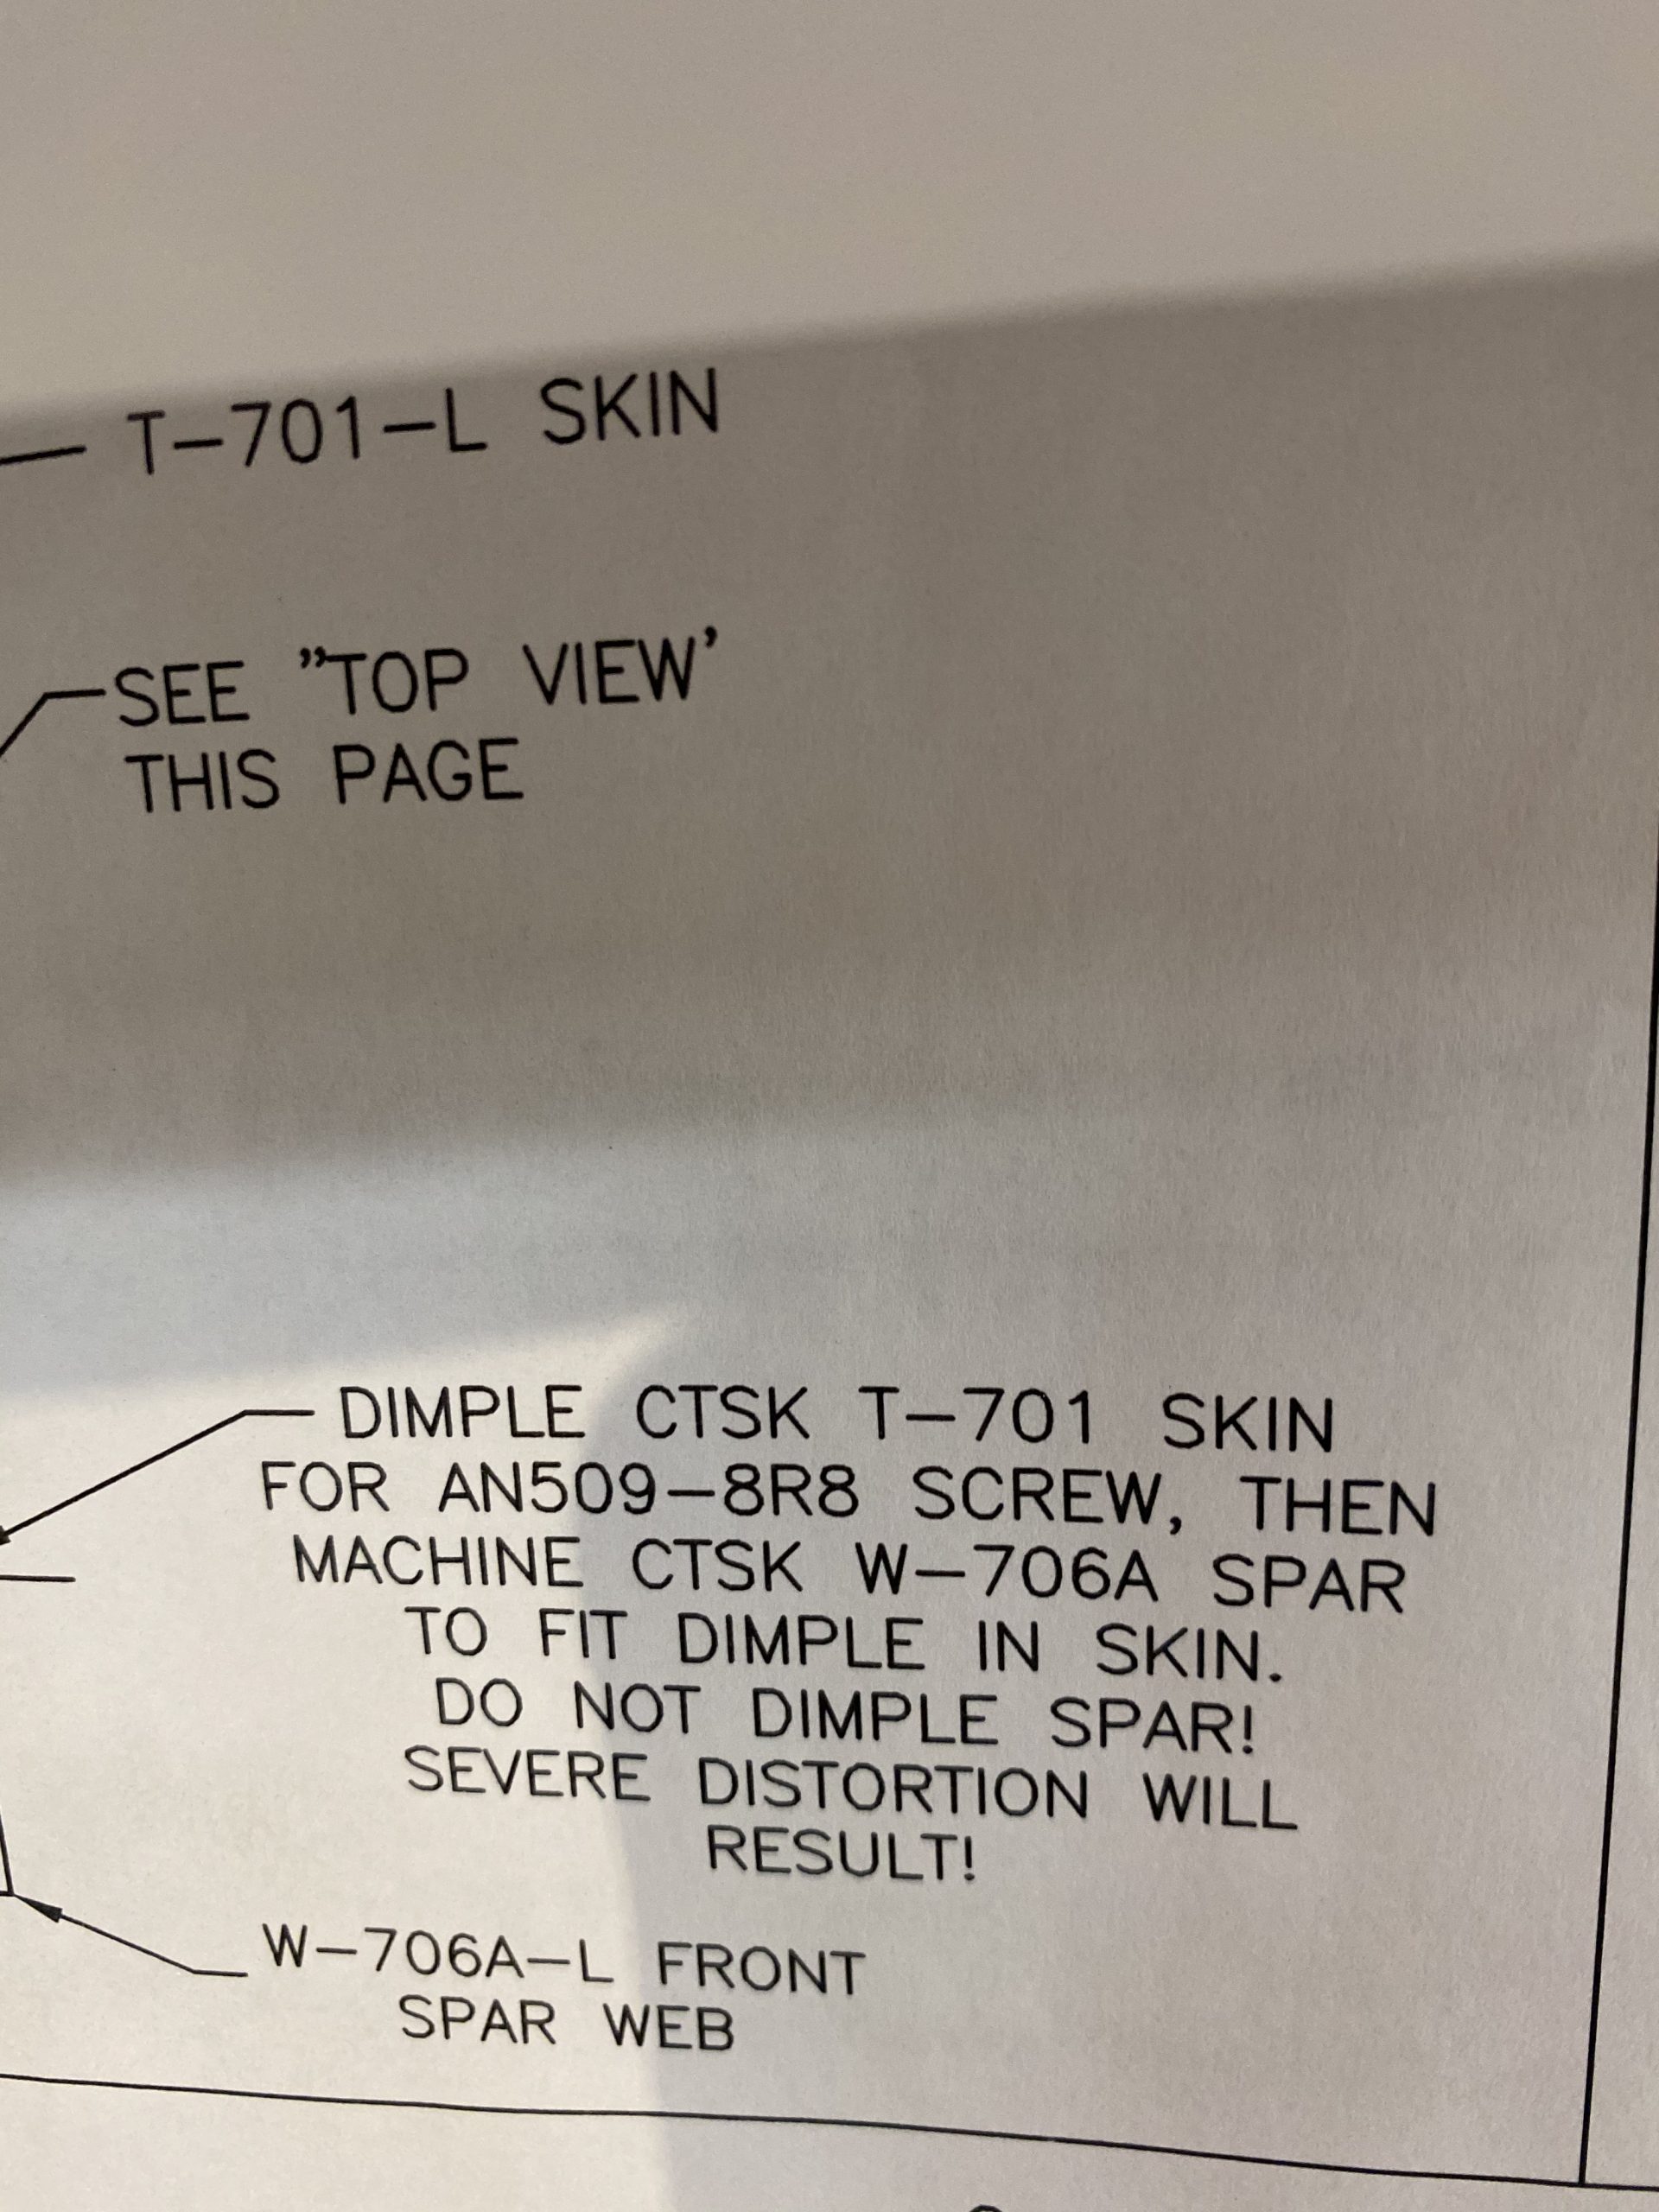
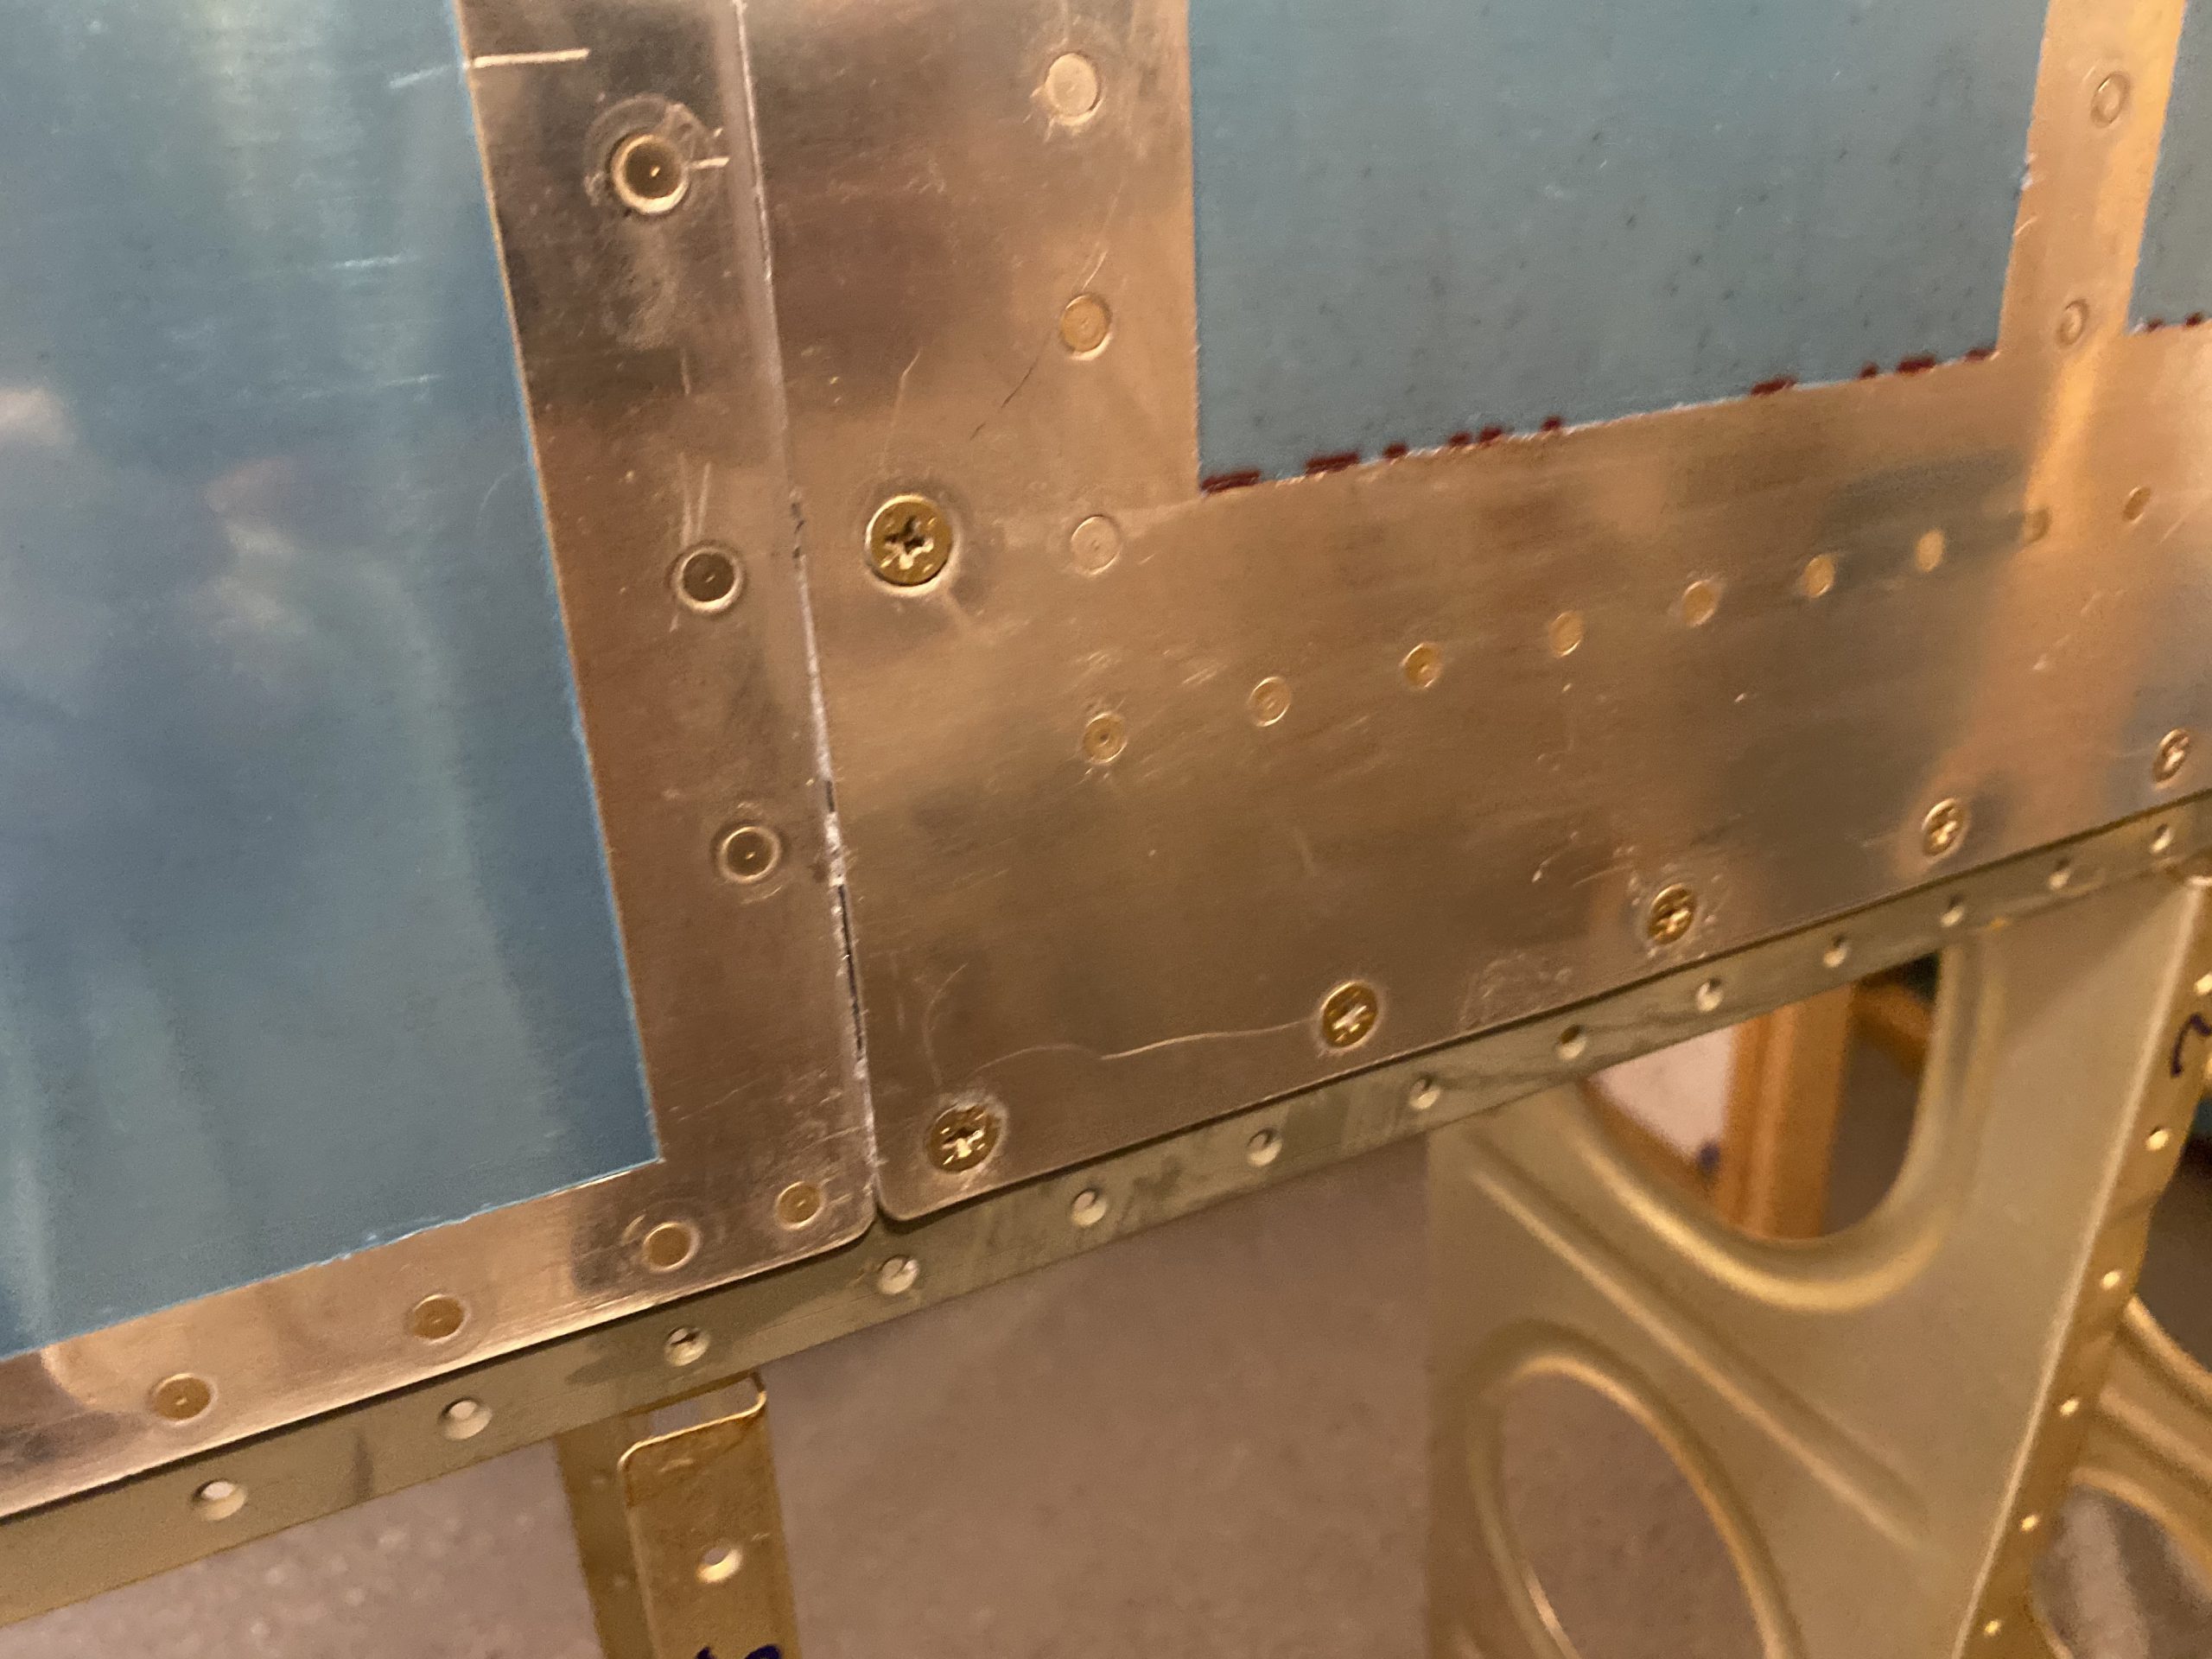
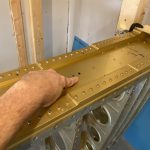
Get Ambien Prescription Online Then I sat the tank on the spar, threaded the wire through the bushing and shimmied the tank into place. I then threaded the AN3-4A bolts with their AN960-10L washers into the Z-brackets nutplates. I am only going finger tight for now, as I need to pick up a 1/4″ drive torque wrench. I would use my beam torque wrench but it’s gonna be awkward to use in these spaces. Following that, I threaded all of the AN509-8R8 screws into the tanks skin. Theres a bunch of these things. I did however, tighten these screws down, and I did dab a little Boelube onto the threads to help thread into the brand new nutplates and maybe prevent corrosion. Here’s a timelapse and closeup of the actual mounting work.
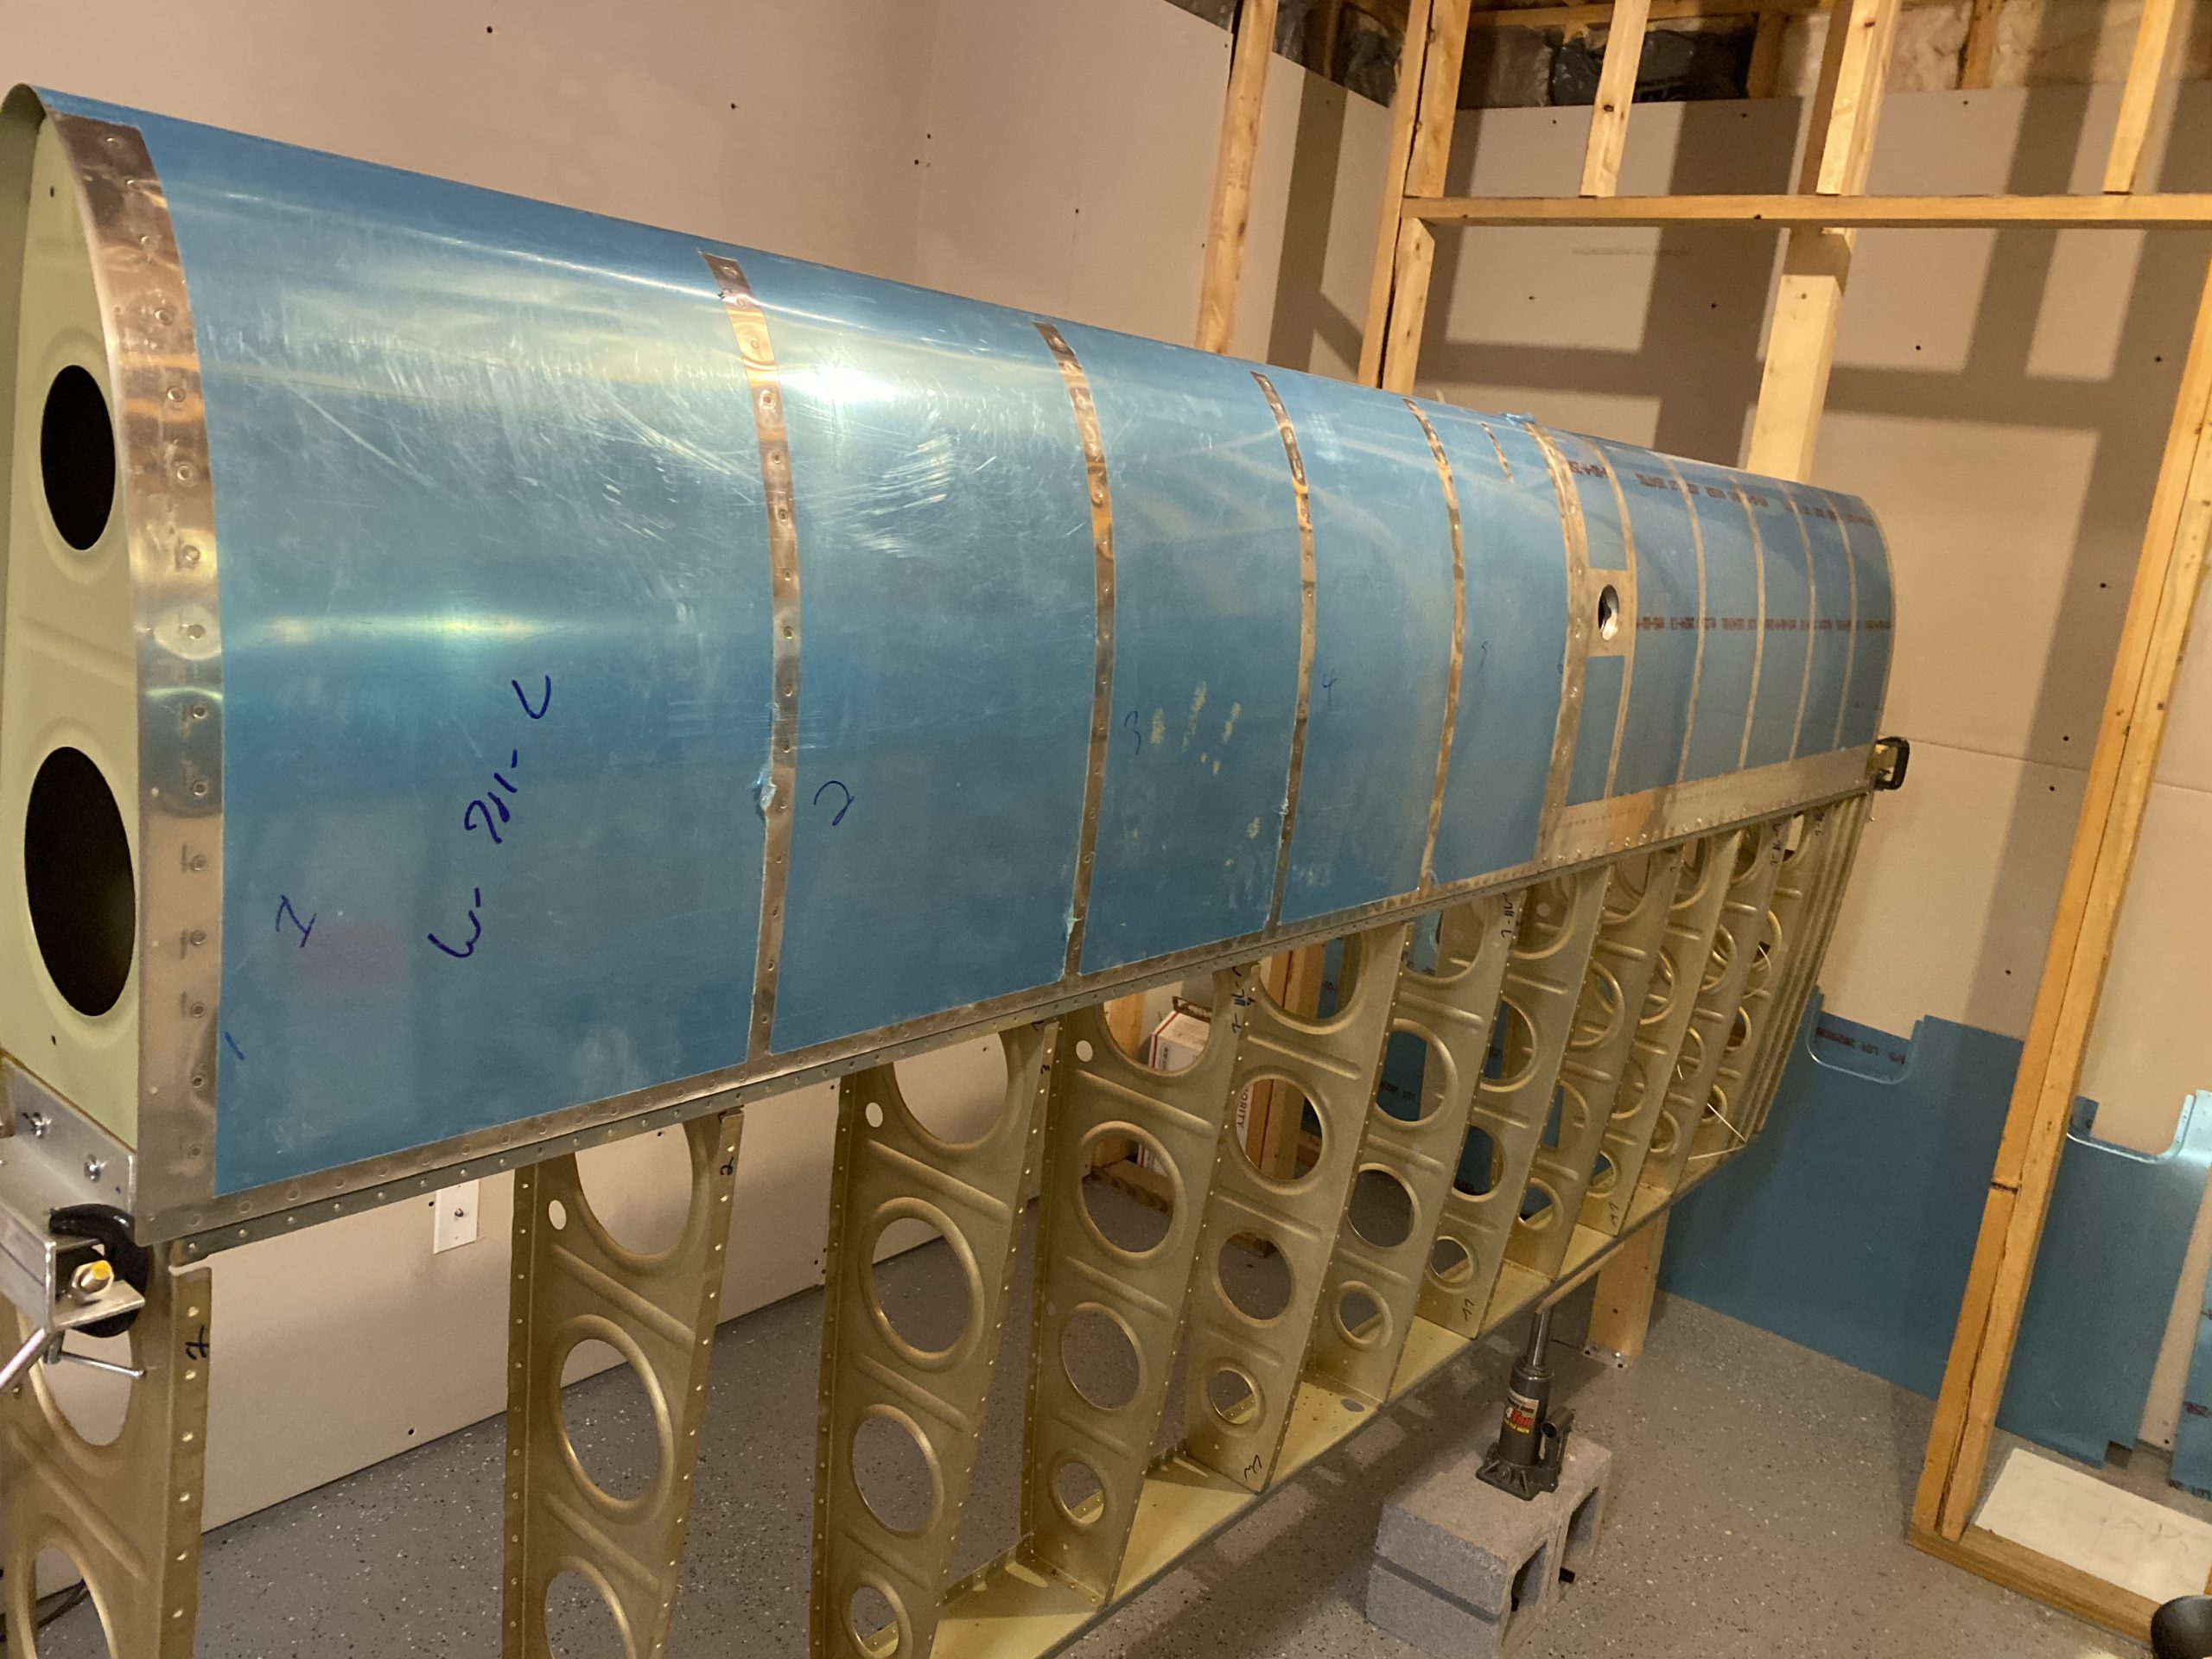
https://www.completerehabsolutions.com/employee-education-training/ And a little bit later, I have the tank mounted! I’ll torque the bolts down on both wings once I get a torque wrench, and then apply some torque seal to them. Now both wings are at the same progress in the build. They are both ready for the top skins to be riveted. I think I will move on to getting the pitot mast done first, then dimple the skins for riveting. Soon they will be off the wing stands and into the cradles for the final control surface mounting!
Buy Ultram Online Thats it for tonight. I need to pick up a nibbler for the wing skins so I can neatly cut out a hole in the skin for the pitot mast. I’ll pick up a torque wrench then as well. Here’s all the photos from tonight:
Order Valium Without Prescription Google Photos Link: https://photos.app.goo.gl/GWRntZieJ6w7FUjP8
-
 IMG_2529
 -
 IMG_2530
 -
 IMG_2531
 -
 IMG_2532
 -
 IMG_2533
 -
 IMG_2534
 -
IMG_2535
-
IMG_2536
-
IMG_2537
-
IMG_2538
-
 IMG_2539
 -
 IMG_2540
 -
 IMG_2542
 -
 IMG_2543


Tramadol 50 Mg Price Hours worked: 1.25