https://timlarison.com/holy-shift-book-review/ Another good session today! I managed to get the right wing to the same point as the left wing, its skin dimpled and clecoed in place, waiting on riveting. Here is the overhead timelapse of the work:
https://tuf-top.com/msds_paver_335/ And here’s the “mobile” camera view thats a little closer up:
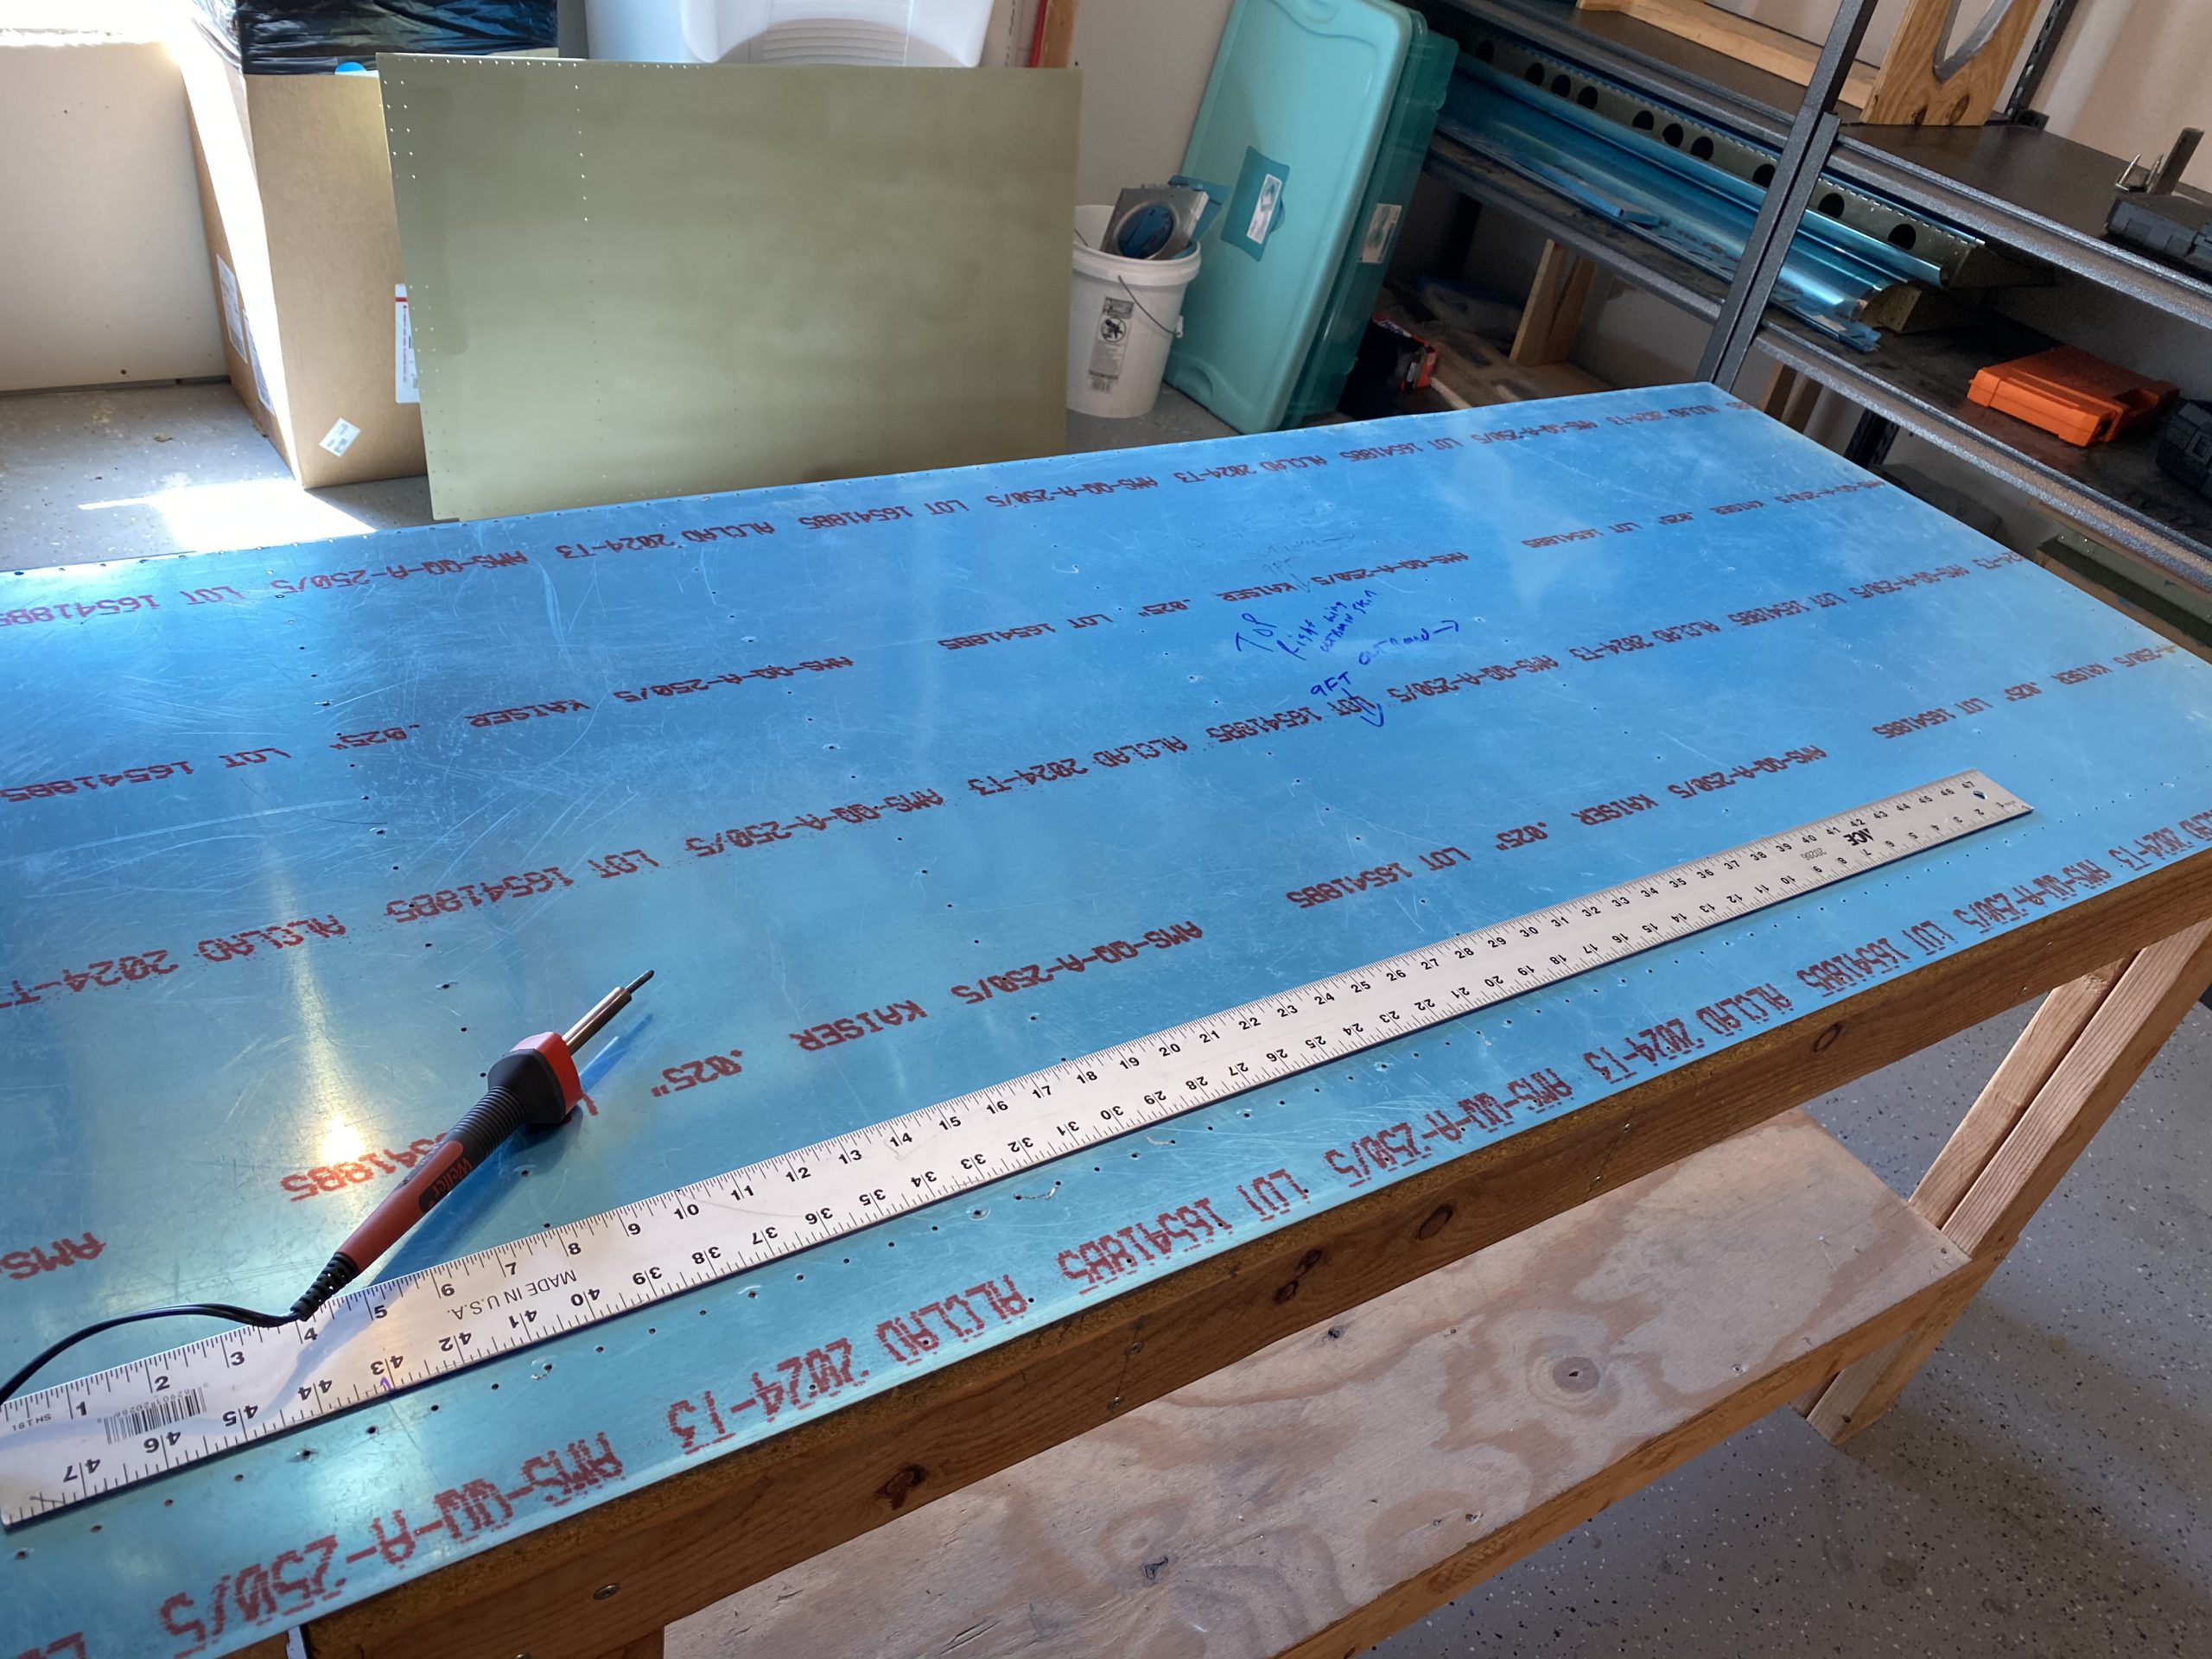
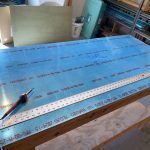
source site I pulled the right wing top skins from the paint booth, and got to work removing the blue plastic from the rivet lines on the outside of the skins. I used the dull soldering iron and straight edge trick for this on both skins.
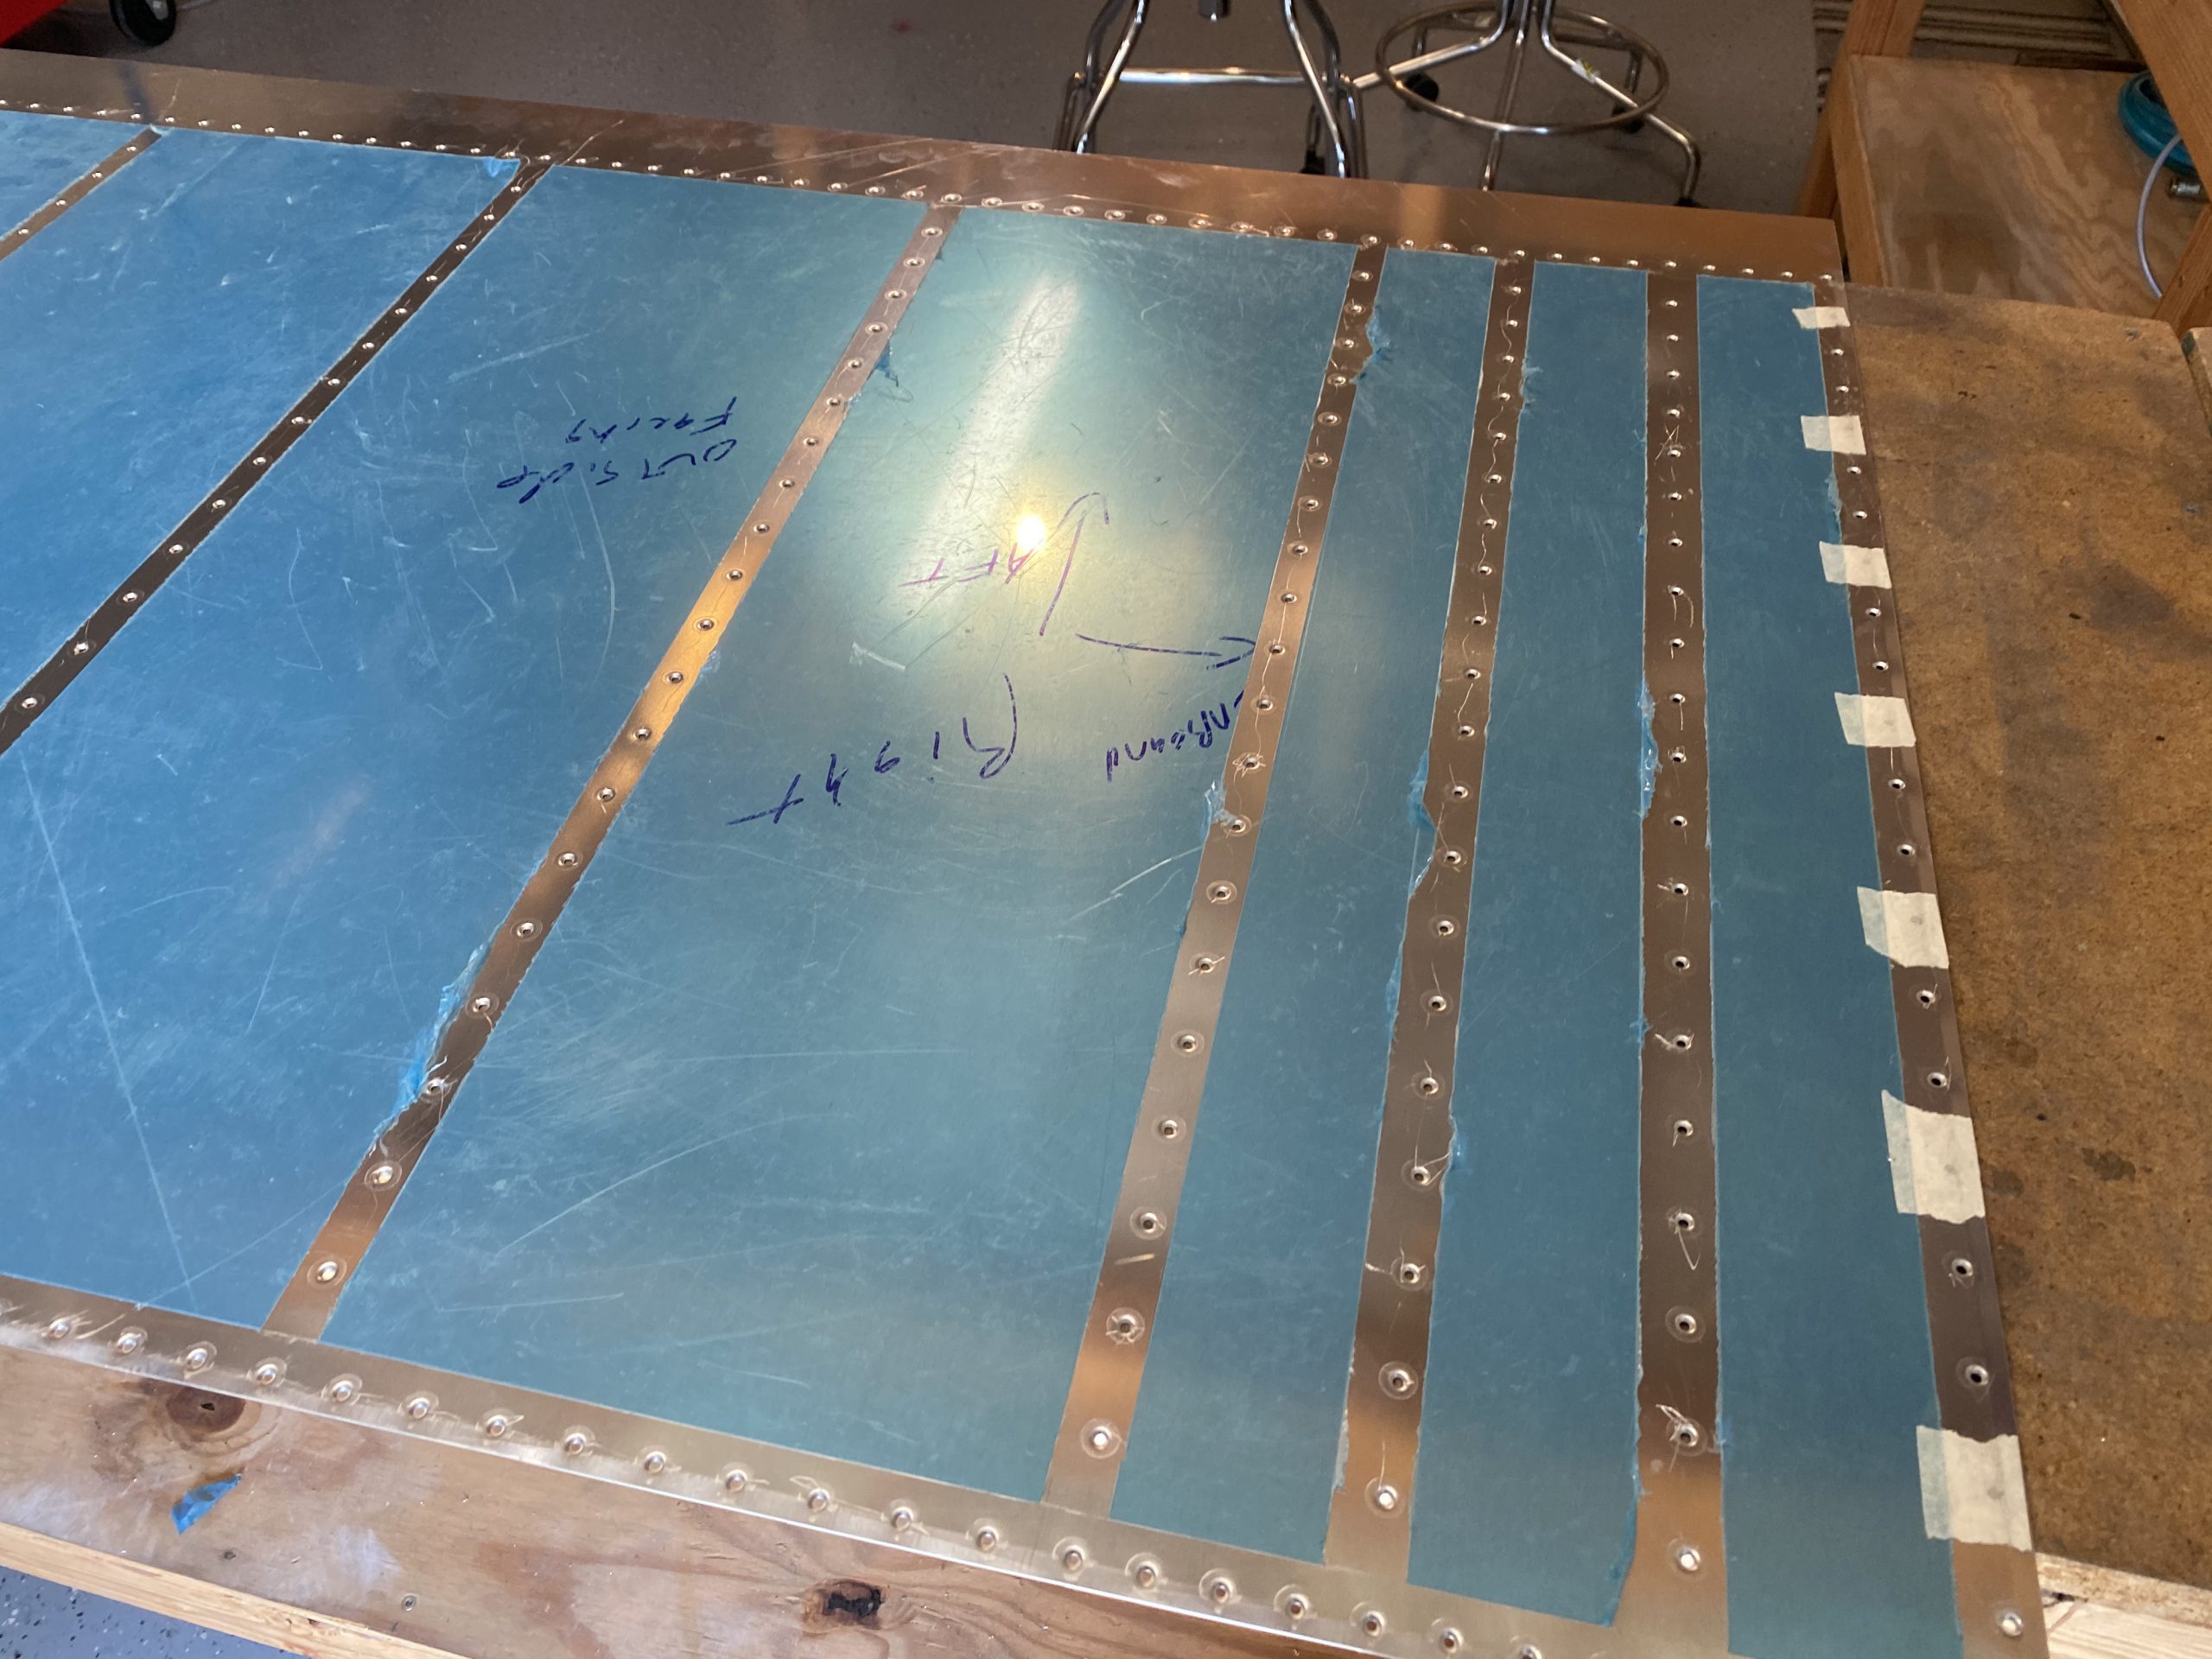
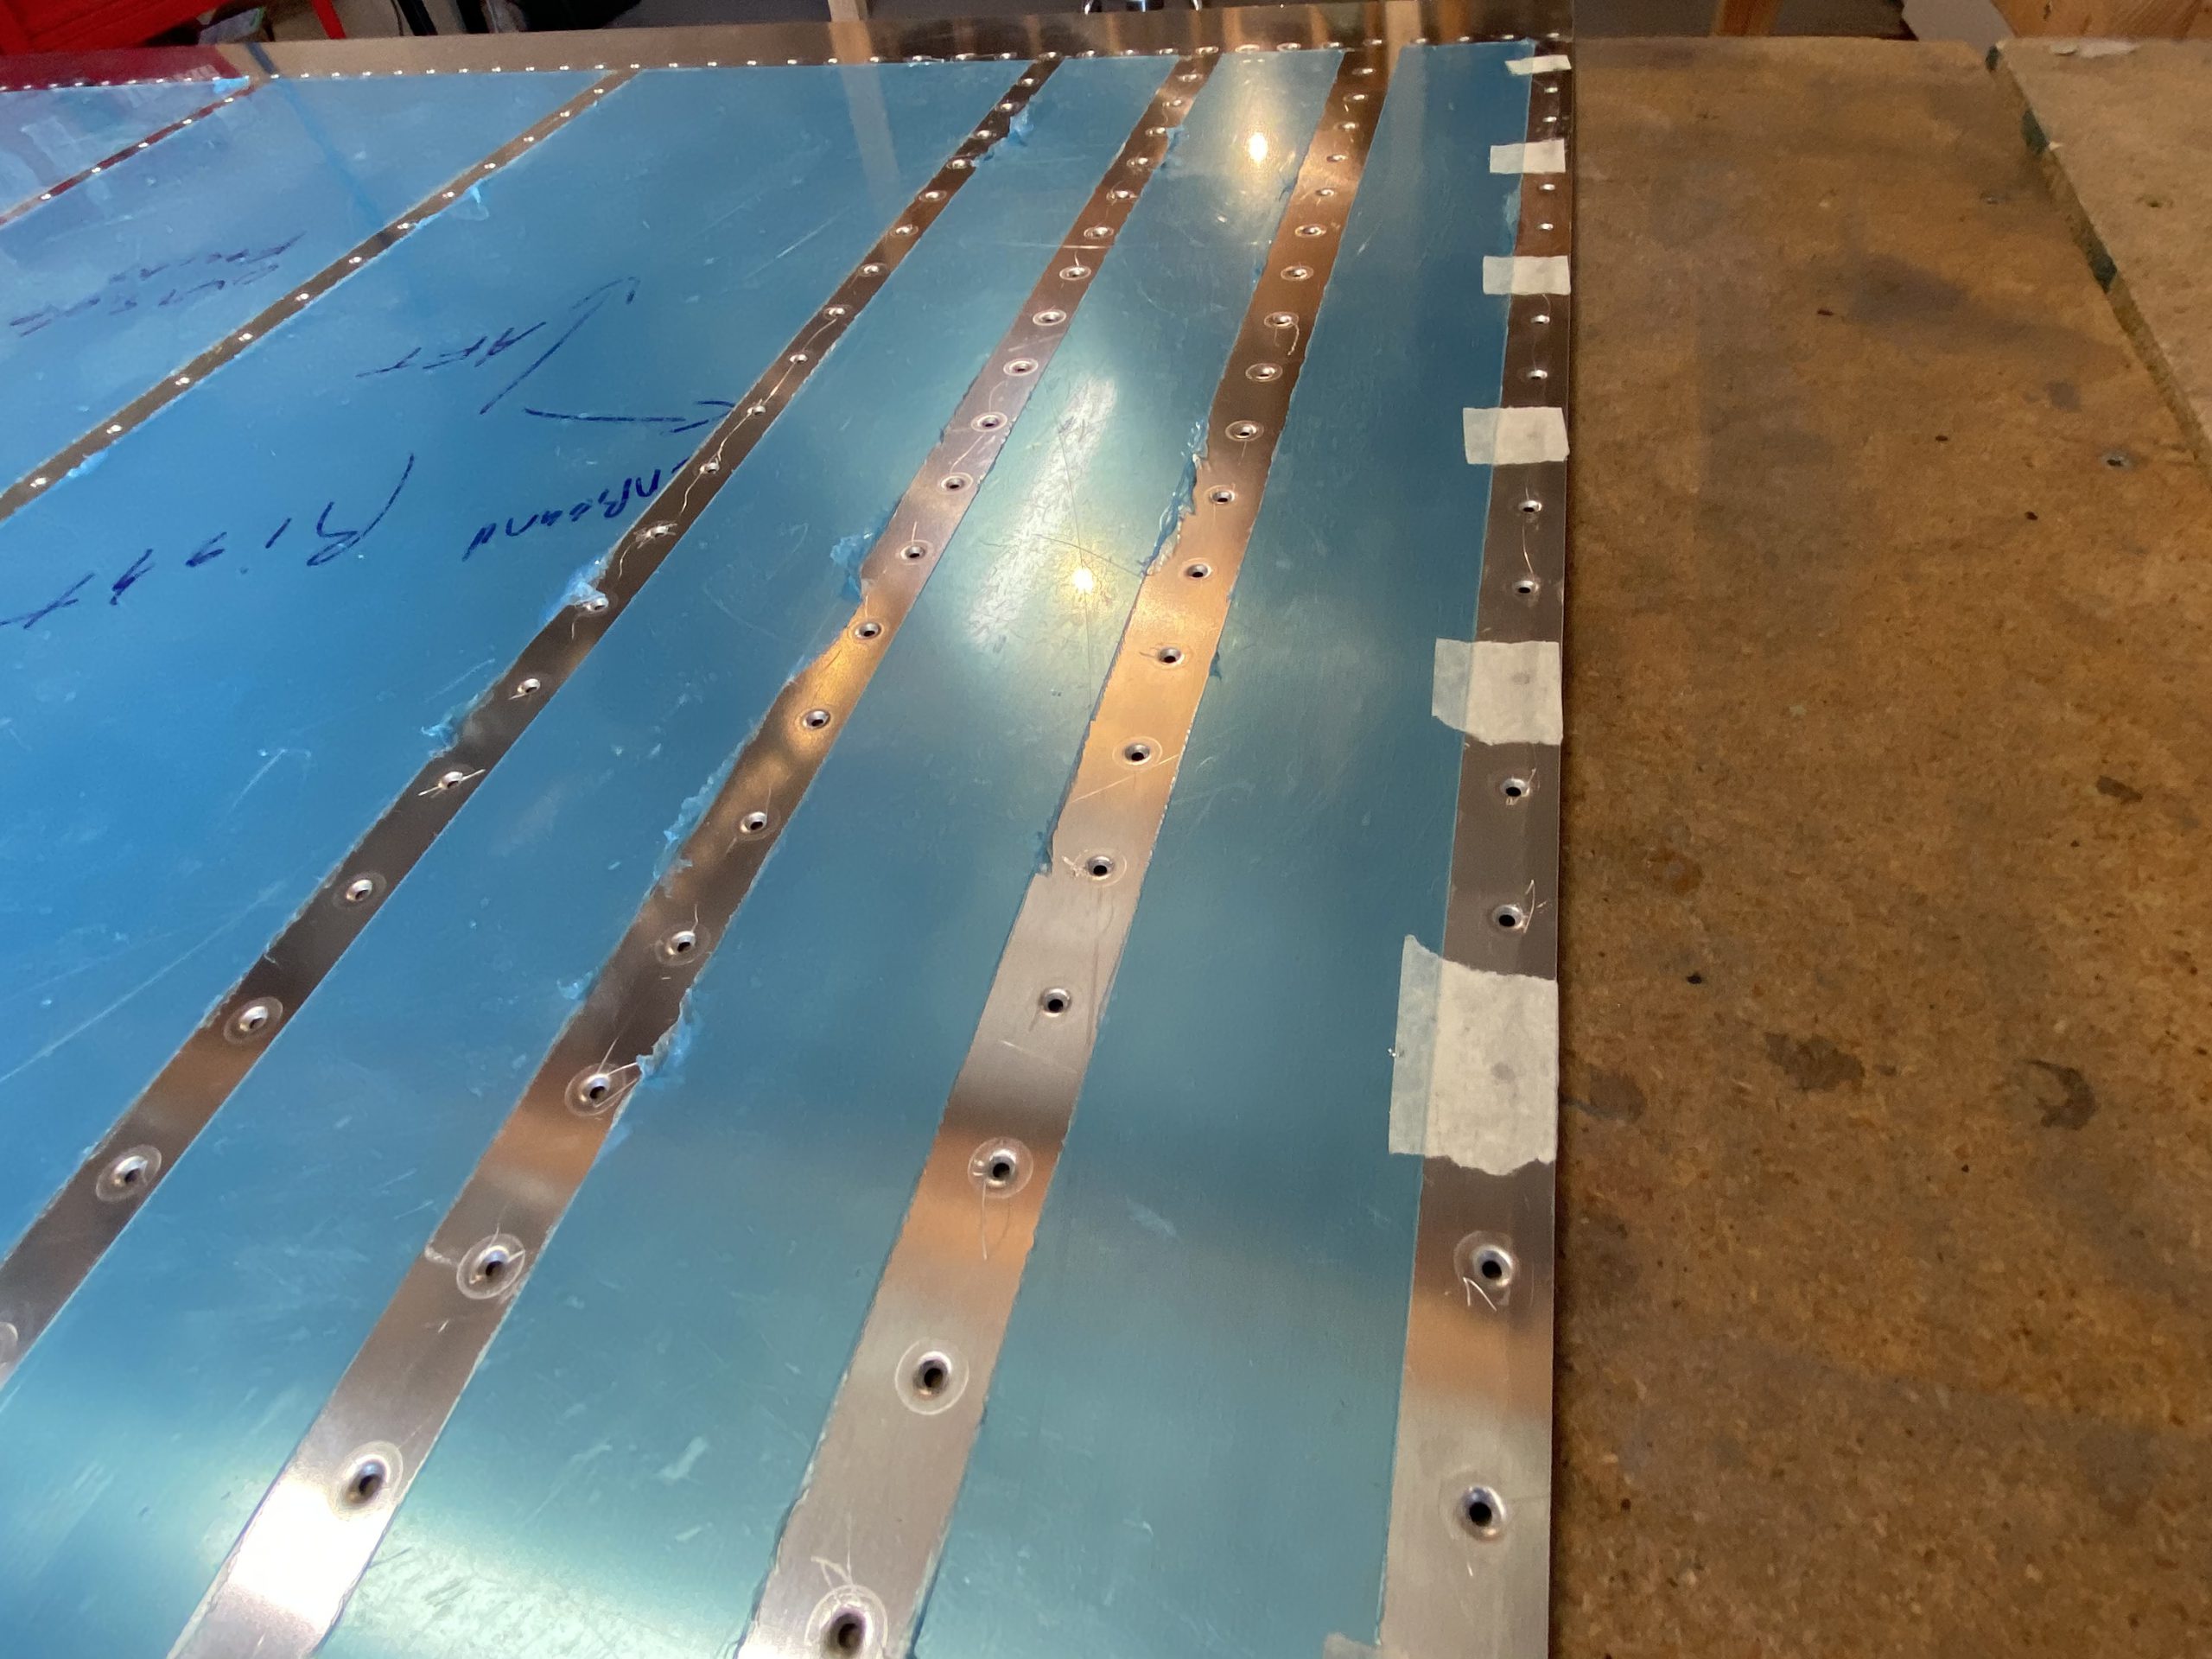
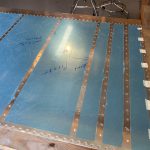
follow link After that, I setup the DRDT-2 for a dimpling session on these skins, and masked off the holes that wont be getting dimpled per the plans. After a decent round of work, both the right wing top skins were dimpled and ready to get clecoed onto the skeleton.
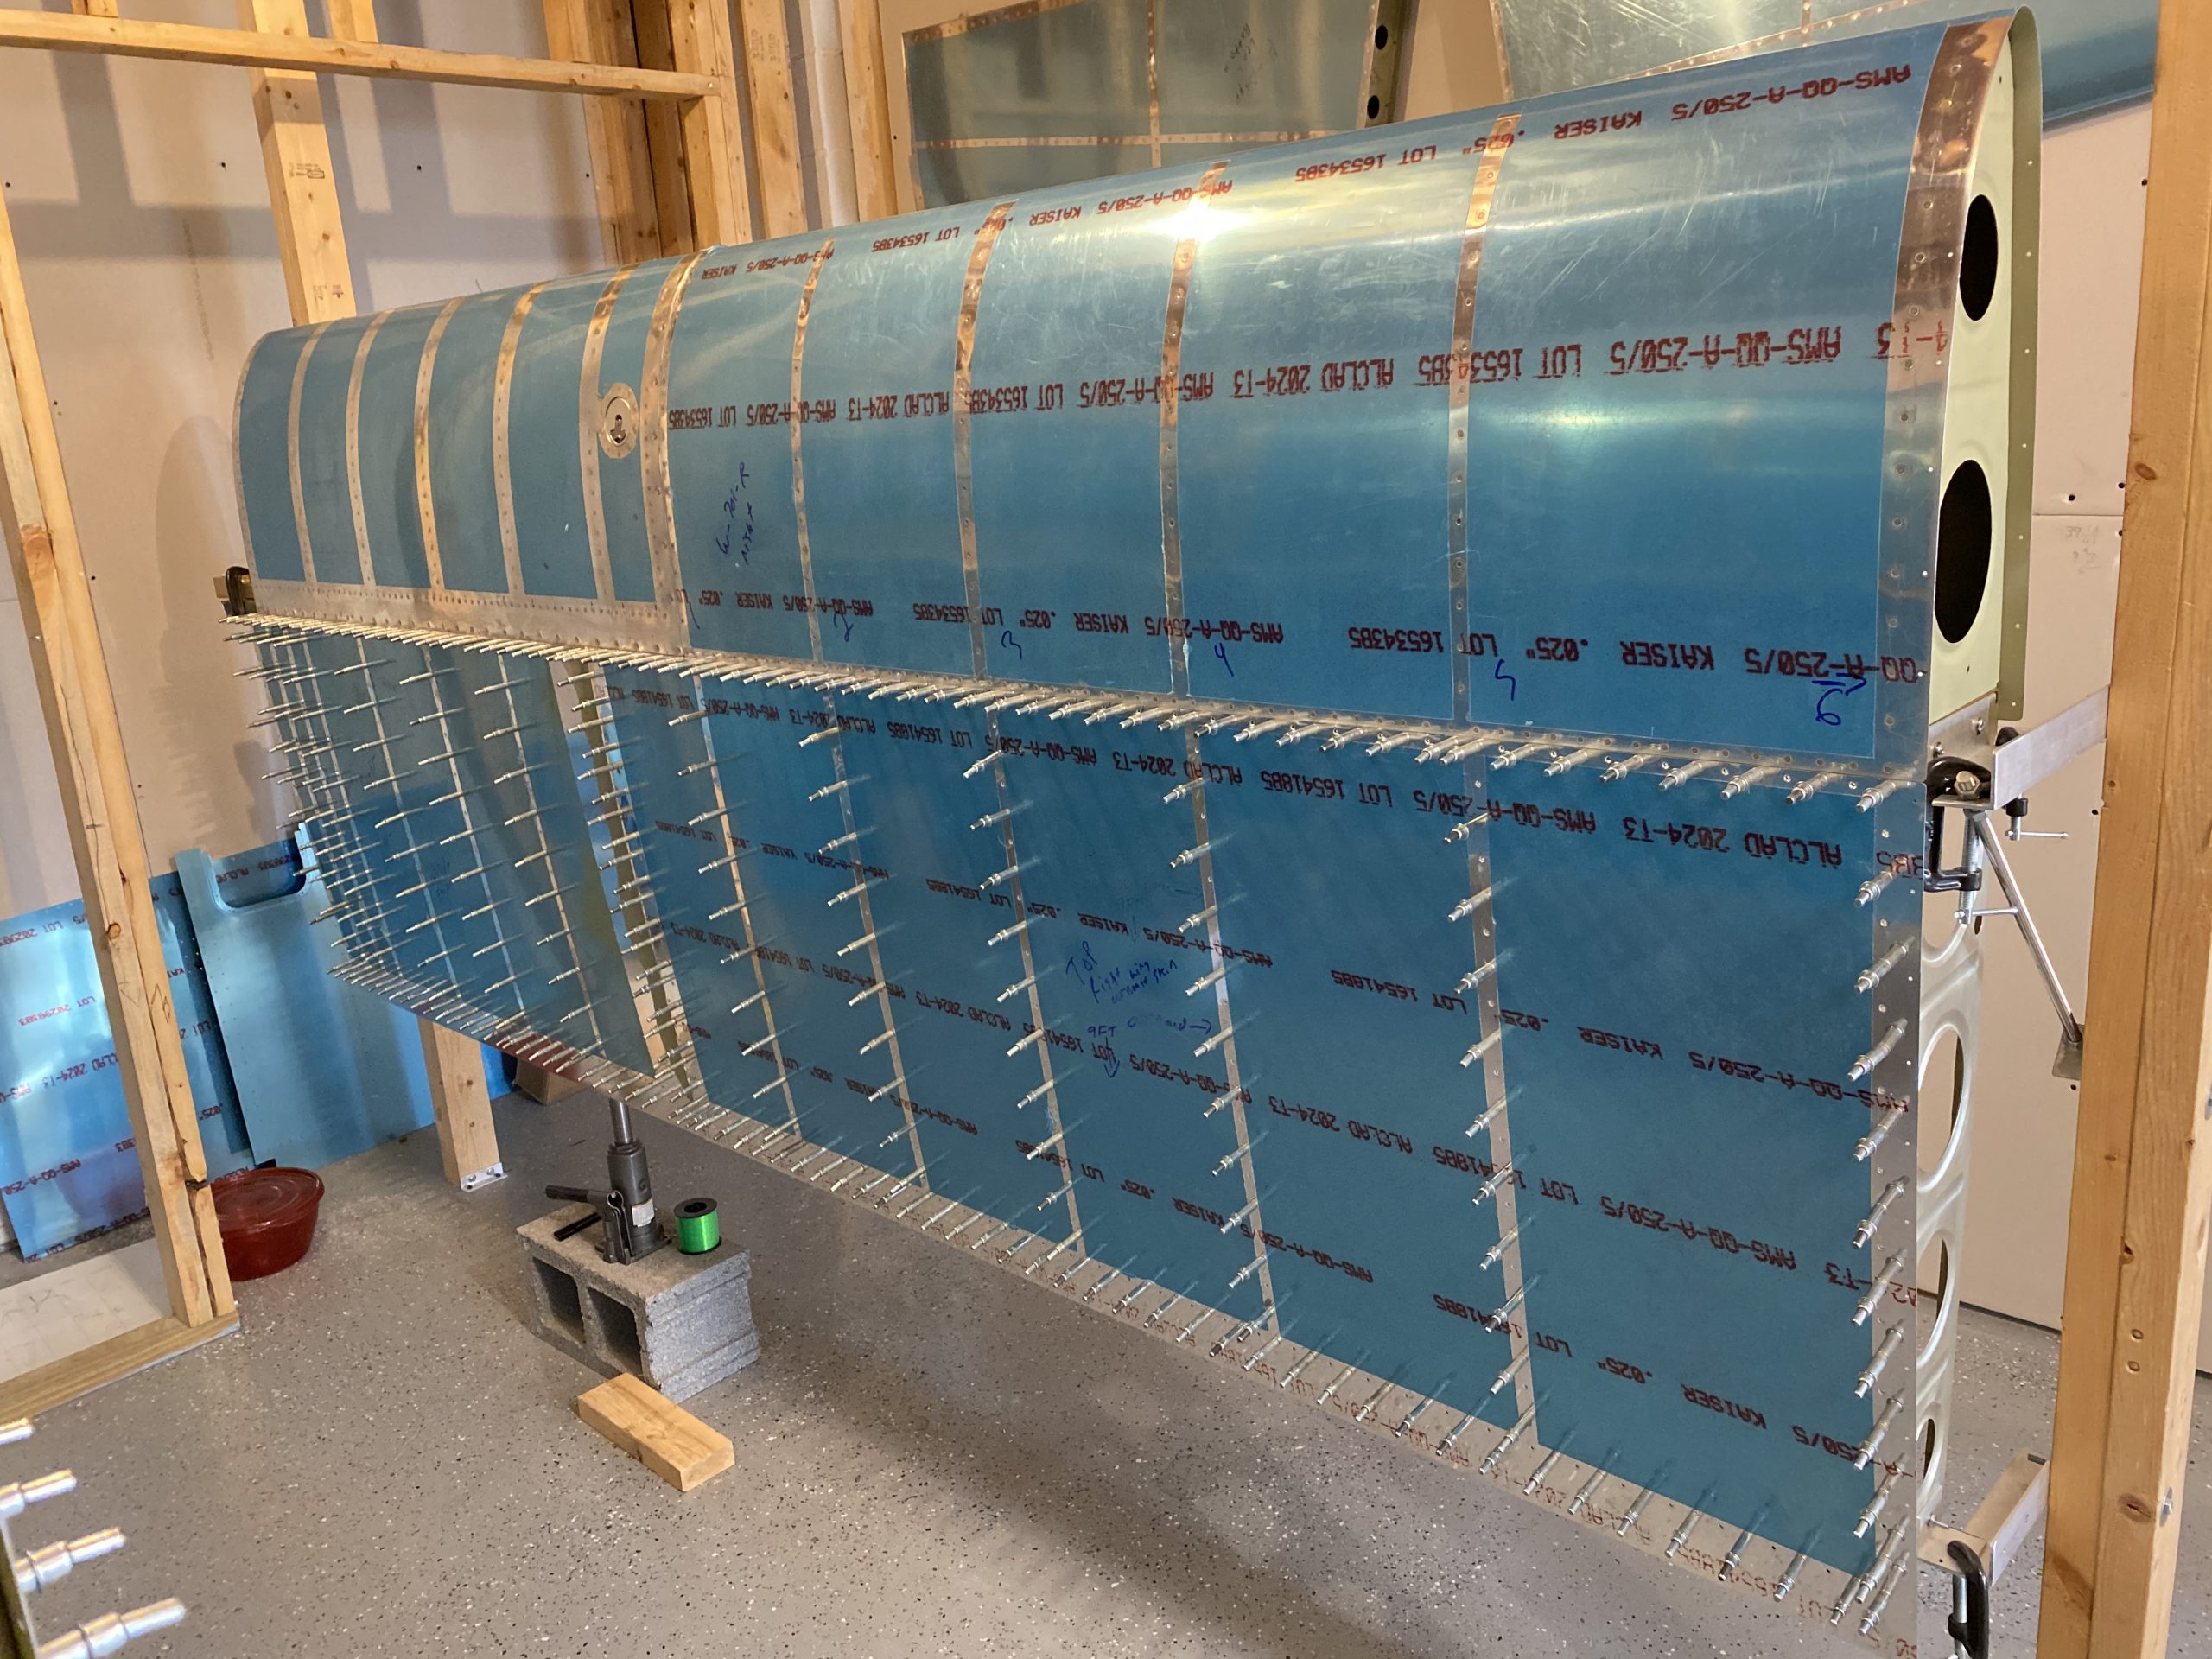
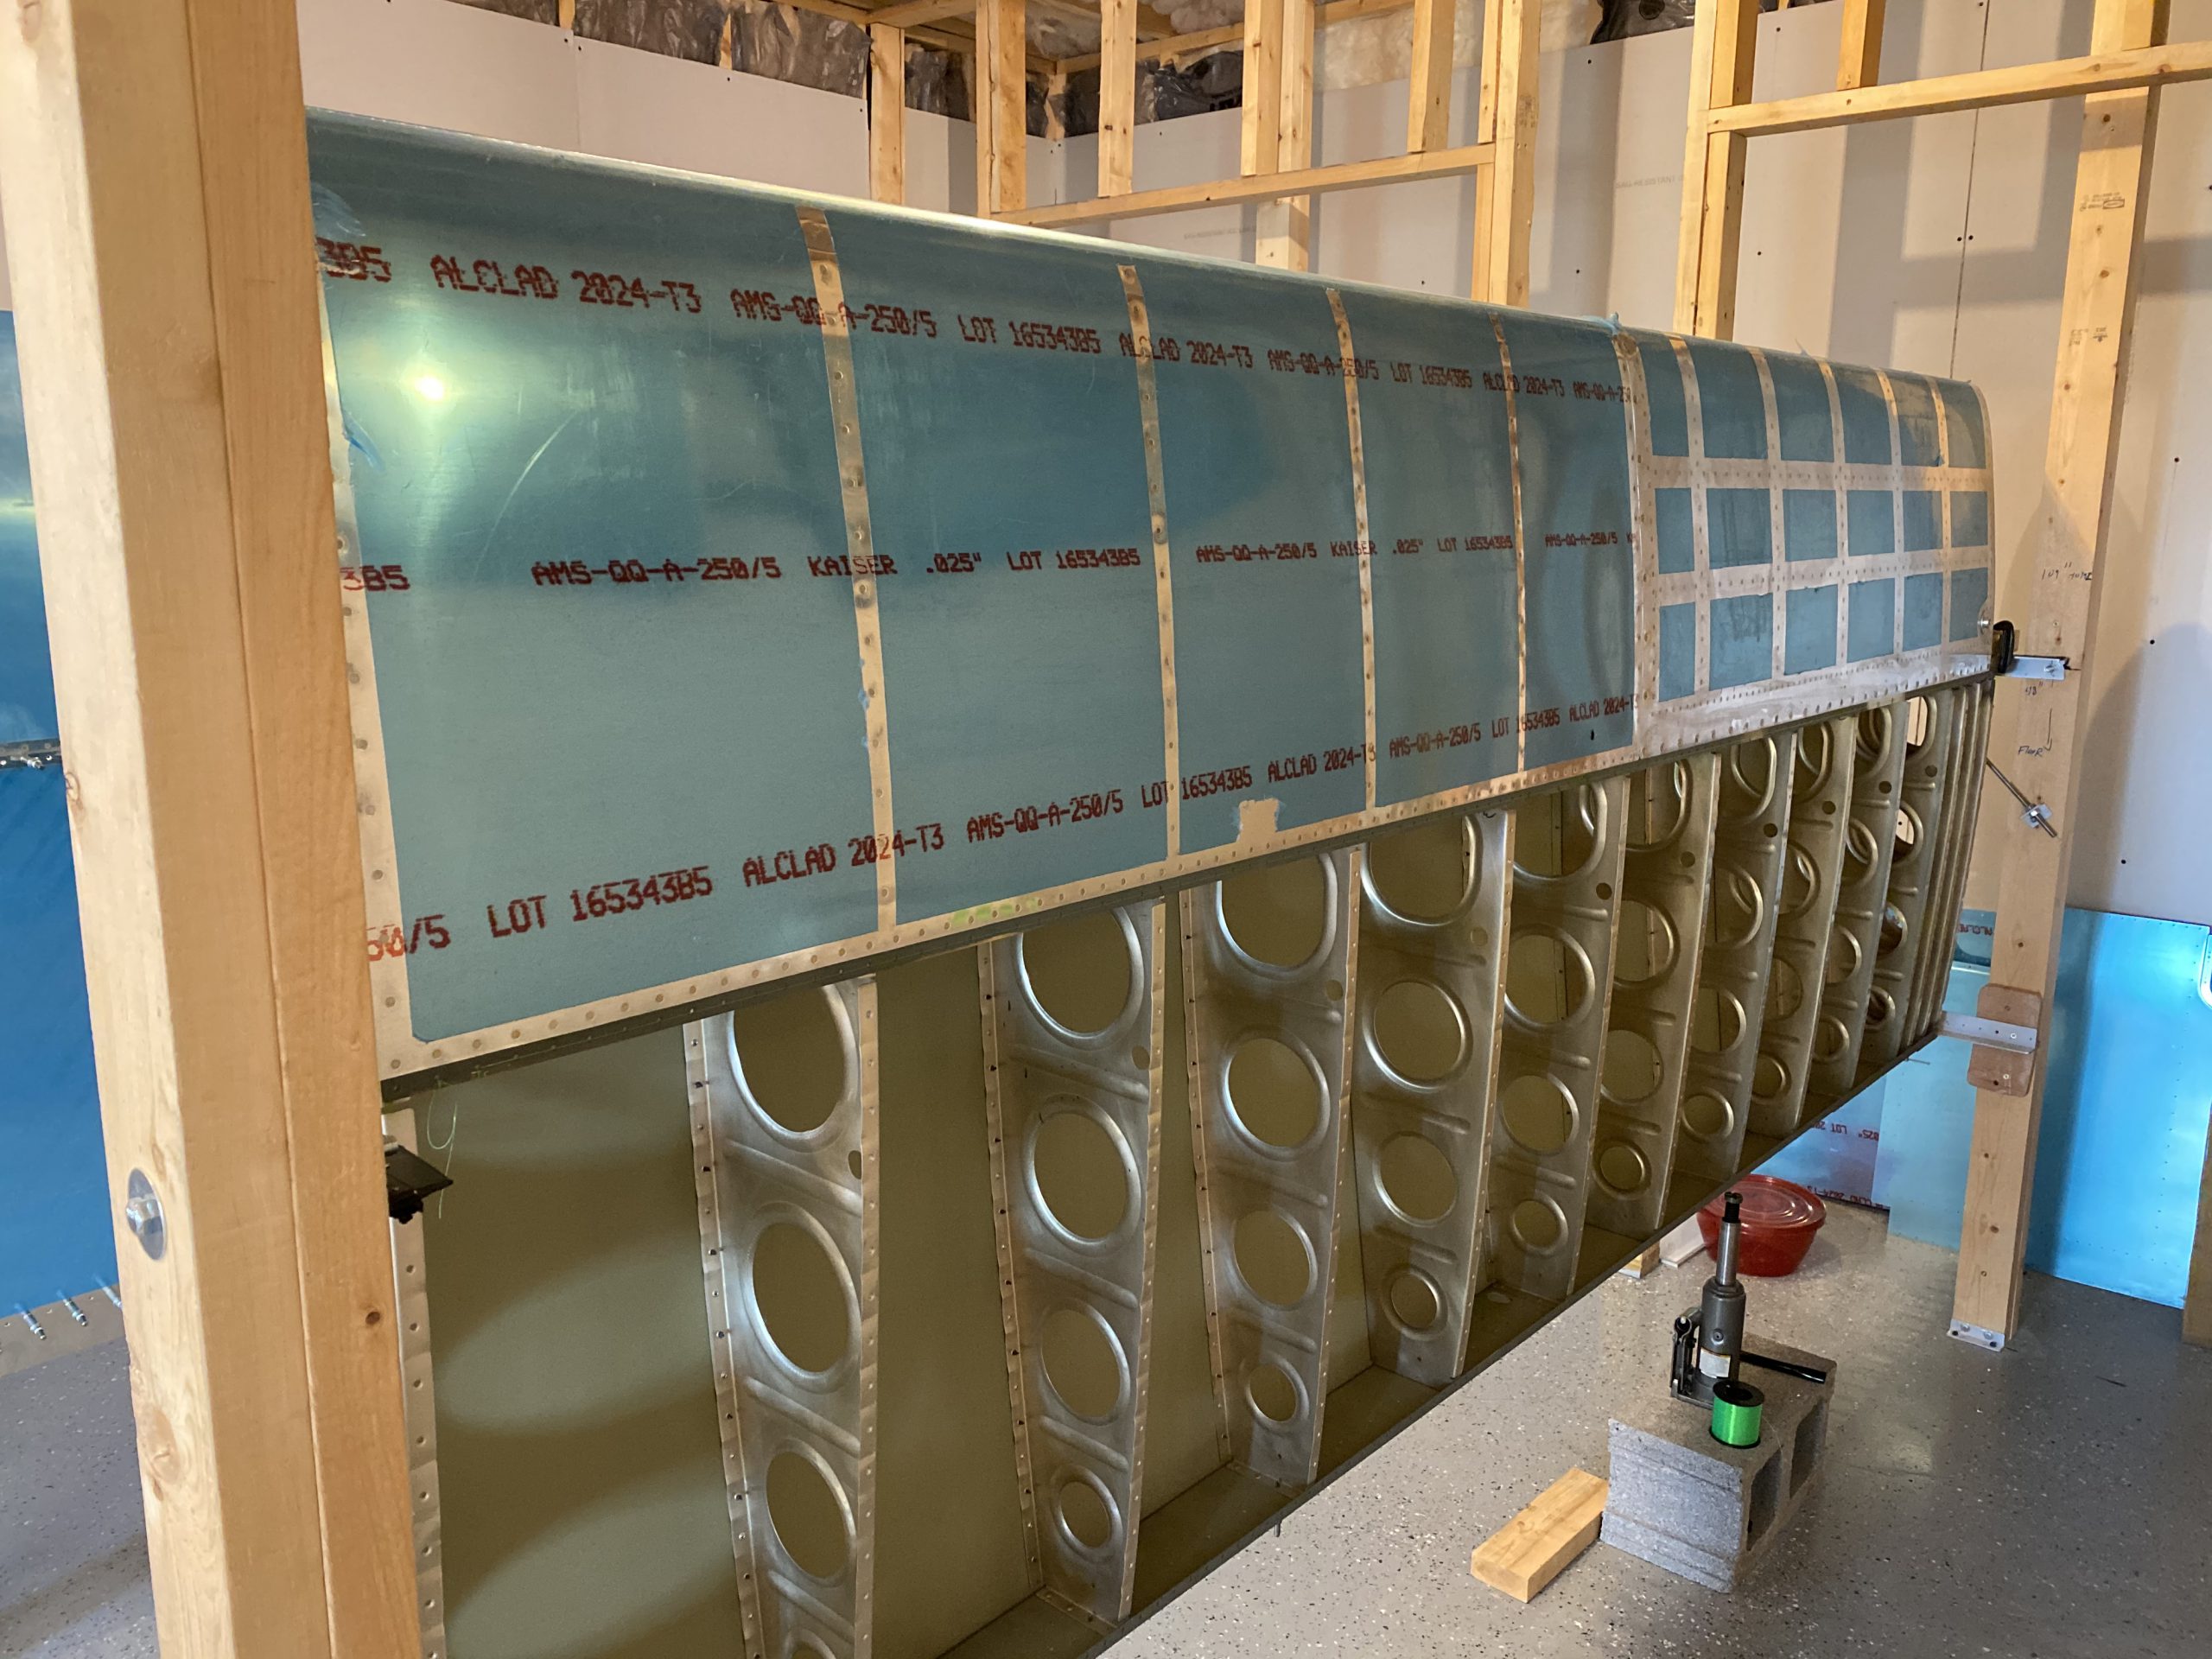
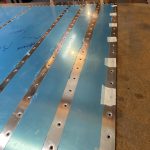
https://www.brdnug.org/jobs/ I then clecoe’d the inboard skin to the right wing skeleton, and realized I forgot to dimple the wing walk doubler! So I made a quick trip back to the DRDT-2 and got it all dimpled and ready. Then I slipped the wing walk doubler behind the top skin and clecoed everything in place. I started. by clecoed the very forward edge of the skin to the main spar flange, then working from the center rib of each skin, I clecoed every other hole. Then I placed the outboard skin and did the same with it. I had JUST enough clecos to get every other hole on this wing, minus about 8 holes. I double checked that all the lap joints and skin intersections looked good and took pride in the fact I have what looks like two wings!
https://eternaclinic.com/facial-treatments/ 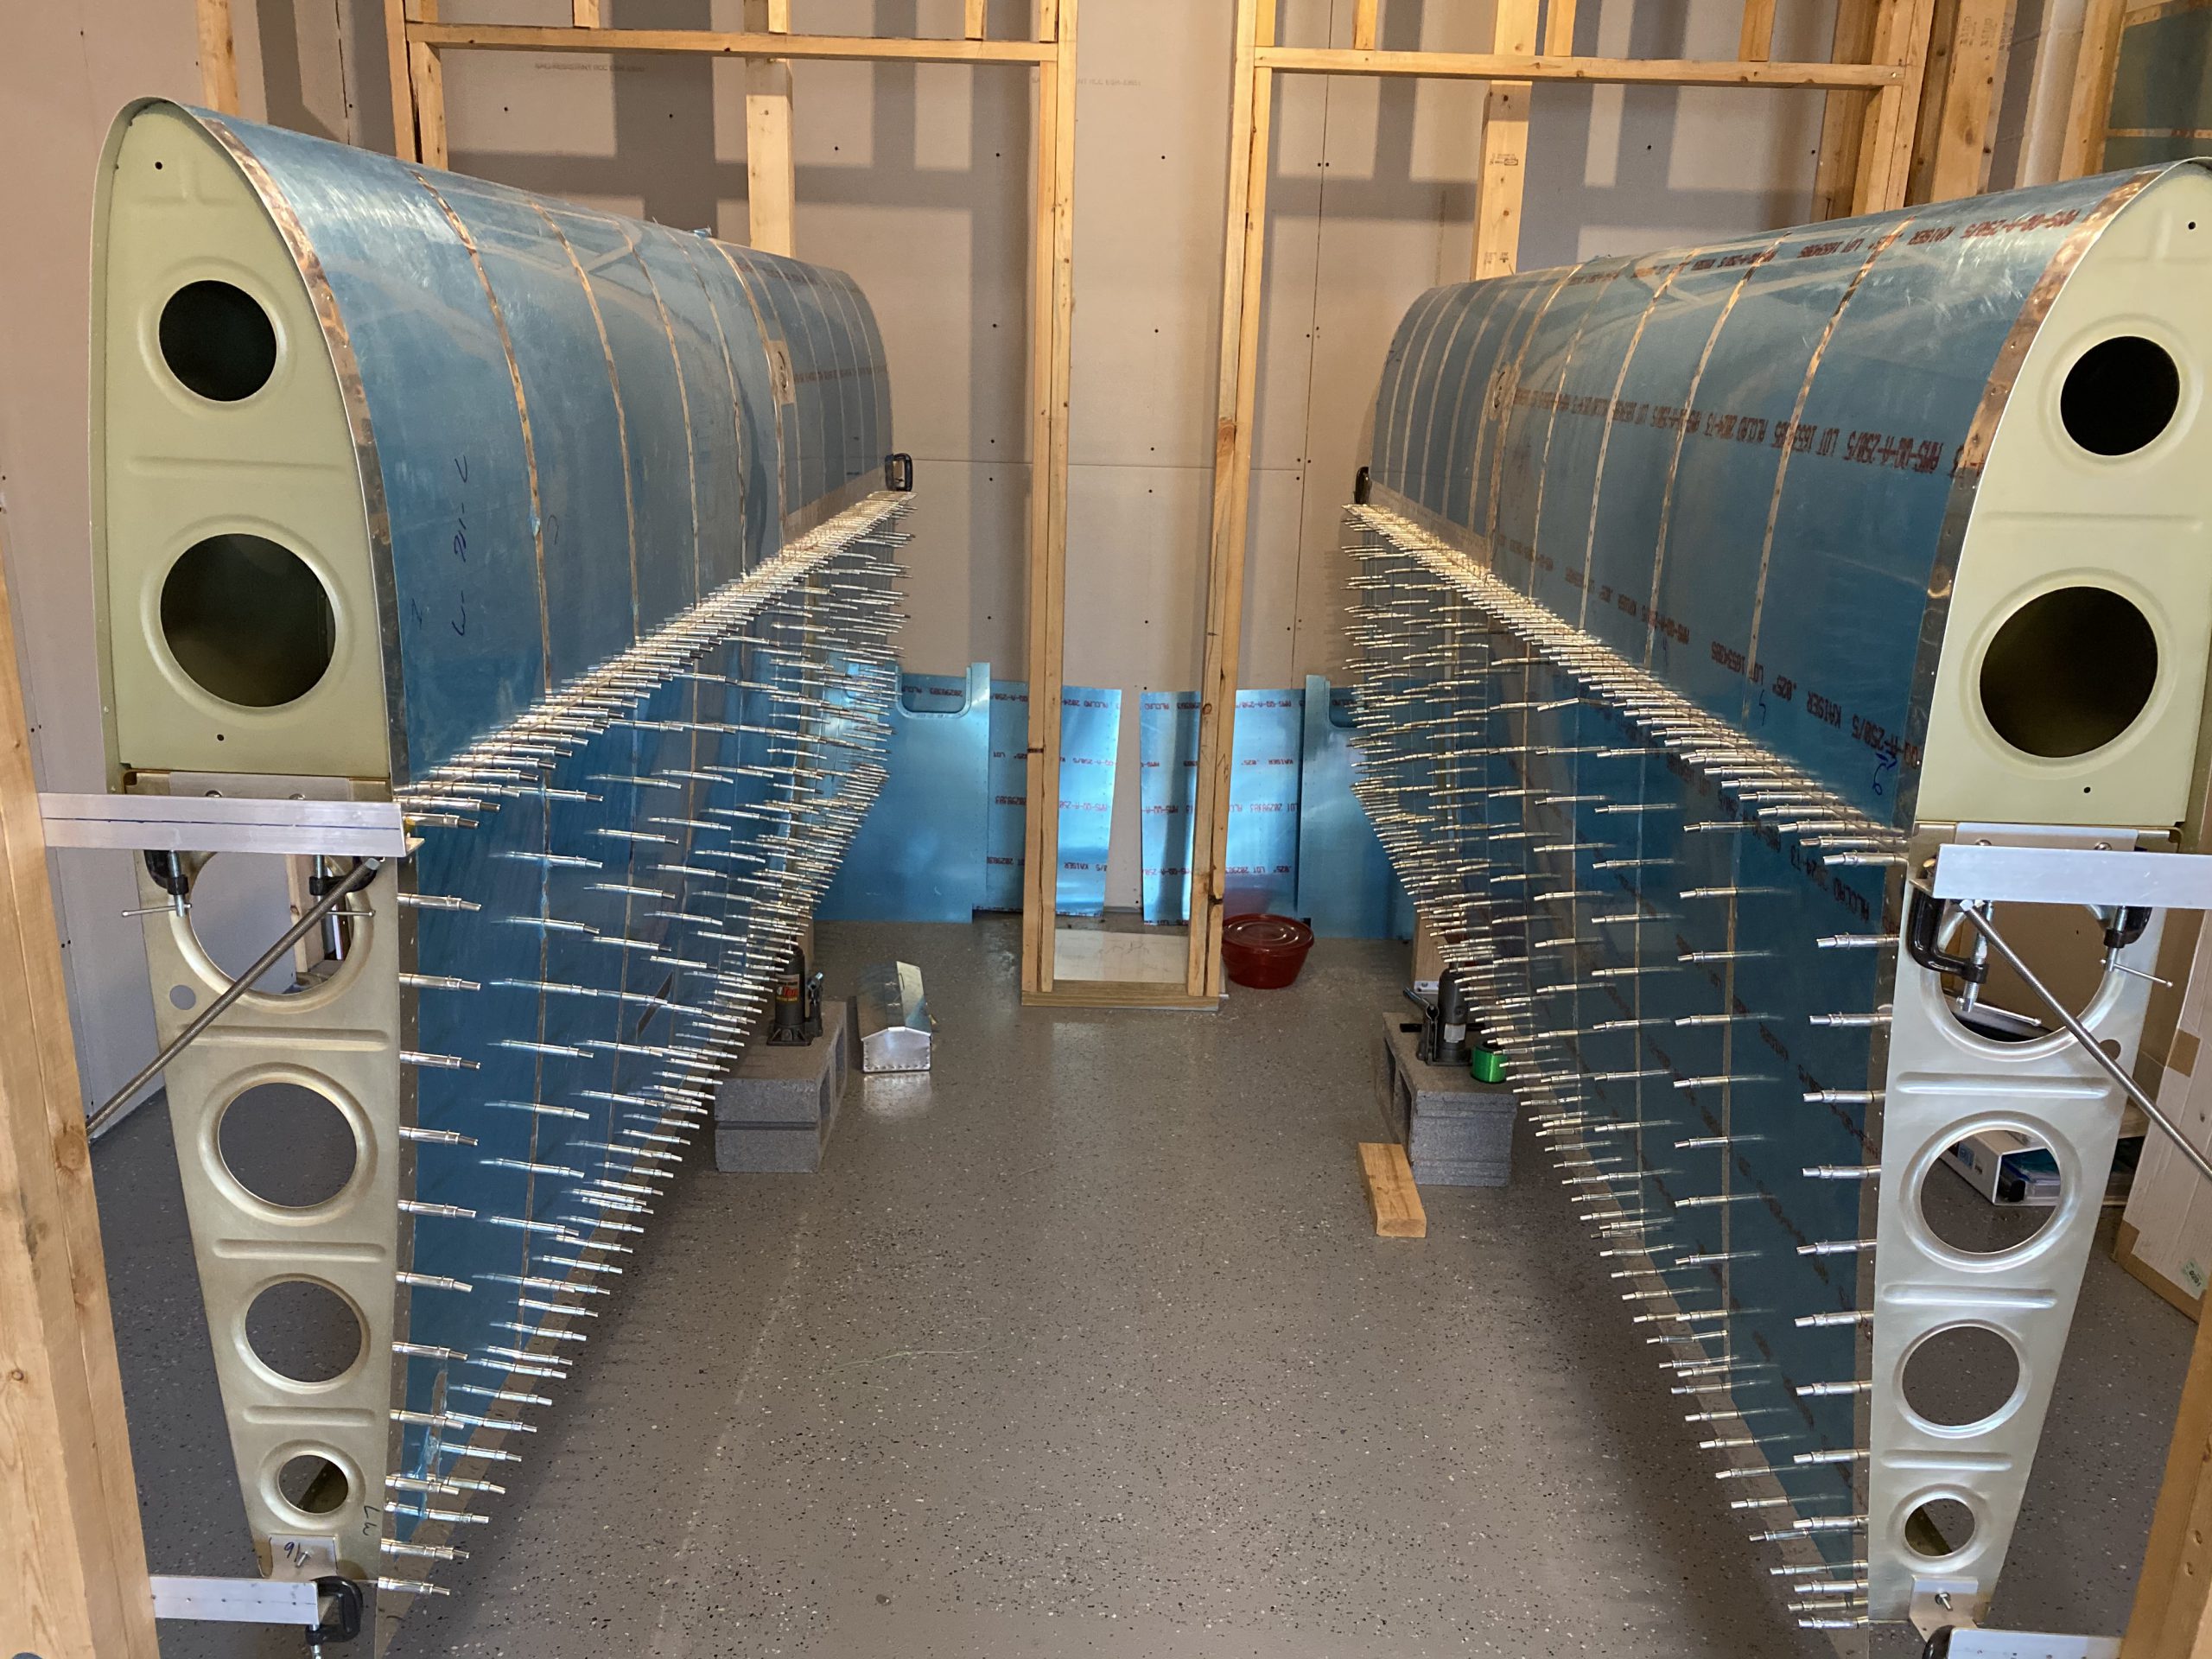
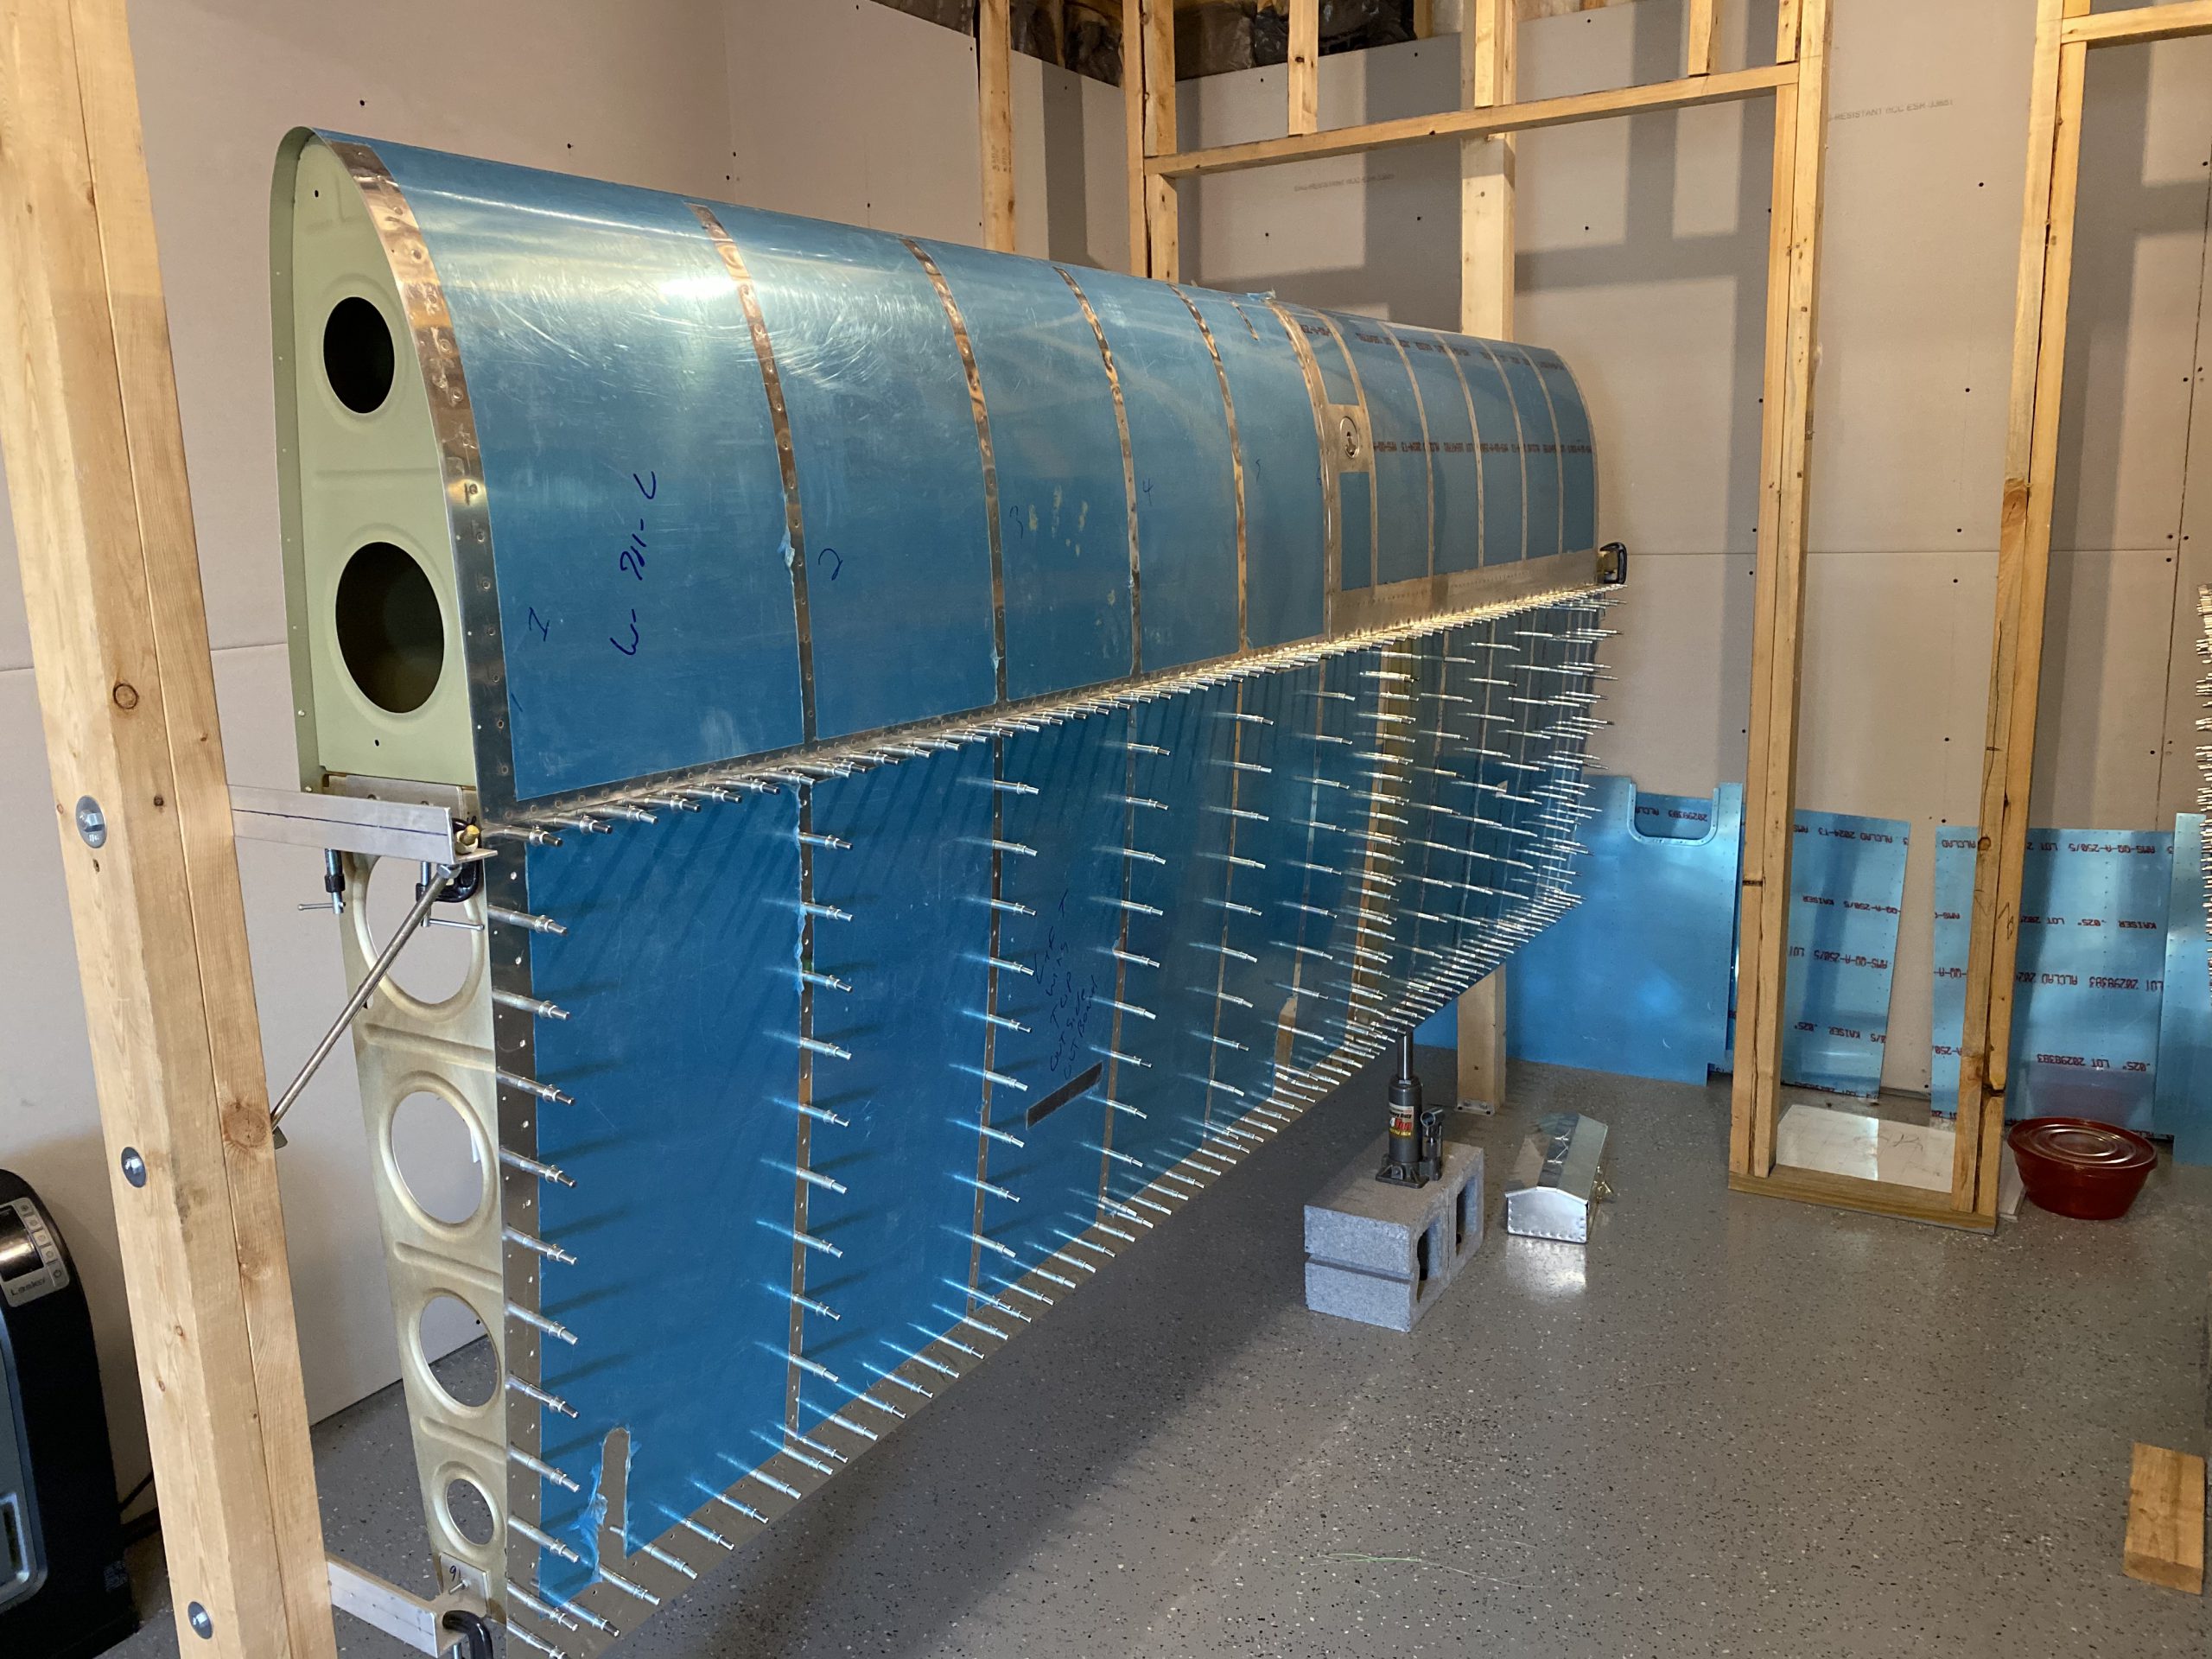
click here Heres the back side of the right wing for completeness:
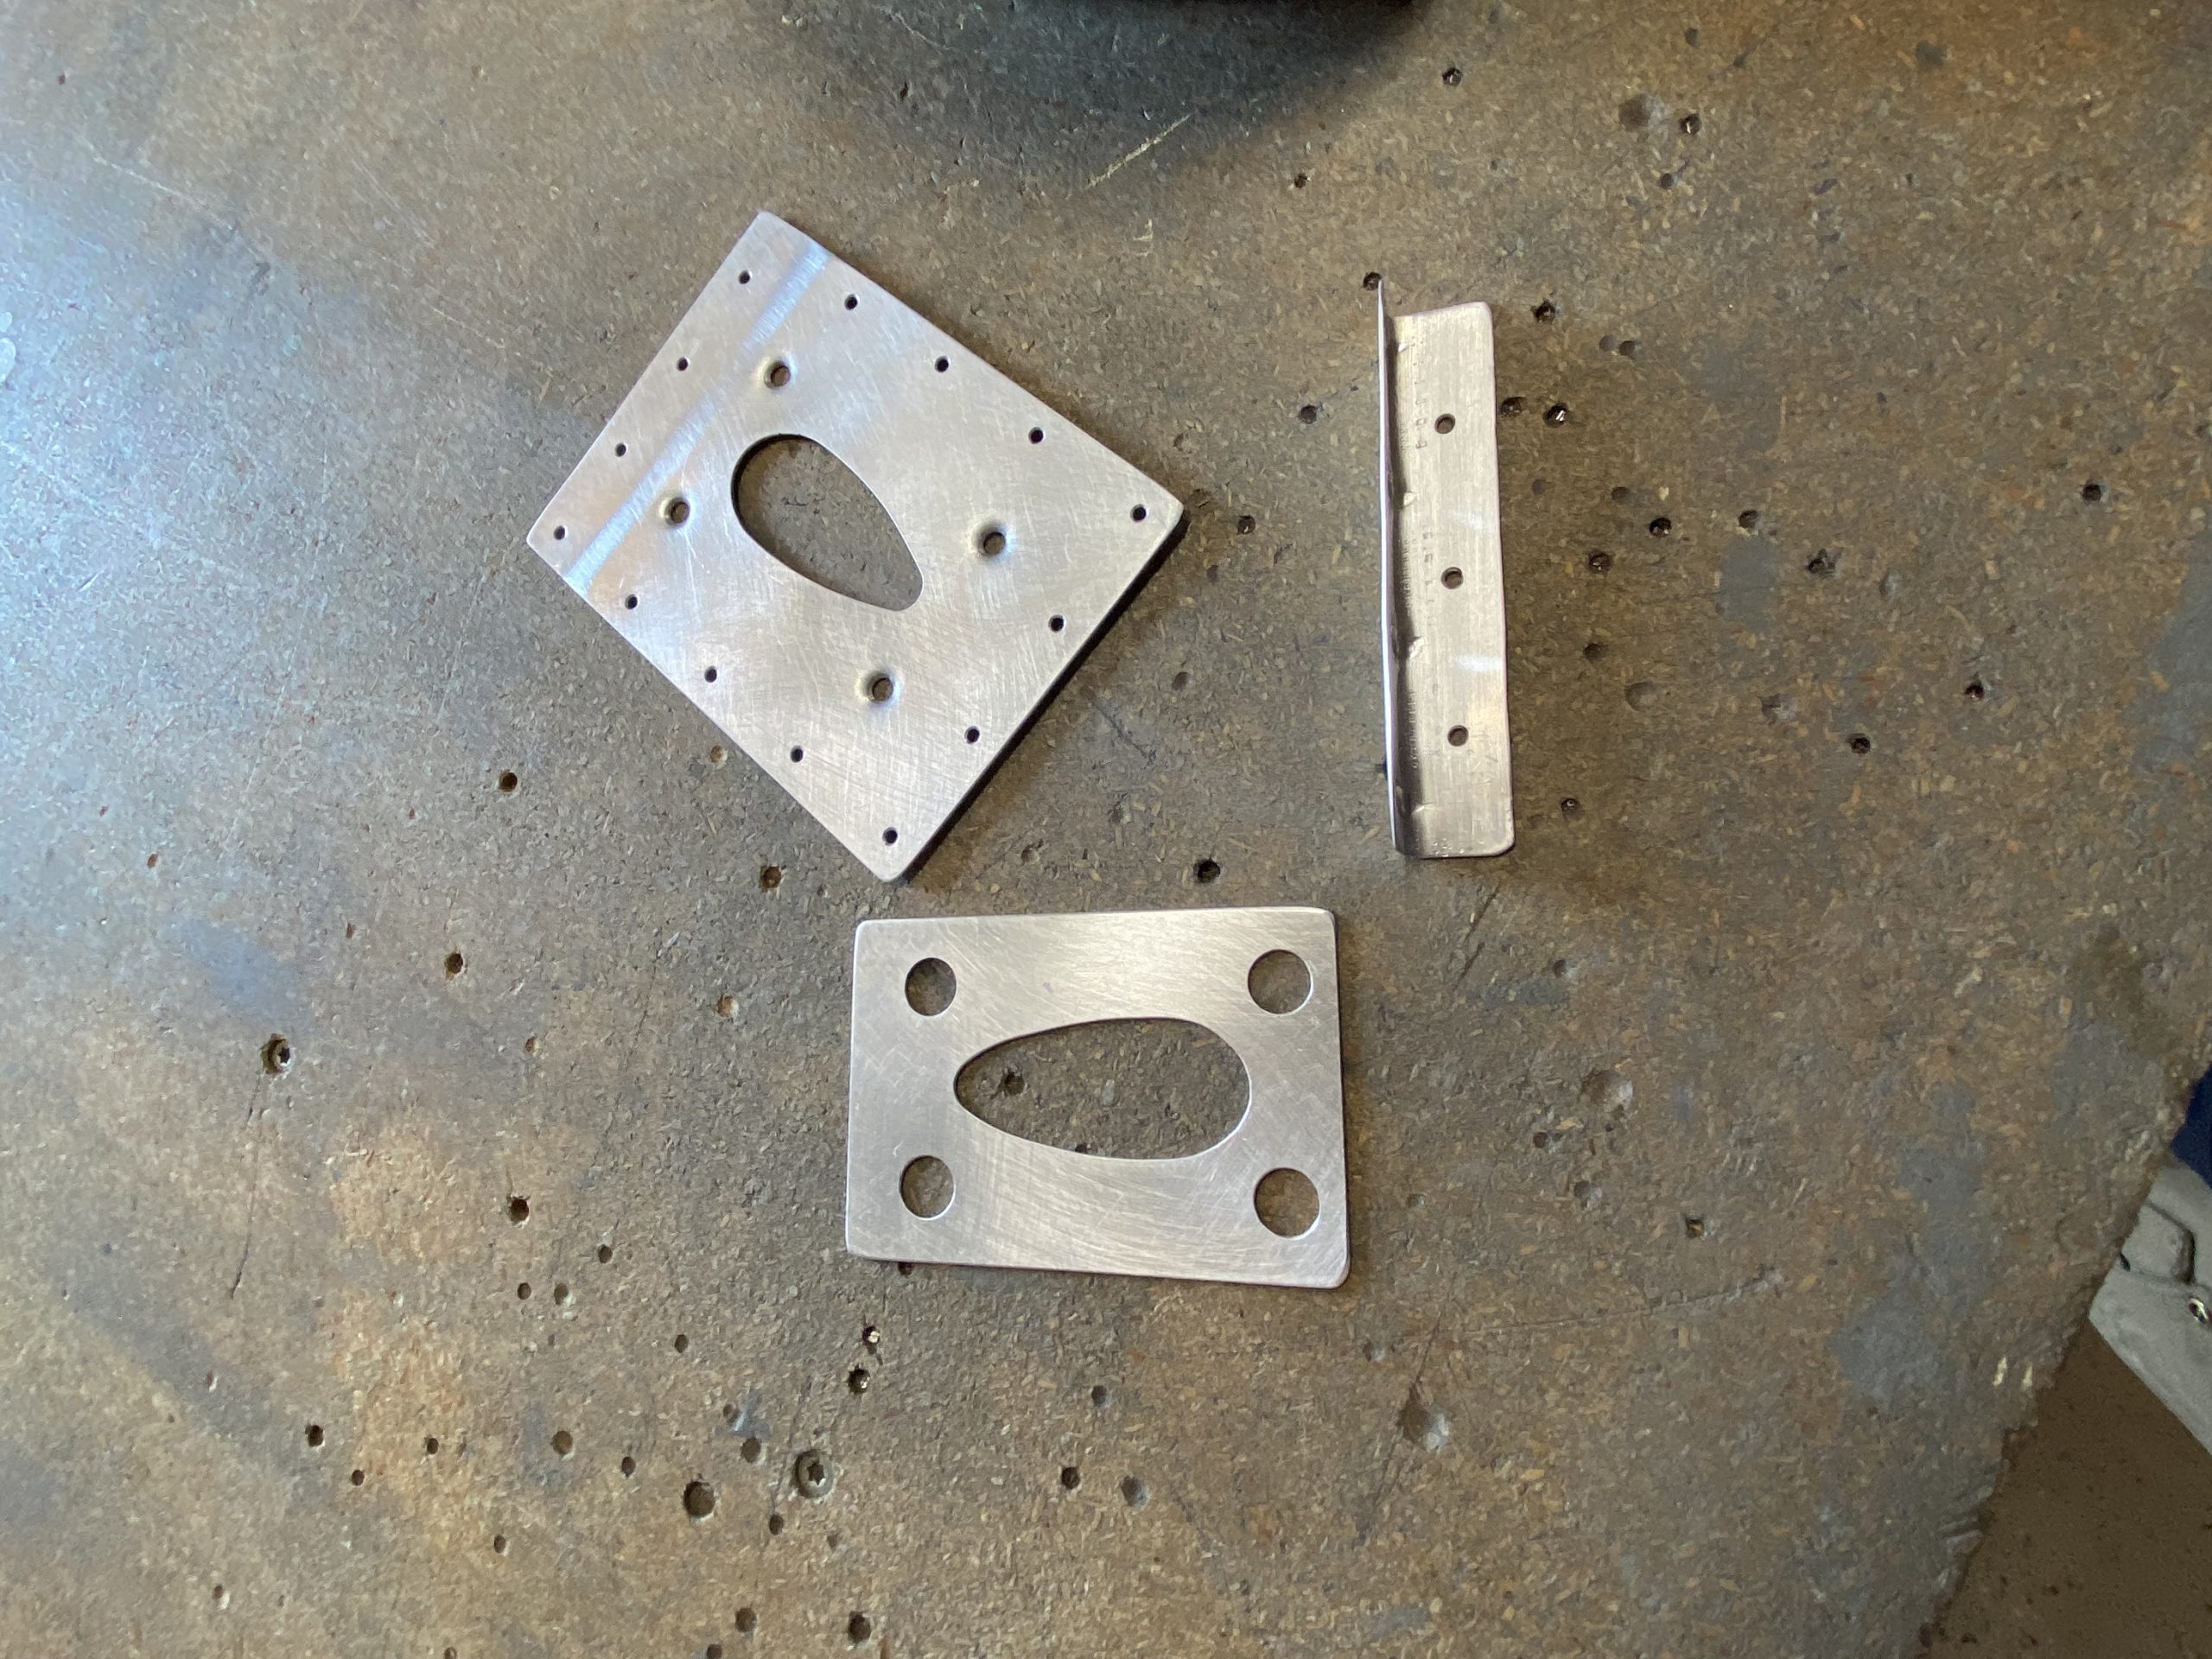
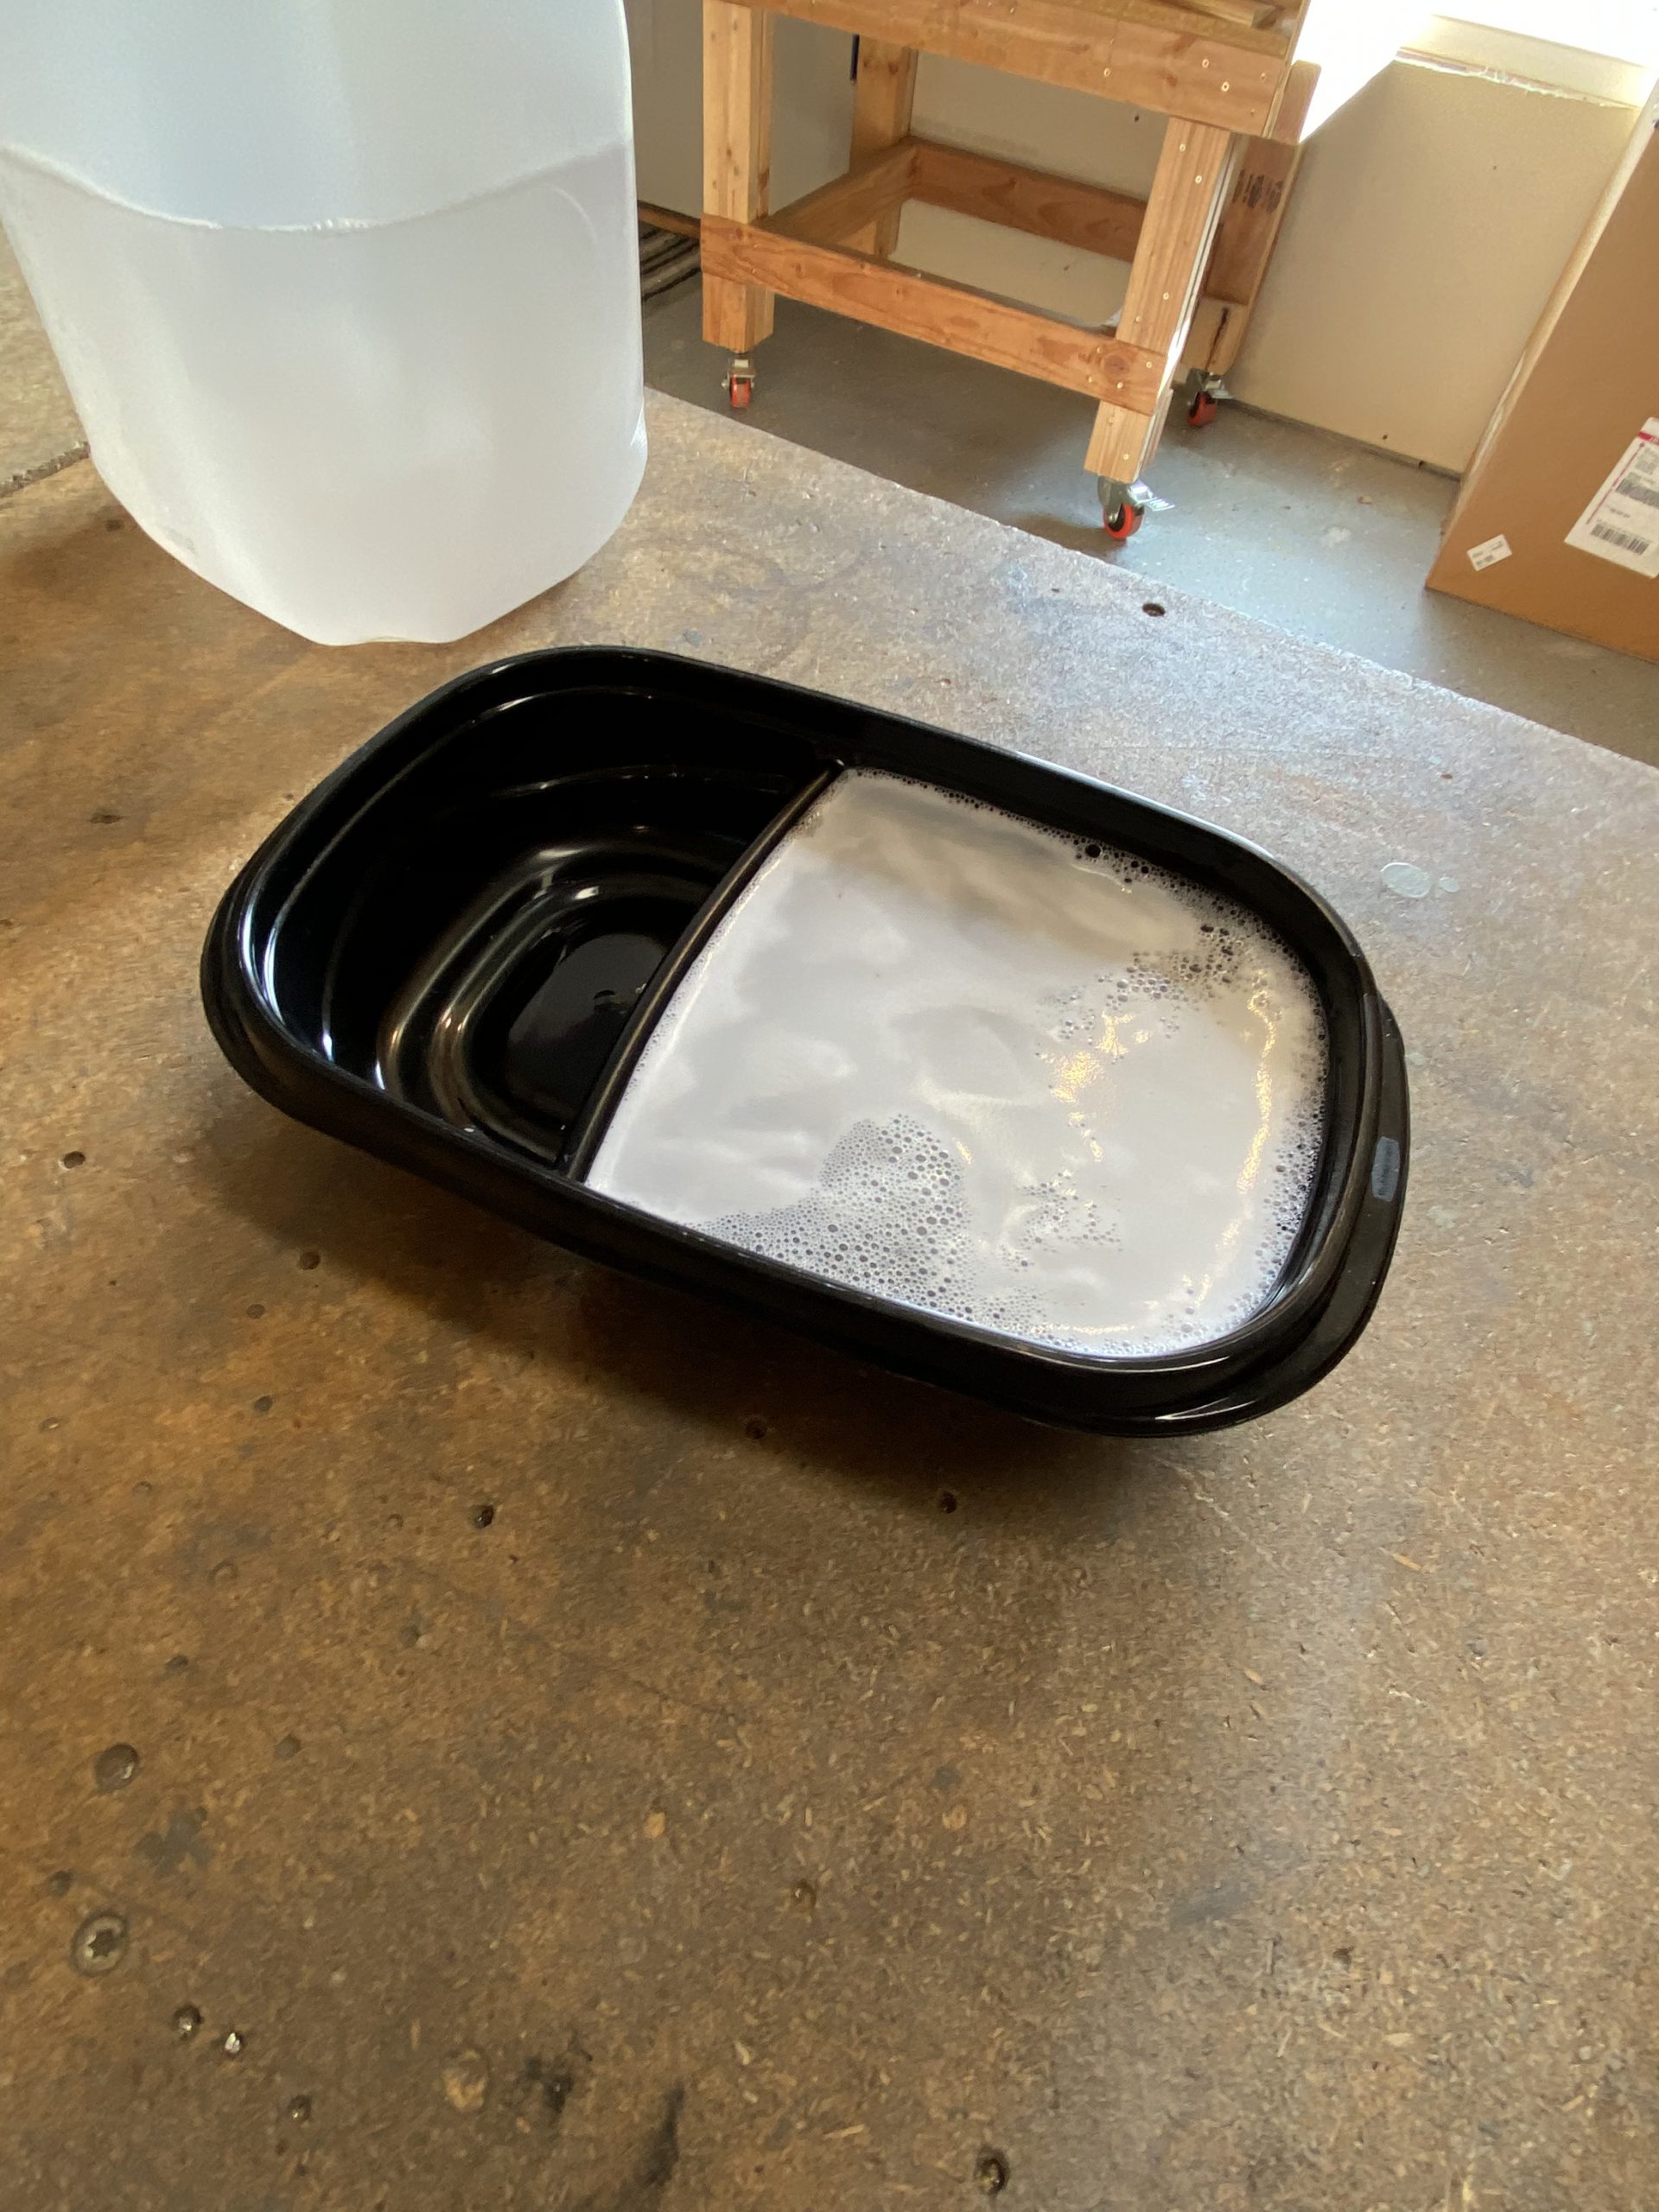
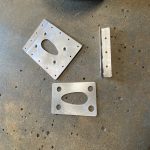
https://www.turtleopticians.com/kids/ Yeap. That last picture is every single one of my 3/32″ clecos, all being used. Both wings top skins are now ready to be riveted, and they are at the same spot in the build again. Instead of calling it a day, I decided to go ahead and get the pitot mount plates and braces aldoined, because I could use a small dish to contain the parts. So, I scuffed them up a little, and the put them in bath of Alumaprep33 for 10 minutes.
go here After a quick rinse of the parts and the plastic dish, I put them into a aldoine bath for a other 15 minutes. Then rinsed them off. They came out looking great!
Purchase Tramadol Without Prescription 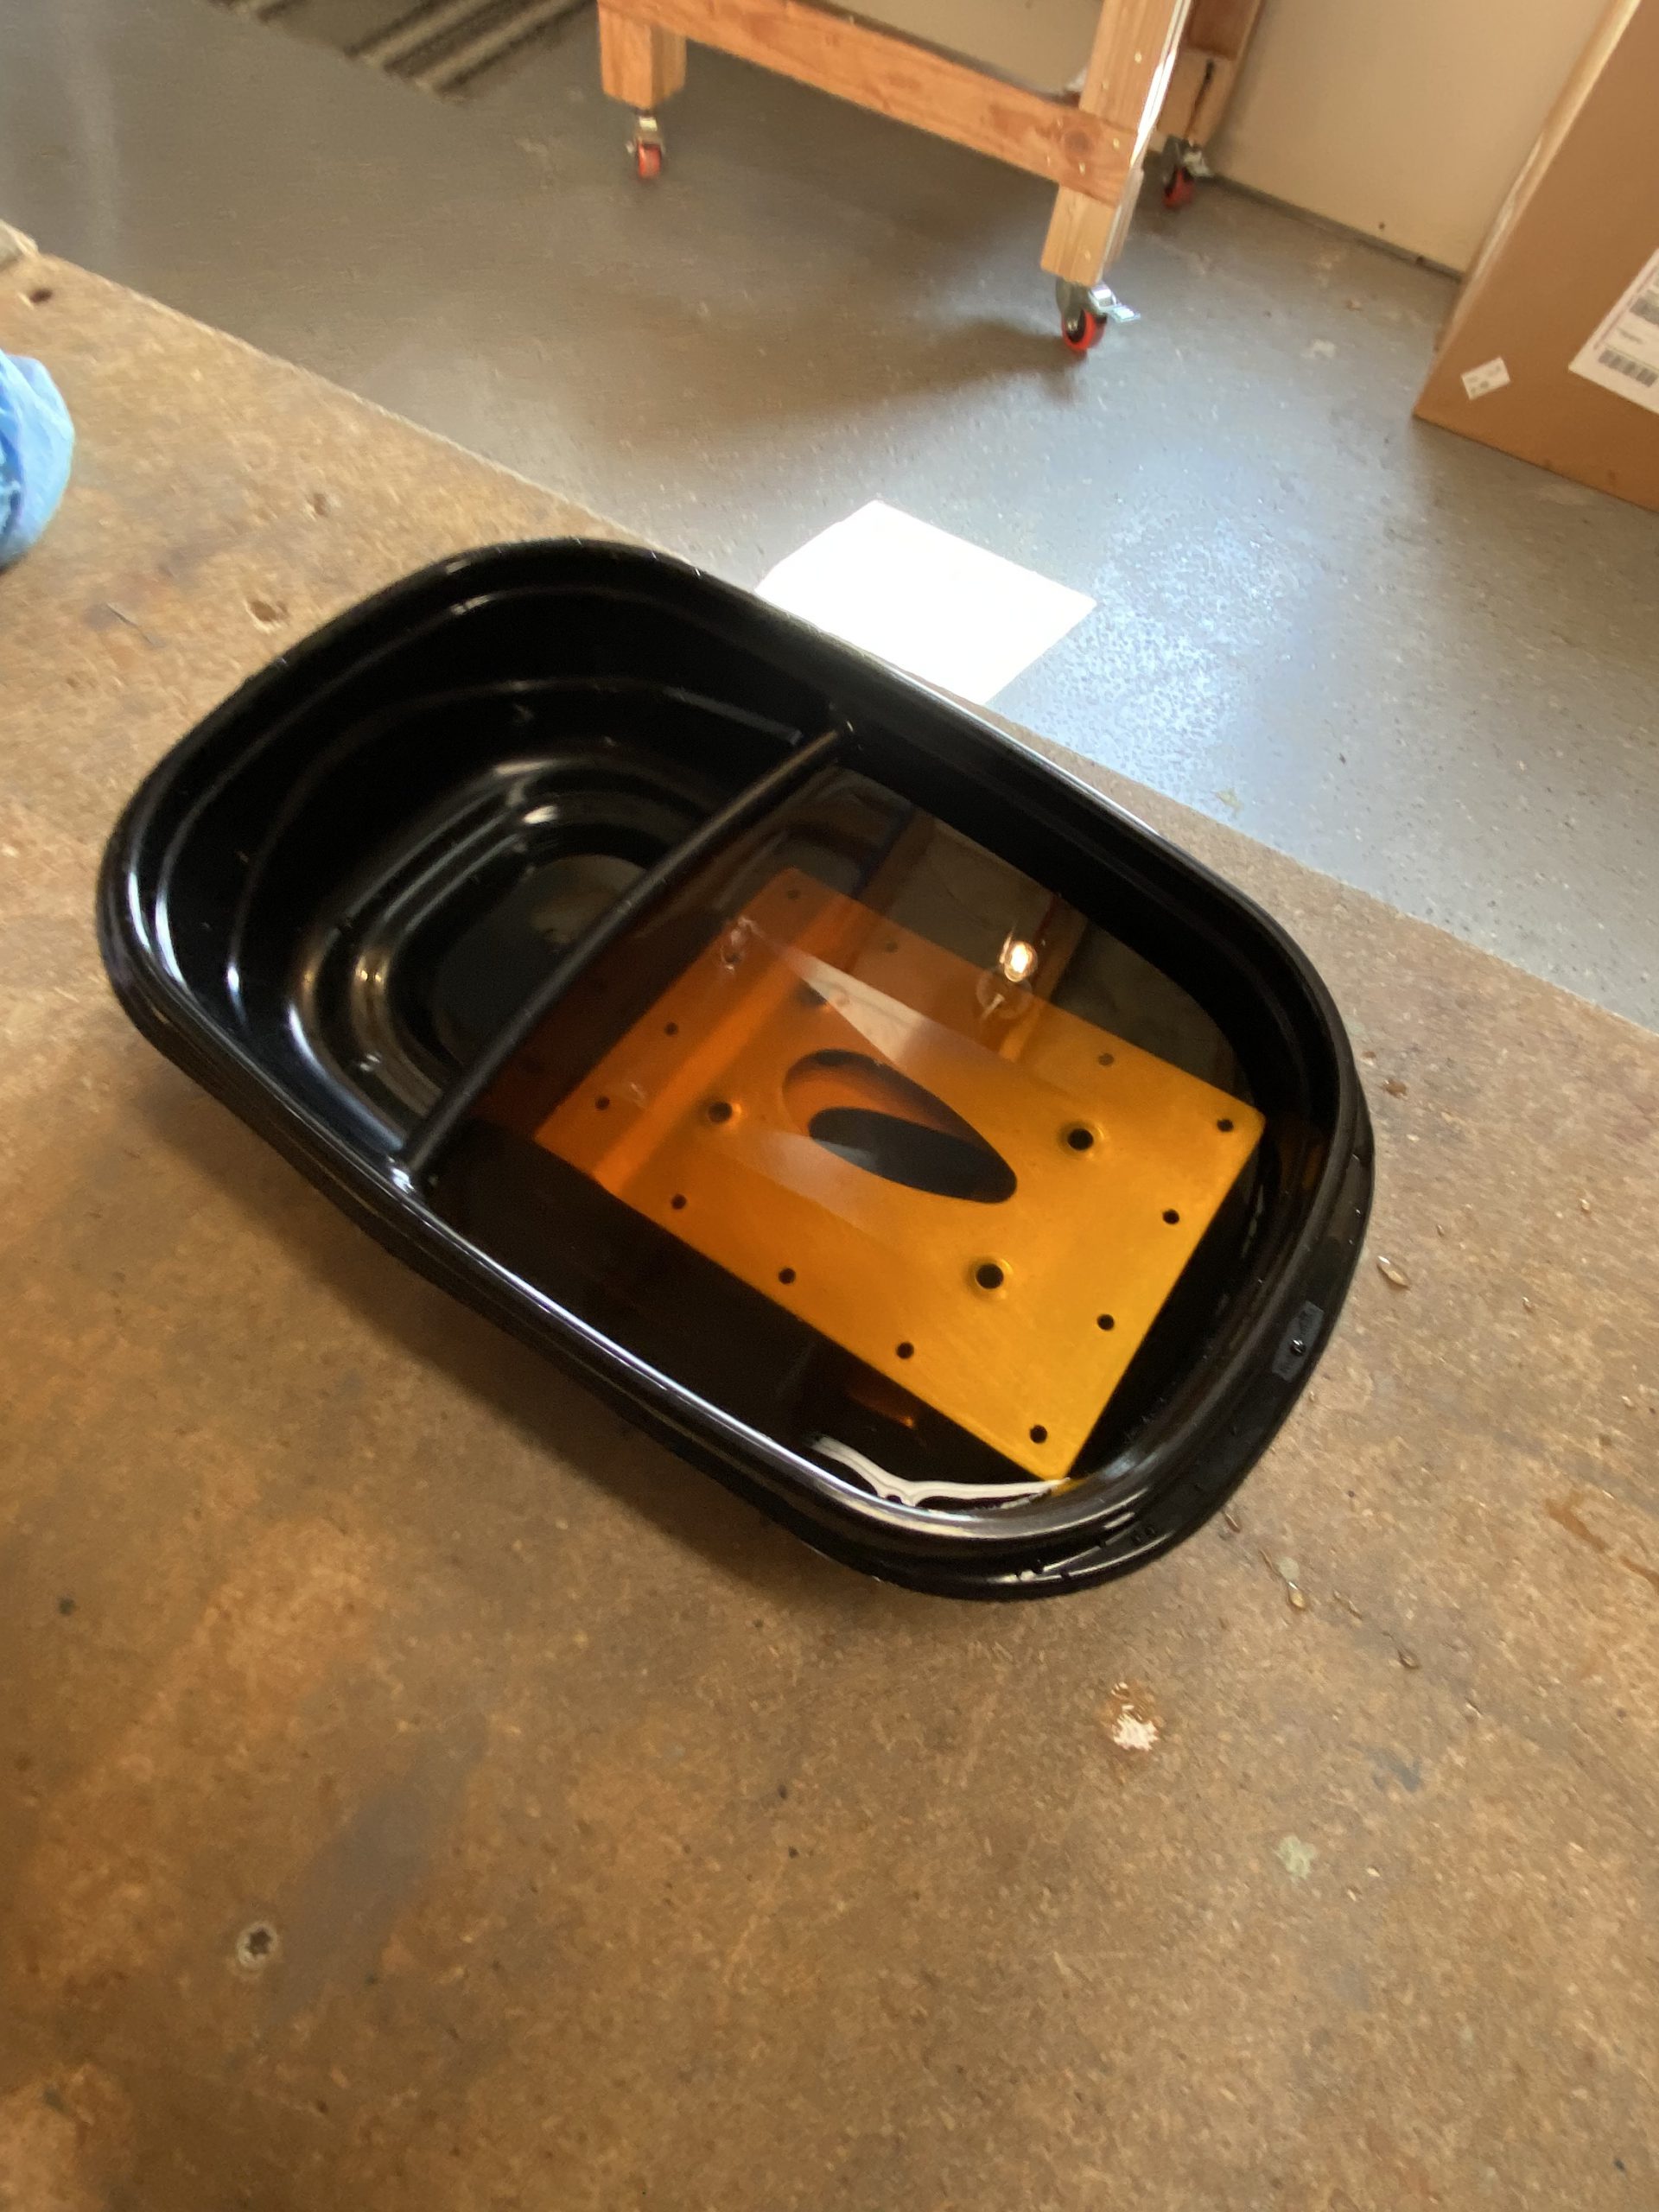
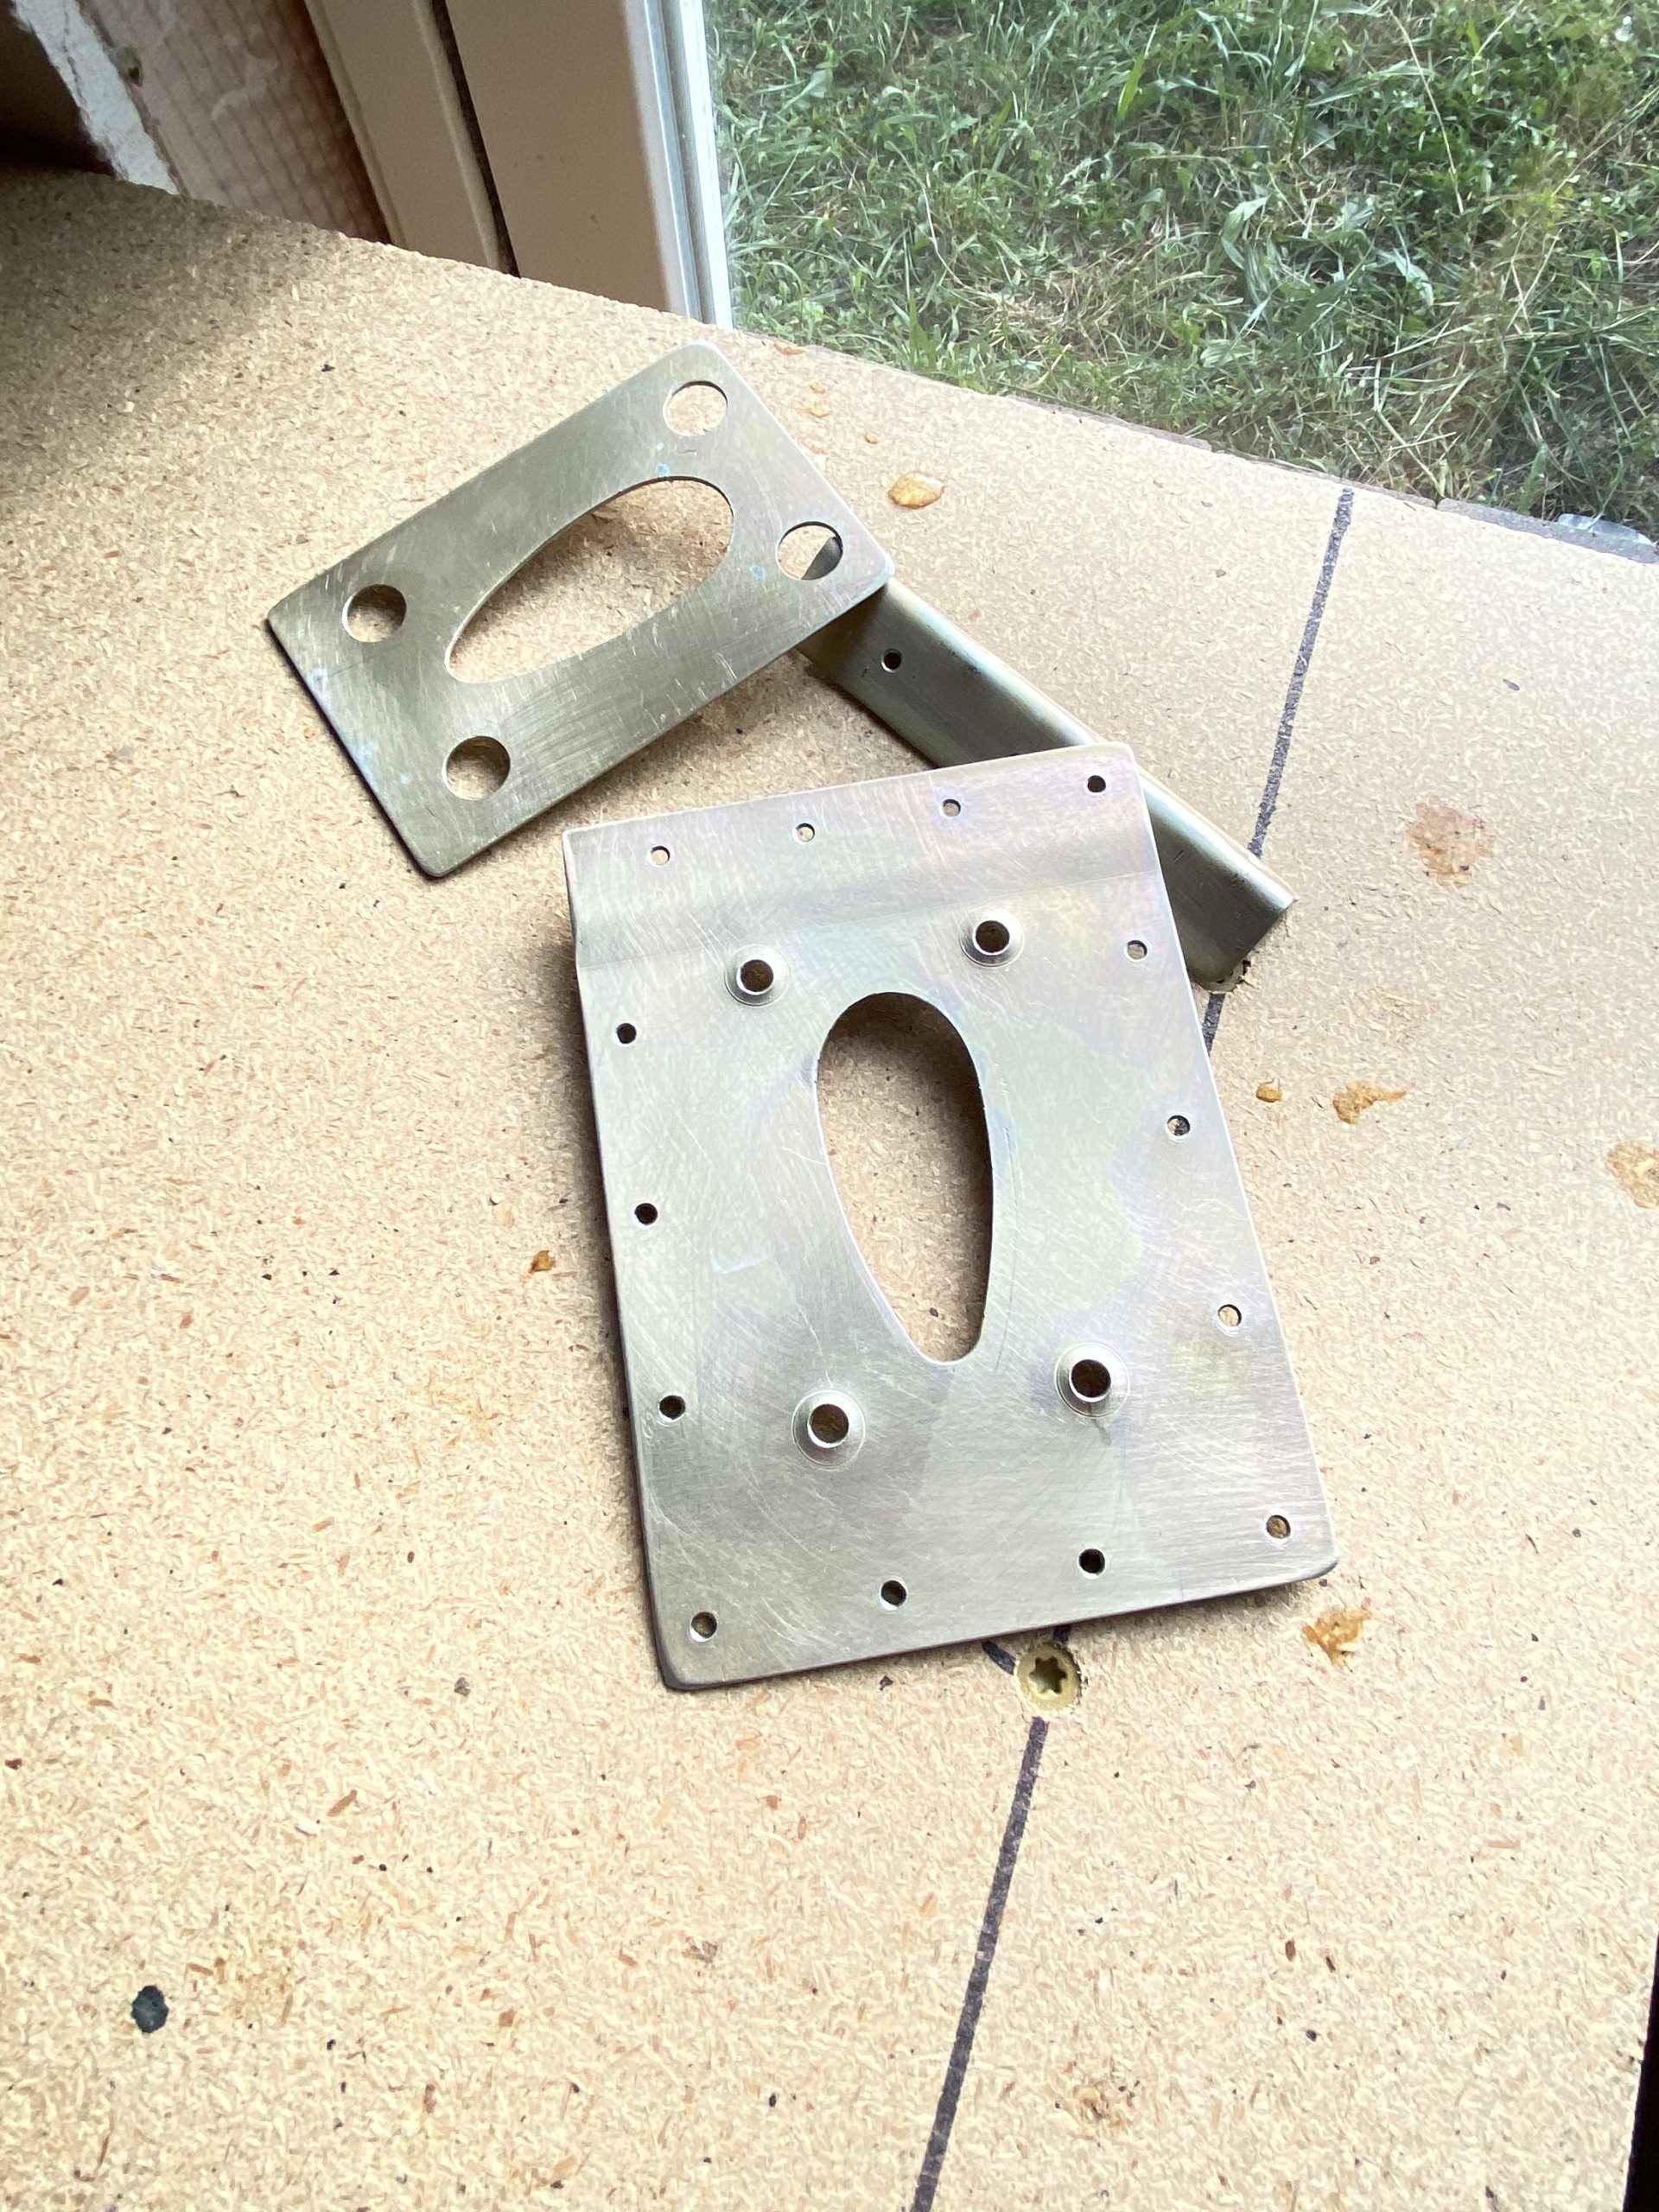
https://timlarison.com/archetypes-book-review/ The sunlight from the window washed the camera photo, but they are indeed a nice and golden color. I’ll leave them alodined and skip priming them, since they will have a good corrosion protection from the alodine. I am going to call some of the local chrome shops Monday morning to see about sending my pitot mast off to be chromed.
At this point, I am ready to rivet on both the top skins for both wings. I’ll wait till I have help to do that, and I think I’ll use the backriveting technique since I have the extra long back rivet set and bucking bar for it. There’s still a few things I can probably do in the mean time, I’ll read up and see whats doable until riveting time. Thats it for today!
Google Photos Link:
Hours Worked: 3.0


