


go here Changed it up a bit tonight! I am still holding off on riveting the wing skins until my wife is free to help, which is kinda rare with a 4 year old! So, I decided to go ahead and get the aileron brackets assembled and ready. I also grabbed all the parts from the SB 16-03-28 kit, as I am going to address this now during the build. I did grab a timelapse of the work, heres the overhead view:
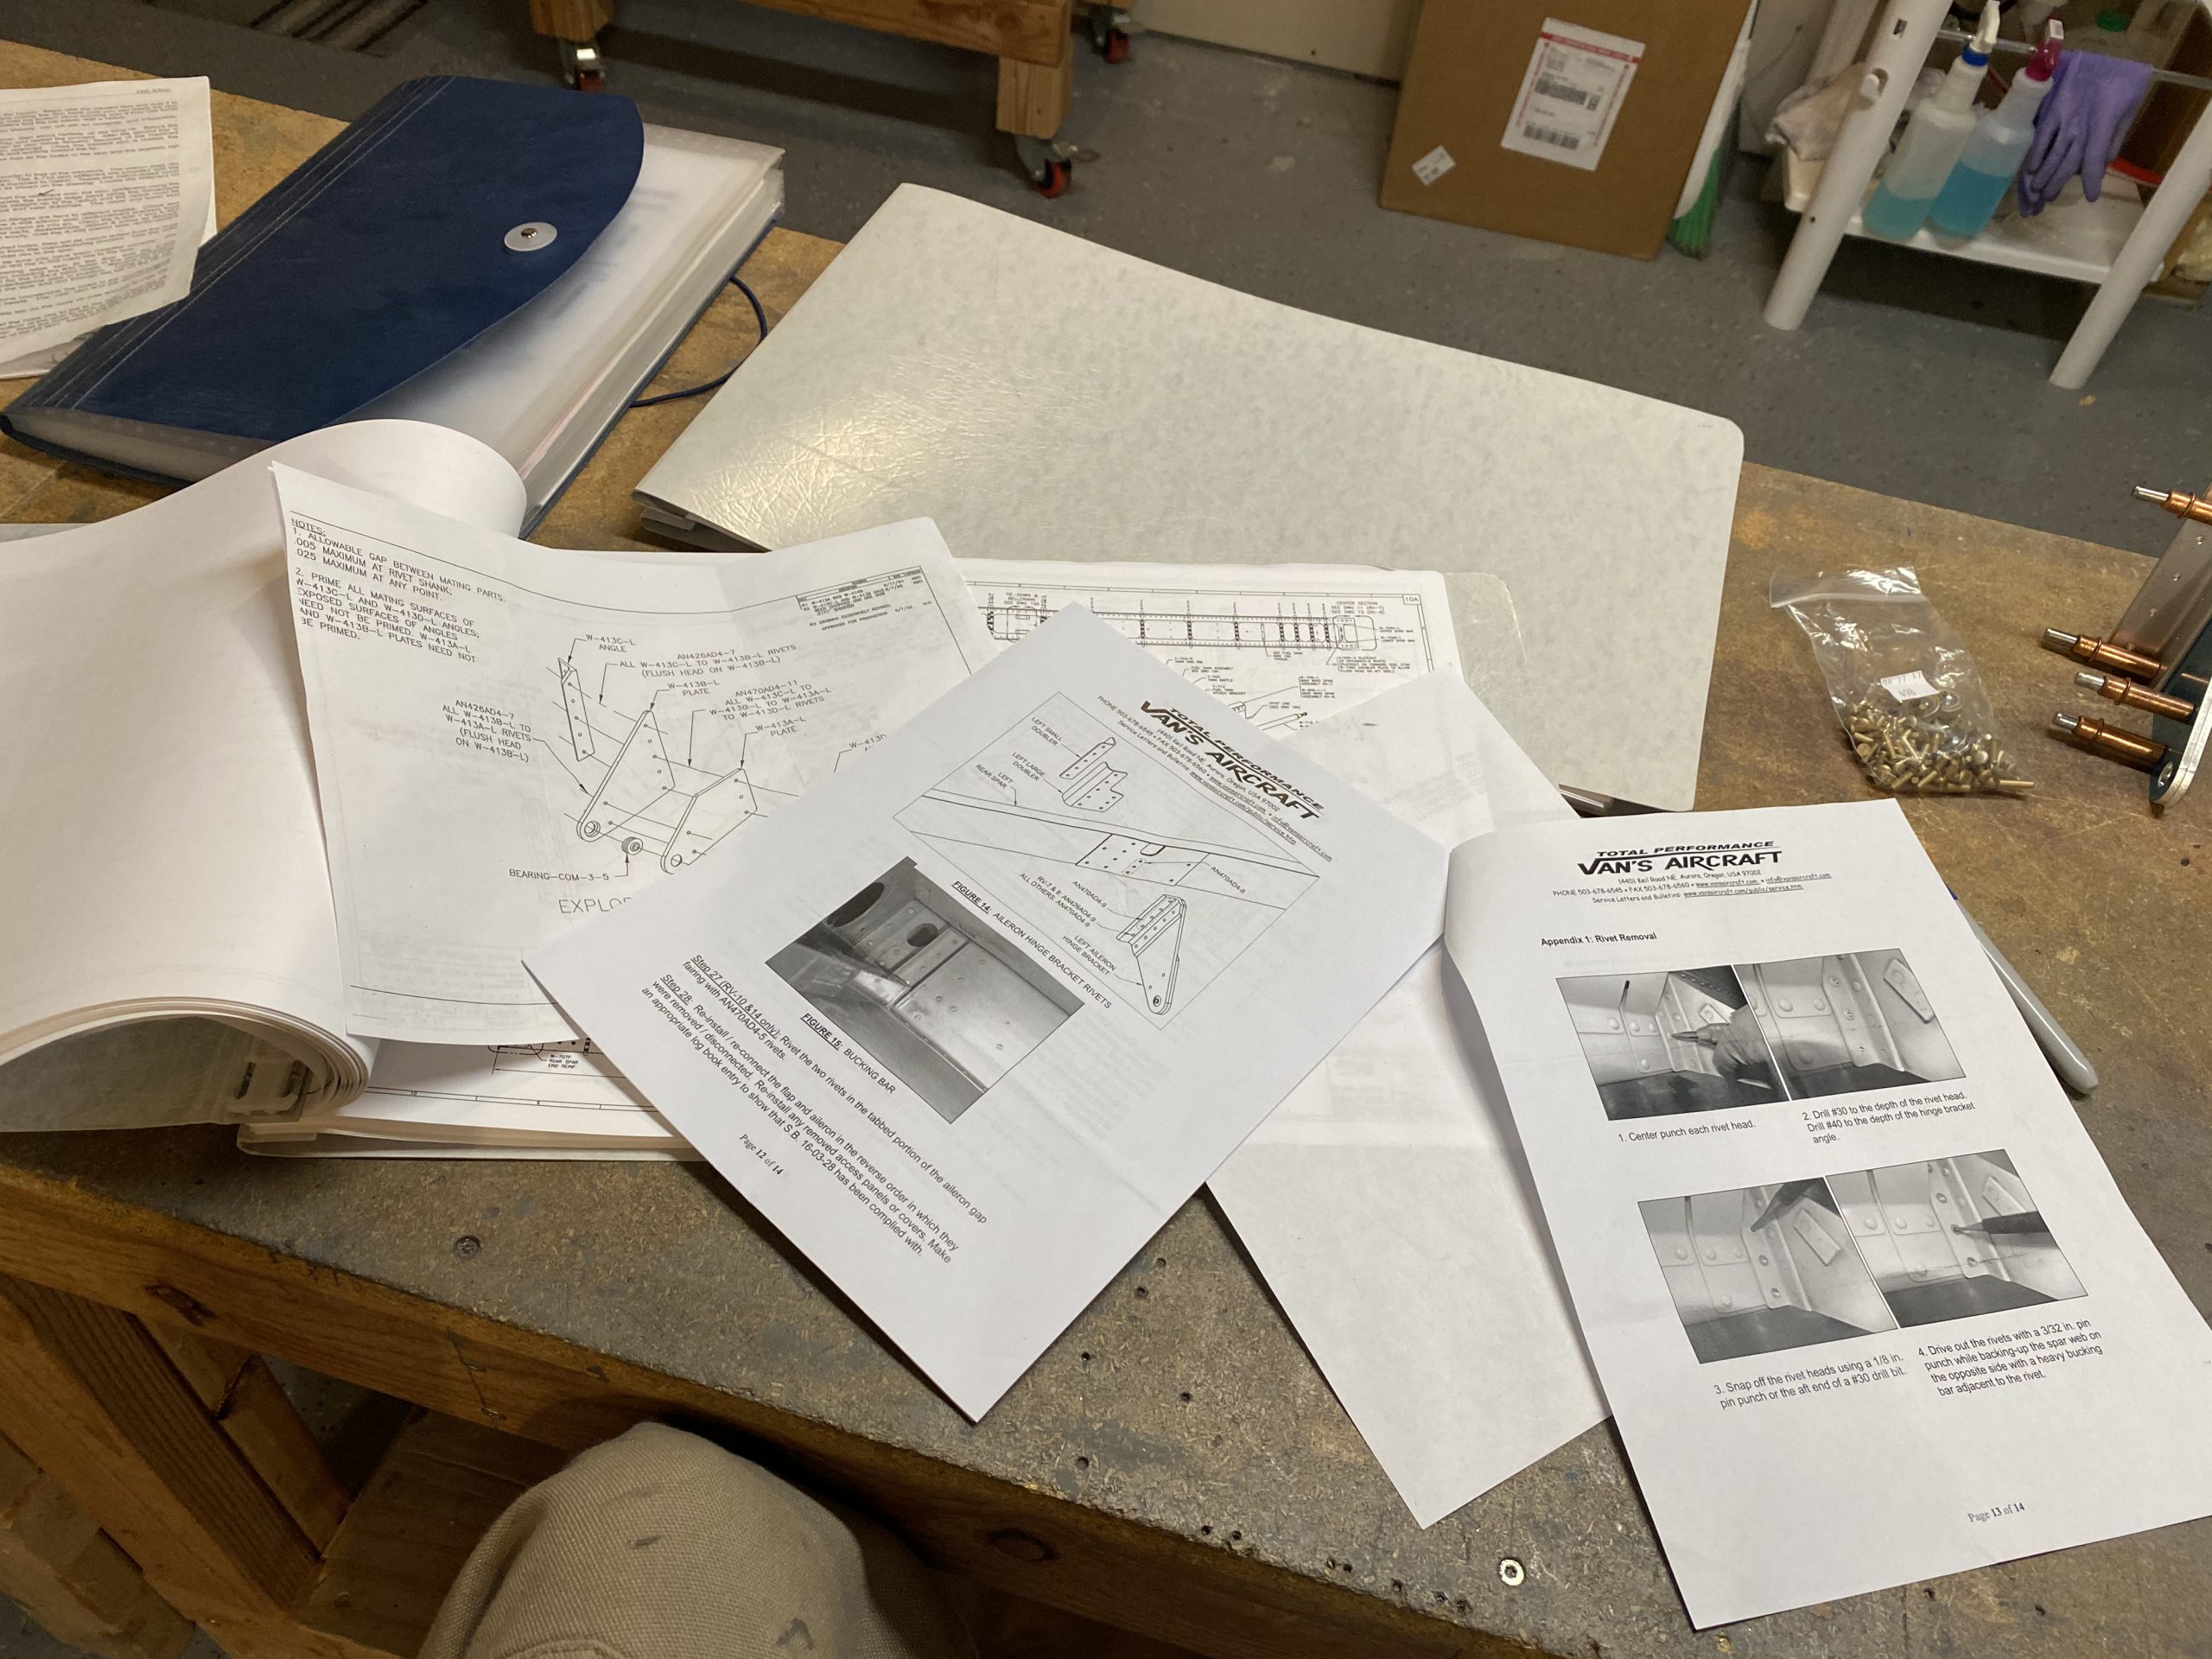
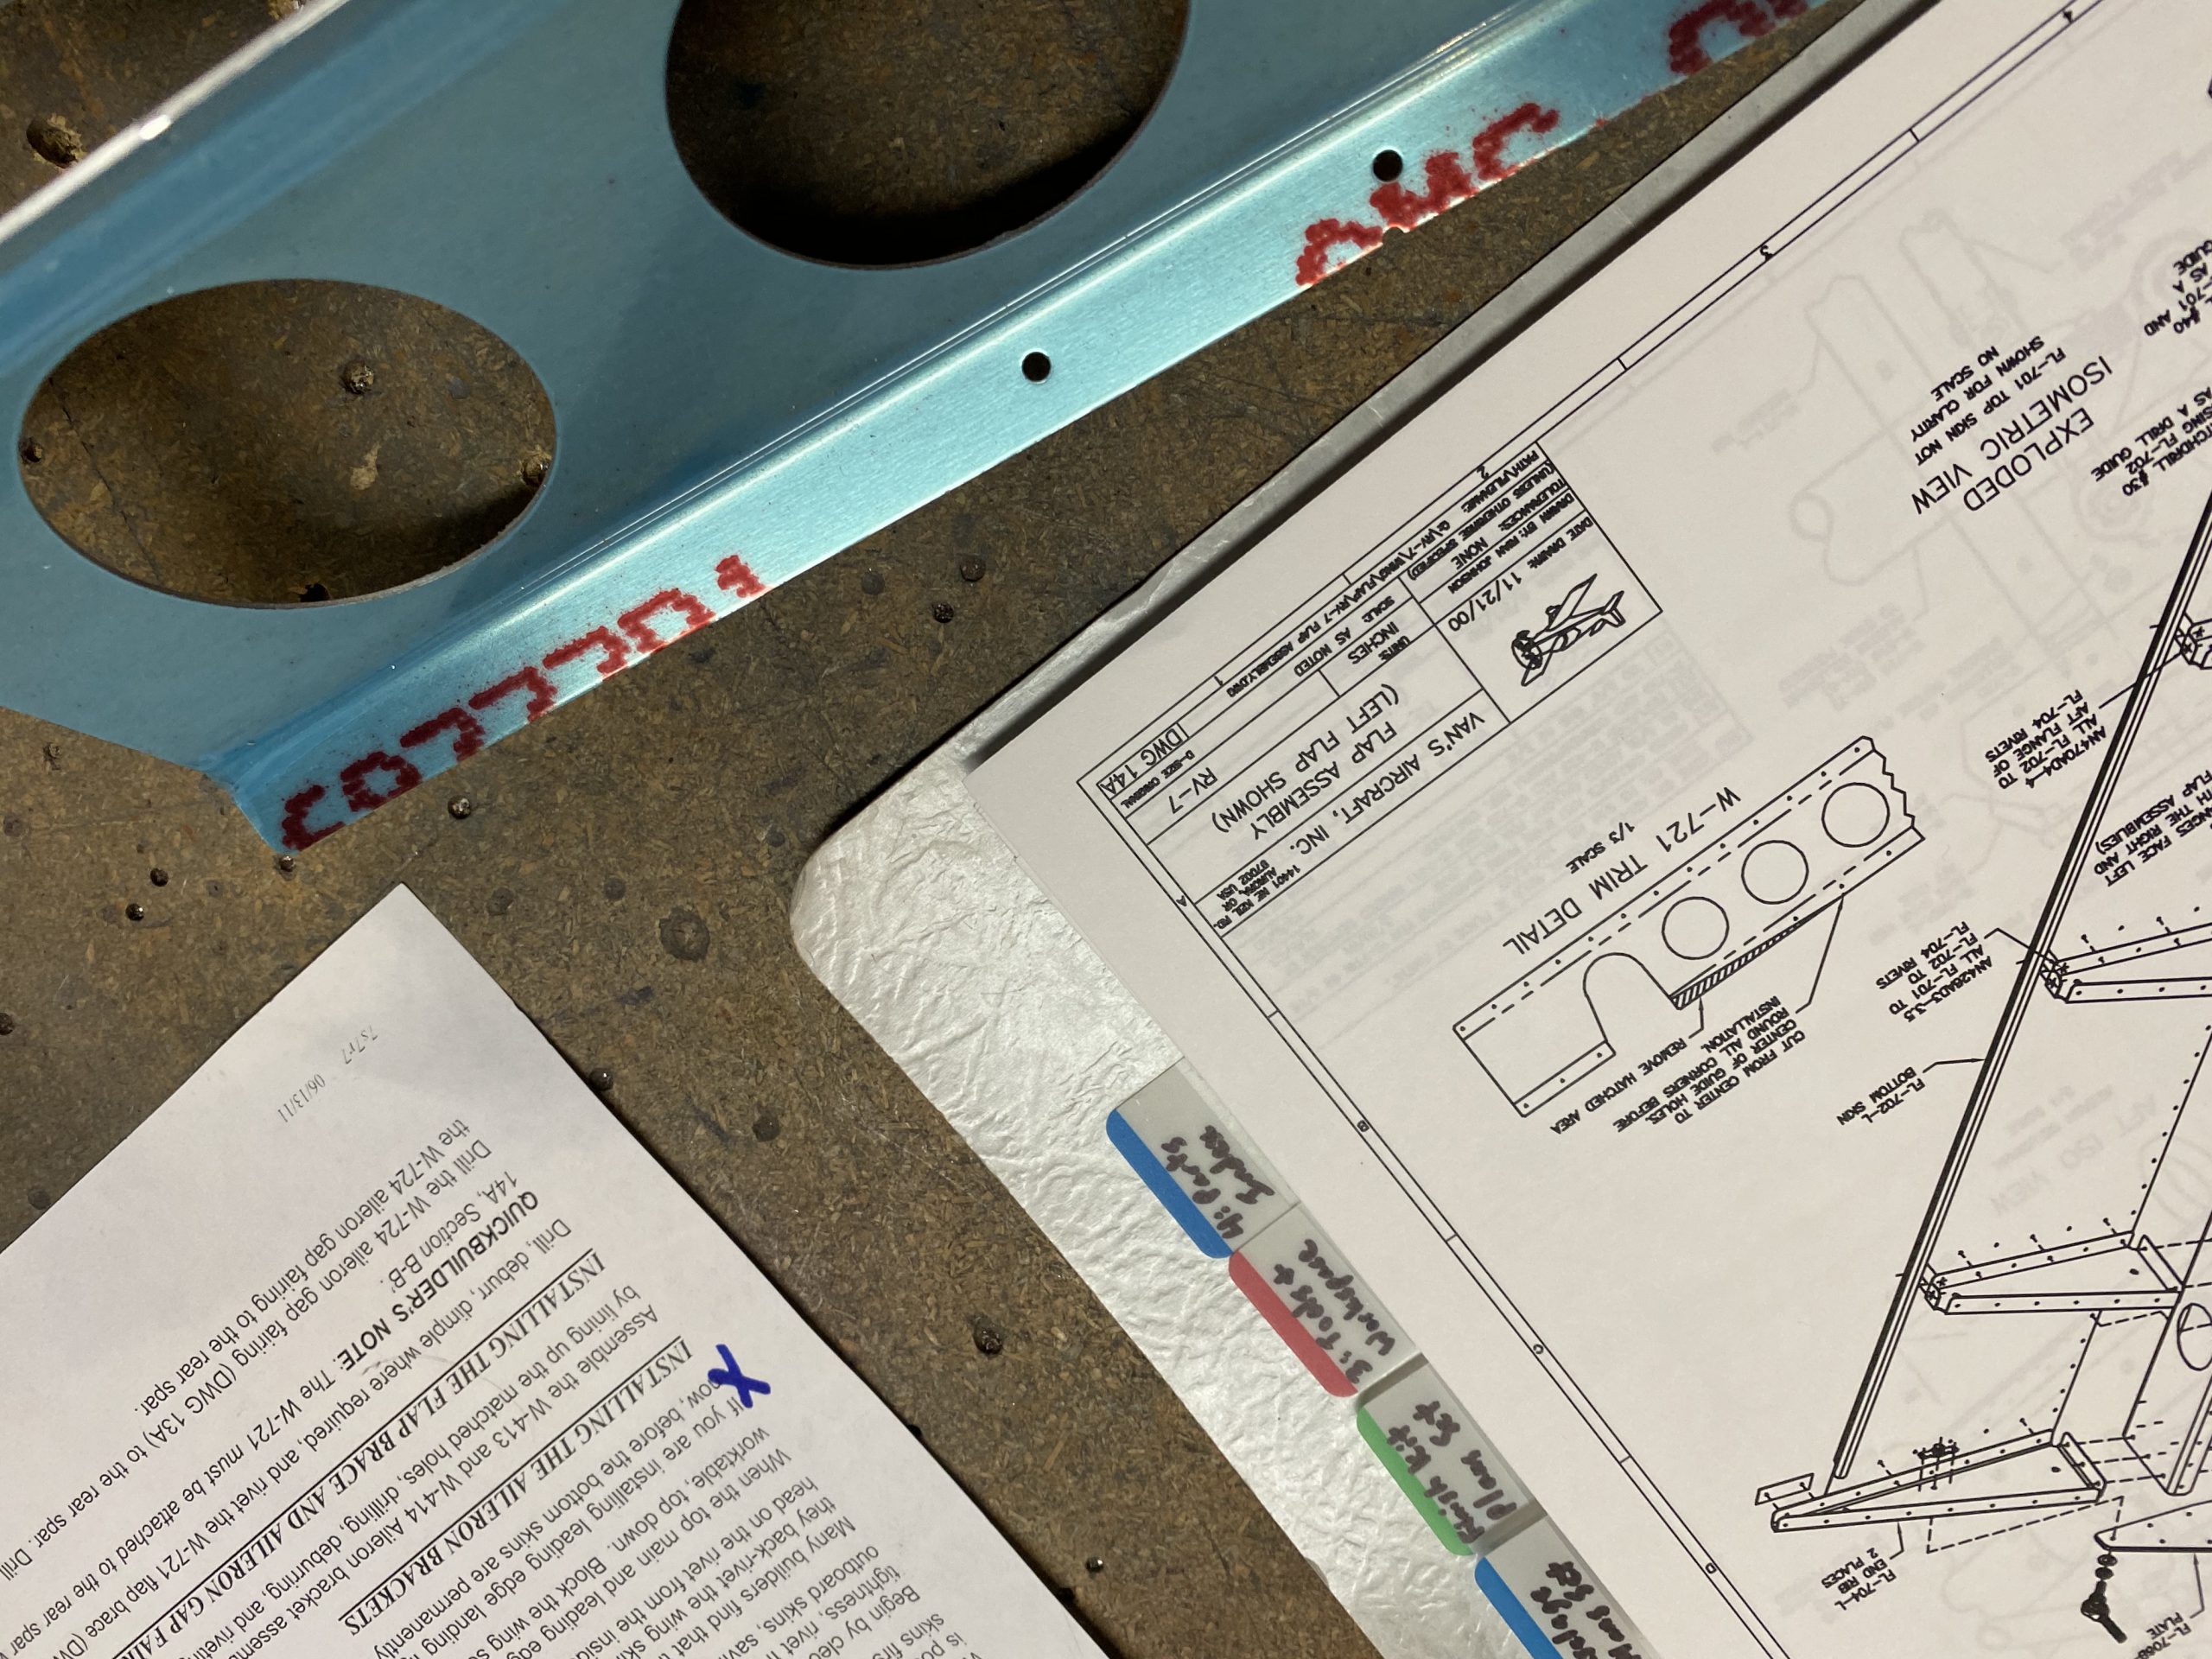
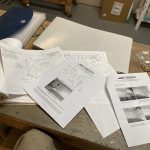
see Vans ships the brackets in a sub-kit complete with its own plans on how to assemble the brackets. The main assembly plans just shows us the already-assembled bracket and where it goes on the wing. Heres a photo of me studying the plans and the sub-kit instructions.
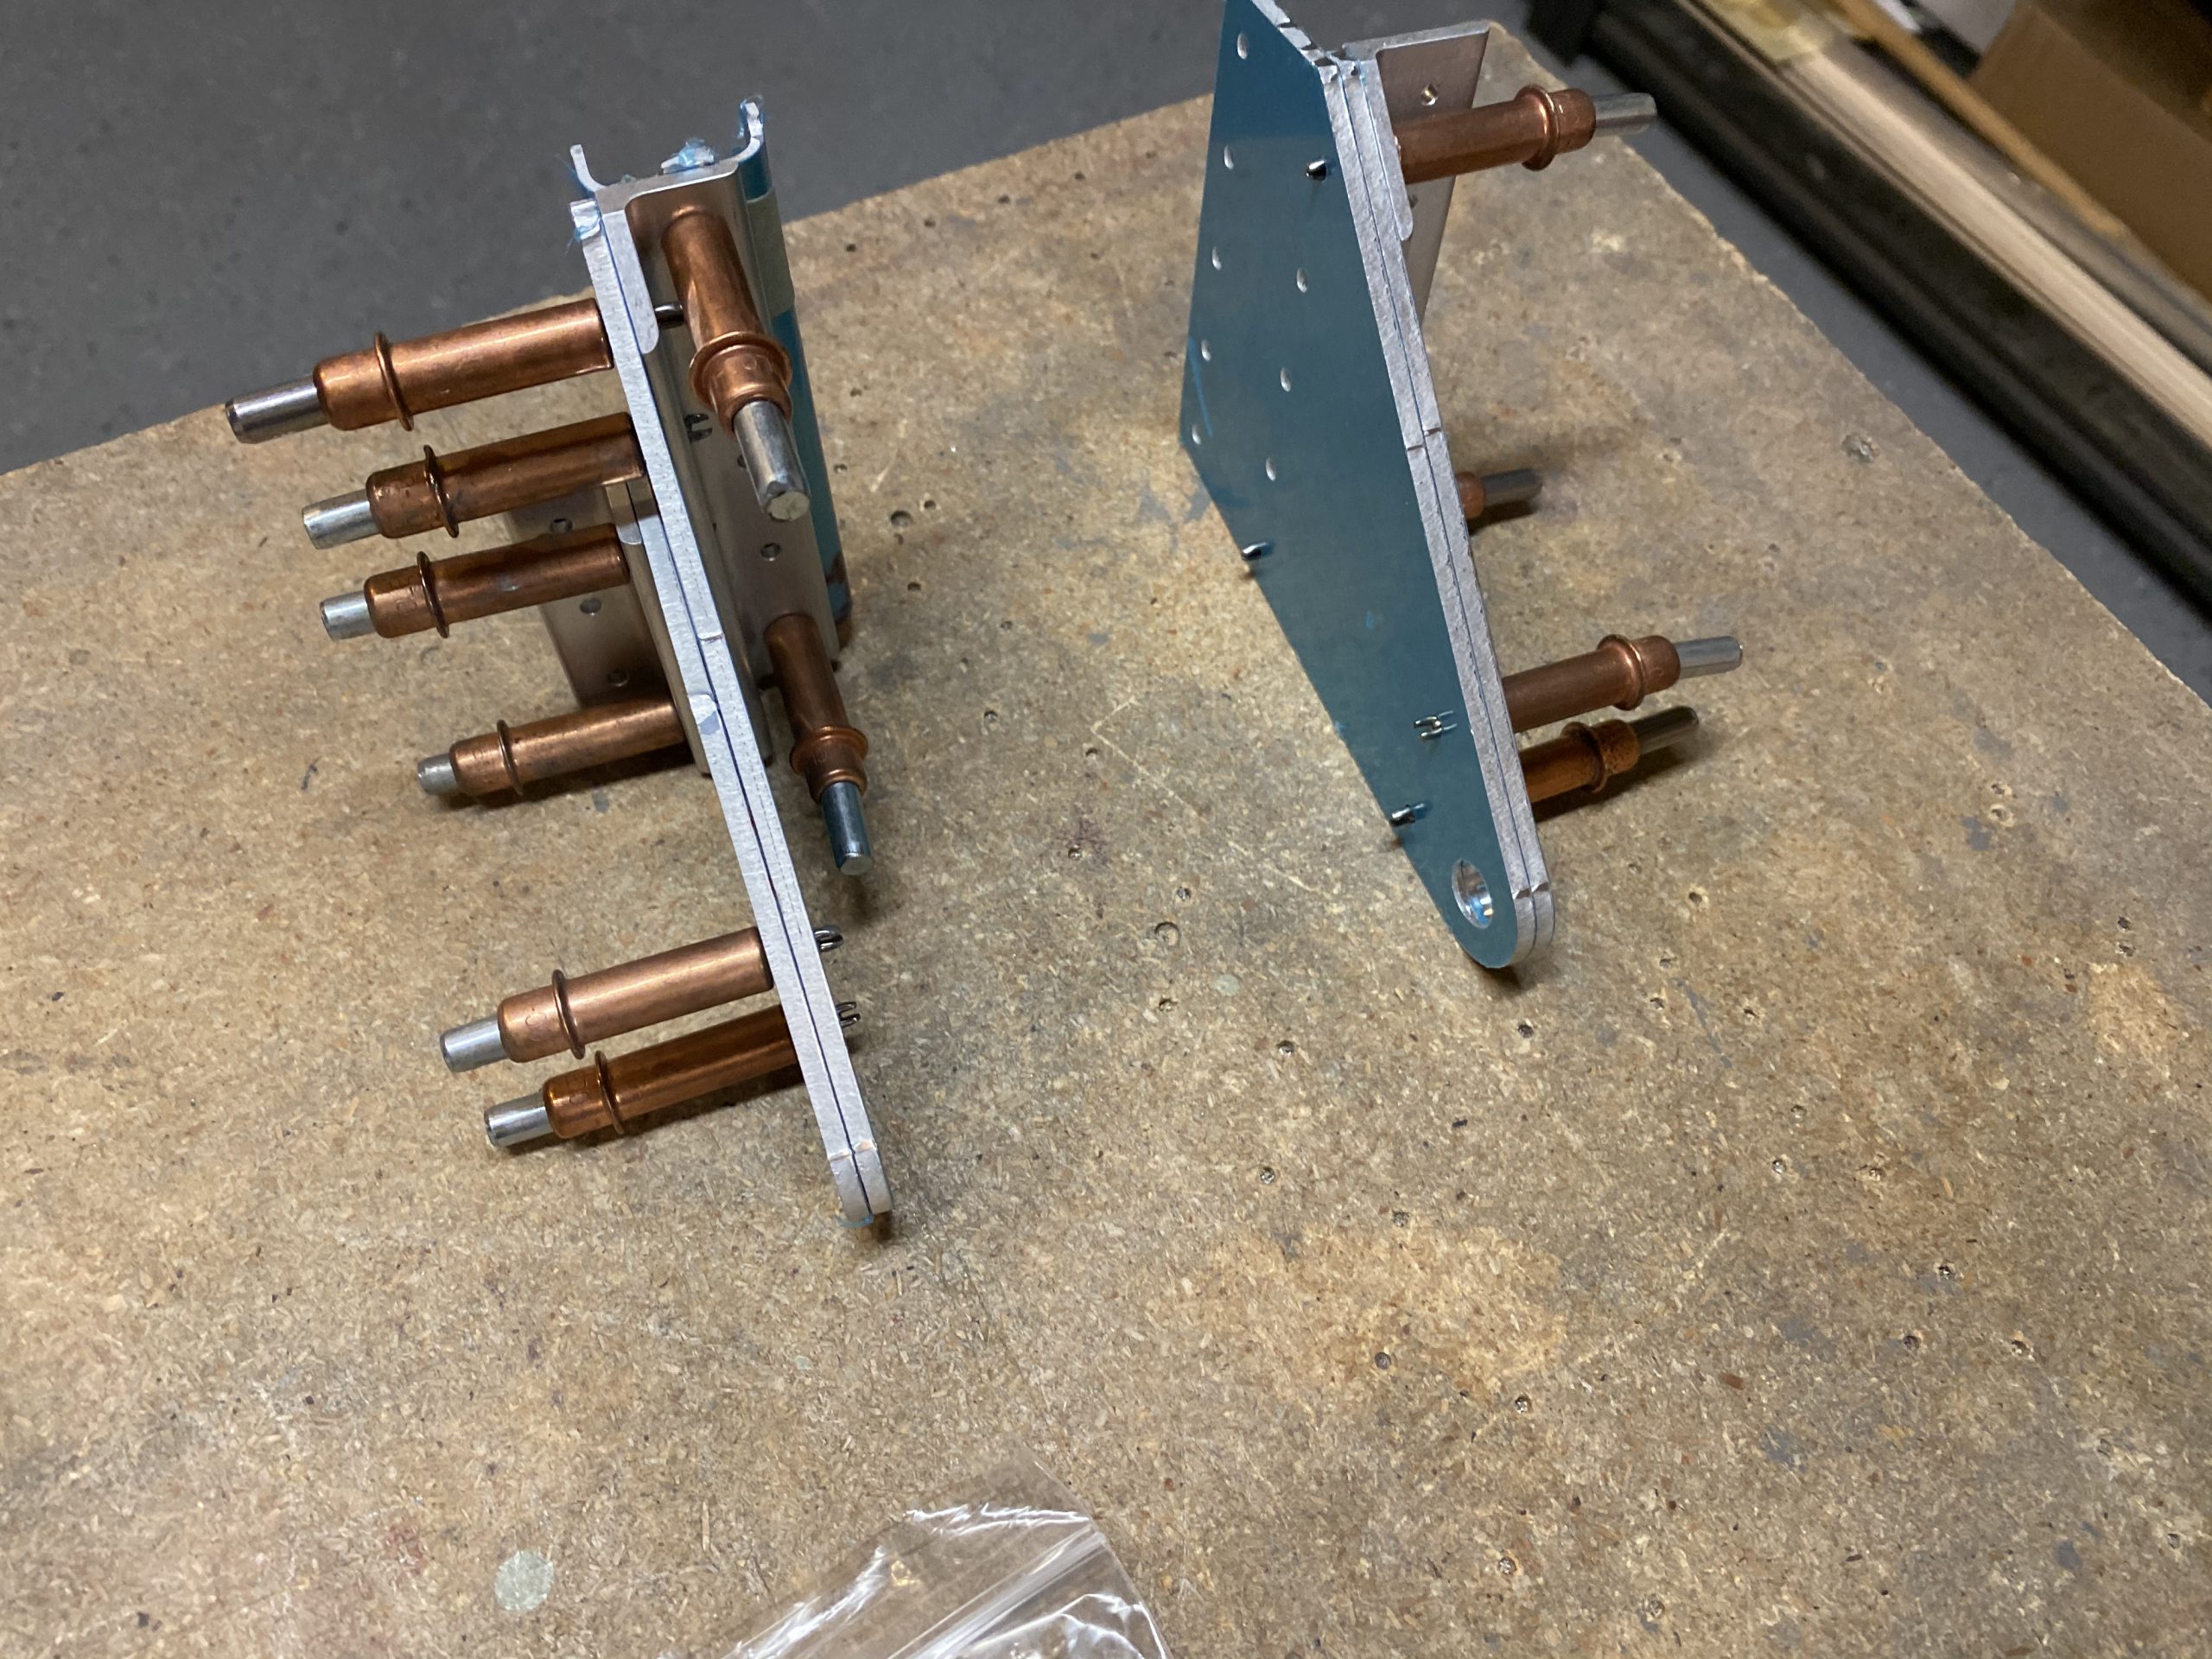
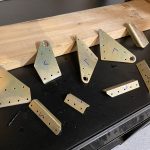
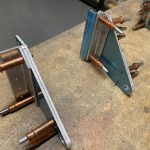
https://thesentinelgroup.com/talcum-ovarian-cancer/ I had taken some time previously to look over the plans and do some rough assembly of these things just to get an idea. So I dug into it, and got them clecoed together, and then match drilled all the holes.
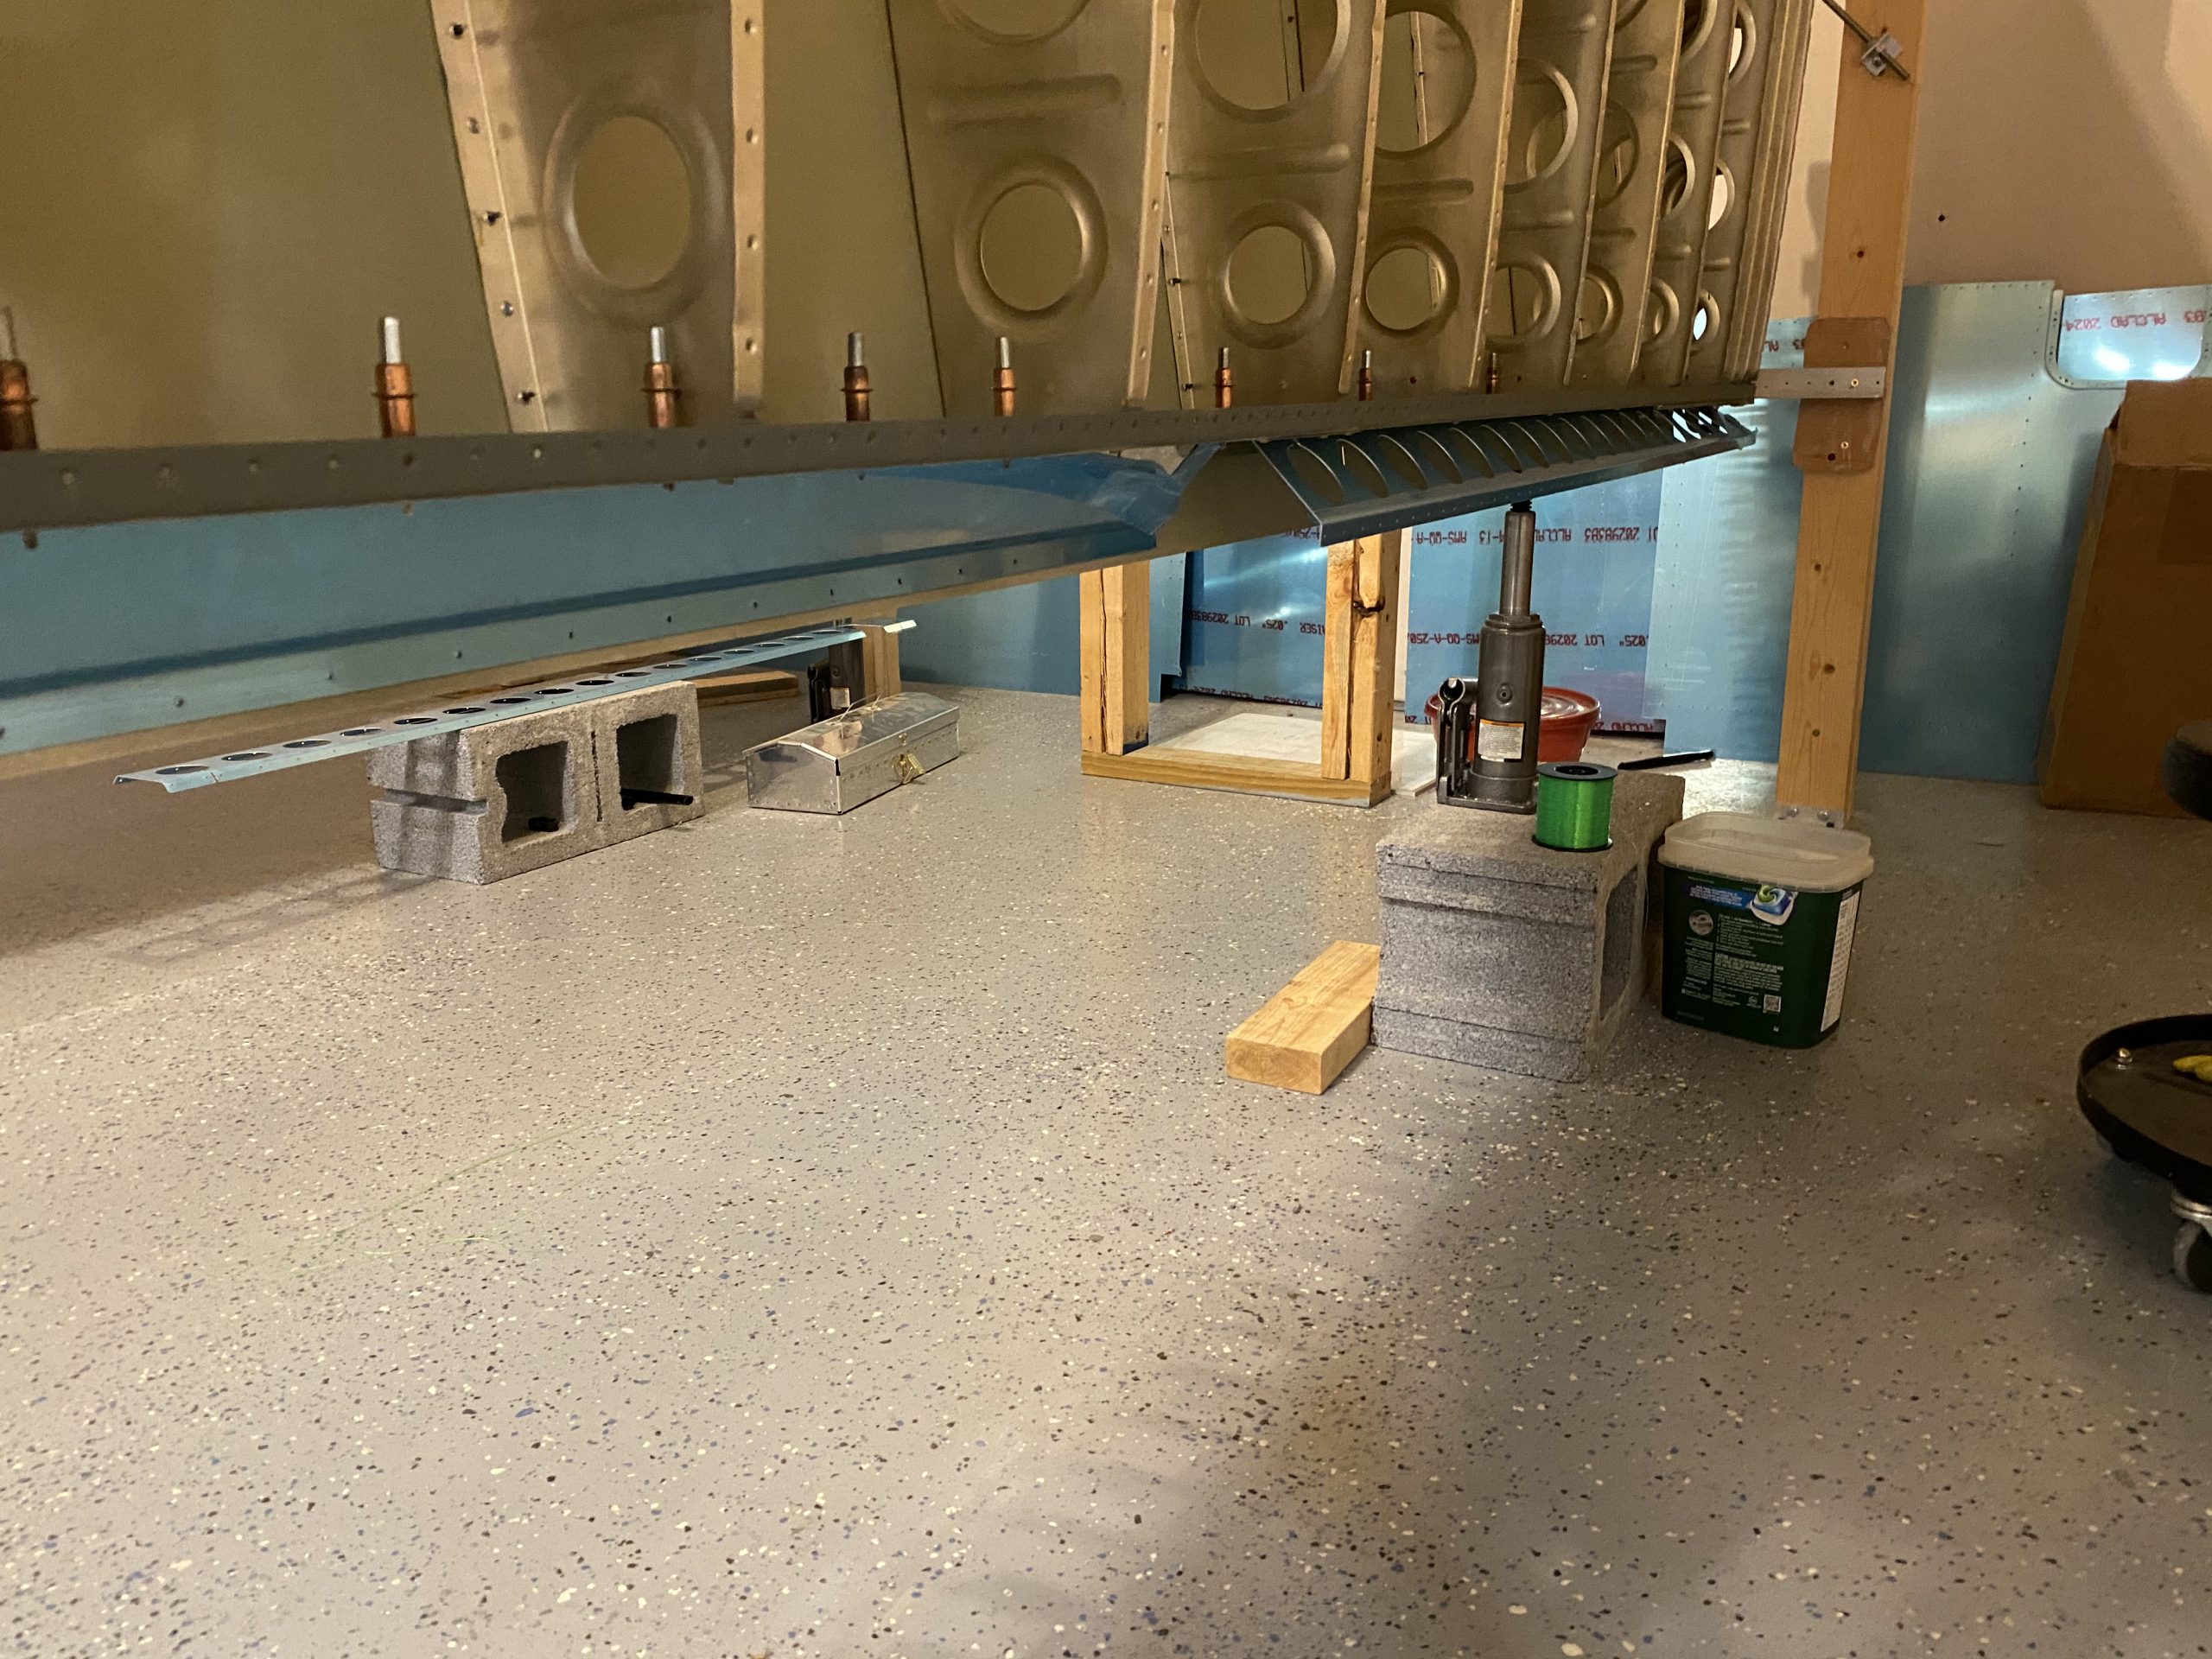
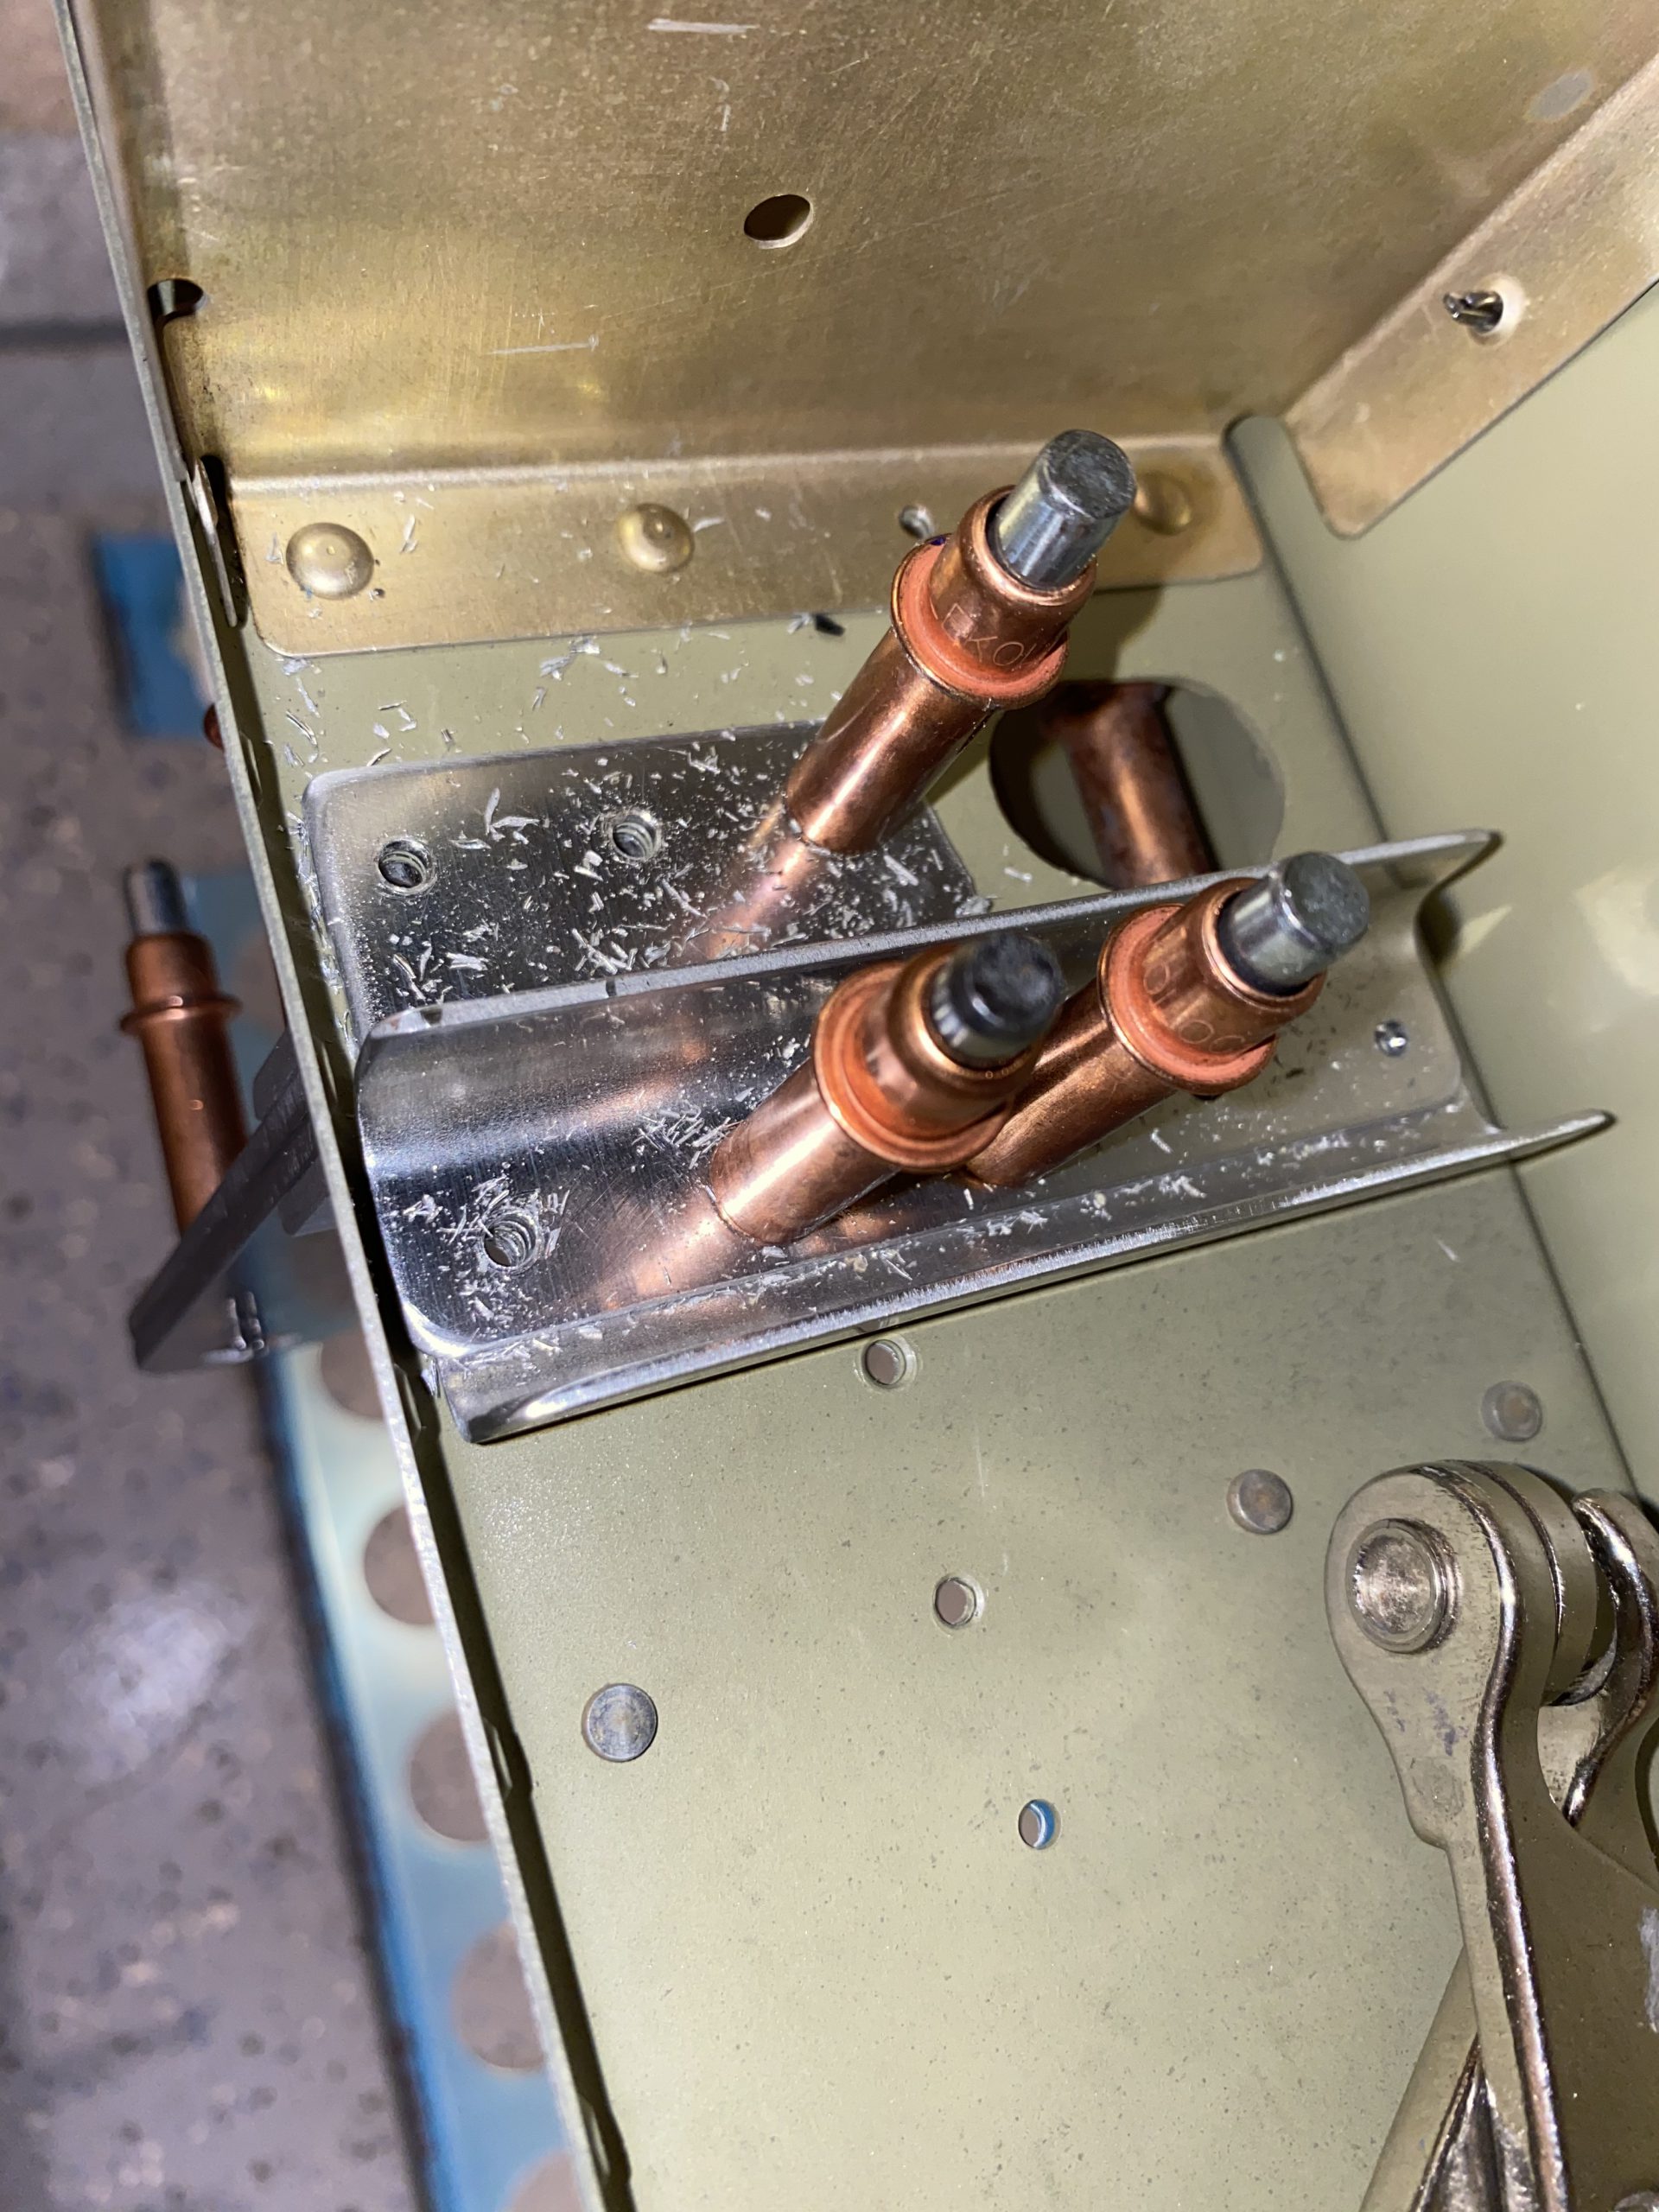
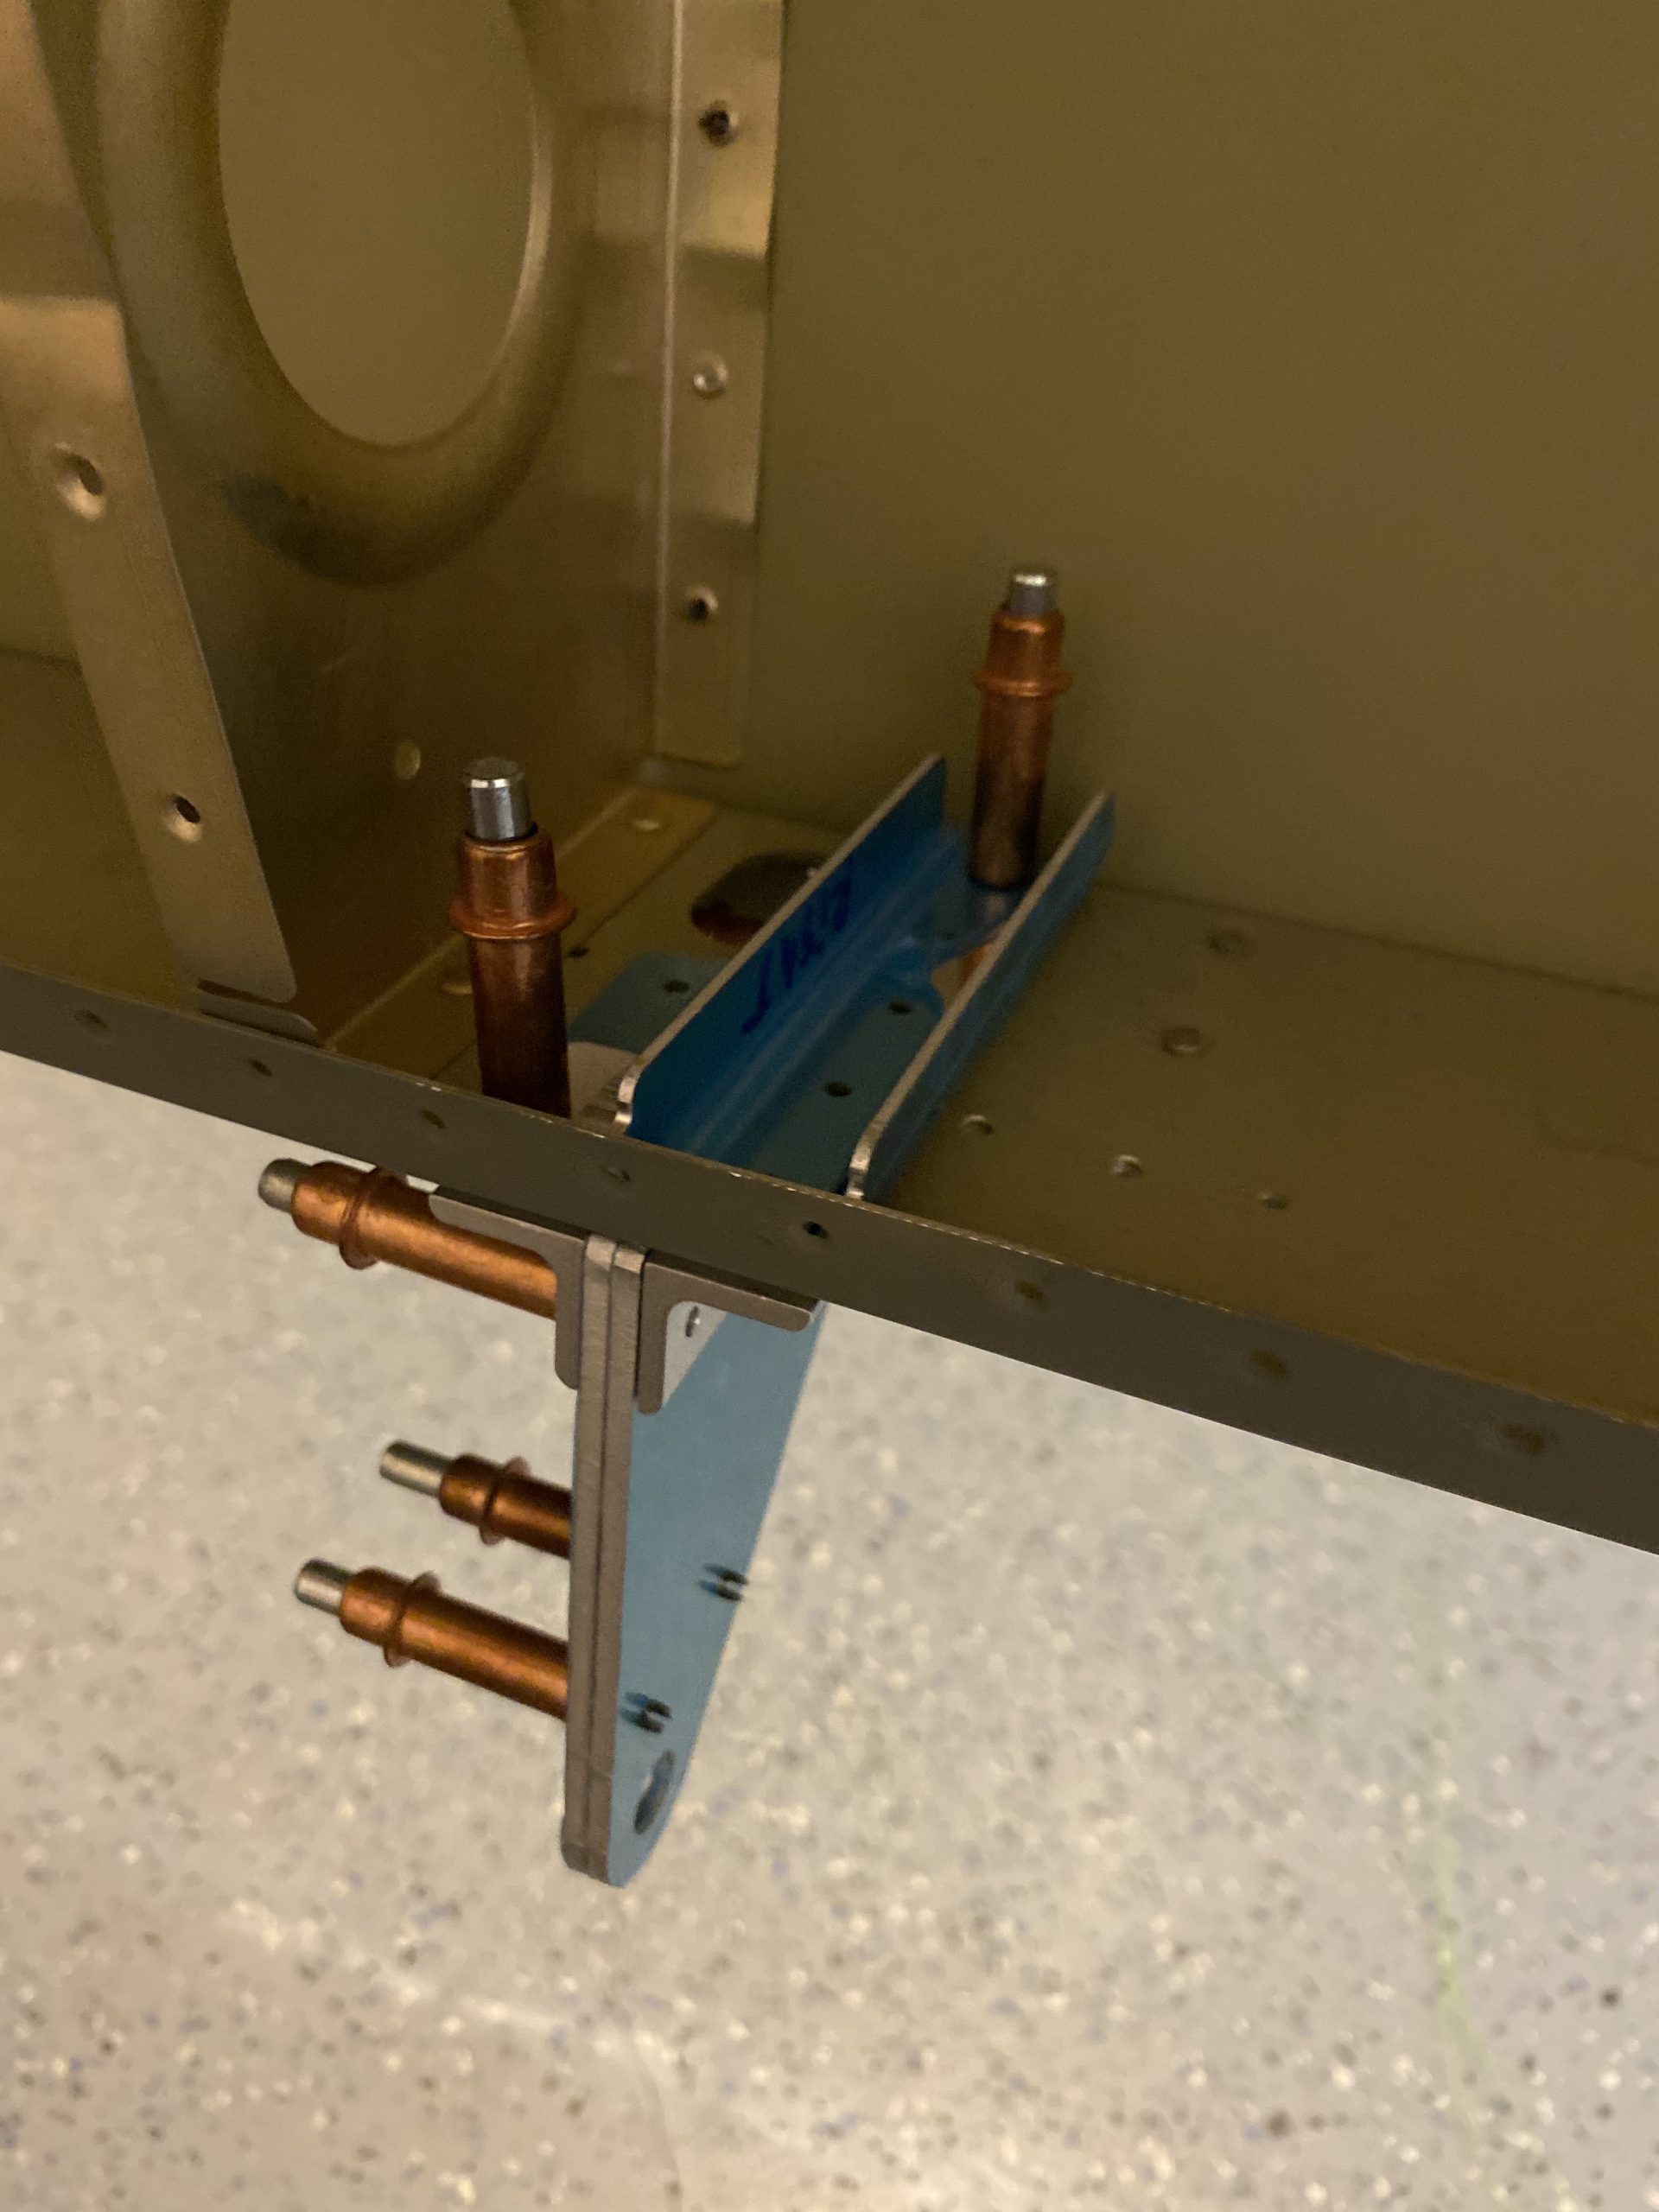
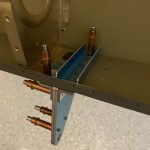
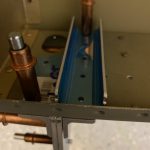
Zolpidem 5Mg Order Online Once I had the holes match drilled in the brackets, I took the assemblies over to the wing and clecoed them in place so that I could match drill the holes for the brackets with the rear spar, as well as the doublers that shipped in the service bulletin kit. This SB includes a several doubler plates that get mounted on the rear spar side of where the inboard aileron brackets mount, and serve to reinforce this area against cracking. It’s good to get this done while building as its super easy to access. You can see the doublers no the leading edge side of the rear spar (interior of the wing):
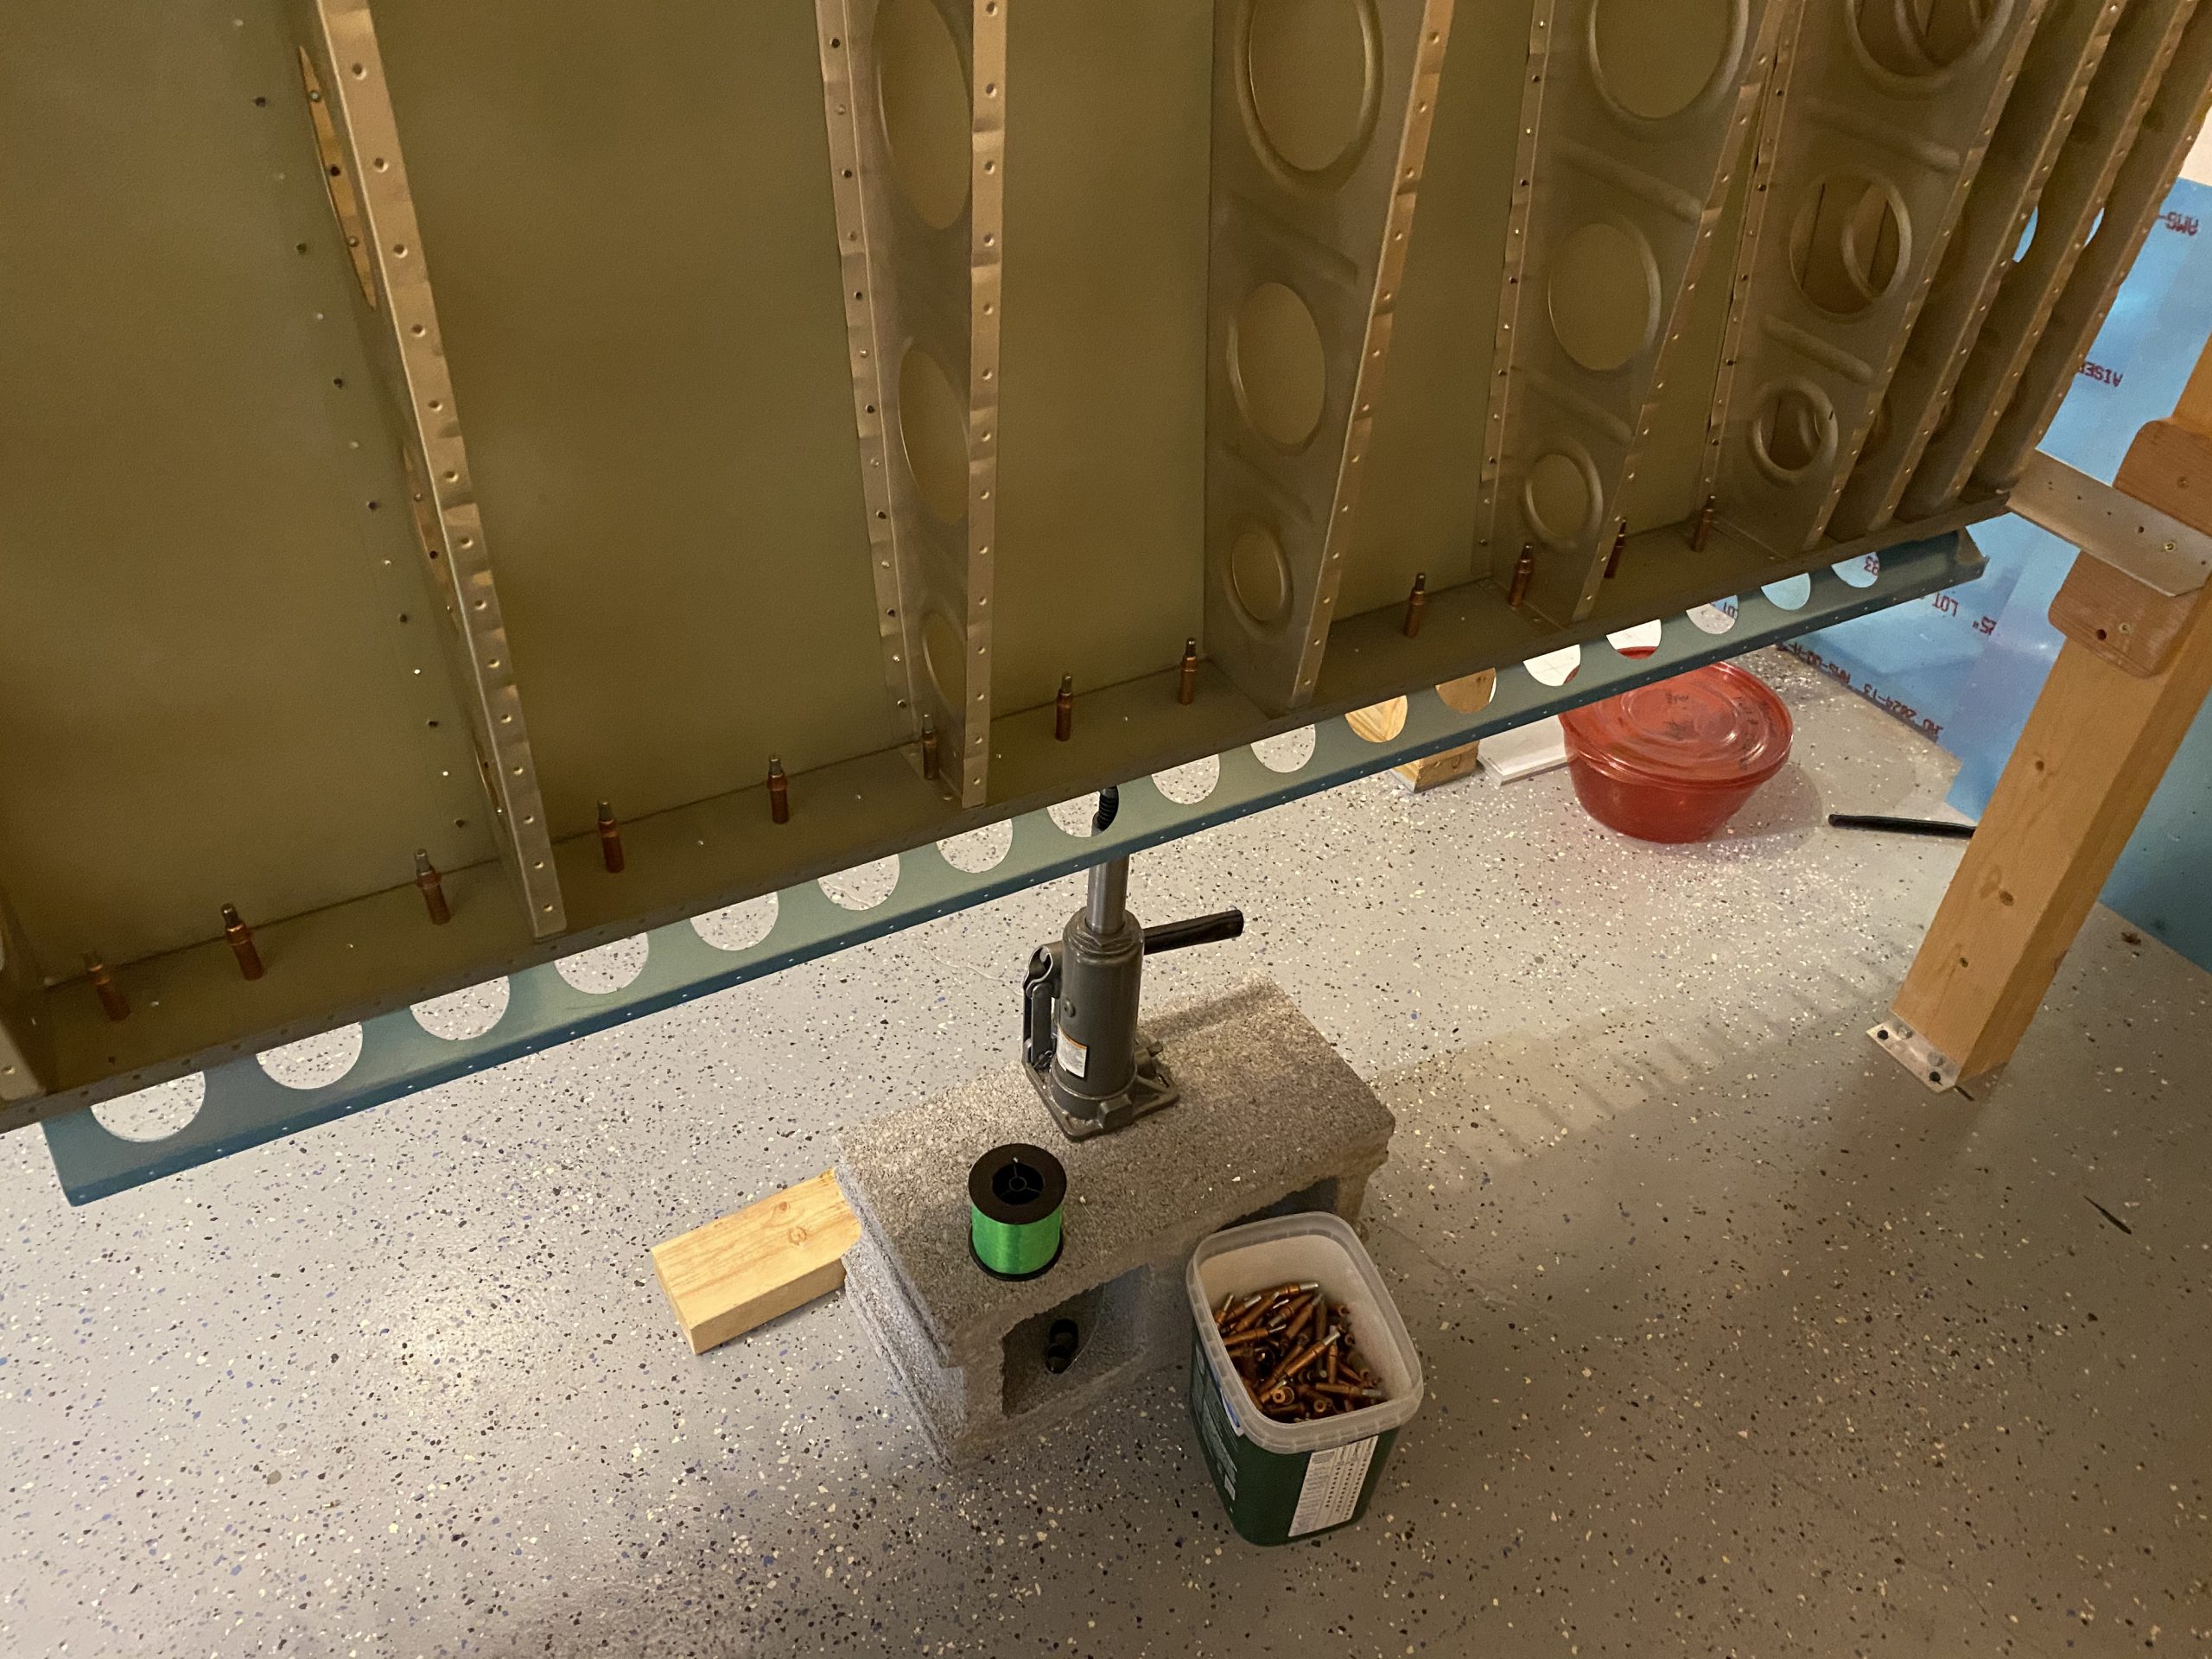
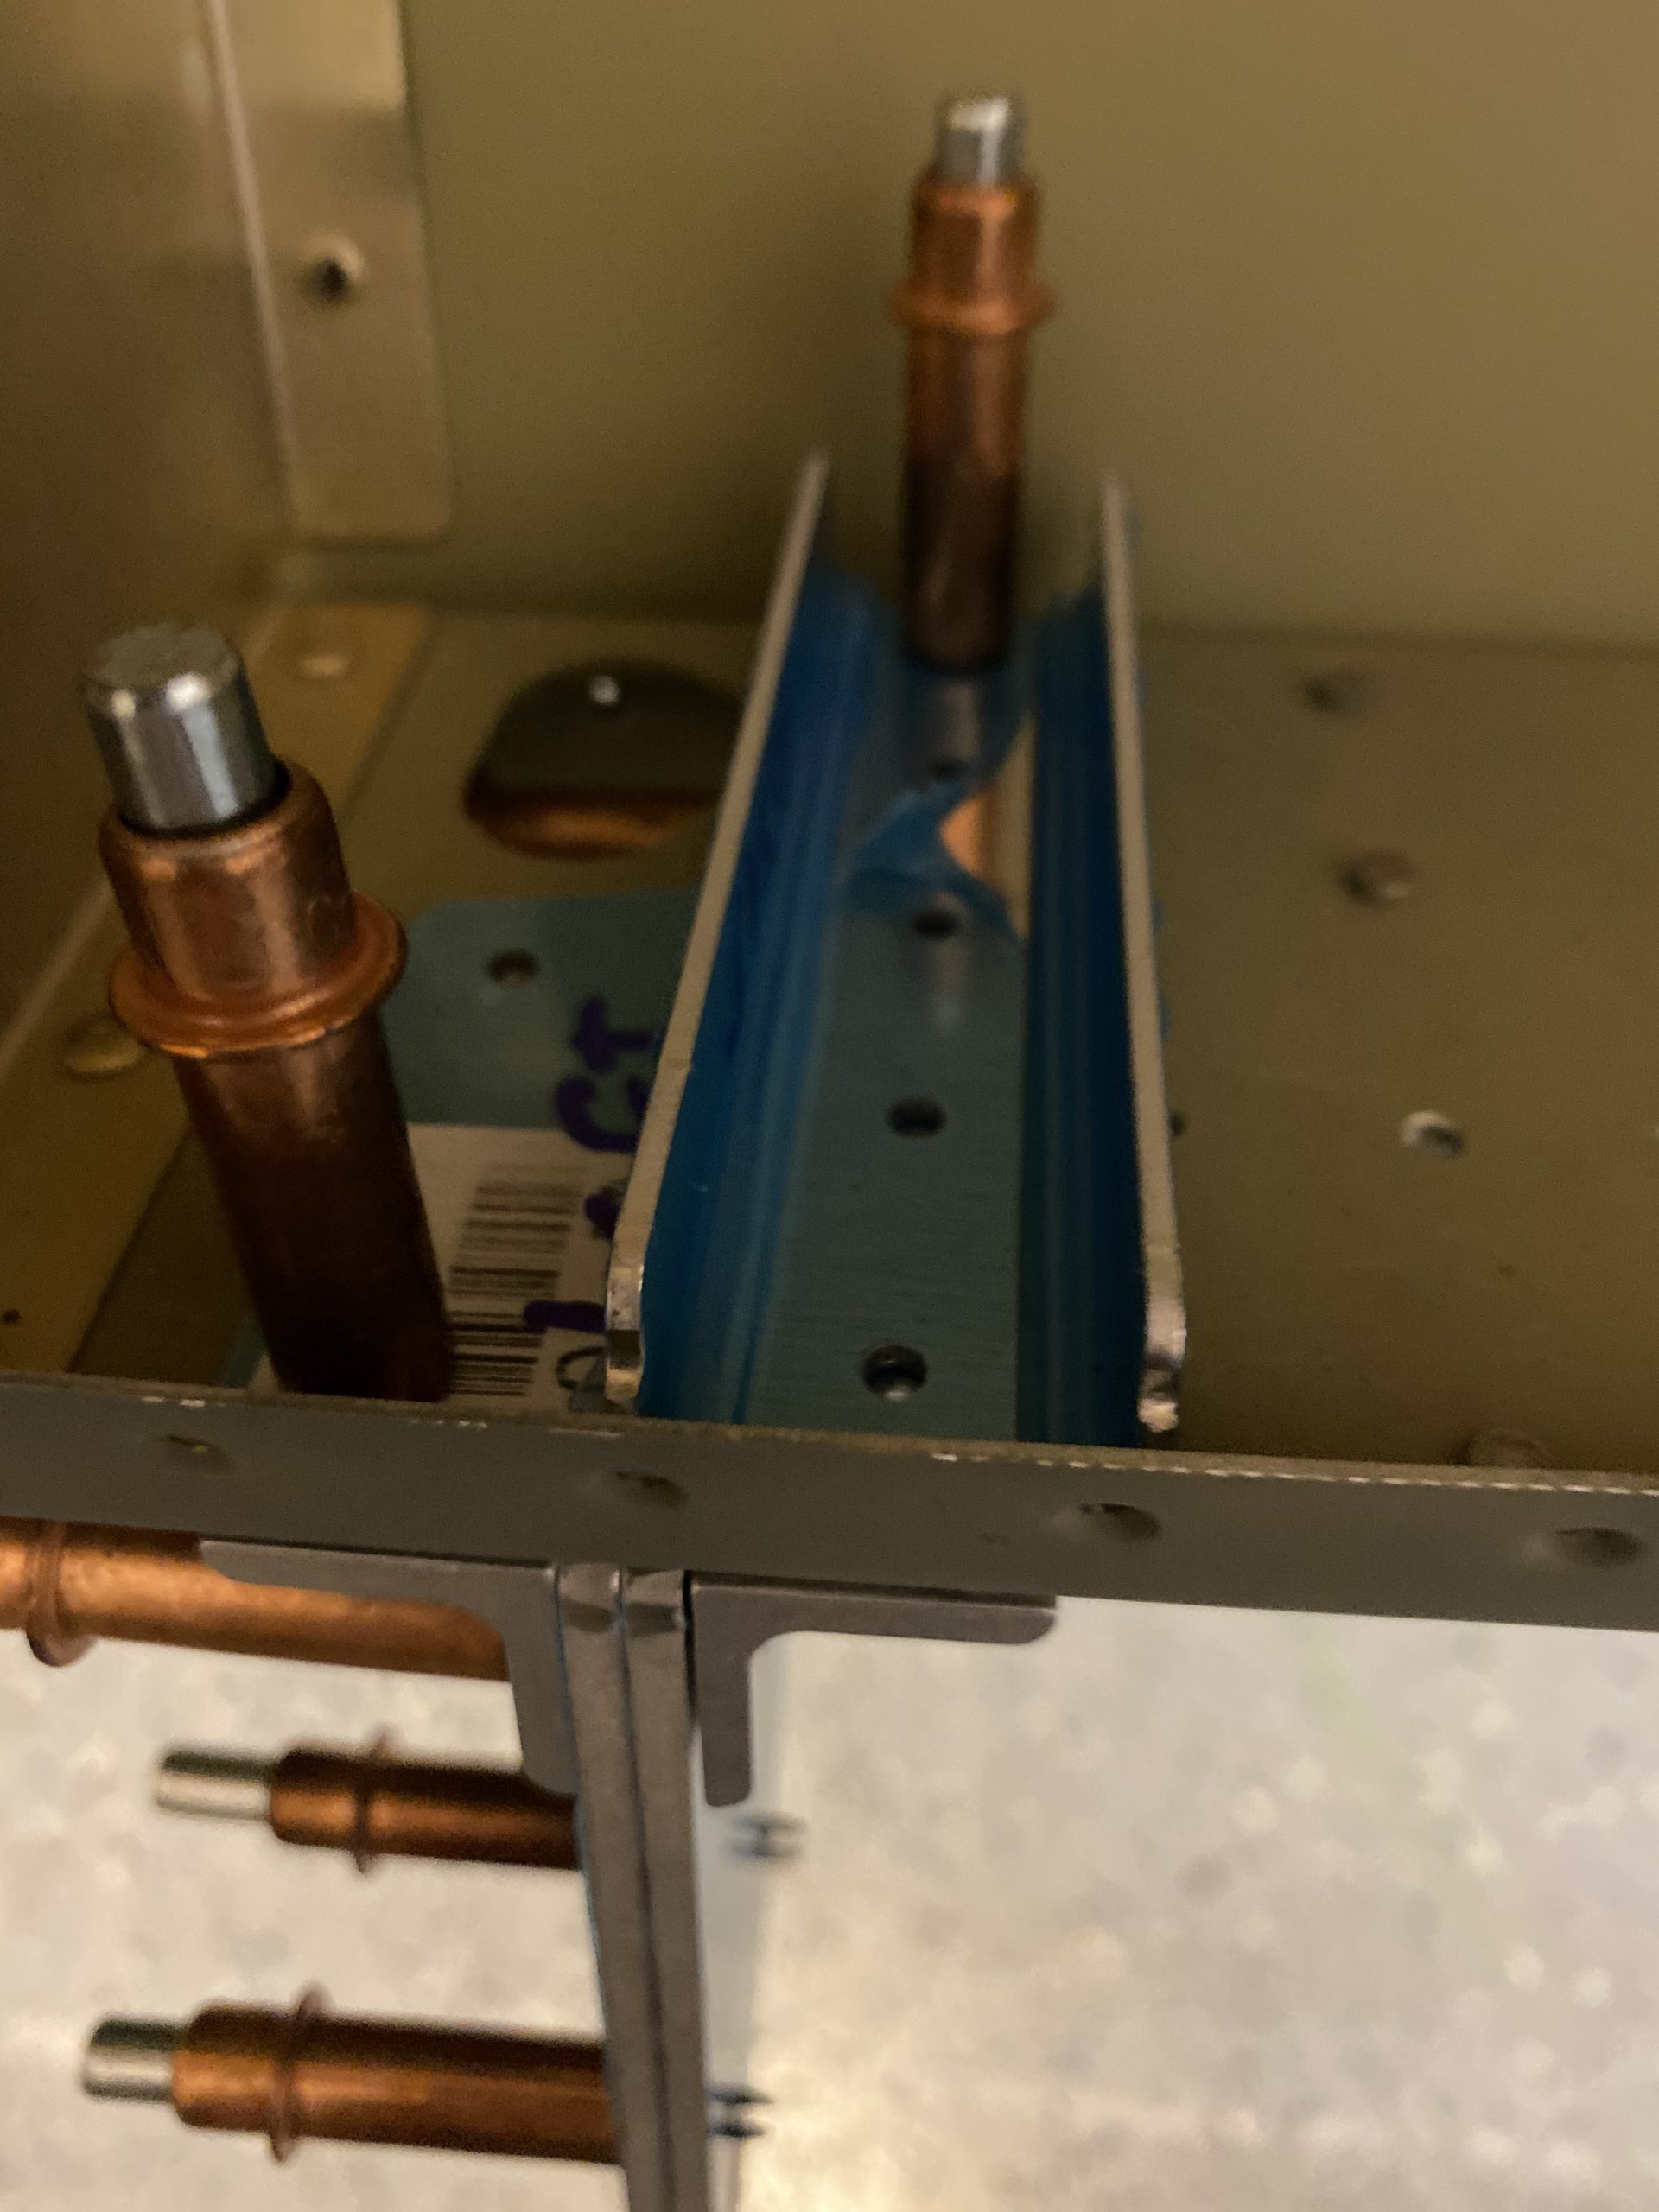
follow You’ll notice in the photos above how the webs that are sticking up in those photos interfere with the rivet holes in the rear spar web where the bottom skin rivets. I marked on these webs with a sharpie where I thought it would be good to remove a small portion of the web to make clearance for those rivets. Later on, I used my bench grinder to grind off this area that I had marked. At this point, the aileron brackets for both wings had been fully match drilled.
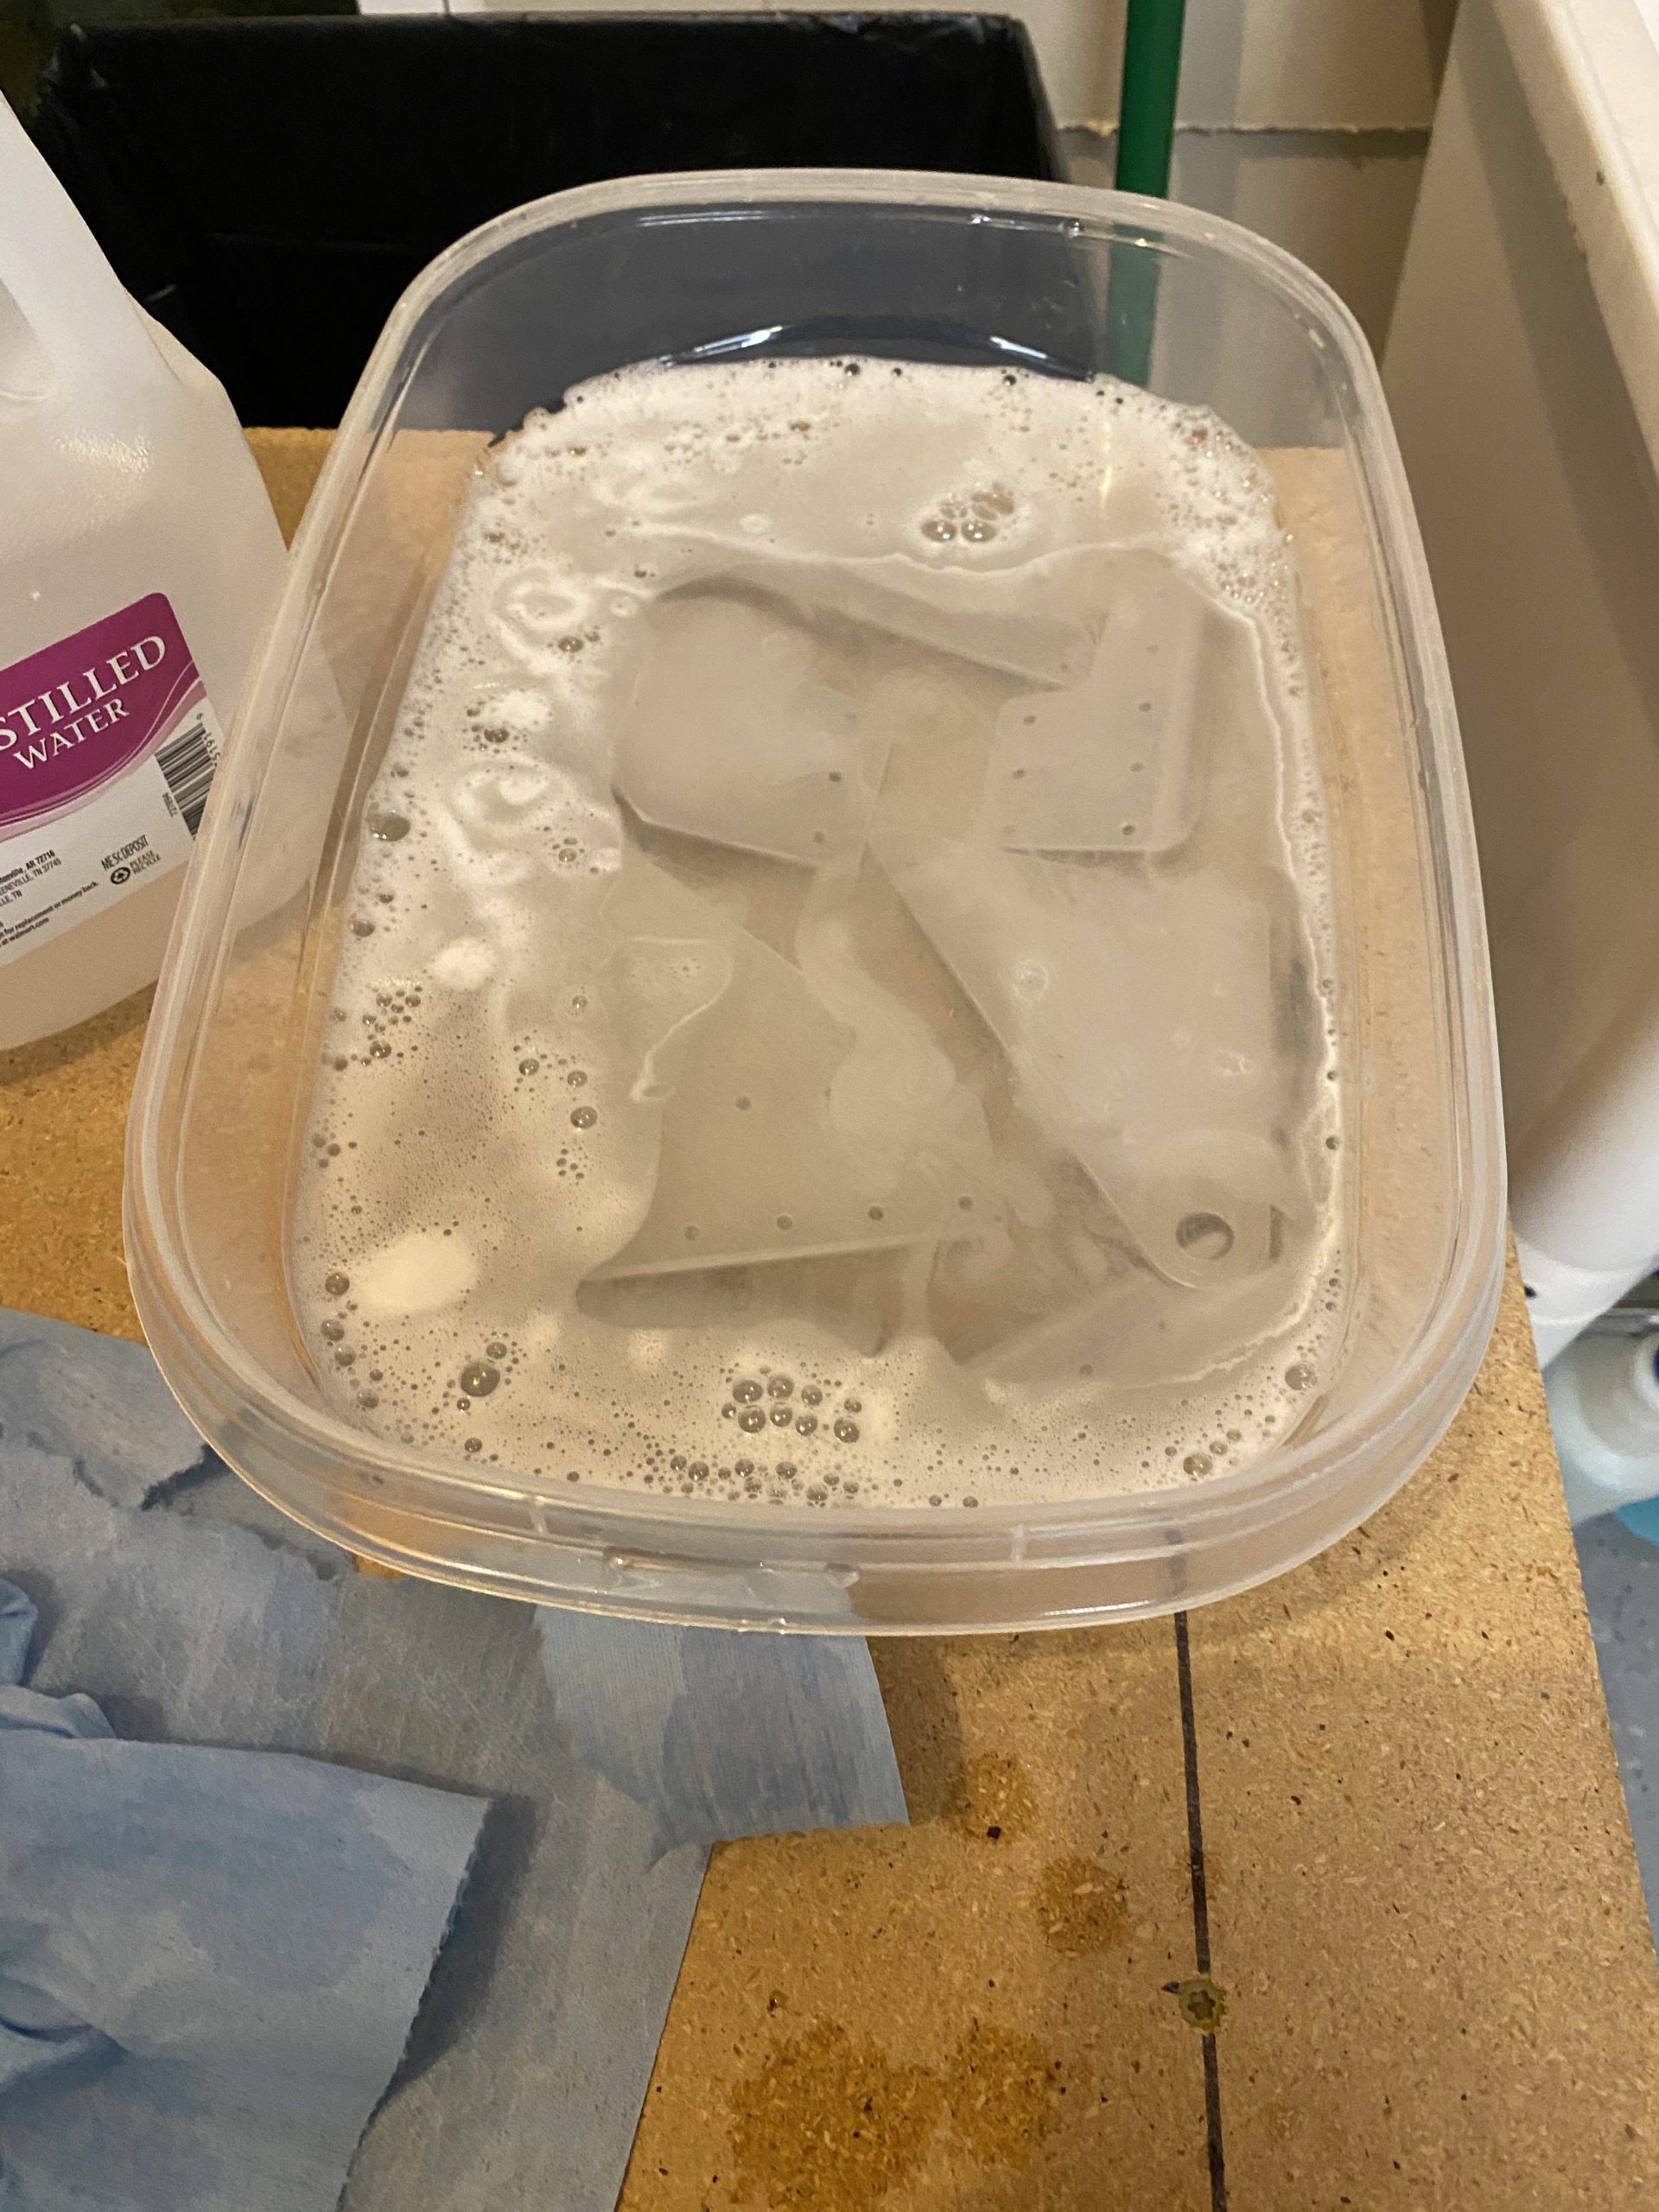
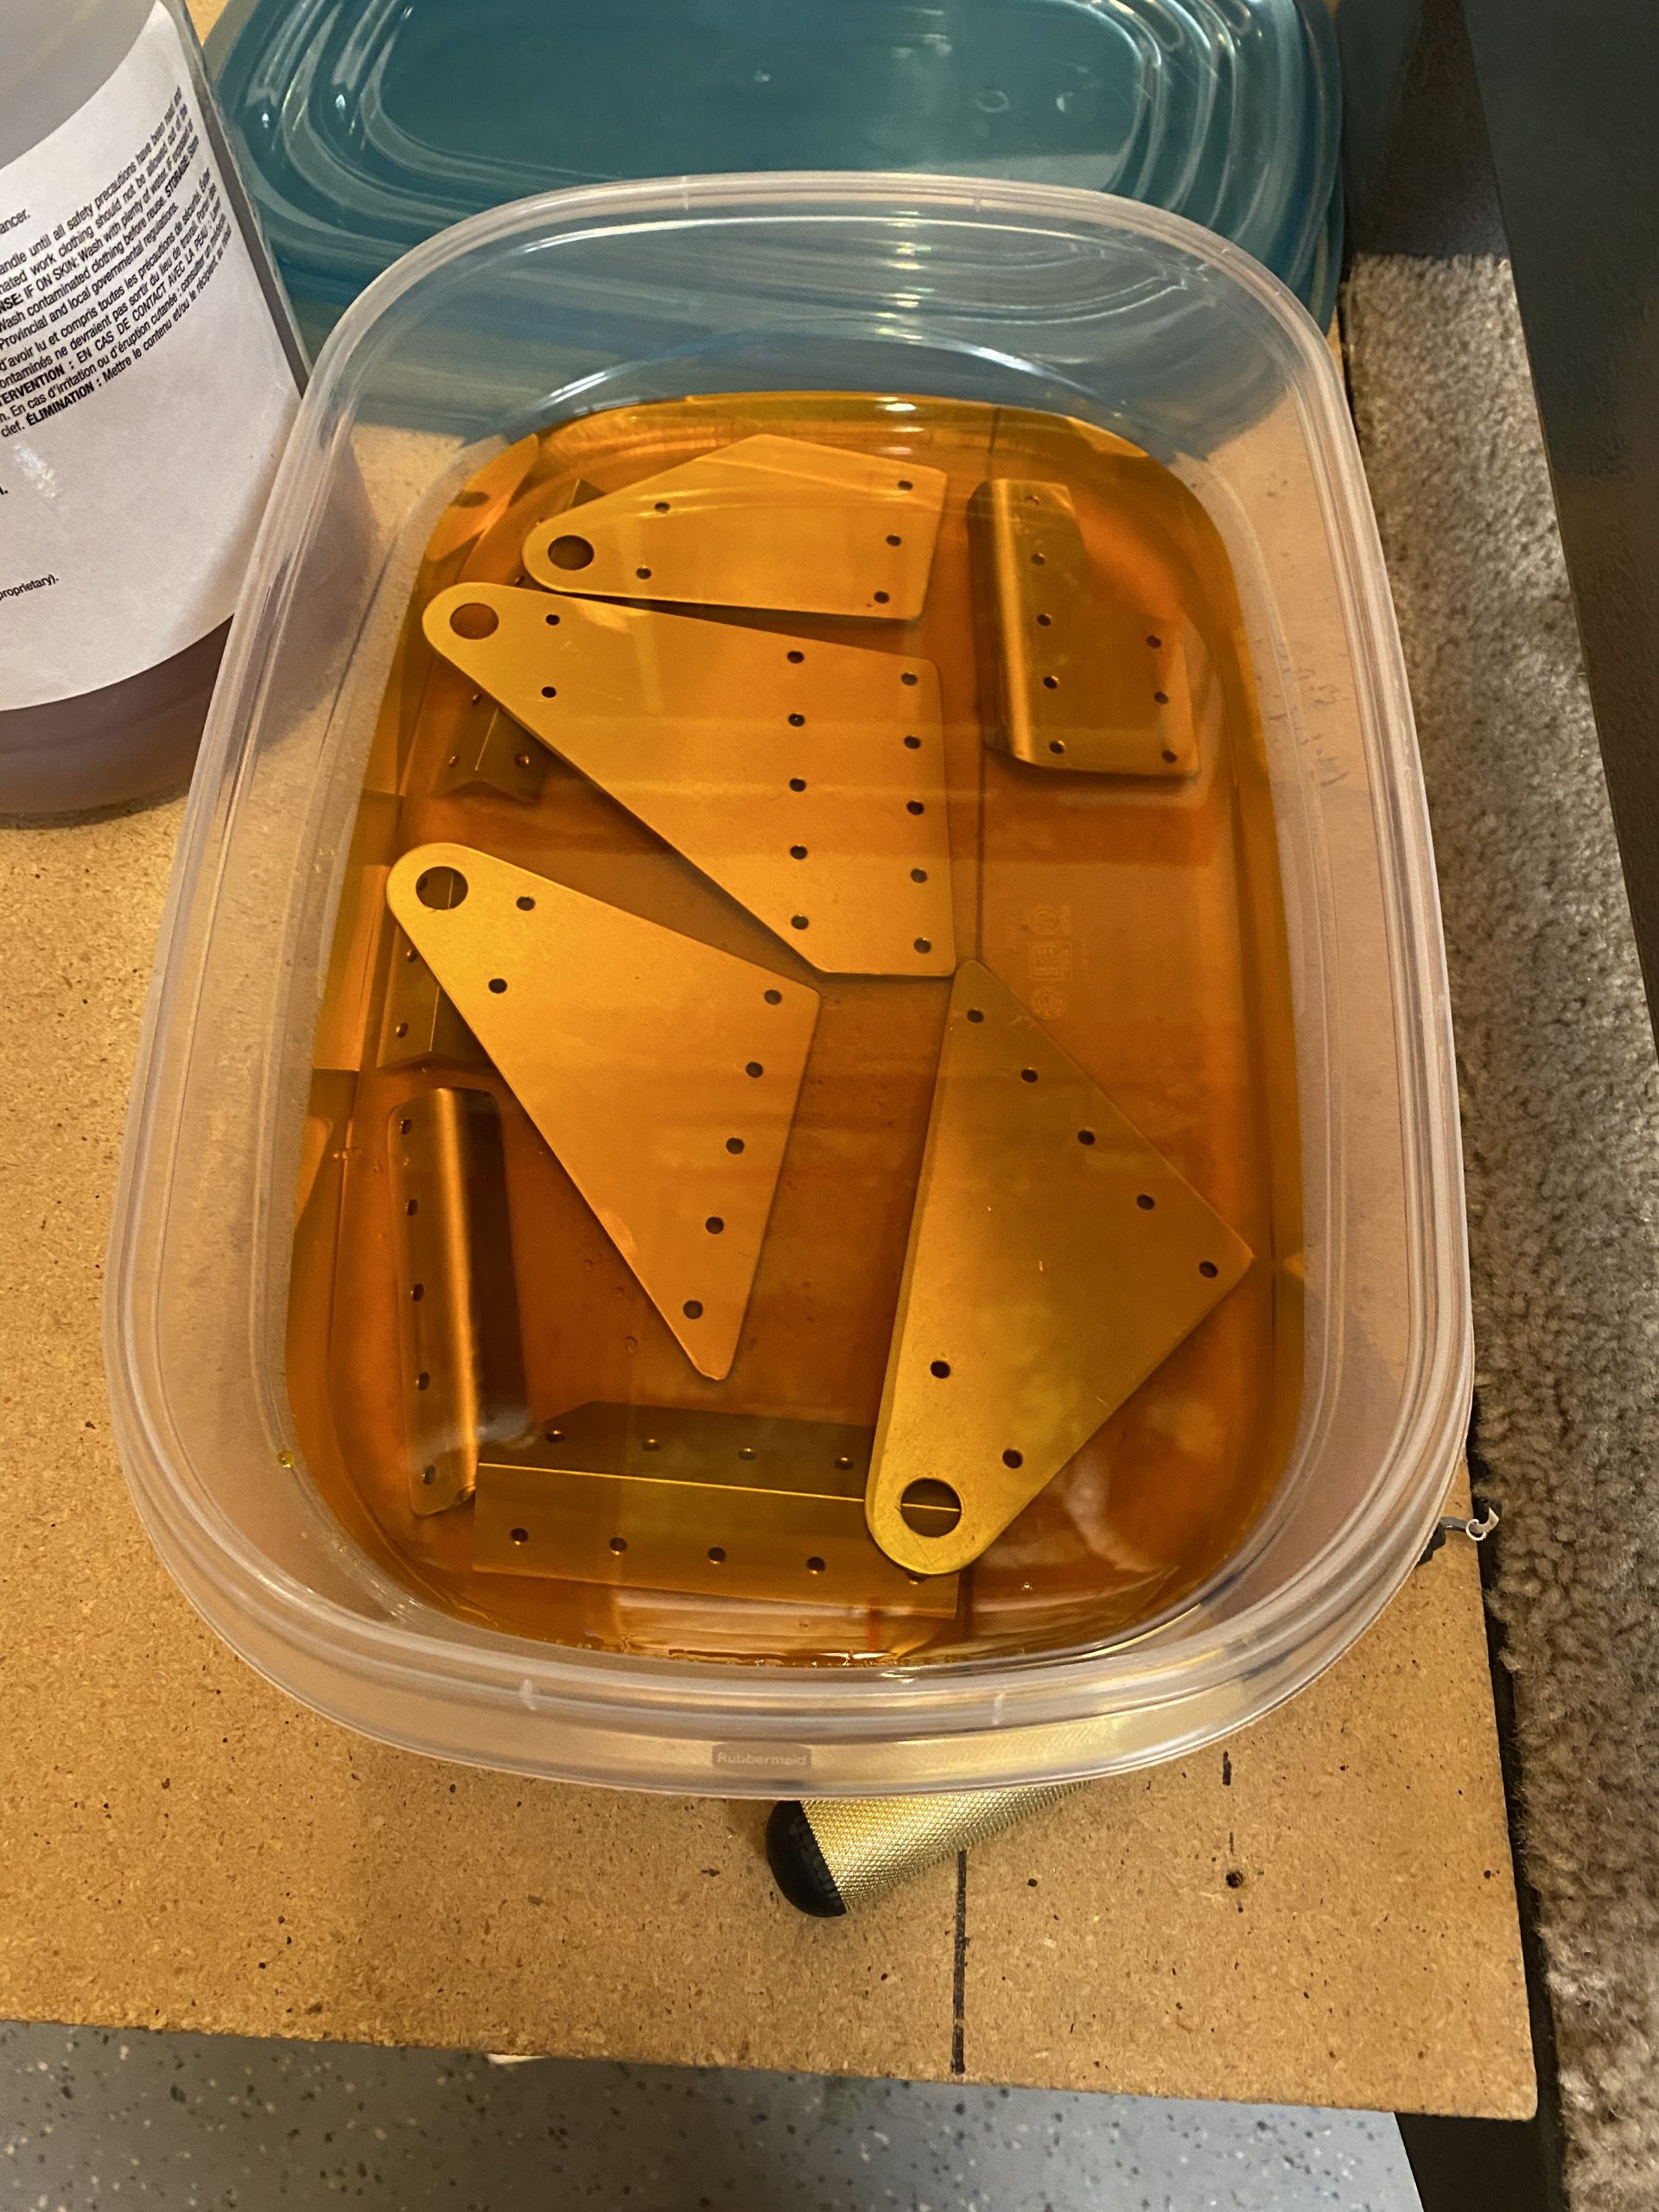
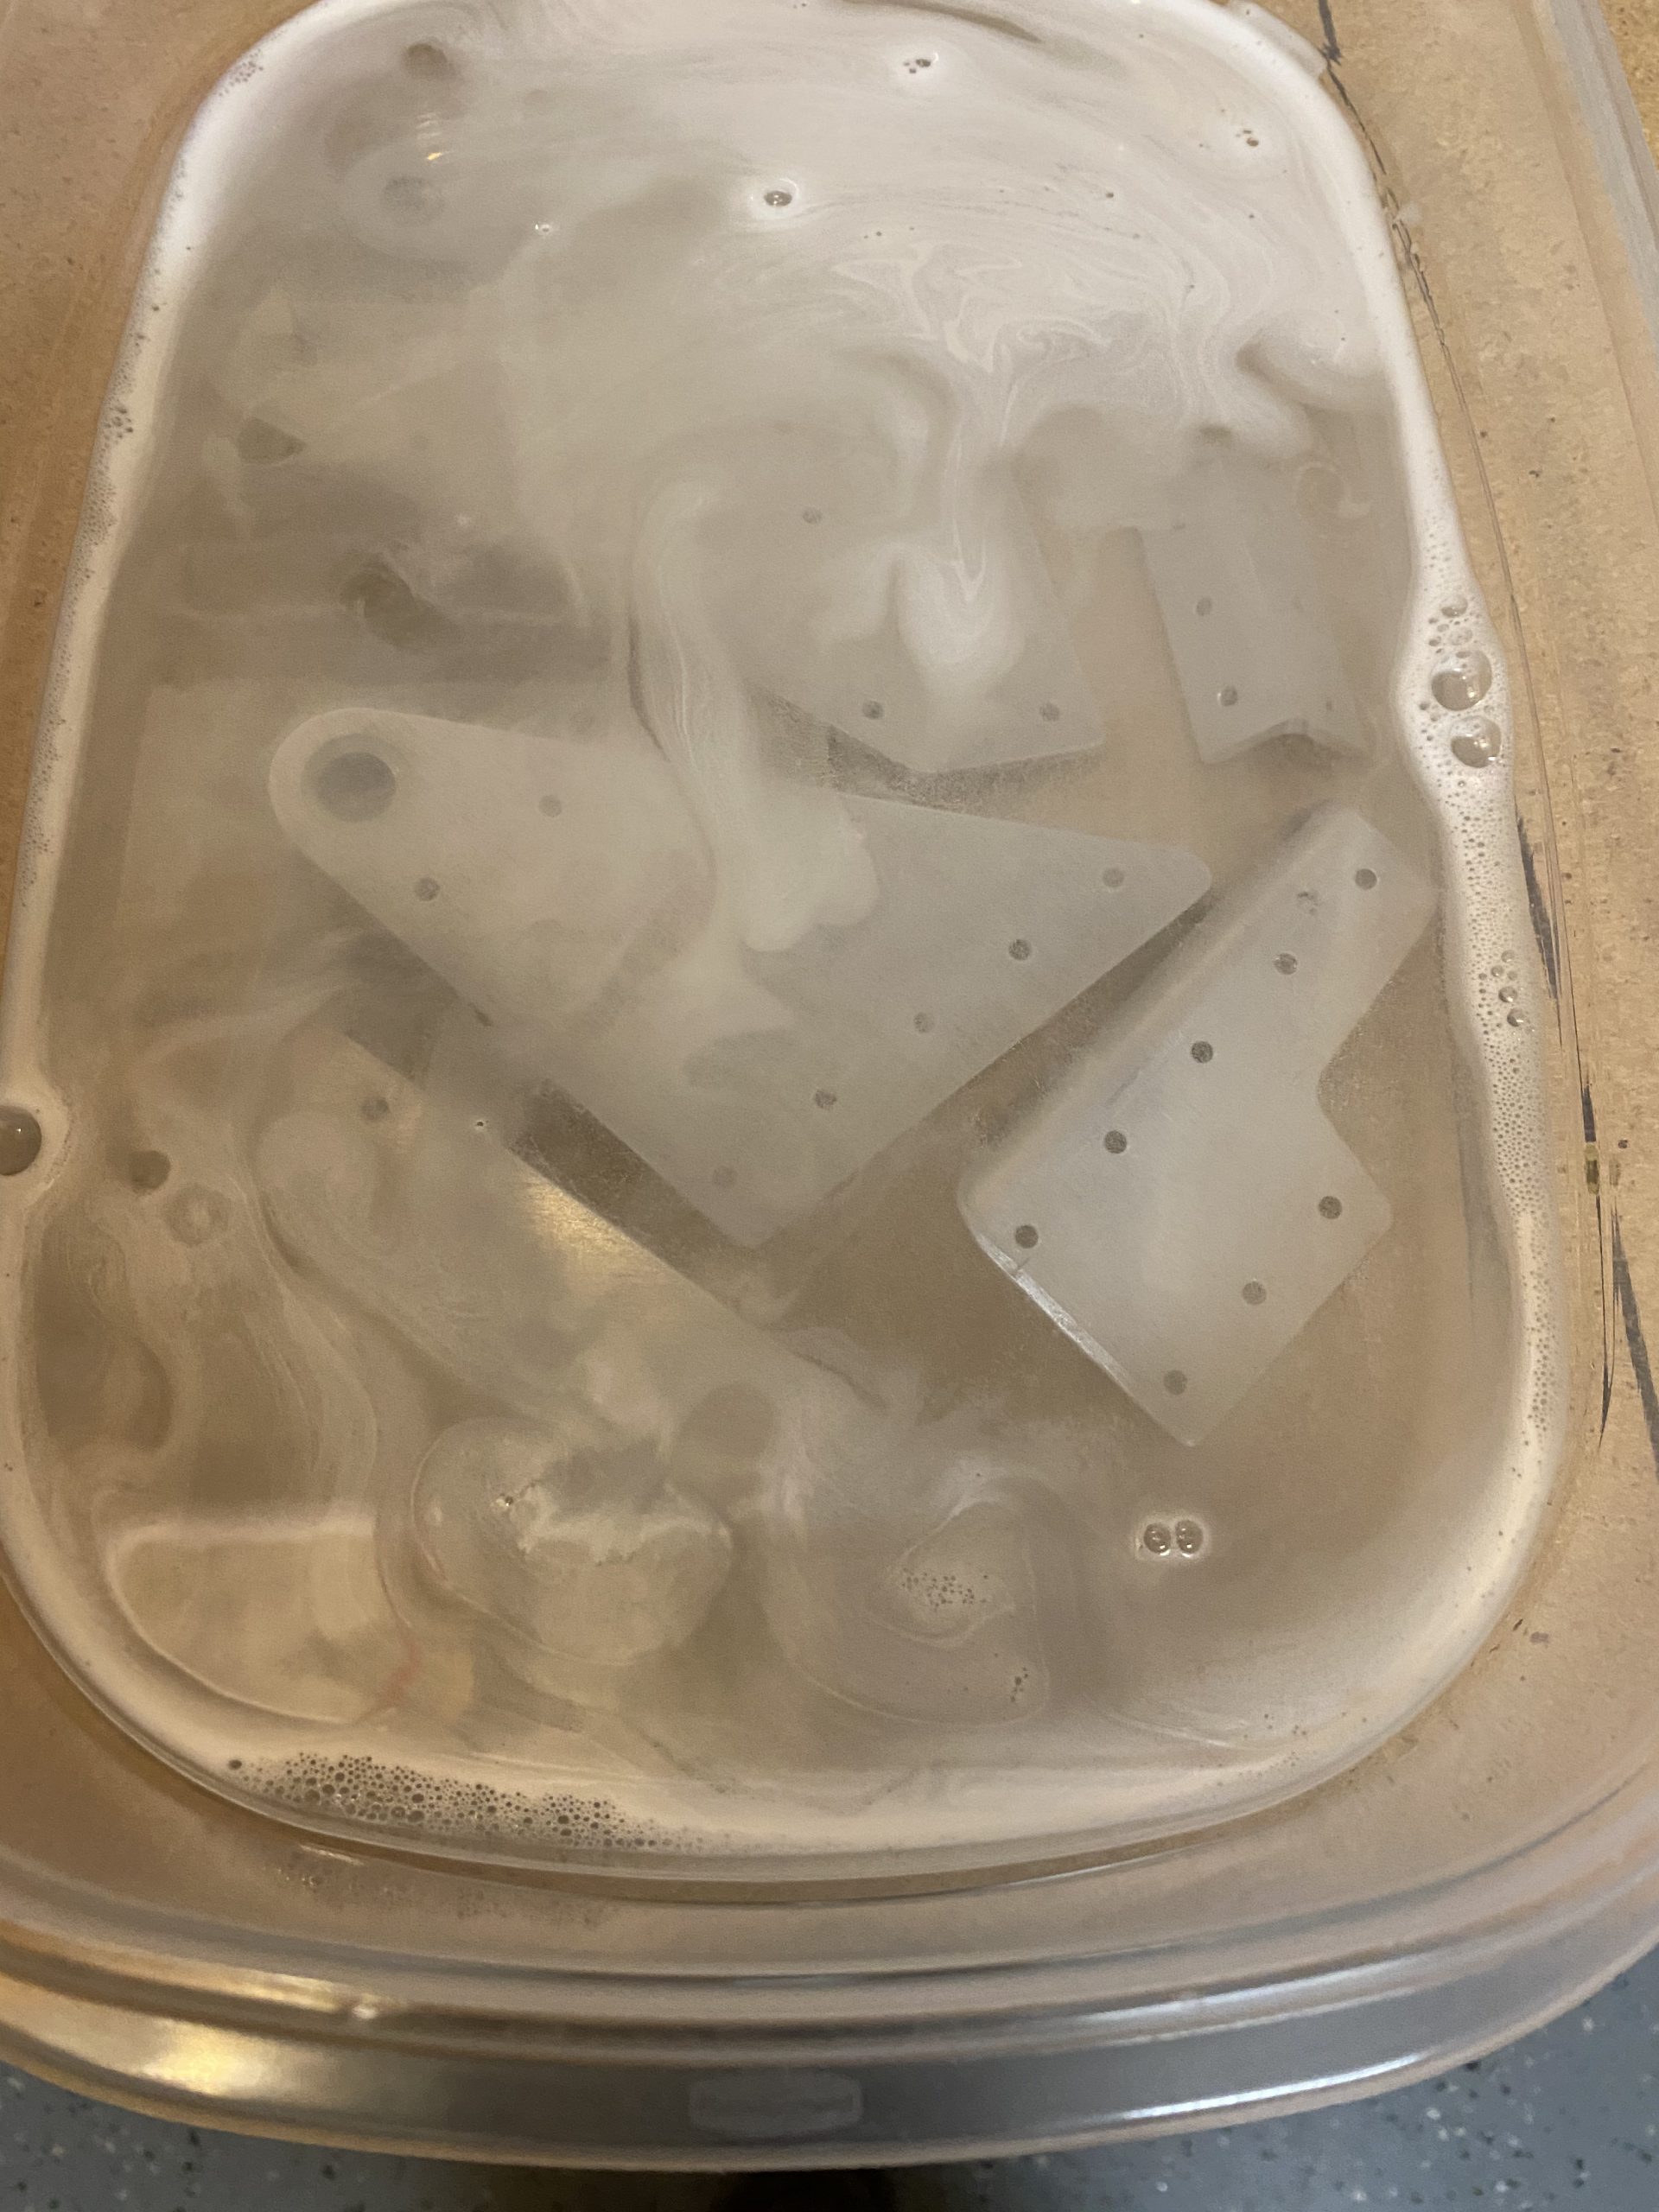
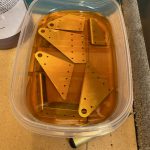
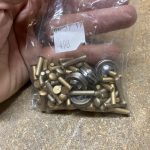
https://thesentinelgroup.com/roundup-settlement/ Next it was time to deburr the edges and the holes in these parts to get the ready for final assembly. I made sure to keep the left wing and right wings parts separate on my bench, and then disassembled the brackets, removed the plastic and then smoothed all the edges of each part on the scotchbrite wheel. After that, I deburred all of the holes in each part. Reading the plans, it tells us there is only a tolerance of .005″ gap between the two plates of the aileron bracket. I decided to NOT spray AKZO primer on these surfaces because I didn’t want to get too big of a gap, so I am going to alodine them. That will give PLENTY of corrosion protection and be well within the tolerances for gaps. So off to the Alumaprep33 and then Alodine baths!
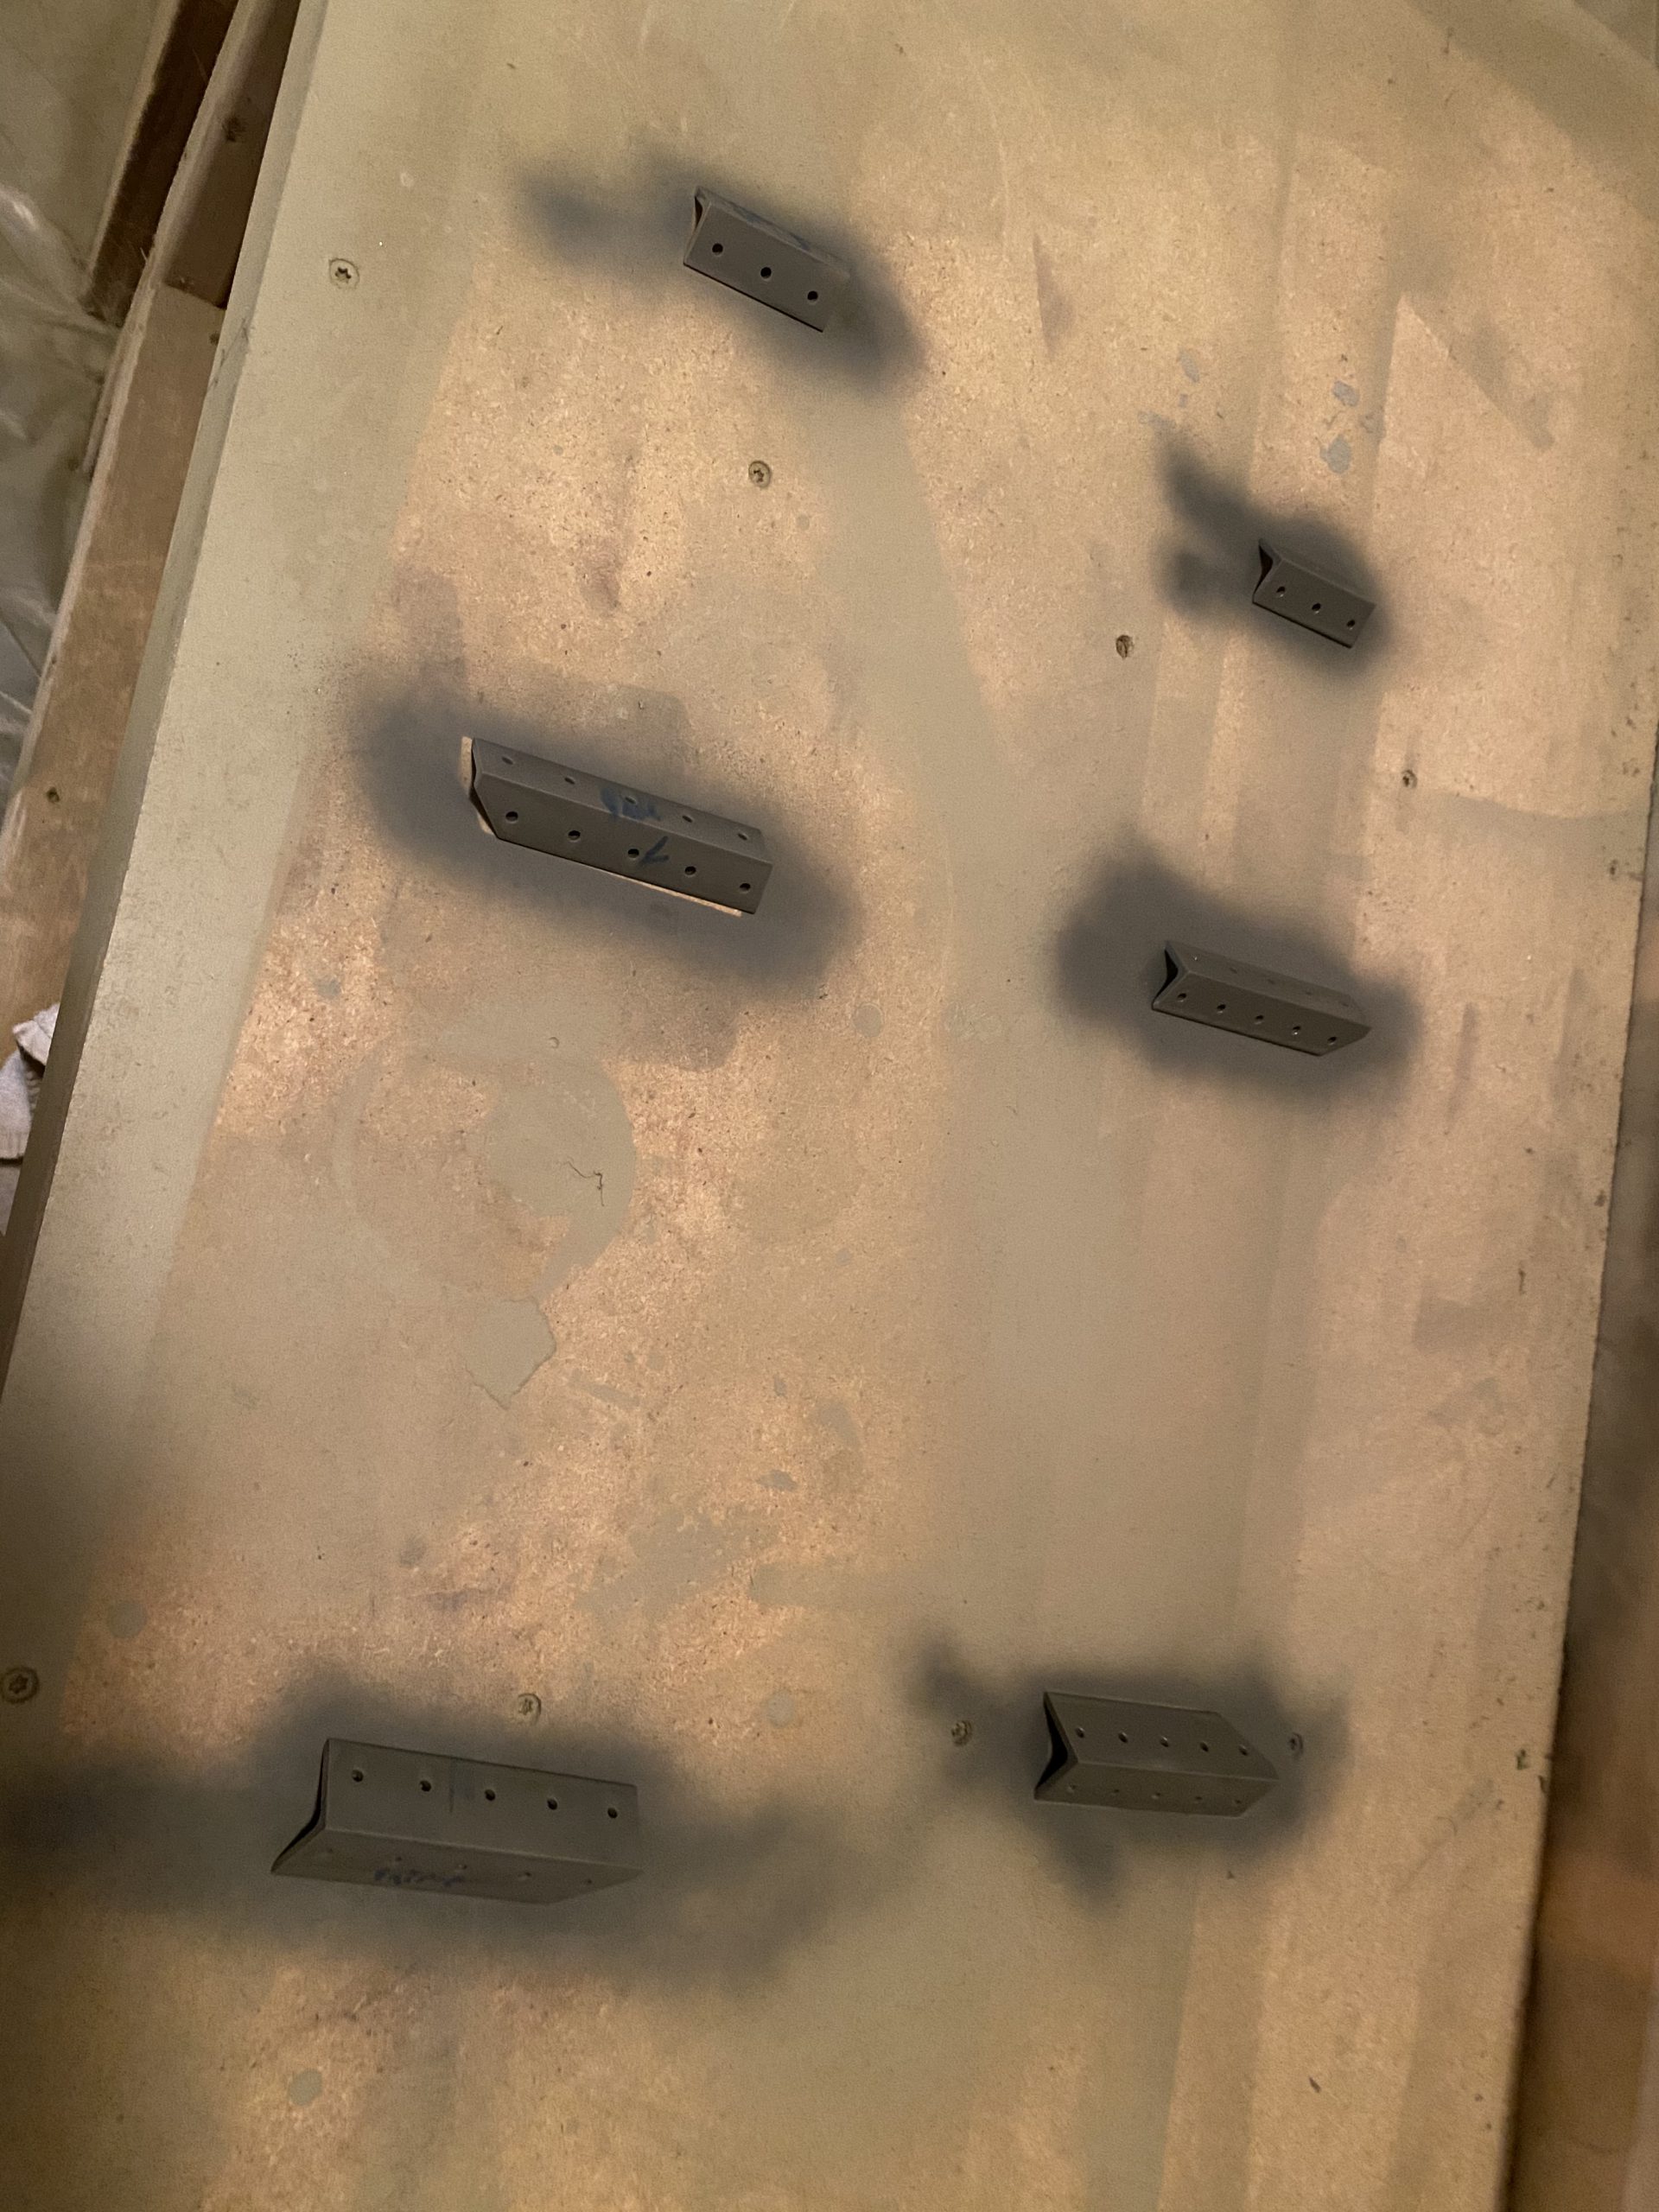
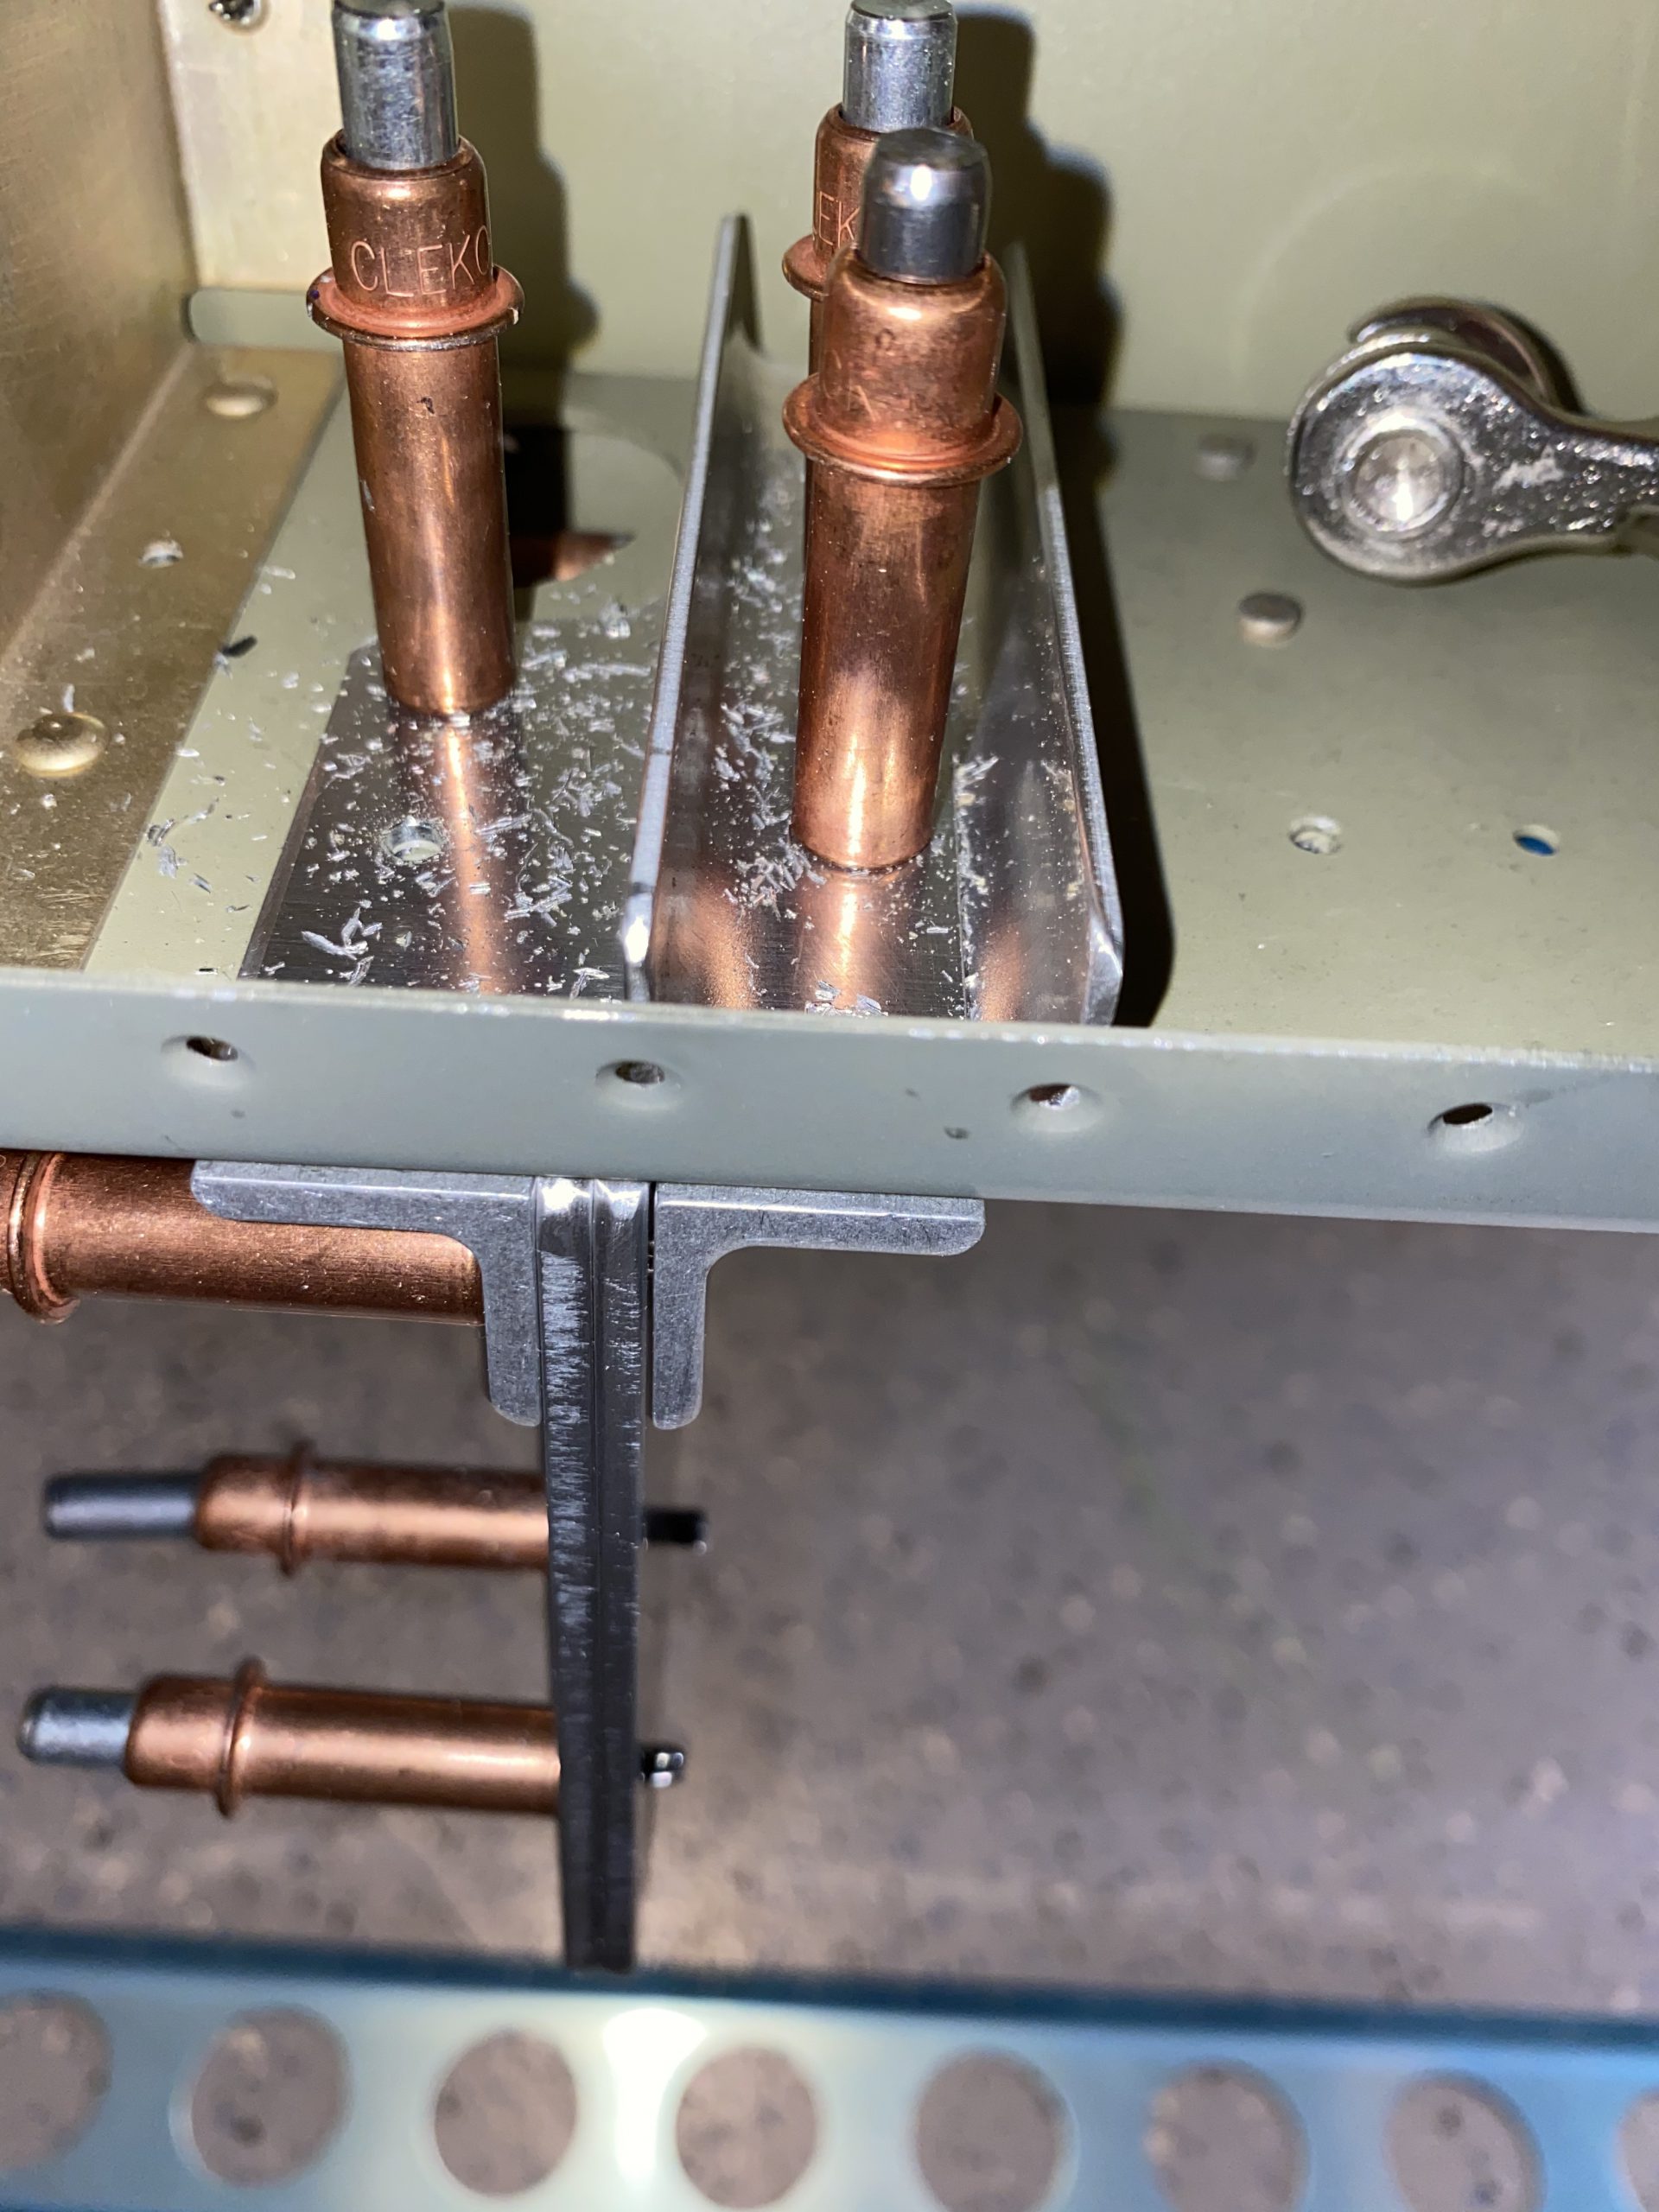
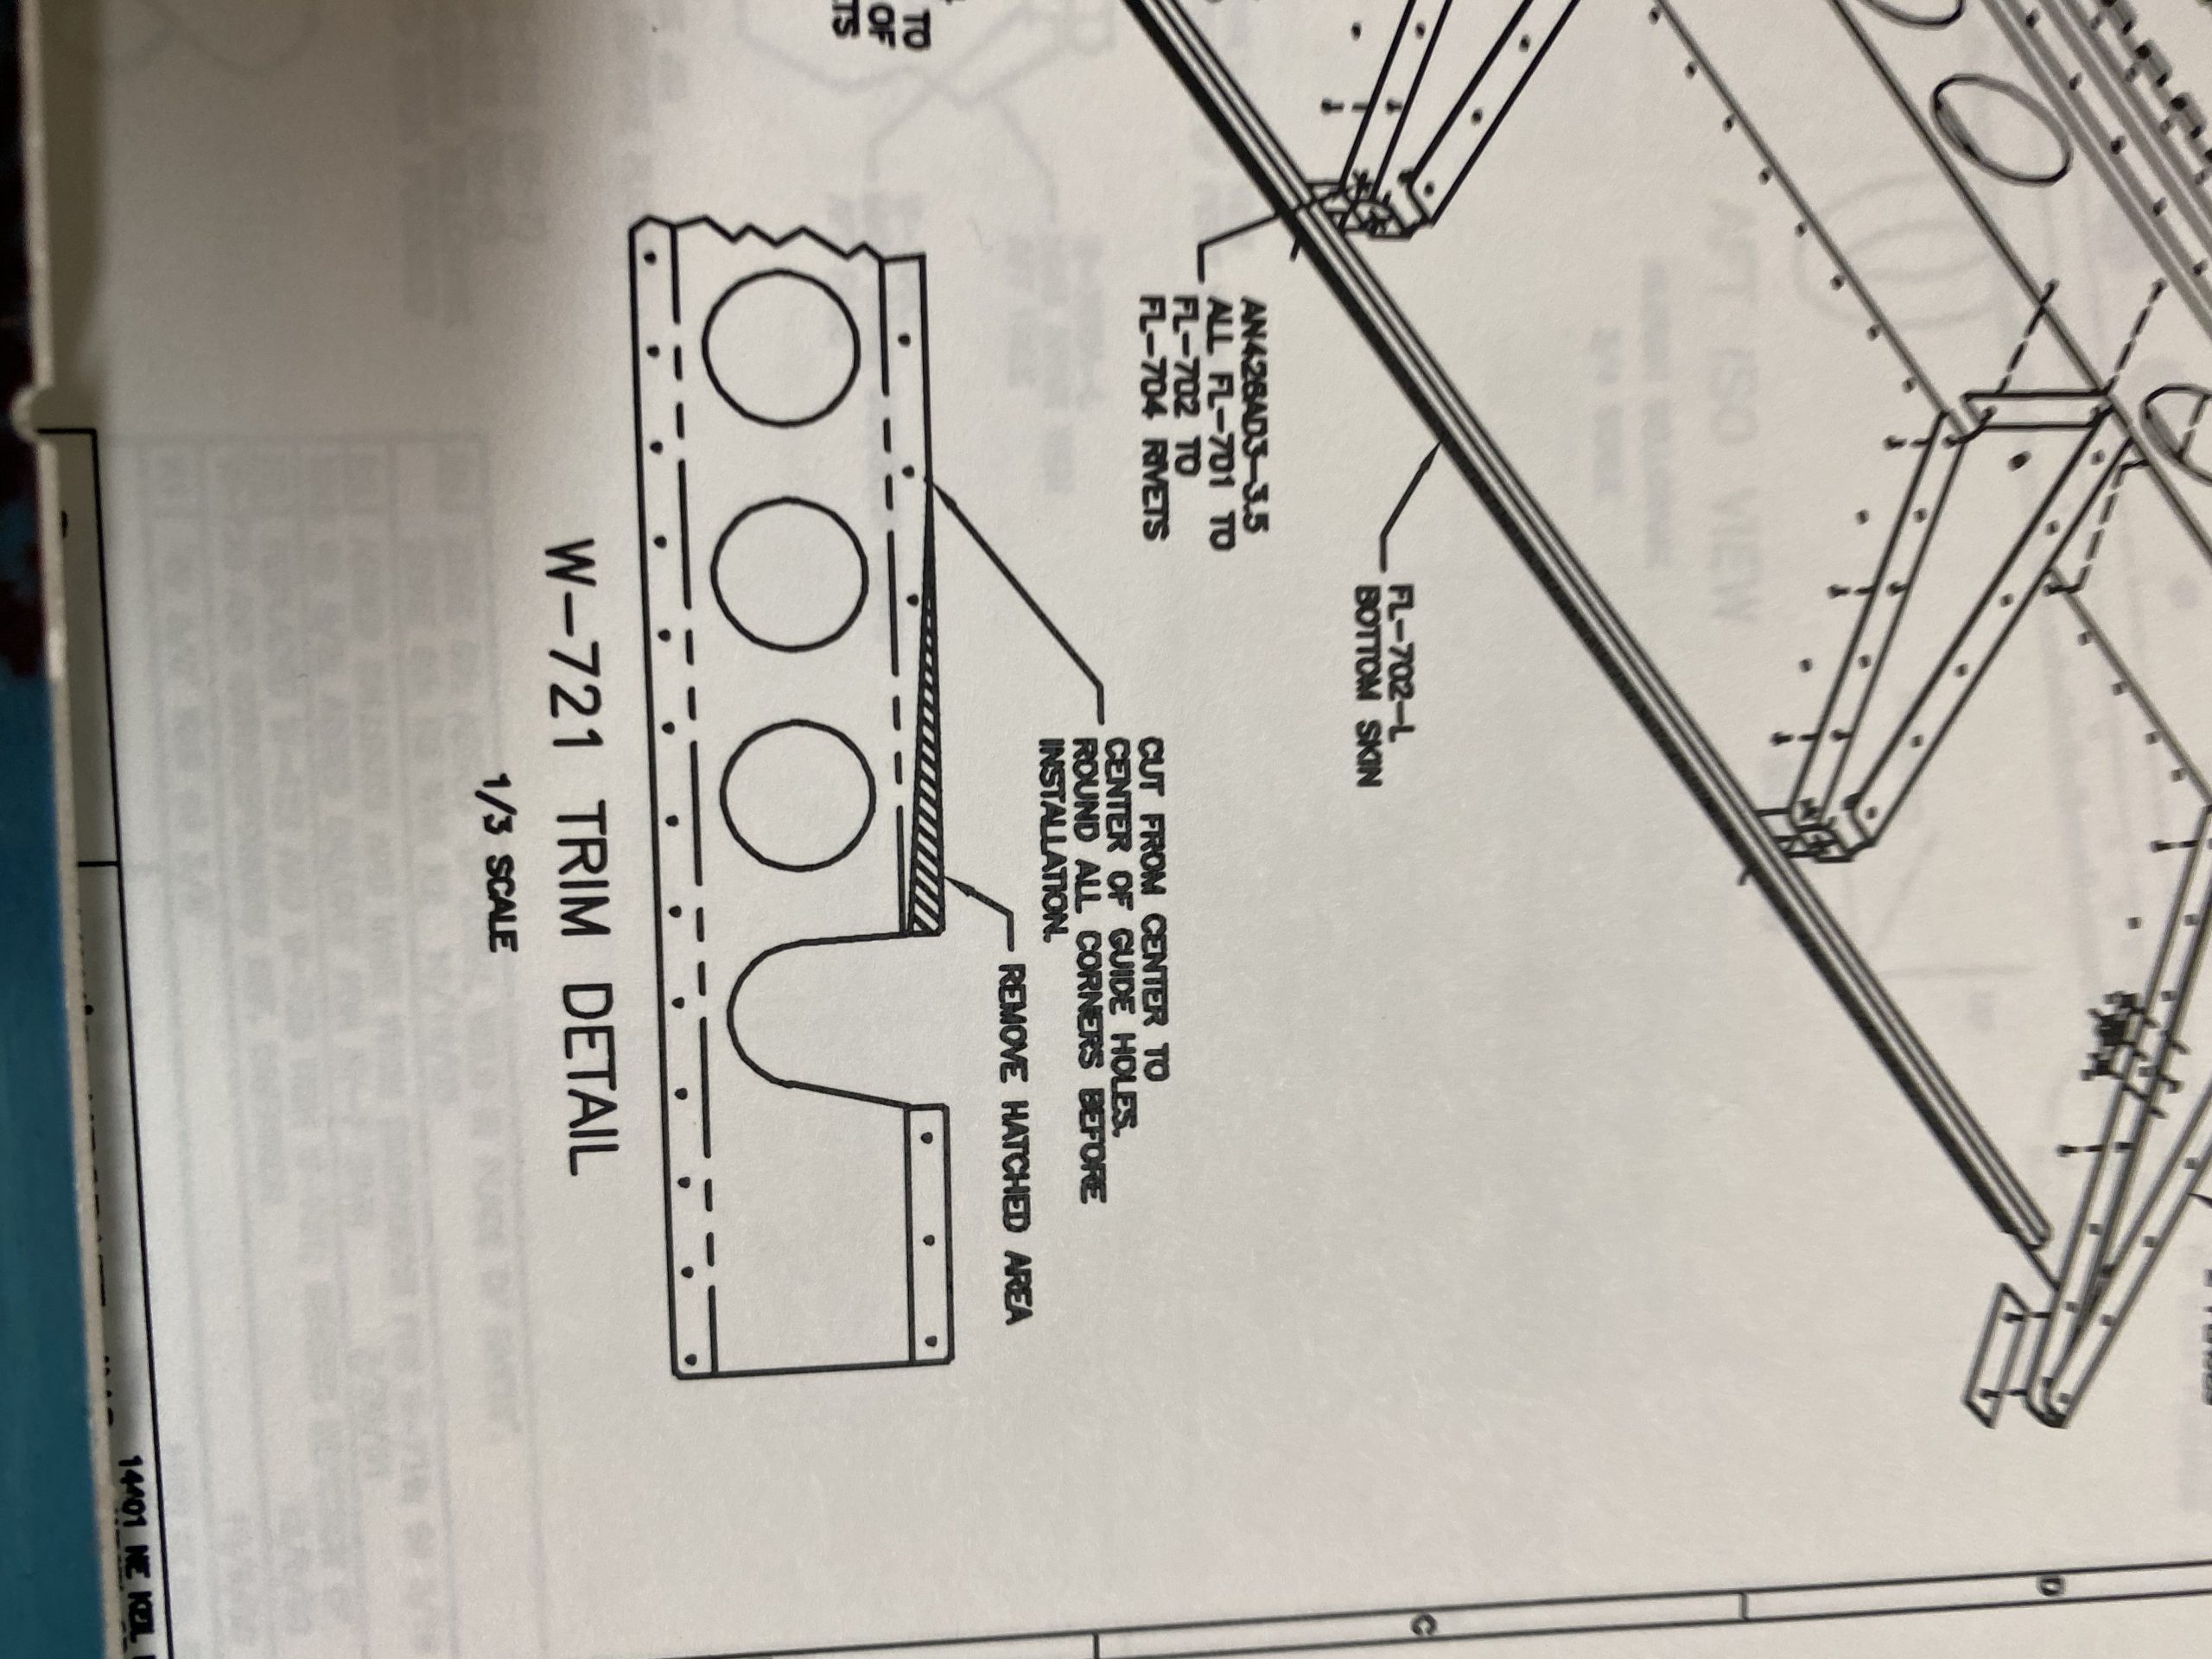
Get Tramadol Online Instead of wasting time, waiting on the parts to soak in their Alodine baths, I decided to go ahead and match drlll the W-724 aileron gap seals and the W-721 flap braces to the rear spar, since these are my next step. So, I clecoed them into their respective places on the rear spar, in every other hole, and then match drilled both of them to the rear spar. There’s a little trimming work needed on W-721 flap brace, and the holes will need deburred. I am also going to prime these braces and gap seals with AKZO.
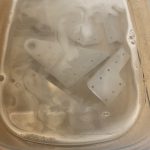
go to link The Aileron brackets came out looking very nice when Alodined! The plans do point out to prime the mating surface of the angle aluminum, so I dried the parts and hit them some self-etching primer, right over the top of the alodine. I figured this extra little bit of corrosion protection wont hurt on these angle brackets, and since they are not part of the “sandwhich” for the actual bracket, there isnt a worry of clearance here.
https://geneticsandfertility.com/services/iui/ 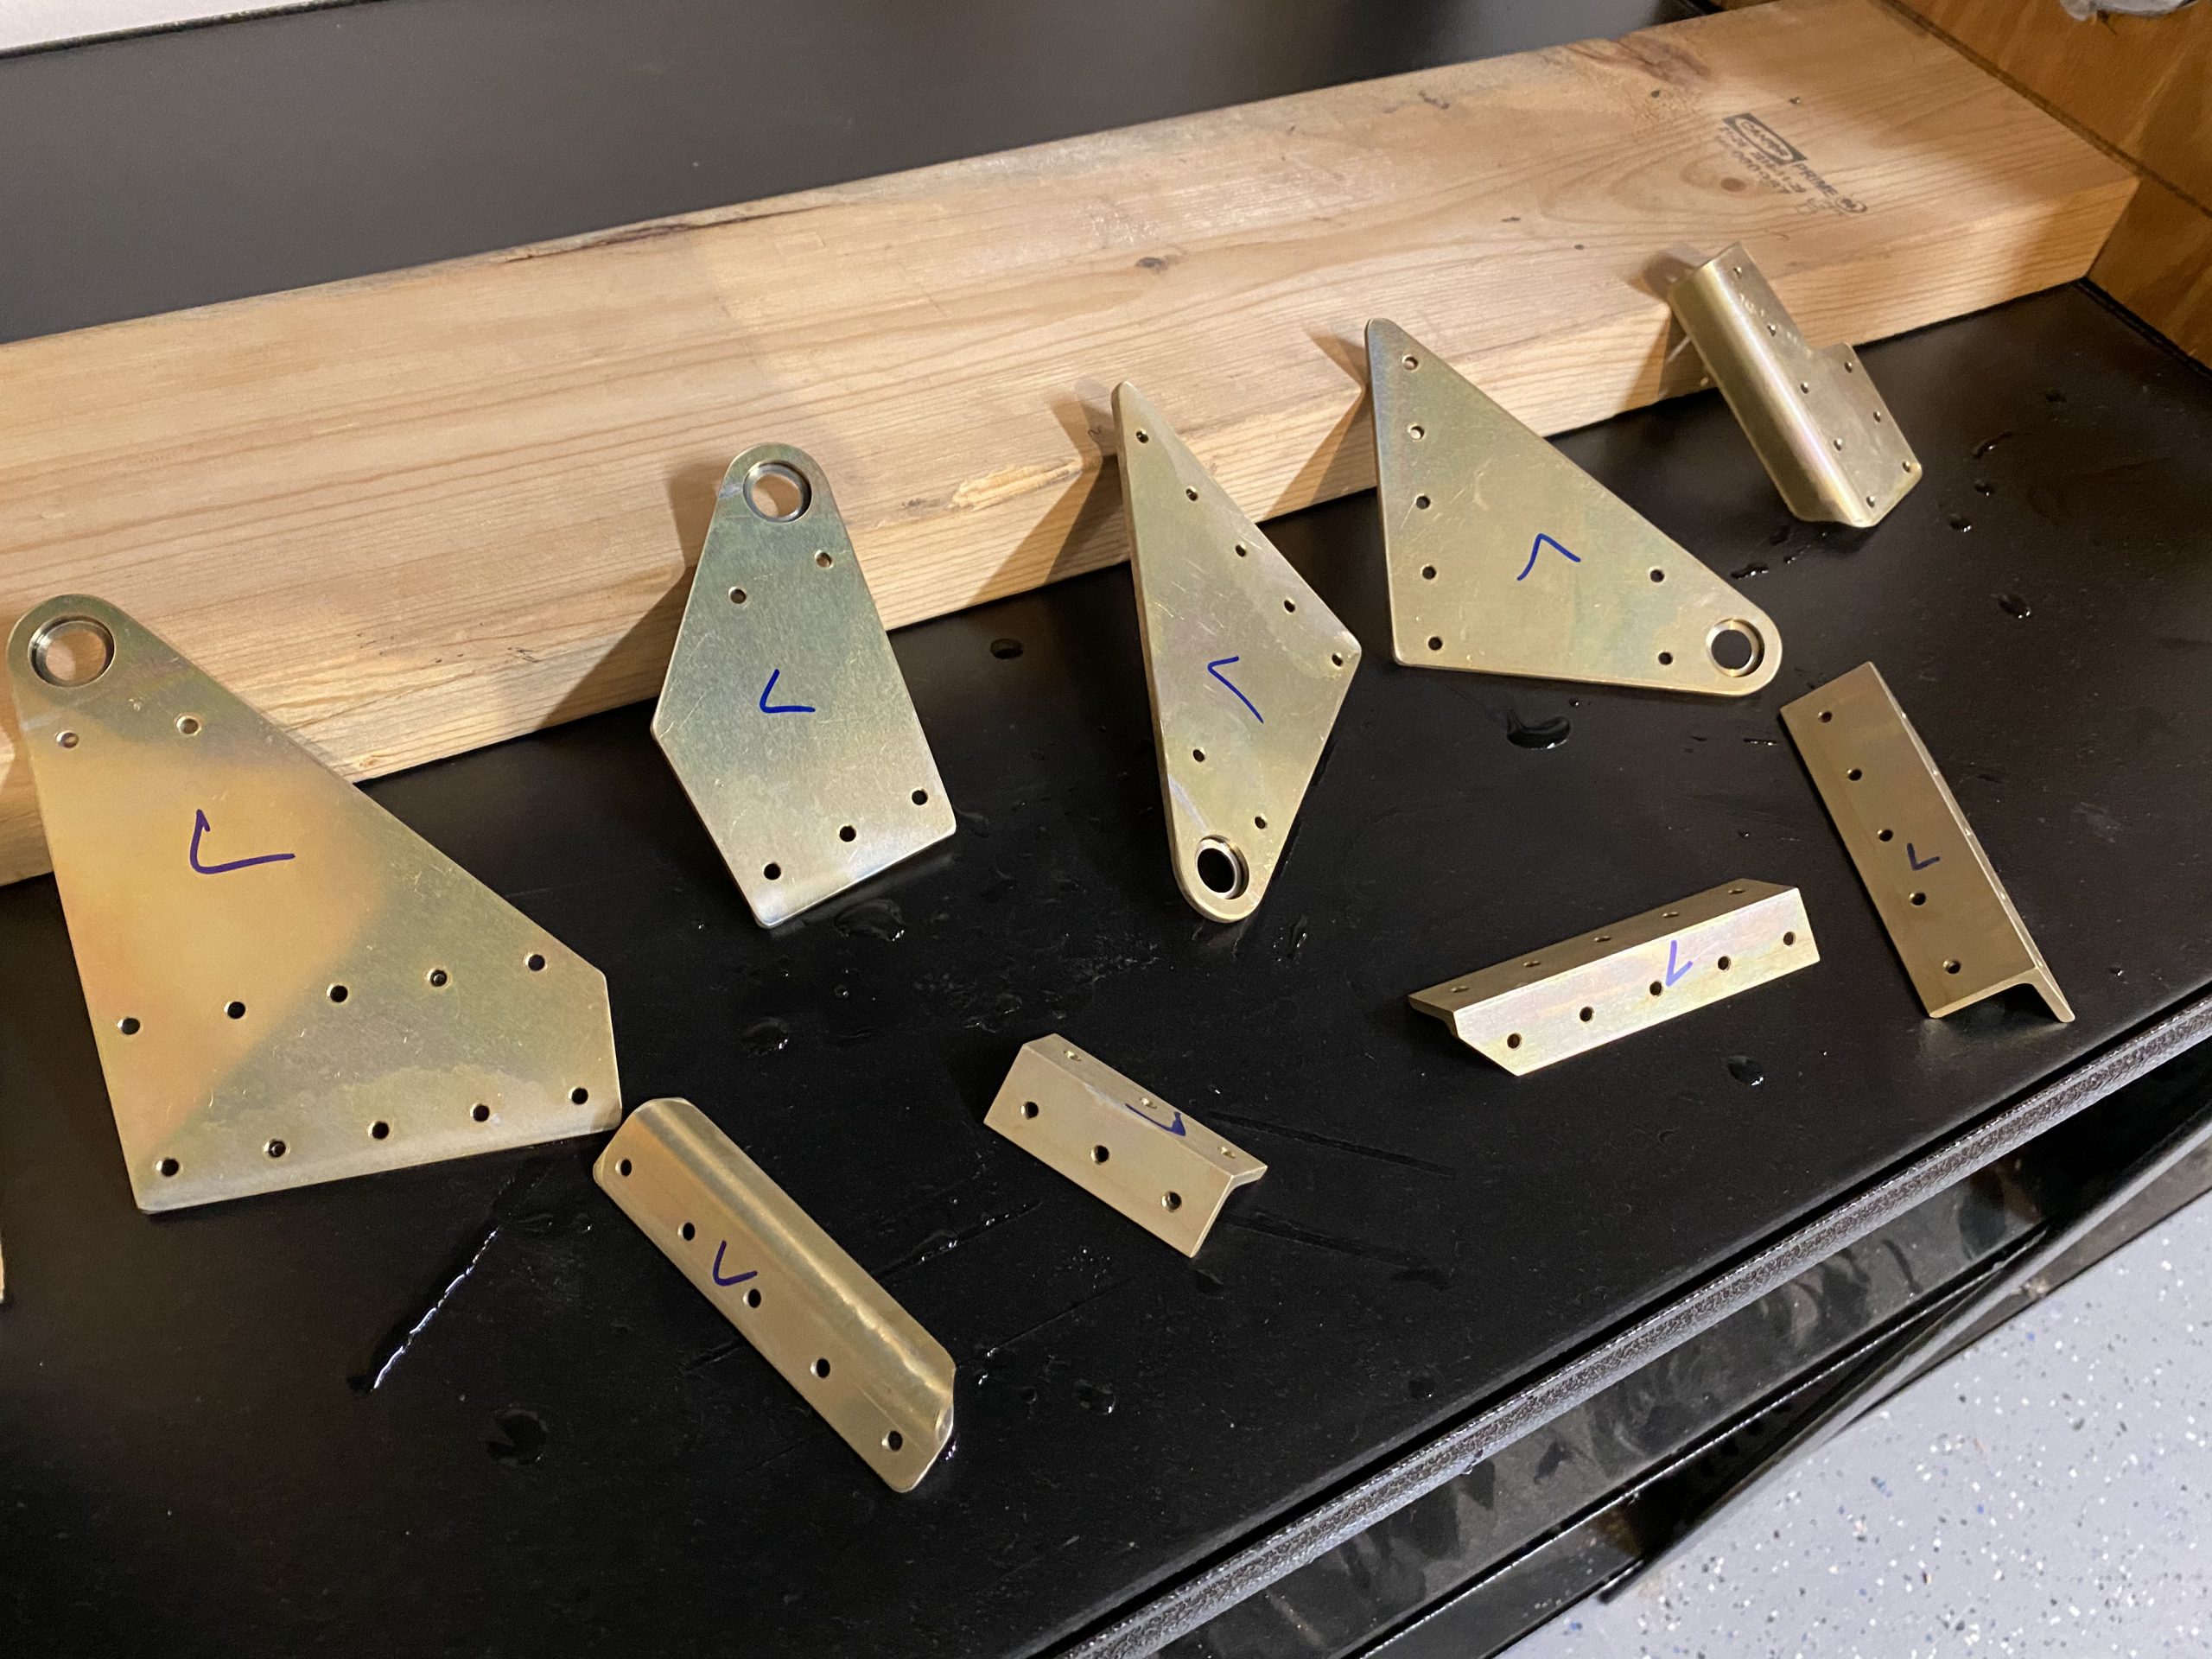
go site Thats it for tonights work session. I did capture a closeup timelapse, that you can see below. I will let the alodine cure overnight, as well as the rattle can primer, and then start the work of riveting these brackets together, so they can be riveted to the rear spar, after I get the top skins riveted. I only have a couple more work sessions left (priming bottom skins, priming gap seals and braces, etc) before I will be at a critical path waiting on the top skins to get riveted.
source Google Photos Link: https://photos.app.goo.gl/afYpbZAai8ZKnYMTA
-
IMG_2677
-
IMG_2676
-
 IMG_2675
 -
 IMG_2672
 -
 IMG_2674
 -
 IMG_2671
 -
 IMG_2673
 -
 IMG_2666
 -
 IMG_2668
 -
 IMG_2670
 -
 IMG_2669
 -
 IMG_2631
 -
 IMG_2632
 -
 IMG_2633
 -
 IMG_2634
 -
 IMG_2635
 -
 IMG_2636
 -
 IMG_2637
 -
 IMG_2638


https://www.parolacce.org/1233521495418_f/
https://thesentinelgroup.com/cartiva-lawsuit-attorneys/ Hours worked: 3.0