


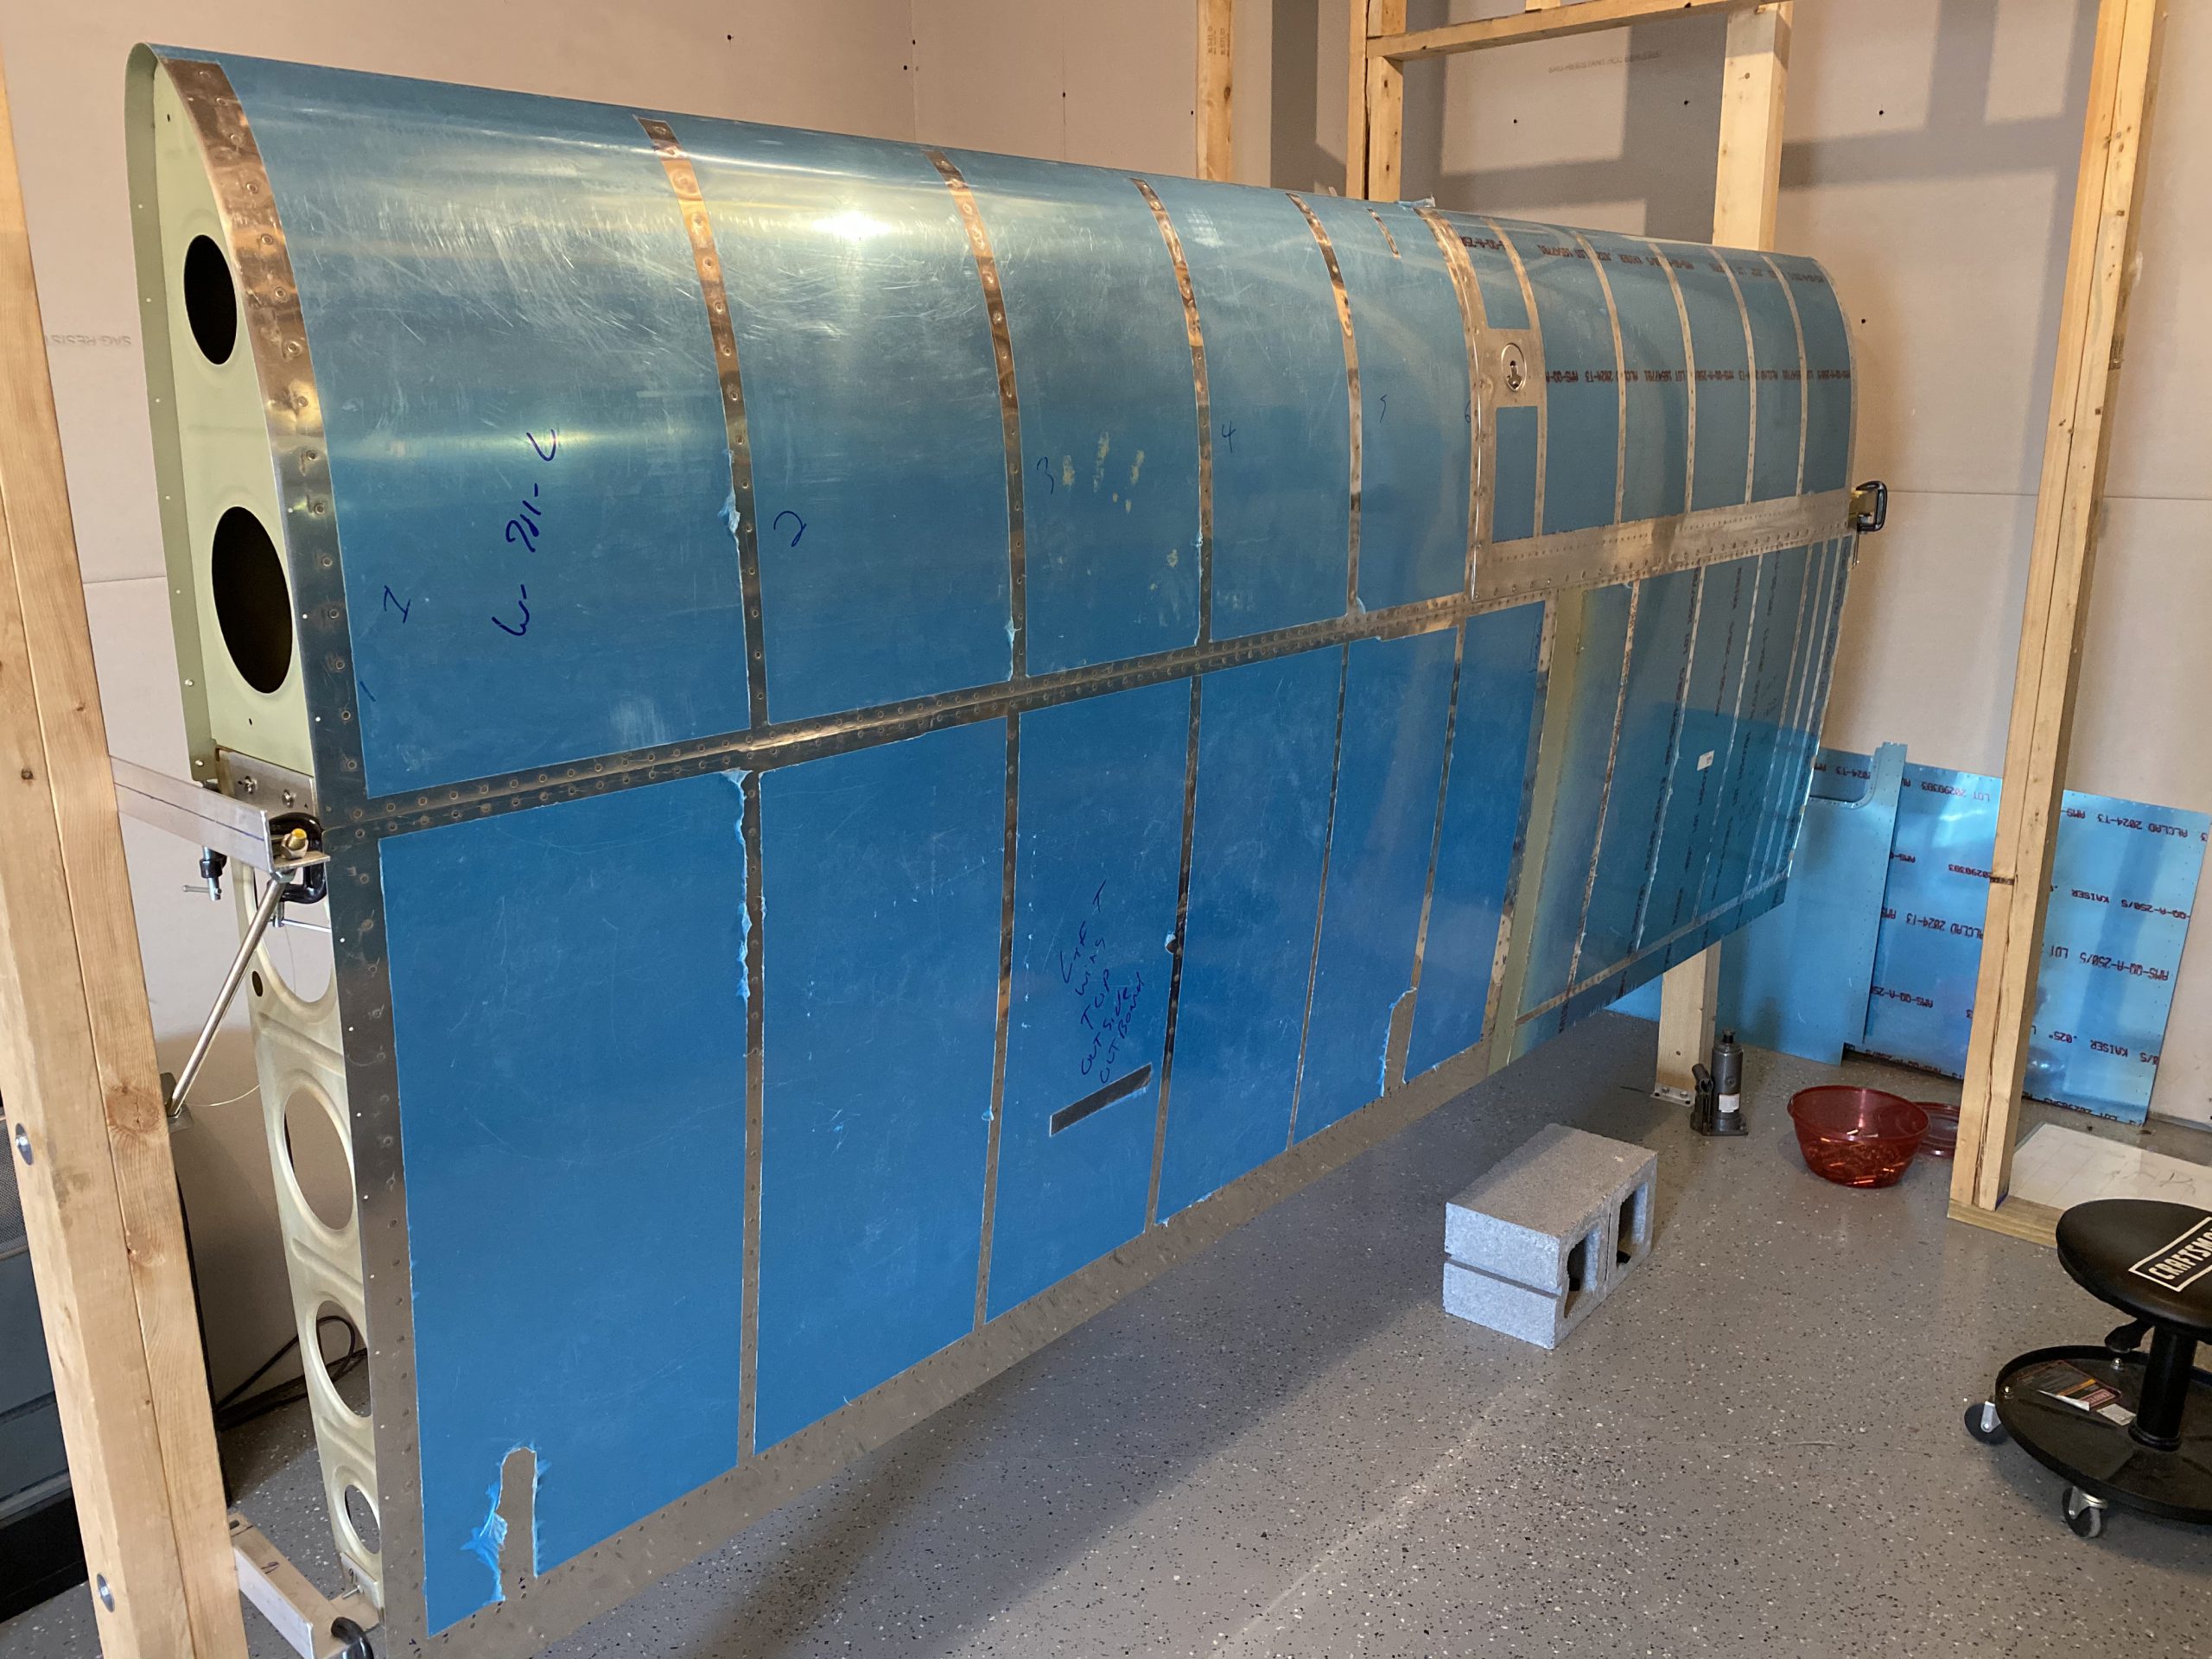
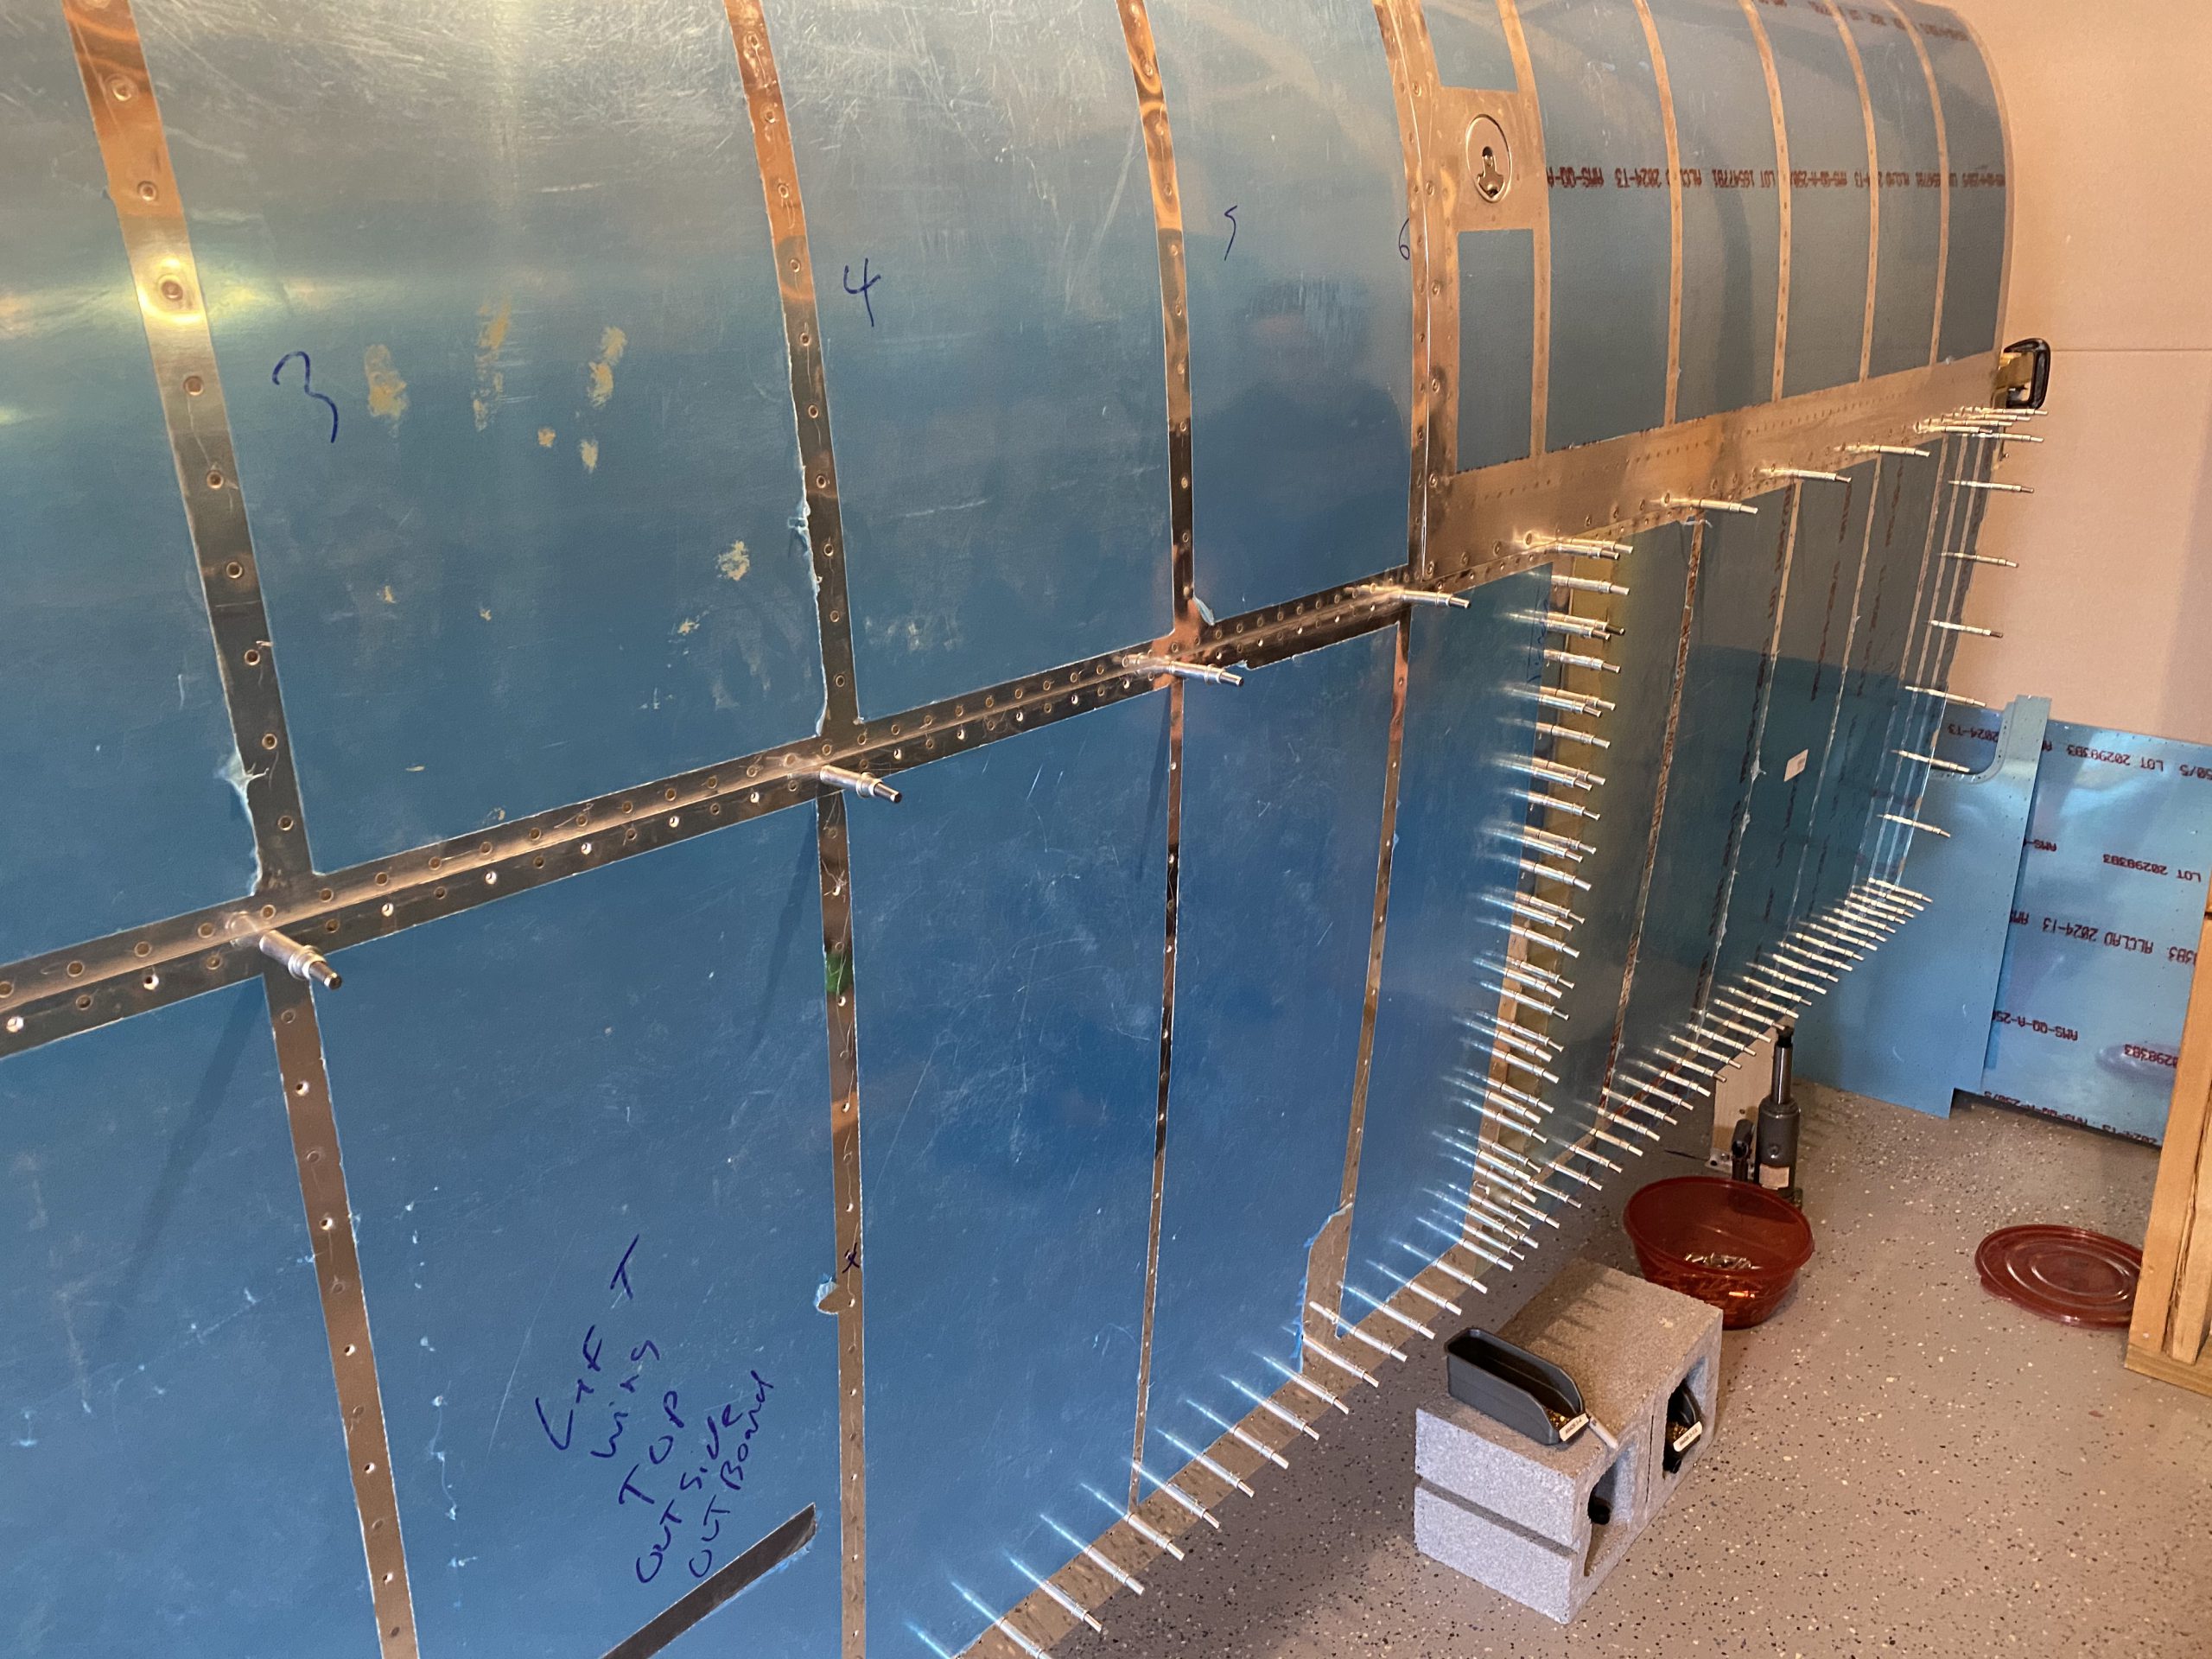
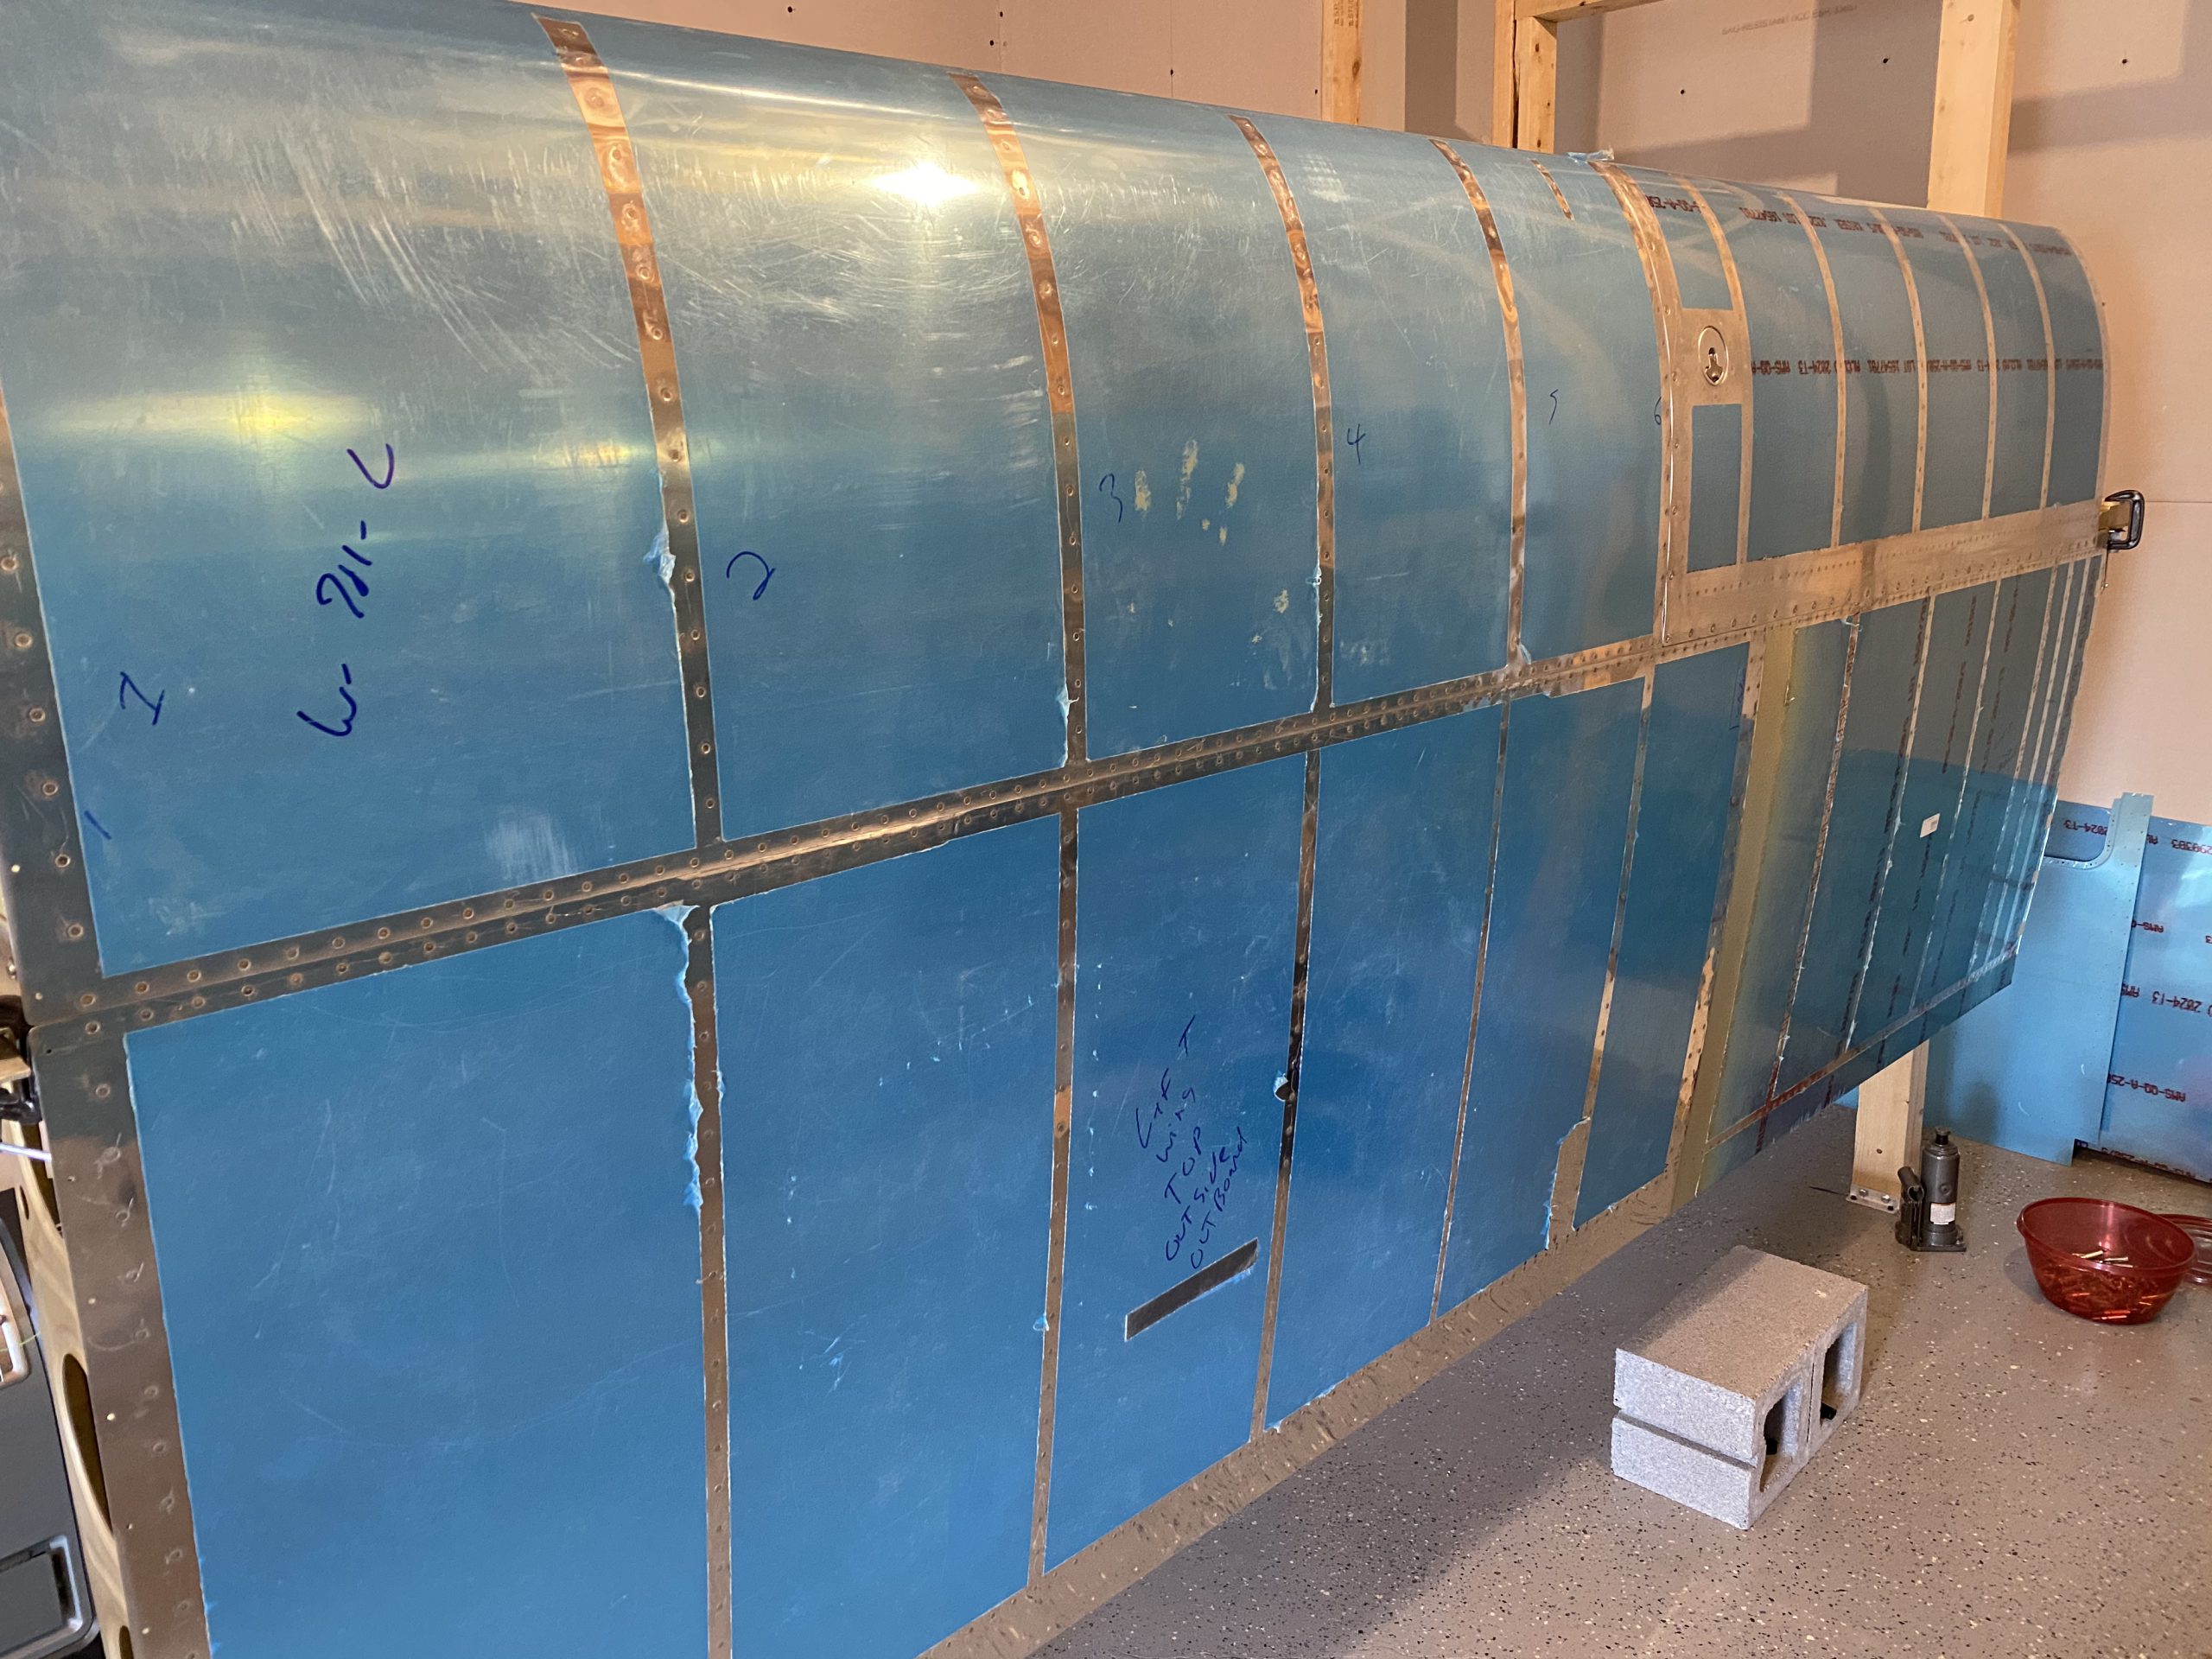
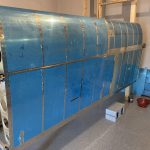
Big day today thanks to the help from my wife Tammy! We managed to get the top skin fully riveted on the left wing! This is a big step in the wing construction, as it means the wing can officially come out of the wing stands, and can go in the cradle for the rest of the assembly. I did capture a timelapse, but I think it ran out slightly before we were done. Here is the overhead view.
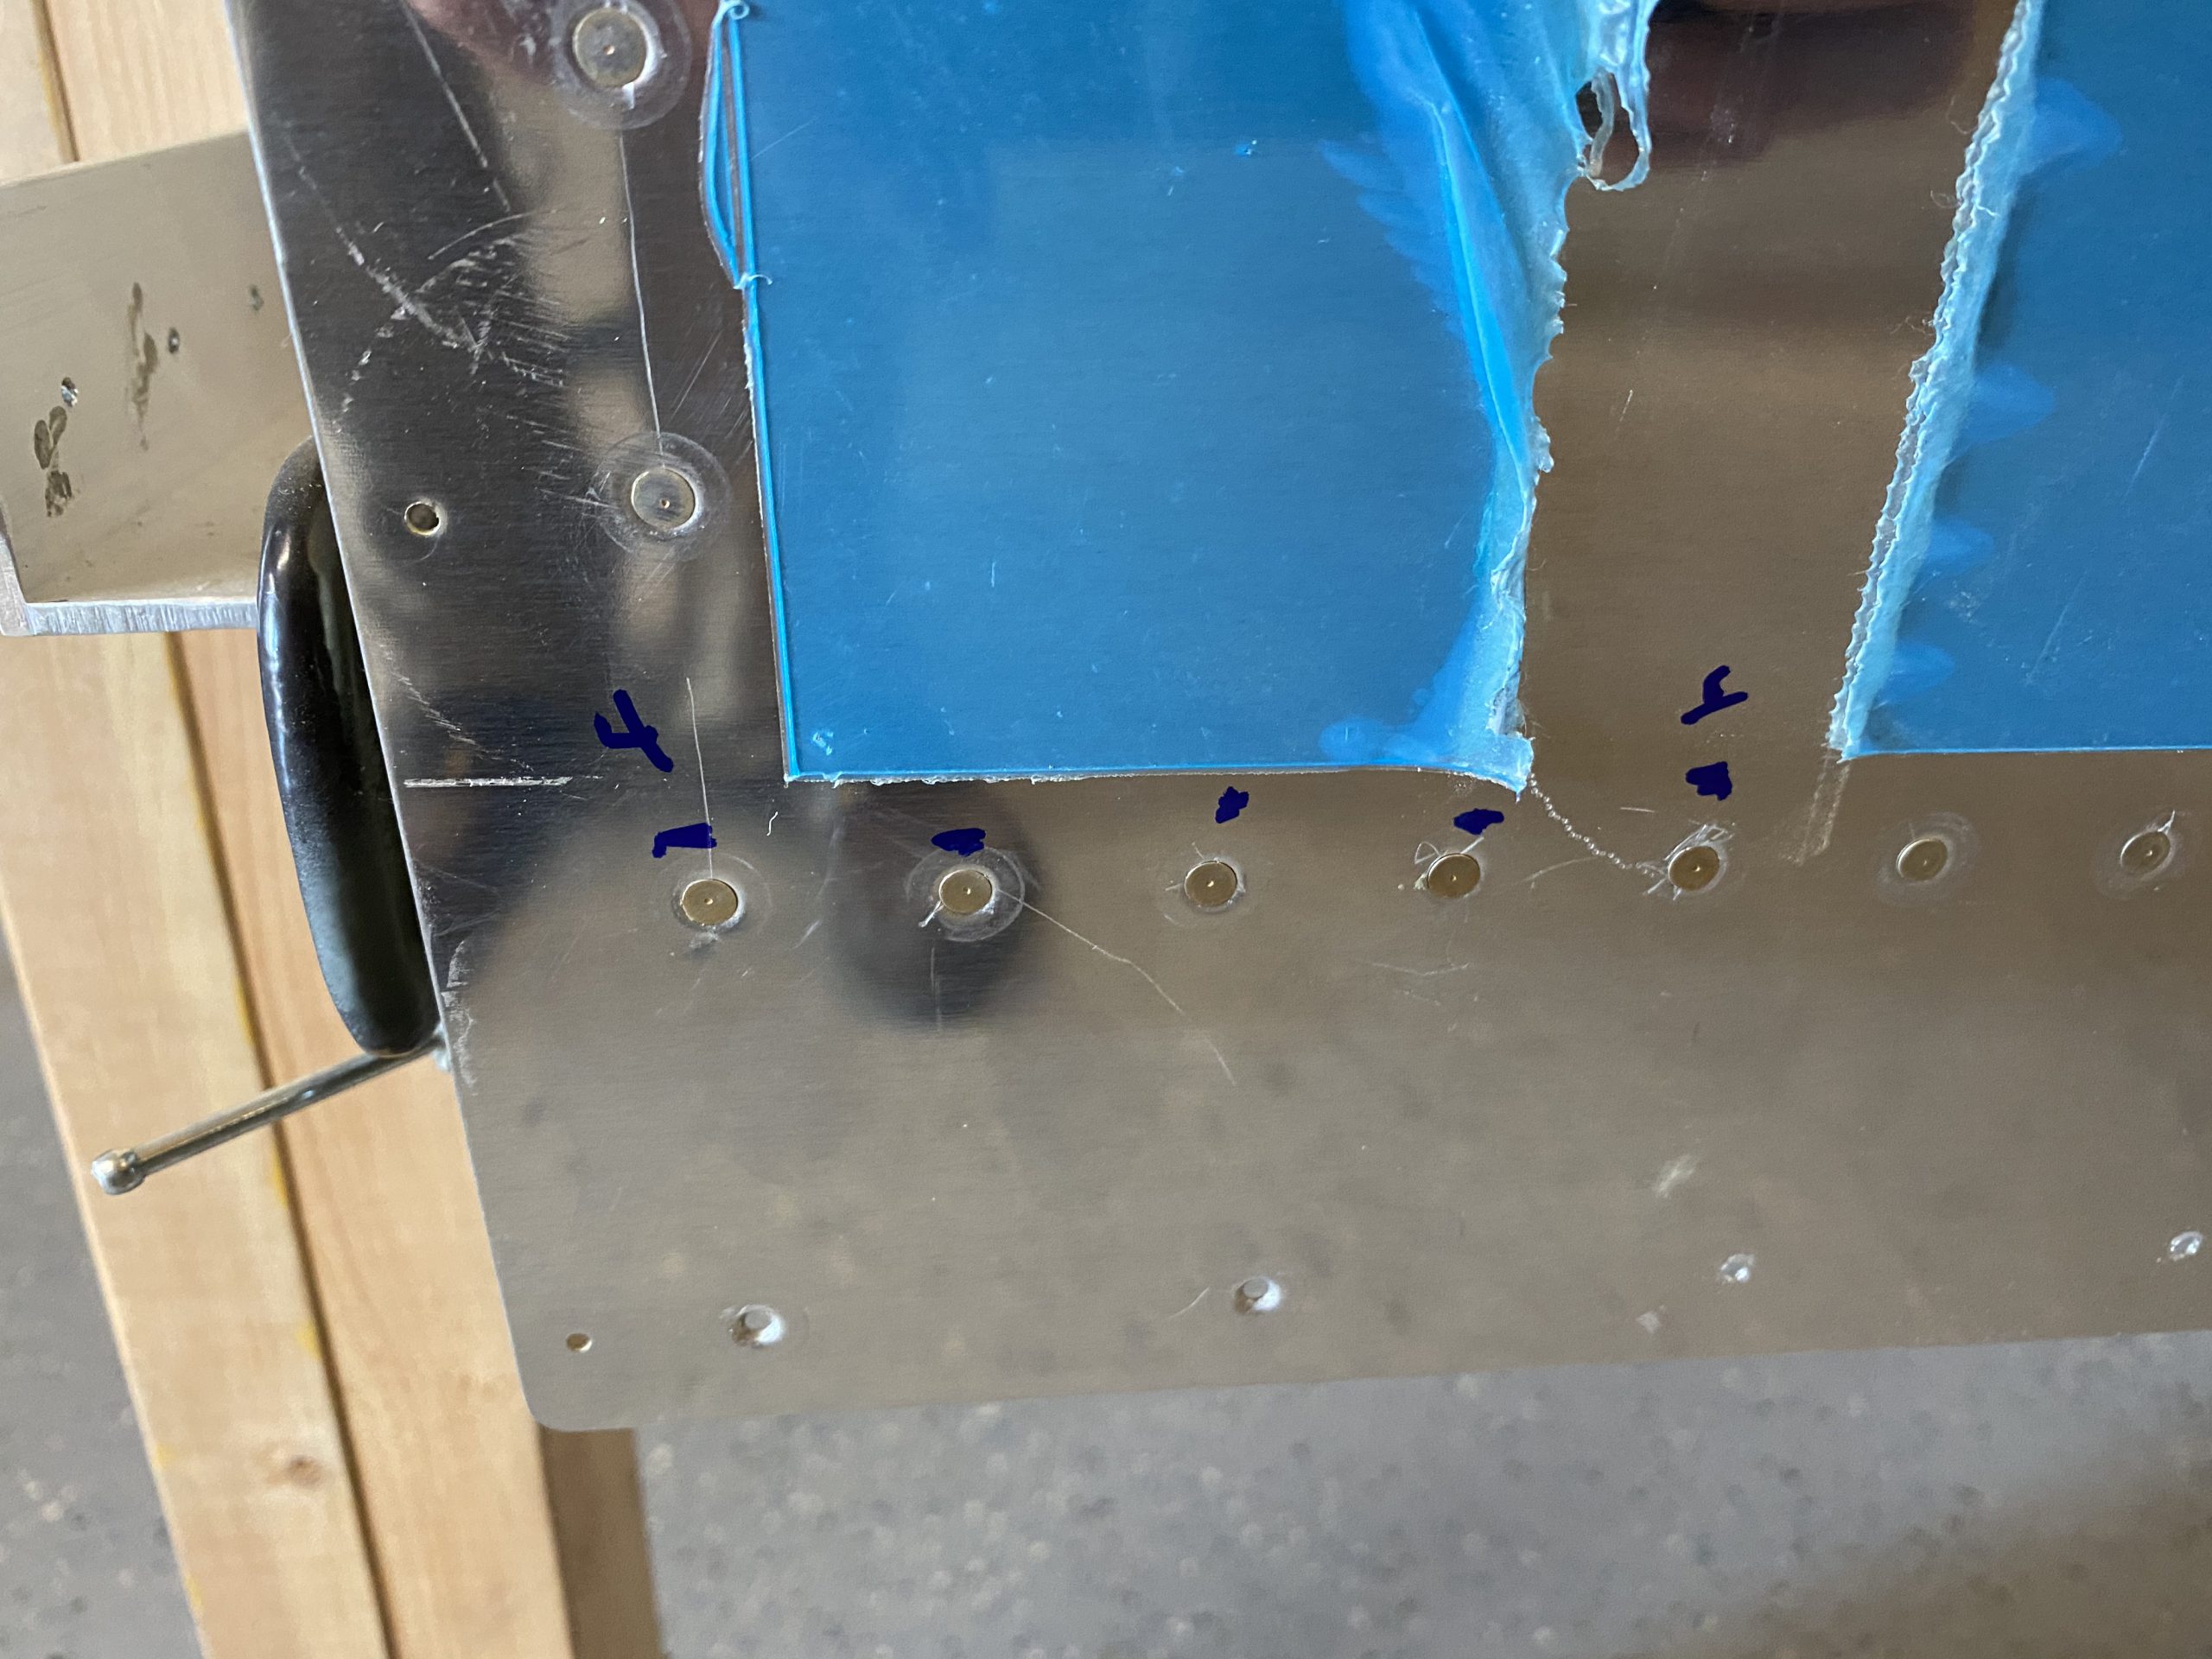
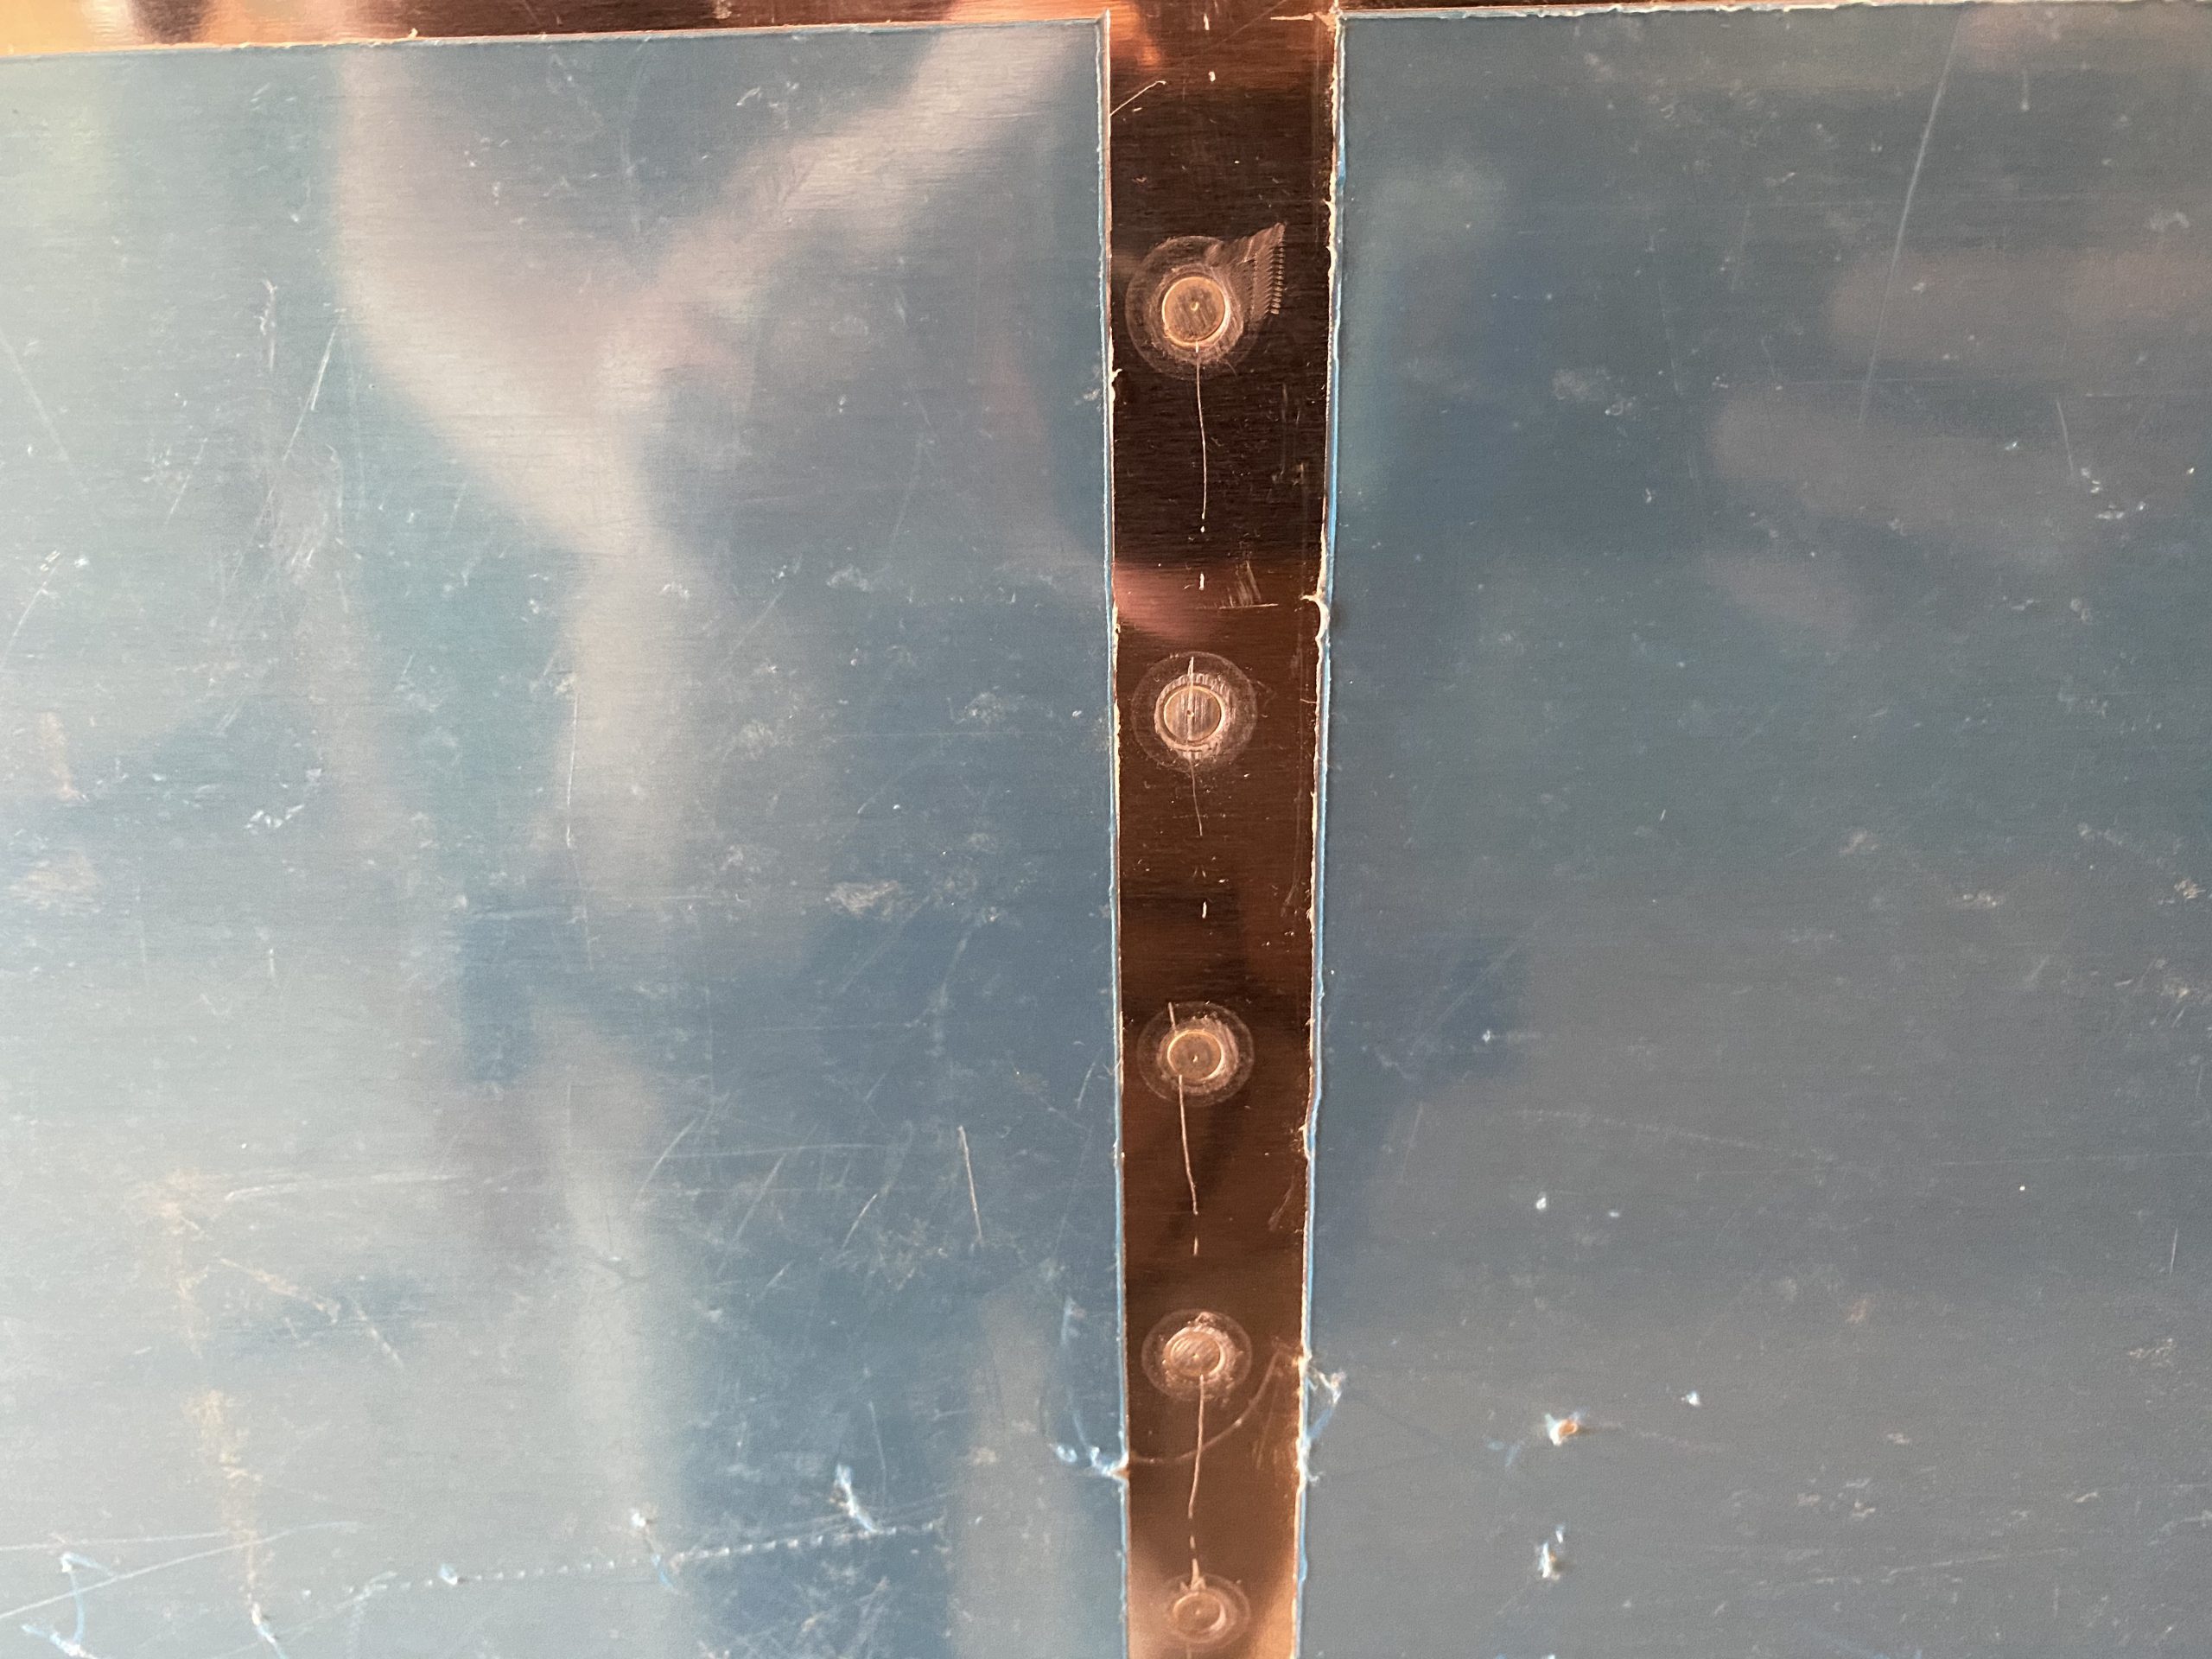
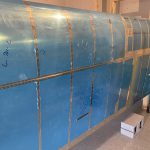
And this is a closeup I took of the top side of the wing. Tammy decided to be the bucking bar person, and we used the back rivet method to make some really nice looking rivets on the skins. She is holding this bucking bar, and I am using this extended reach back rivet set in my rivet gun, all available from Cleavelend tools, and well worth the small cost!
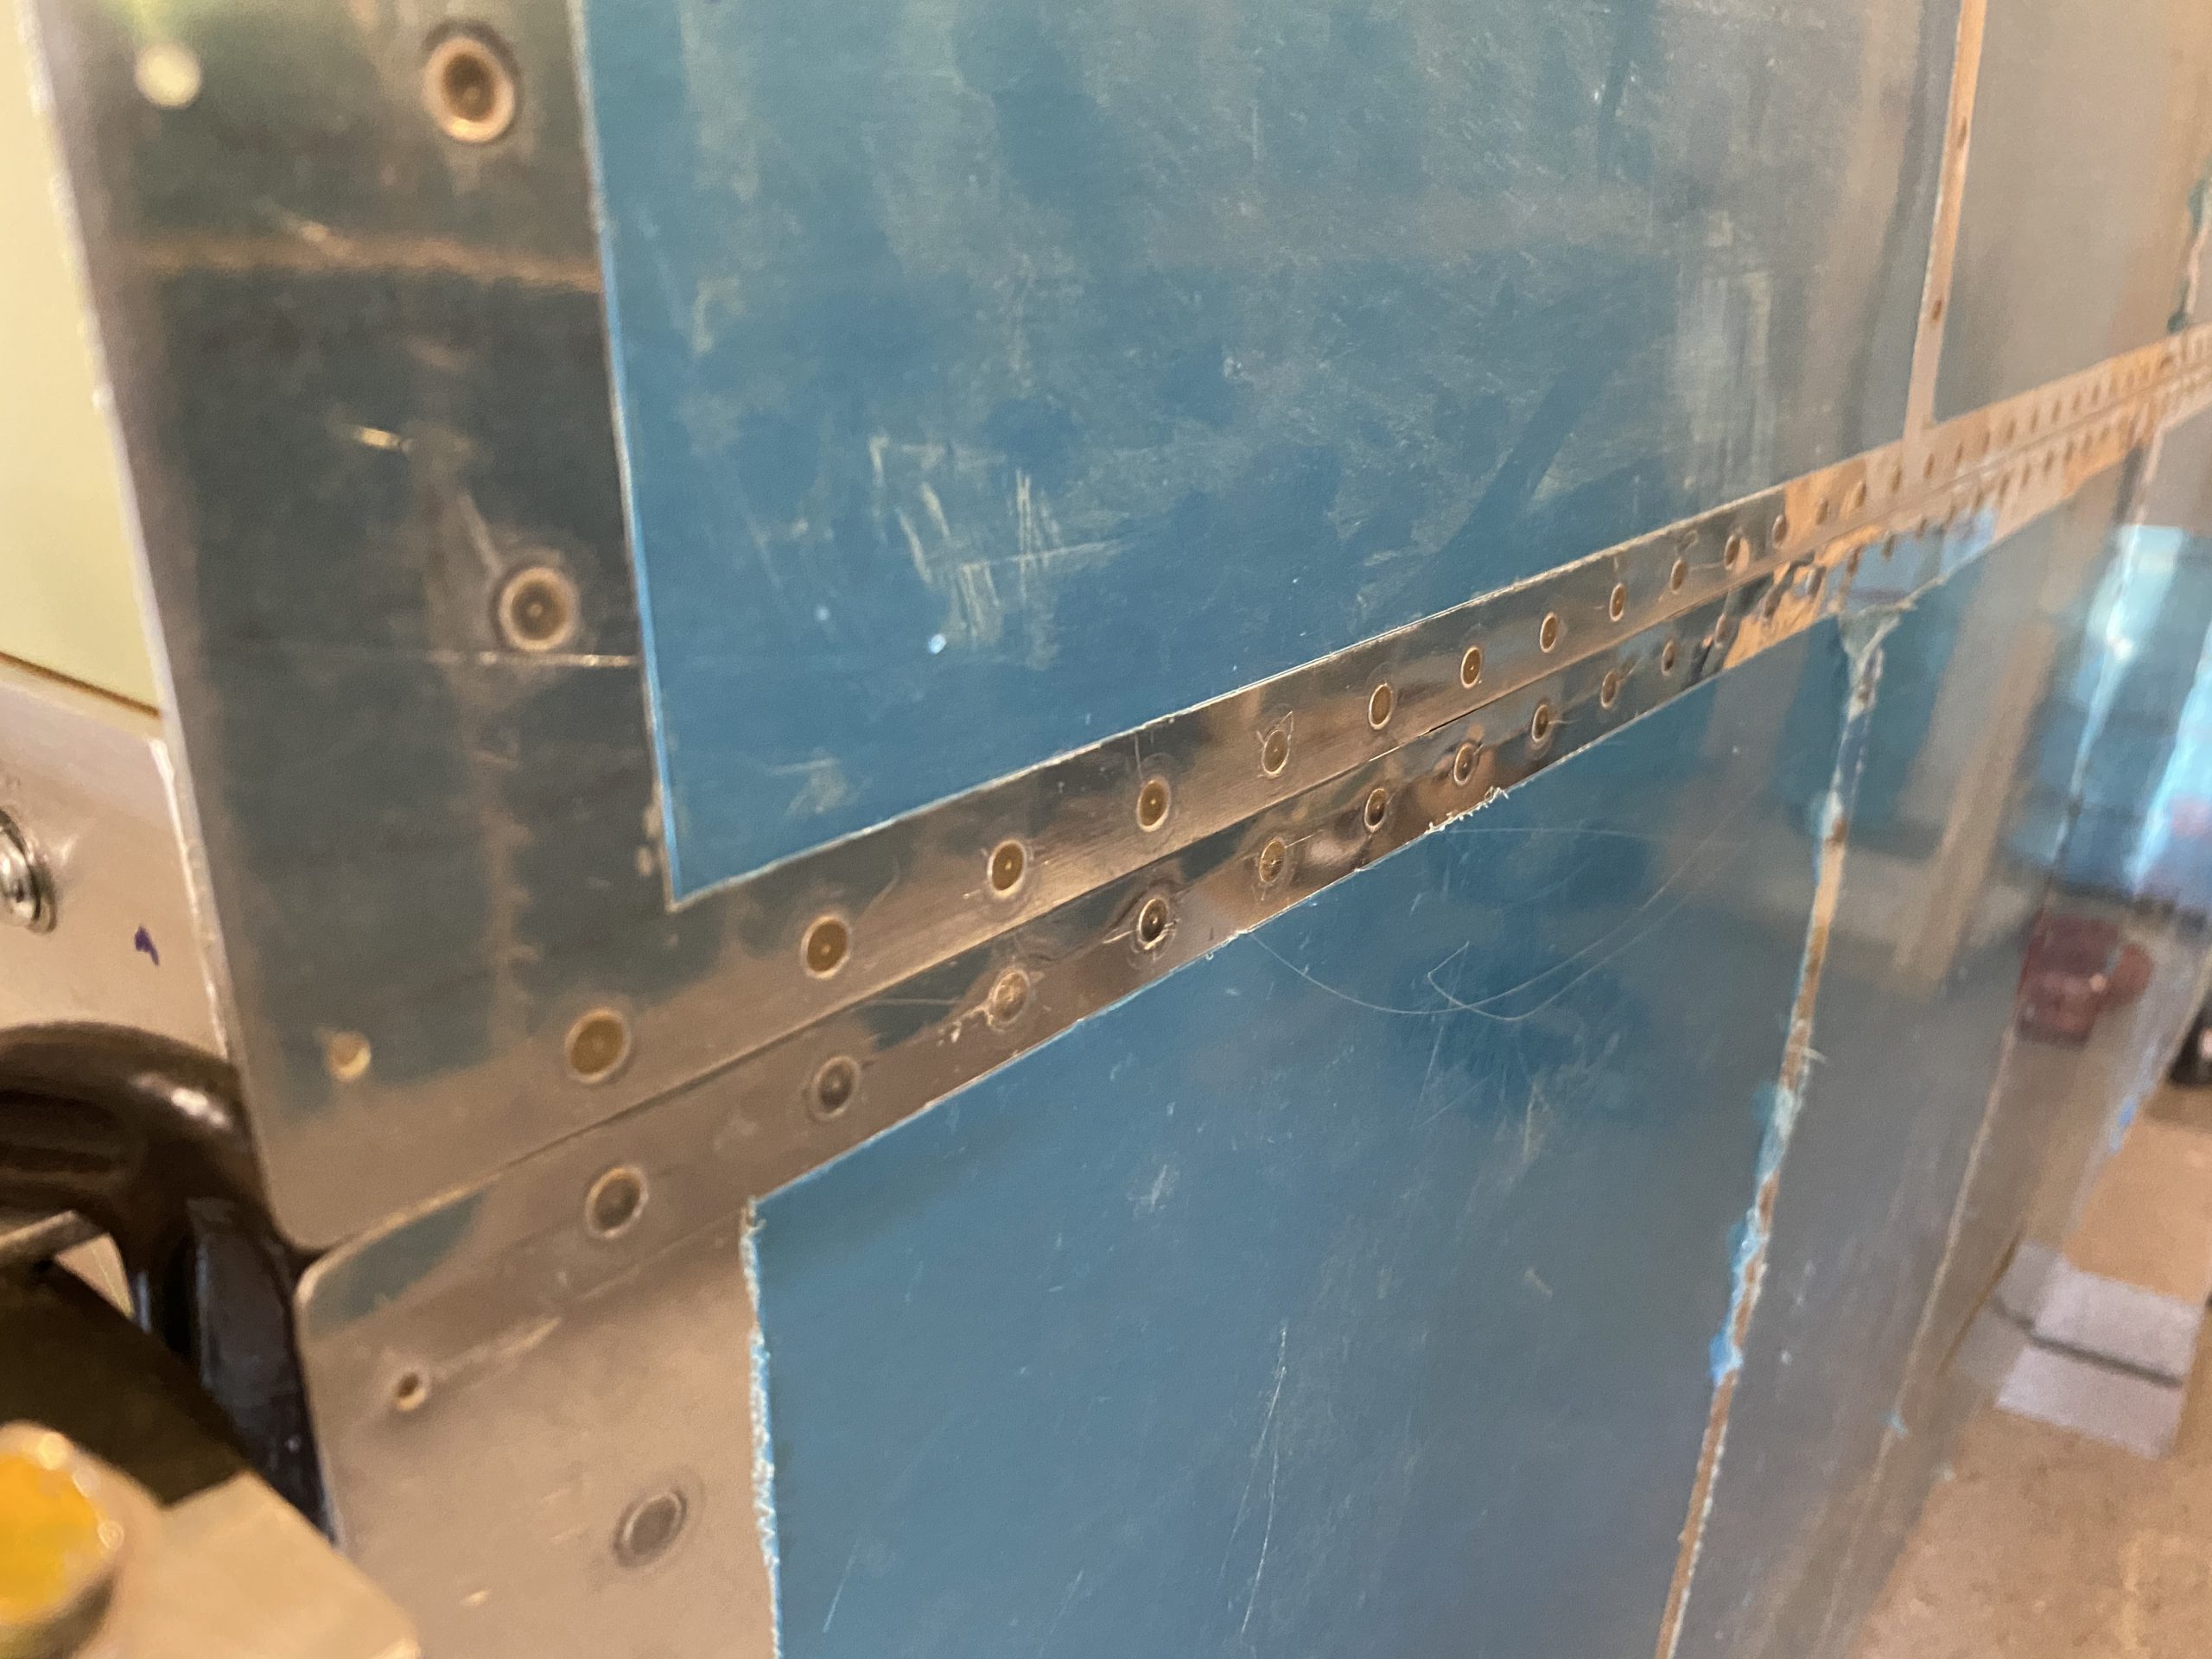
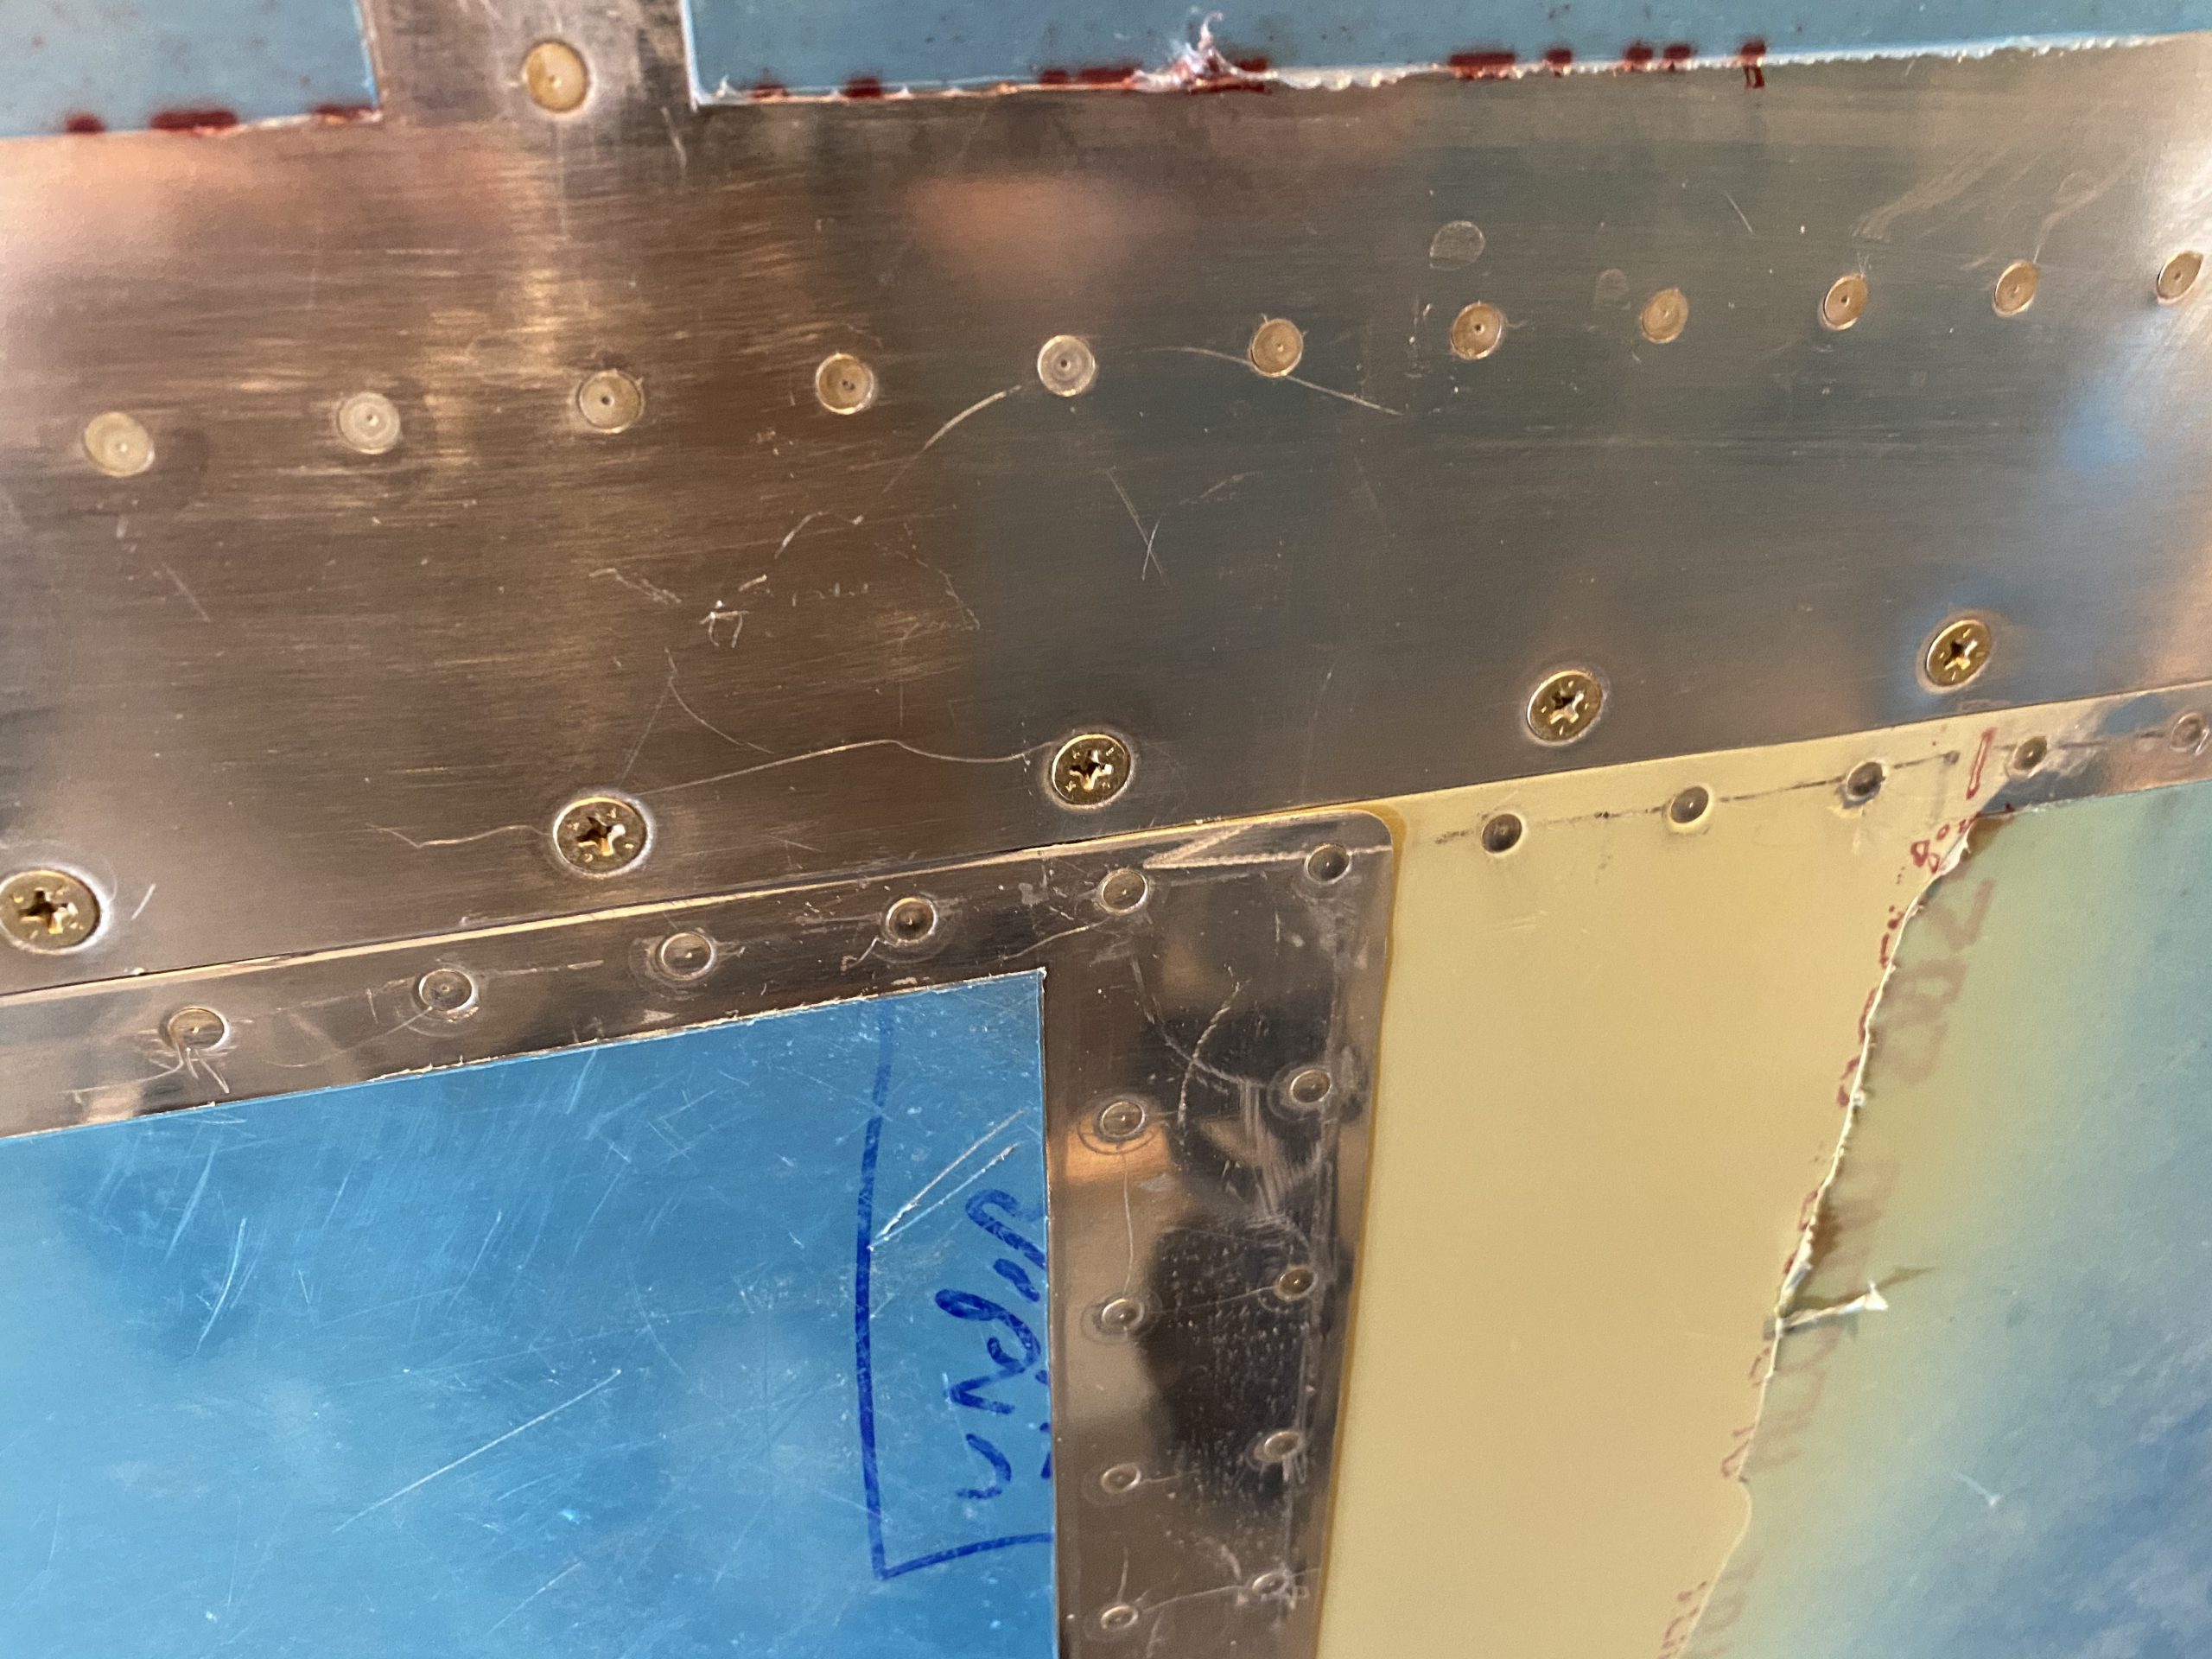
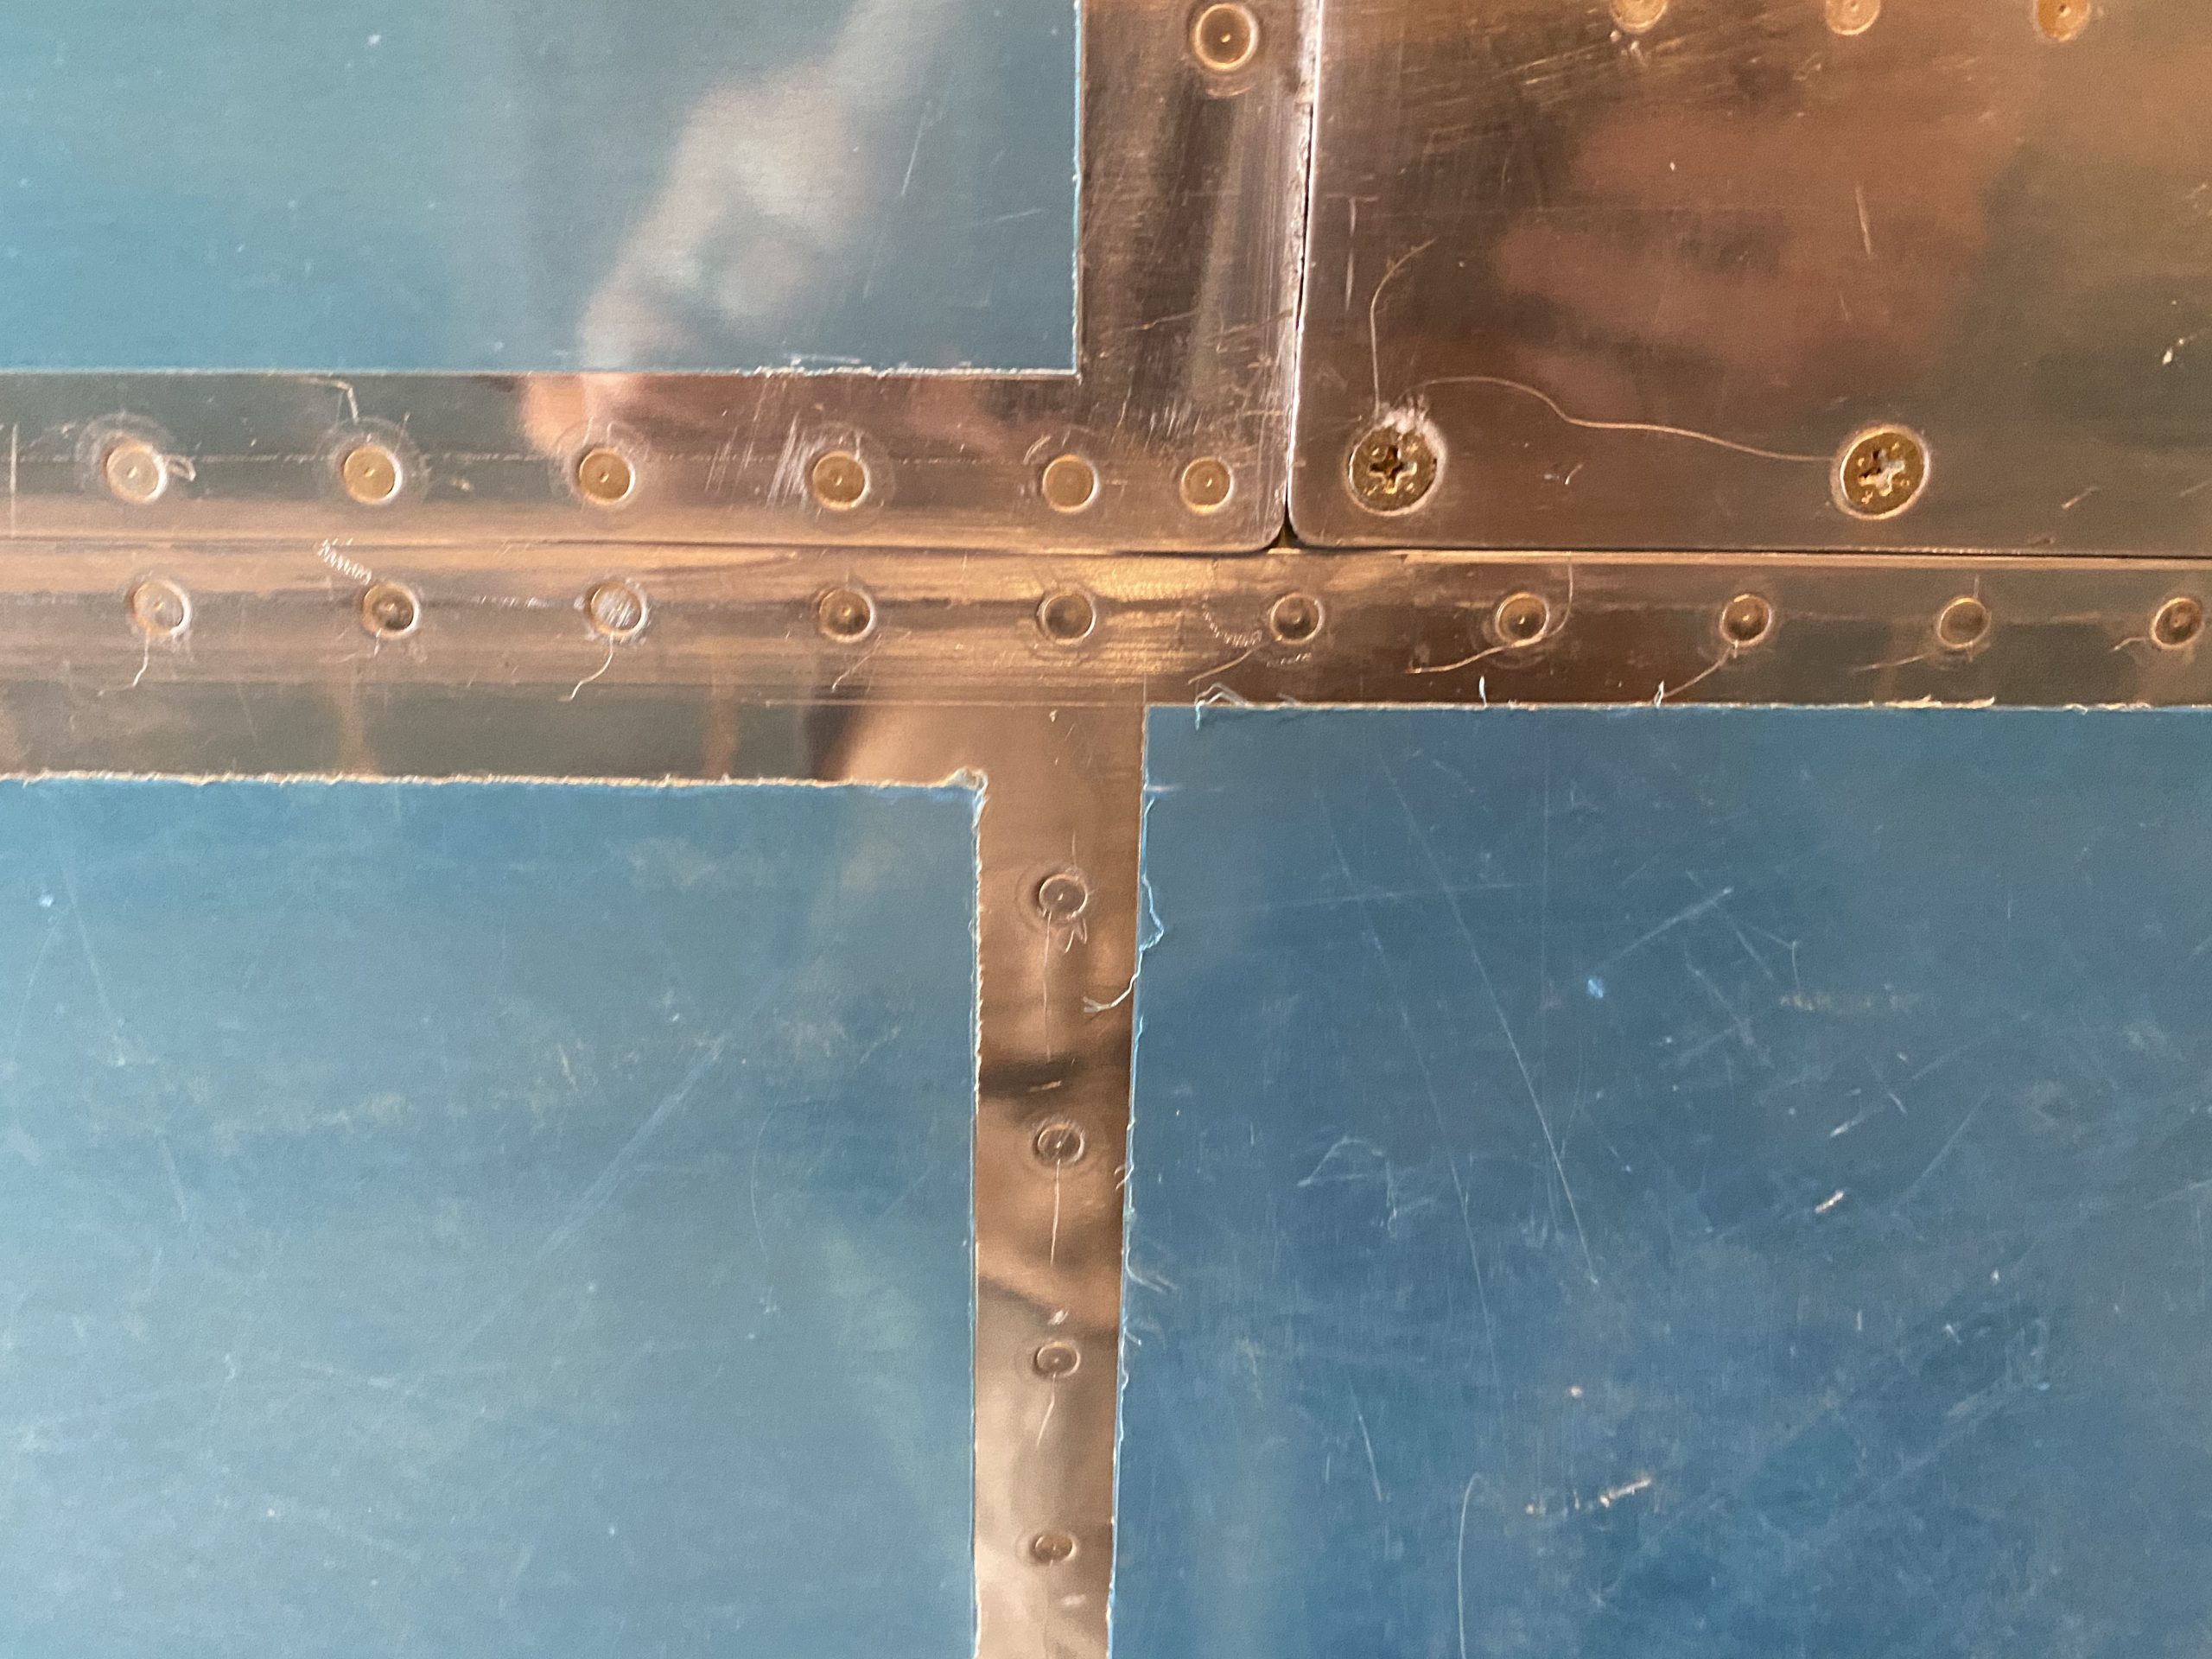
We started out by looking over the rivet call outs and coming up with a plan of attack. Per the plans, we’d start with the inboard skin, and the center rib of the inboard skin and work our ways outward. So, we picked the center rib, and then the center hole in that rib, and riveted up the rivet line from center, and then down the rivet line from center to make sure the skin stays nice and right. Once we had the first set done on the inboard skin, we removed the clecos, and did the same procedure for the remaining holes. We did however leave the trailing edge on both the skins for the very last, as I could squeeze them by myself. We also made sure to leave the two rows of rivets where the skins over lap alone as well, per the instructions.
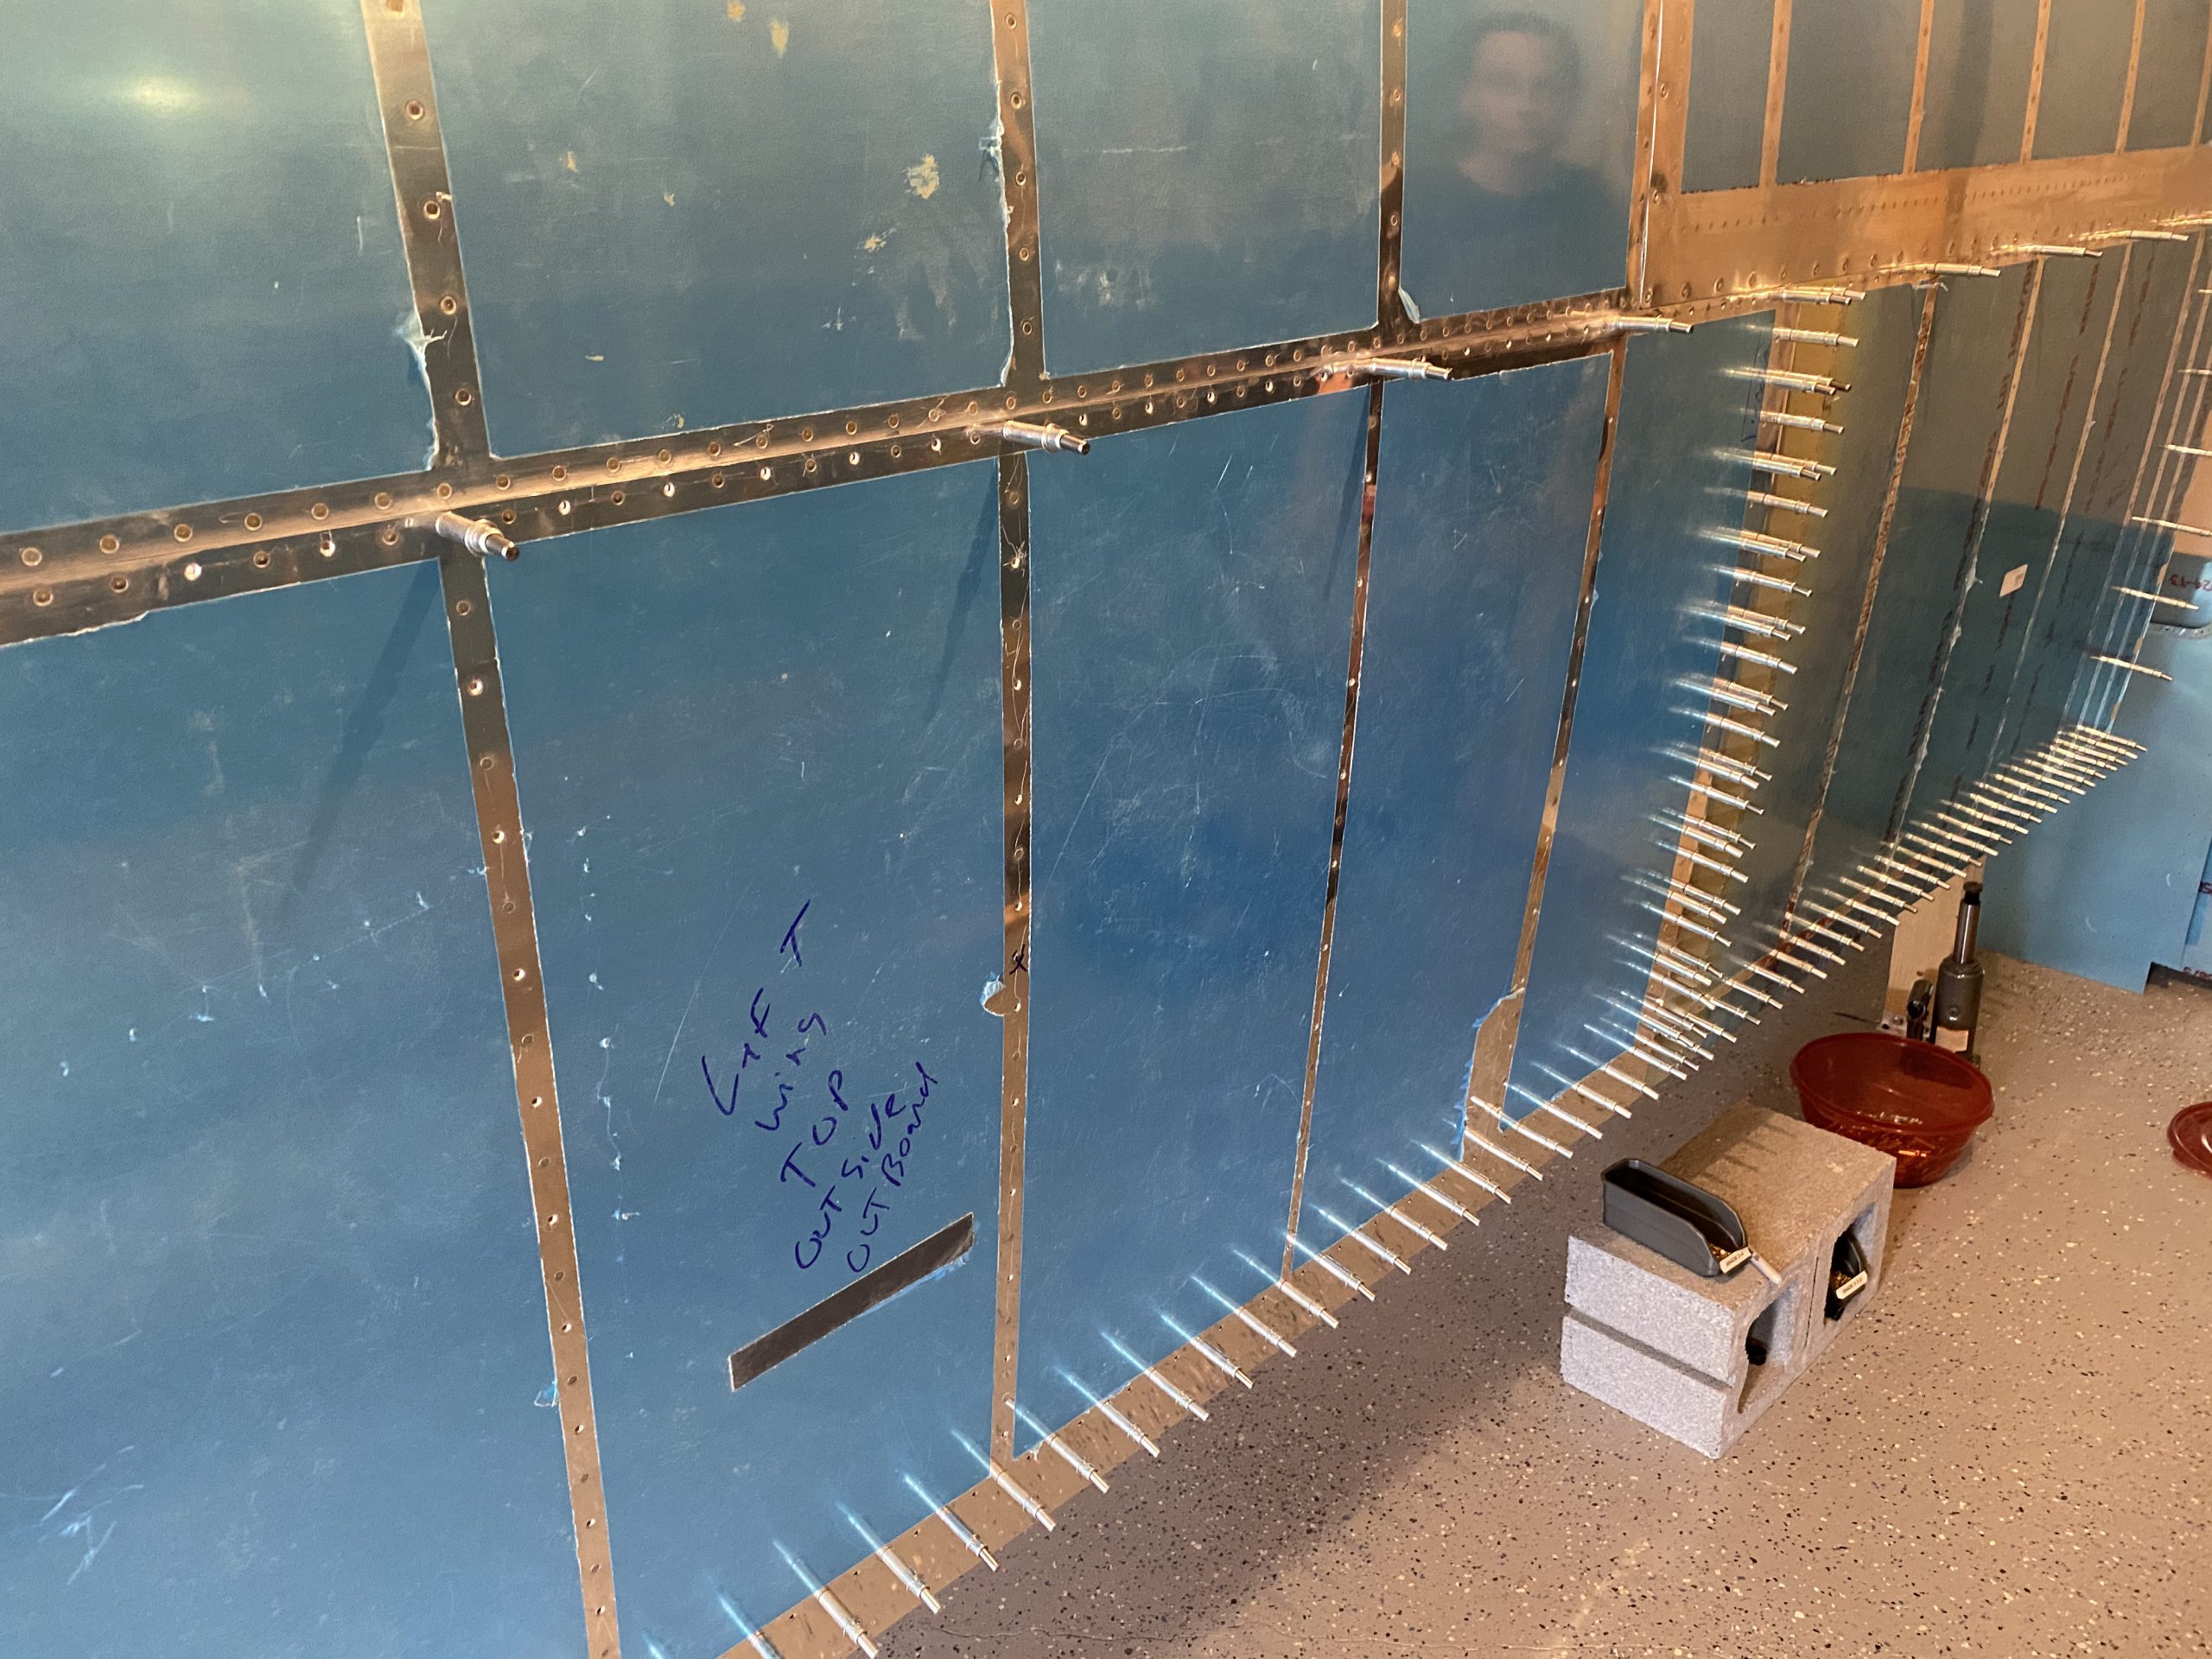
You’ll notice we also left the very last rivet on where the skin, rib and main spar flange are for the last, as we’d need to use a longer rivet here. There are several spots on the skins where a few different sizes are use, so we made extra sure to not mix up the rivets. I also would check the tails with a rivet gauge after they were set to make sure everything is coming out correctly. Once we had all the rivets except the trailing edge left, Tammy left to pickup our daughter Acacia from “Nanas” house, so I used my squeezer to set these last rivets. Before she left, she made some neat little notes on which rivets needed the “weird” sized rivets, as they needed to be a little longer due to doublers and skin overlaps. This was helpful!
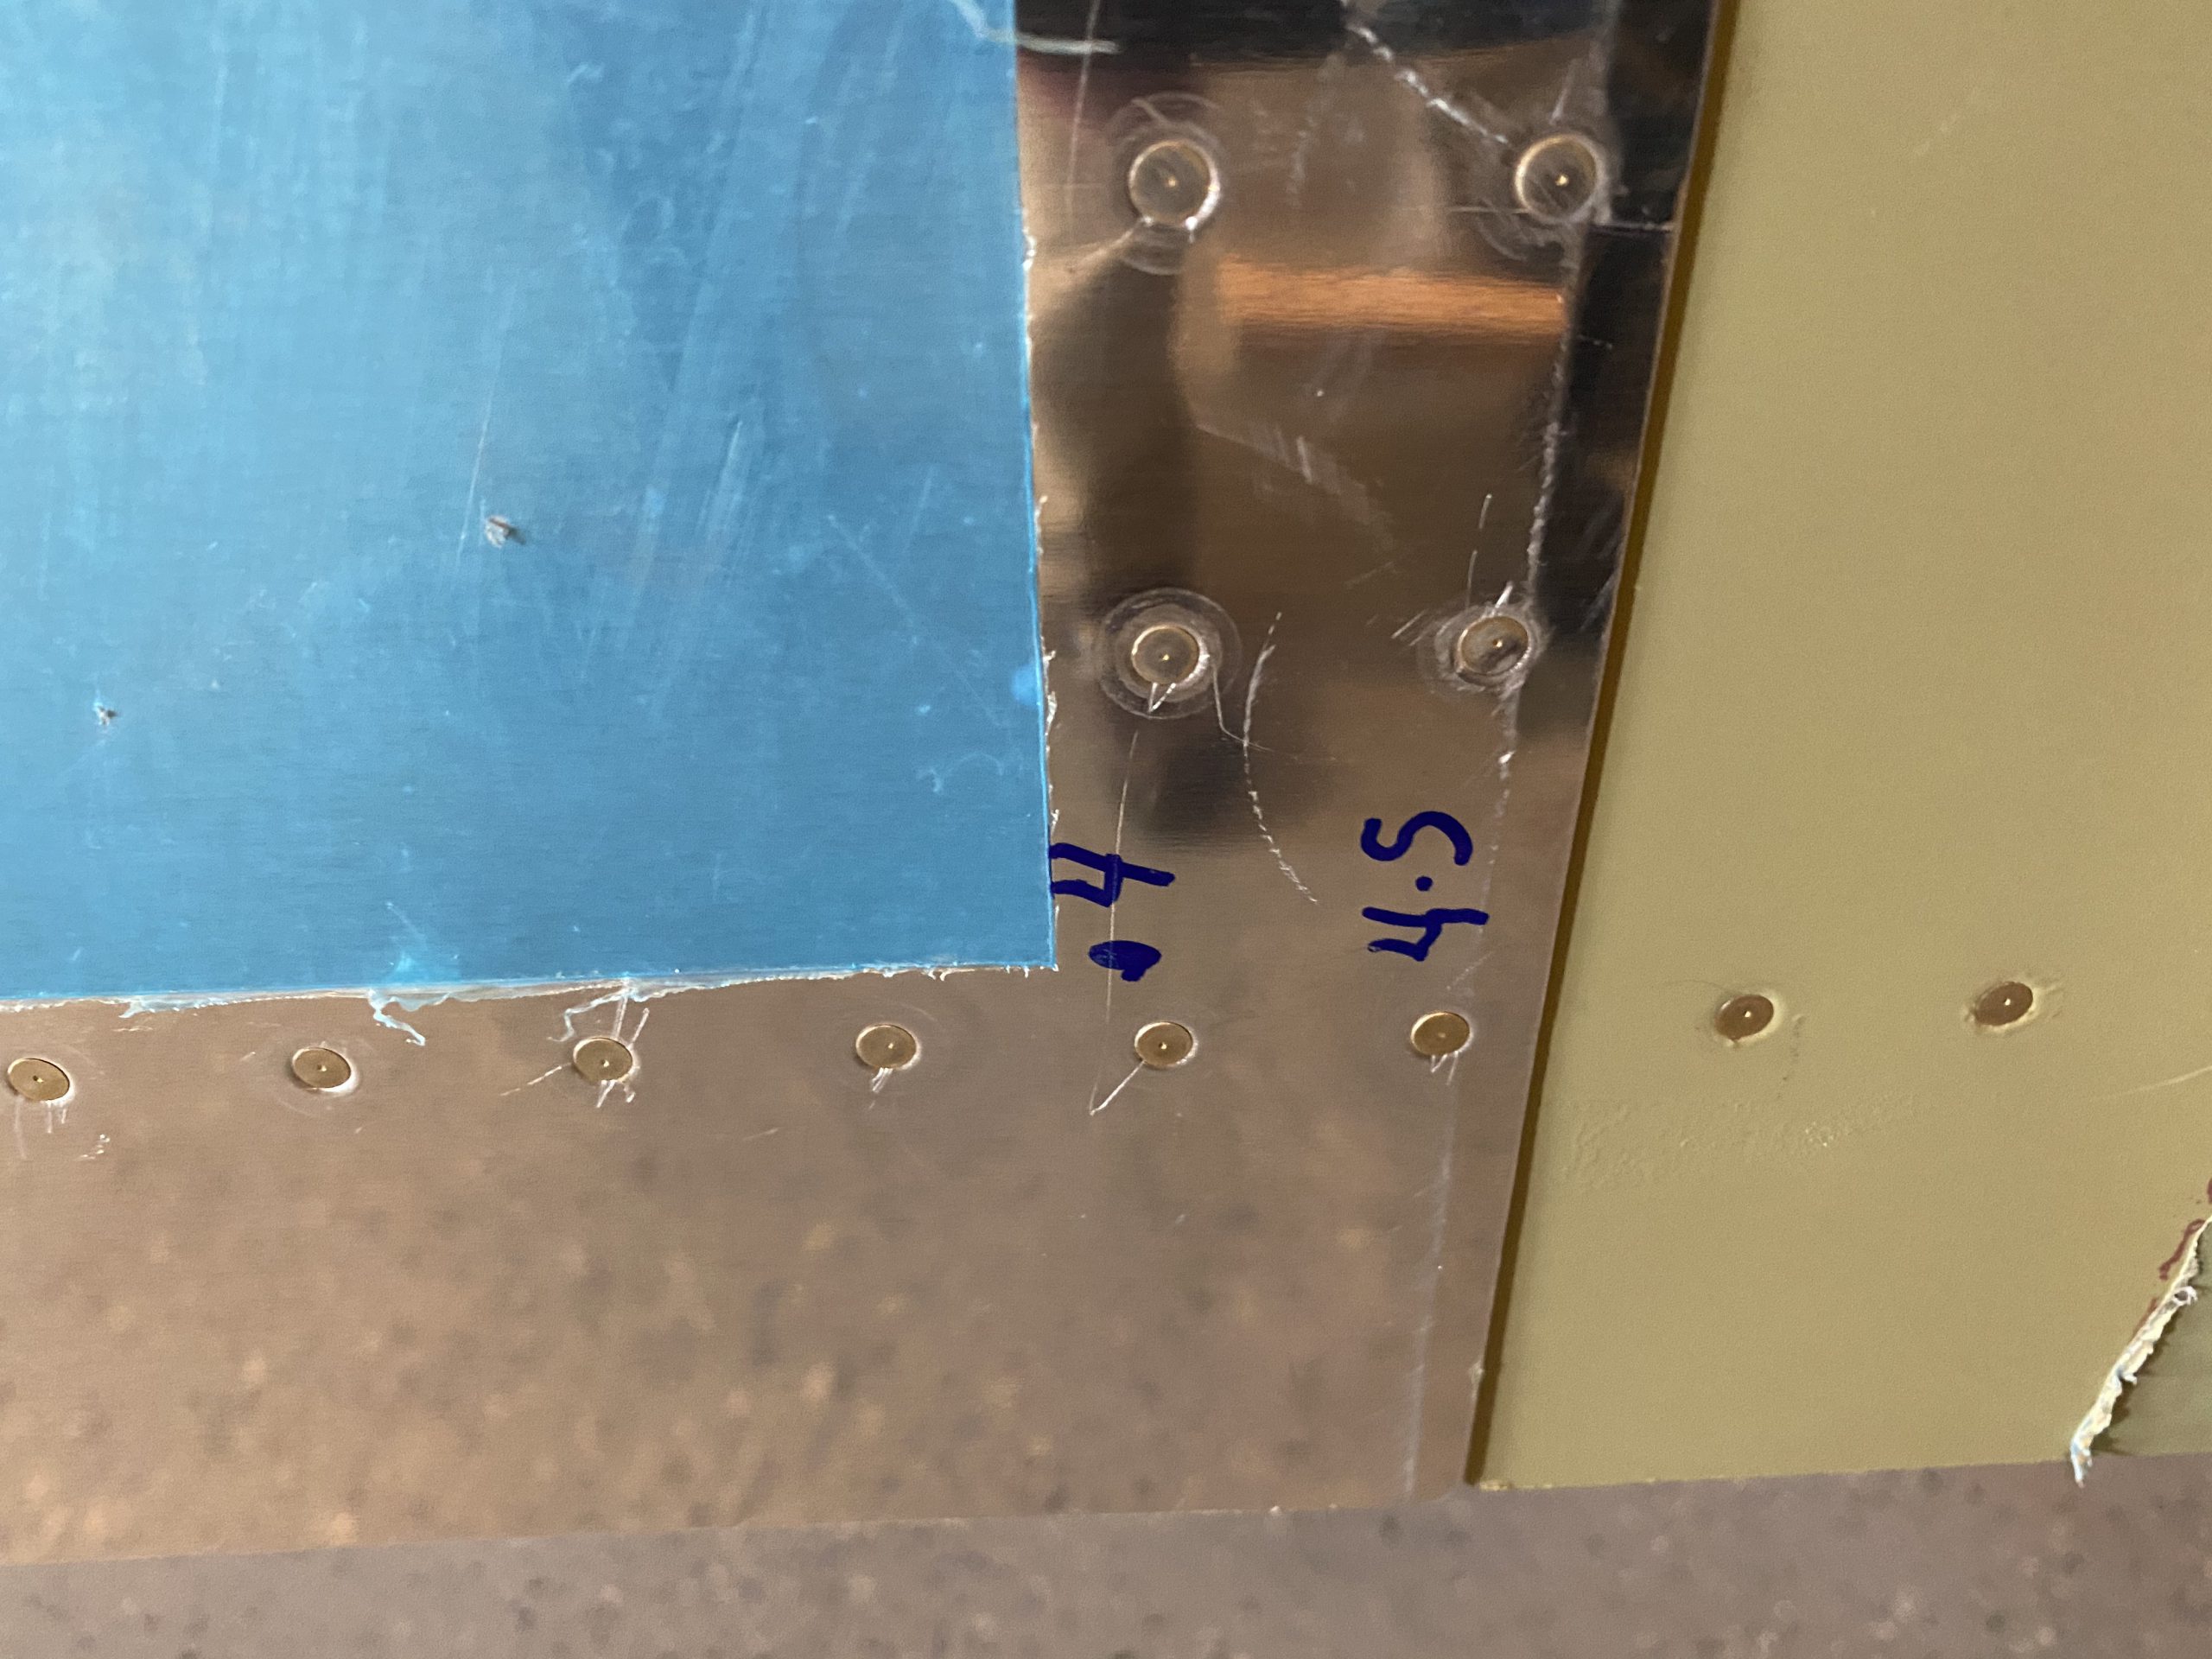
Eventually we ended up with a very beautifully riveted skin top skin! This back rivet method works very nice, leaving super flush and smooth rivets. All of the skin edges mated up very nicely as well, and I am super happy with the quality of the work we’ve done. There are a few superficial scratches on the skin from dimpling, and being worked on the bench, but they are surface only, and will completely be scuffed away when its painted anyways.
Thats it for this session. Since Tammy had left, and I decided to go up and grab a bite to eat, and then come back down to do some more piddling work while she was picking up Acacia. We are going to rivet the right skin soon, when we are both free again for at least three hours. Maybe next weekend?
Google Photos Link: https://photos.app.goo.gl/dKHNEYHsZoPMHe1S7
-
 62232708918__782E59D5-BA94-492C-8AF4-380AB2E09CBC
 -
 IMG_2680
 -
IMG_2681
-
 IMG_2683
 -
IMG_2684
-
IMG_2685
-
IMG_2686
-
IMG_2687
-
 IMG_2688
 -
 IMG_2689
 -
IMG_2690
-
IMG_2691


Hours Worked: 3.0