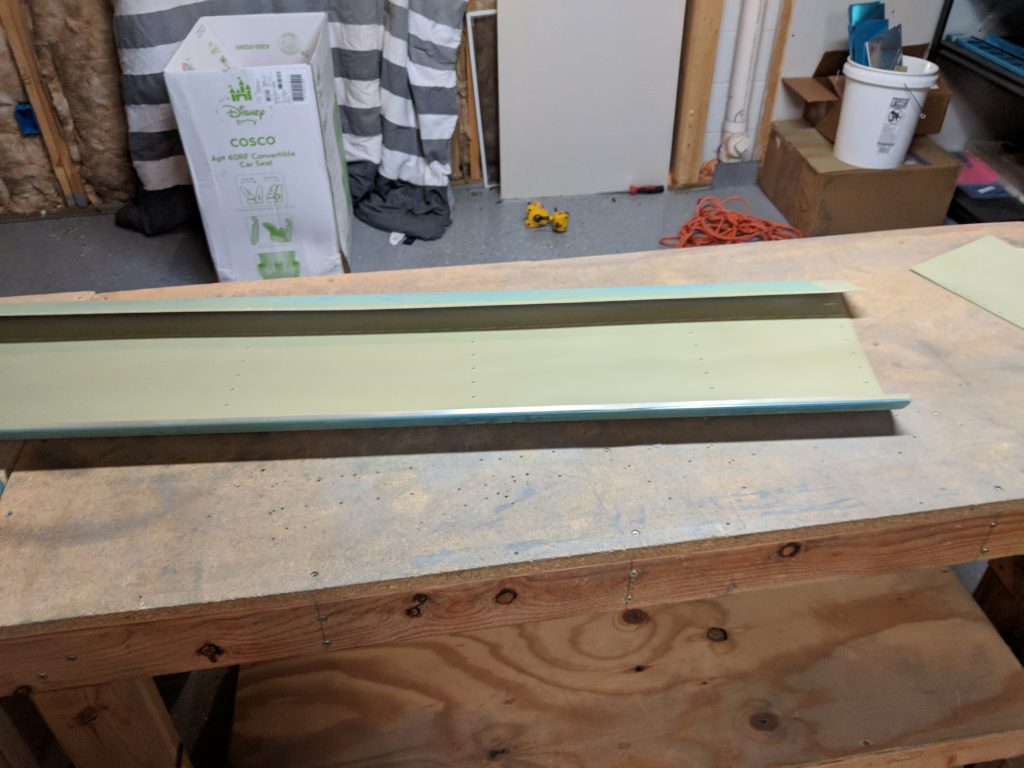
Buy Ultram Online I came down the check the AKZO to see if it had cured enough to start dimpling, and I was happy to see the parts were cured and ready for the next step. So, I began setting up my workspace to start the dimpling process. I figured I would be able to get one flap done tonight, and leave the other for another session. Like every build session, this one started out by studying the plans and looking at rivet call-outs to double check which ones need dimpling, notating any special weirdness on the parts. It’s pretty straightforward: All the skins need dimpling and their respective mating parts, with the only exception being the bottom of the spar, because I machine countersunk it earlier on in this session: http://theskunkwerx.com/rv7/left-flap-assembly-part-3/
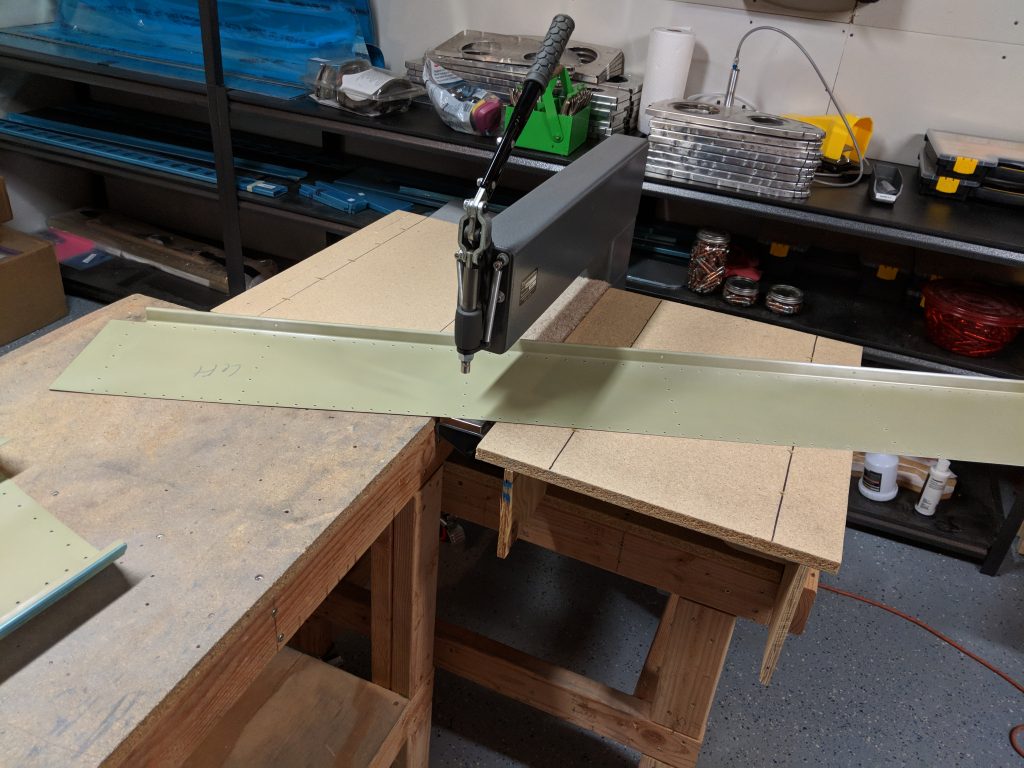
source url I started out by setting up the DRDT-2 dimpler and table and then getting the skins done. These went really quick and easy. On the top skin, where it folds over at the trailing edge, I had to use my pneumatic squeezer to dimple the holes in this little “flap” of skin, but it was easy to get to.
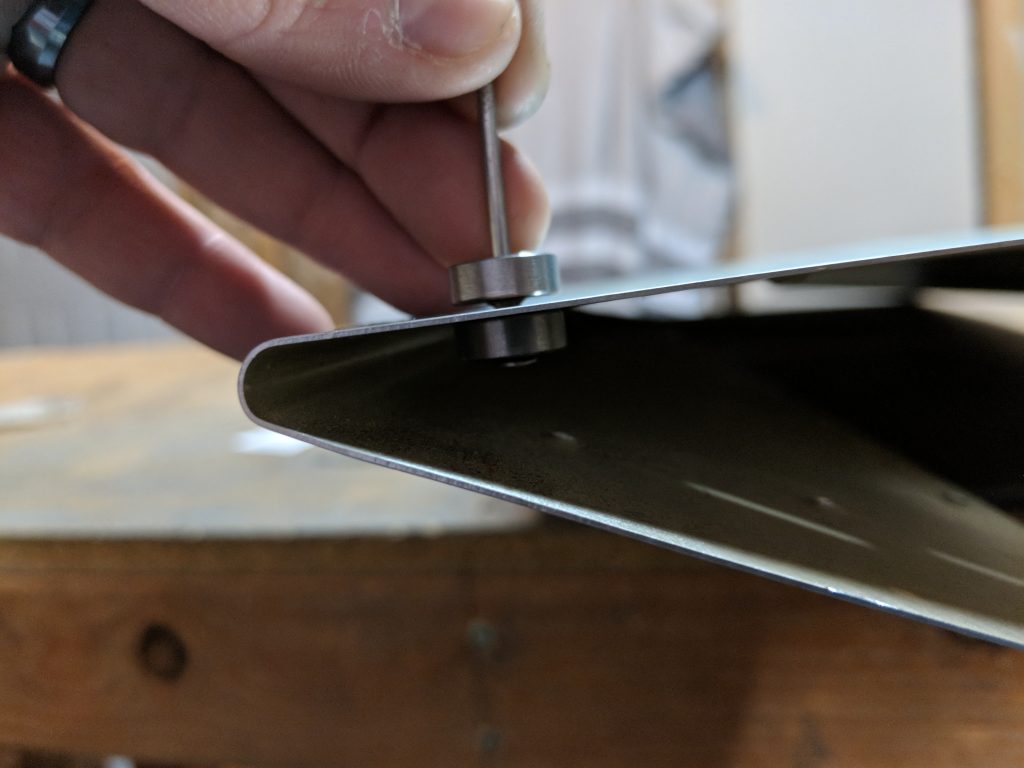
Order Tramadol Online HOWEVER, there were about 2 or three holes at the very trailing edge of this fold that were a little tight to get with the squeezer’s yokes, so I pulled out the trusty old pop-rivet dimple die set. These is a pretty clever little tool for getting these tough spots like below. Its essentially just a nail used as a mandrel with a male and female die on each side of the skin respectively. A pop-rivet tool it used to apply pressure to the dies and it forms a decent dimple in thin aluminum. Now, granted its not as neat or perfect as a normal dimple die, but it gets the job done enough that a rivet will sit flush with the skin
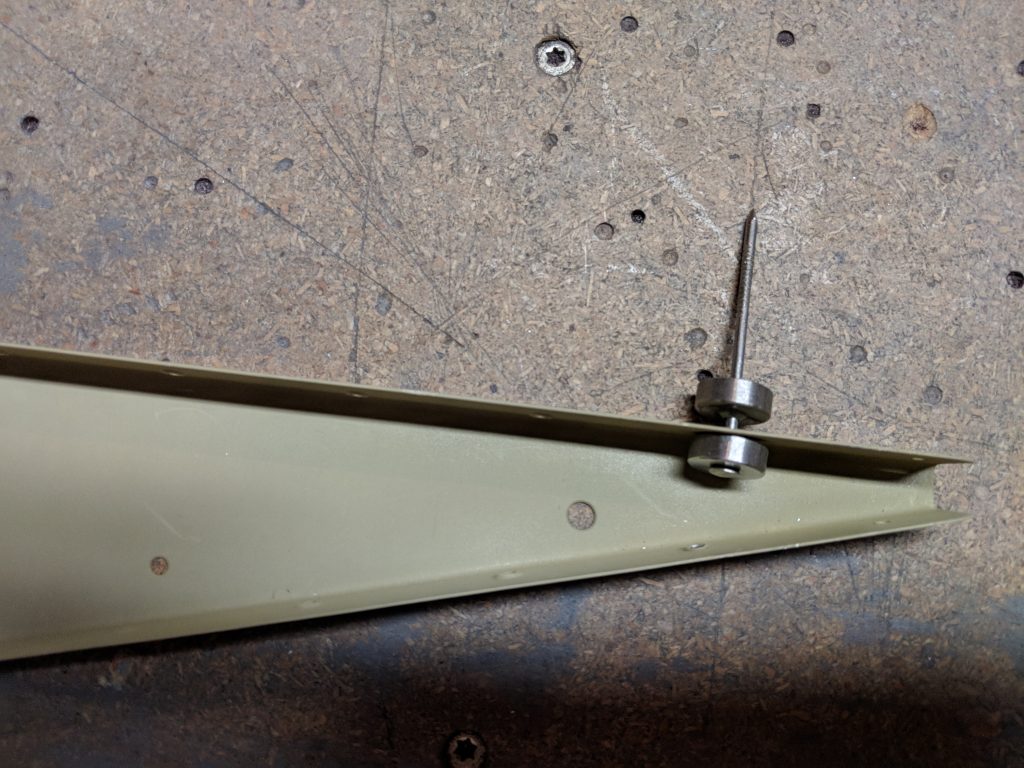
get link Since I already had the DRDT-2 setup, I figured I would use it to get the main spar dimpled, since it was big enough to fit into the jaws. The ribs were not big enough to fit in the DRDT-2 so I used a pneumatic squeezer with a dimpling set in them to get about 98% of their holes done. The holes that were on the trailing edge of the ribs I would have to get creative on…more on that below. I ended up using the pop-rivet dimple dies on the holes I could get to with it:
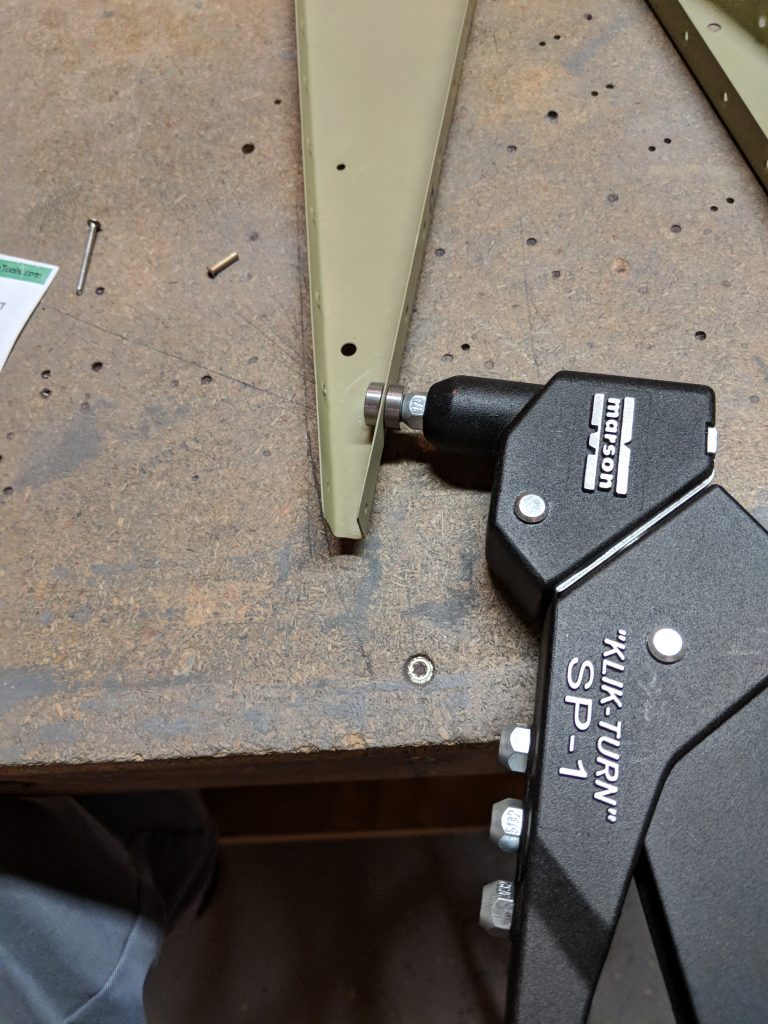
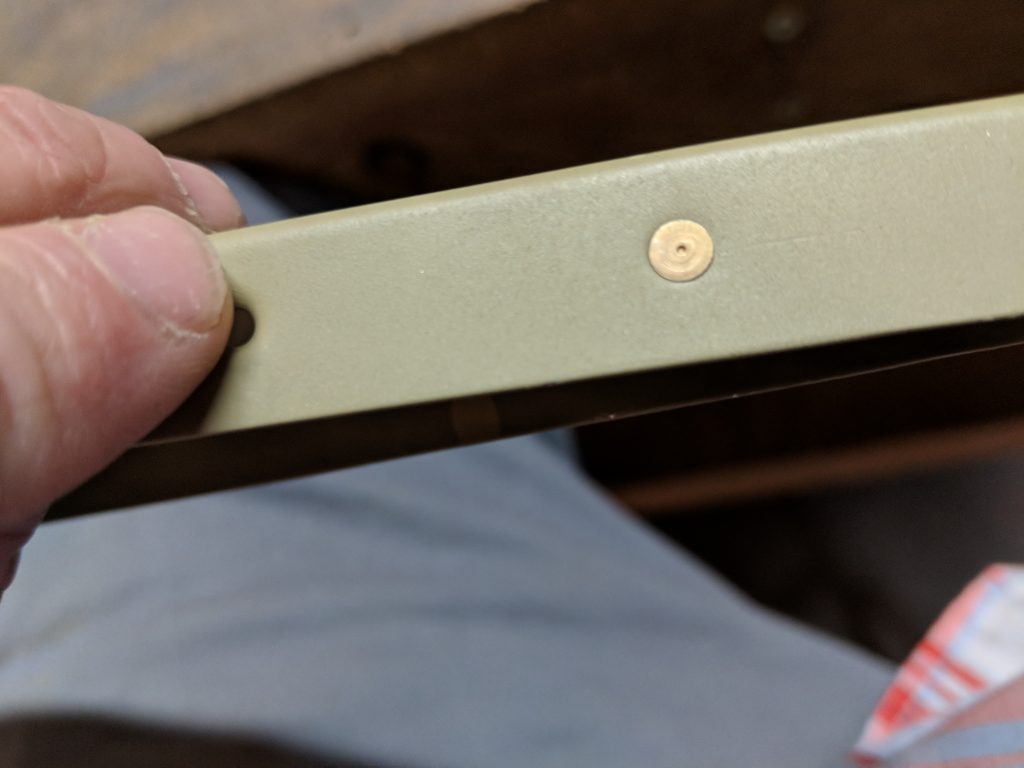
https://www.ontheballwalkies.com/cancellations-and-returns/ BUT, as you can see, that last hole at the very very trailing edge of the rib is too tight to even get the nail in for the pop rivet dimple dies. Luckily I had ran into this before when I was building the empennage and made a little tool: 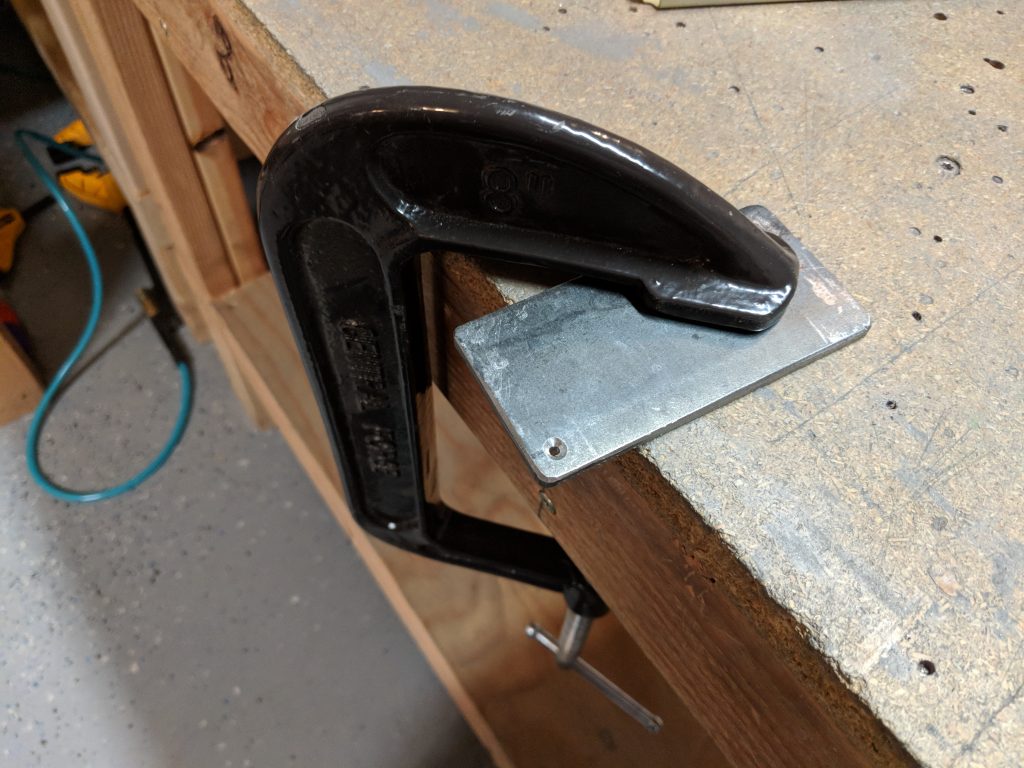
Tramadol Online Purchase Its a piece of steel, with a #40 hole drilled into it, and then countersunk slightly deeper than normal. This piece of steel is thin enough to fit in the slim space at the end of a rib and its used as a receiver for the male part of the dimple die. You can see in the photo below that I have my normal male 3/32 dimple die inserted into an old, bent pneumatic rivet set. The rivet set was too bent to use in my squeezer from the previous owner, but it works great for this purpose….notice that piece of square steel on the end. It’s perfect for a hammer 🙂
https://spareveil.com/spa-facials/ 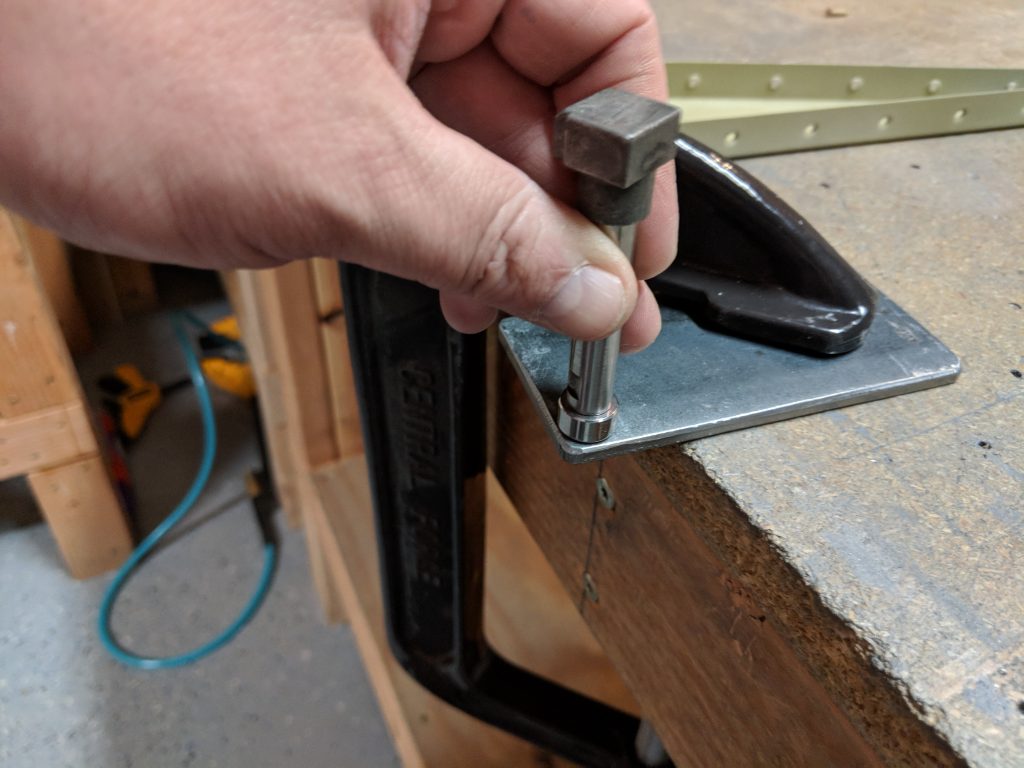
go to site I clamp it down to the work table, align the hole of my rib over the hole in the steel:
https://thepinkyproject.com/privacy-policy/ 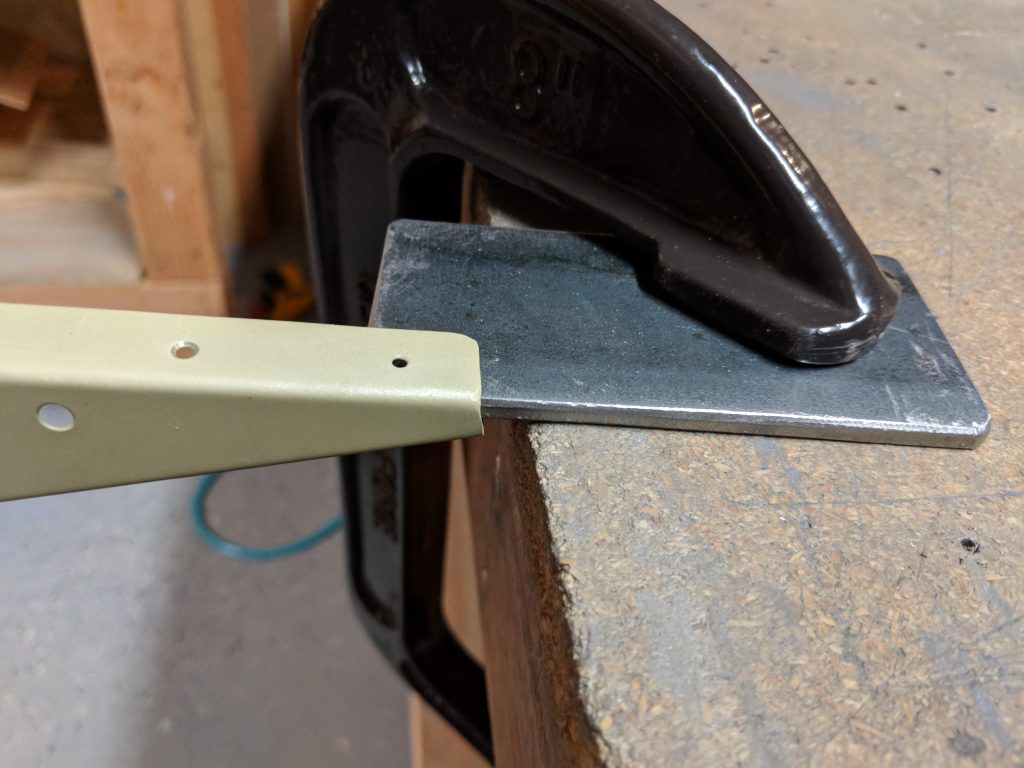
Tramadol Online Purchase And then insert my male dimple die into the hole in the rib, making sure its also aligned with the hole in the steel plate, and then give it a good whack with a small hammer. It usually only takes about two or three blows with the hammer, and I have a nice formed dimple in this nearly impossible-to-reach location!
Buy Ultram Online That wrapped up tonights build session. I was able to get all the parts dimpled and ready for final assembly and riveting for the left flap. I think I will go ahead and do the same for the right flap in my next session, and then I’ll need to make some V-blocks to hold everything nice and square for final riveting. I’ve got plenty of spare wood left over from the shipping crates that I can use to make some V-blocks with. I’m also considering picking up a scrap piece of granite or stone countertop about the size of my work benches to lay on top of my benches so I can have a true and flat working surface for riveting these things together. I have read that it can be easy to build a twist into the flaps and ailerons if you work table is not really flat. Anyways, heres the photos from tonights session:
Buy Ambien Online Overnight Google Photos Link: https://photos.app.goo.gl/kCRrw4x6UxzVUePx2
https://www.turtleopticians.com/kids/ Hours Worked: 1.75




I love watching your project come together.
Awesome! I am having a great time putting it together. I’ll be logging another build session here in a few minutes 🙂