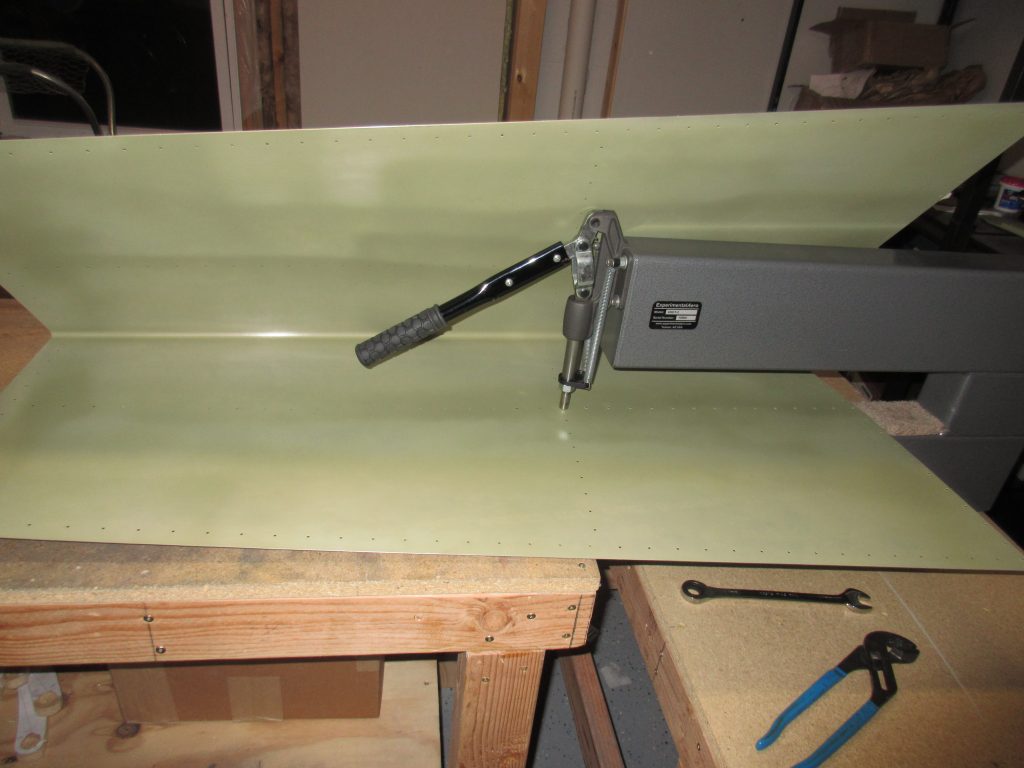
go to site After riveting the front spar, I was still wanting something to do, but nothing very involved. I realized I hadn’t dimpled my skins yet, since I was waiting to do that until after the primer had cured. Since the next step in the plans call for me to rivet on a few ribs to the left skin, I figured this was just a good a time as any to start!
https://estherbarniol.com/jua80qyiu7https://www.galassisementi.com/0jl7suhfg9e I used the DRDT-2 dimpling tool to dimple all my skins. I used a piece of scrap aluminum to set the dimple dies and the compression on the dimpler to form a perfect skin dimple. A lot of folks don’t do this step since, and just go right to dimpling. There’s nothing wrong with doing that, but there is an issue of under-dimpling which causes the skin to look like it has a “dished in” surface around the dimple. You end up with this weird wavy looking skin surface. Again, theres probably nothing wrong with have an under dimpled skin, so long as the part fit together snug, but I am wanting to build a quality airplane that looks excellent, so I take the extra time to set these things. After a few test dimples in my test coupons of aluminum, I started on my left horizontal stabilizer.
go here
https://estherbarniol.com/3q58g63pb 
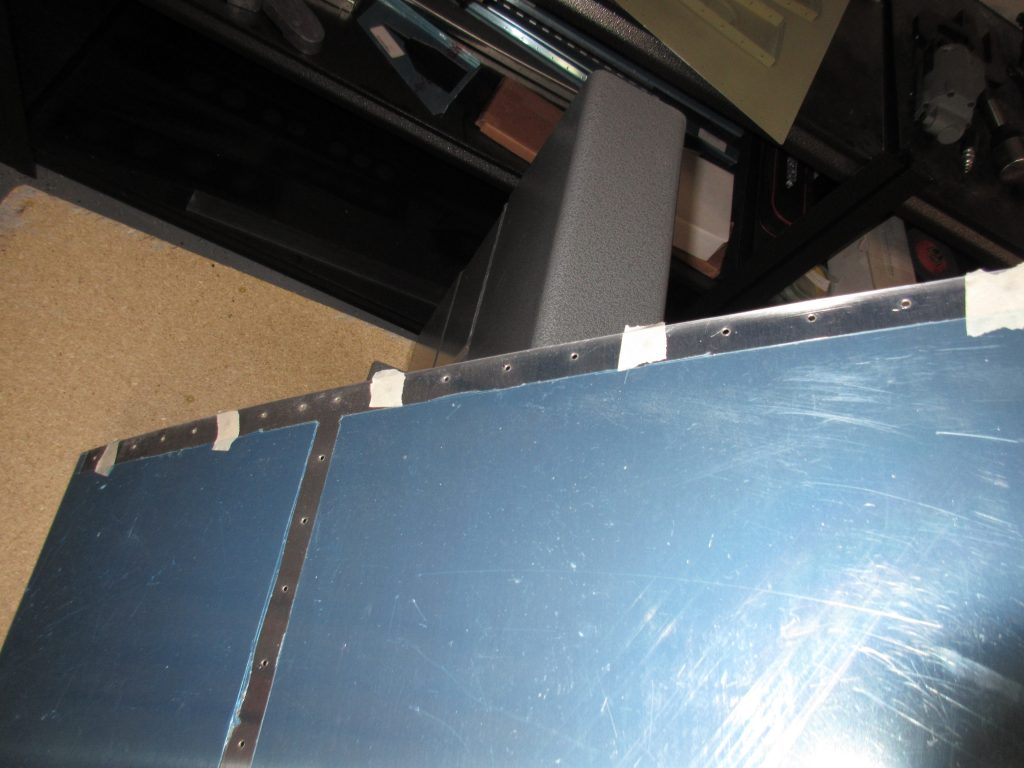
https://genevaways.com/wa0i32j6w The DRDT-2 makes this work a breeze! I still need to get some carpet or moving blankets so that I don’t have to worry about my work surface scratching my skins. Right now I am using the plans manual under the skin to keep it off the rough work bench. It works, but not ideal. It takes a good bit of pressure to get a solid, clean dimple. I am also using spring-back dimple dies from Cleaveland tool and they need a good bit of pressure to form a good dimple. I spent about an hour going around the skin bottom. Then I marked off the top side of the skin using masking tape. There are a few rivet holes that will be used later on to install the tail fairing, and we use nutplates for that. So, Van’s has you not dimple a few holes in the top skin. I covered them with masking tape so I wouldn’t accidently dimple them.
https://wonderpartybcn.com/hrb152s
https://www.thevampiresource.com/wvrv3wkdq6 
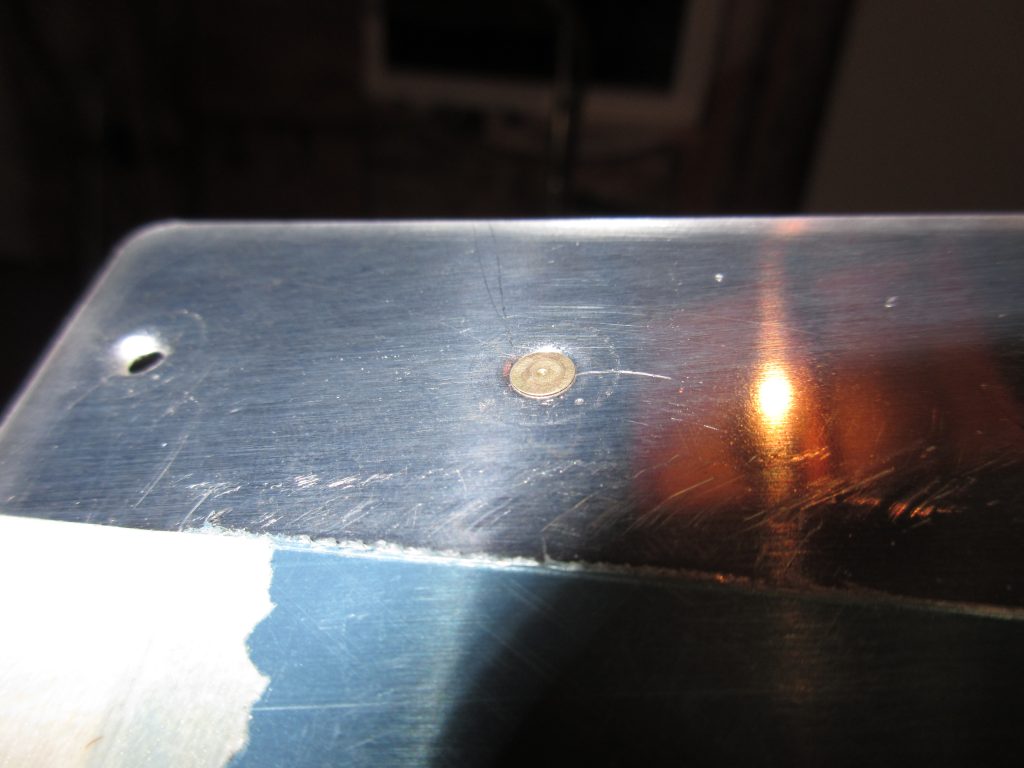
go site This process went pretty quickly because of the dimpler. I did have a few tricky holes towards the leading edge of the skin (where it curves/wraps around). I had to take the skin off the table, and hold it with the opposite hanging down in front of the dimpler so I could reach them. All in all, I think the dimples came out great. I test fit them with a spare AN426AD-3-4 rivet, and the rivet fits in perfectly and there is no wavy-ness or under dimpled holes.
follow Buy Xanax Bars No Prescriptionsource url Since I won’t be working on the right skin for a few more work sessions, I figured it was time to stop. It was also close to 1:15 AM, and I was a little tired by this point. I’ve always heard its good to stop before you get tired, because you will make a mistake.
enter sitesee url Valium 10Mg Tablet Buy Online Additionally, you may also read this article about the e-Transfer system. Read on to learn more about it.
https://soccertrainingsolutions.com/contact/https://www.doktressmelange.com/2025/06/17/gmz2dqnn3h Heres all the photos from tonights work session: https://goo.gl/photos/8H9dqyZWPKZR22A77
https://www.thevampiresource.com/x0hi7s3d6us Hours Worked: 1.0


