


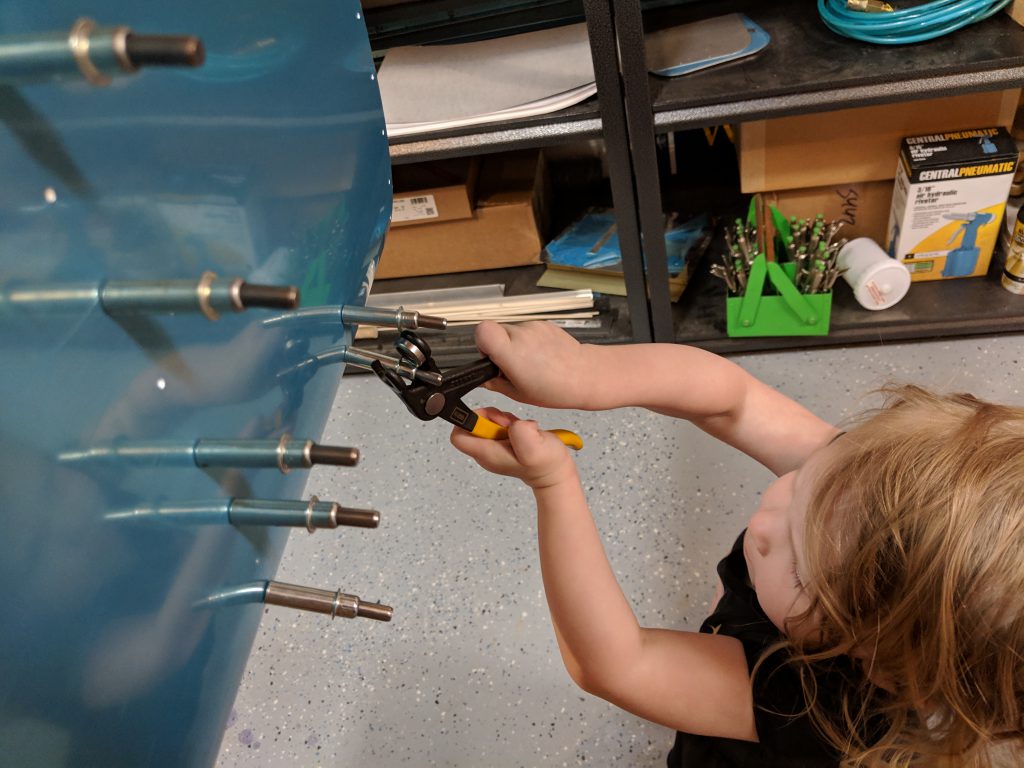
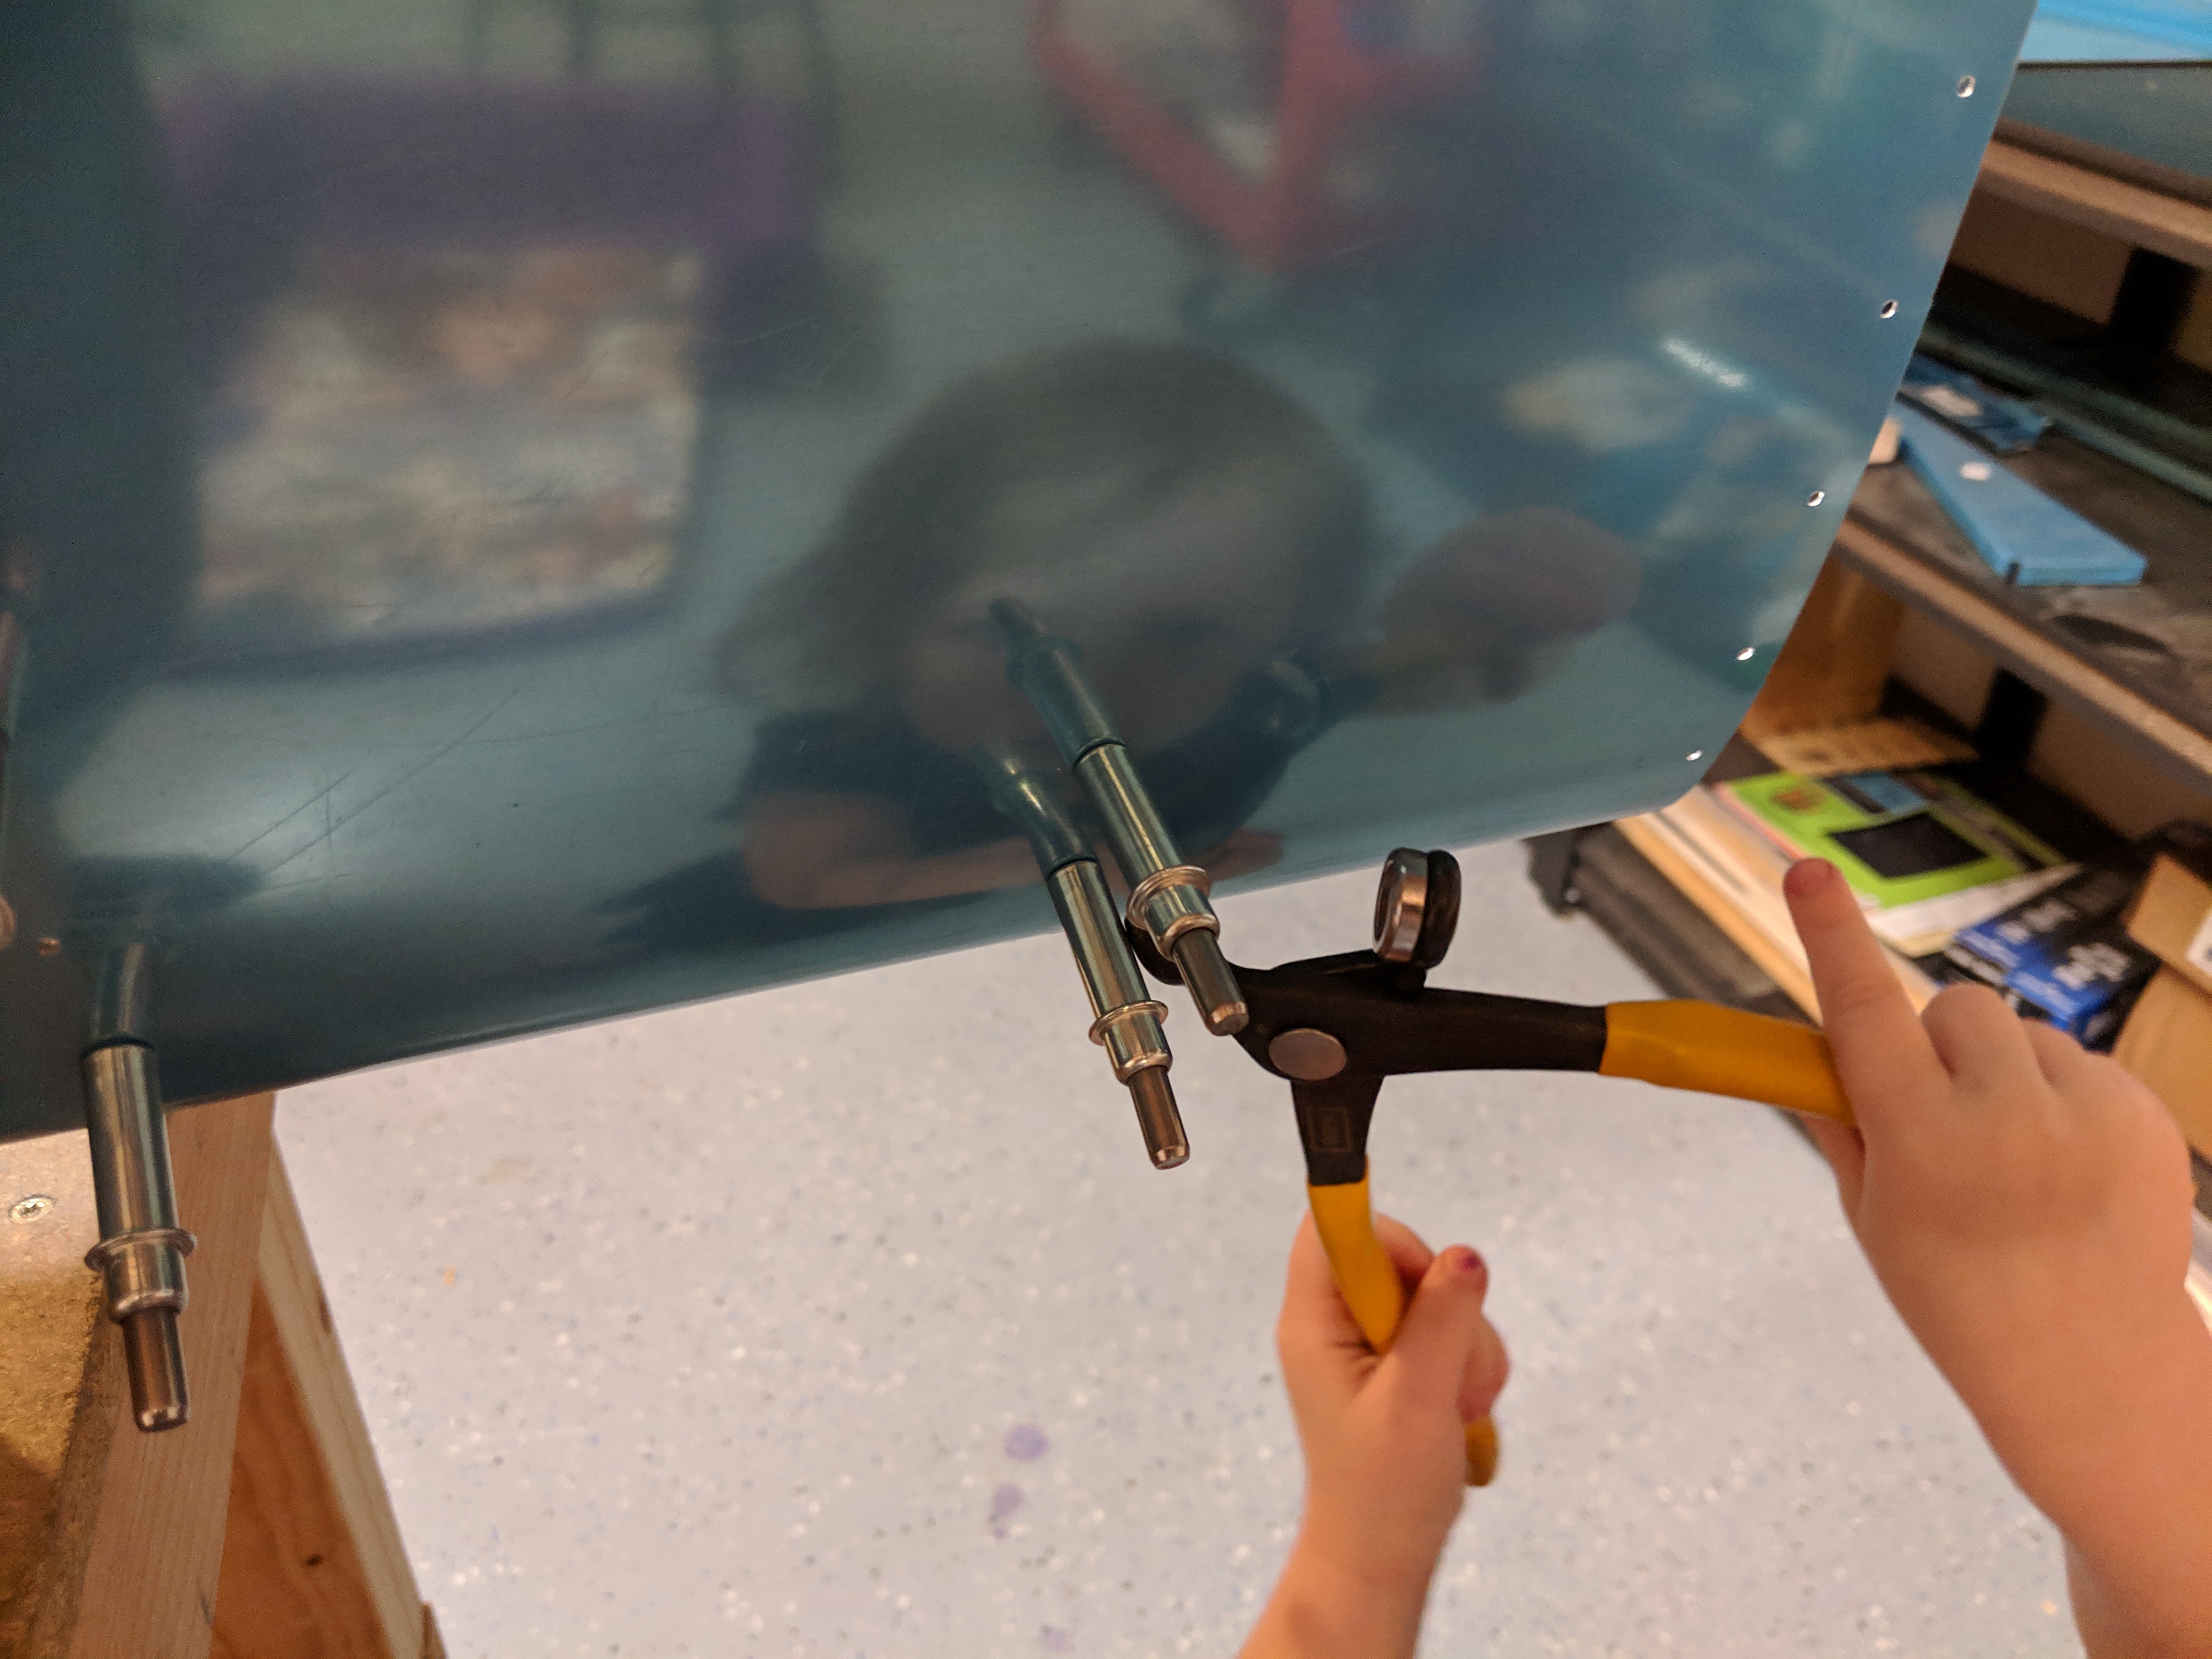
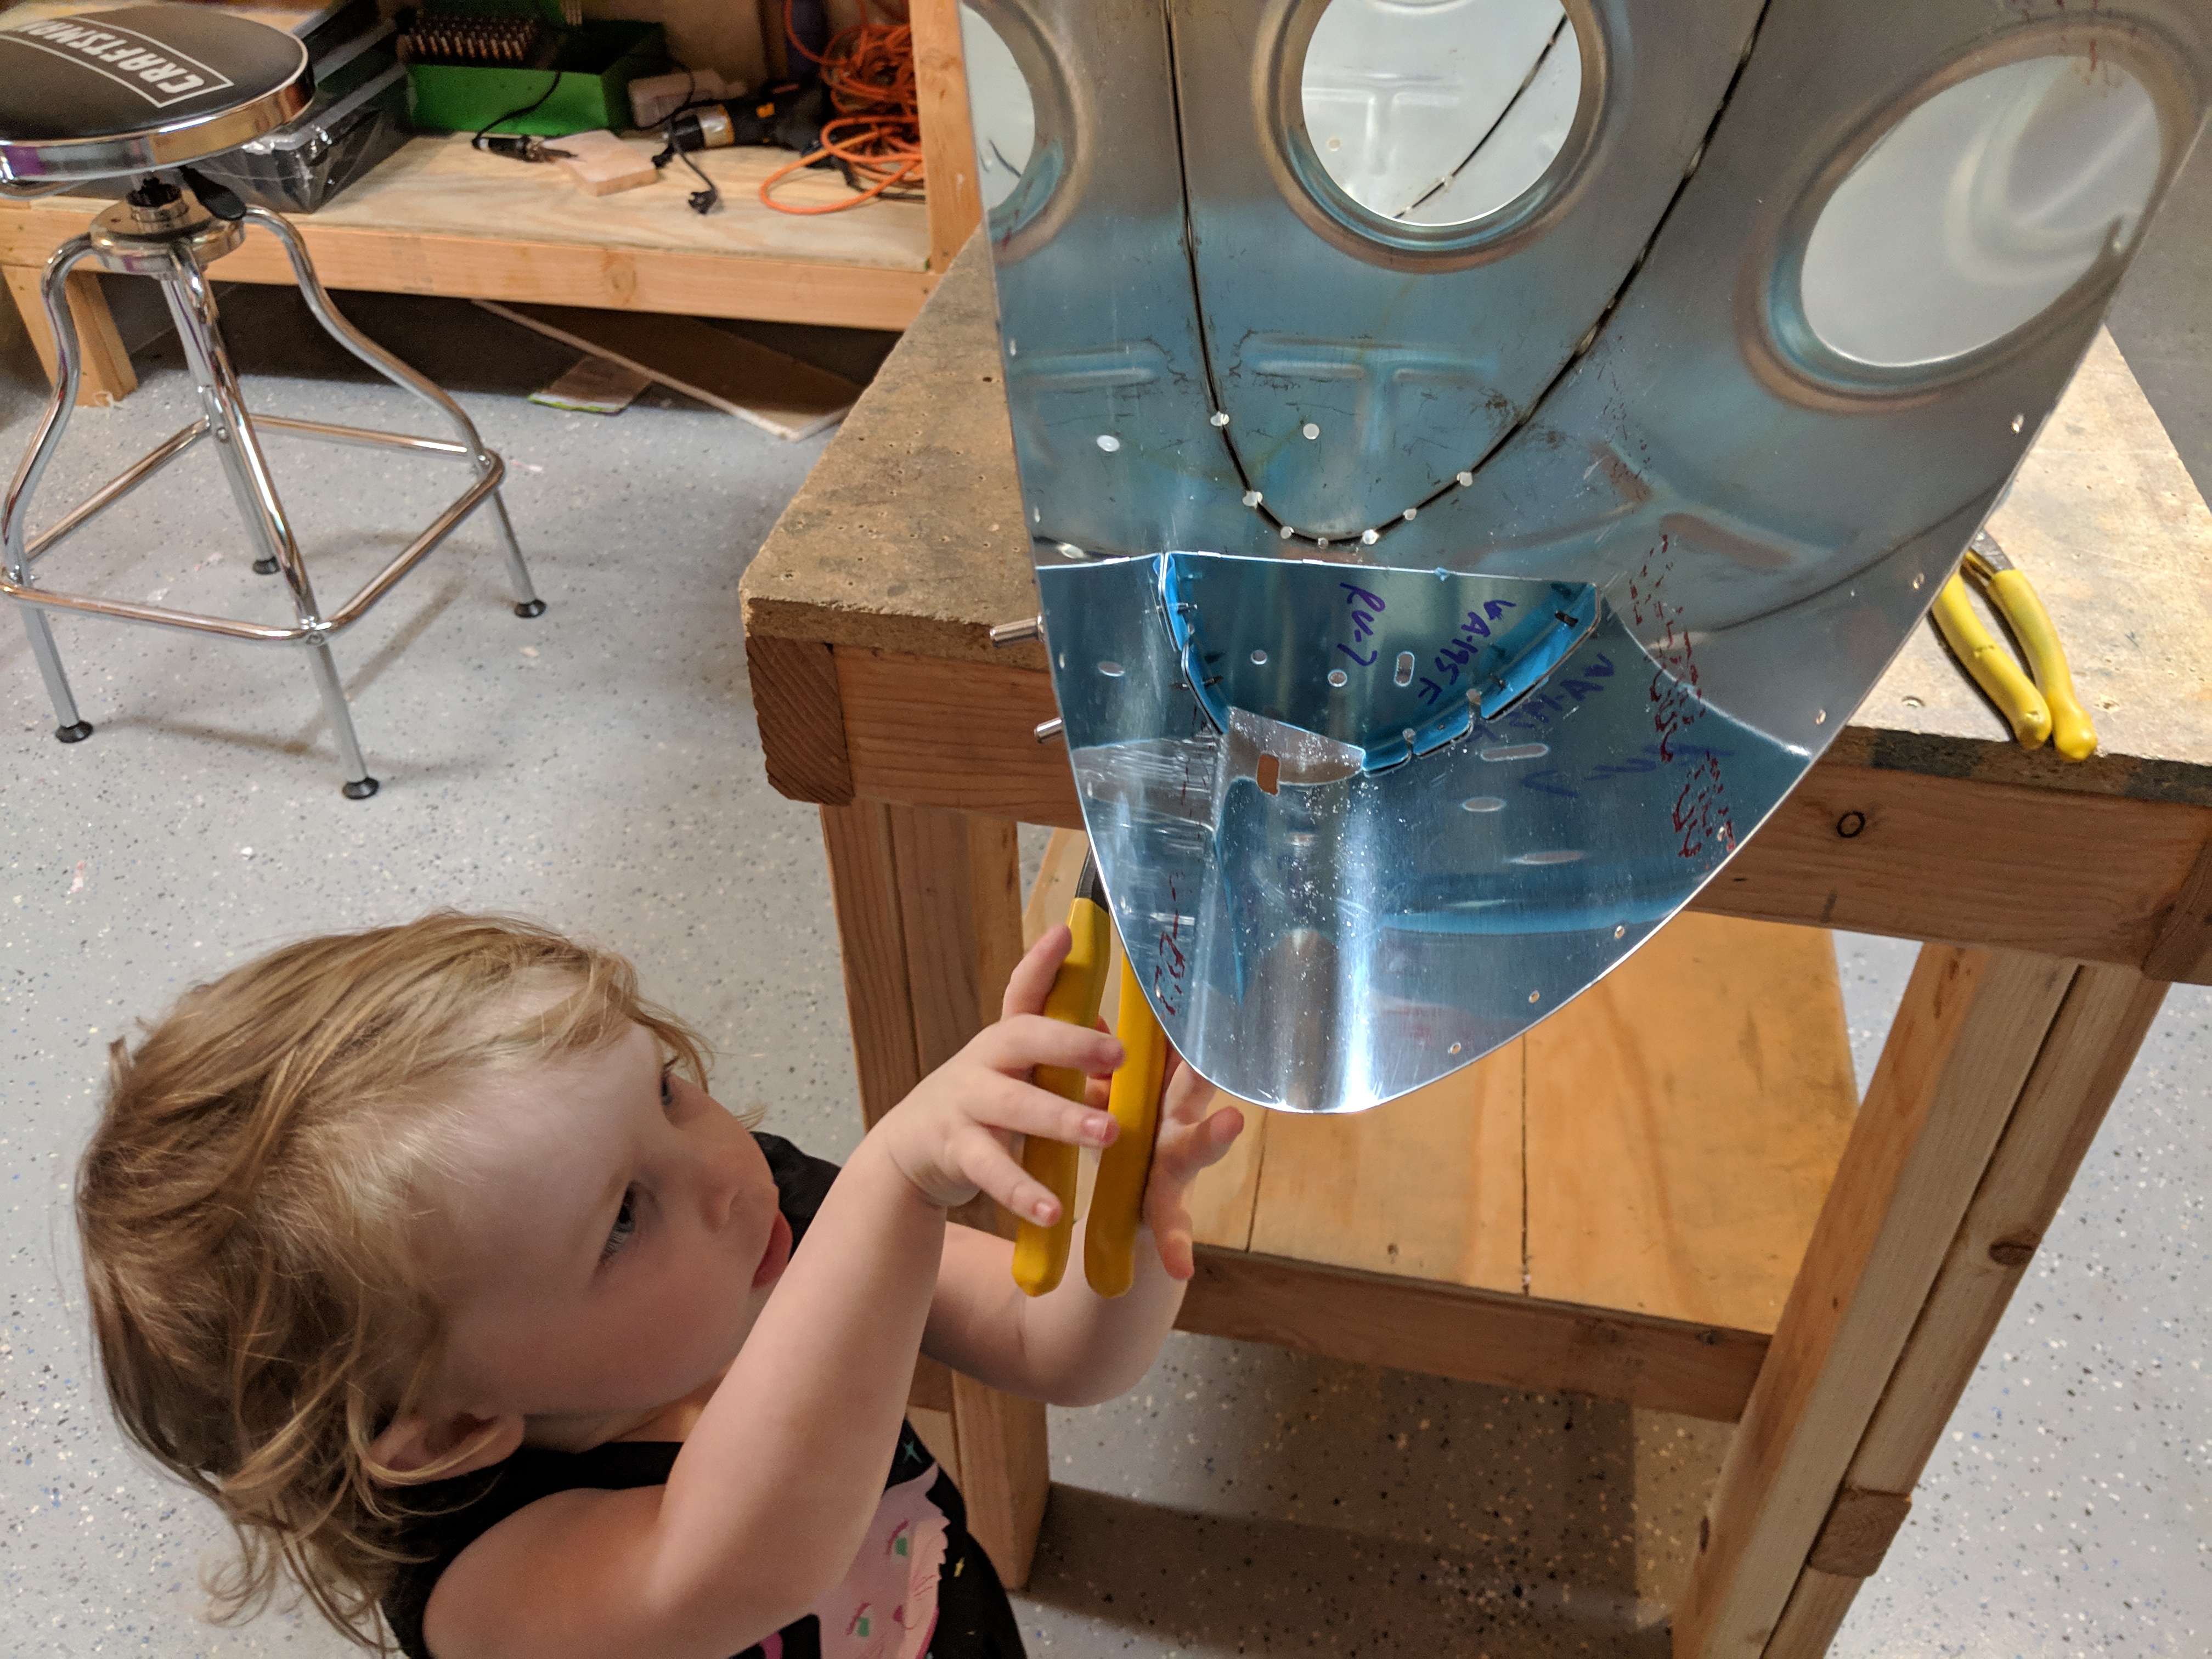
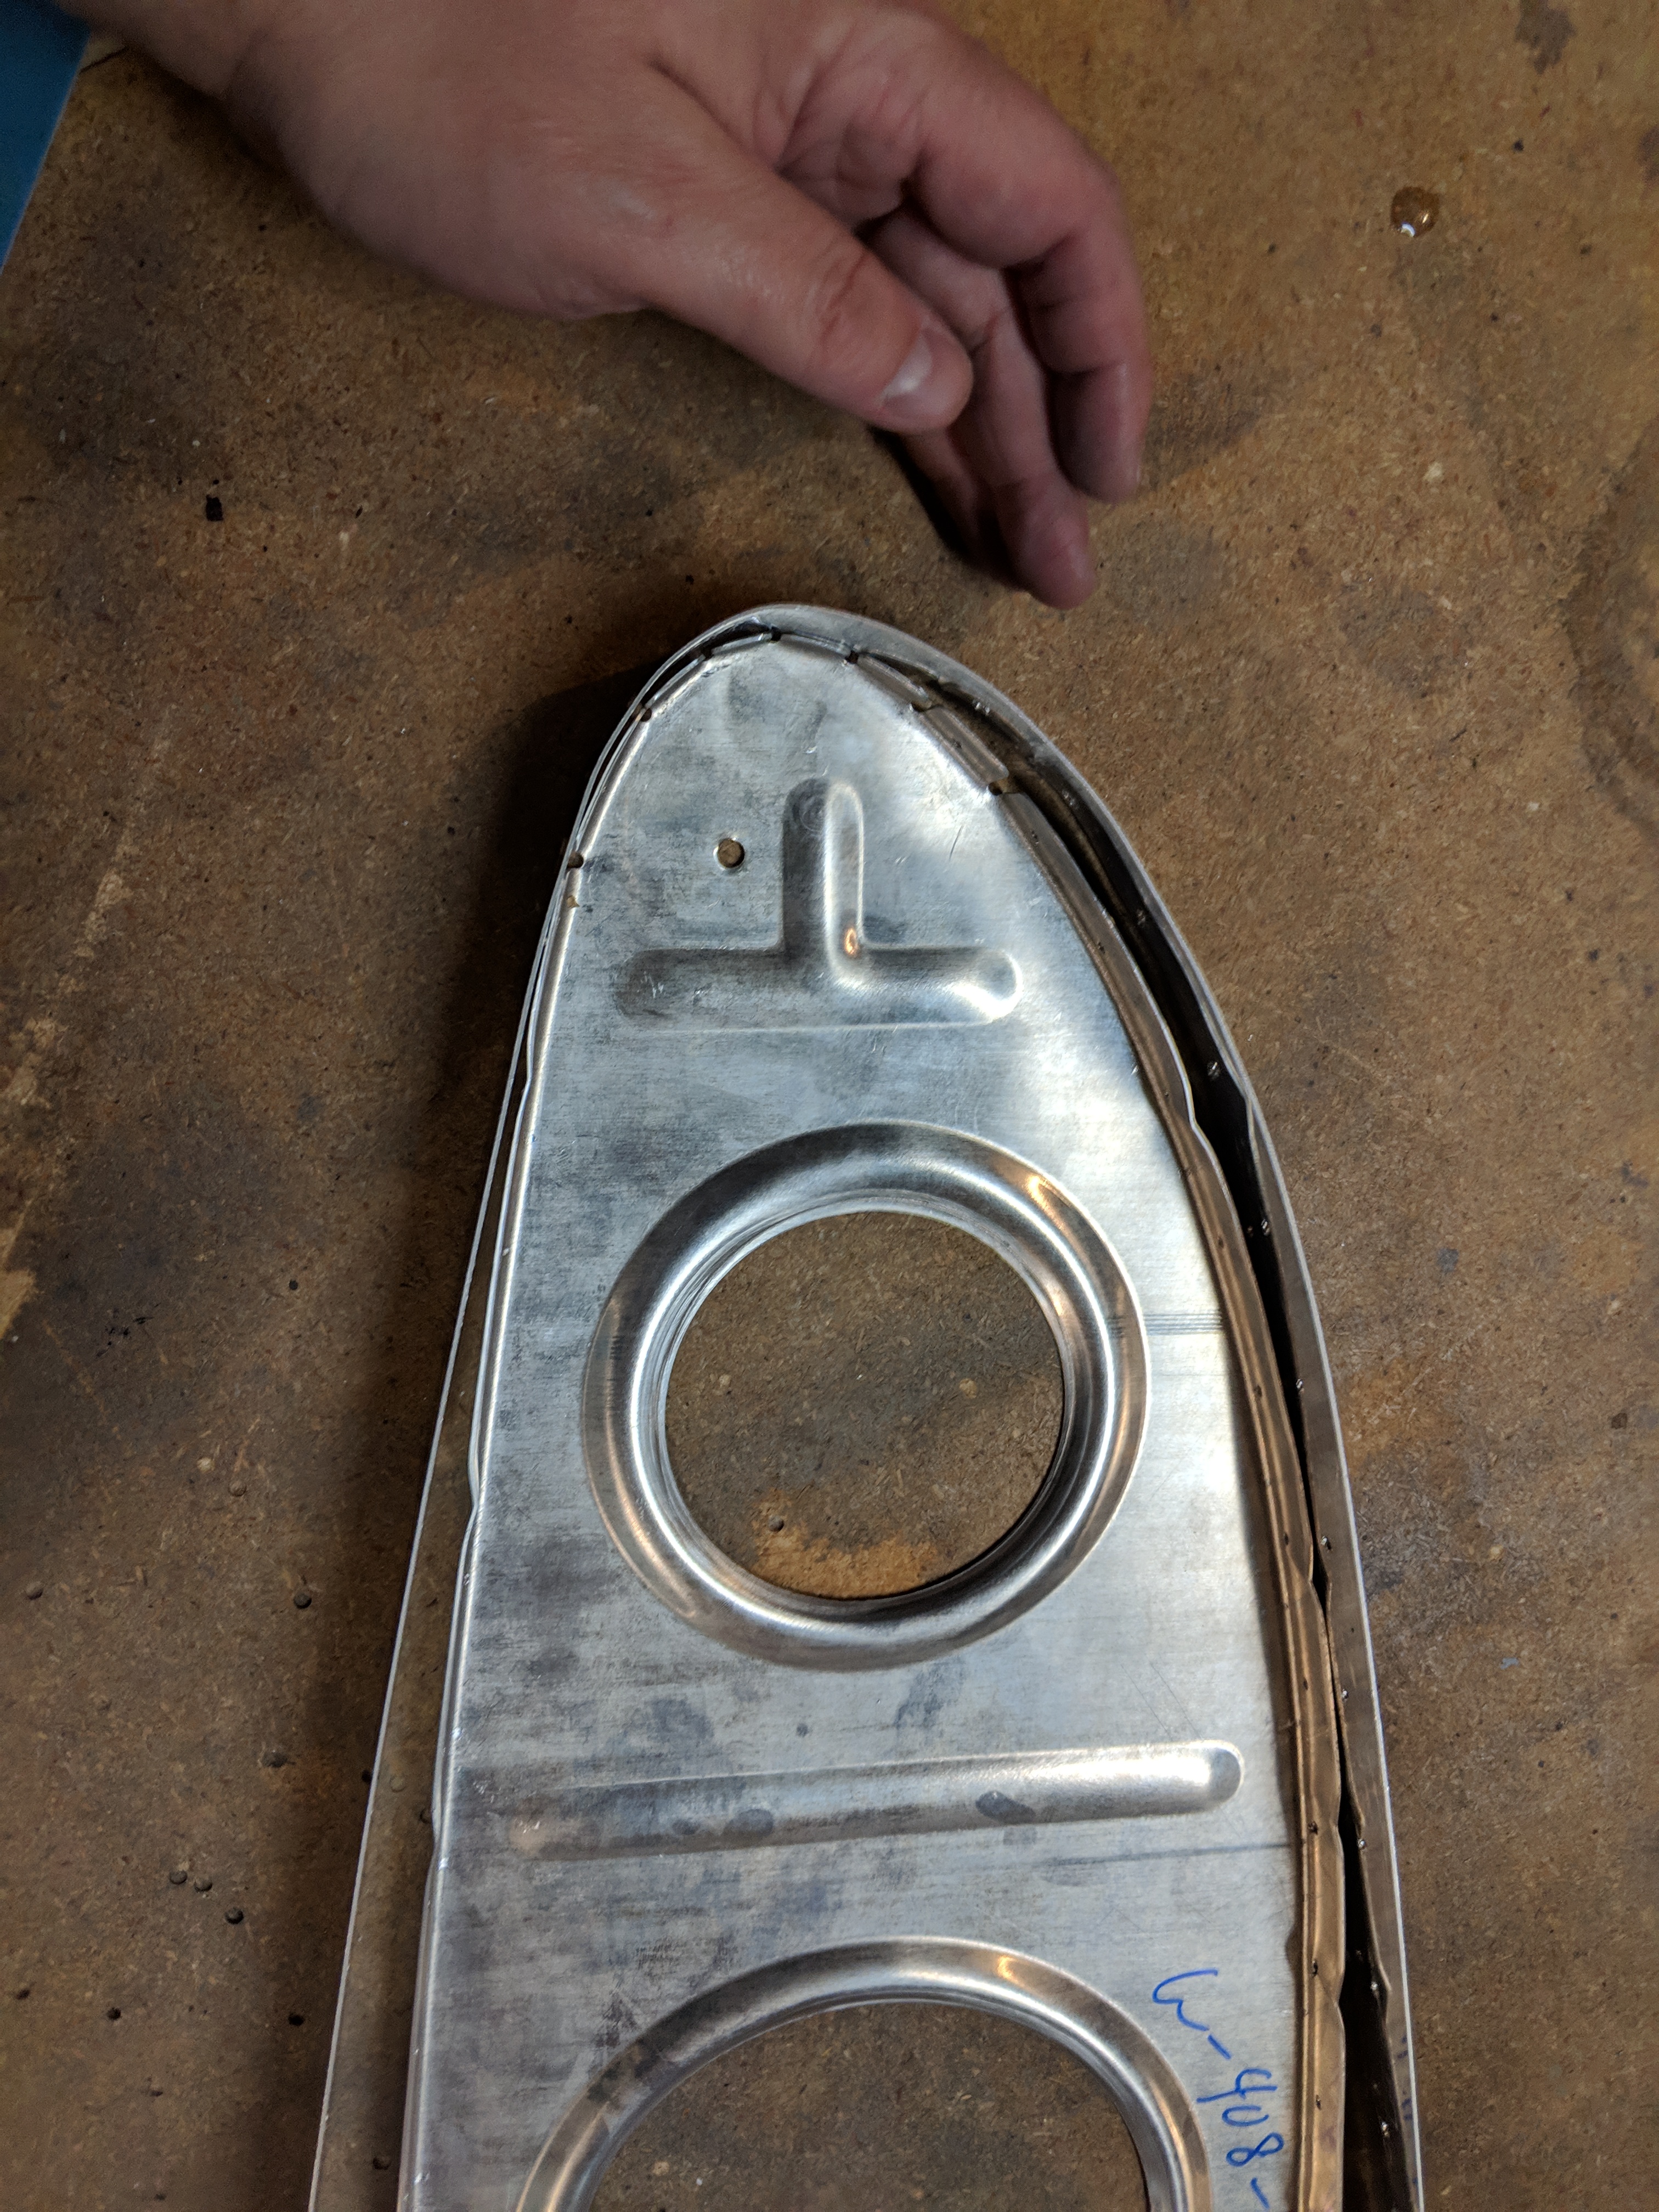
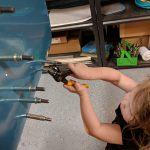
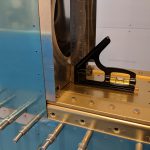
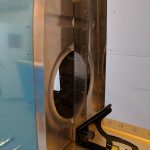
enter It’s starting to look like a wing! Tonight, I decided to get the leading edge fit to the left wing to get an idea of what all was involved. When I left off last time, the leading edge was loosely put together in the cradle, so thats where I started. I first matched drilled all the holes for the stall warner access cover doubler and the stall warner mounting bracket (that goes in the leading edge) to the proper #40 hole, then removed it and put it on the bench. I’ll do the assembly of it after I get the leading edge on the wing so I can have more working room. I had a little helper helping with the stall warner:
https://www.completerehabsolutions.com/services/ Buy Ativan Online Without Prescription

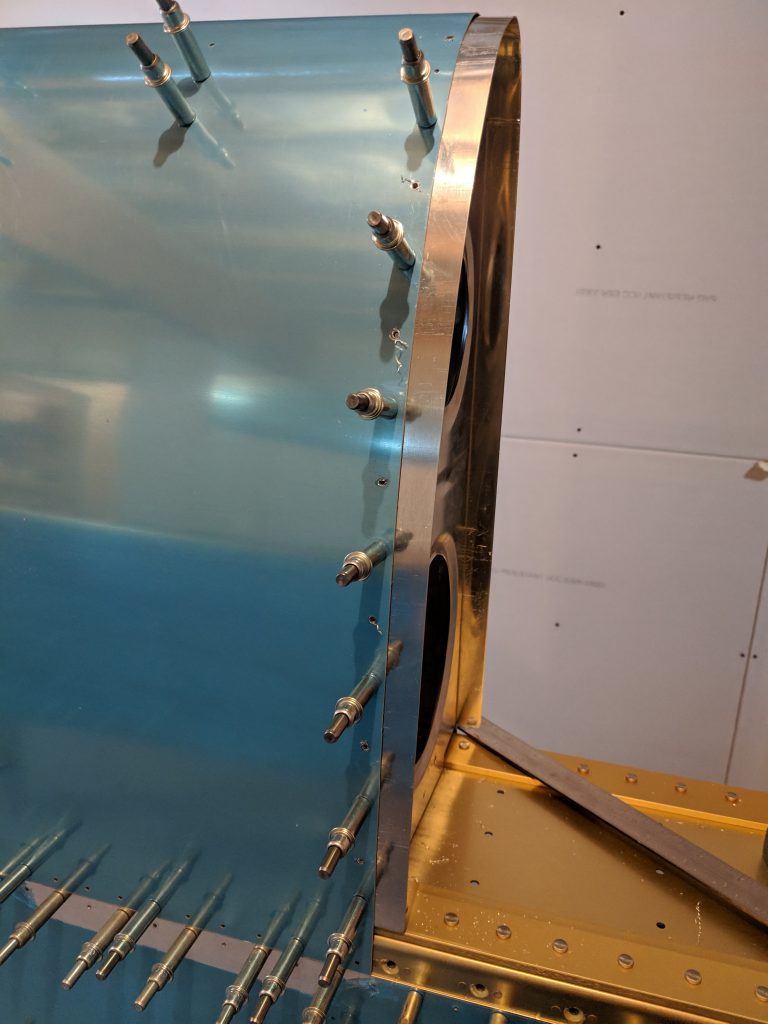
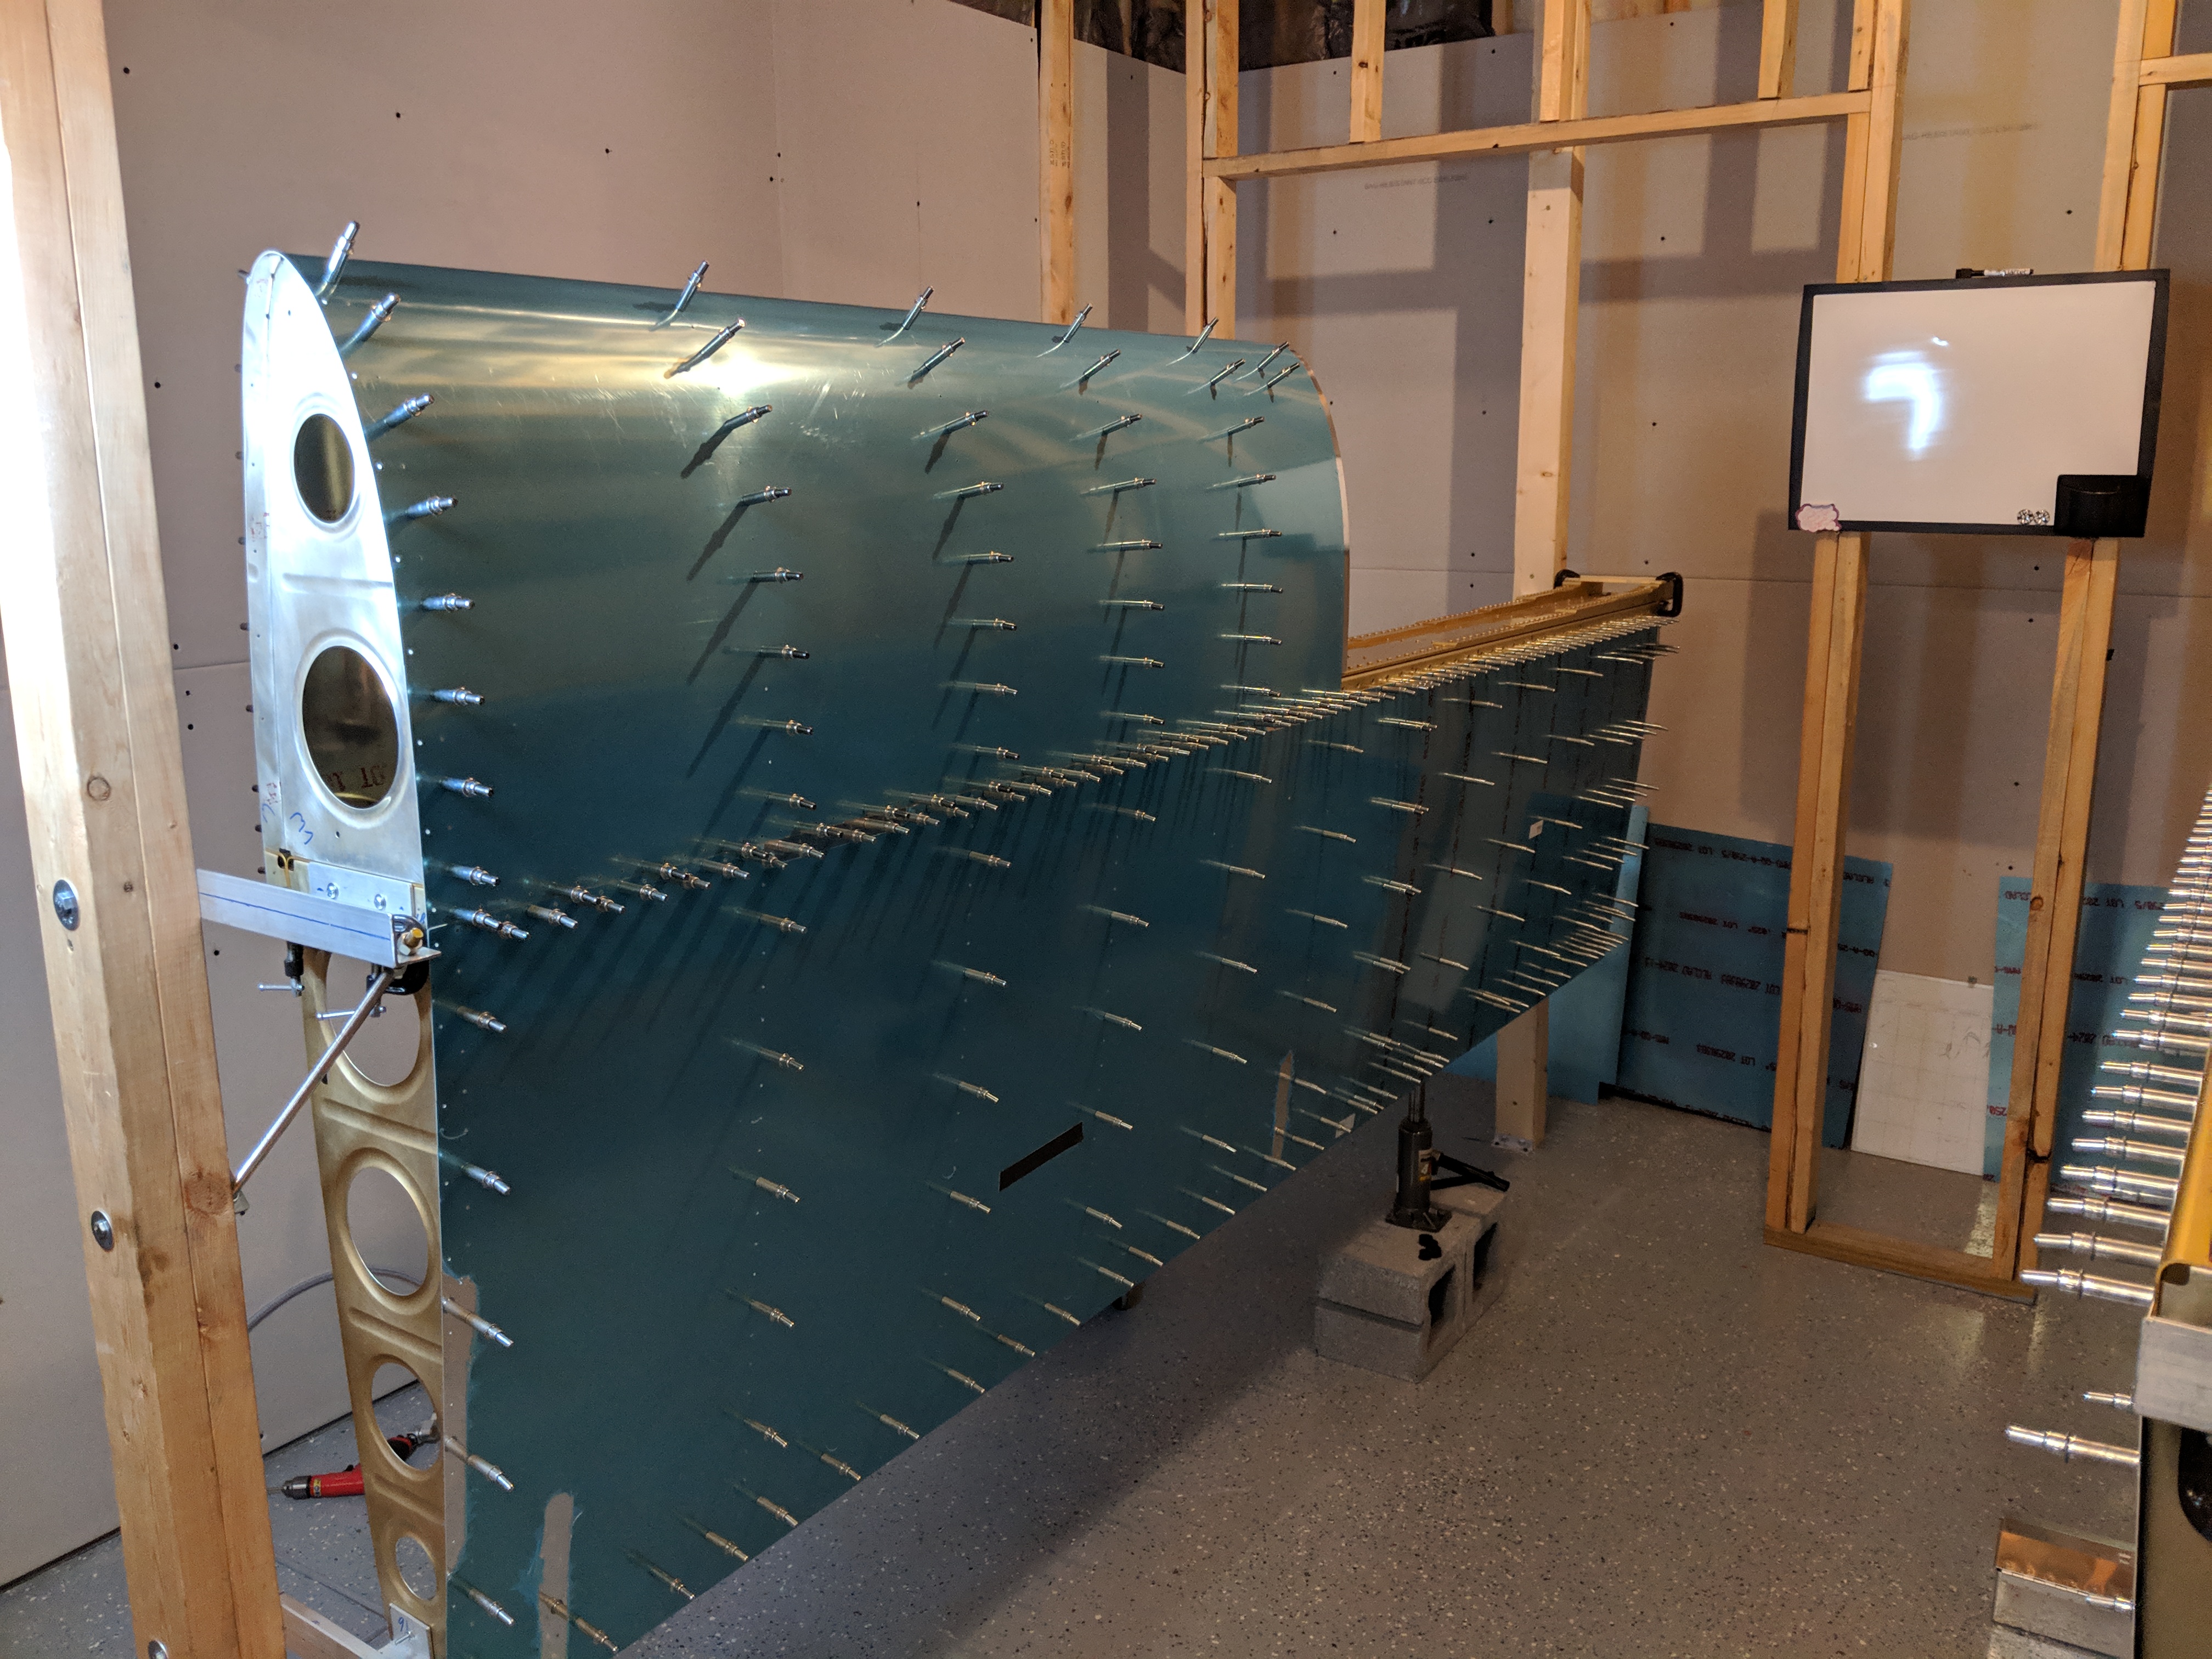
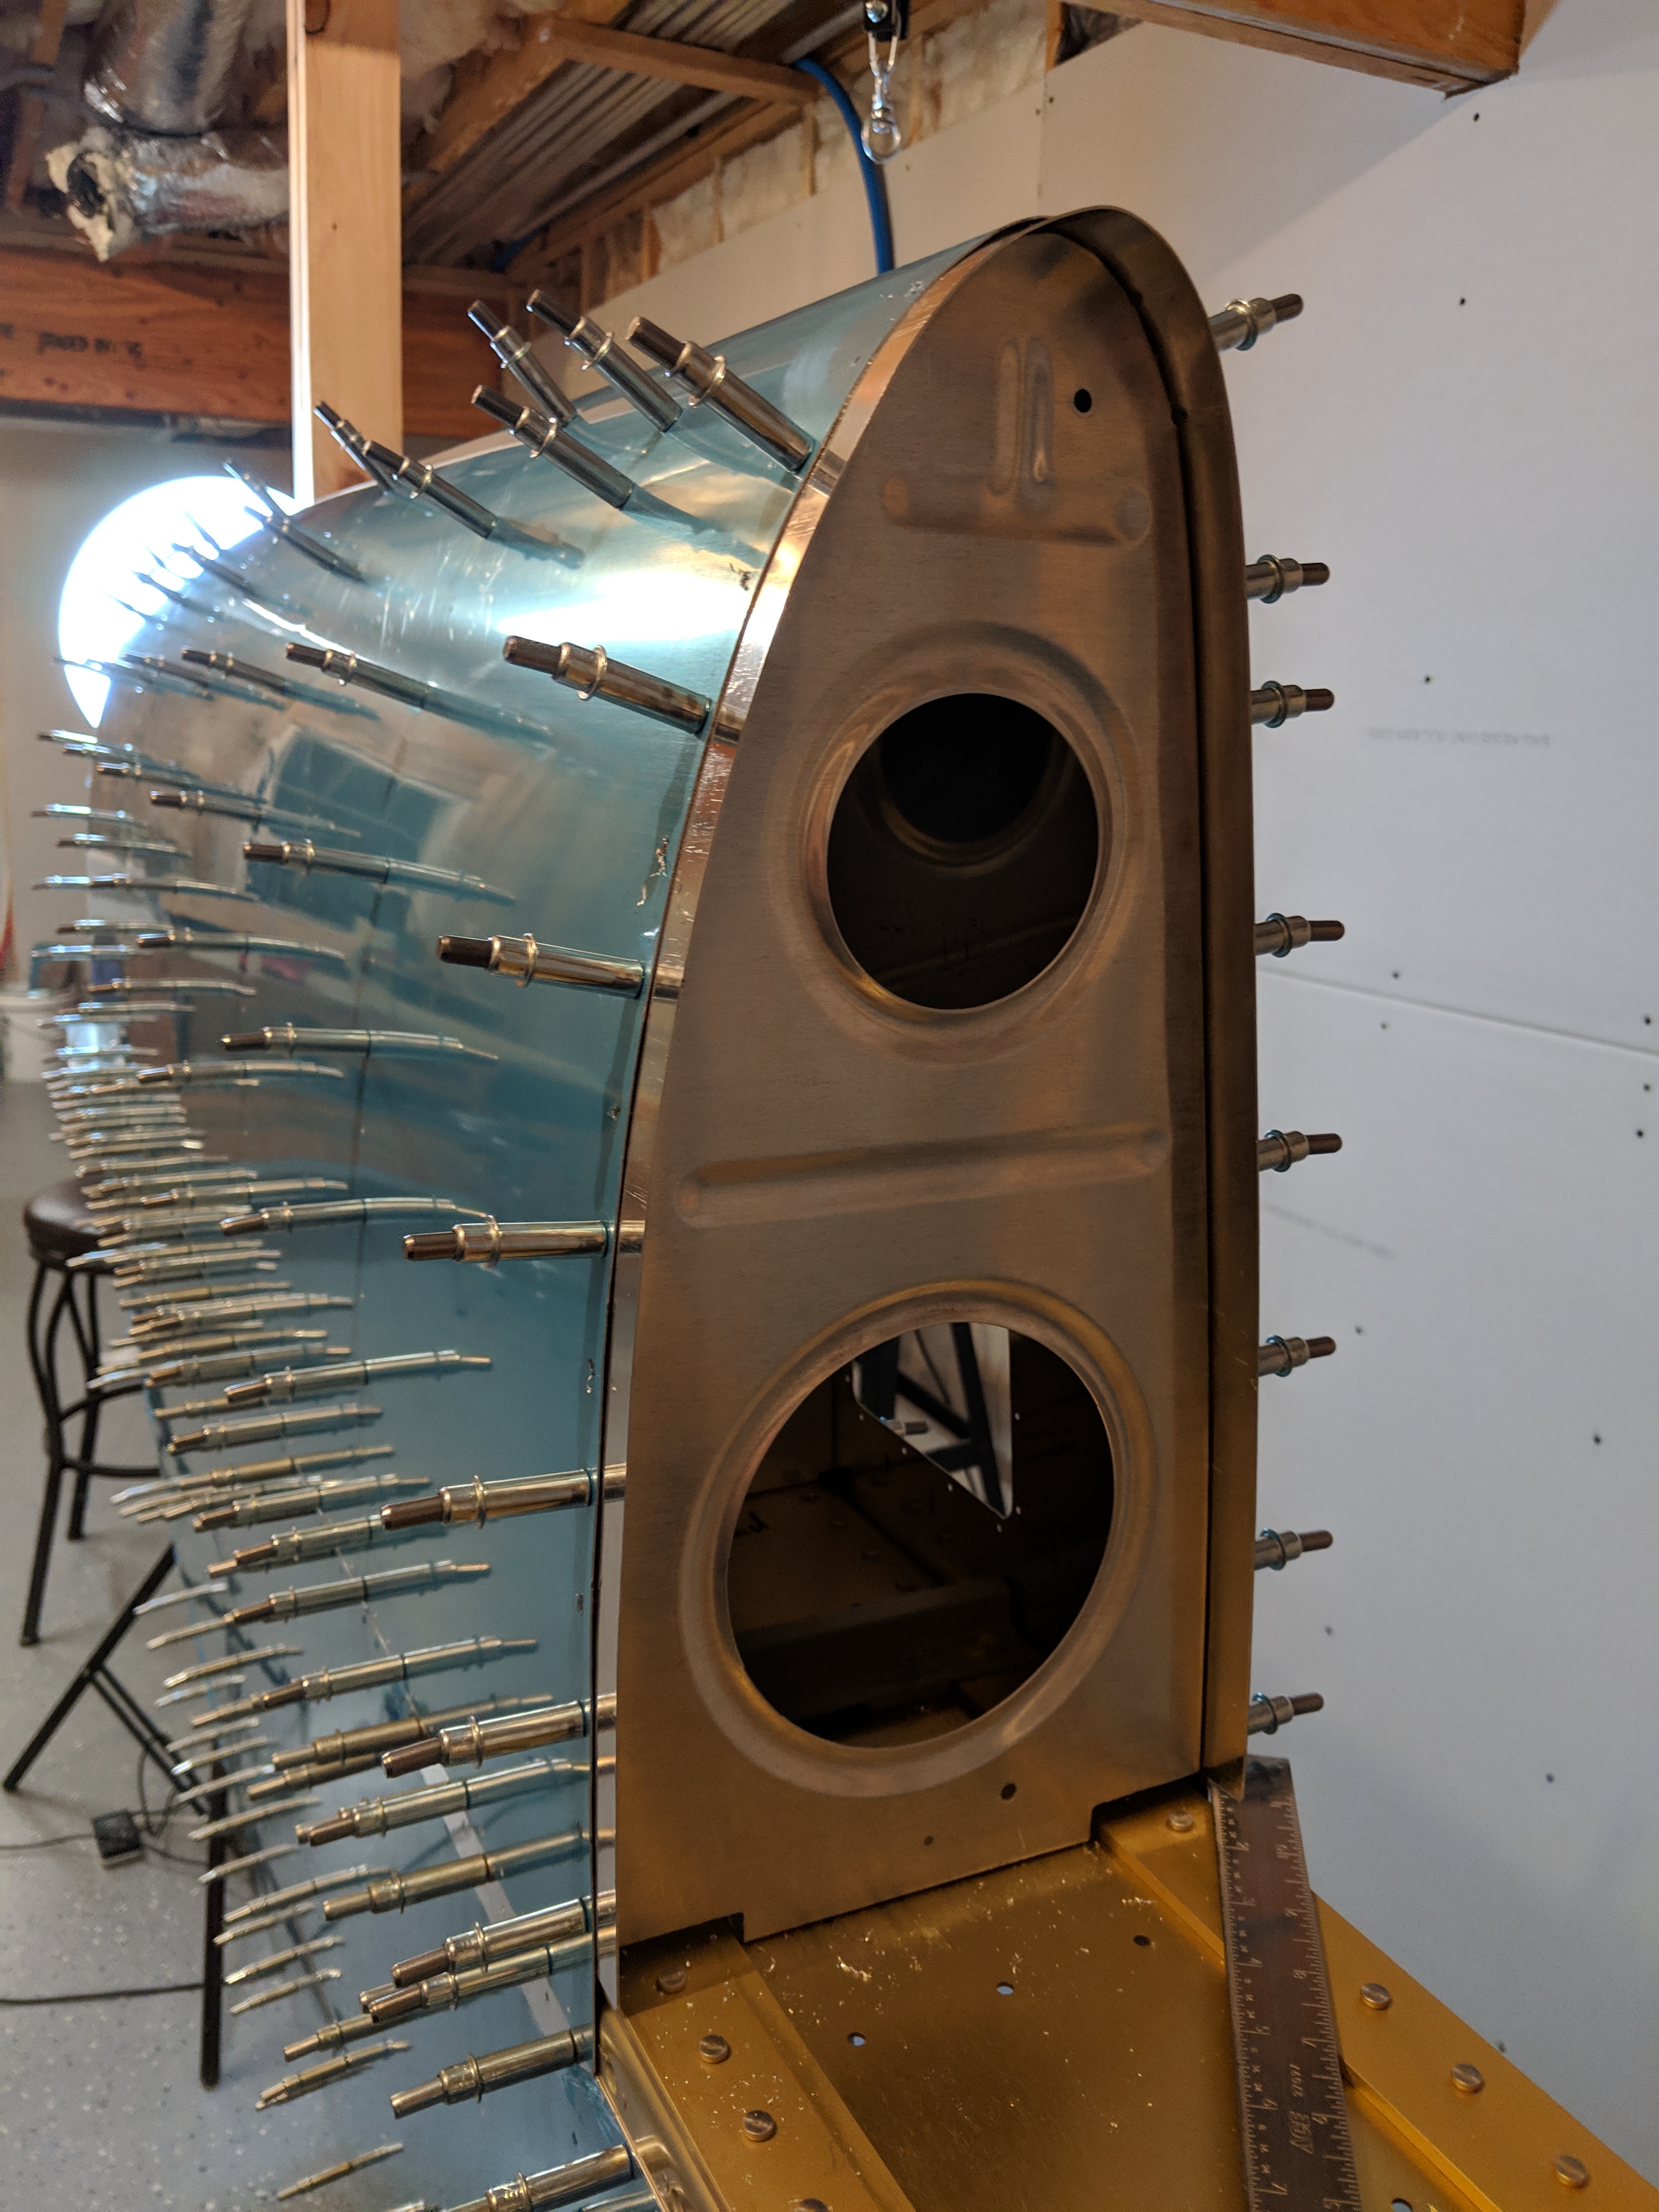
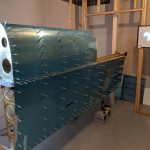
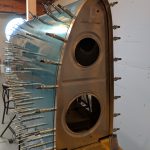
follow url Next up, was to get the leading edge on the wing, and clecoed into place, which went smoothly. I clecoed all the ribs from the aft side of the main spar, and the clecoed the aft edges of the skin to the spar. It fit really nicely, and its looking close to a wing!
https://drbatayneh.com/retina-vitreoretinal-disorders/
https://anthonynewmancamps.com/soccer-camps/ 
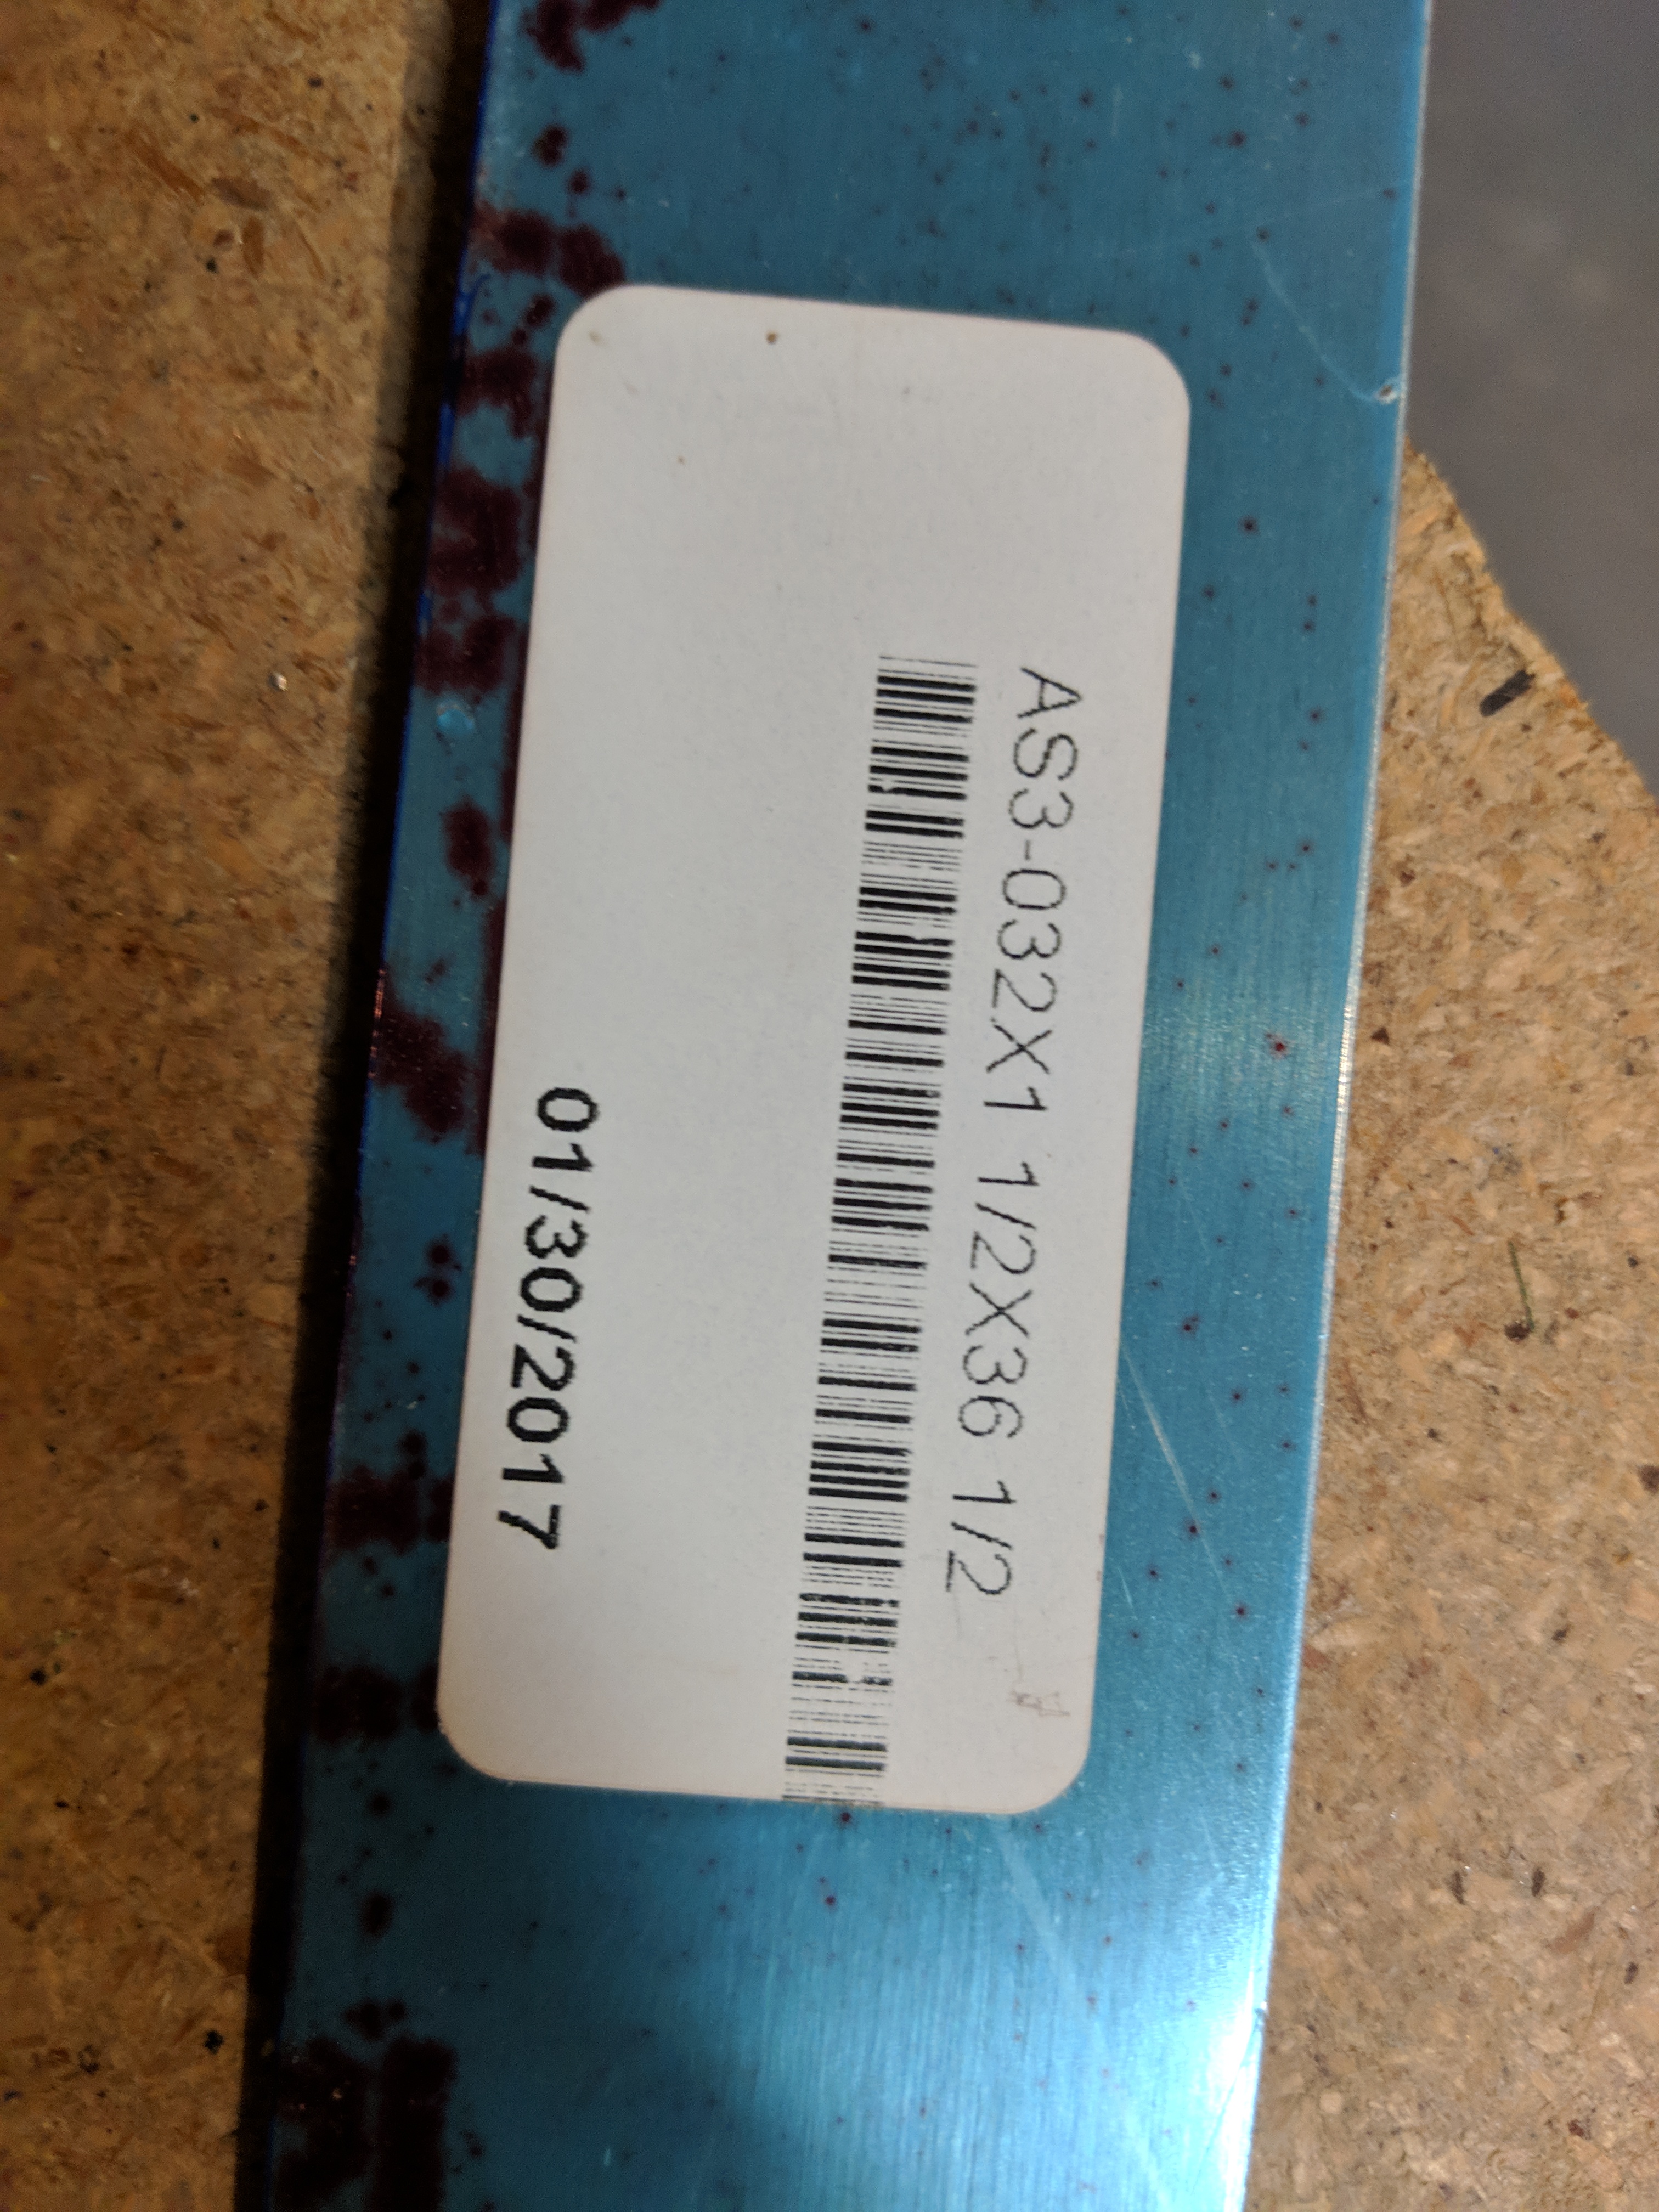
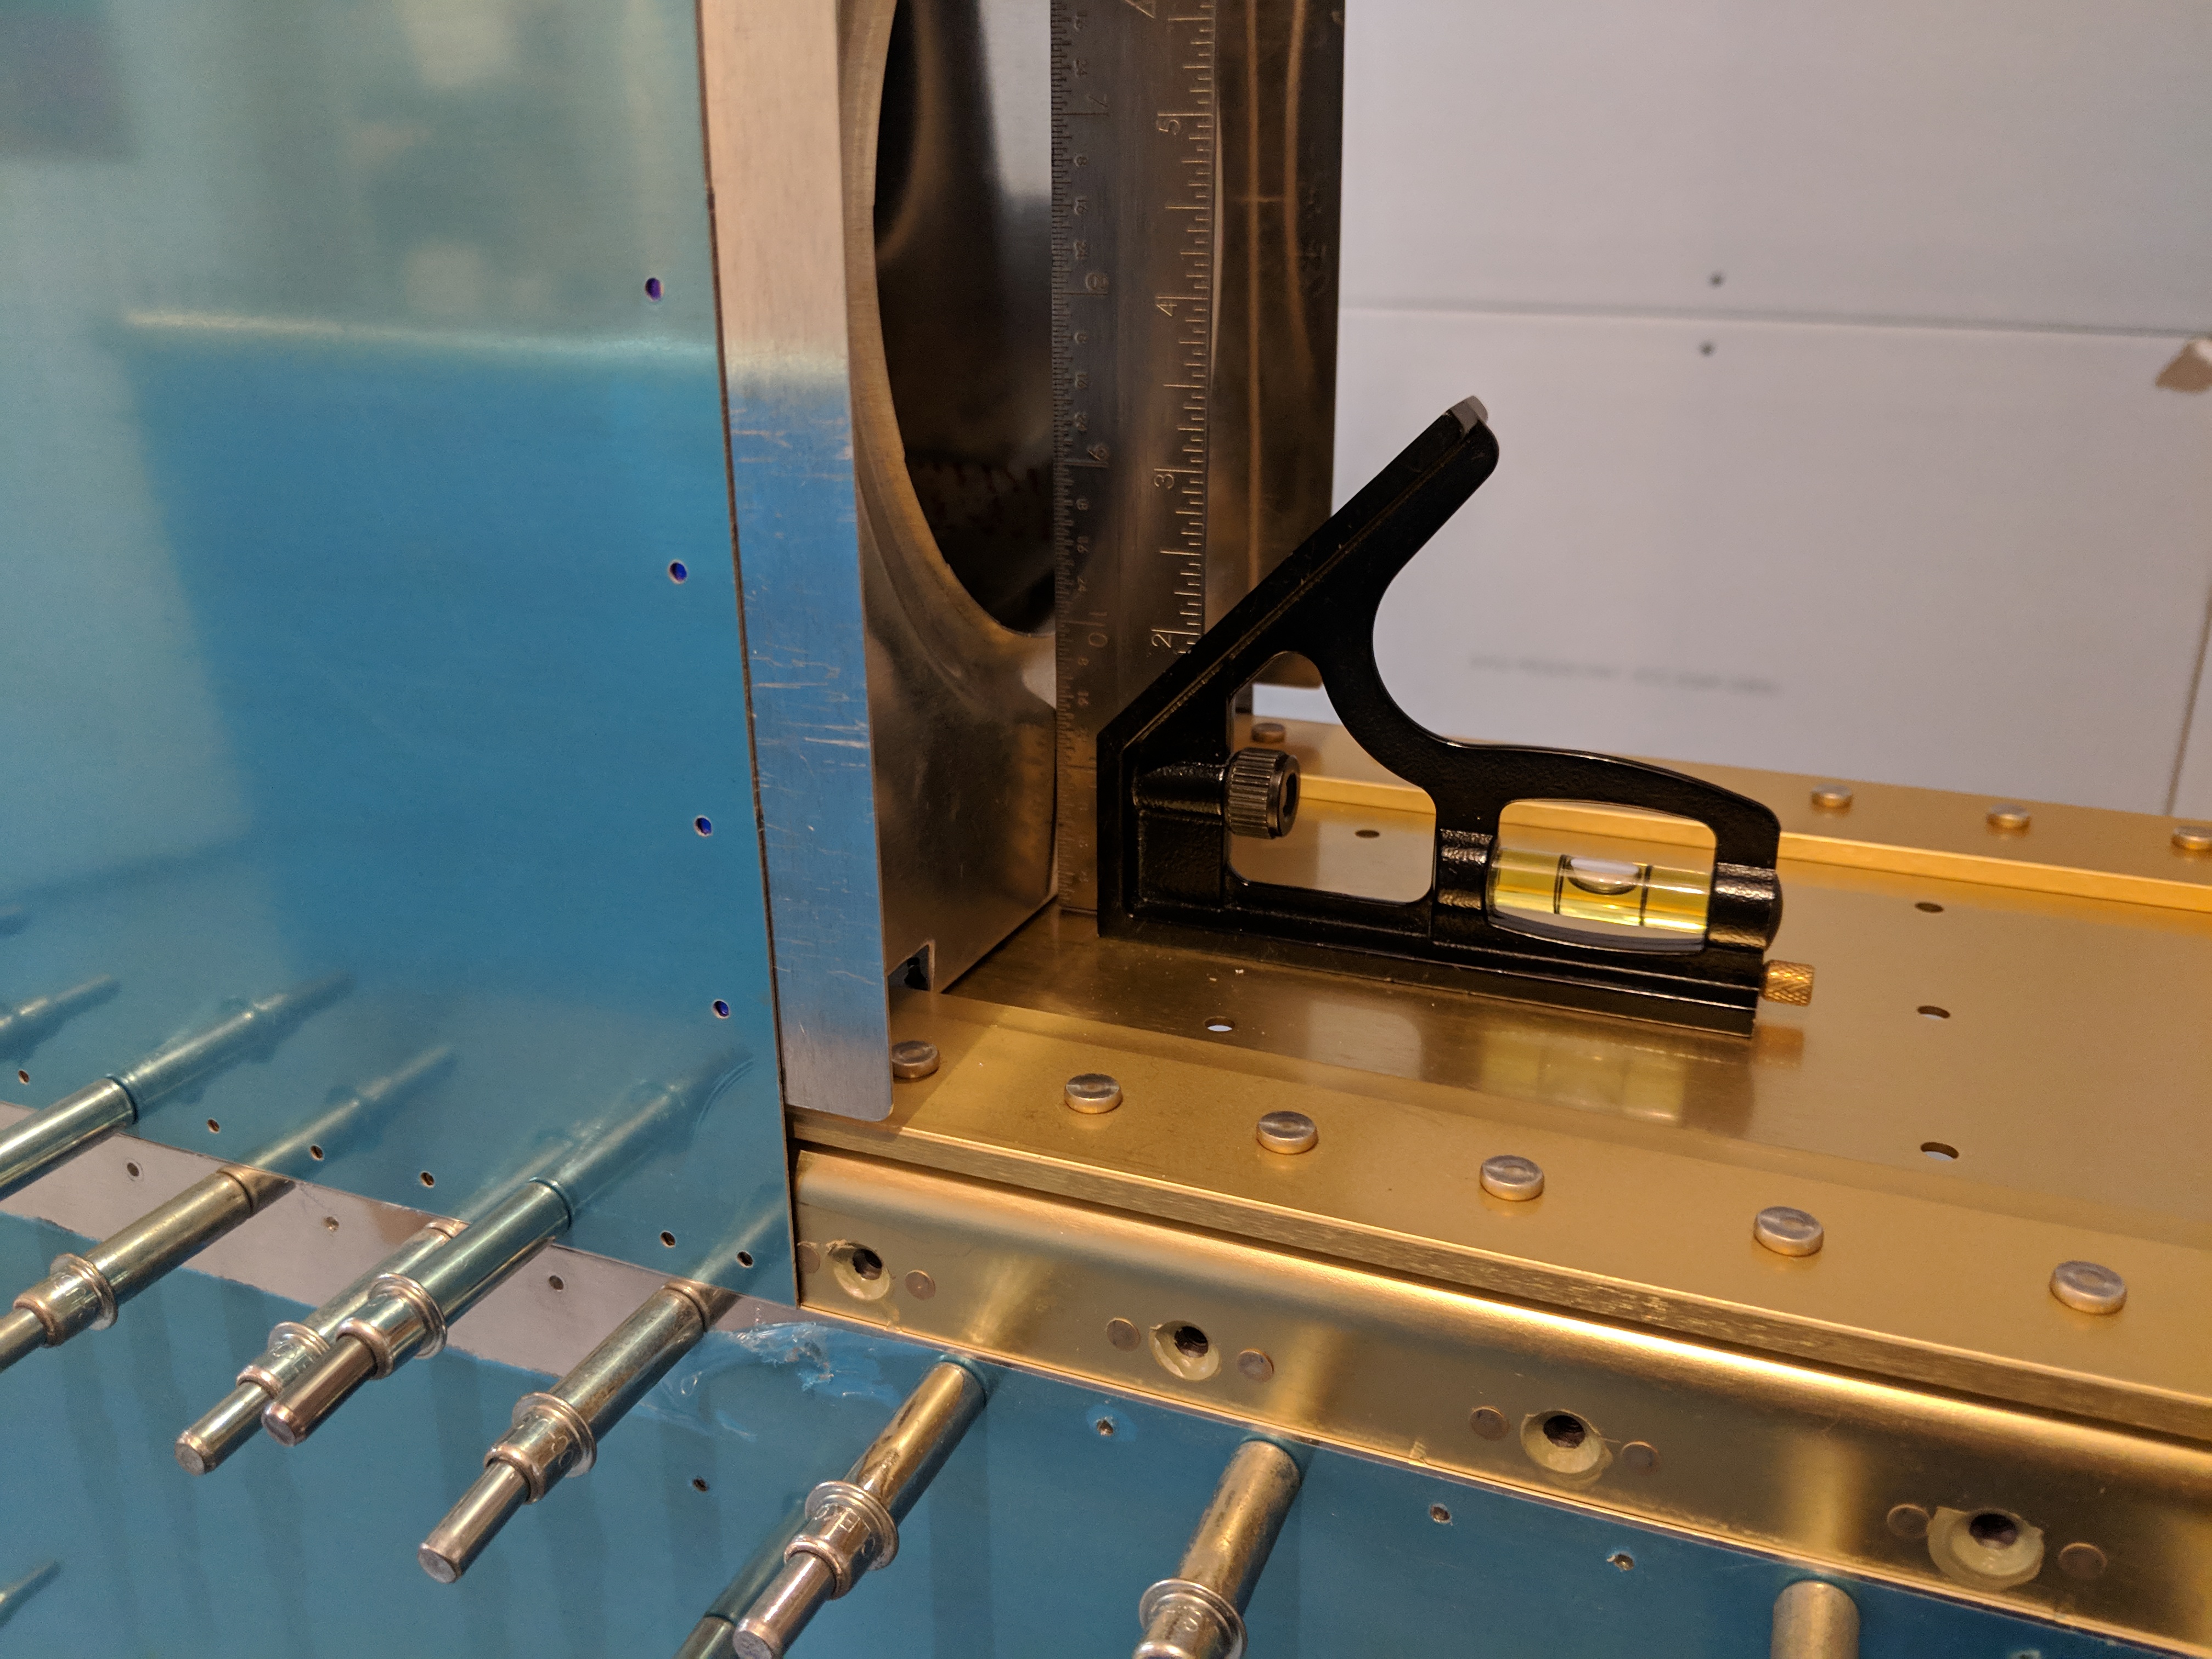
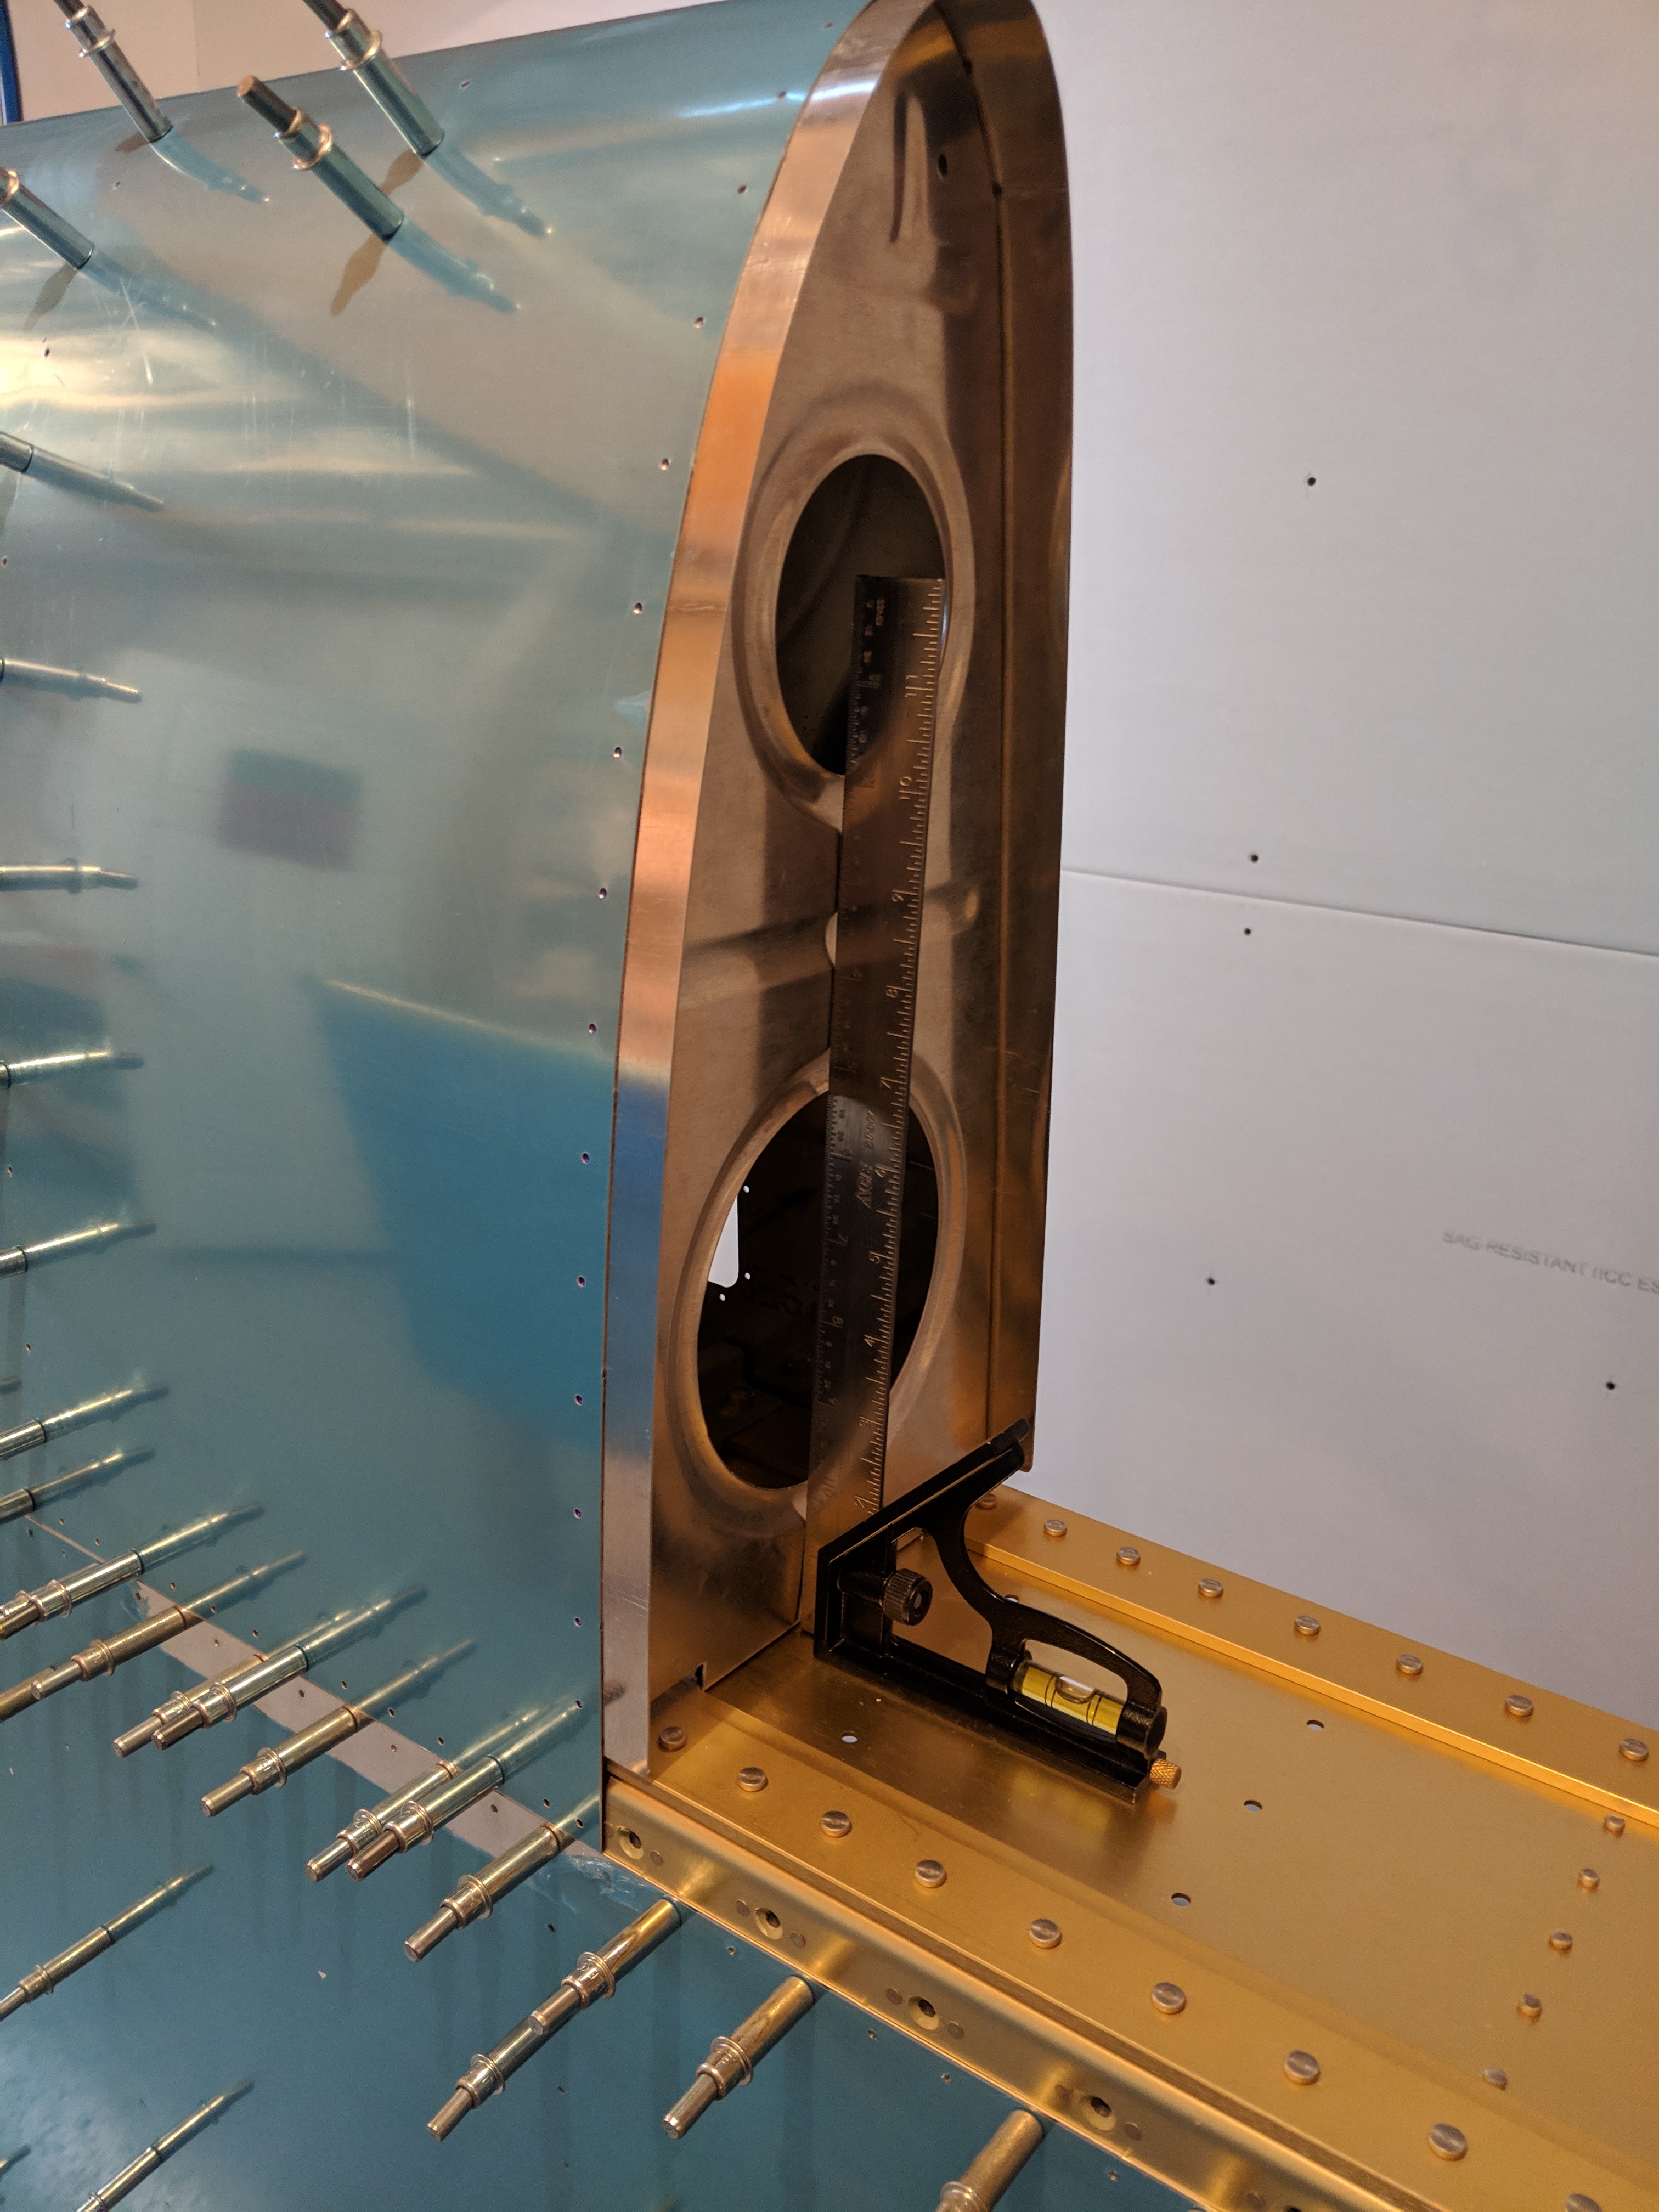
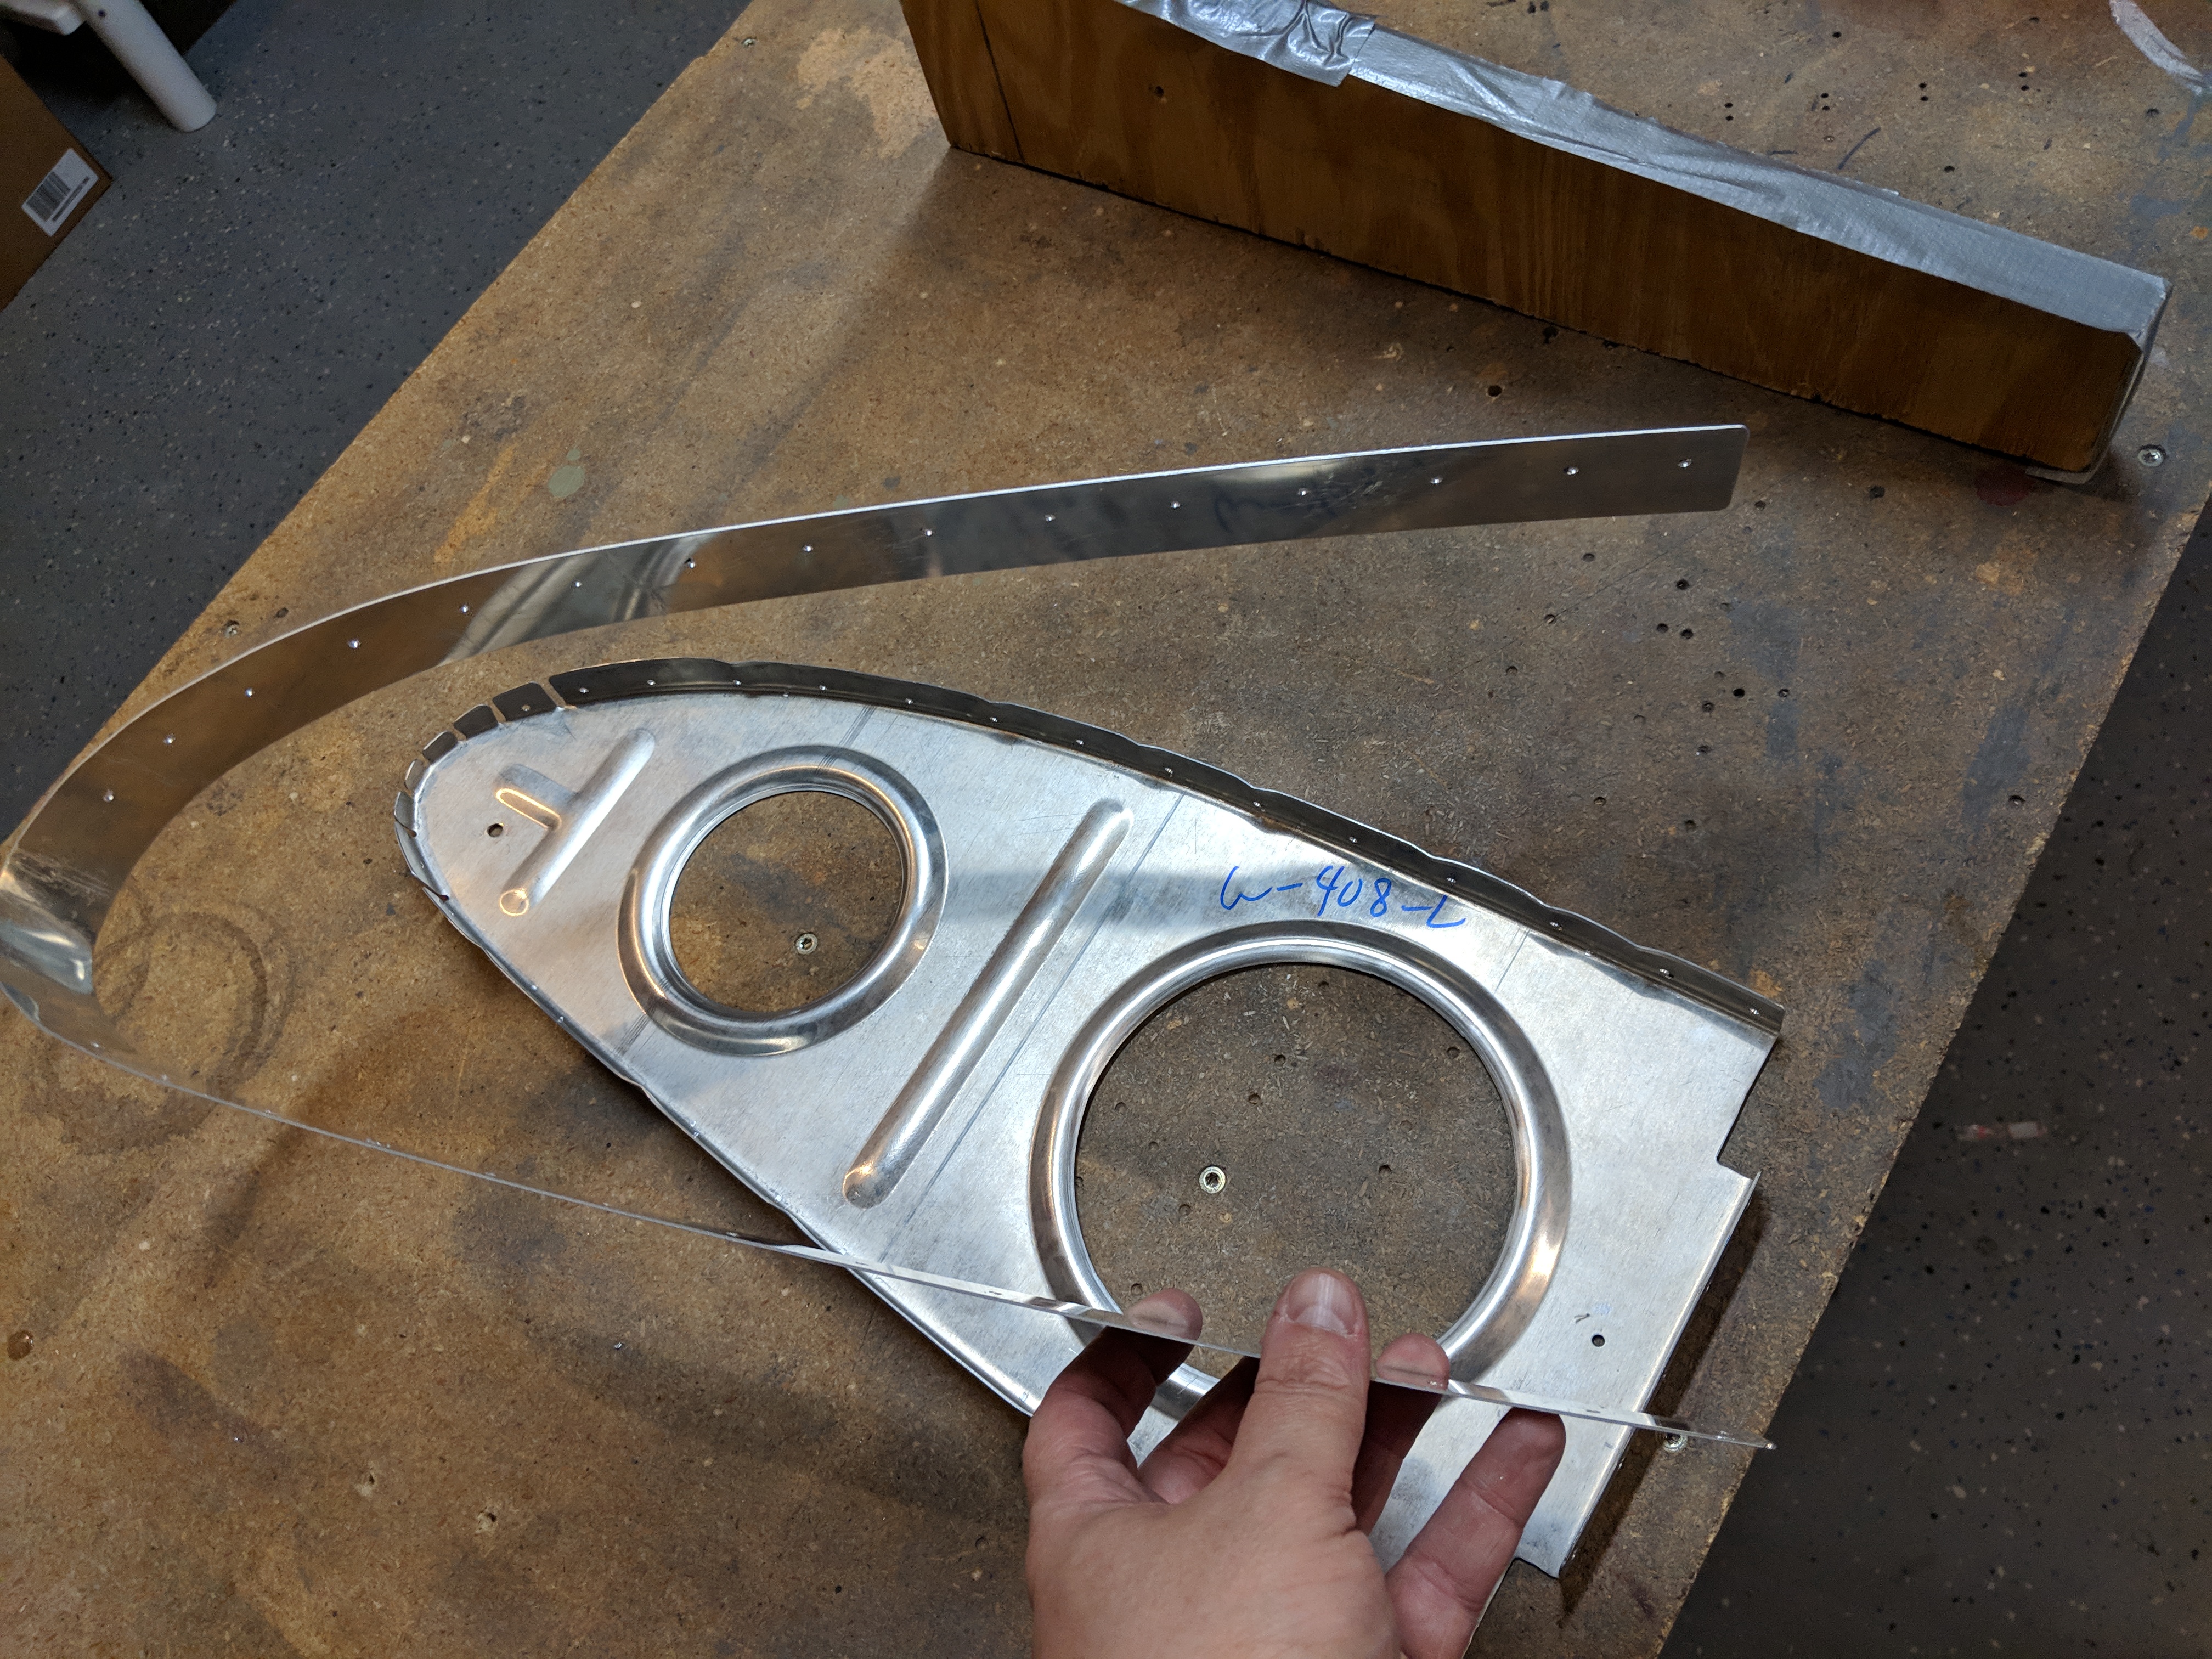
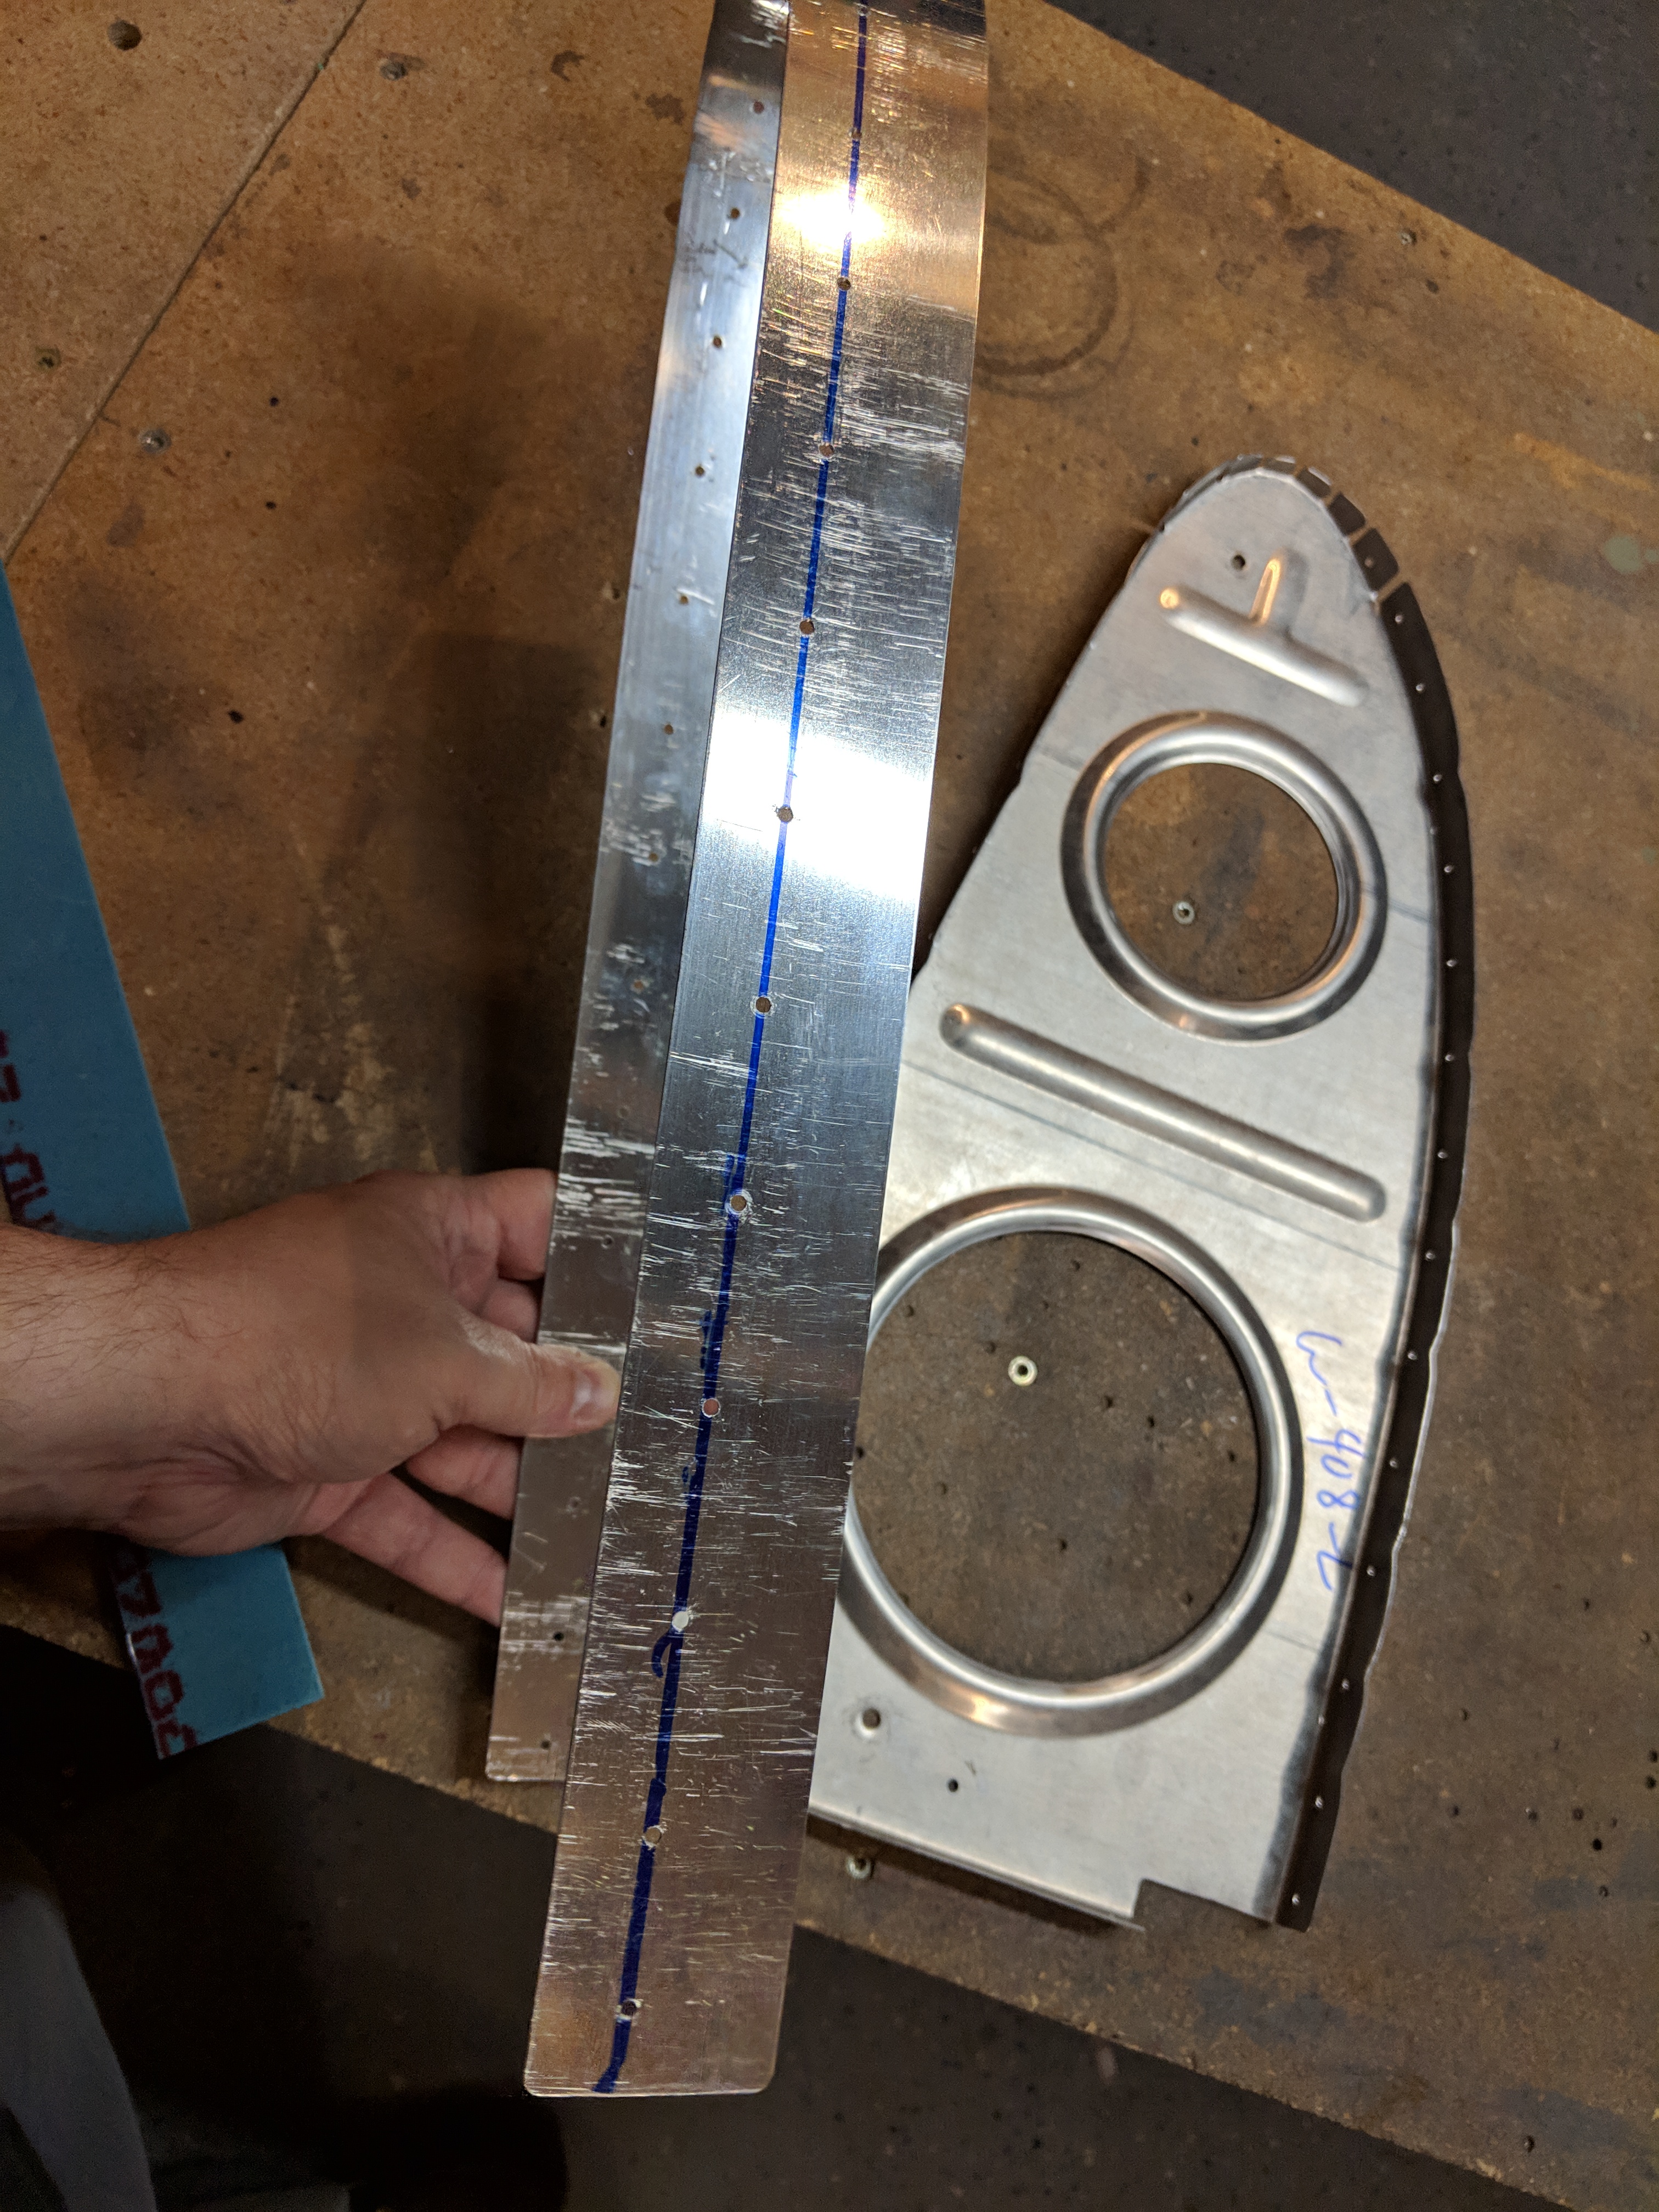
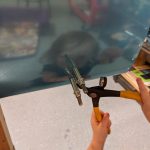
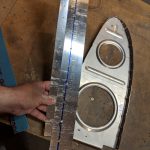
Ambien 10 Mg Price Now, this is where it gets a bit…..fiddly. The W-408-L wib is NOT pre-punched, so we have to back drill it using the skin and the spar as a guide. In addition, we have to fit a W-723 joint plate sandwiched between the W-408-L rib and the leading edge skin. Here’s the fiddly bit: The W-723 joint plate is nothing more than a piece of AS3-032 sheet pre-cut to 1.5″x36.5″. Which is nice, because its cut to the exact dimensions, but I had to bend and mold it into the shape of a leading edge. Before I went about bending it, the plans tell us to draw a line 1/2″ from one edge. This is the line we will use to help line the joint plate with the pre-punched holes in the skin.
go here
Purchase Tramadol Without Prescription 

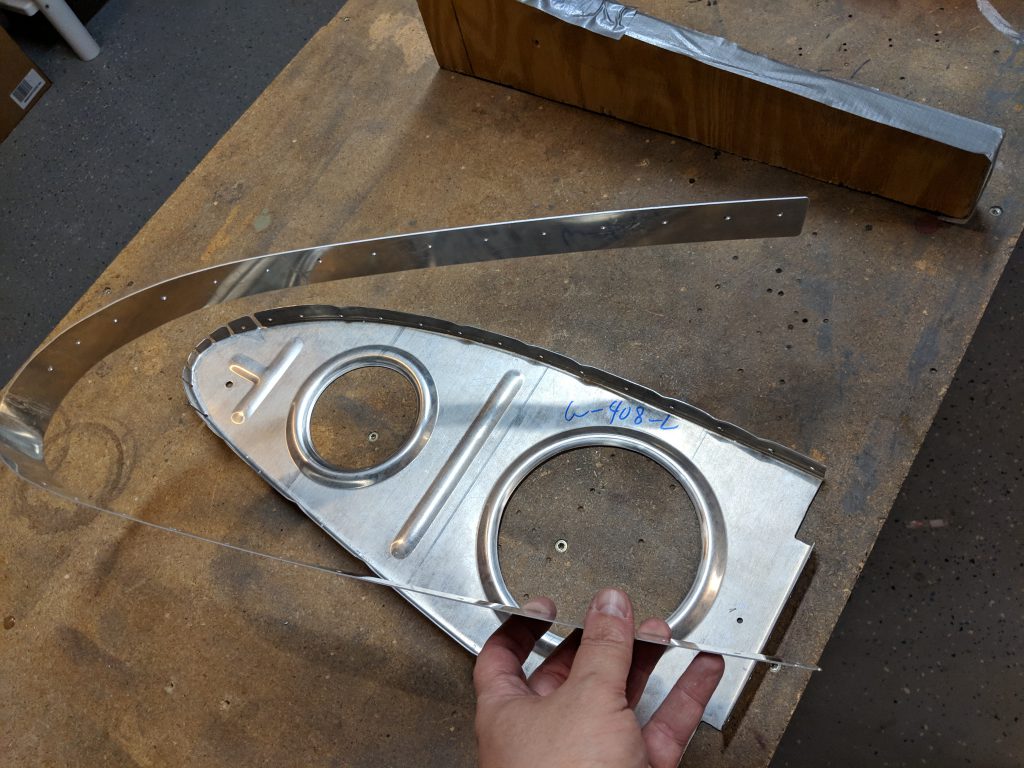
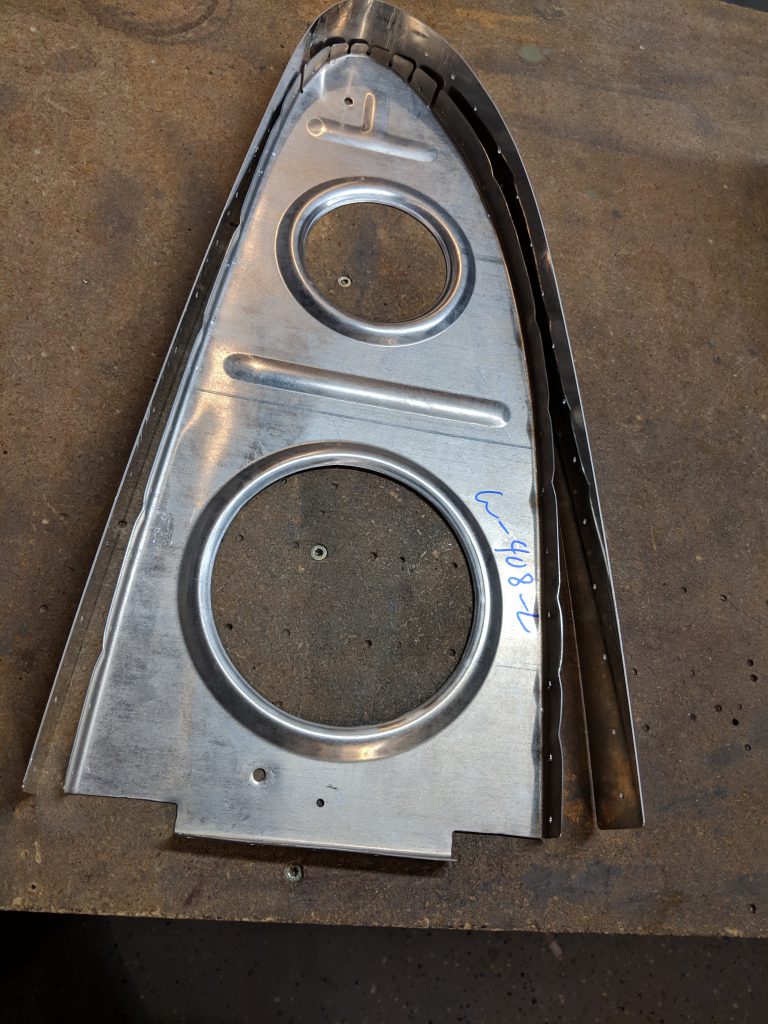
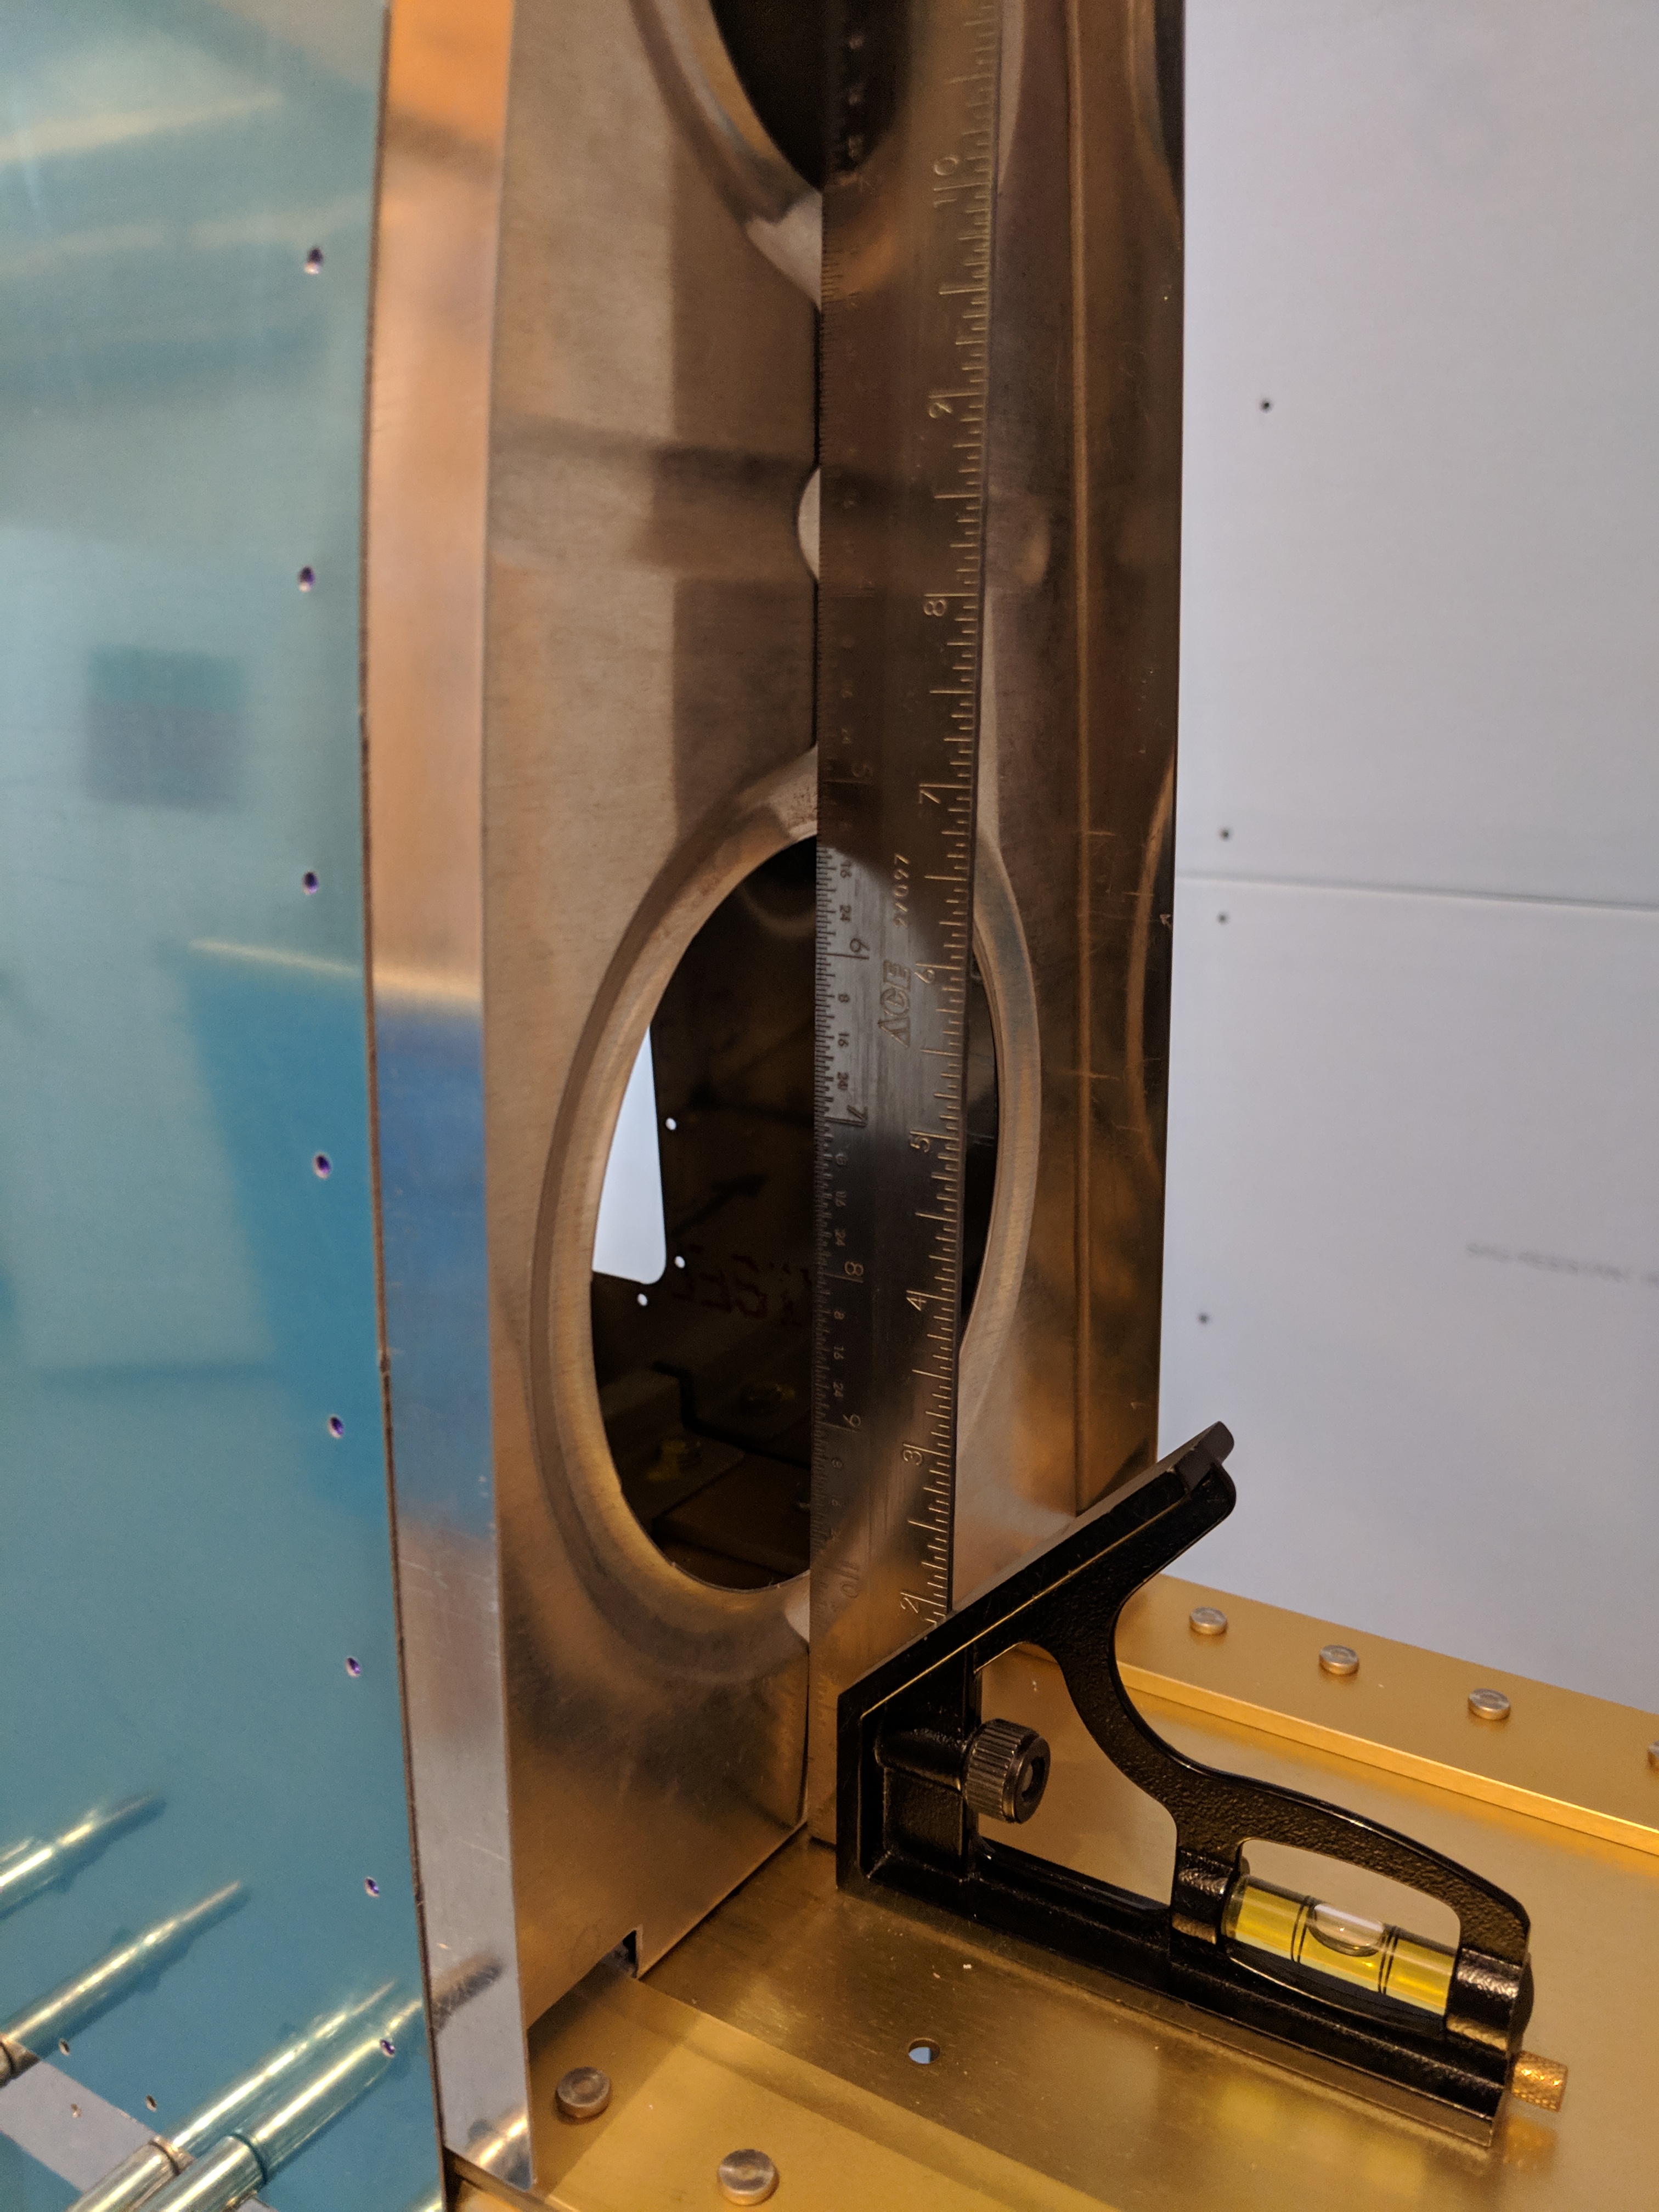
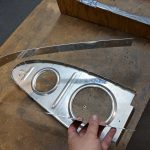
Ambien Without Prescription The photos above, you can see where I have already drilled it, thats because I didn’t get any photos of me bending it. I will on the right wing 🙂 . But, once we had all these pieces sort jammed together on the leading edge, I double checked all the clearances, and then back drilled the aft flanges of the rib to the main spar, and clecoed it securely. Next, I made sure my blue sharpie line was lined up correctly in the leading edge skin holes and then double checked the rib was straight with a square.
Buy Lyrica Without Prescription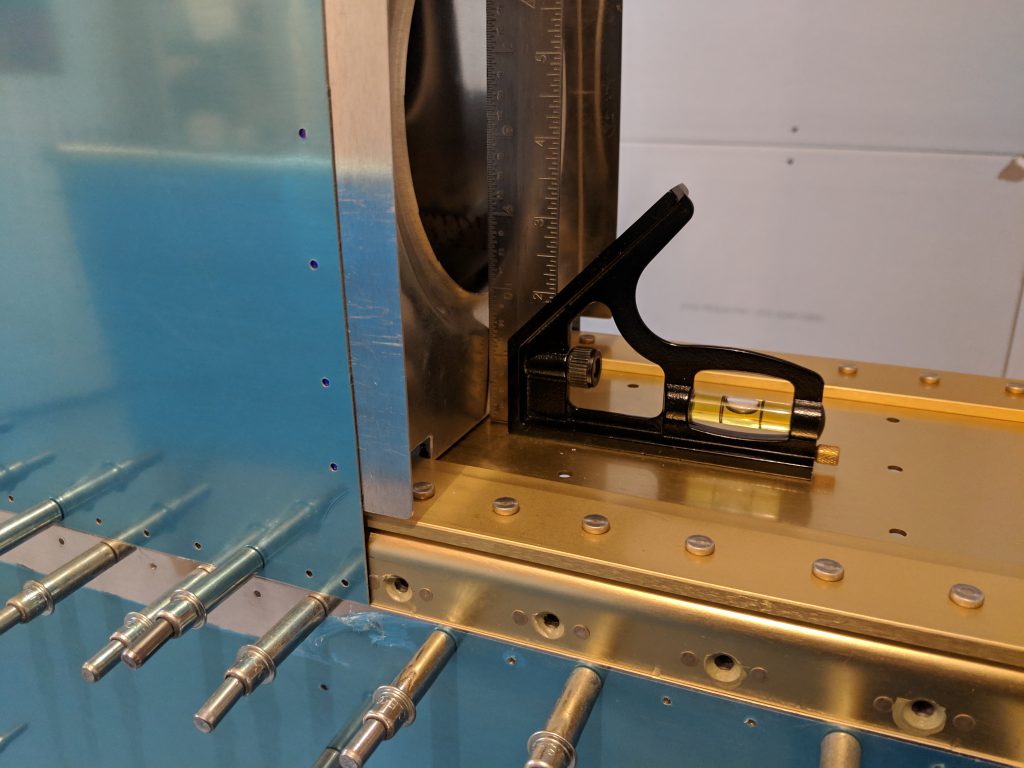
Buy Ativan Online Without Prescription I started at the aft edge, and back drilled a #40 hole using the skins holes as a guide, then clecoed it. I skipped a few holes and drilled another and clecoed to help make sure nothing was moving. I kept doing this until I had everything back drilled.
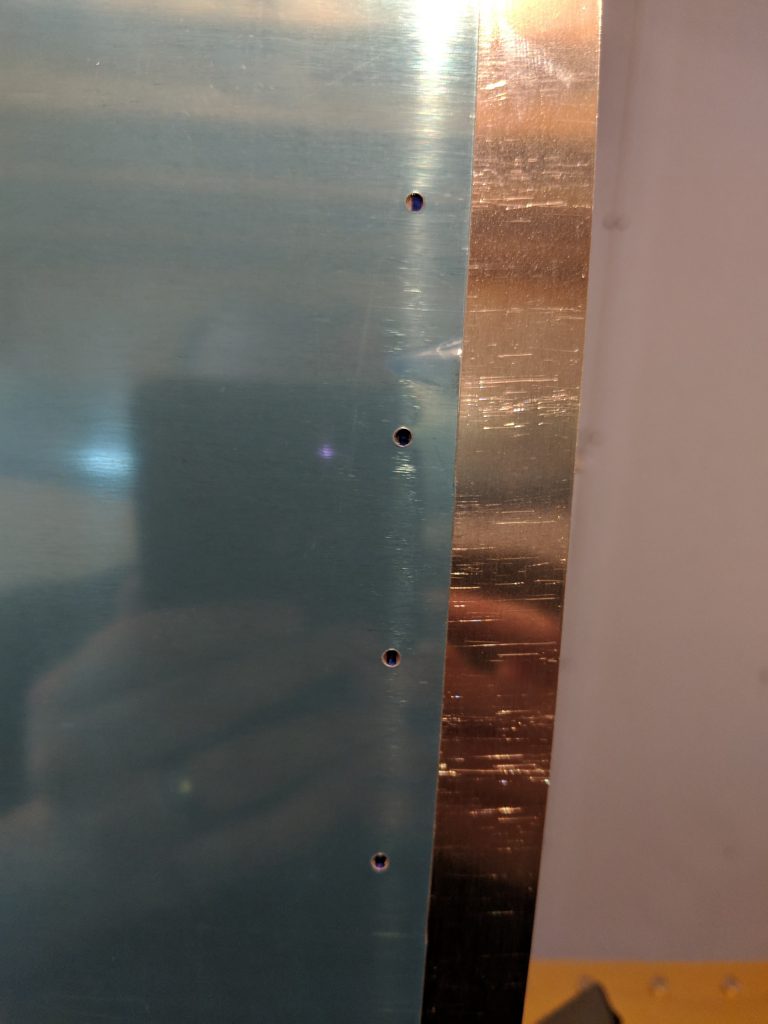
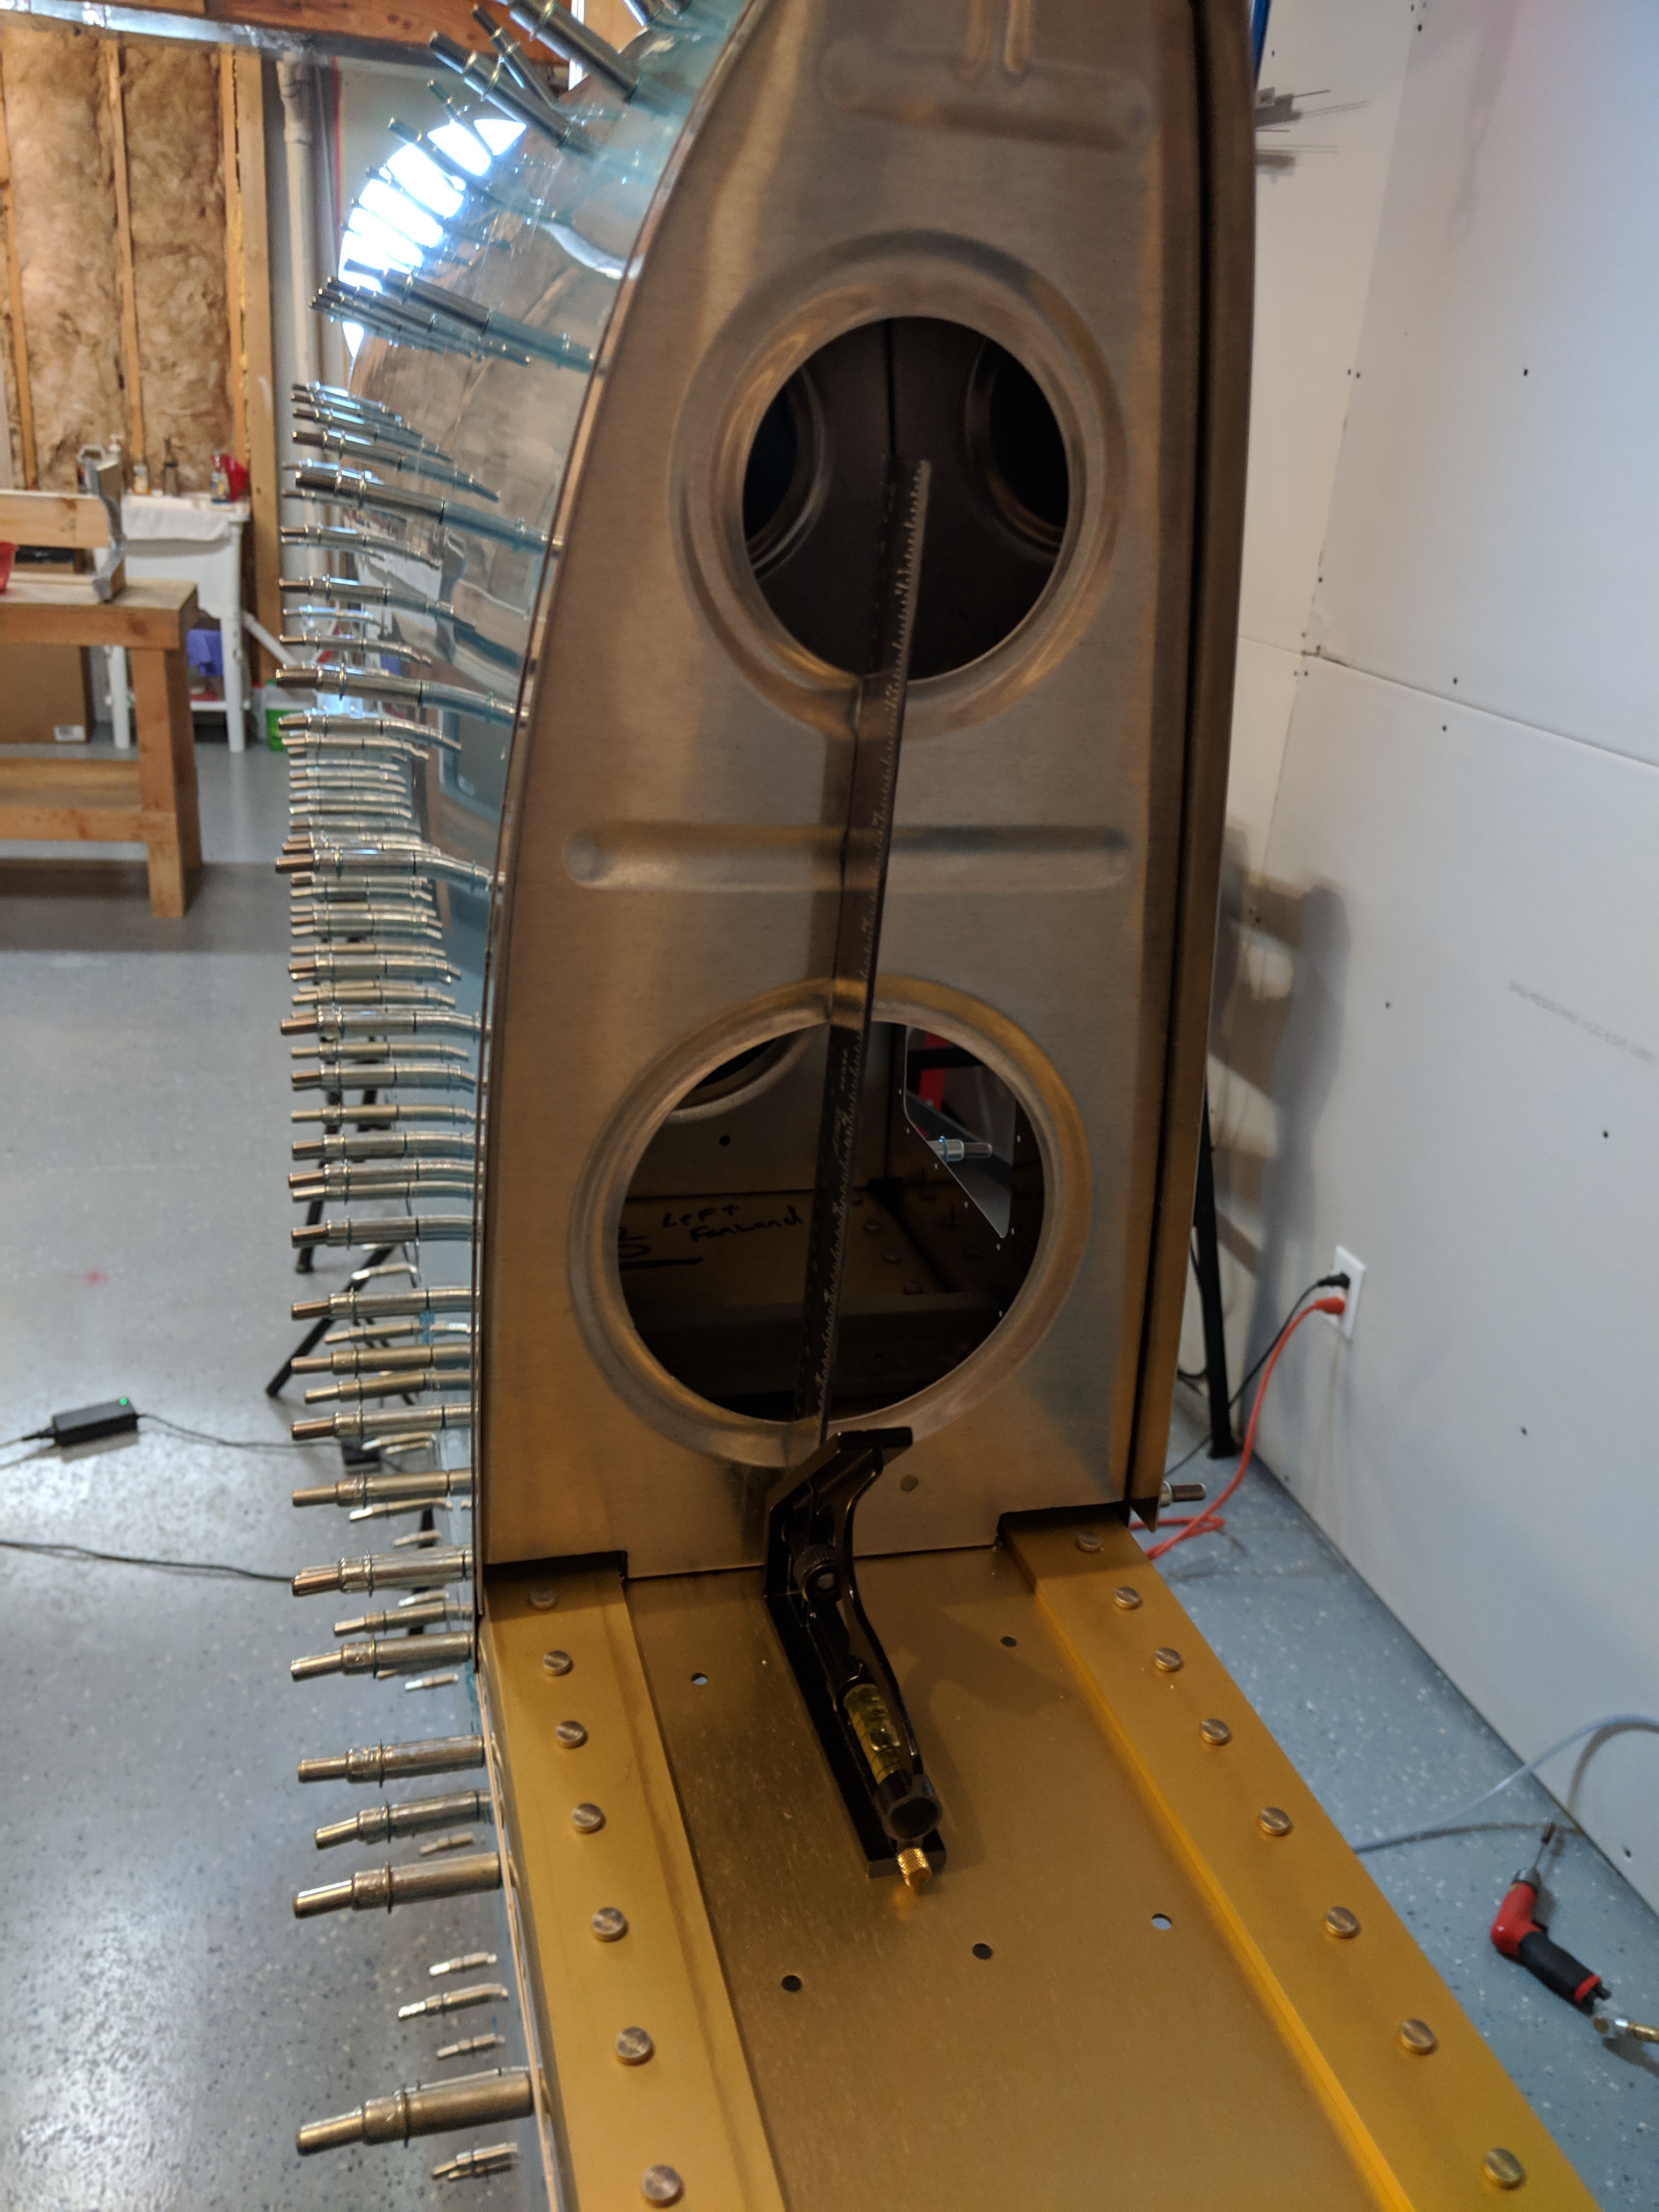
http://www.ztpackaging.com/tisserie/ Once I had everything back drilled, the only thing left to do on the leading edge was to match drill all the holes in it. So, I chucked up a #40 reamer and reamed all the holes (ribs, spar, etc) to the proper size, then moved my clecos, and reamed those holes. Eventually, I had all the holes reamed, but there were a few that needed back drilled at the front of the leading edge, so I used a #40 drill bit on those, and marked them so I would remember to deburr them. That finished up this session, and I think I will work on assembling the stall warner completely, getting it test mounted, and then open up the hole in the leading edge skin for the tiedown. Here’s all the photo from tonights work:
-
 IMG_20190227_225610
 -
 IMG_20190227_213548
 -
 IMG_20190227_213600
 -
 IMG_20190227_213604
 -
 IMG_20190227_213609
 -
 IMG_20190227_213614
 -
 IMG_20190227_213617
 -
 IMG_20190227_223903
 -
 IMG_20190227_223911
 -
 IMG_20190227_223915
 -
 IMG_20190227_223921
 -
 IMG_20190227_223926
 -
 IMG_20190227_223933
 -
 IMG_20190227_225053
 -
 IMG_20190227_225058
 -
 IMG_20190227_225541
 -
 IMG_20190227_225546
 -
 IMG_20190227_225553
 -
 IMG_20190227_225604


Order Ambien Online Google Photos Link: https://photos.app.goo.gl/zxEU6f3vWHnQctkE6
https://hymnsandhome.com/disclosure-statement/ Hours Worked: 2.25 Hours