


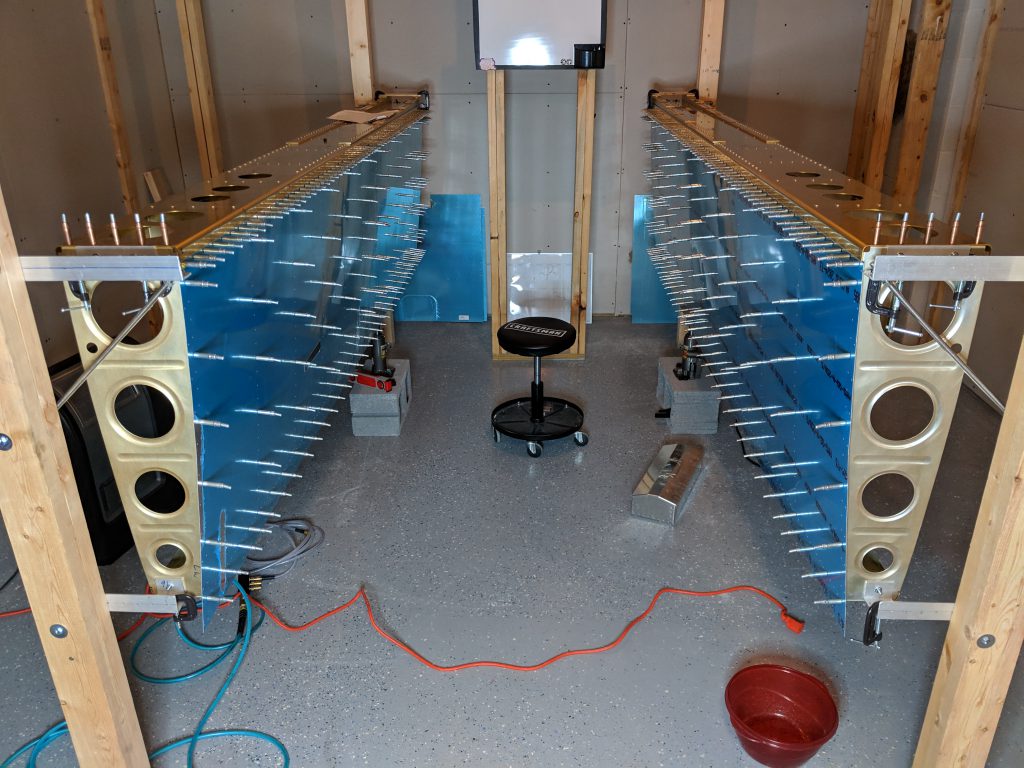
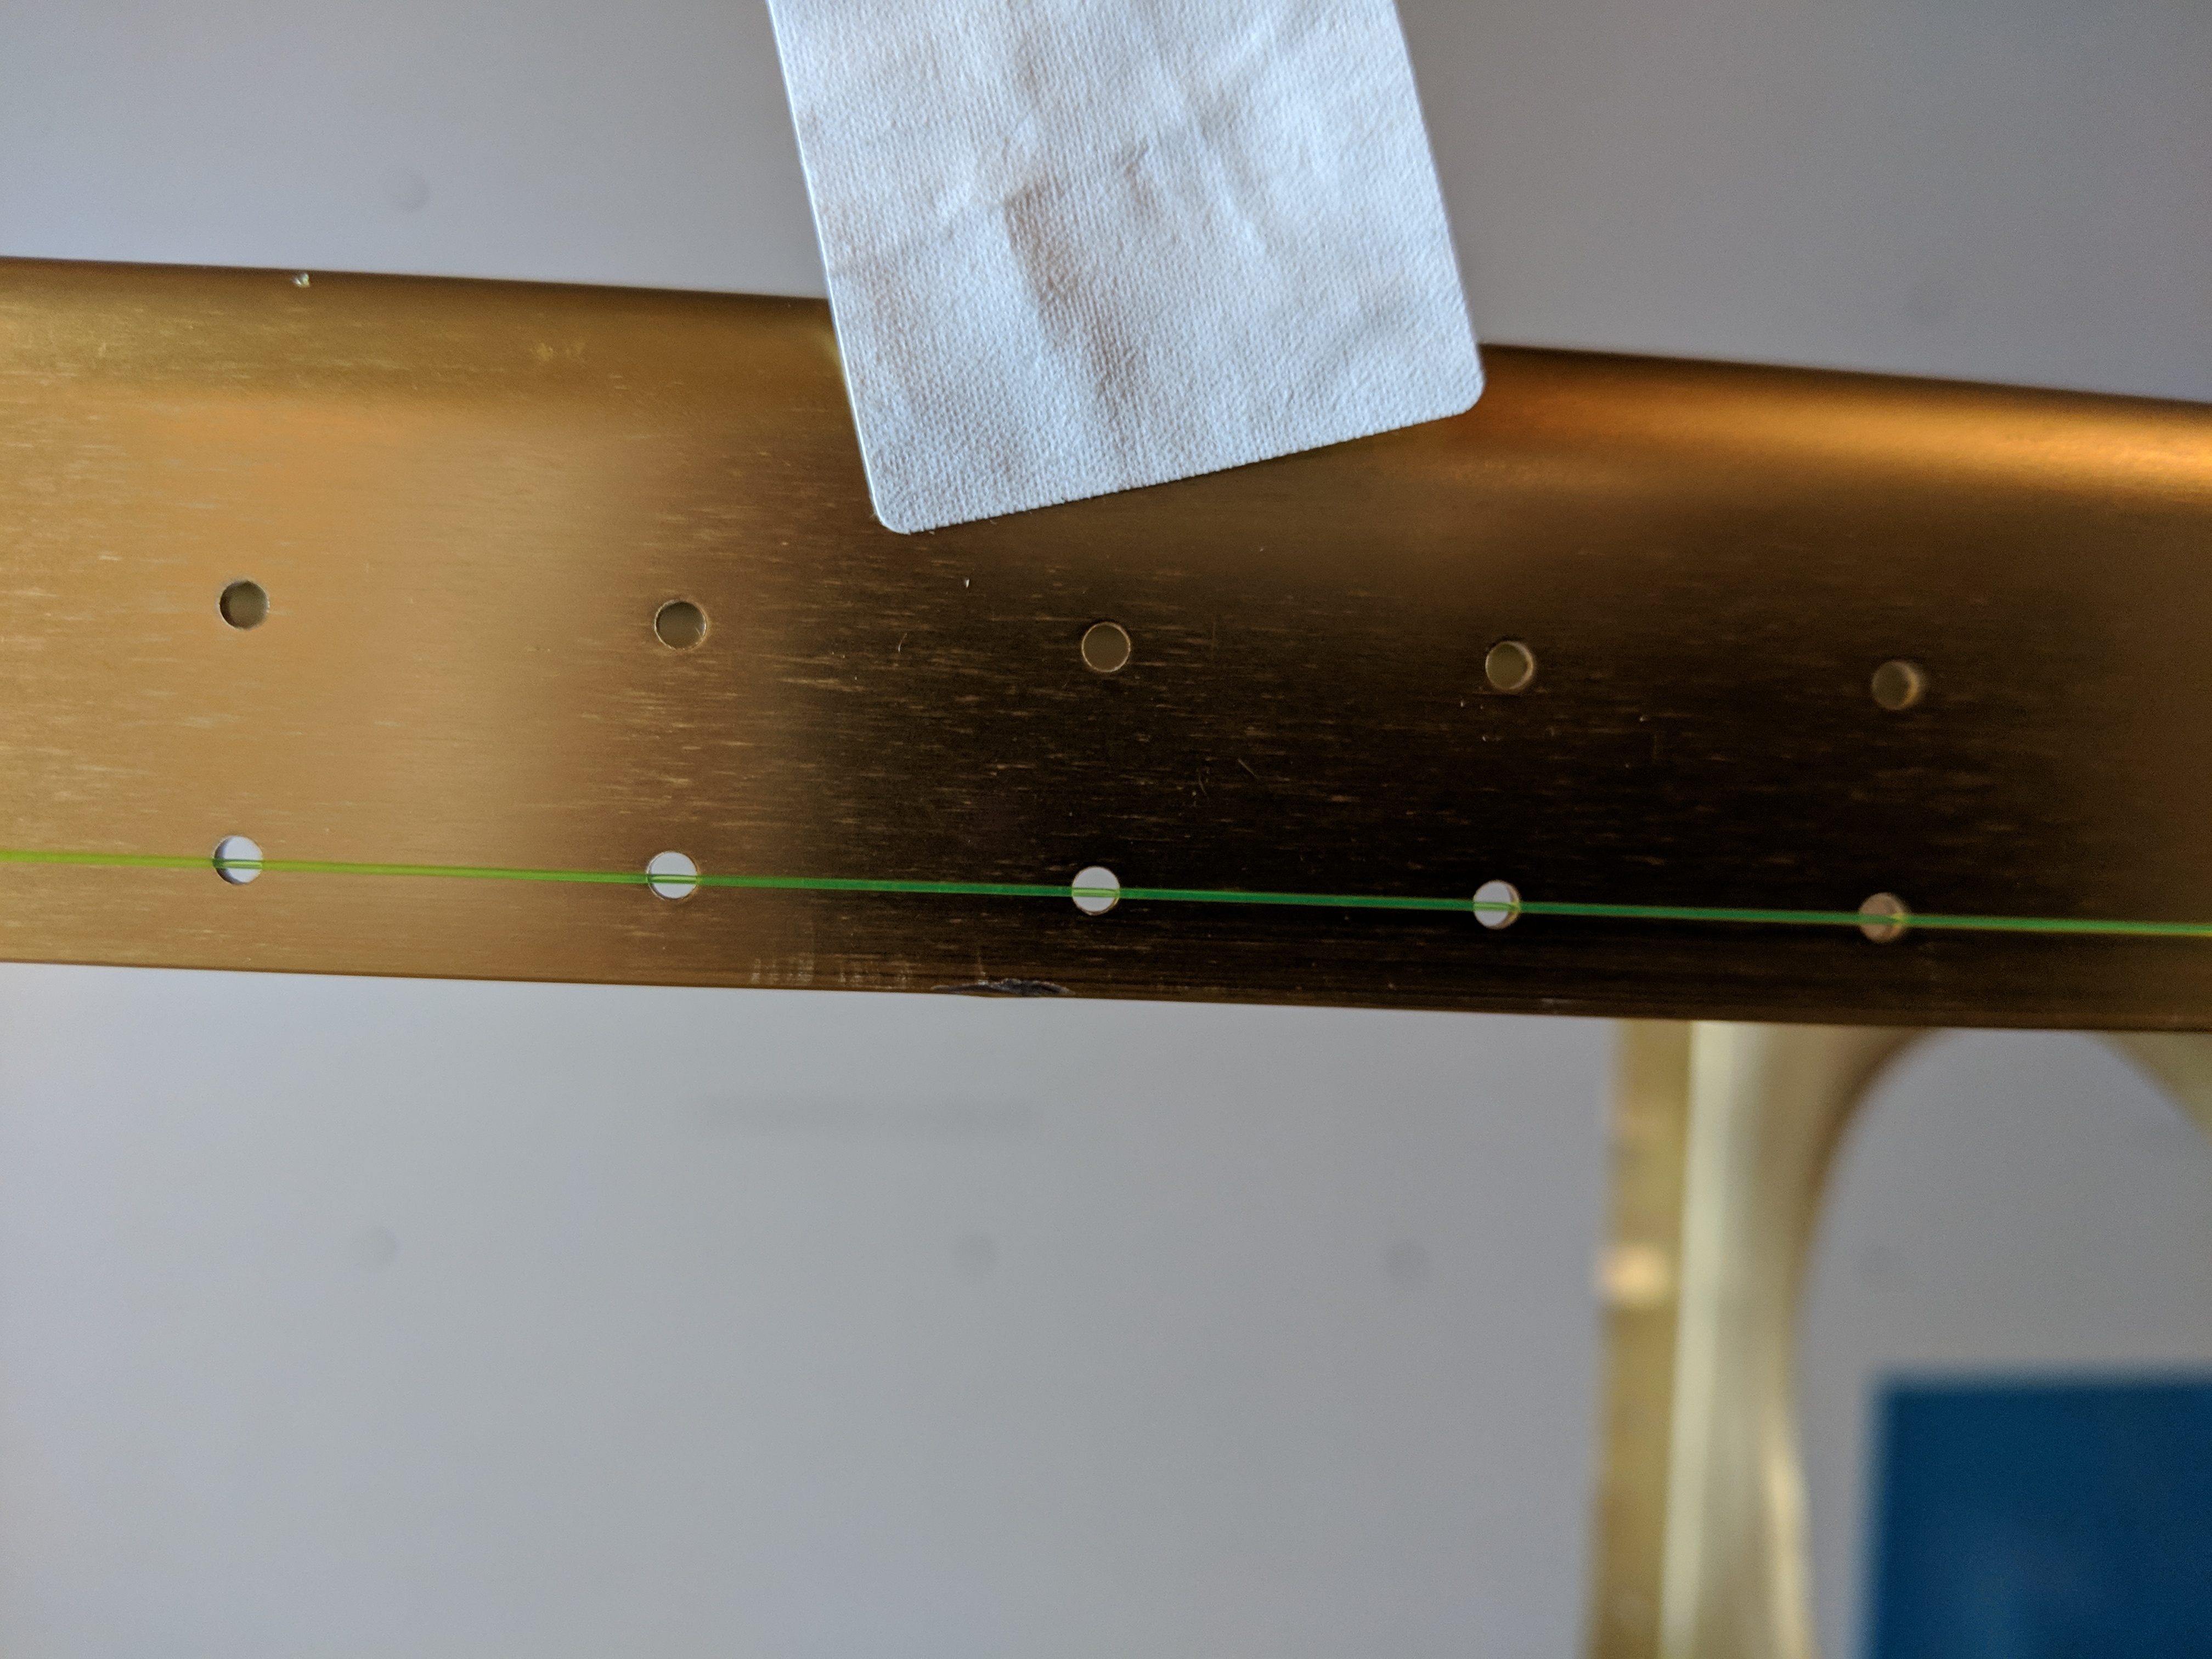
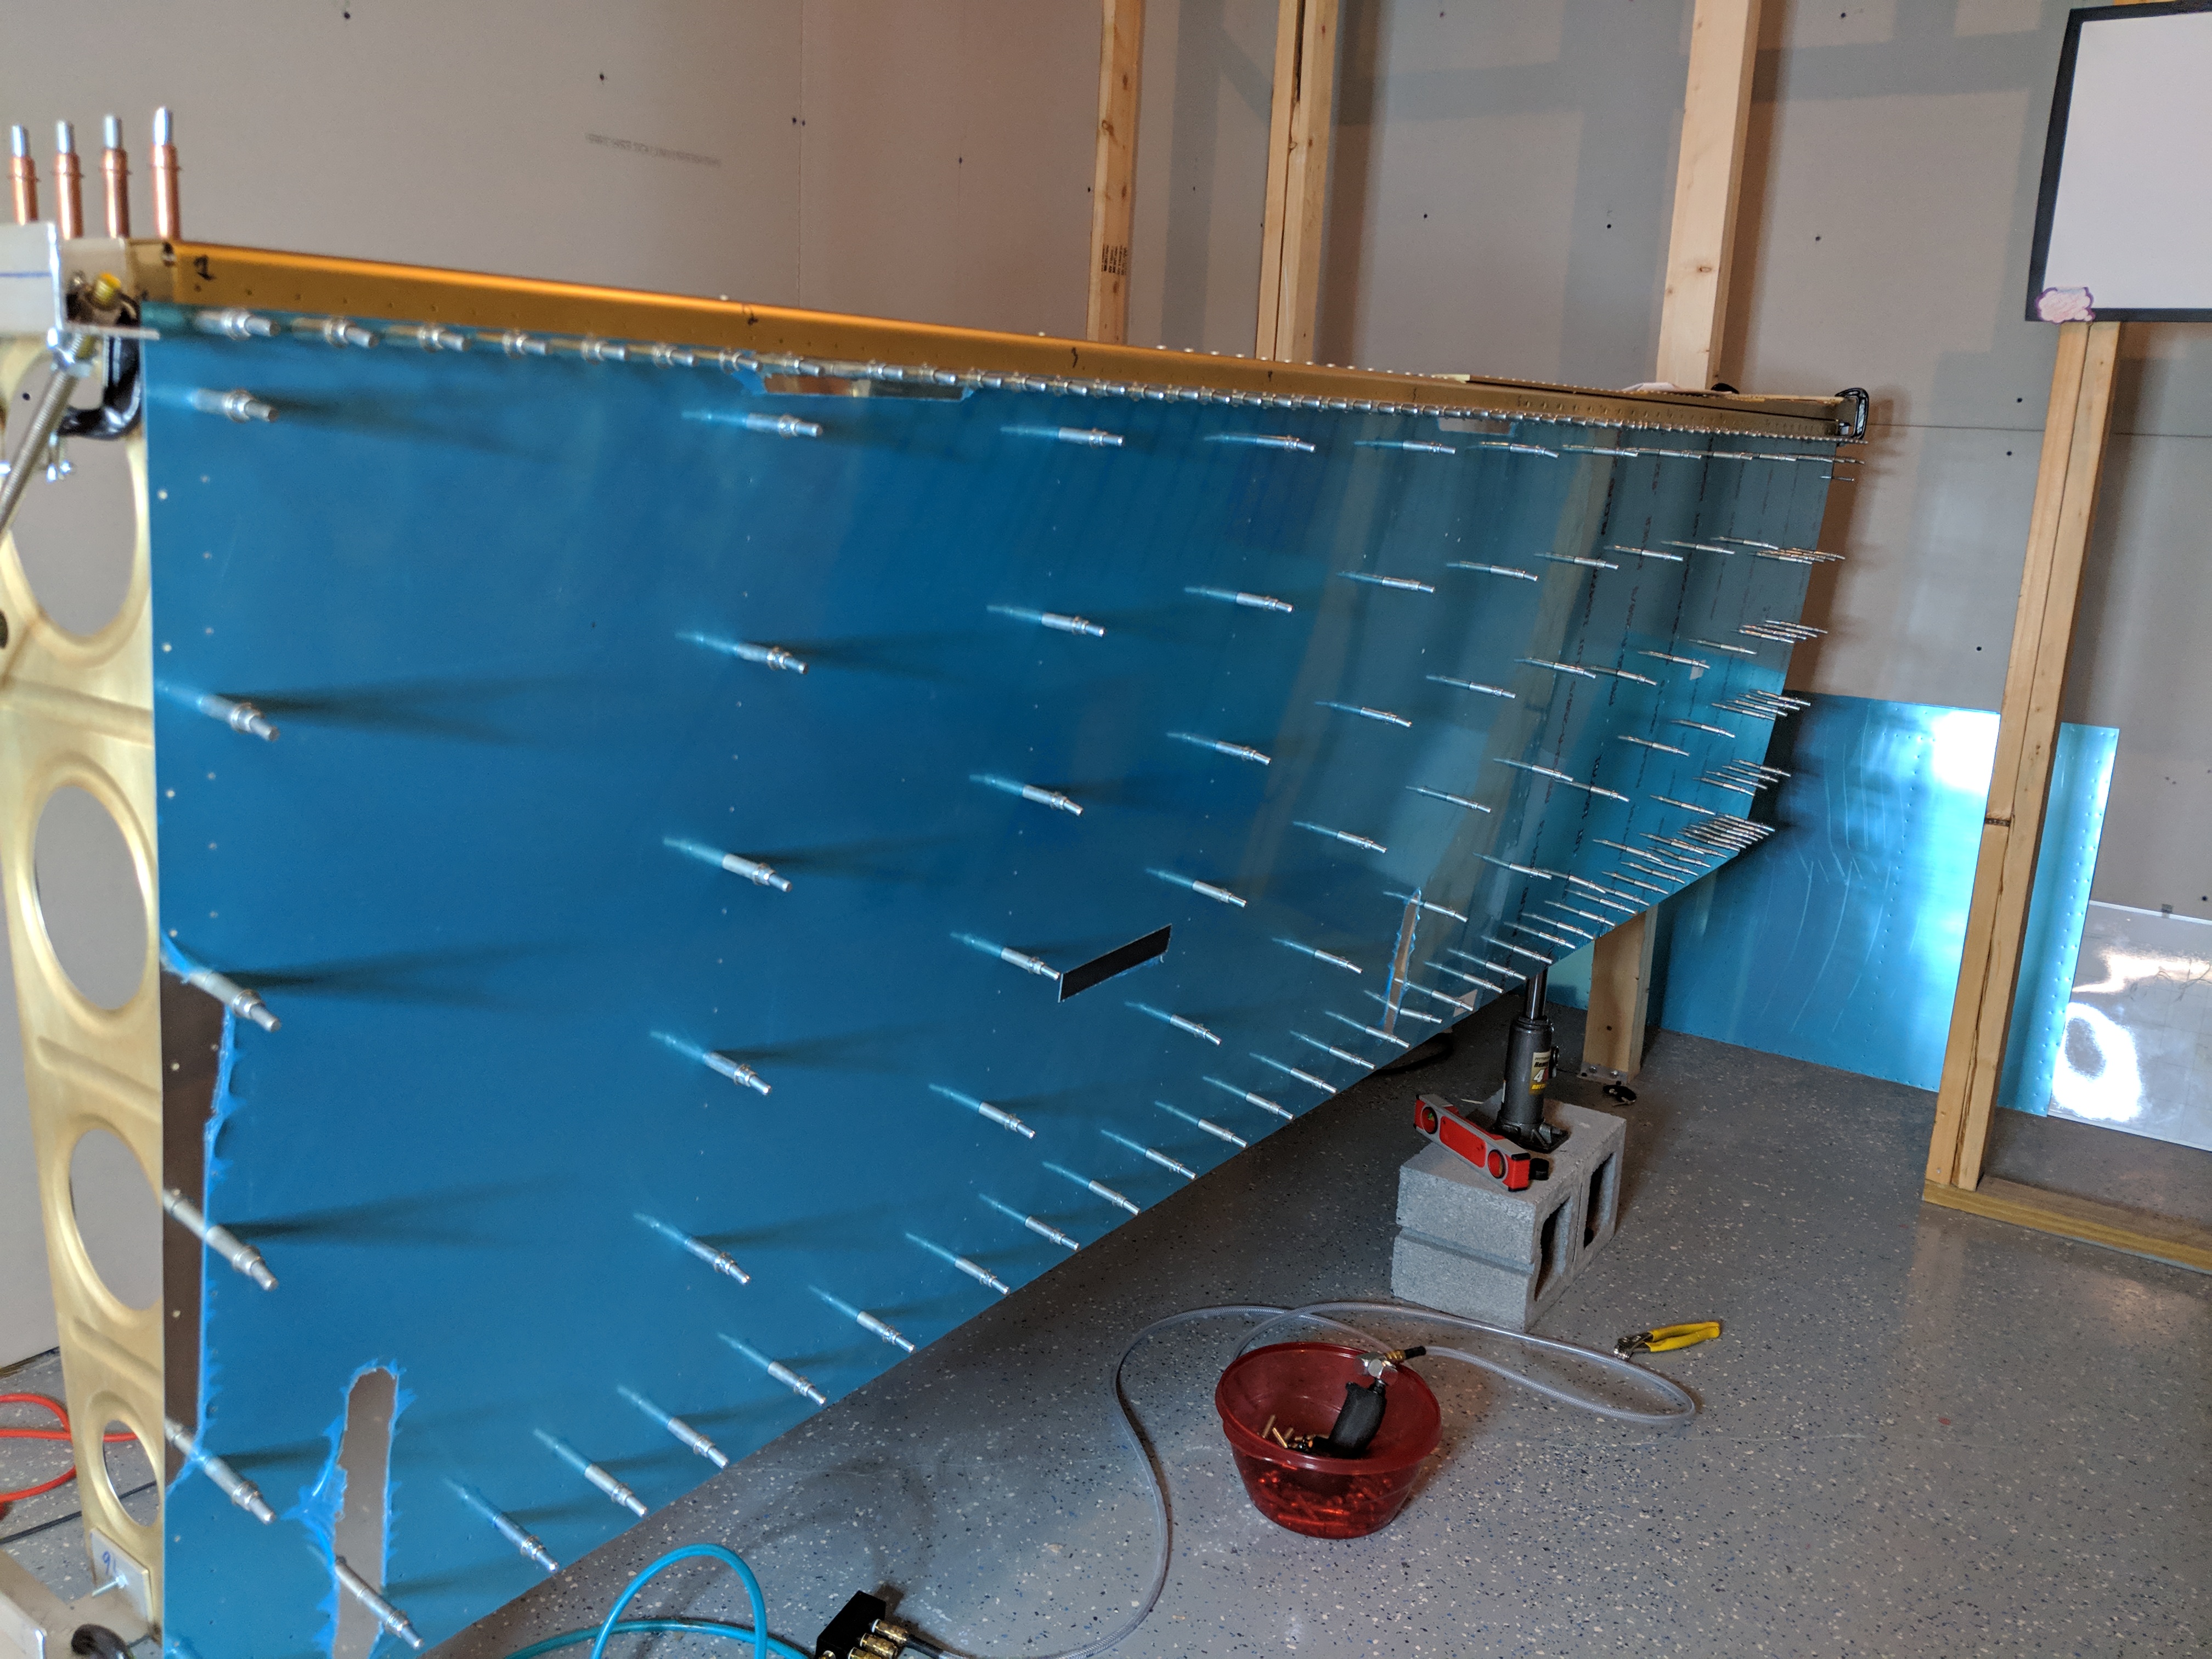
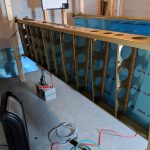
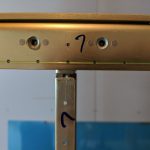
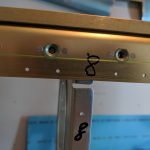
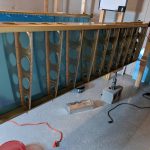
Time to make these skeletons look like wings! I started off tonight by picking up some hi visibility fishing line so I can run it across the holes in the main spar to make sure I have all the sag removed from the main spars. The last time, I just put the skins on temporarily to check that the doublers were fabbed correctly. So, I removed the inboard top skins and the doublers for each wing. Then I tied the fishing line to the very outboard, aft hole in the main spar, and ran the string the very inboard aft hole and got it as tight as I could and tied it off. I noticed that even after I roughly got all the sag out previously, there was still some uneven sag towards the inboard side. So, I shifted my block/jack around a bit until I found a spot that removed the sag, evenly, from the entire main spar. Here’s what the sag looks like before I raised the jack up:

You can see that the bottom holes are NO WHERE near the green colored fishing line. So, I raised the jack up a bit until I had all the sag worked out of the wing.

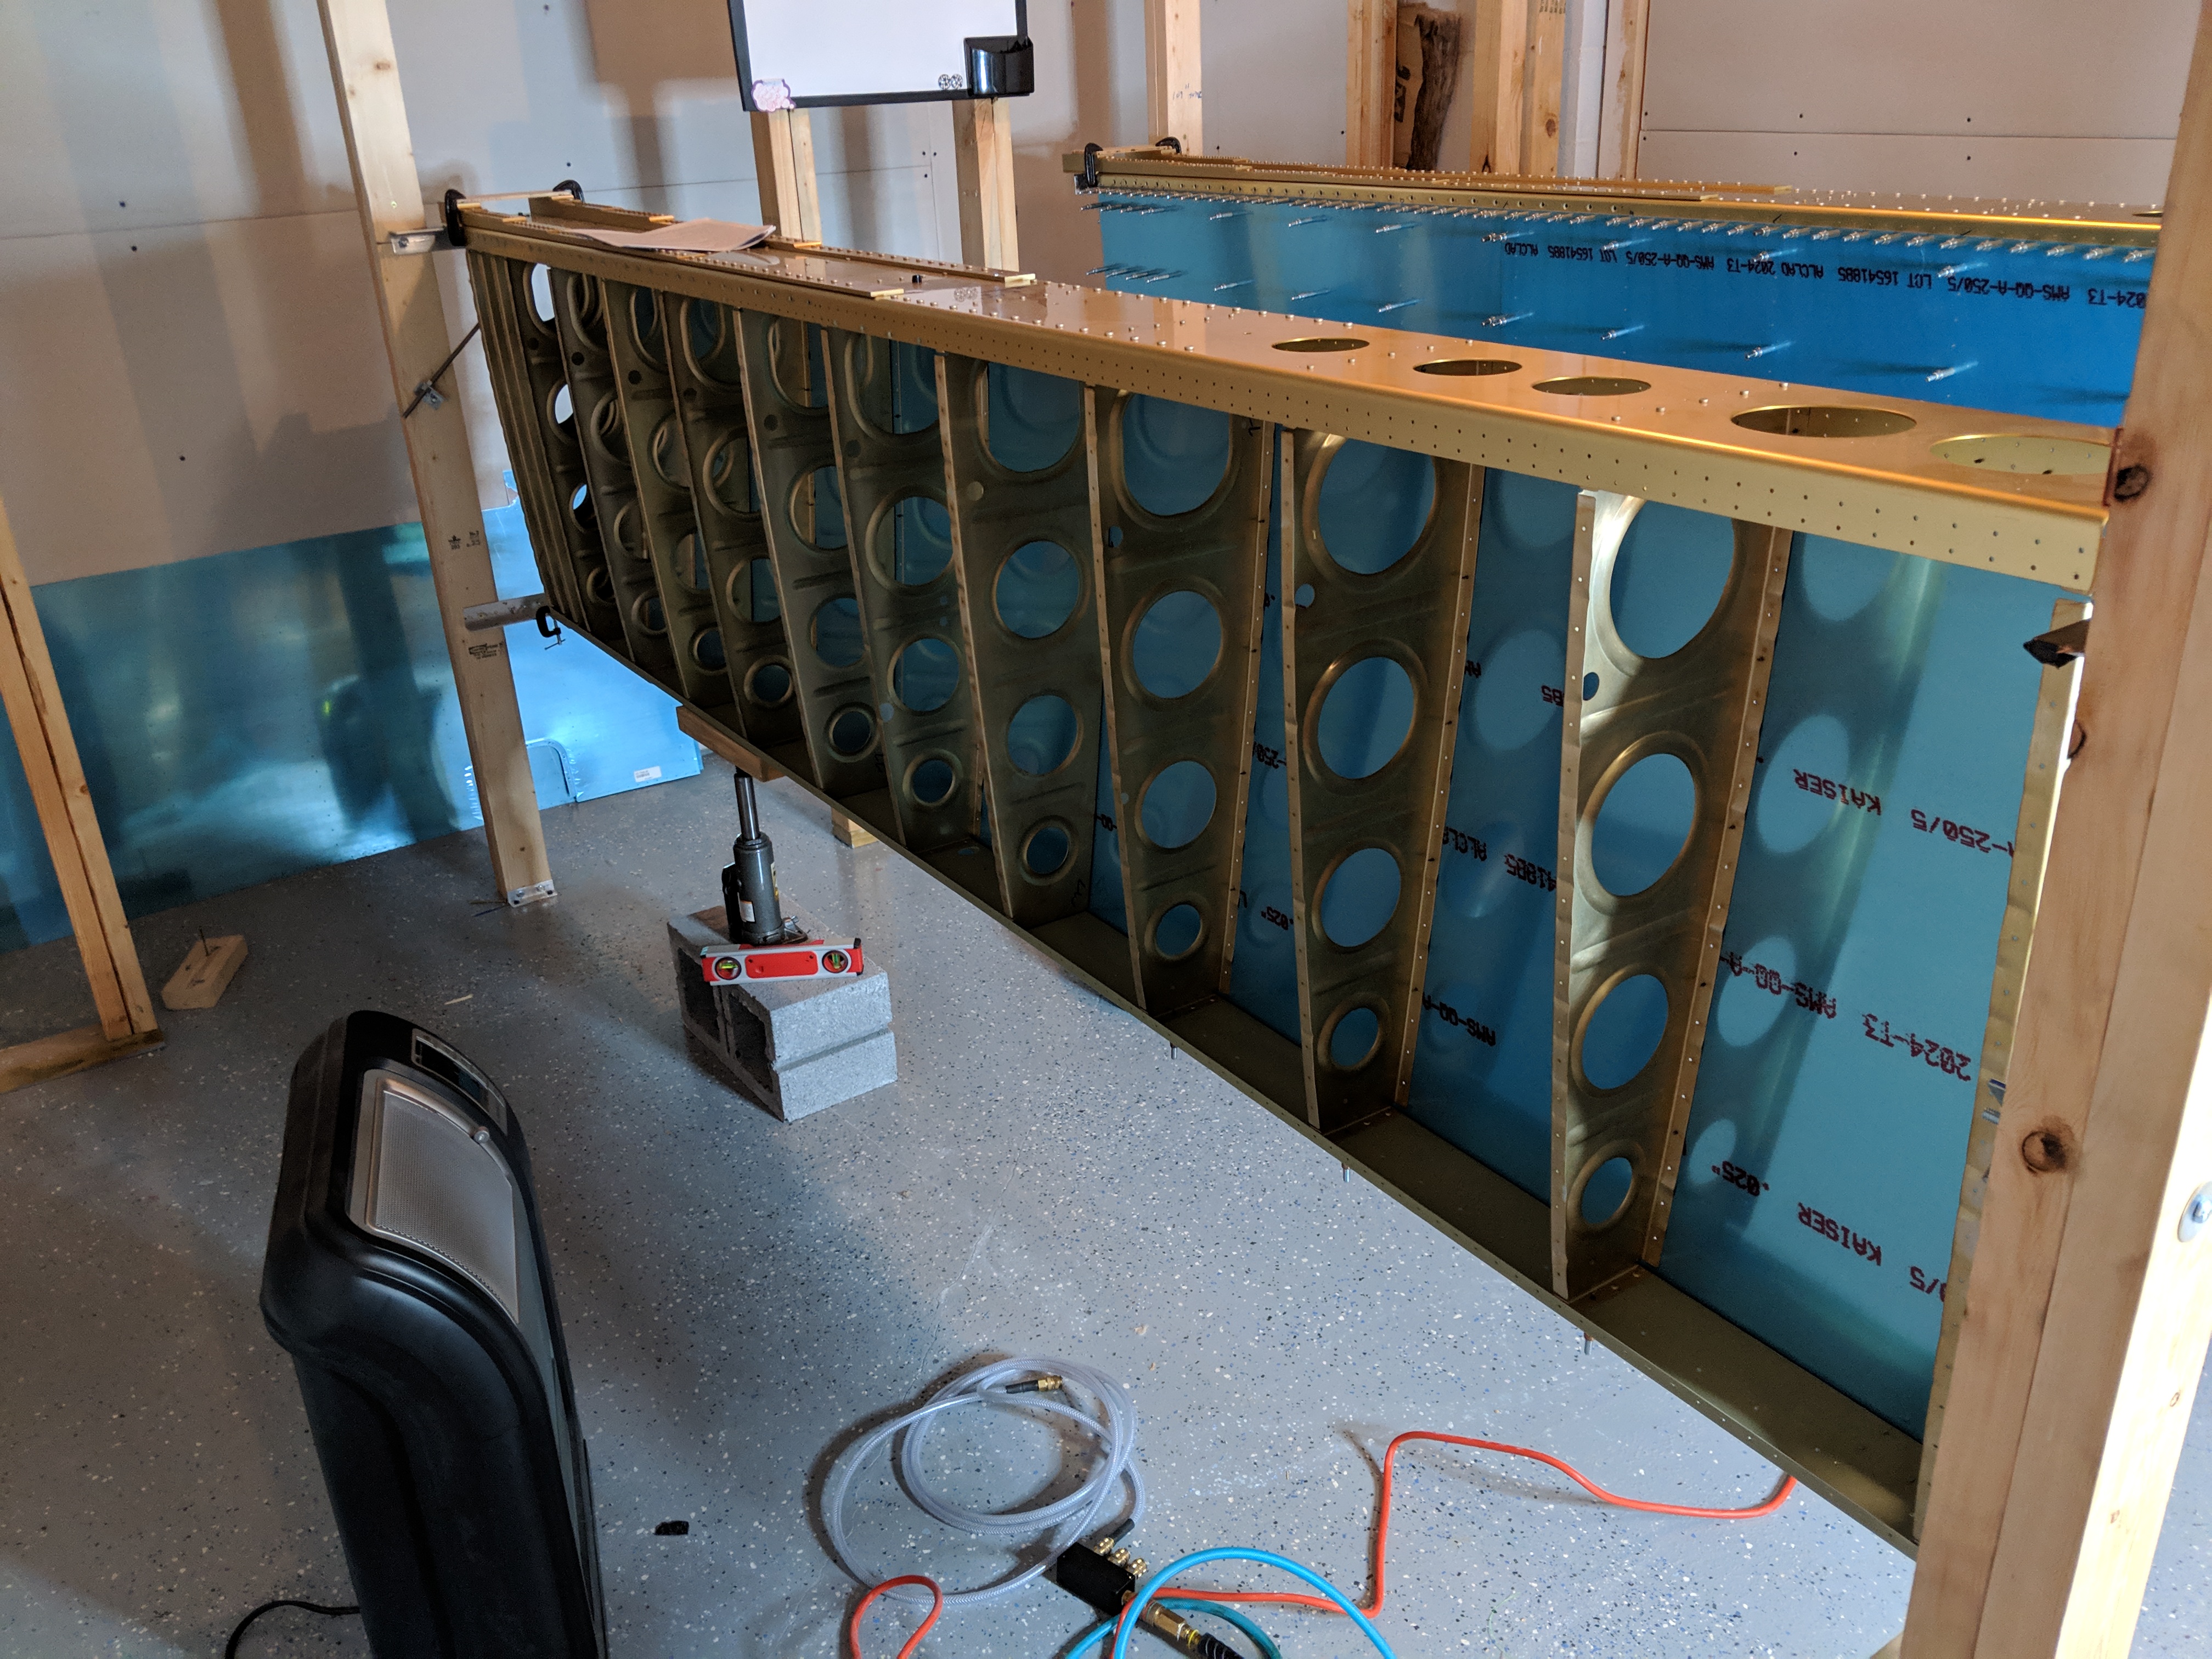
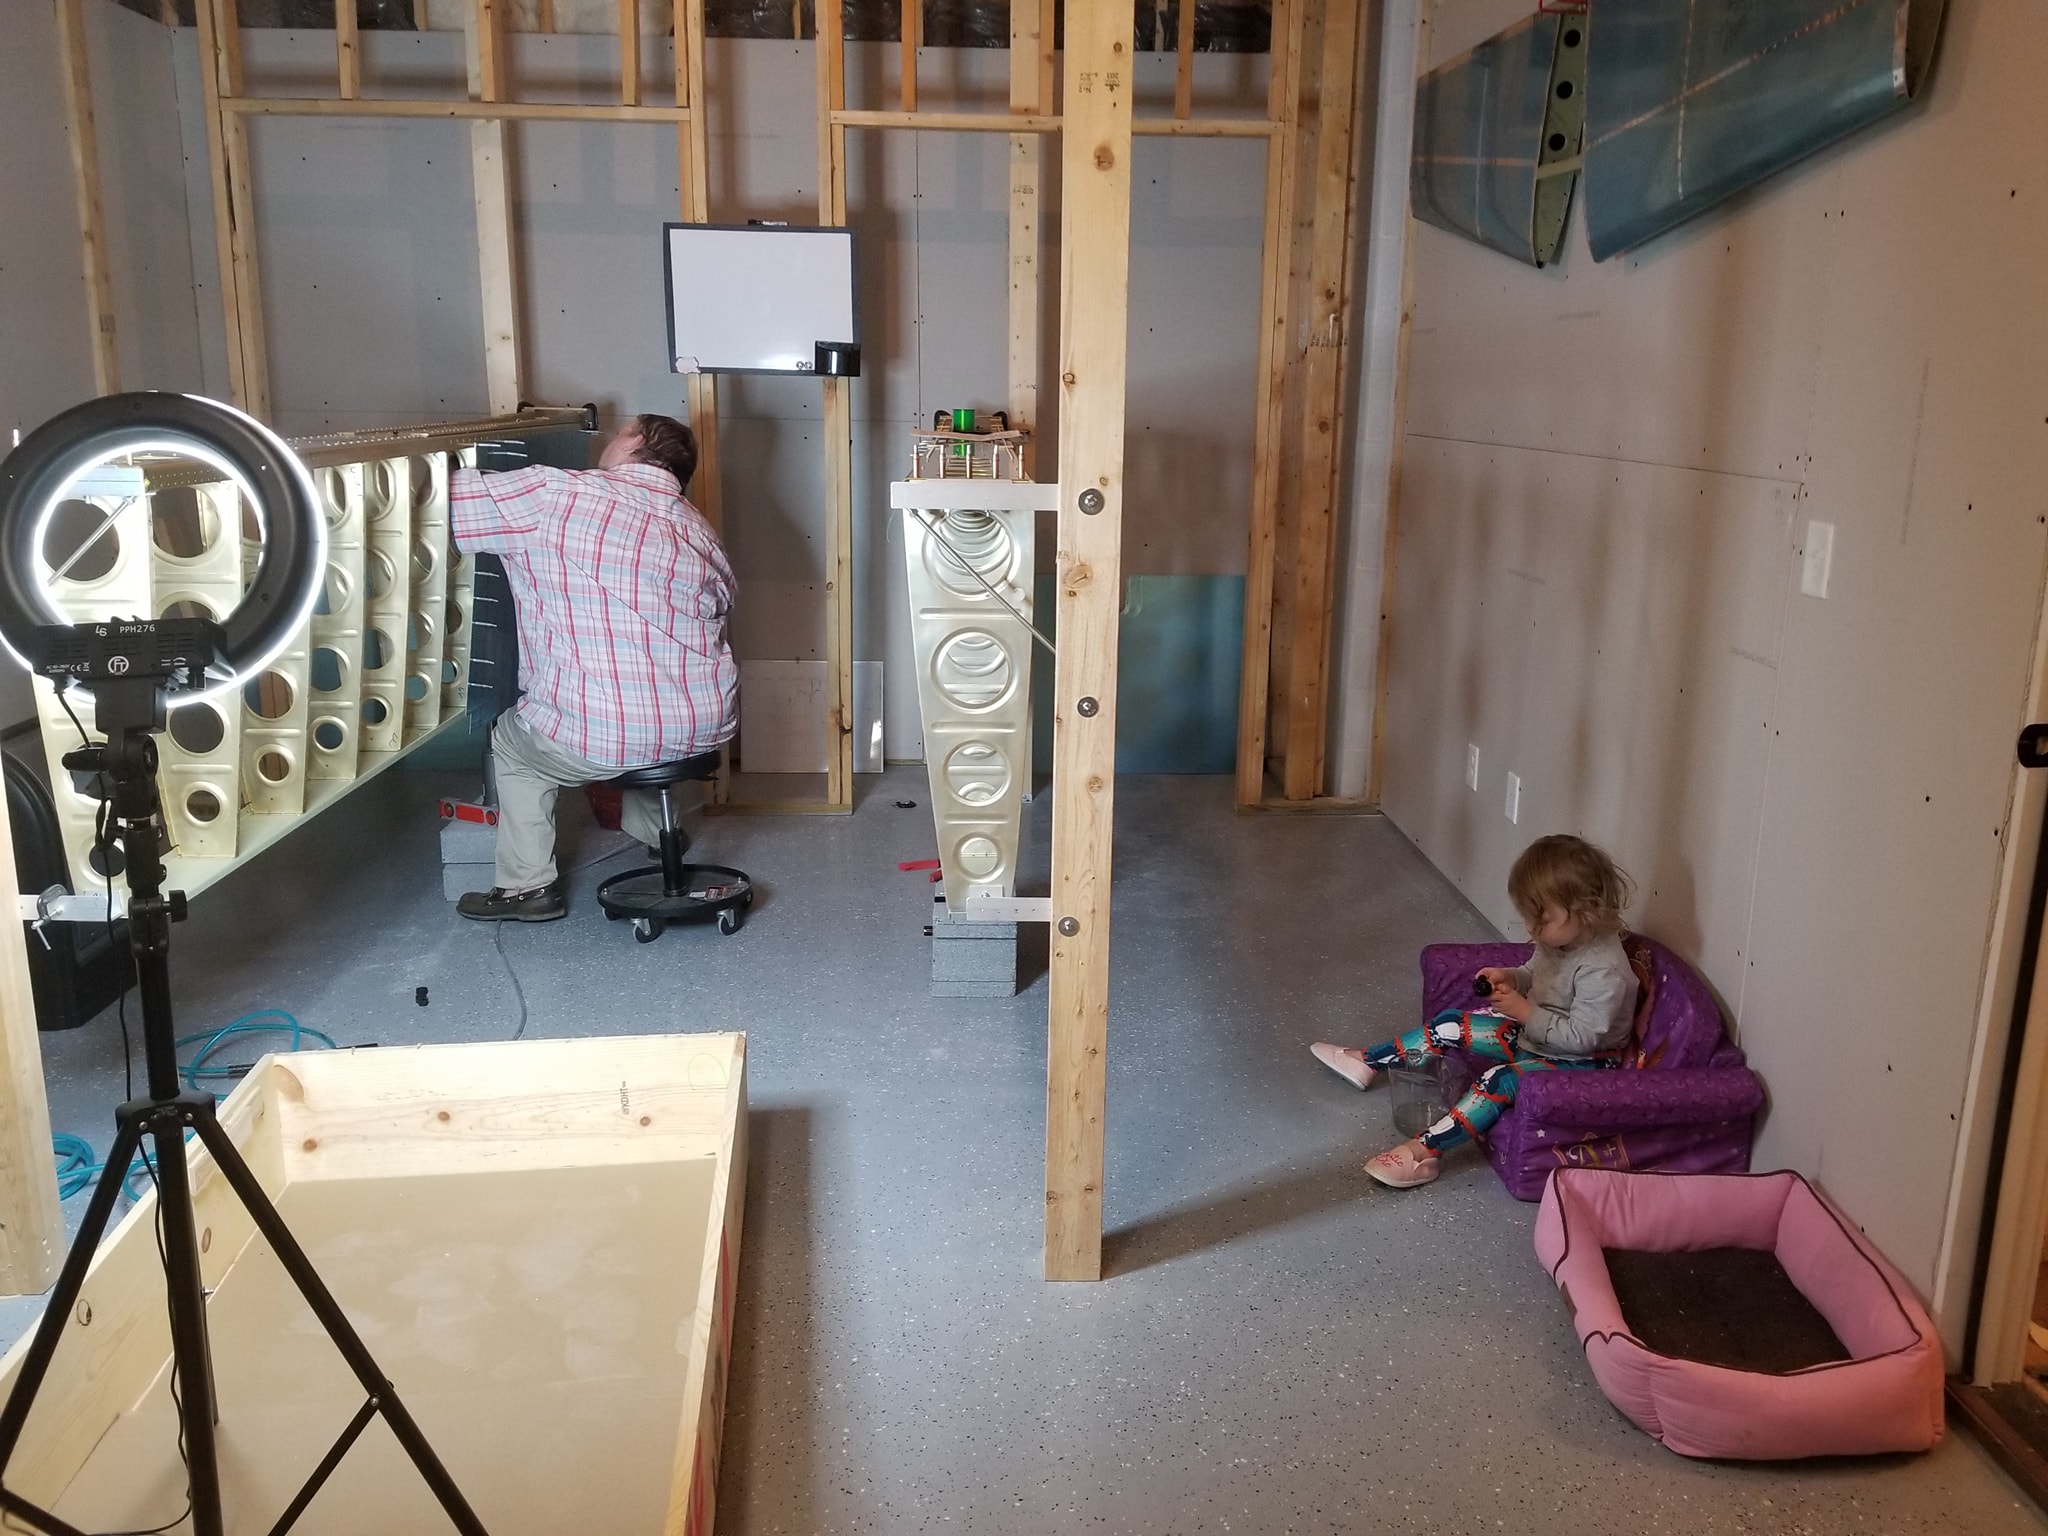
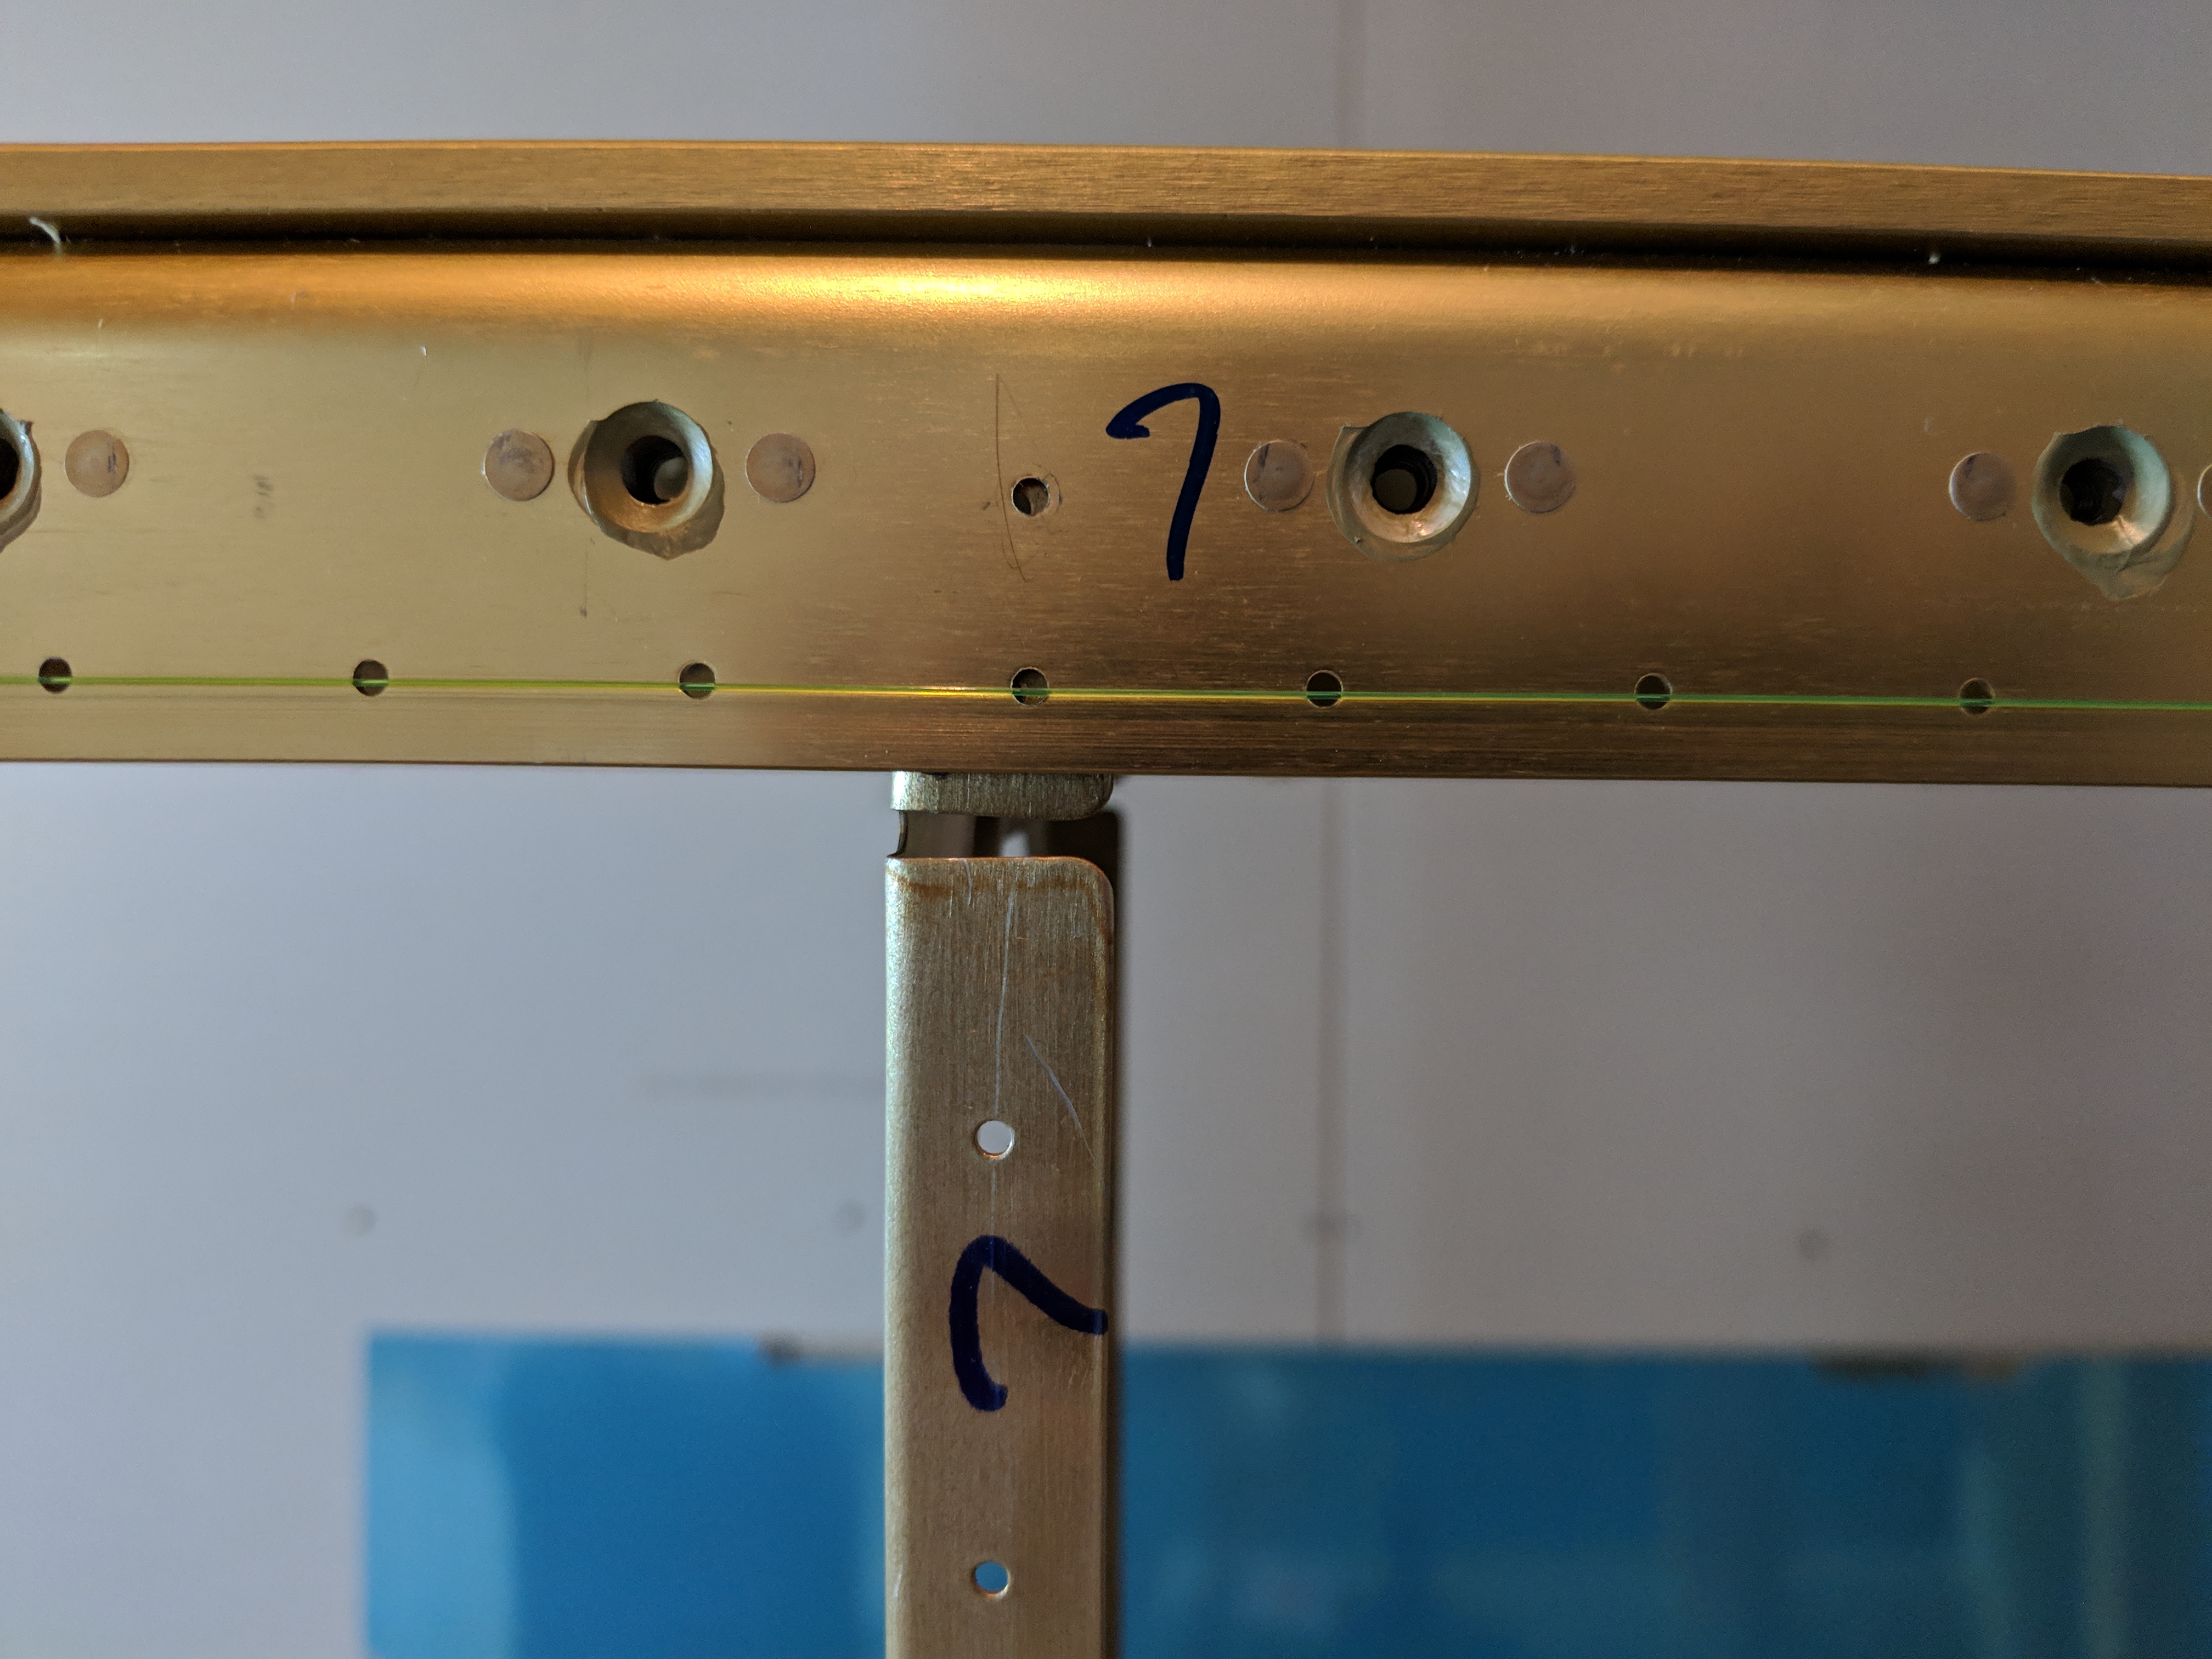
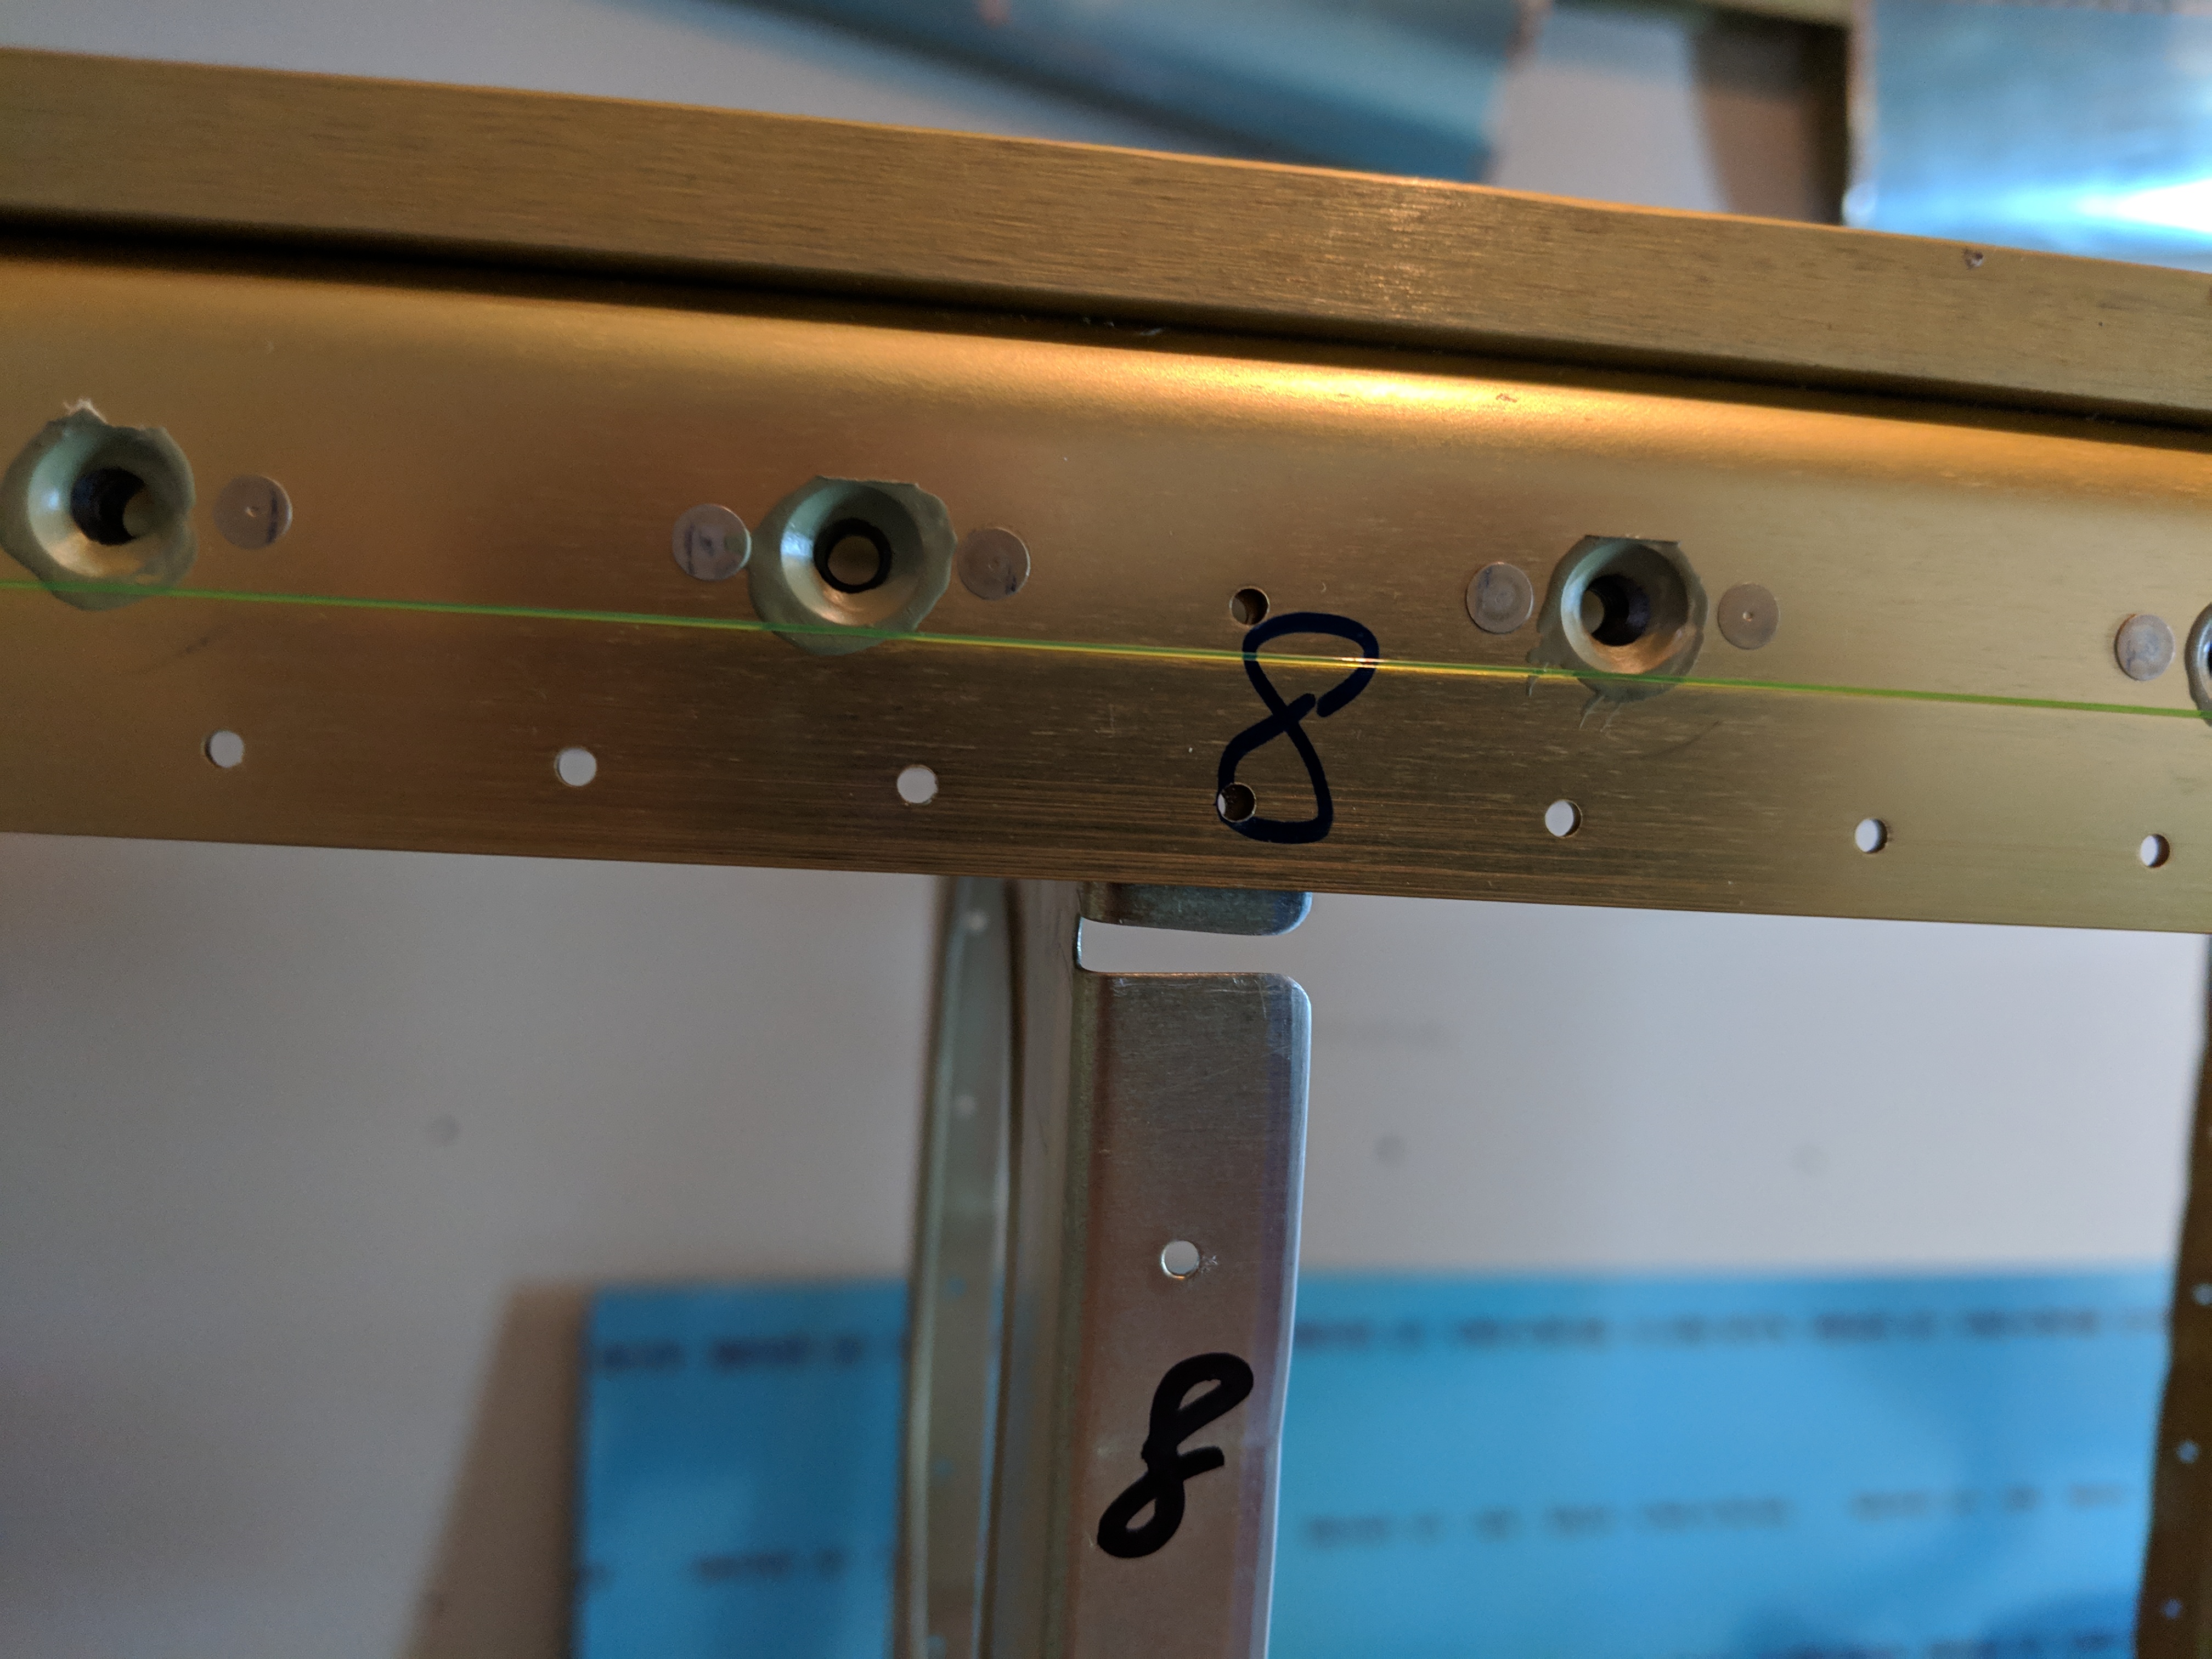
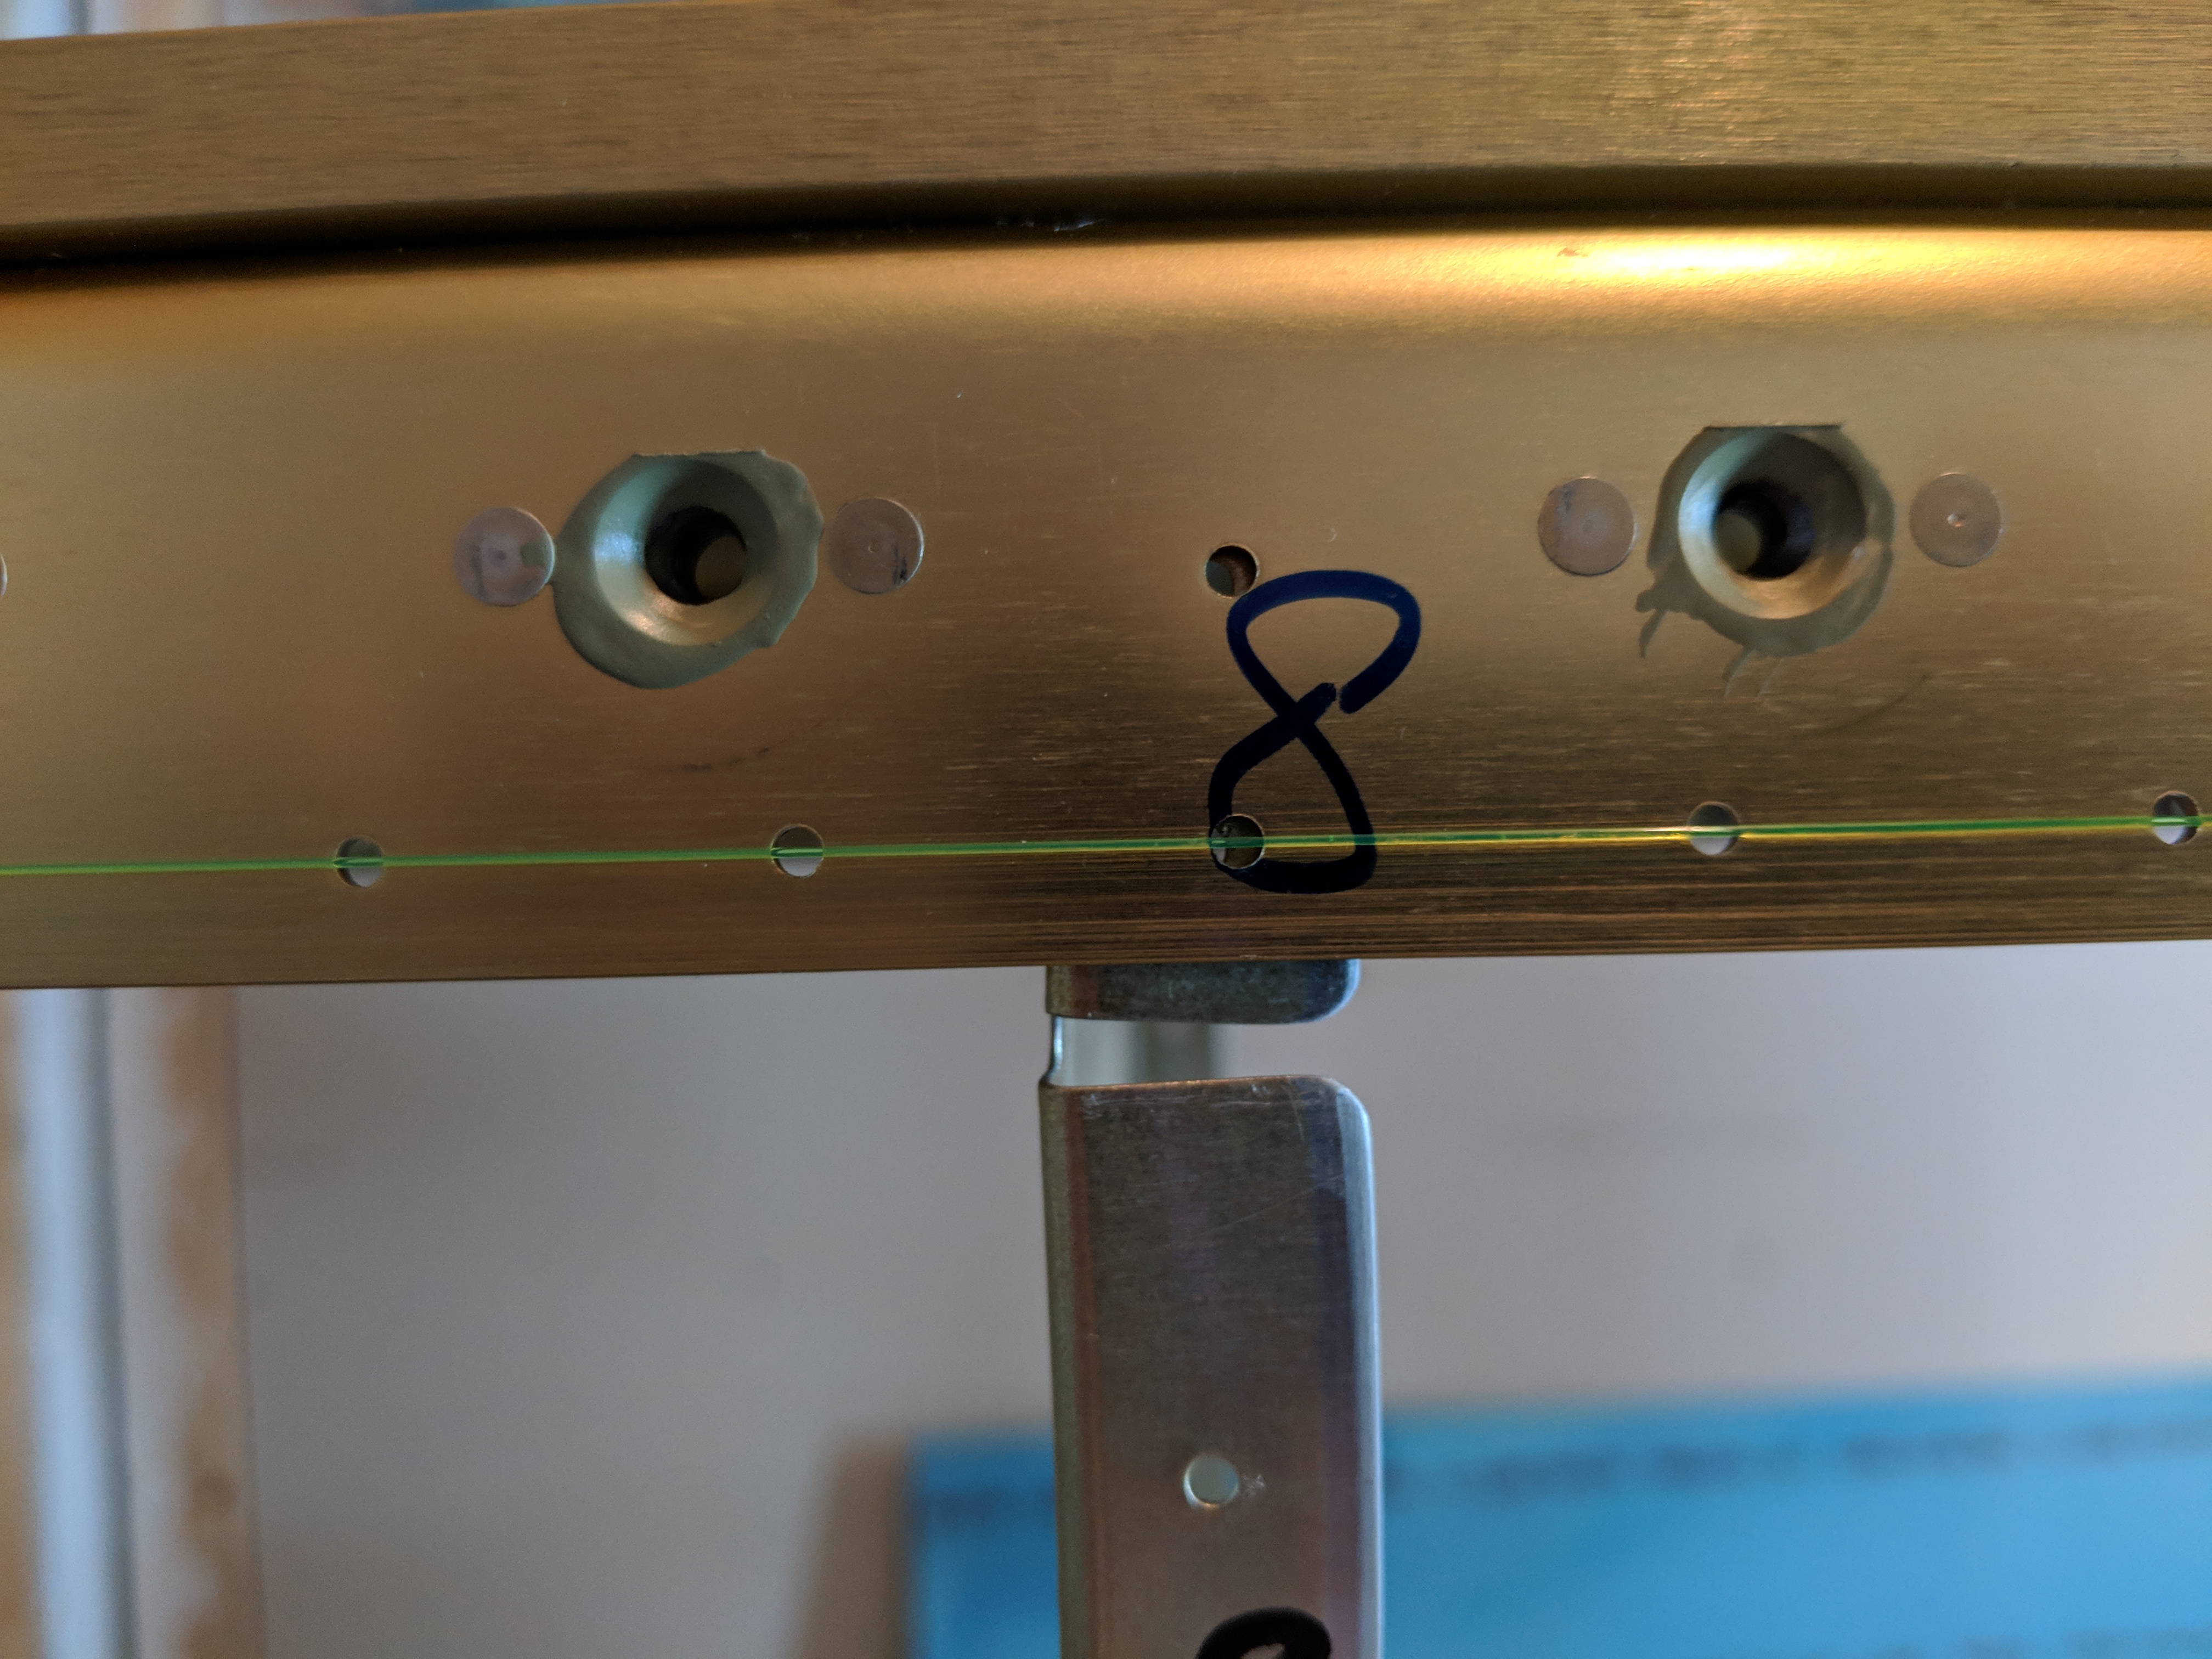
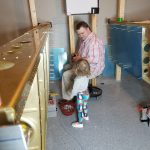
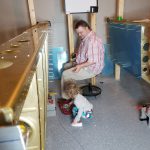
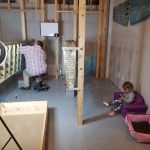
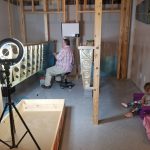
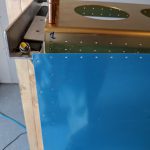
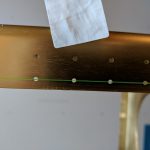
MUCH better. The fishing line is running right down the middle of all the aft holes in the main spar, so it looks like the spar is sitting perfectly level with no more sagging. It’s time to get some skins on so they can be match drilled. The plans tells us that W-702 inboard skin and W-703 outboard skins will overlap each other at the number 8 rib, and that the outboard should lap on top of the inboard. This means I started by clecoing the inboard skin into place, making sure to stick my newly made wing walk doublers underneath. I had a little helper with me tonight…Miss Acacia Grace:
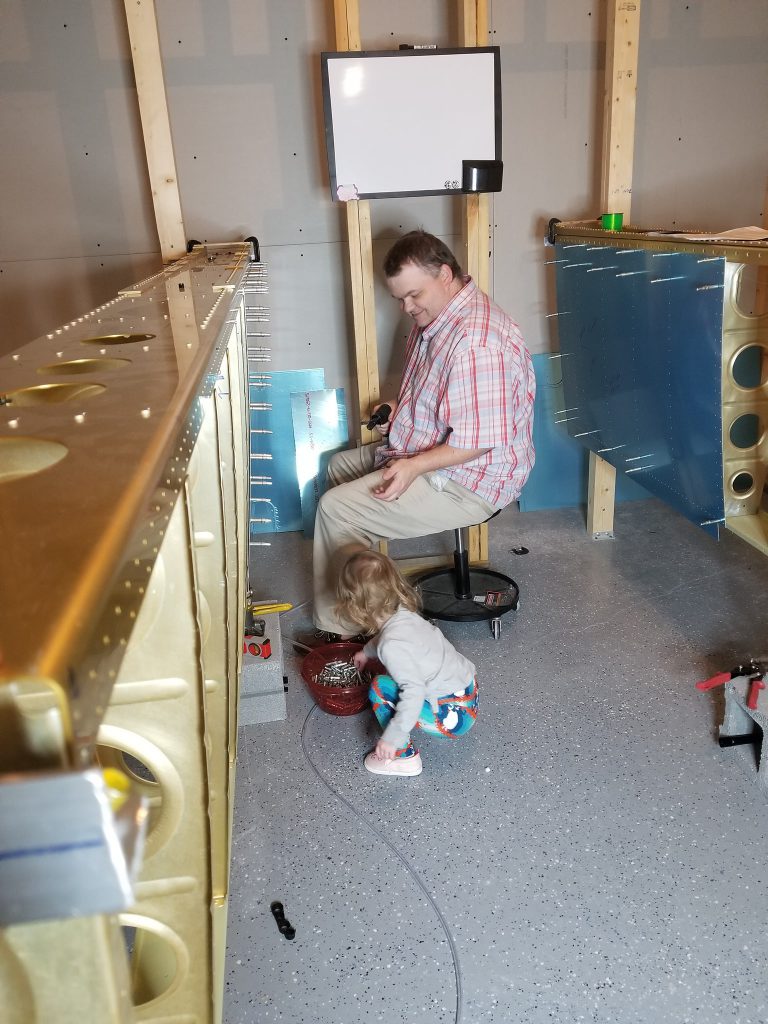
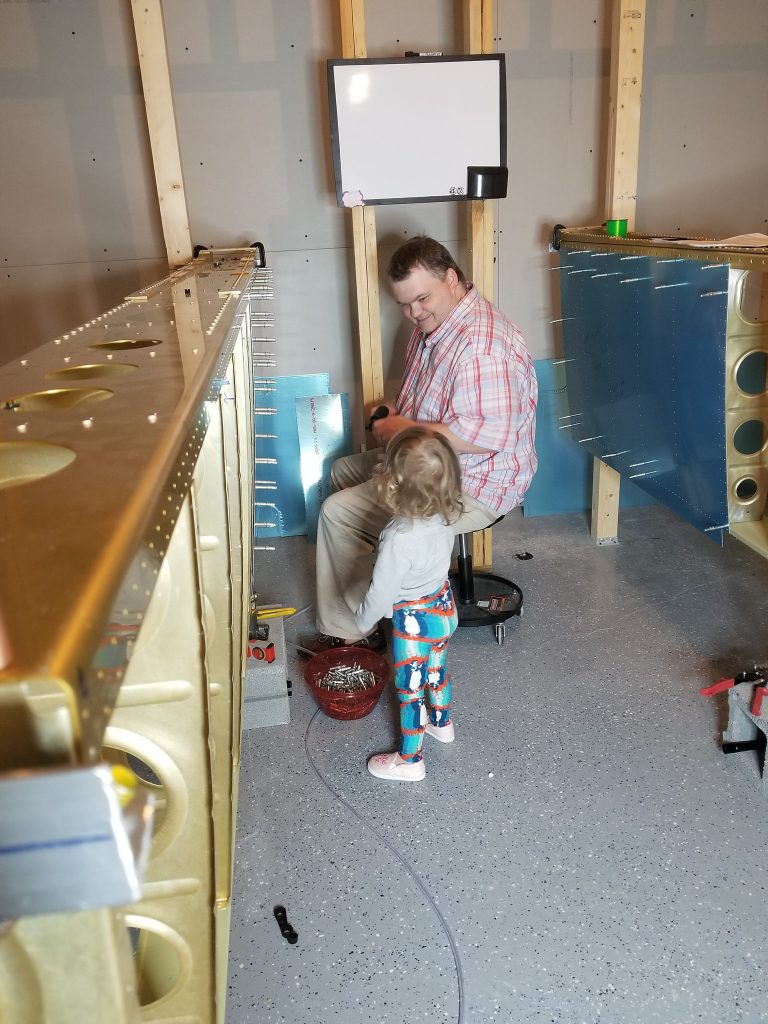
I was pretty neat to have her down there “helping” with the build. She was my official Cleco Girl and she did a mighty fine job of making sure I had ample supply of 3/32″ clecos for the skins. She even stuck a few in with the pneumatic cleco gun with daddys help of course! I wonder if the FISDO will make me put her on the airworthiness certificate for it? 🙂
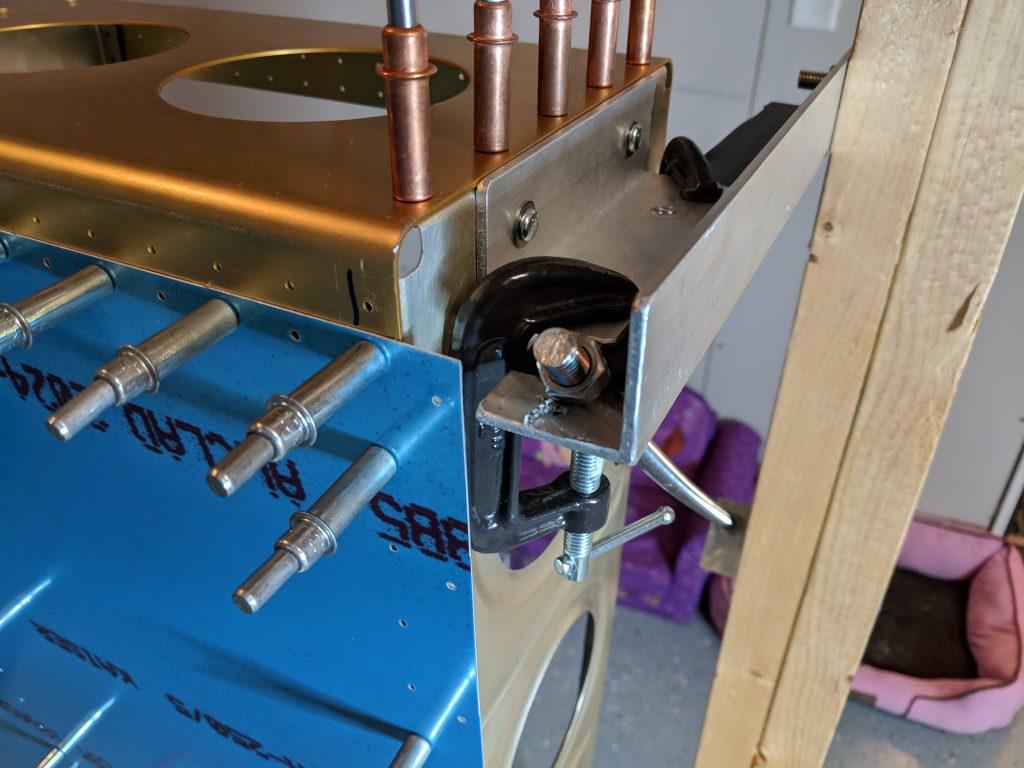
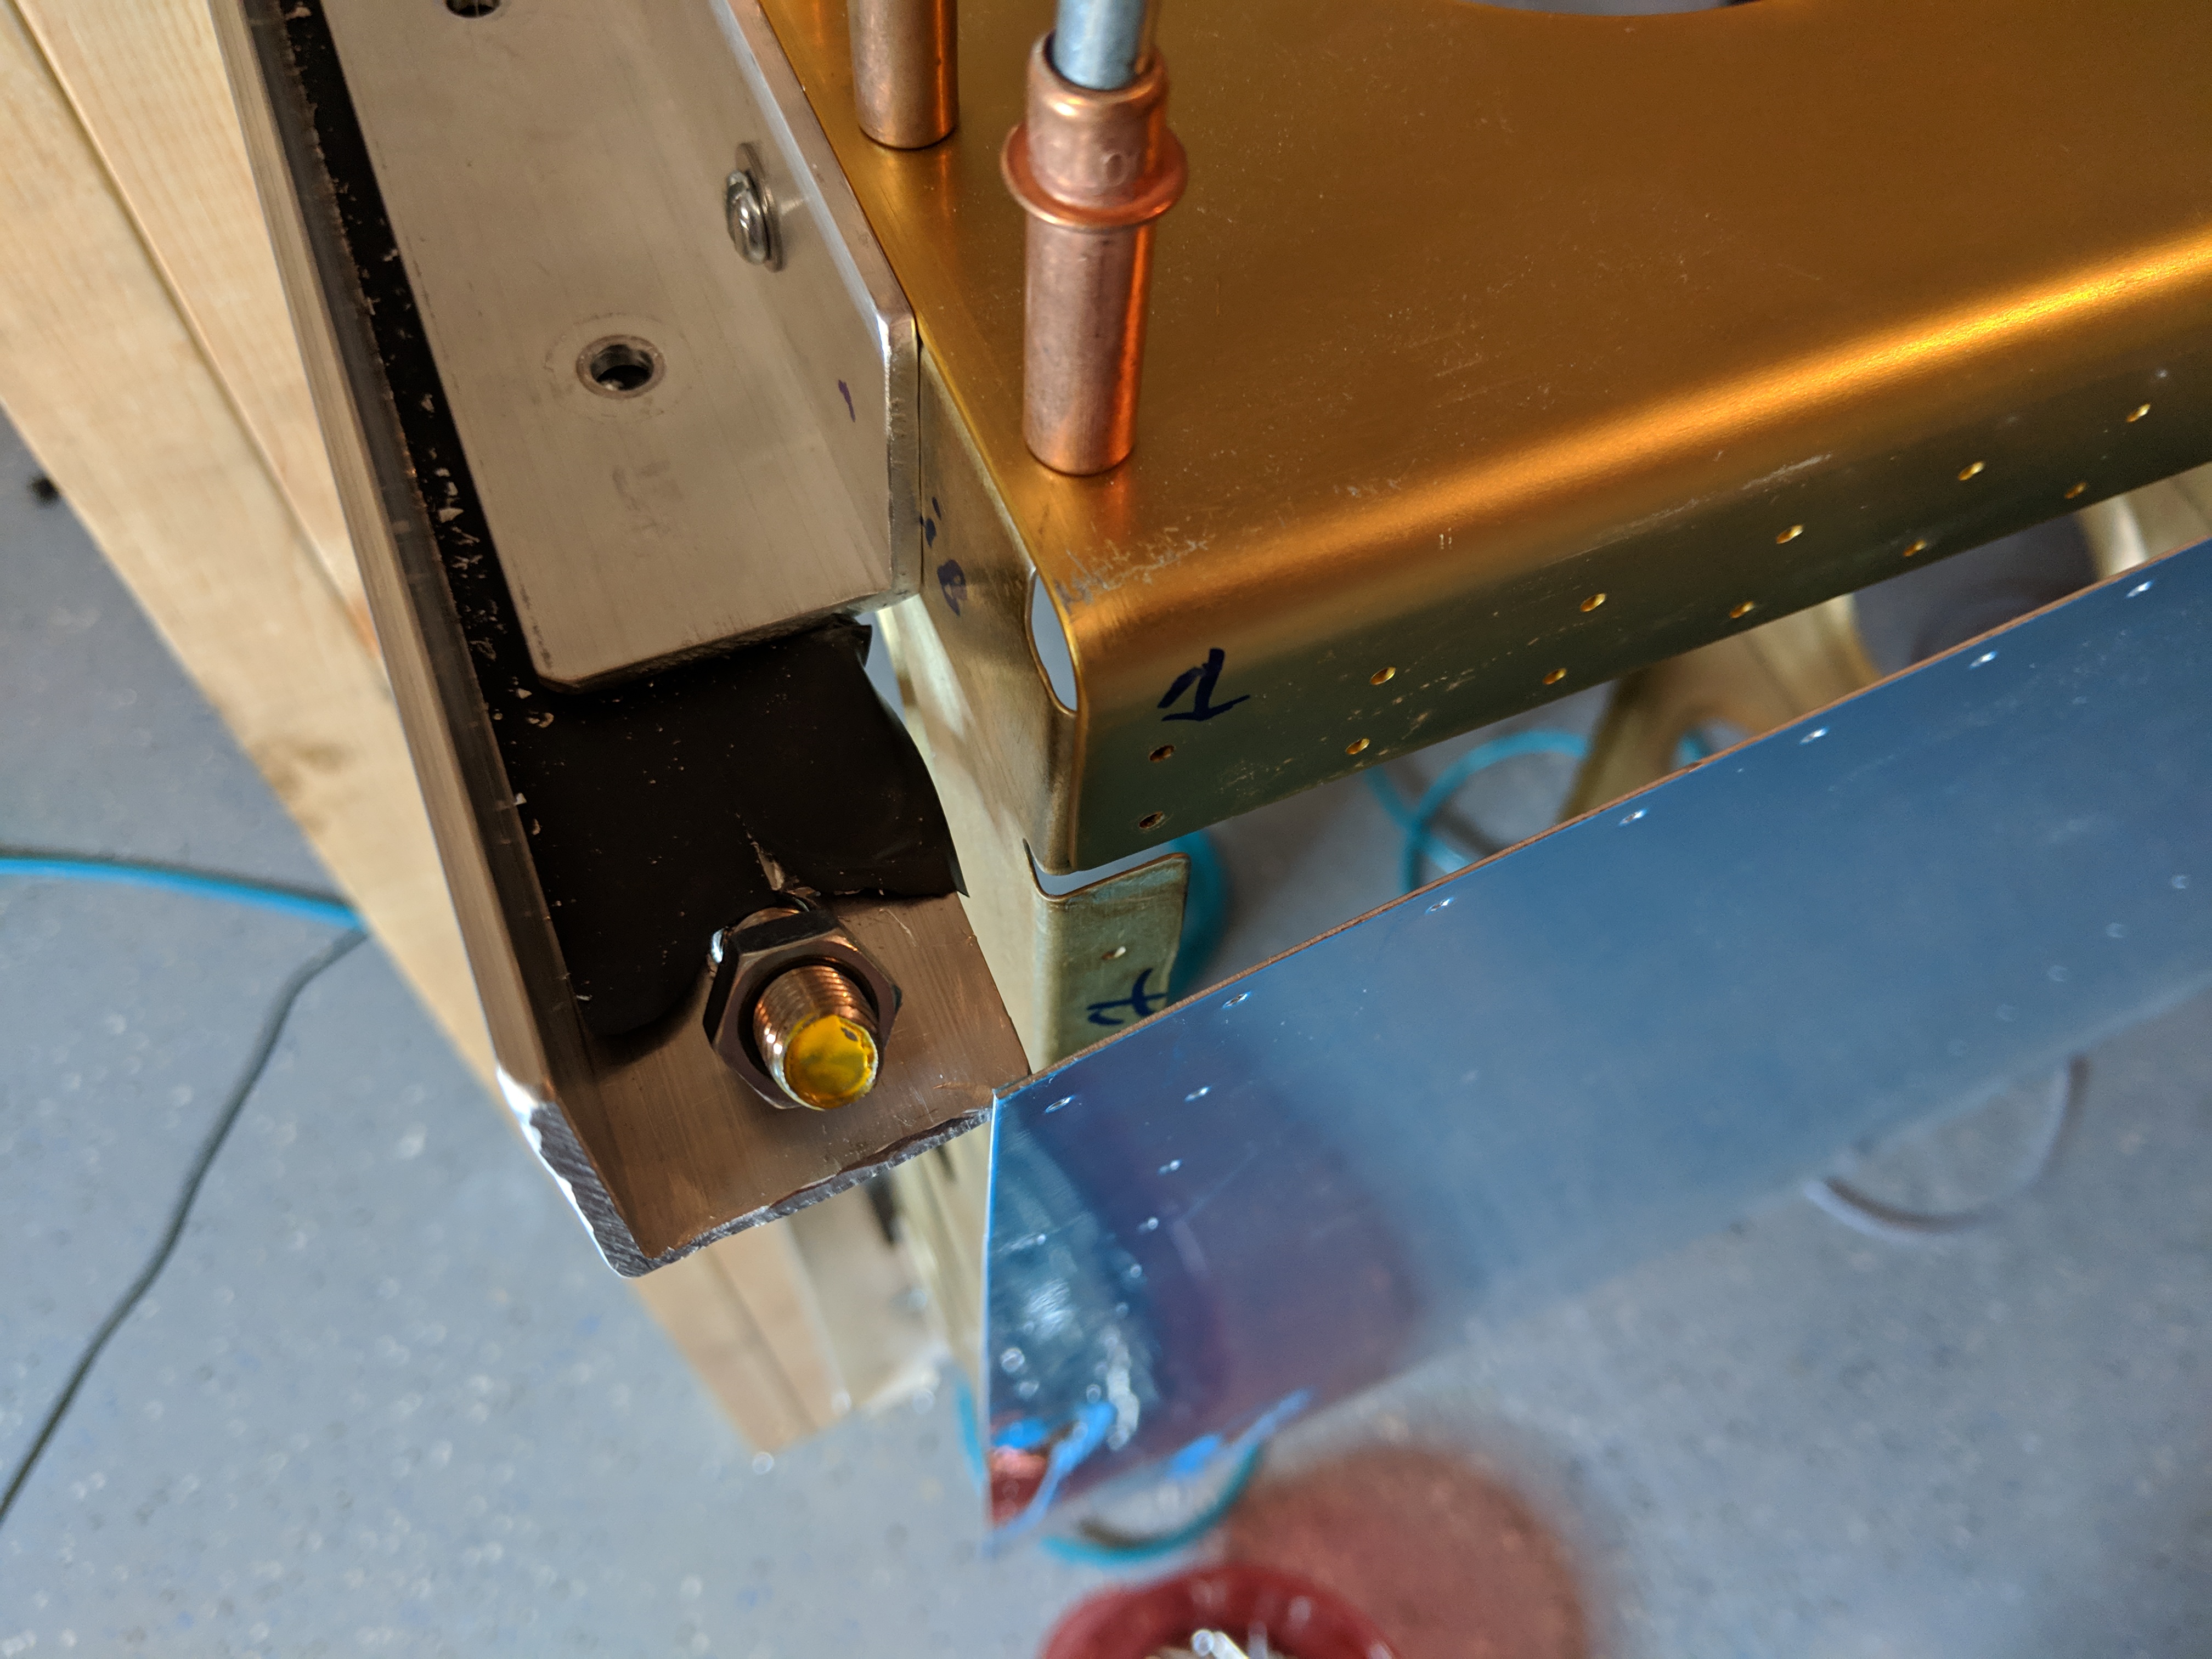
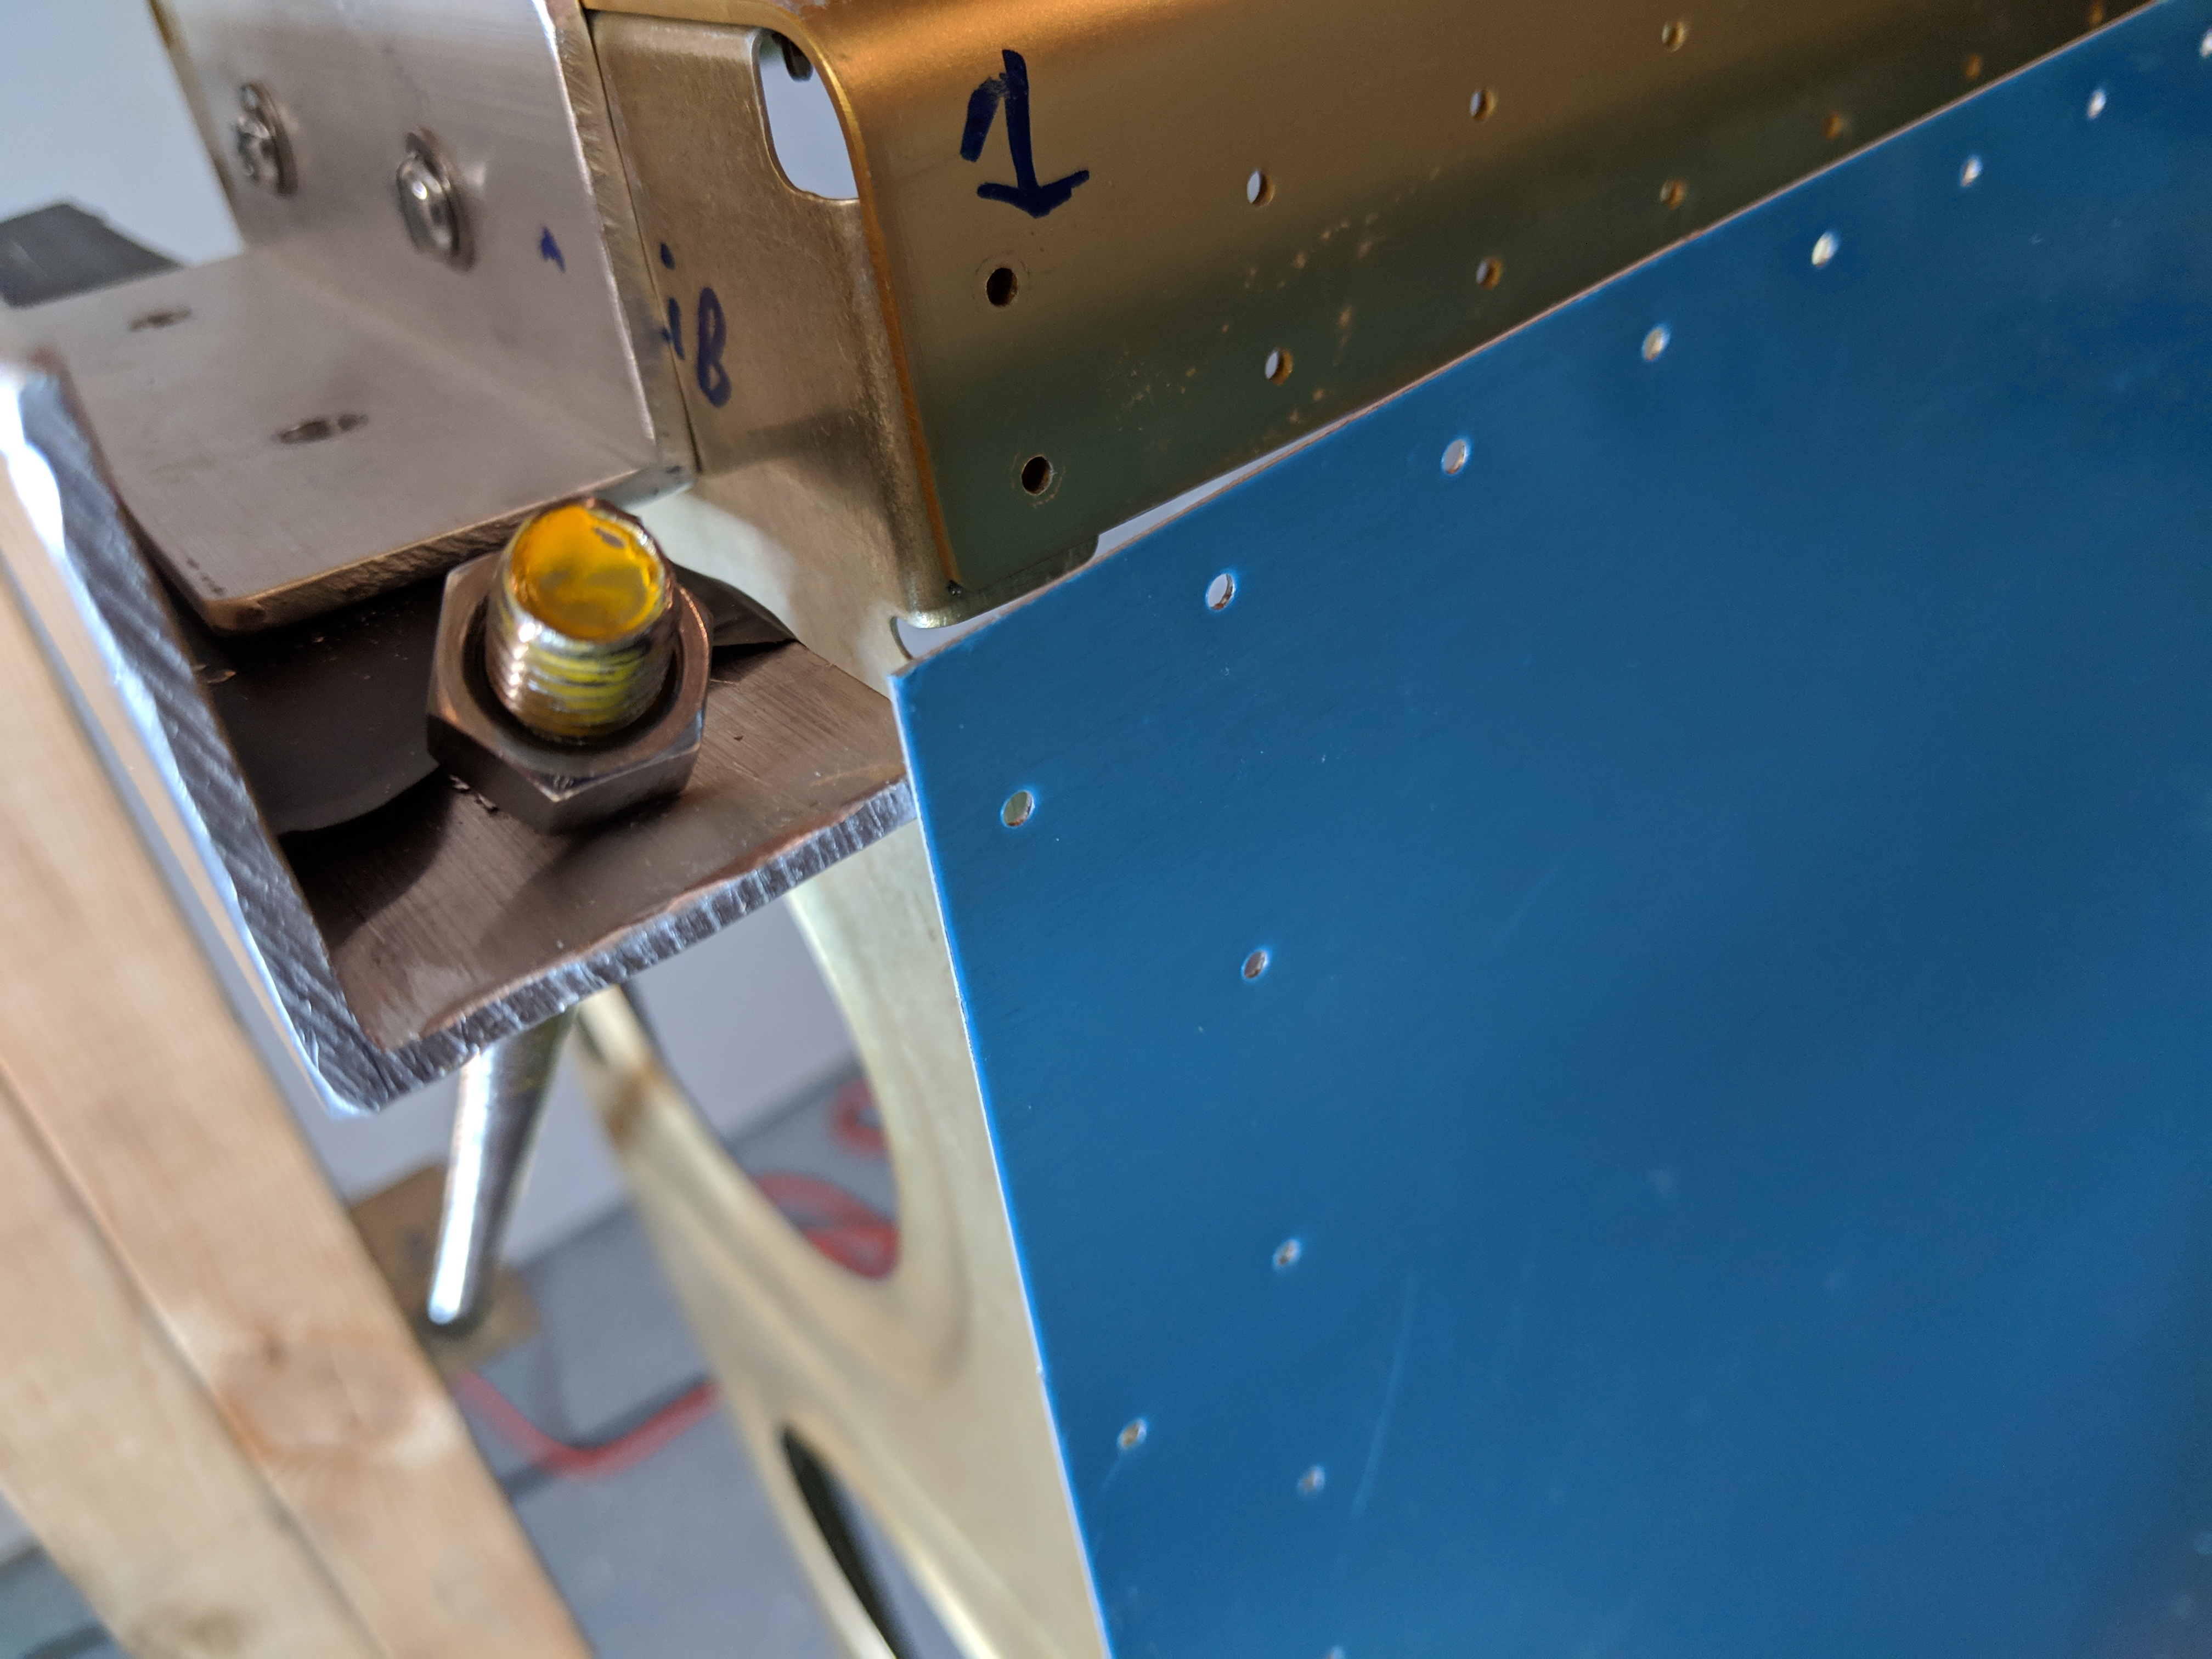
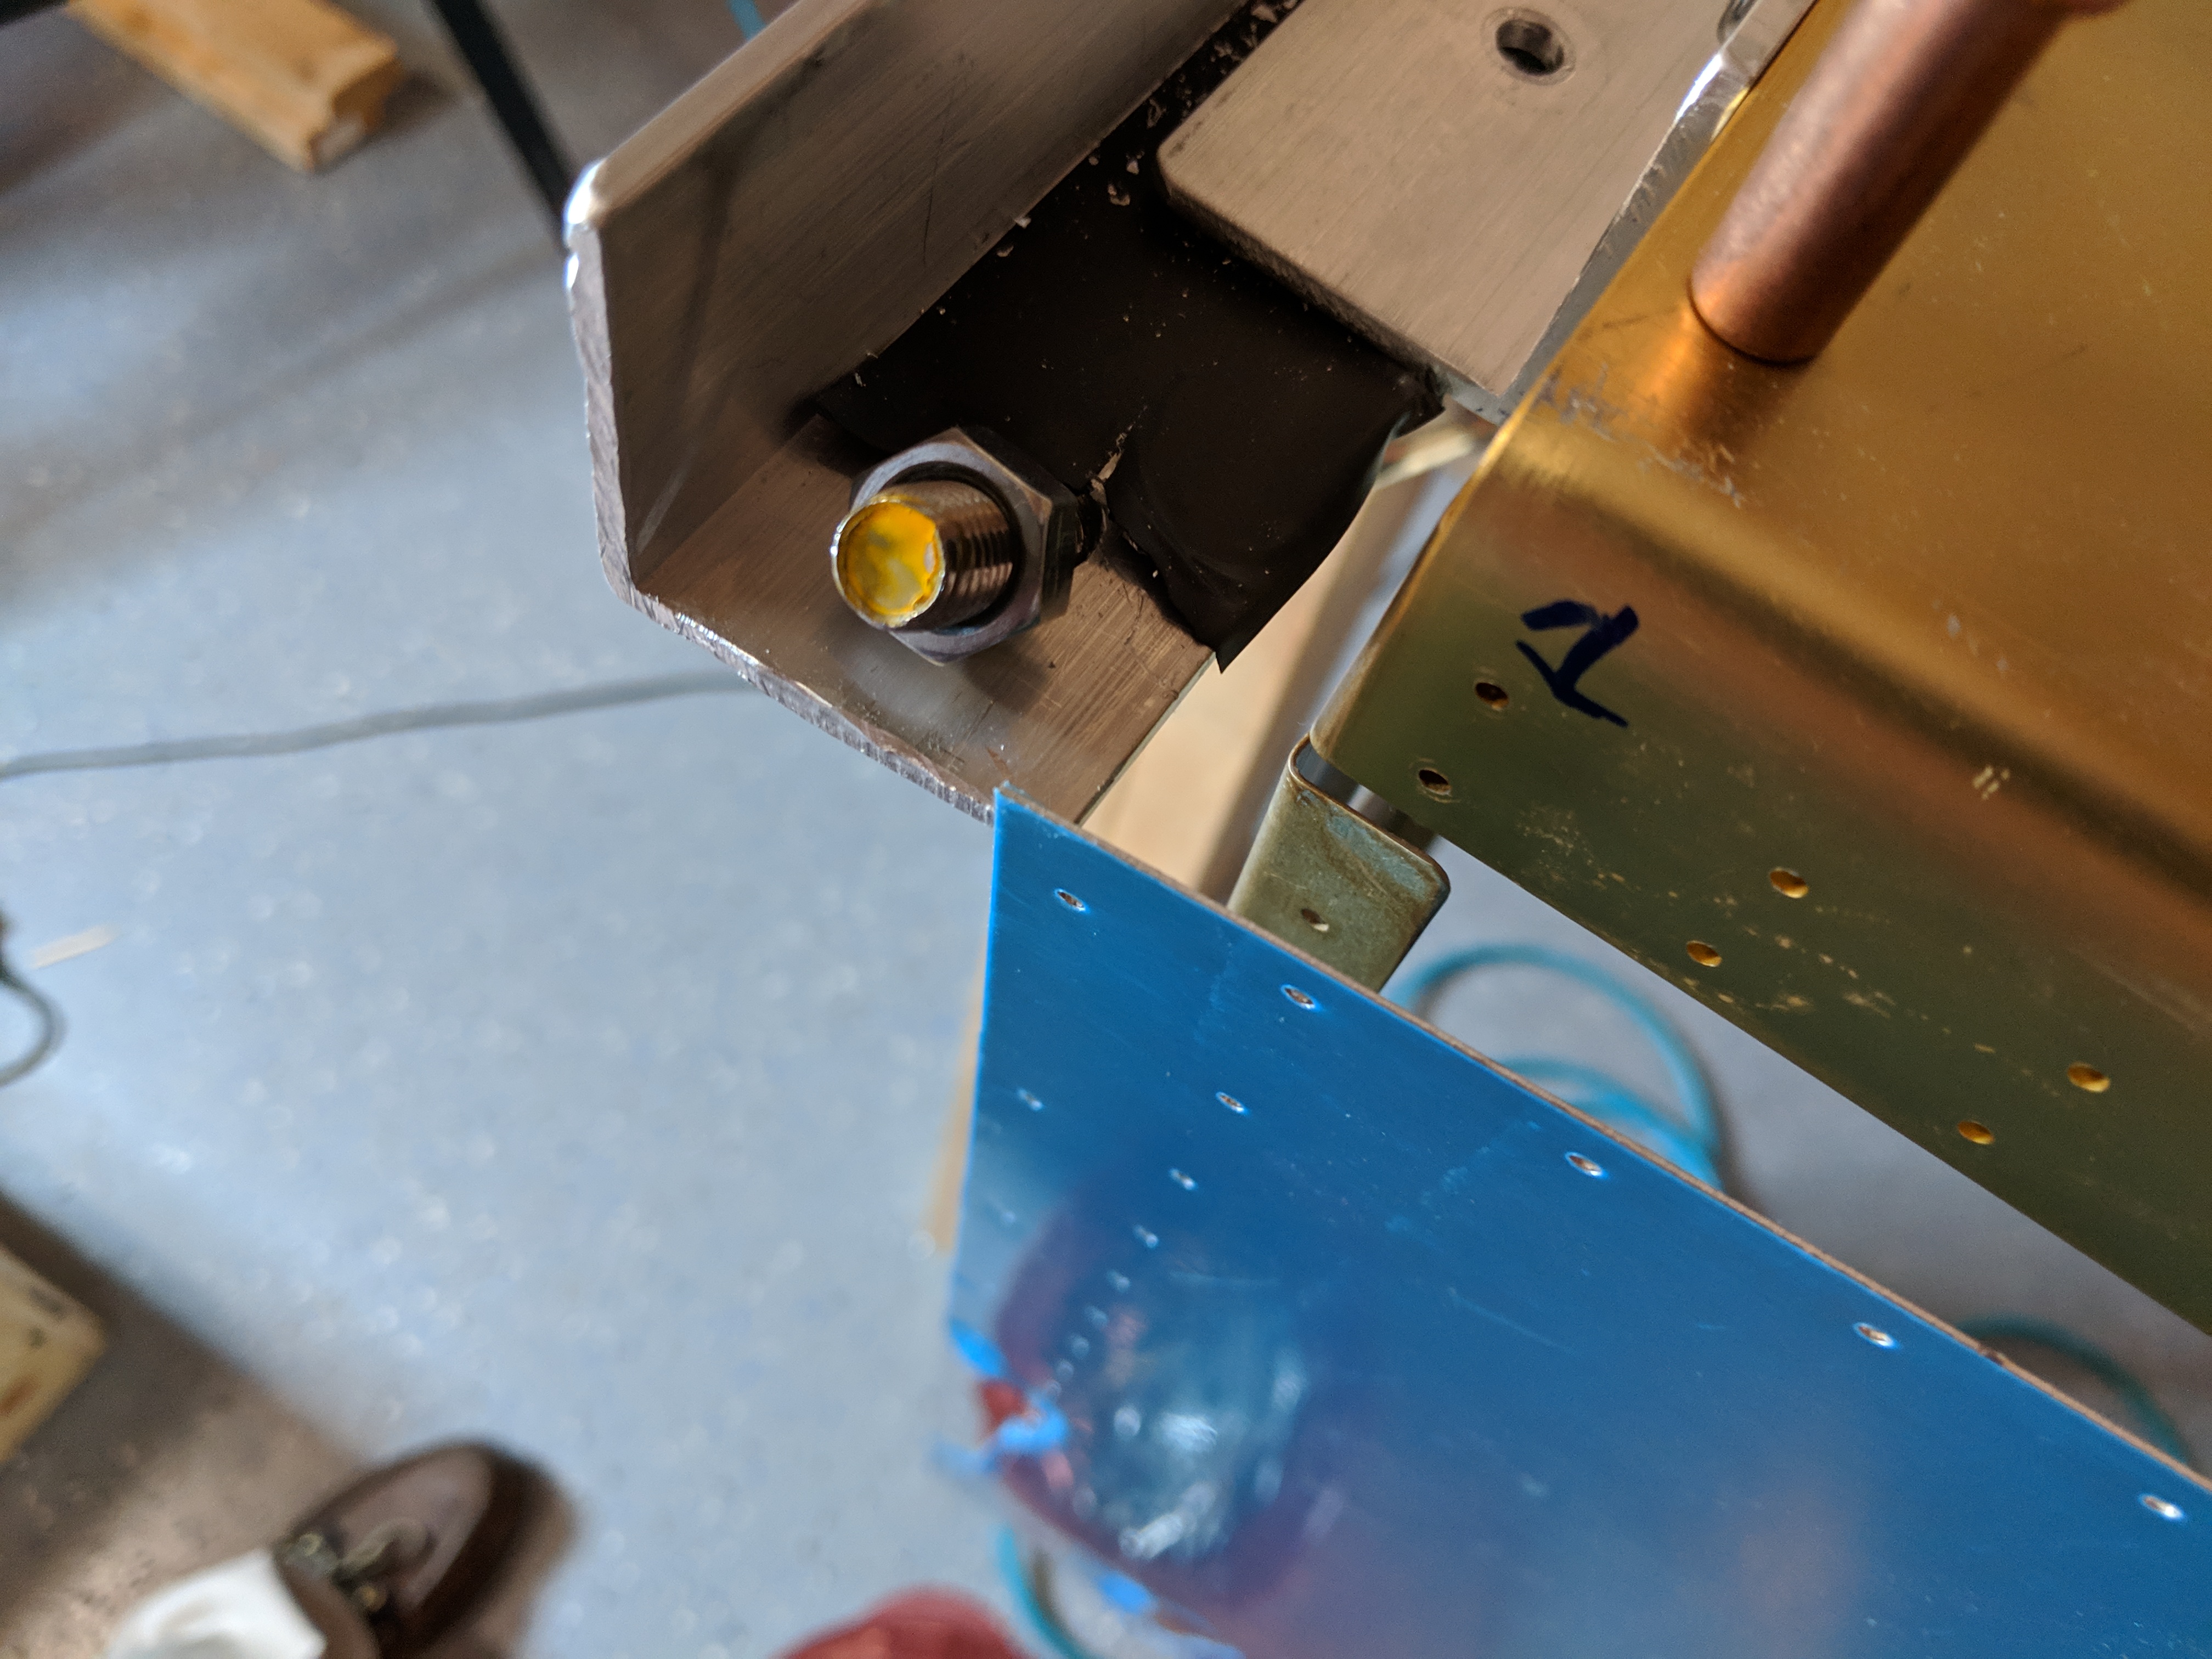
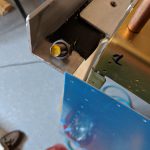
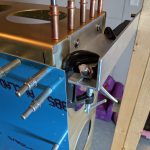
Anyways, once I got the inboard clecod on, I moved to the outboard. This is where I ran into a bit of unforeseen snag with my wing stand mounts. I did not account for the skin overlap on the outboard end. The overlap is so you can attach the fiberglass wingtips. I had my wing scooted too close to the wing stand horizontal mounting arm by about 3/8″ inch or so…
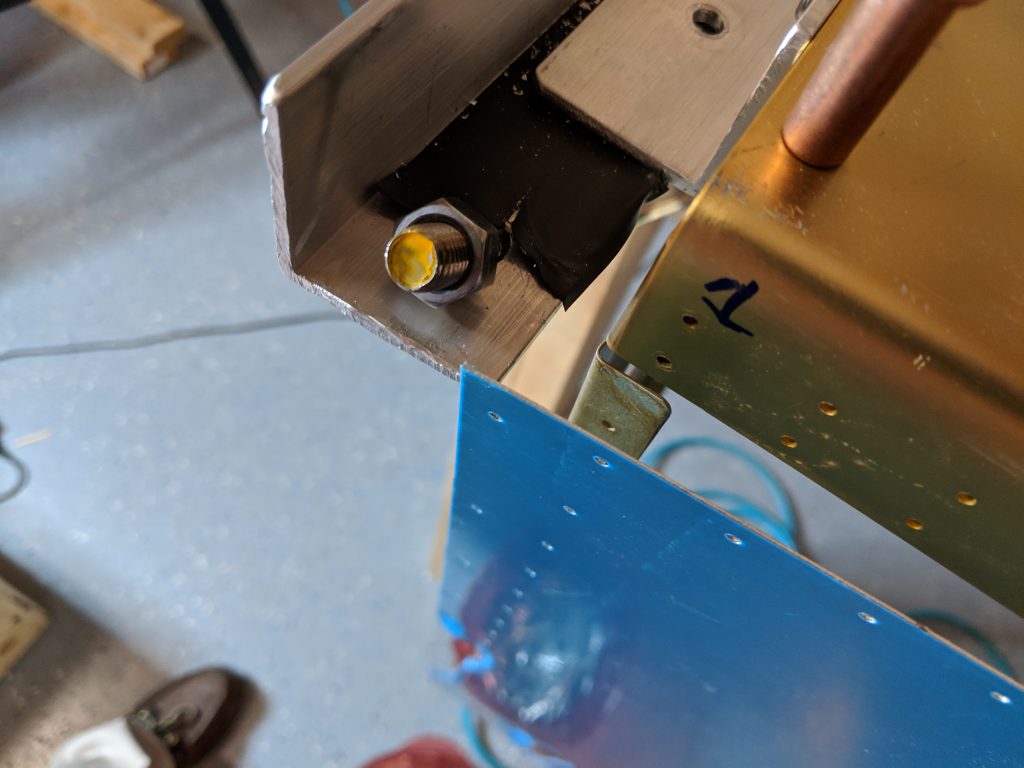

I was a bit worried at first. I wasn’t sure if I would be able to fix this or not, but after a little bit of finagling I was able to unclamp all 4 mounting points and “scoot” the wing down towards the inboard side without any issues. Thank goodness I left a little bit of wiggle room in these mounts! Unfortunately, I wasn’t able to use my nice bolt holes, so I had to resort to the trusty old 1″ and 2″ Harbor Freight C-clamps. They worked Okay, not as nice as the bolts, but they’ll do 🙂
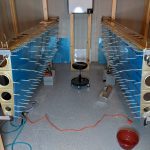
Having averted that crisis, I did have to spend a good bit of time re-doing a lot of work. since I had to unclamp the wings from the stands, scoot them down and then reposition the jack, I wanted to make sure the sag was out again. SO, that meant removing the skins (thankfully only the left wing had both skins on), and then rejigging the wings in the stands and re-stringing the fishing line to adjust my jack to get all the sag out again. This was the bulk of the time in this build tonight, but I felt better about doing it again, because I know for a fact that the wings are sitting square in the stands after their reposition for the end clearance for the skin.
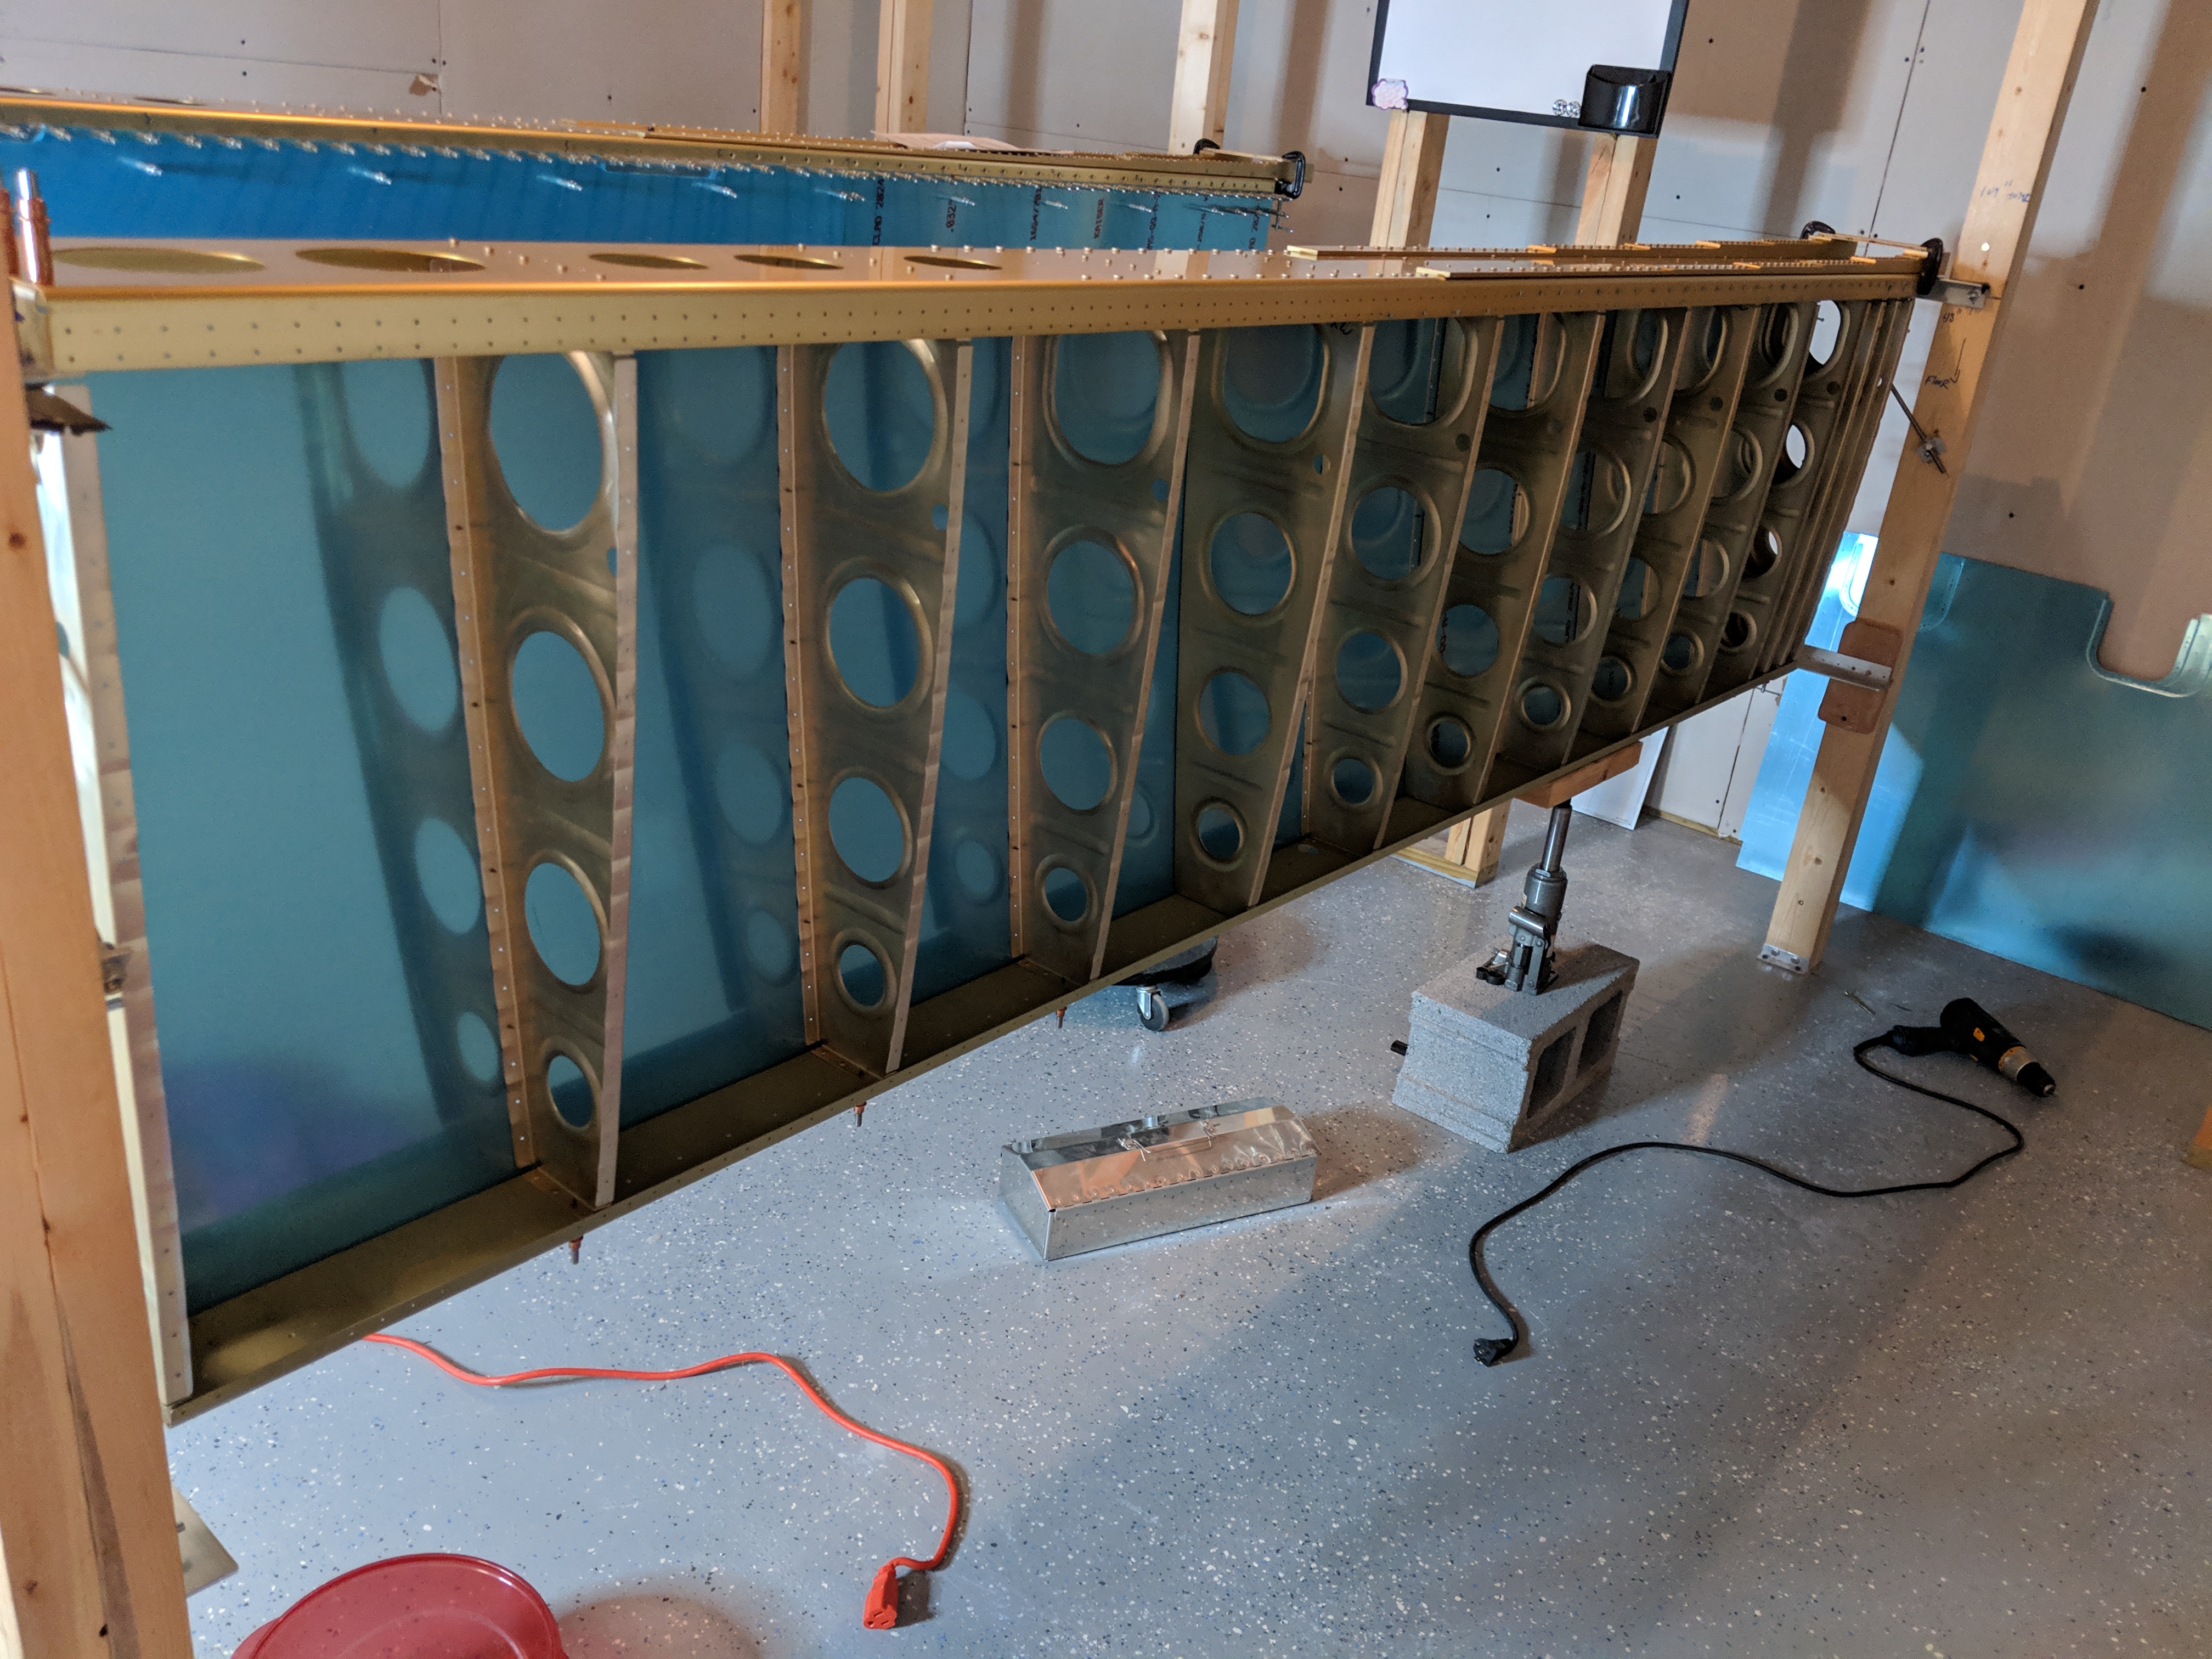
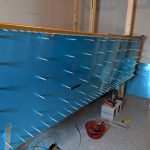
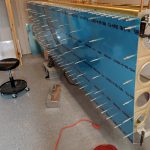
Once I had both wings re-setup in the stands, I put the skins back on each one and the gave it a good look-over to make sure all was looking right.

That pretty much wrapped up tonights build. I decided to hang it up after getting both wings inboard and outboard top skins done. Even using the pneumatic cleco gun, my wrists and forearms were complaining loudly at me for a break. So, I picked up my tools and called it a night. But hey…at least they are starting to look like wings now!
Heres all the photos from tonights build session.
-
 51593788_118766692541224_1192374773540192256_o
 -
 IMG_20190211_002613
 -
 51833991_118766725874554_6709684882898944000_o
 -
 51697028_118766762541217_13904780527140864_o
 -
 51641761_118766809207879_2518071112974204928_o
 -
 IMG_20190210_225447
 -
 IMG_20190210_225453
 -
 IMG_20190210_225502
 -
 IMG_20190210_225508
 -
 IMG_20190210_231015
 -
 IMG_20190210_231032
 -
 IMG_20190210_233238
 -
 IMG_20190210_235743
 -
 IMG_20190210_235910
 -
 IMG_20190211_002544
 -
 IMG_20190211_002549
 -
 IMG_20190211_002555
 -
 IMG_20190211_002604

Google Photos Link: https://photos.app.goo.gl/U87MqodGi2nfQN9GA
Hours Worked: 3.25 hours