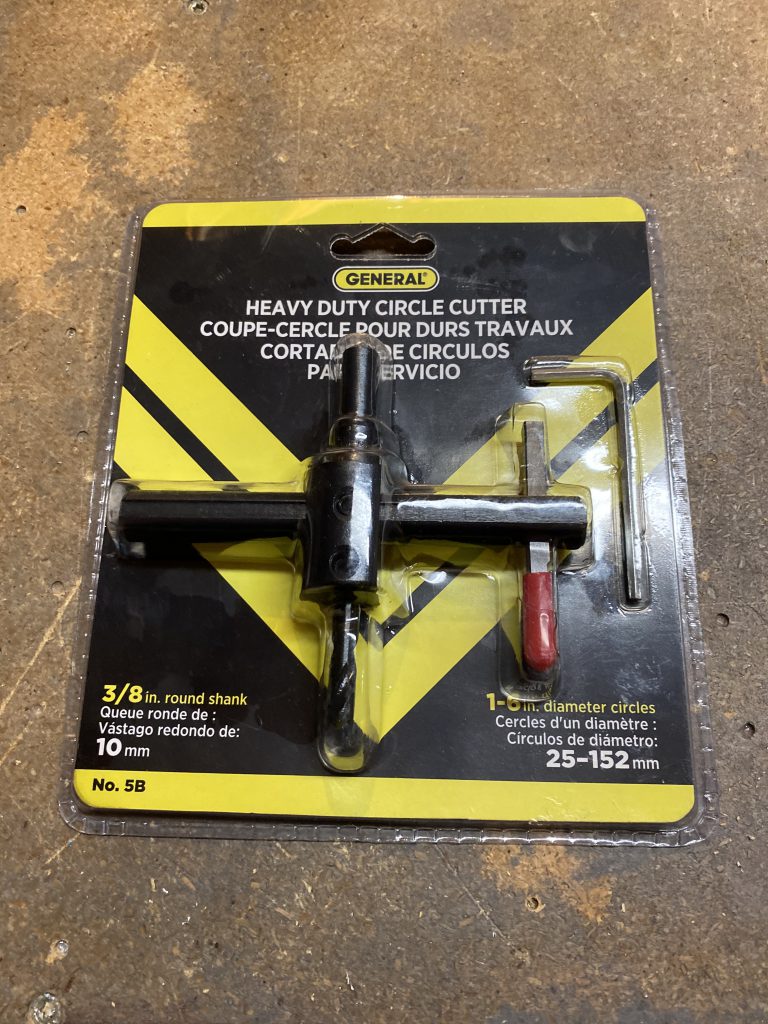
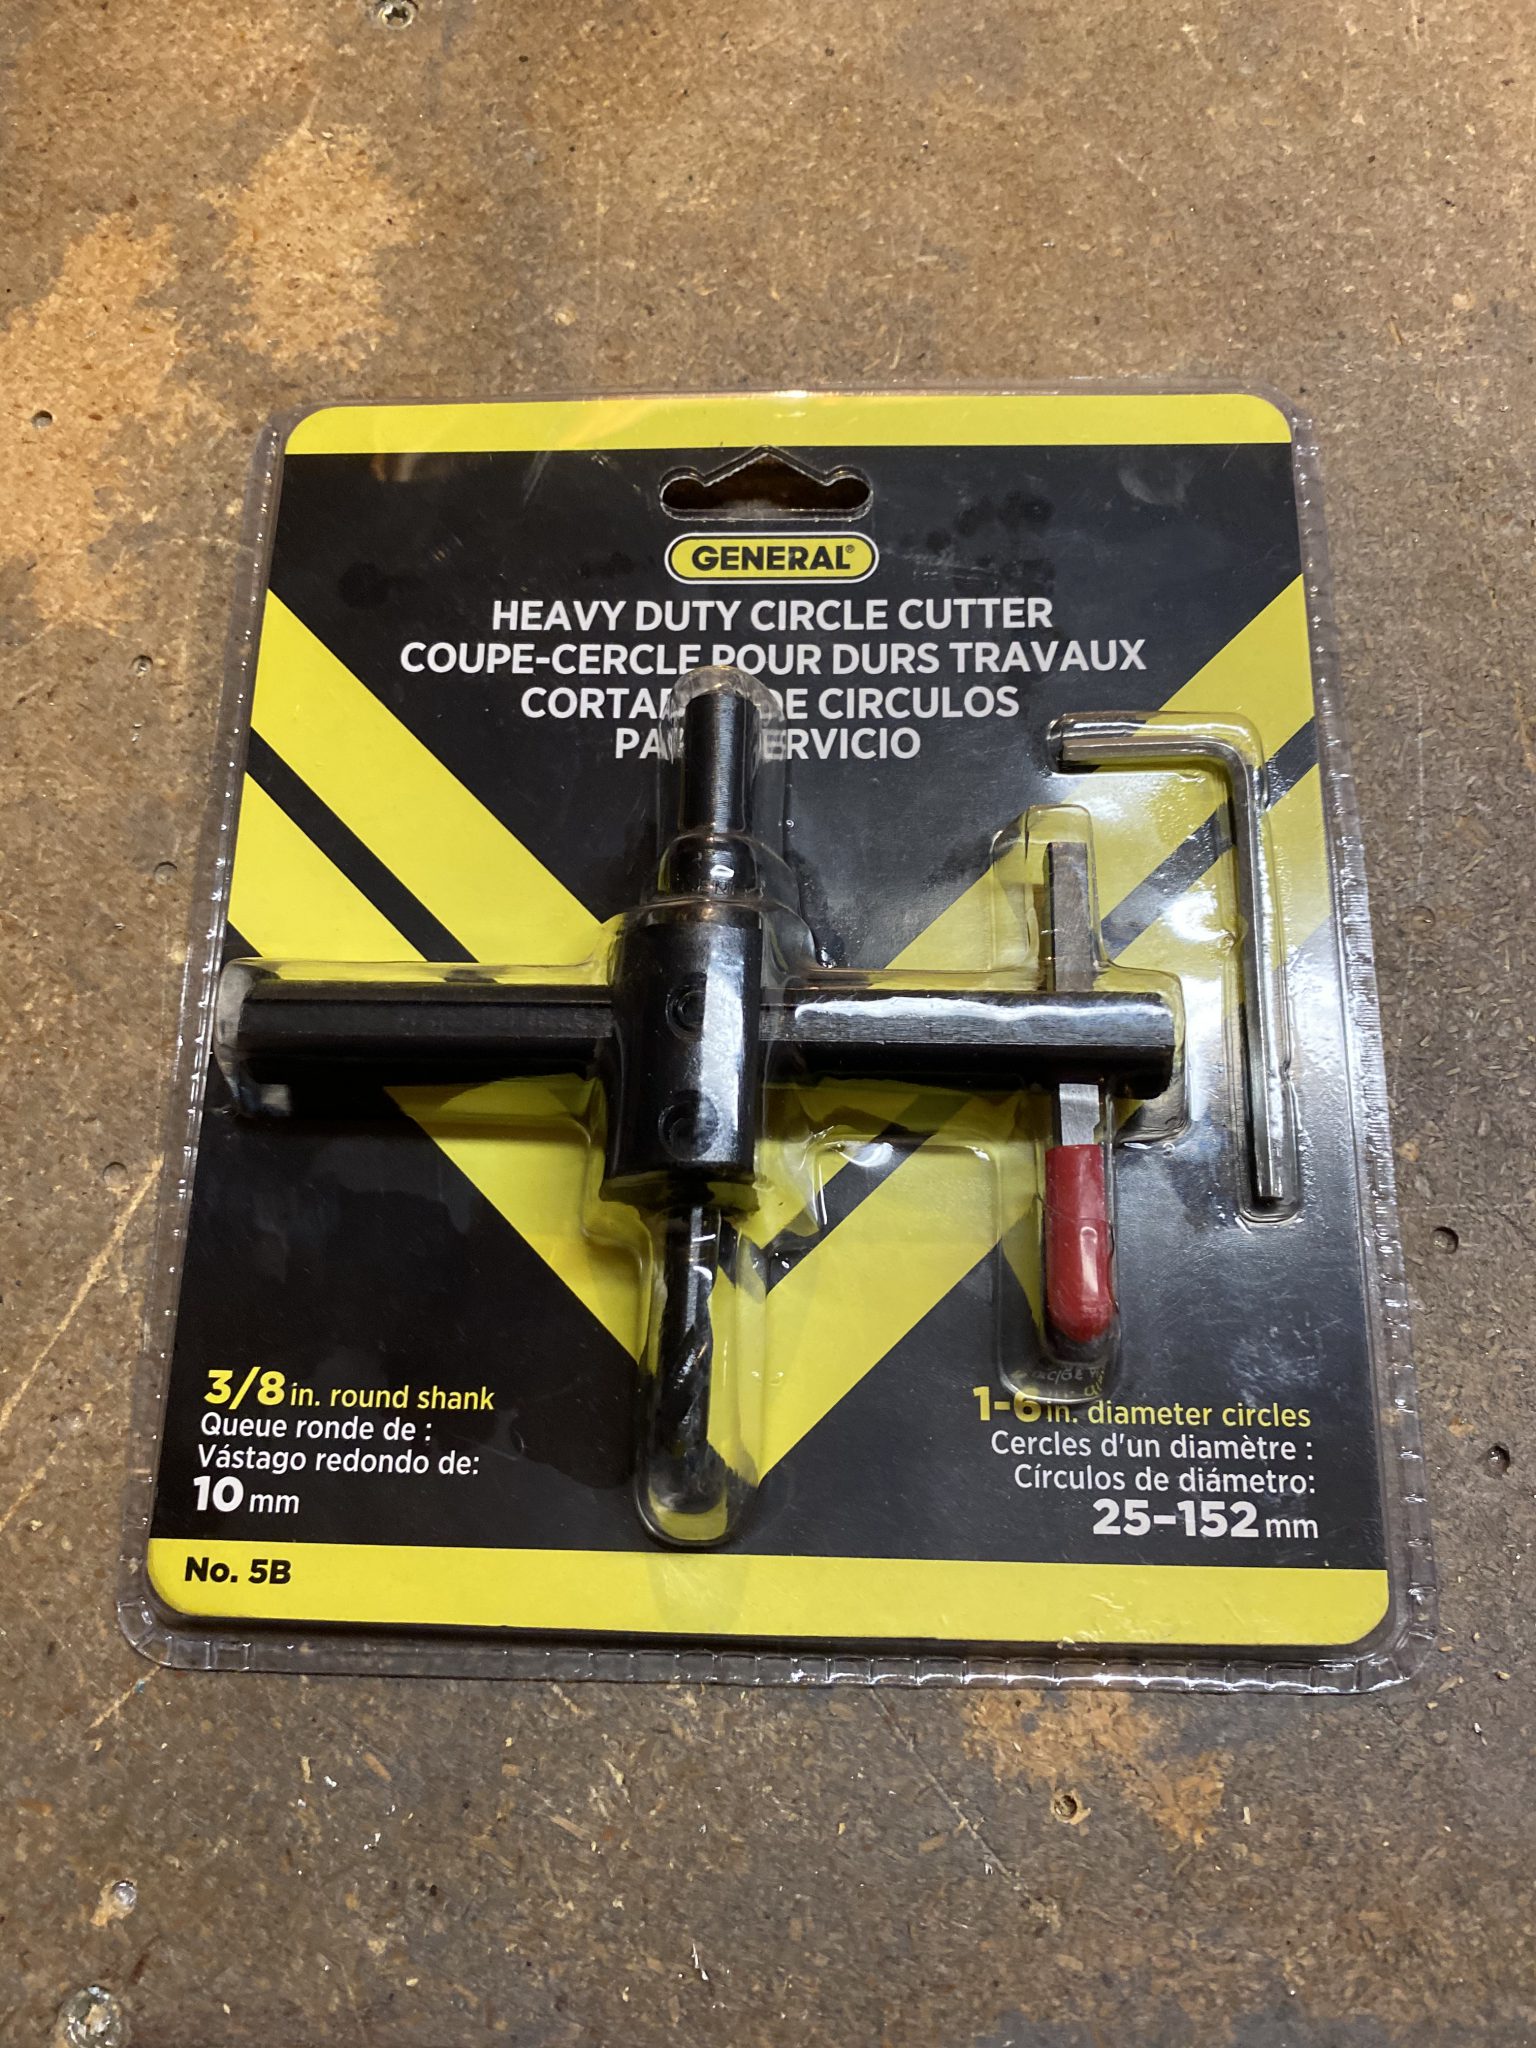
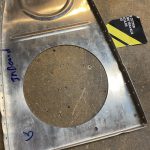
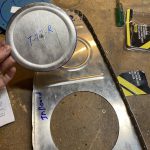
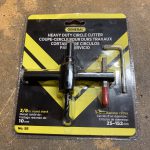
follow I had to pick up a tool to help with cutting the access plate holes for the fuel tanks. Vans recommends using a fly cutter to cut the access holes, and I thought I had one. Turns out, the fly cutter I had was for cutting holes in drywall, and would not work on metal. So I swung by Ace Hardware and picked out one of these for about $22 bucks:
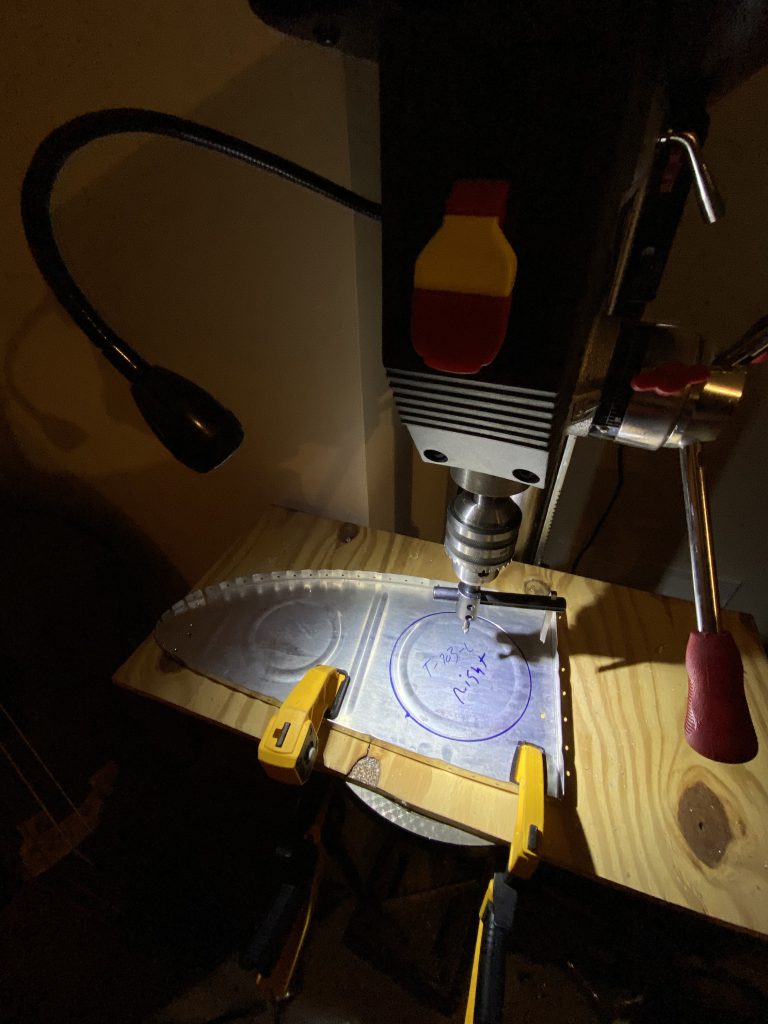
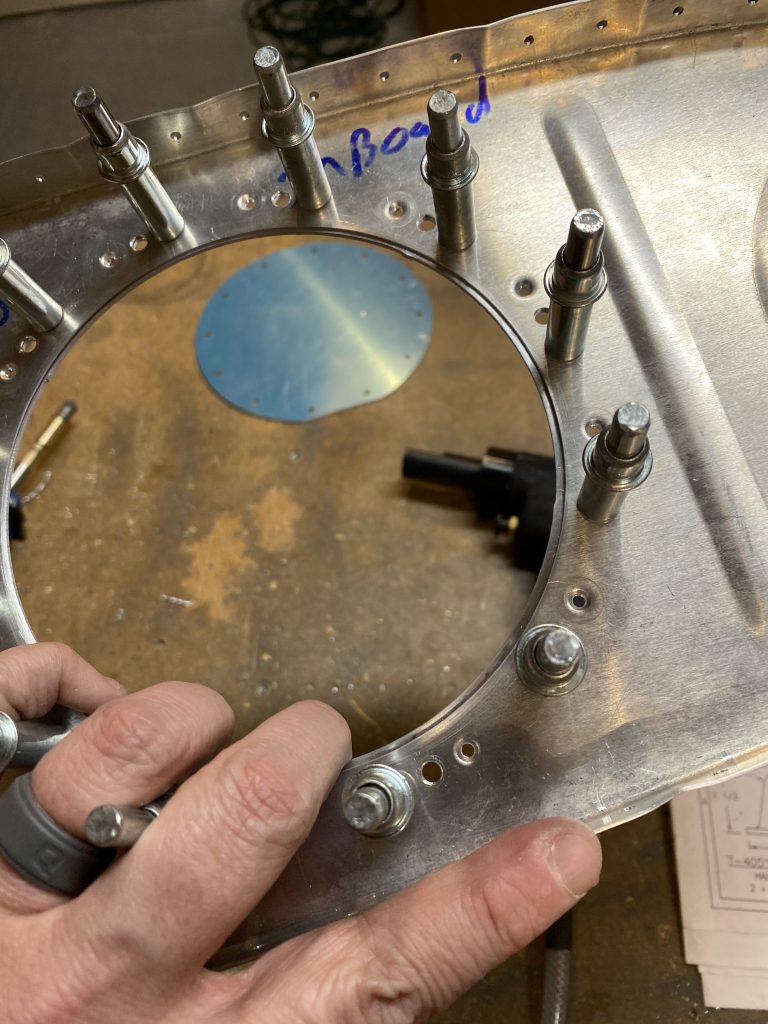
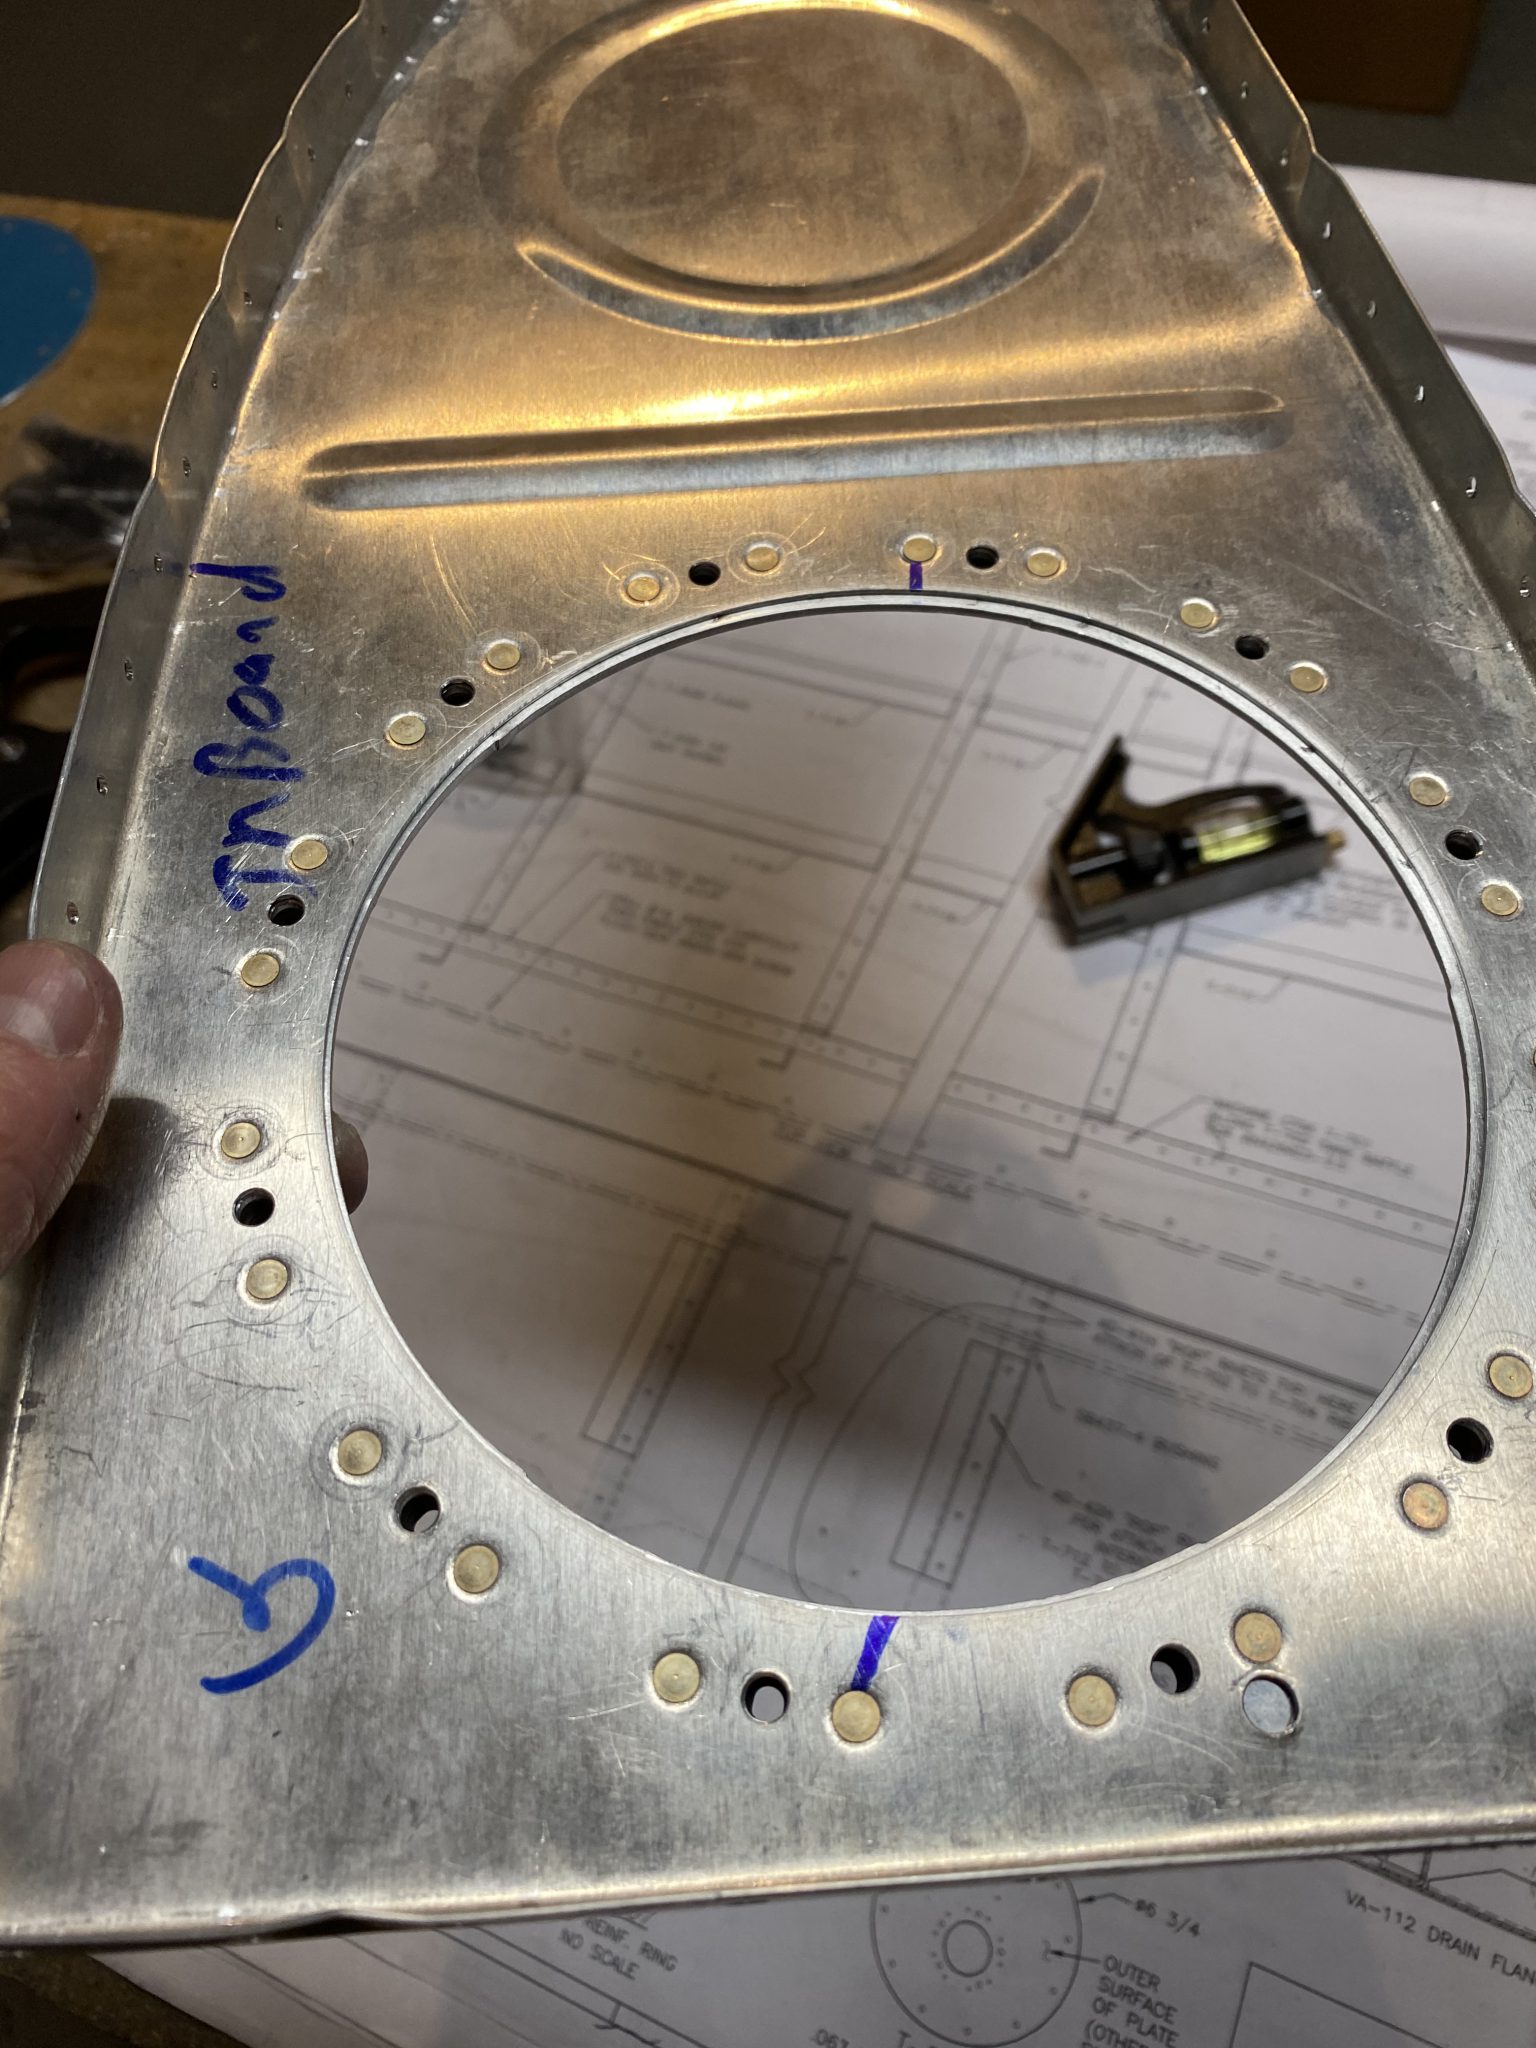
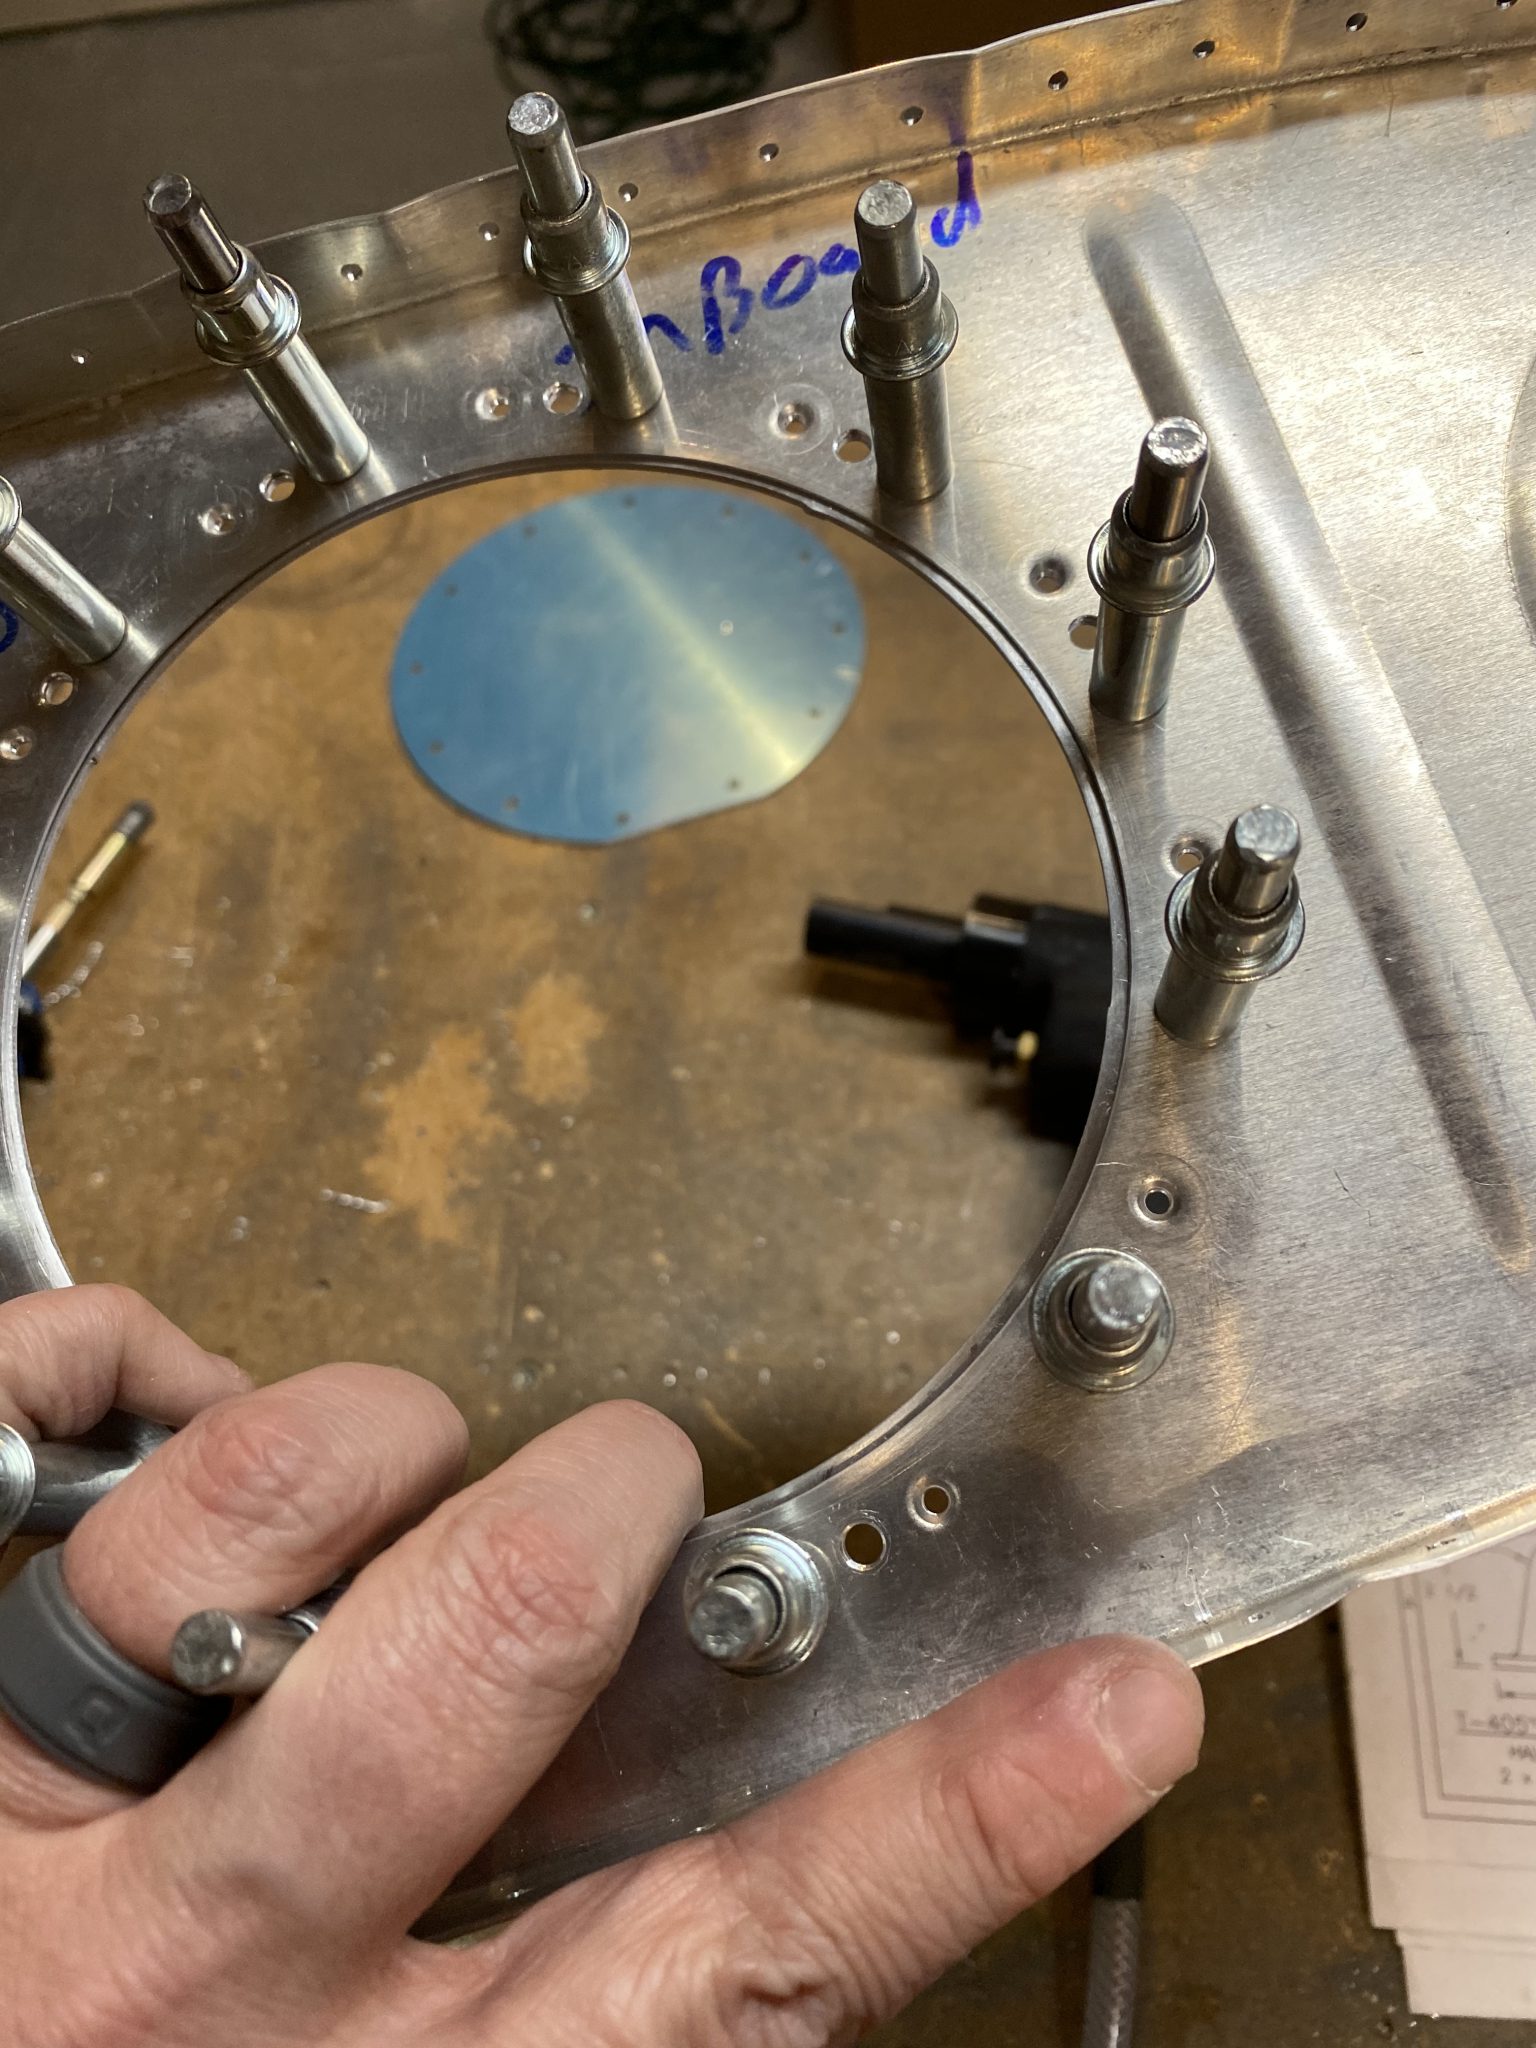
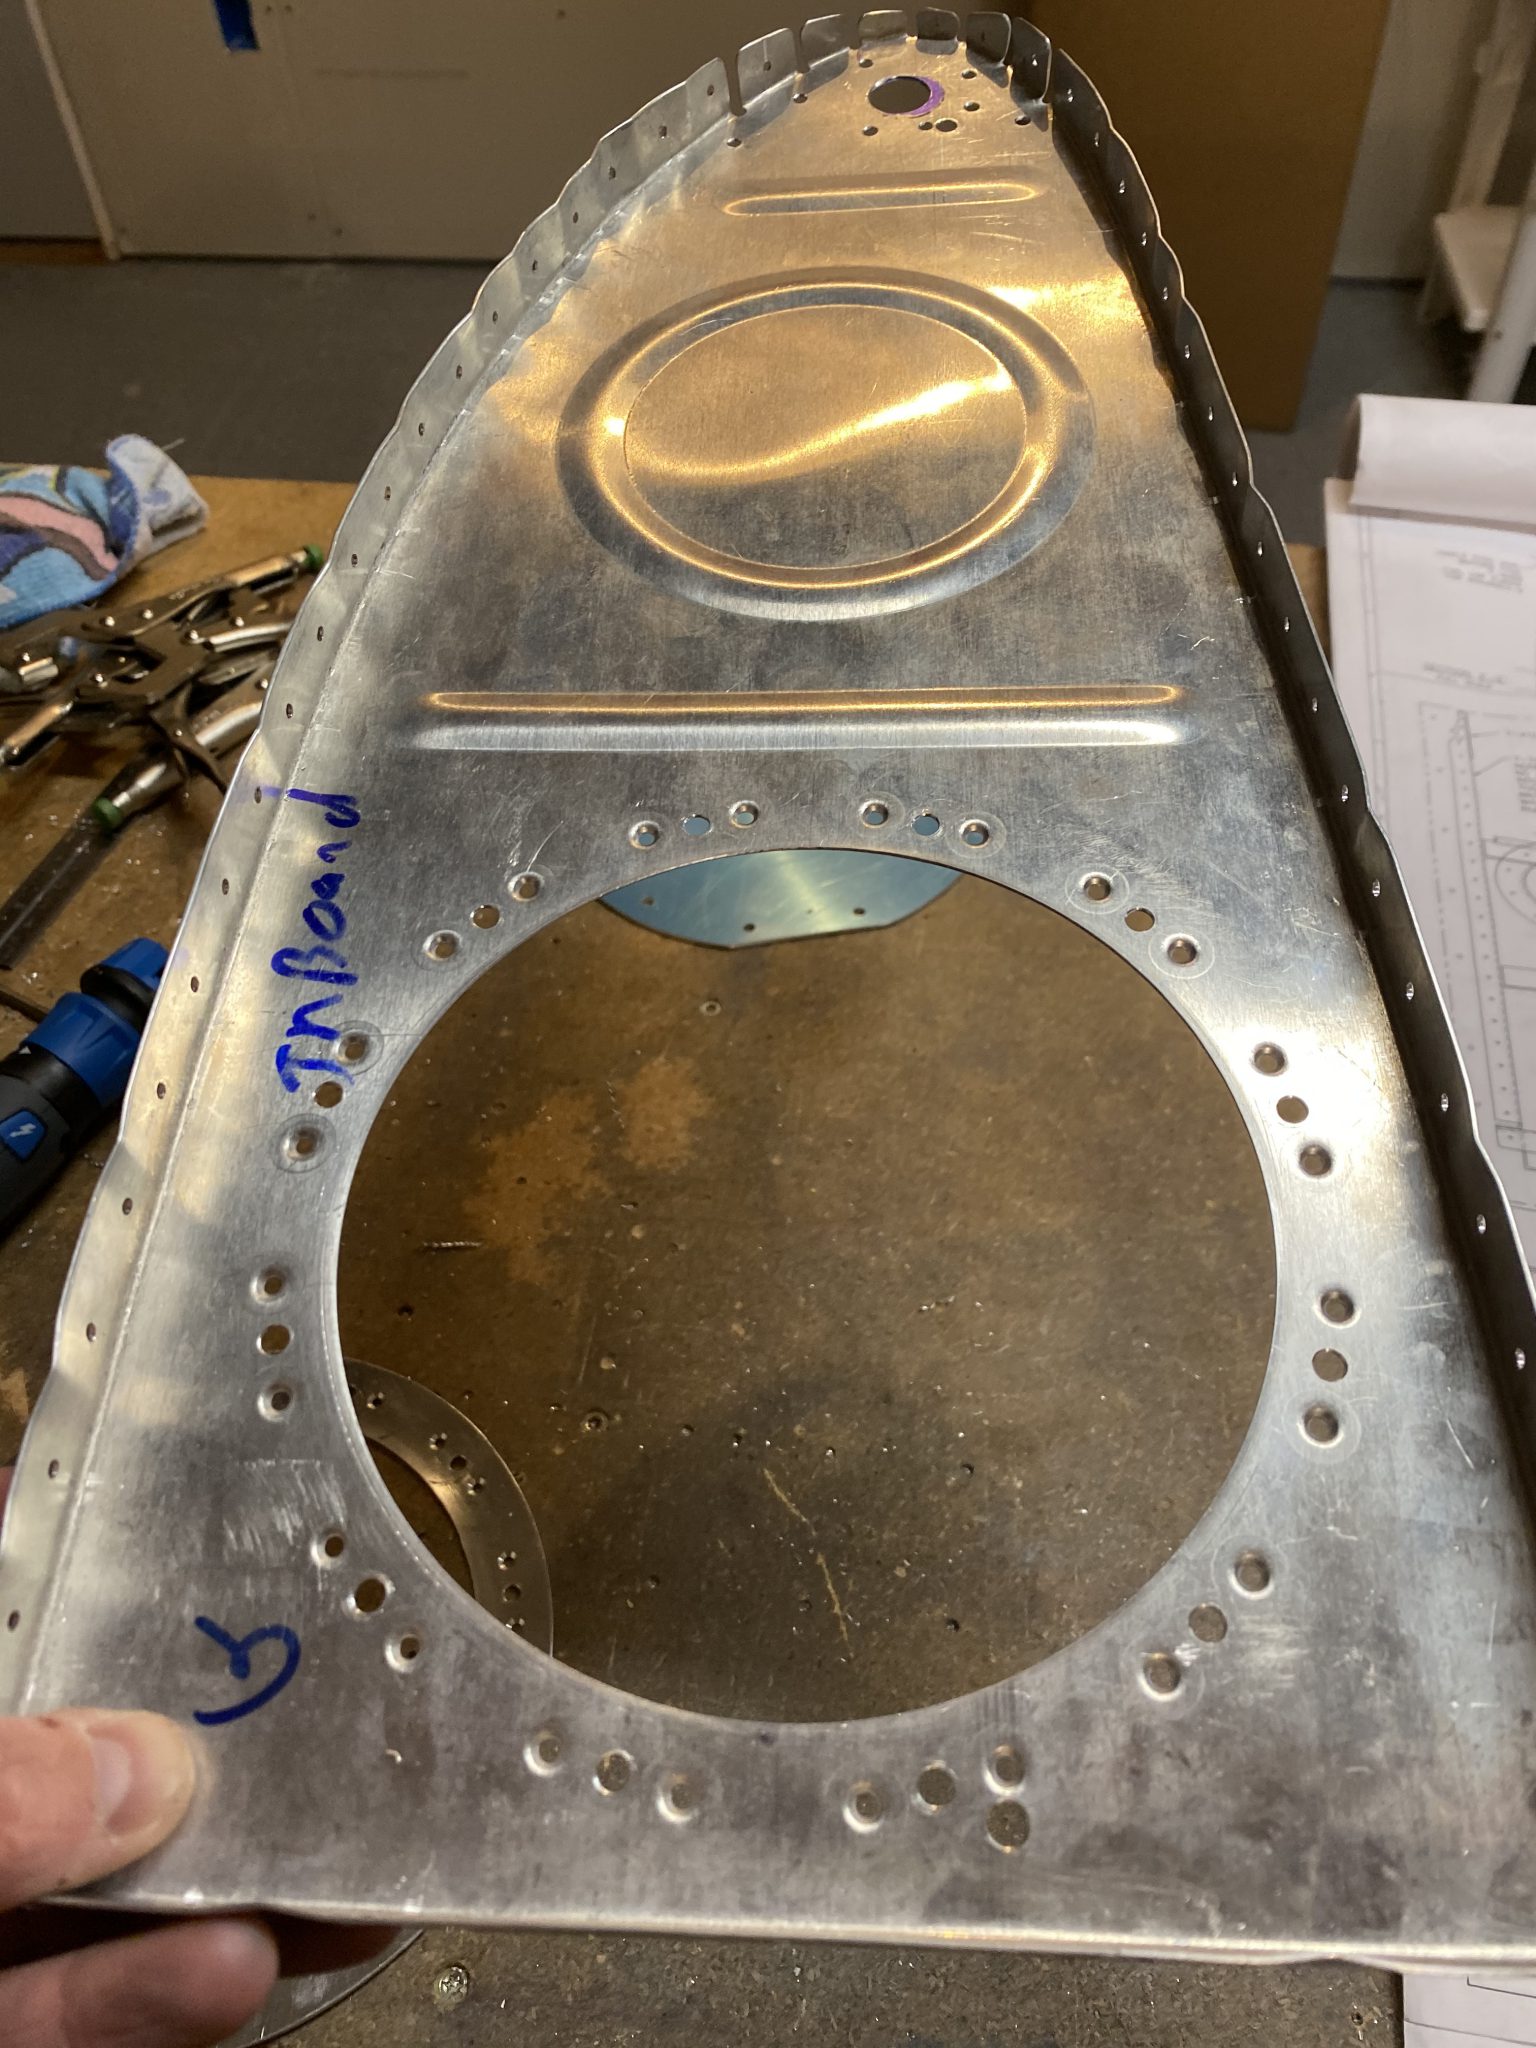
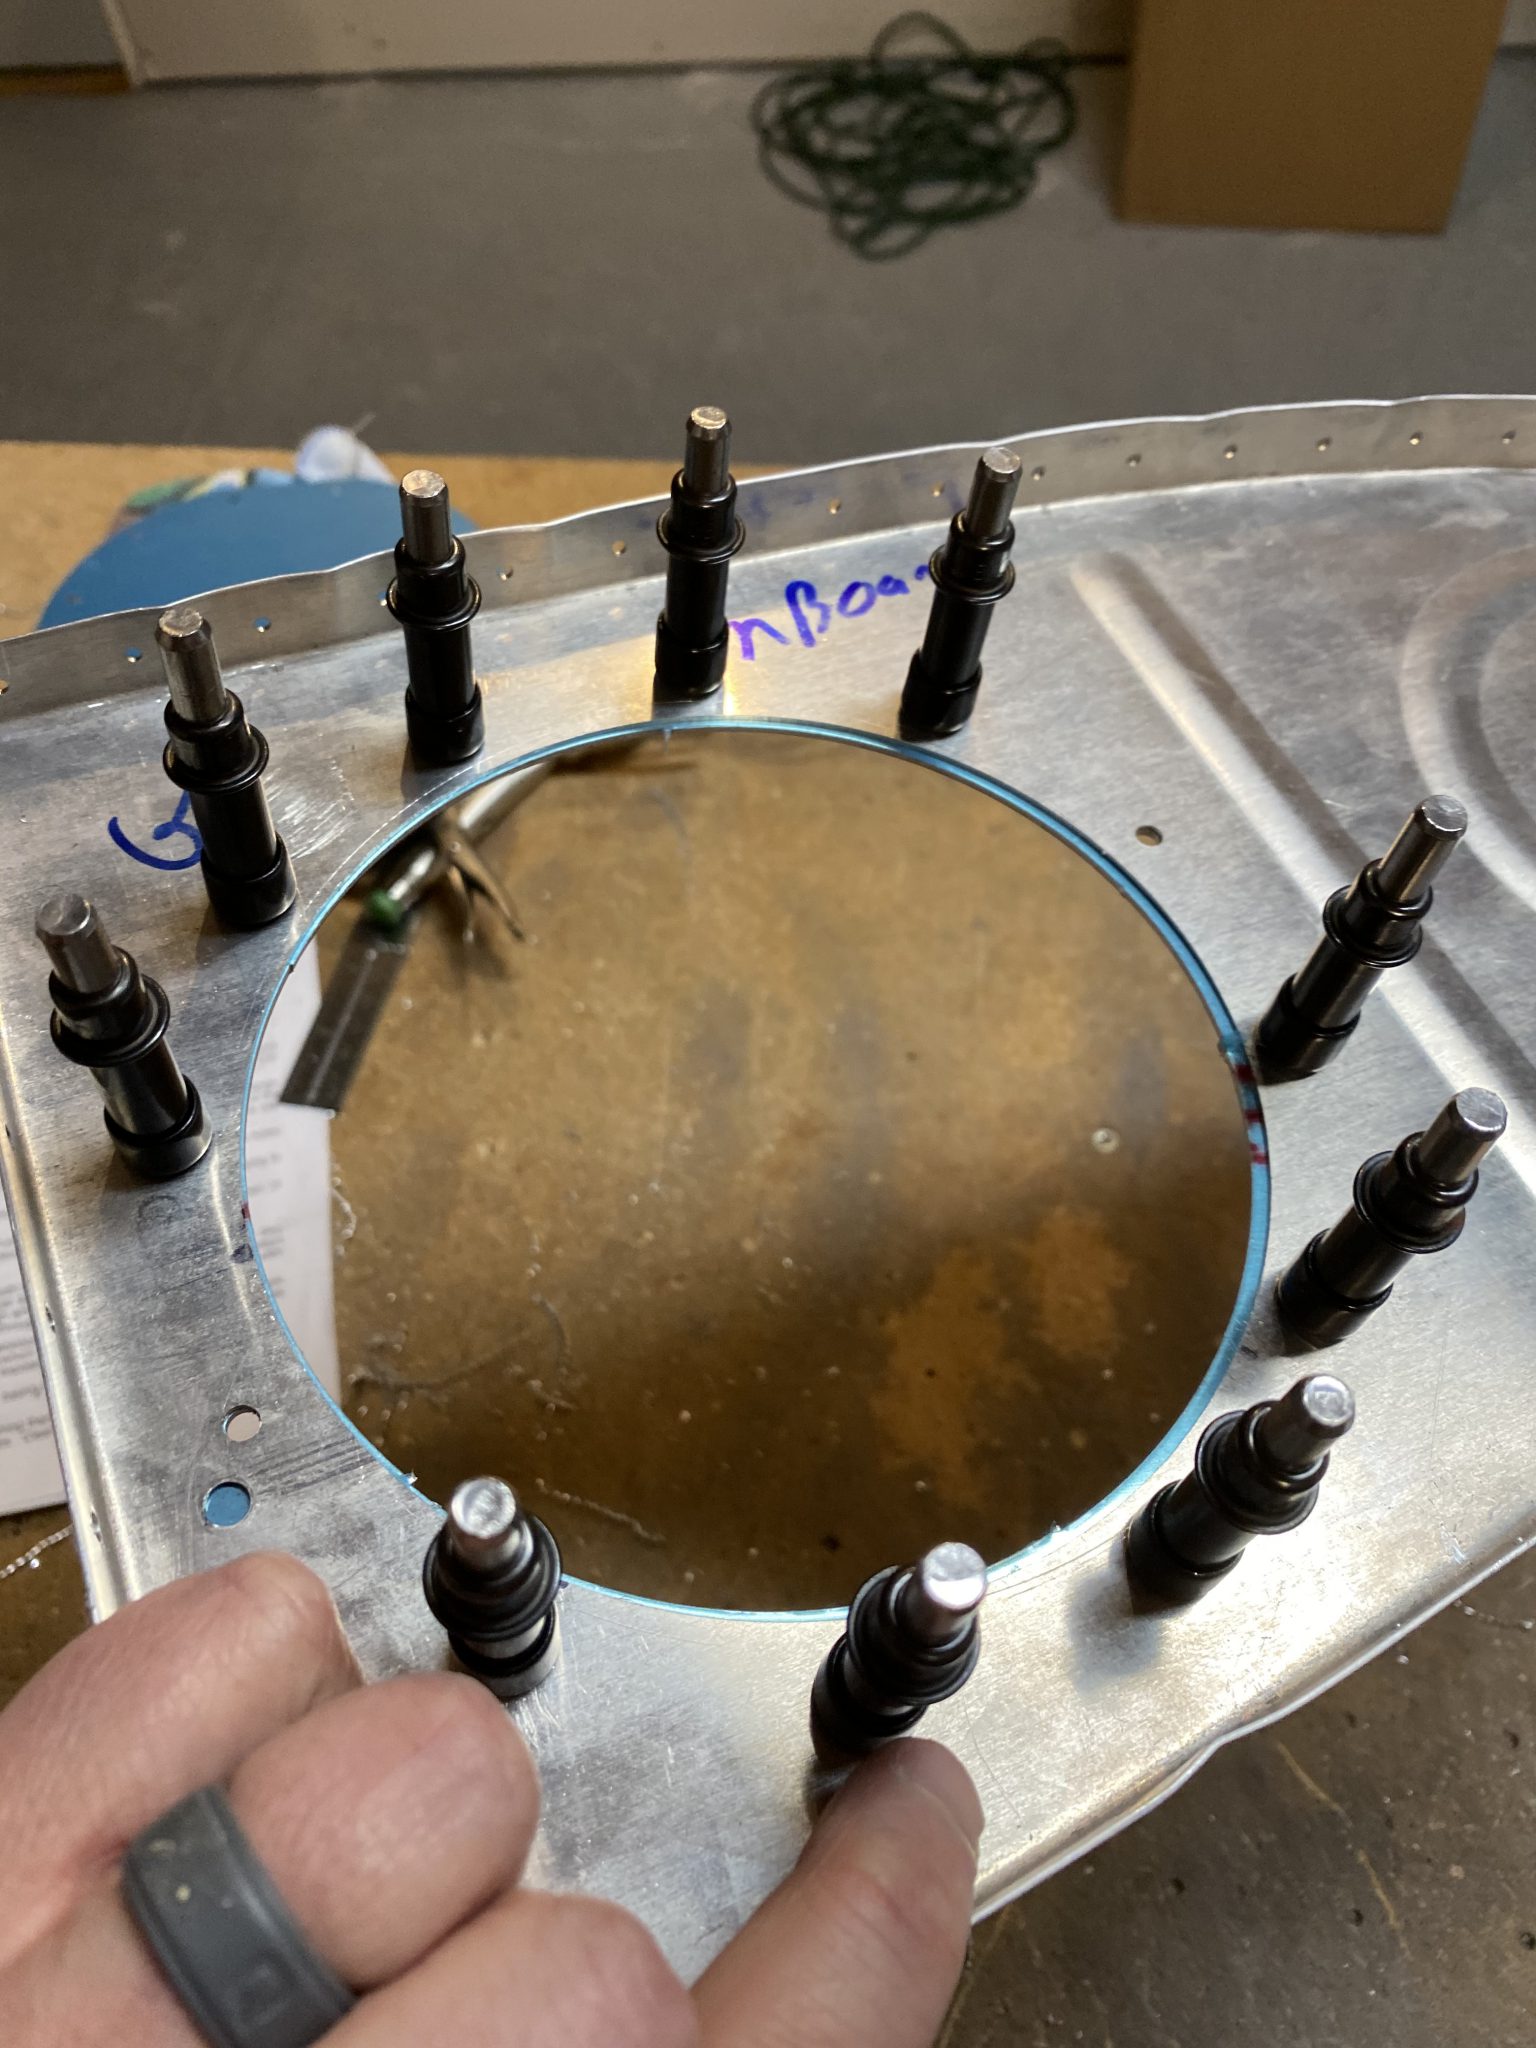
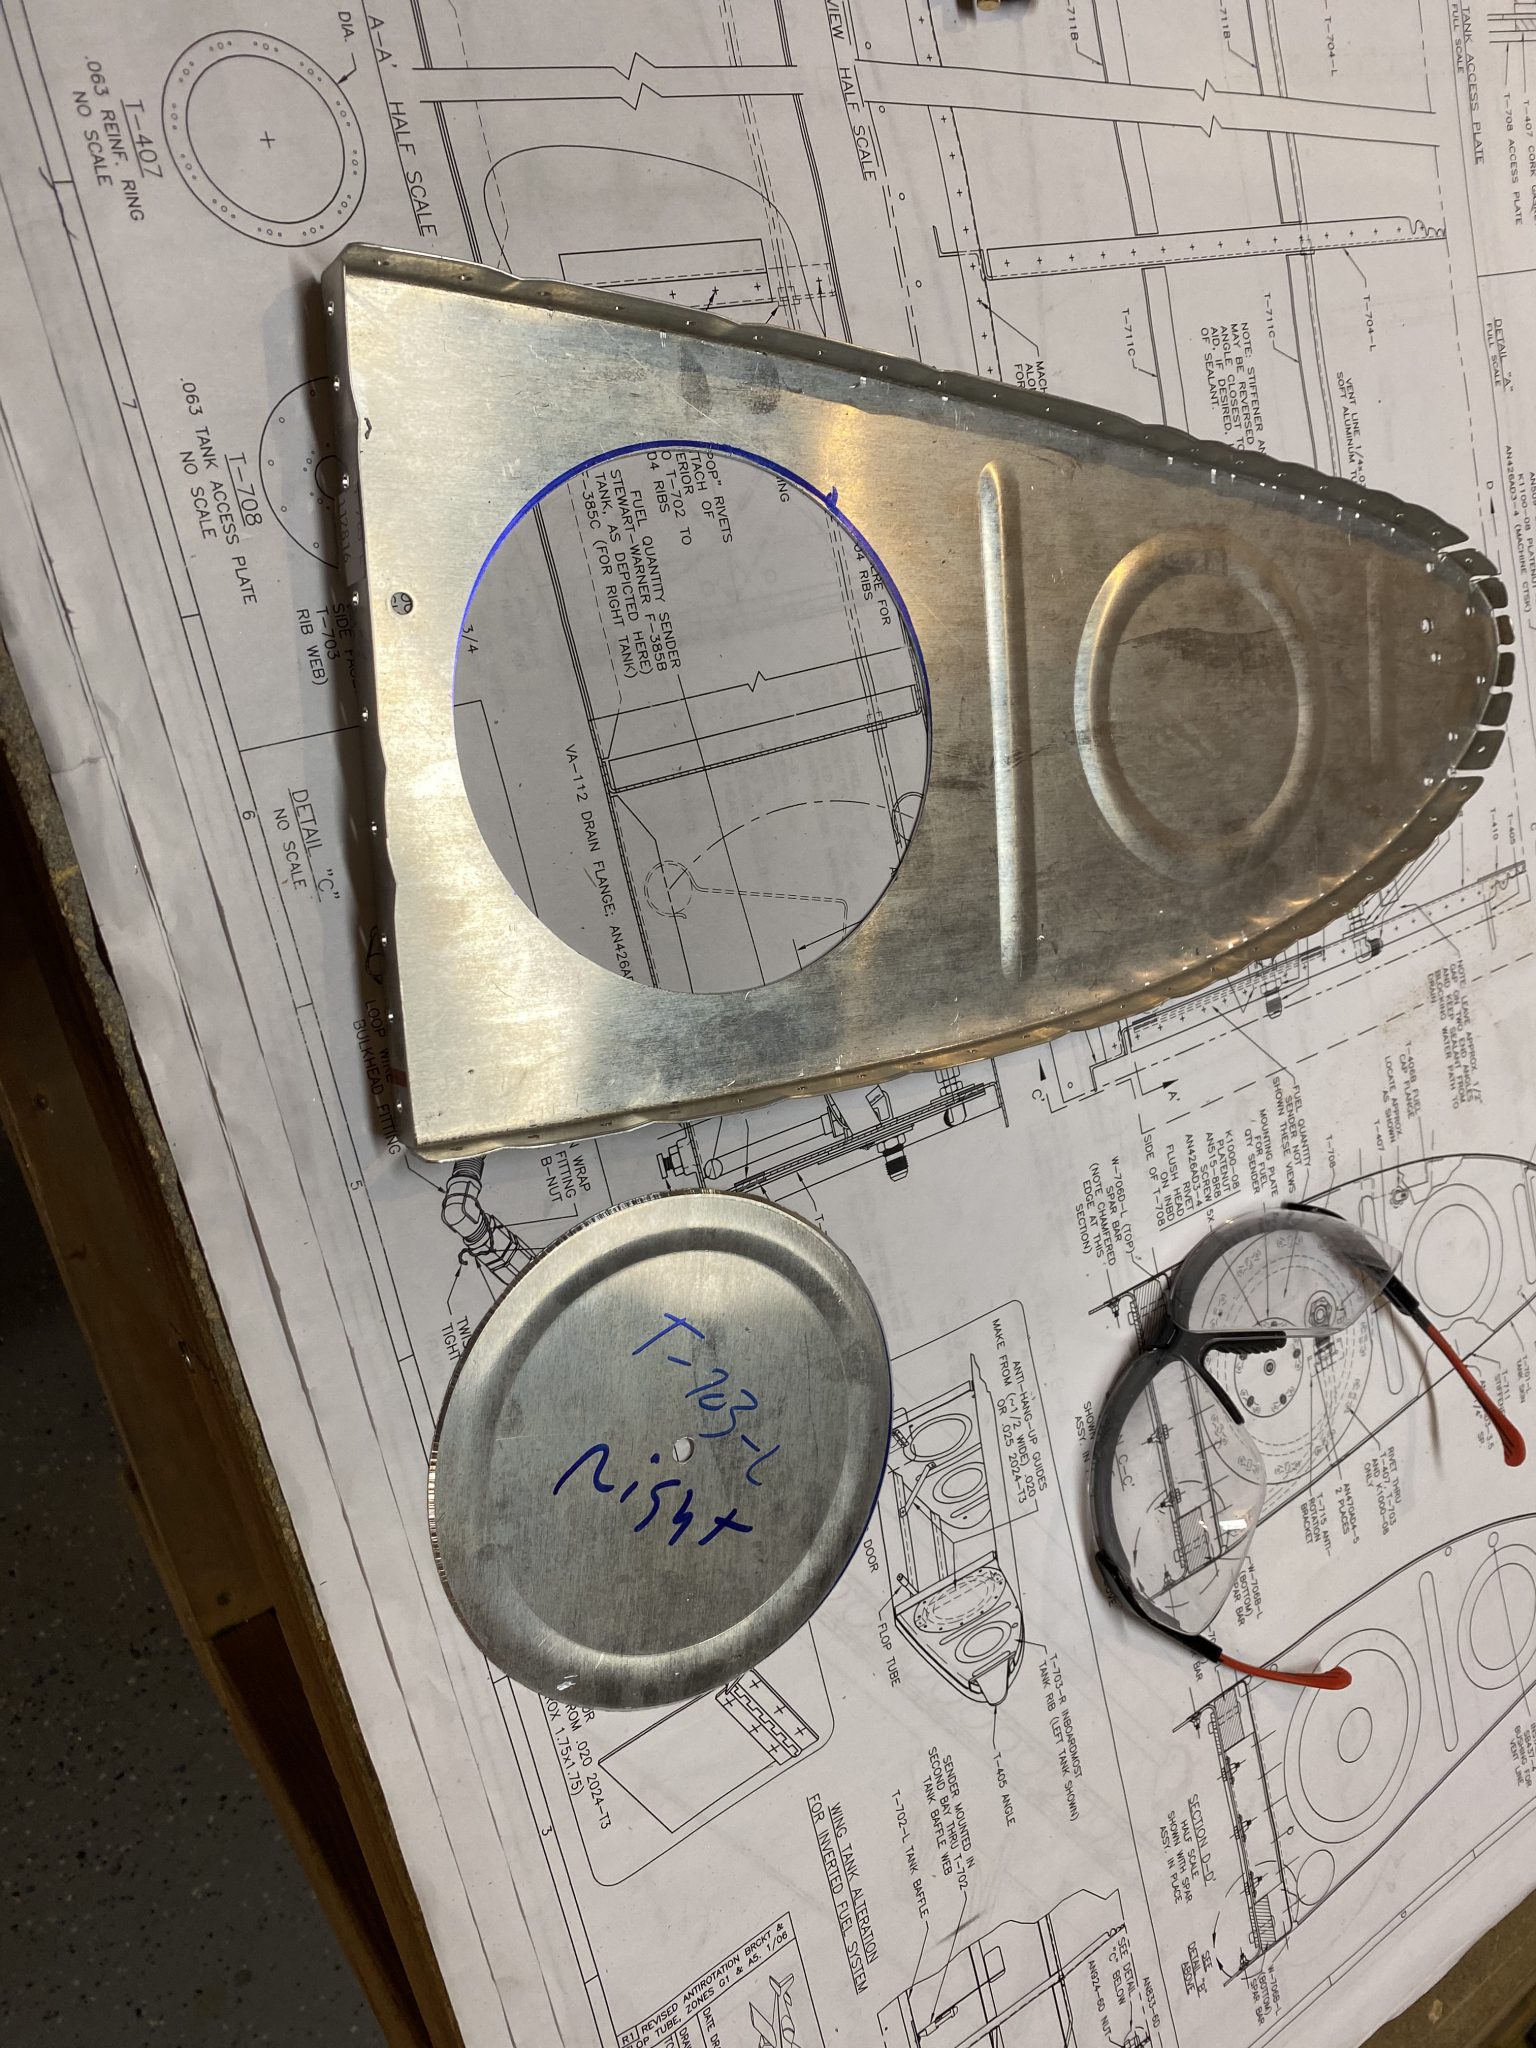
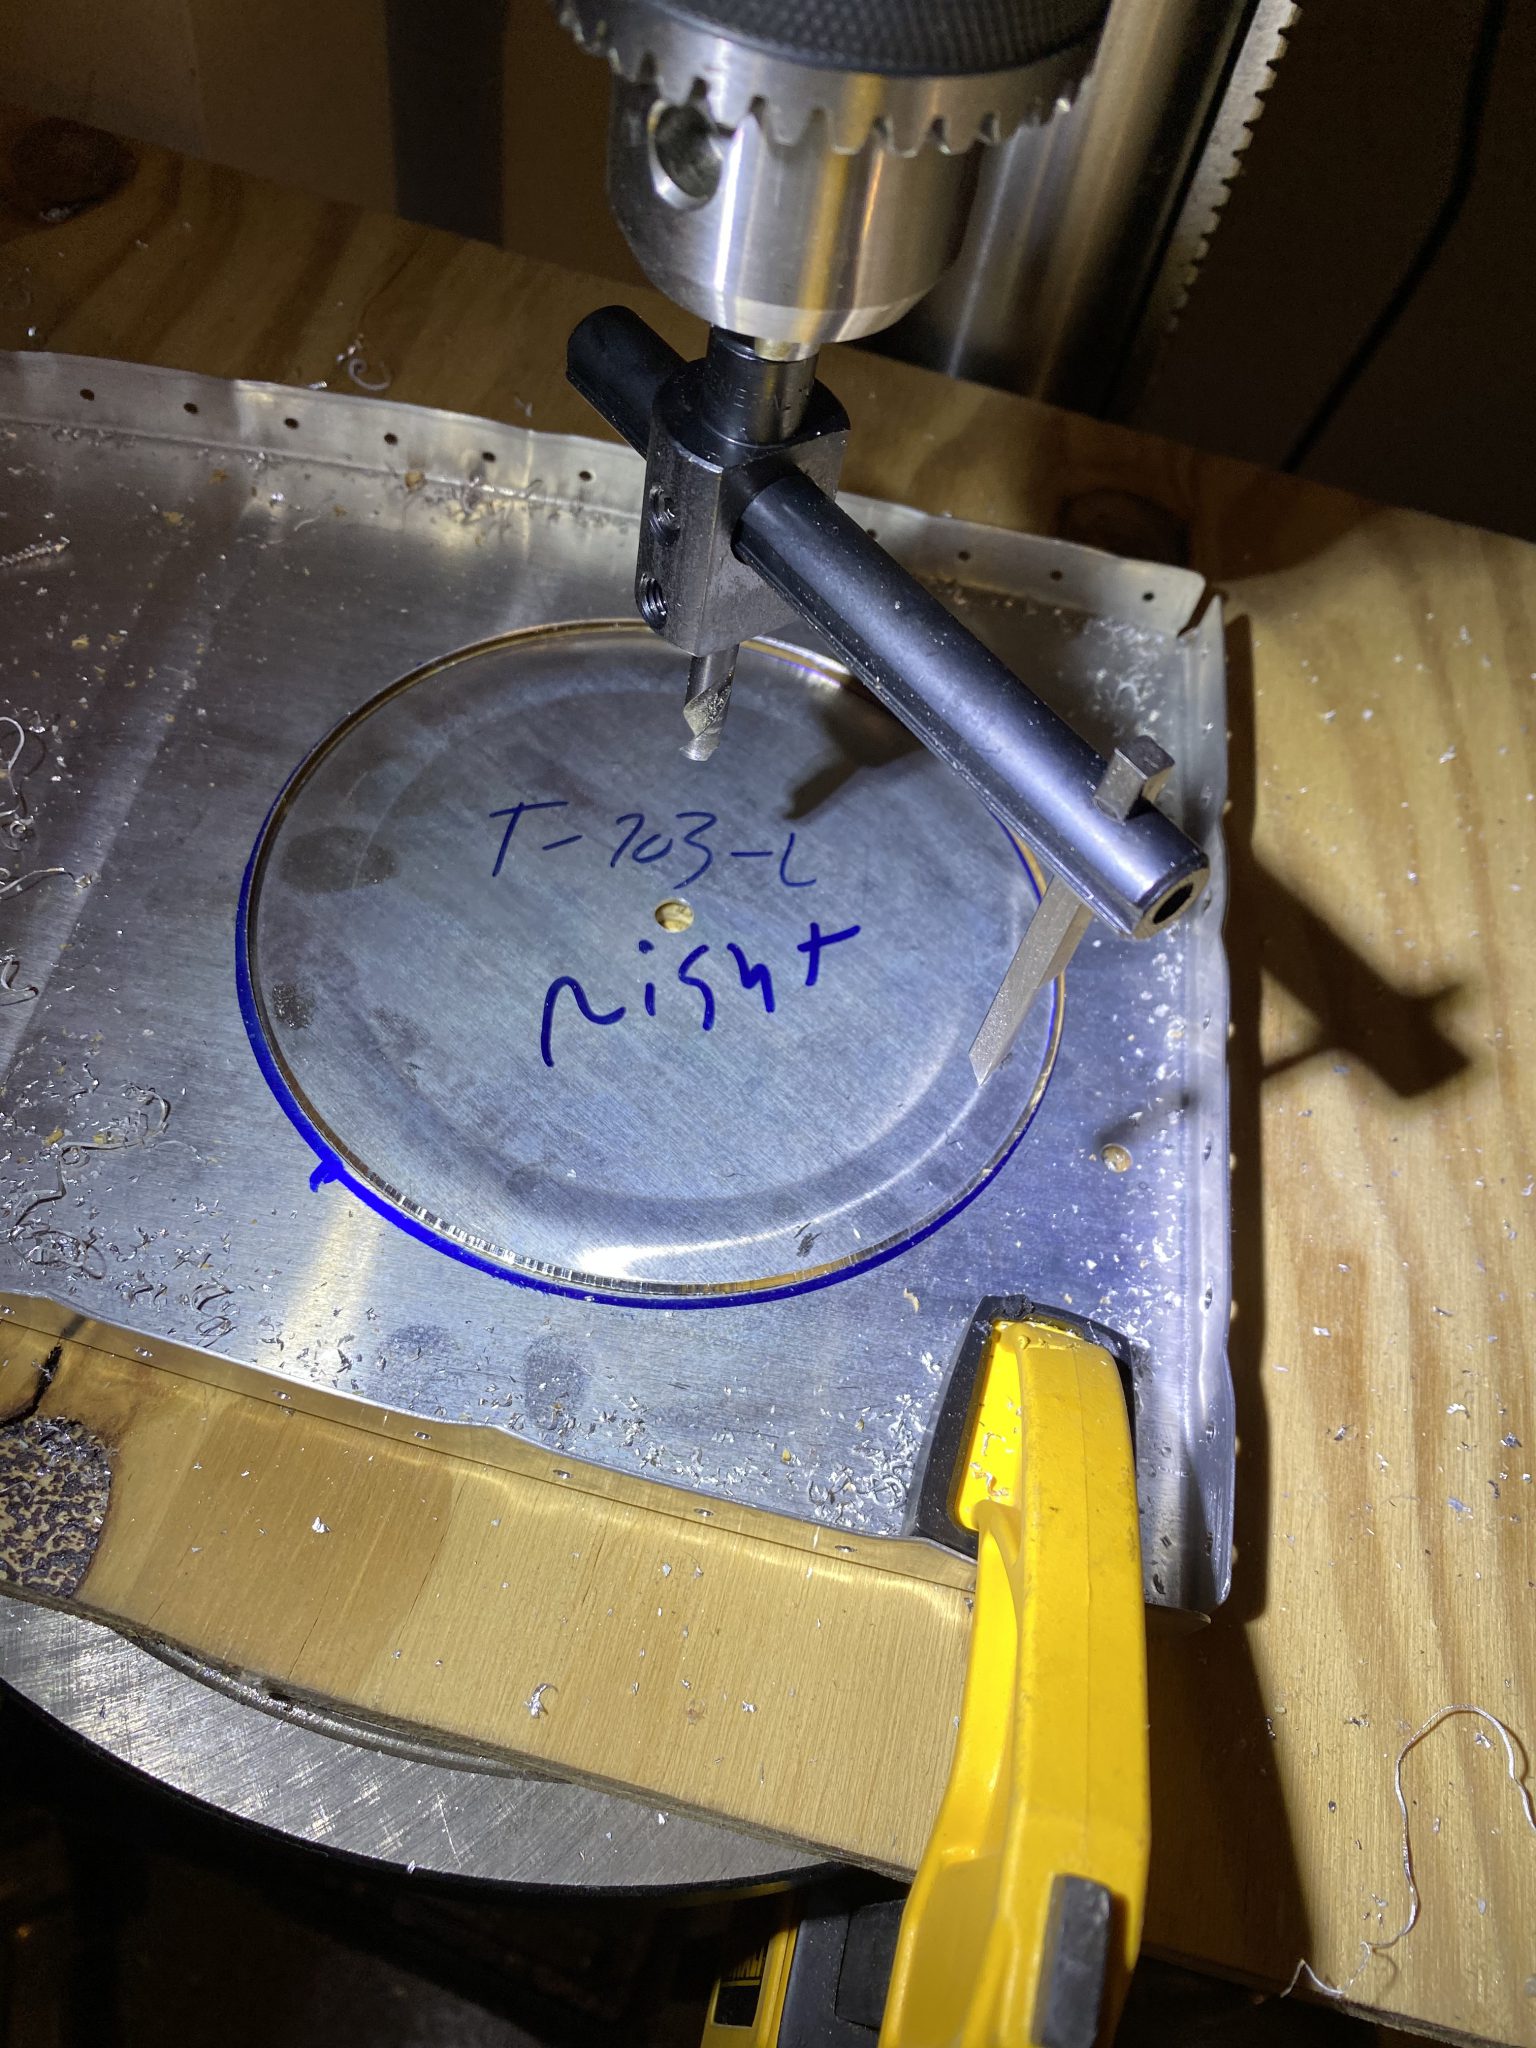
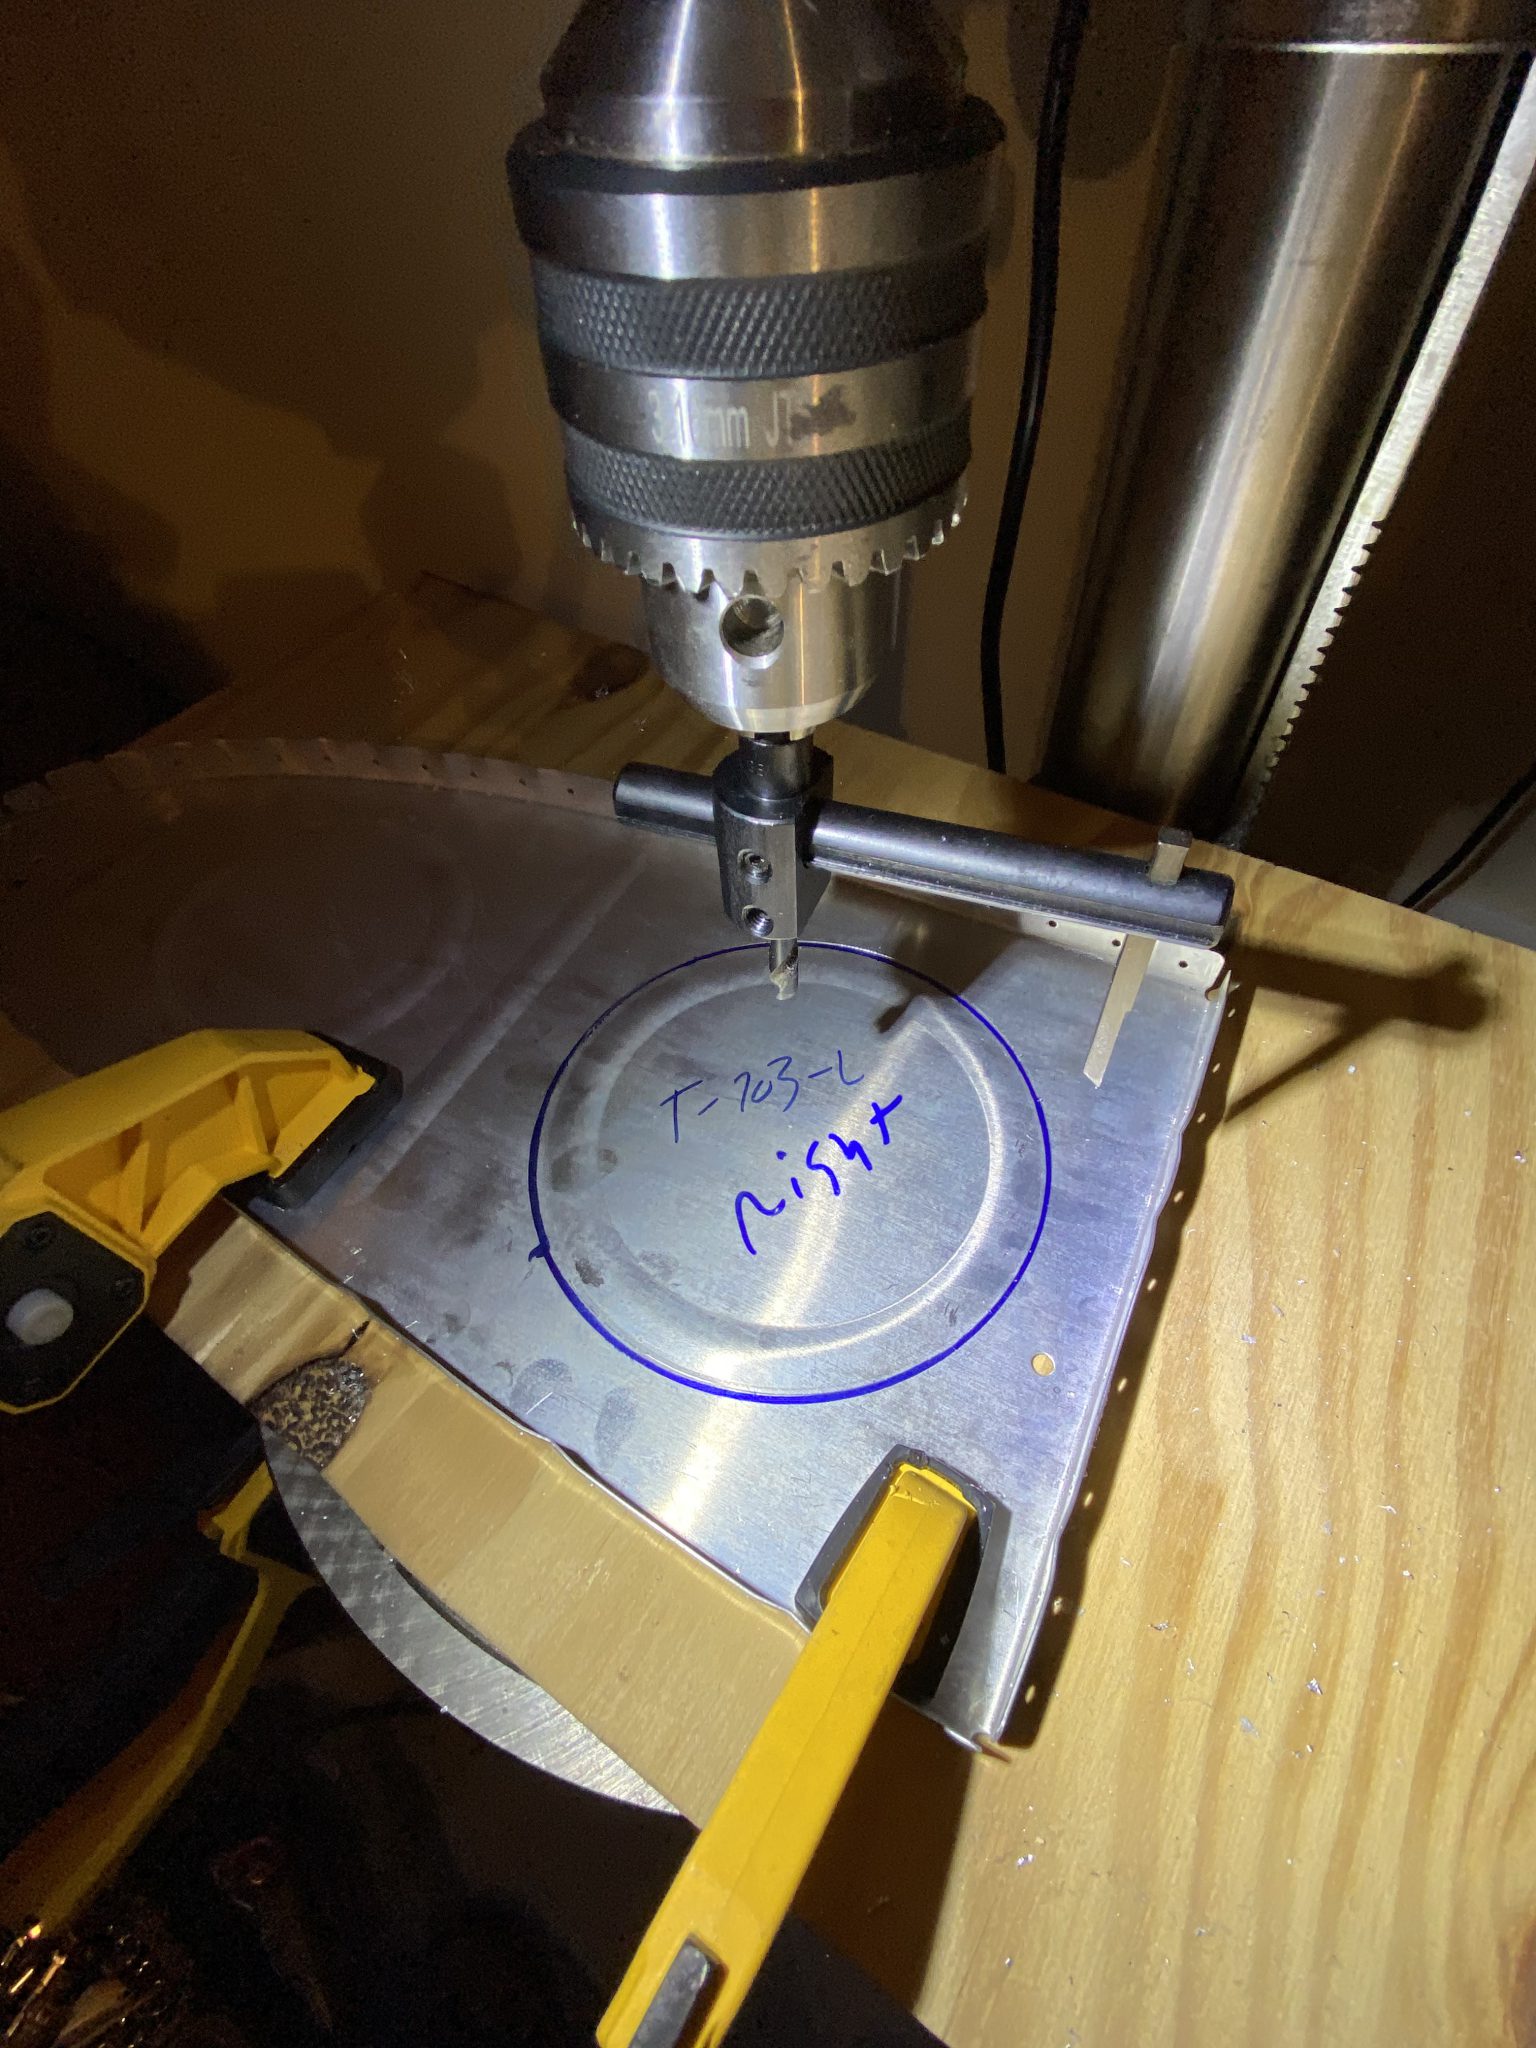
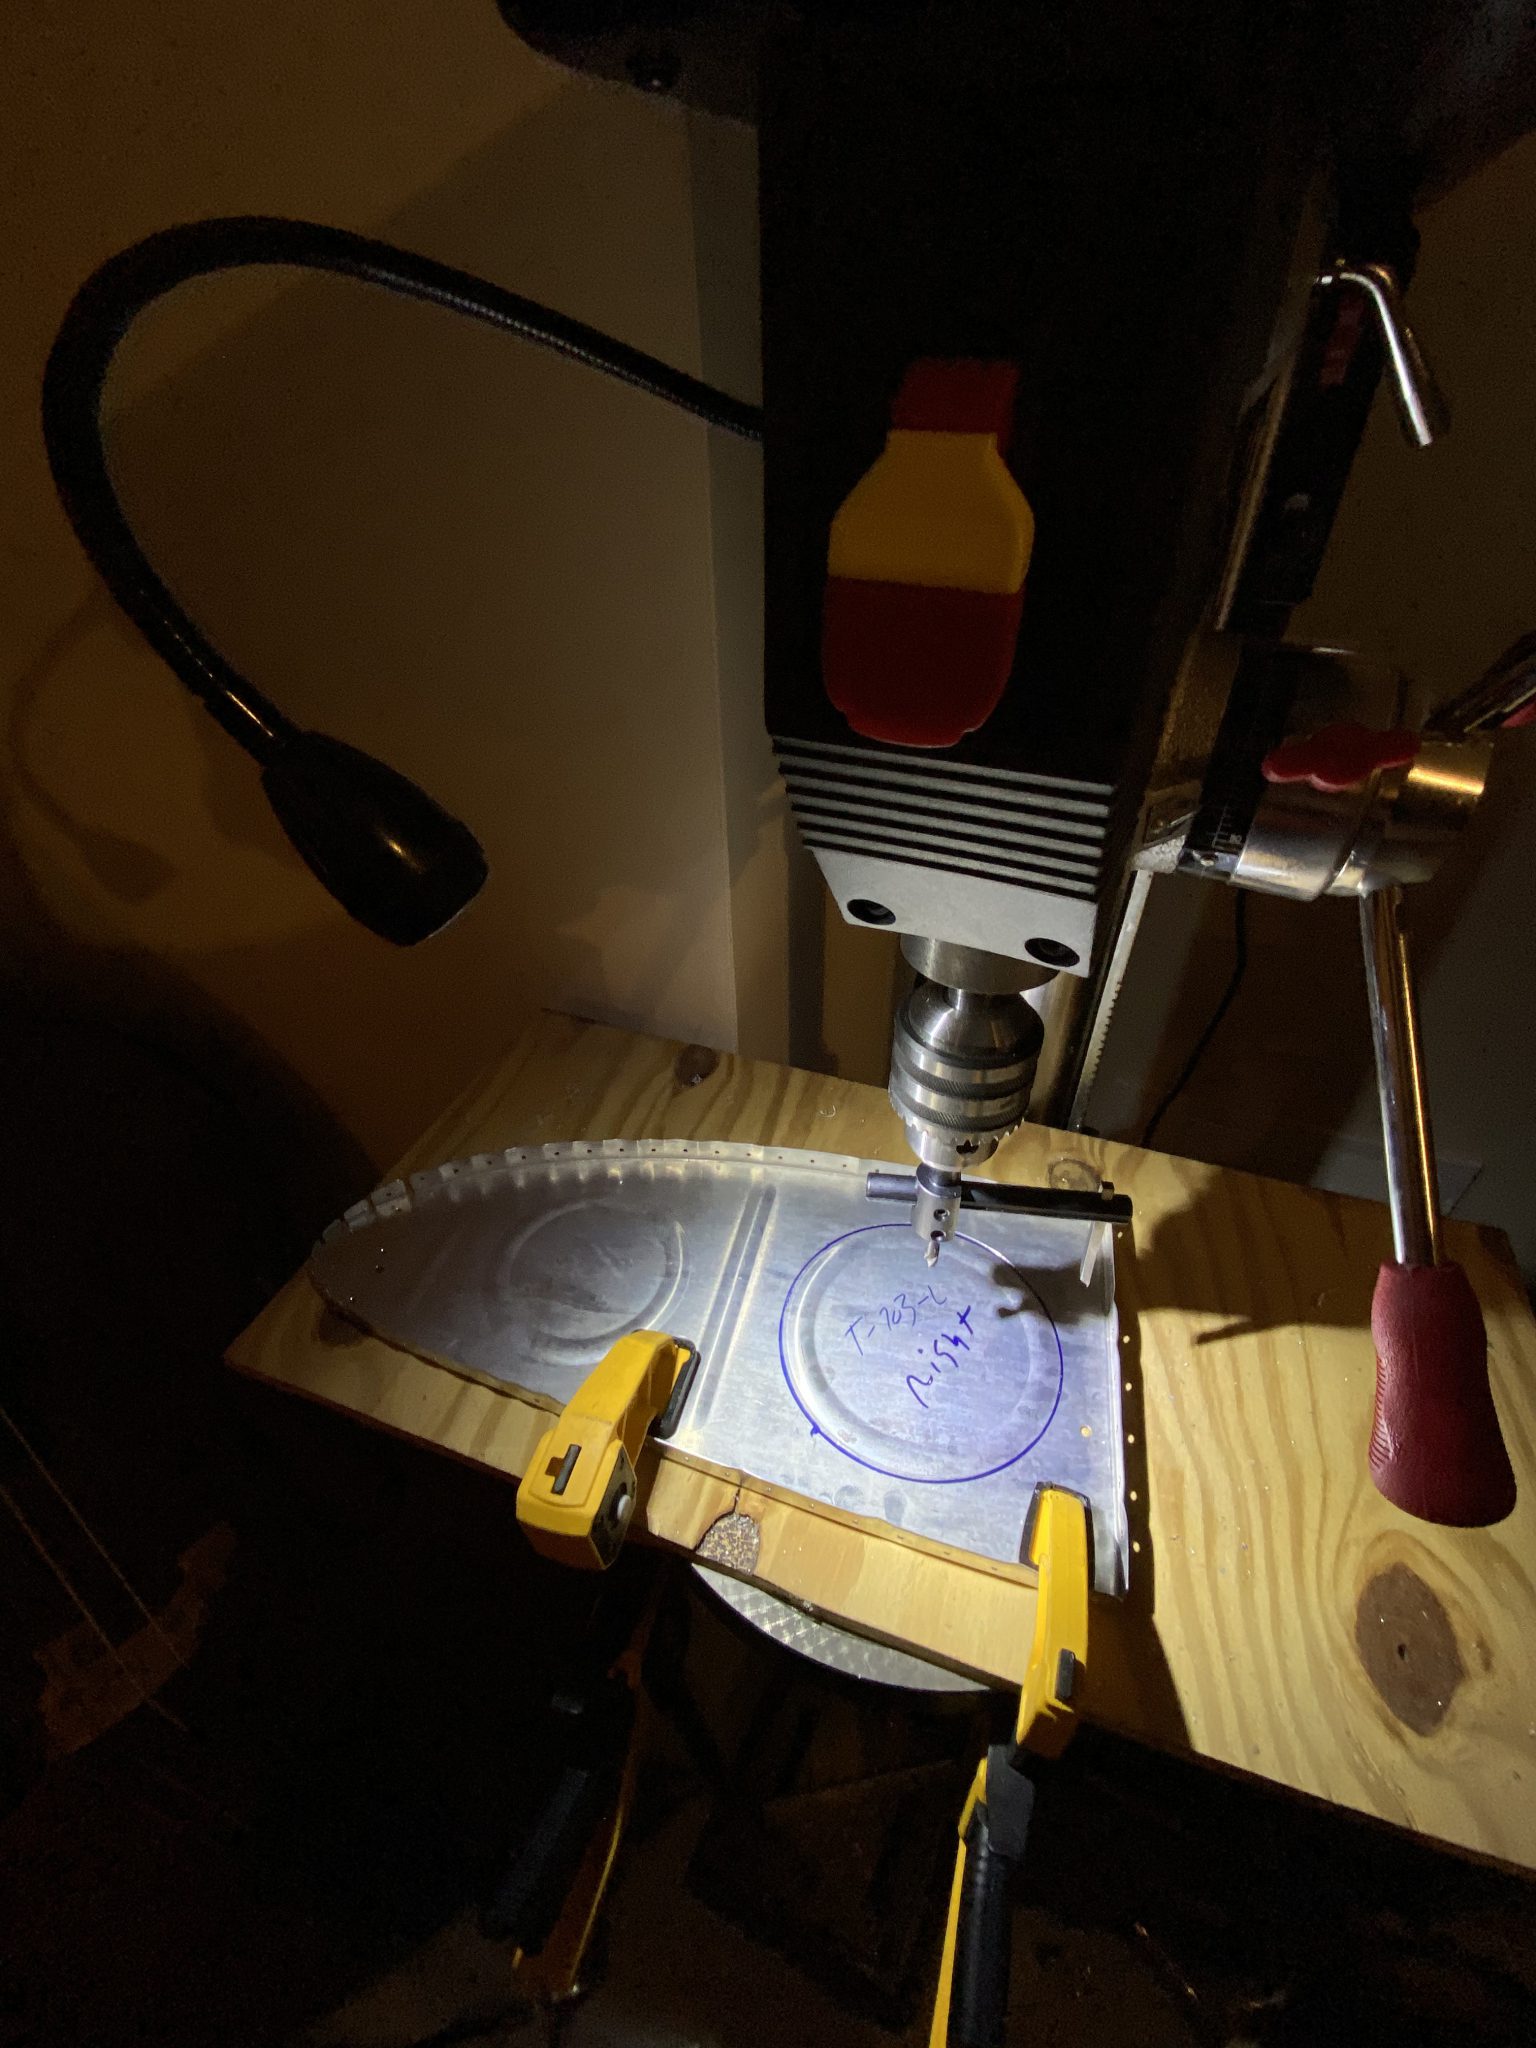
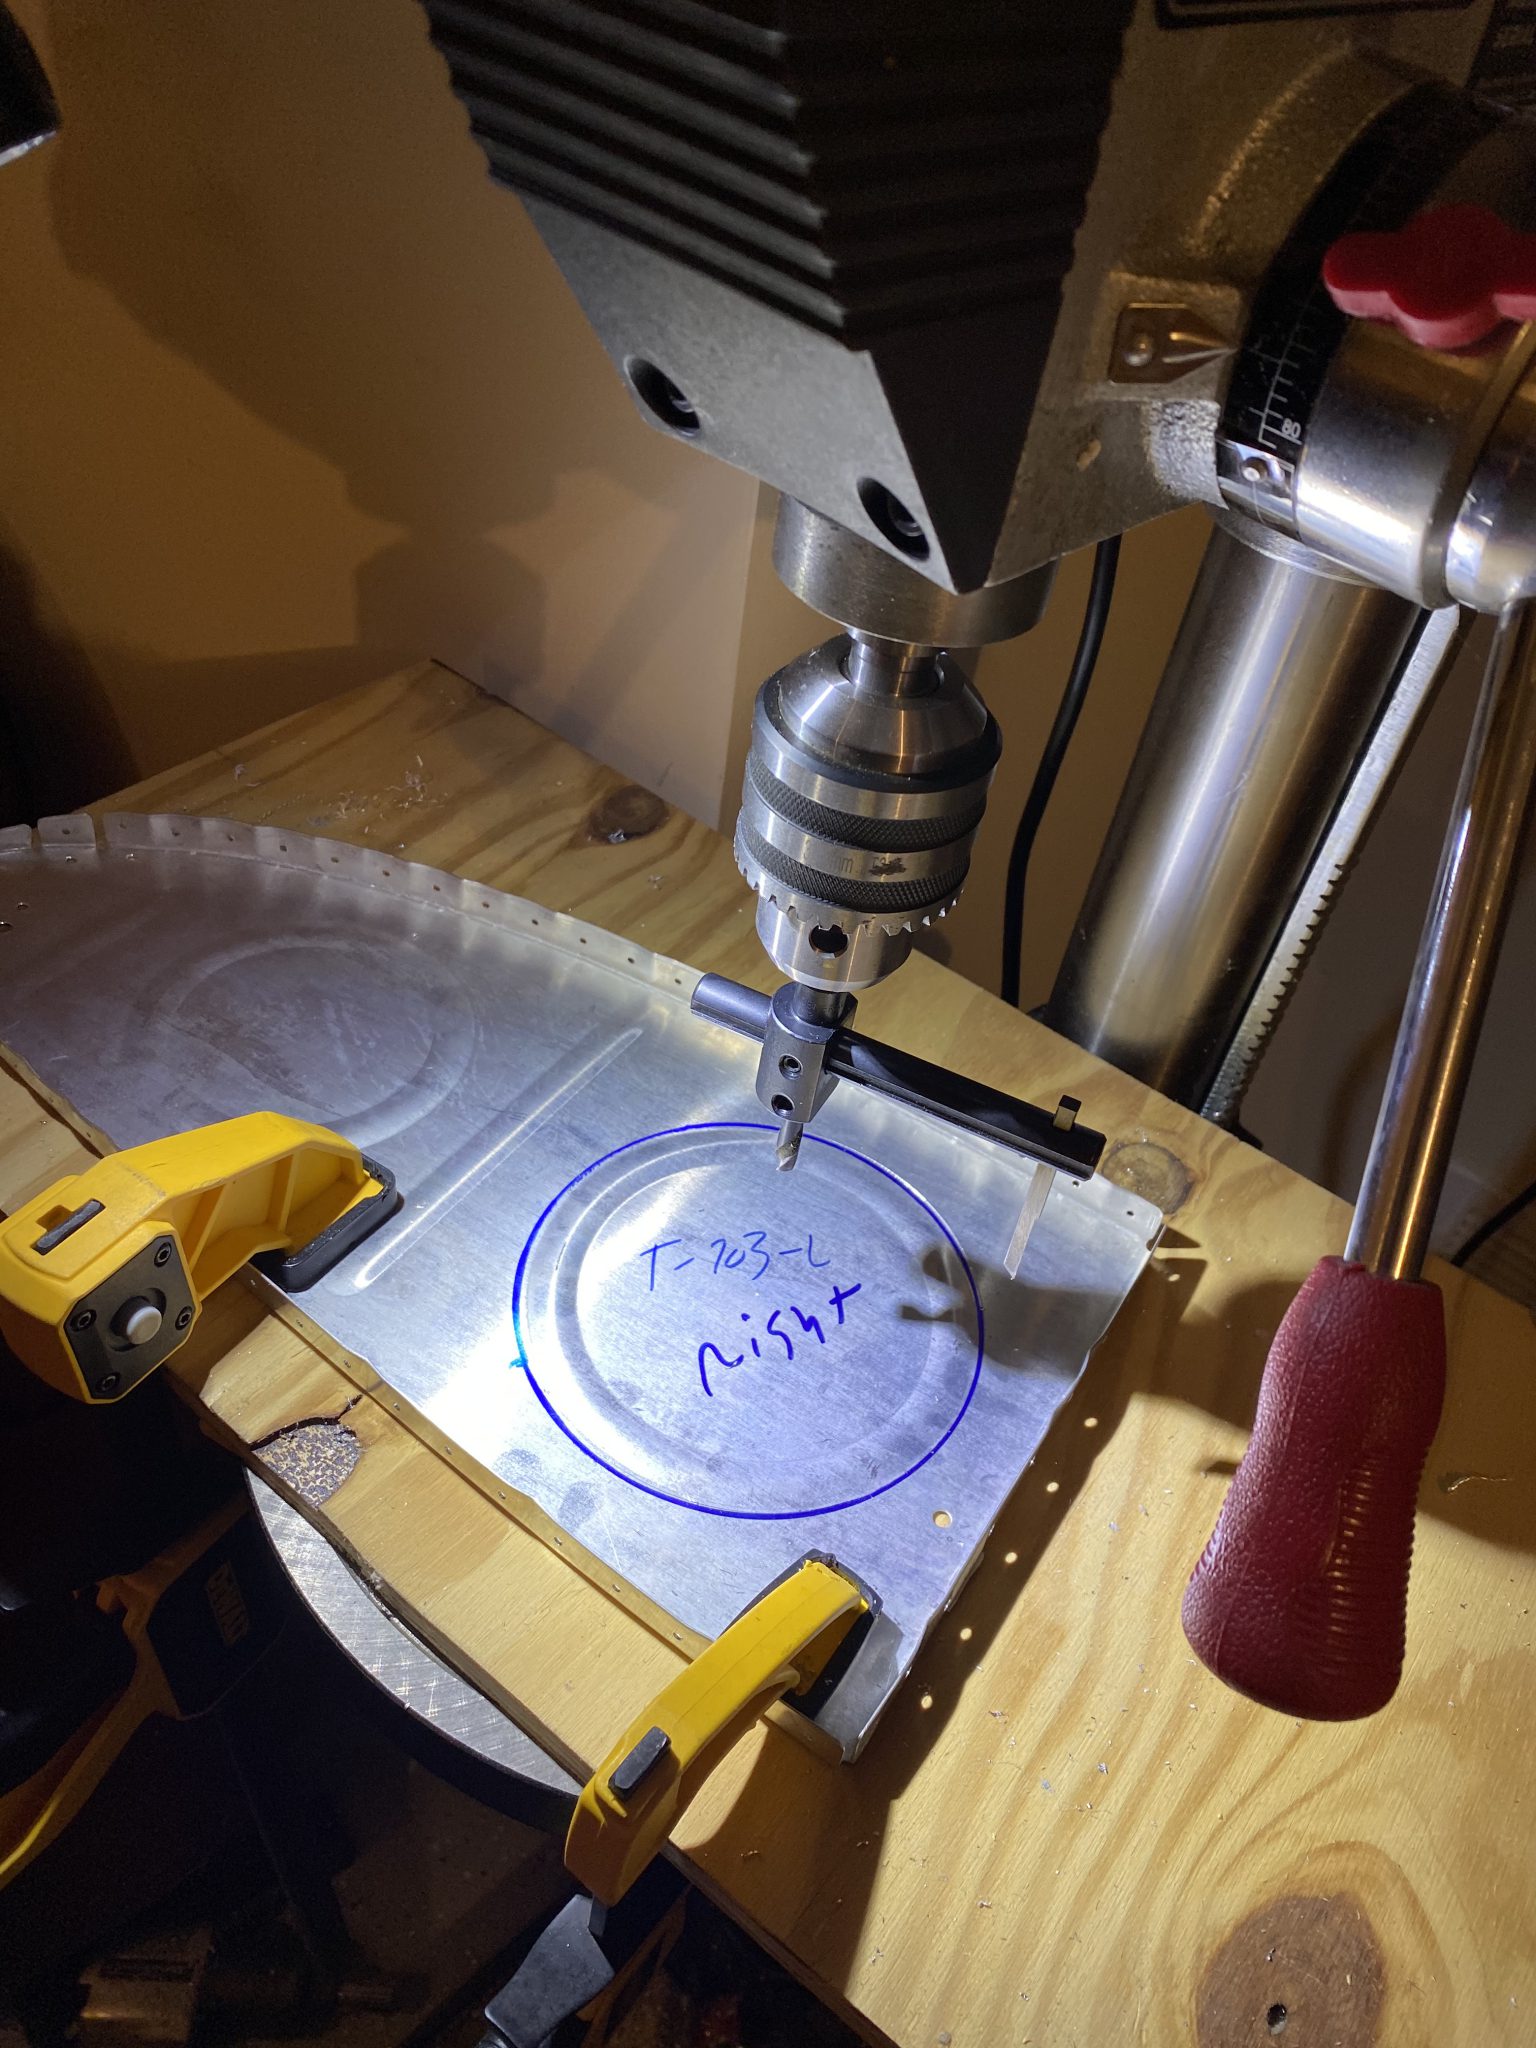
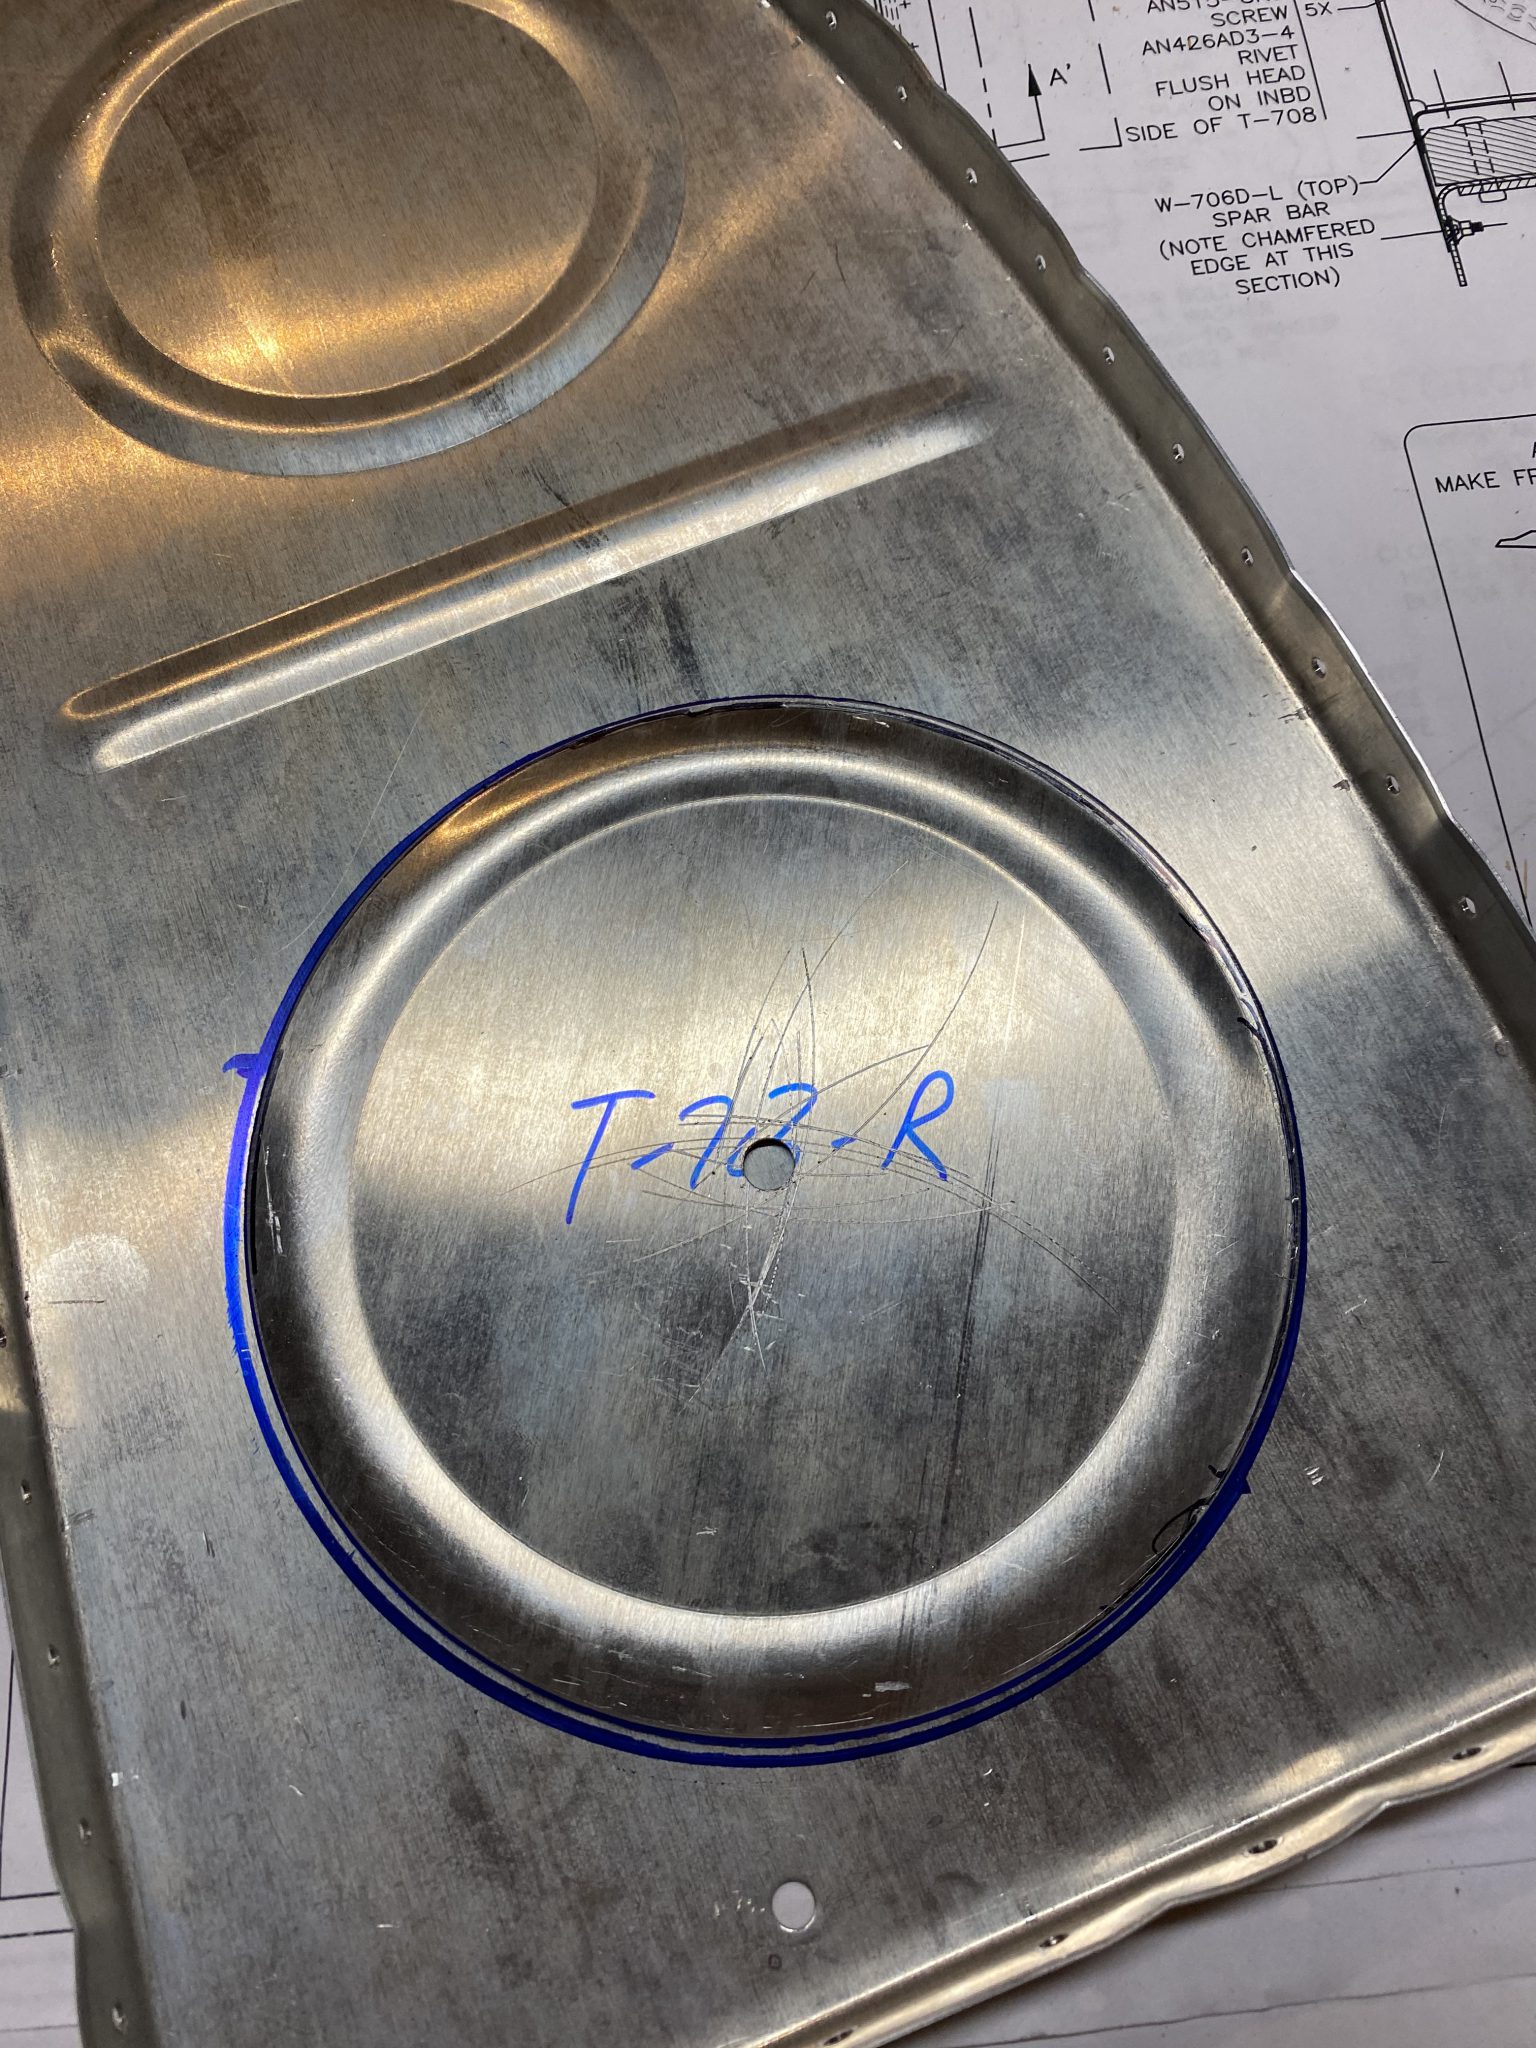
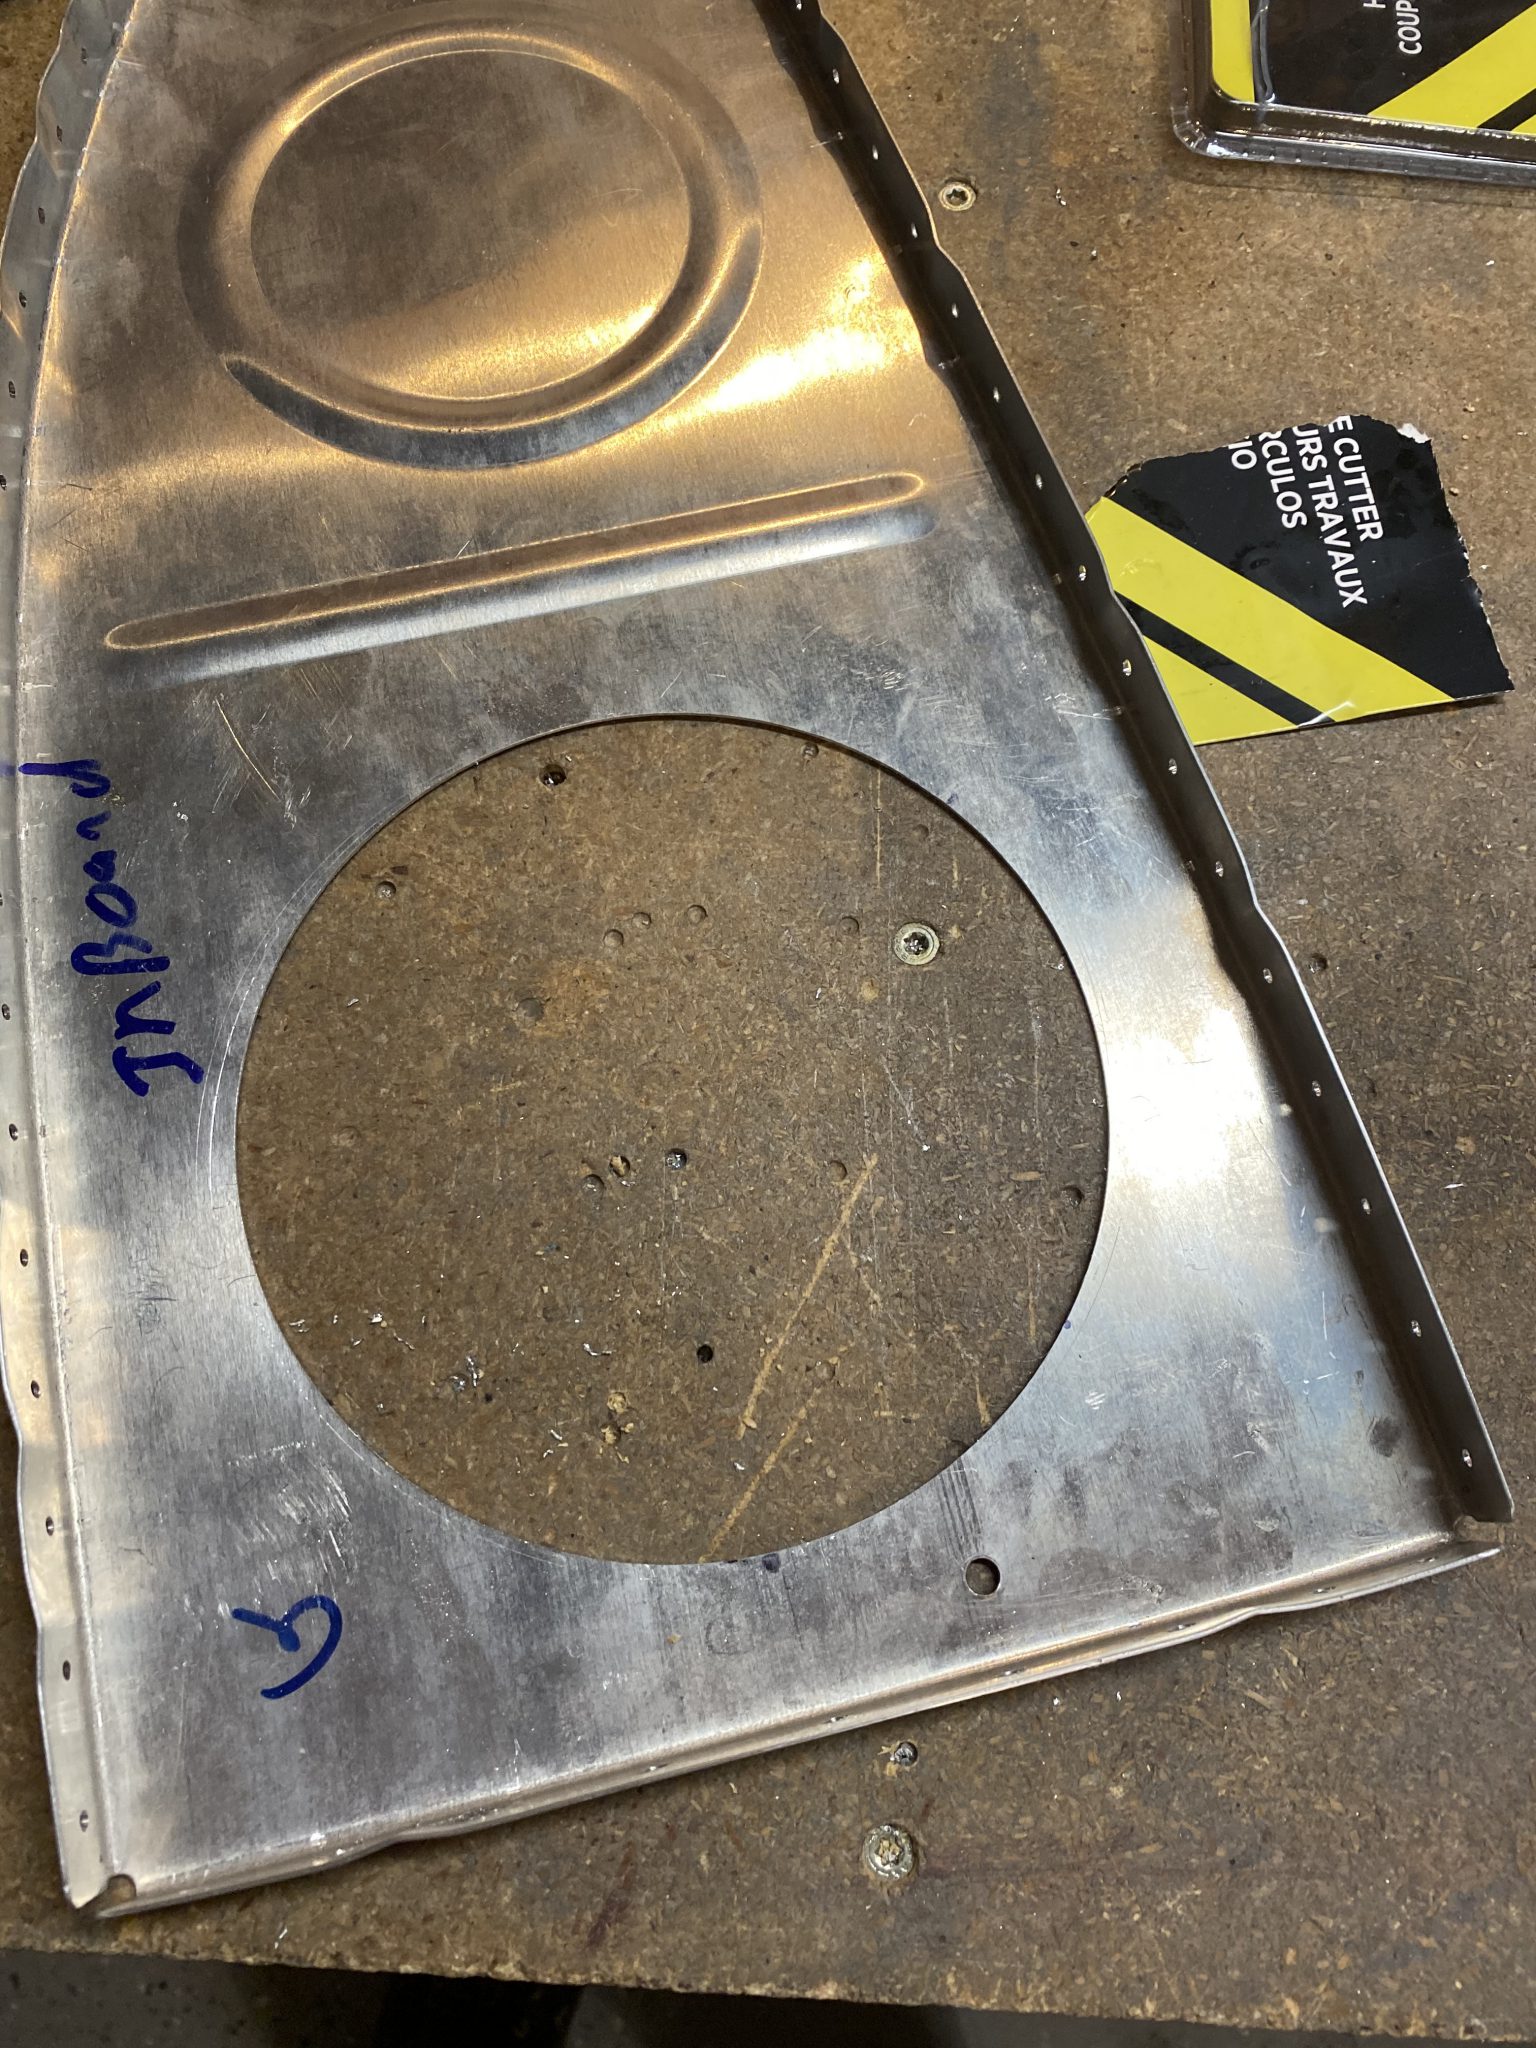
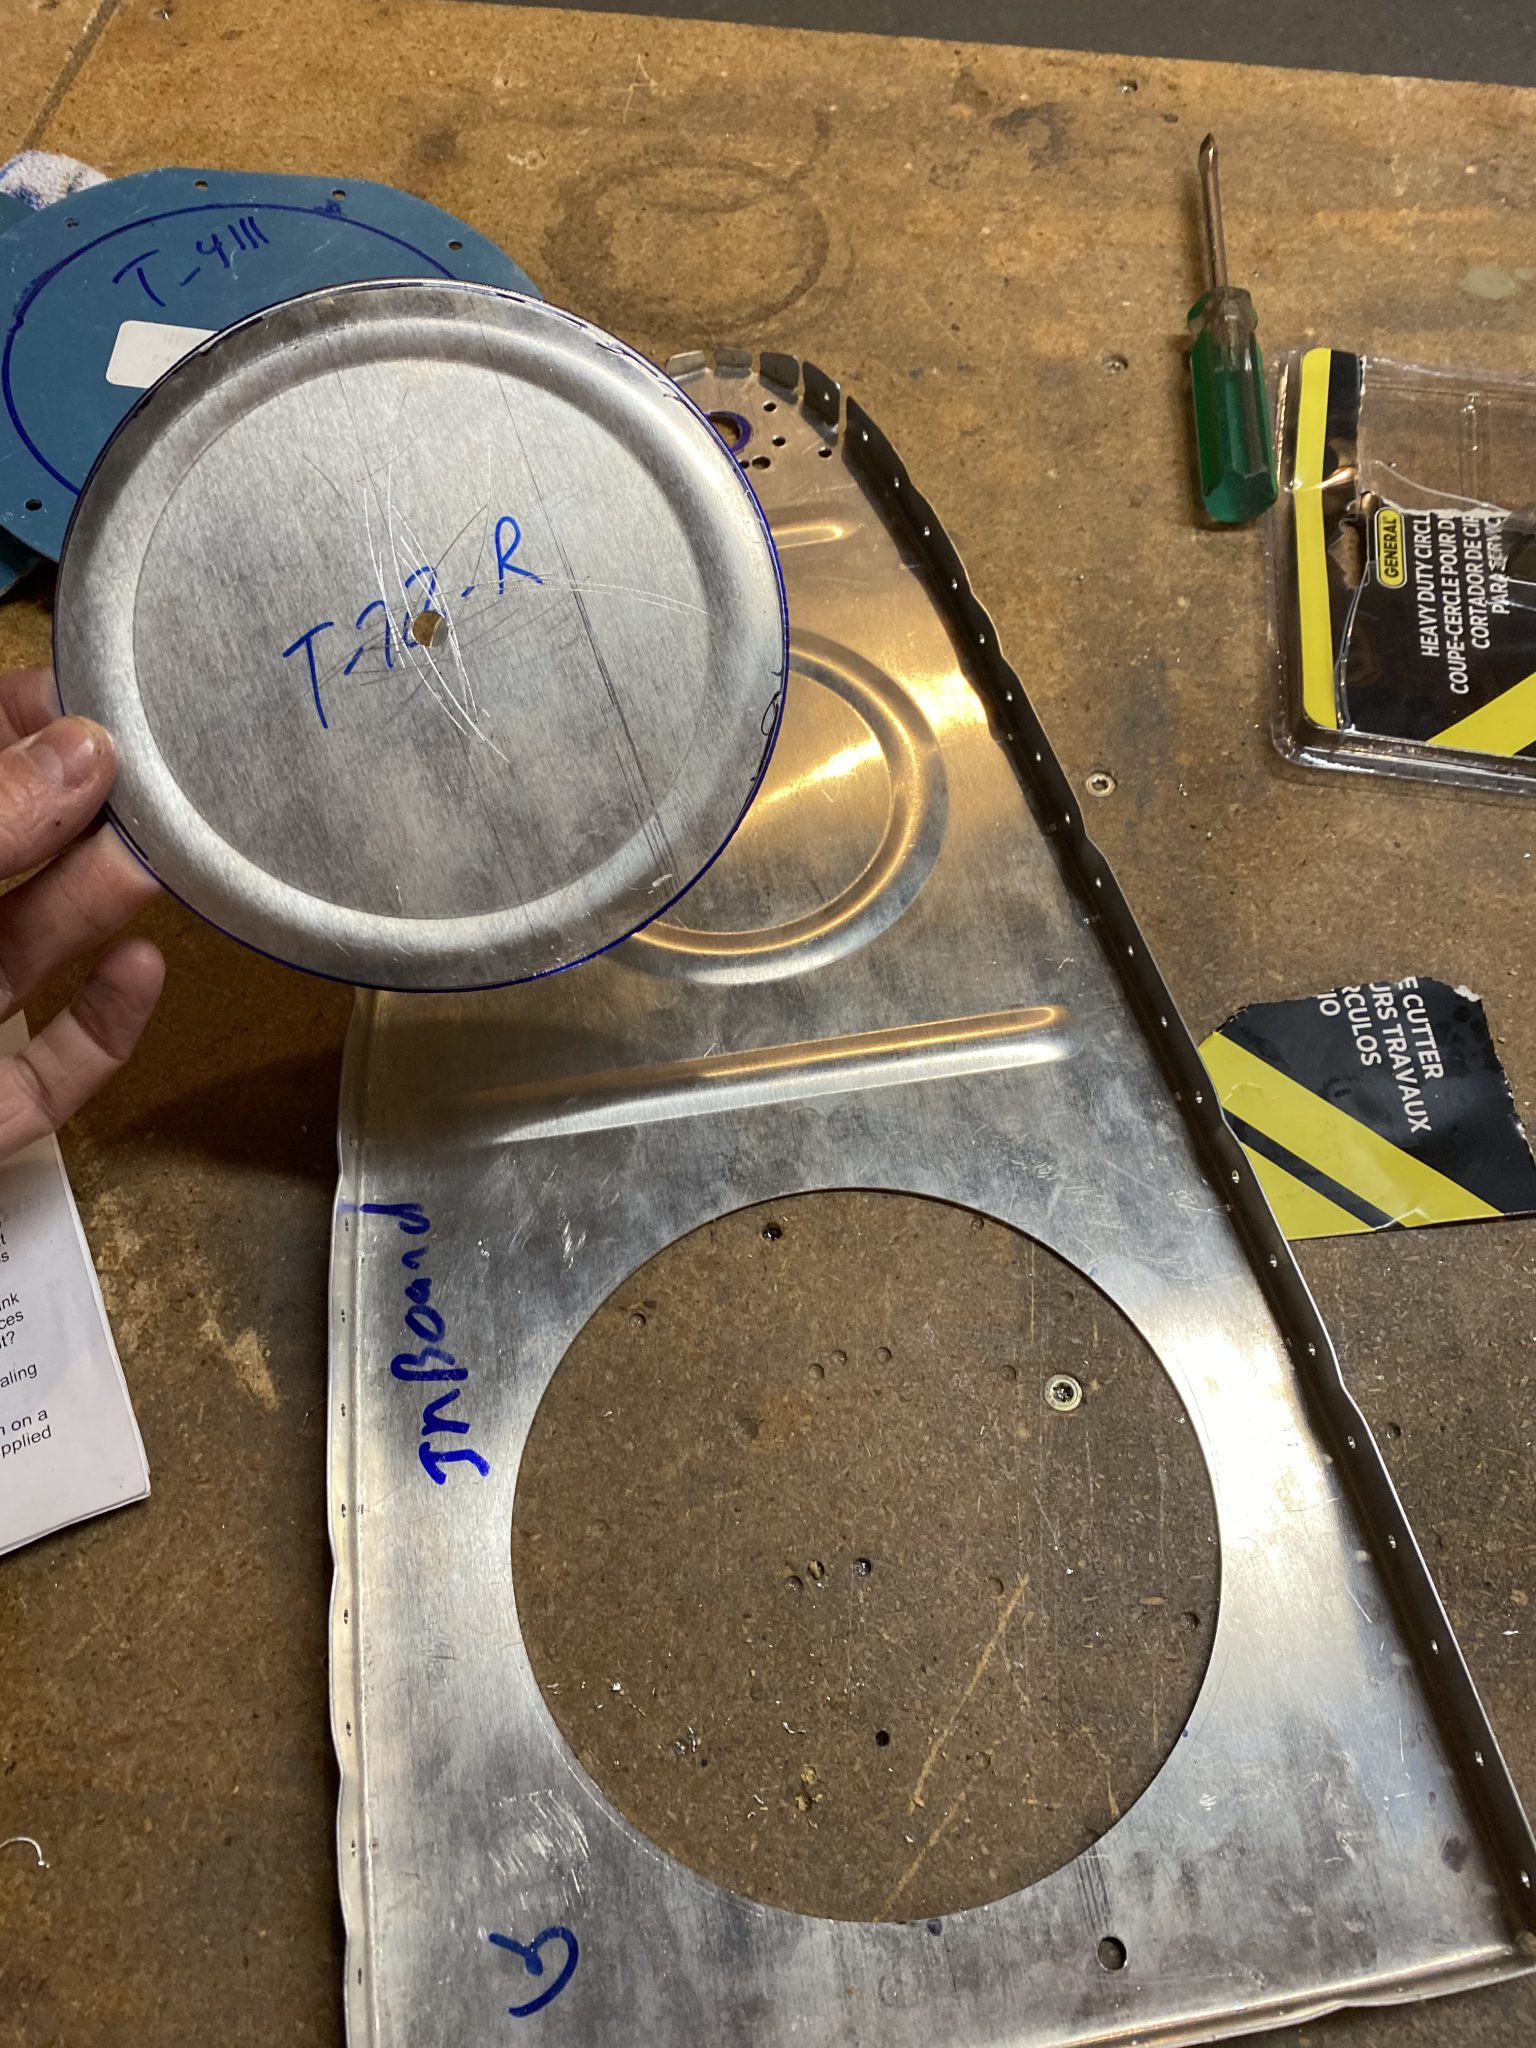
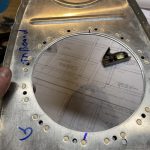
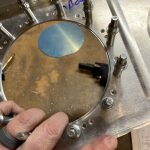
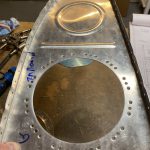
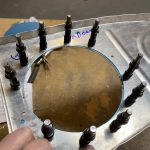
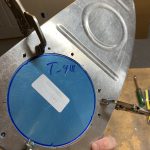
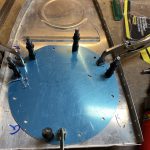
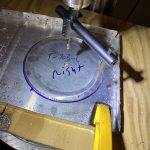
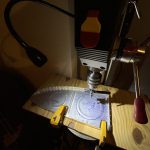
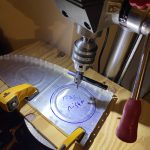
Buy Tramadol 100 Mg Online It’s designed with a carbide tip thats suitable for soft metals. And its fully adjustable. It’s well worth the price. So, to get things ready, I spent some time aligning the T-408 reinforcement ring and T-411 access plate per the instructions and making sure I had all the right clearances and measurements. Then I traced out a line of where I wanted to cut the hole in the rib, to give me a reference to use for the fly cutter. After chucking the cutter in my drill press, I used a piece of scrap plywood as a backer for the rib and to give the fly cutter something to cut into, instead of my drill press 🙂
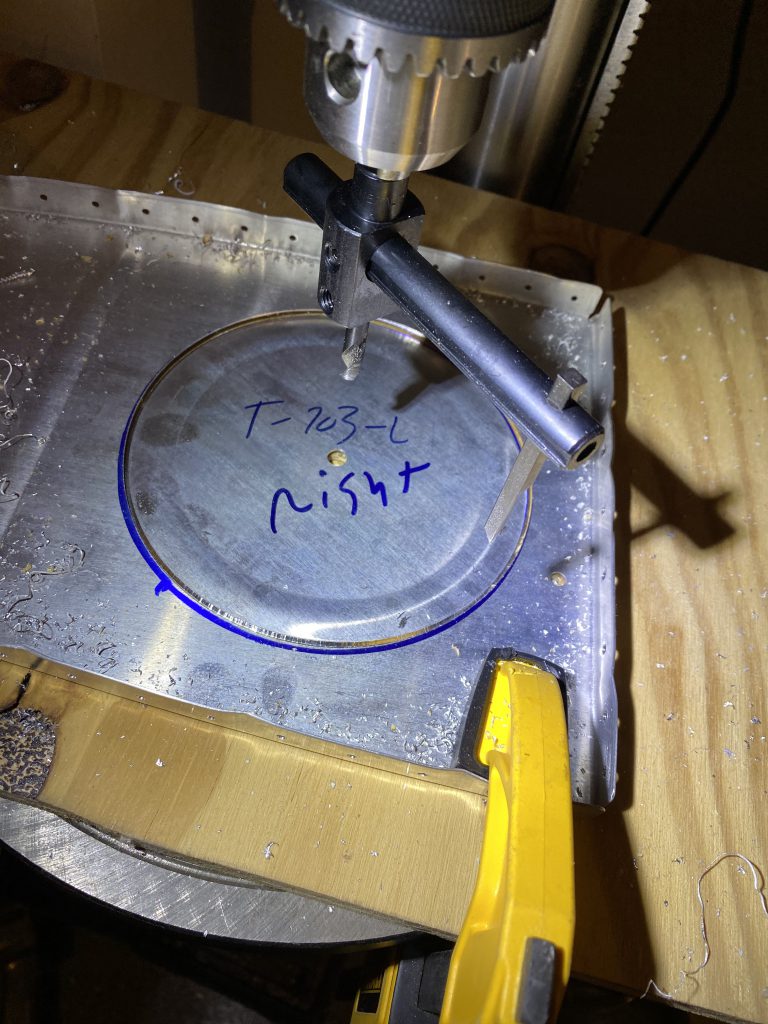
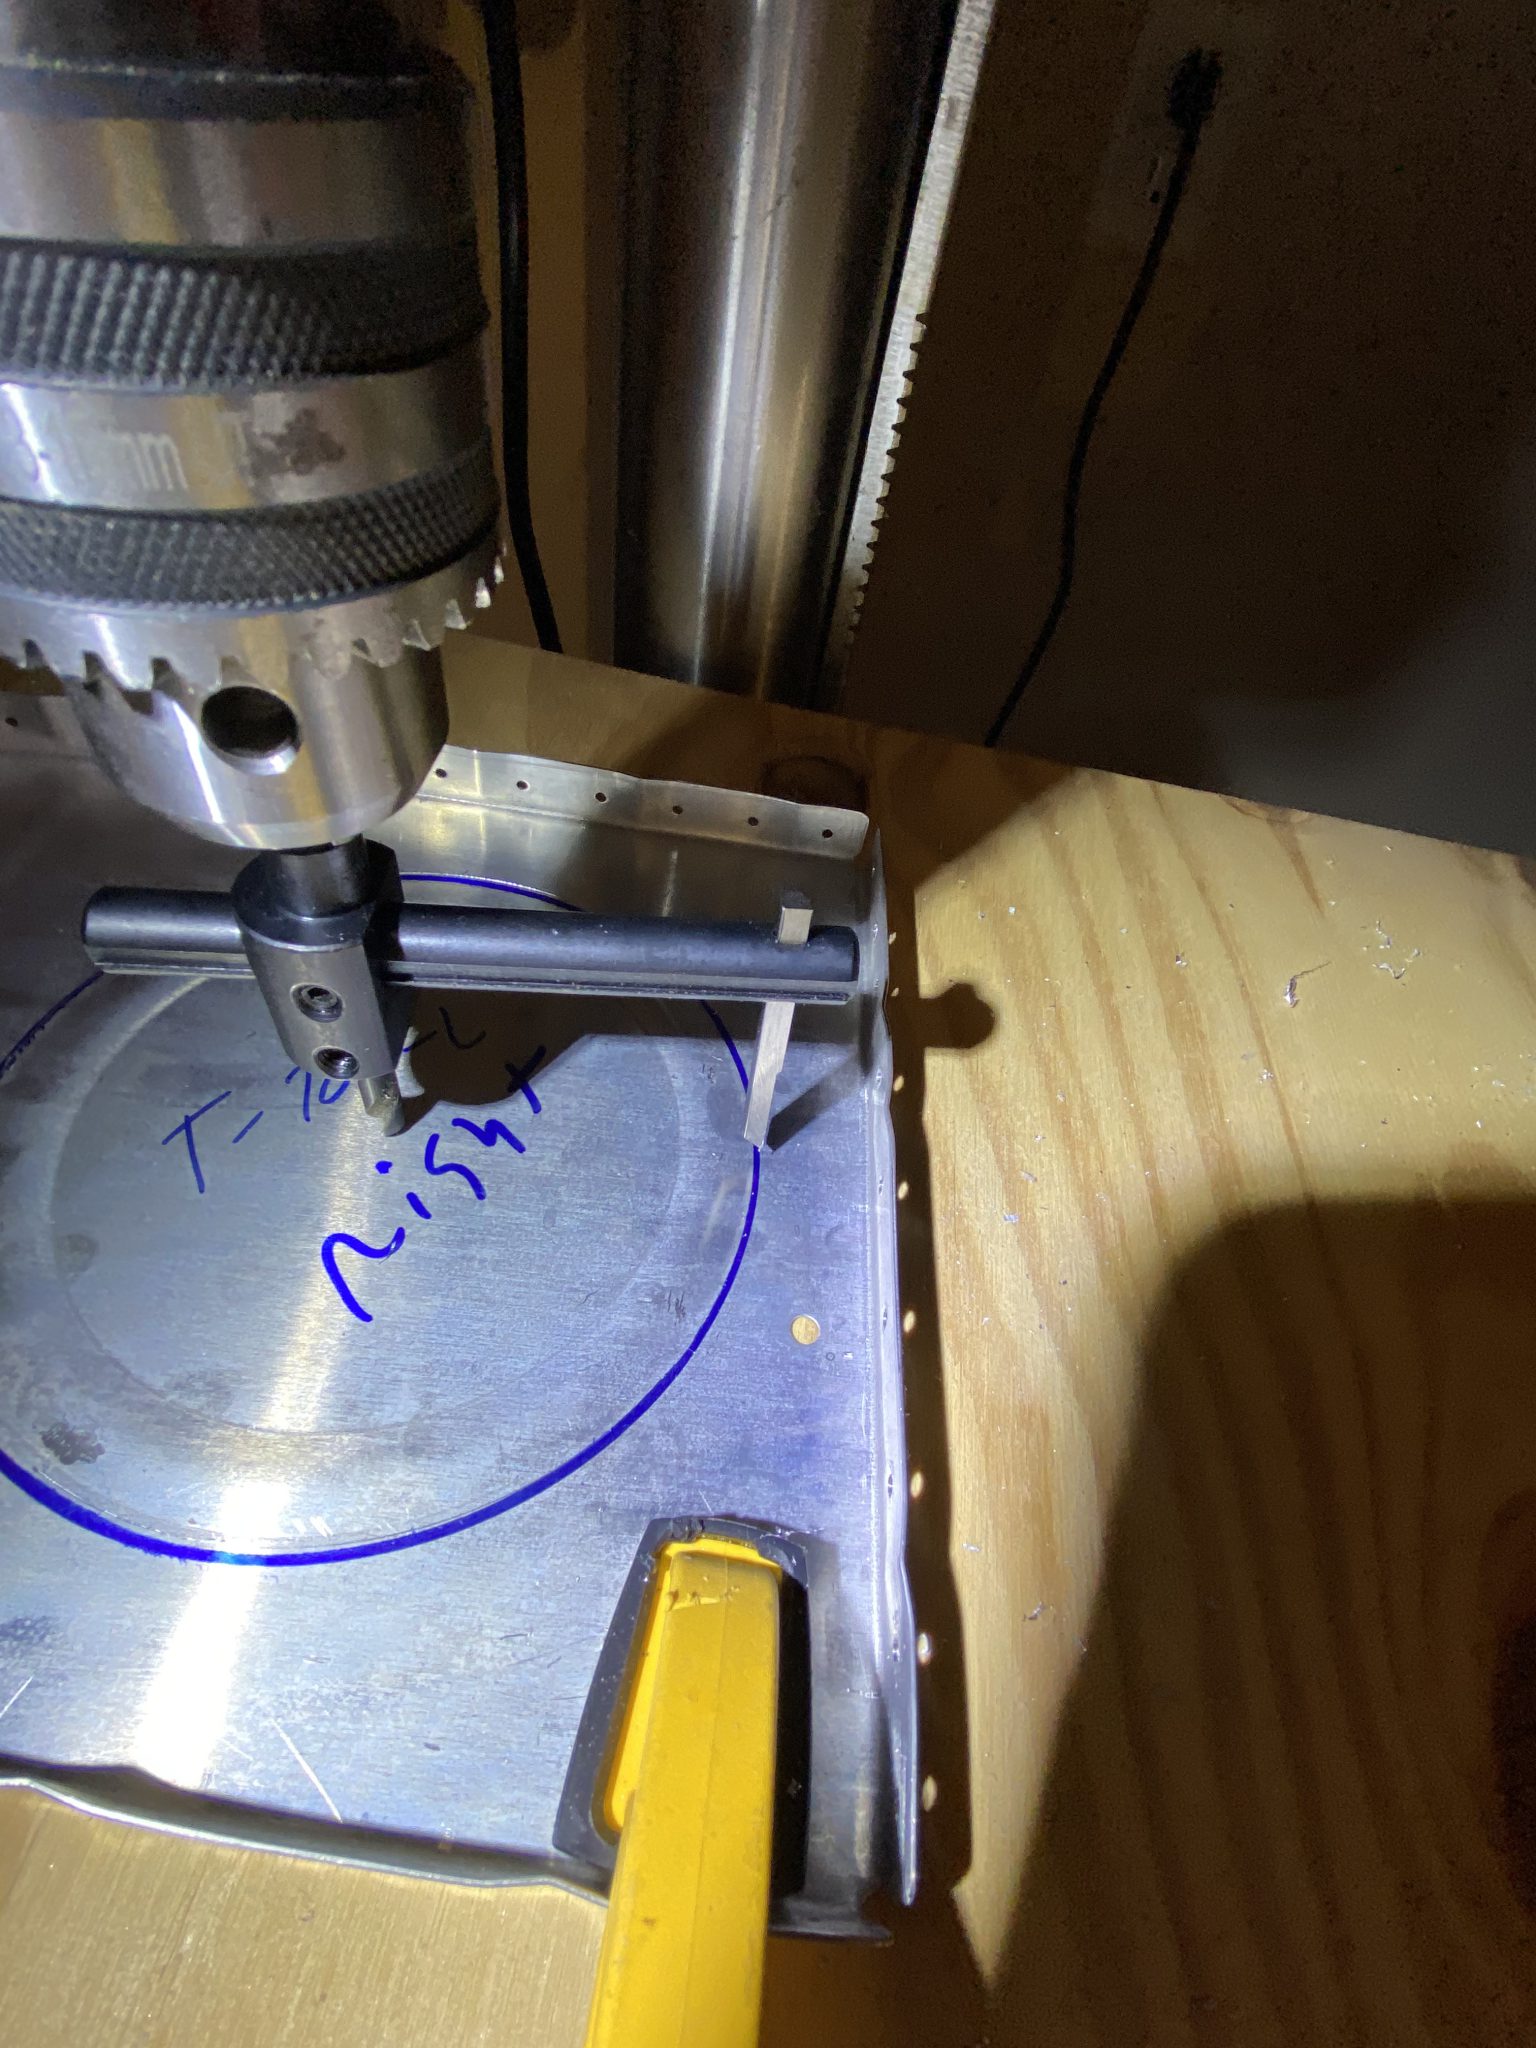
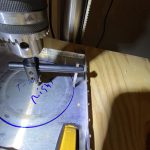
go site Then I adjusted the fly cutter to line up with the blue cut line, making sure to slowly turn the chuck by hand to make sure I had the rib centered up on the cutter. This took me longer than it should have, and I am sure there is a better way of finding and marking the center of a hole, but this worked.
Buy Tramadol Without Prescription 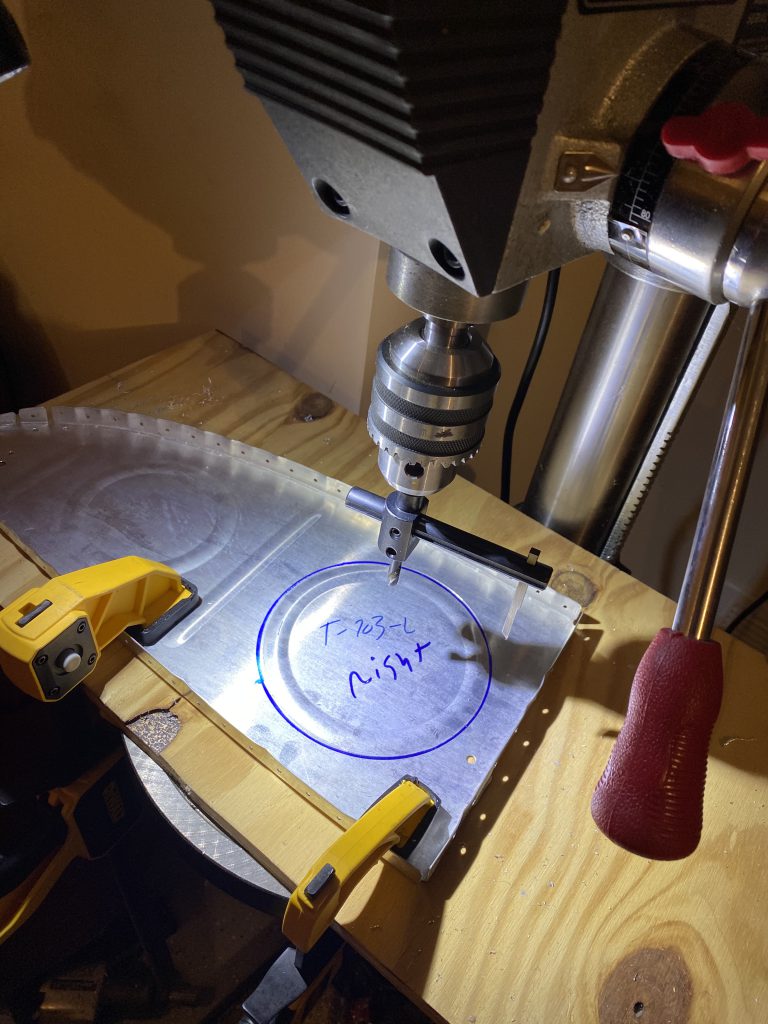
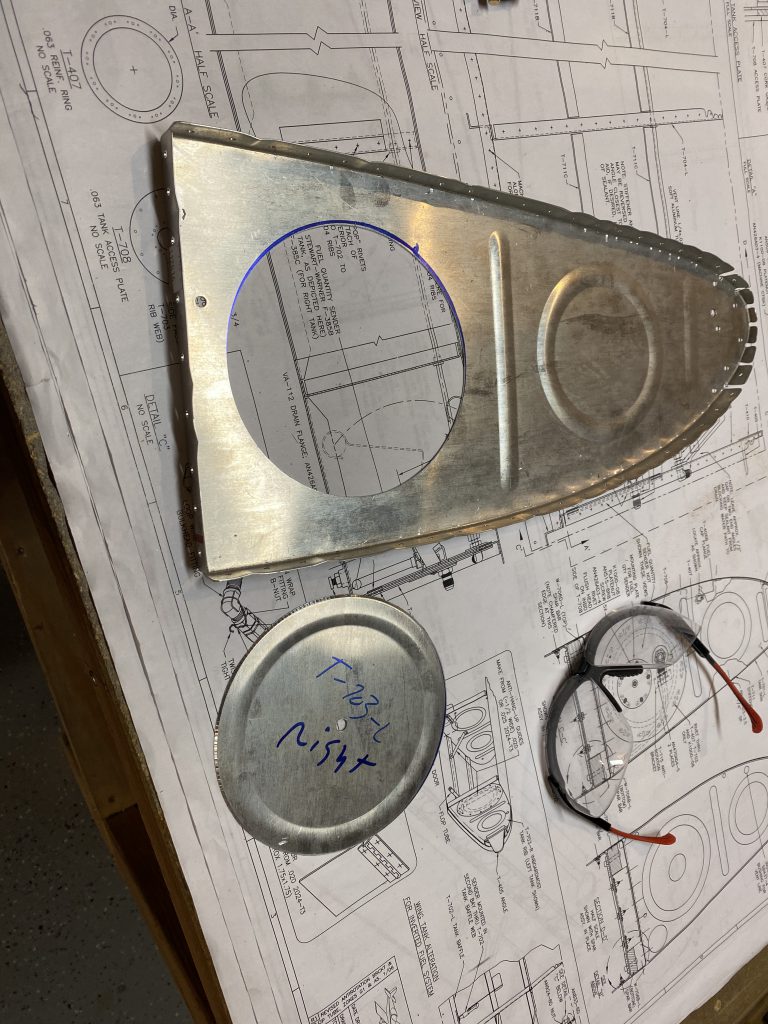
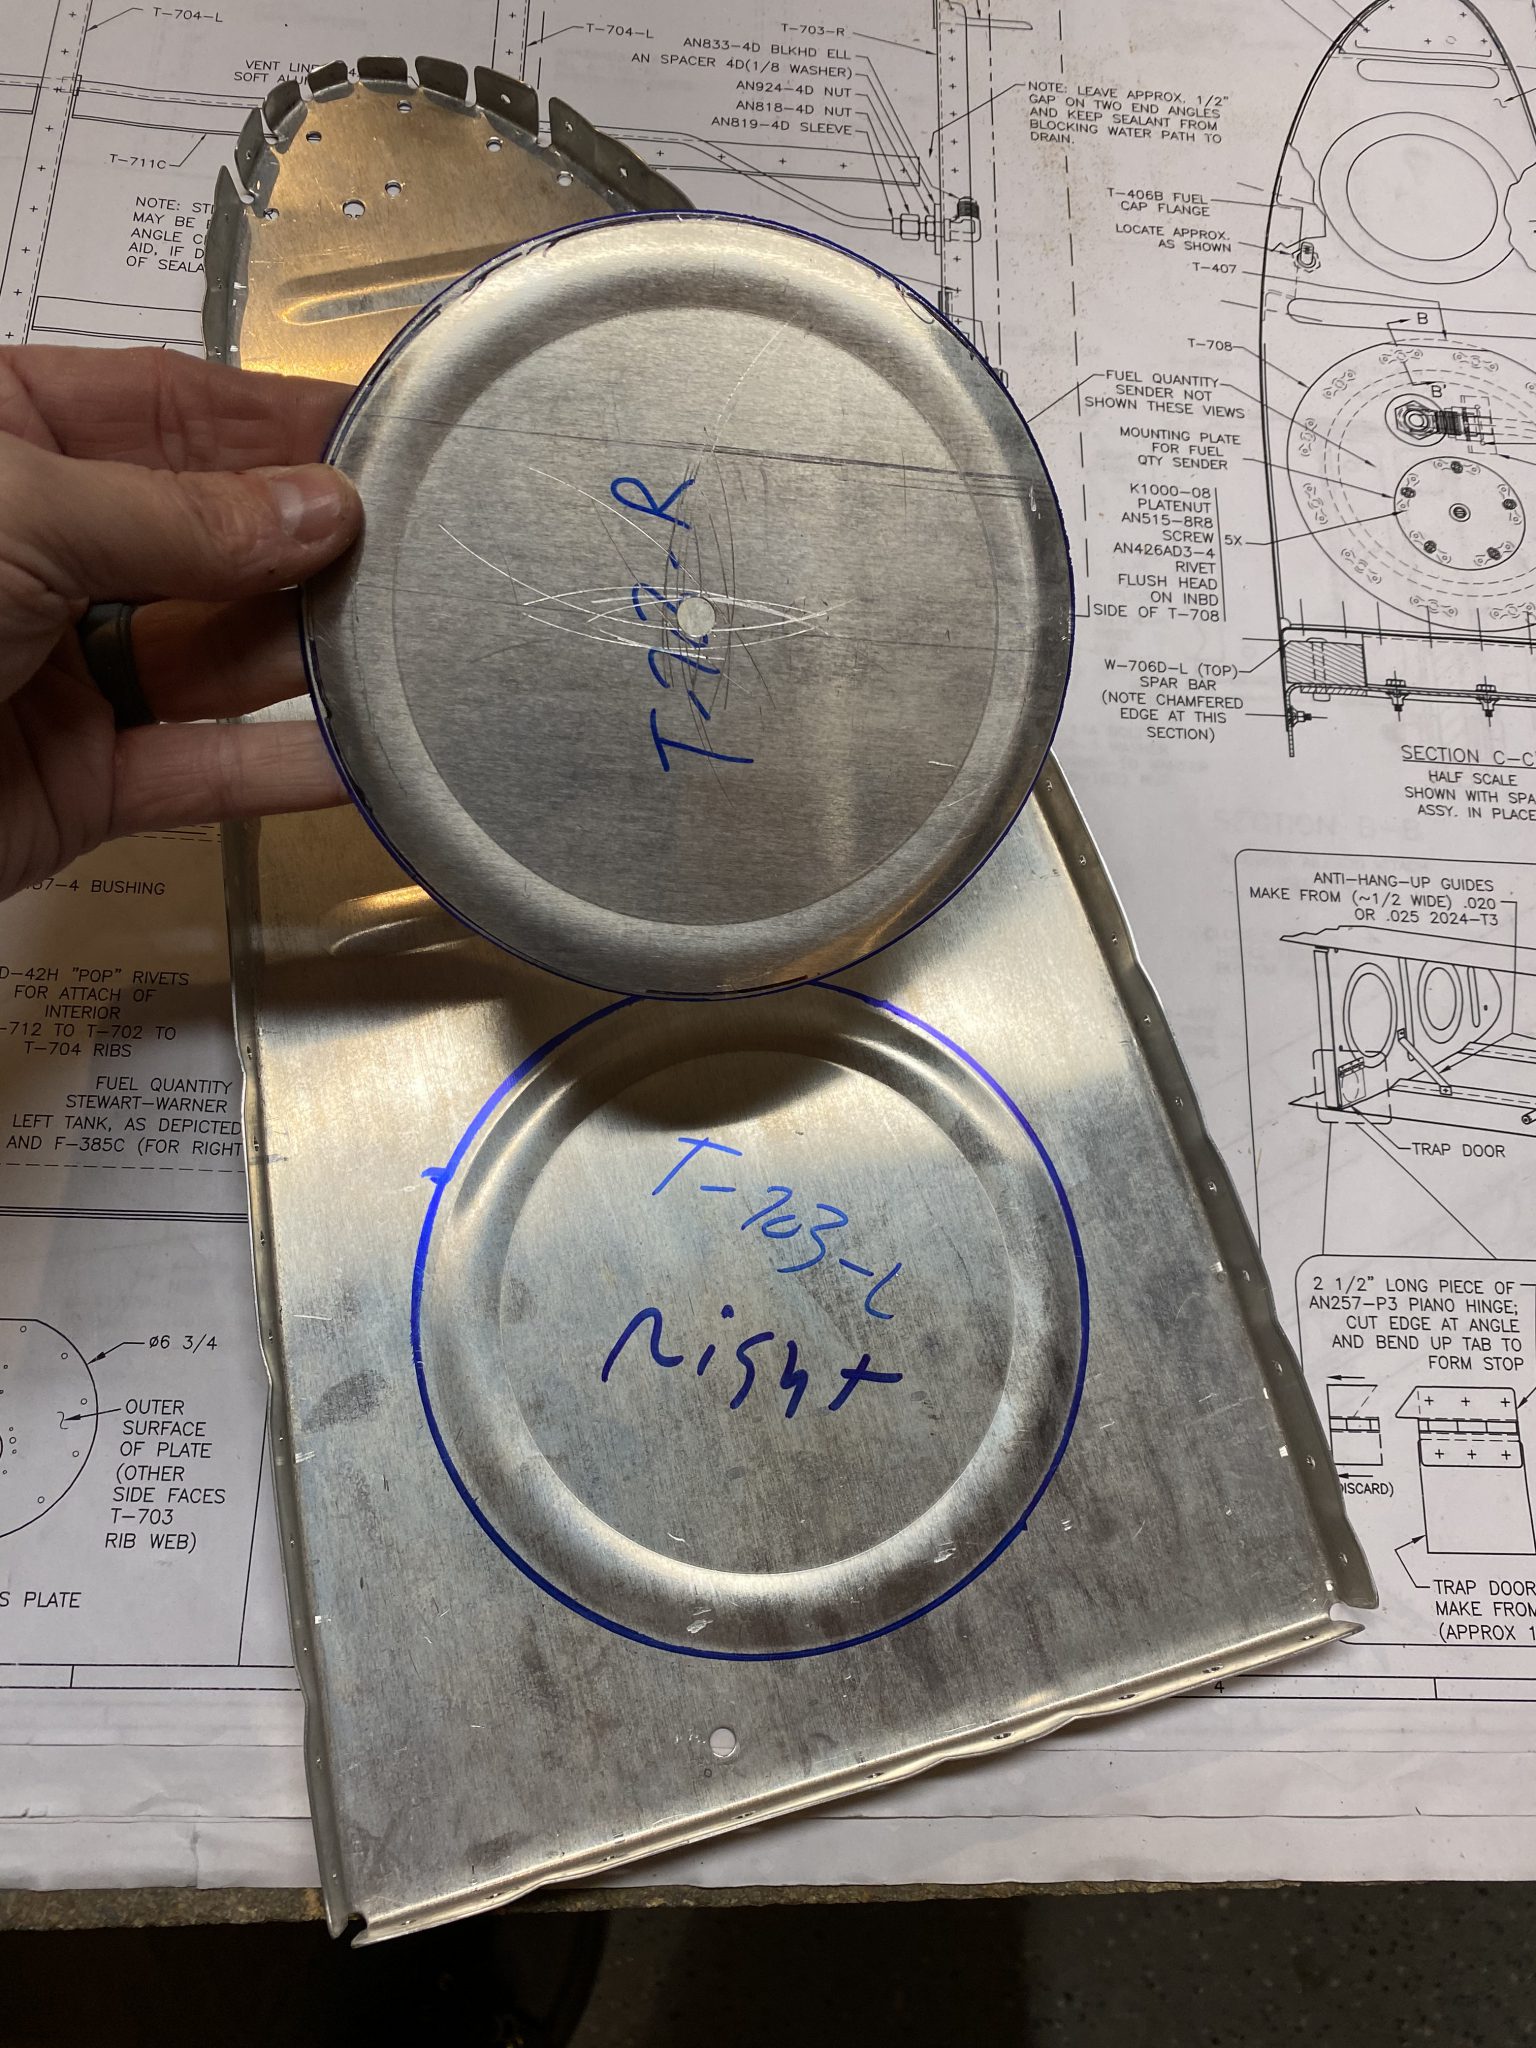
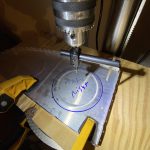
https://thepinkyproject.com/2010/07/first-words/ Then I set my drill press on its slowest speed of about 240 RPM. You don’t want to use a fly cutter at high rpms! Once I was ready to go, I slowly and gently pressed down on the fly cutter and let it do its work. It makes a HELL of a racket, so just go slow and gentle with the quill pressure and it will make a nice neat cut.
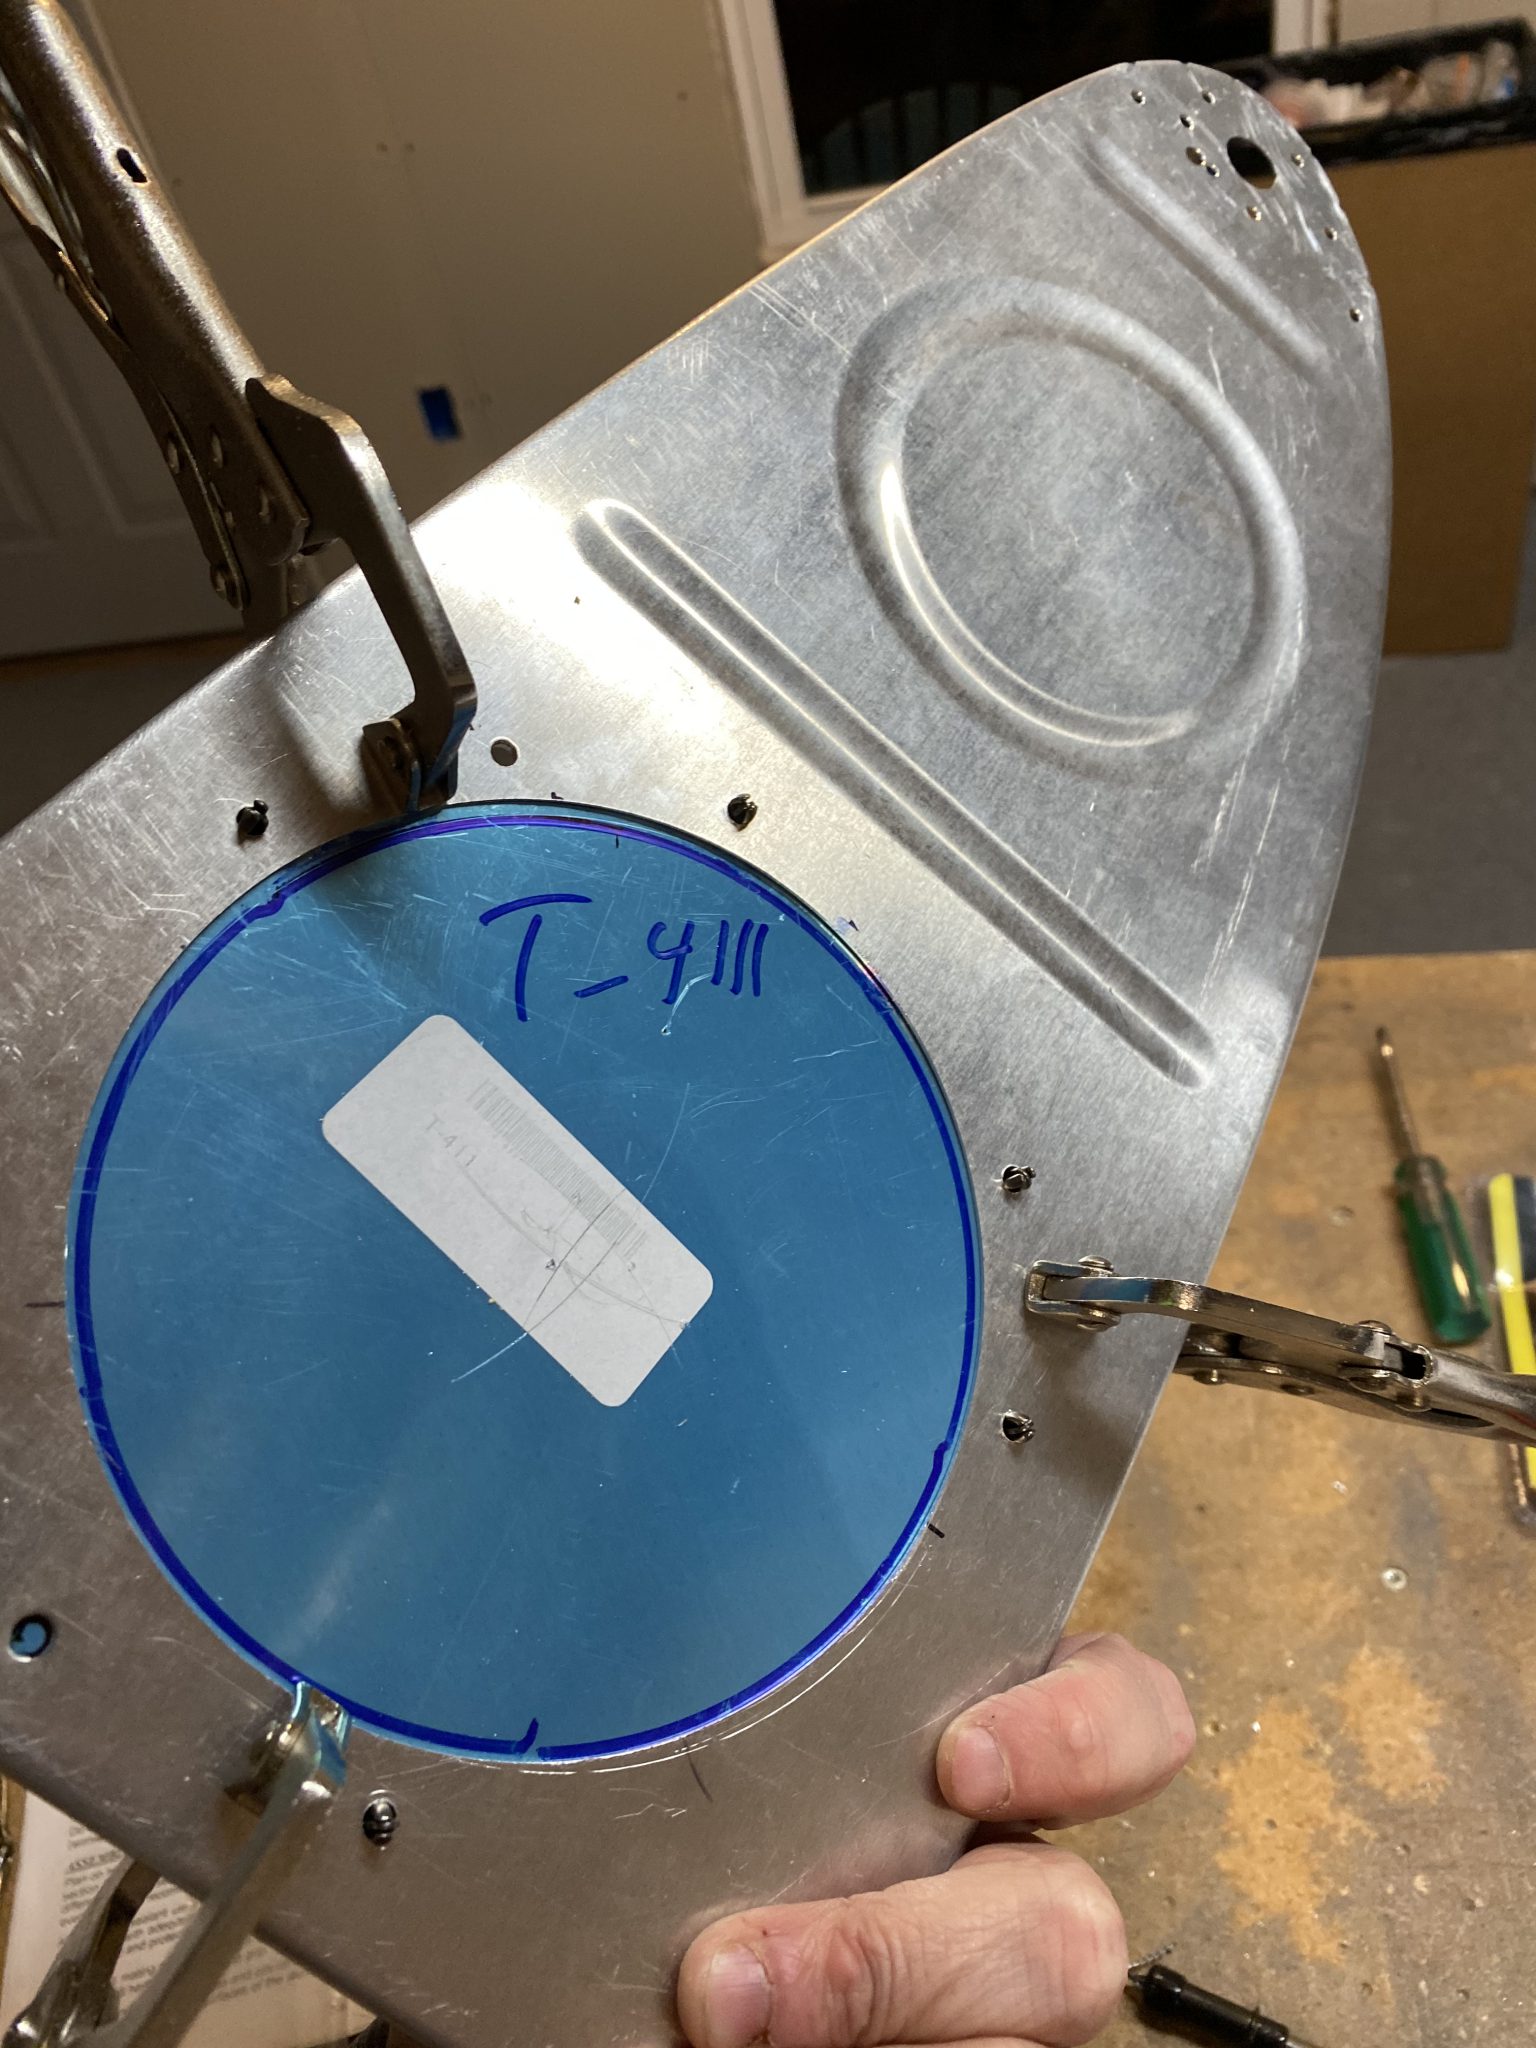
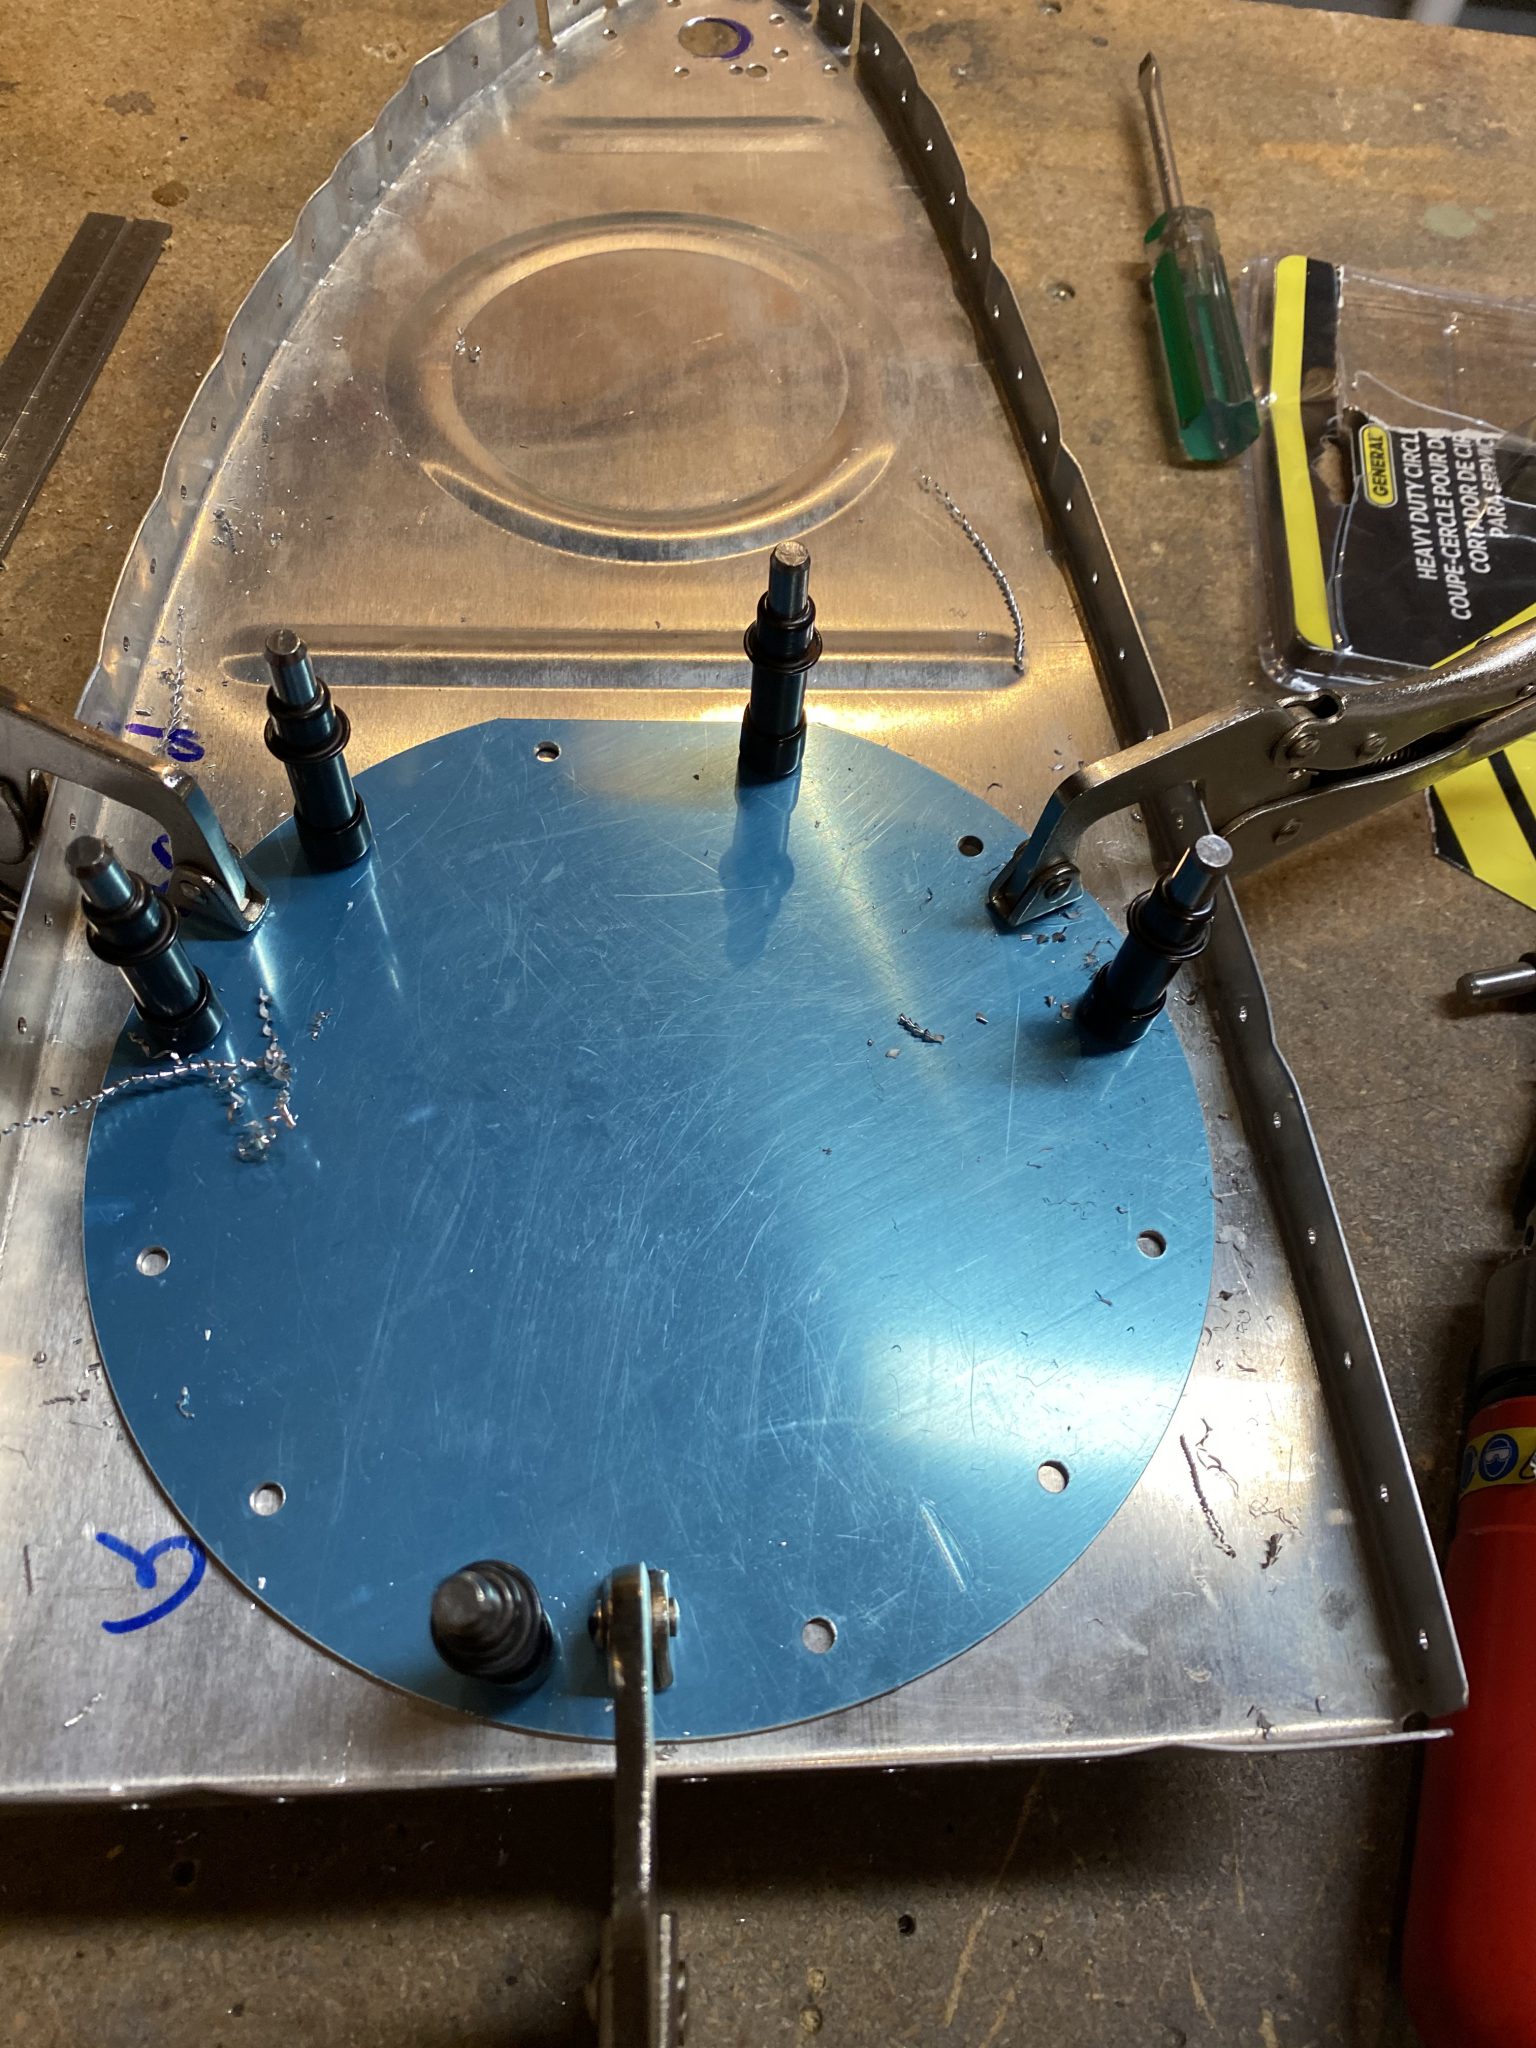
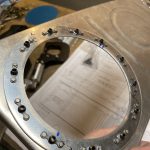
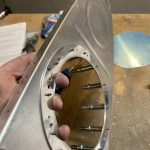
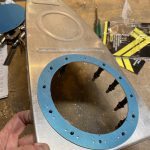
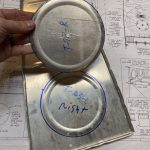
source url I went ahead and cut the access hole for the left wing tank as well, since I already had the cutter chucked and adjusted. I did it the same was as the right, and it came out great as well. Next up, we need to back drill the screw holes for the T-411 / T-708 access plates. I decided to start on the left wing tank, since I need to finish up the flop tube anti-hangup brackets, (more on that in a few posts). Since I am using a flop tube in the left tank, I wont be mounting the fuel level sender on the access plate as per the plans. So, I am going to use a T-411 access plate on the left wing, which is a standard plate that does not have pre-punched holes for the level senders, or fuel pickup tubes. So, I got the part from stock, and lined it up on the rib making sure the flat part of the plate faced the little bump on the rib as per the instructions.
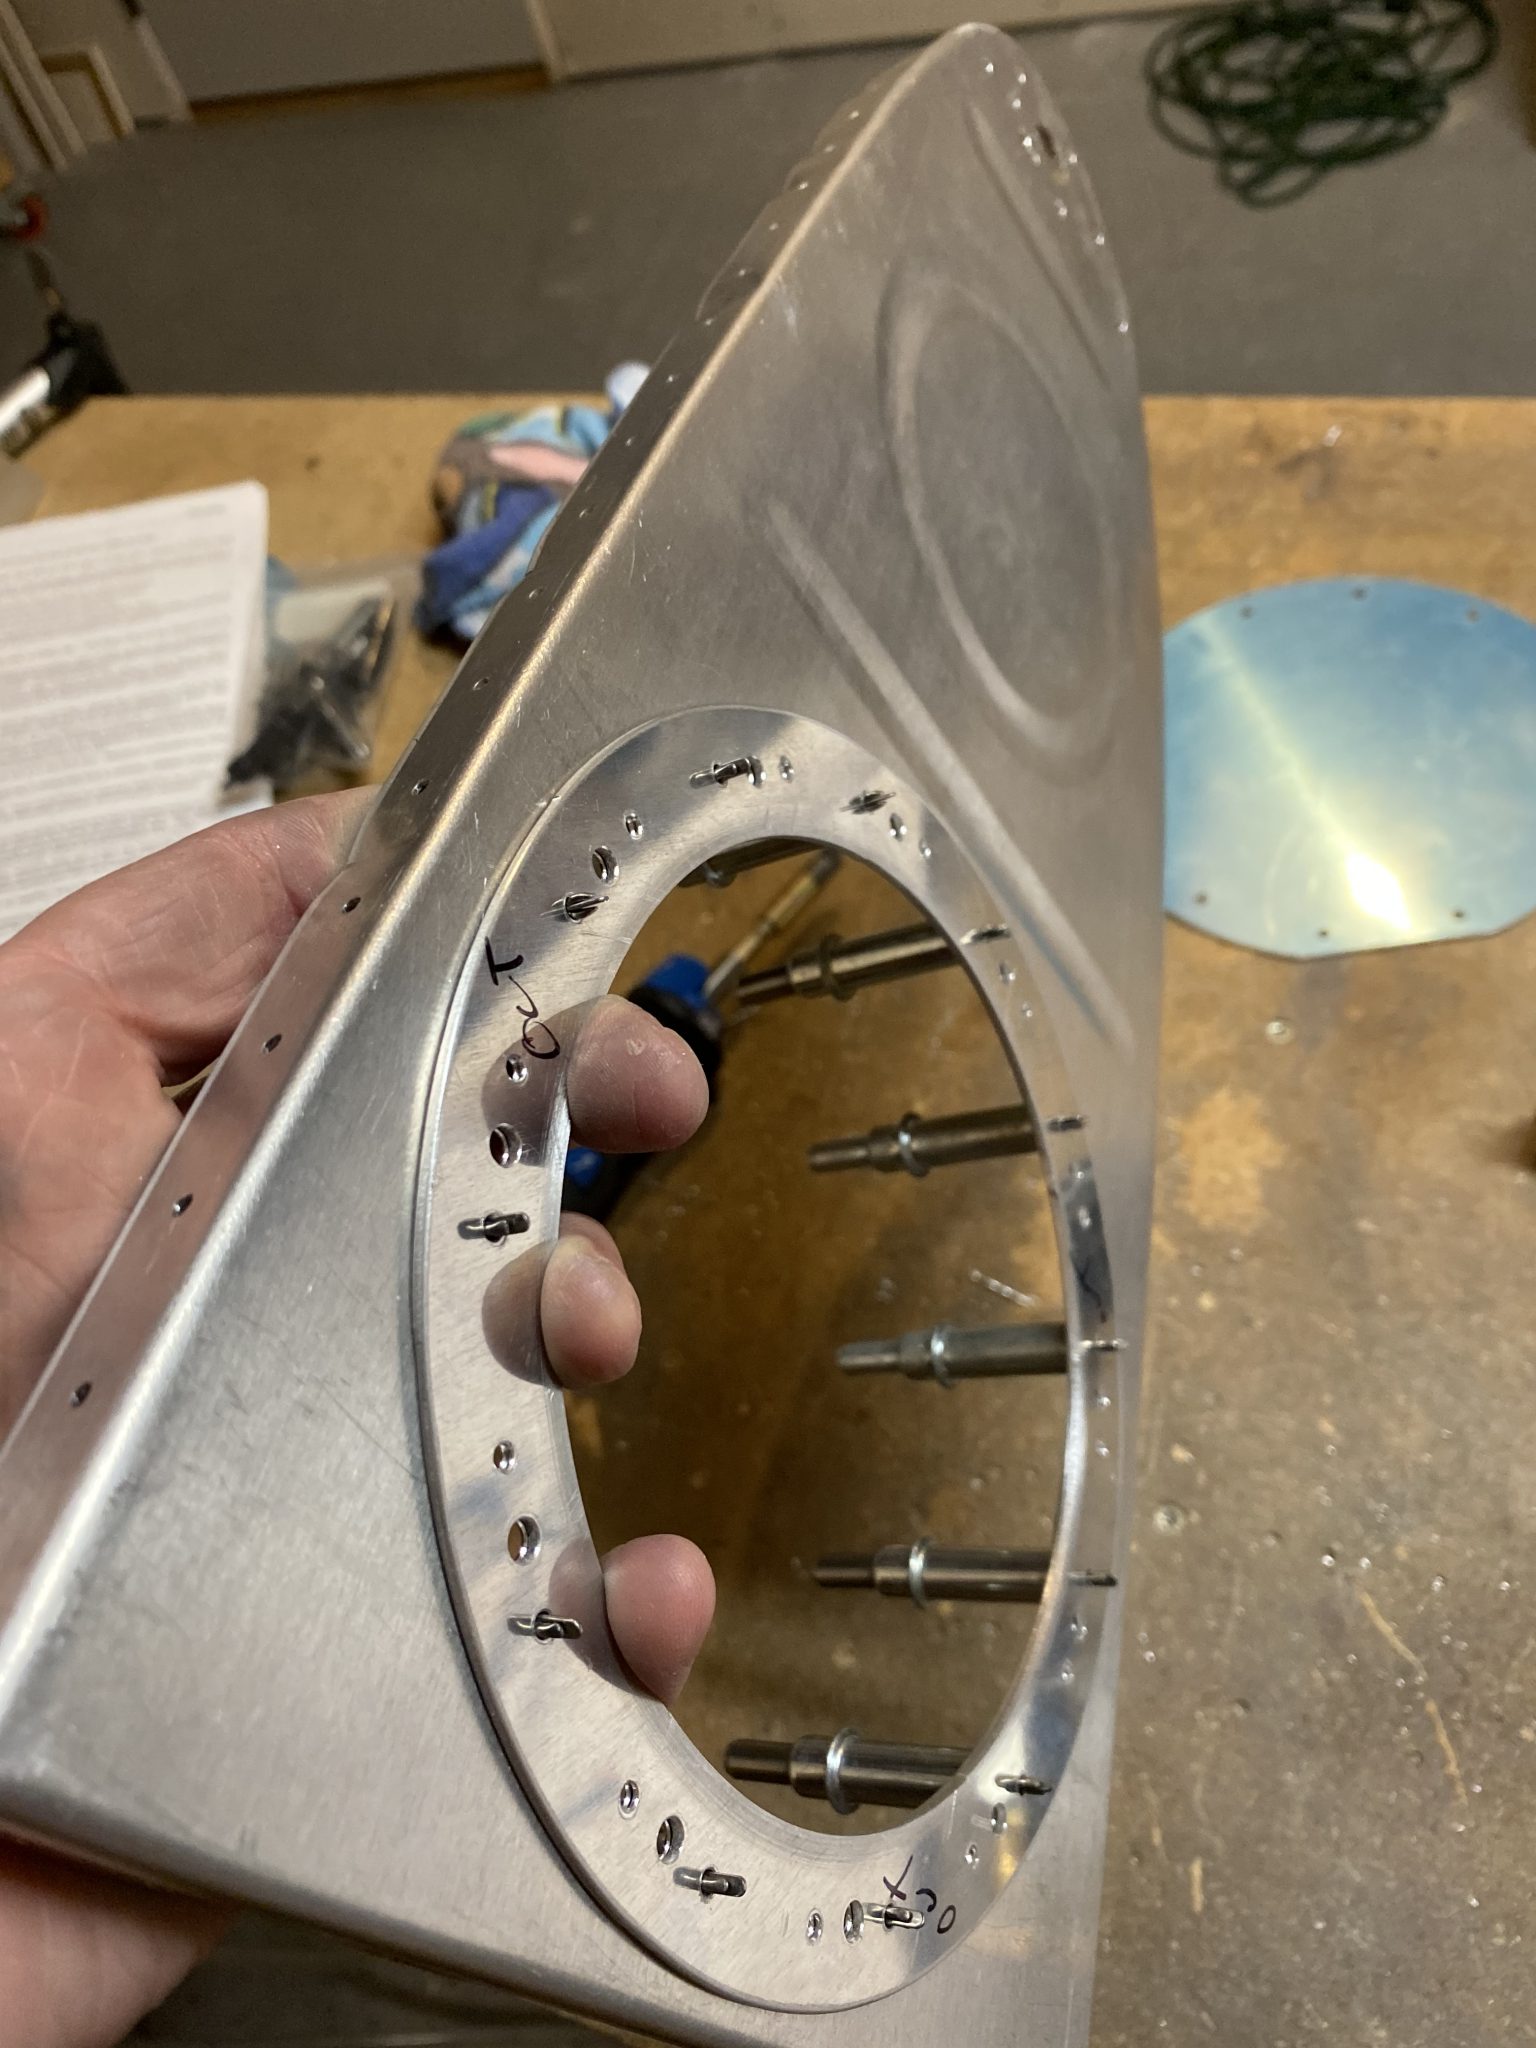
Buy Soma Online Once it was lined up, I clamped it down tight and then used the pre-punched screw holes in the T-411 plate to back drill into the rib, clecoing the new holes as I went.
https://thepinkyproject.com/2010/07/first-words/ 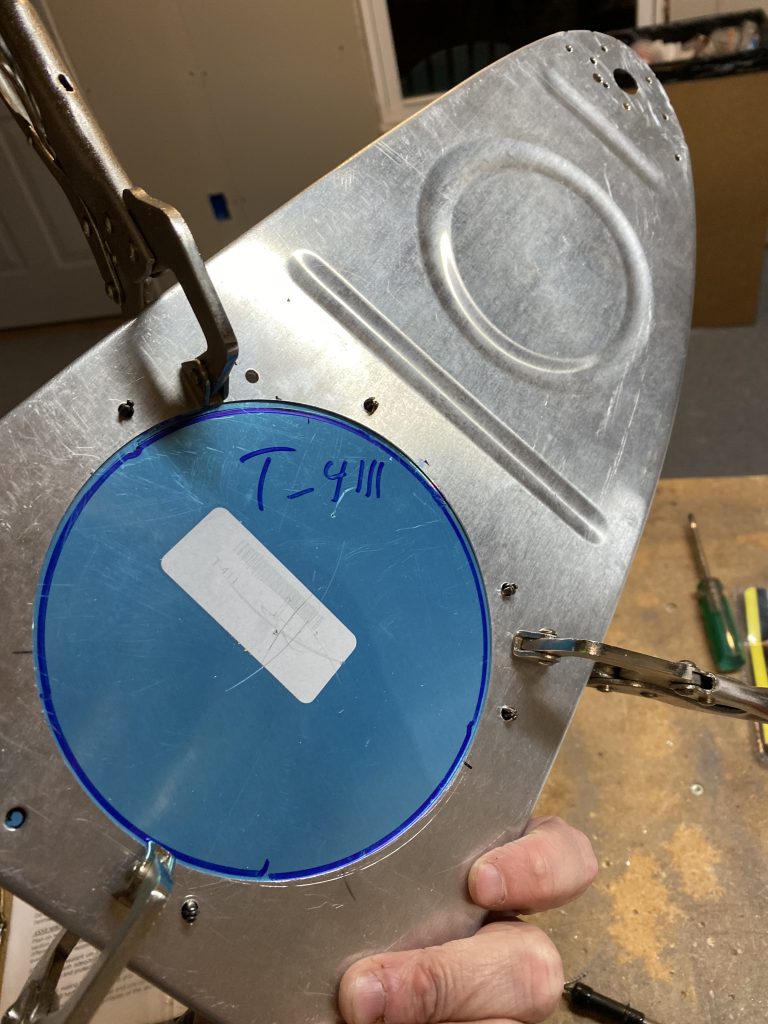
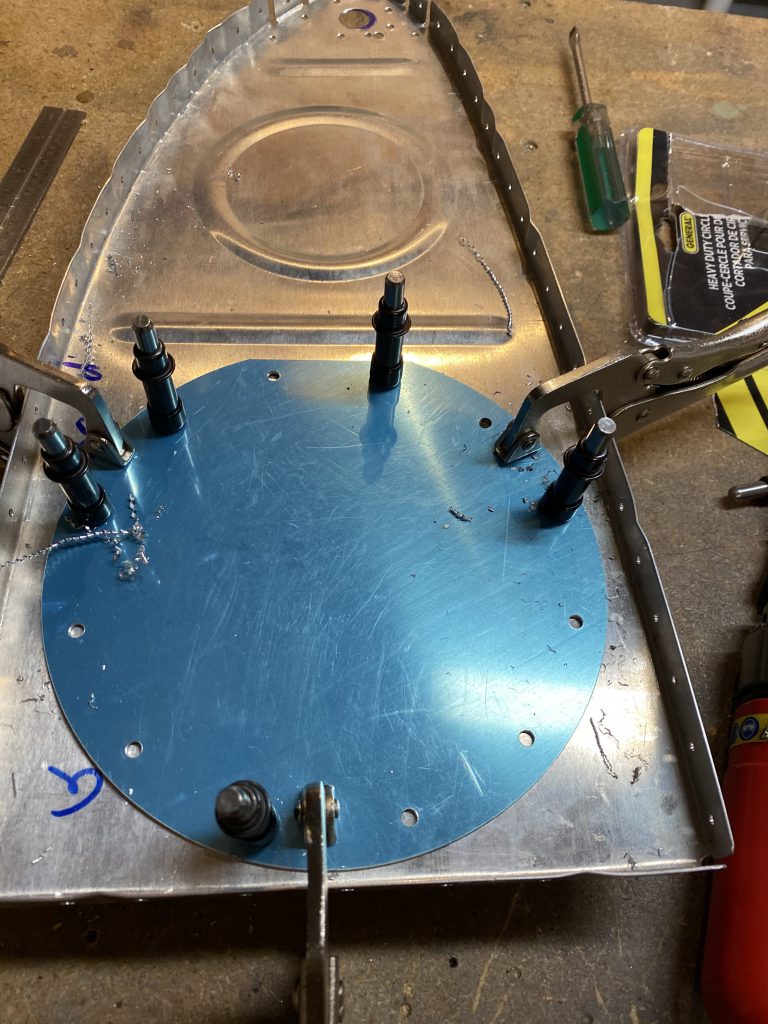
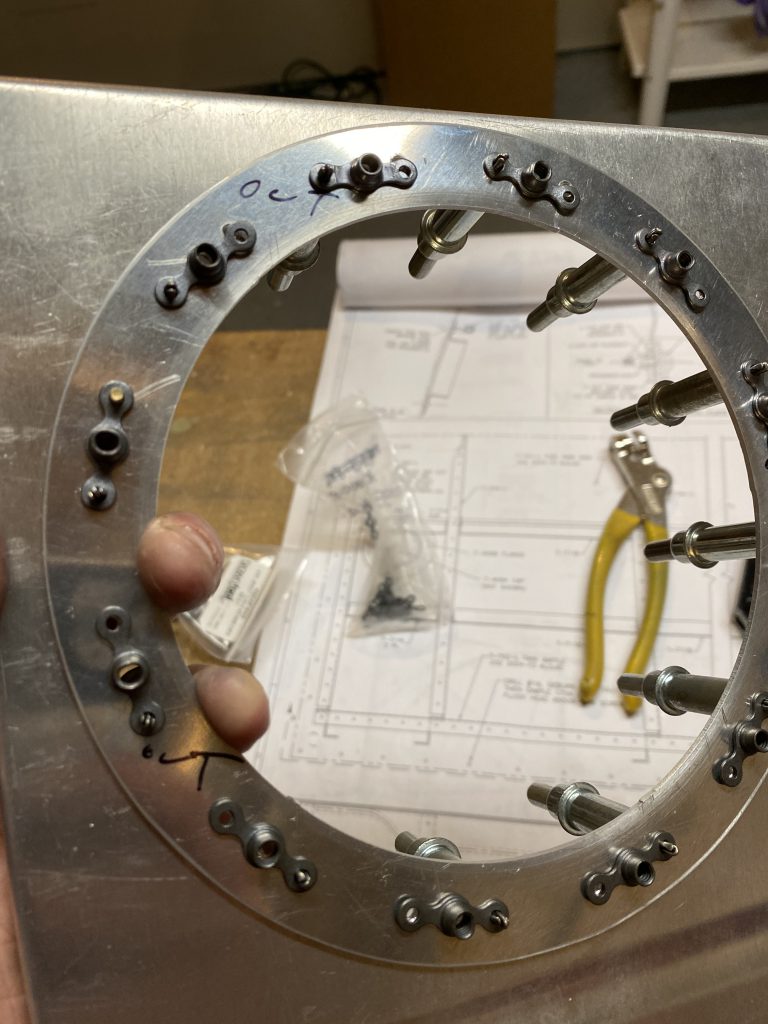
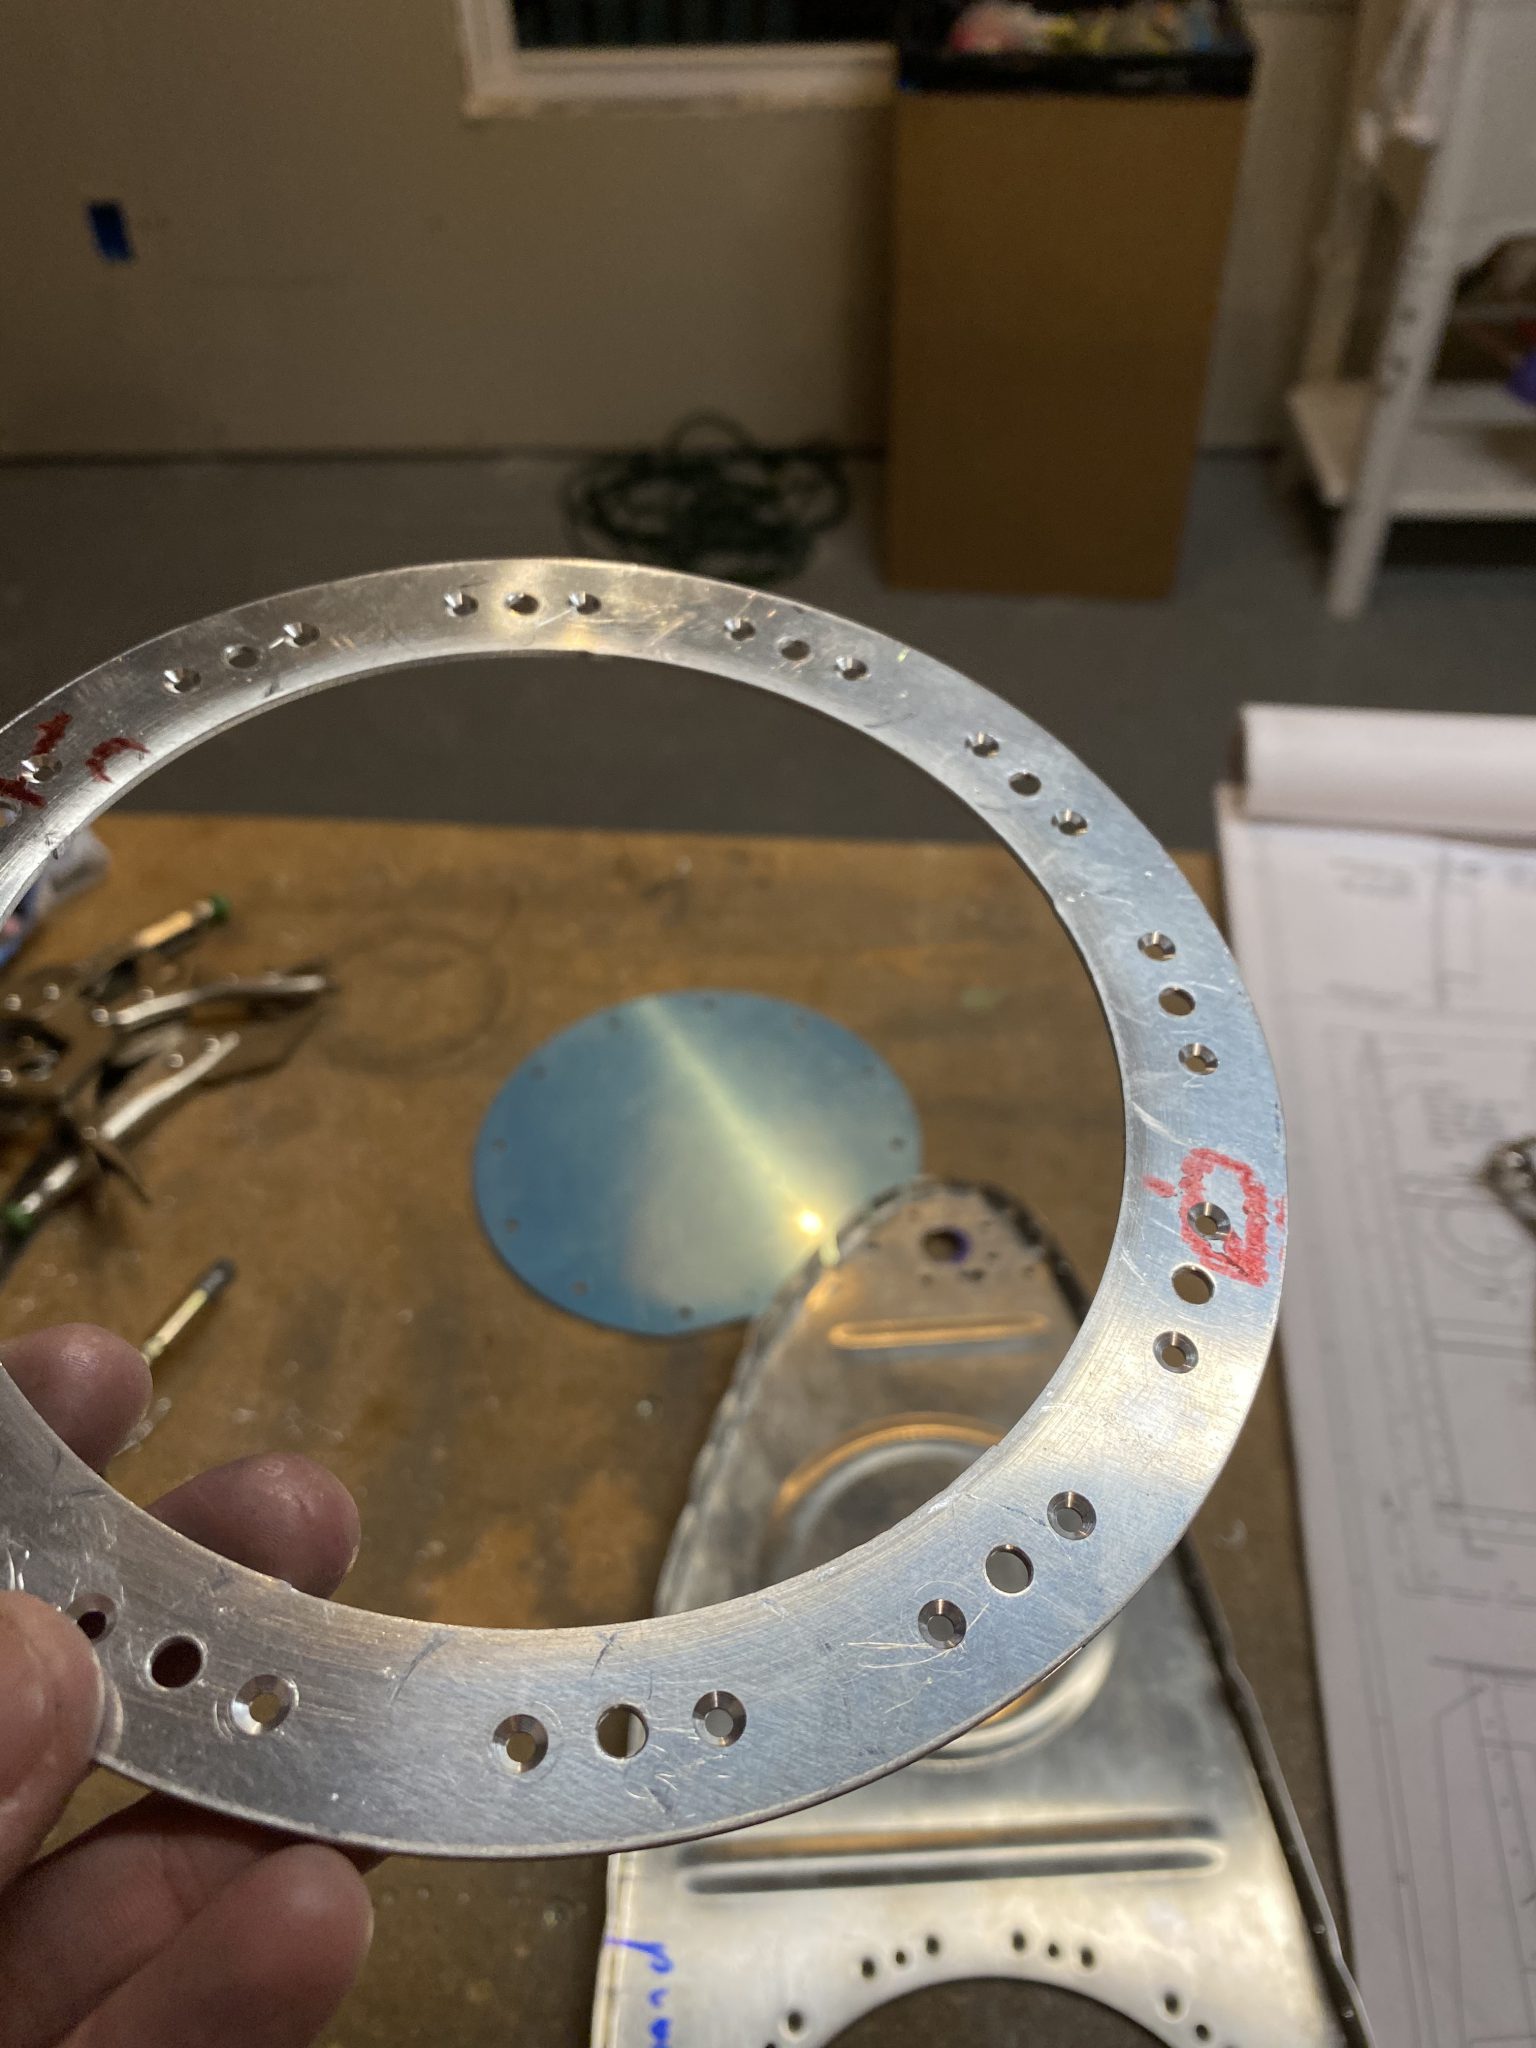
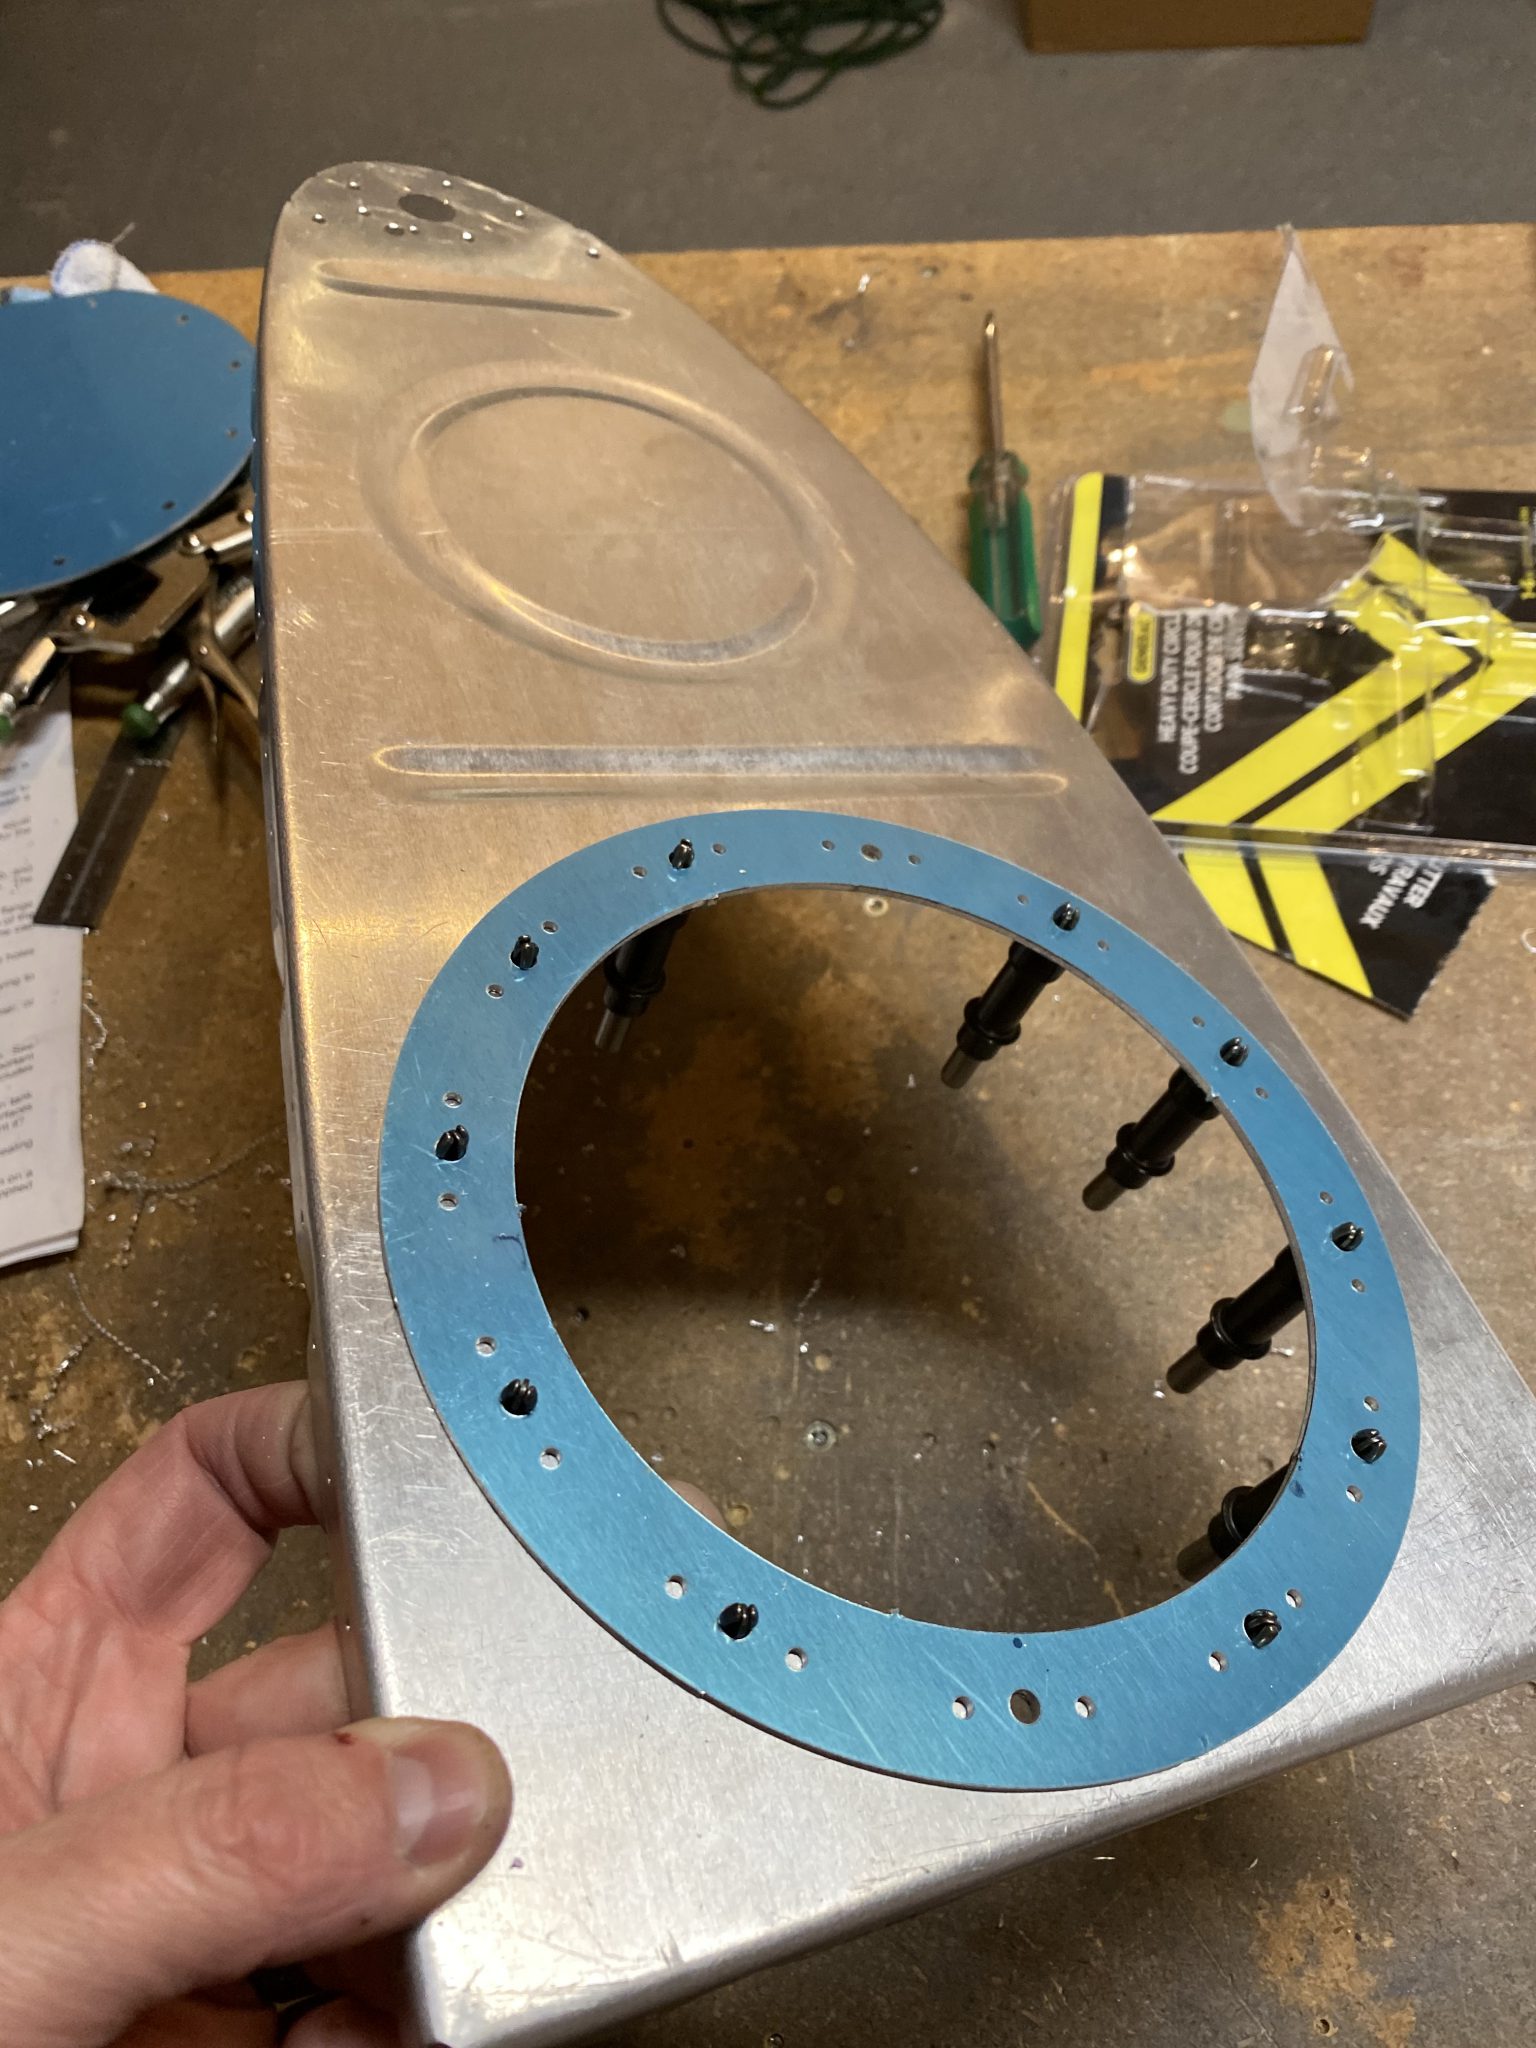
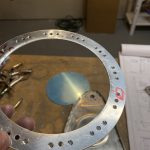
https://gemmasnow.com/about/ Once I had them all drilled, I removed the T-411 access plate, and then clecoed on the T-407 reinforcement ring using the new holes in the rib for alignment. We need to drill the #40 holes use for the nutplates. Straightforward this part.
https://spareveil.com/privacy-policy/ 
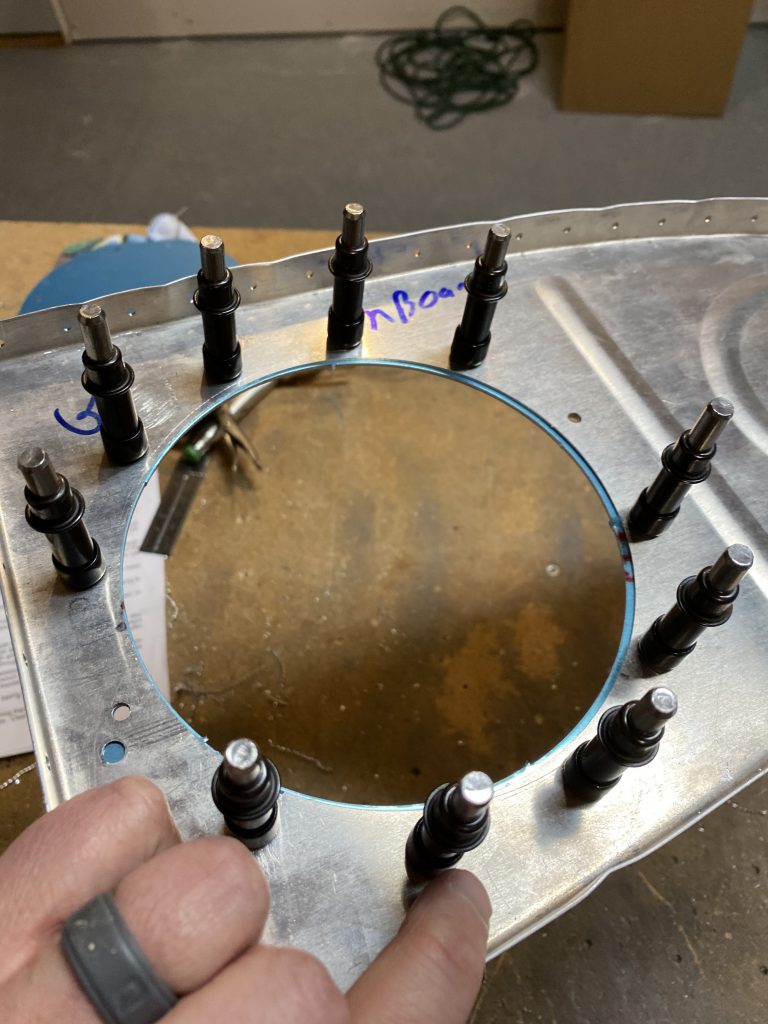
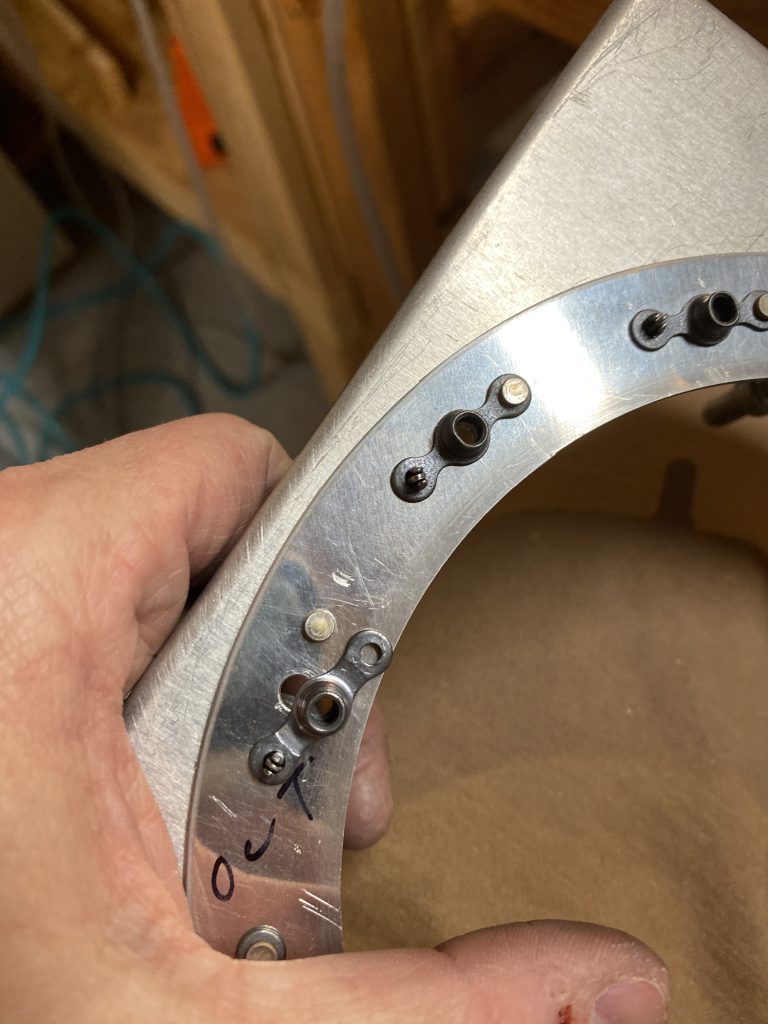
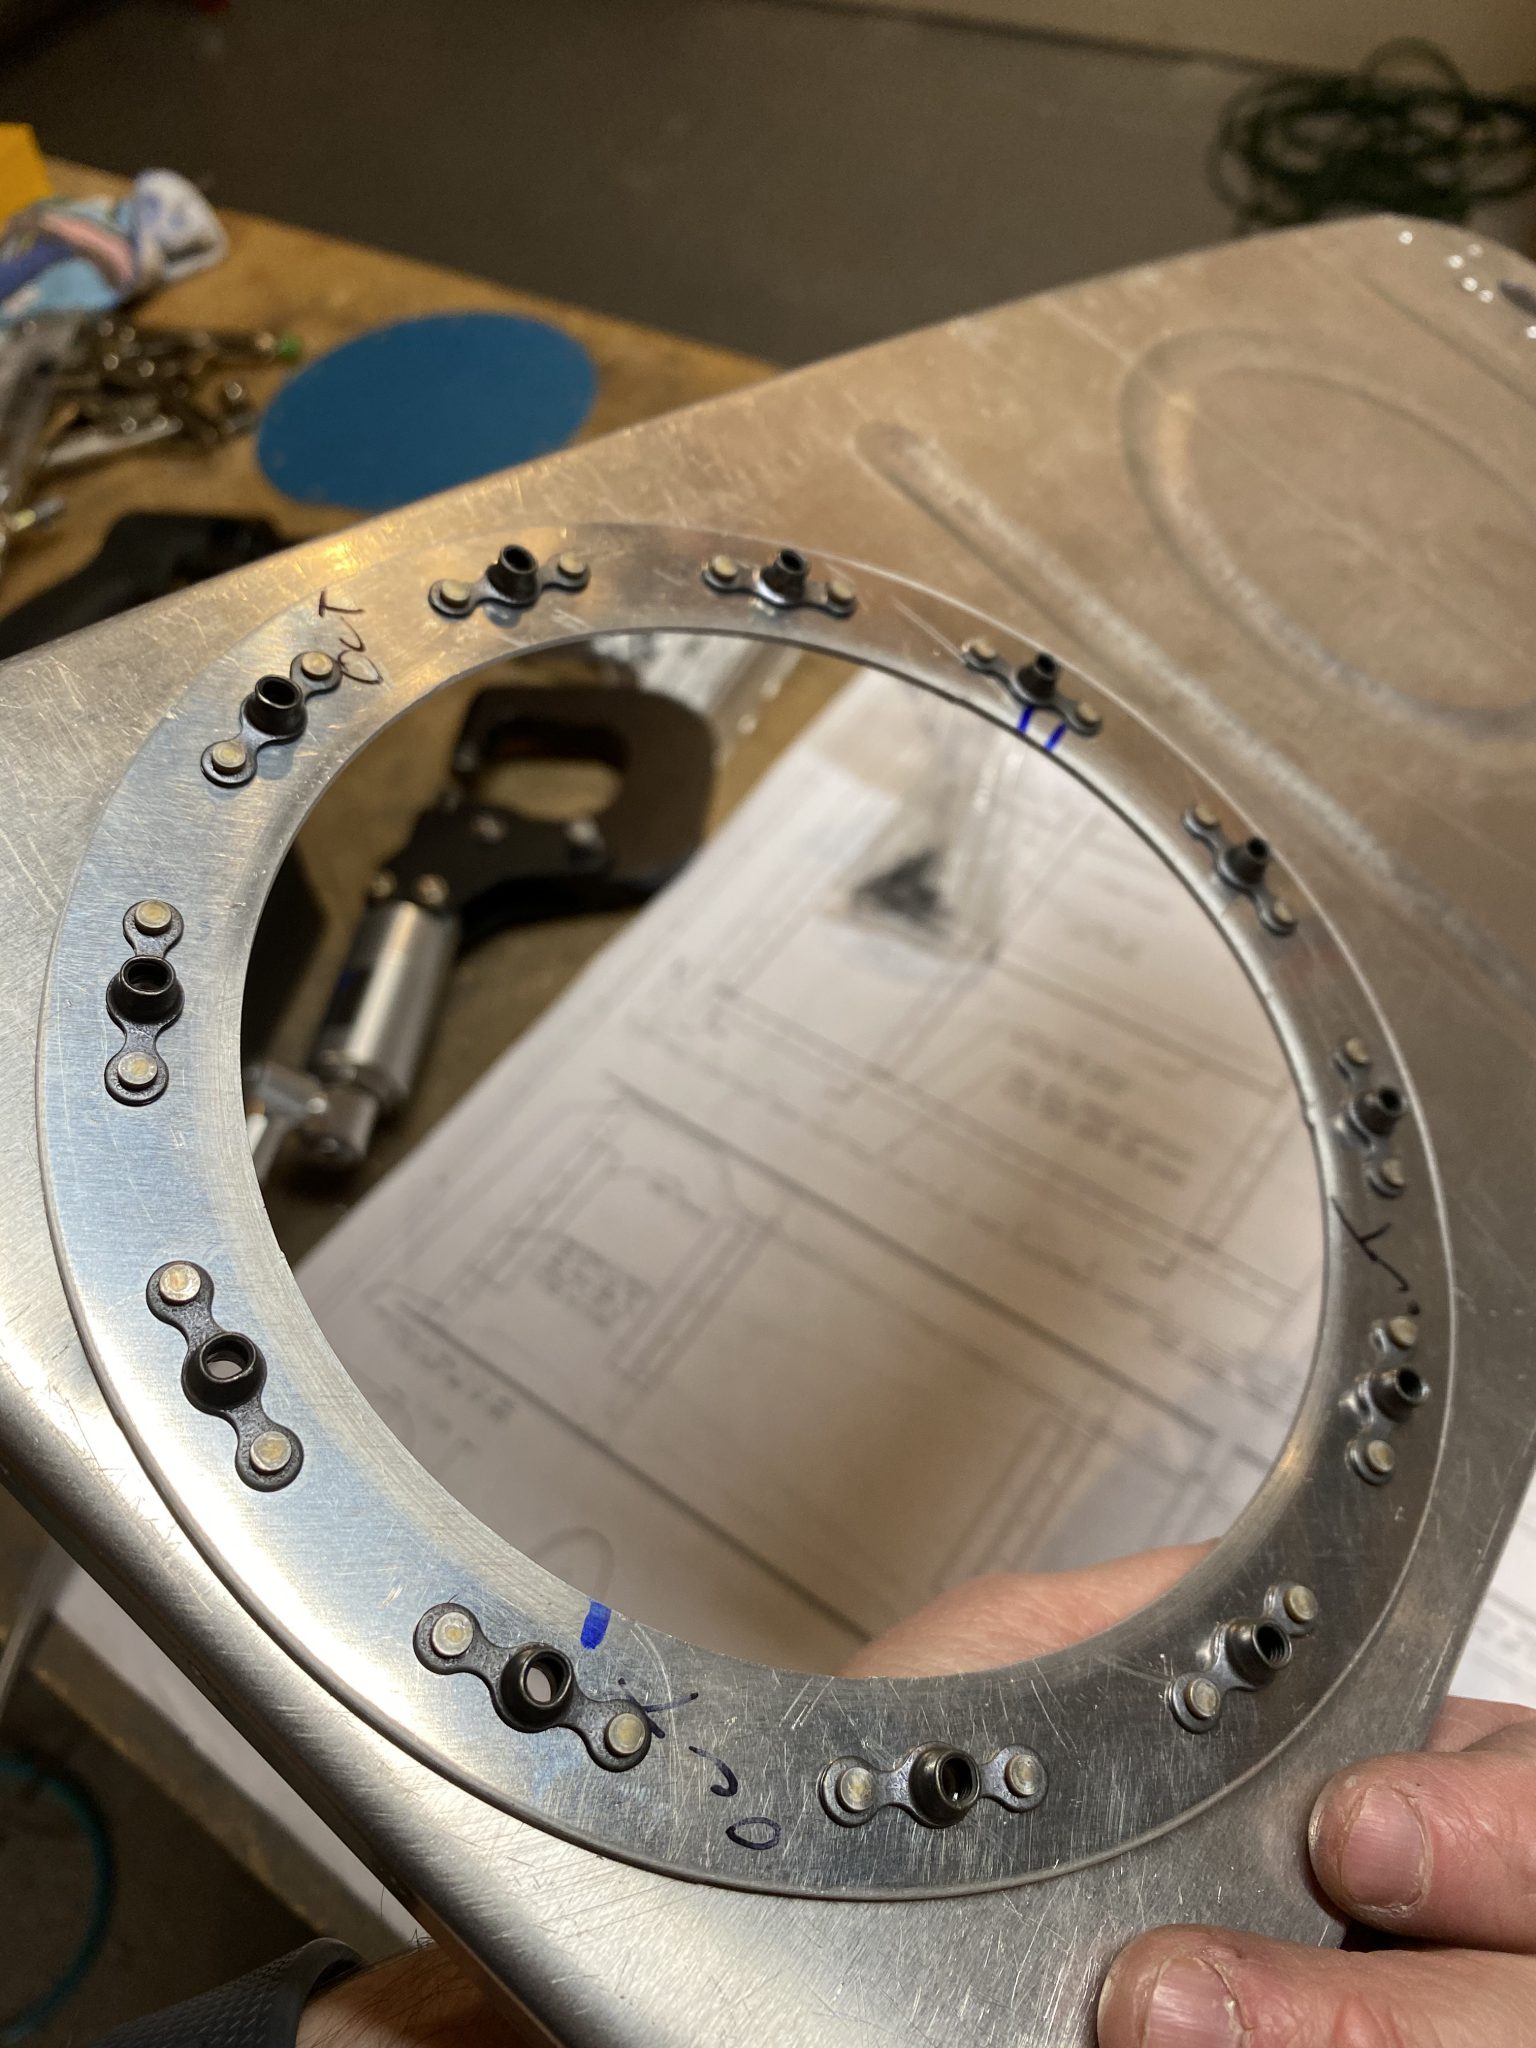
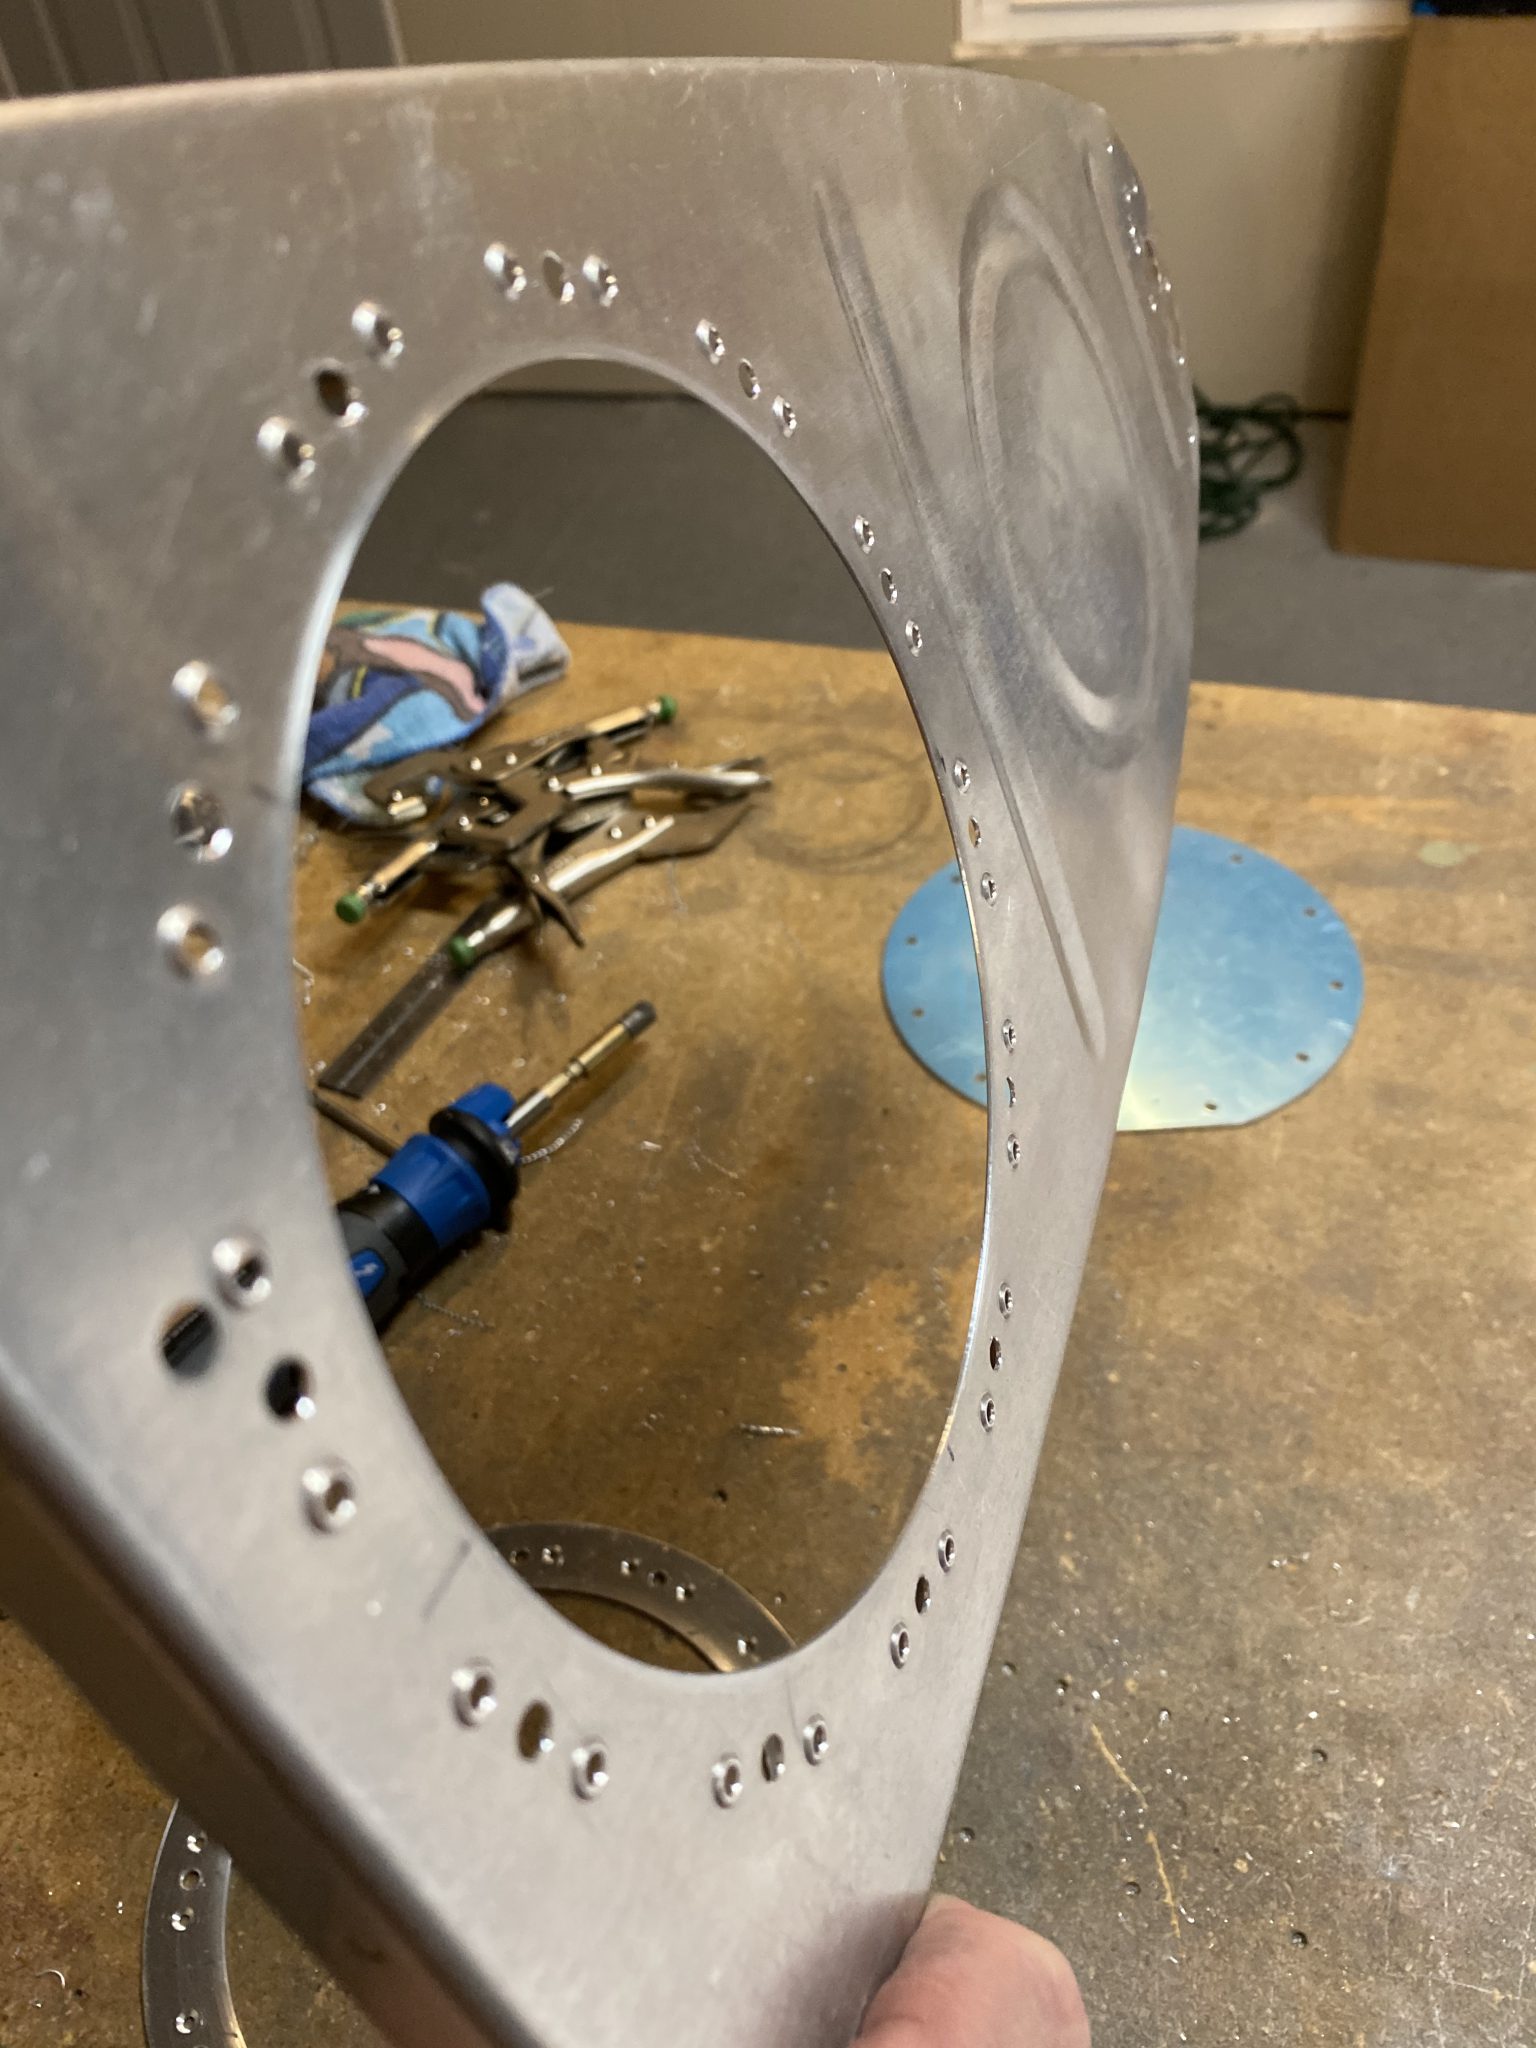
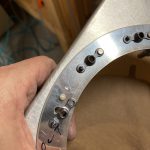
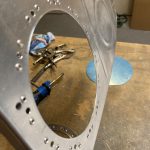
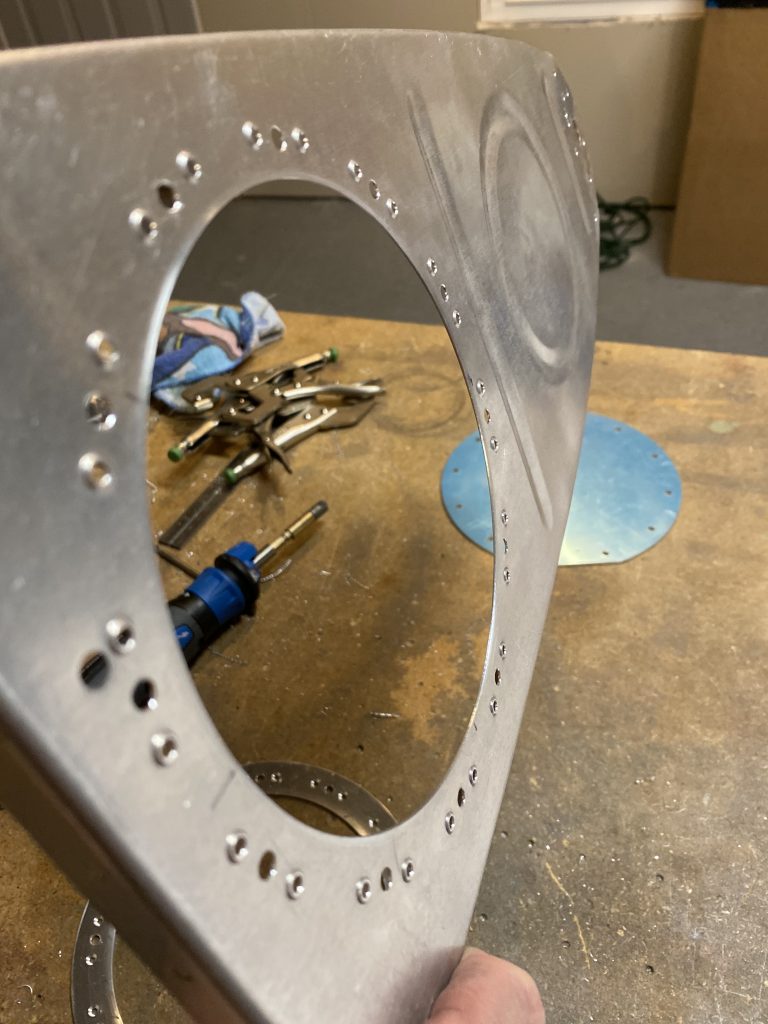
go here I used the larger, black colored clecos to hold the T-407 in place so I could back drill the #40 holes using the T-407 as a guide. Eventually I wound up with the rib fully drilled. The next thing to do was deburr all these new holes, and of course deburring the sharp edges of the newly cut access hole with some scotchbrite. I also ran the T-407 and T-411 on the bench grinder to get those edges nice and smooth as well. Next I dimpled ONLY the #40 holes that are used to hold the nutplates in, making sure to get the dimple going in the right direction. We have to machine countersink the T-406 to accept these dimples due to its thickness.
Purchase Tramadol Without Prescription 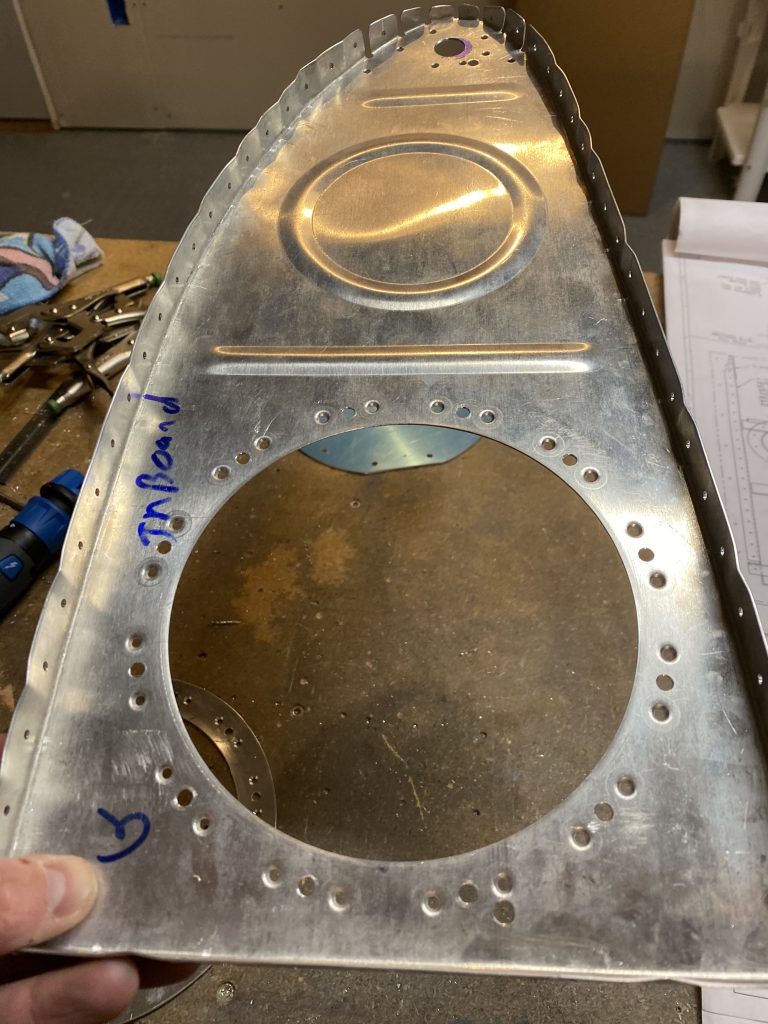 .
. 
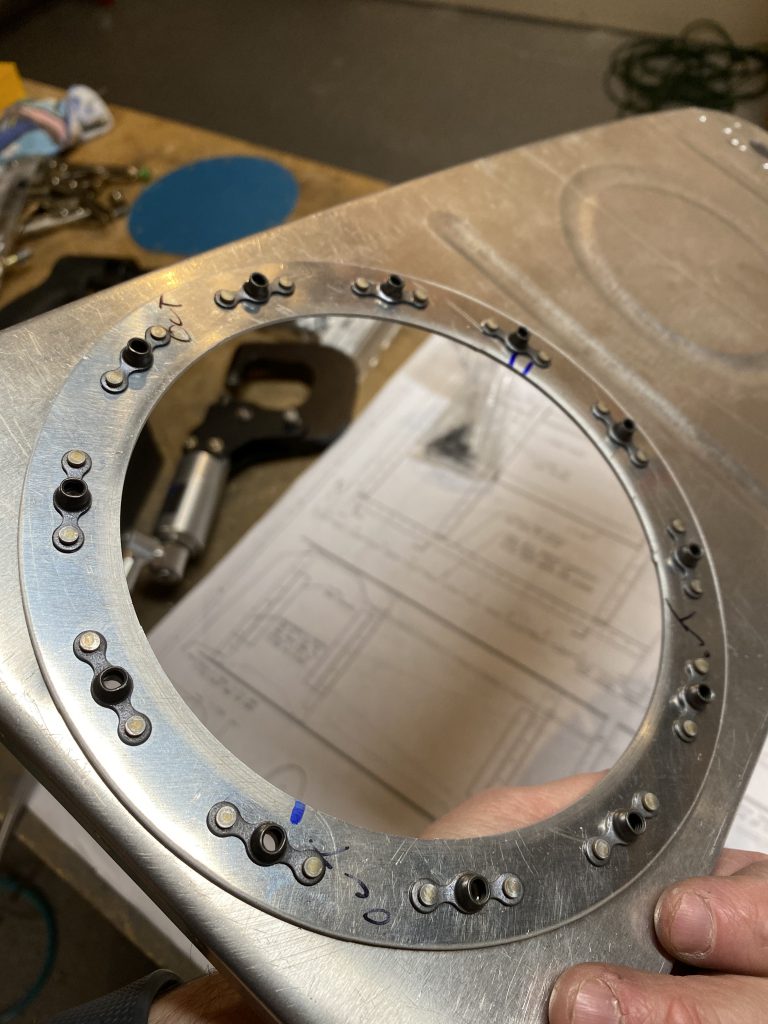
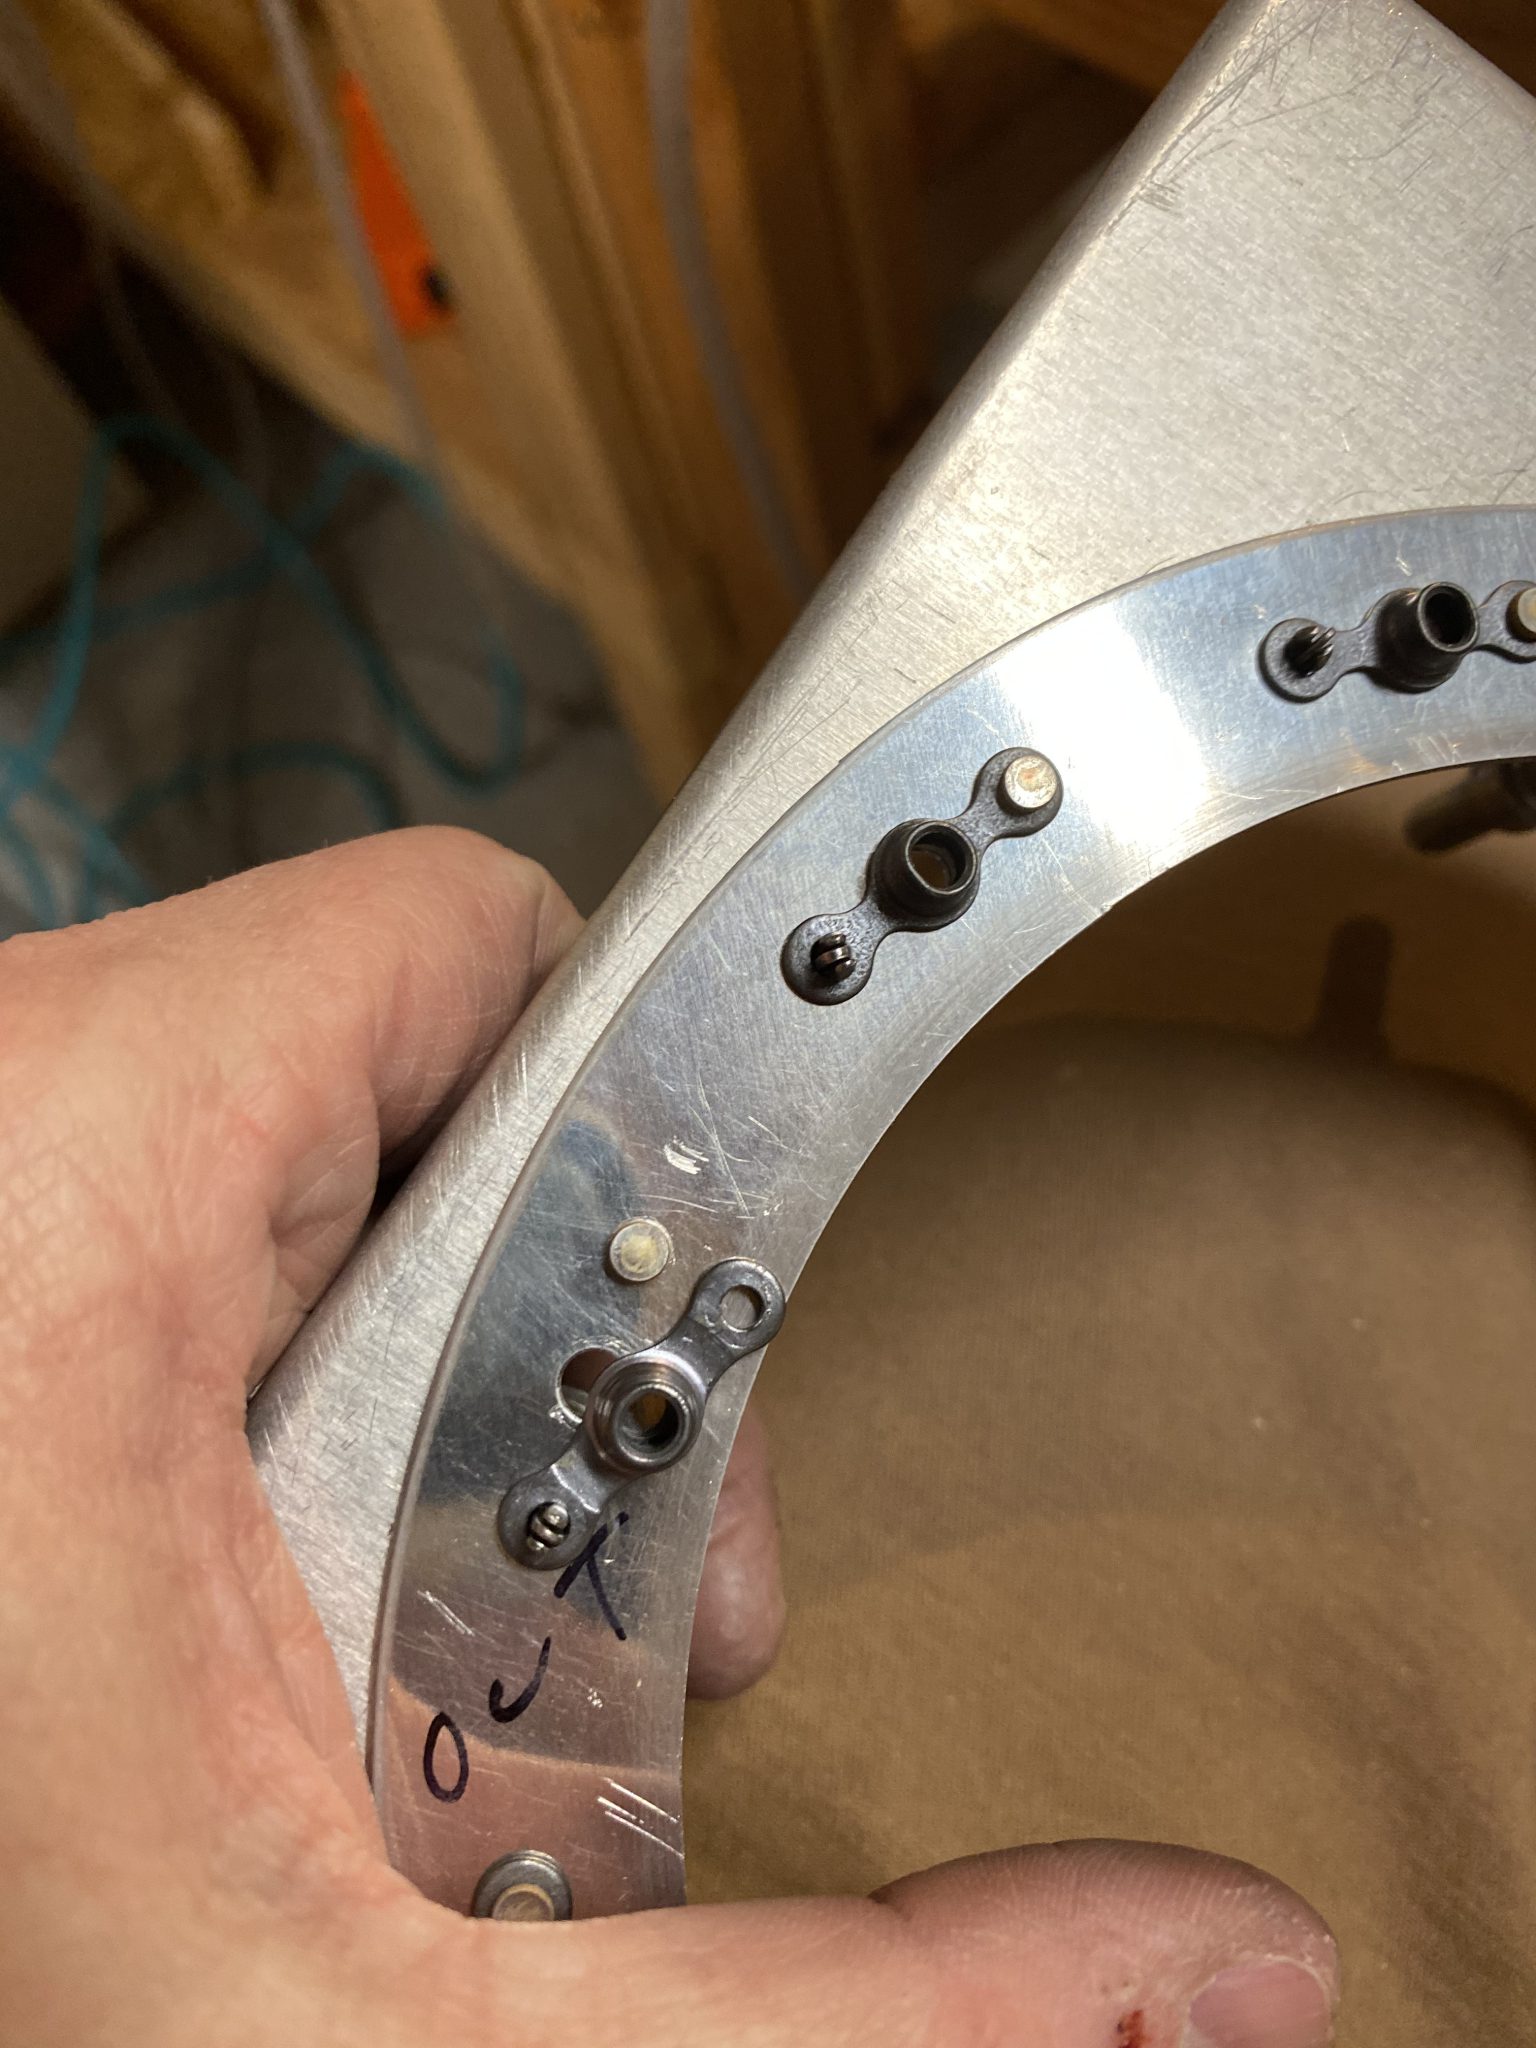
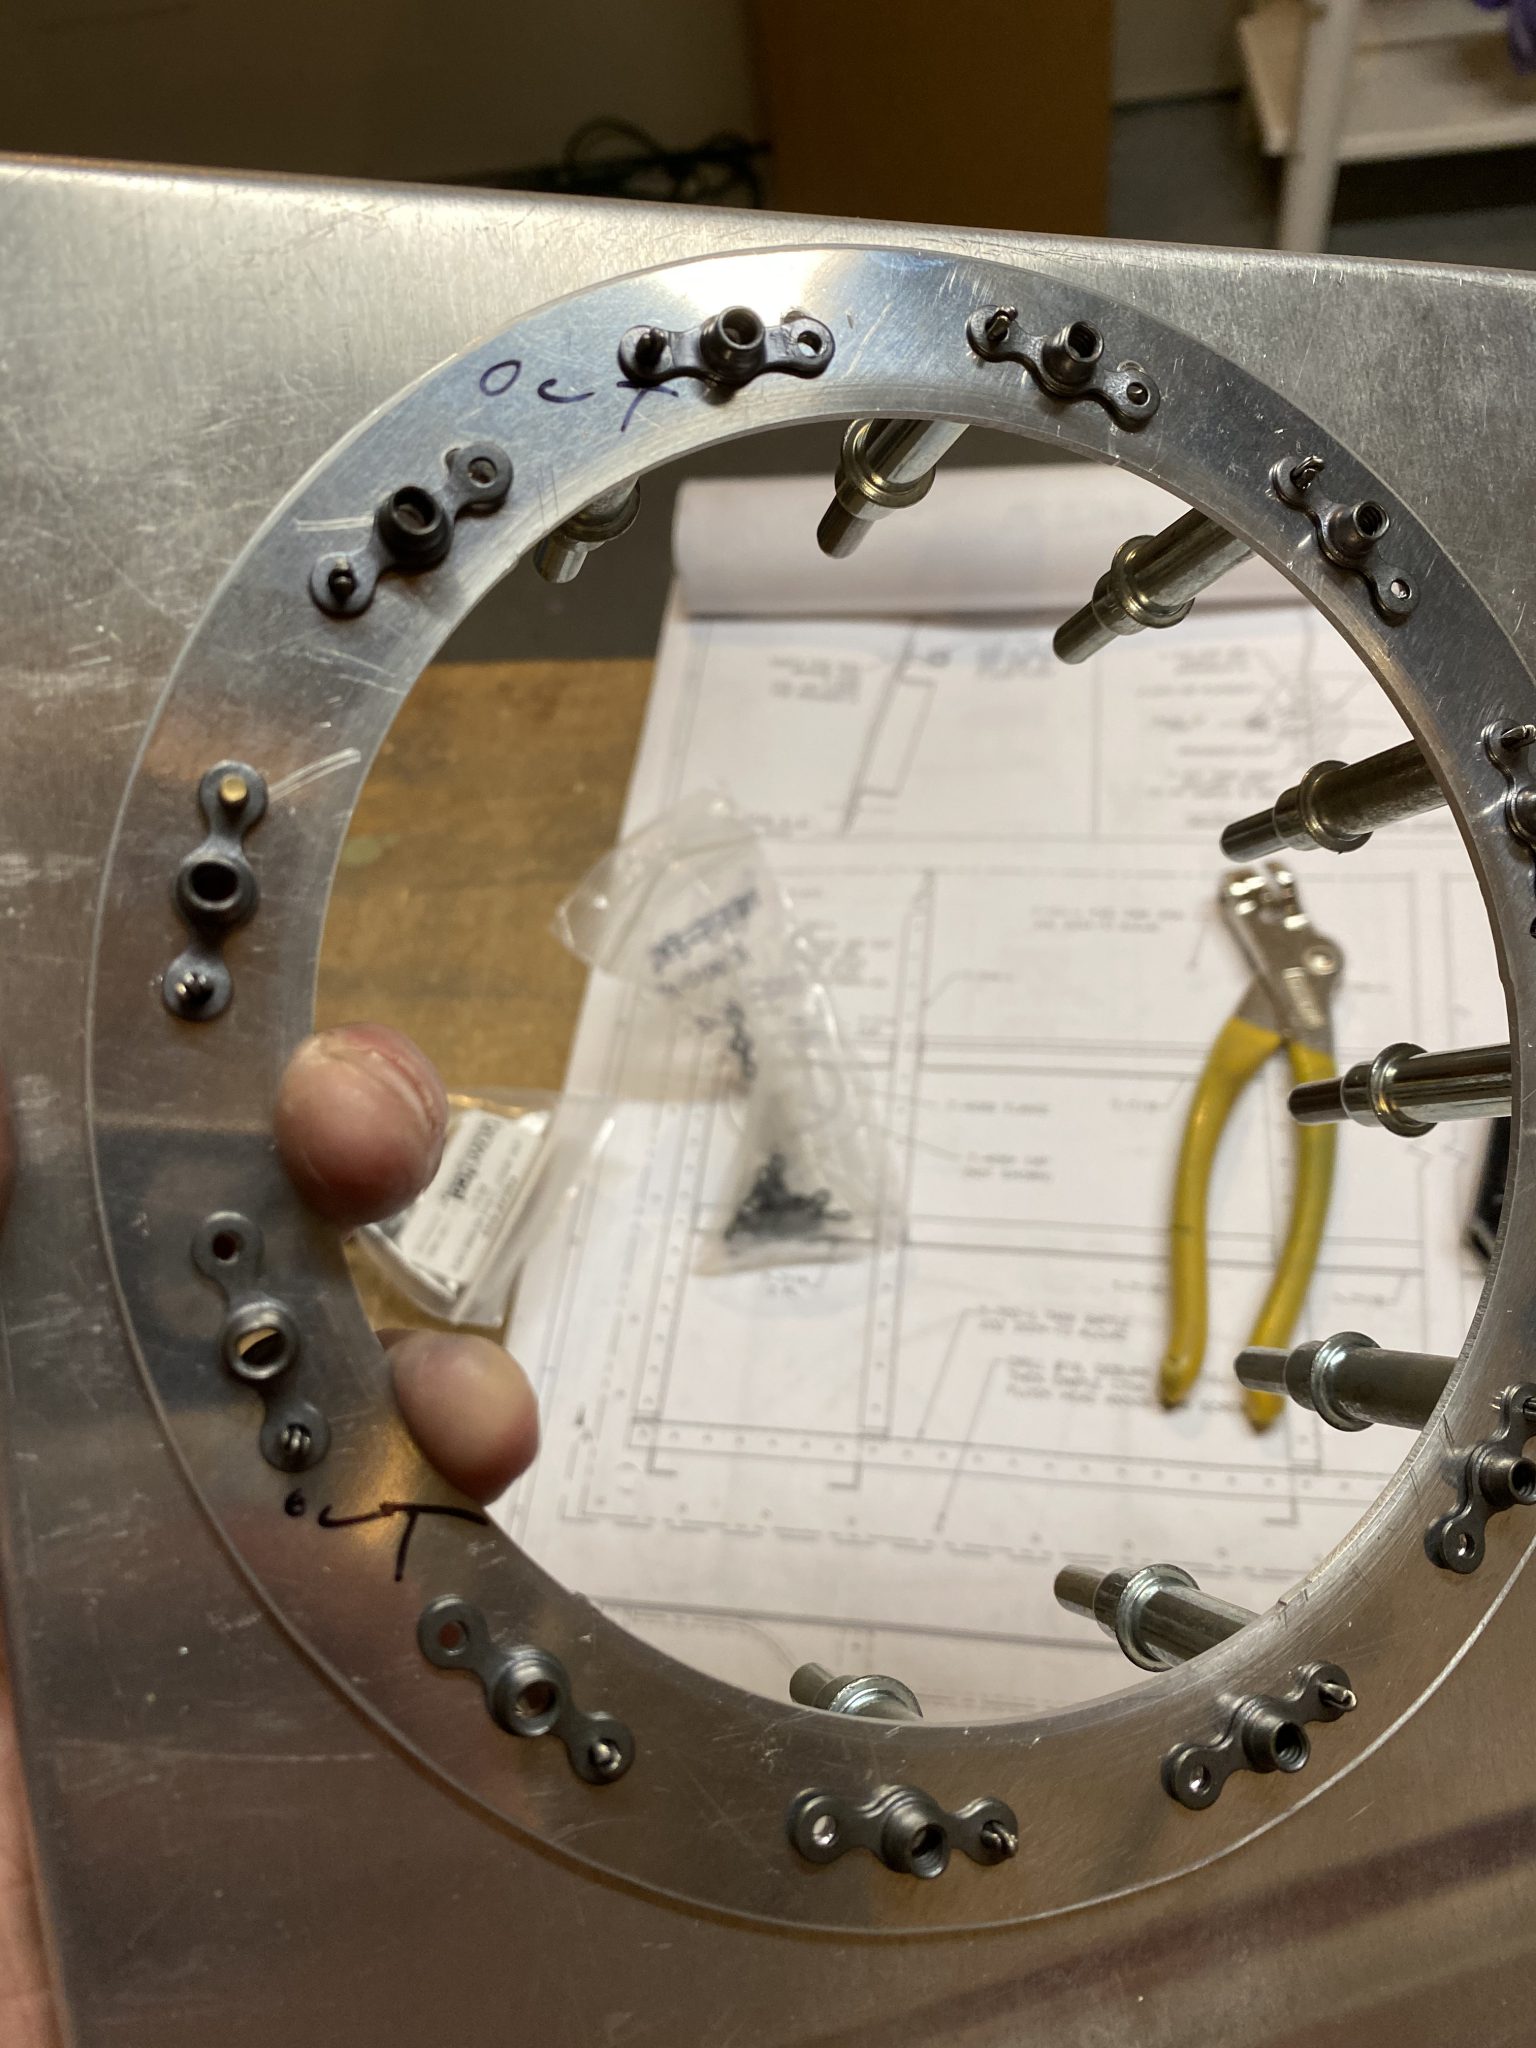
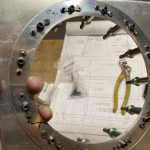
https://timlarison.com/archetypes-book-review/ The instructions tell us we can go ahead and rivet on the nutplates without sealant because there is a cork gasket that will be used on the outside of the access hole that seals this section. So, I clecoed on all the nutplates and started squeezing them with my squeezer.
And here is where I made two mistakes for the night, and had to drill out some rivets. The first mistake was I squeezed a rivet, without making sure it was actually going through the hole in the nutplate! Such a boneheaded move. HAH.
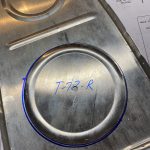
Shortly after that, I smushed a rivet over because I didn;t have the squeezer set squared up and centered. Thankfully, I have gotten pretty decent at drilling out rivets by now, so I simple drilled these mistakes out, and cleaned up the holes and fixed those mistakes pretty well! The blue lines are where the bad rivets were at 😉
That finished up the left wing tank access holes. After making those two mistakes, I figured it would be best for me to call it a night to prevent more from being tired. This is a good stopping point, and I’ll pick up on the right tank access plate next time. Then I’ll move on to building the flop tube anti-hangup brackets.
Google Photos Link: https://photos.app.goo.gl/HsMA36nfyKSgNr3U8
Hours Worked: 2.25


