


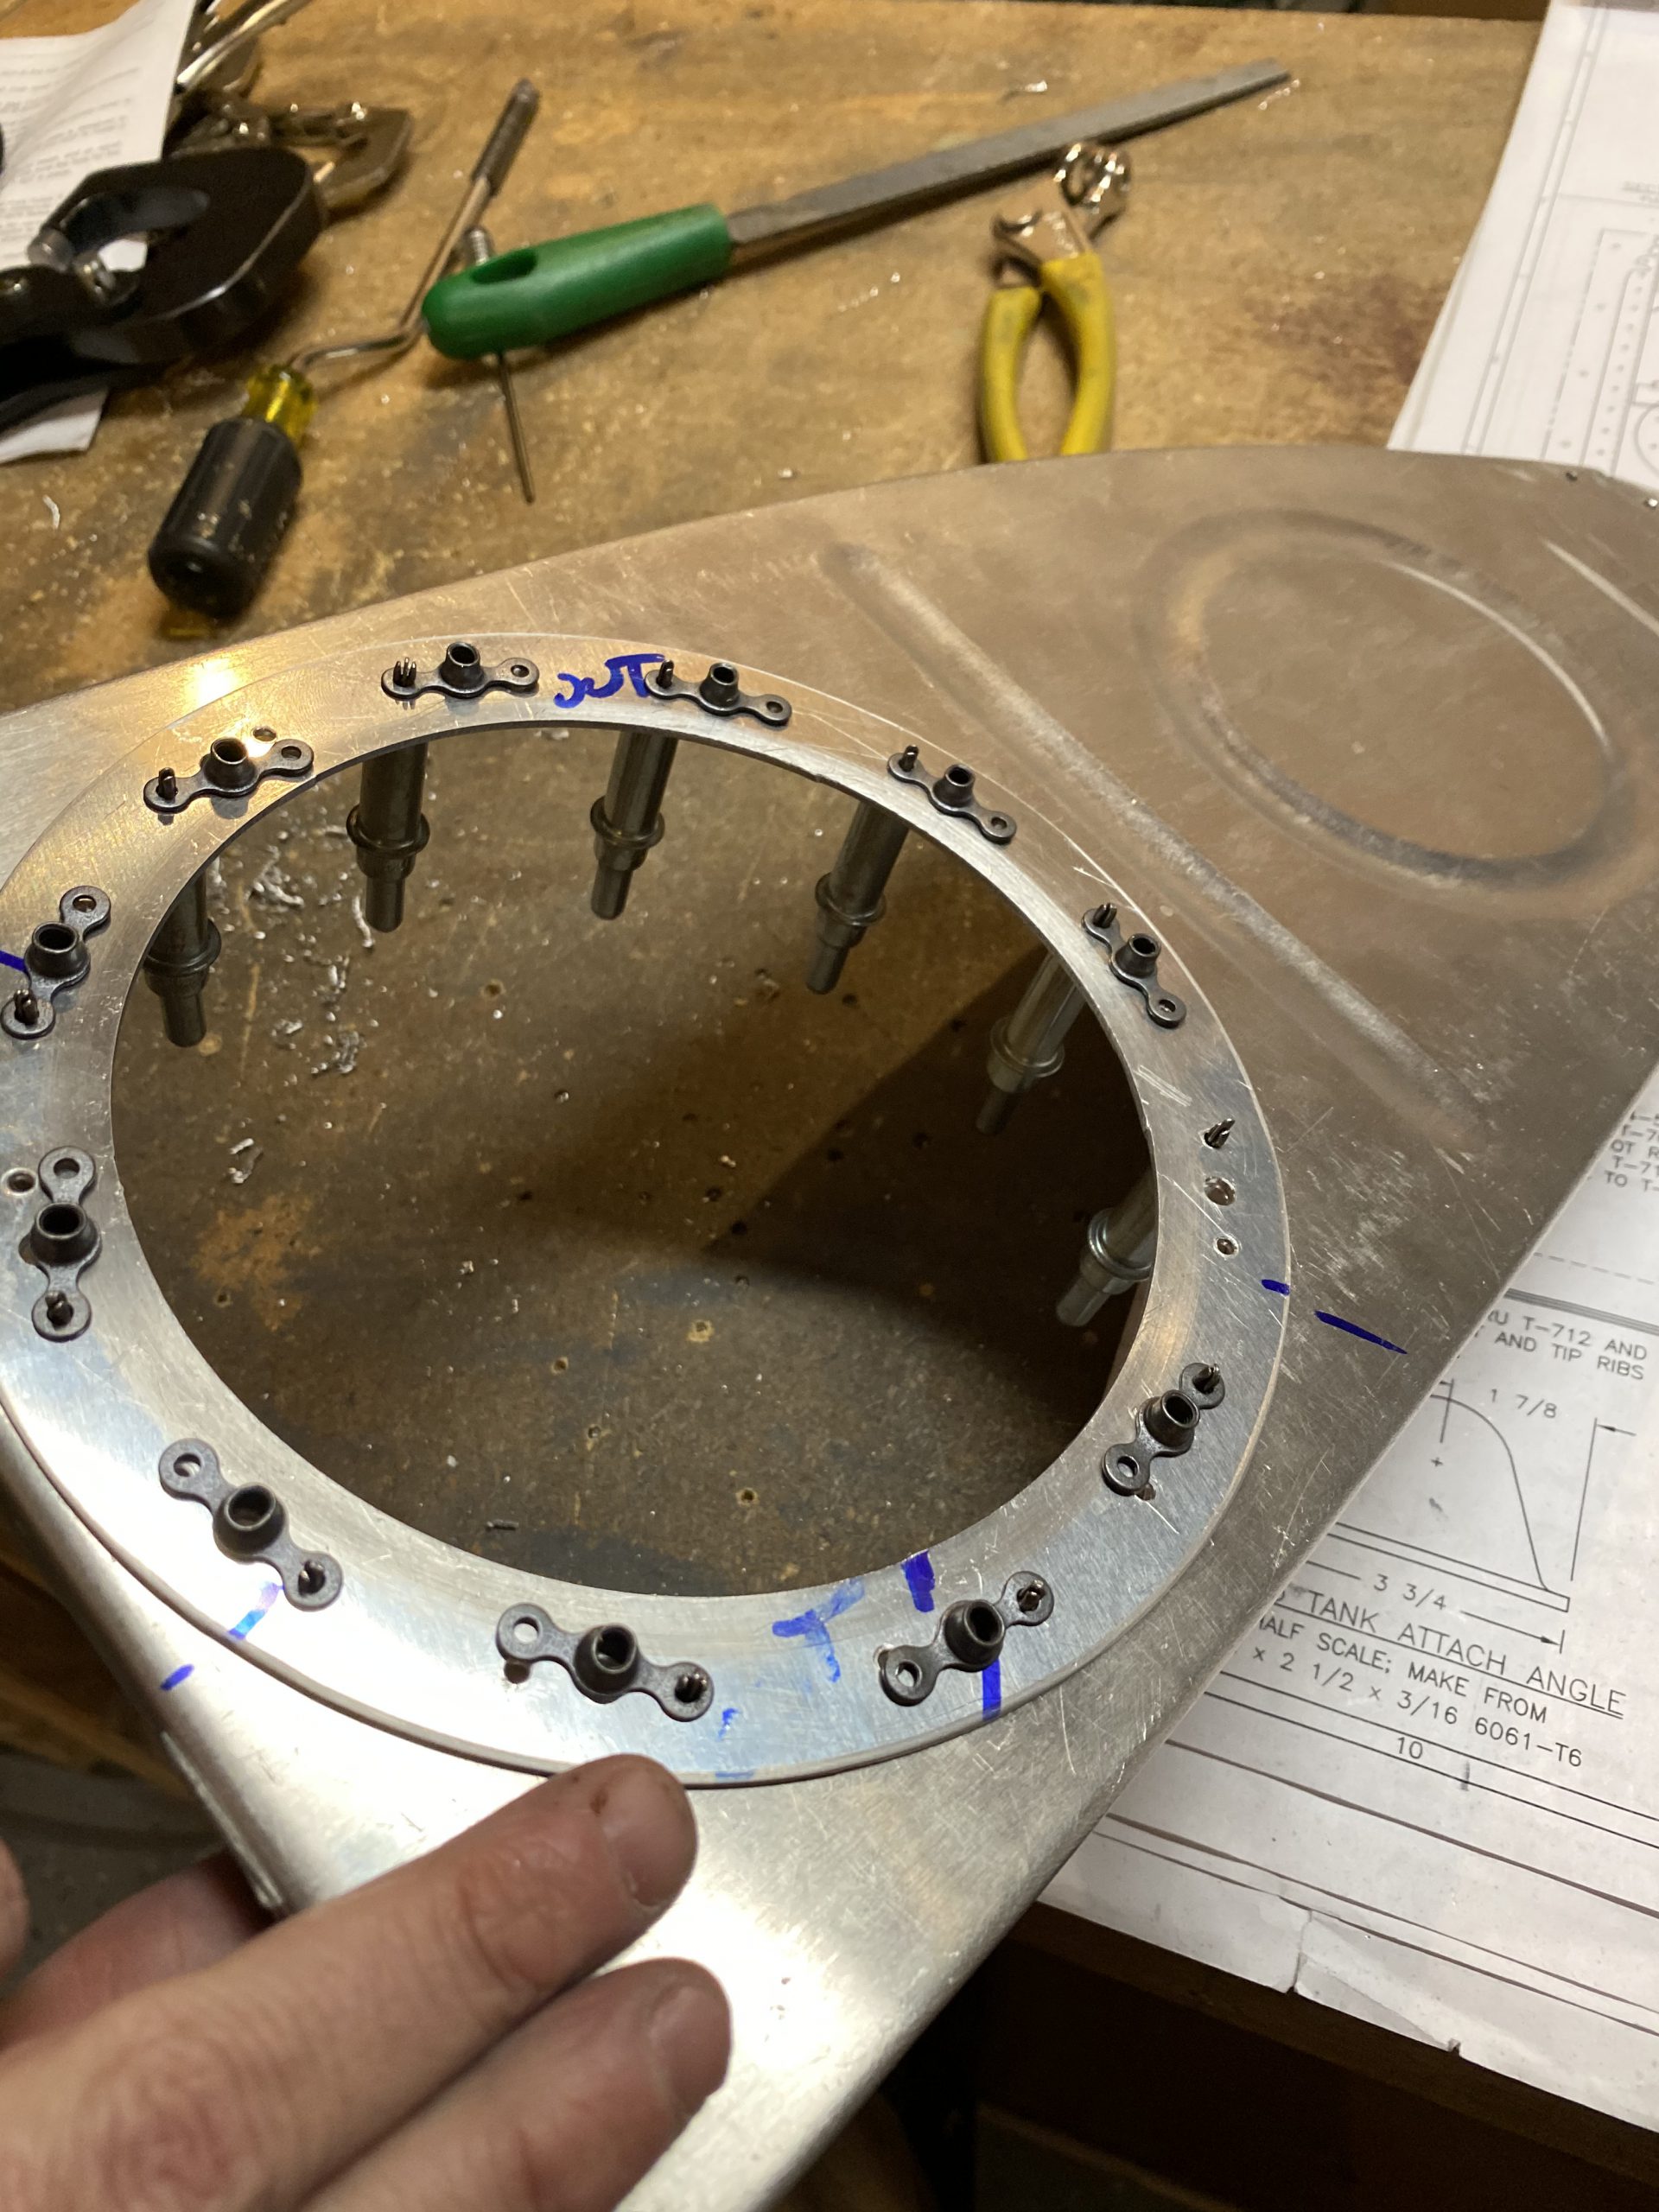
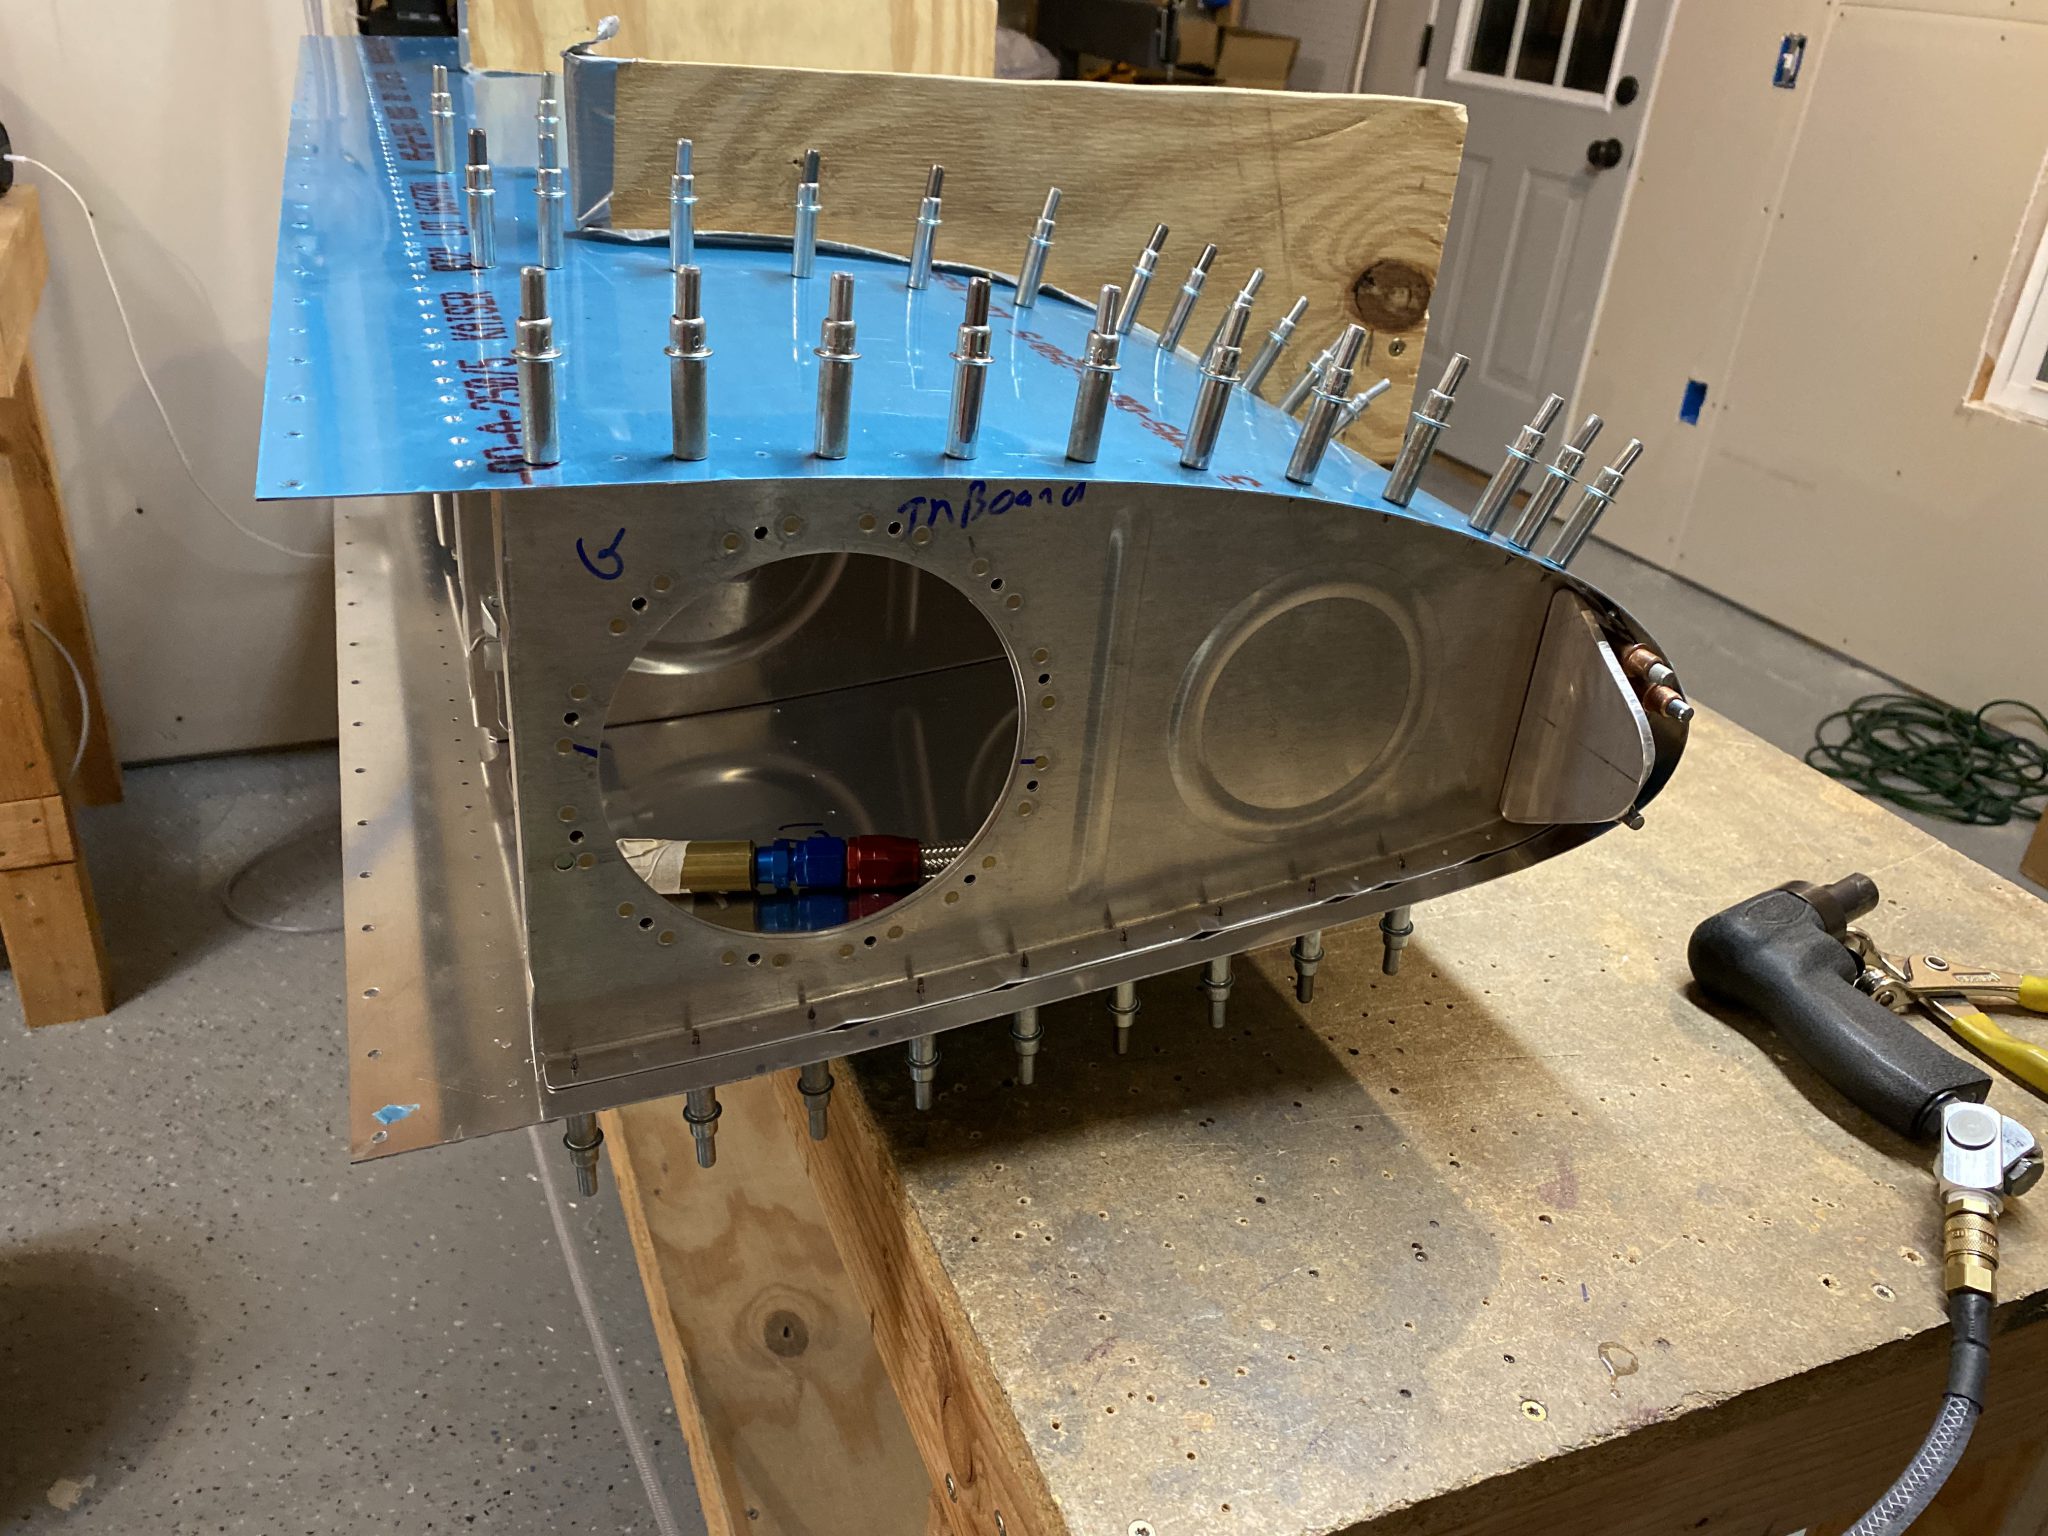
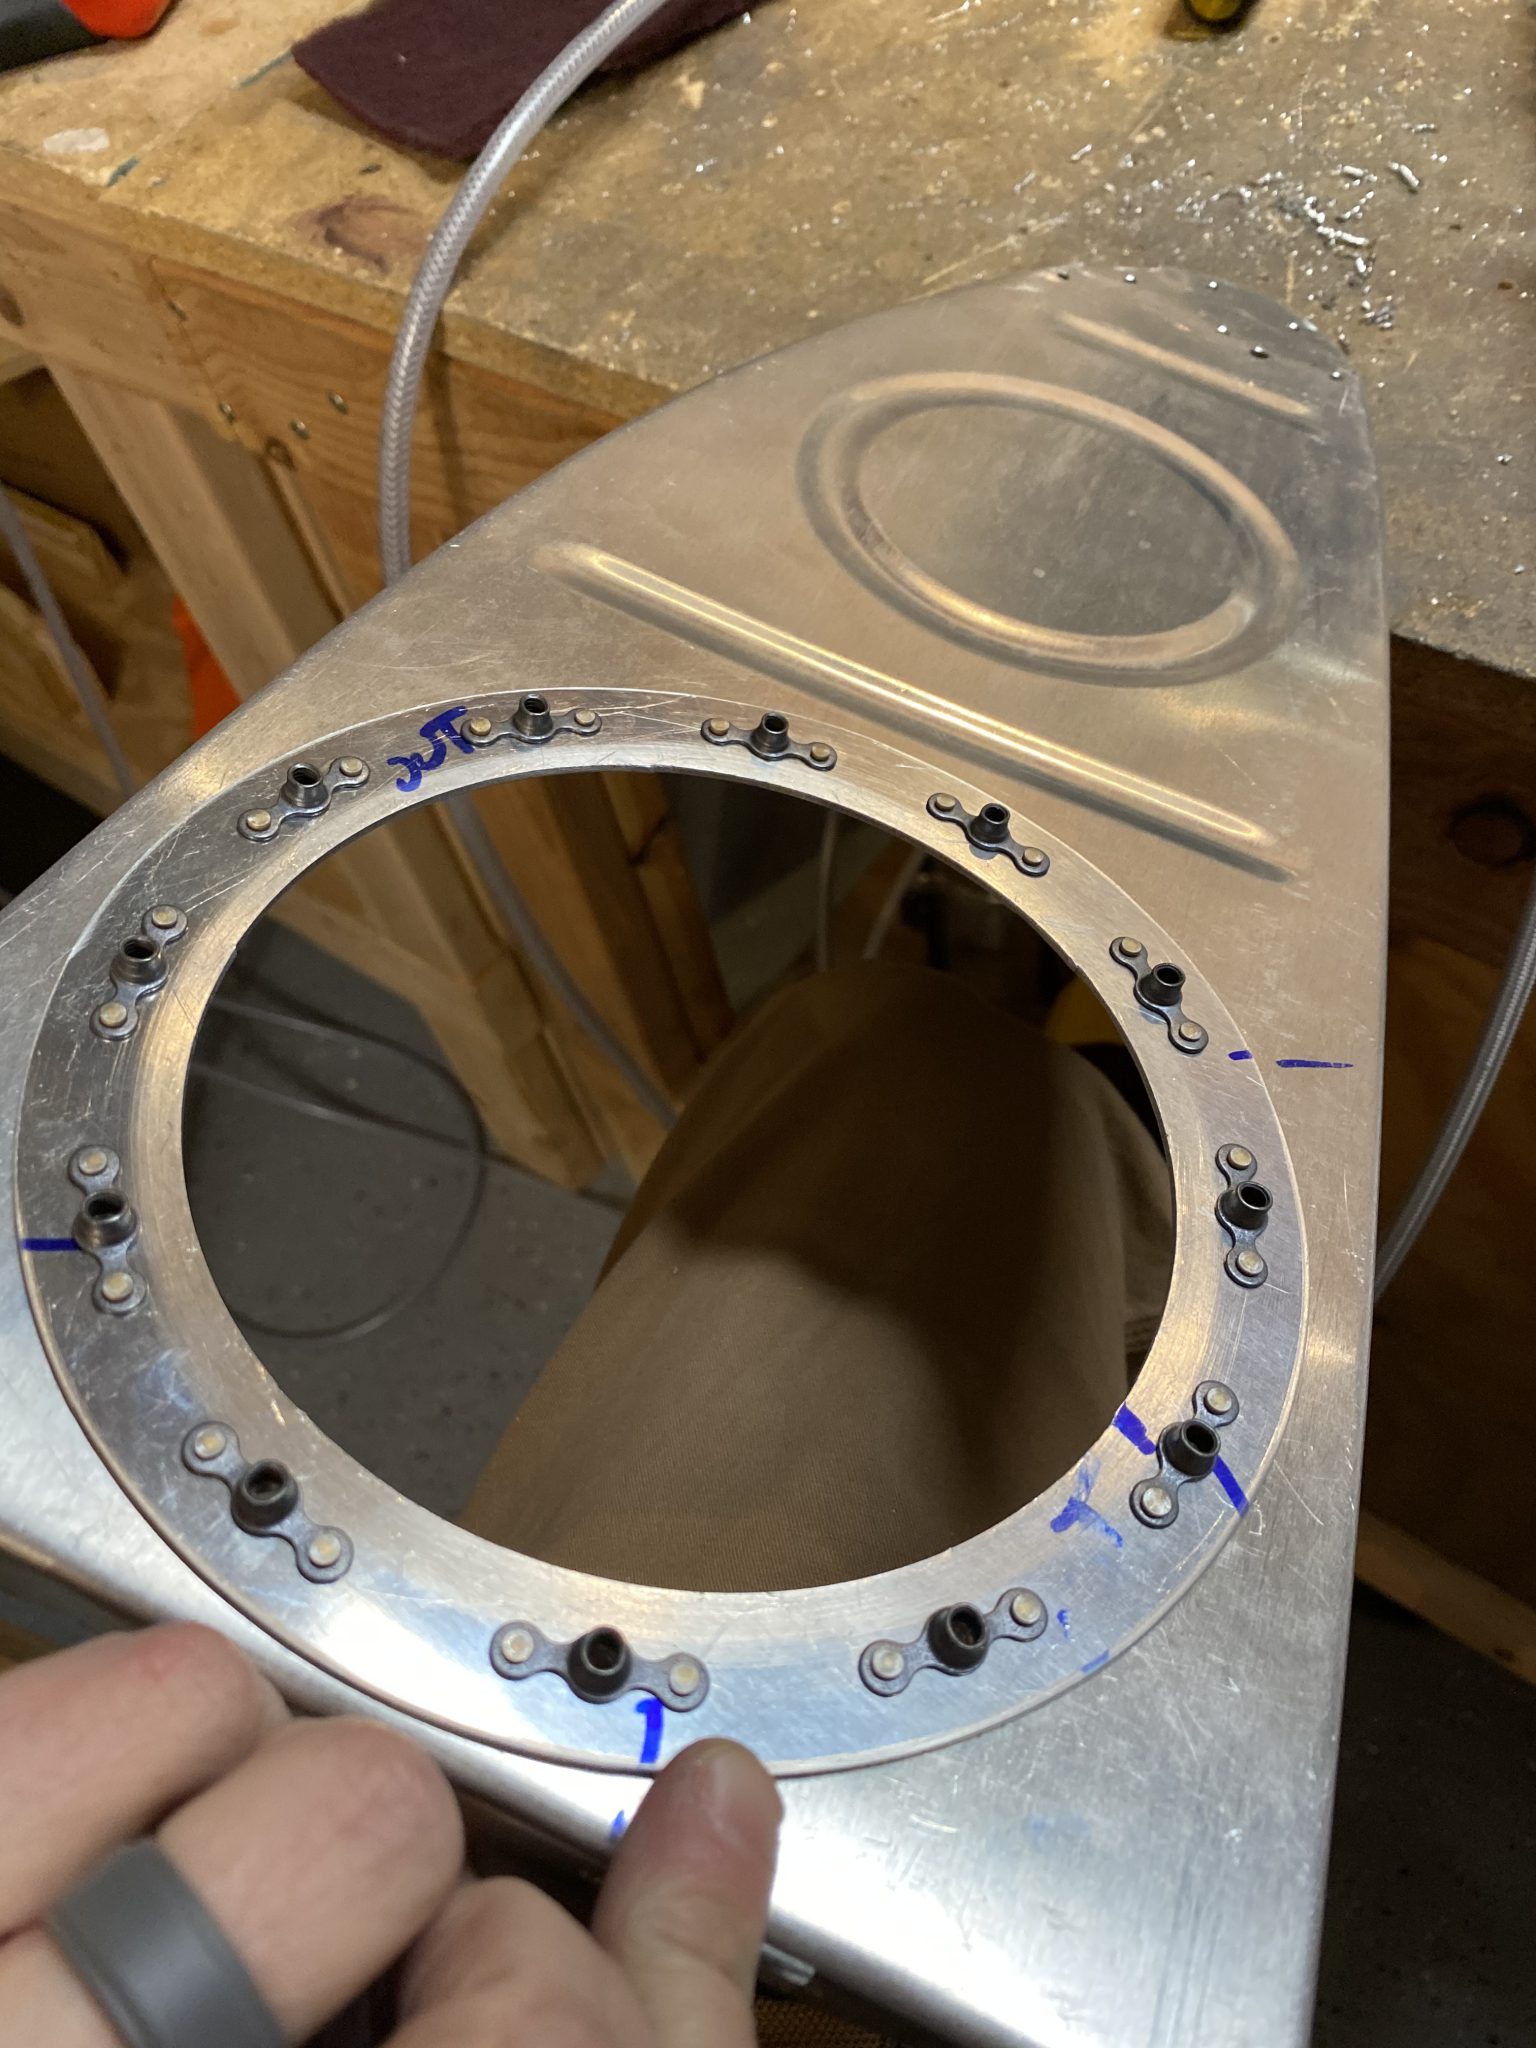
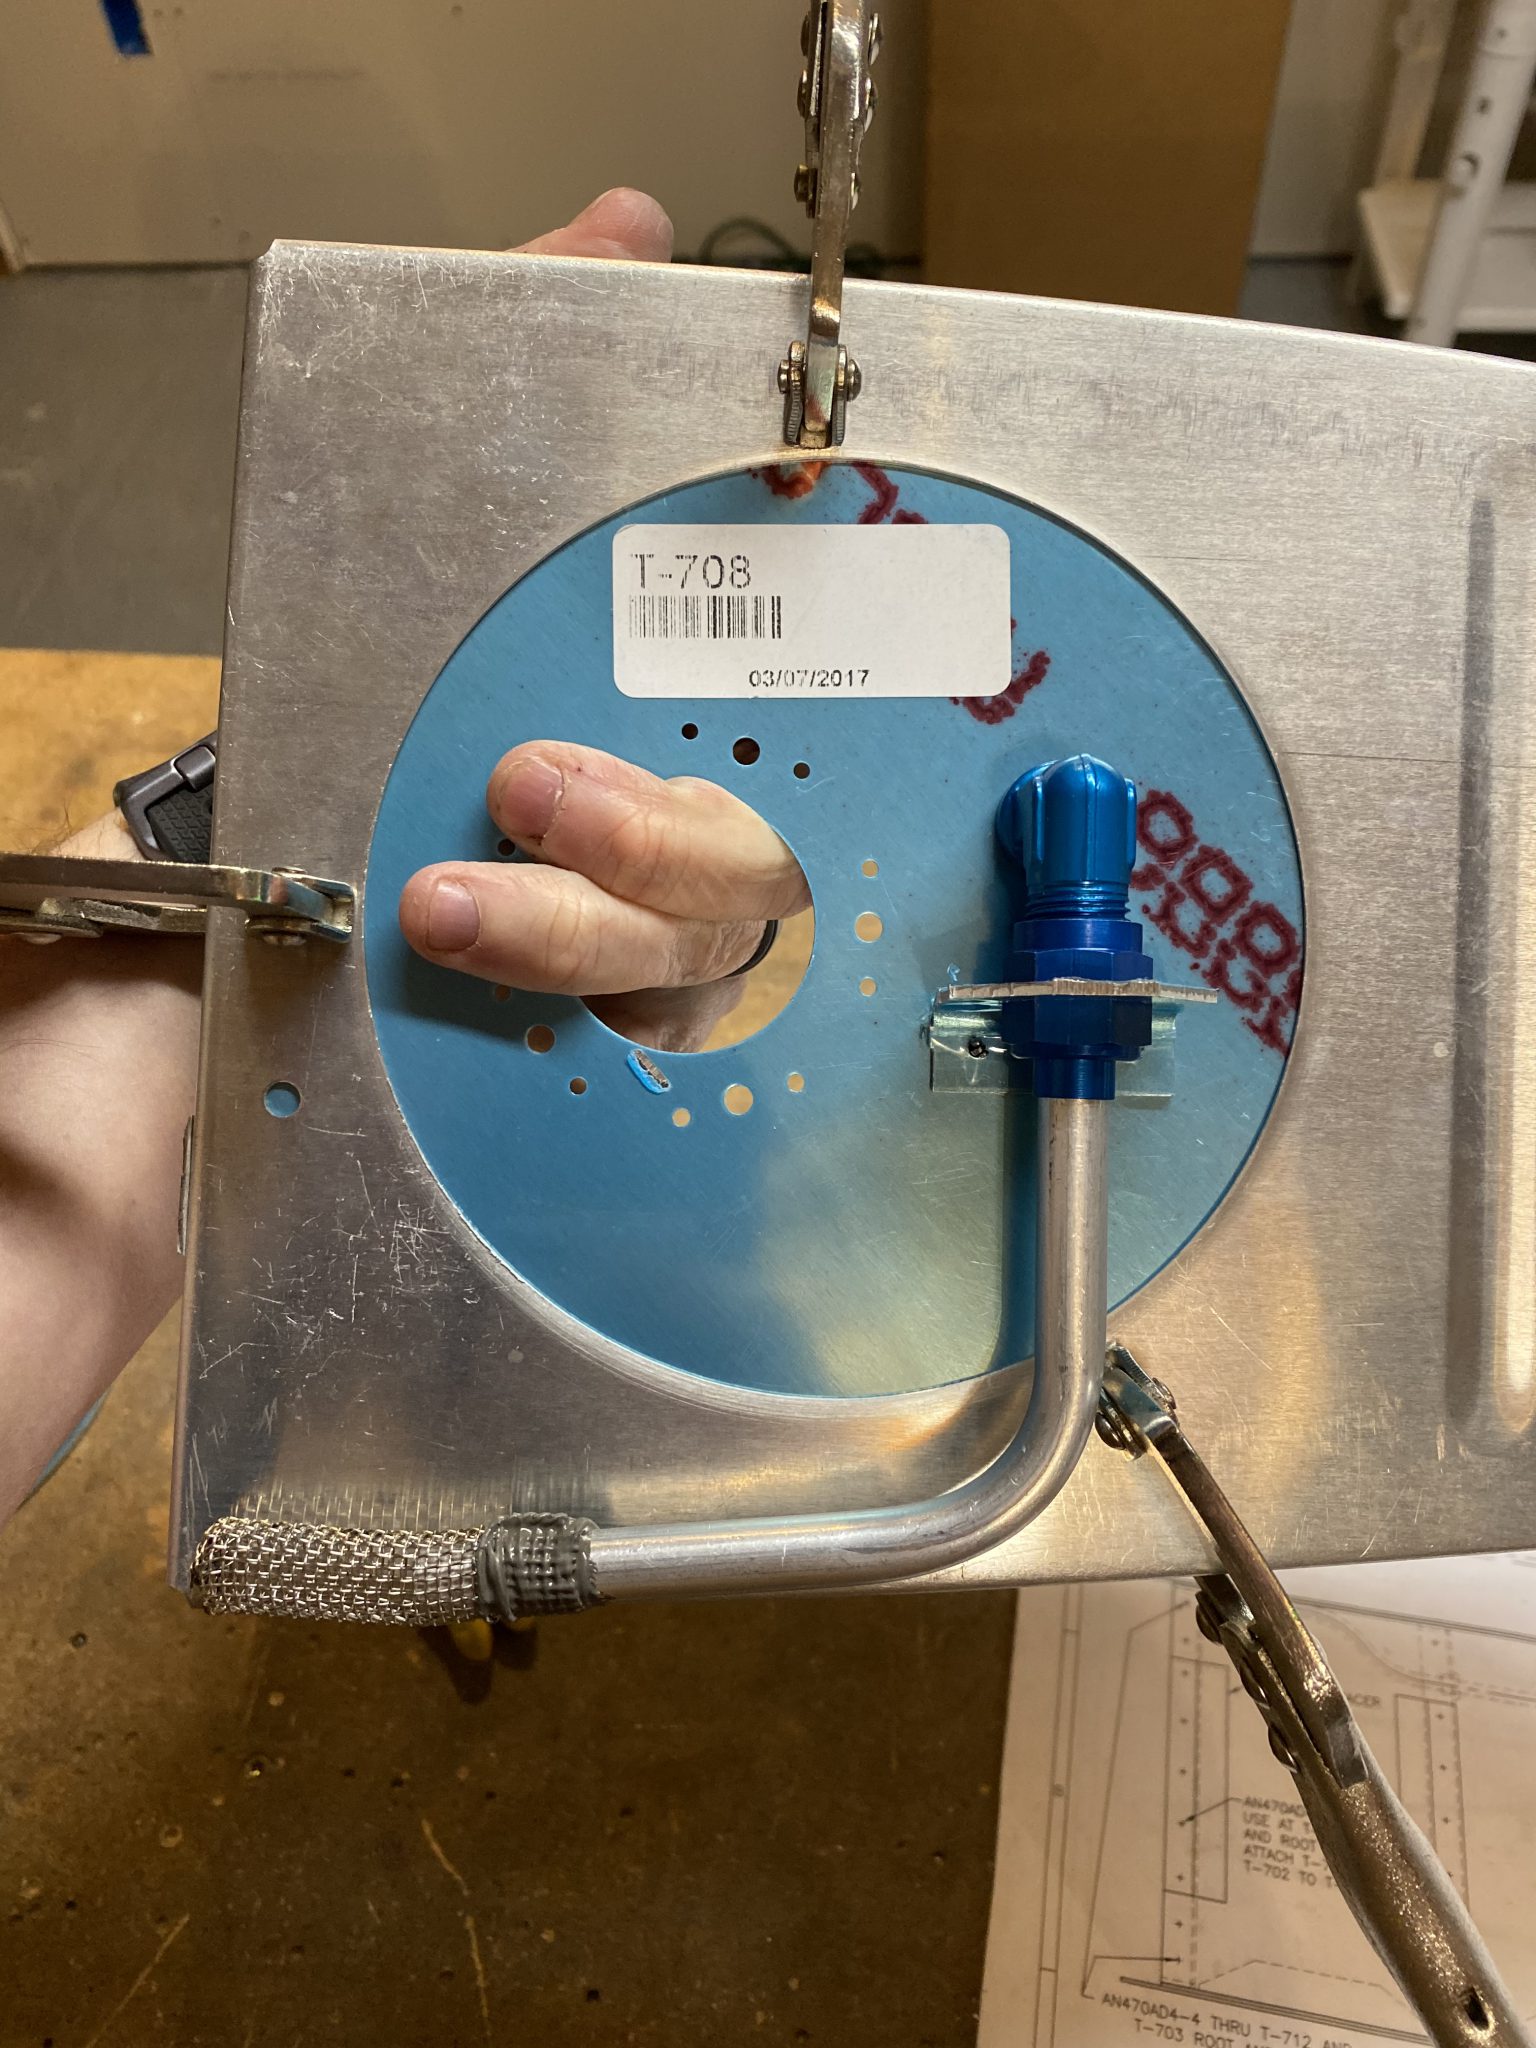
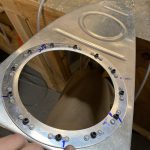
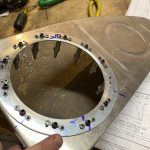
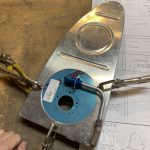
Picking up from my last session, I decided to go ahead and finish the right tank access plate. I had already cut the access hole in the rib when I was working on the left tank in the last session, so I really just needed to do a little to finish this up. I also started out on the anti-hangup brackets too. Since the right tank will be getting a normal pickup tube, I can place the fuel level sender in the stock location and use the T-708 tank access plate that is pre-punched for both the pickup, and the fuel level sender. So, It’s just a matter of aligning it with the tank access hole, and clamping it in place.
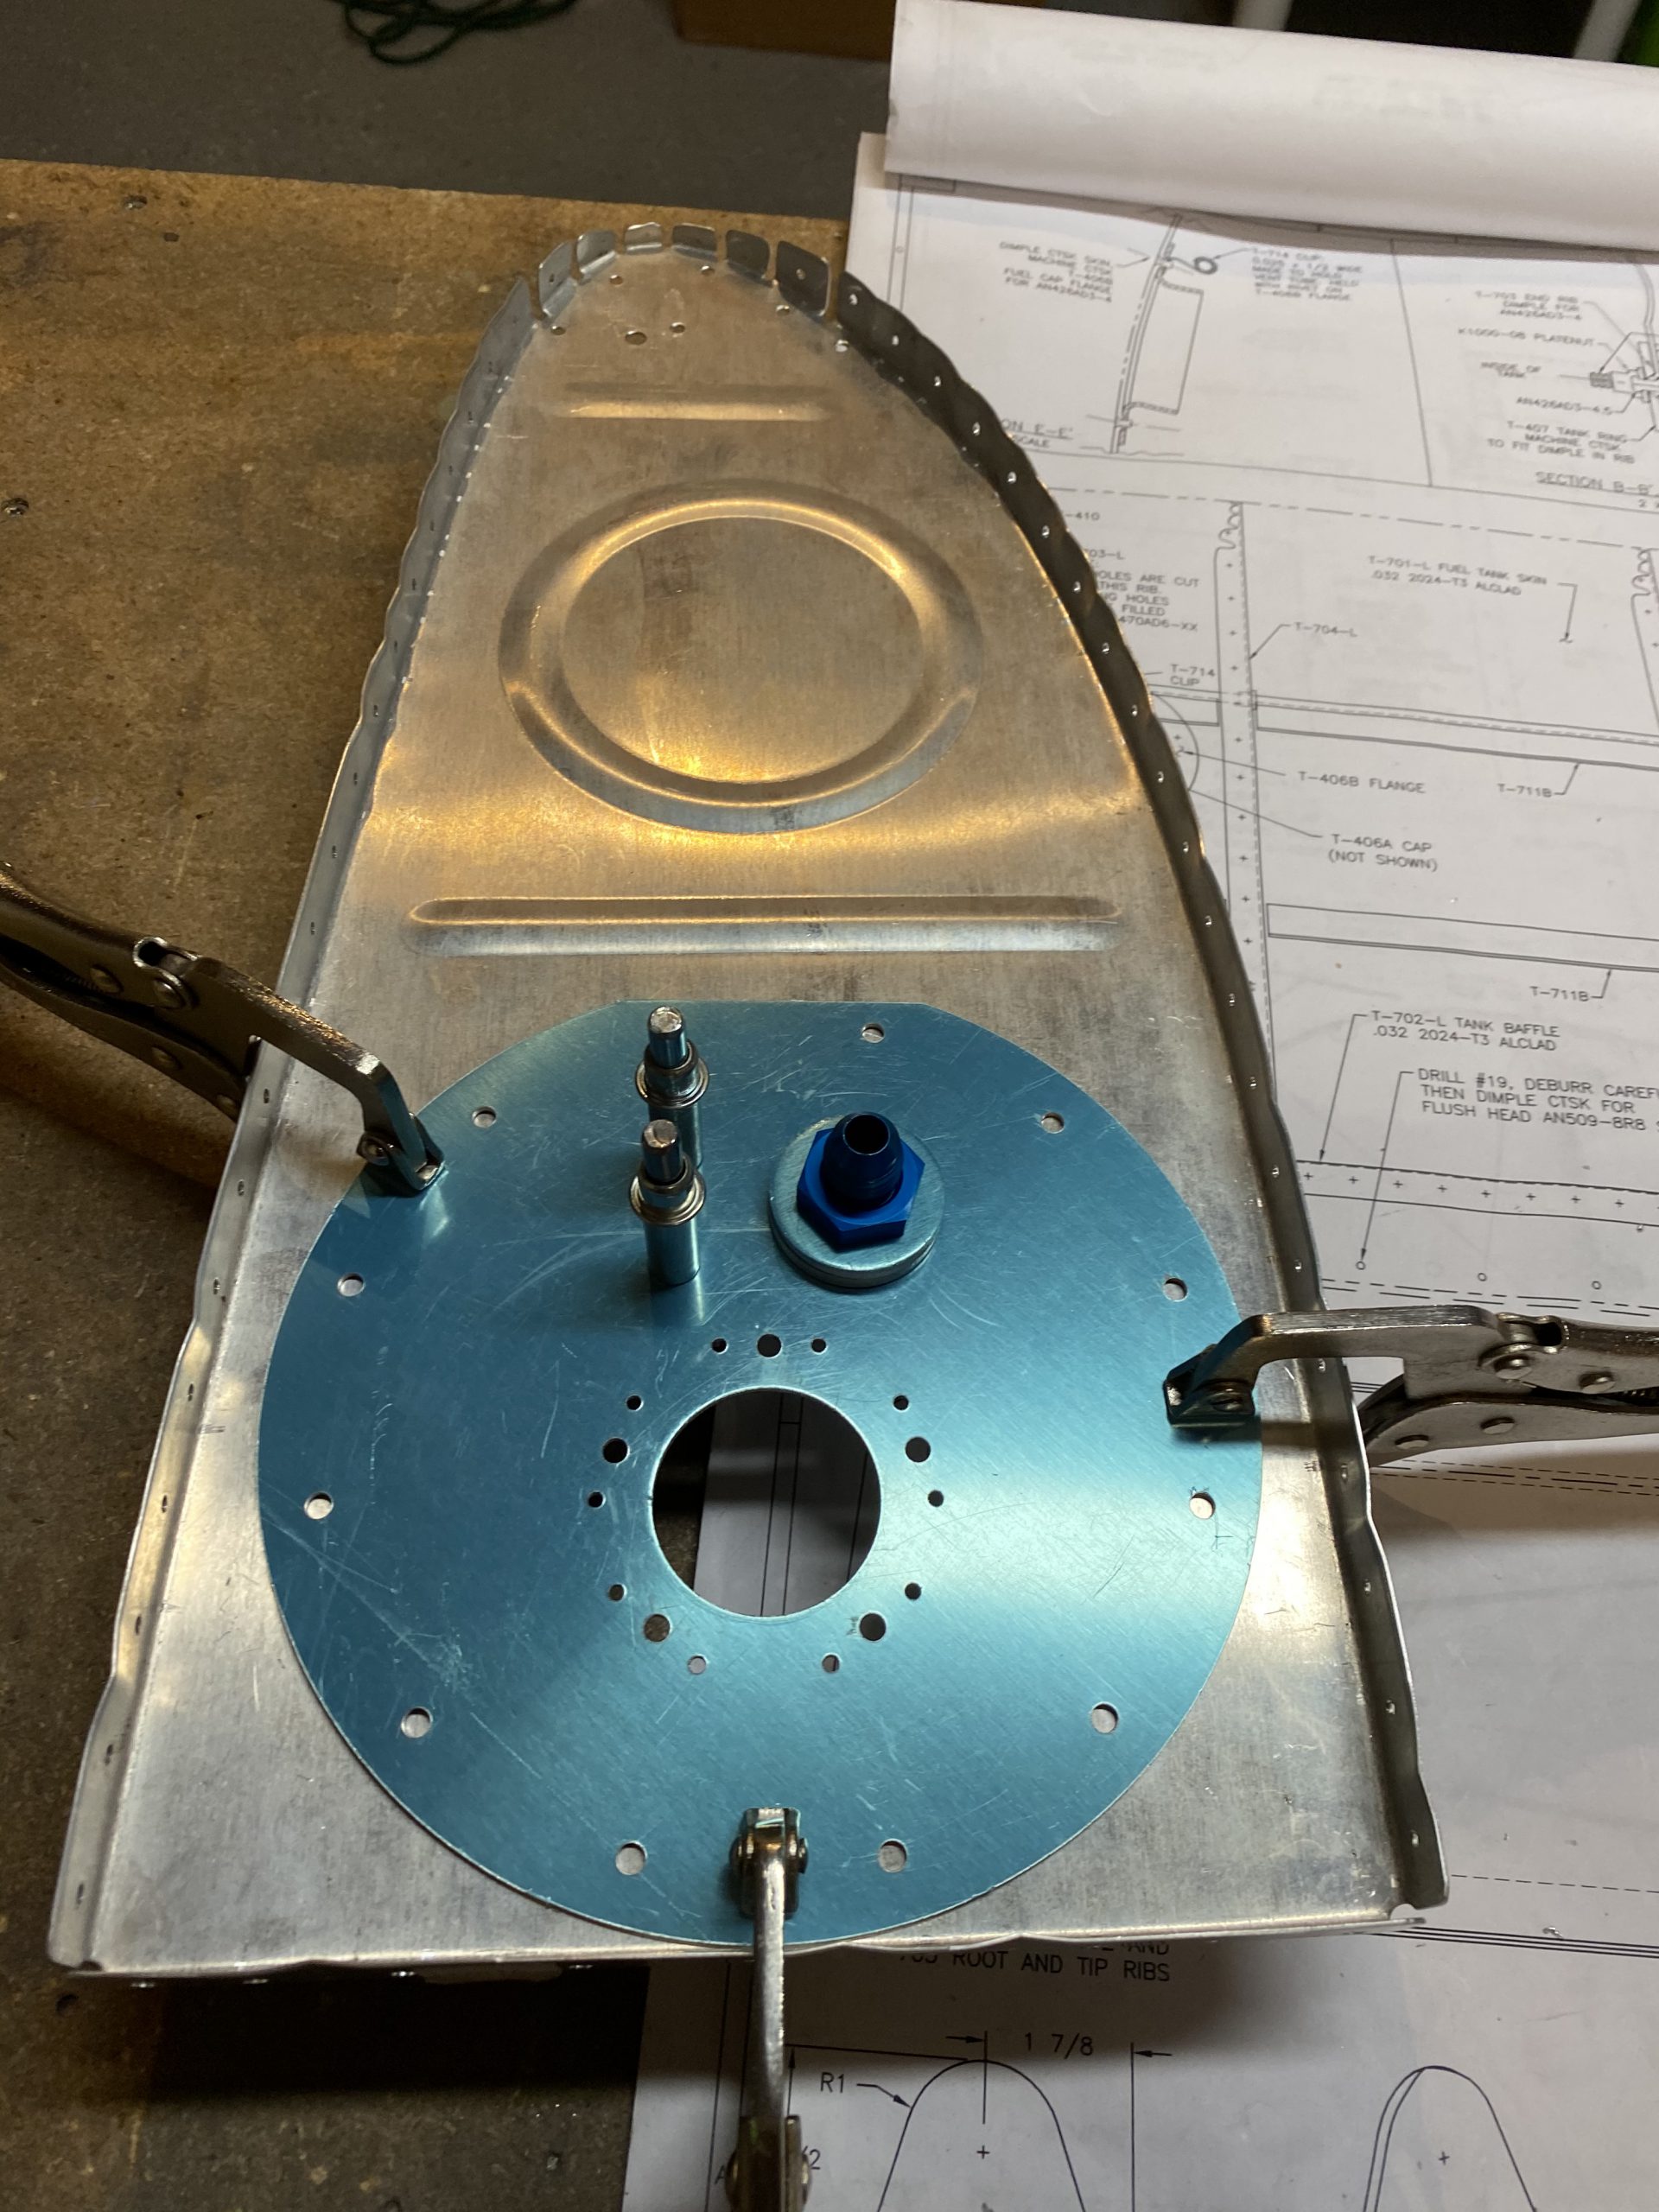
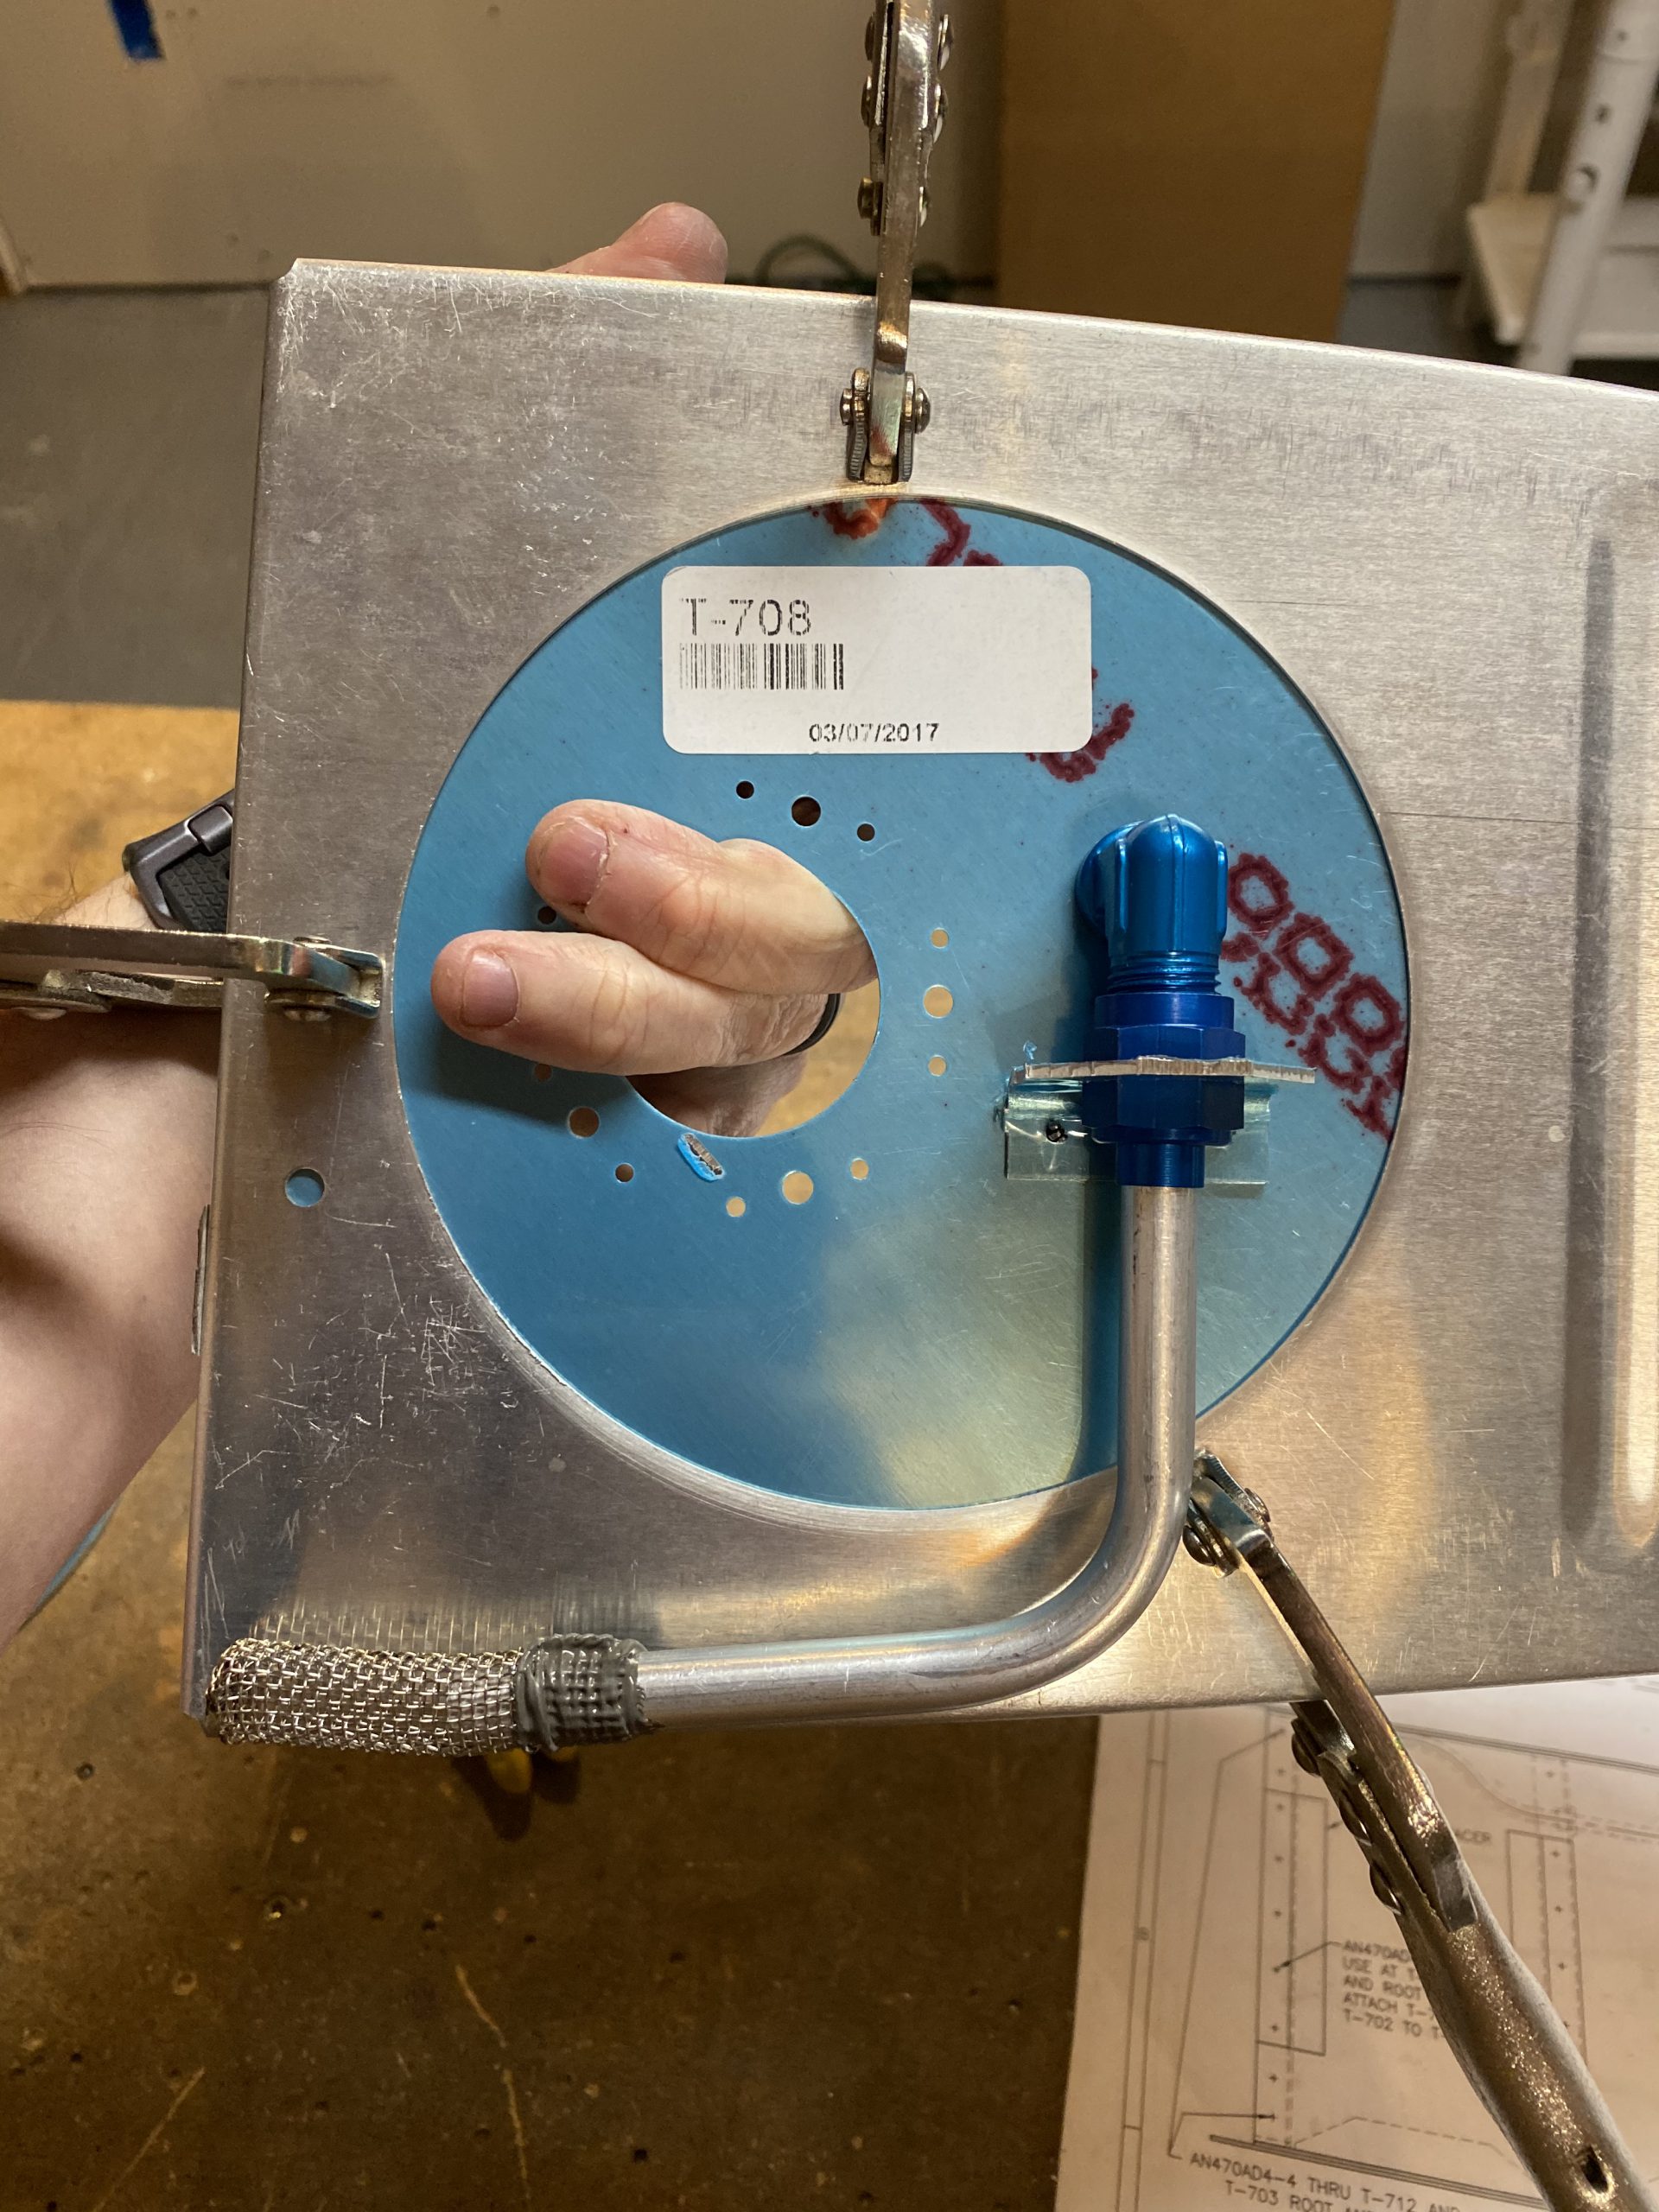
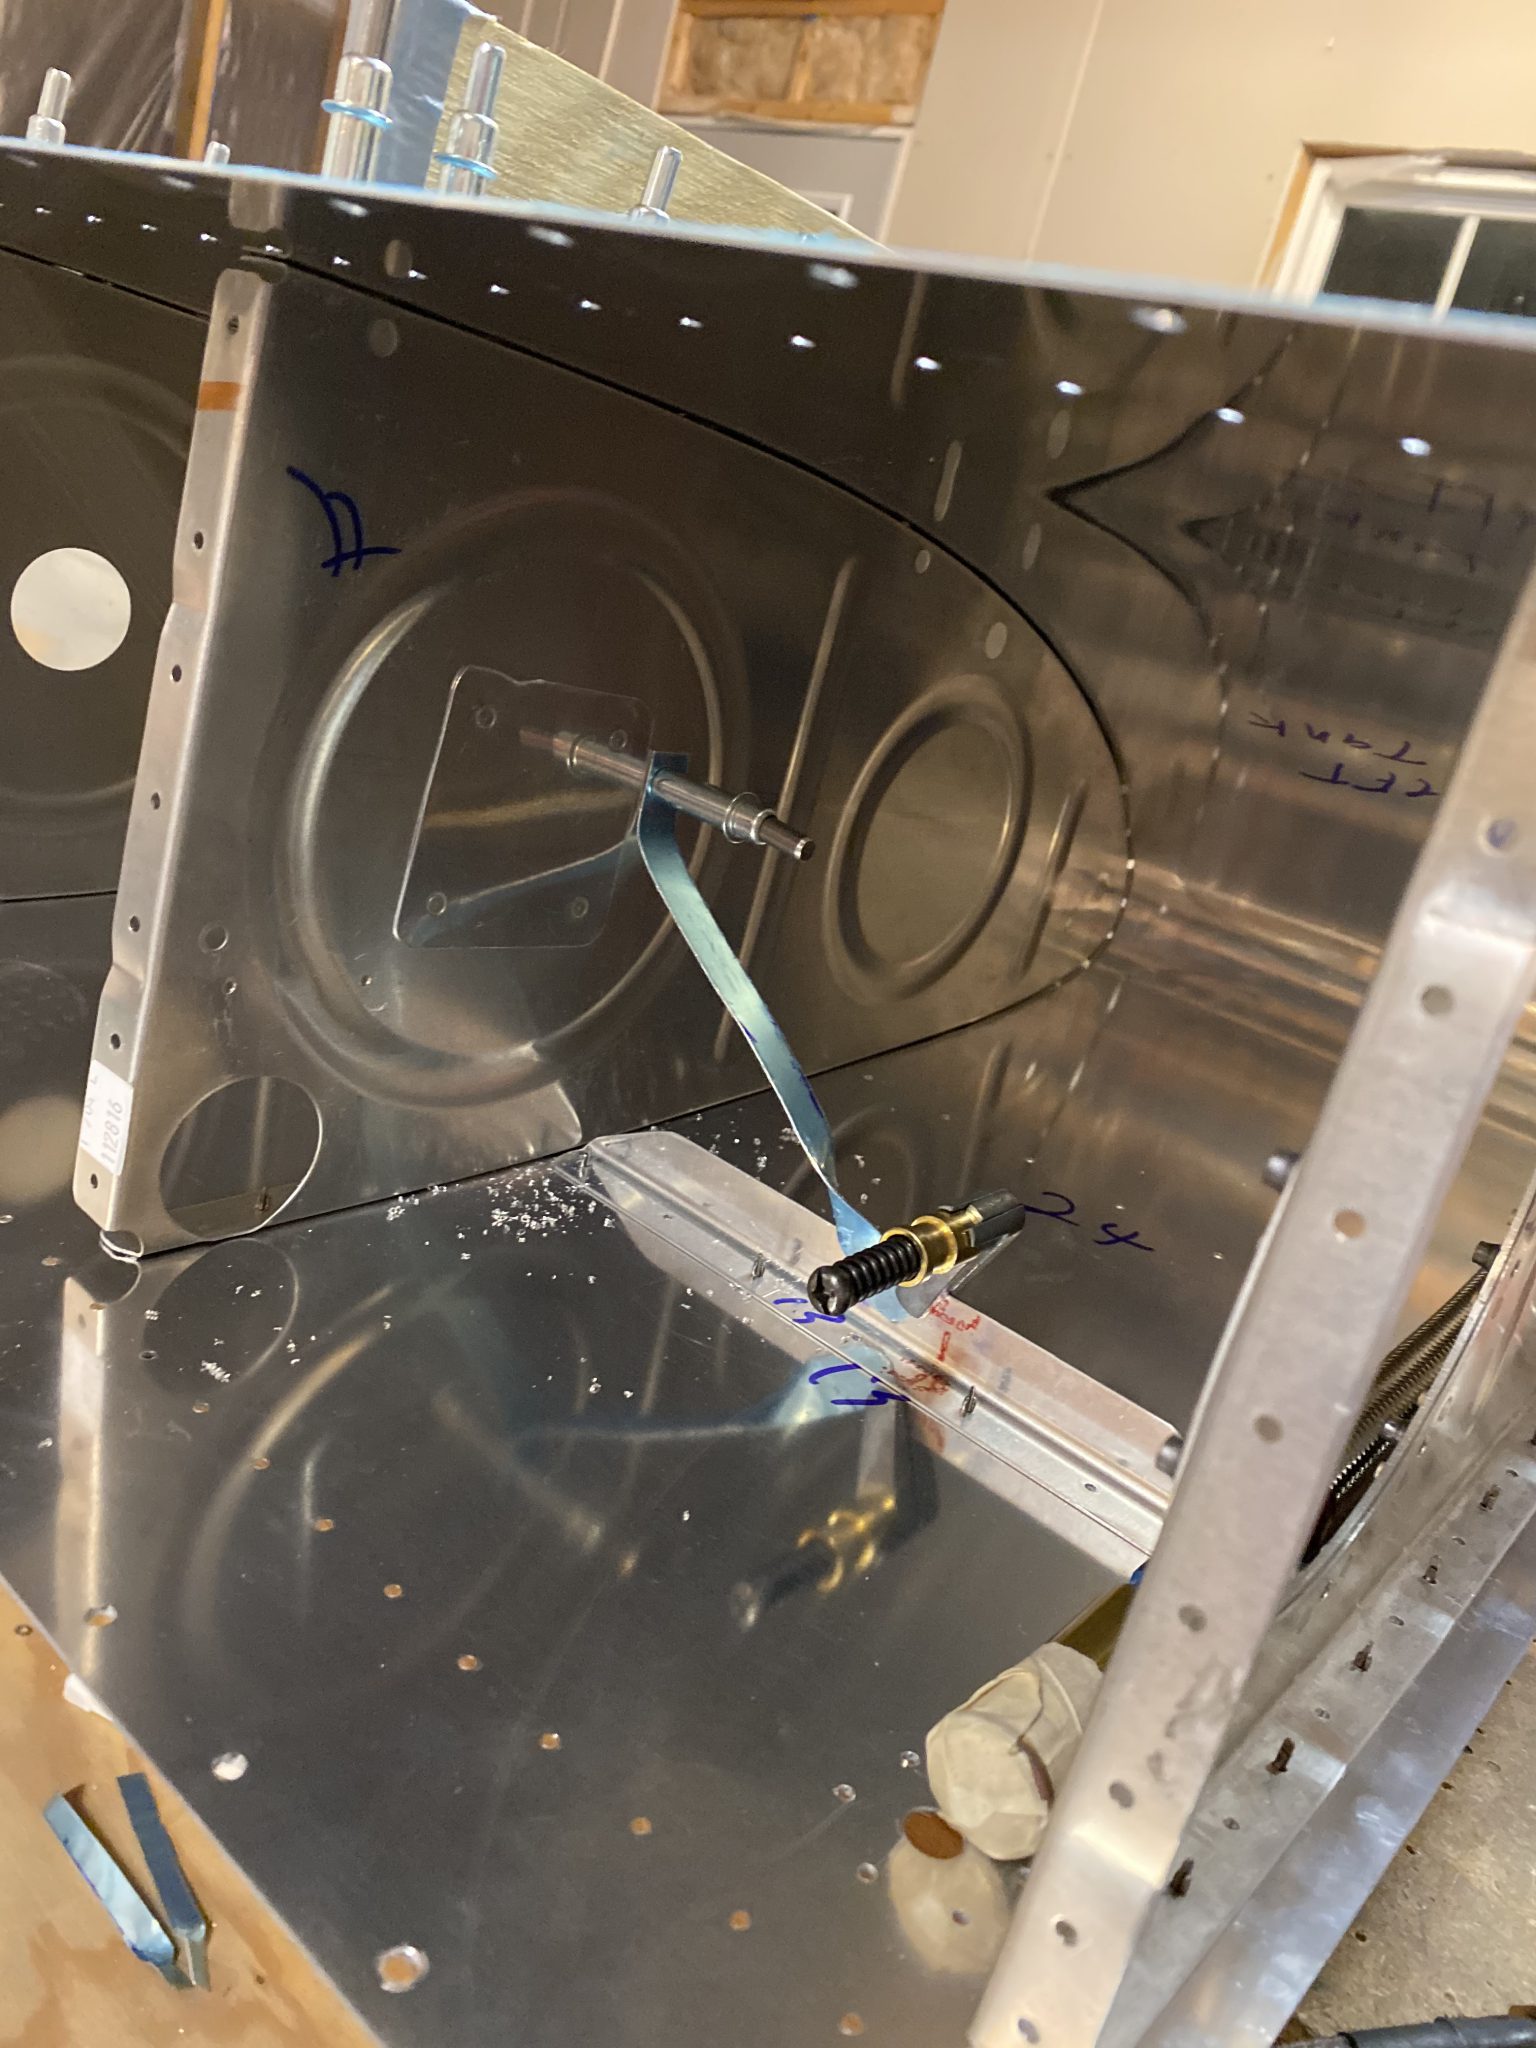
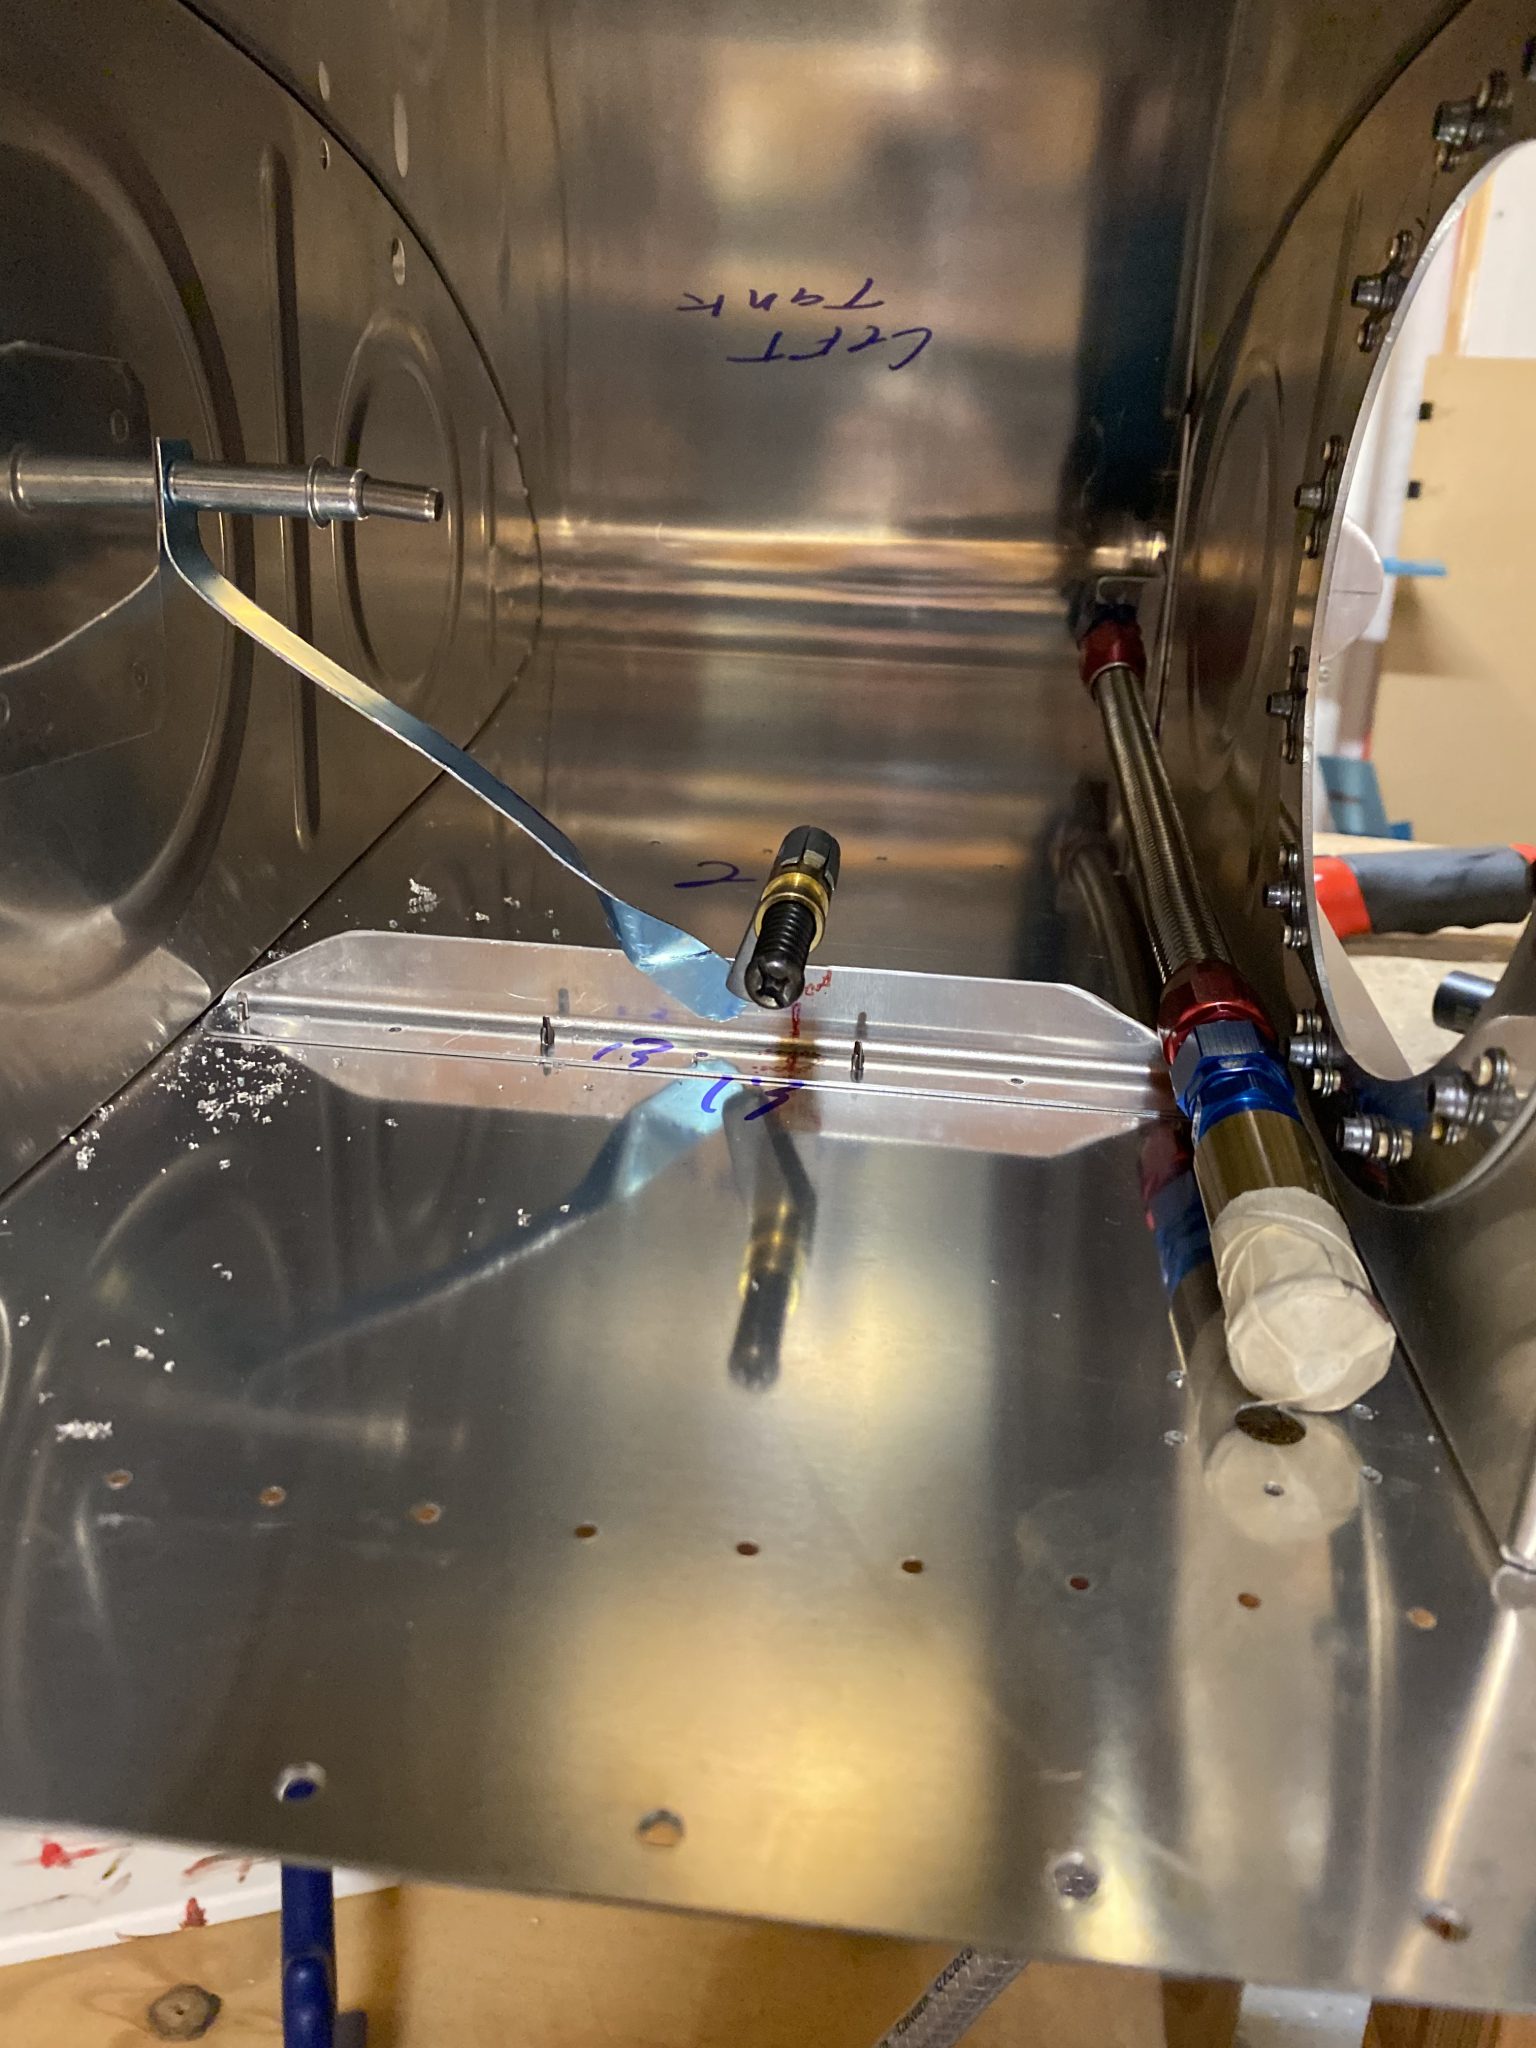
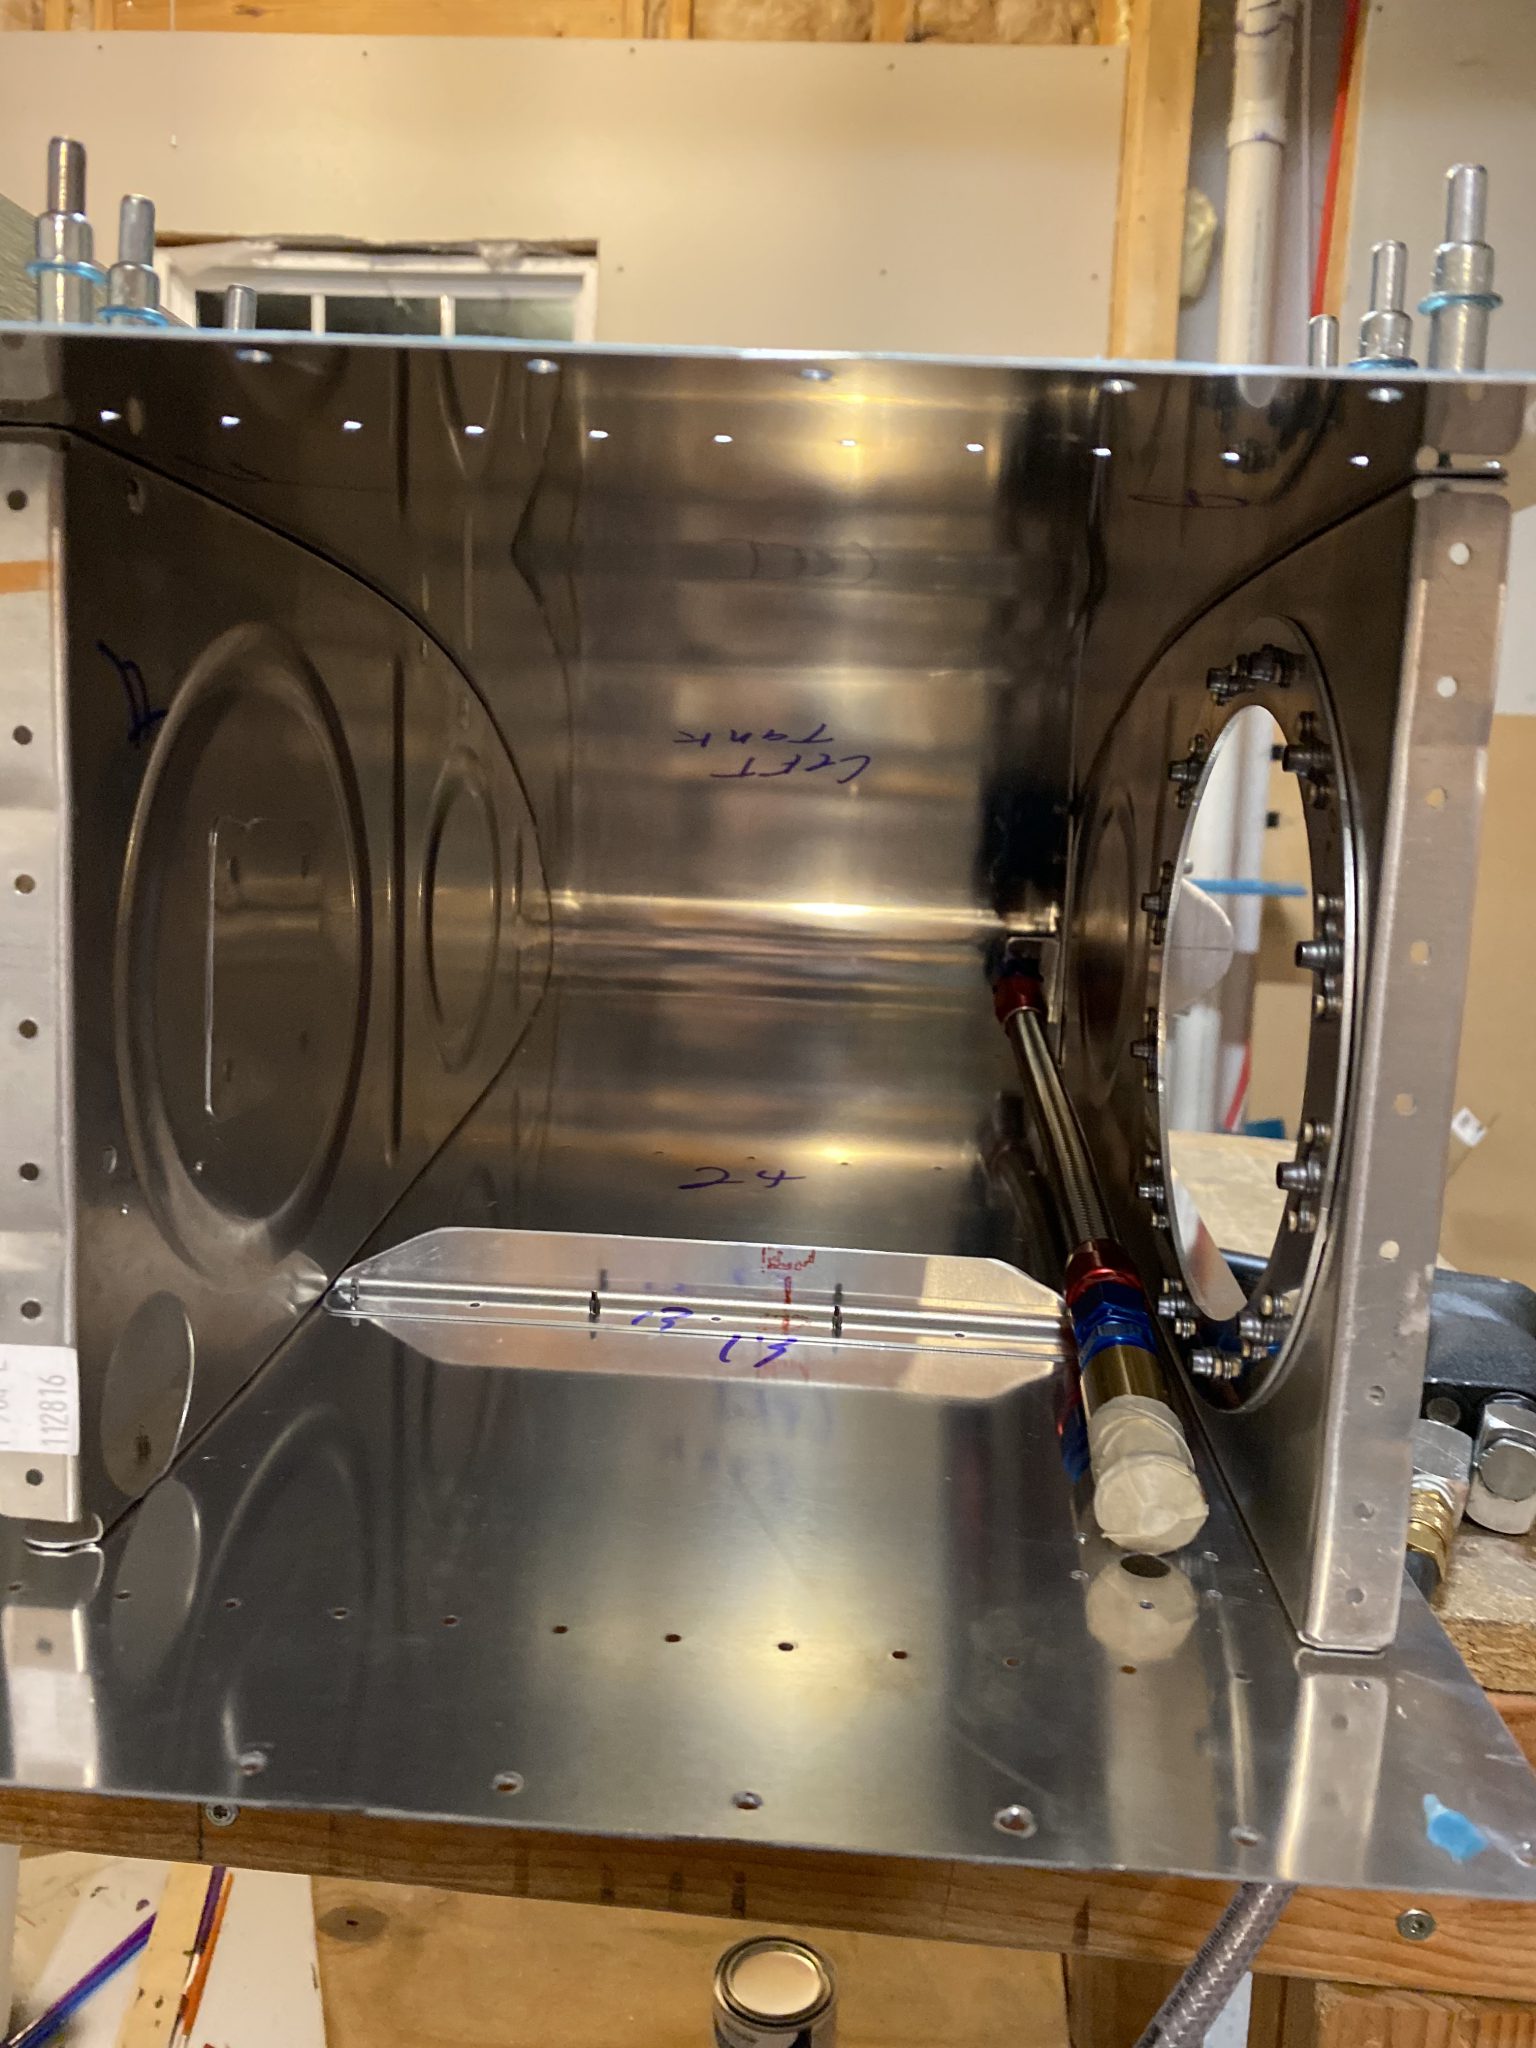
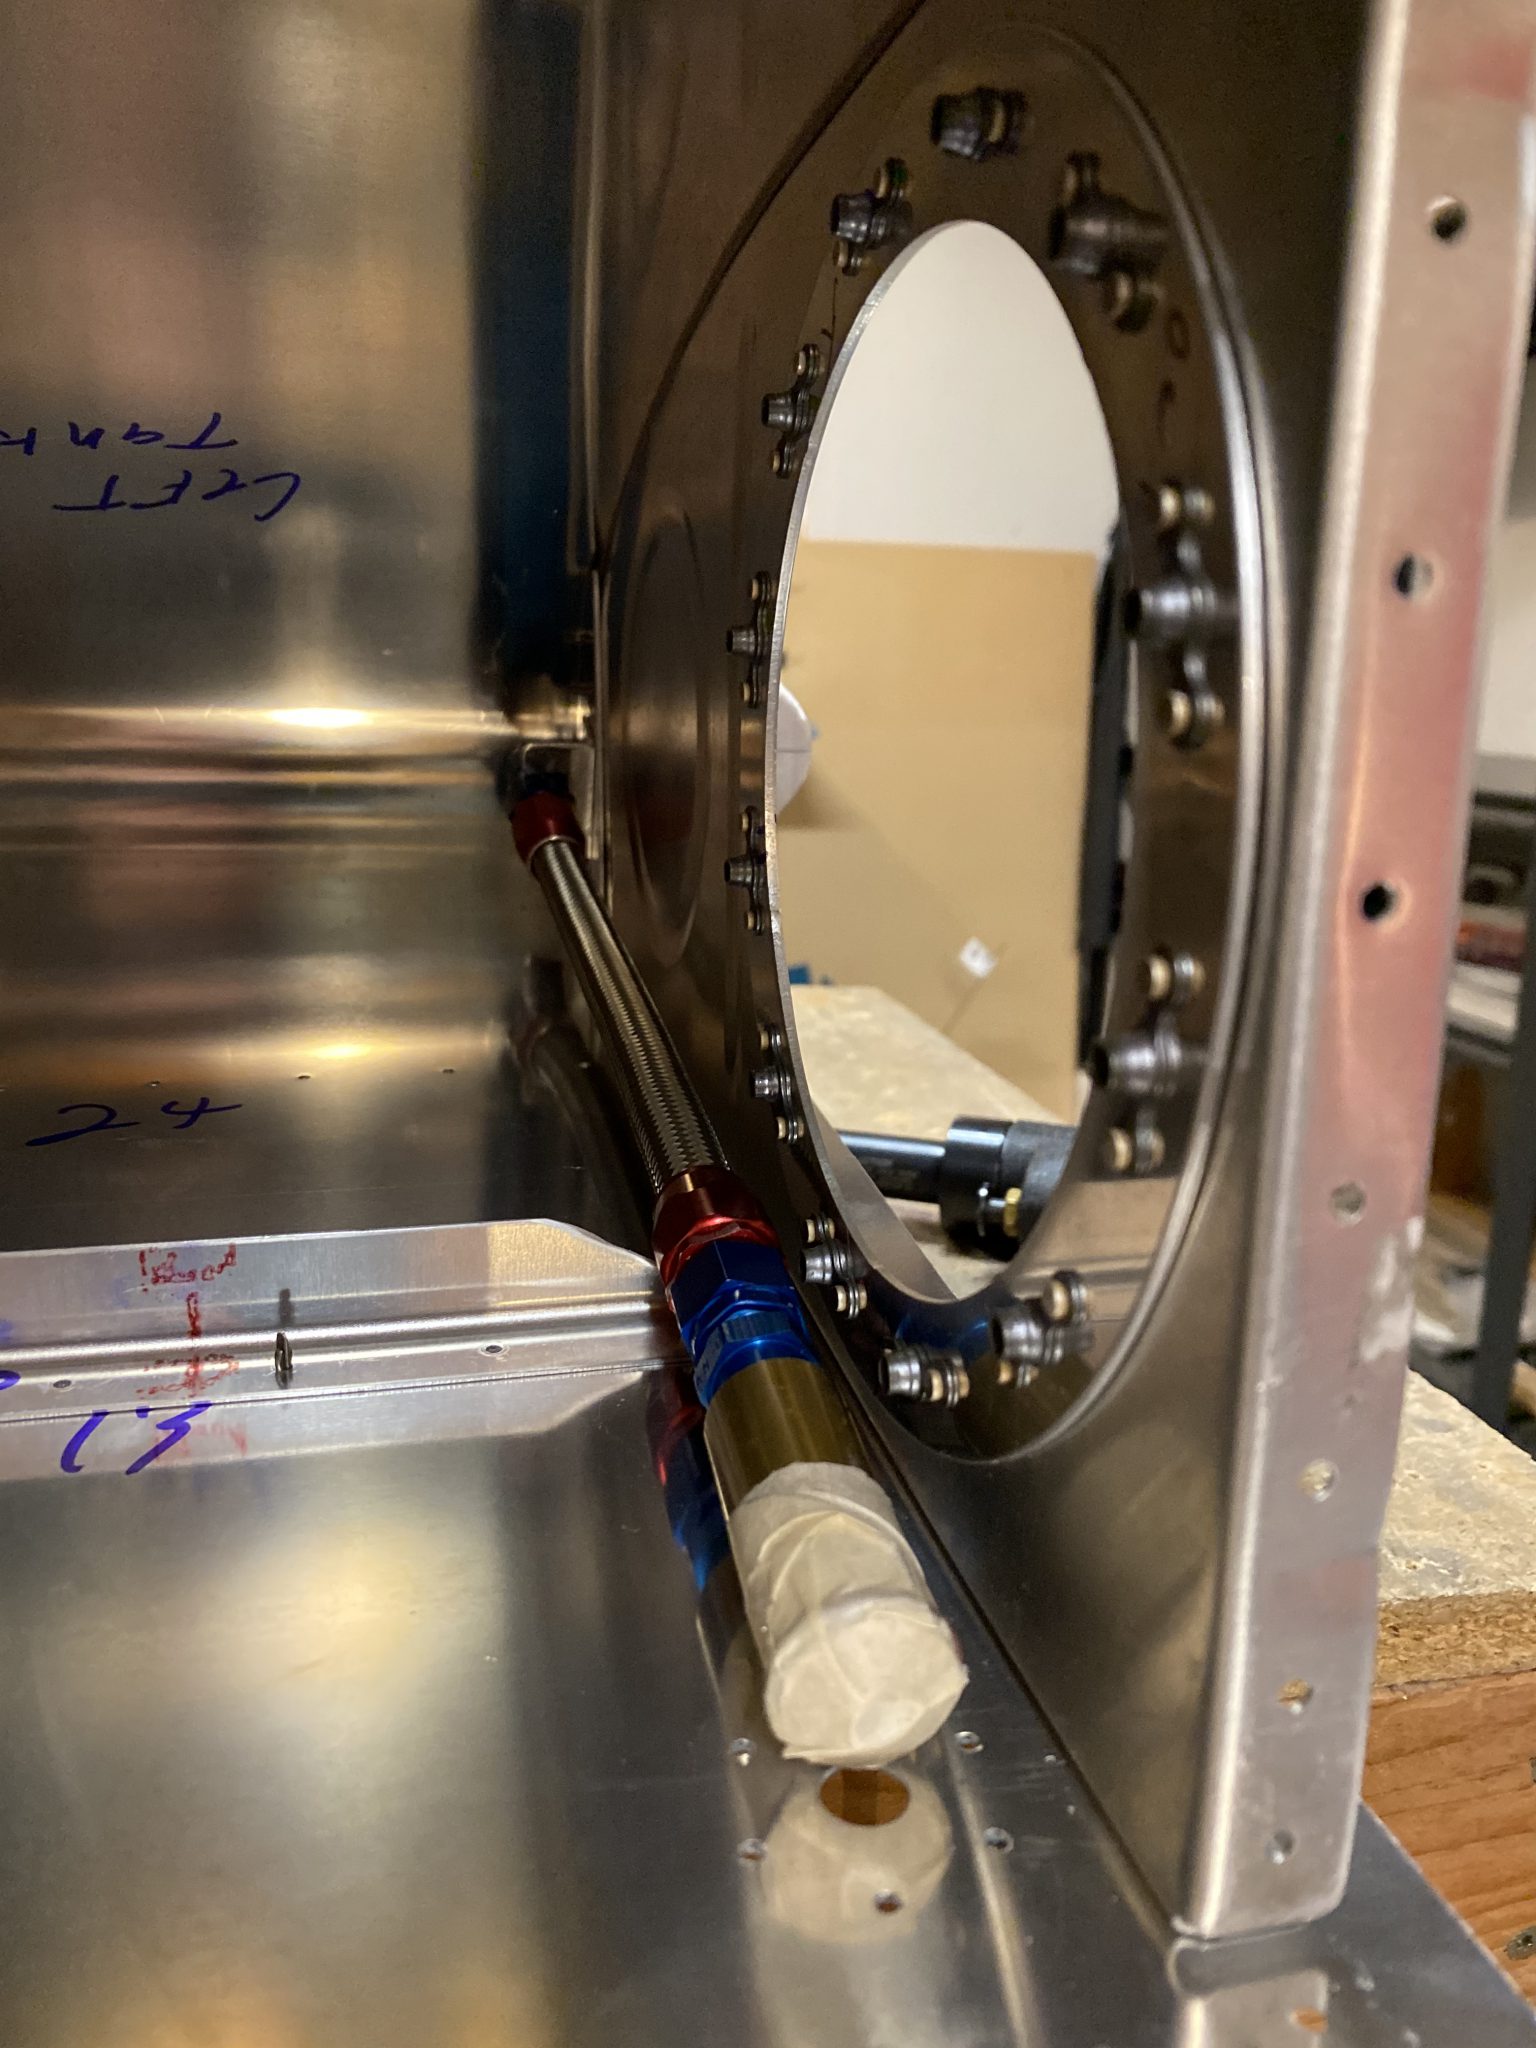
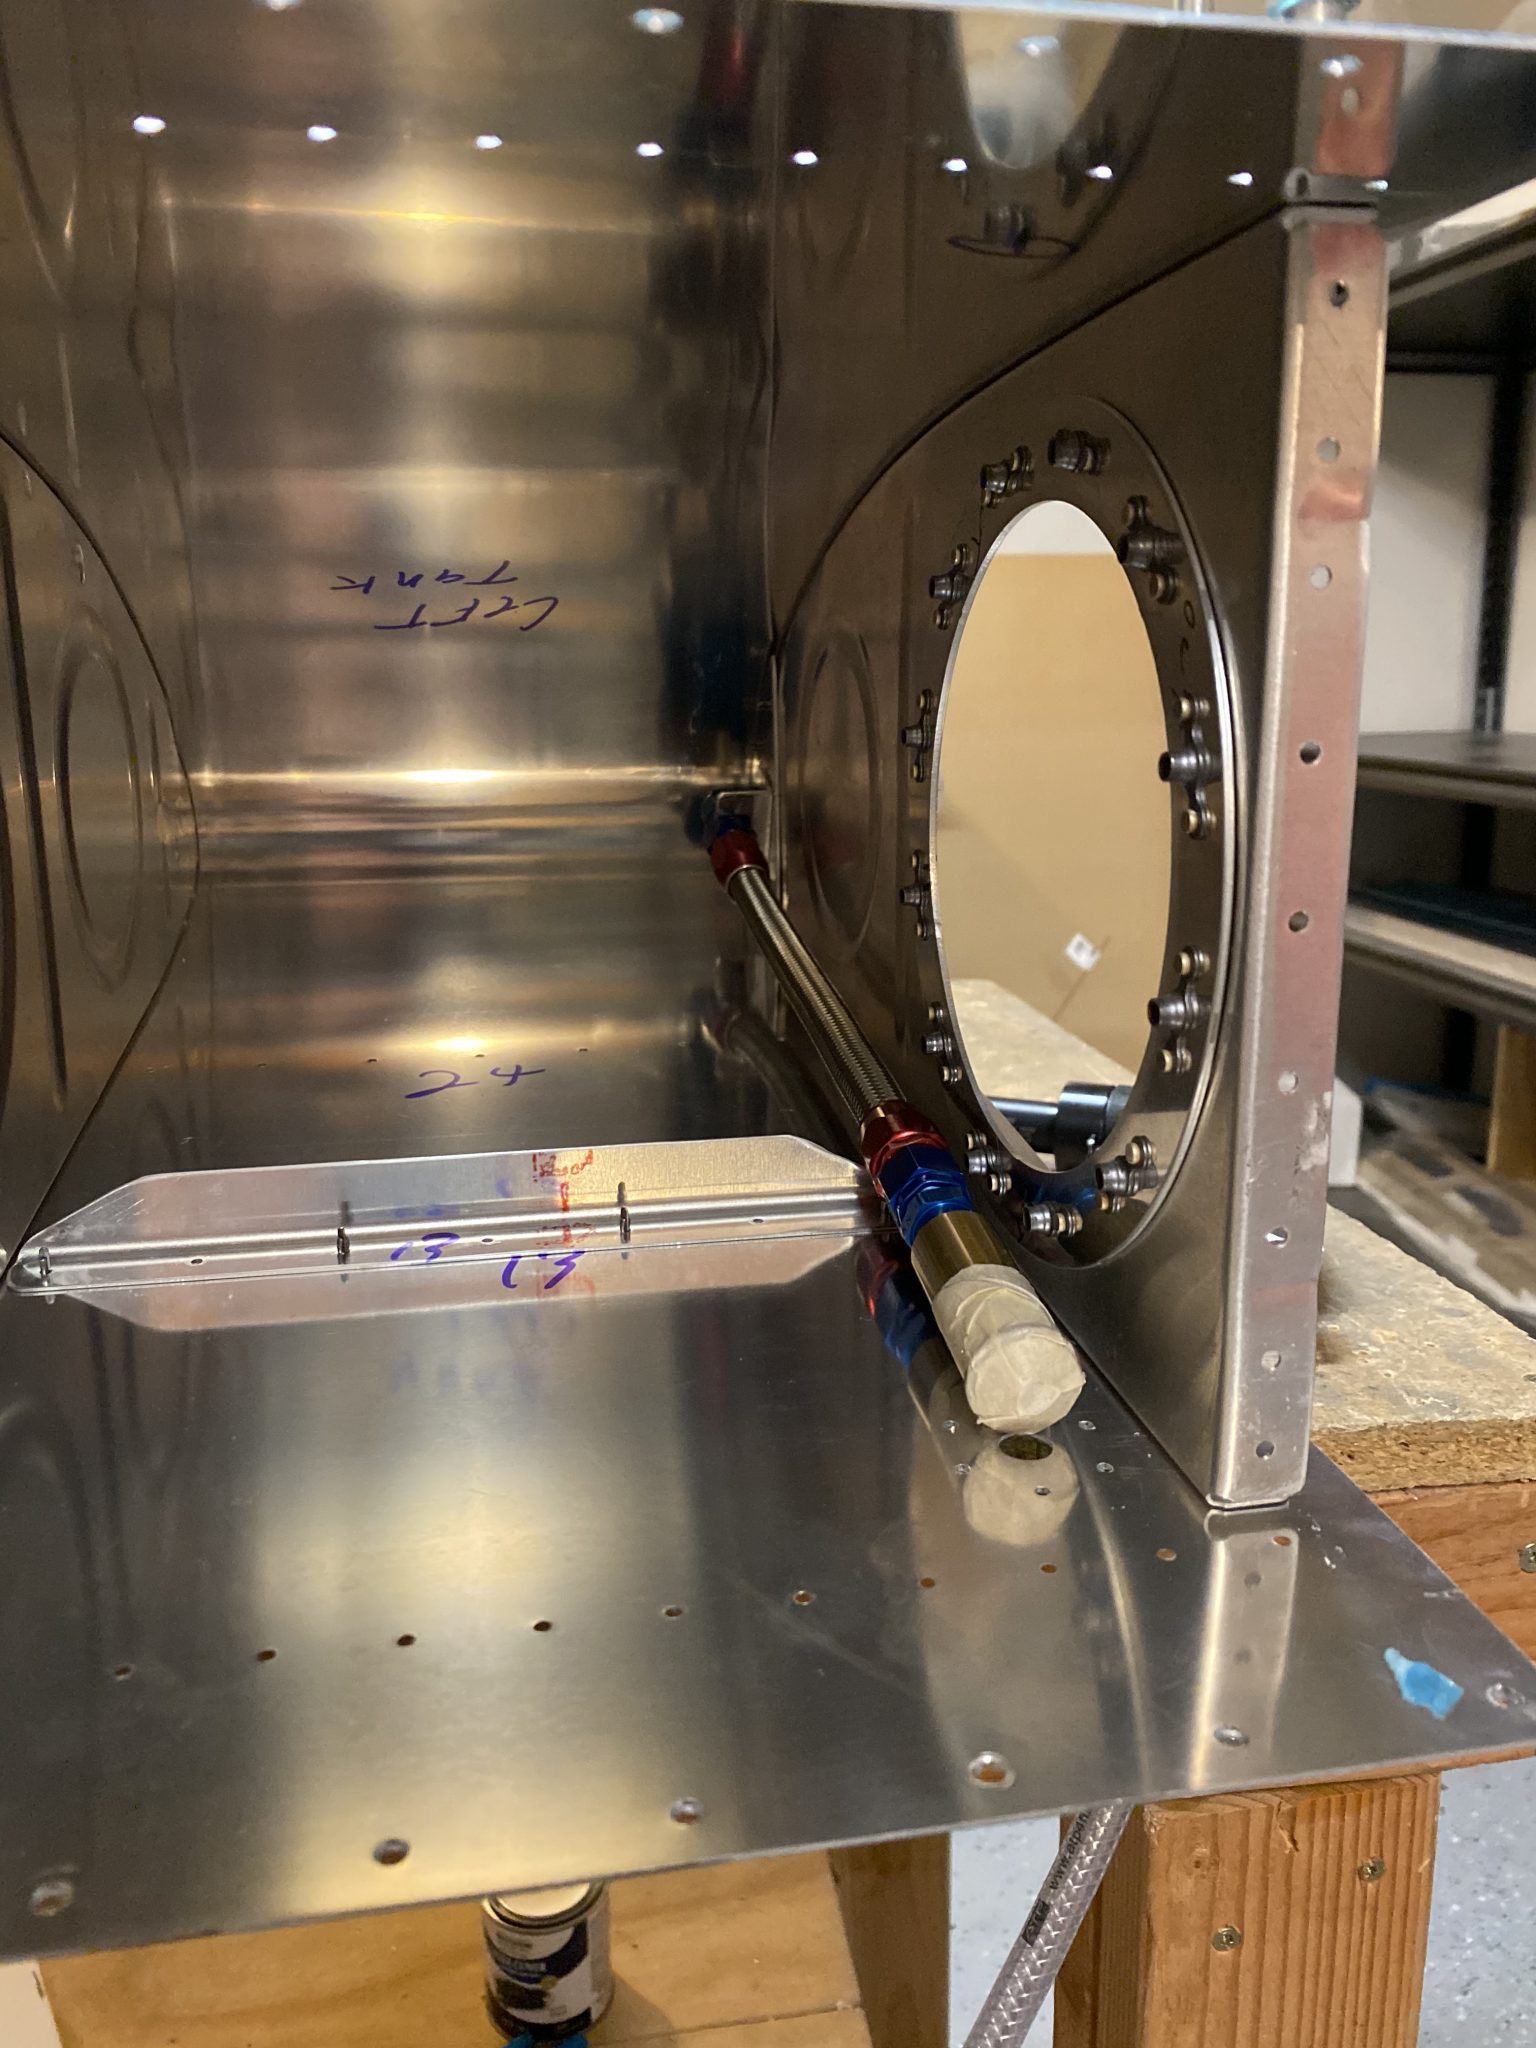
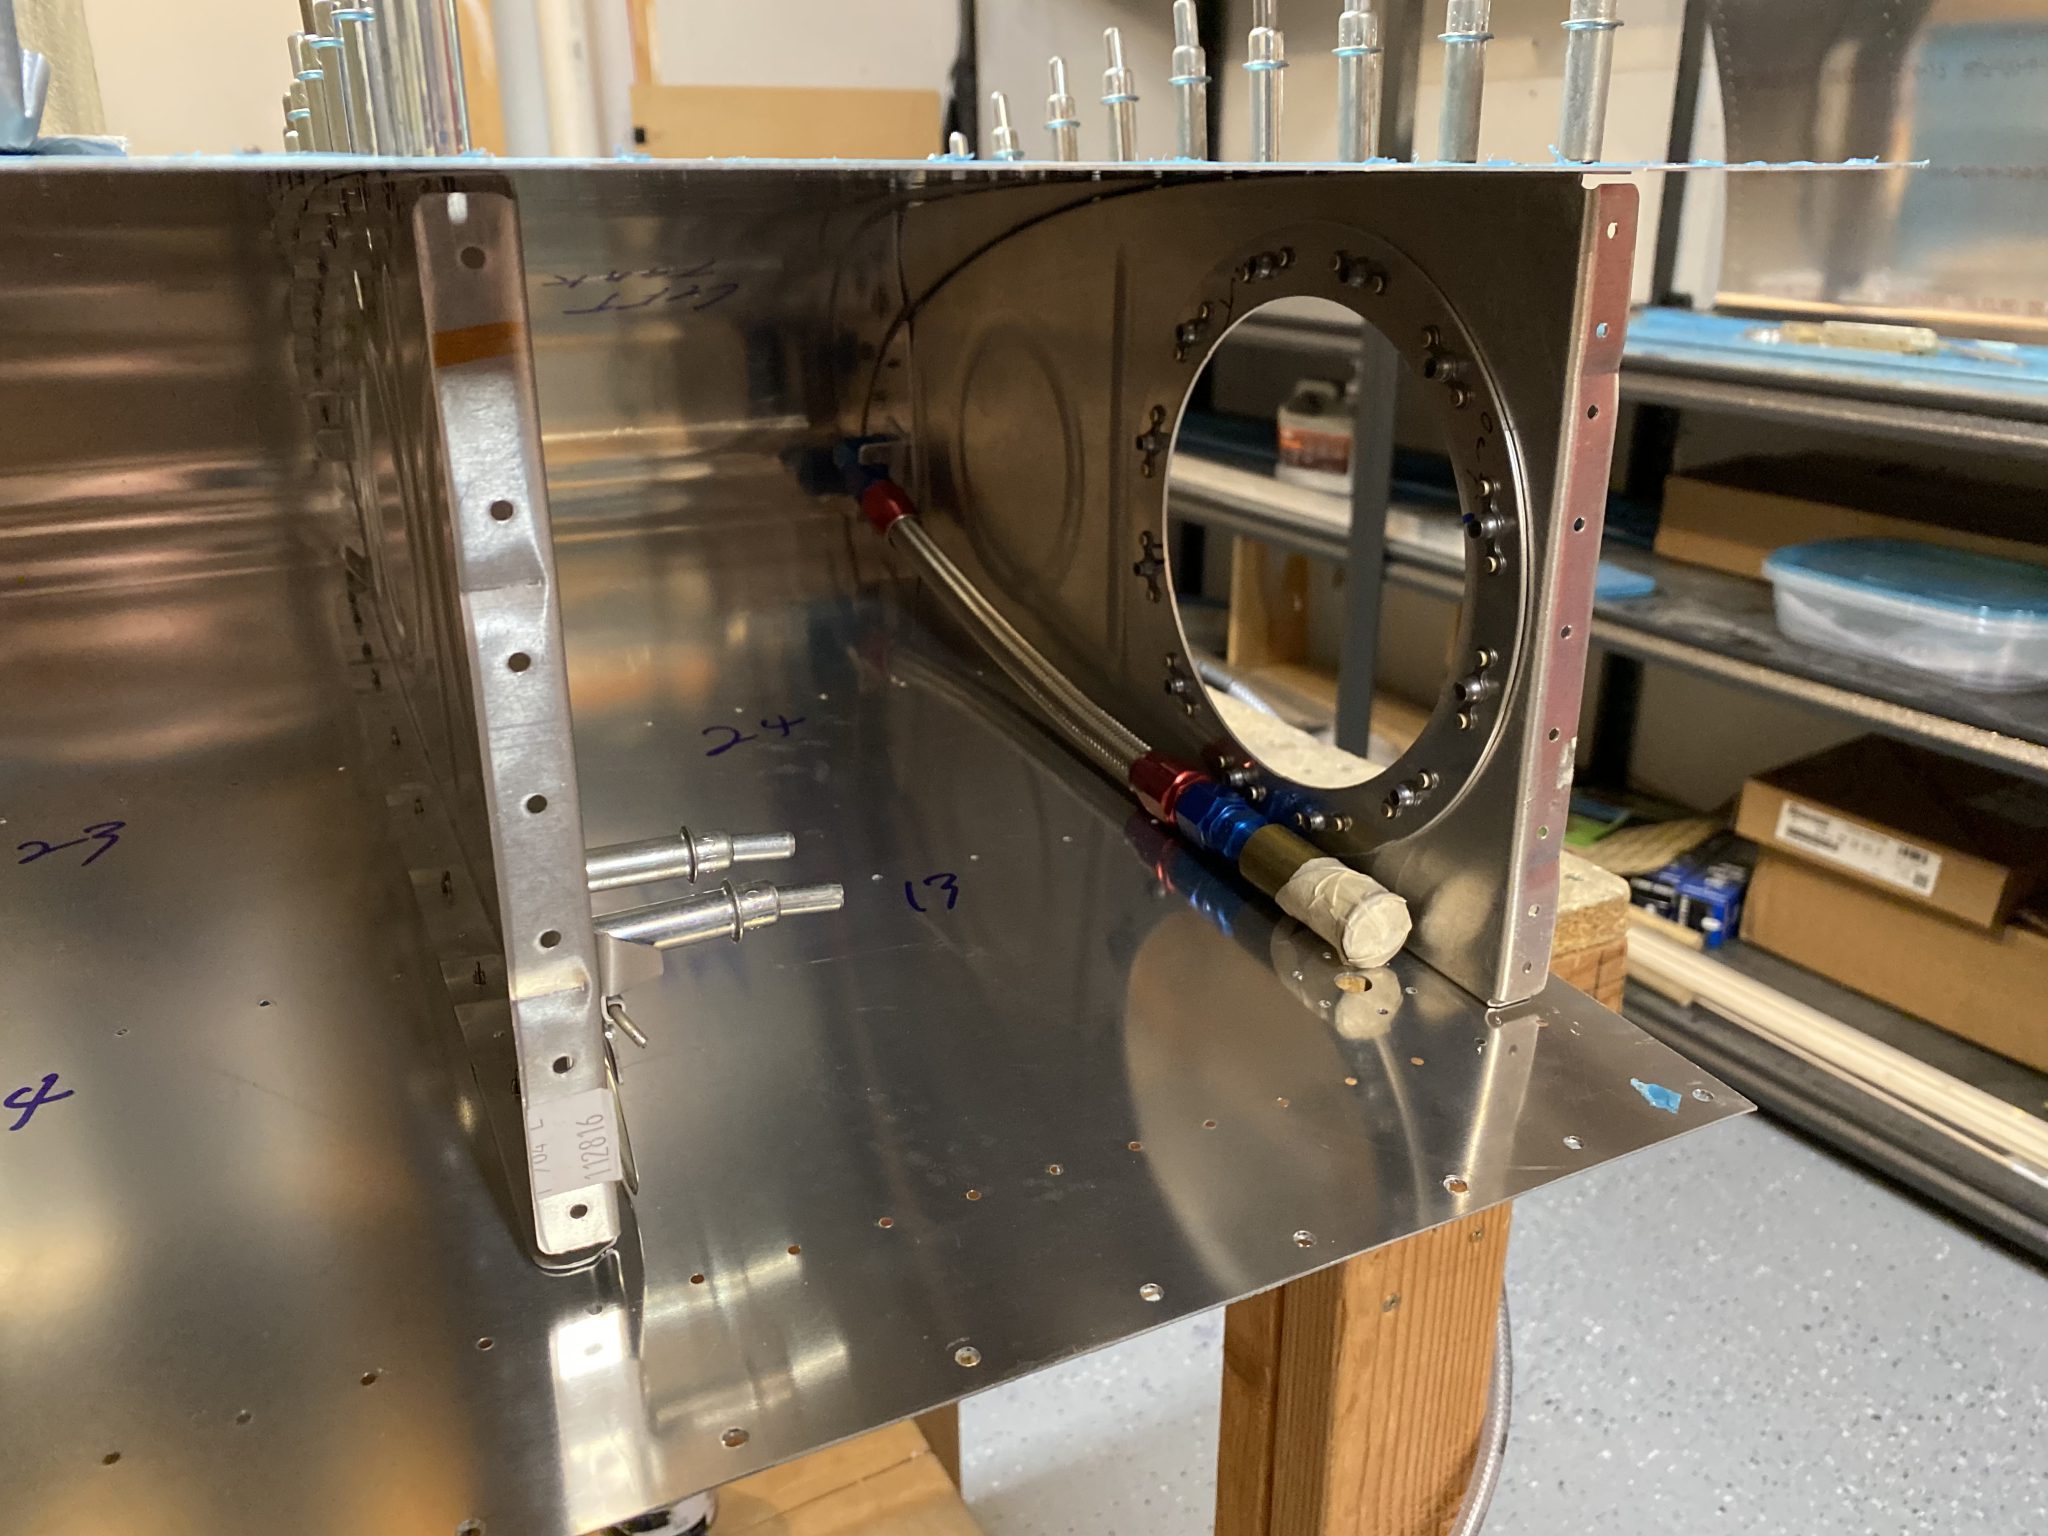
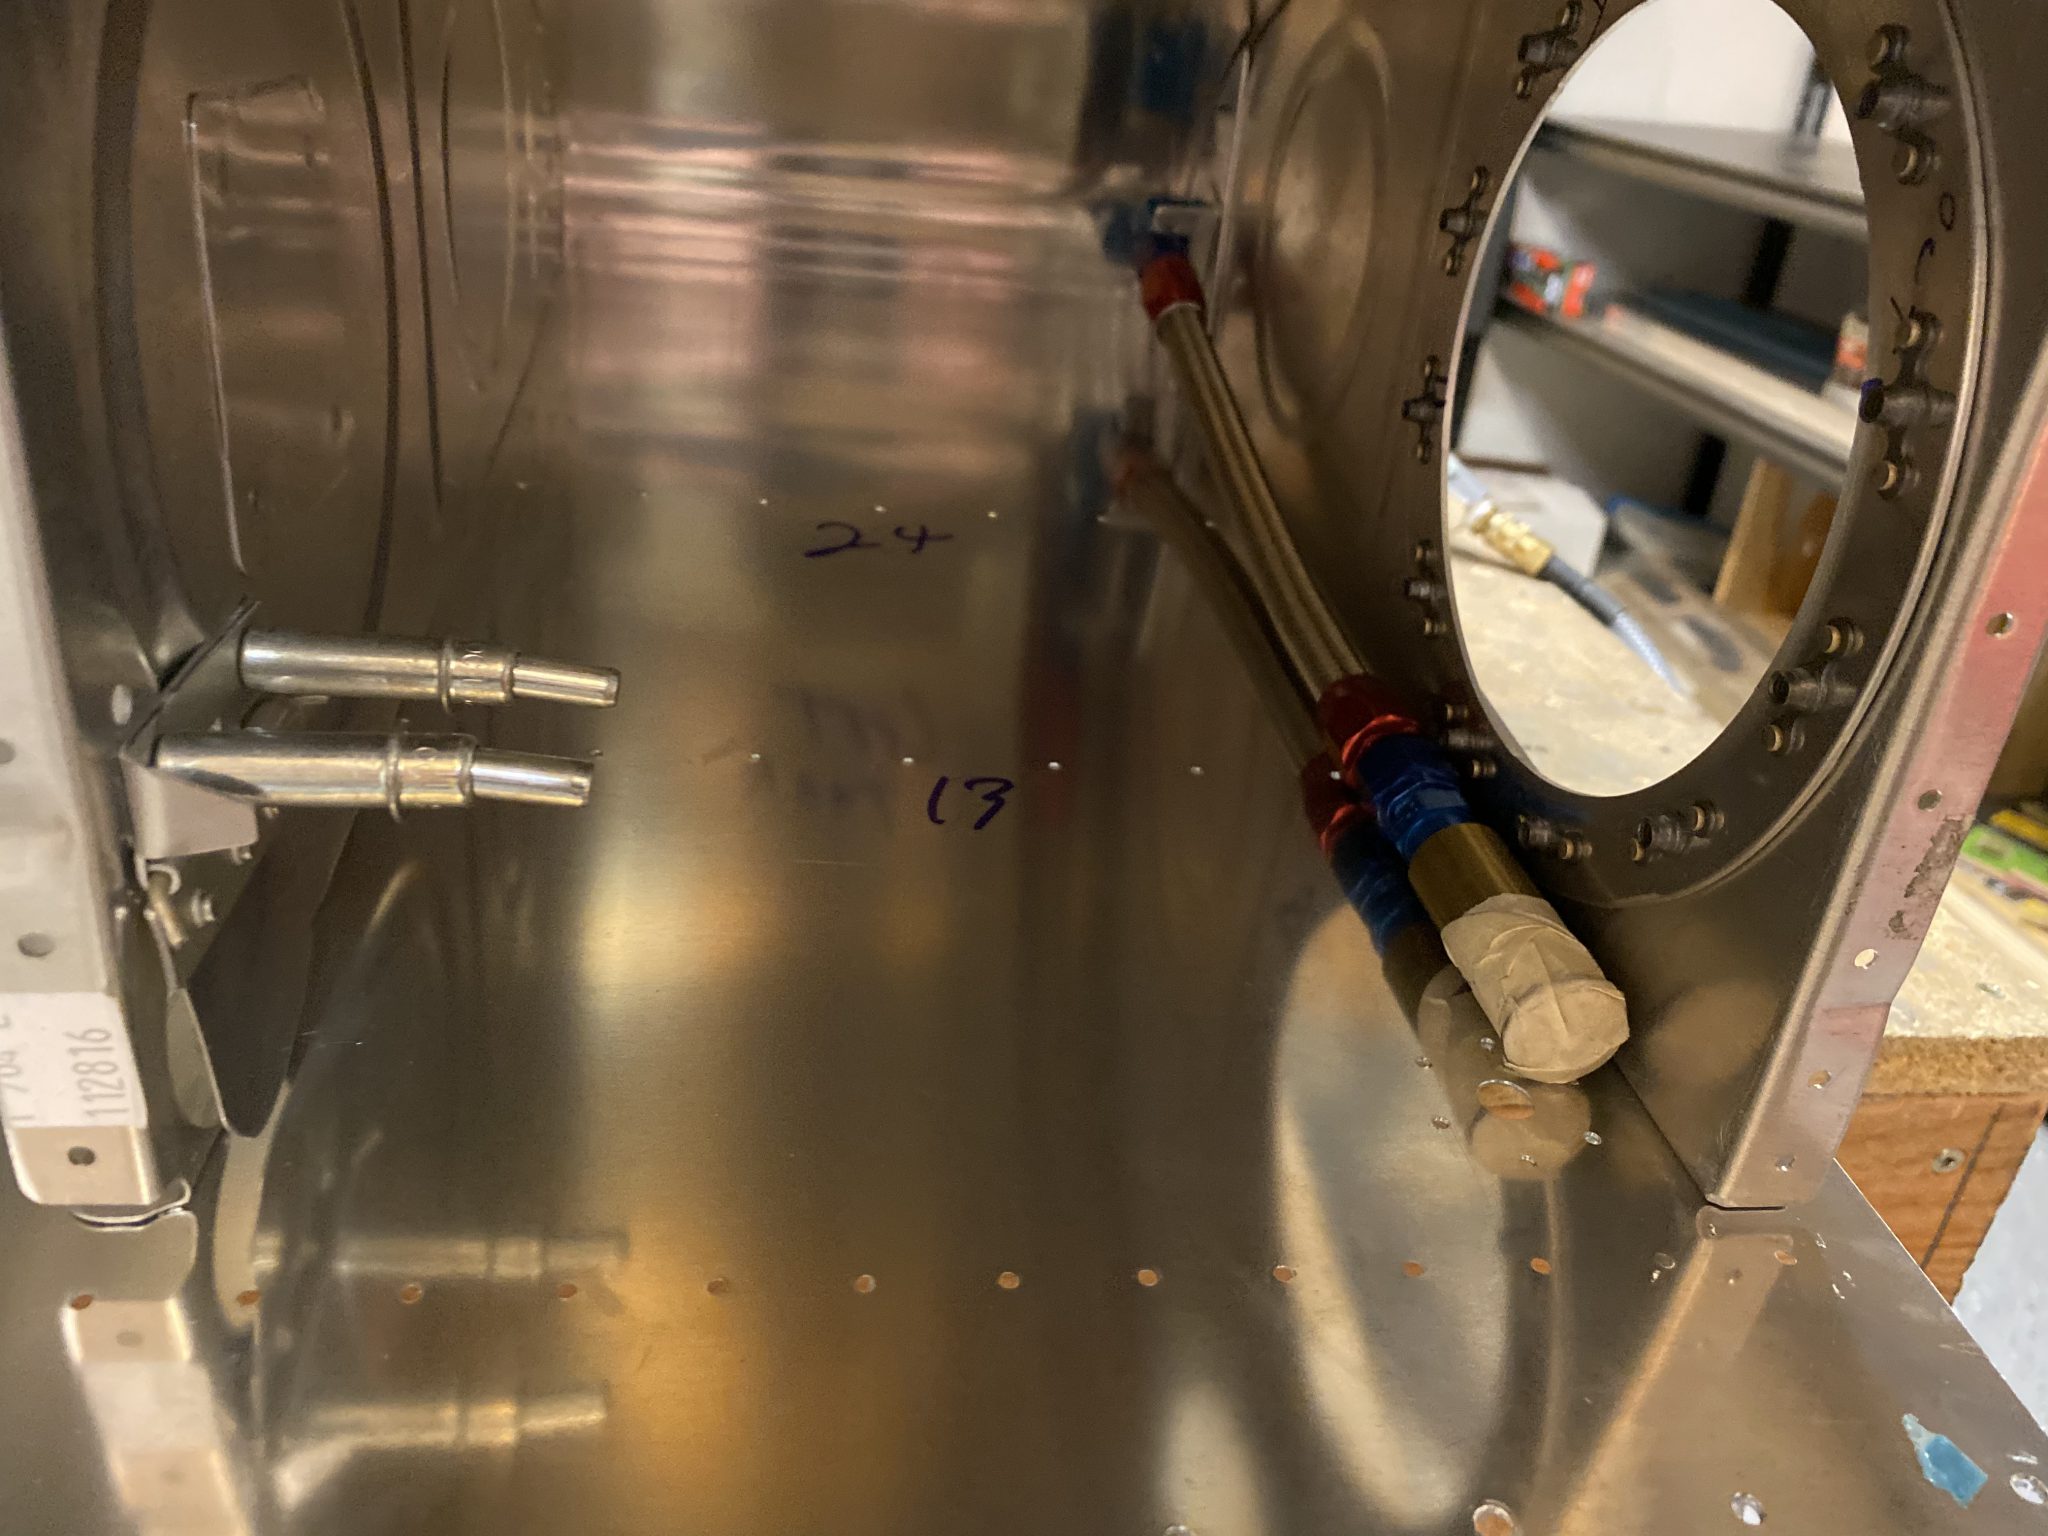
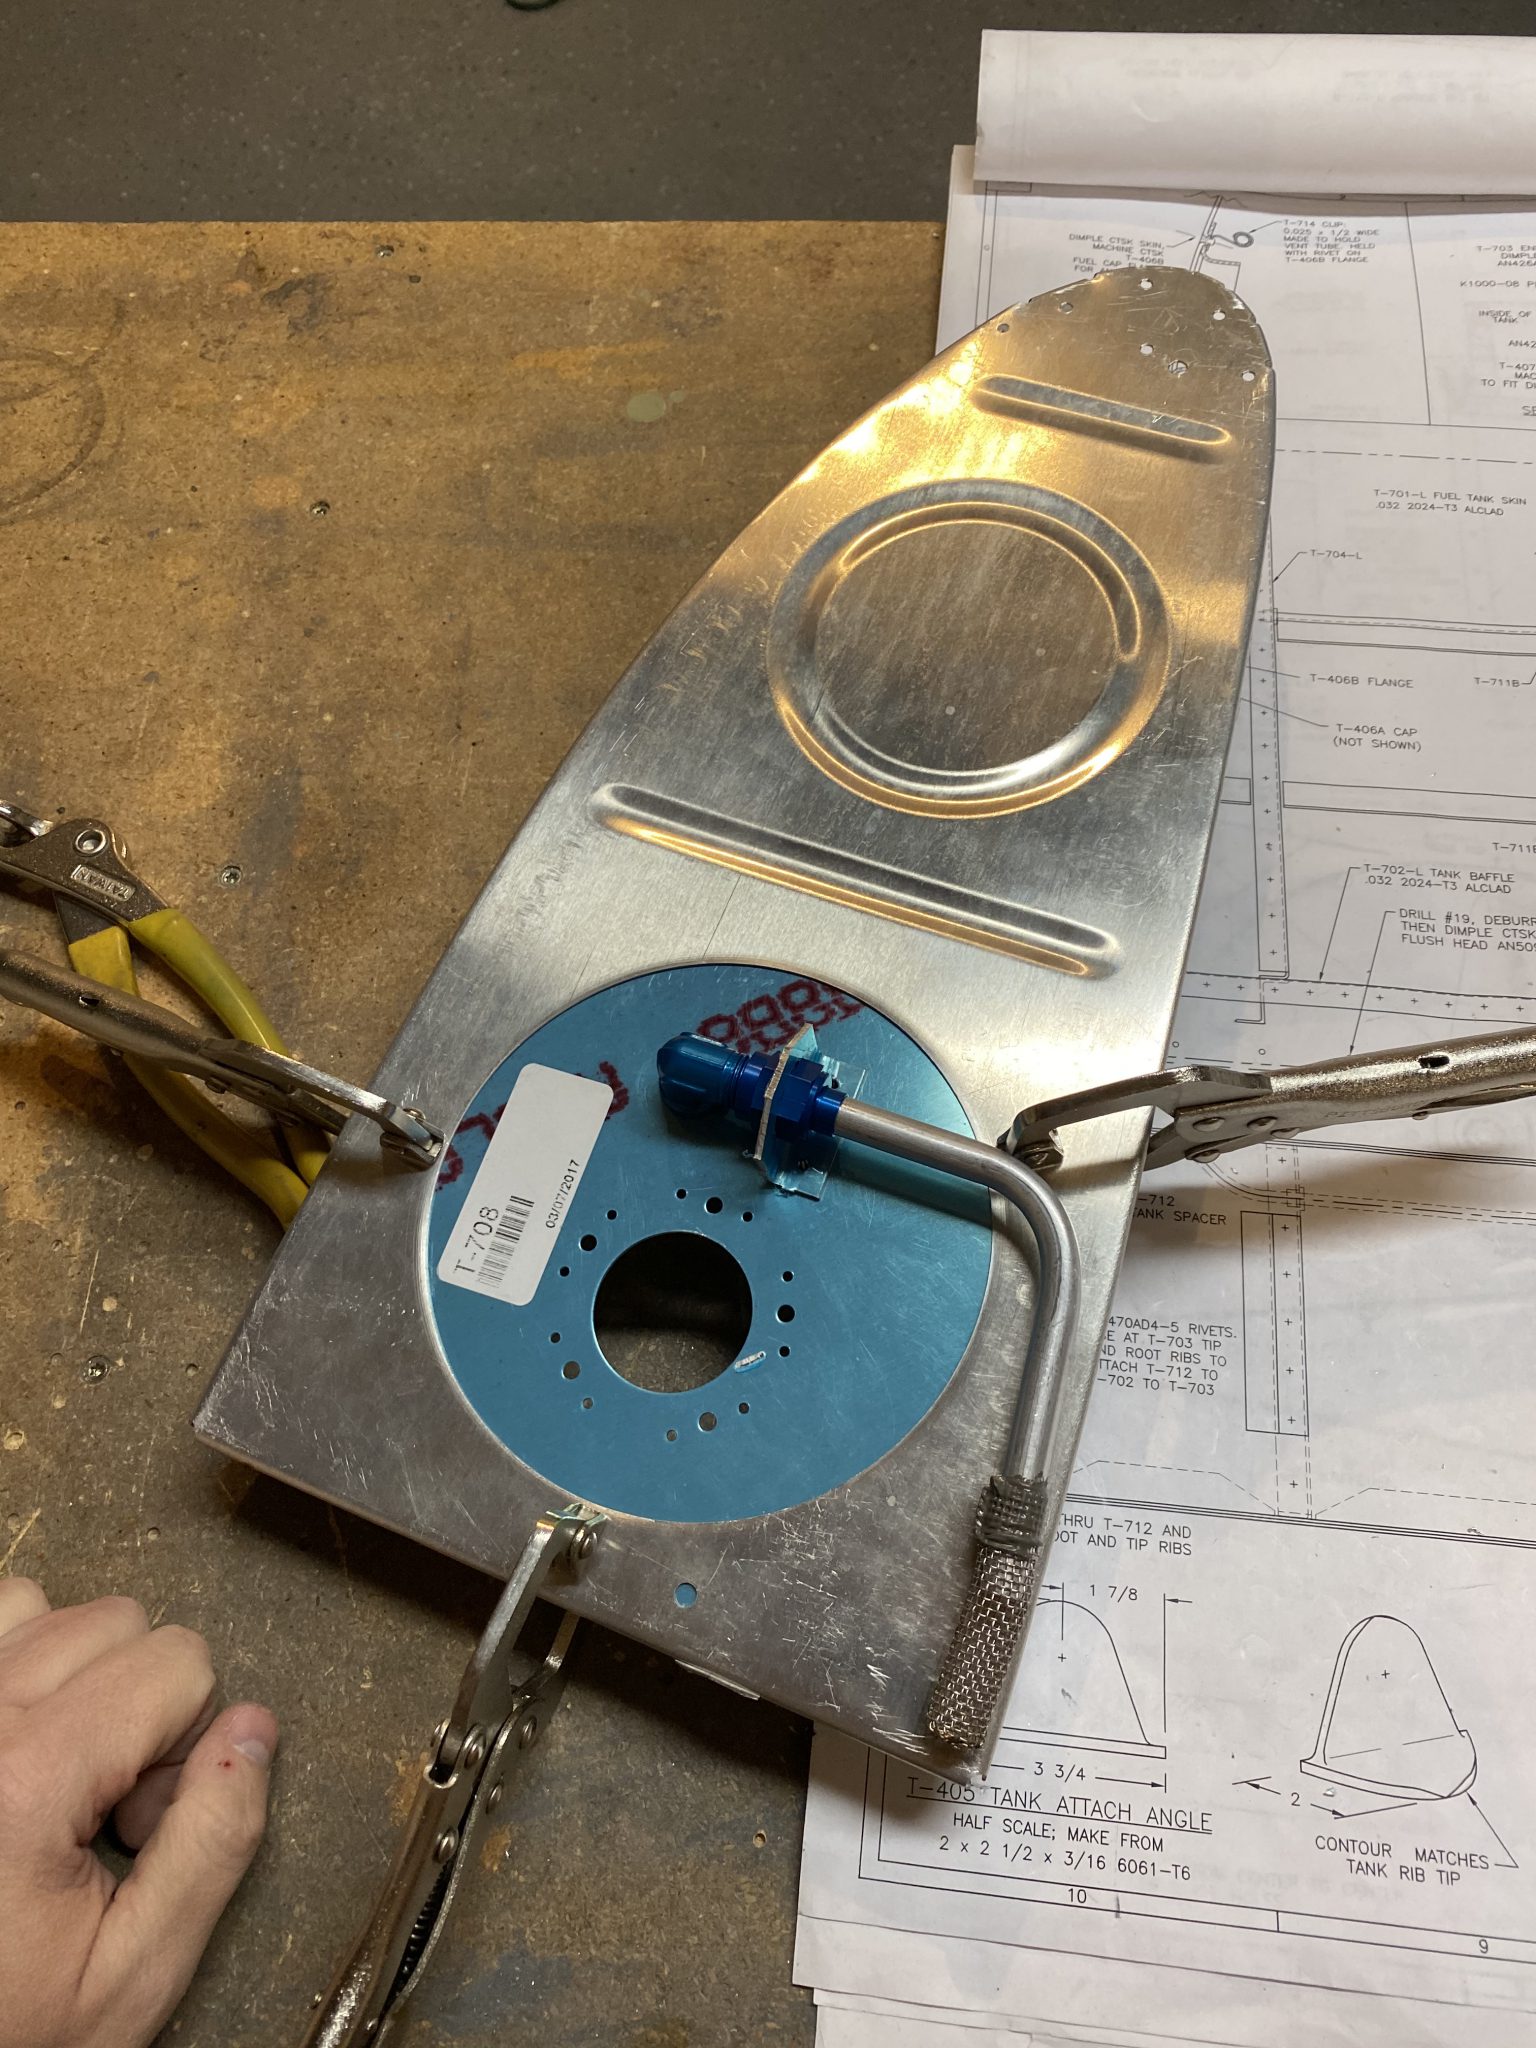
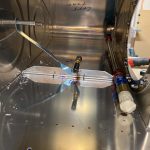
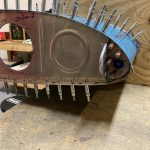
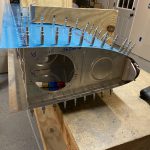
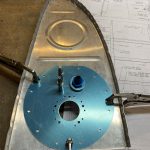
I made sure to attach the fuel pickup, its fittings and anti-rotation bracket to the access plate so I could make sure i had everything in the proper orientation as well as in the proper locations so that the fuel pickup sat as low as possible.
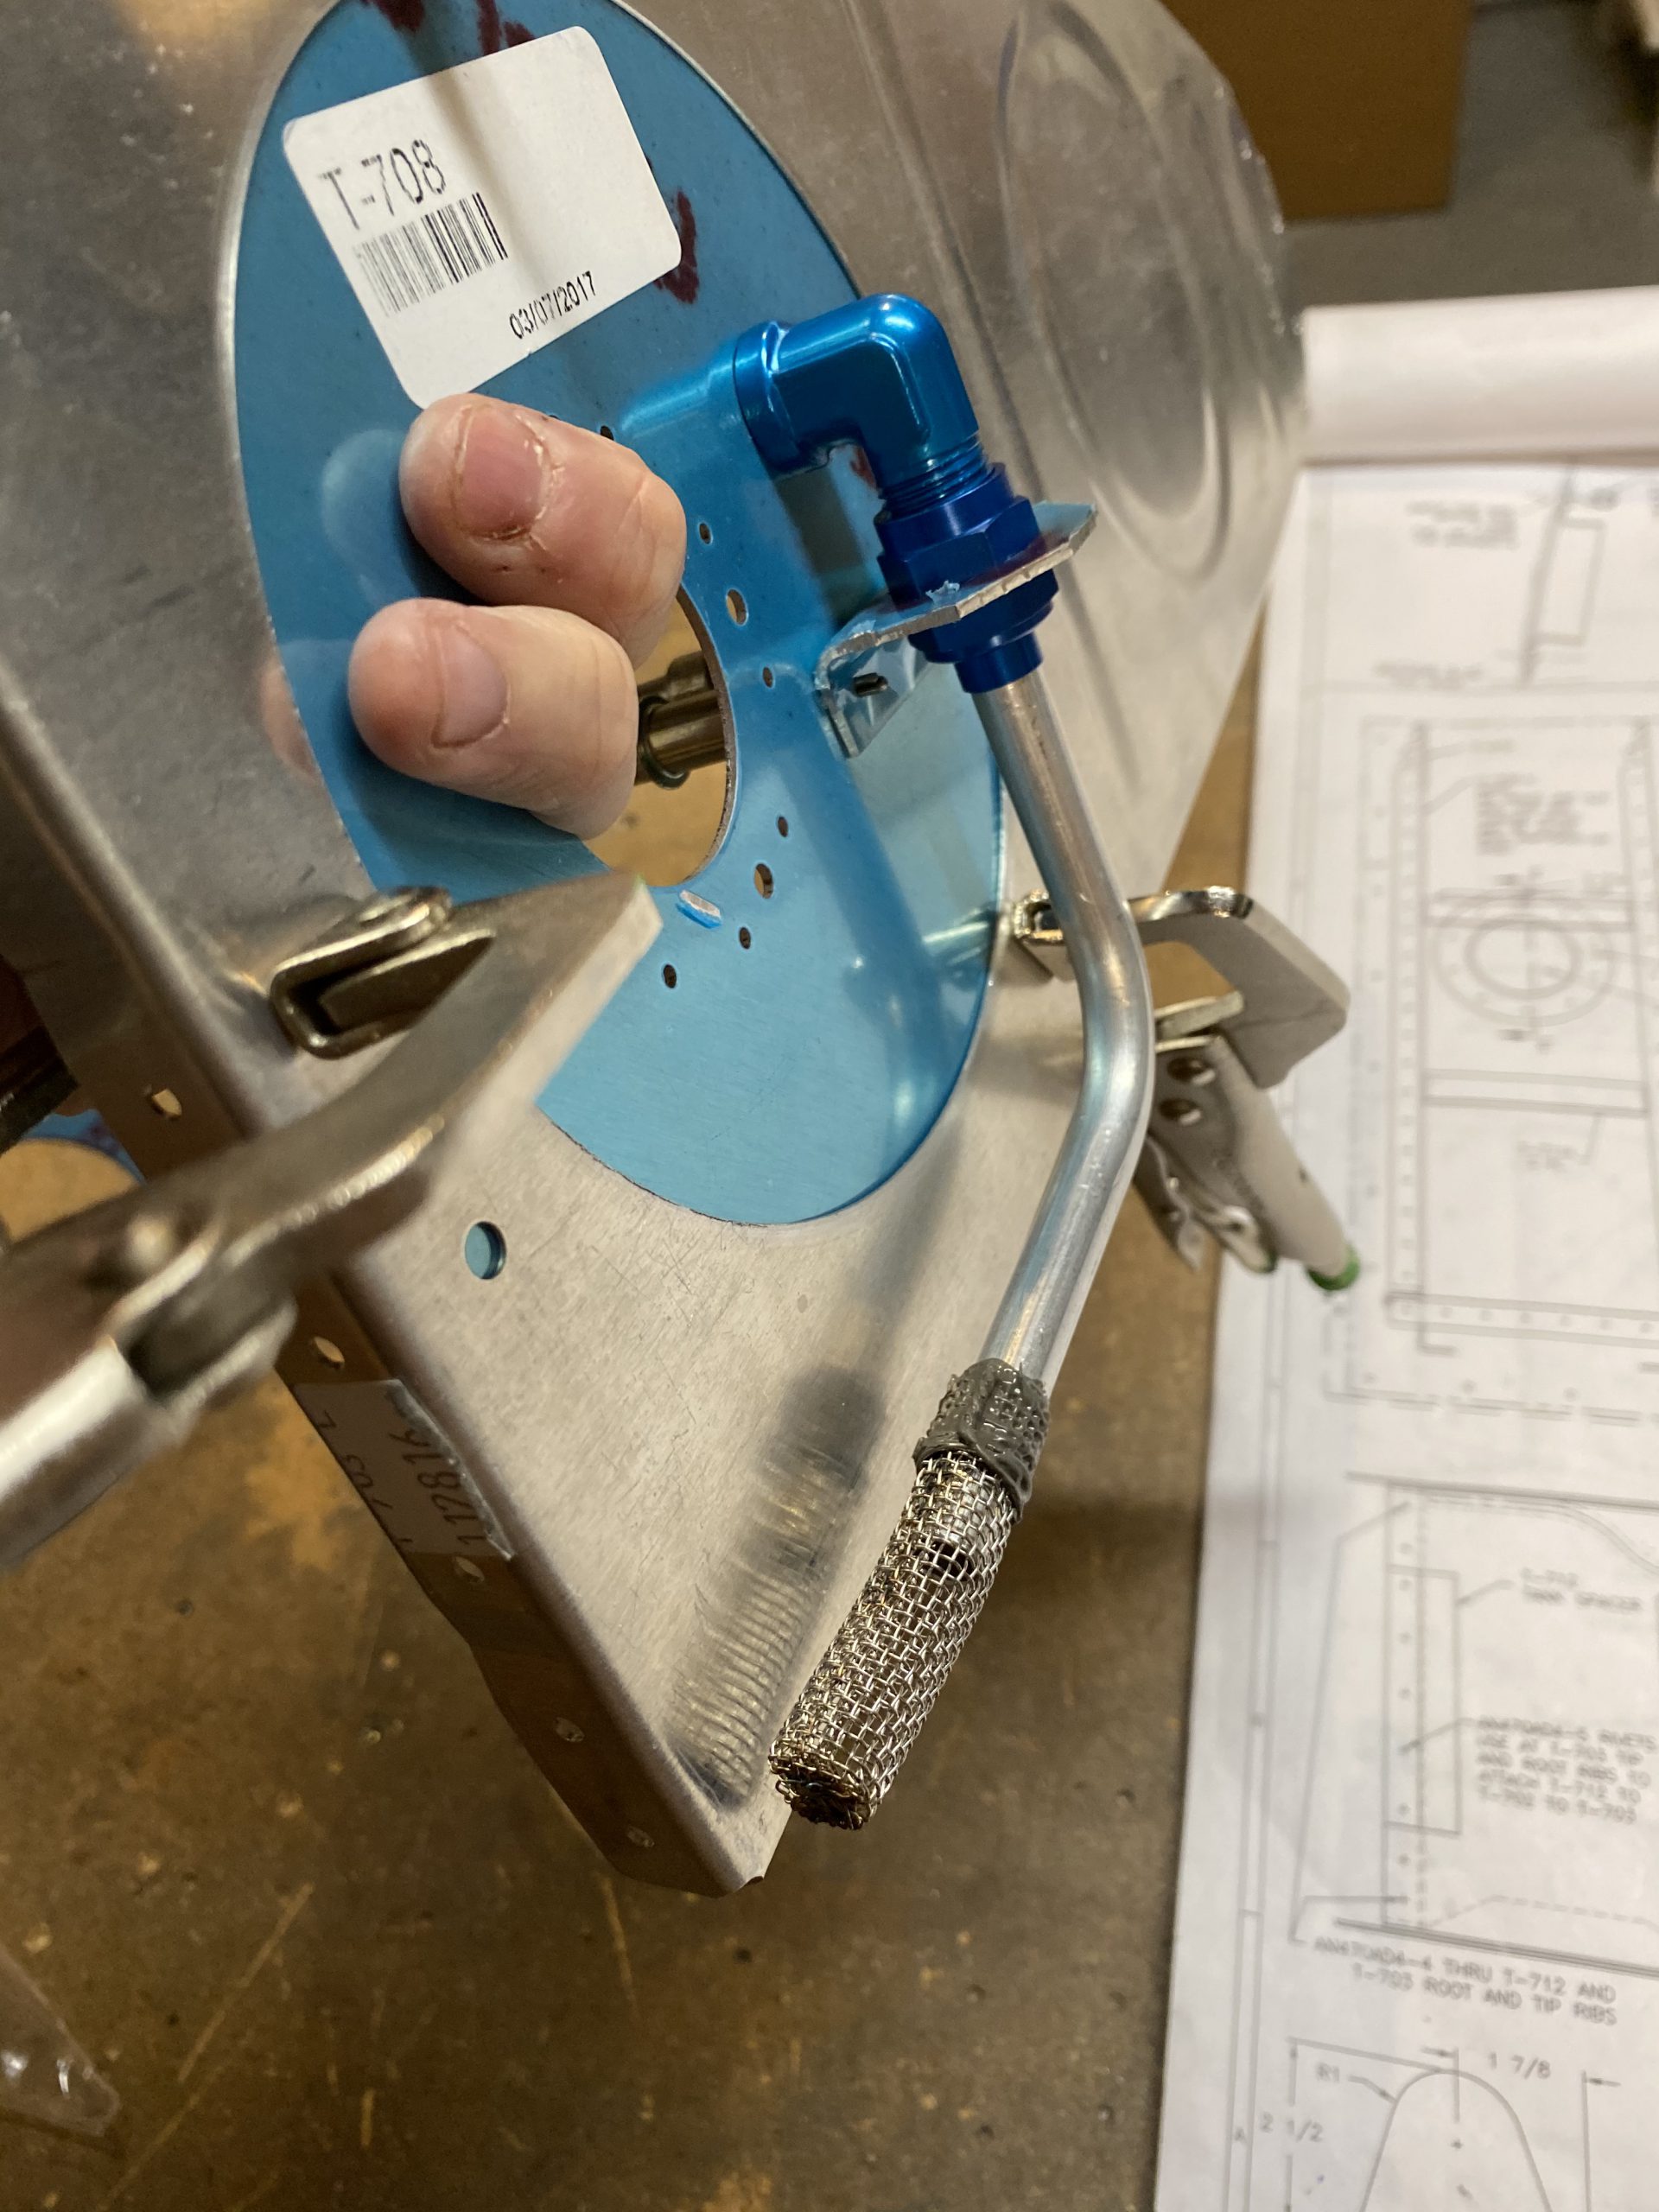
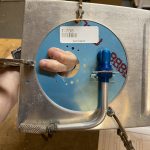
You can see in the photo below, I have the pickup as low as it can go to pickup the most amount of fuel in the tanks. I am using the pre-built fuel pickup from Van’s because its cheap, well made and simply fits into place with zero effort. It’s a no brainer!
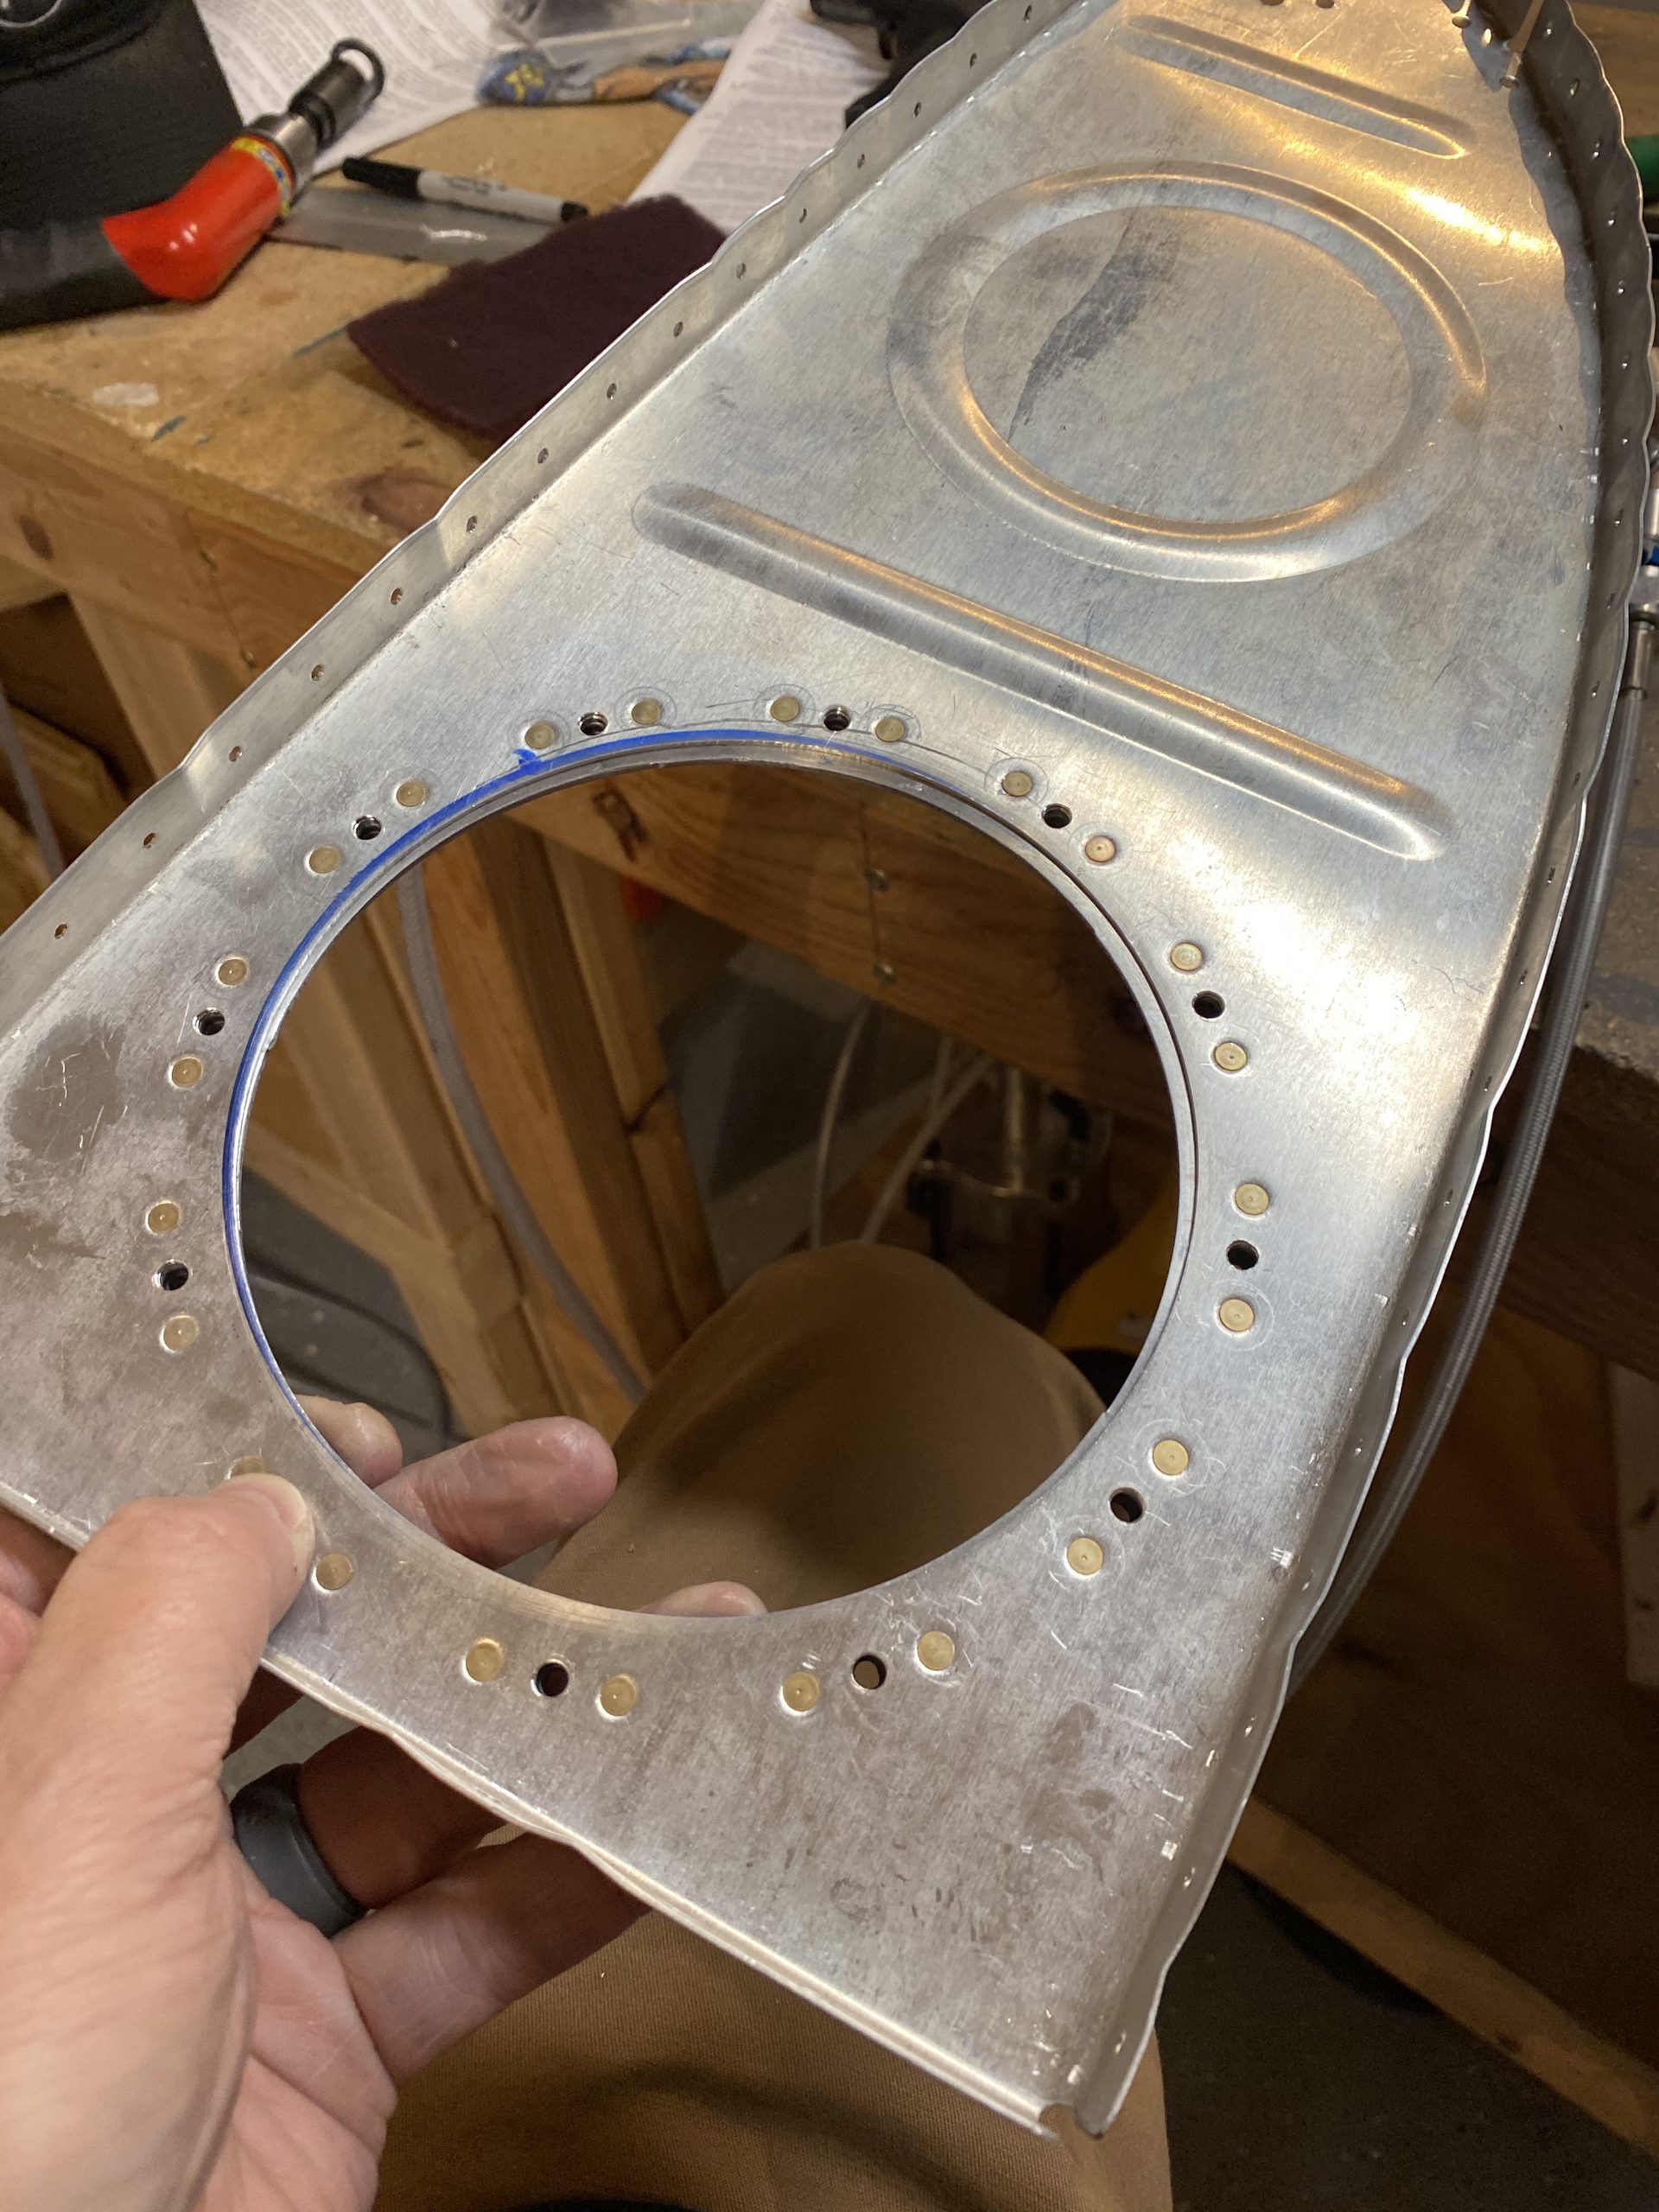
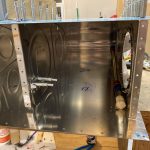
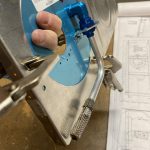
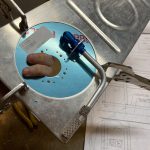
Once I had the access plate in place, I used it as a template to back drill the screw holes into the rib. This was just the same procedure as my last session. I’d drill a hole, and then stick a cleco in to make sure nothing moved, and everything was tight and aligned.

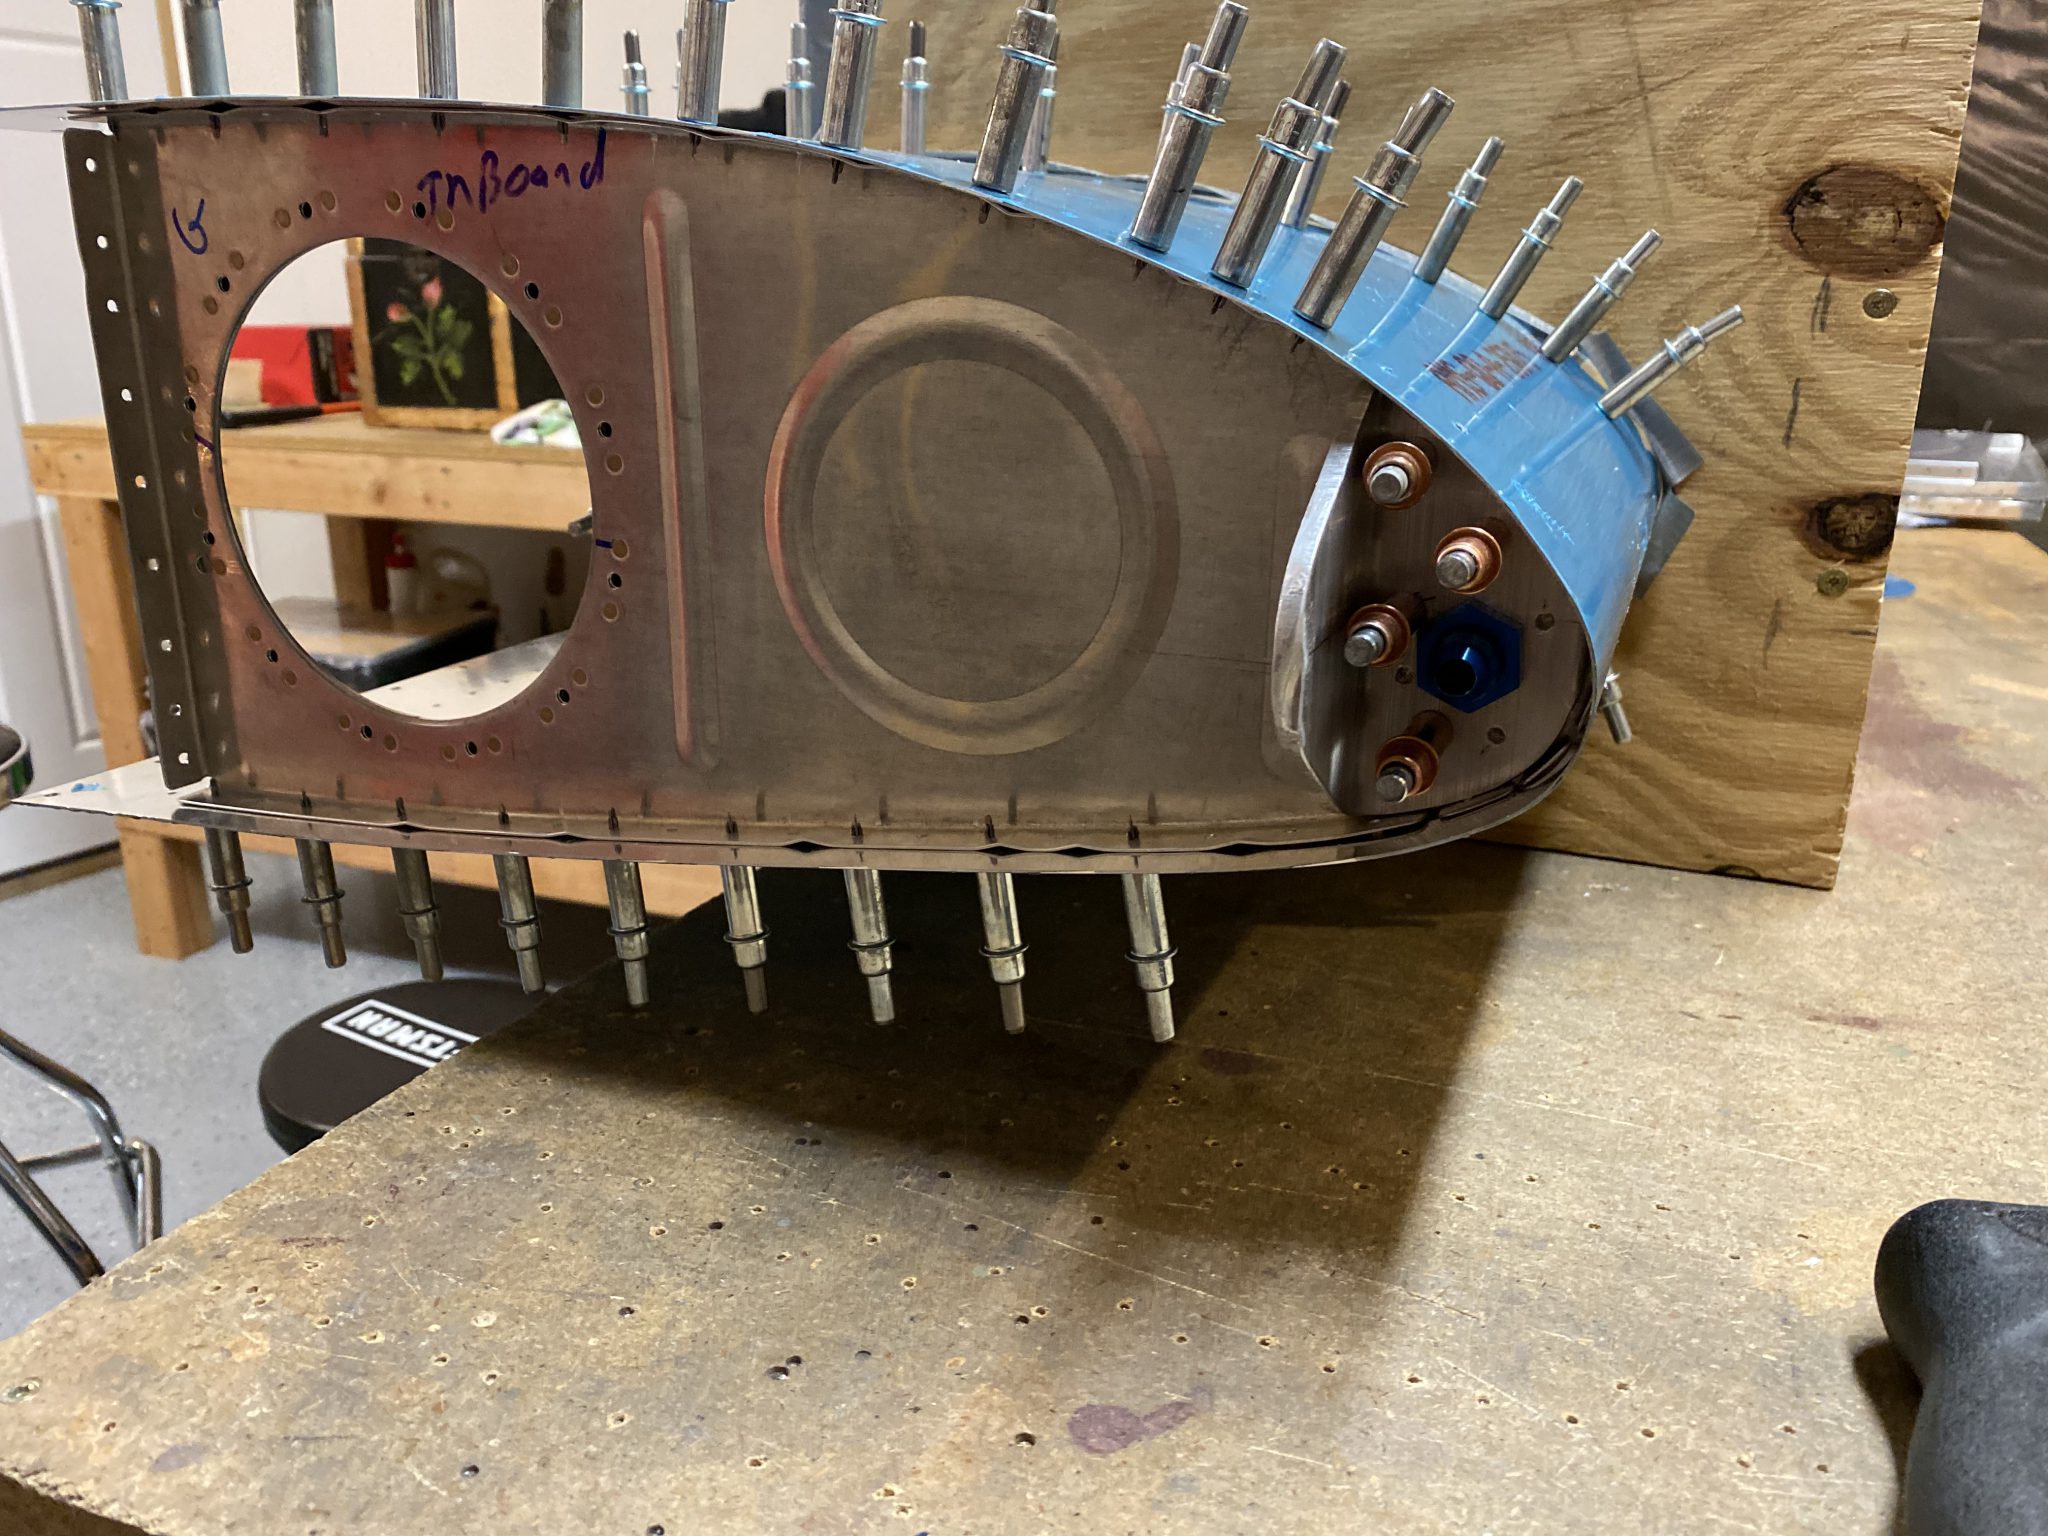
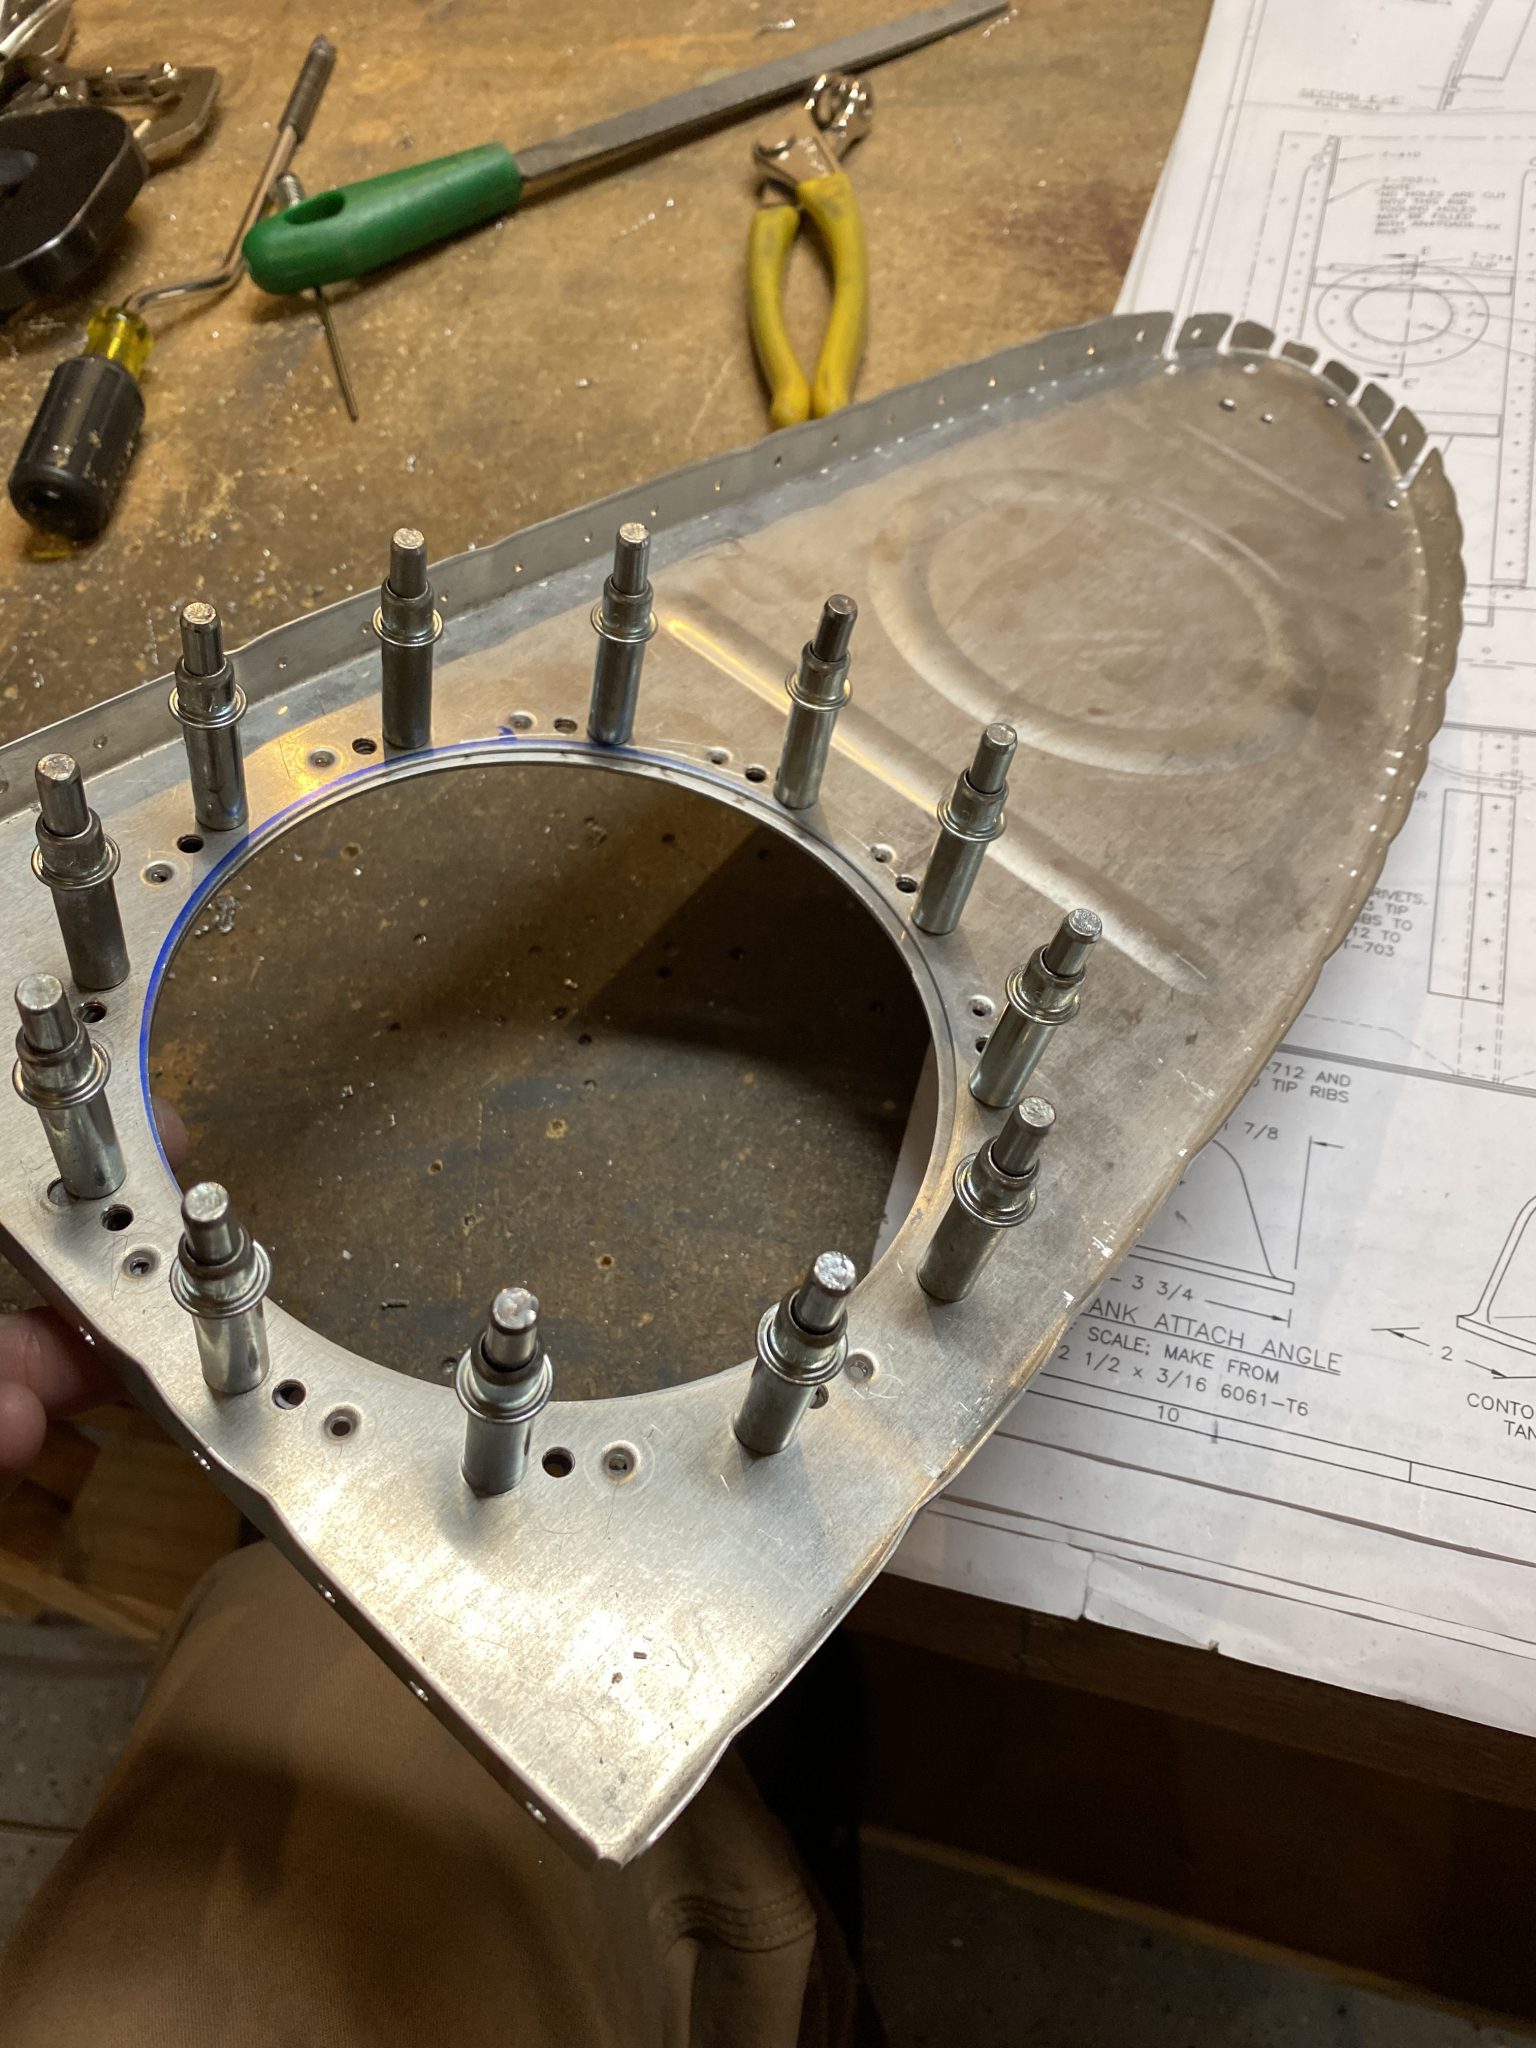
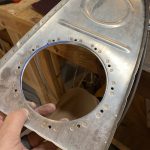
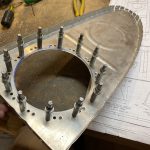
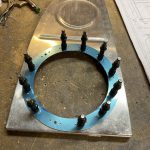
Once I had the rib back drilled, I removed the access plate, and then clecoed on the T-407 reinforcement plate, as I needed to use it as a template to back drill into the rib for the platenut attach holes. So, I cleco’d it on, and then drilled the #40 holes into the rib using the plate as a guide.
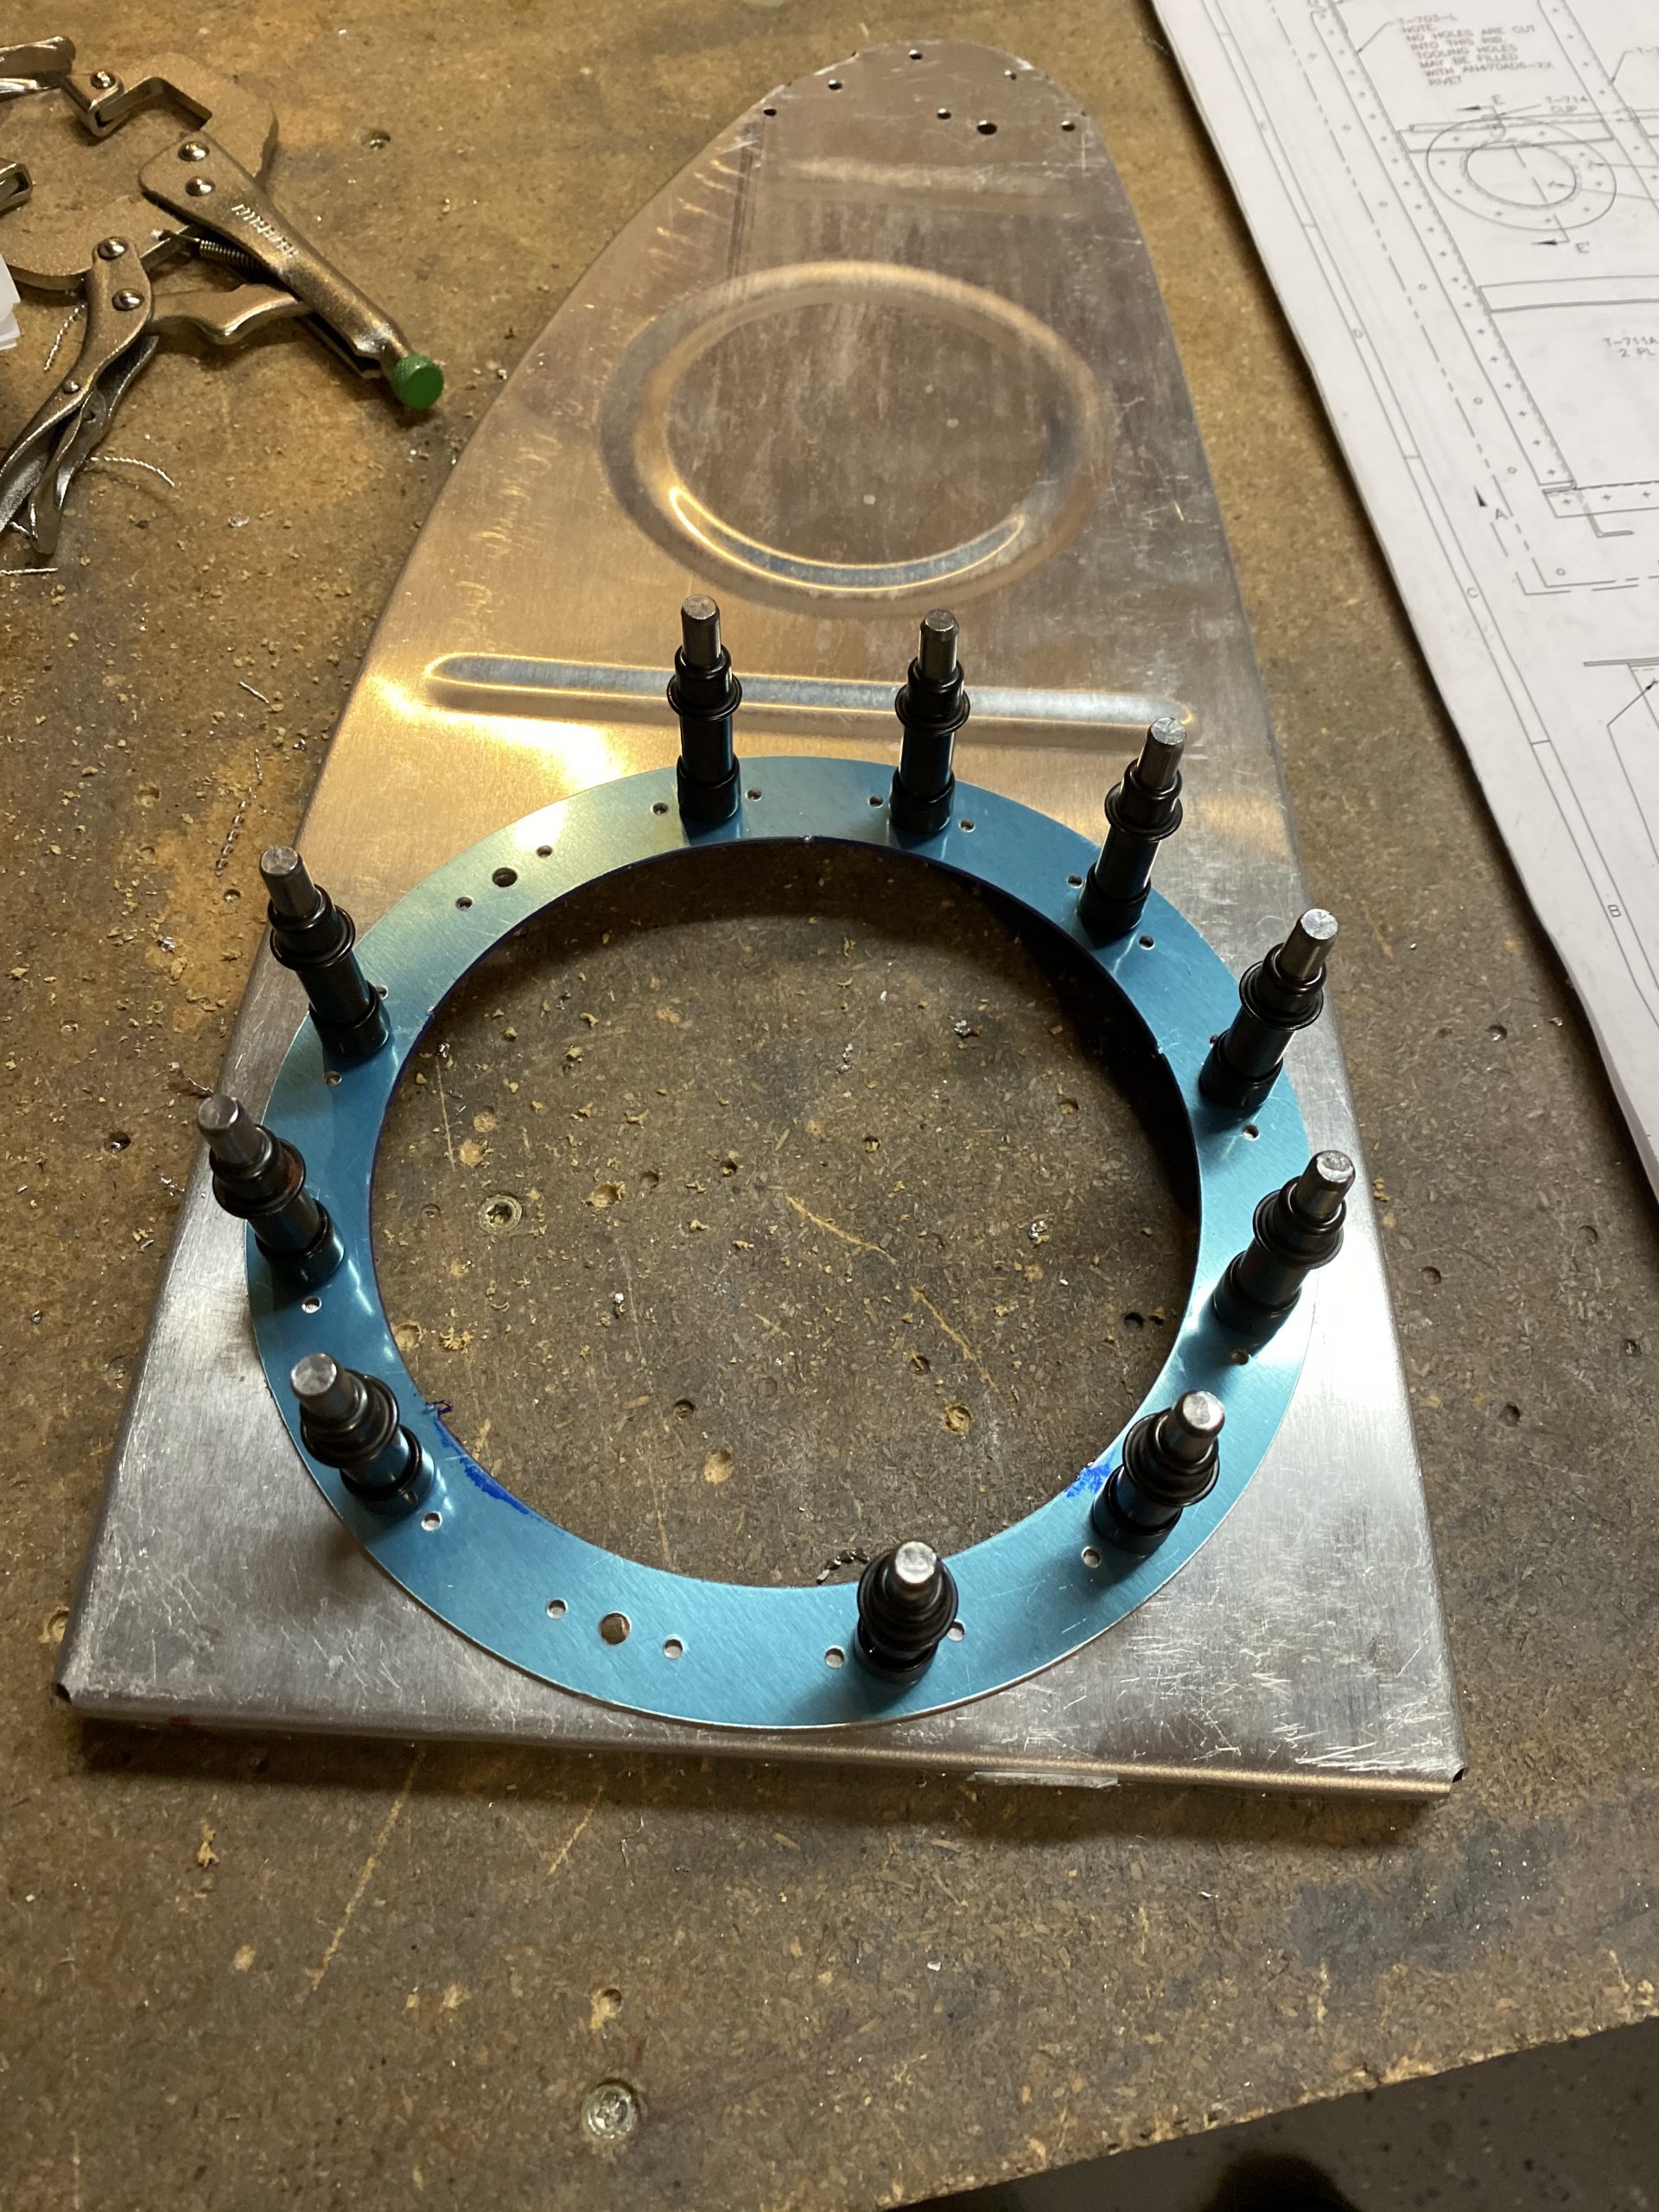
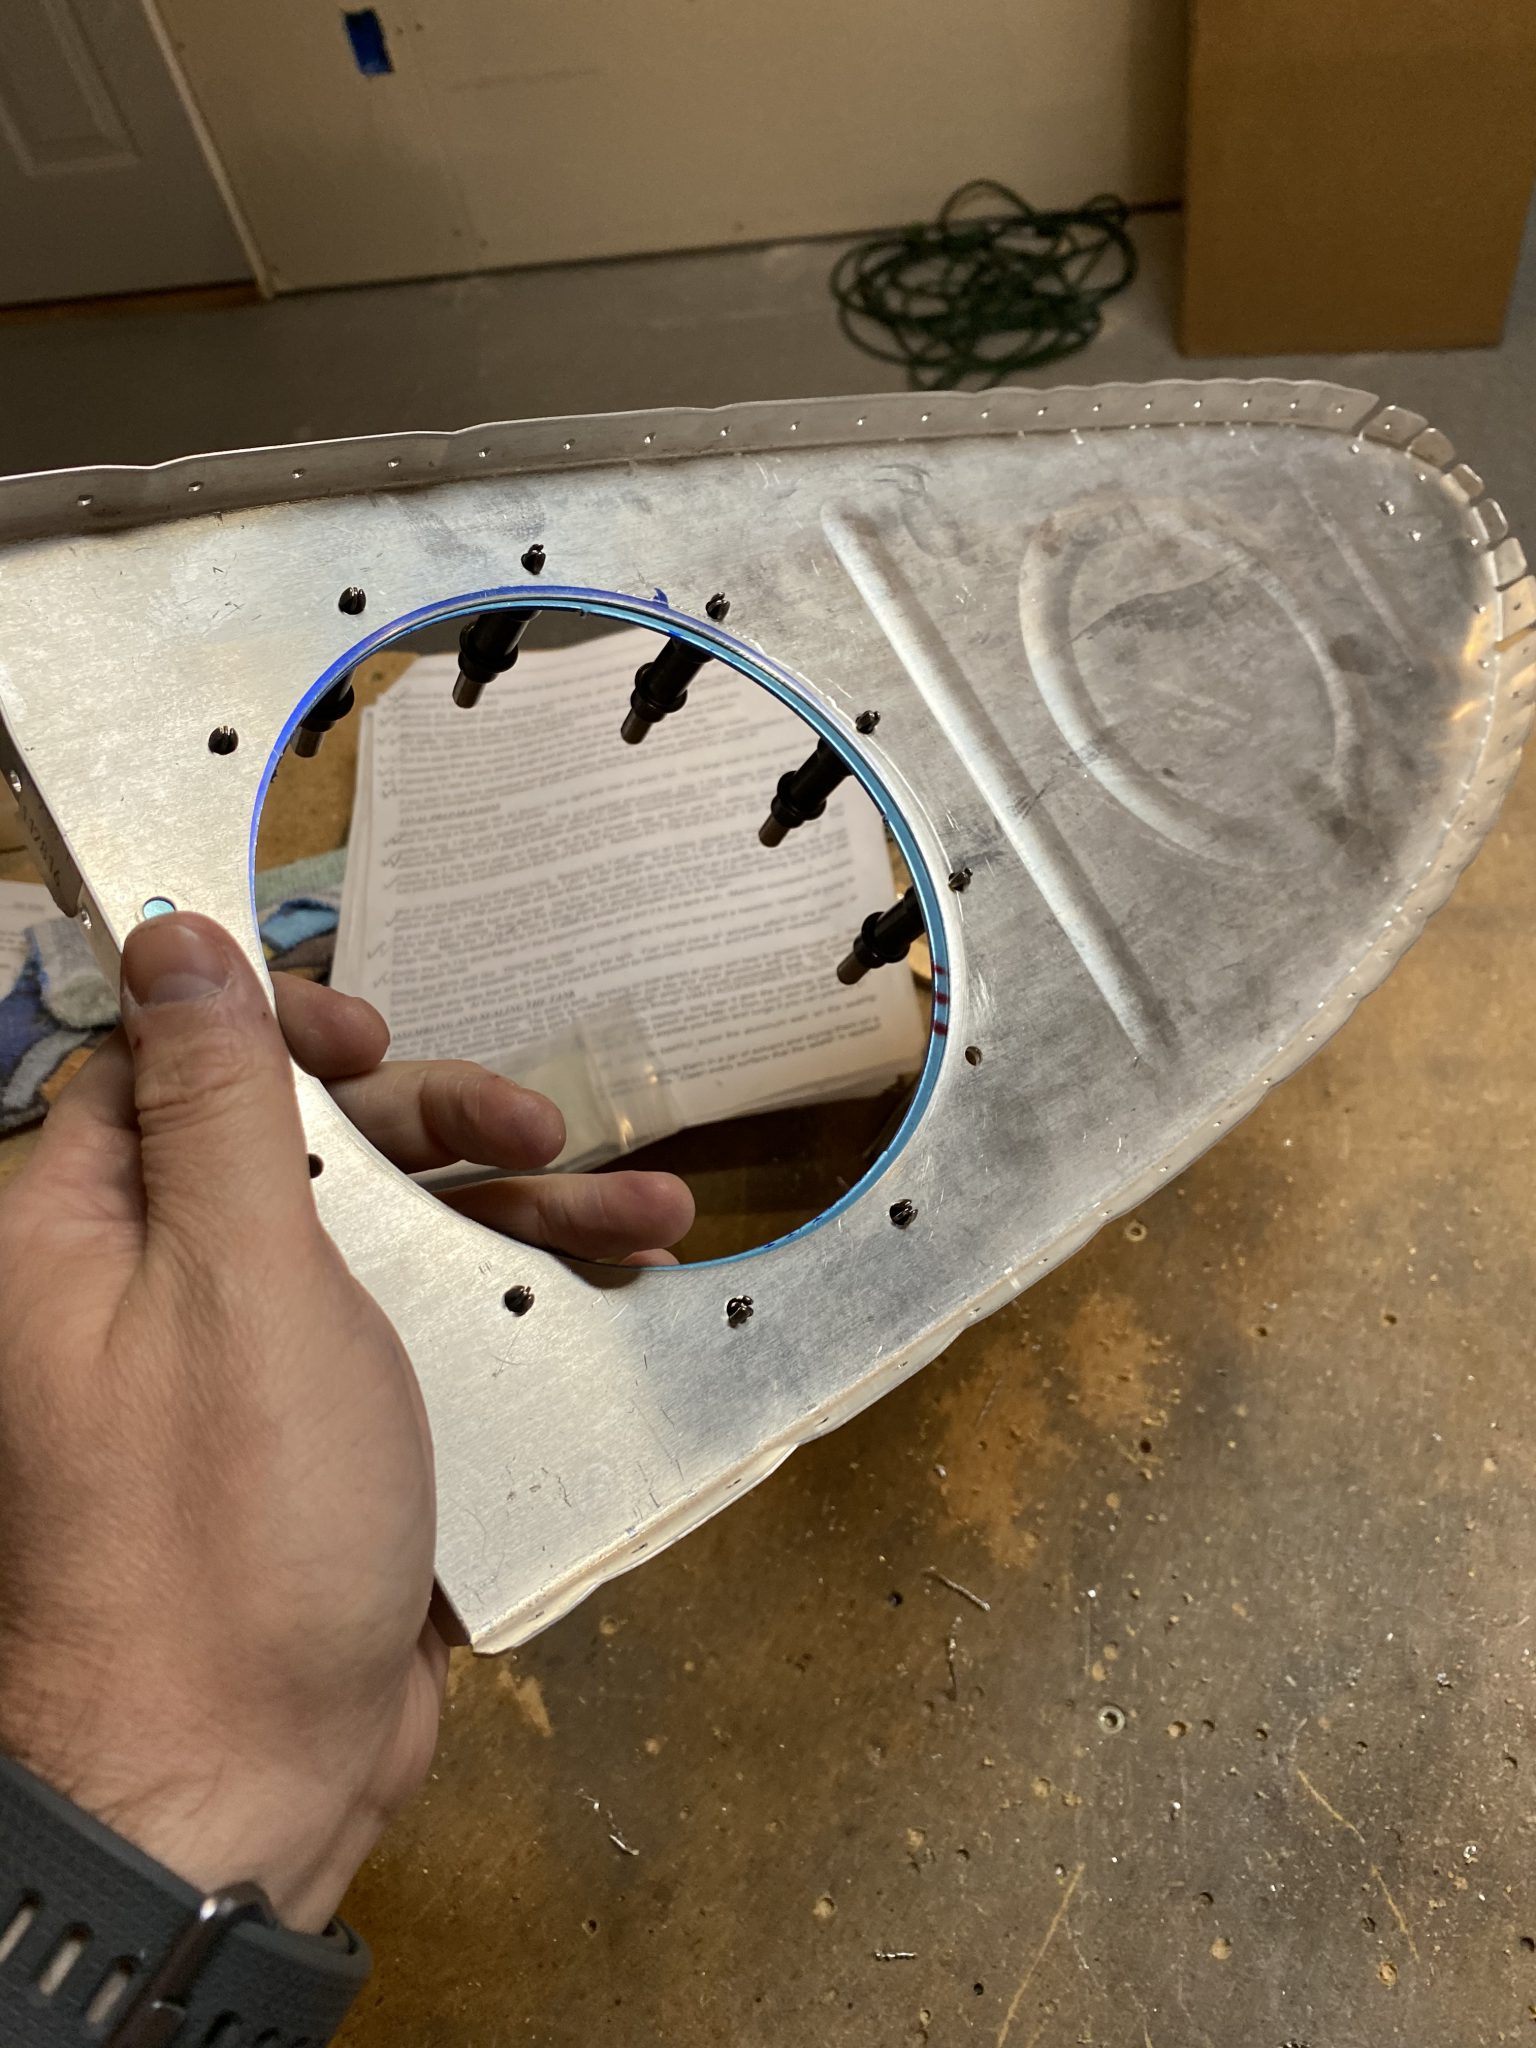
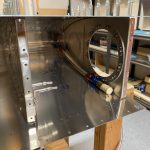
Once I had all the holes drilled, it was time to deburr everything and then dimple the holes in the rib, and machine countersink the holes in the reinforcement plate. For details on this see my previous post on the left tank…same process here. Then, I re-assembled the reinforcement plate onto the rib, clecoing it on with its platenuts, so I could rivet them.

The squeezer made quick work of these guys, and after a few minutes, it came out looking great!
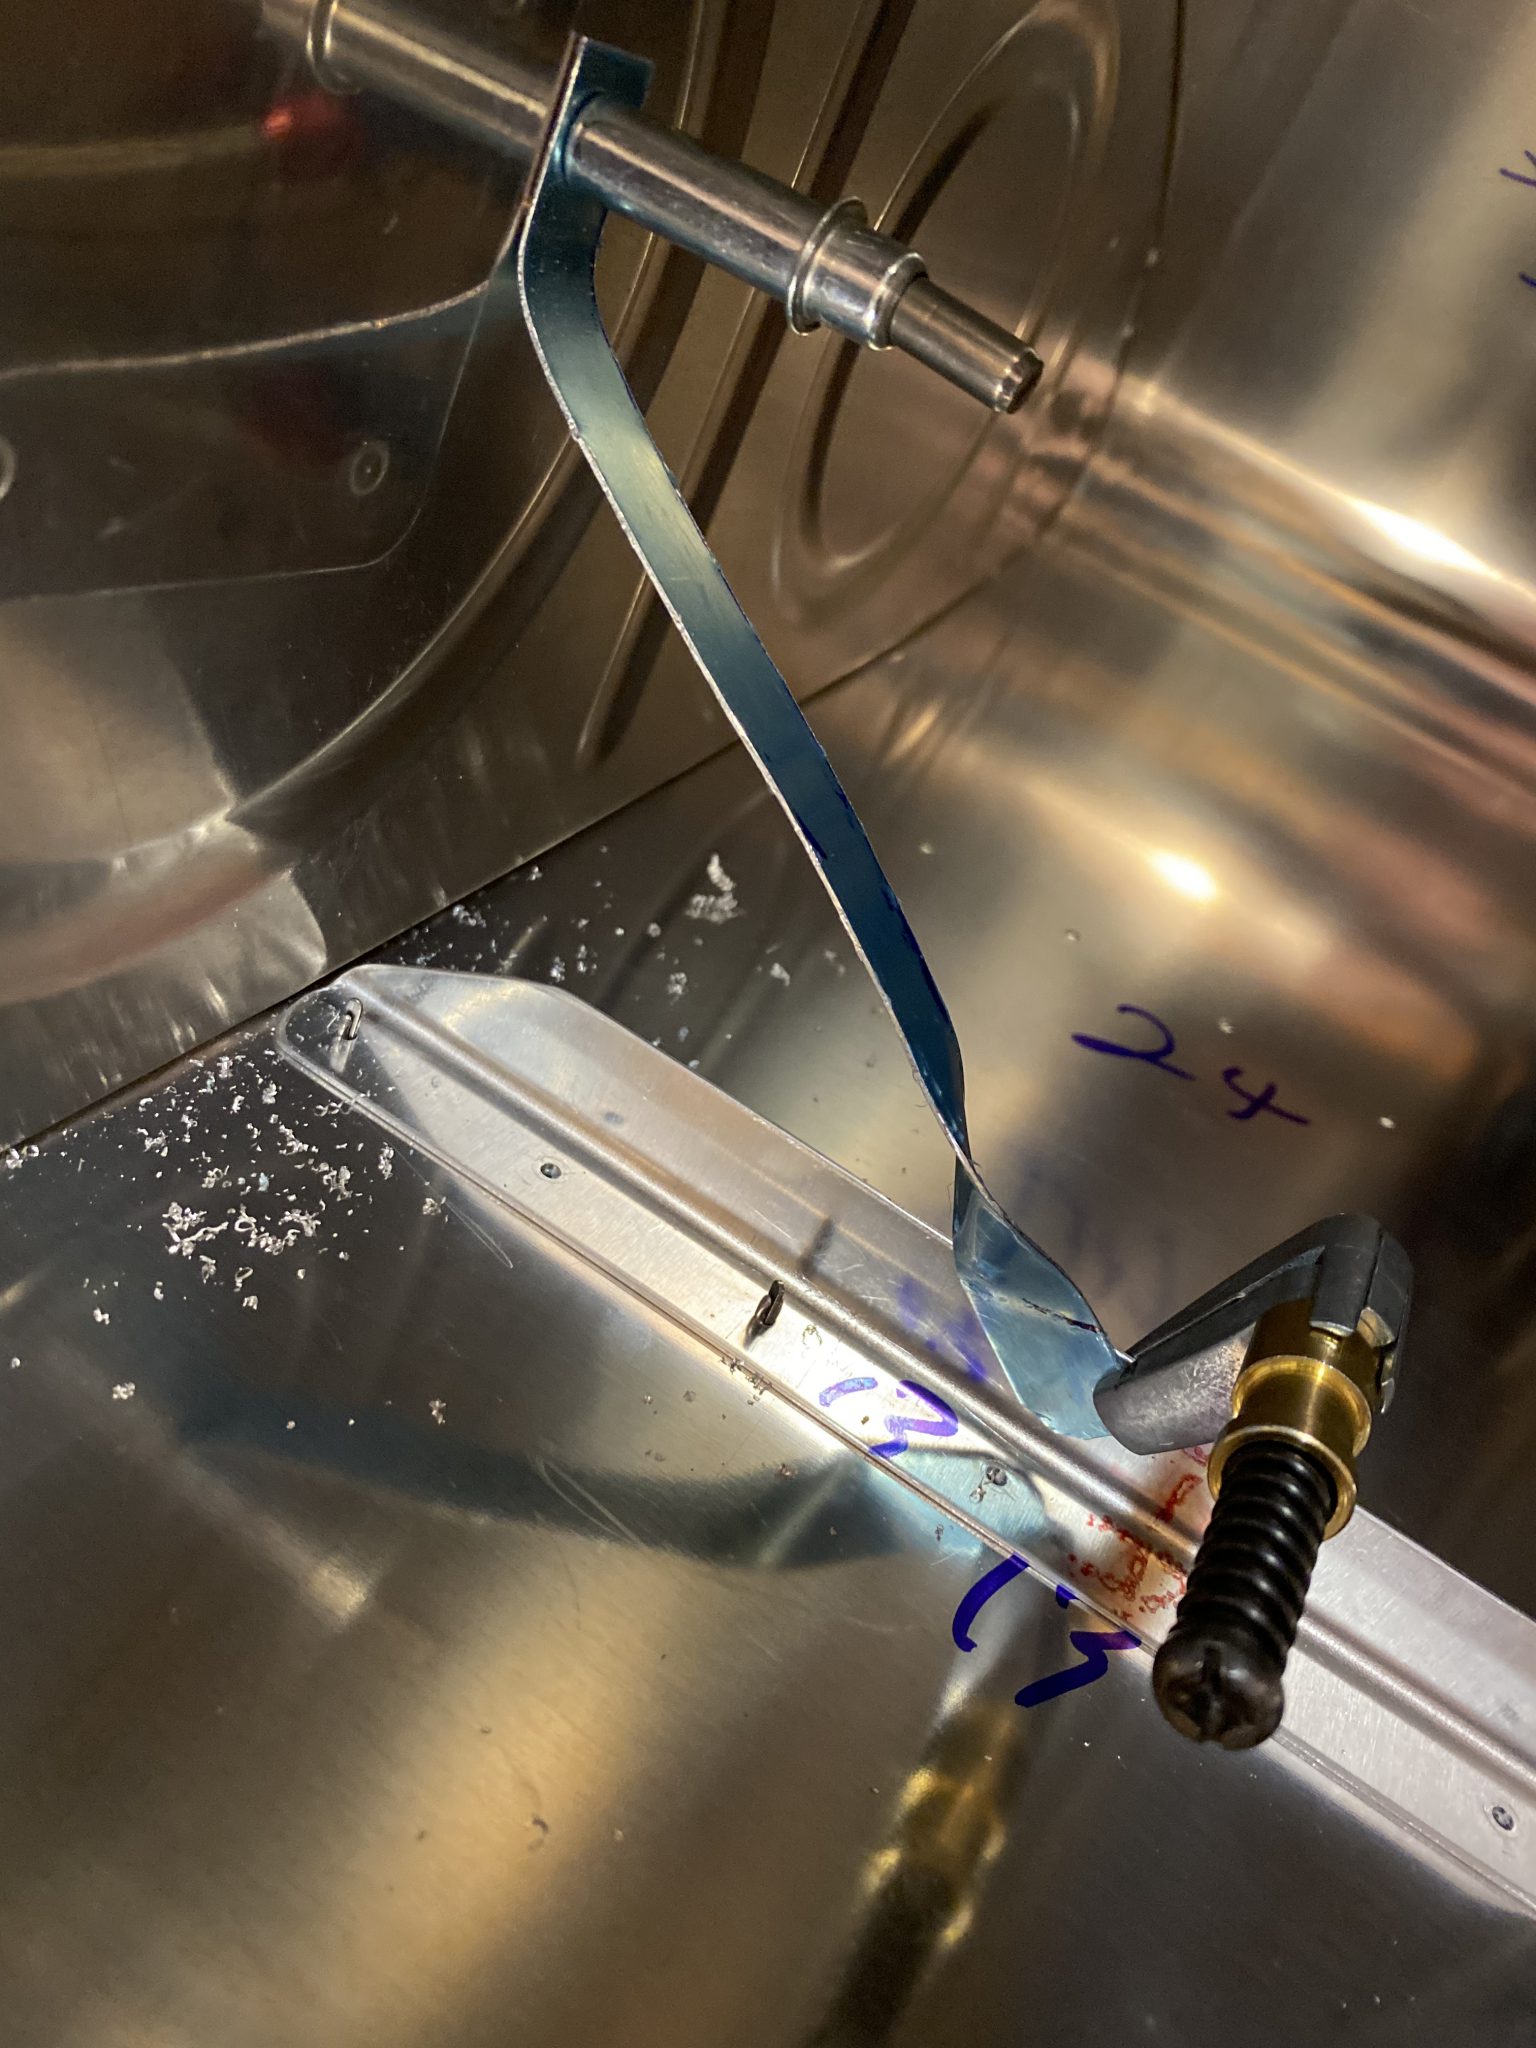
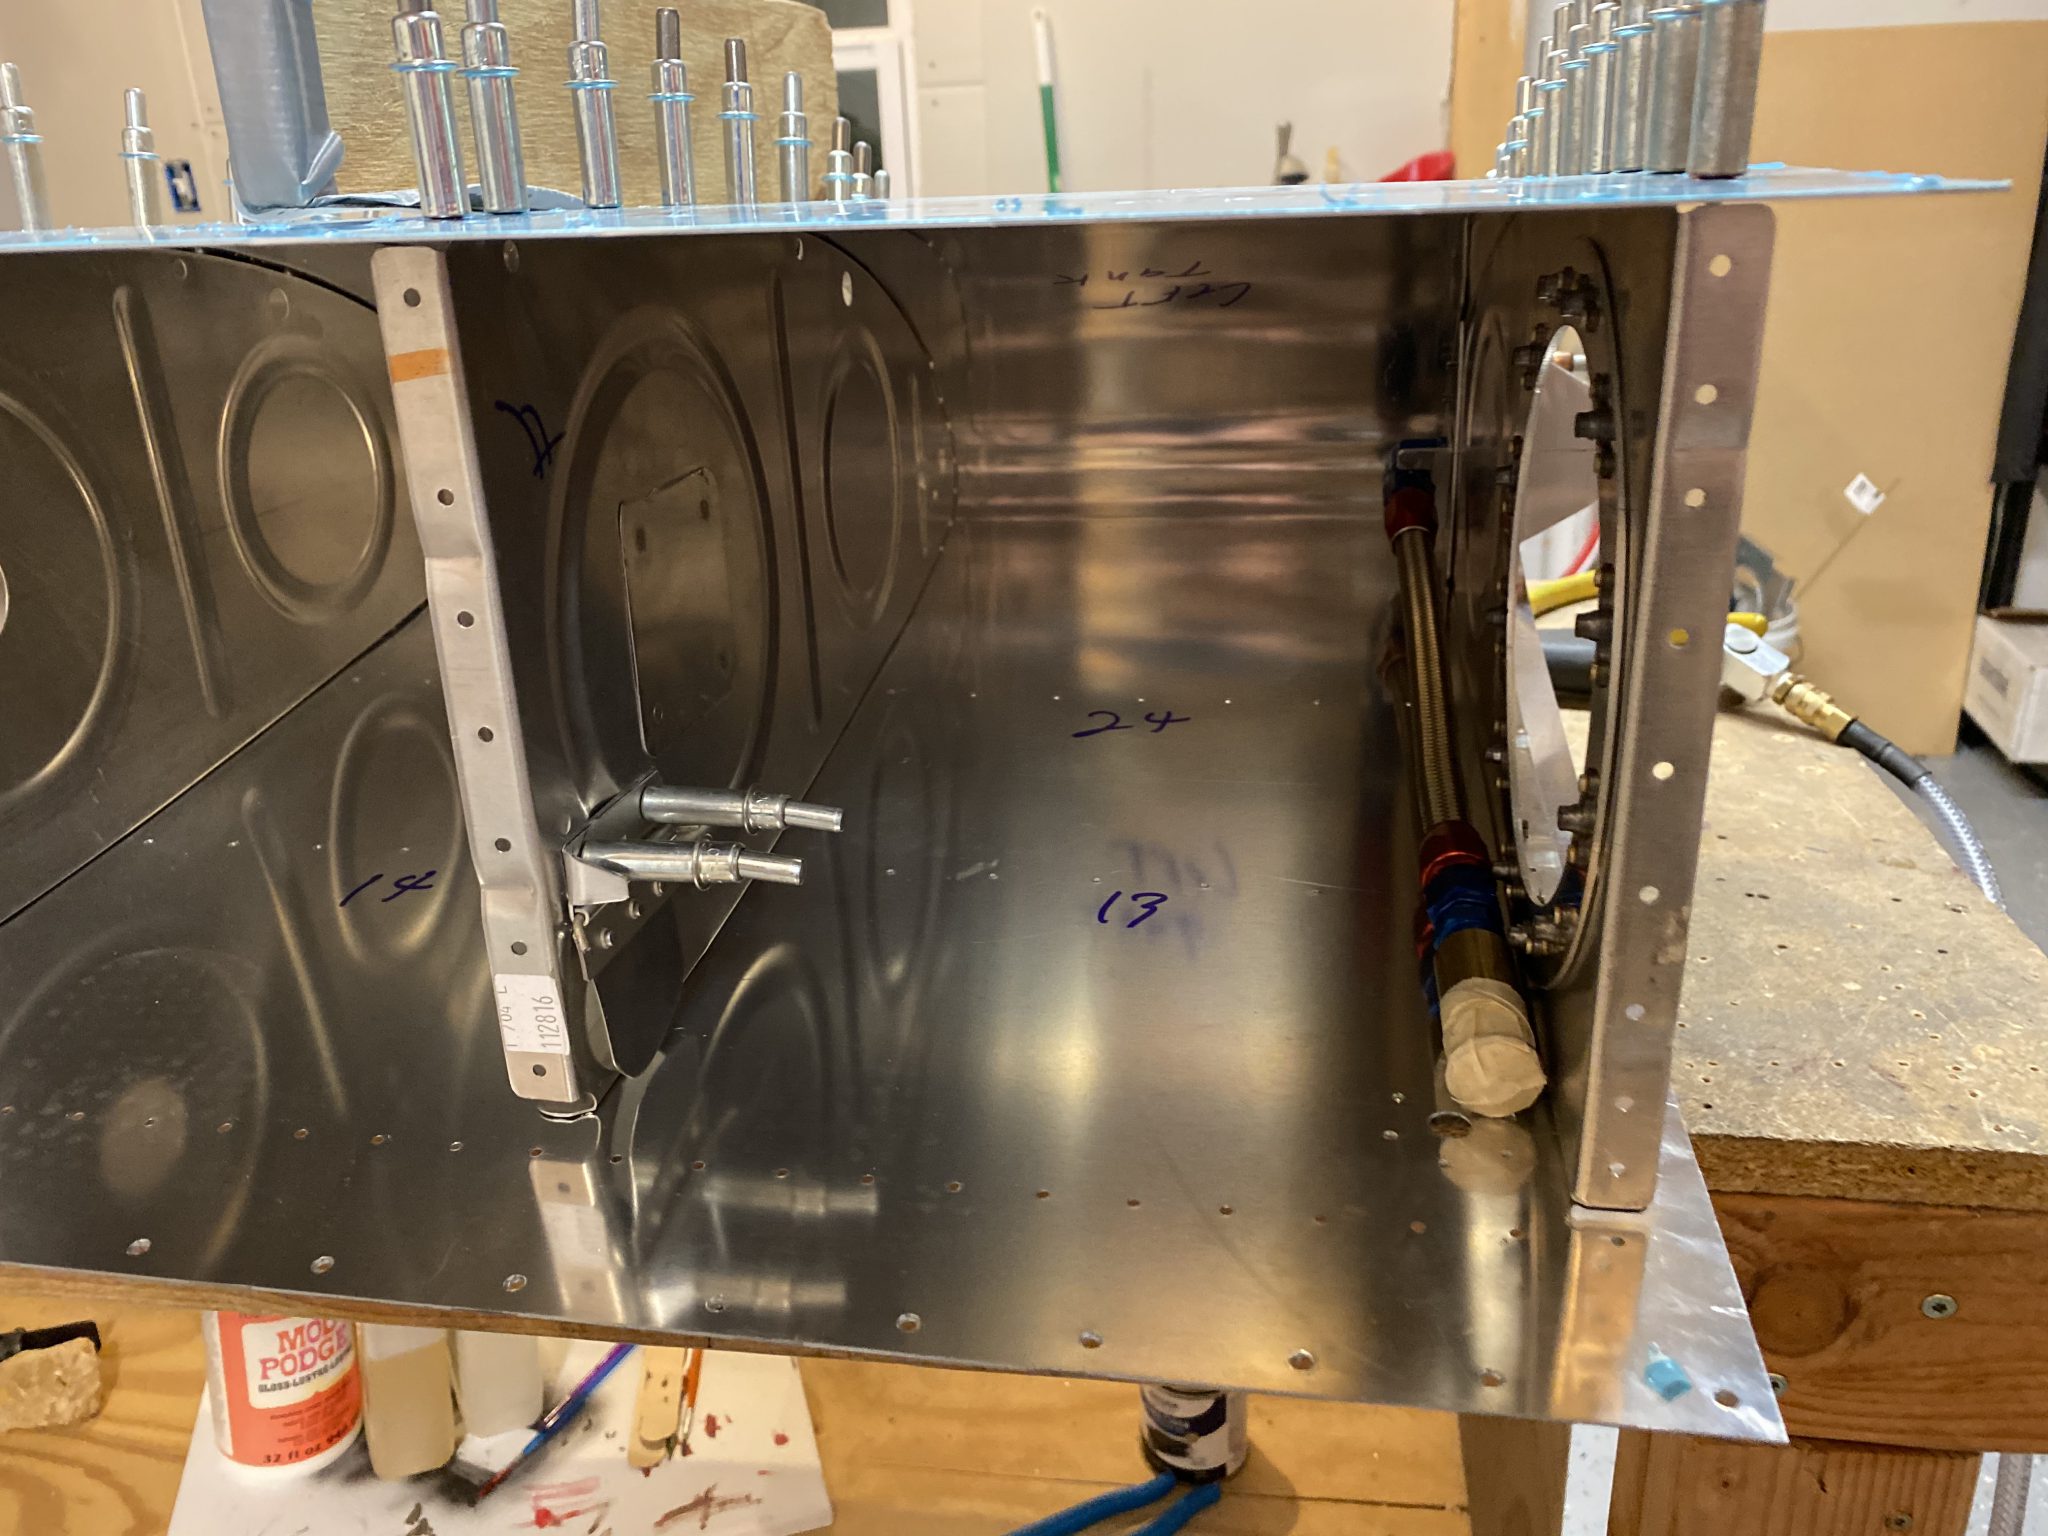
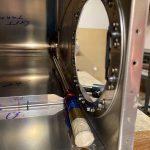
Since this work didn’t take long, I decided to go ahead and start working on on the anti-hangup brackets in the left tank for its flop tube. We need these little brackets fabricated so that the flop tube won’t get hung up on anything in the tanks as its flopping around. They are simple to make, and the plans calls for them to be made like this:

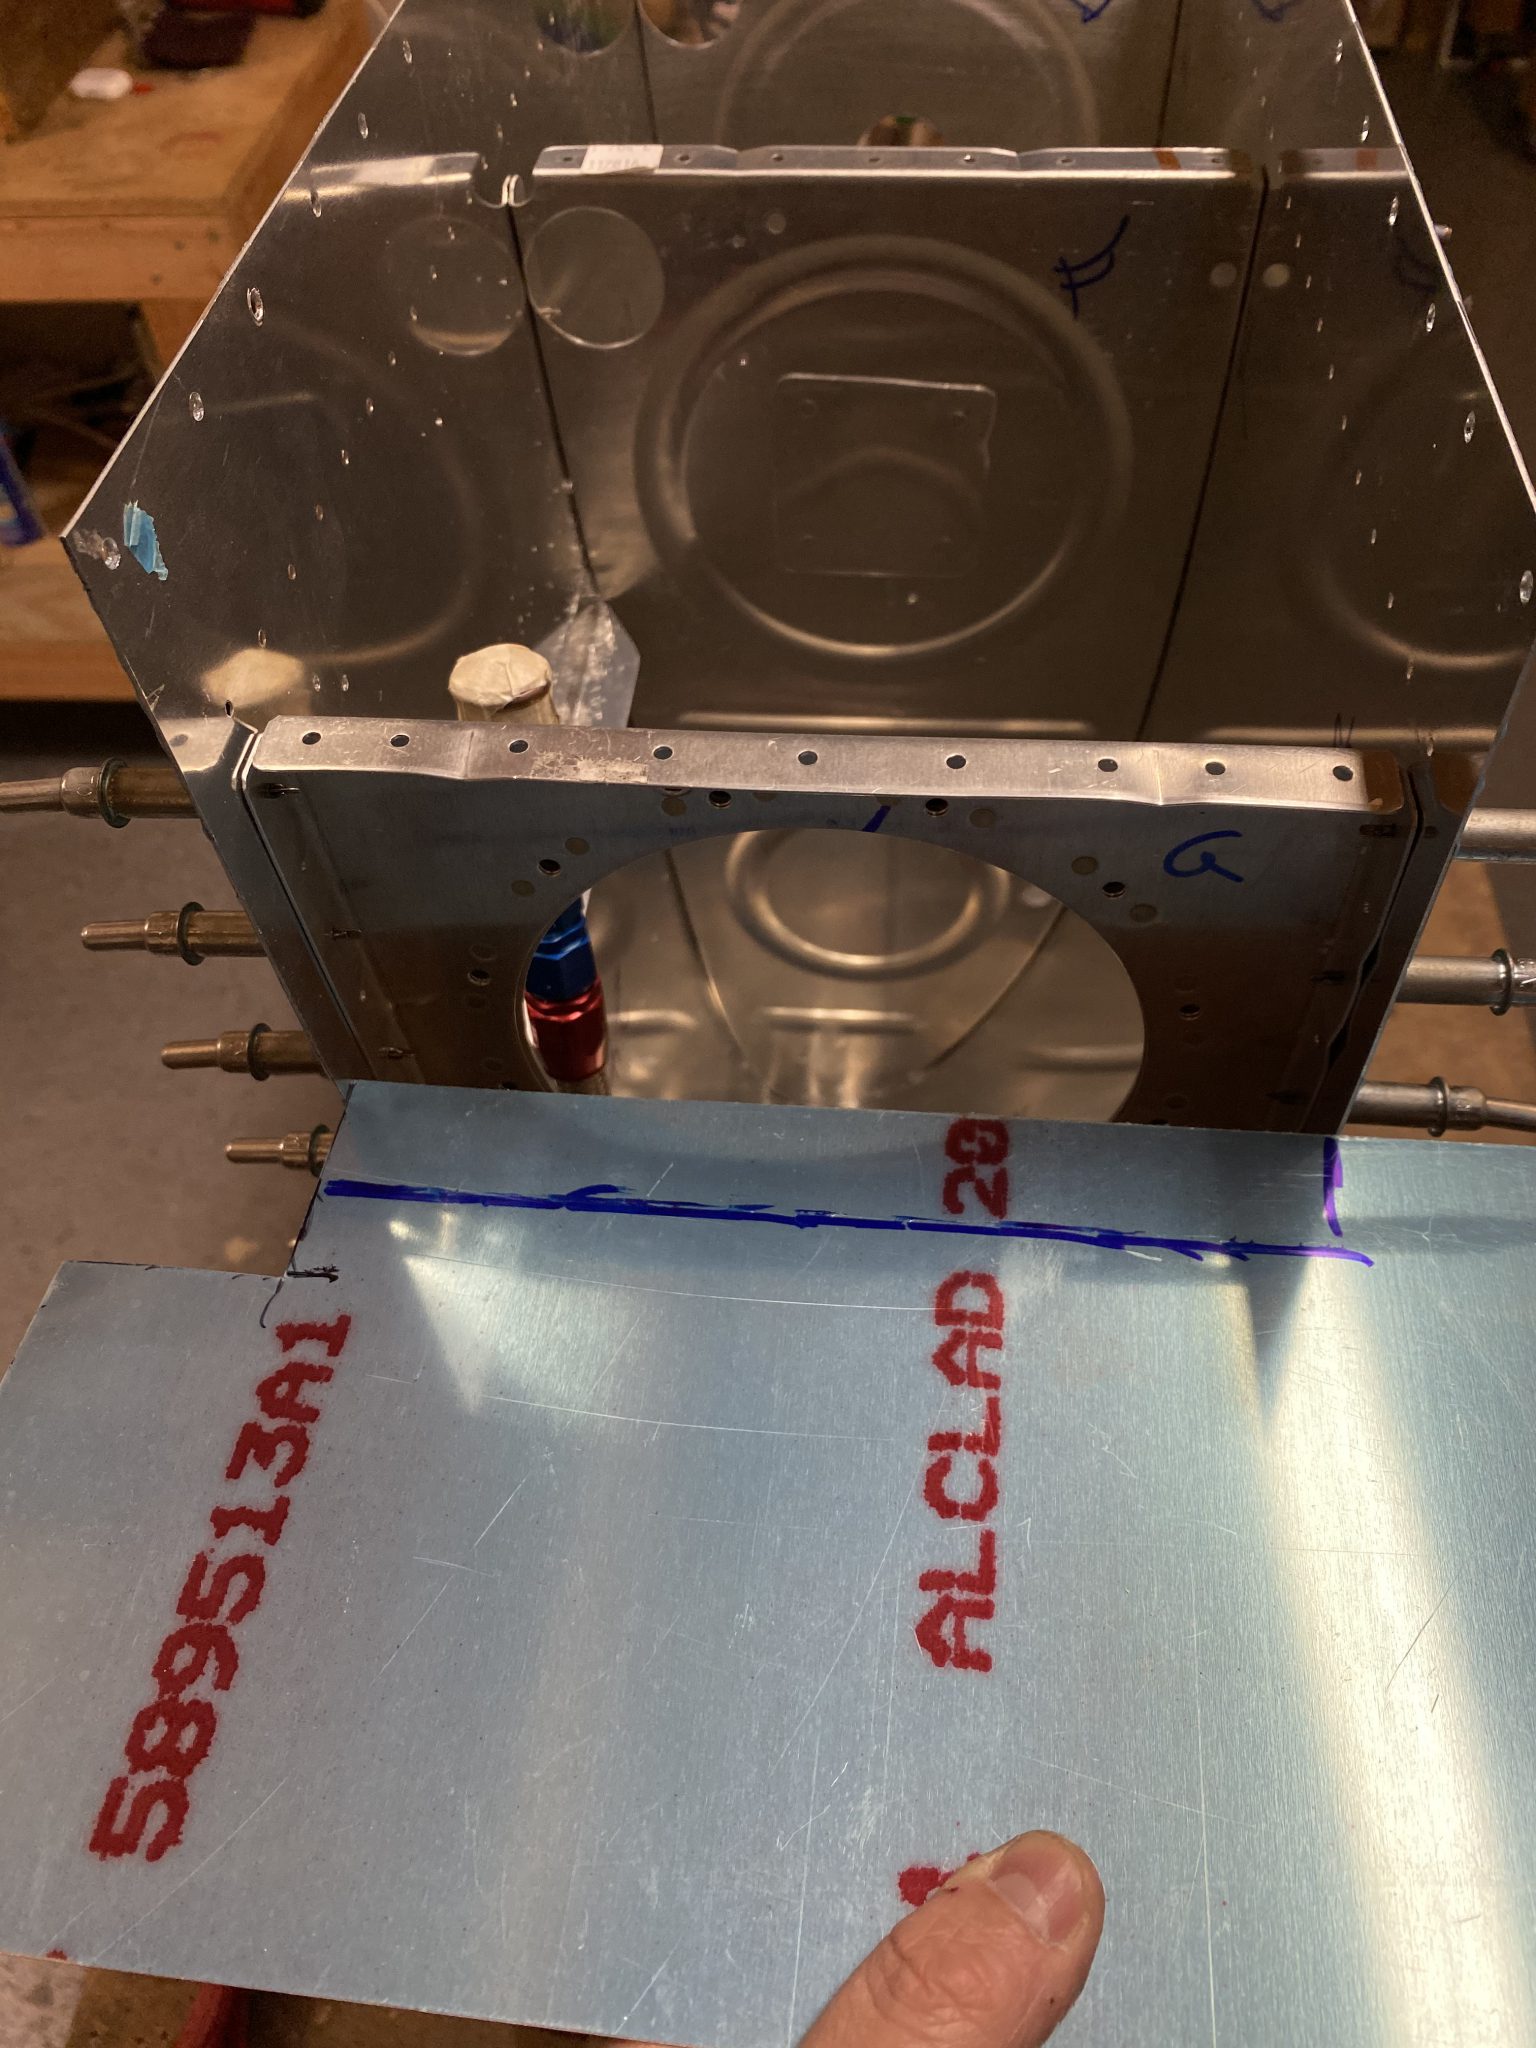
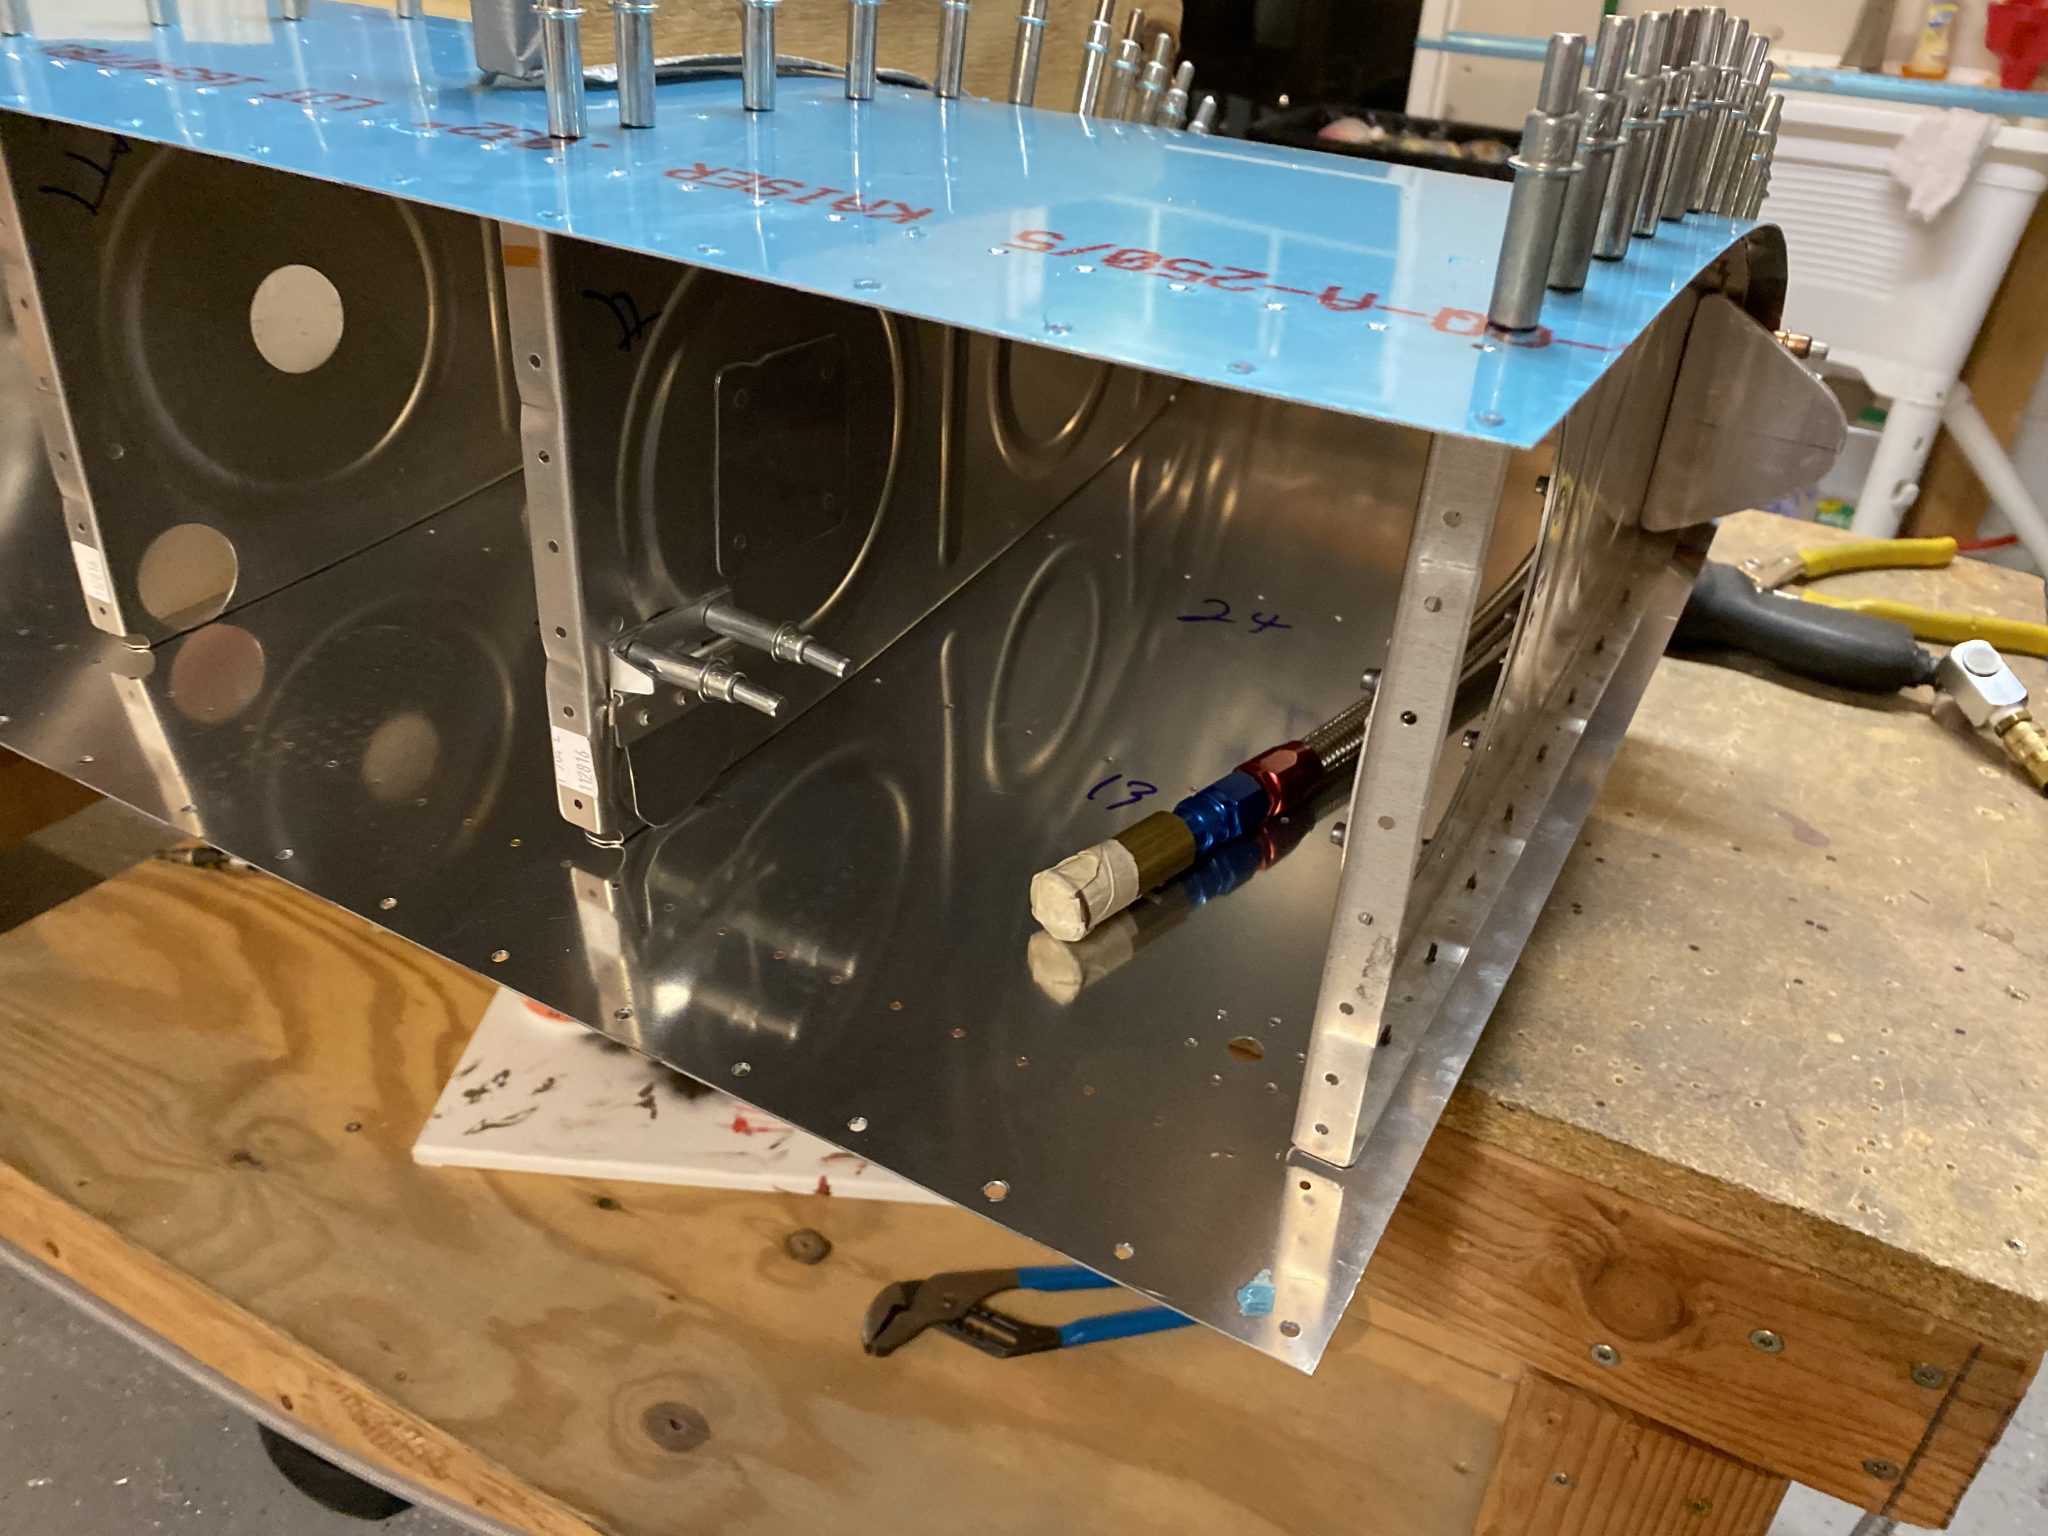
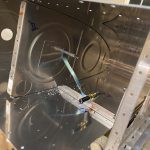
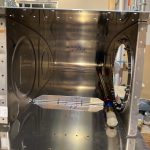
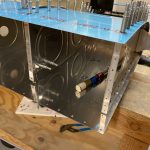
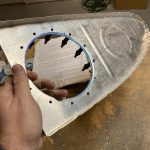
So, I re-assembled the left fuel tank, using the 3 most inboard ribs to hold the shape so I could get these made correctly. You can really see why we need those brackets here! There is potential for the tube to get hung on the nutplates, and between the rib and stiffener on the outboard side.

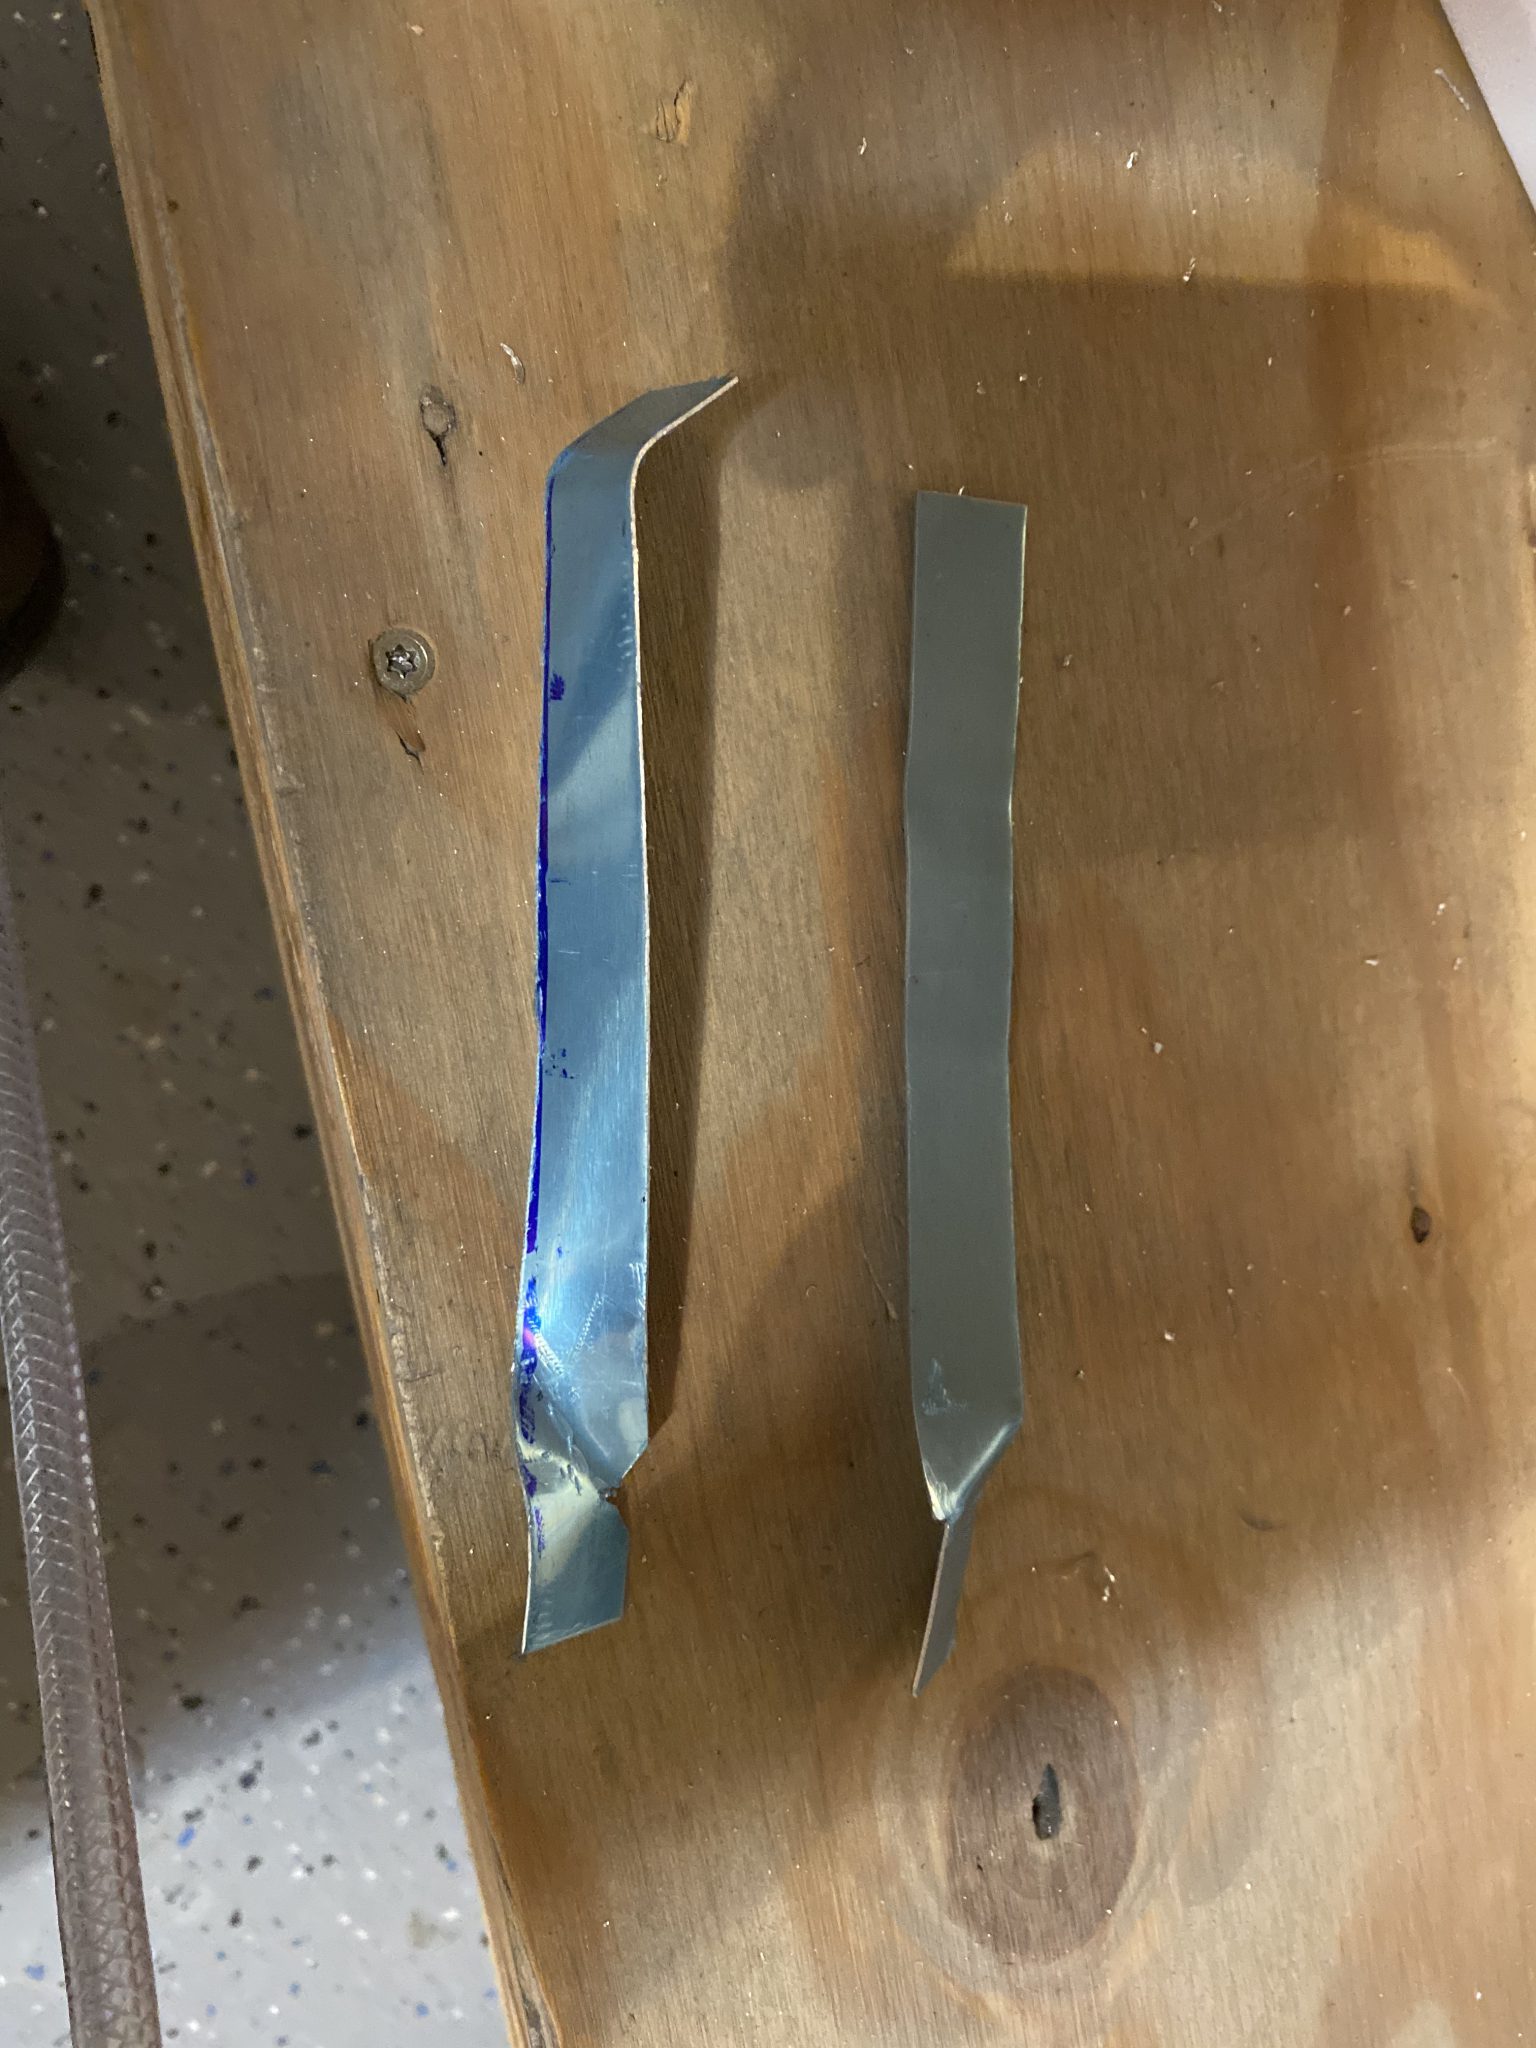
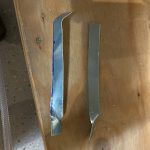
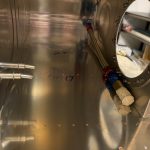
I went digging in my scrap bucket again for some .025″ alclad to make some brackets, measured out a ~1/2″ wide piece and started forming it to make the ant-hangup brackets. I ended up going through three iterations before getting this right, as the alclad would crack when I’d go to bend it to the shape needed.

These are my first two iterations, headed back to the scrap bucket!
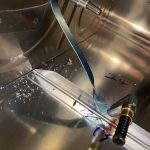
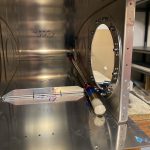
I wound up using some clamps to hold it in place on the stiffener while I made the bends and checked everything. Then I drilled a #40 hole in the piece mounted onto the rib where I’ll rivet it in place during final assembly. I did the same on the bracket through the stiffener, which will get riveted during final assembly.


And that was all I had the energy to do tonight. Tammy was making a nice smelling dinner (Taco Soup!), and I couldn’t resist anymore. I went upstairs and ate dinner with the family. I’ve got some plans for the anti-hangup bracket on the access plate, but it’ll take some fabricating so thats a good start for the next session.
-
 IMG_0834
 -
 IMG_0833
 -
 IMG_0832
 -
 IMG_0831
 -
 IMG_0830
 -
 IMG_0829
 -
 IMG_0828
 -
 IMG_0827
 -
 IMG_0826
 -
 IMG_0825
 -
 IMG_0824
 -
 IMG_0823
 -
 IMG_0822
 -
 IMG_0821
 -
 IMG_0820
 -
 IMG_0819
 -
 IMG_0818
 -
 IMG_0817
 -
 IMG_0816
 -
 IMG_0815
 -
 IMG_0814
 -
 IMG_0813
 -
 IMG_0812
 -
 IMG_0811
 -
 IMG_0810

Google Photos Link: https://photos.app.goo.gl/hhhbfBJ4Sez1Utez9
Hours Worked: 2.75