


see url Short post, but I started the initial leak test on the right tank! I am doing the water test method without the baffle to test for any gross leaks around the rib rivets and outboard ribs before I put the baffle on. This will let me add sealant on any areas I have missed. I’ve let the sealant cure for a few days since the last session, so I moved the tanks out to the garage to avoid messes. Then I screwed on the fitting caps, and used a piece of scrap aluminum tubing for the tank vent to get it above the baffle water line.
Tramadol For Sale Online follow site
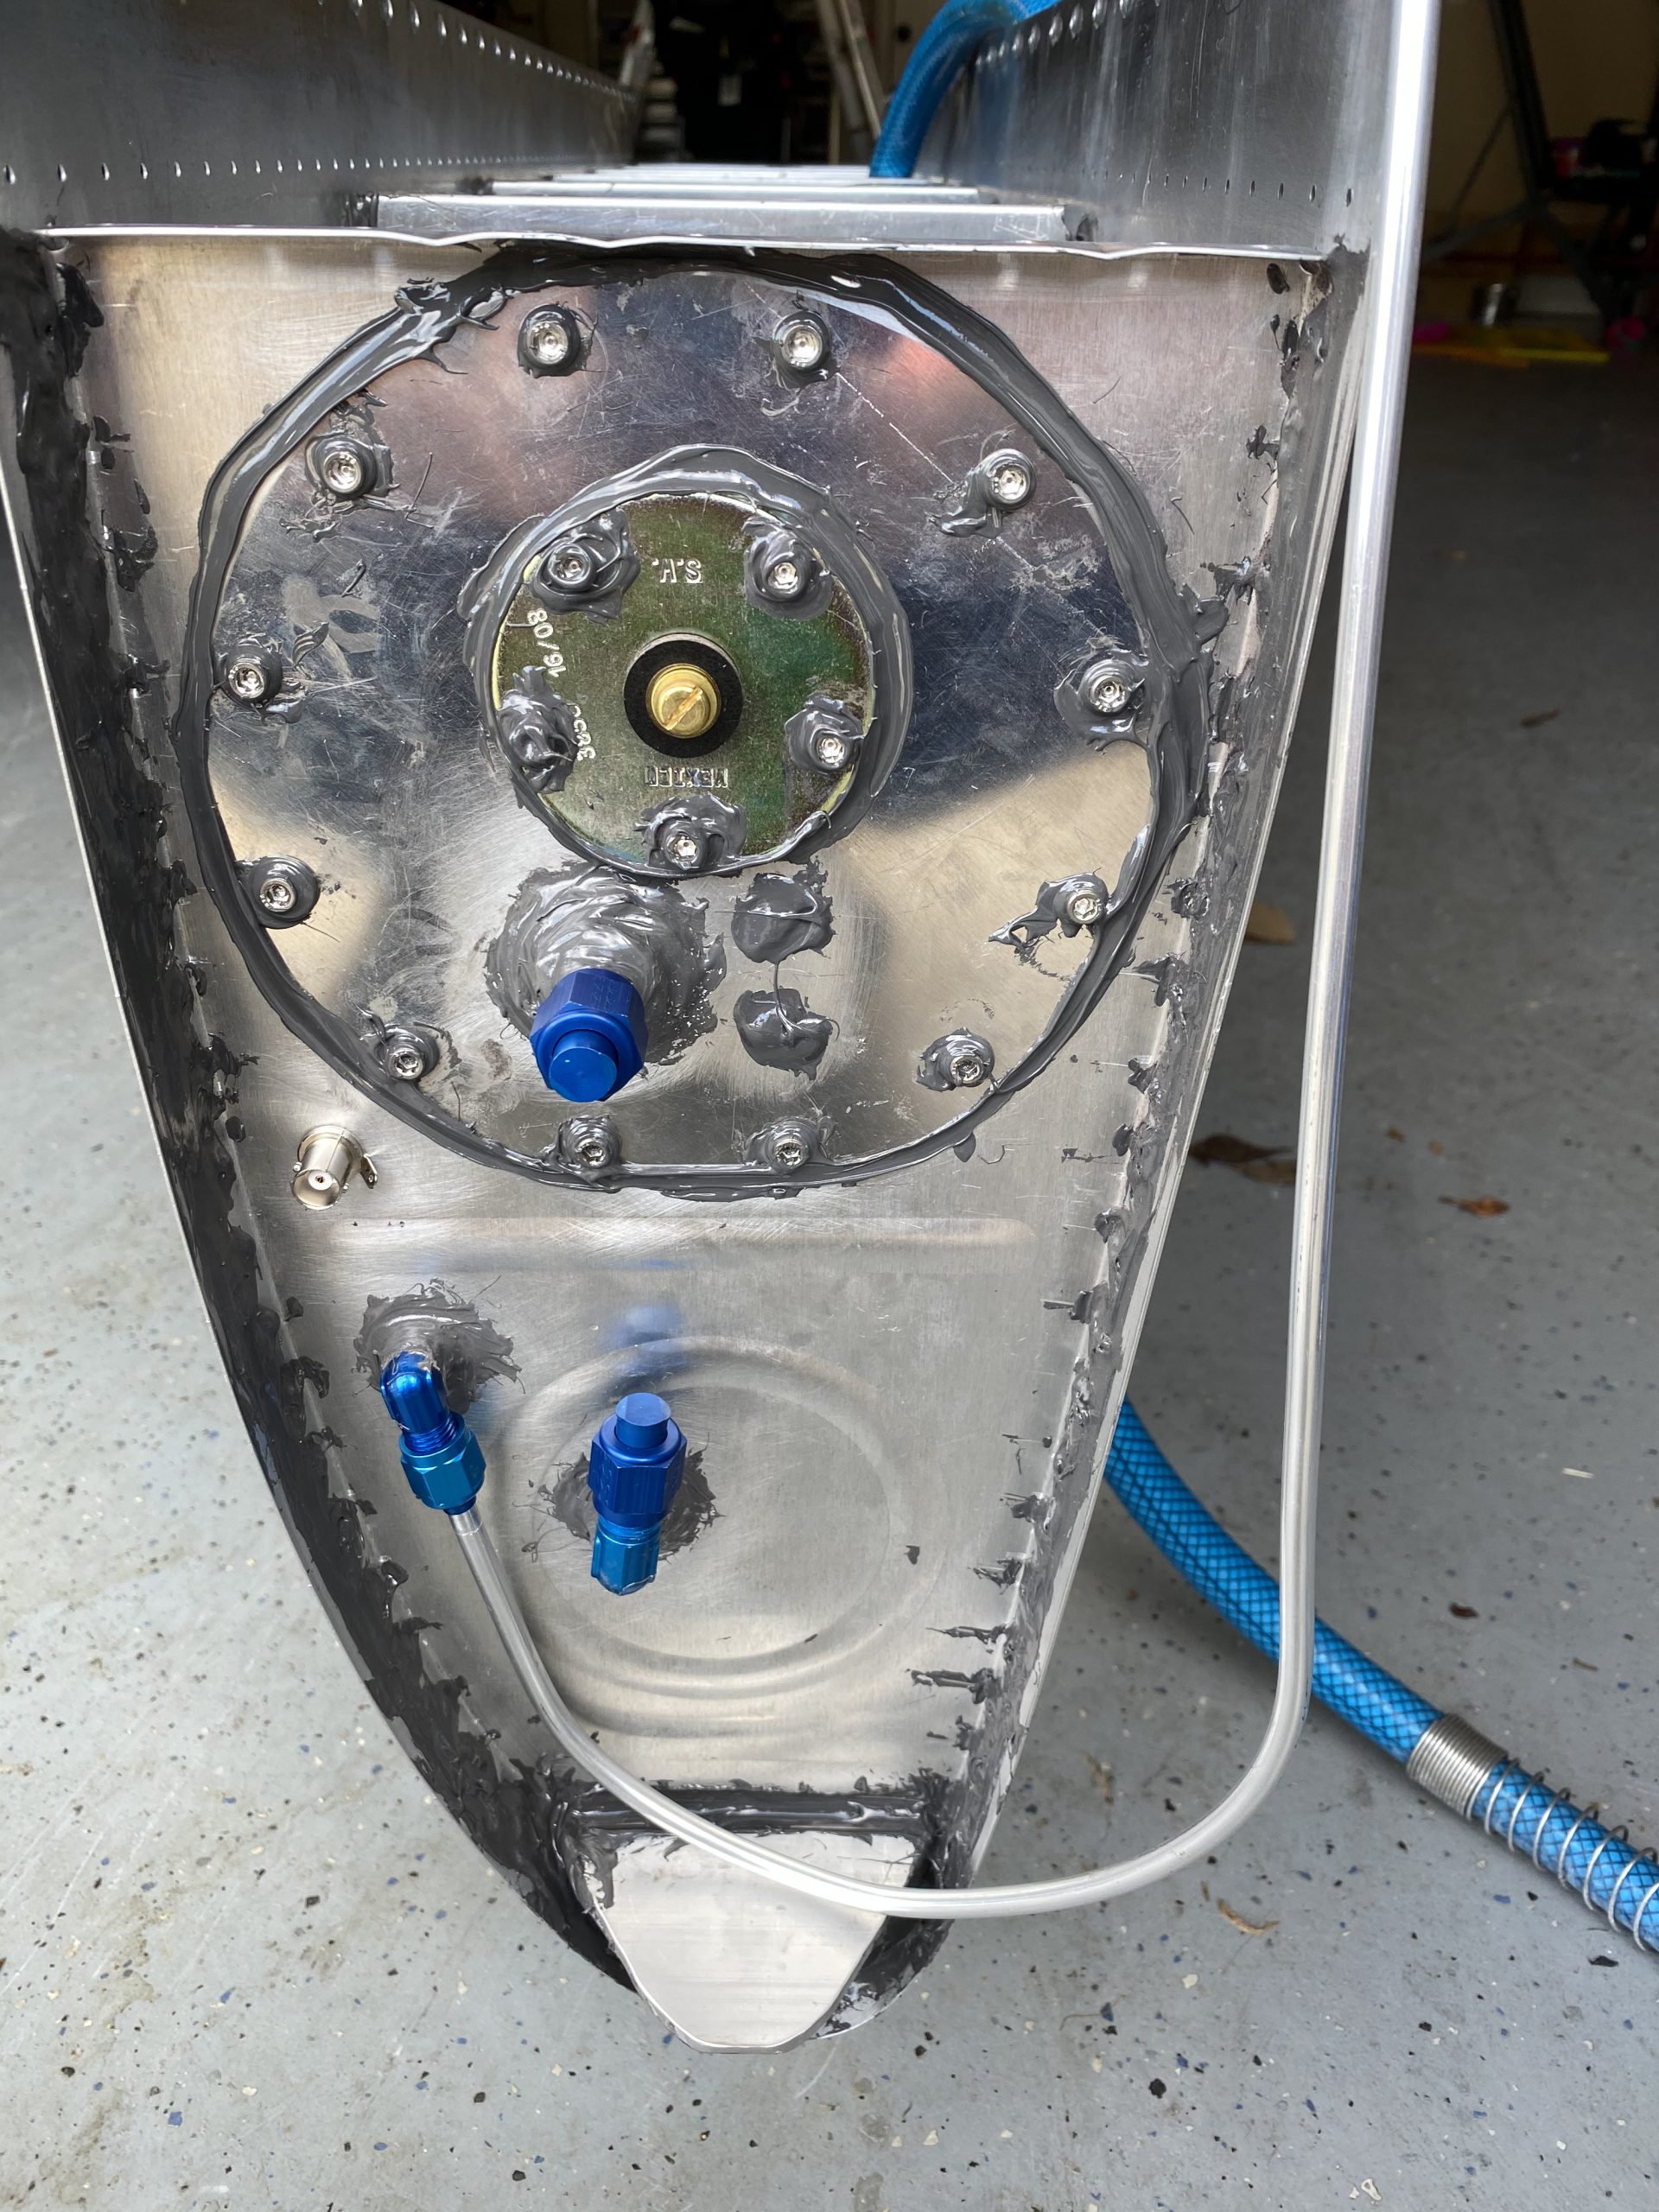
Buy Ambien Online Overnight Next I installed the fuel cap, adjusting the tensioner nut on its inside so it would tighten down on its o-ring seal nicely, and started filling the tank with a water hose.
Order Valium Online see url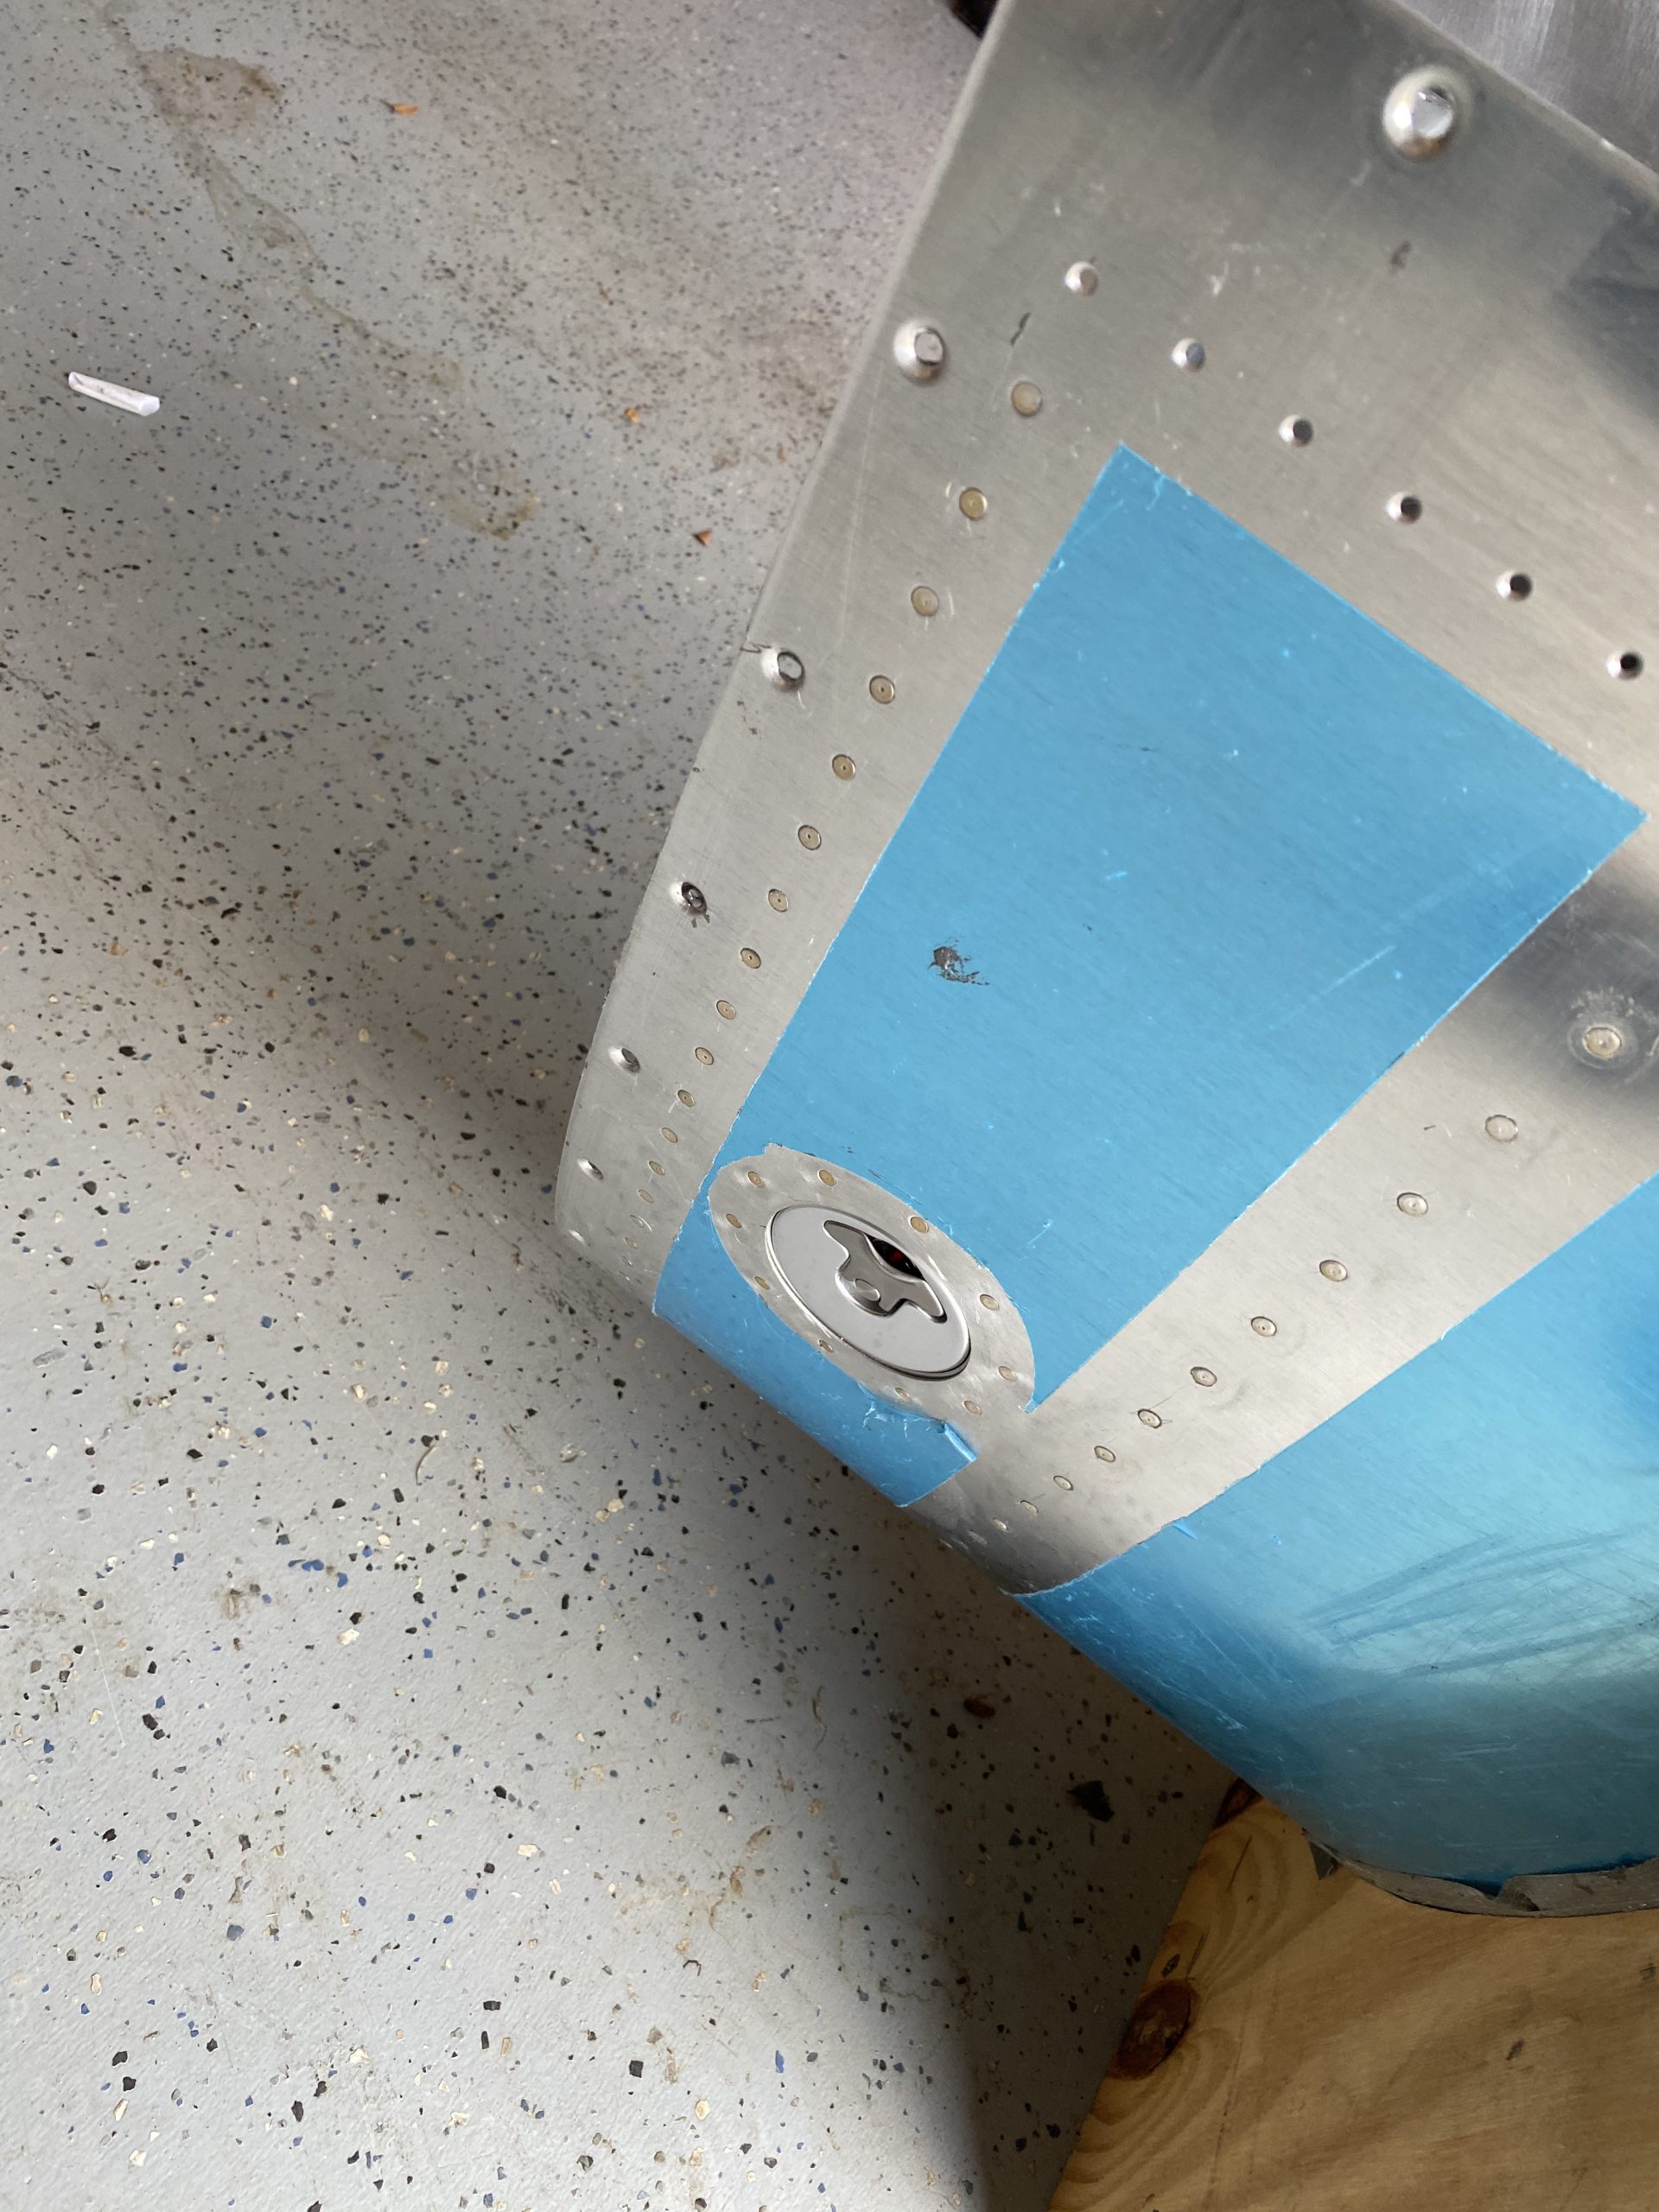
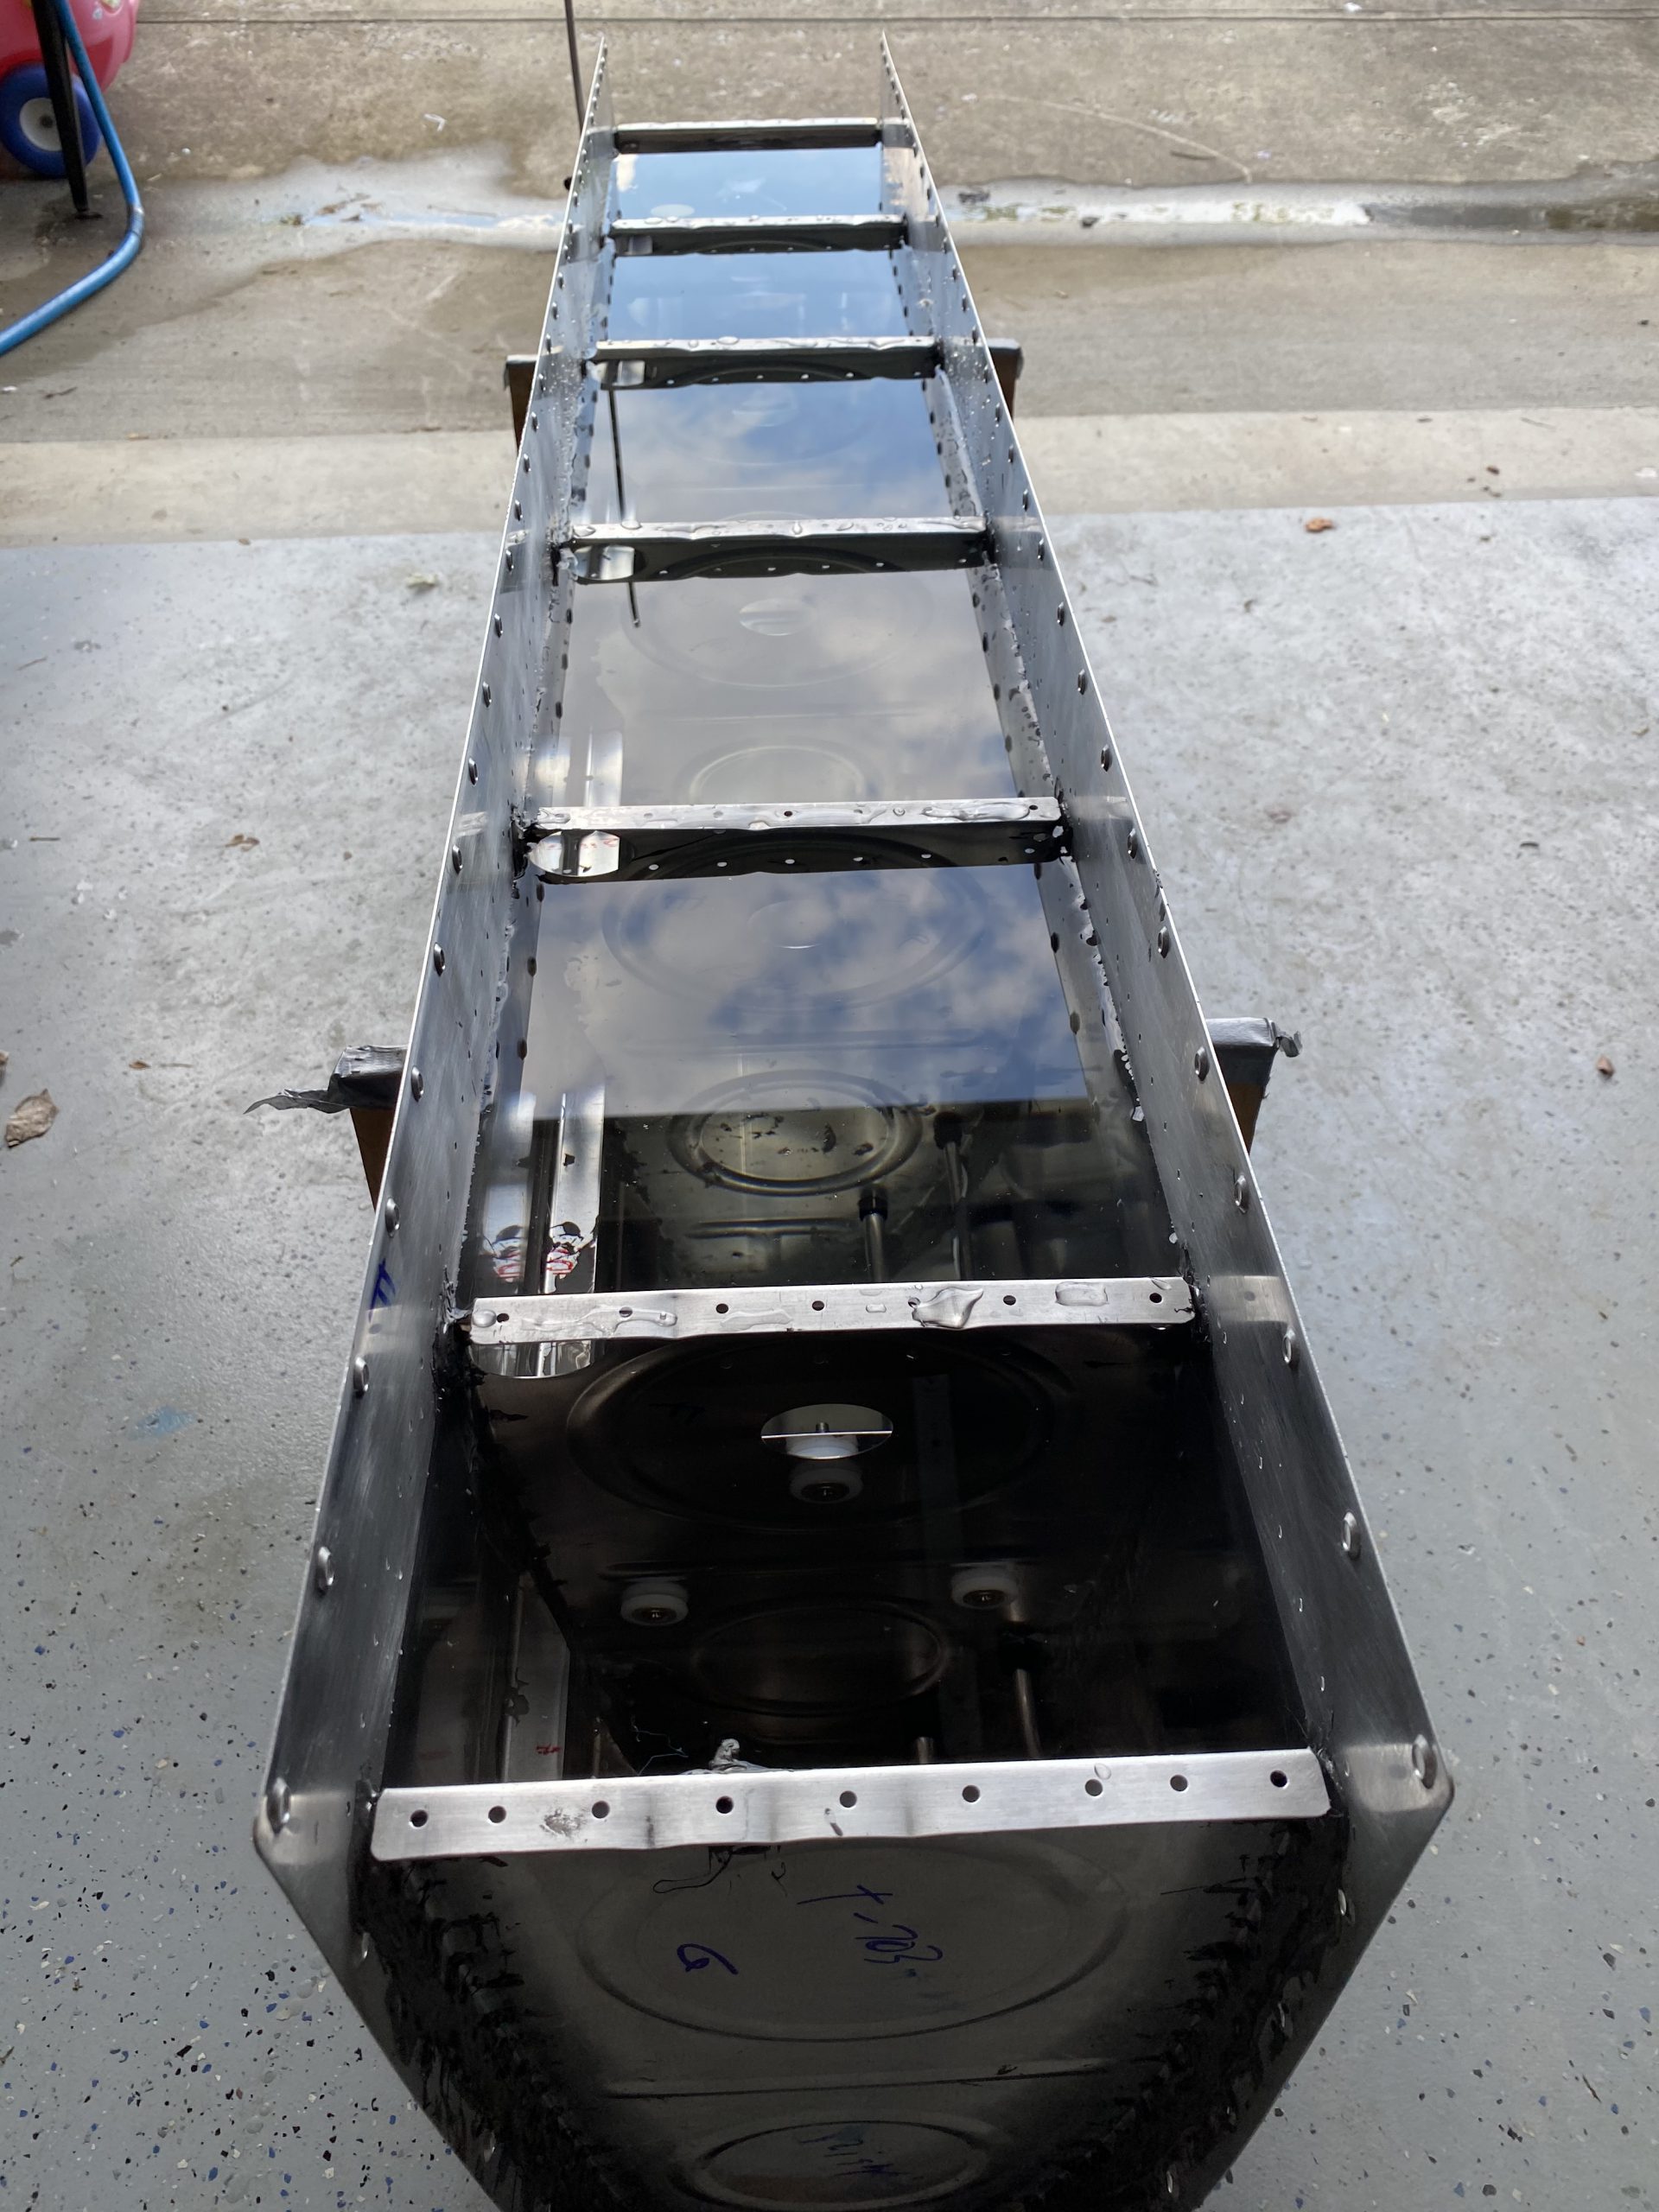
https://www.wjsmithconstruction.com/general-contractors-greenville-nc/ I filled the tank as high as I possibly could to get the most static pressure on the leading edge (its sitting leading edge towards the ground in the cradle). This way I could really test the sealing job I have done on the nose of the outboard ribs. It will also let me know if I have a leaky rivet anywhere. I’ll come down later tonight and put some paper under the tank to help me spot any tiny leaks that form.
click hereget link Here’s a few snaps of the tank as it sits. I dried it completely off with a rag, and it appears to be (initially) leak free! Time will tell after a few hours though. This was a short session, only about 30 minutes between work phone calls and meetings. I’ll start the left tank tonight!
Eszopiclone Lunesta Buy Online
https://www.parolacce.org/riconoscimenti/ 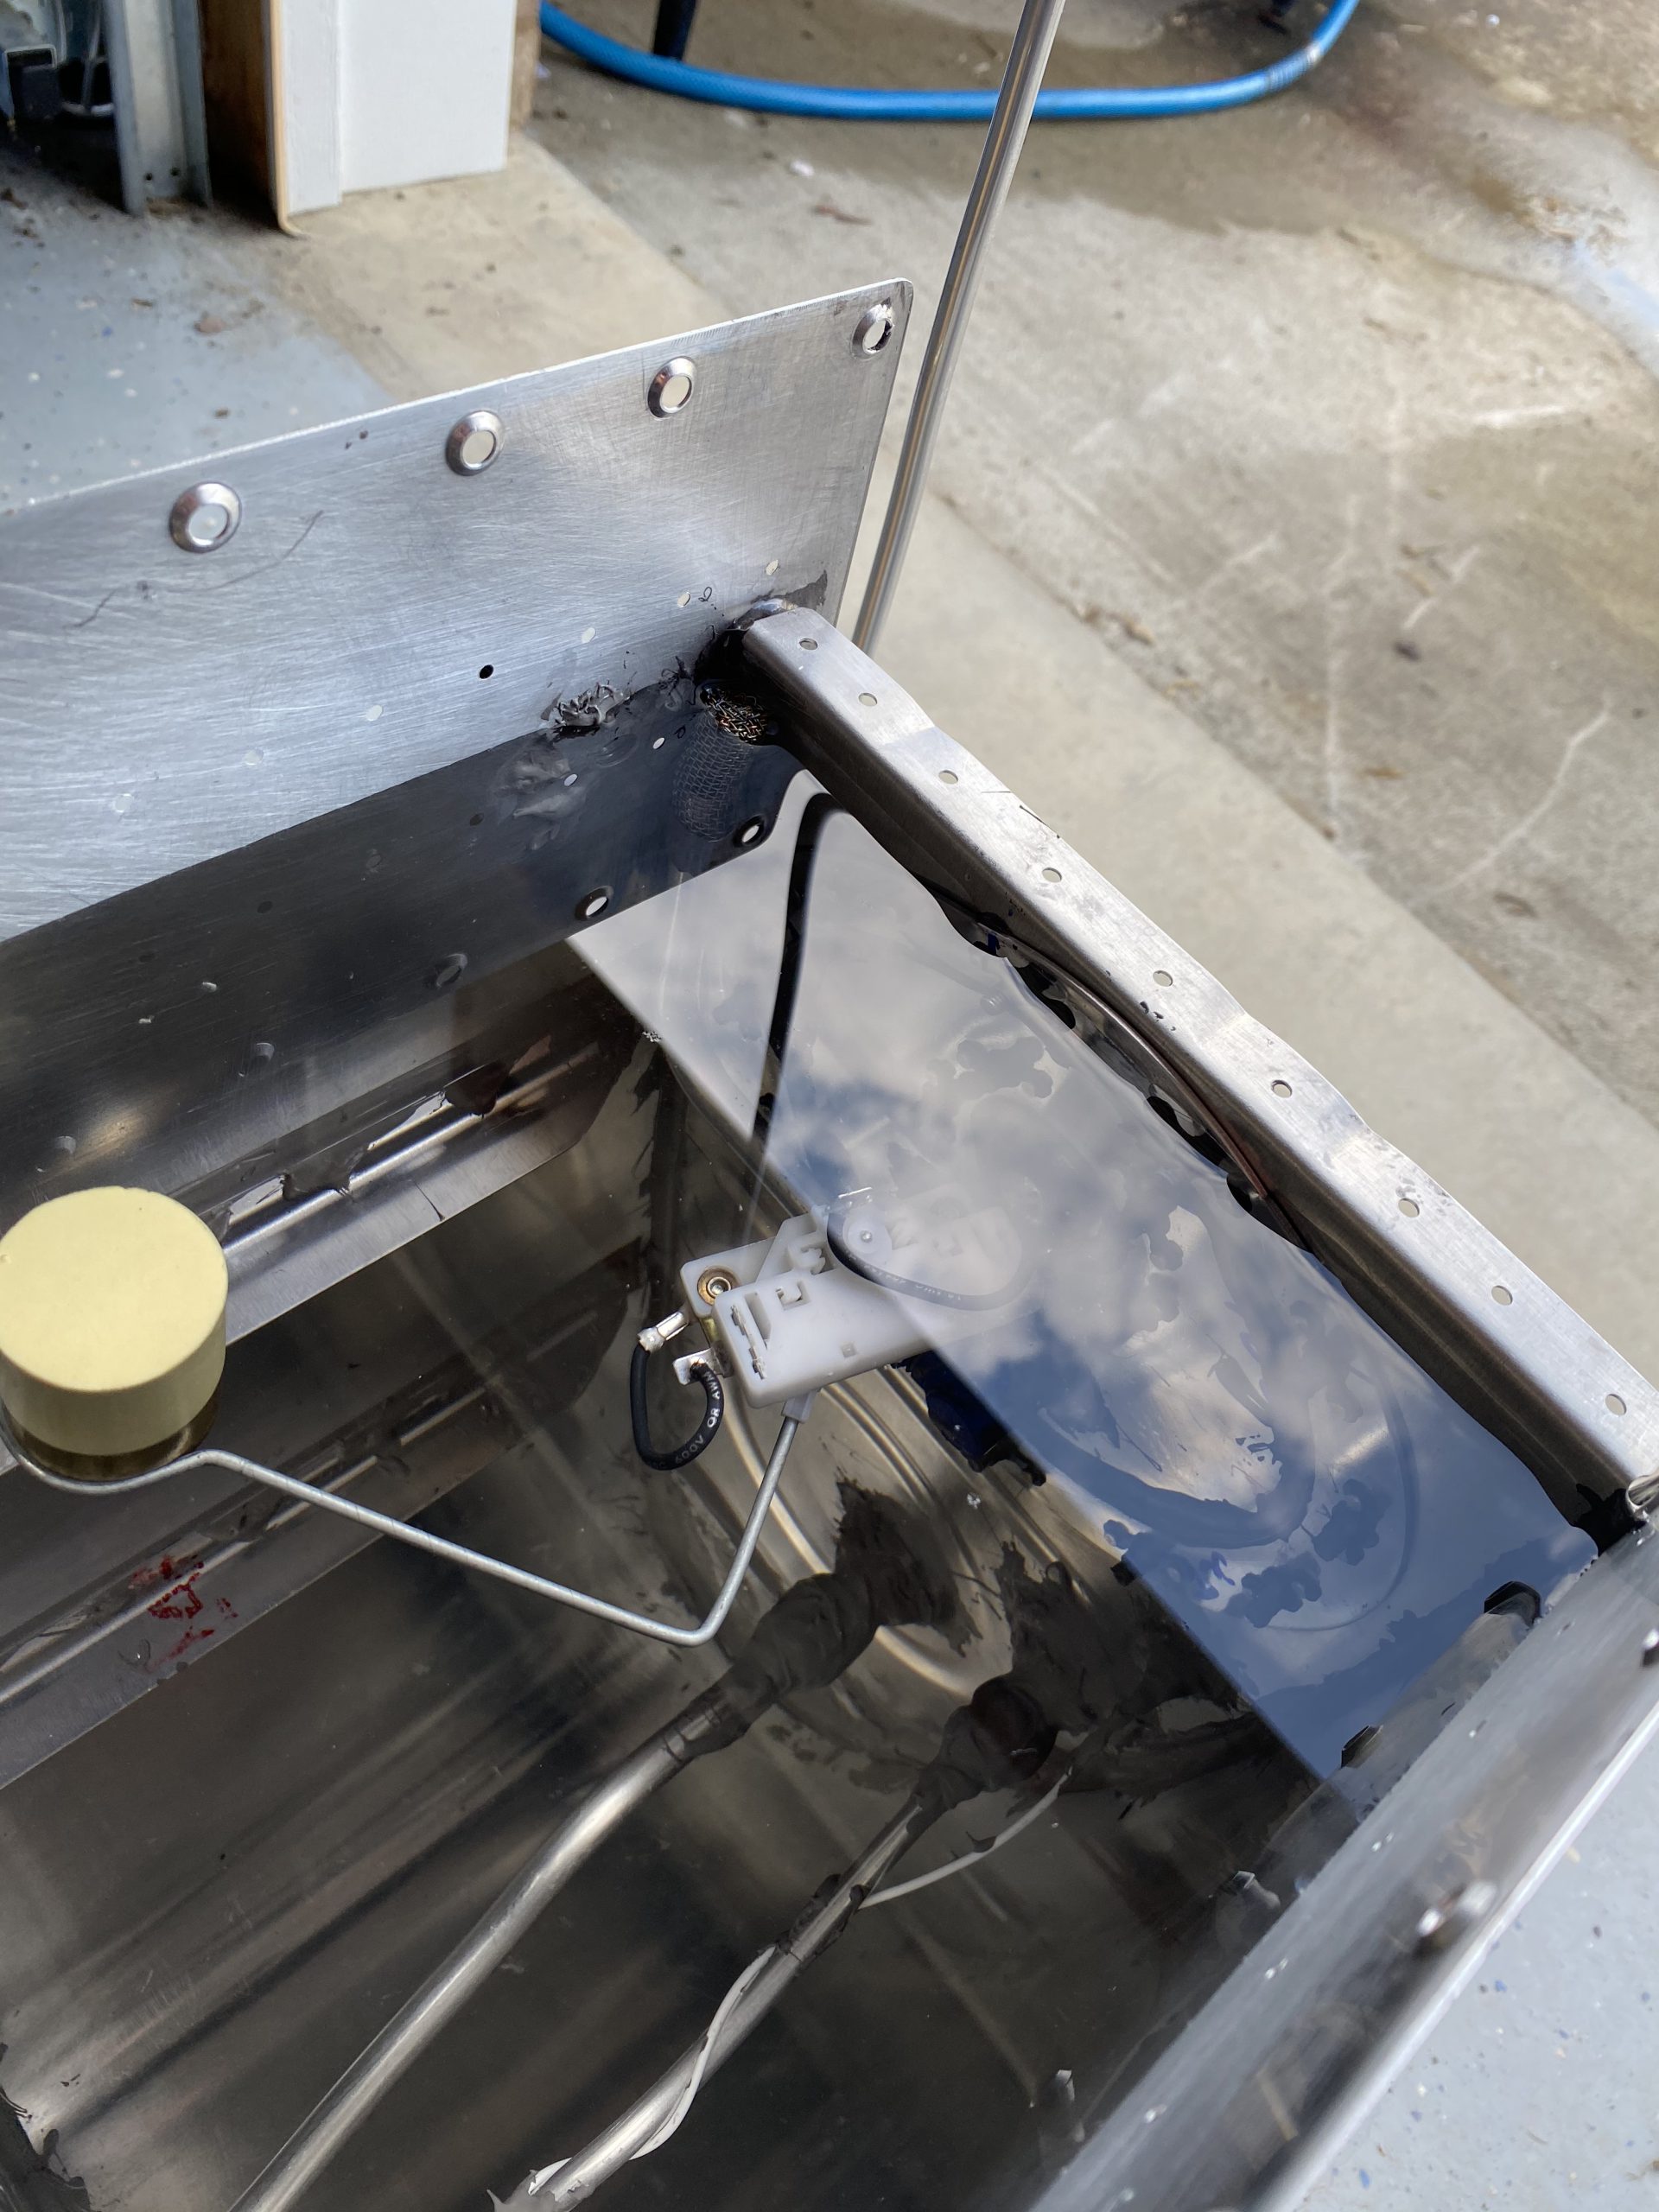
Get Tramadol Online Google Photos Link: https://photos.app.goo.gl/ThUzdZF49DD289xN6
https://www.wjsmithconstruction.com/greenville-home-additions/Purchase Tramadol Without Prescription Hours Worked: .5
Klonopin For Sale Online