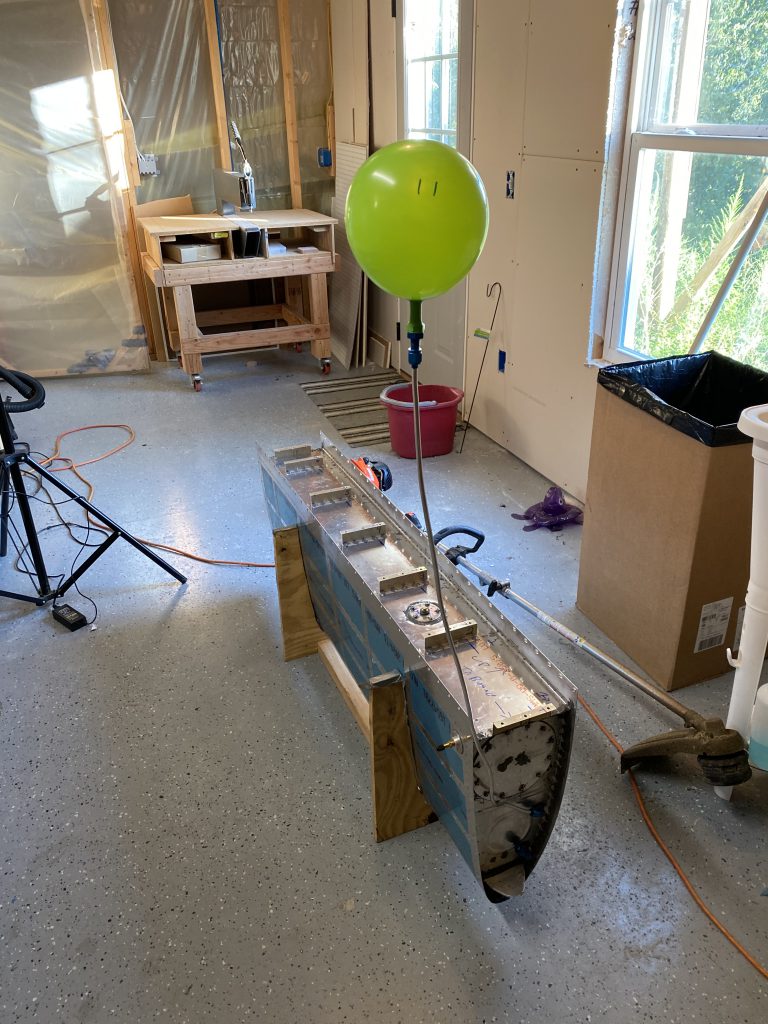
https://destinylootcave.com/malfeasance/ Another quick update. The left tank has been curing for about 4 days or so, and its time to do a leak test! I set it up like the right tank, by using a ballon as a presssure rupture vessel and also a pressure containment vessel. I aired the tank up, until the balloon was inflated then let it sit for a few minutes while I studied some plans.
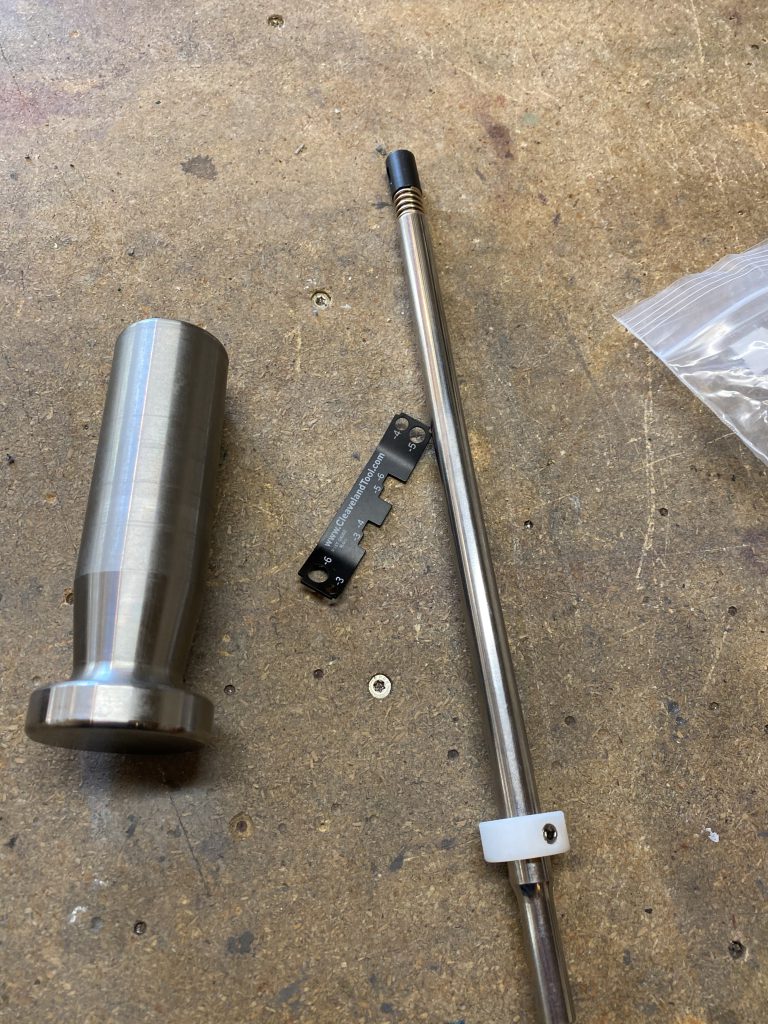
watch followsource link I also got my shipment in from Cleveland tool for the extended back riveting set and flush bucking bar for the wing skins, and a few other things.
Ambien No Prescription After a little while, I noticed my balloon had deflated! OH NO! Was this a leak? So I reinflated the tank, and grabbed some soapy water. After a few squirts I was relieved to see that my leak was coming from the test kit itself, so I tightened up the schrader valve fitting until the bubbles went away, and let it sit a few more minutes.
https://www.leoosborne.com/original-sculptures-x/ 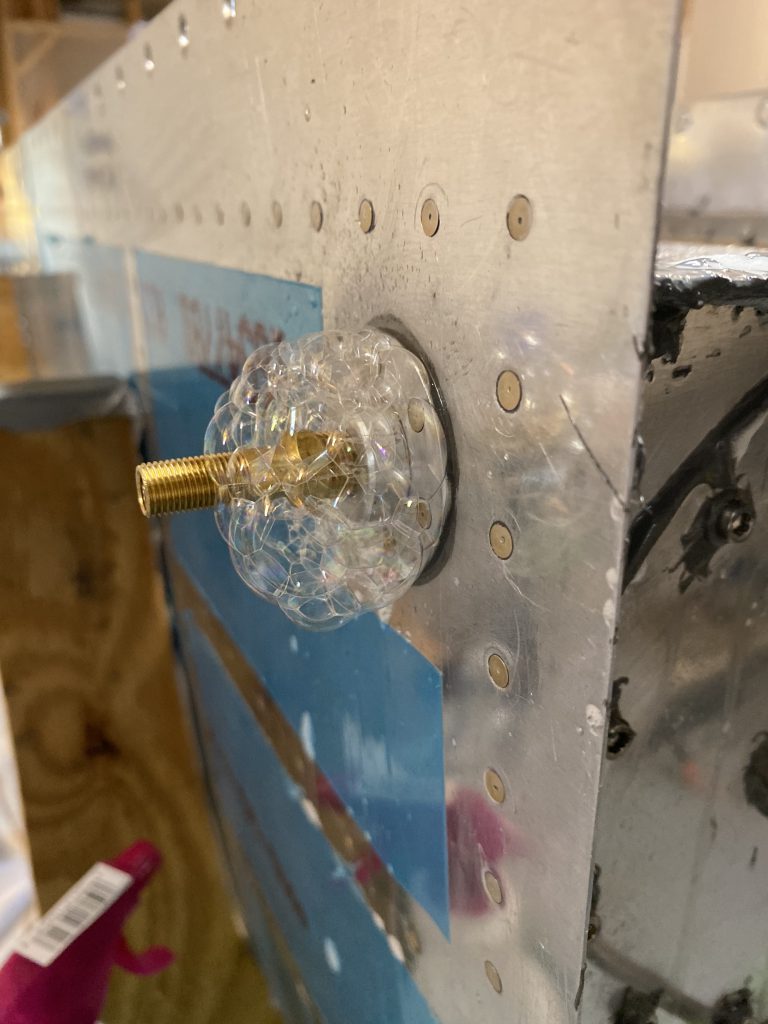
https://vegaoficial.com/conciertos/ I also sprayed down every rivet on the tank with that soapy water to check for leaks, and found none! So I washed the tank down with the garden hose outside, and wiped it dry, and left the balloon inflated to sit overnight so I can see if there are any tiny leaks over time. I decided to get started on the next step: the leading edge skins. I removed the left wing leading edge, and disassembled it, because I need to deburr and dimple the holes.
https://www.turtleopticians.com/eye-exams/ 
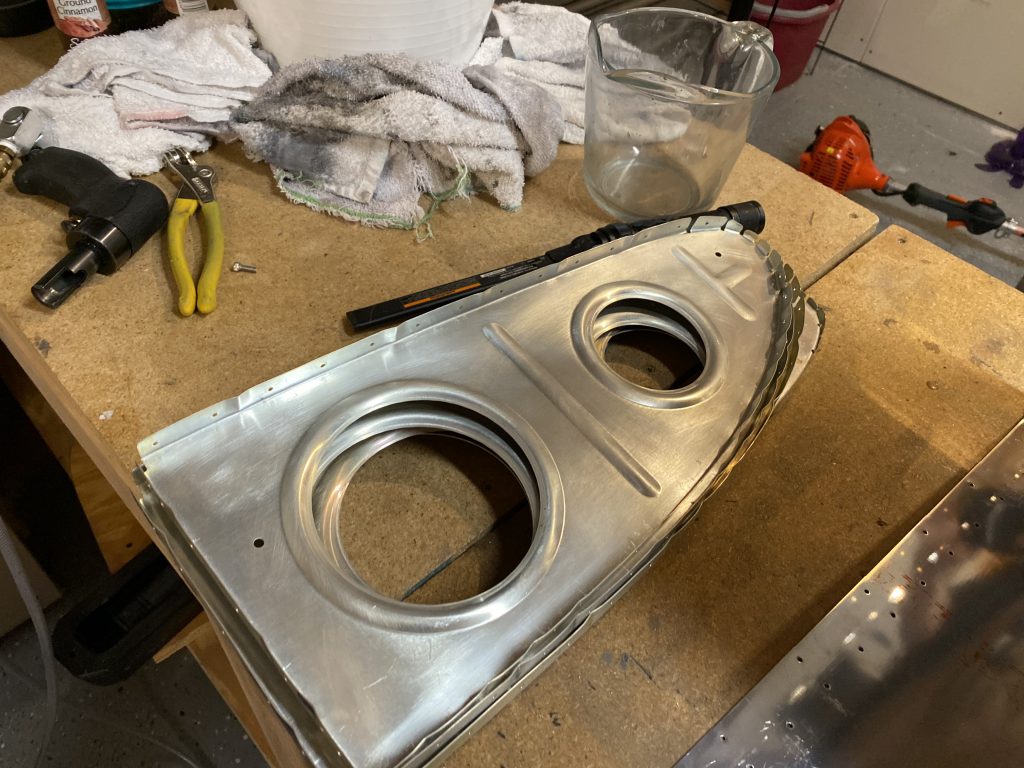
go to link I left off here, since its deburring time. Thats a good session for tomorrows work!
https://vegaoficial.com/vegaeivanferreironuevosingle/ 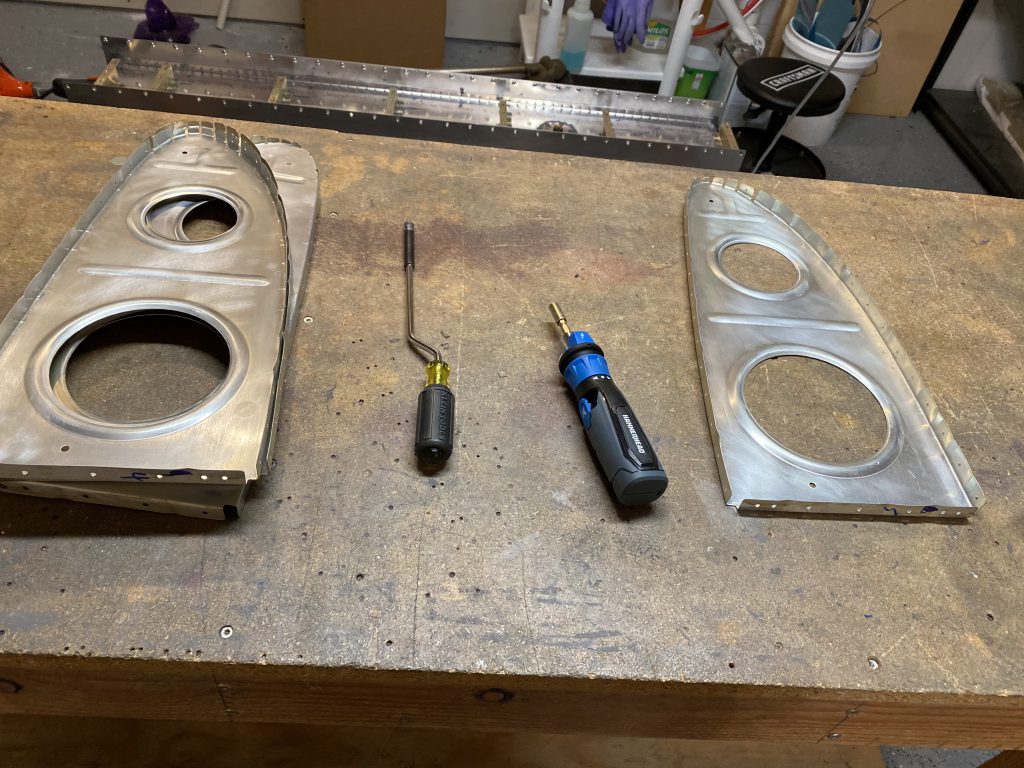
source site I did record a timelapse, but it doesn’t show much. At any rate heres that video. You’ll see me on the phone a little, checking out plans a little, and pretty much “fiddle-farting” around waiting on the leak test.
go to site Hours Worked: 0.75


