


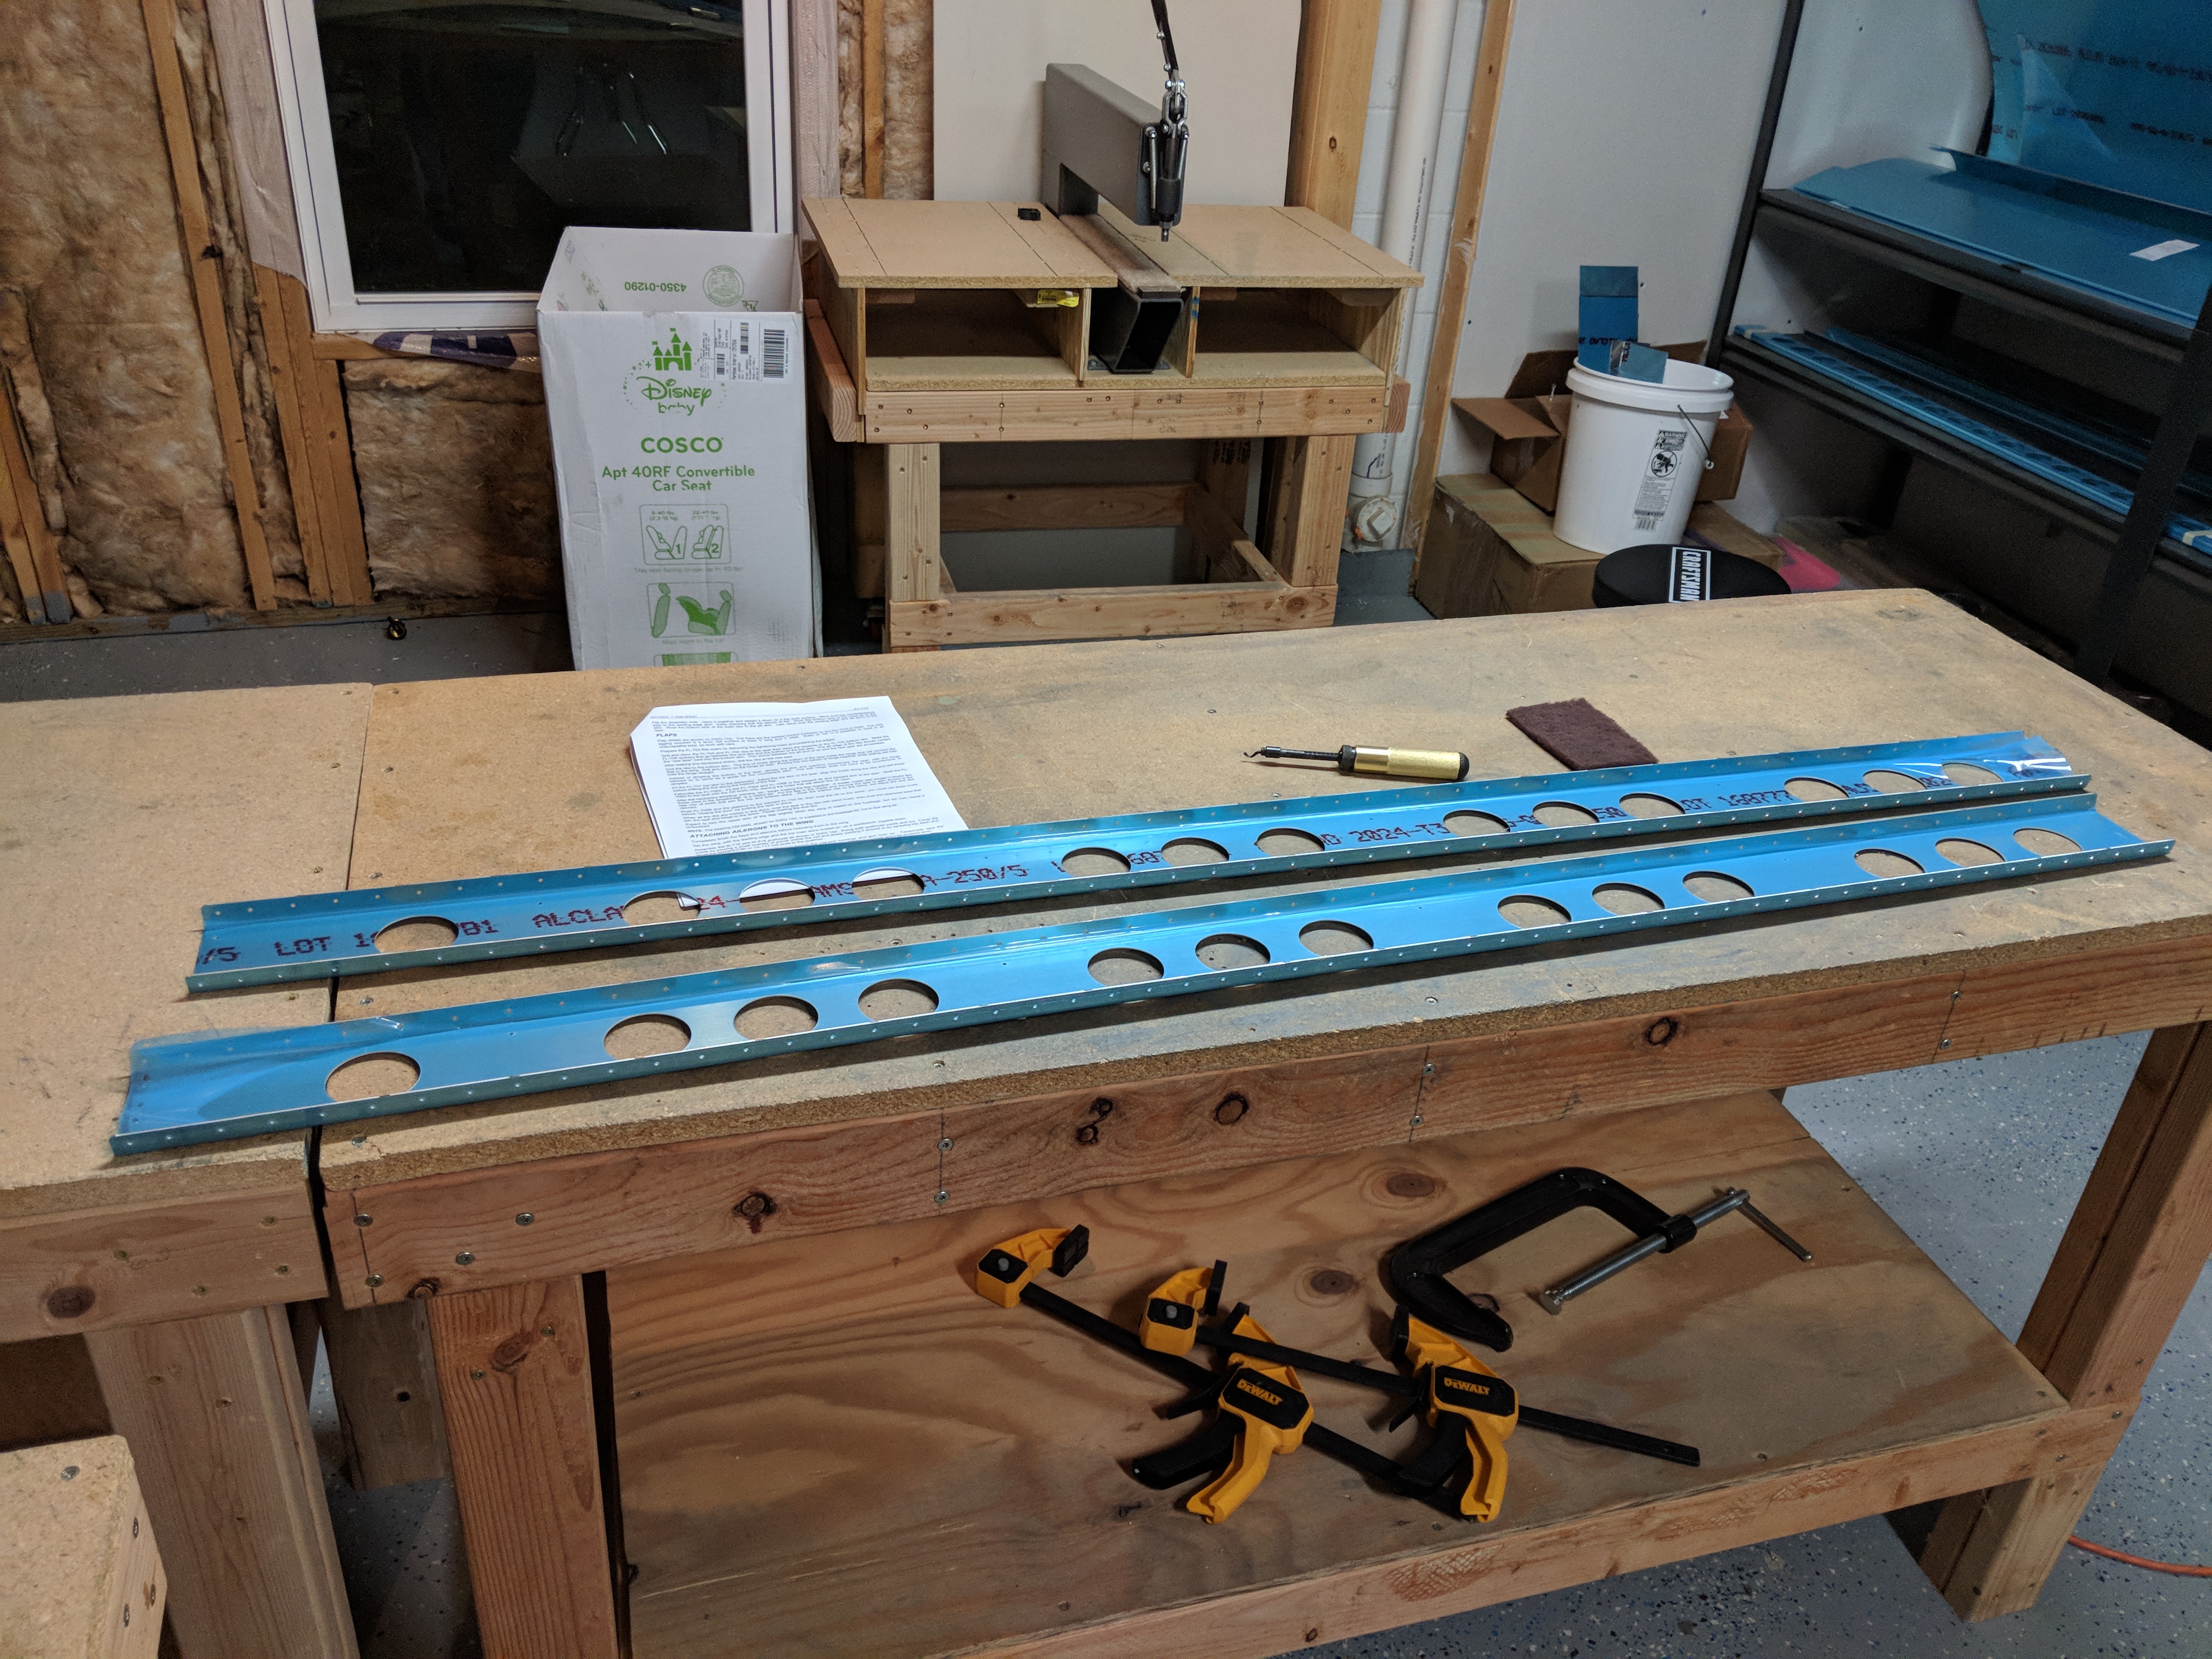
Today, I decided to go ahead and start building the flaps. It was a toss up between ailerons and flaps, and I didn’t want to fool with stiffeners right now, so flaps won. I am skipping ahead to the flaps because its too cold to ProSeal fuel tanks, and I don’t want to take up valuable work room in the shop with the wing stands right now. I read over the instructions for the flaps, and gave the plans a good study to see how they go together. At this point in the build, Vans assumes you can make good decisions and read things so they don’t go into great detail in the instructions. The flaps start off like any other control surface: Preparing the parts! I picked out the FL-703 front spar, FL-704-L and FL-705 ribs and the FL-702-L bottom skin and moved them to my bench. I am doing the Left flap first, since it is the one represented in the drawings.
After stripping away the protective blue plastic on the ribs, and the inner surface of the FL-702 bottom skin, I polished up the edges of the ribs on the scotchbrite wheel, and then used a deburring tool and scotchbrite pad to polish the lightening holes in the front spar. I went ahead and did the polishing on the ribs and spar of the right wing as well, since they are all the same parts. I figured I might as well go ahead and get them done now. No photos of this process since its pretty much the same as my previous deburring/polishing work.
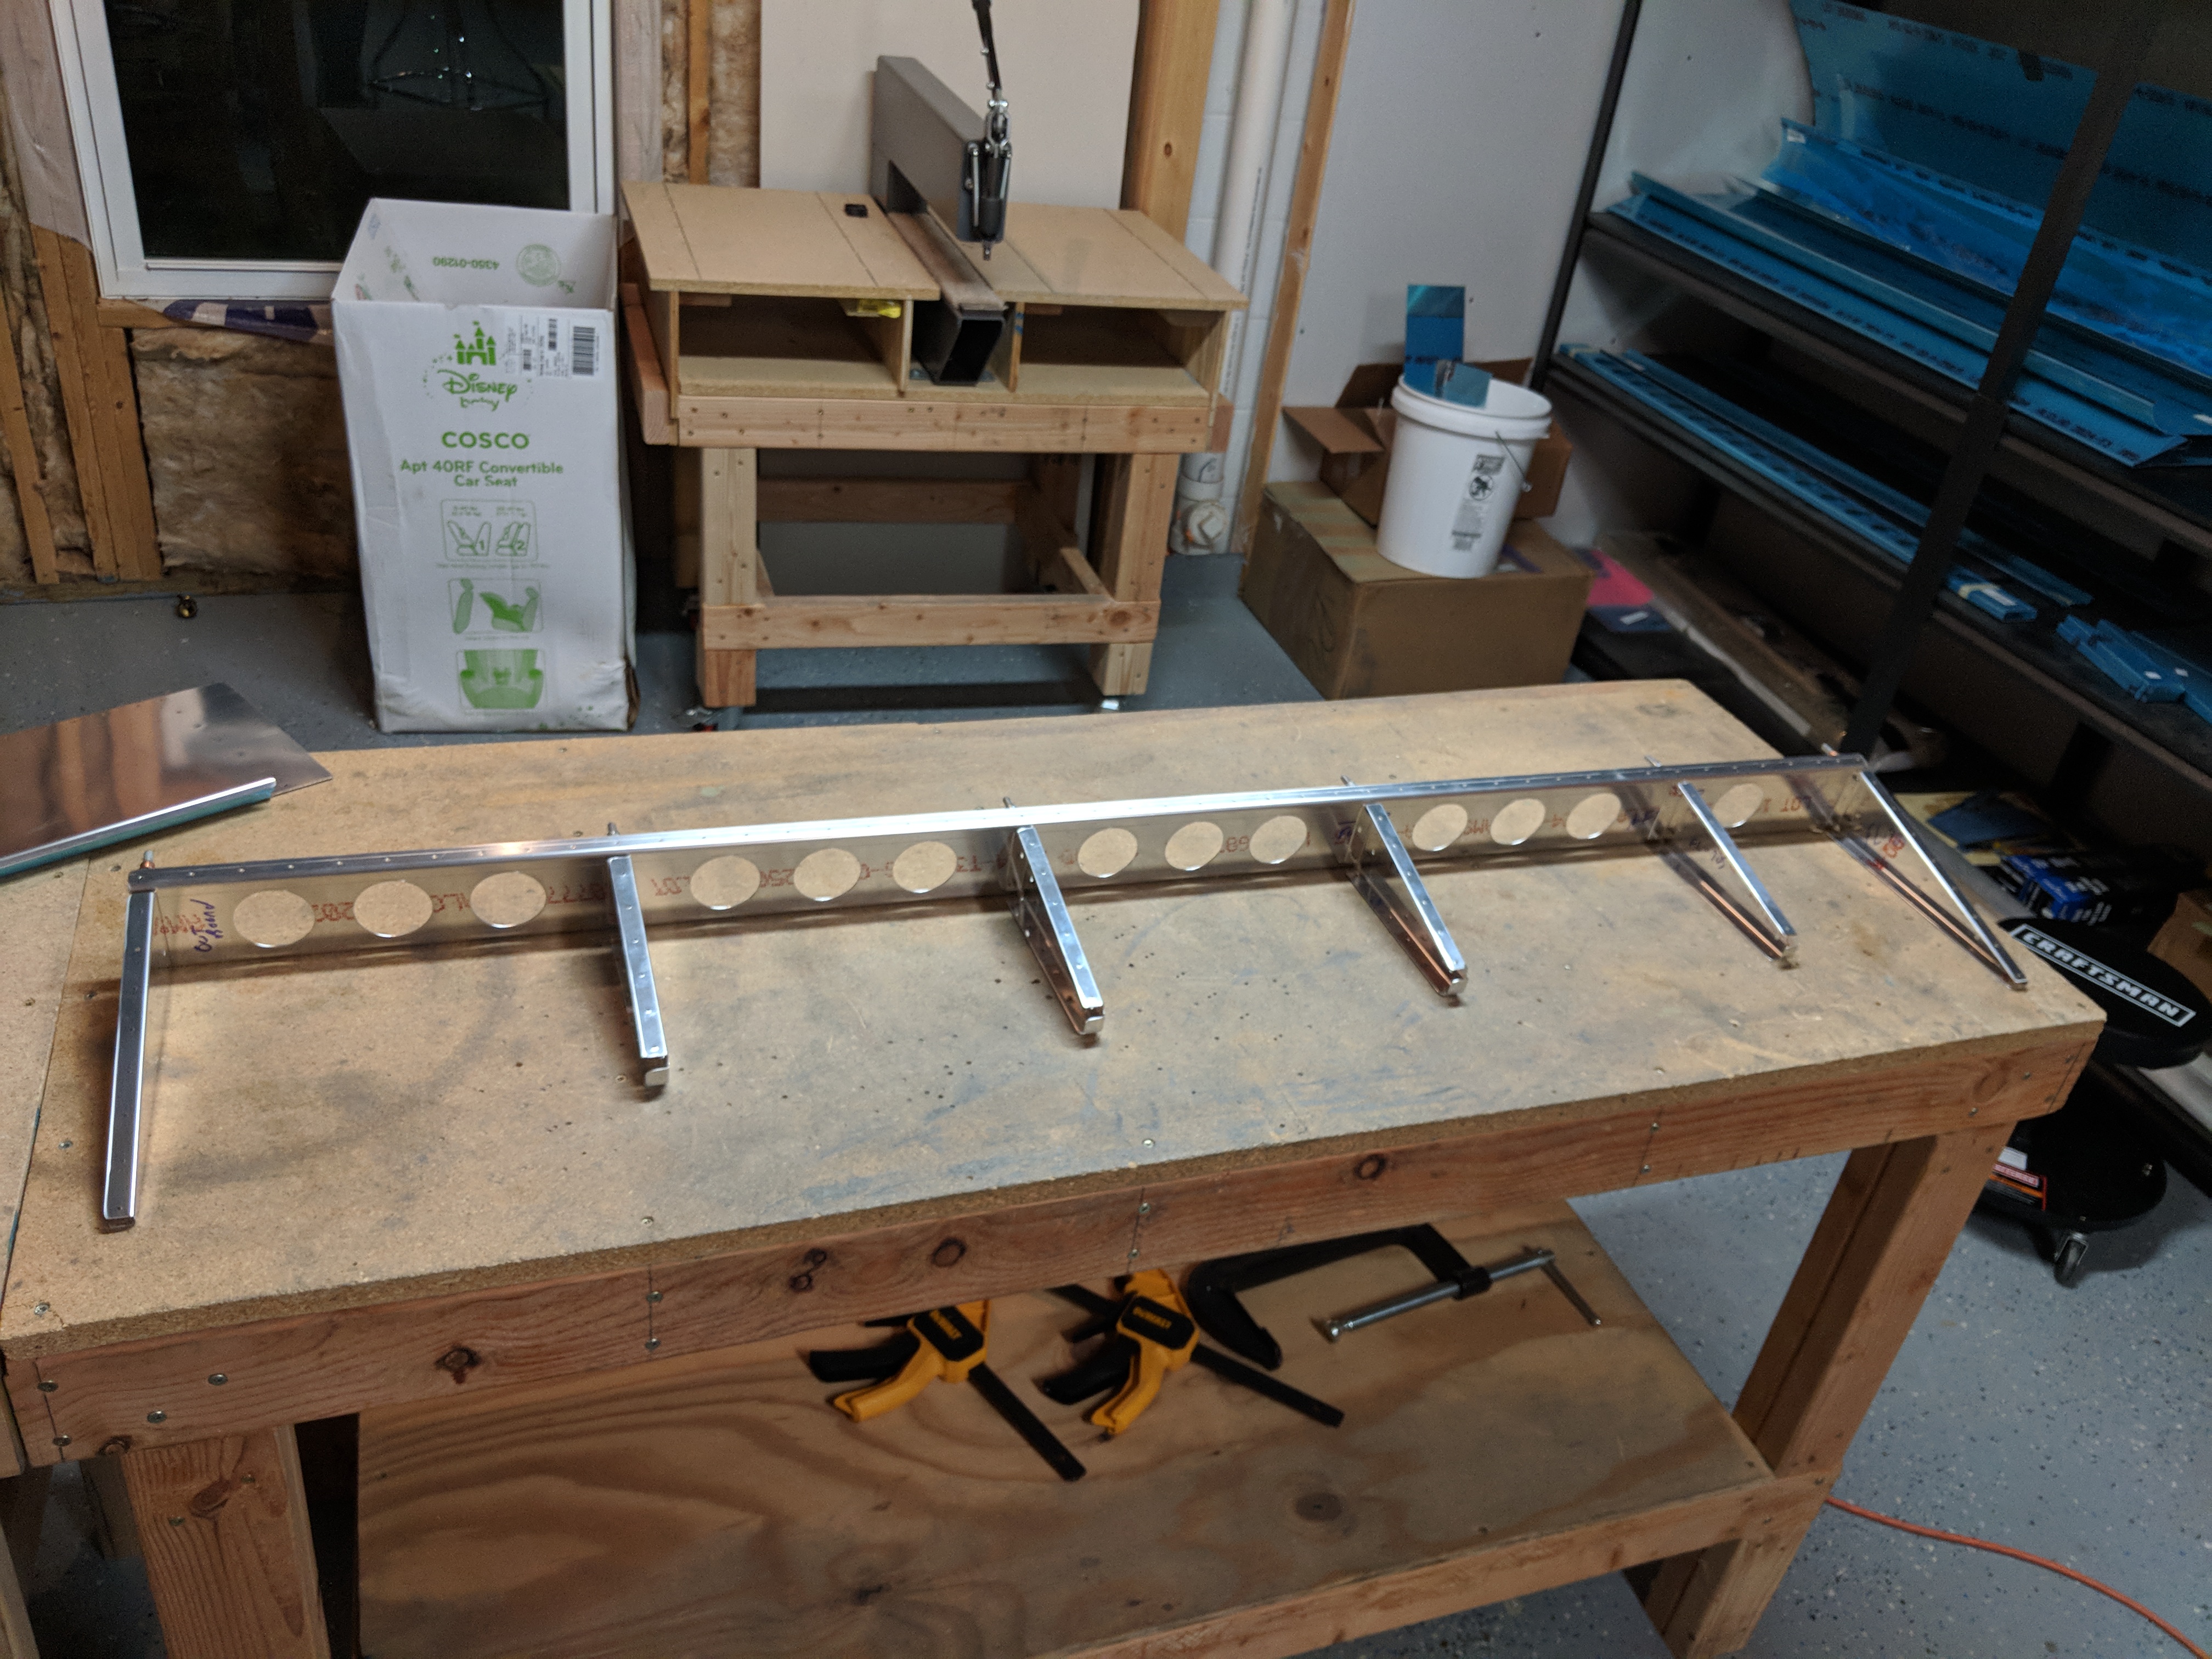
Once all the parts are polished and deburred, the plans has us start assembling the skeleton for the flap but clecoing the ribs to the front spar, and then match drilling all the holes. This is where it starts to feel like I am building an airplane again!
And of course, the obligatory selfie with the airplane parts to prove to the FAA inspector that I did indeed build this airplane 🙂

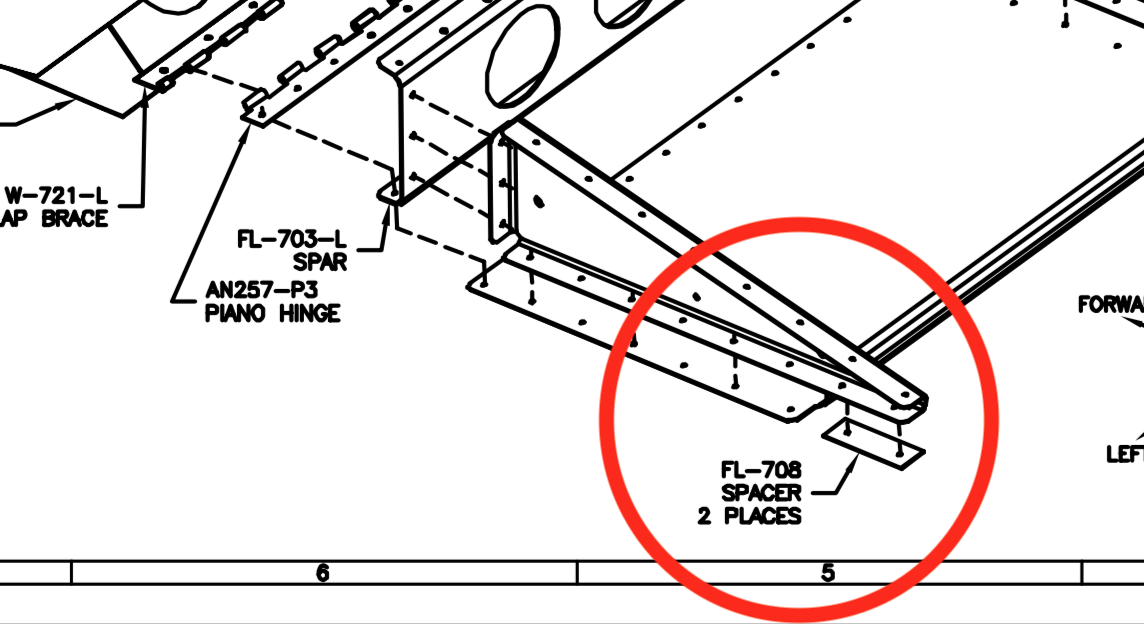
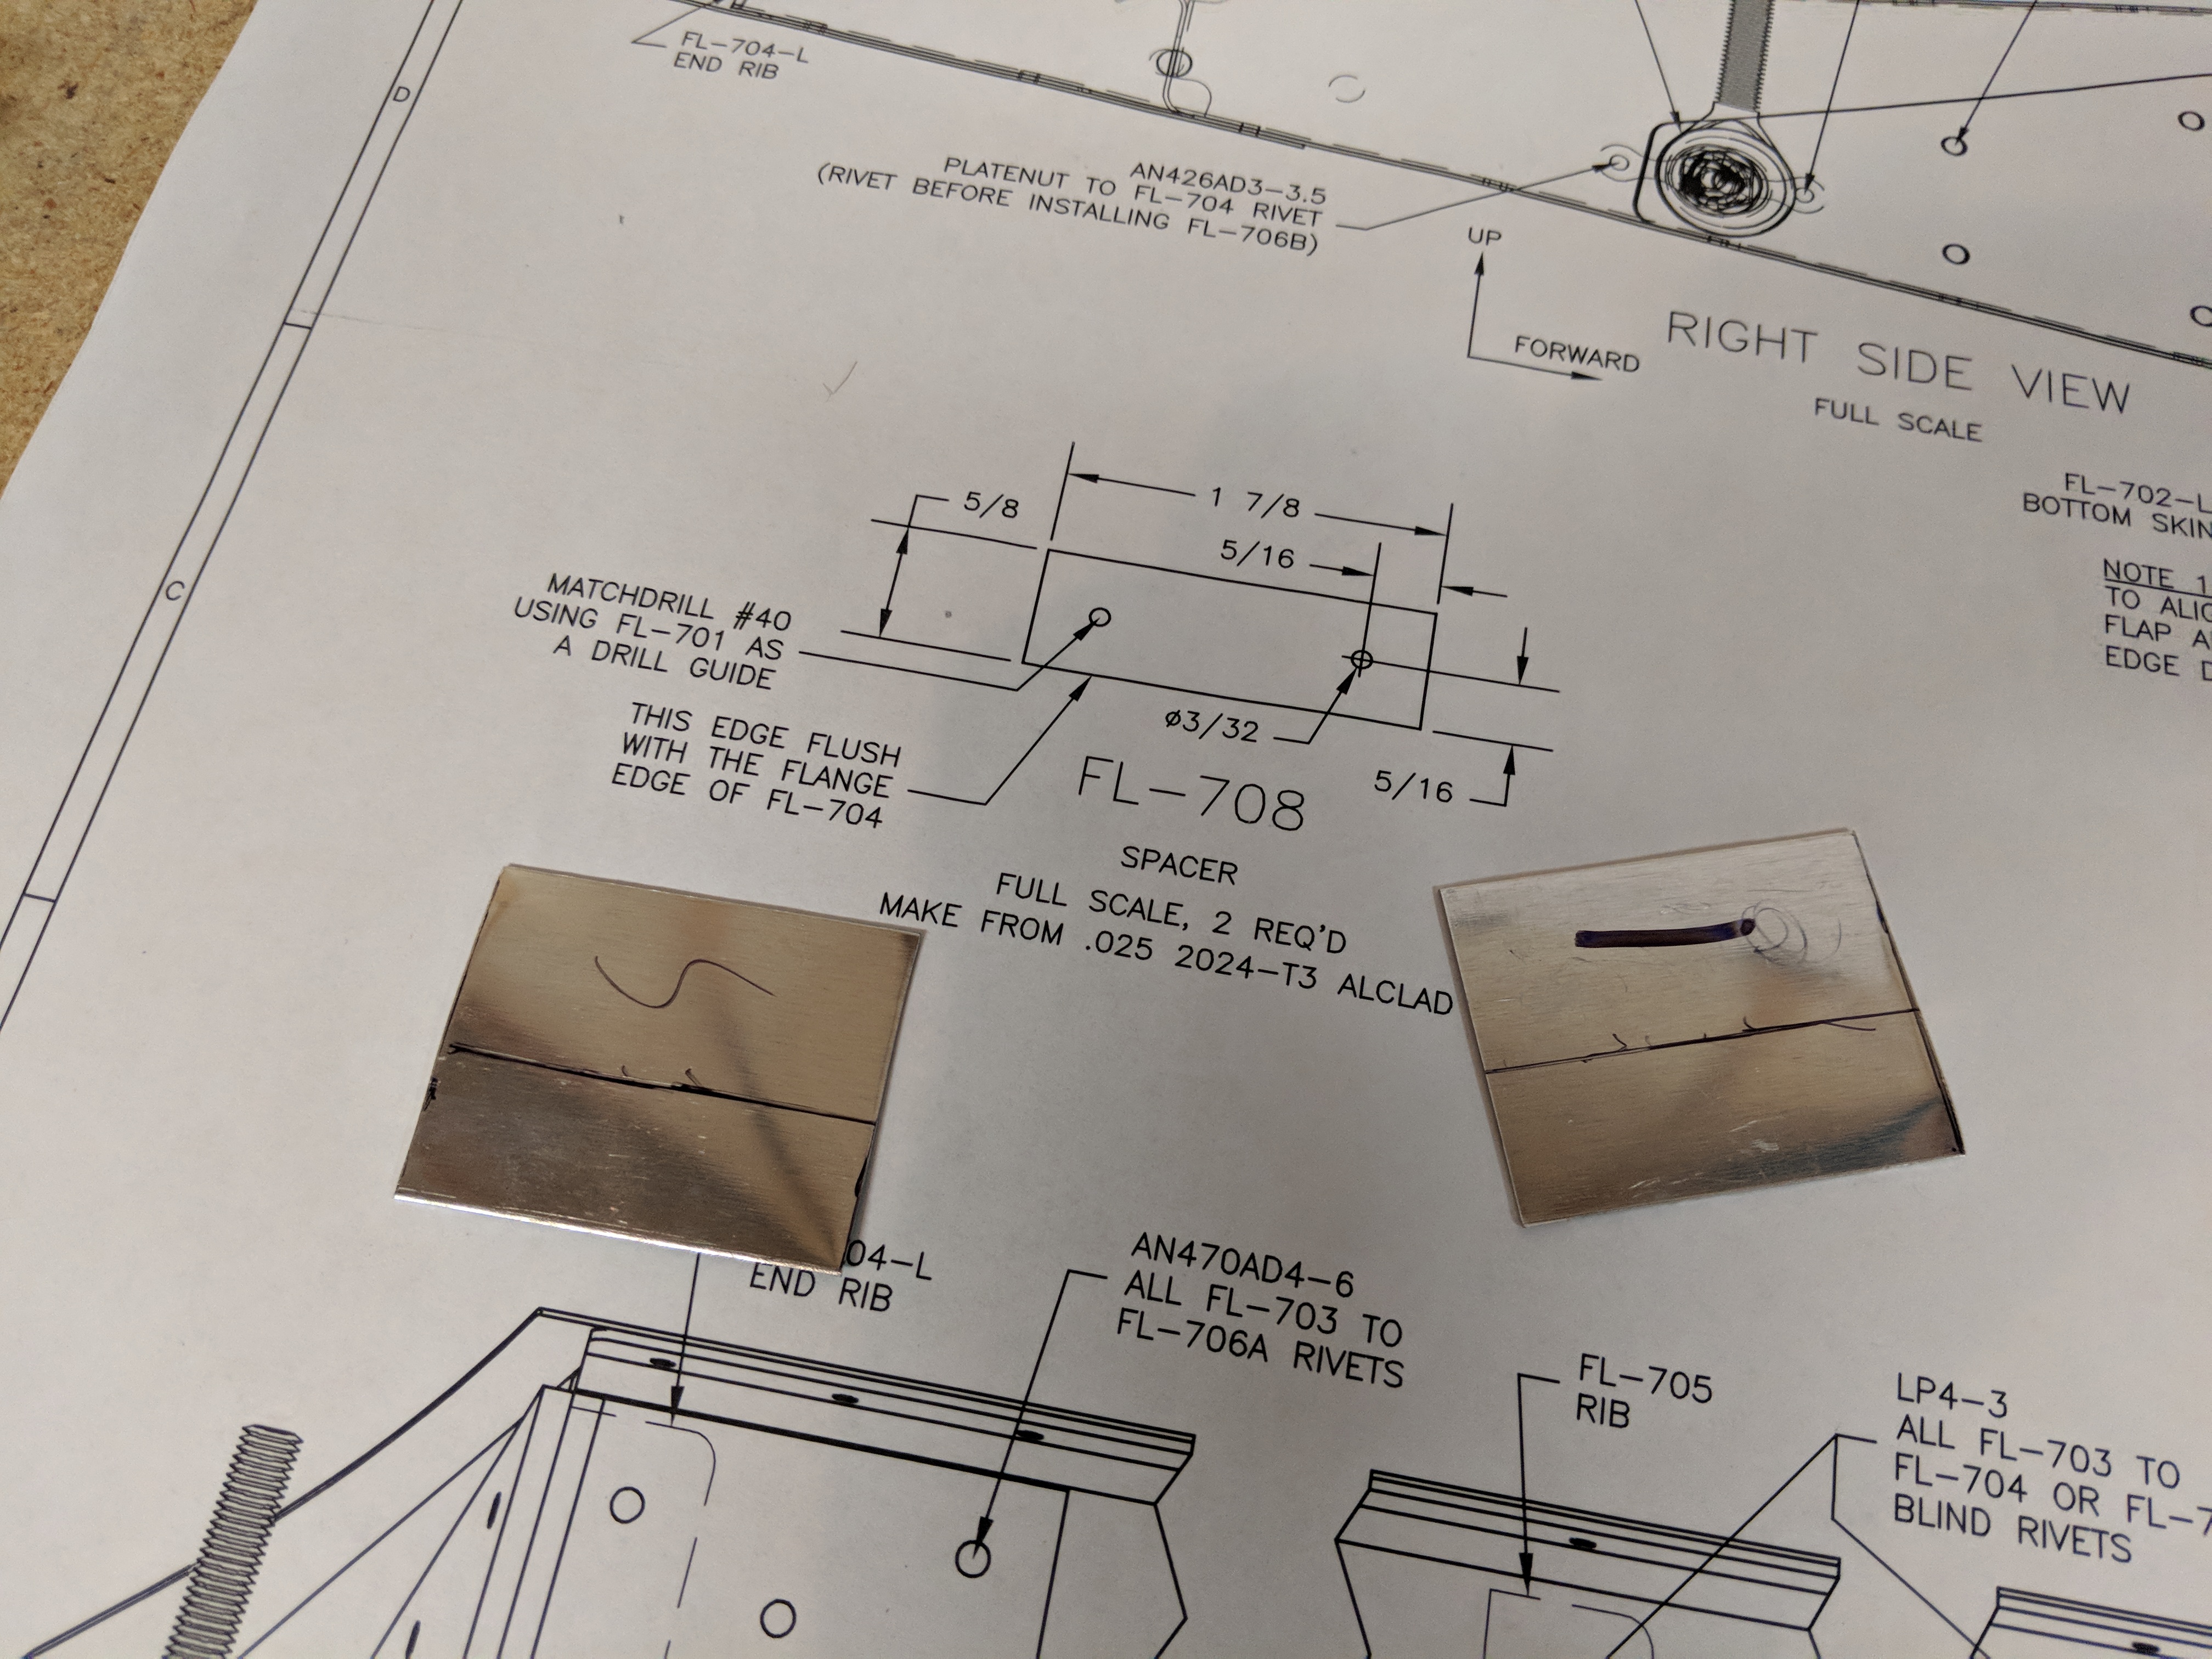
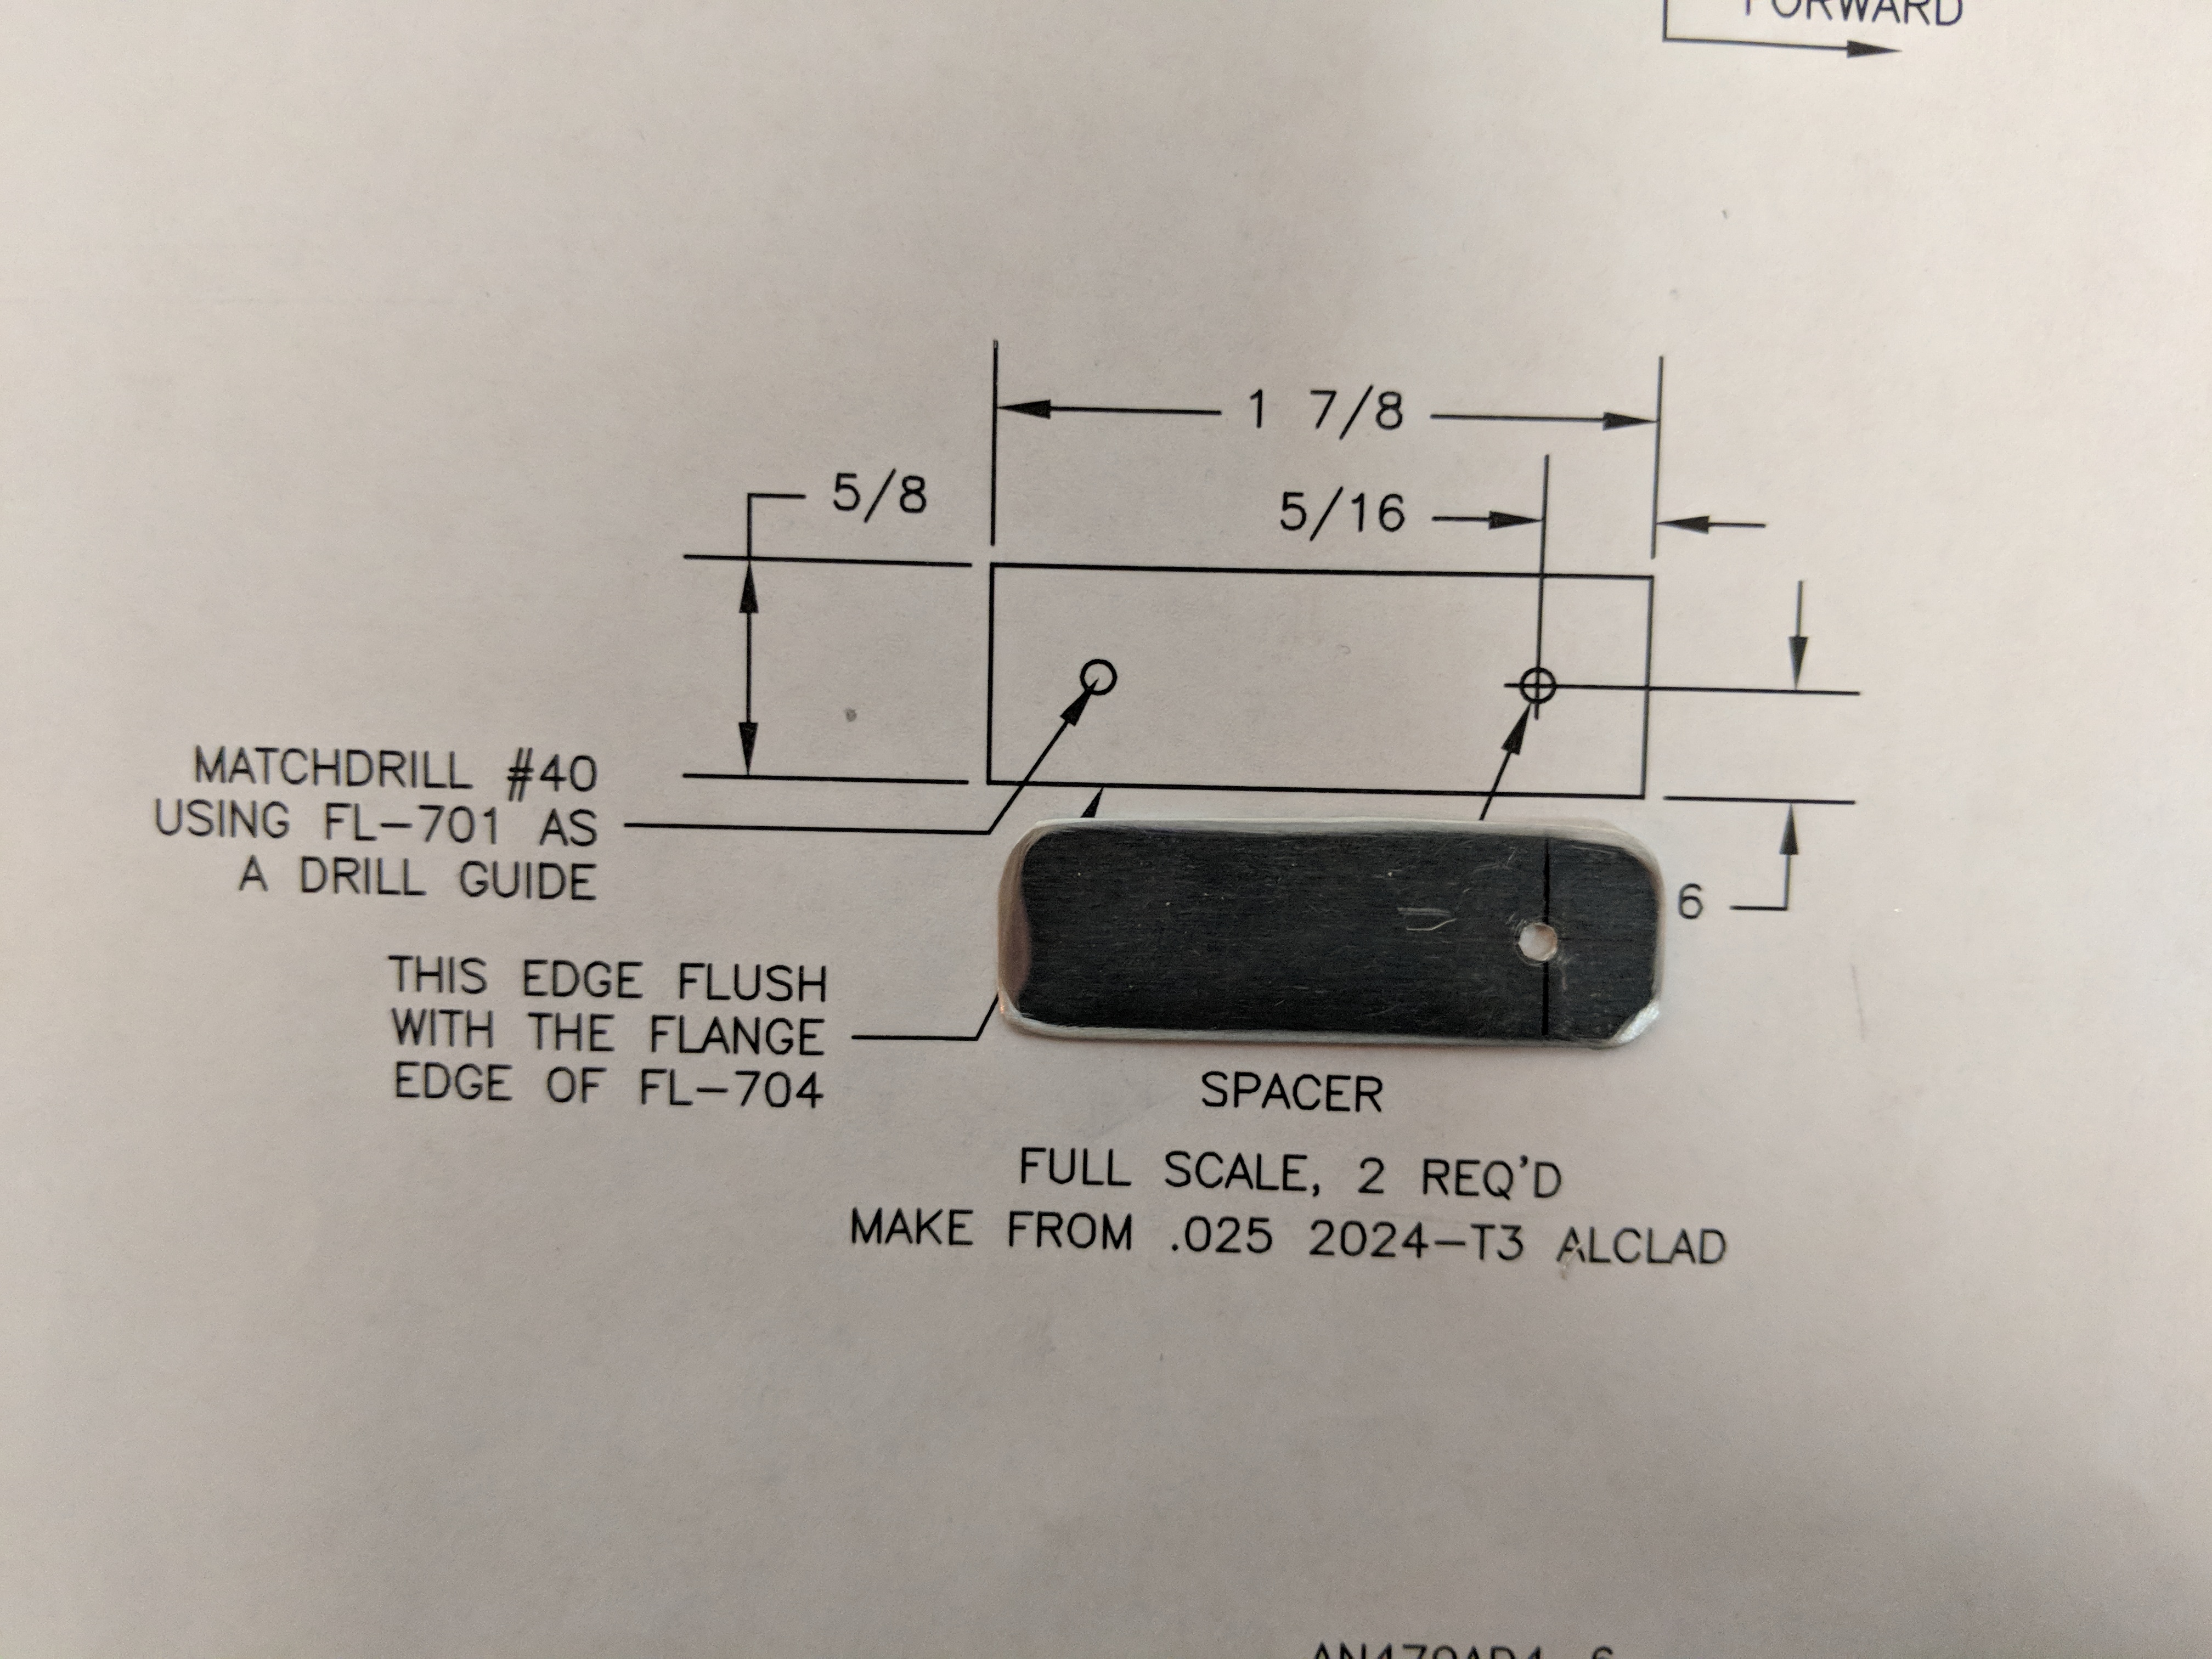
There is a section of the instructions that has us make 2 small shims that goes on the bottom of the outboard ribs. These spacers are used to make sure that the top skin (it overlaps the rib and curves back around to the bottom) sits nice and flush with the end ribs, and overlaps the FL-702 bottom skin perfectly. See my illustration below:
I followed the drawings and made up the shims. The hardest part was finding the proper .020″ thickness aluminum to use for the shims. I had to pull out my micrometer to measure the thickness of the trim bundles that Vans includes in each kit, and eventually found some scrap that would be perfect. I then measured and trimmed out the shims per the plans.
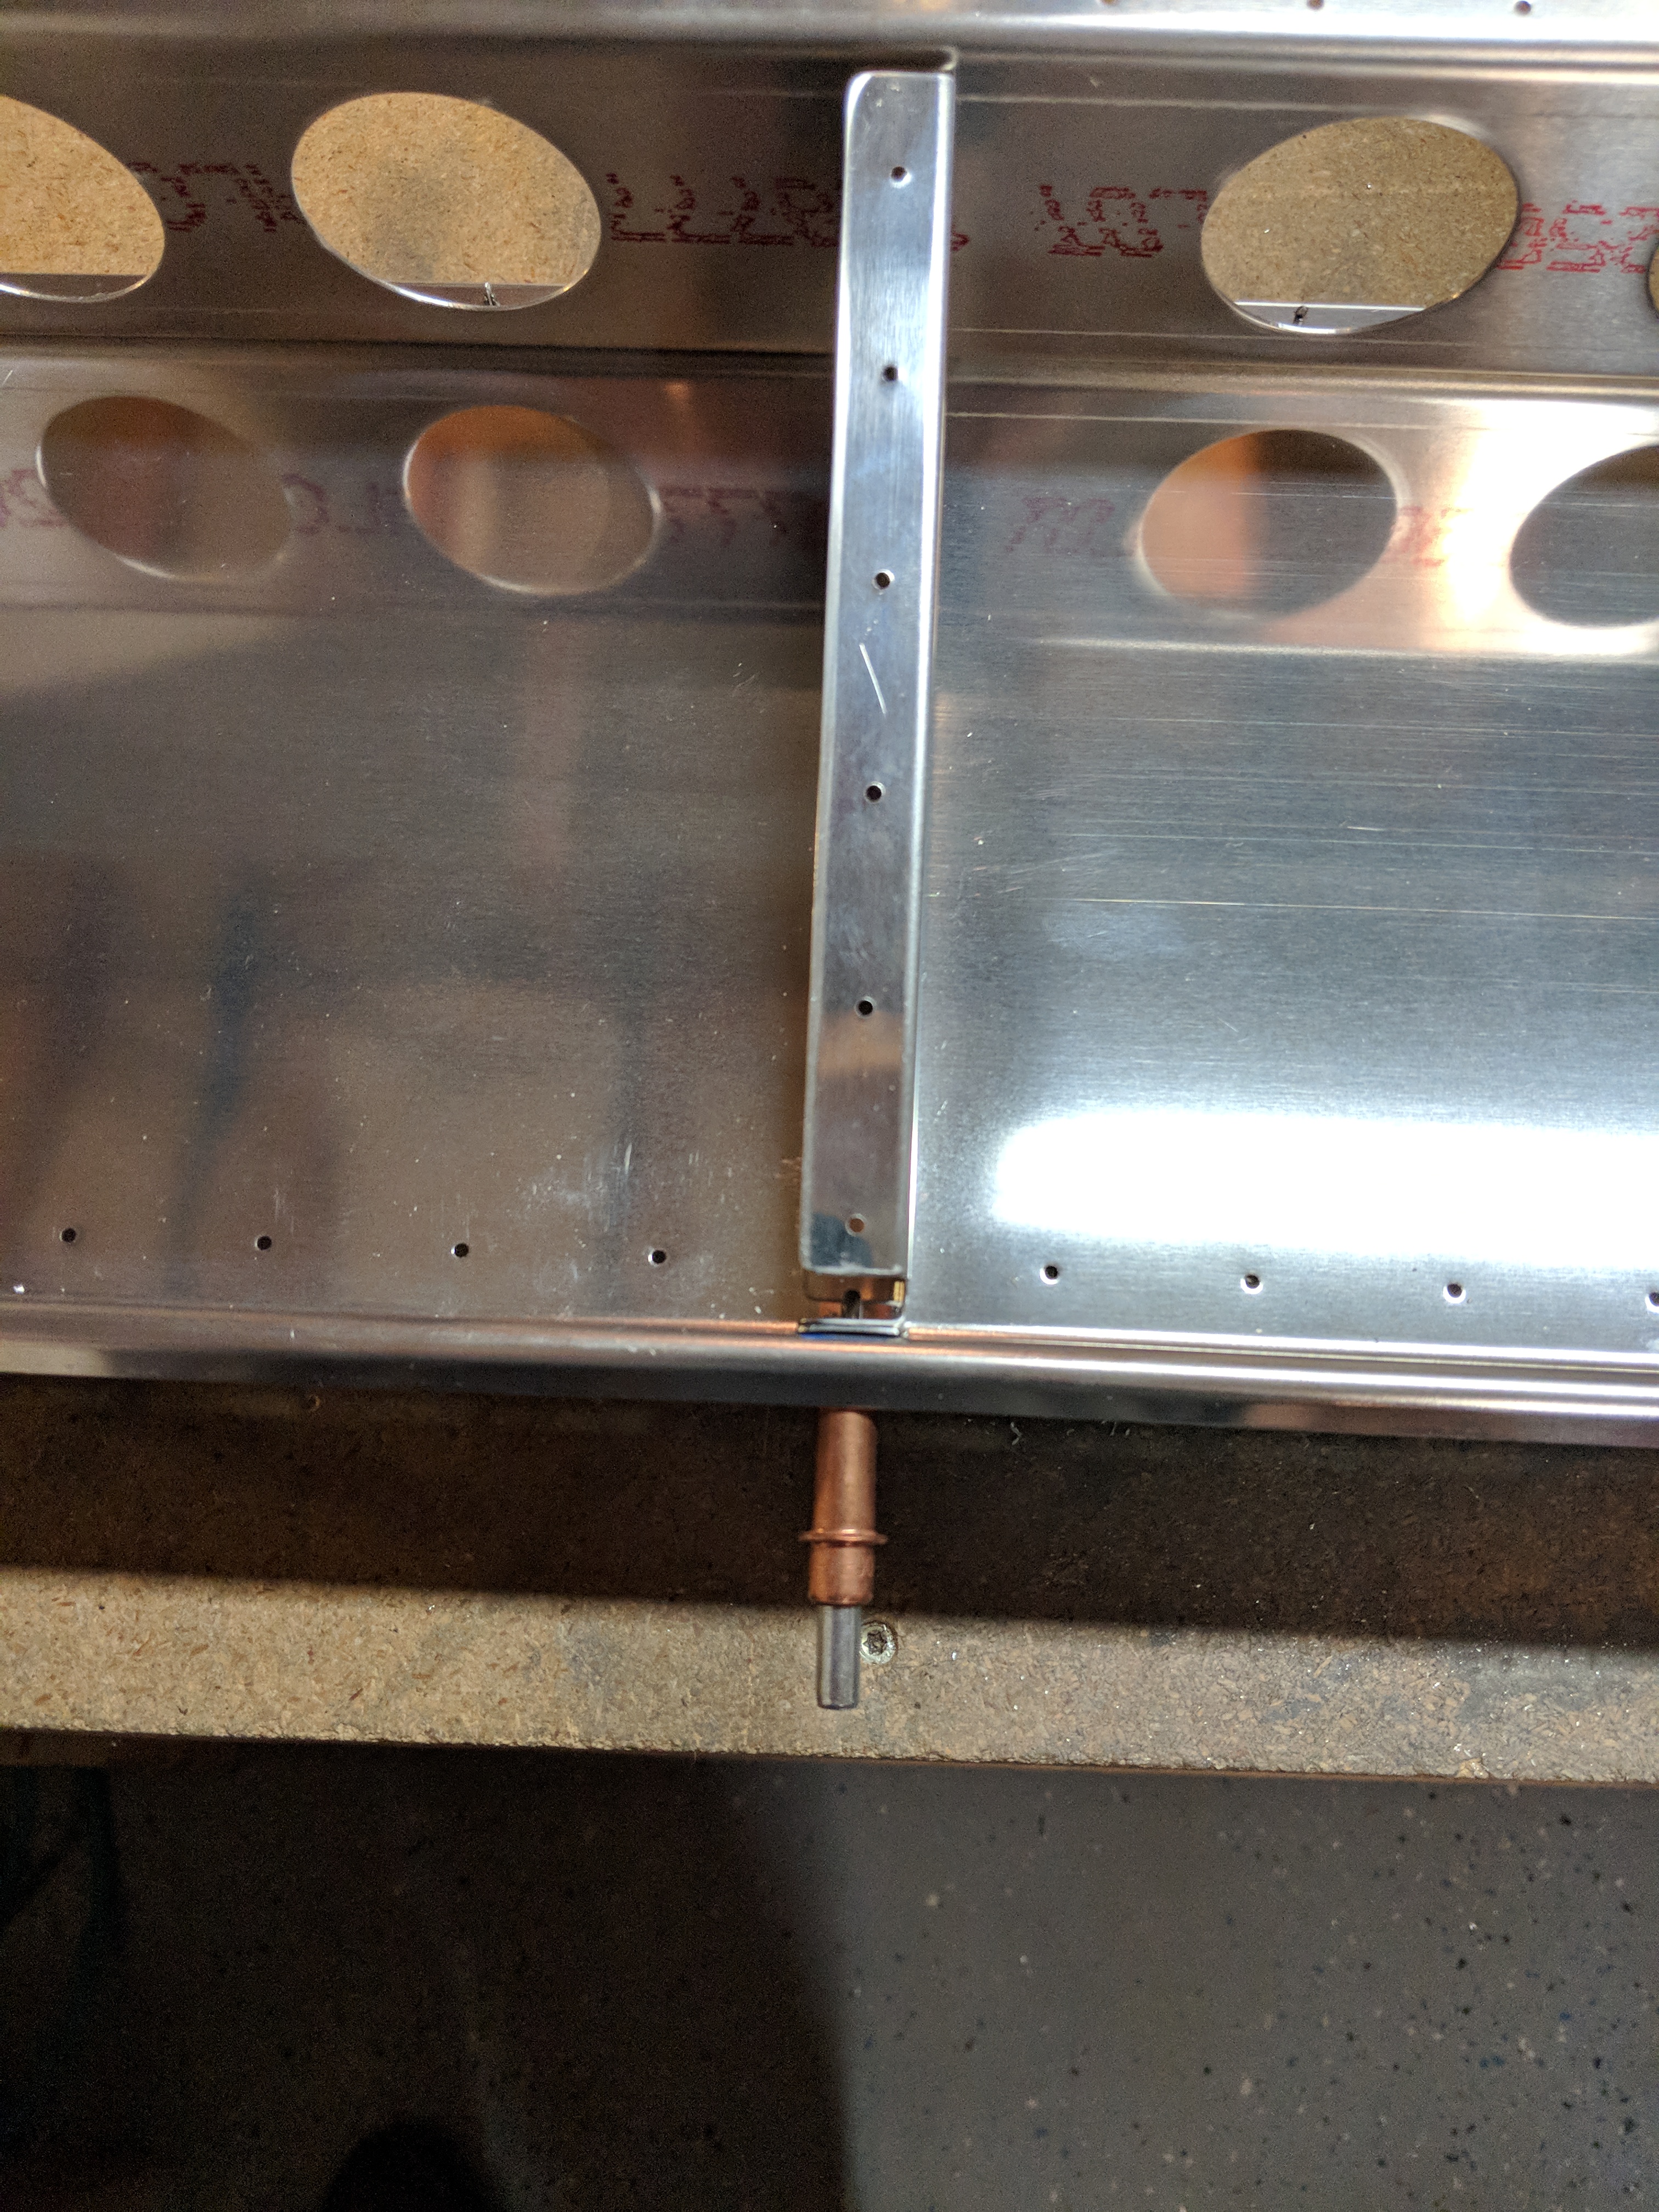
Next up was to cleco and drill the bottom skin to the skeleton. The skin is prepunched and lines up pretty perfectly against the skeleton. However, as the instructions noted, it might be necessary to make some shims to fill in the space between the aft end of the ribs and the bent up portion of the F-702 bottom skin. This bent up portion of the bottom skin actually forms what is referred to as the “rear spar” and its important that the ribs are securely fastened to this rear spar, but also not causing any deformation or bending. I actually had to make up a few shims out of the .020″ aluminum to fit in between the ribs and the rear spar, and then drilled them using the holes in the skin/rear spar to line up. I made sure to fully polish and round off the corners of even these tiny little shims. You can barely see these shims:

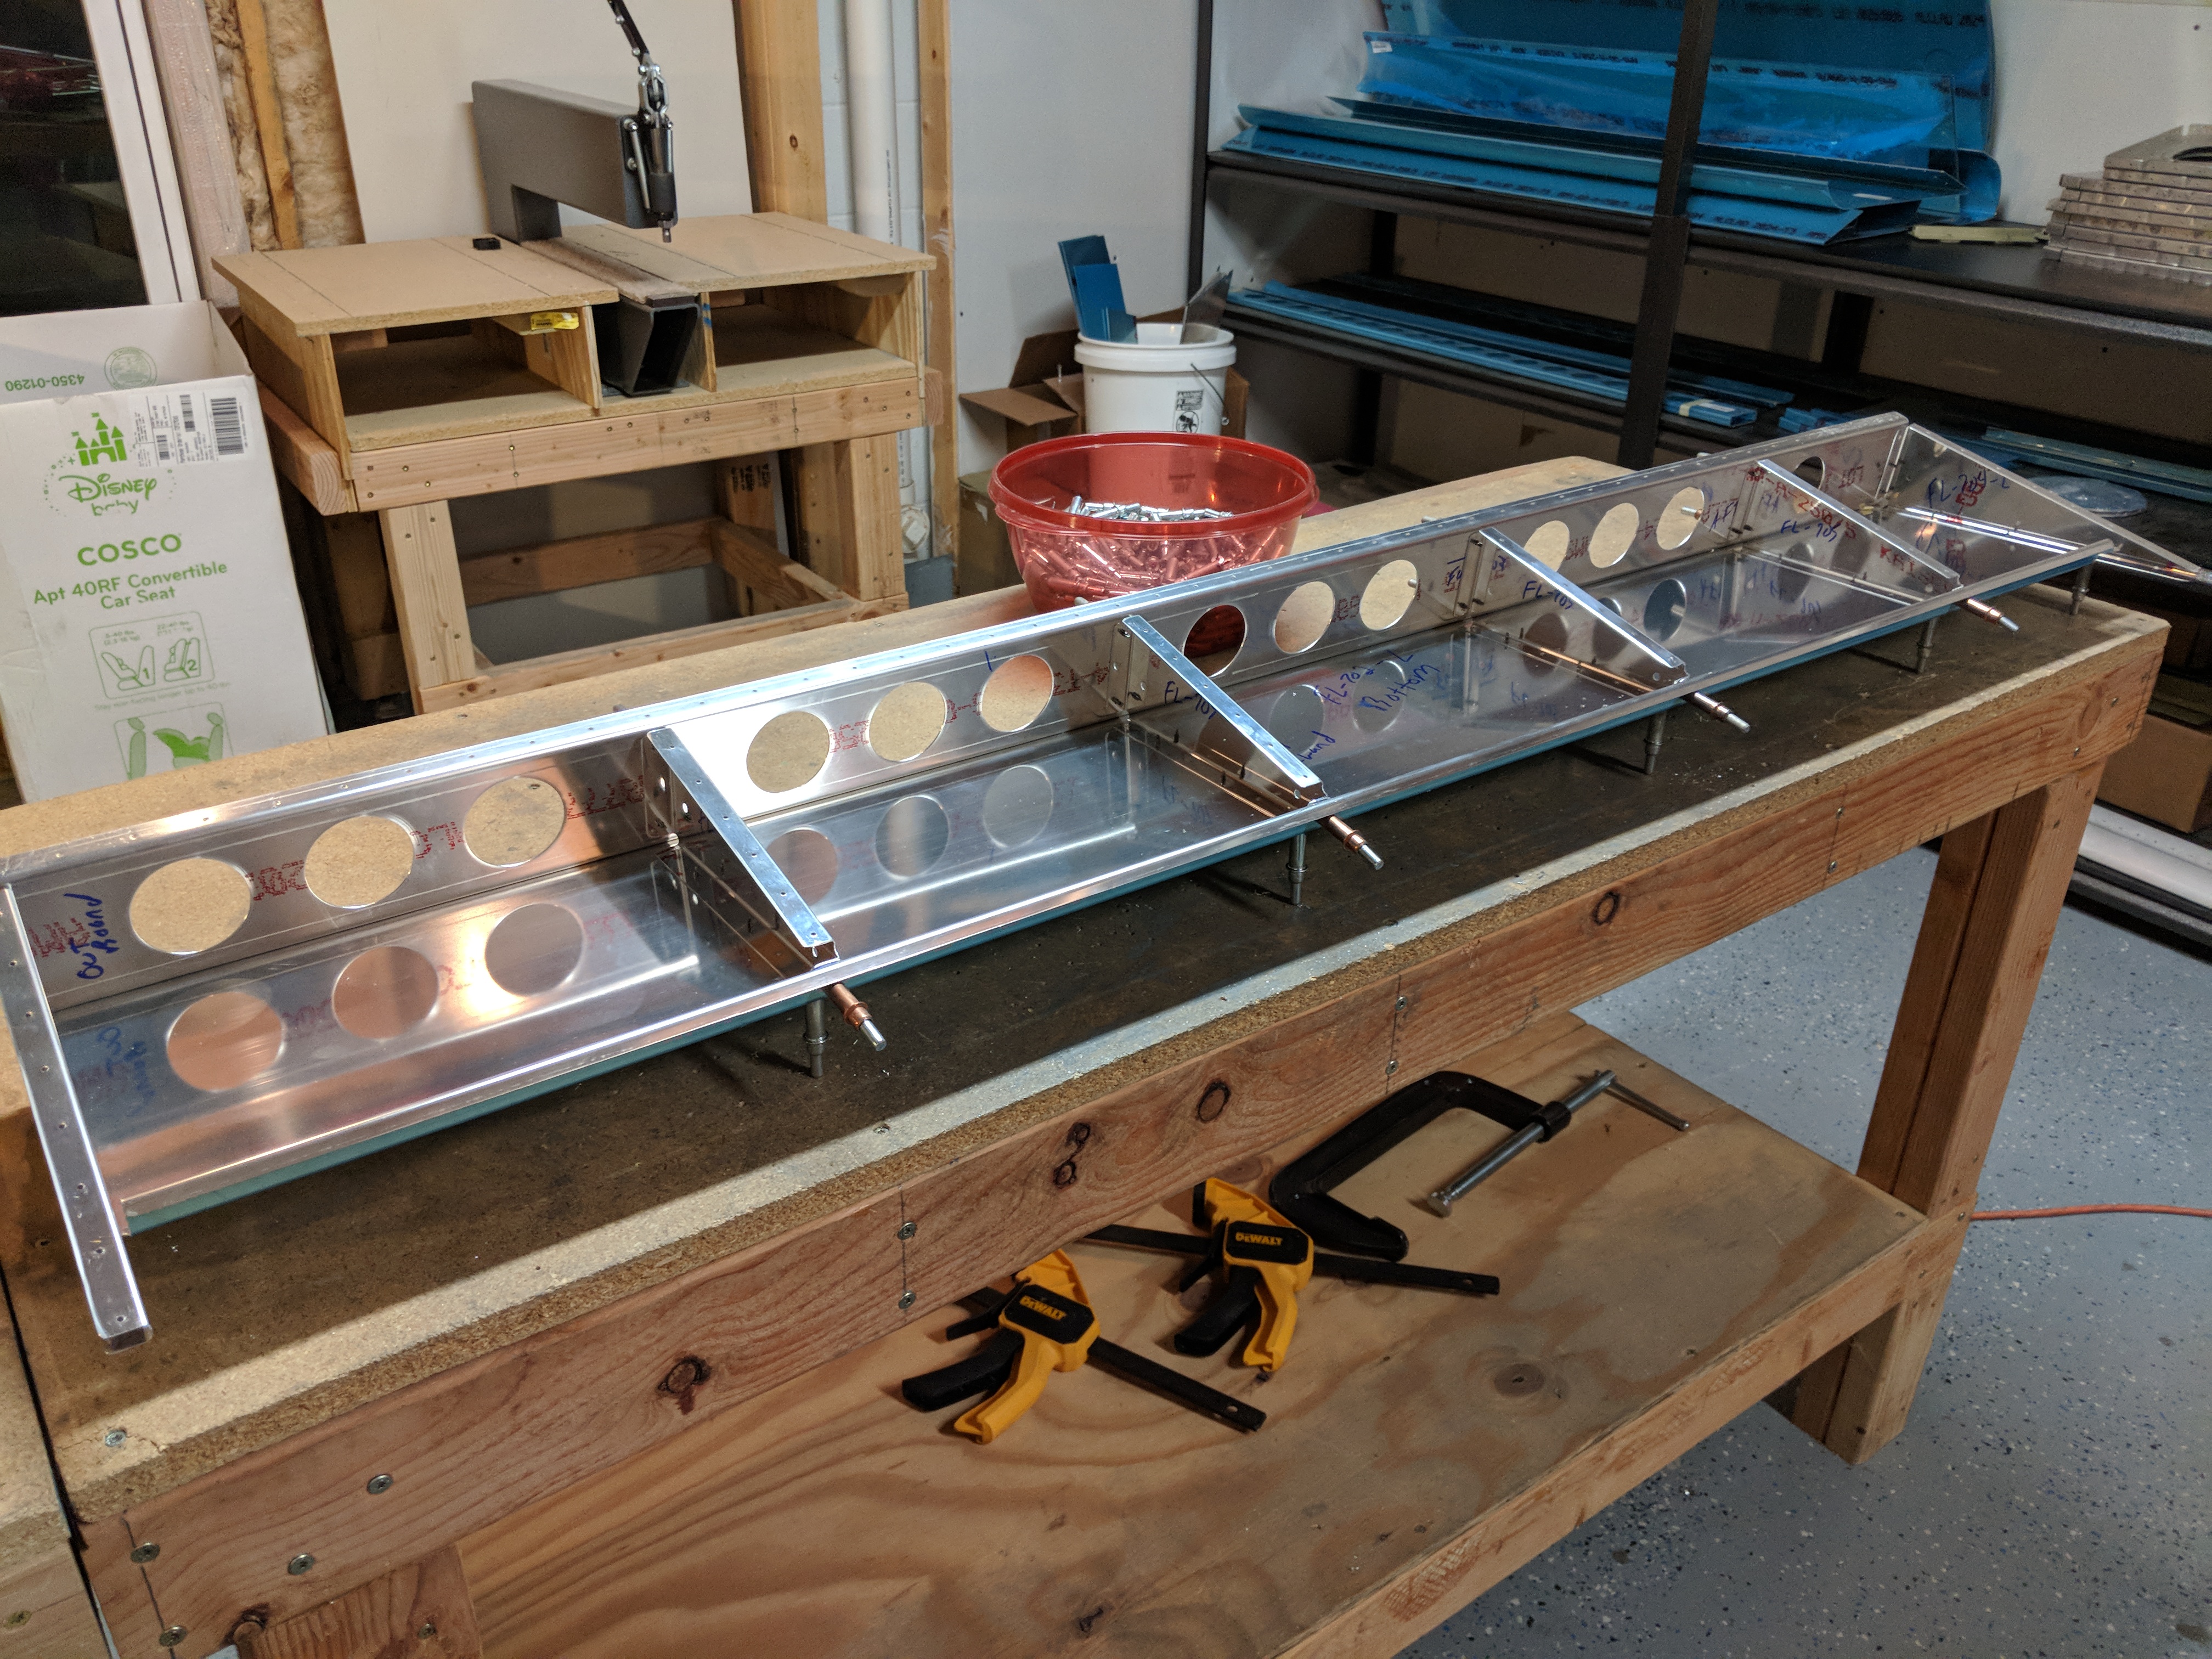
Once I had those shims made and drilled into place, I decided it would be a good stopping point for the night. The next step is fitting the piano hinge to the flap and getting the measurements and alignment is pretty critical on that, so I will save it for tomorrow when I am refreshed. It will be a good starting point for the next build session. Here is the photo of my assembled flap skeleton clecoed to its bottom skin:

And here is all the photos from tonights build:


Google Photos Link: https://photos.app.goo.gl/8ourhCh3DxBuMRq43
Hours Worked: 3.5