


Just a quick prep work session tonight. I had a few things to get done before I do the water leak test. The time lapse didn’t catch much due to the angle, but here it is anyways.
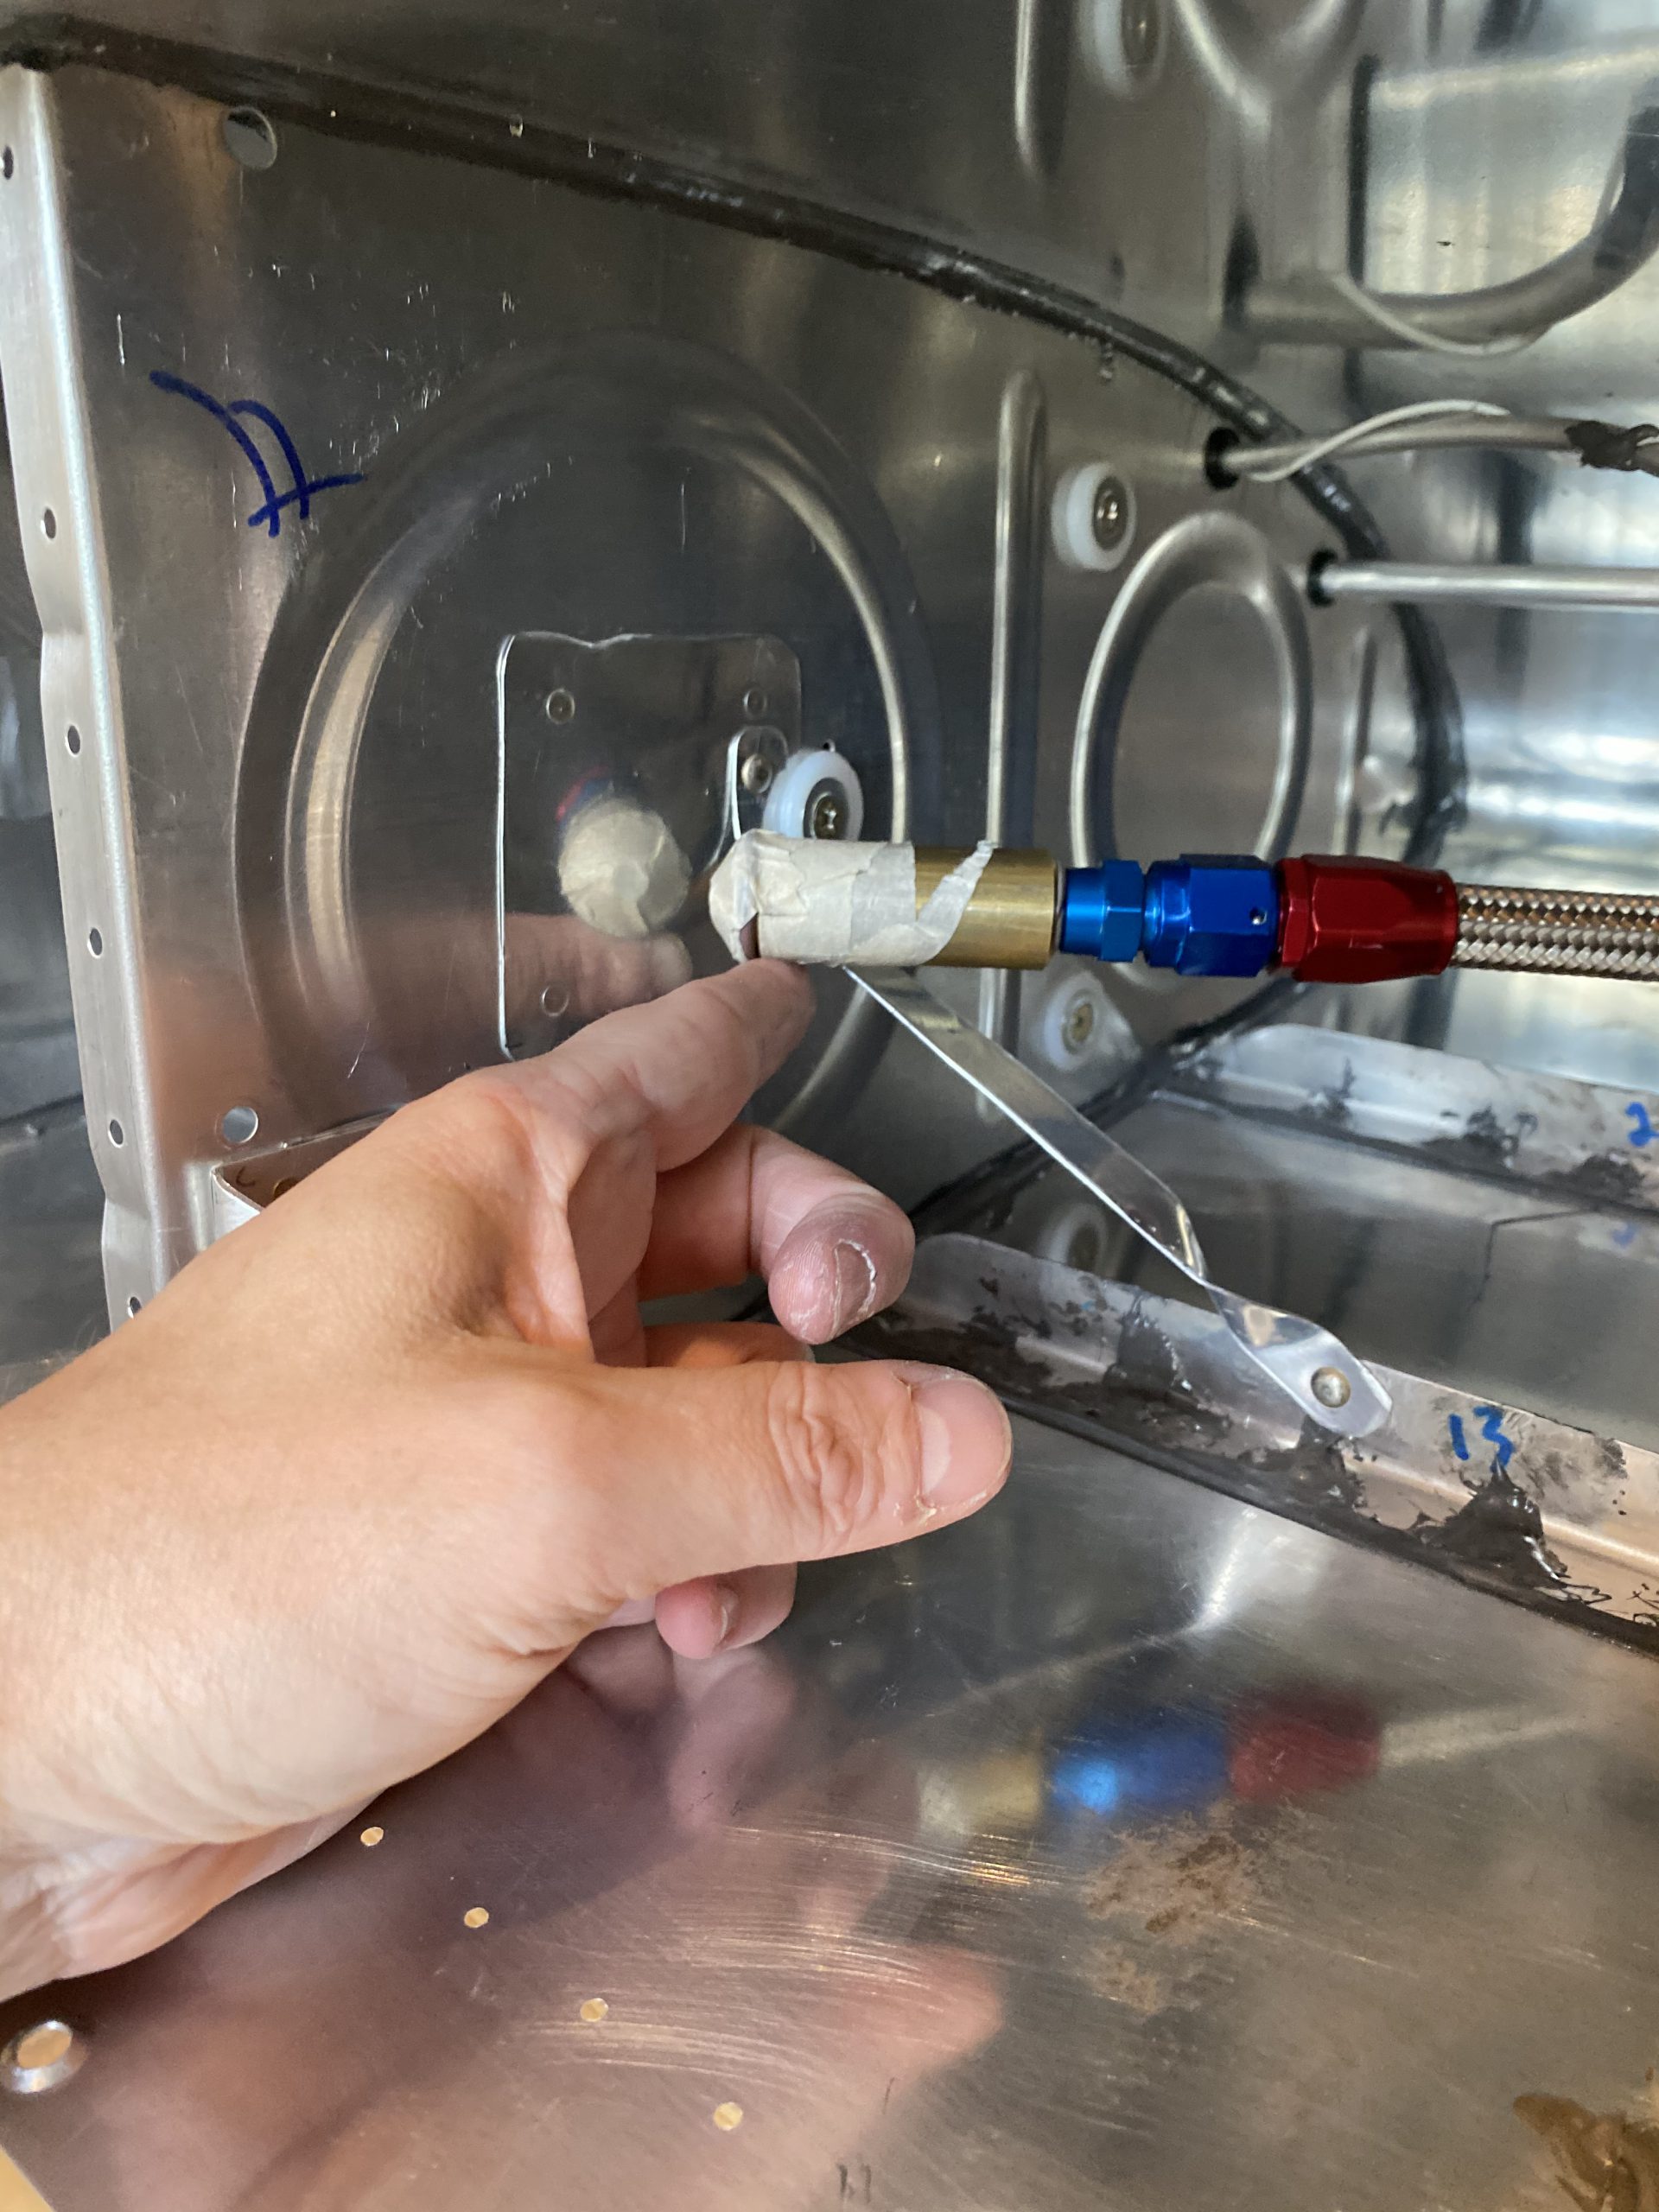
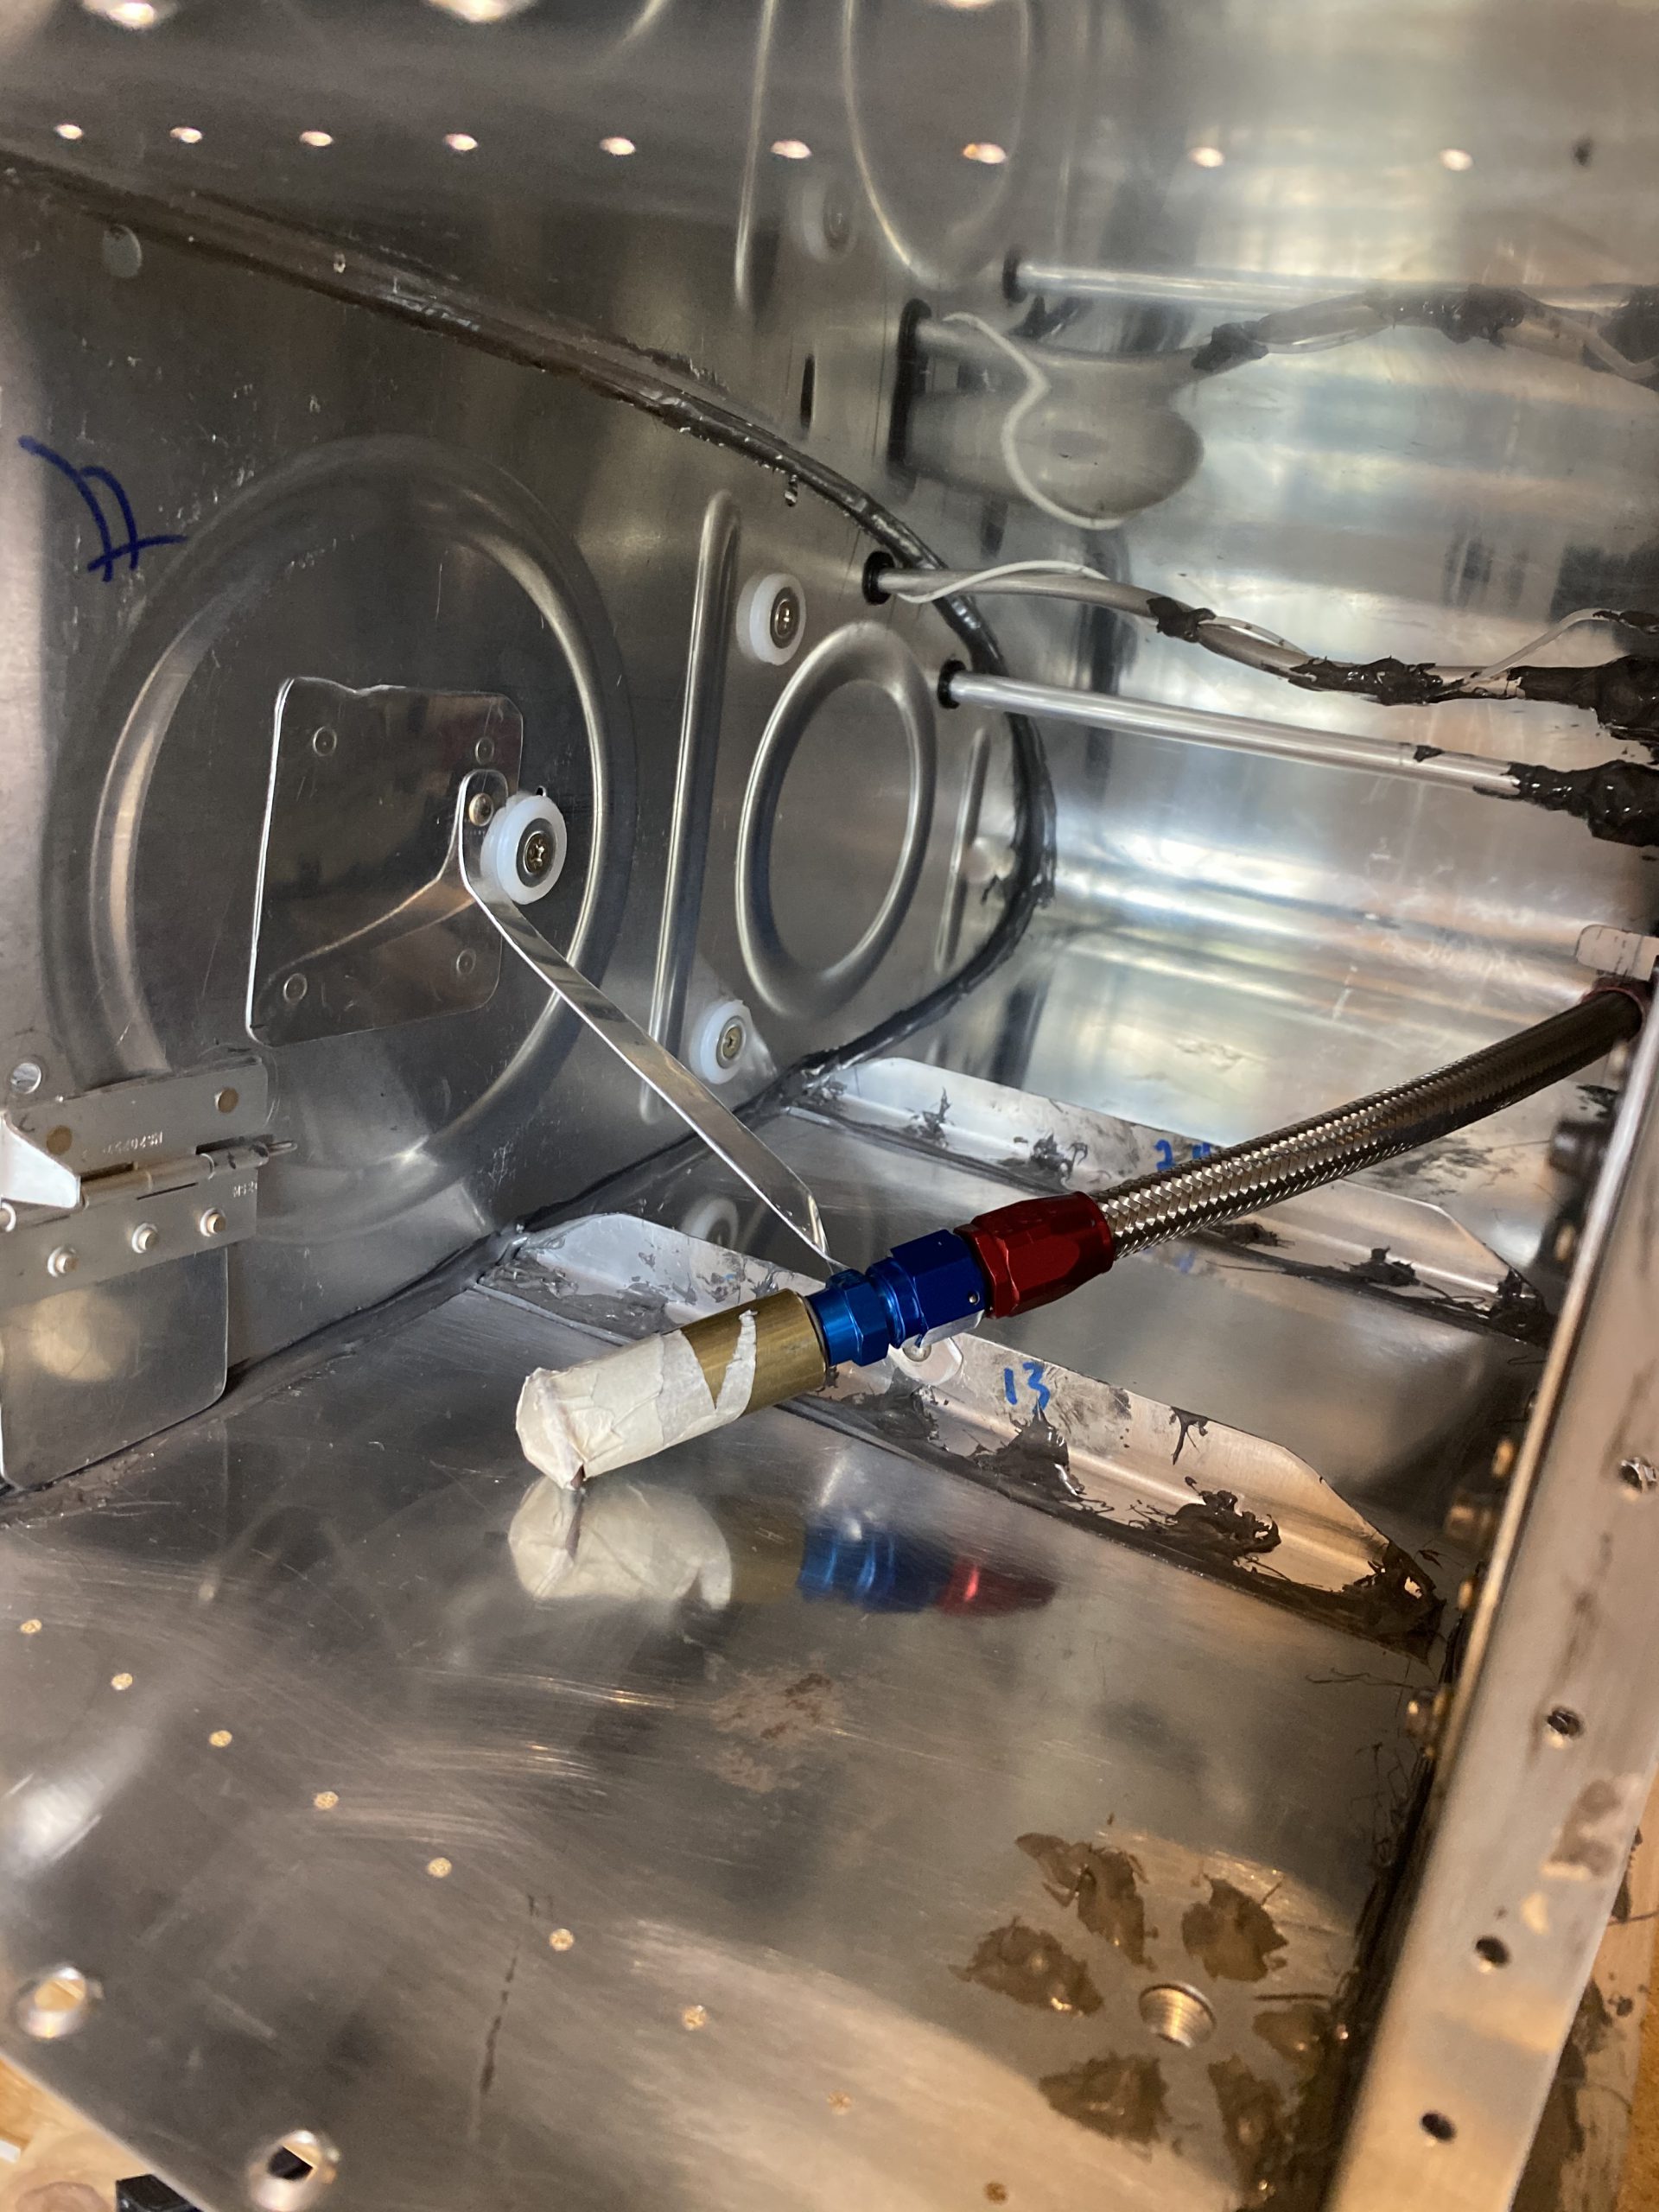
I started off by pulling the masking tape off the fittings, and then threading the cap onto the fuel return line.
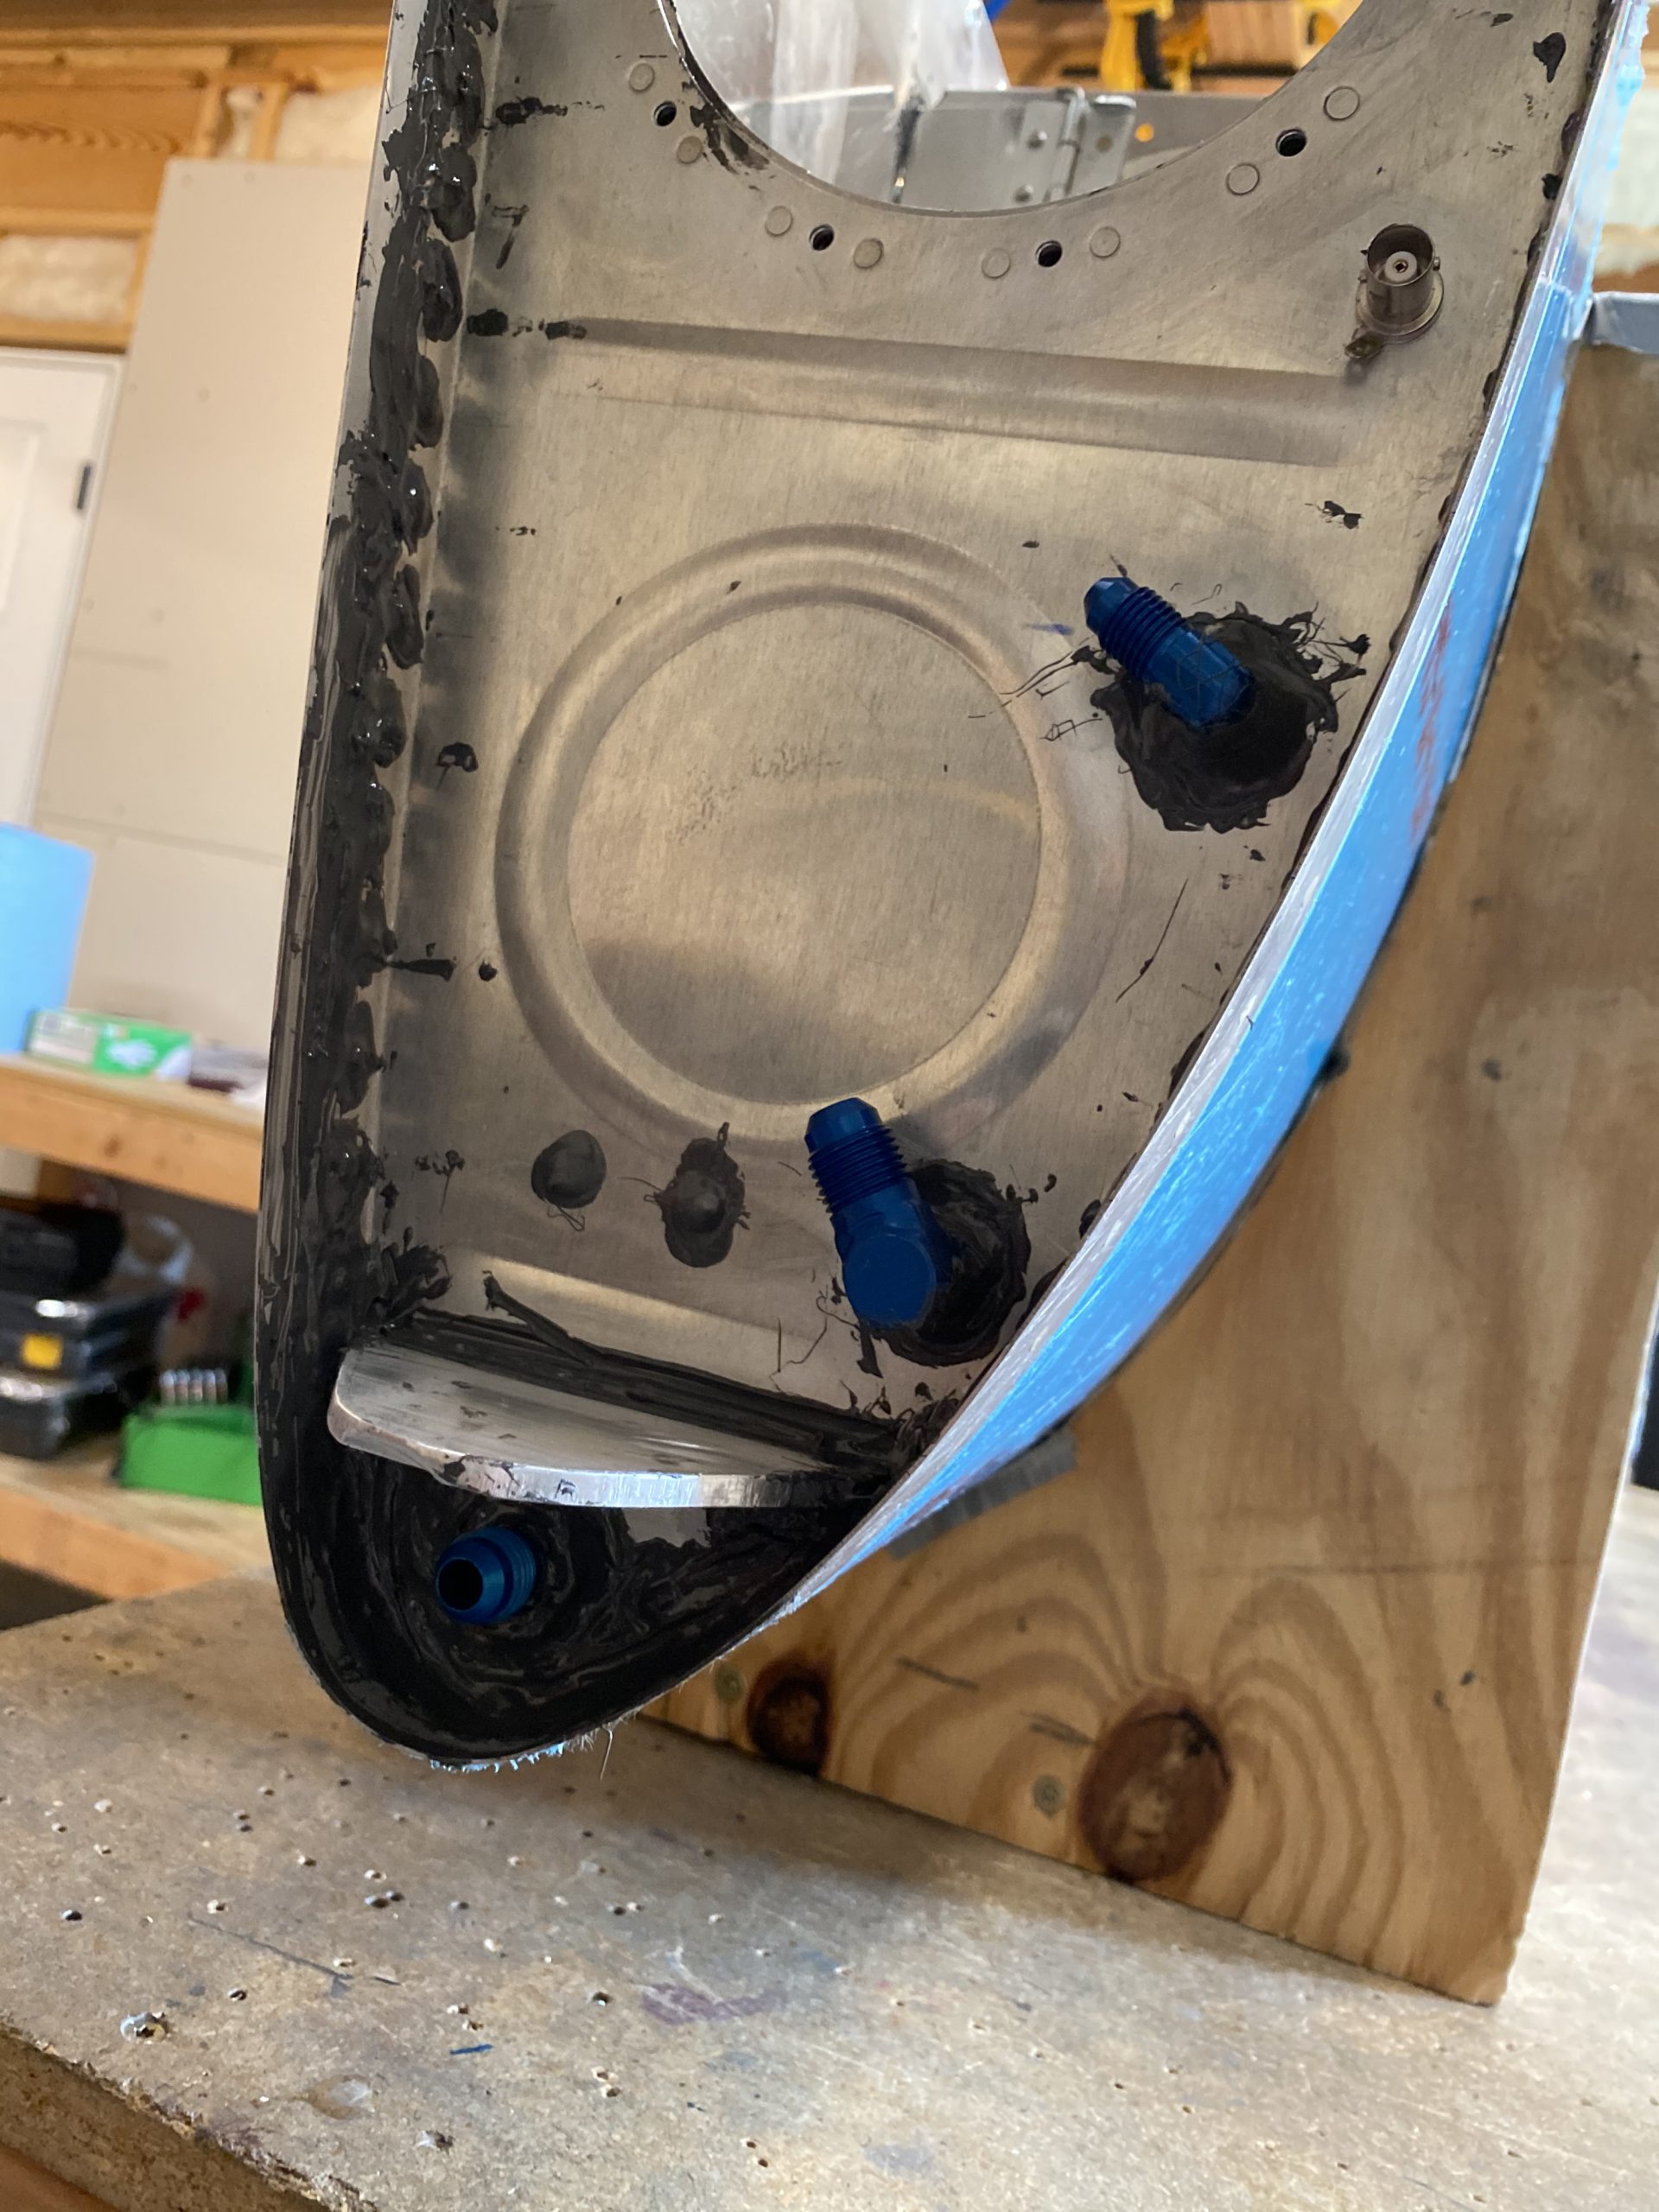
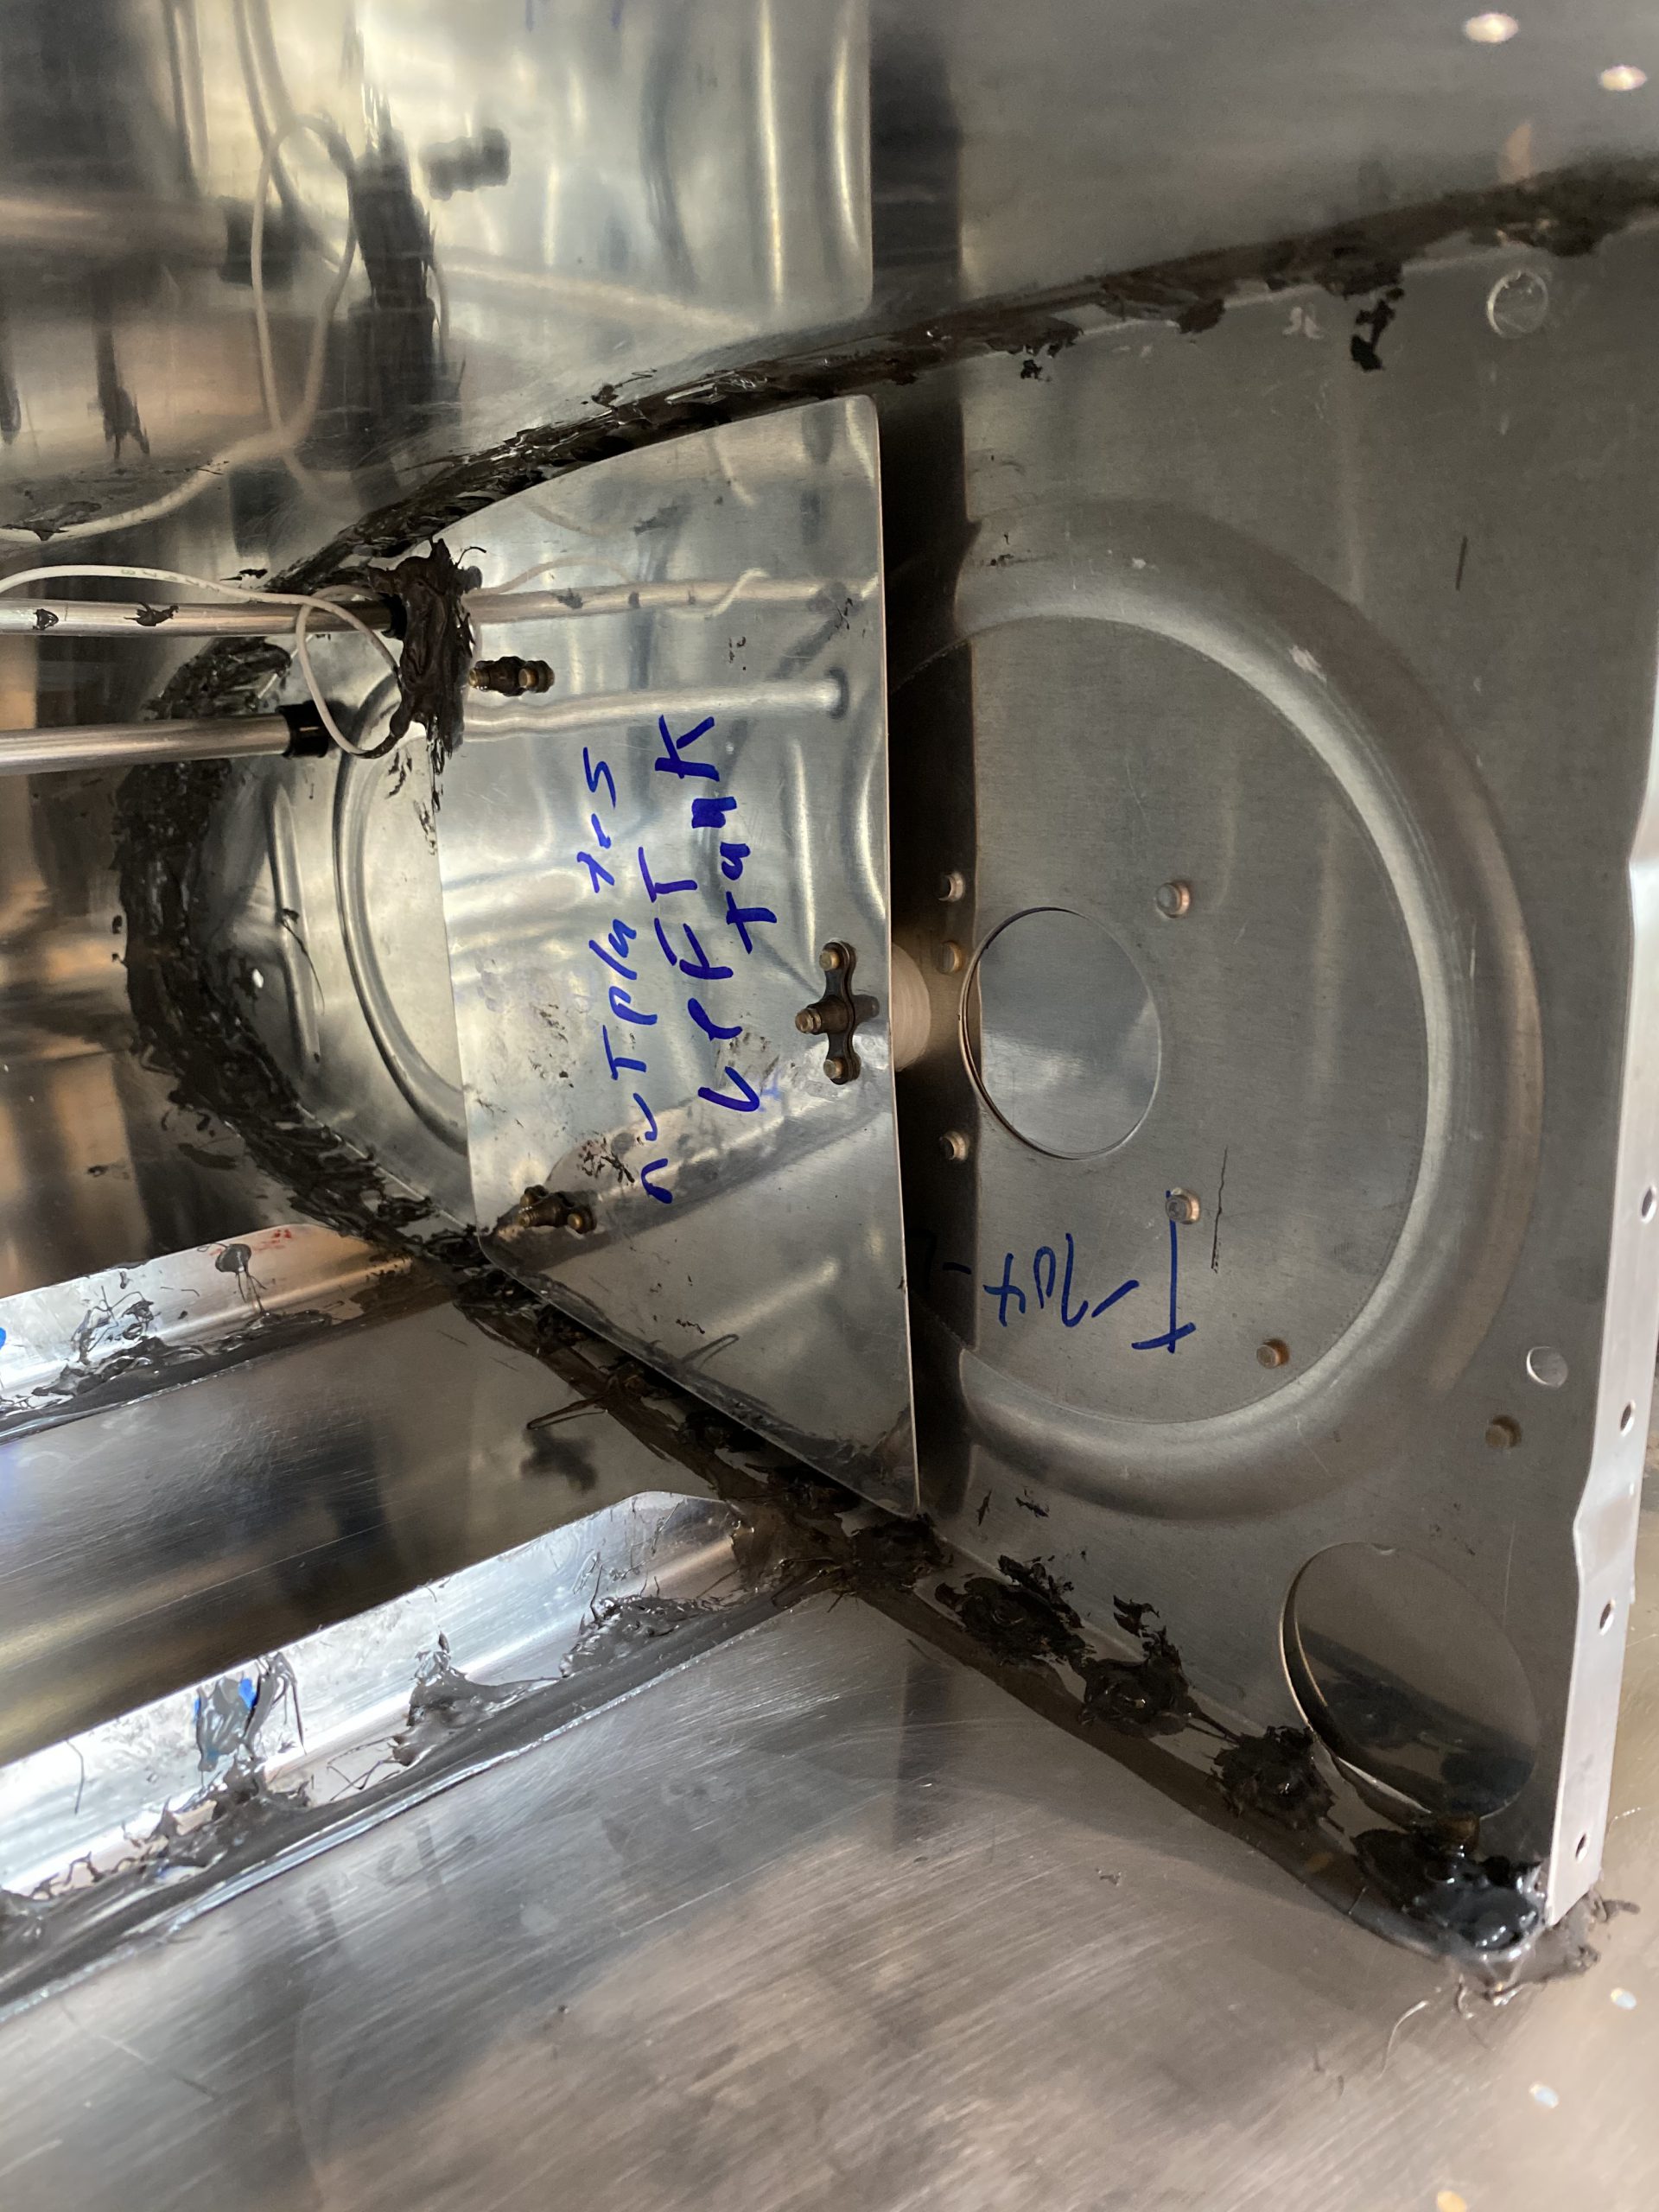
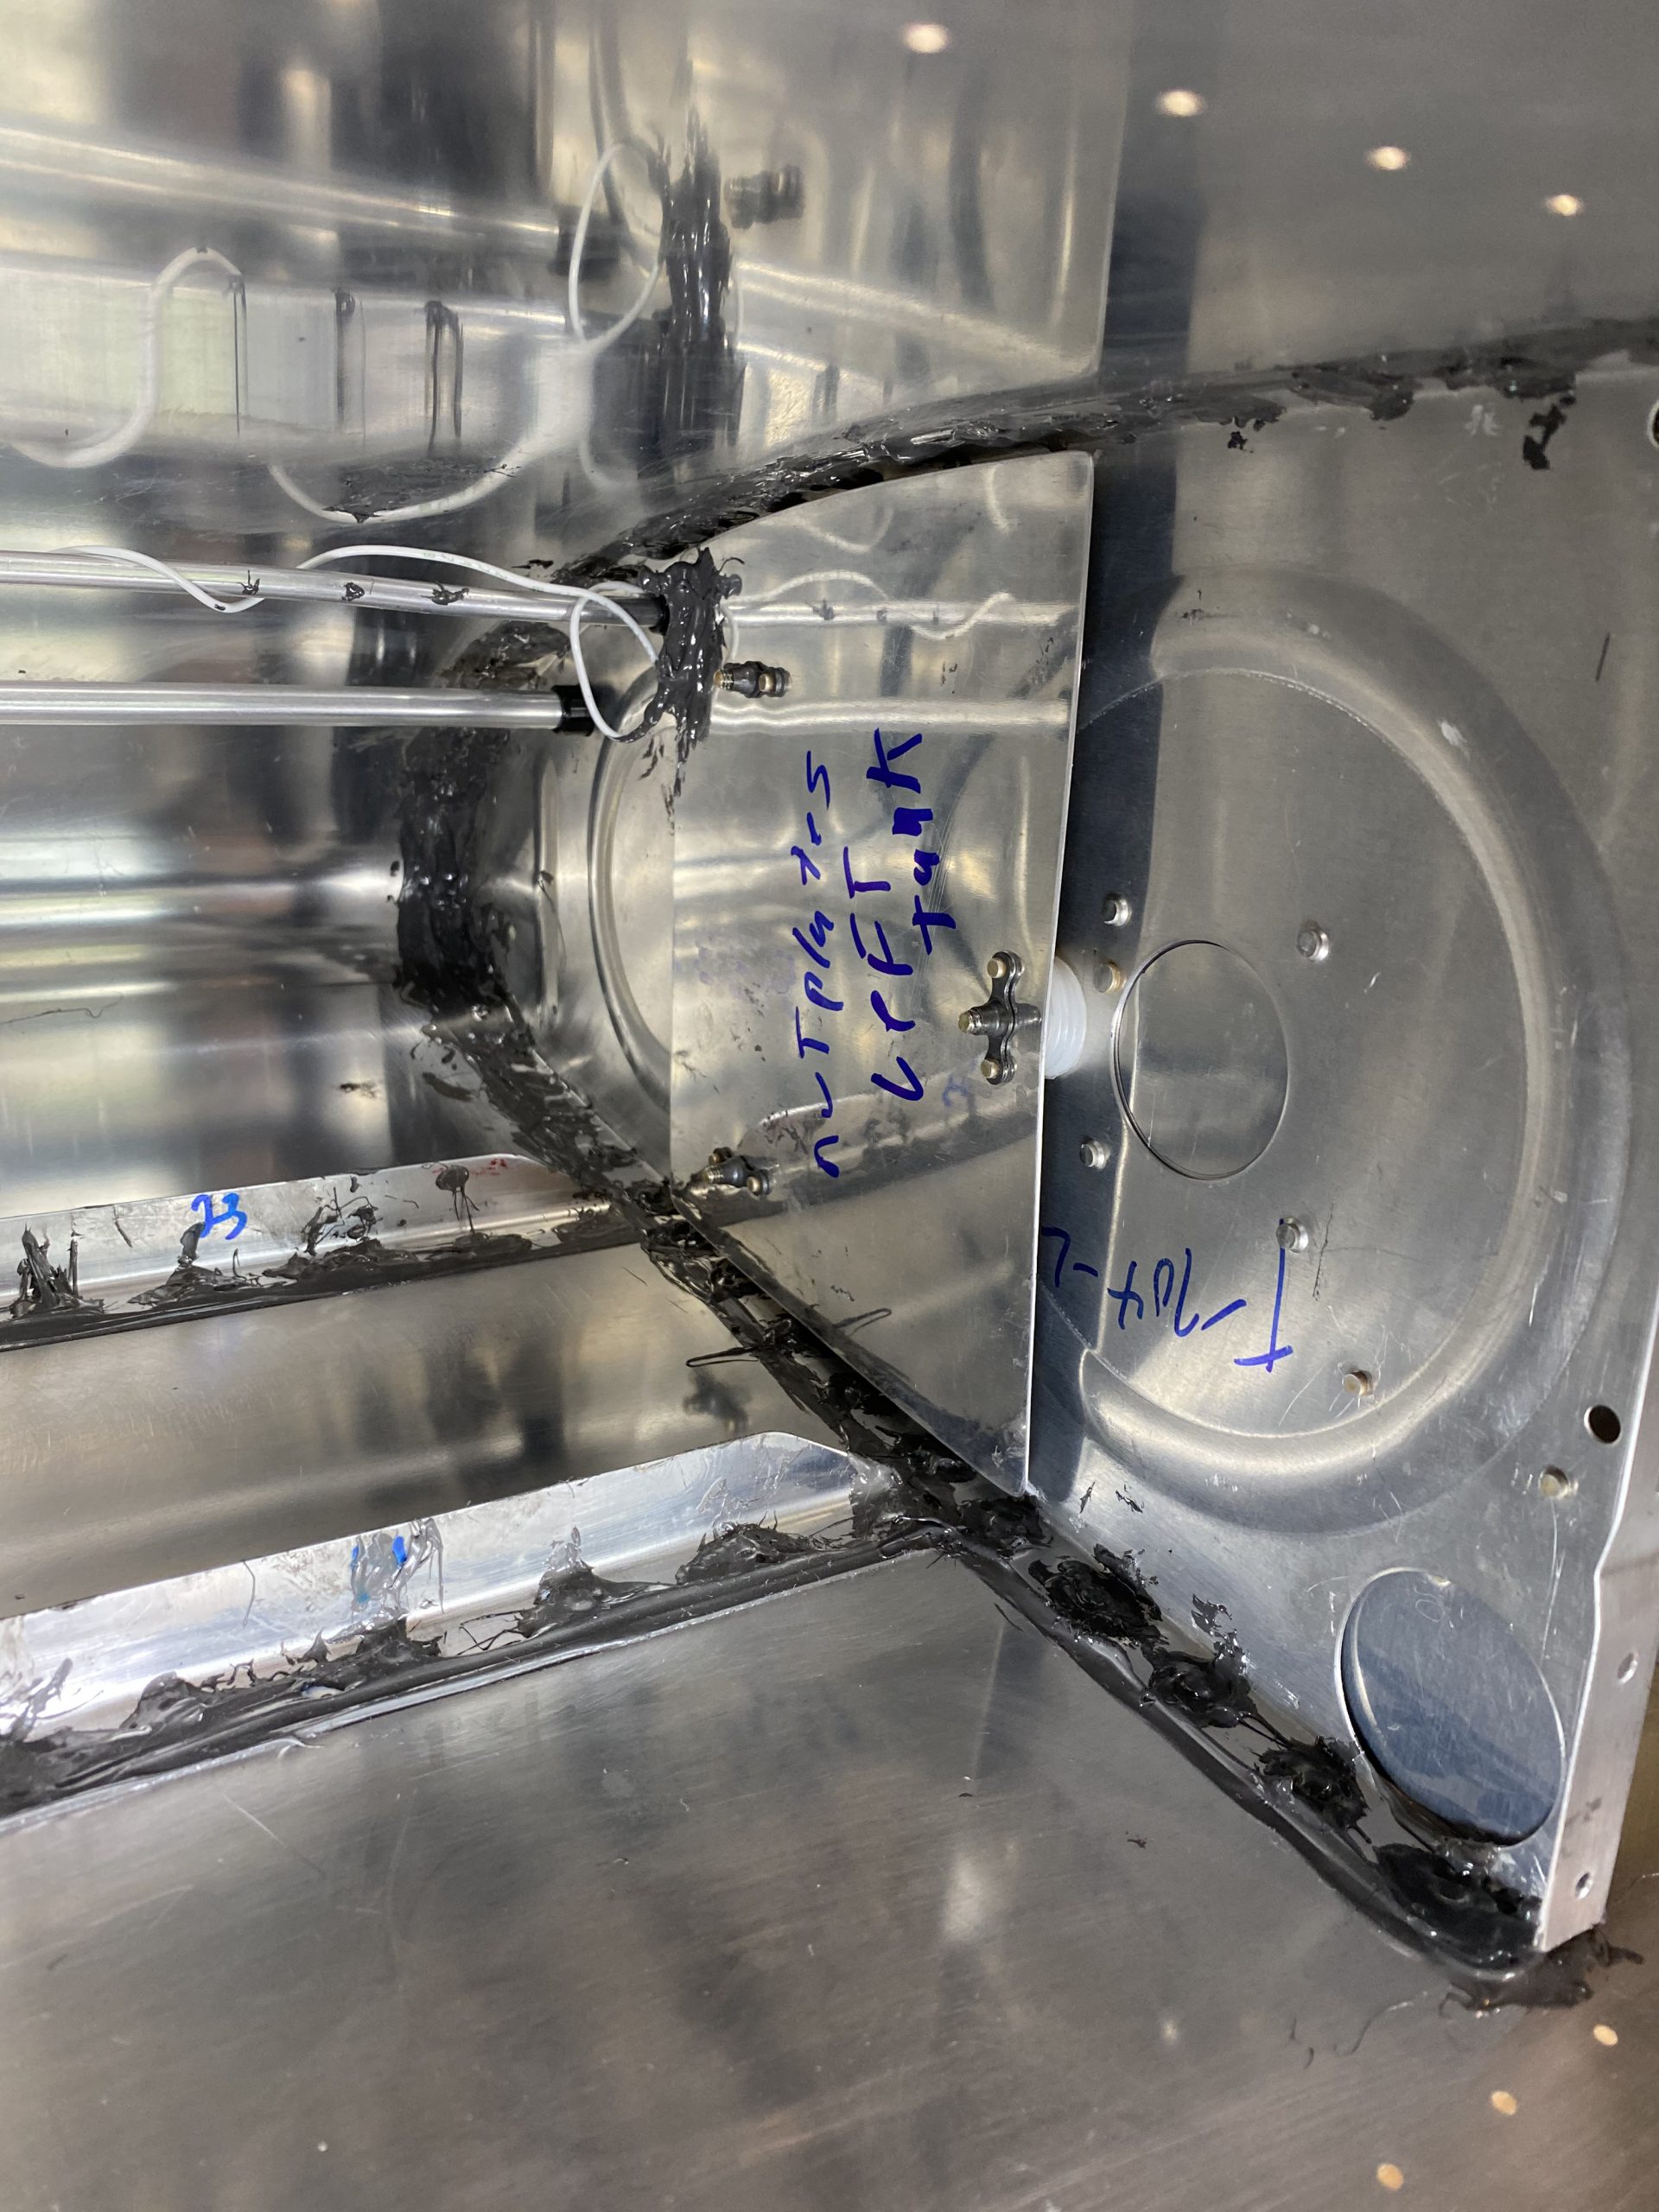
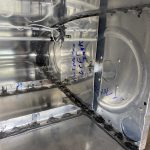
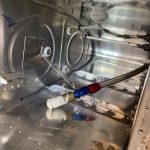
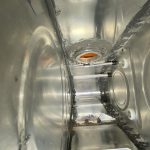
The next thing I needed to do was finishing installing the capacitive sender plate on the inboard side. The sealant was dry enough to work with now, so I gathered up all the hardware for it, and got it secured in place. Once it was mounted up, I used my Fluke multimeter to check for continuity between the shield of the BNC and the tank skin (for the ground connection), then I probed the center pin on the BNC and checked each sender plate to make sure I had good continuity there as well. As a safety check, I checked the sender plates against the skin to make sure there was NO conductivity there as well. It looks like these are ready to go.
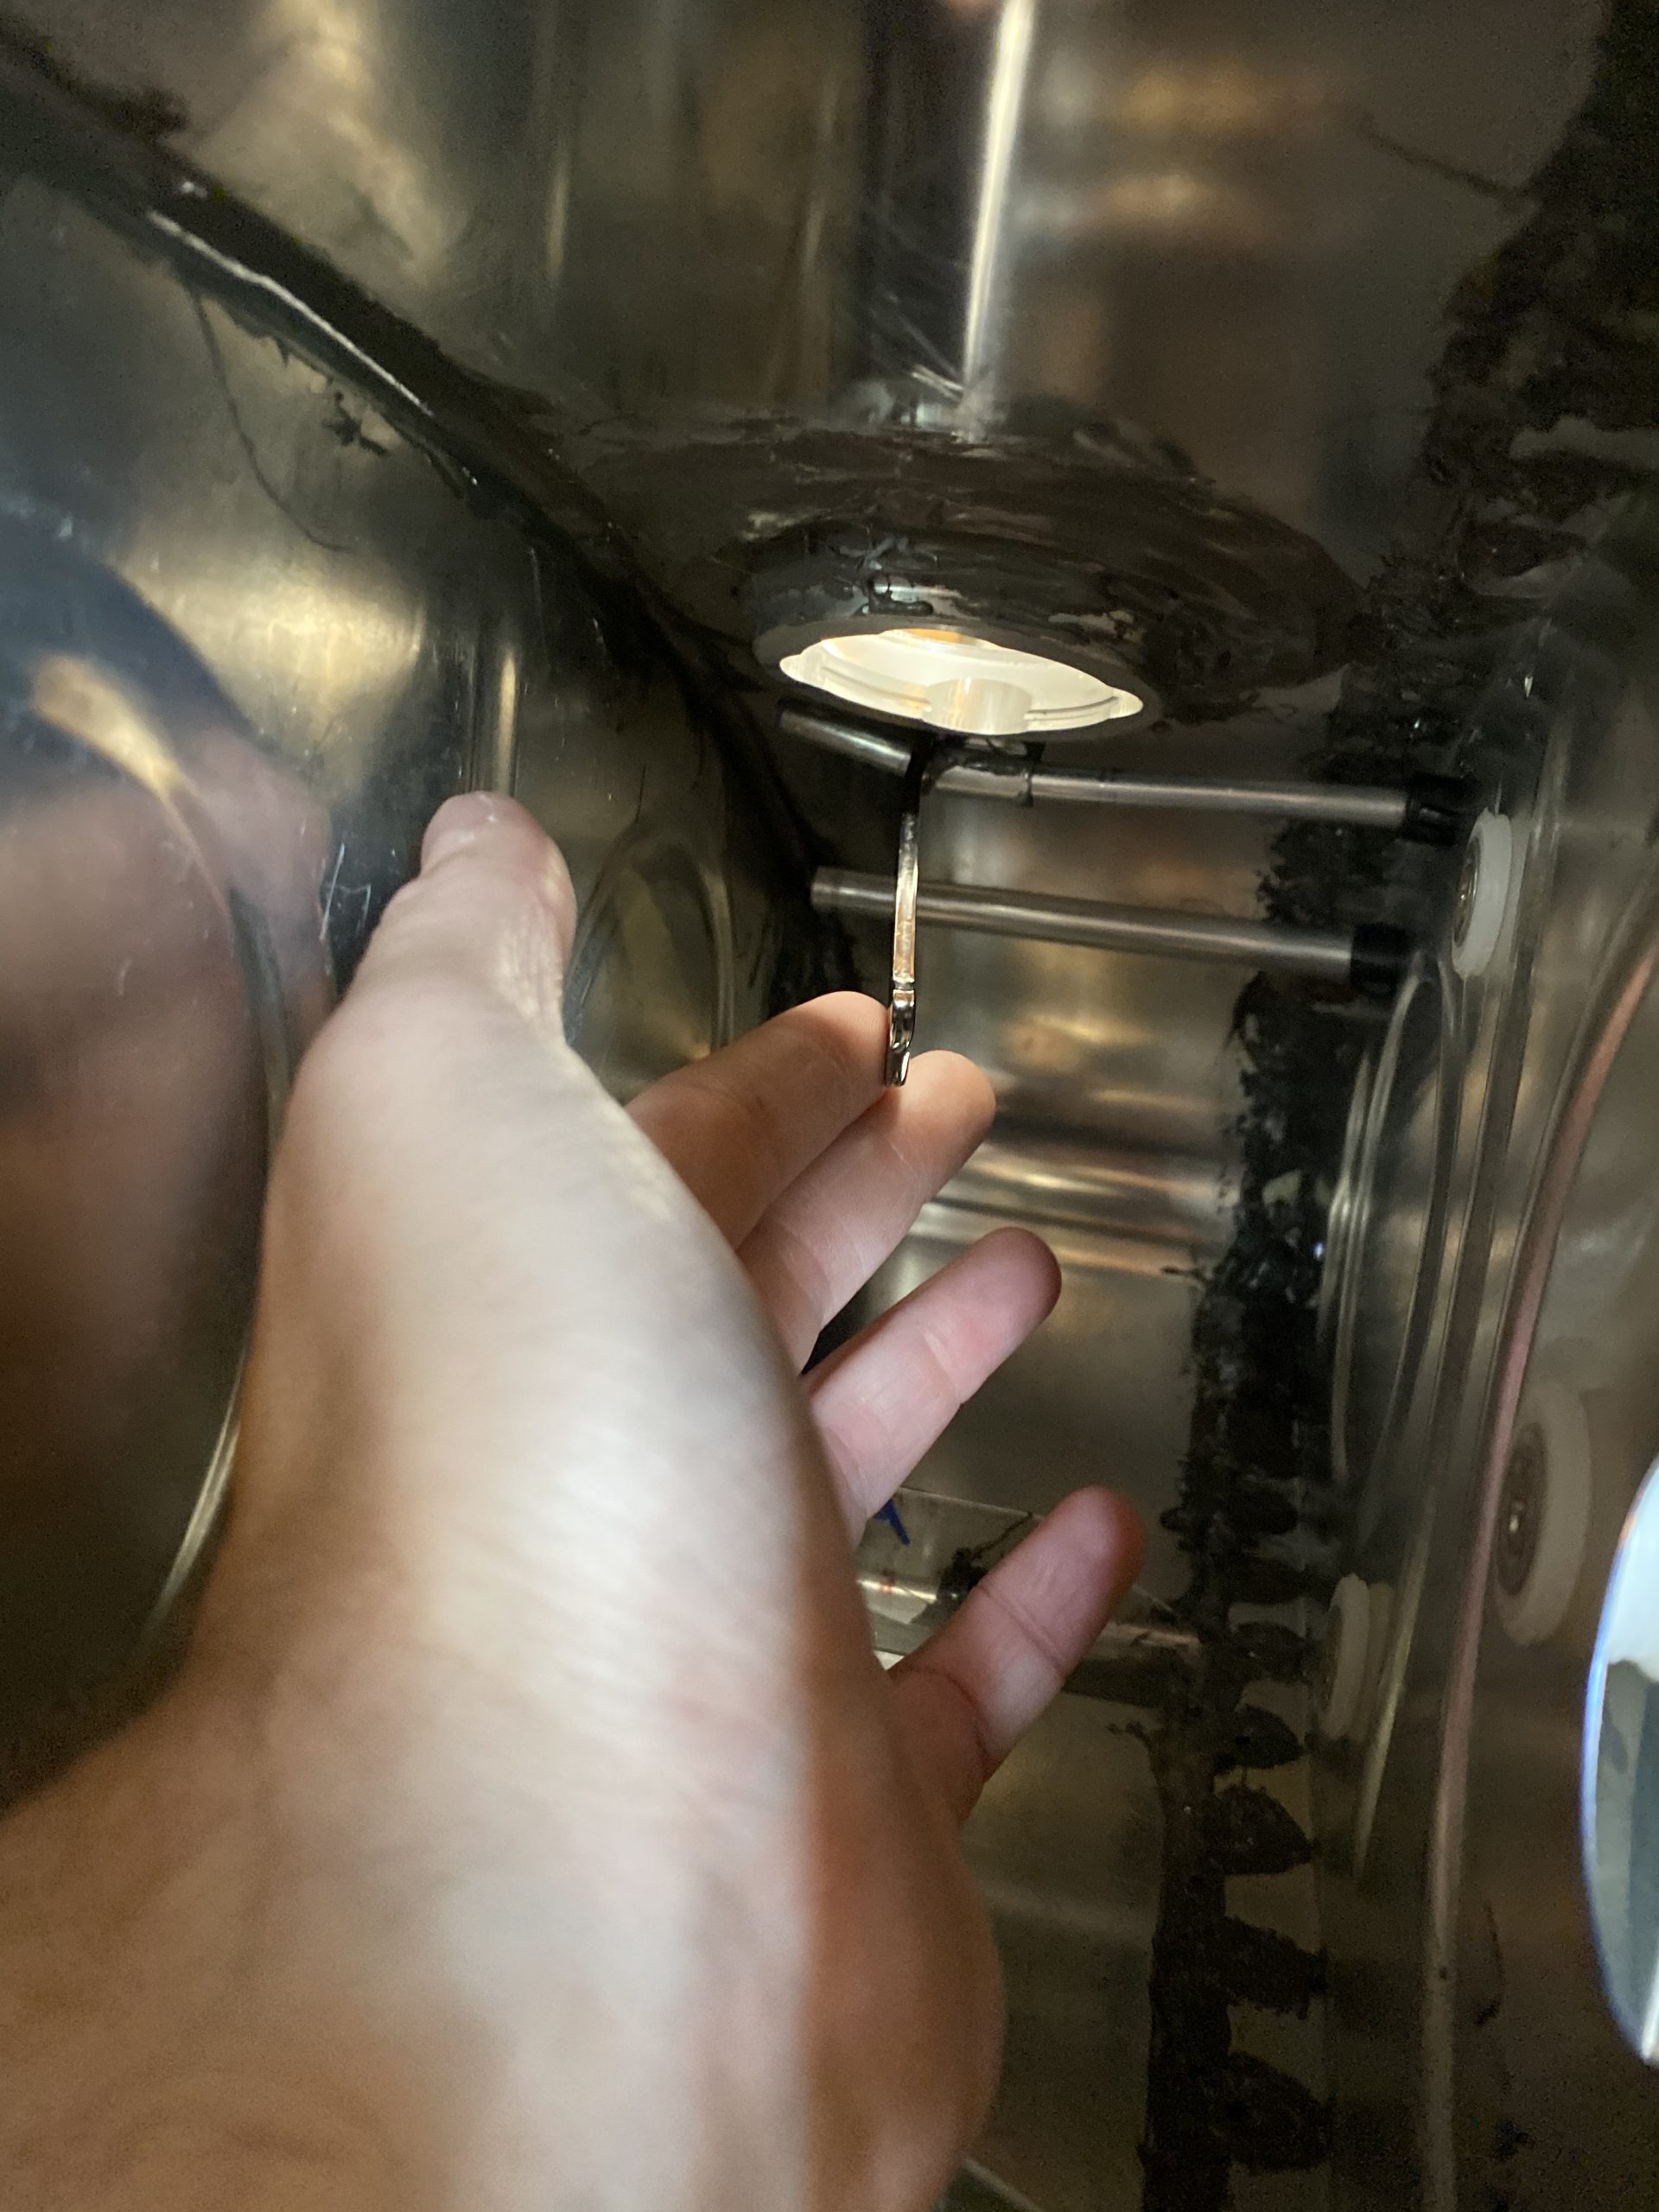
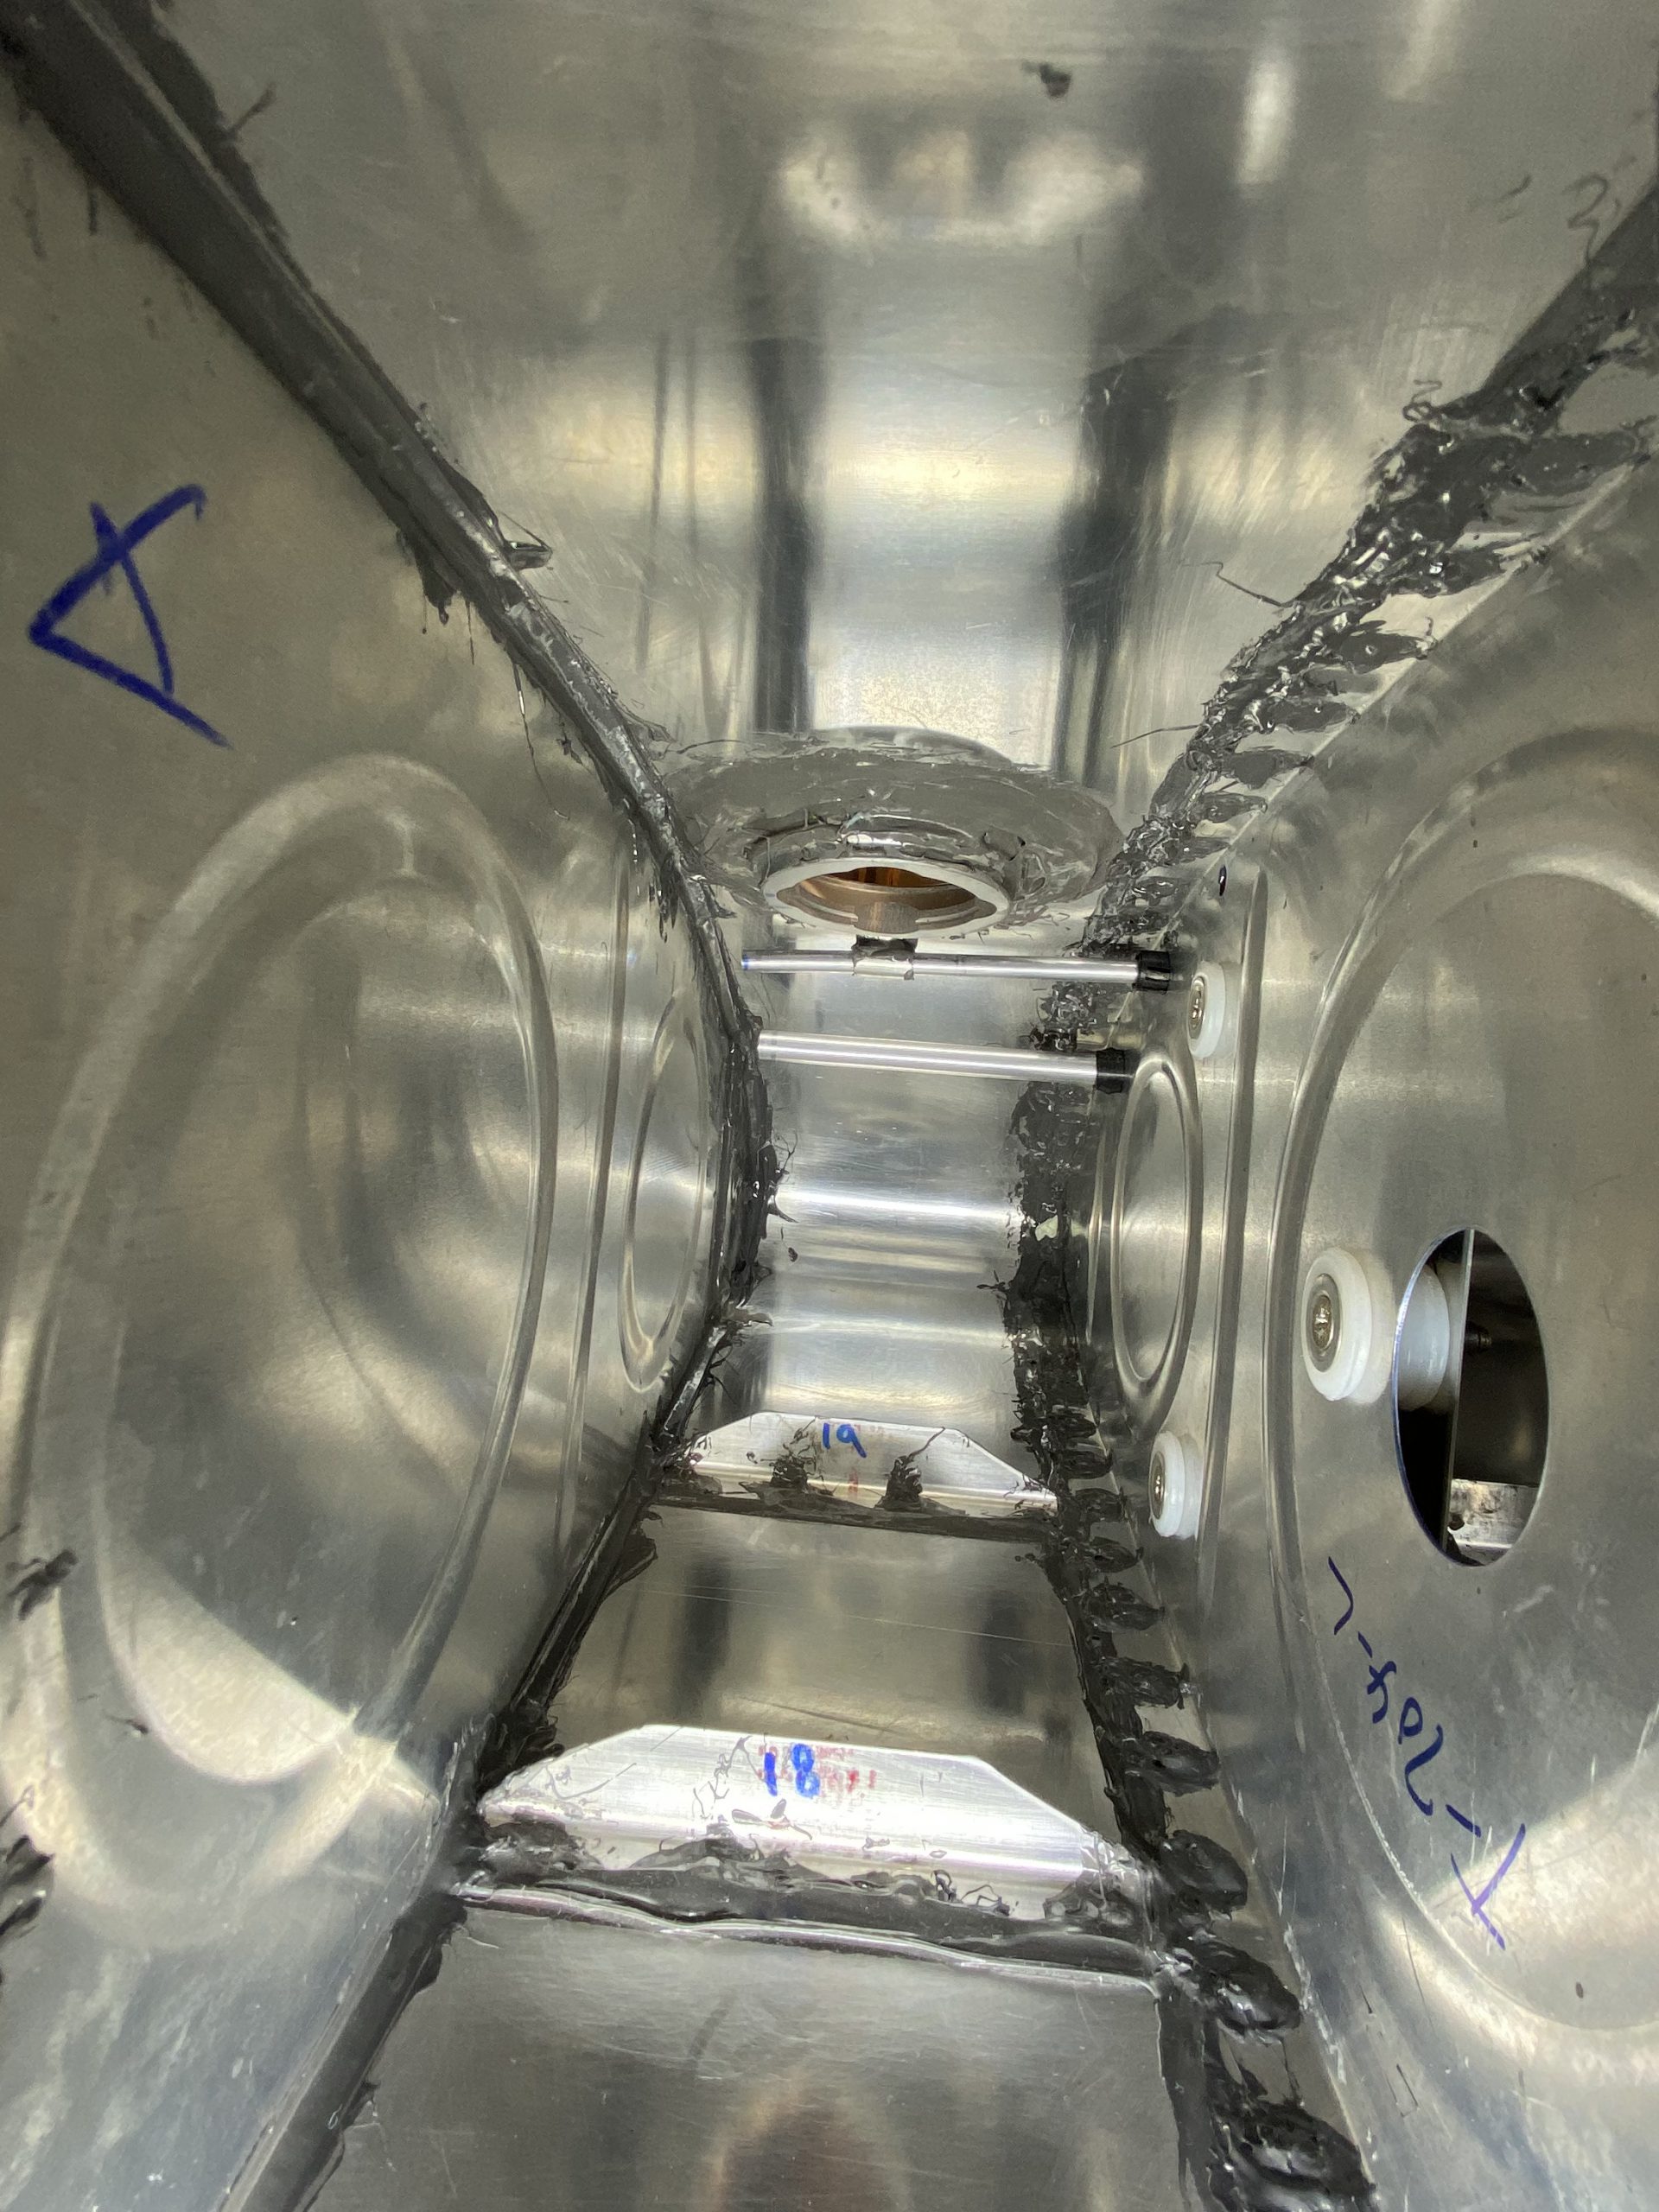
I did a quick check of the flop tube to make sure it would not get hung on any part of its motion, and to make sure the anti-hangup brackets were looking good.
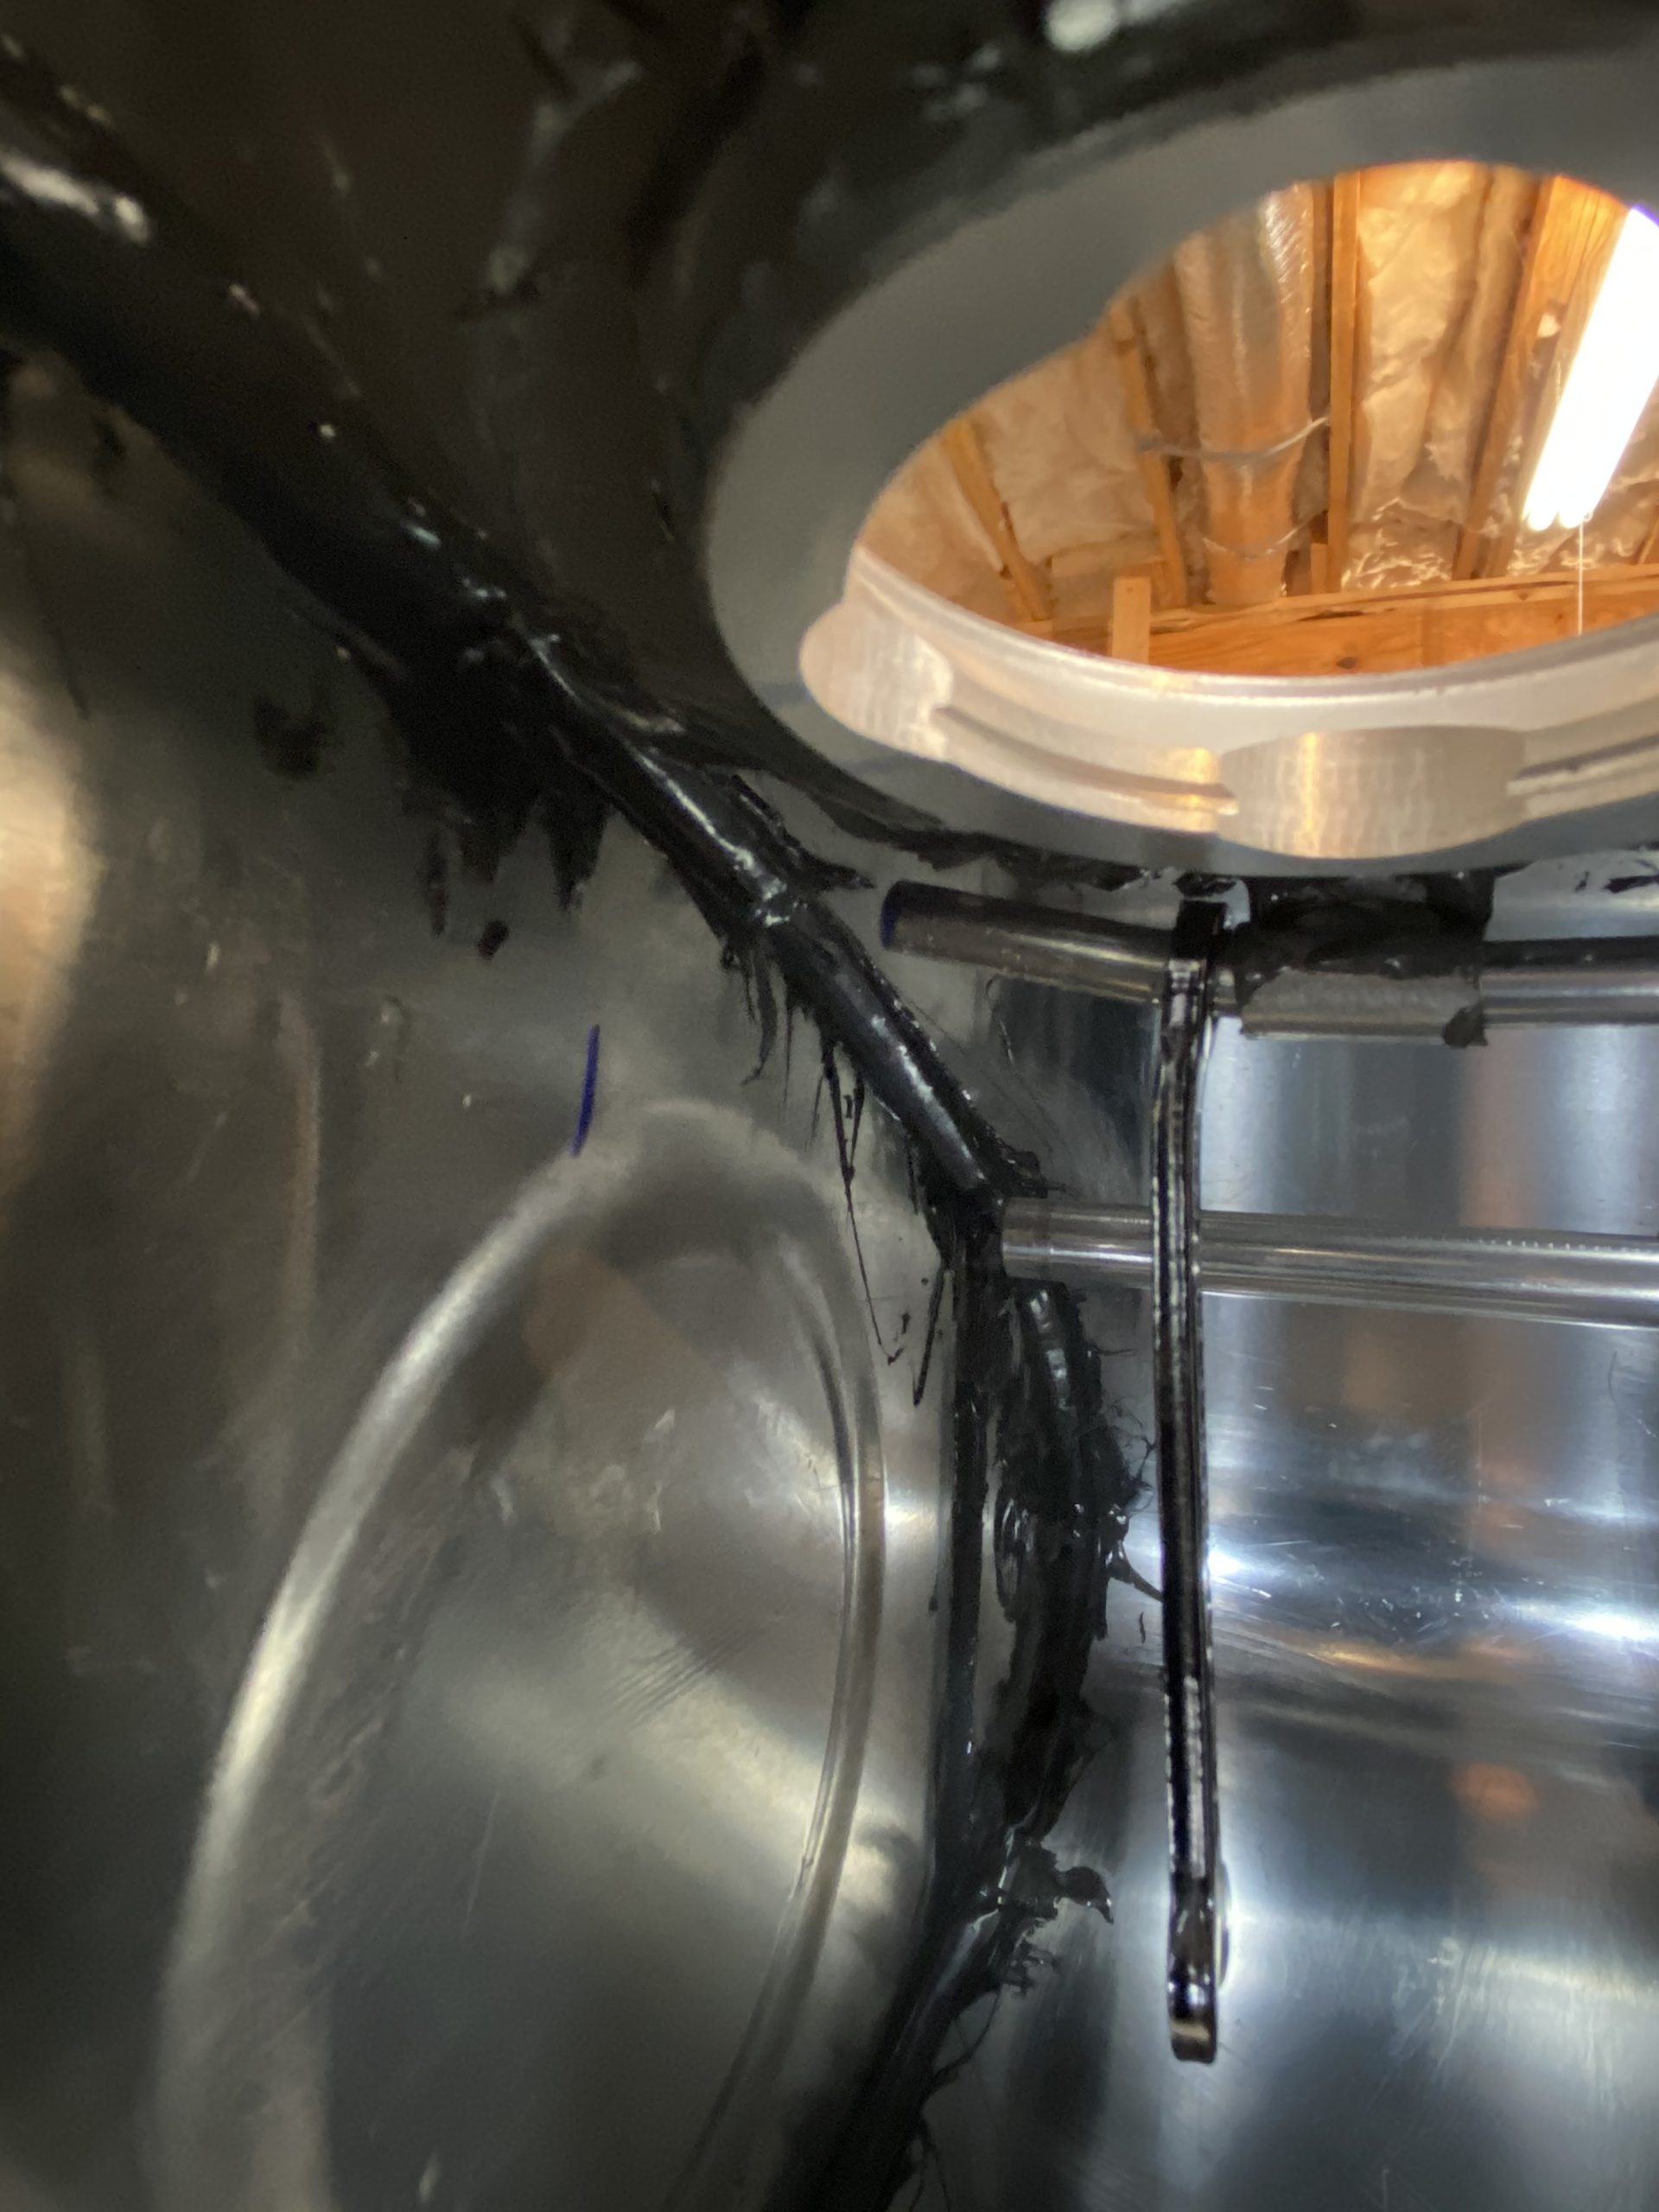
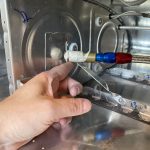
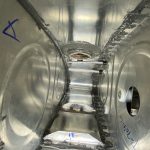
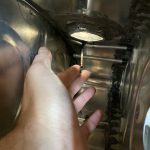
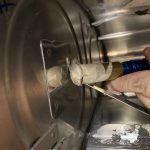
After that I needed to bend the tank vent line as far up as possible in the tank. I used a small wrench over the tube for leverage, and got a decent bend, pointing right up to the skin. You can sort of see how I used the wrench in these photos, it was a bit hard to snap the photo, and hold the wrench for demo purposes, but you get the point.
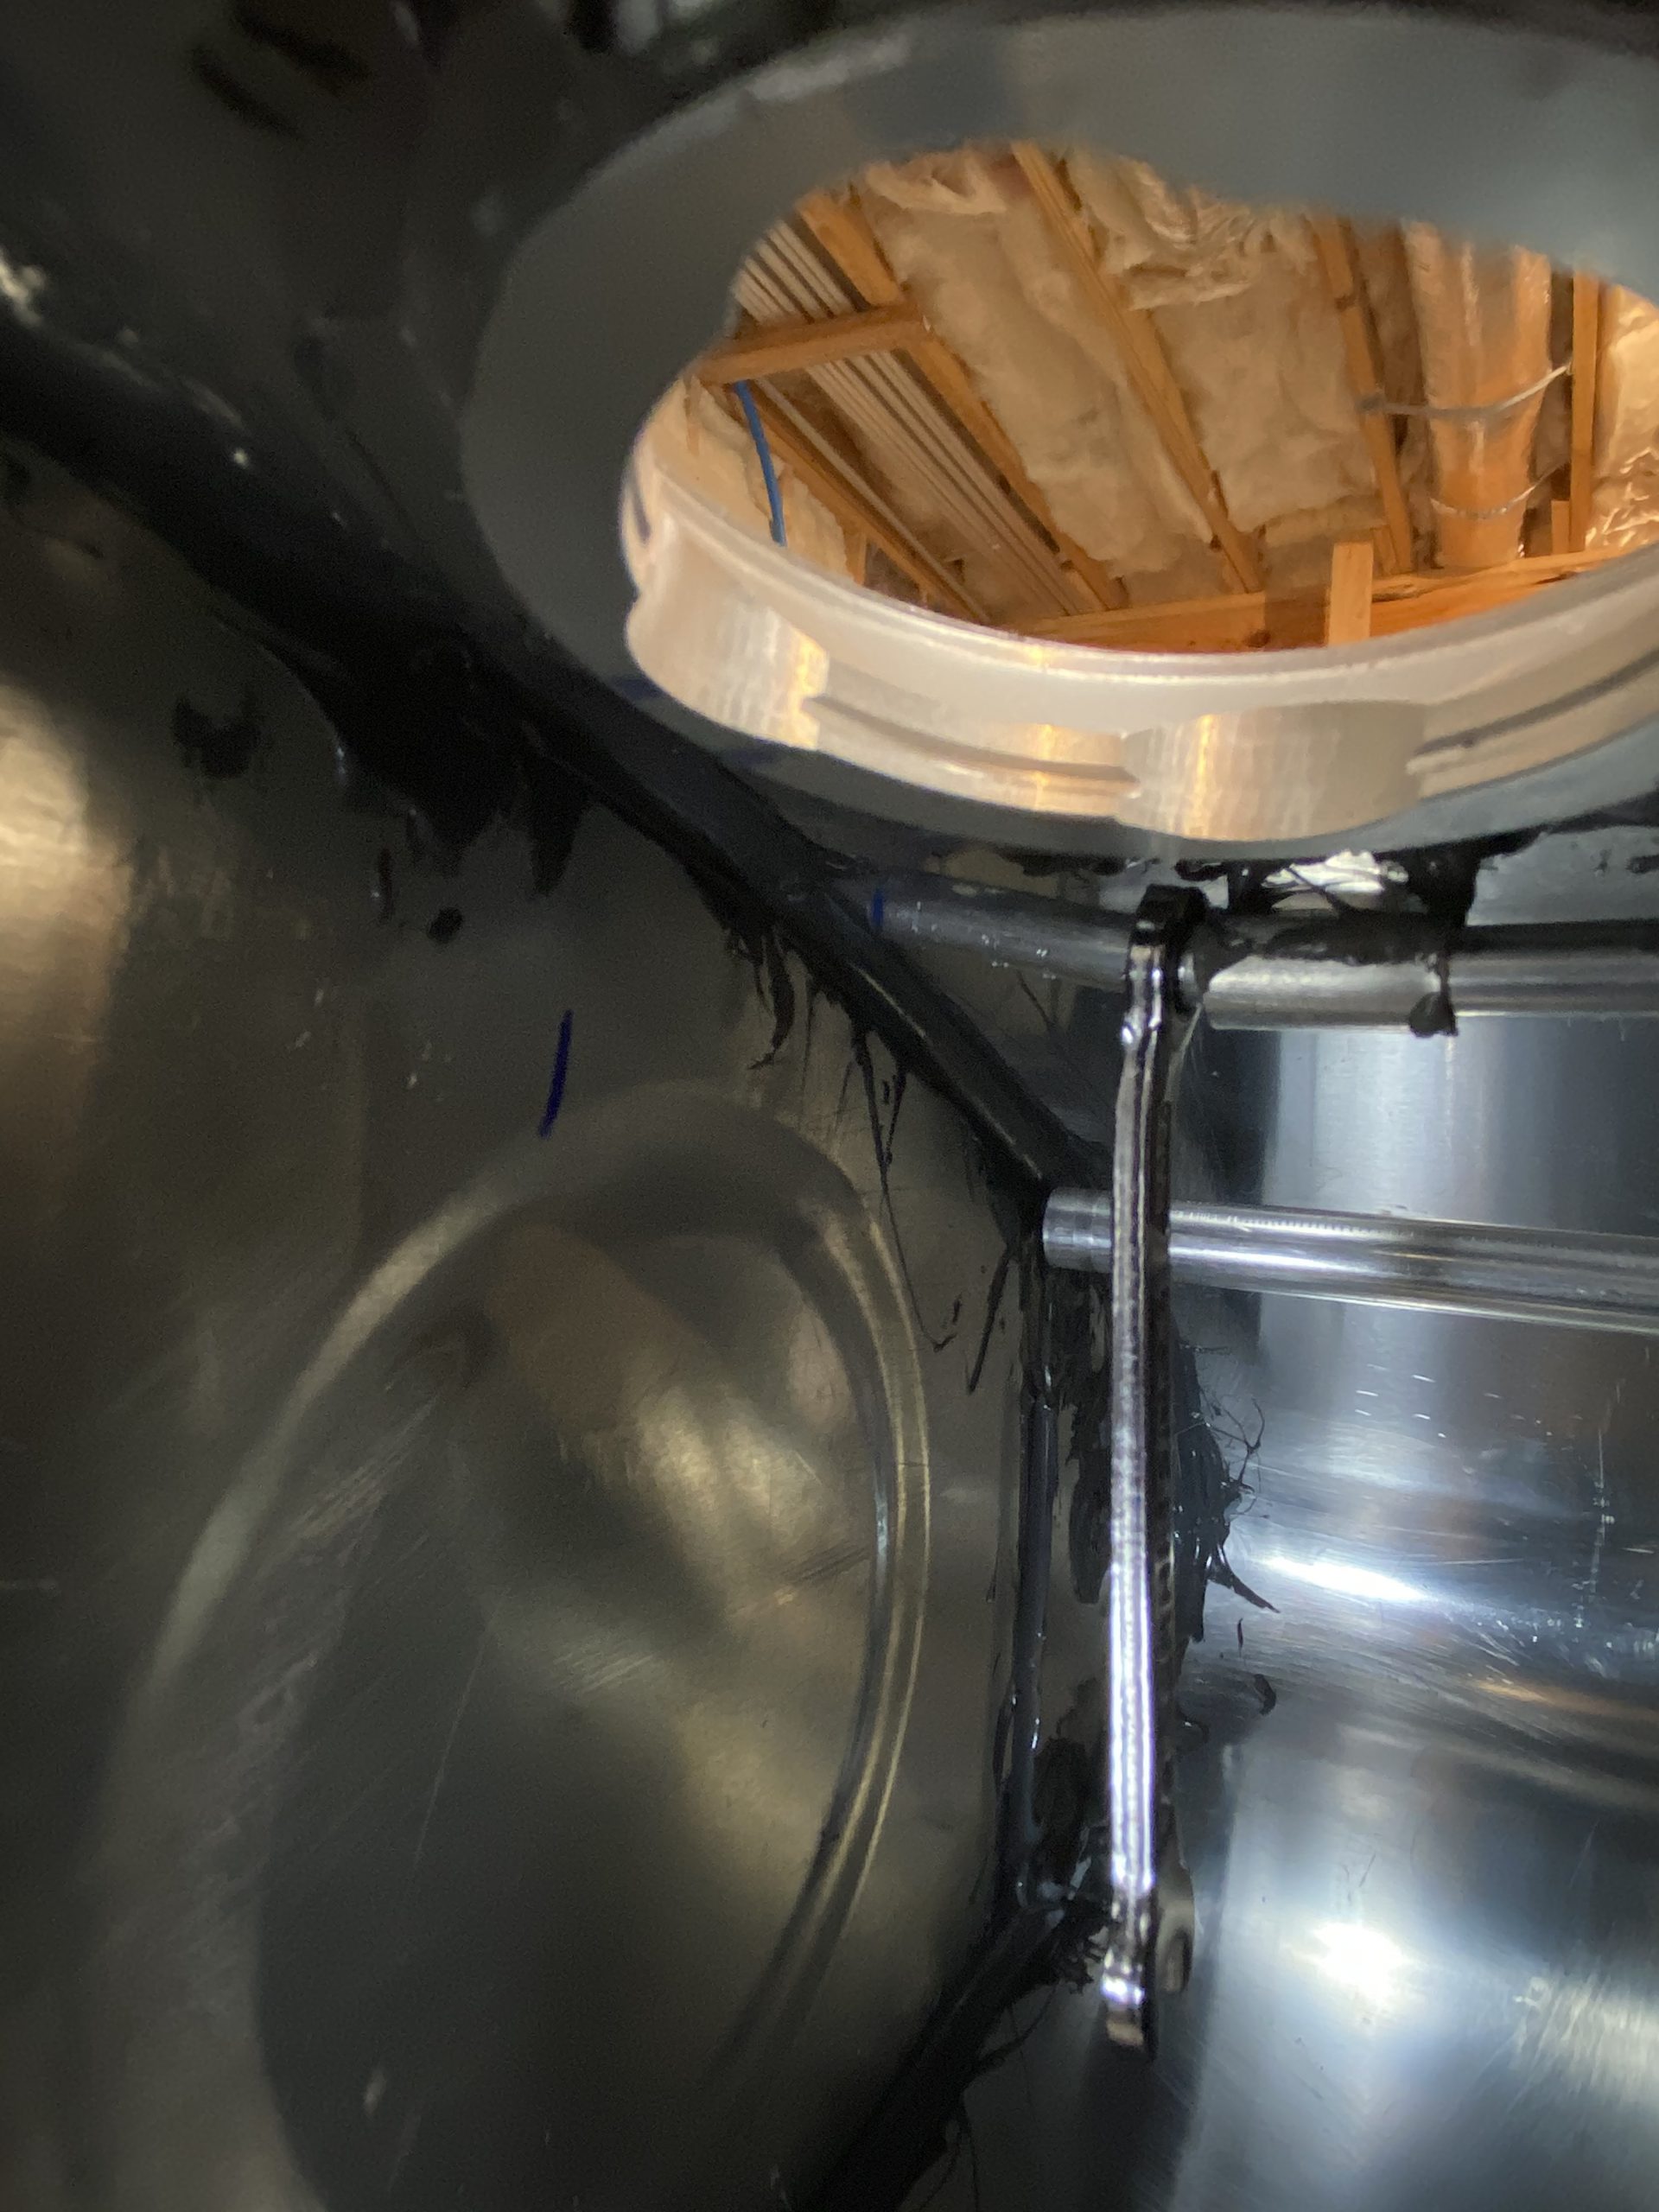
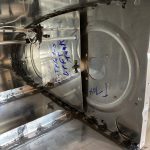
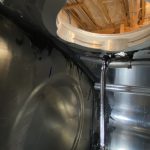
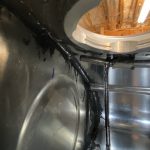
I did a little cleanup on the inside of the tank with a clean MEK soaked paper towel, and some clean popsicle sticks to act as phenolic scrapers, getting up any stray bits of sealant. After this, I forgot to snap any more photos, thankfully the time-lapse video captured everything else I did though. But, I moved on to getting prepped for the next sealing session. I decided to temporarily screw on the tank access cover using the cork gasket and no sealant for now. I just wanted to get a seal for the water test, I’ll remove the cork and use sealant when its time to fix it more permanently.
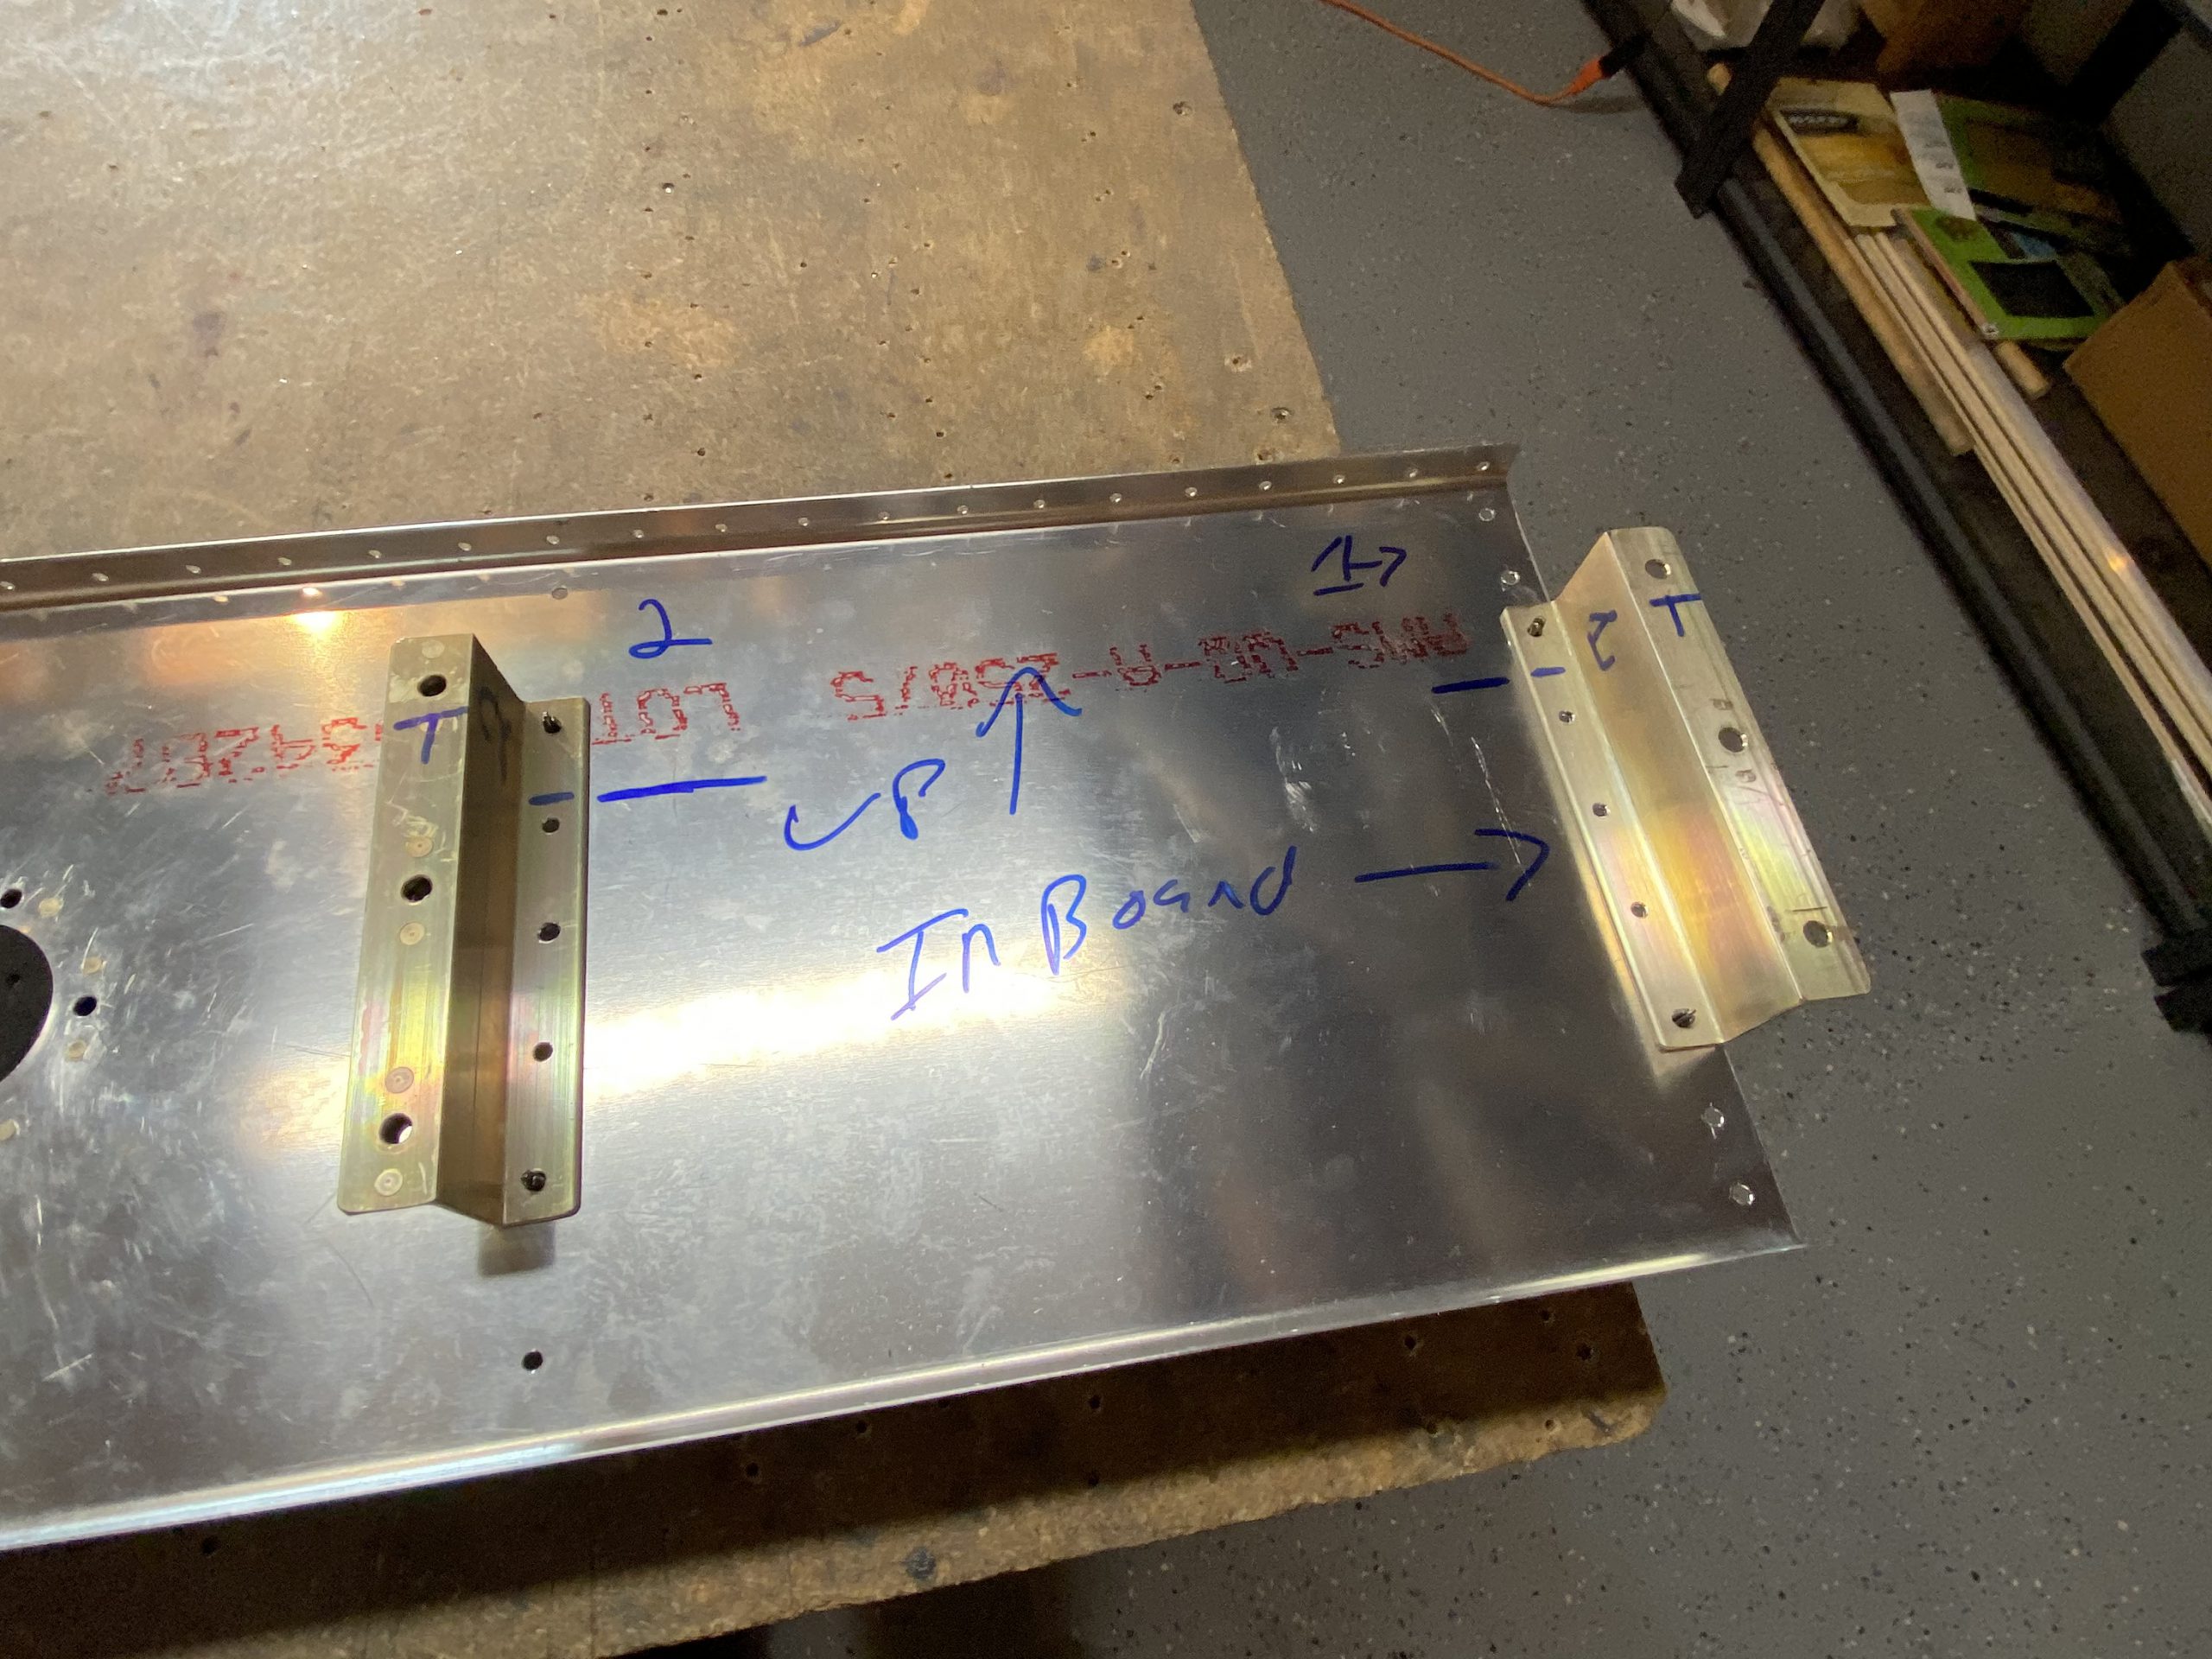
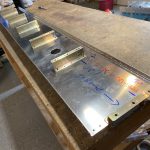
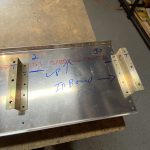
Then I got the rear baffle, and scuffed up all the areas where I would be applying sealant, including the flanges. I also did a another scuff job on the rear flanges of all the ribs (where the baffle rivets too on them), and scuffed the line of rivets on the skin where the baffle interfaces. I’ll clean these with MEK right before sealing. After that, I decided to align the baffle one last time to the tank, and then verify the position of the tank attach Z-brackets. I clecoed them on, and then finger tightened the bafffle down to the spar with the z-brackets making sure the holes all lined up. Then I used a sharpie to mark the orientation so I could put them back on when its time to close up the tank.
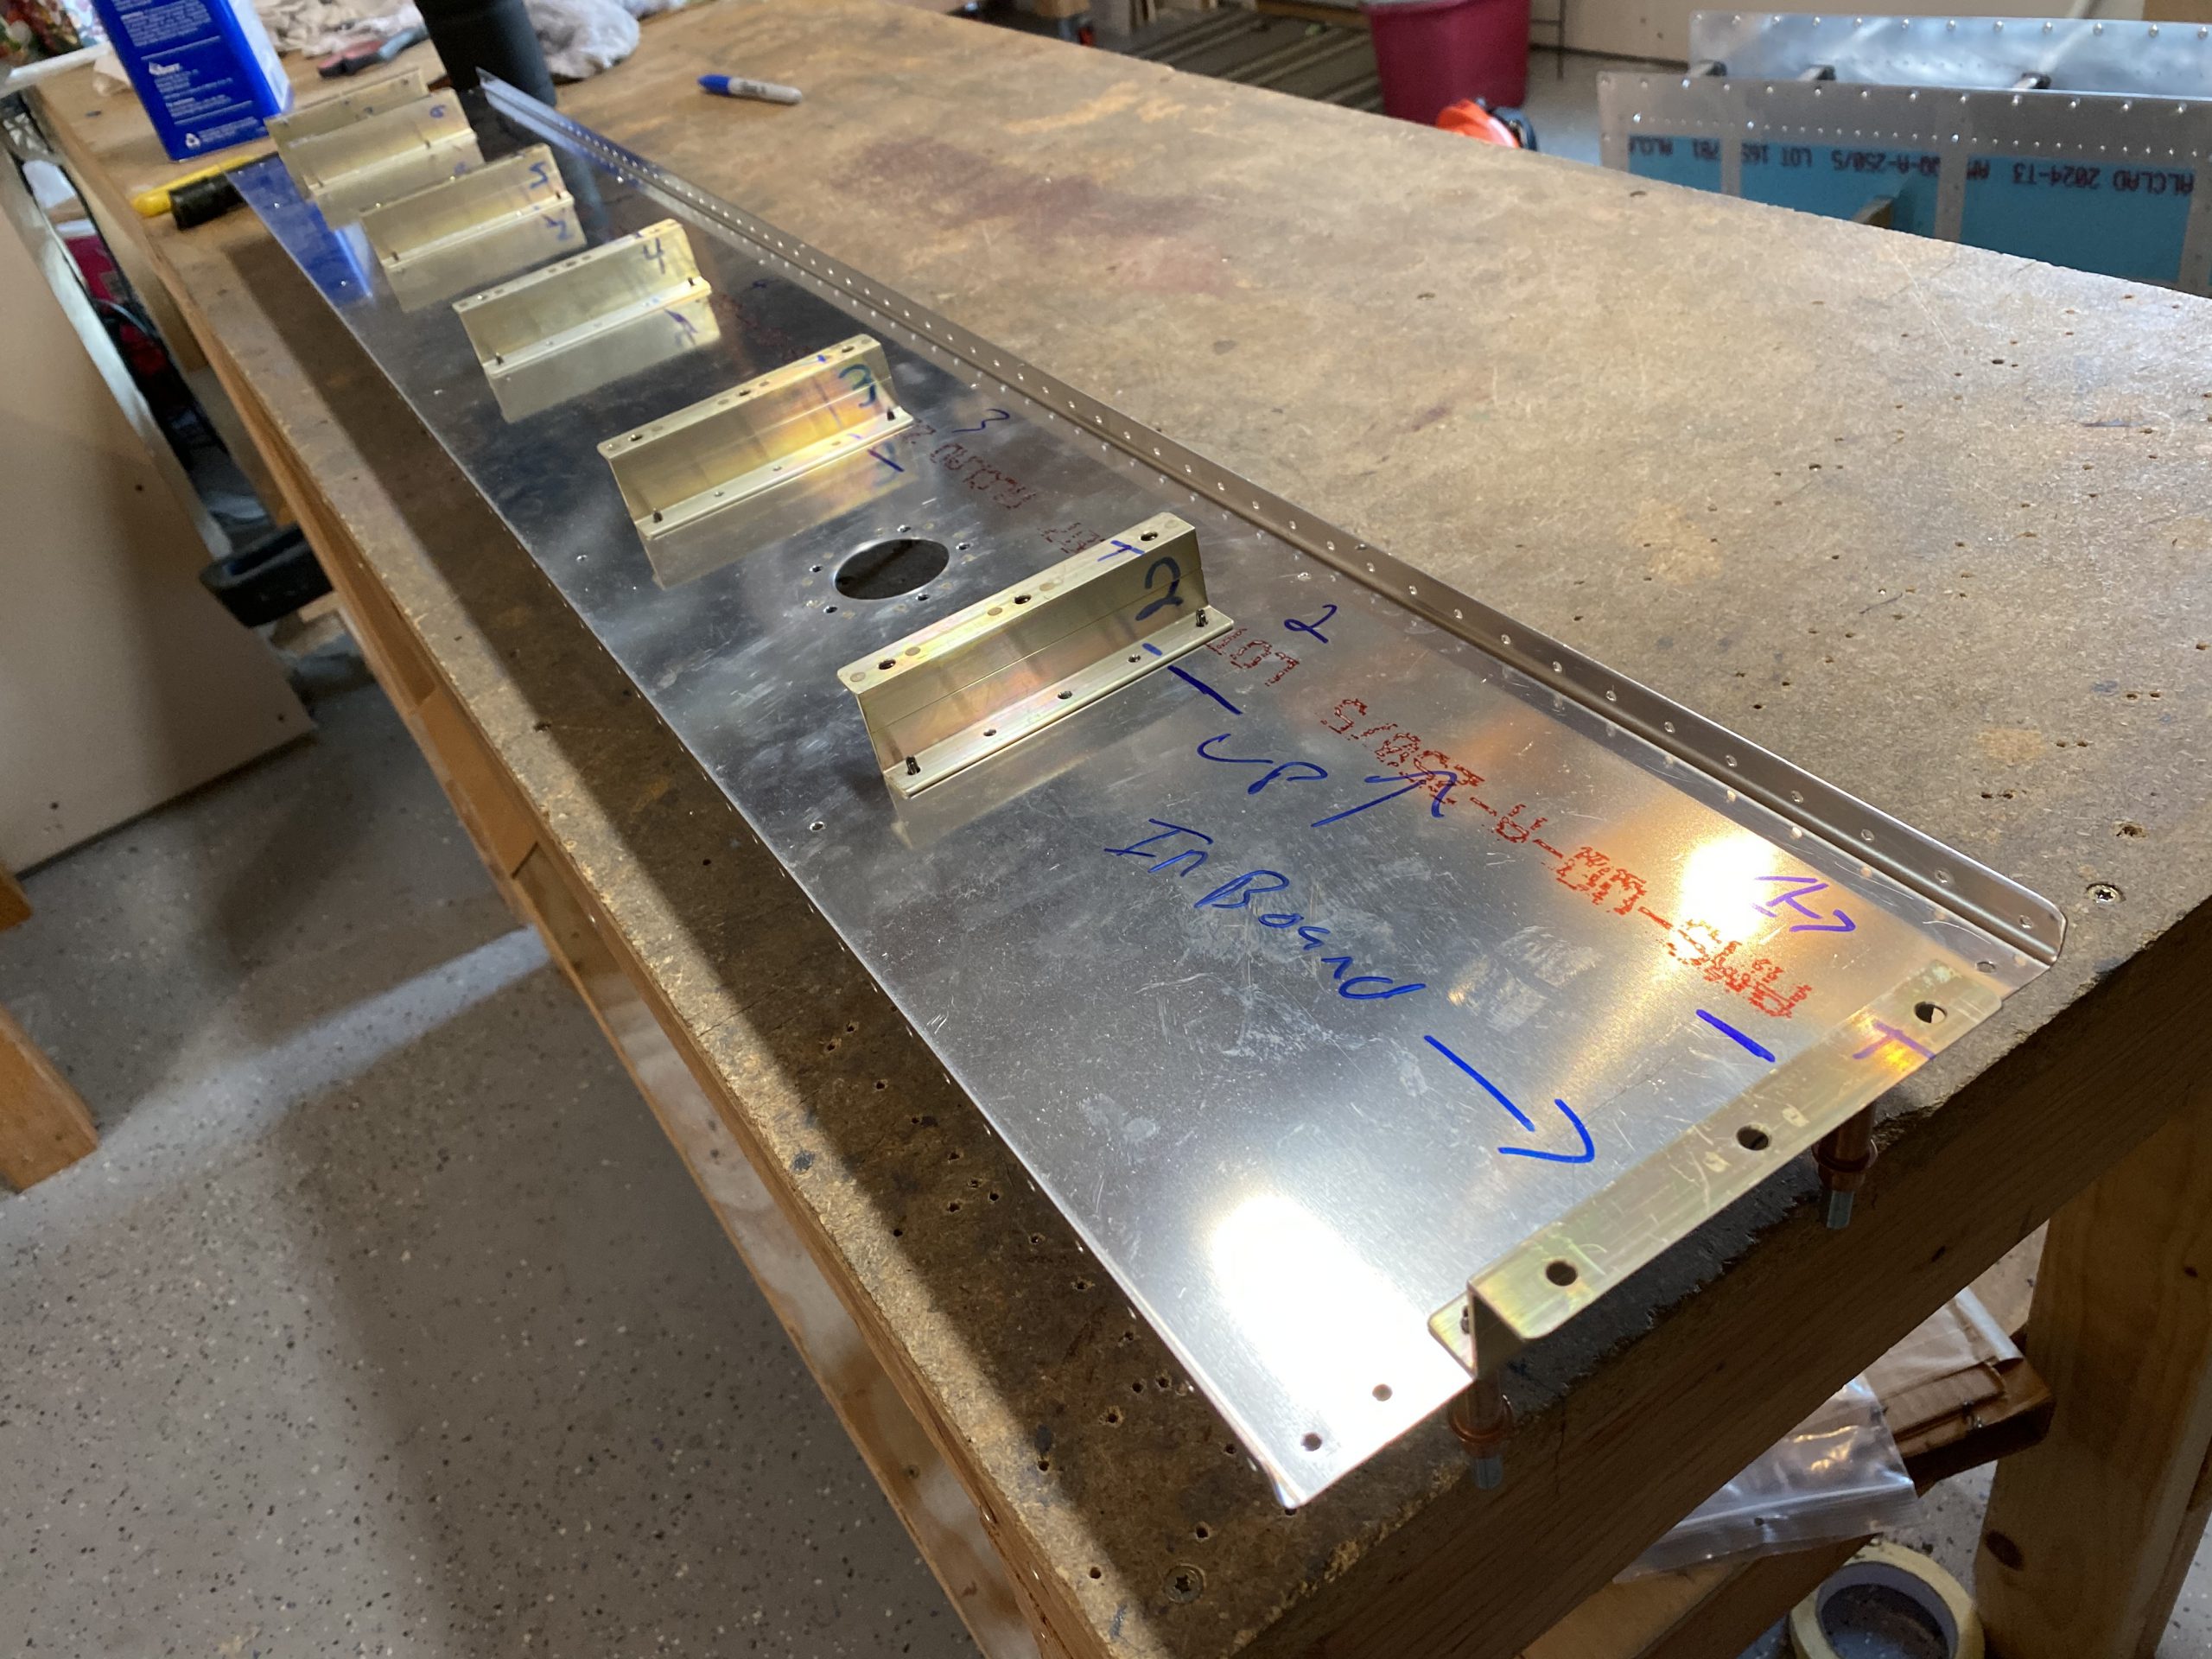
Then I removed the Z-brackets to get the baffle ready for sealing. I’ll let the sealant on the rib cure for one more day, then I’ll do the initial water leak test on it tomorrow like I did on the right tank. I’ll leave it in the cradle, with the rear baffle out, and fill the tank with water and let it sit to look for leaks. This way I can fix any leaks easily with the baffle off. Then It’ll be time for the sealing!
Google Photos Link: https://photos.app.goo.gl/Nx8QjhxsLnLsRXAG7
-
3539C93B-0064-4A5D-9213-C3EB6DA098DA
-
06D9508F-6A01-48CA-BAD4-4FBB054044A8
-
 A2BED50D-ED7A-477B-A584-956181561296
 -
3F4B9D79-1506-4917-BDA4-1D8F27A3B048
-
35DA4B44-8081-4840-A328-2A622234D335
-
2A7C4729-B353-4737-82E0-AFE86023E75B
-
 86DC366B-6FF5-4E7E-9CCE-3B036C646418
 -
A0EEBA3B-D526-4A13-92BD-5015F7803137
-
 B38B62C8-9484-4F9C-B200-962CD60B03FF
 -
1C676355-152E-4E8F-B447-5575D3C5BE18
-
 83B4FE93-158F-4FF3-AEDB-D5FE8A185BCB
 -
 47625355-9DD1-4A37-9EC7-010EC2D54764
 -
315B526B-4FE9-4E2B-88AB-259830AF638C
-
0F419B11-A605-45A4-8775-FE17F1DE9A16
-
 0685A51B-D662-47DE-8120-903D9272EC94

Hours Worked: 1.75