


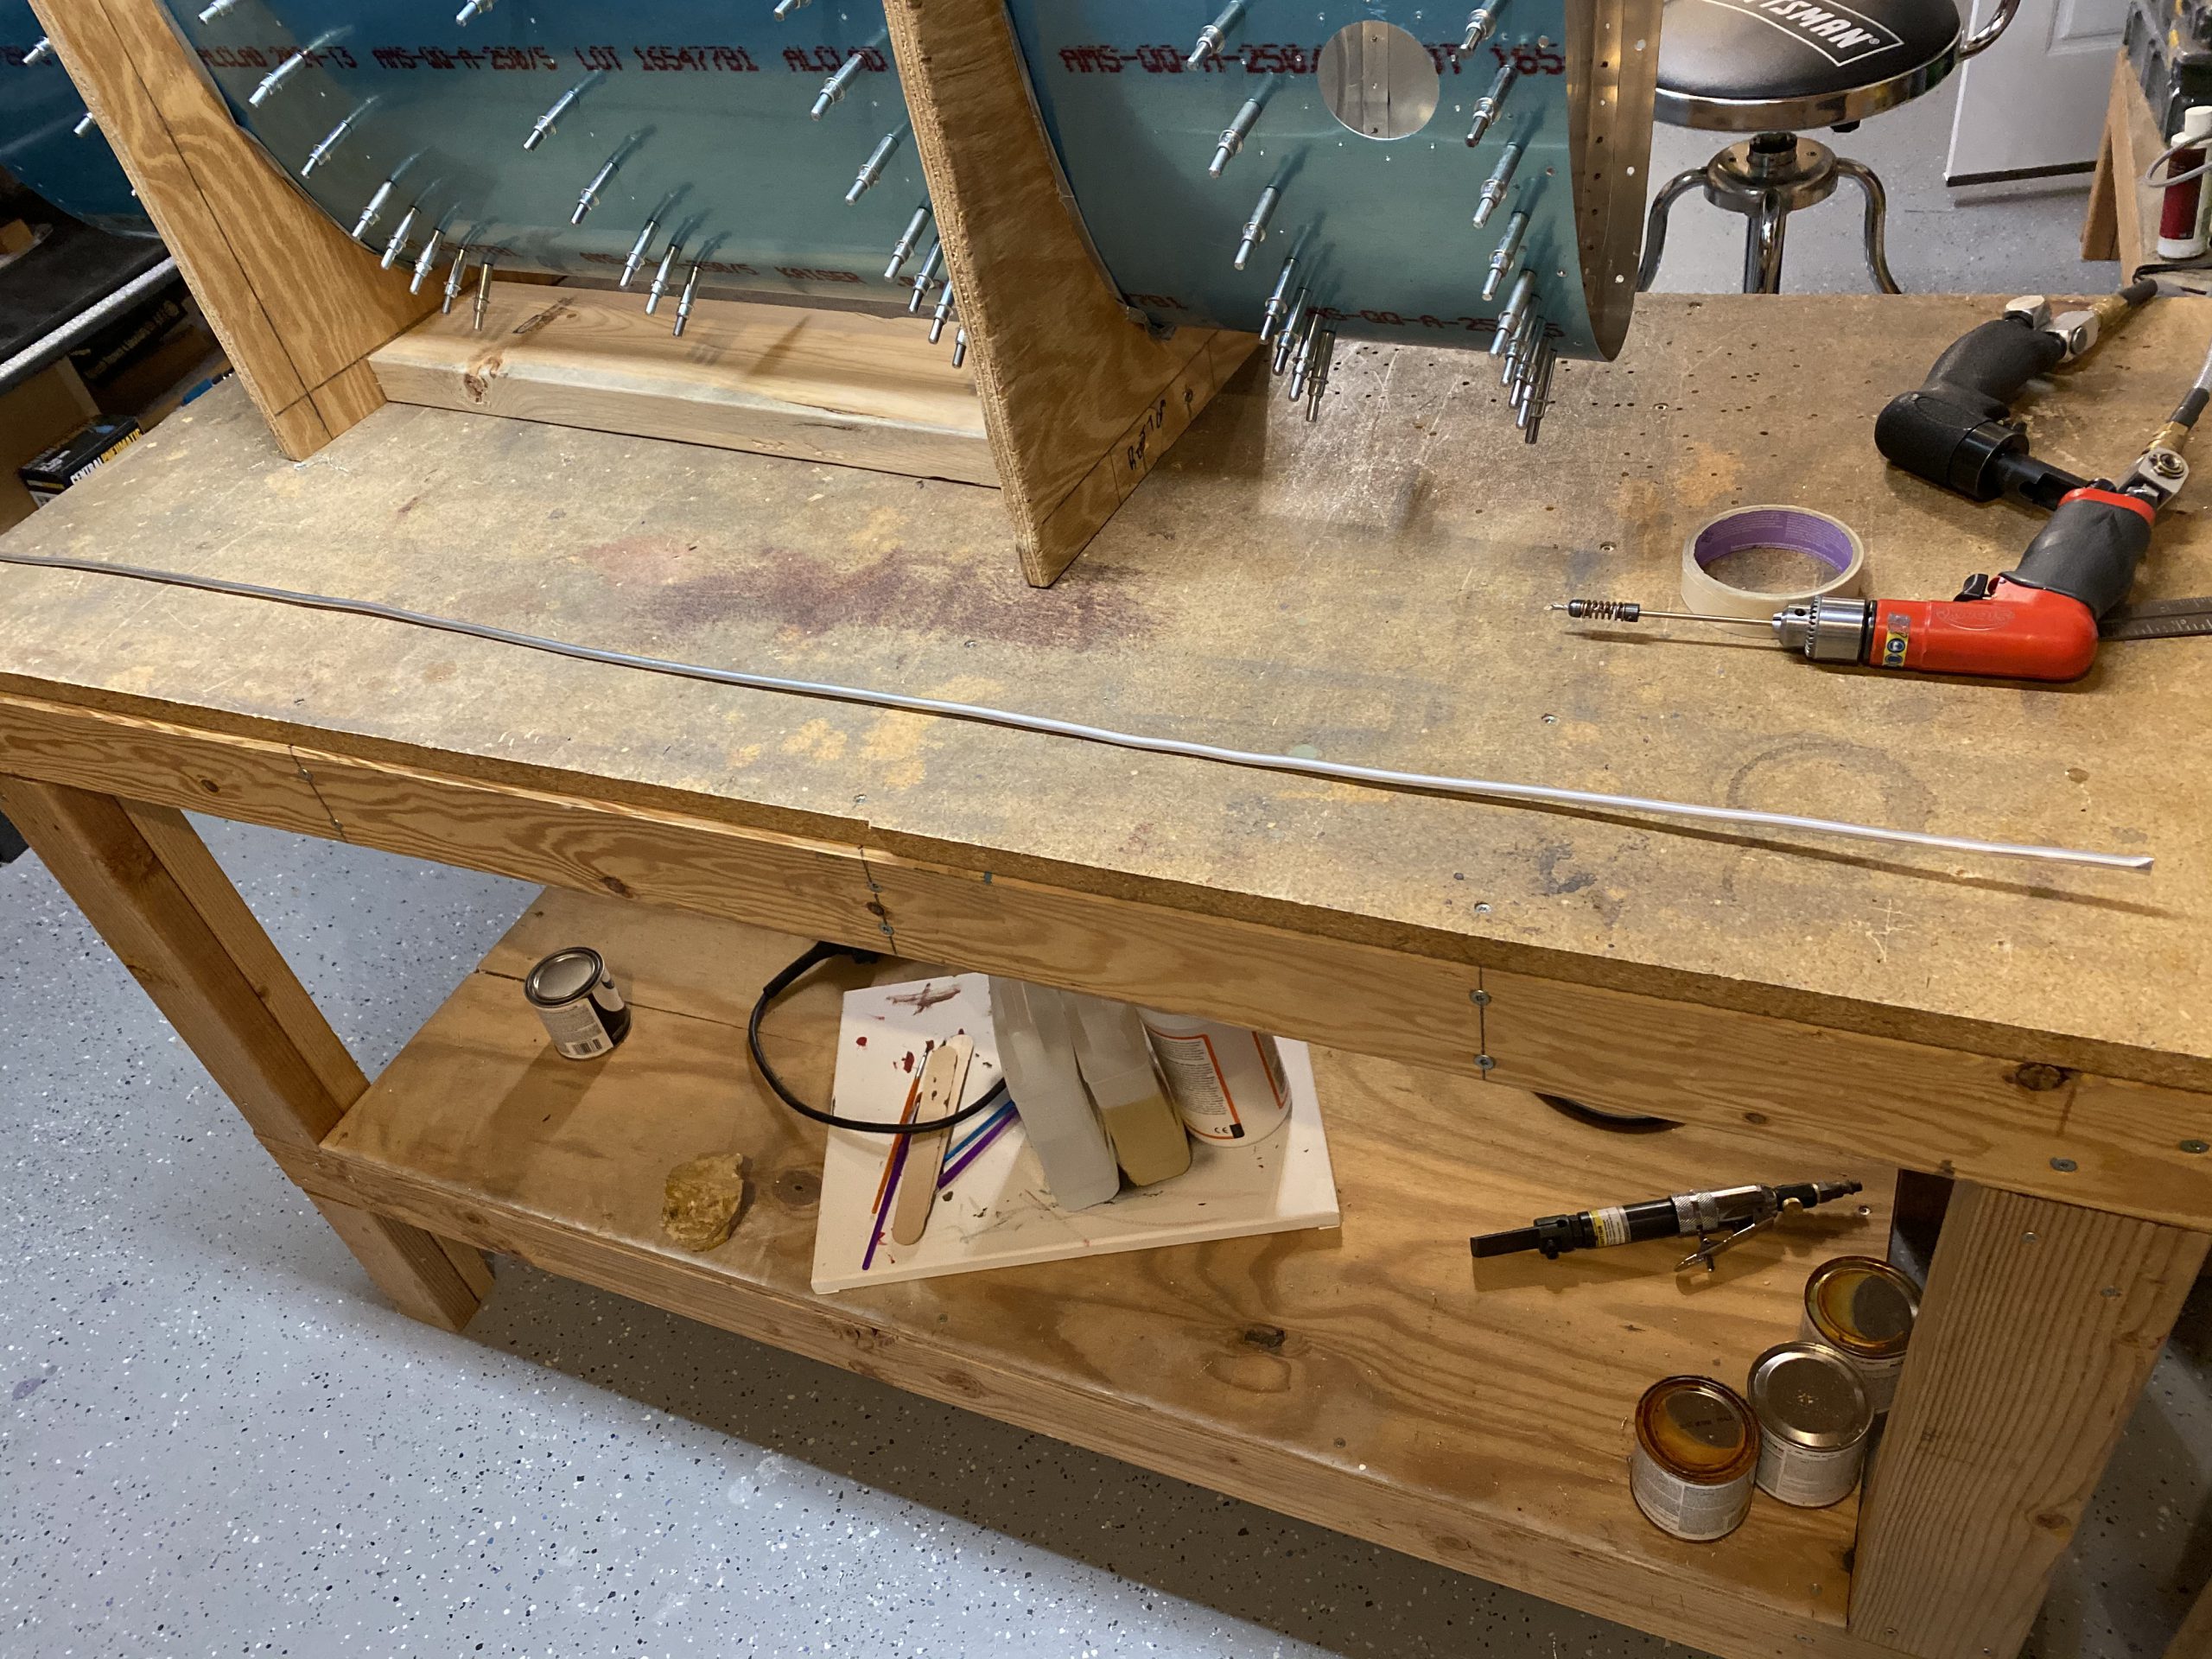
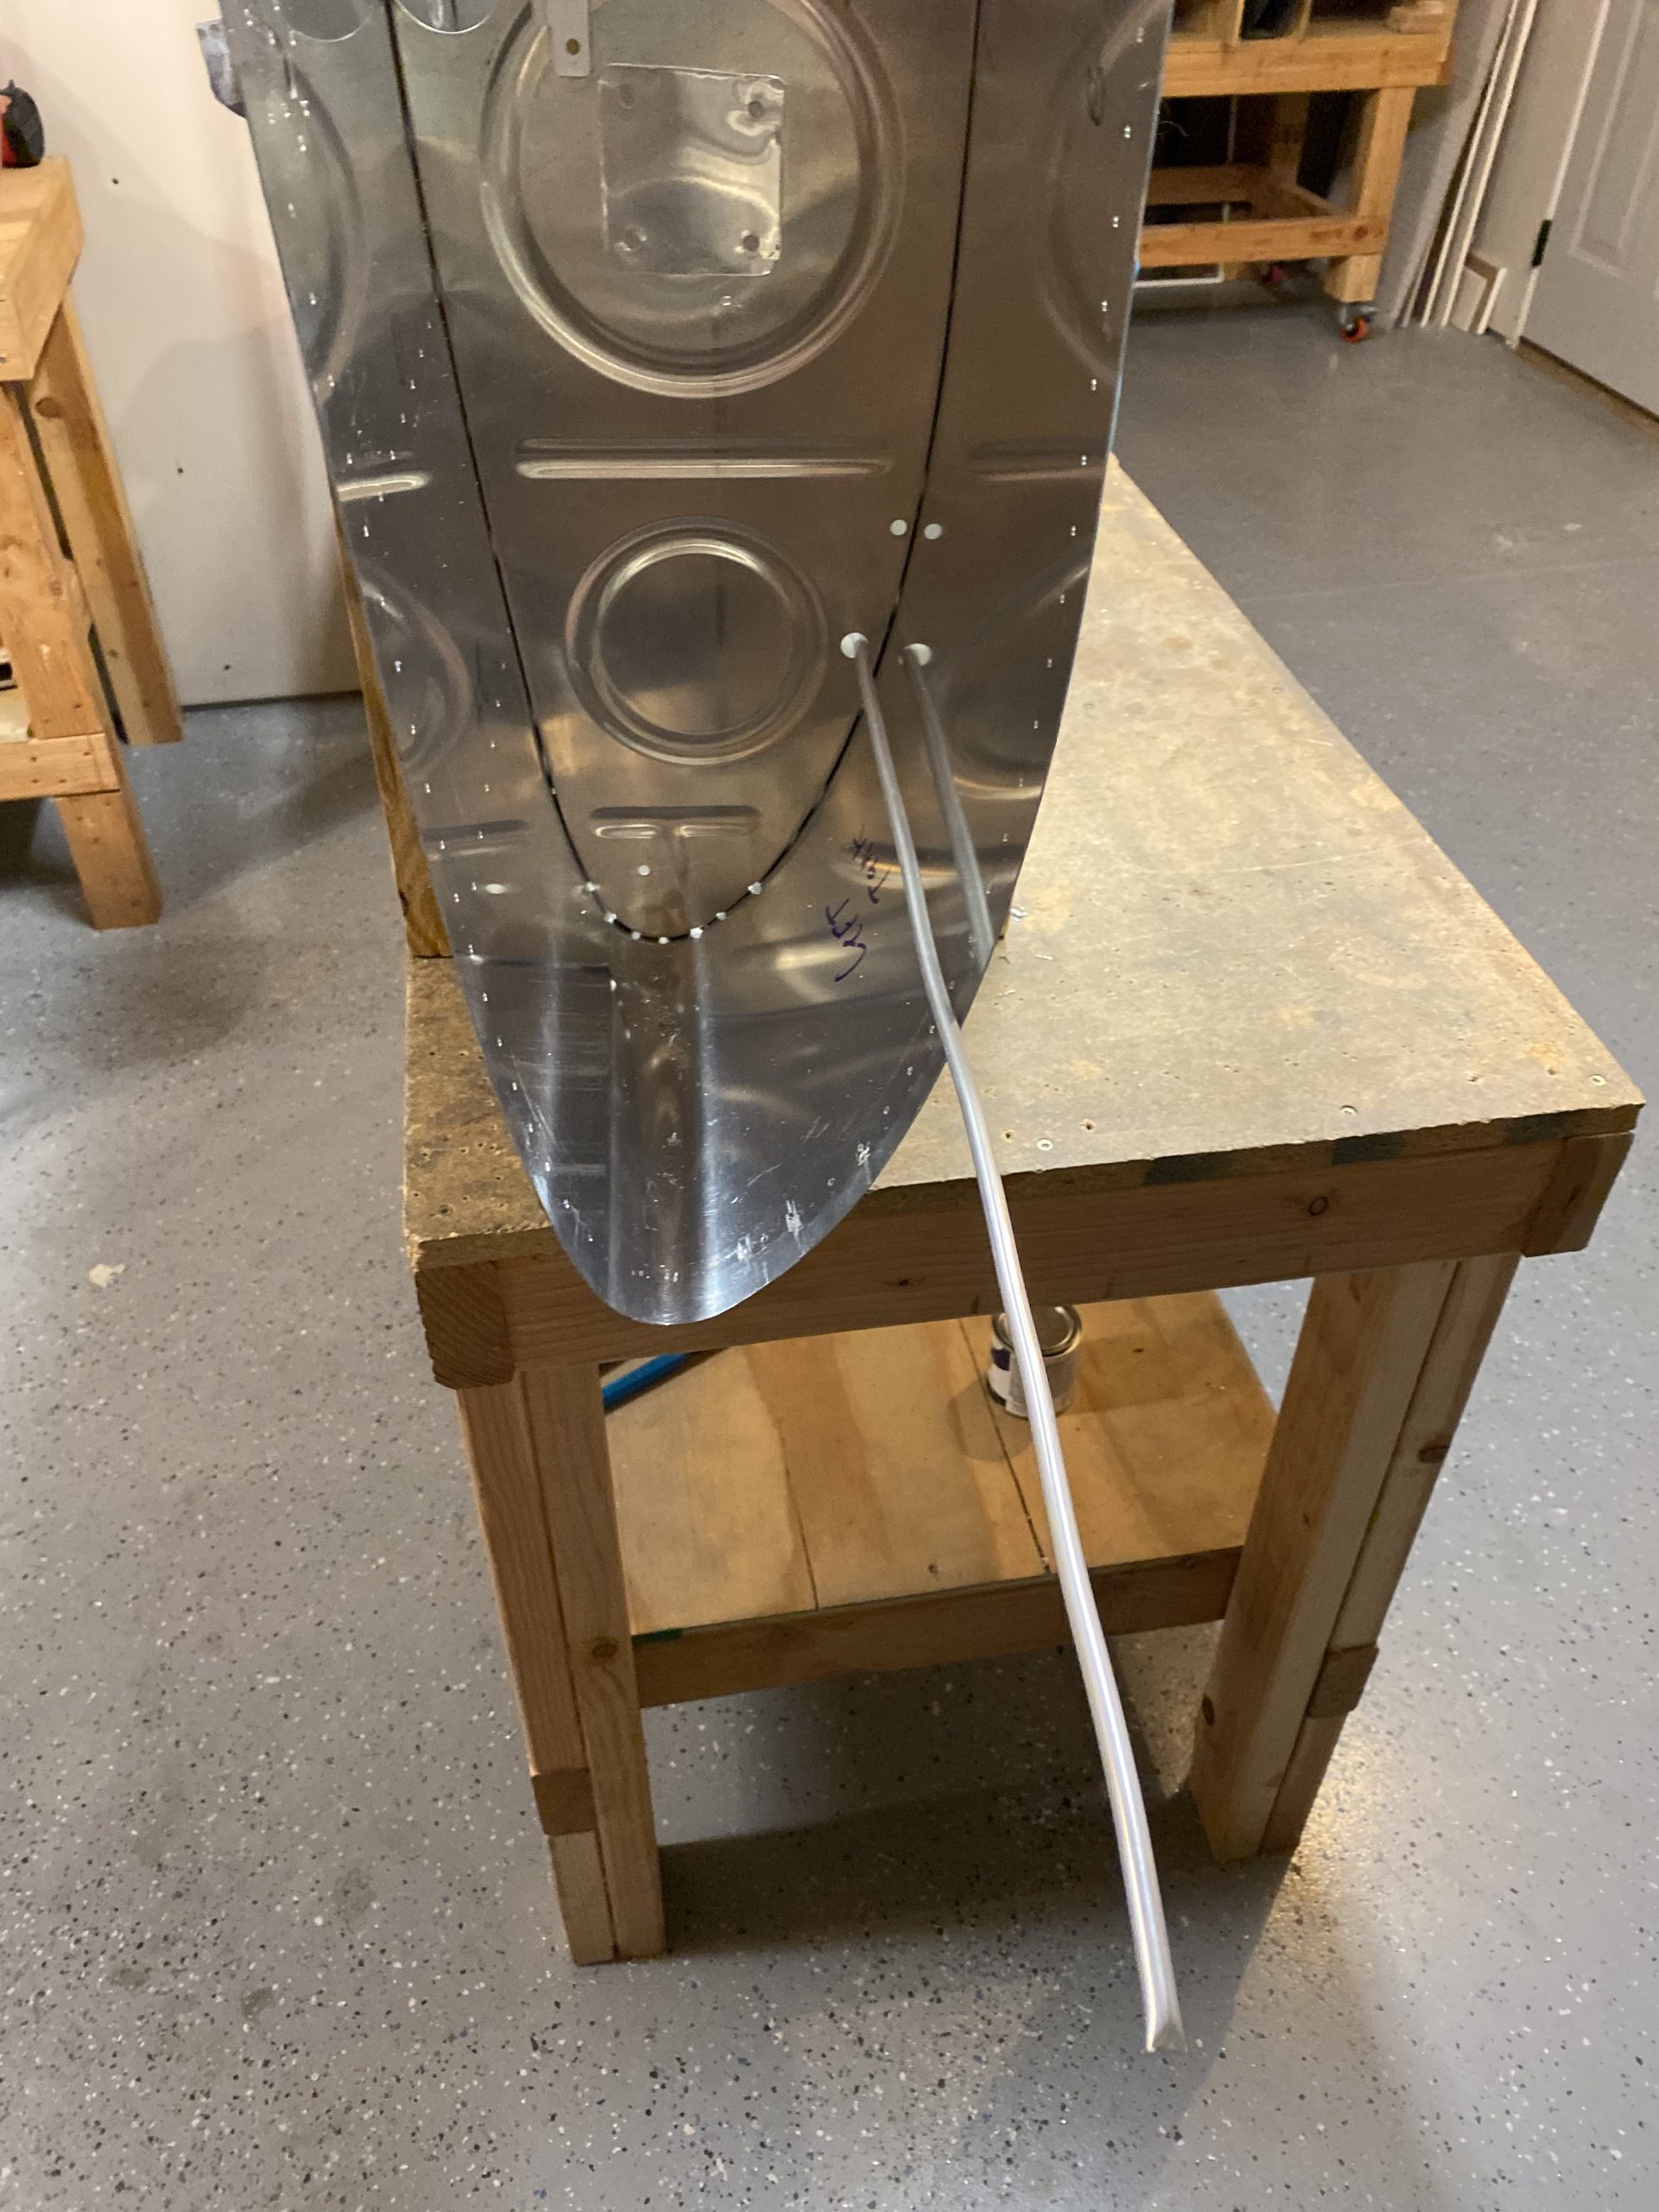
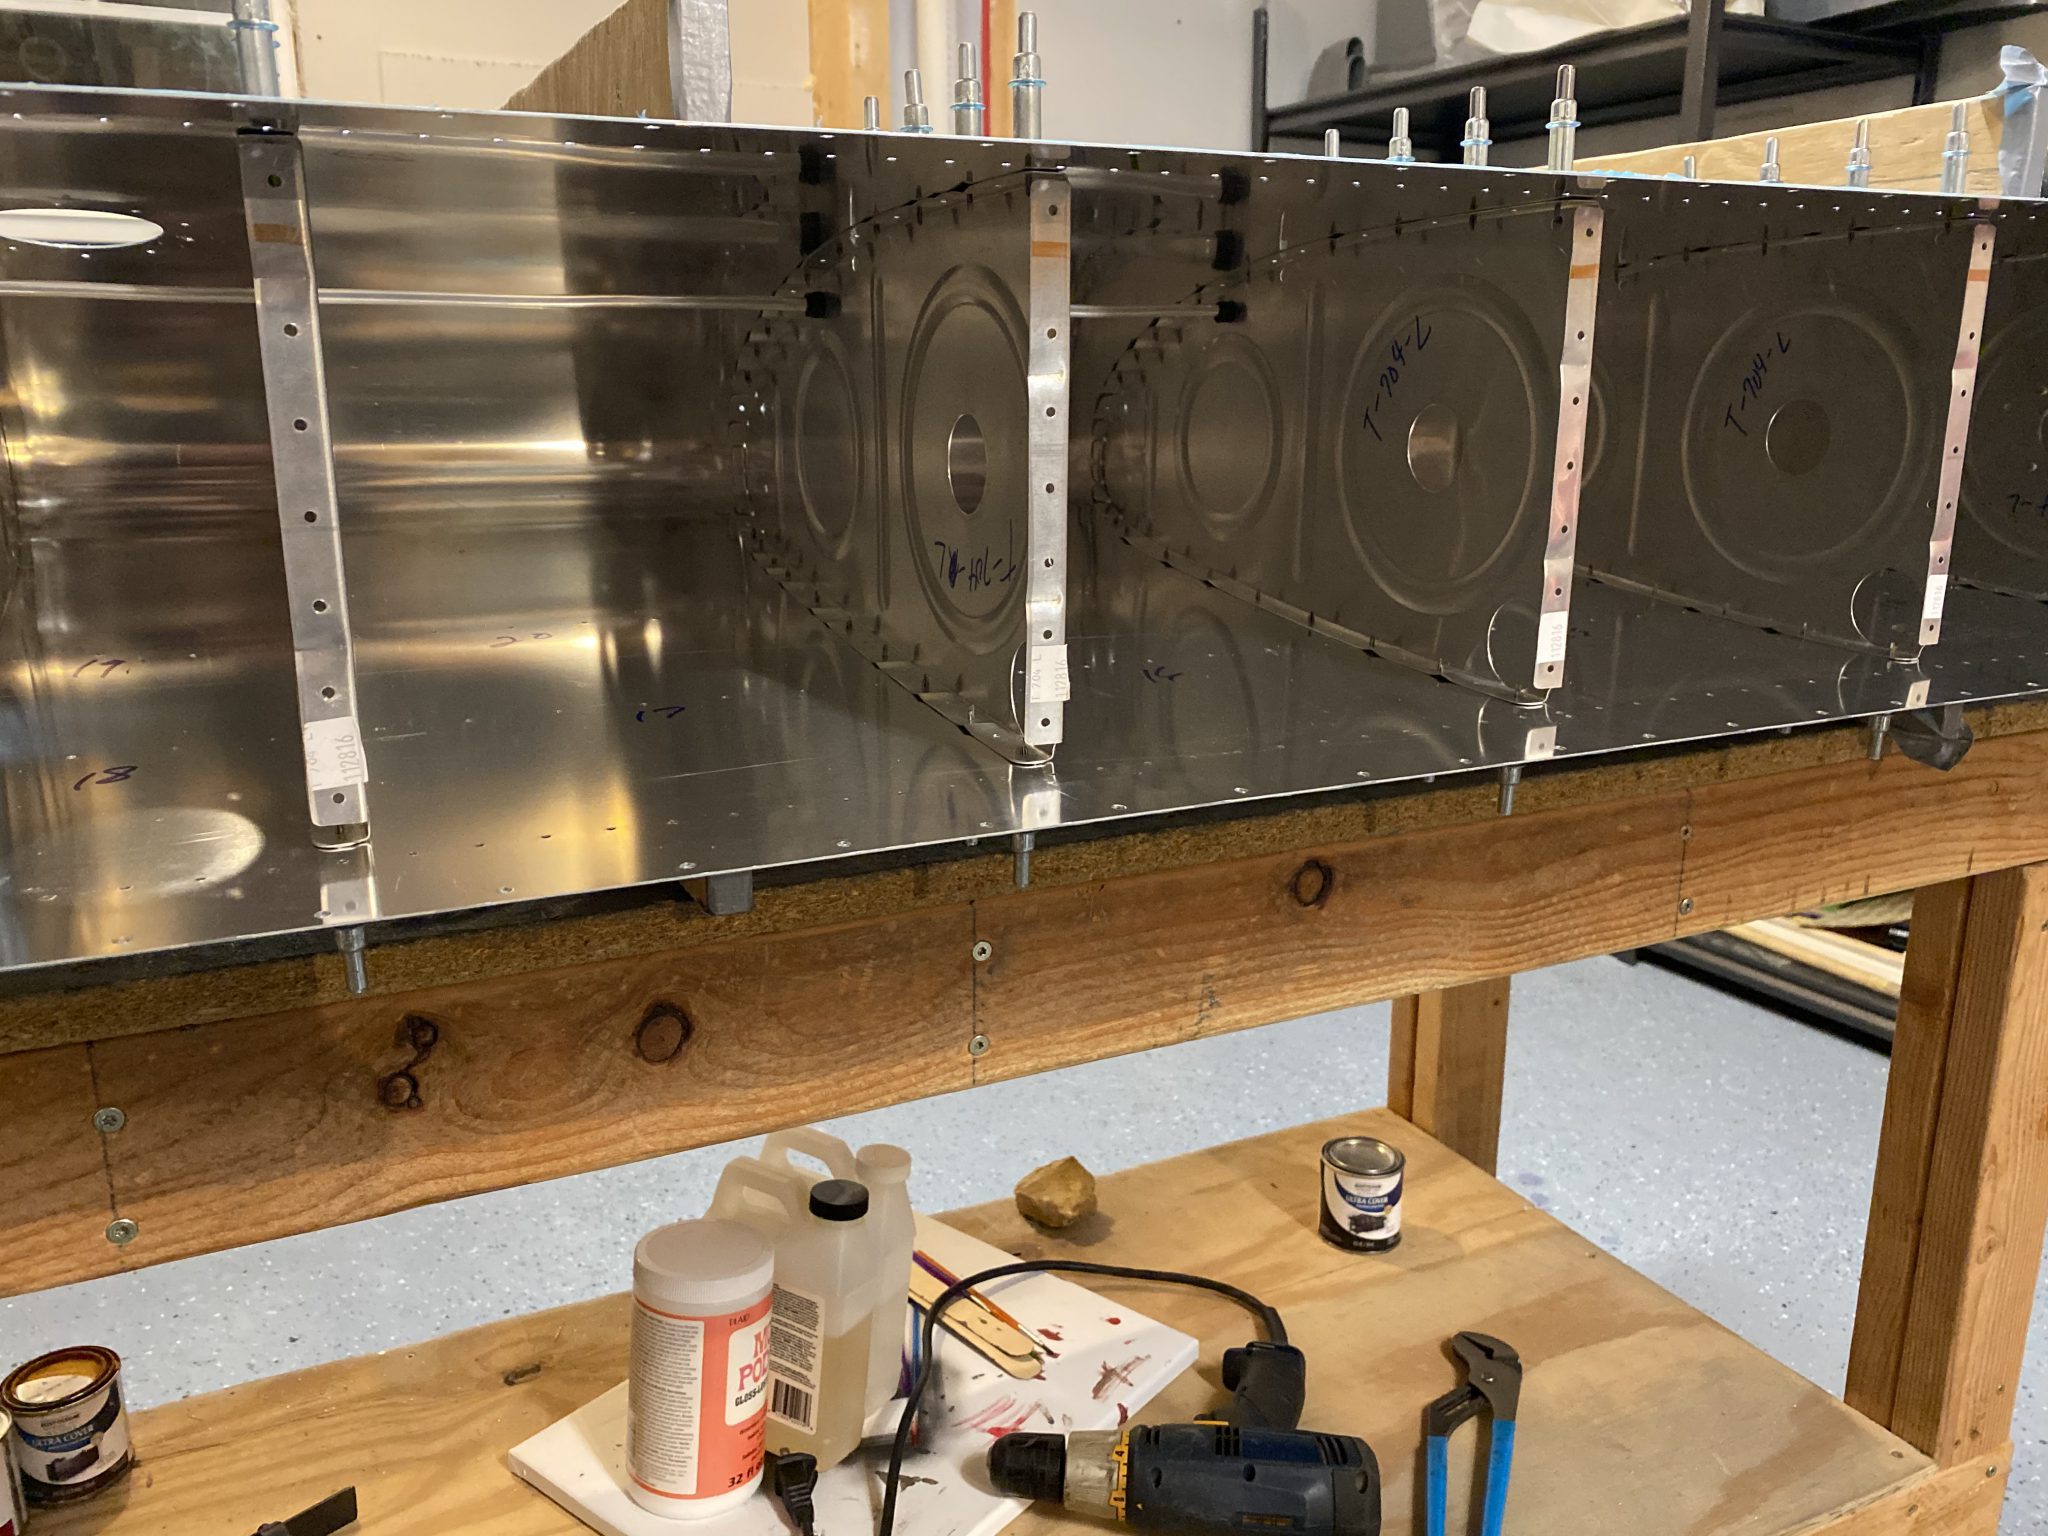
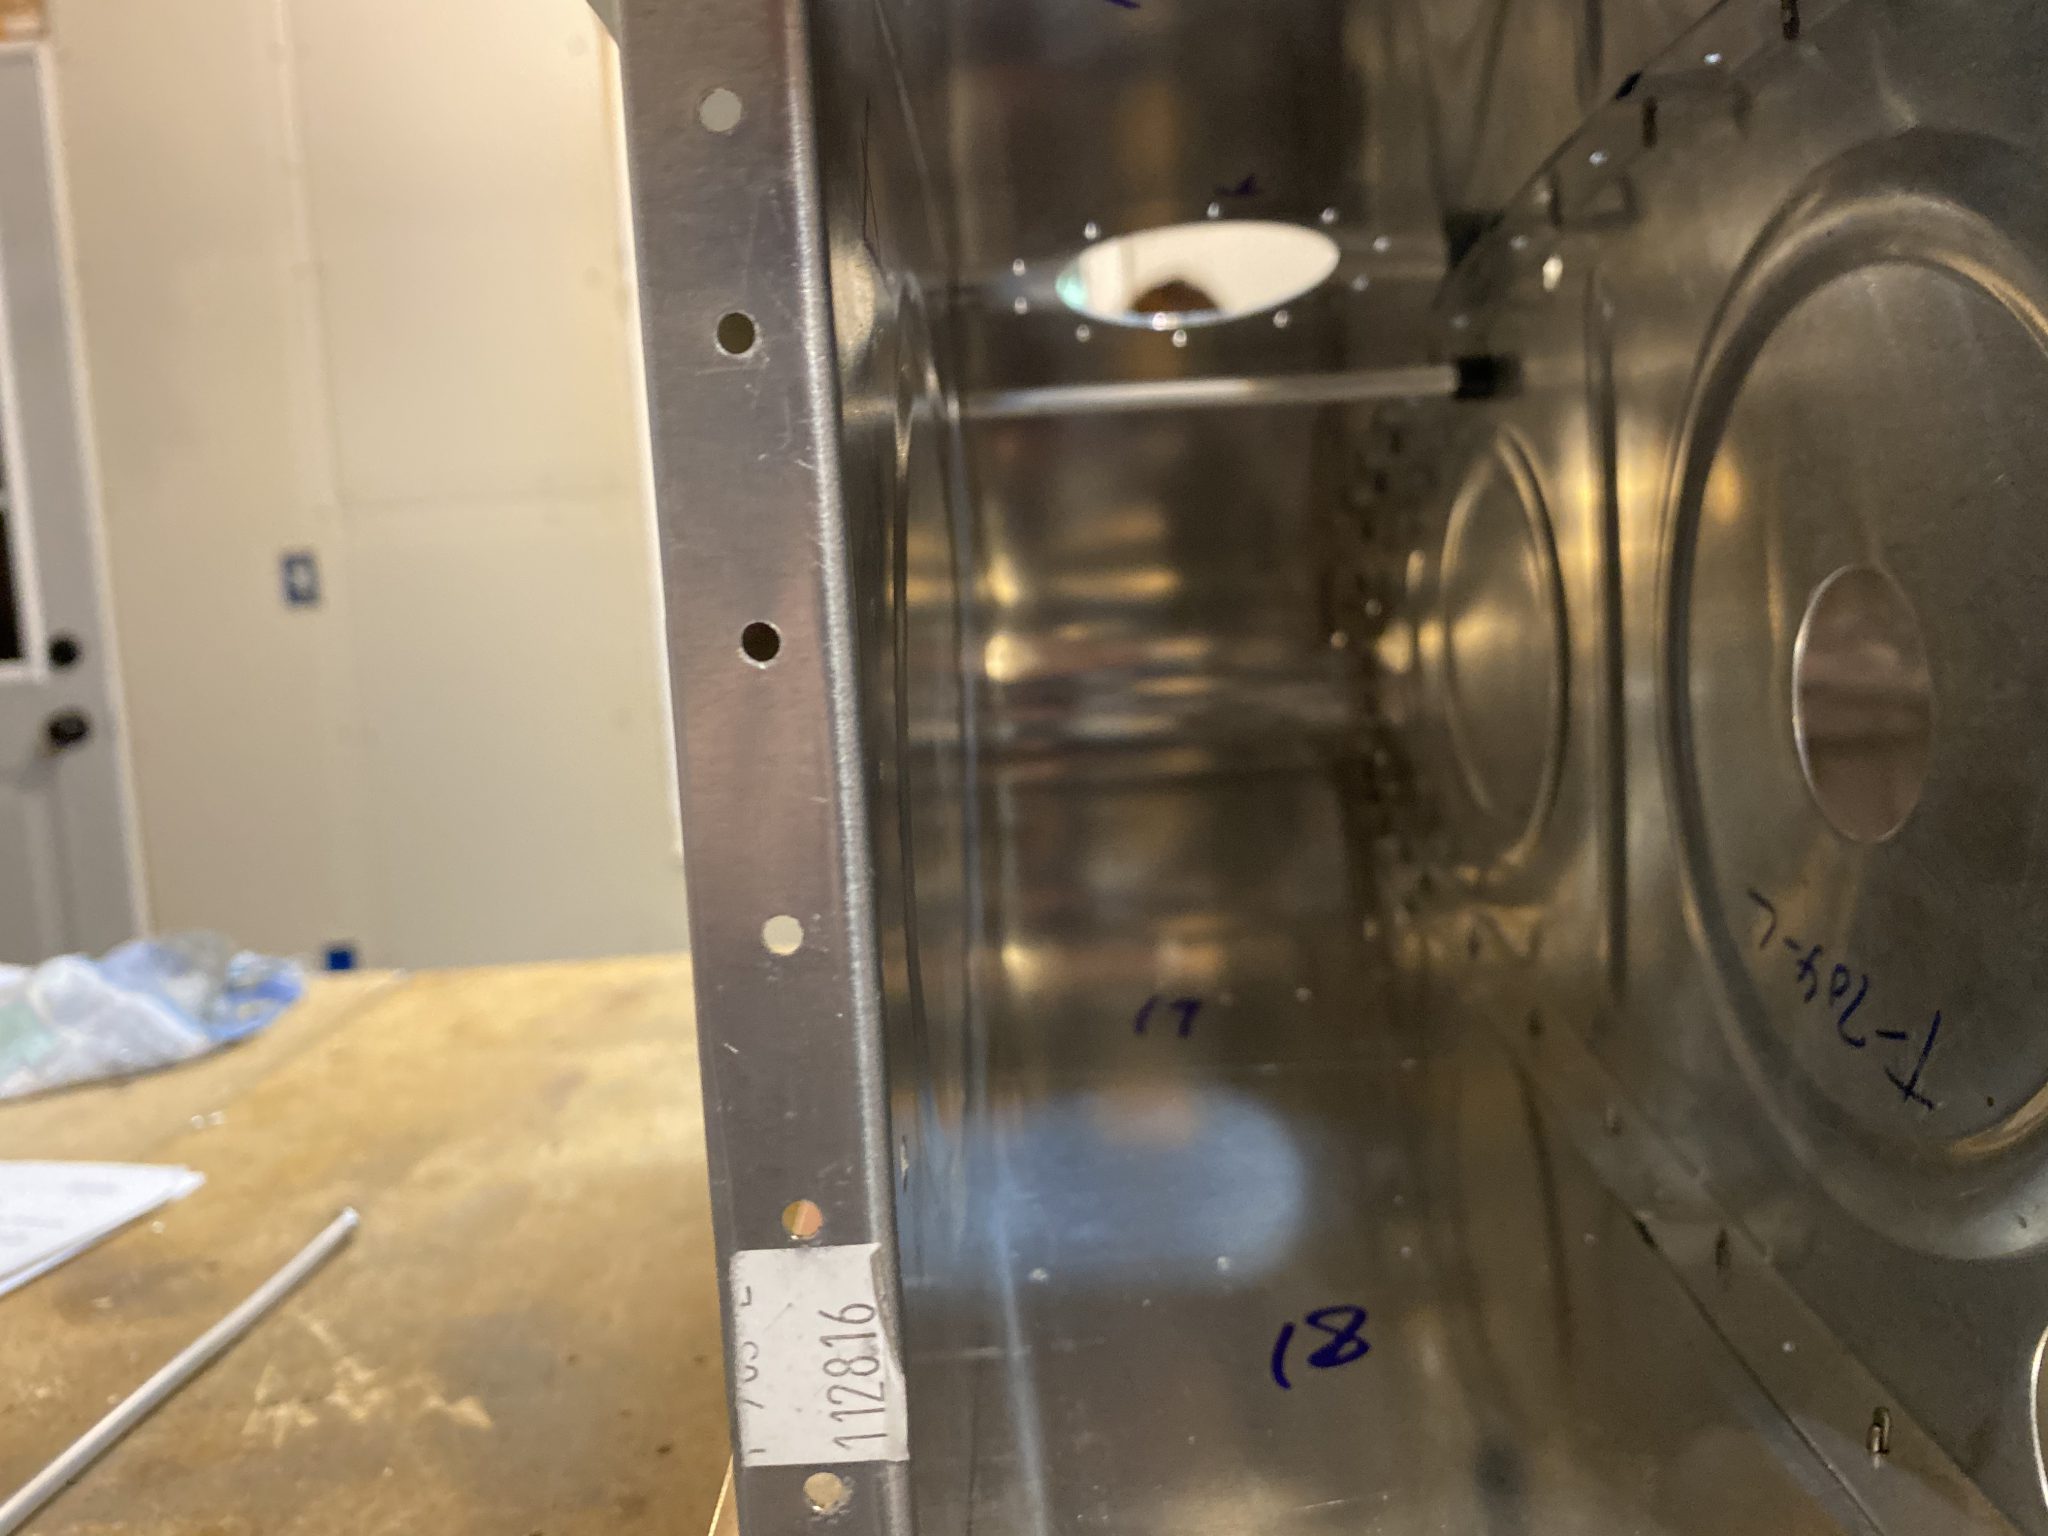
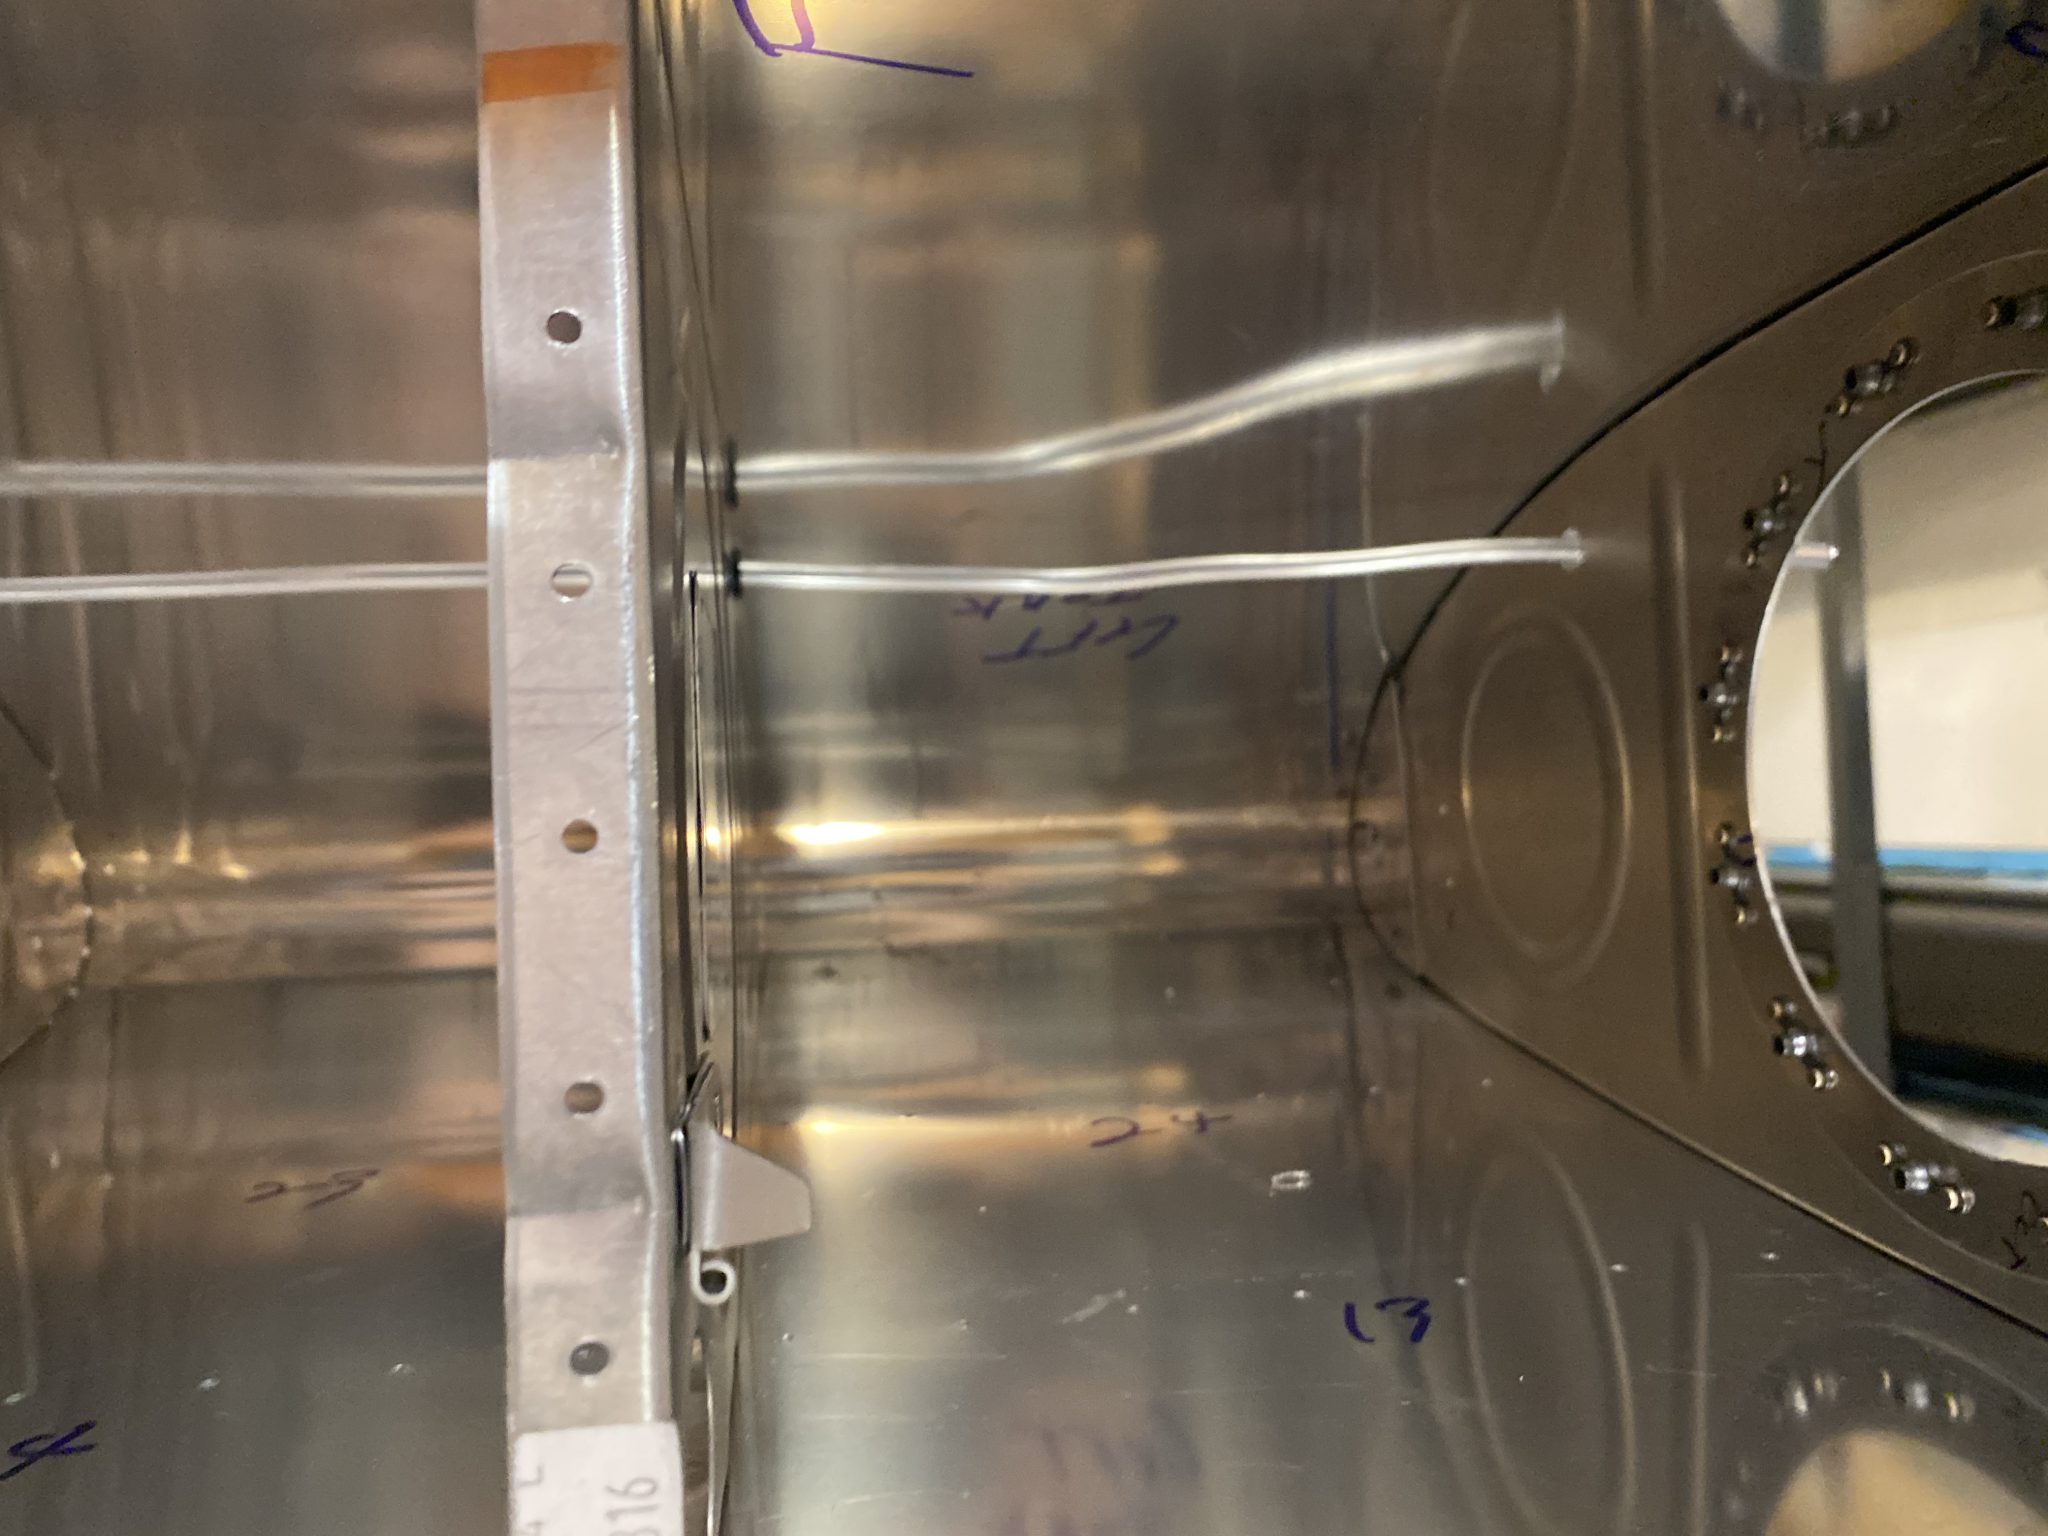
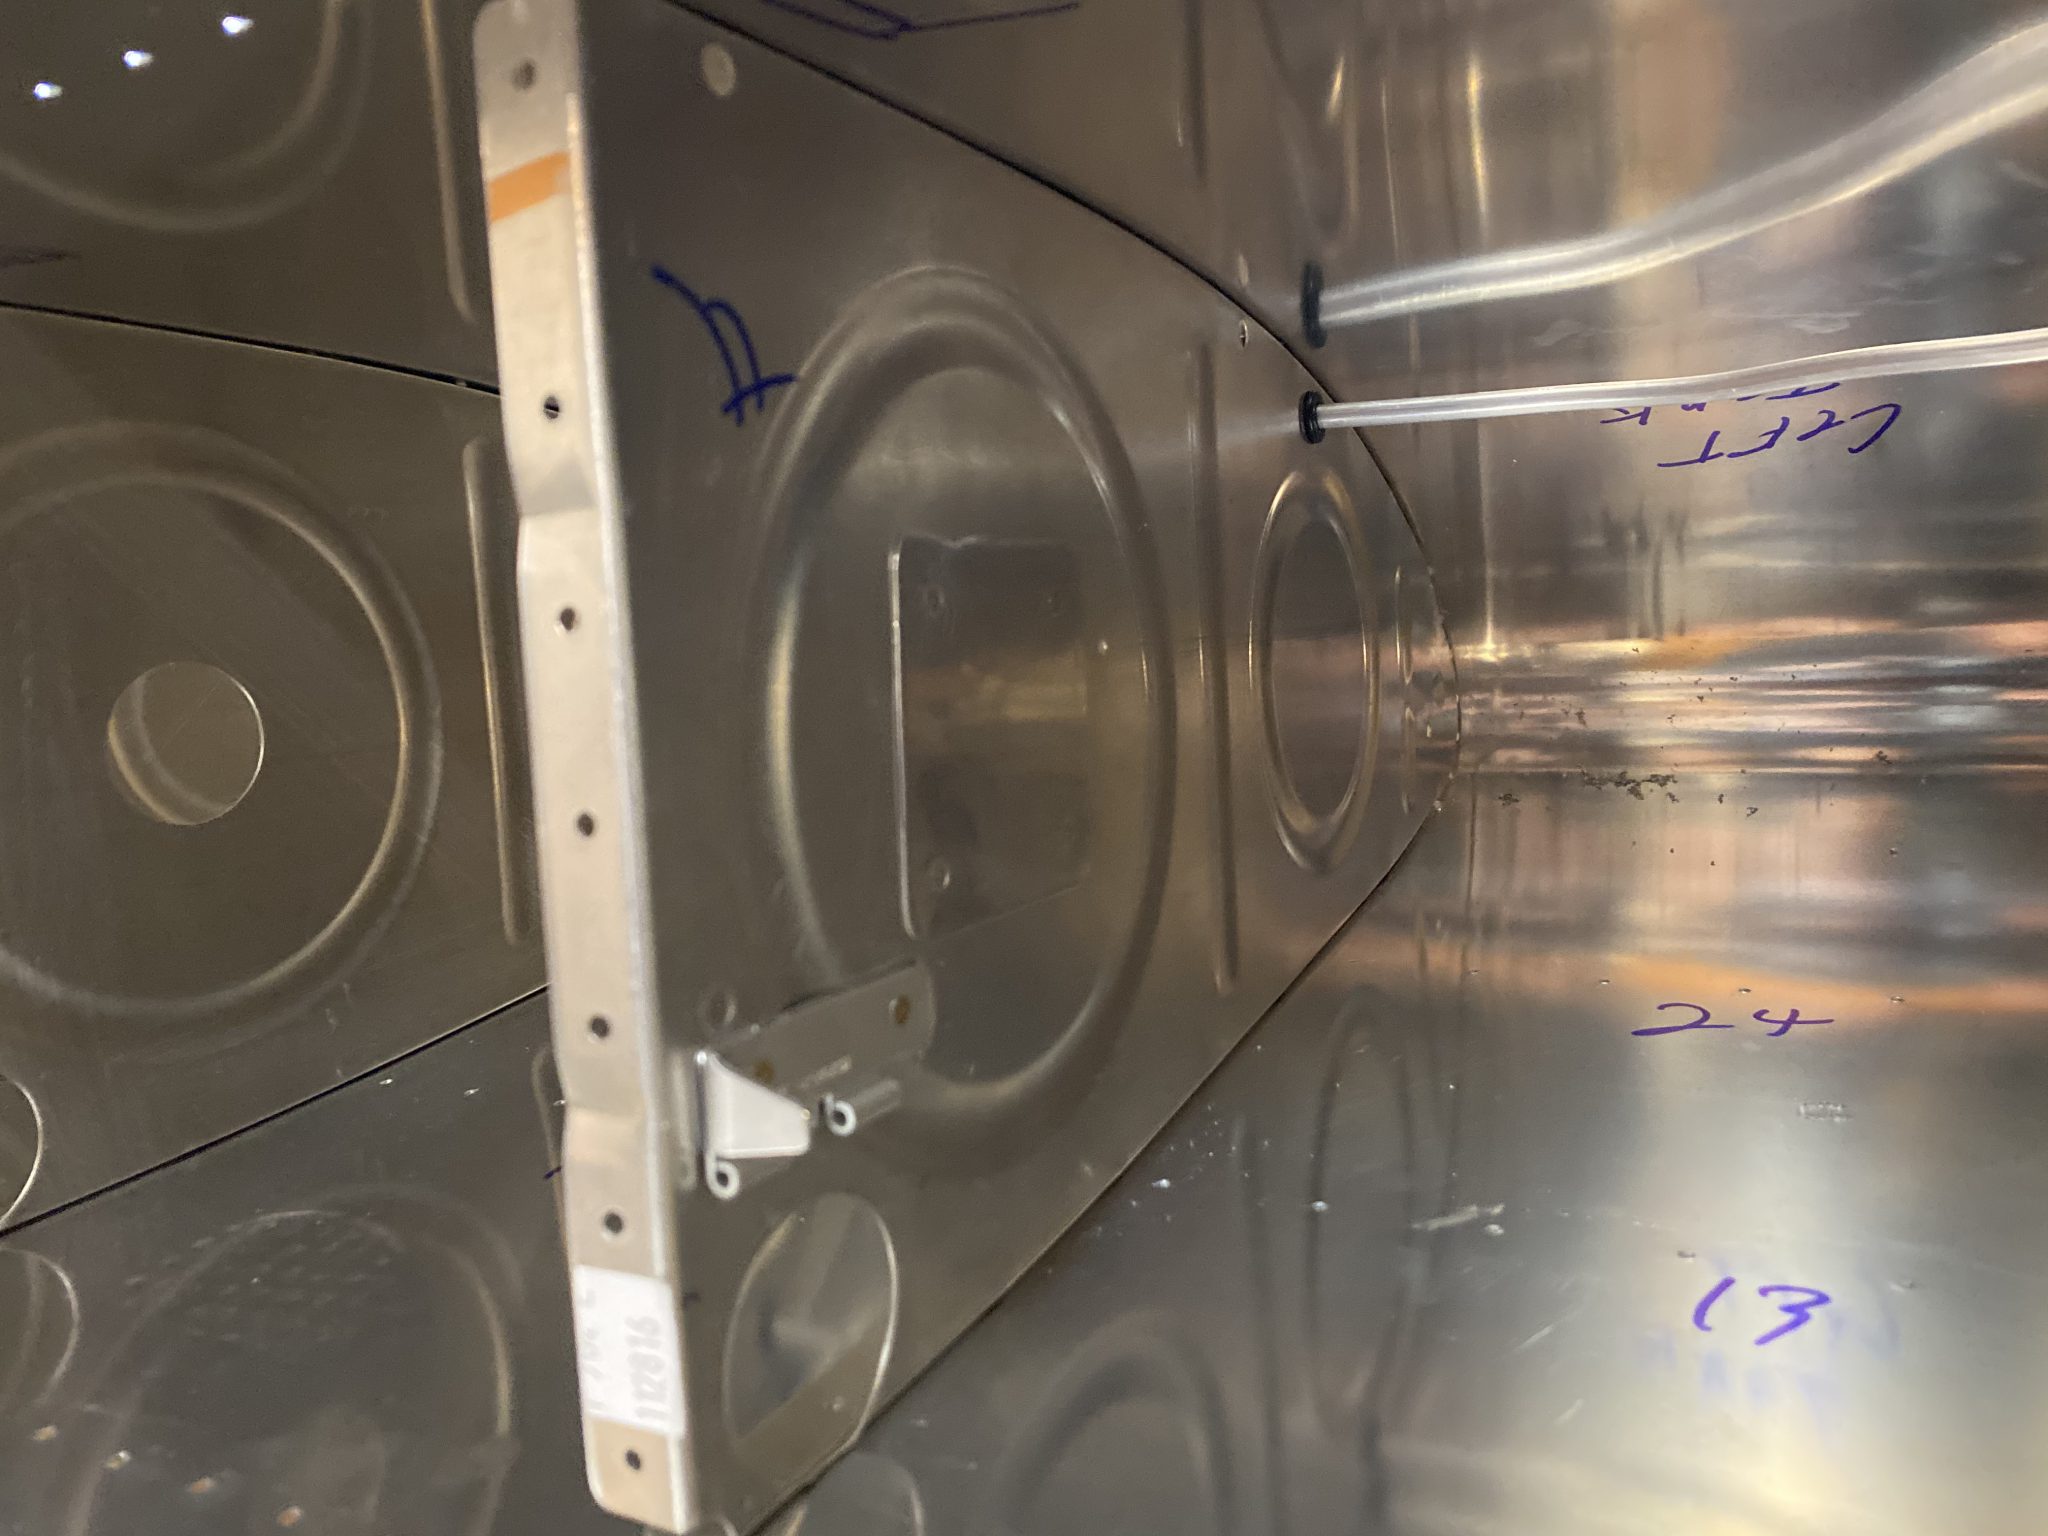
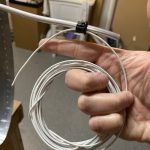
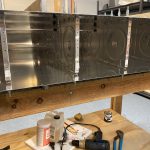
Super short session tonight. I came back in town from being on the road, and wanted to get something done on the build to keep the progress going. I left off with the left tank clecoed back together so I can start working on the last bits and hardware, and this session I decided to get the vent line cut and ready to go. I pulled out the stock of 1/4″ soft aluminum tubing which came with the wings. Vans sends 19 feet of it most of which goes for the pitot system, but I am going with a different system for pitot and AOA, so I will have PLENTY of extra to play with. I uncurled enough tubing to give me about a foot extra of vent line for the left tank. Then straightened it out and feed it through the holes in the ribs. I removed the inboard rib since I need to drill a hole for the fitting.
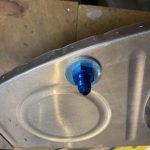
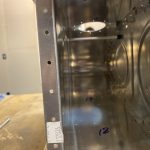
Next up was to locate and drill the hole for the elbow fitting. This is the plans for the fitting, and the rough location of where to drill the hole for it.

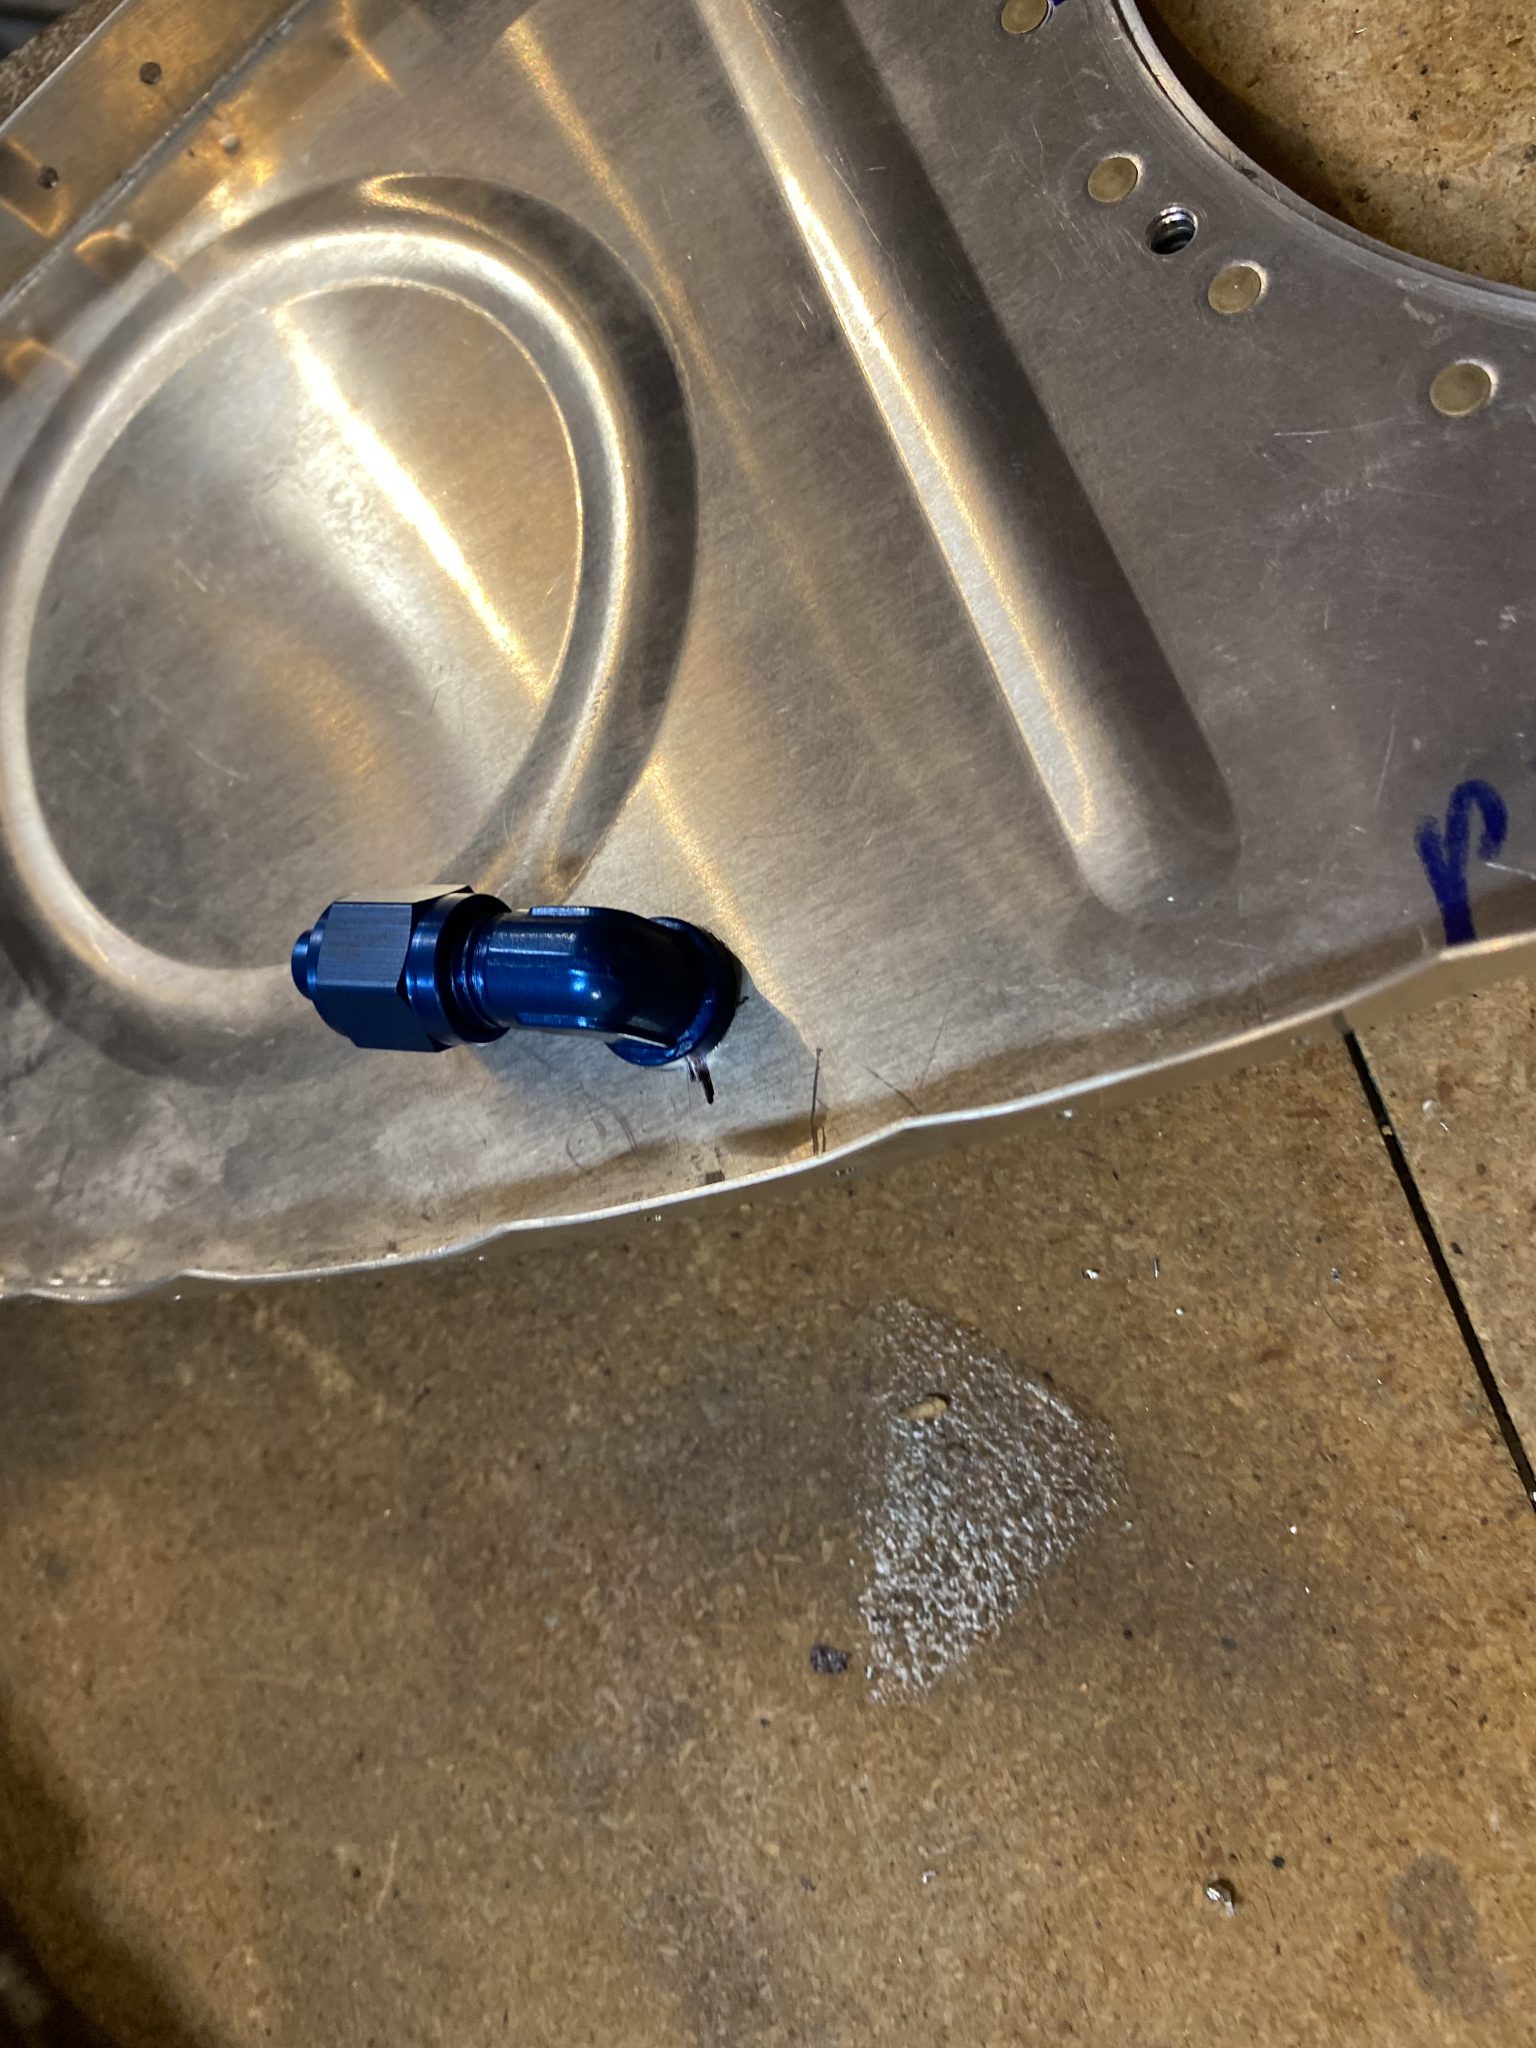
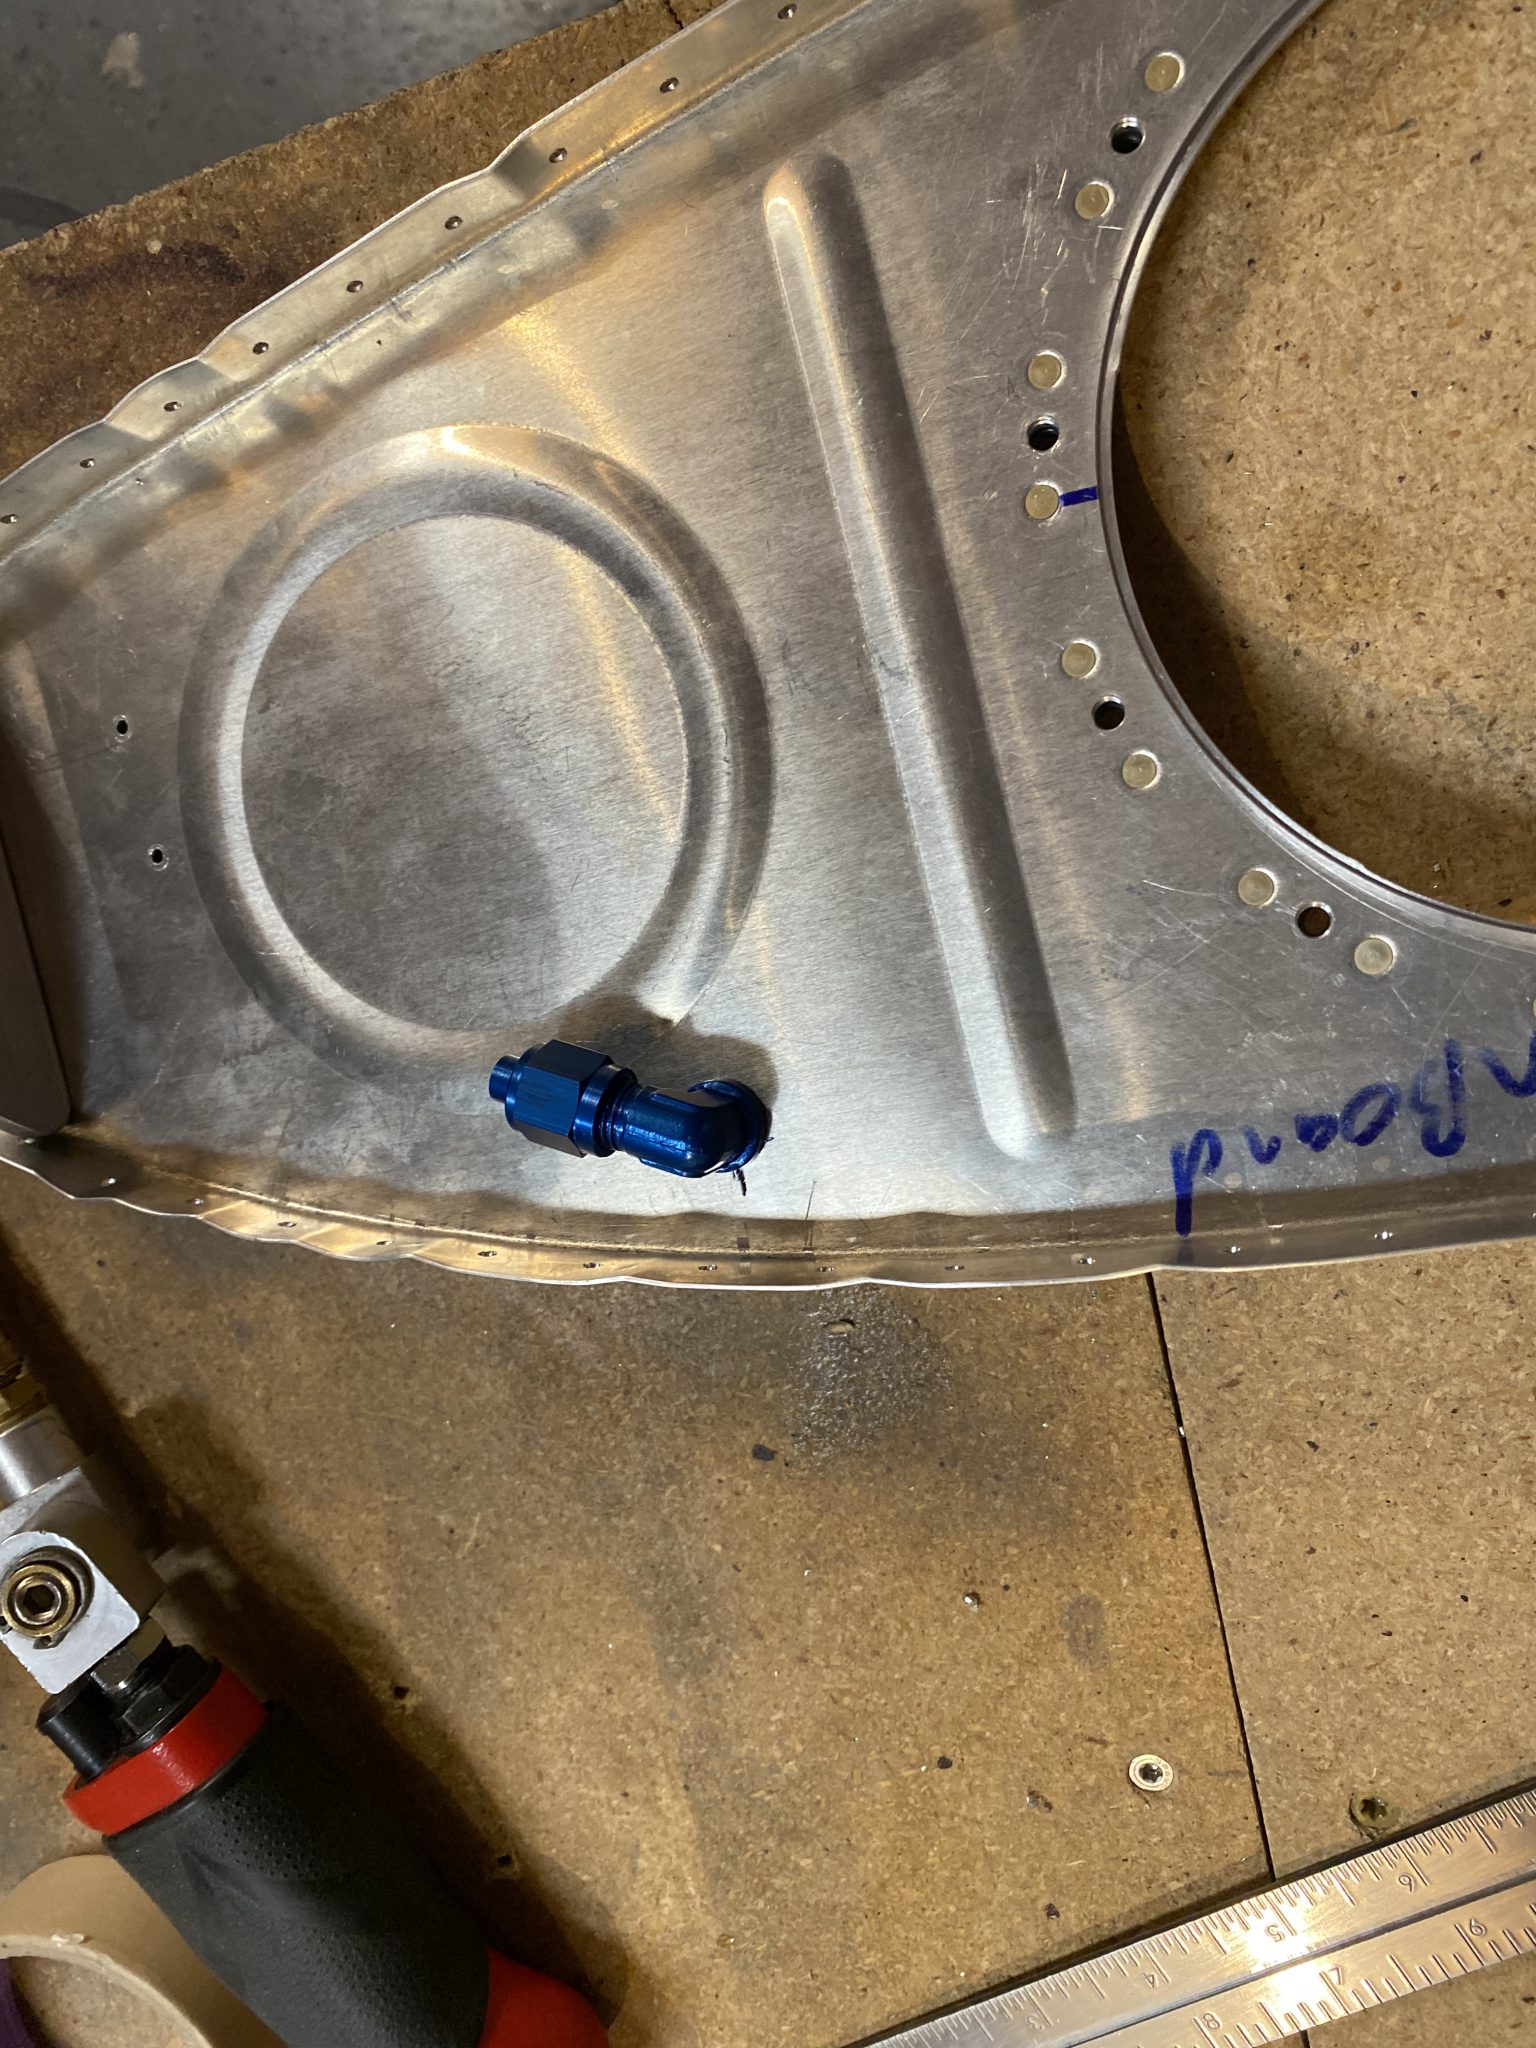
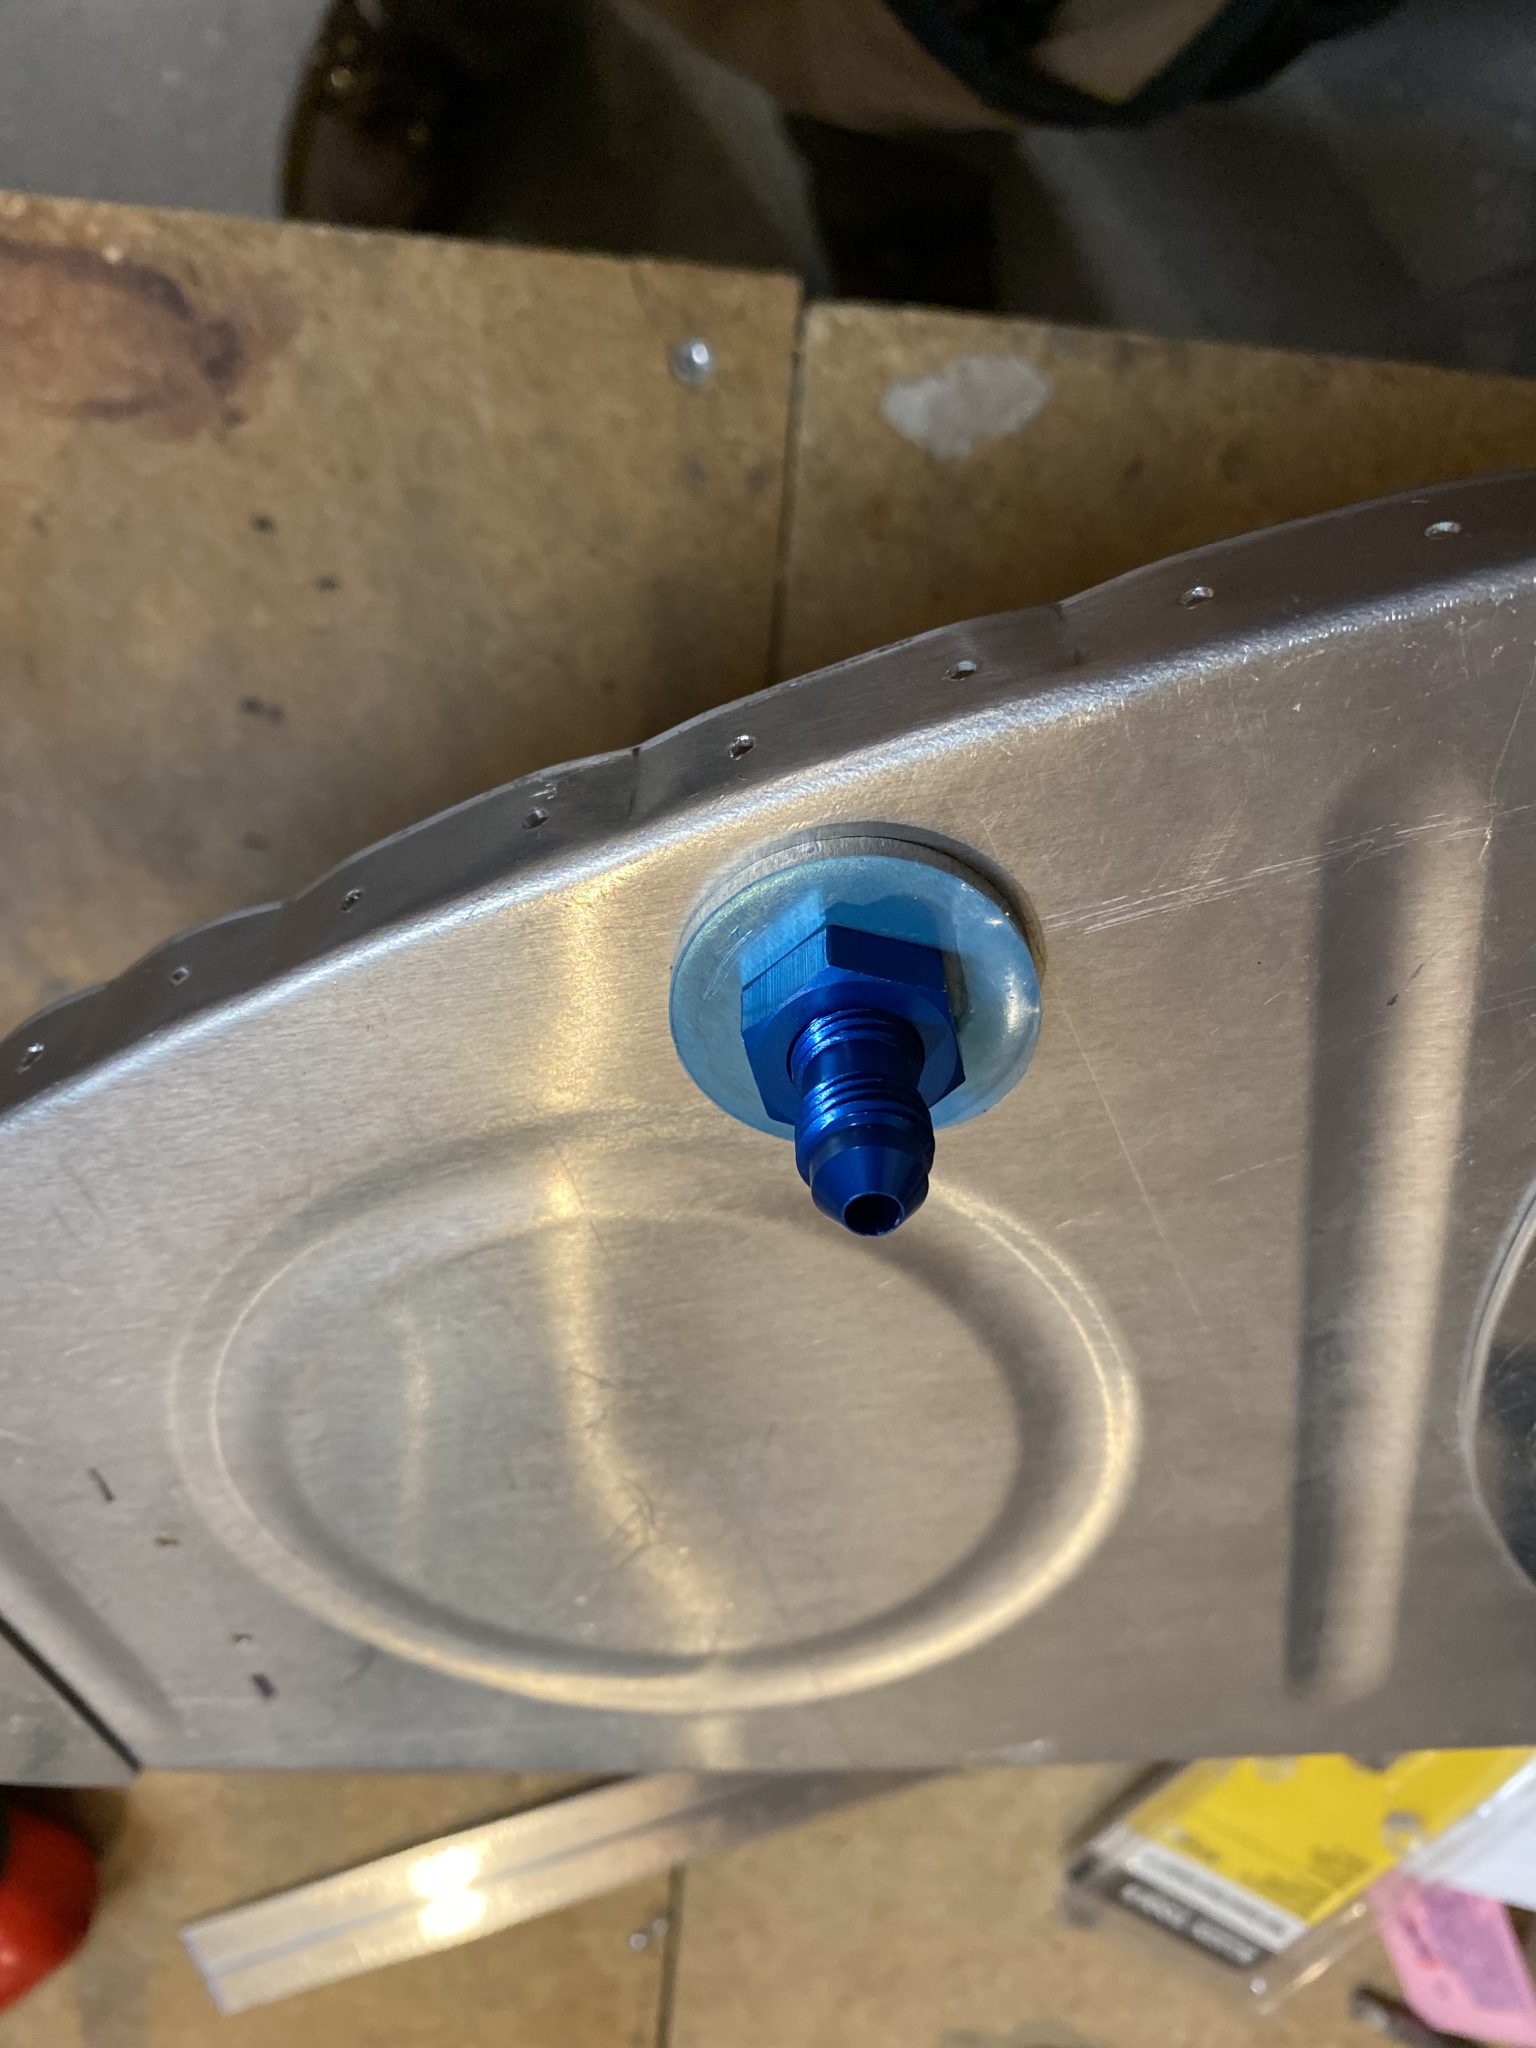
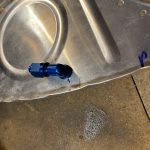
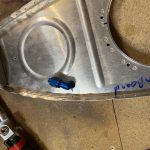
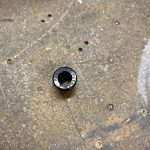
So, I made a mark in the rough location of where it shows in the plans, and then drilled a #30 pilot hole. Then opened the hole up to the proper size for the AN833-4D bulkhead elbow with a stepped drill bit.
 .
. 
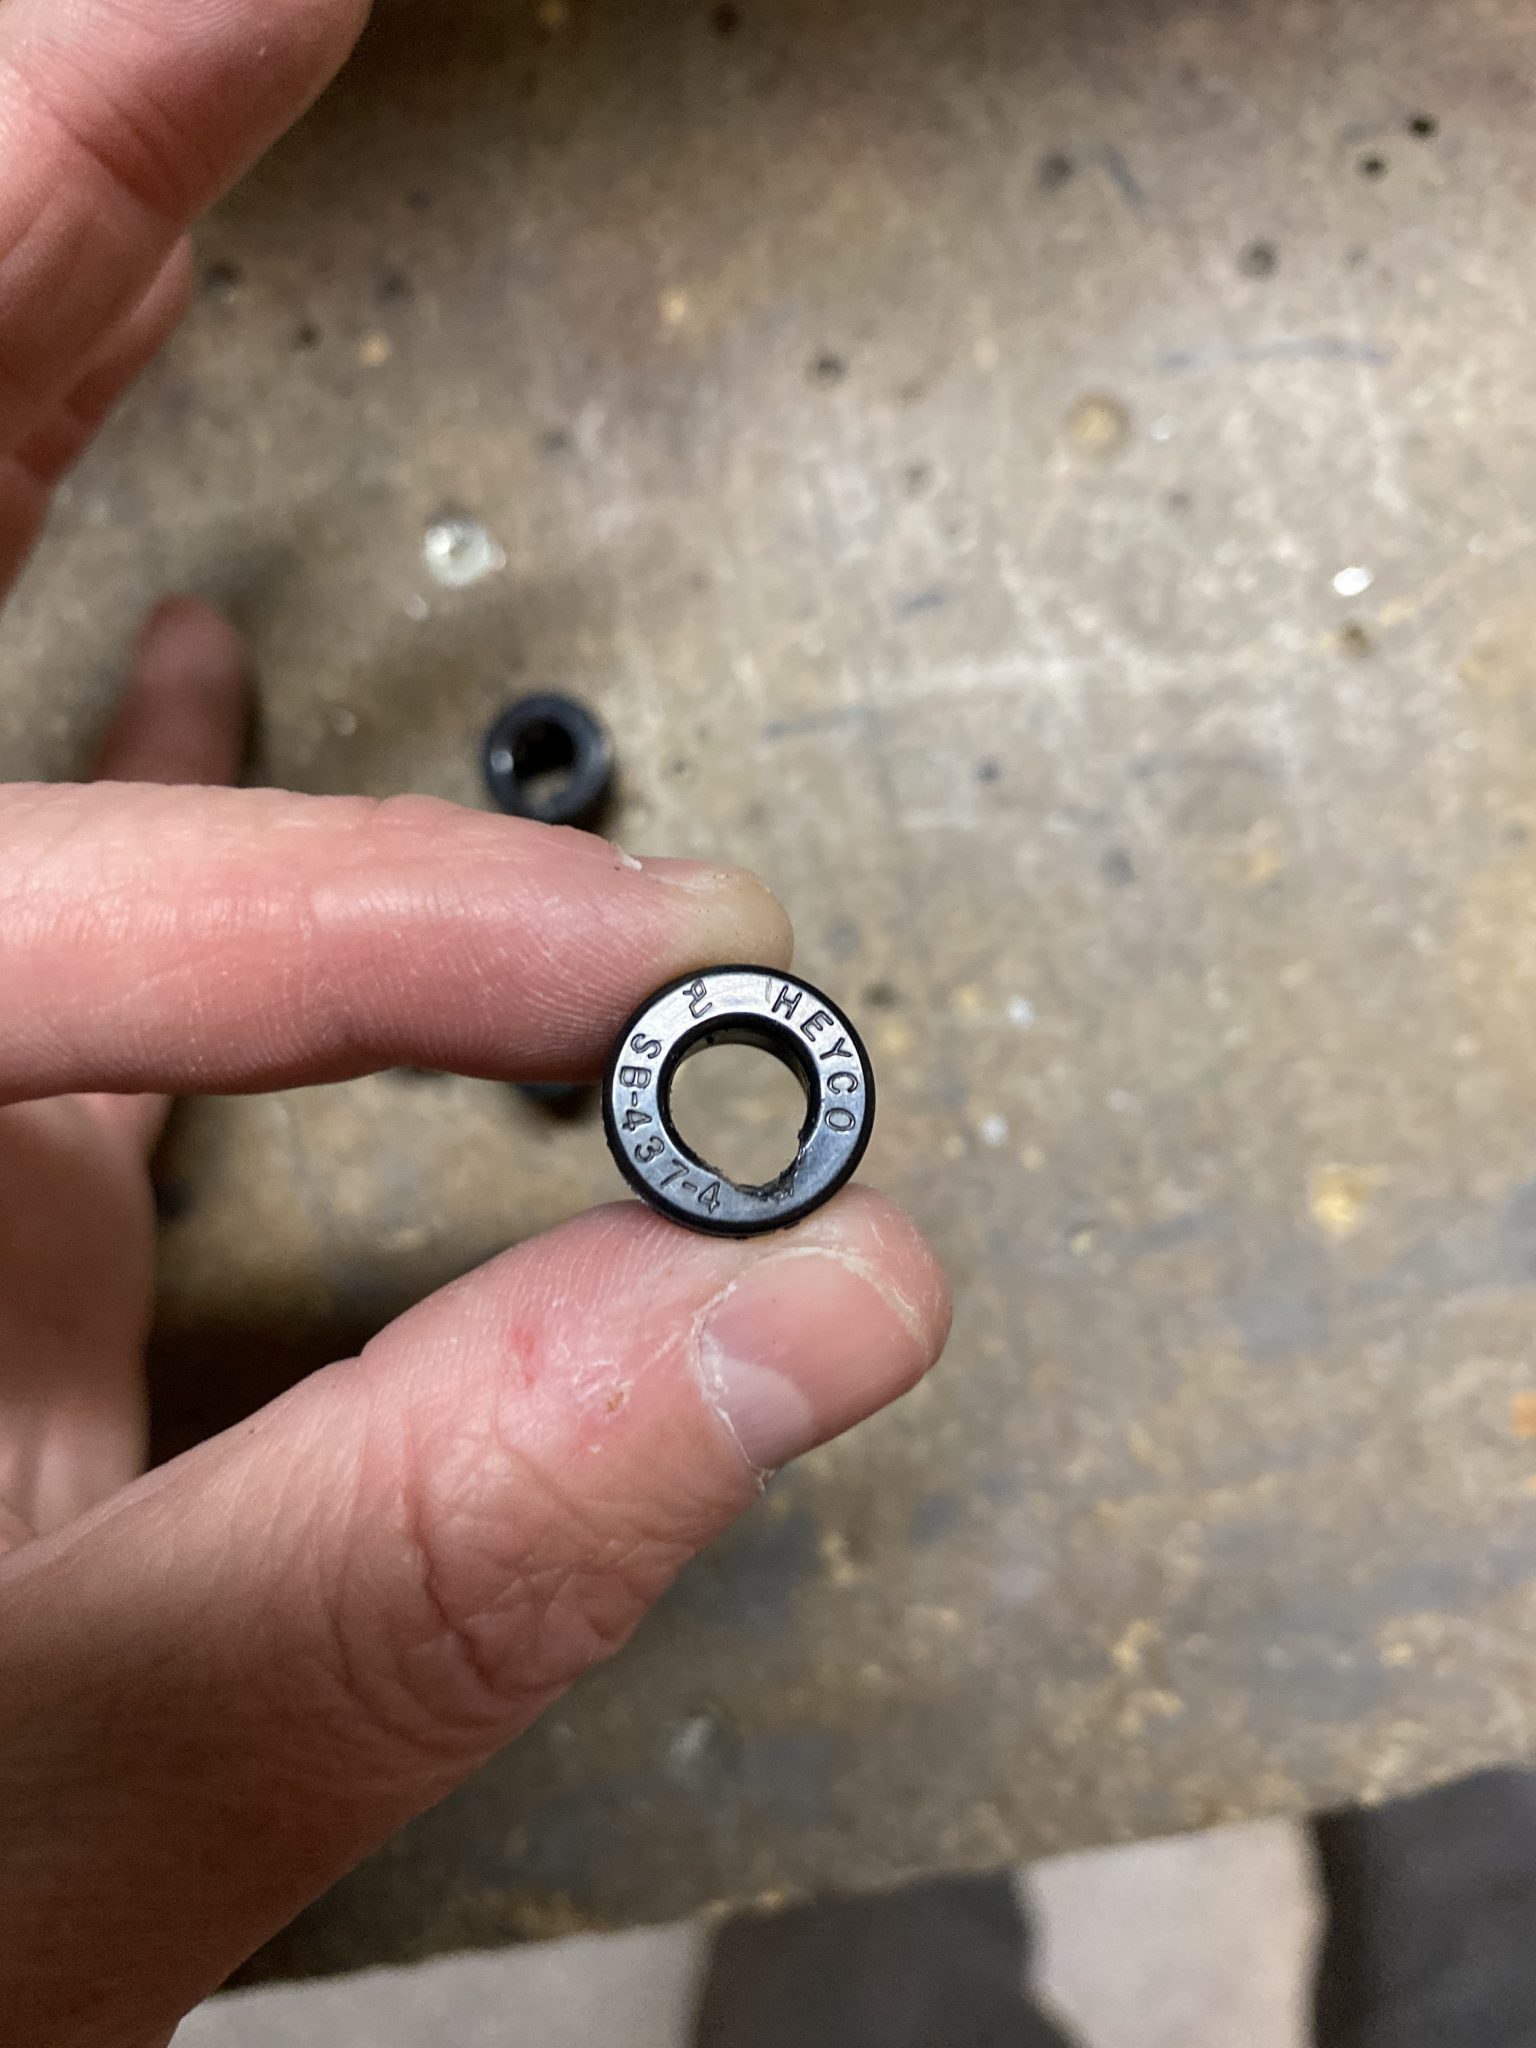
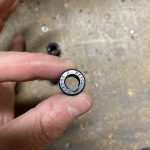
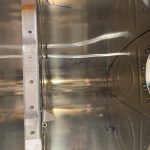
Since I am going to install capacitive senders in my tanks, I needed to notch out the bushings that the vent tube slides into in order to make room for the wiring. I used my chainsaw sharpening file to notch out the lips in the SB437-4 bushing. To make sure, I fitted the bushings on the vent line and inserted the wiring checking there was enough clearance.
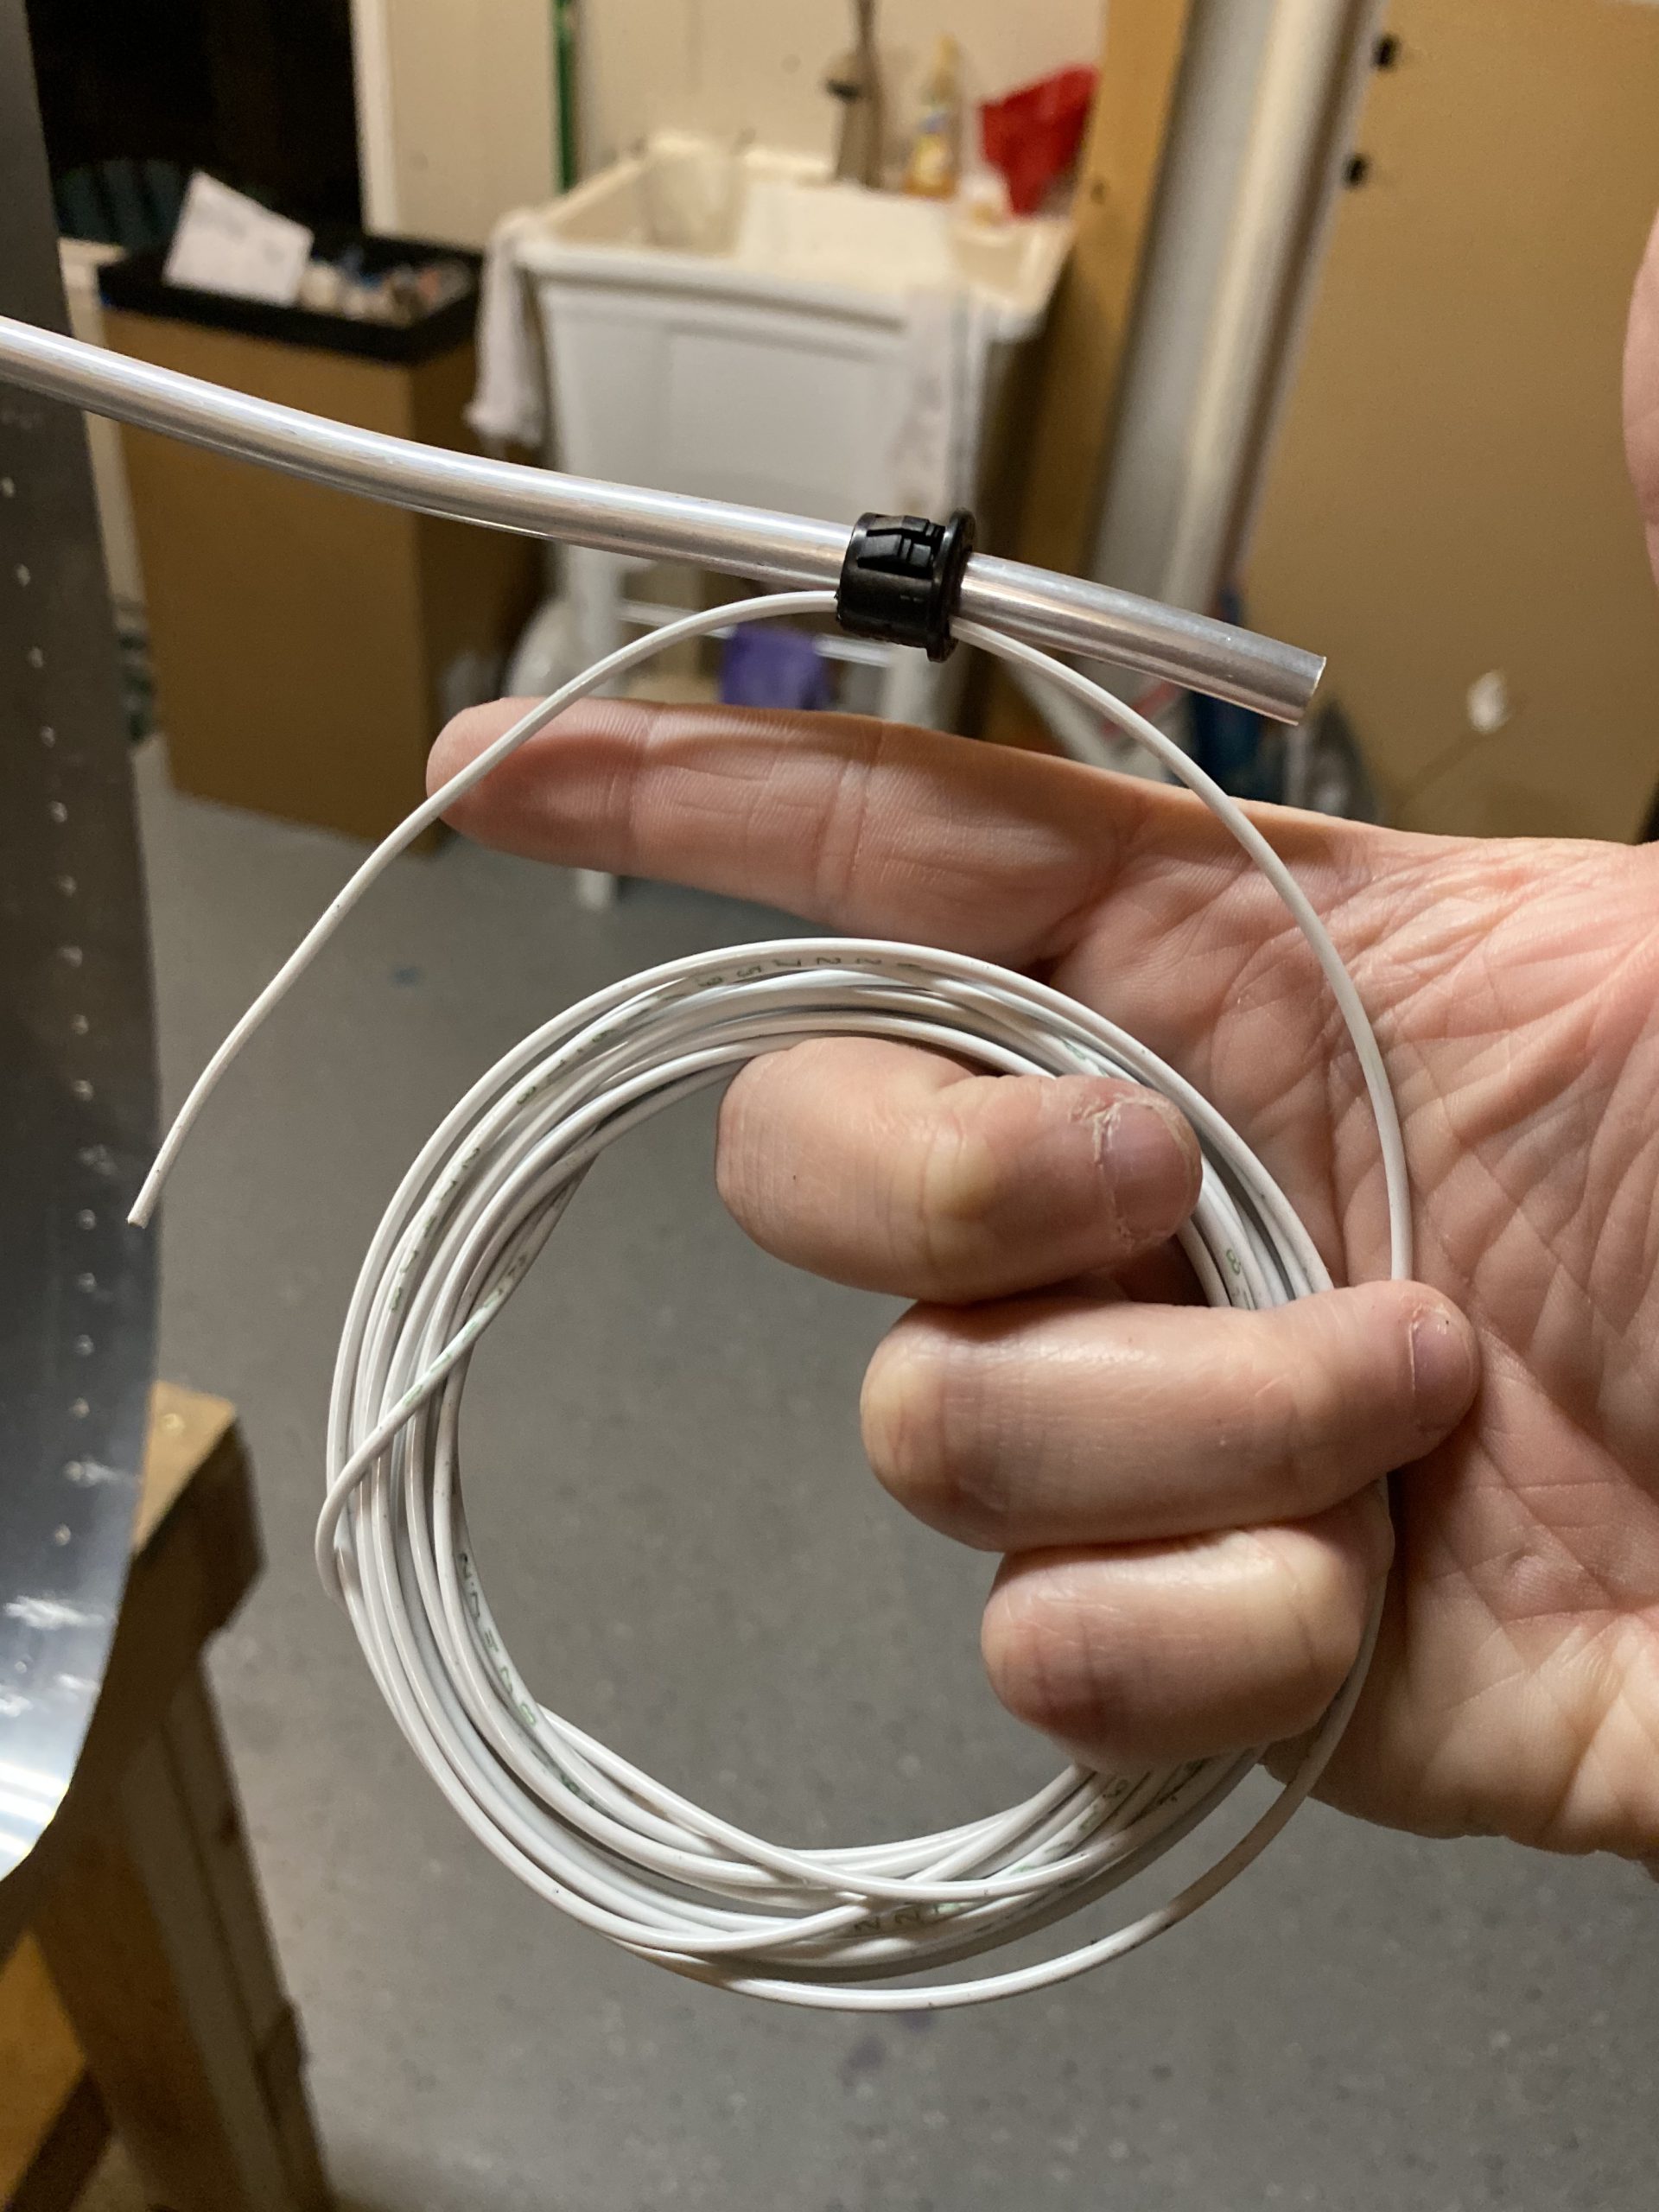
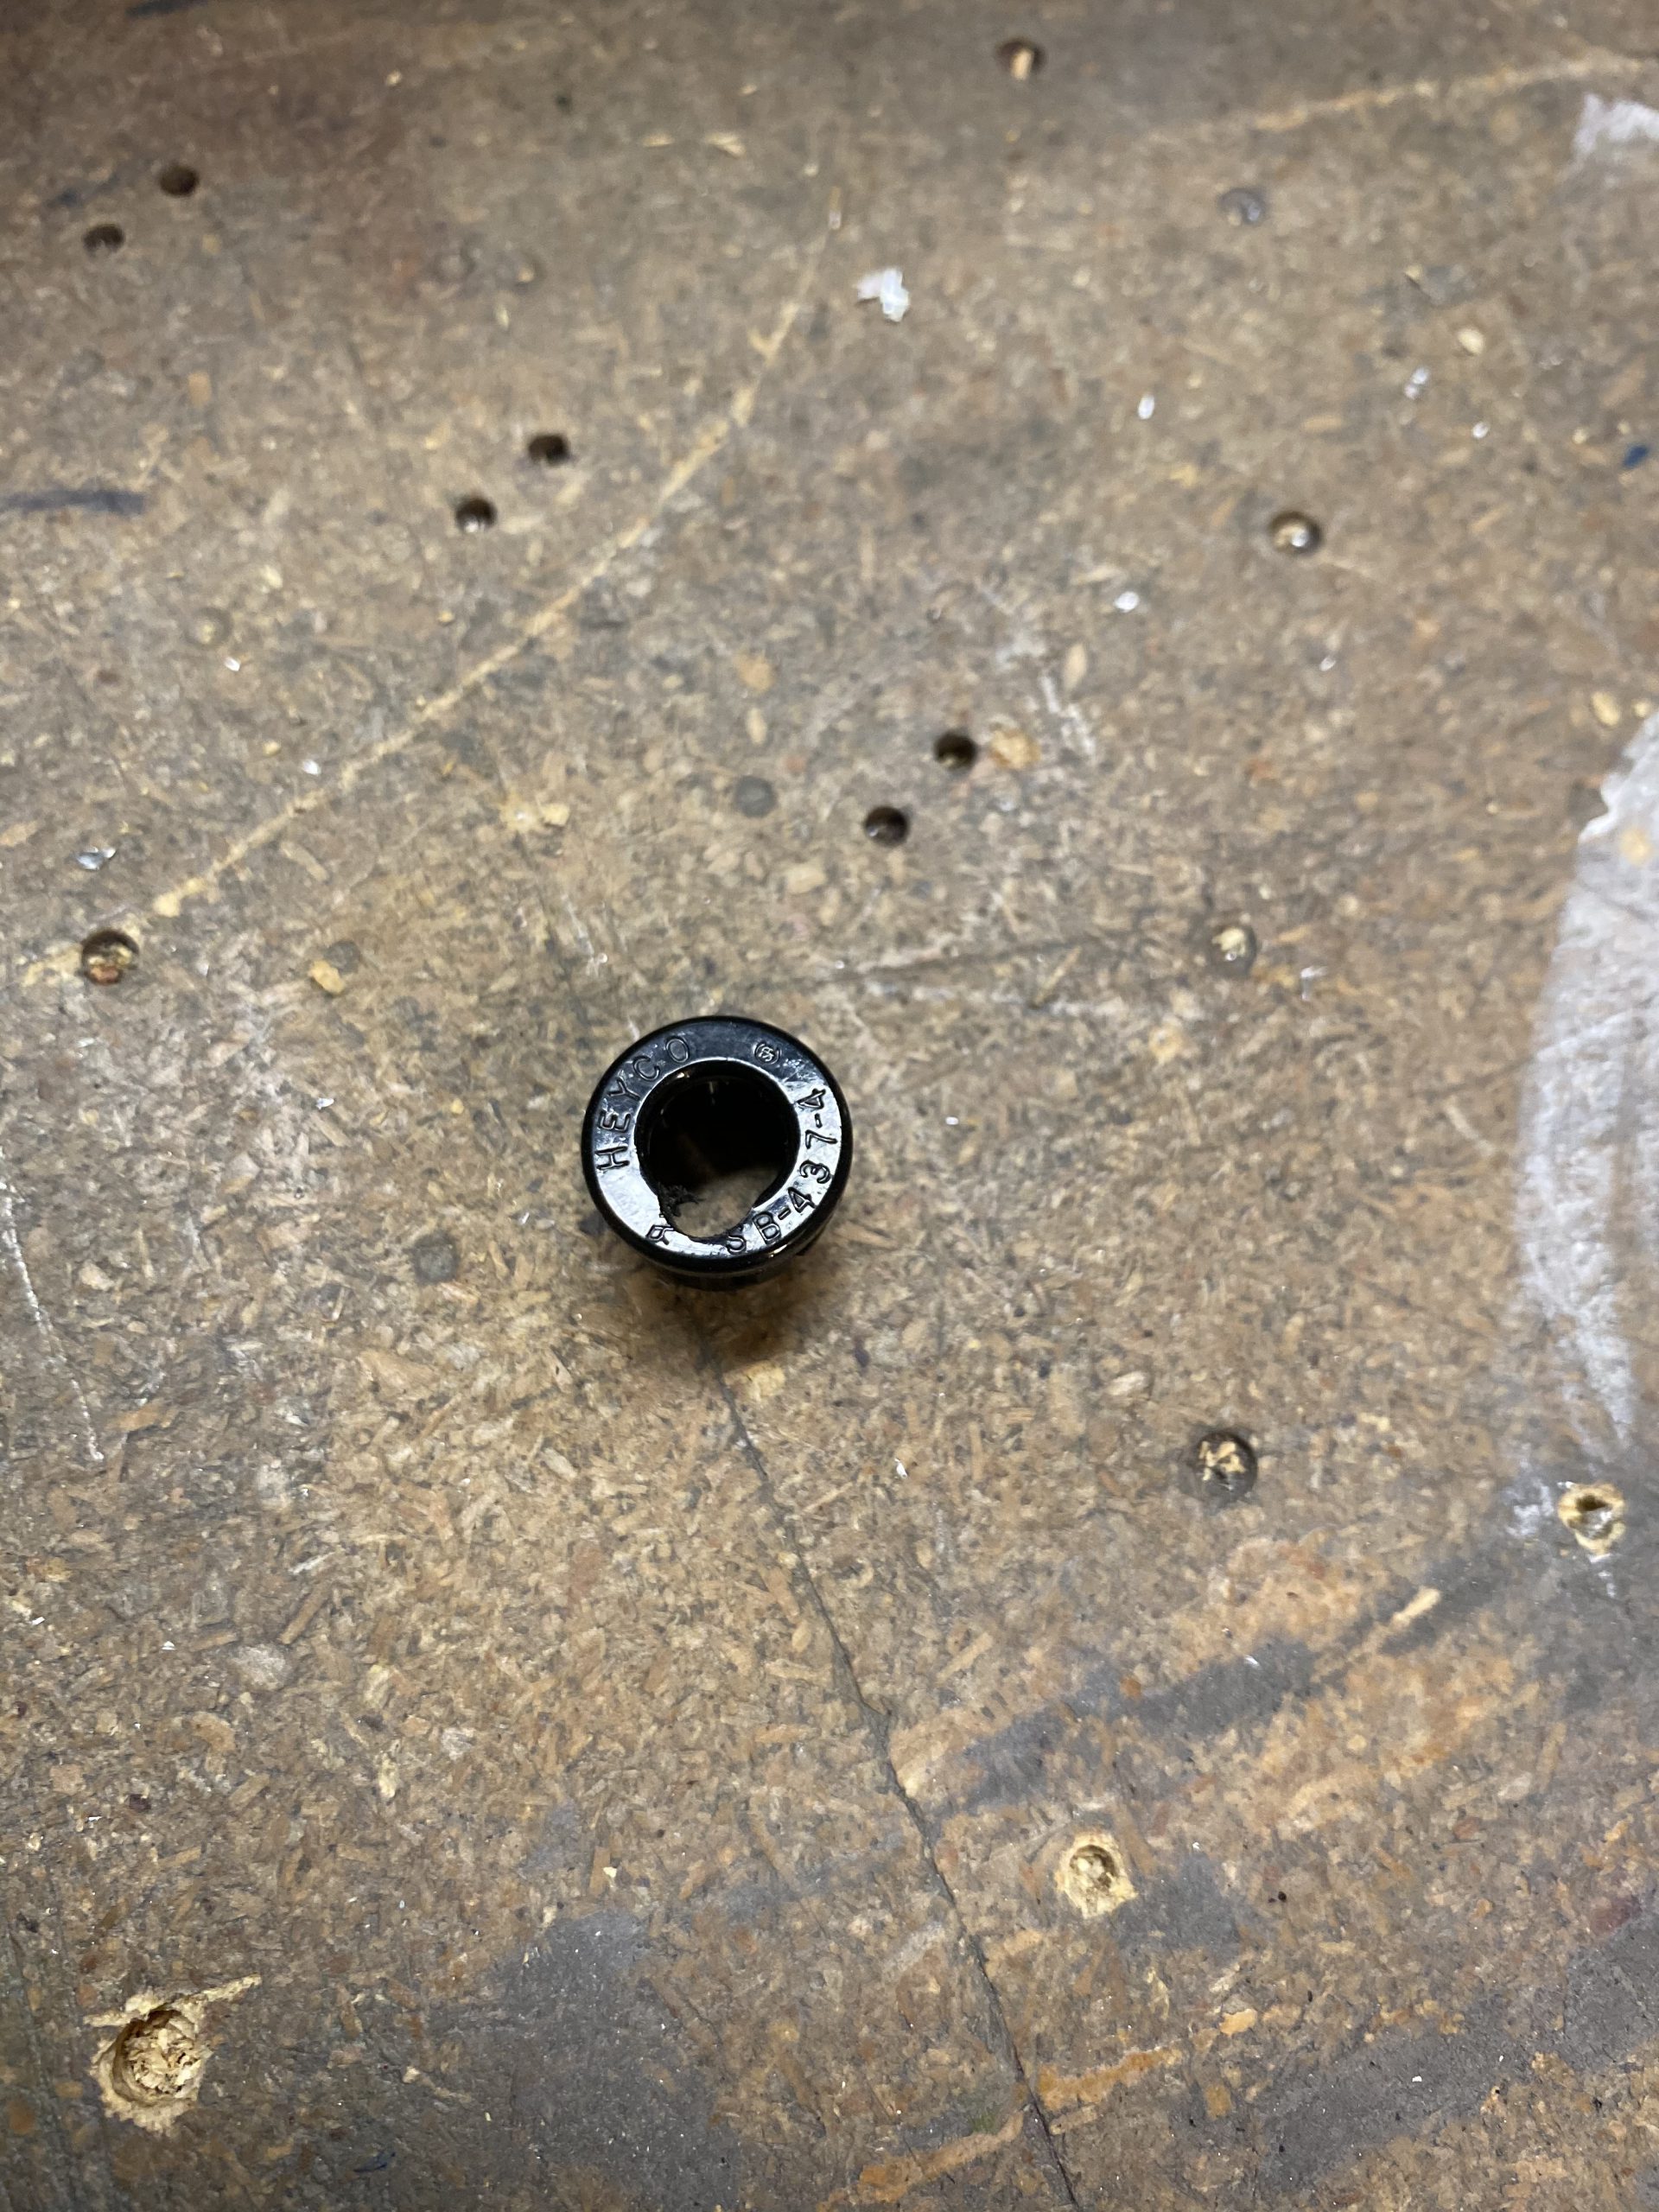
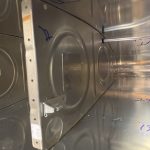
I need 5 of these for the ribs in each tank, so I went ahead and notched out 10 of them, which is enough for both tanks. Then, I snapped five of the bushings into the ribs for the left tank after I had deburred the holes for them. After that, I threaded the aluminum tubing into the ribs, through the bushings so that I could get it lined up and cut to length and flared. I need to pick up a tubing cutter before I cut to final size. My tool kit came with a nice Parker flaring tool but not a cutter. heh. So, I’ll order a tubing cutter this week and get it ones its way. Heres where I ended up tonight:

Thats where I leave it for the night. I’ll get a tubing cutter on the way, but I can start working on the capacitive senders while its being shipped. I left my tubing a little long to give me some room for margin, and I also have some scrap tubing to practice cutting and flaring on before moving on to my “production” parts.
-
 IMG_0932
 -
 IMG_0931
 -
 IMG_0934
 -
 IMG_0933
 -
 IMG_0937
 -
 IMG_0936
 -
 IMG_0935
 -
 IMG_0938
 -
 IMG_0939
 -
 IMG_0940
 -
 IMG_0941
 -
 IMG_0942
Google Photos Link: https://photos.app.goo.gl/zYoputXmk6761L2H6
Hours Worked: 0.75