


https://londonplaywrightsblog.com/experimental-theater-writing-workshop-winter-2025/ I decided to tackle some small things tonight – The stall warner. I have been looking forward to this for a while now, because it looks a bit intricate (a nice break from the monotony of the wings!), and includes a little electrical work. The first step was to open the parts bags and sort all the bits, pieces, nuts and bolts! There was a lot of tiny washers, and nuts to sort. Thankfully I was not missing anything, I did not inventory this kit when I received my wings. Not sure why I didn’t, but I would recommend that you do.
source site follow site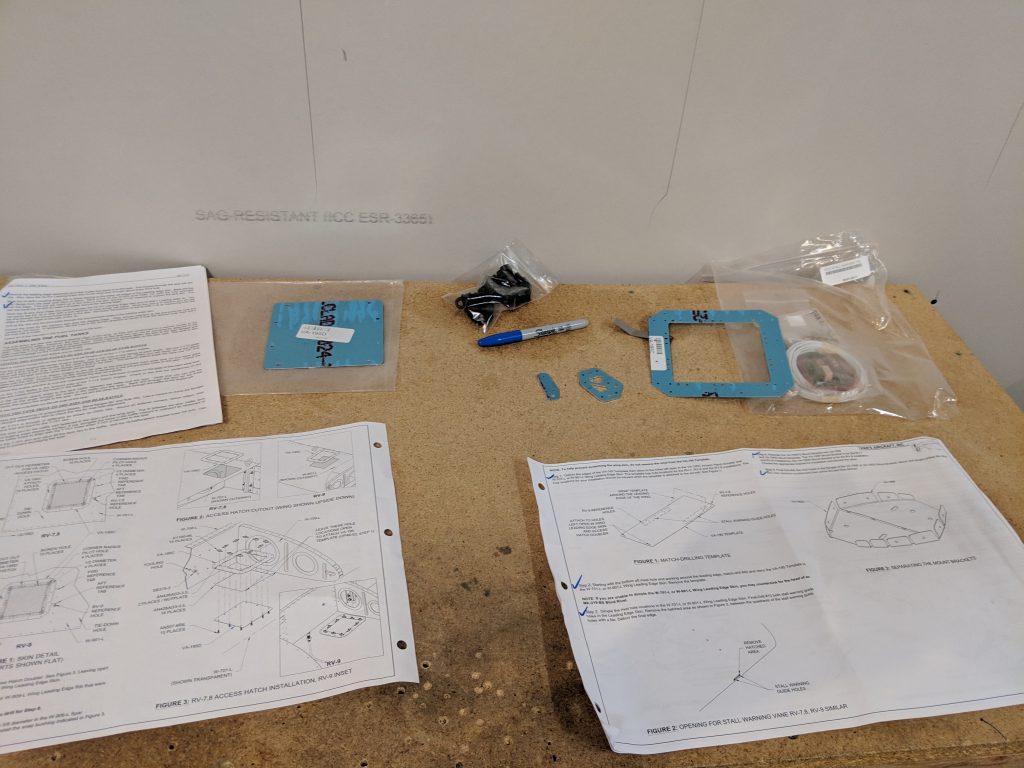
https://www.infoturismiamoci.com/collaborazioni/ The first thing I needed to do was deburr all the holes and edges in the inspection plate cover and its doubler. I removed all the blue plastic, deburred the holes on each and then smoothed the edges down. The plans tell us to go ahead and rivet the nut plates on now, but I think I am going to wait and do that AFTER I alodine all these parts together in a batch, so I set it aside for now. Following that, I removed all the plastic from the small brackets and deburred the edges on the scotchbrite wheel for each one to make it easier to work with. I also rounded the corners of the stall warner vane as per the plans. I think its stainless? So it was a bit more difficult than the soft aluminum to work with a bastard file.
https://auracareclinic.com/about-us/watch Then the plans tell us to double check the layout of the mounting bracket, and then machine countersink the holes where the three screws hold the stall warner switch , as well as the two AN426AD3-3.5 rivet holes that holds two nut plates. I decided to do this by hand and just use the screws as my depth guide checking every now and then again until I had removed enough material for them to sit flush. Here’s how it came out:
watch https://www.dentistcorpuschristitexas.com/about-us/meet-dr-chang/
https://auracareclinic.com/doctors/ Now comes the fiddly part. I spent some time with the dial calipers measure the three different sizes of washers to make sure I had them correct, because on the smaller ones, there is only 1/16″ difference in thickness, something my eyes can’t see! A cheap digital calipers worked great for this. Now that I had my washers sorted, and my bolts and screws identified, I laid everything out and started assembling it:
https://altamashhospital.com/our-specialists/ https://www.fogliandpartners.com/sergio-mango/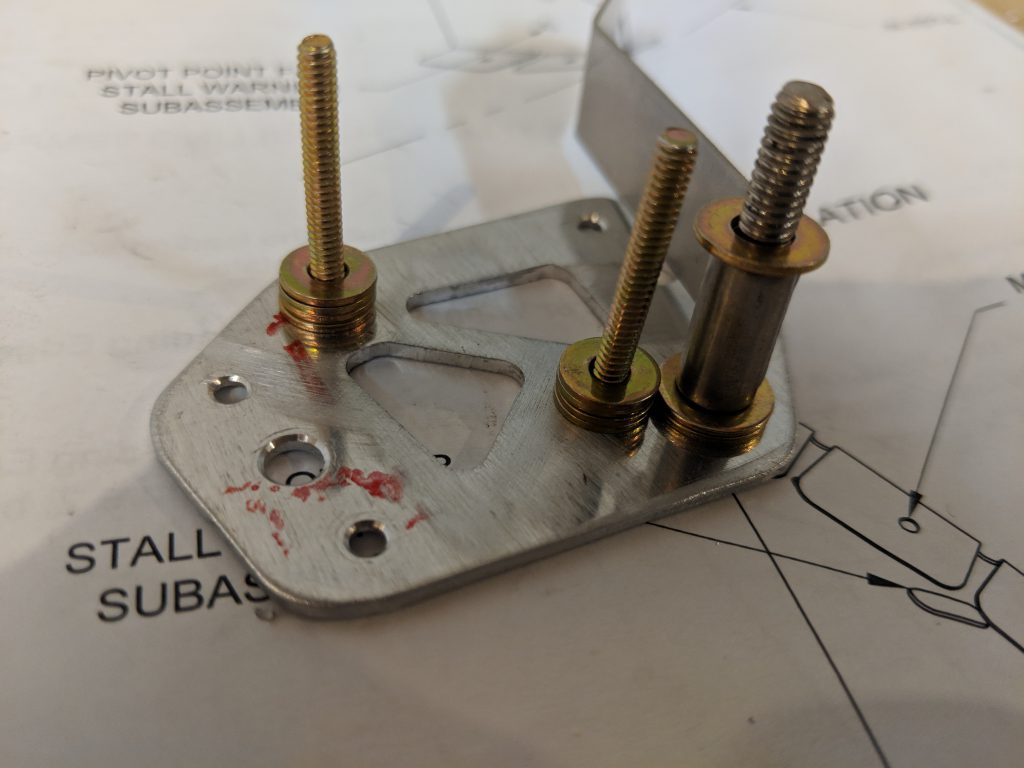
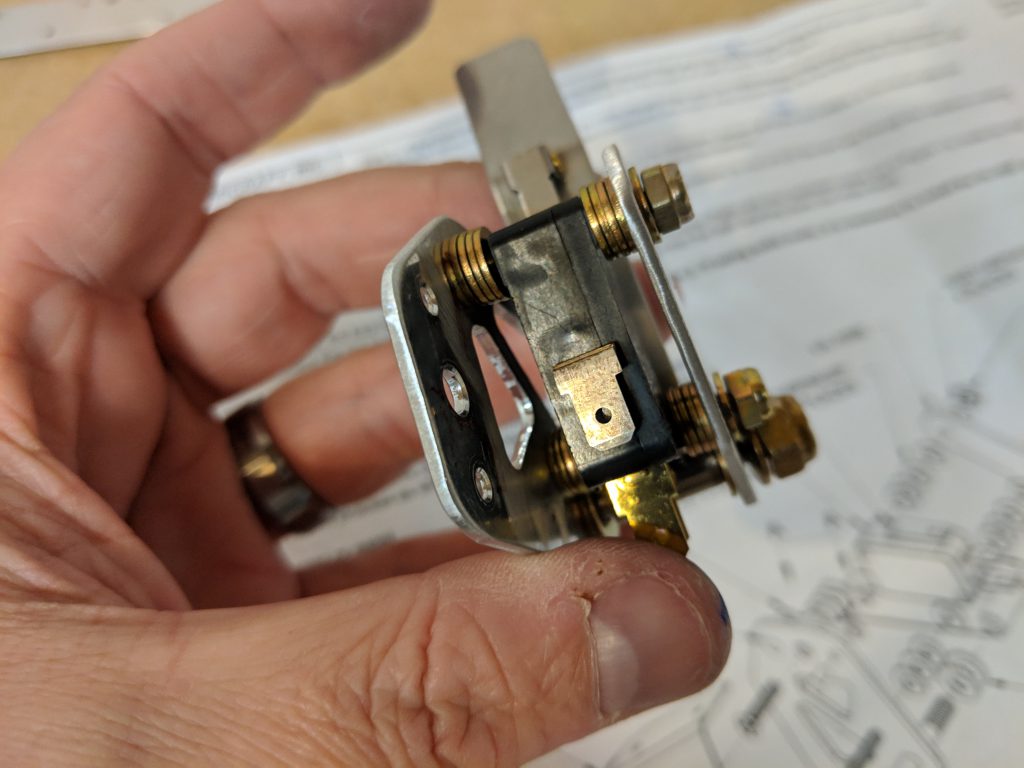
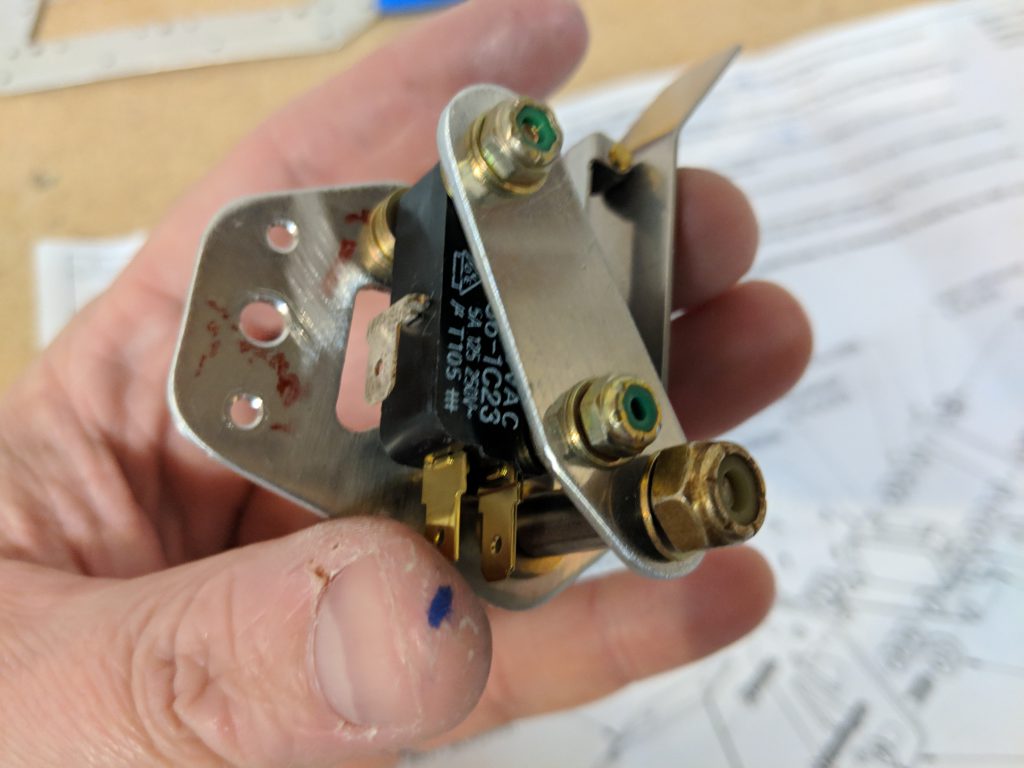
Buy Alprazolam No Prescription Now that I had those spacers looking correct and the stall warner vane setup, I slide the switch itself on and stacked the other side of washers:


https://www.psychiccowgirl.com/priestess/ Then I laid on the retaining plate and made sure to use the thinner washers where appropriate:
https://gottbs.com/materials-testing-laboratory/ 
https://musicboxcle.com/reservations/ I didn’t want to torque anything down, as I need to alodine the assembly, so I just finger tightened the nuts to make sure I had everything pre-assembled correctly. The whole assembly came together really nicely, and its a very simple and robust design. It uses machine screws with hex heads going into nutplates to hold it to the leading edge assembly, so it should be easily removed from the leading edge via the inspection plate if maintenance is ever needed on it. The entire assembly would slide right out, very clever!
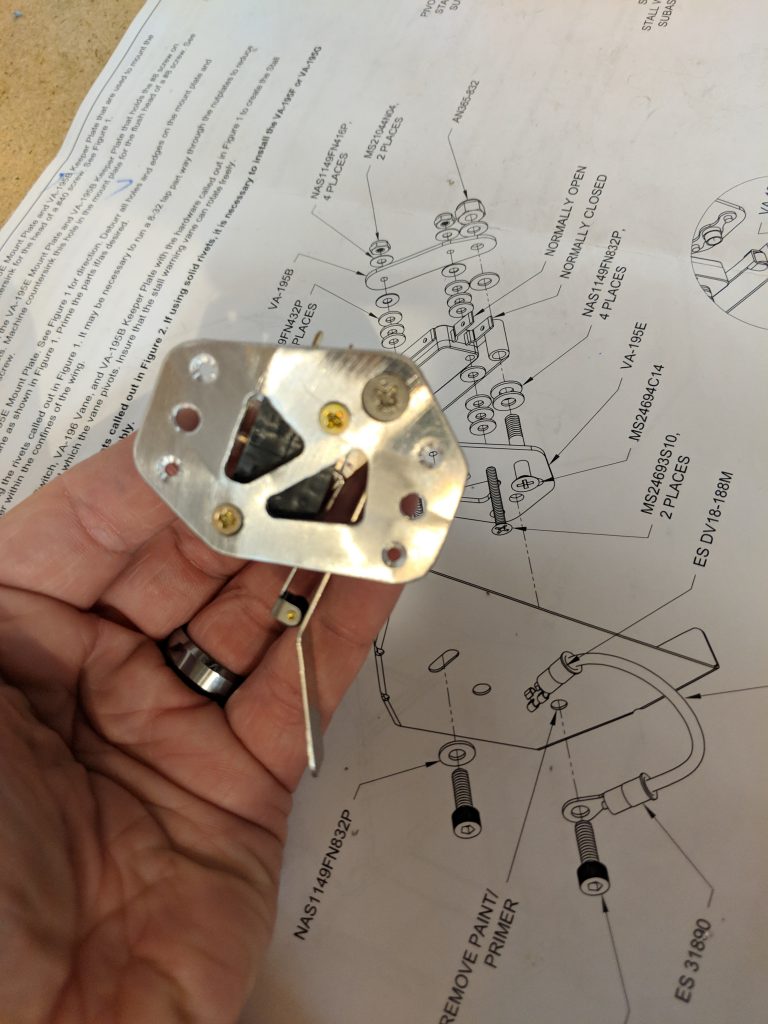
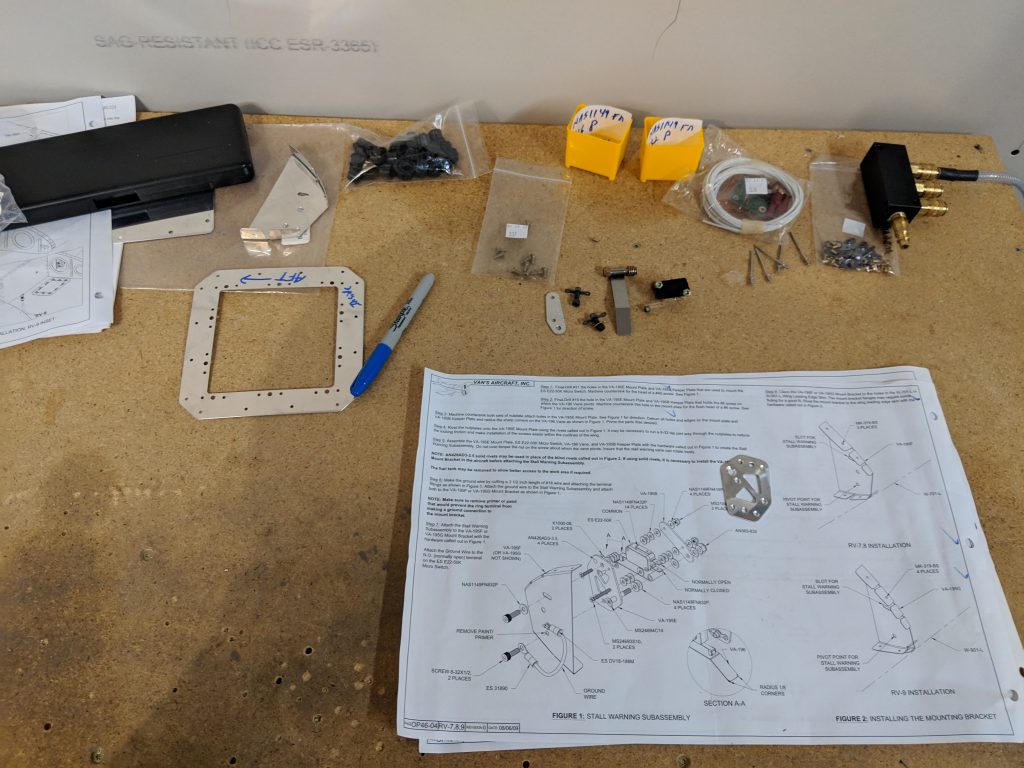
enter site Once I was happy I had all the parts in the proper places, I slowly disassembled the unit and made sure to remove the thinner washers (there’s only 4 of them) and put them in a separate and labeled container to save time on final assembly. The rest, I stuck on the bolts and finger tightened the nuts on the bolts/screws to retain everything. Then I set it all out on the bench for tomorrow. I plan on dimpling and then alodining the aluminum parts tomorrow night, so they will have some decent corrosion protection. I may even spray them with some AKZO just to be safe, since they will get wet from the slot on the leading edge. Heres a shot of all the parts laid out and somewhat organized 🙂
Buy Ambien Online Without Prescription Google Photos Link: https://photos.app.goo.gl/1XQjmuetywXxaY5XA
click here Hours Worked: 1.5 Hours