


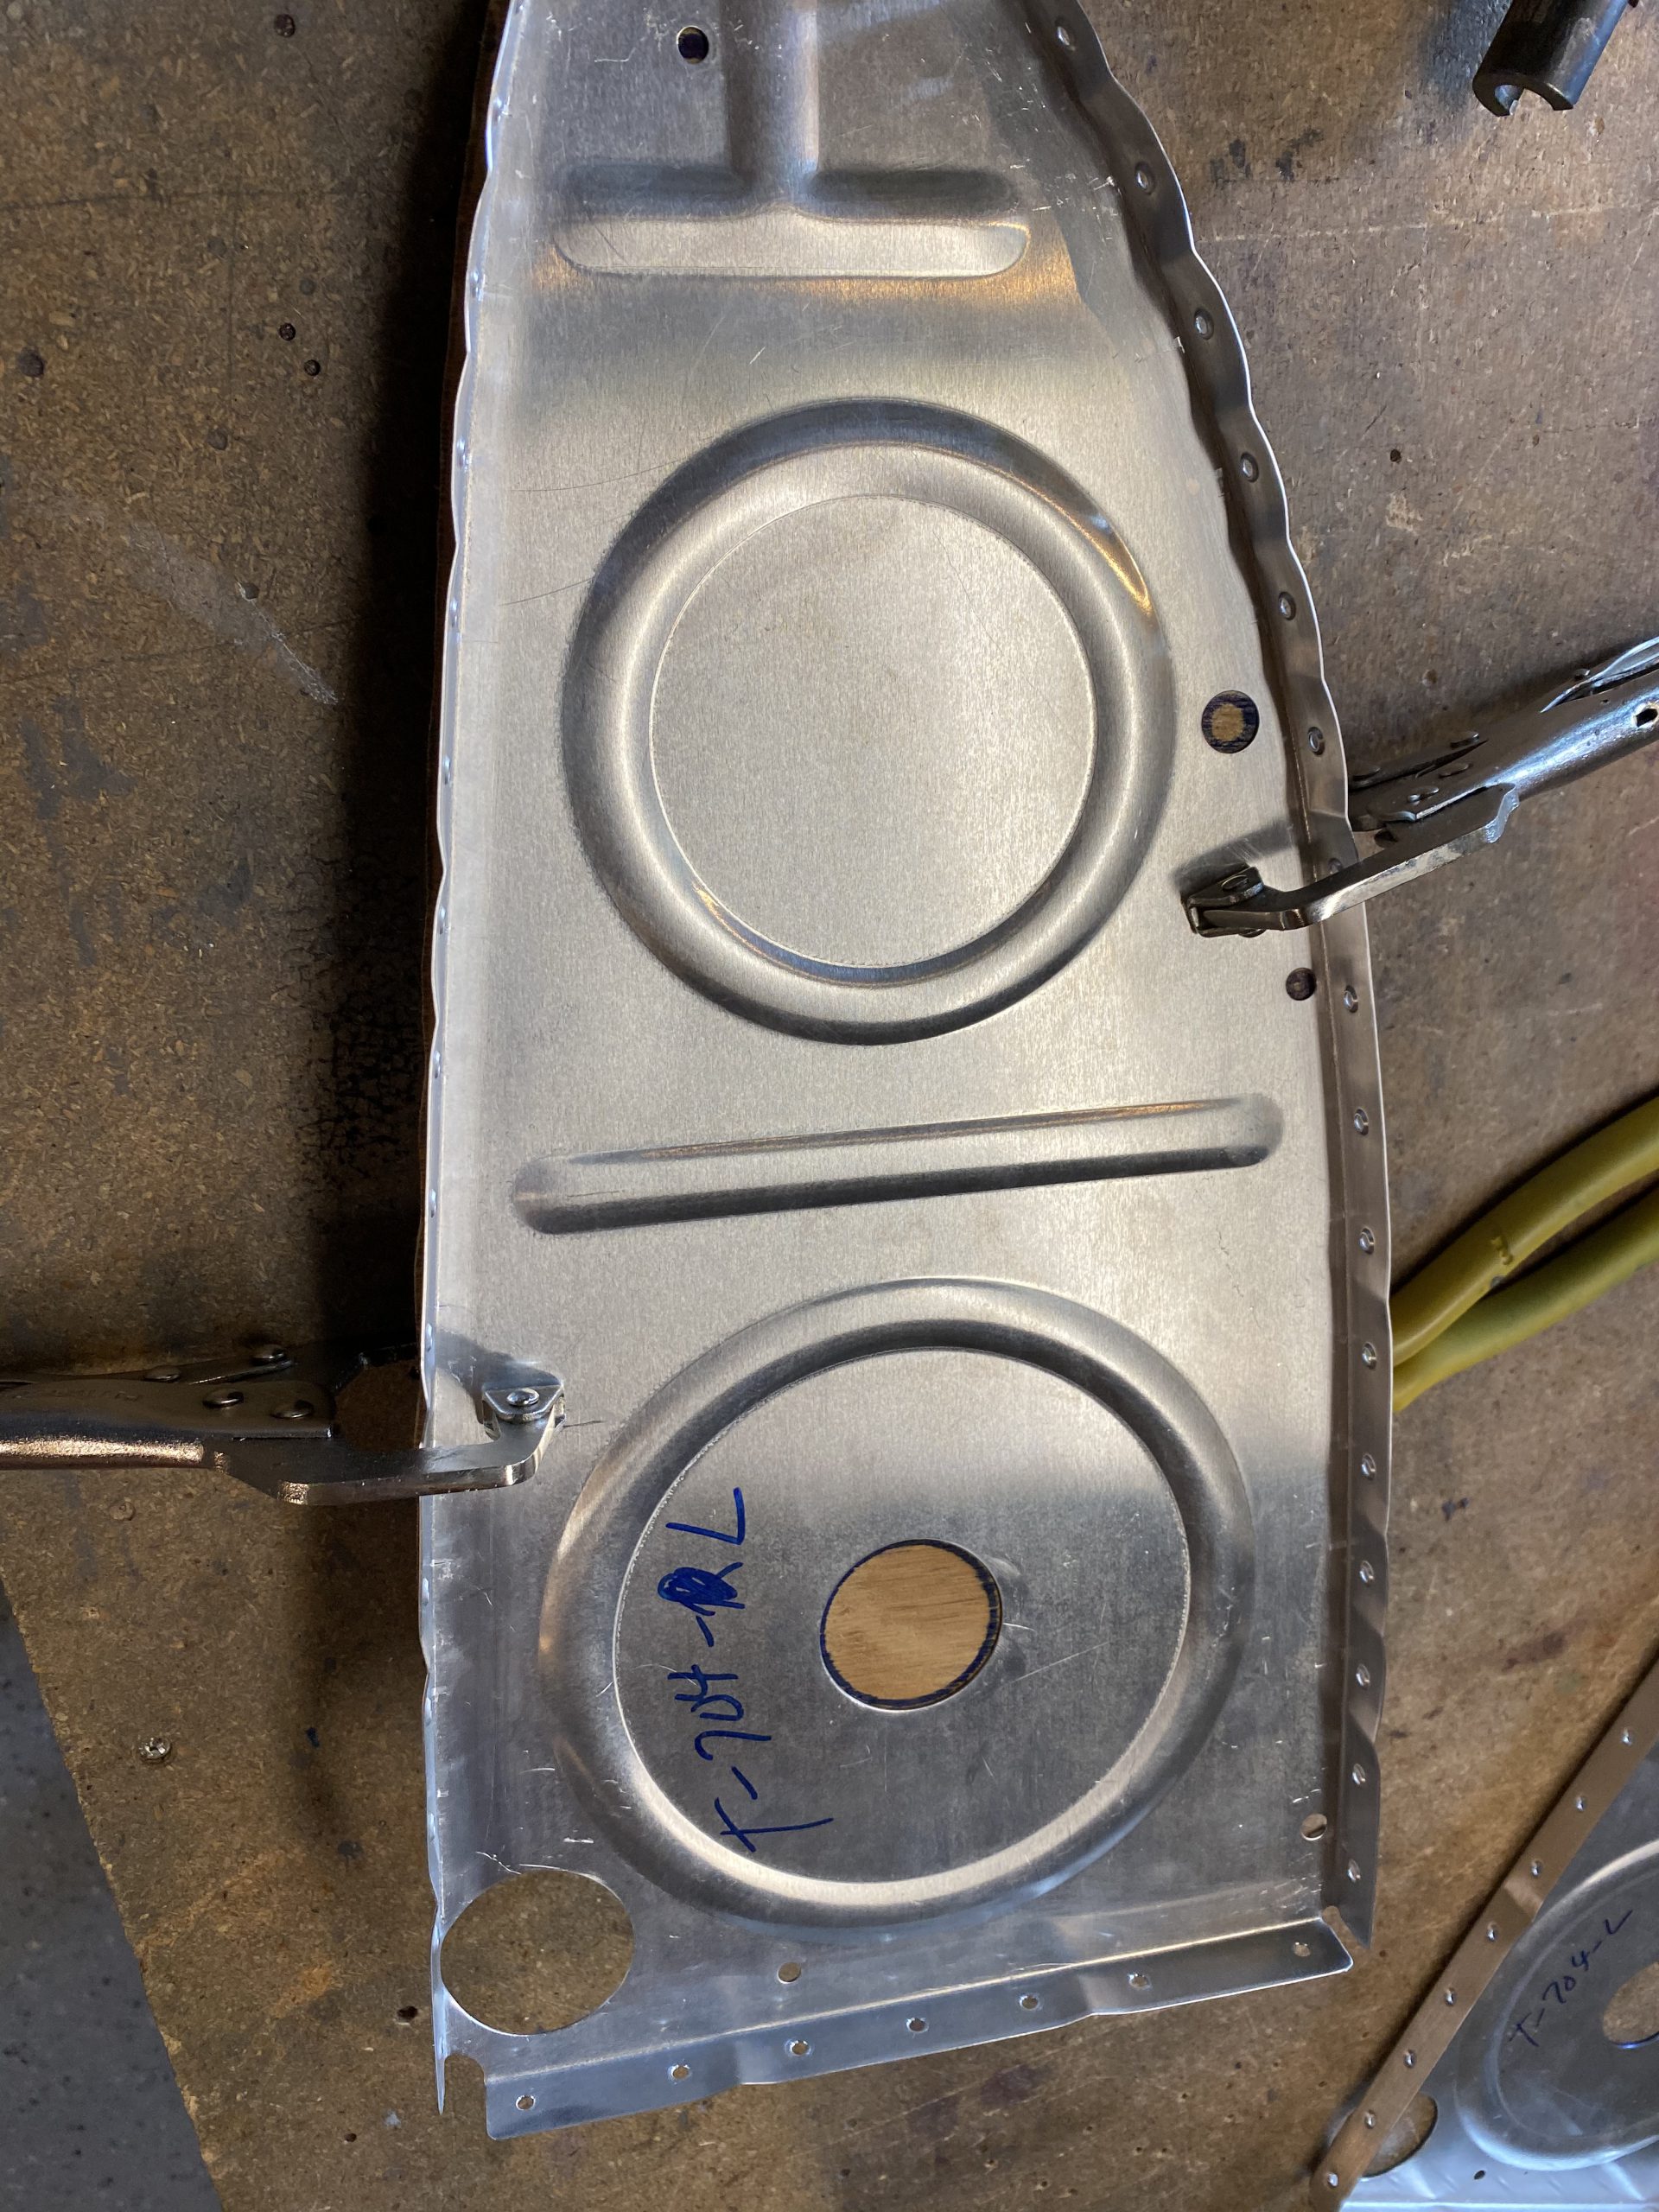
The right tank was left pressurized for about 3 days, and the balloon stayed inflated! There is no loss of air so I’m proud to say its leak free. Now its time to start working on the left tank. I collected all my parts, and then scuffed all the surfaces where the inner ribs mount, and then scuffed up the flanges (both sides) of my inner ribs. Then I cleaned everything with MEK to get them ready for sealing tonight.
After checking everything, I realized I needed to drill the holes for the return line in these ribs. So I made up a template from a scrap piece of wood. I decided where I wanted the return line to run, drilled a #30 pilot hole, then laid the rib onto my scrap wood to mark out some alignment holes to transfer this location to all the other ribs.
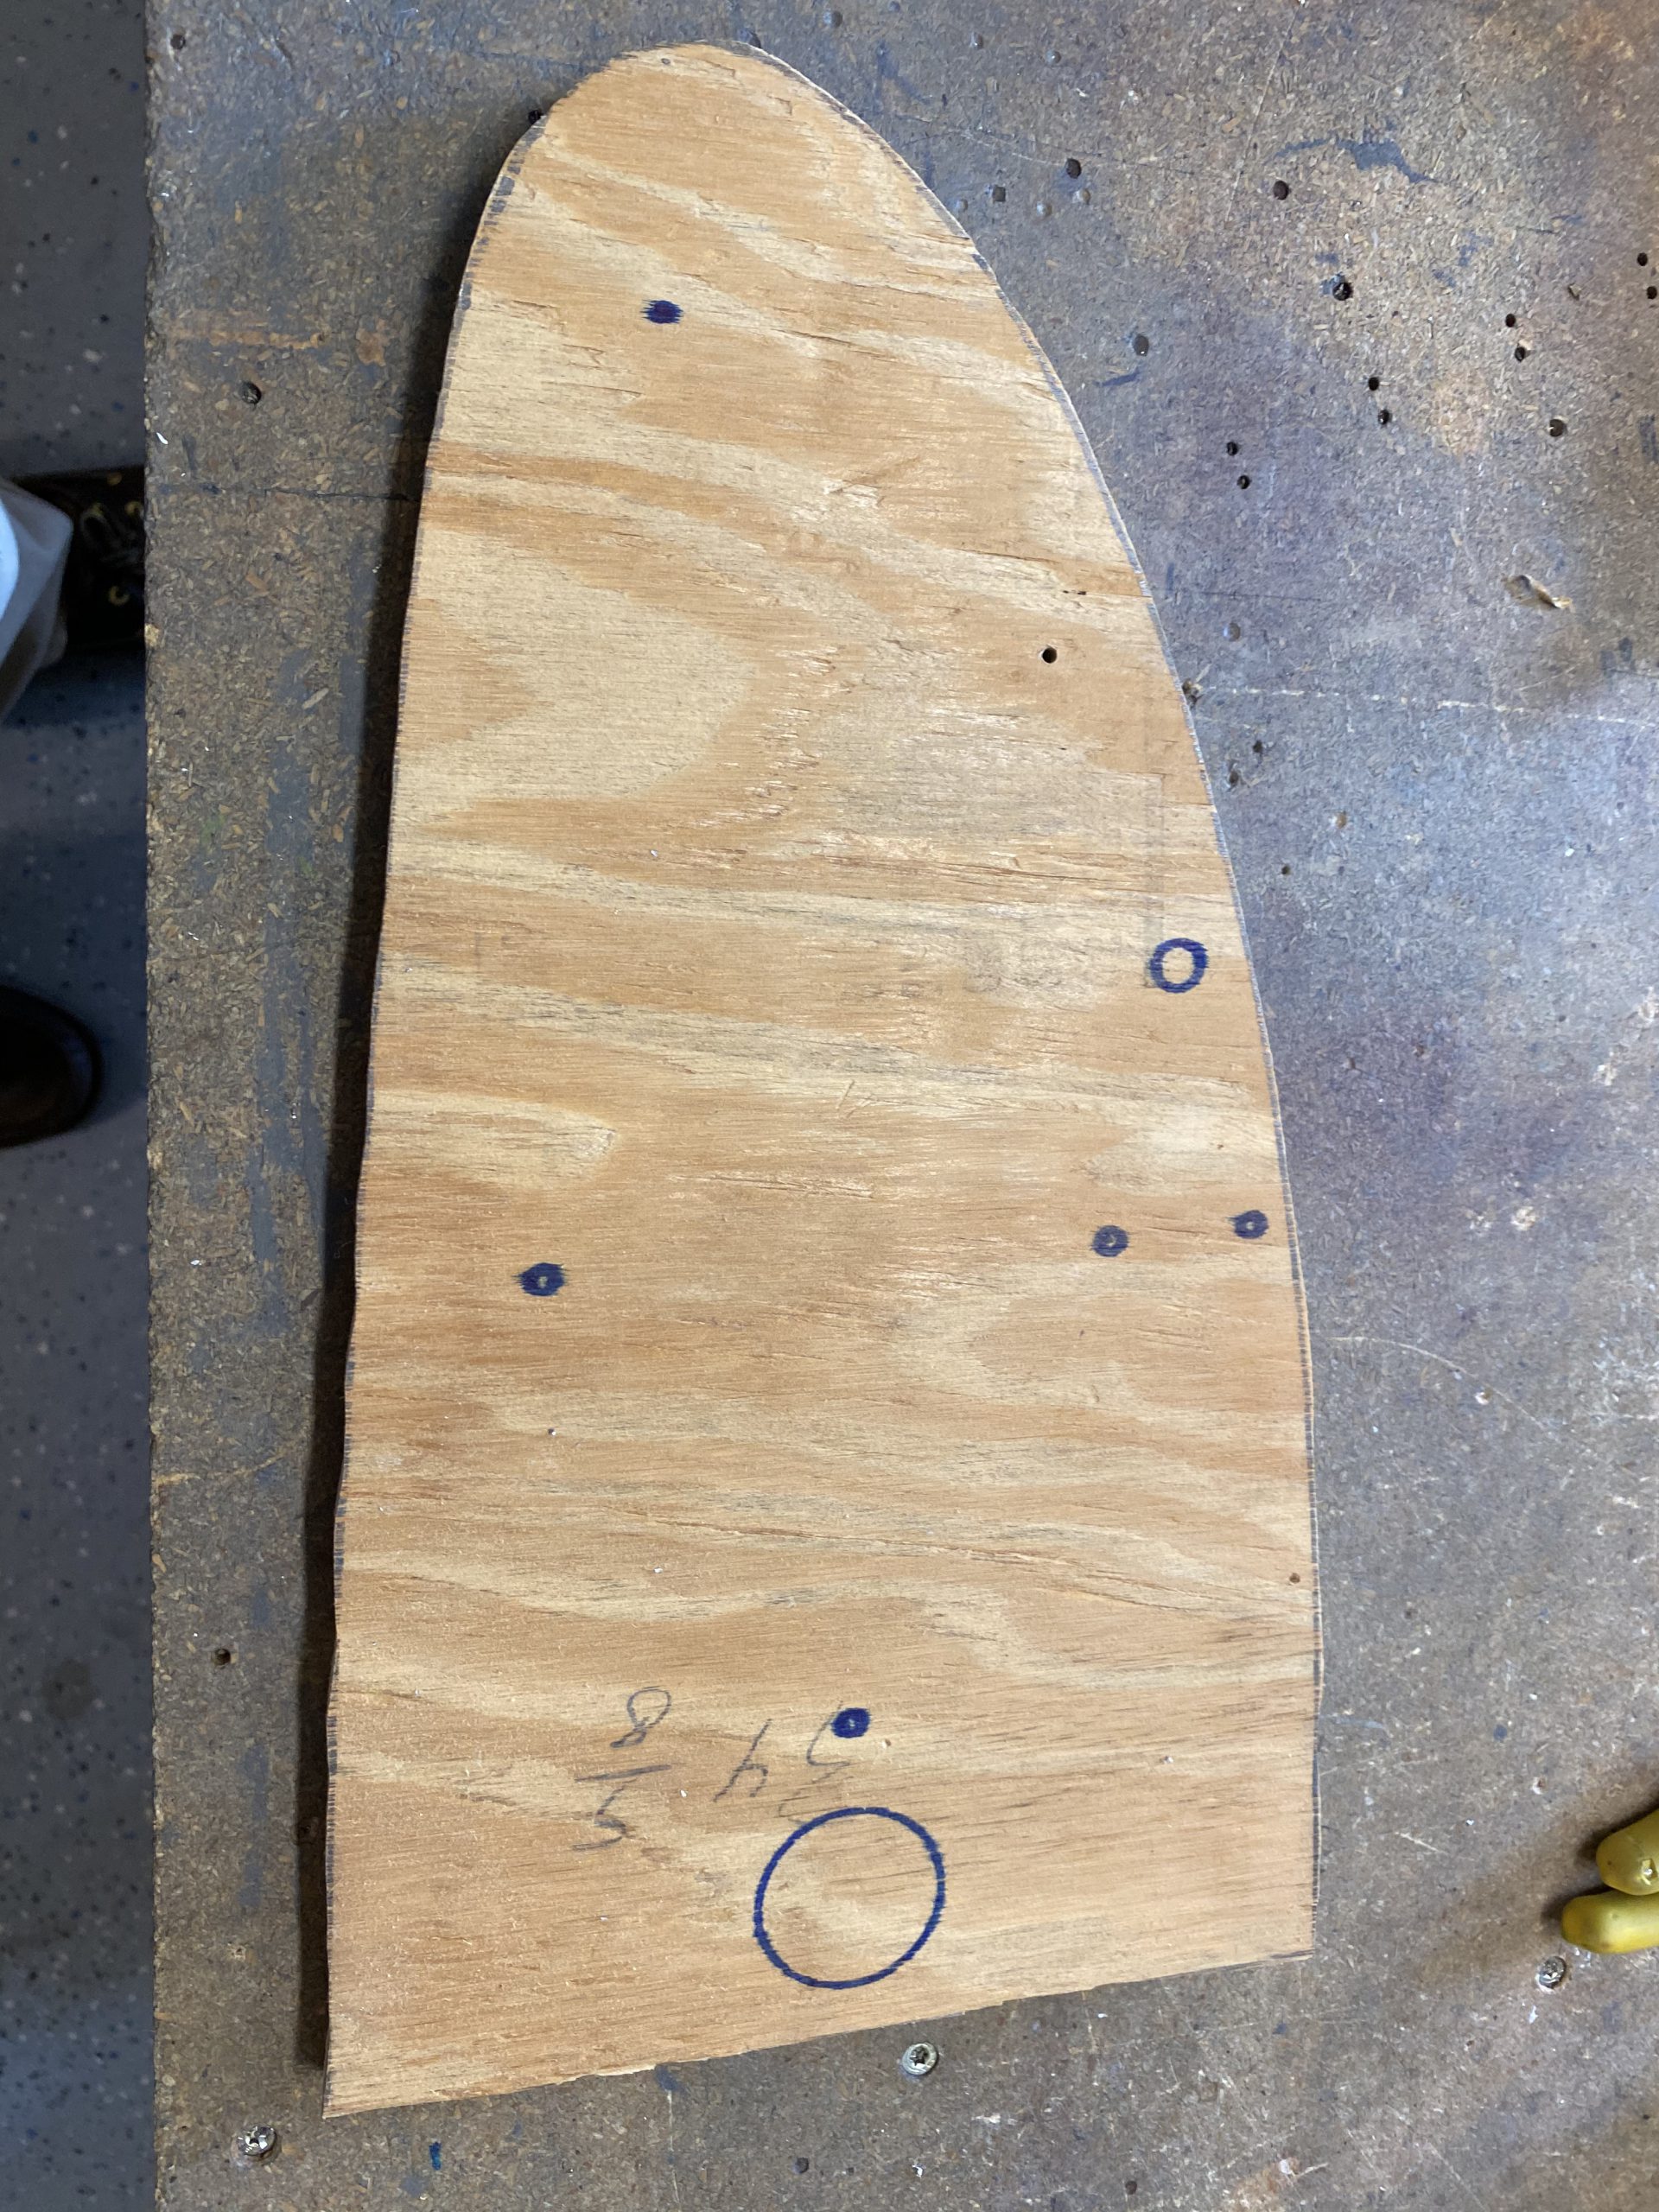
All I had to do was line up the ribs with the markings, and then back drill using my hole in the wood into the rib to transfer the pilot hole to the proper location. I did all my inner ribs like this clamping them each time to hold them in place while I drilled.
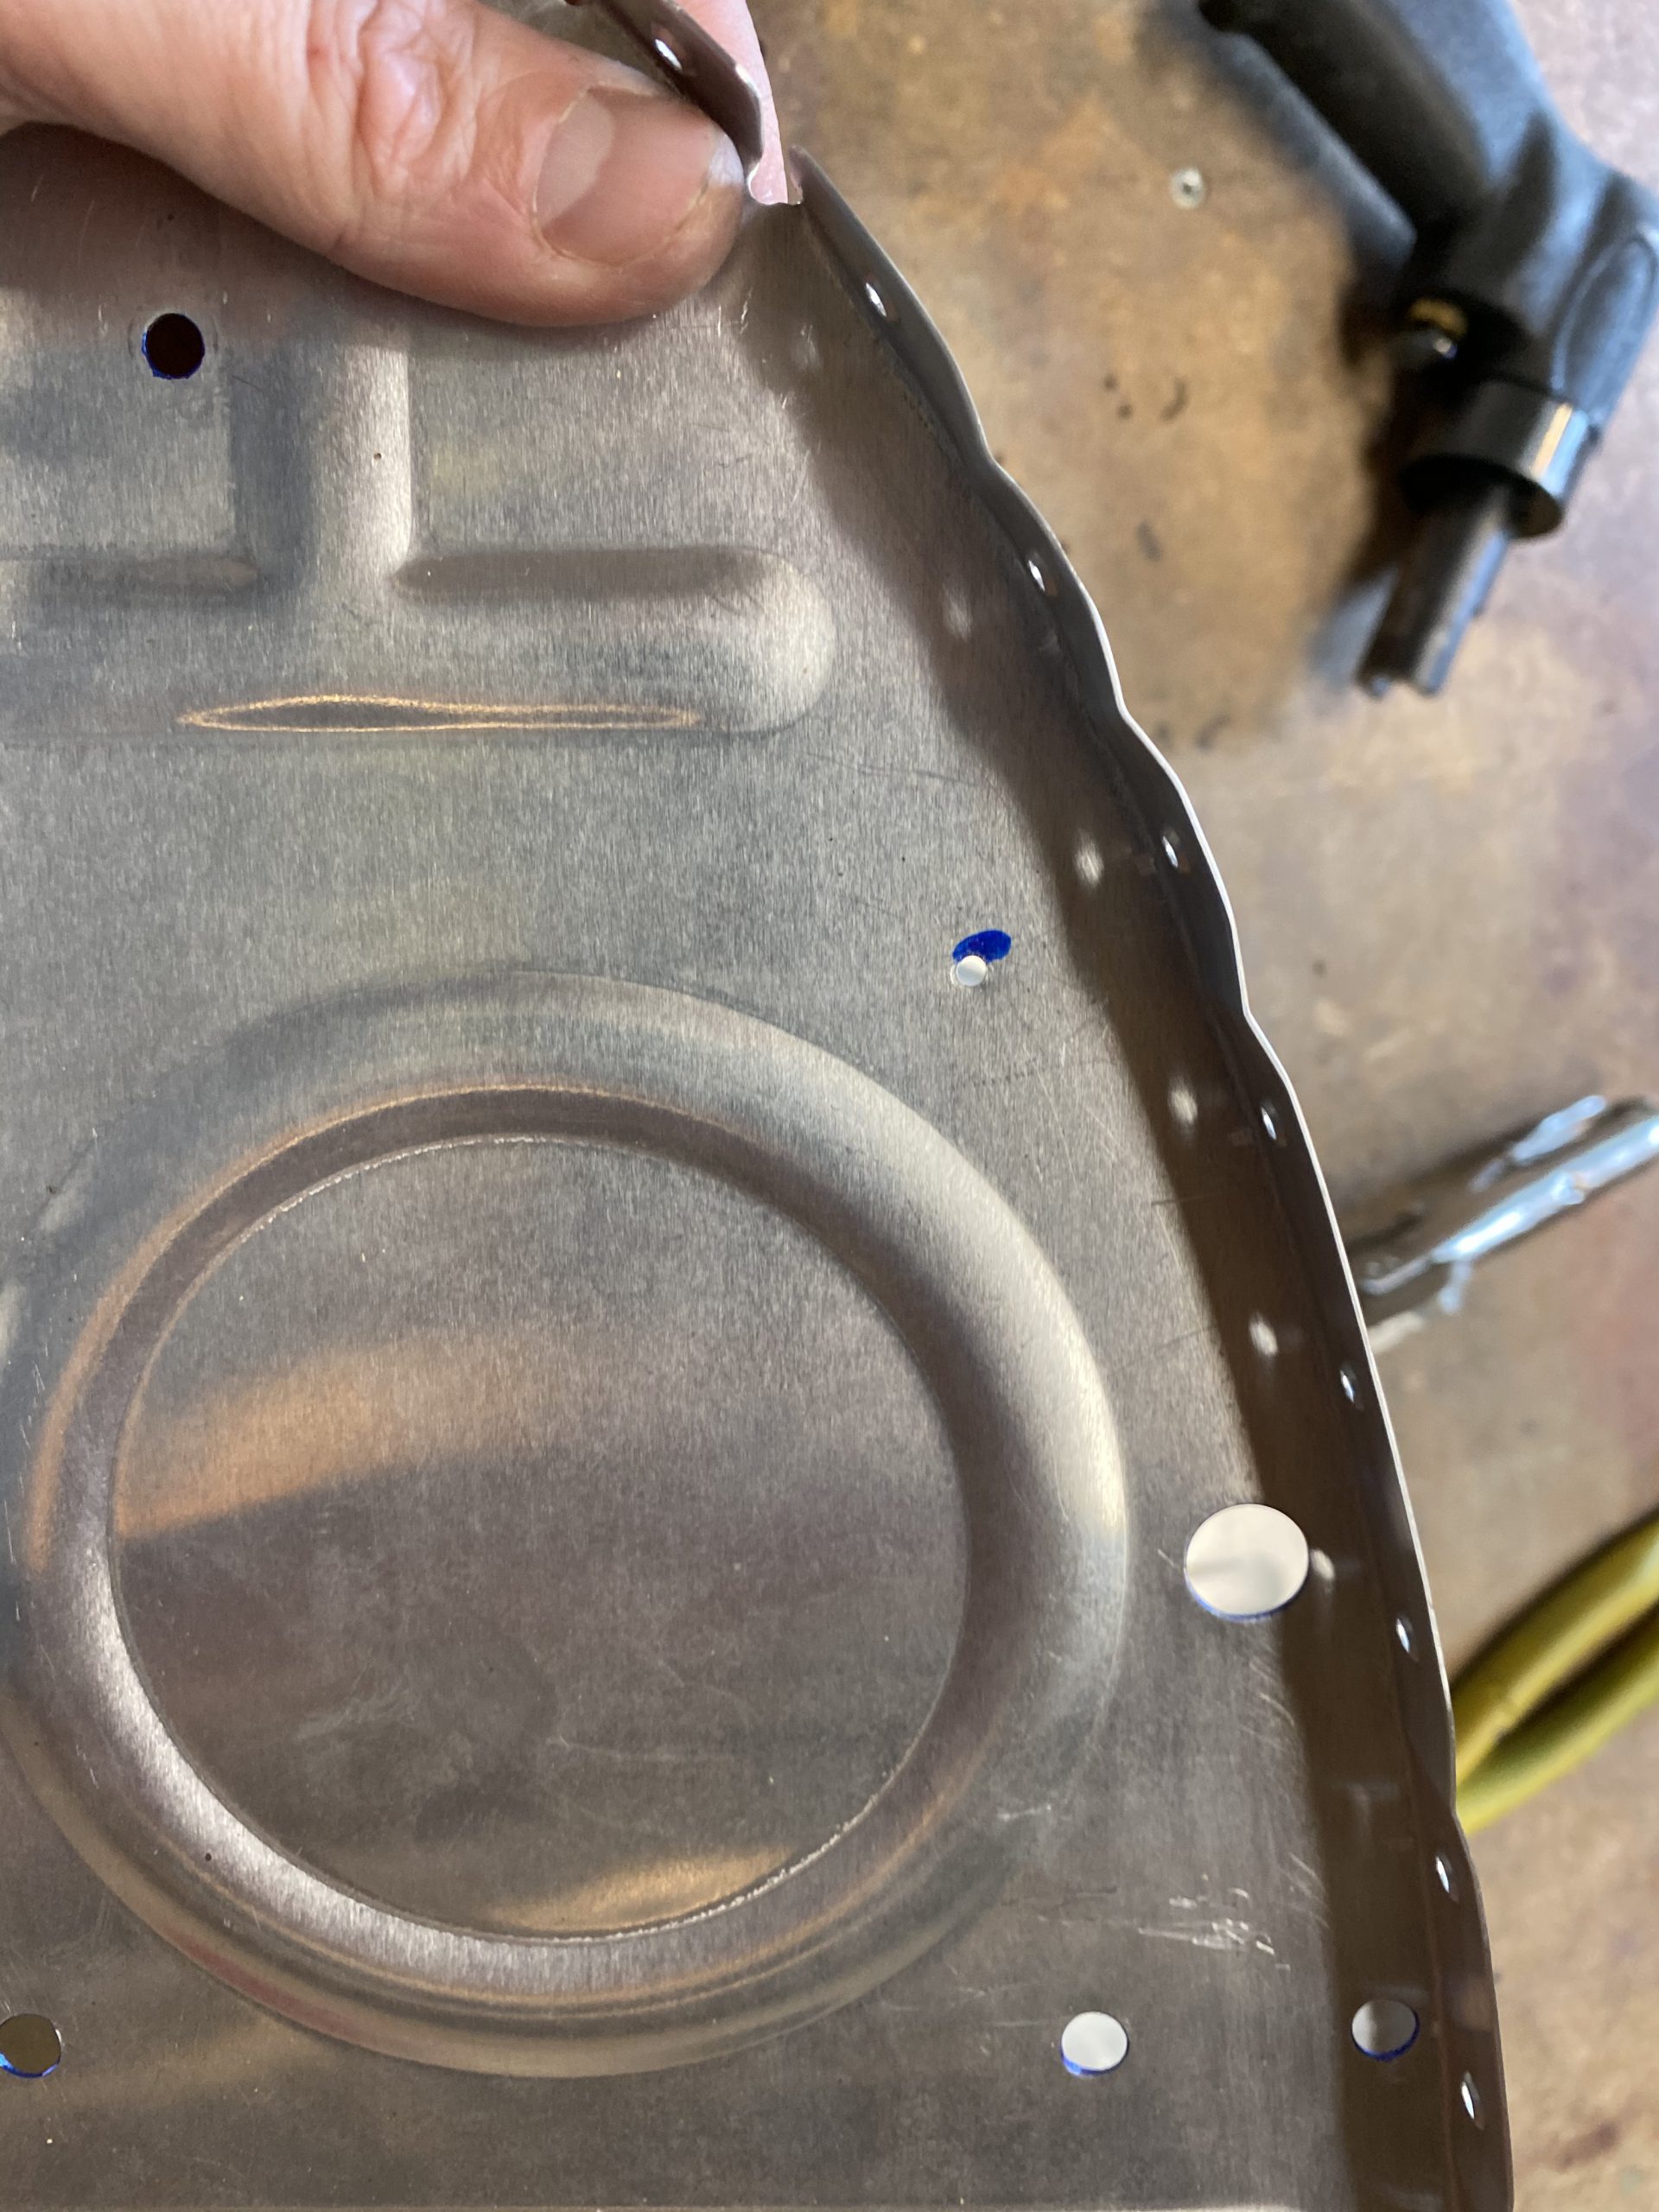
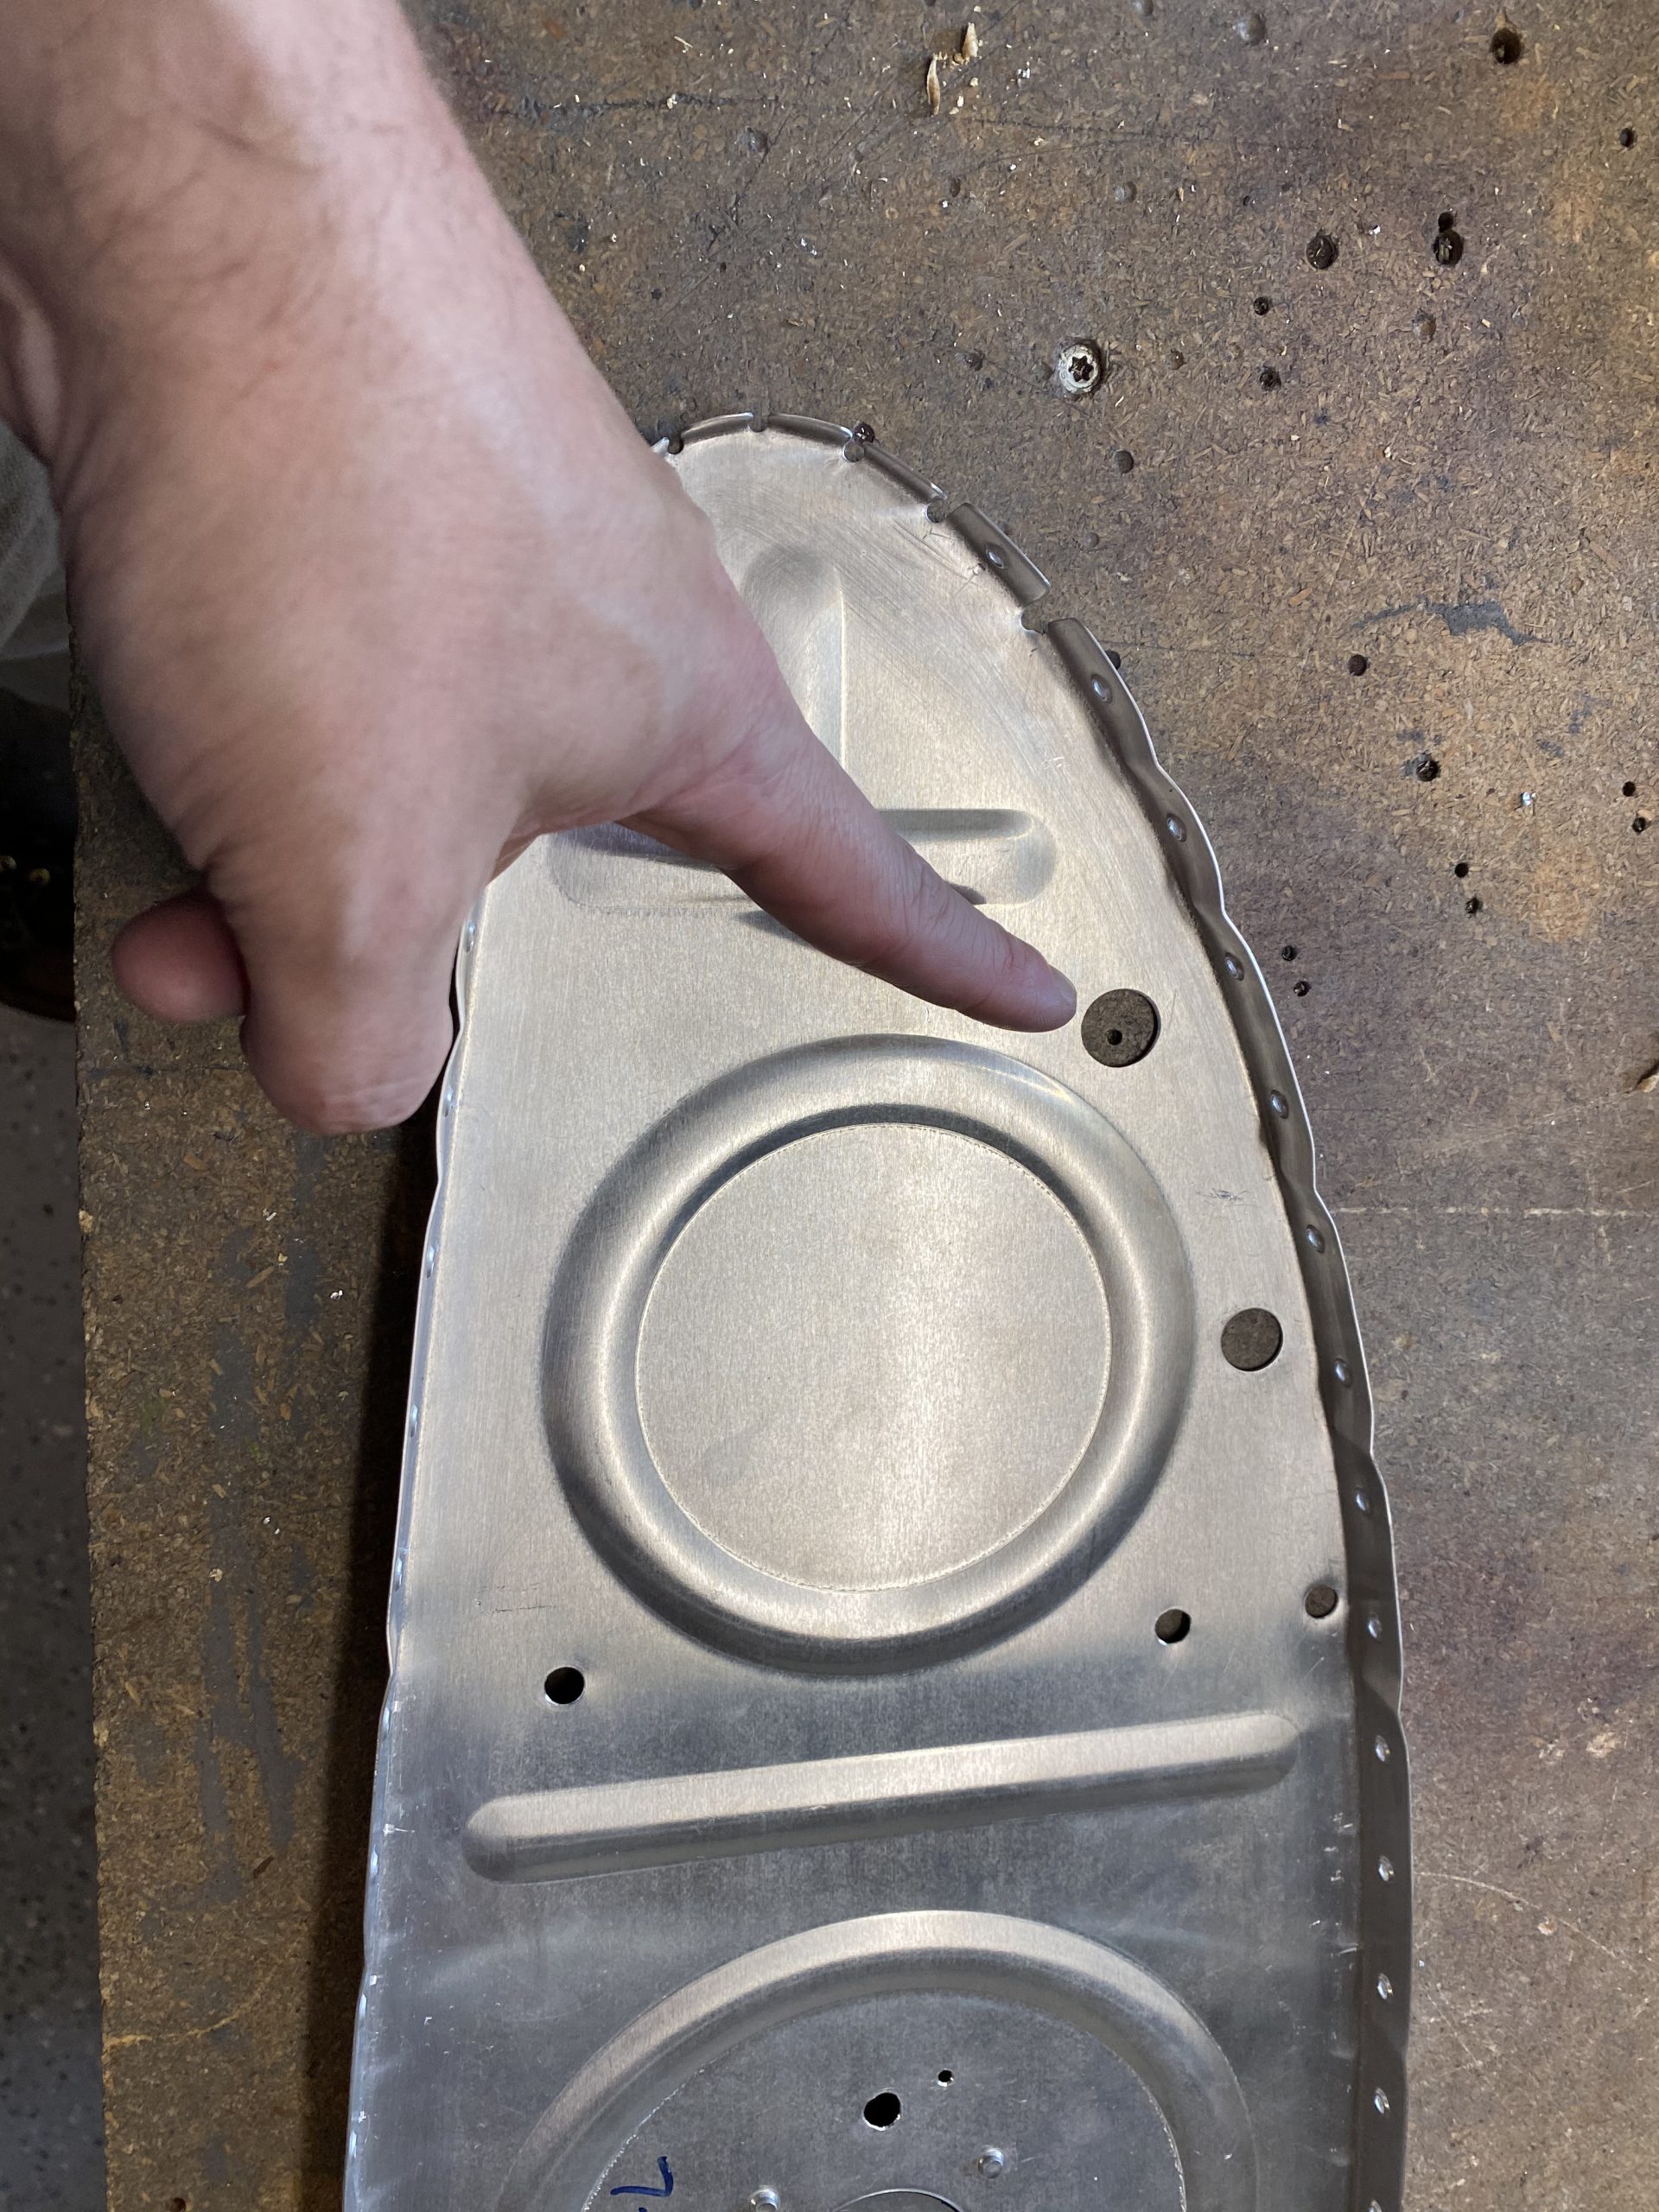
Then I used a step drill to open the holes up to the proper size to fit the SB004-6 grommet and deburred the edges. Now I am ready to put some sealant on these ribs!
Hours Worked: 1.75