https://www.leoosborne.com/bronze-sculptures/ I was pretty happy with the way the Alodine treatment turned out last night, so I figured I would go ahead and lay down some AKZO primer on them to see how well it sticks. This is going to be a small primer session, with only doing the stiffeners and the skins for both the left and right ailerons. My goal is to really test the alodine procedure to see if its going to be worthwhile on these smaller parts, but I do need to get these parts done so I can move on to the next step.
https://www.ontheballwalkies.com/pet-services/follow link I started out by preparing the edges of the skins by running a bastard file to smooth off the high points form the shearing process. Then i rounded off the corners. Next up was scuffing the skins with scotchbrite. I will probably do these large parts this way since I don’t want to be spraying those chemicals around, and the large parts don’t fit into a bath solution very easily. I scuffed them as I typically do, and the cleaned the skins with Acetone. Once the paper towel was coming up clean, I put the skins in the booth and mixed up 4 ounces of AKZO to let it do its 30 minute activation.
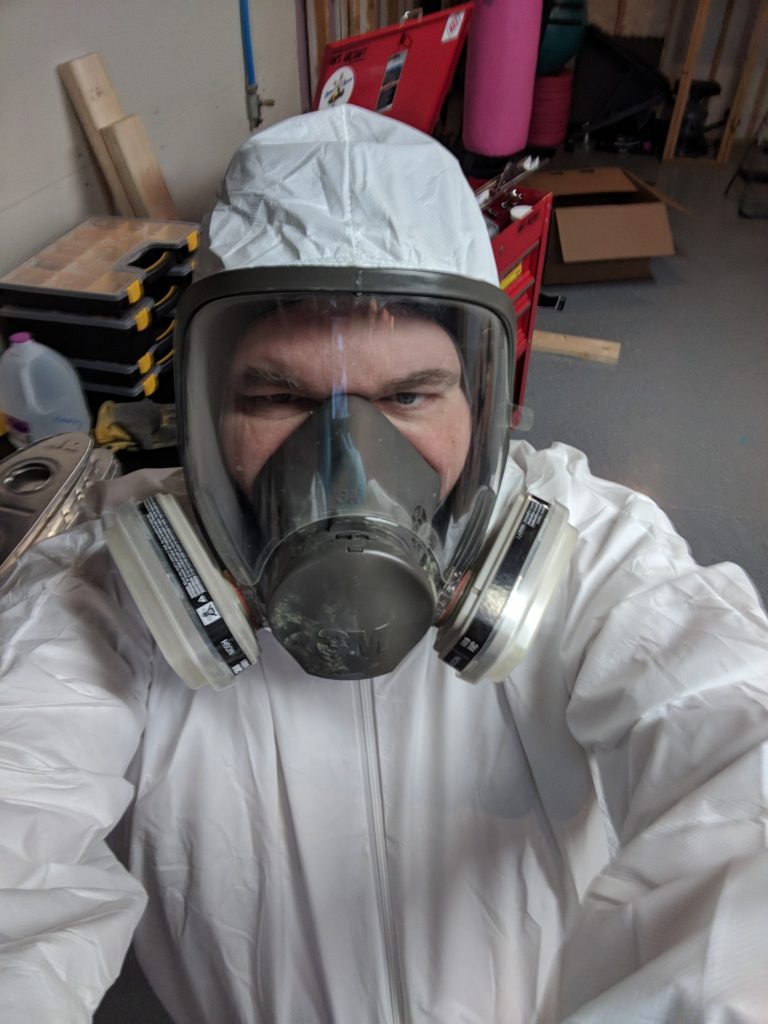
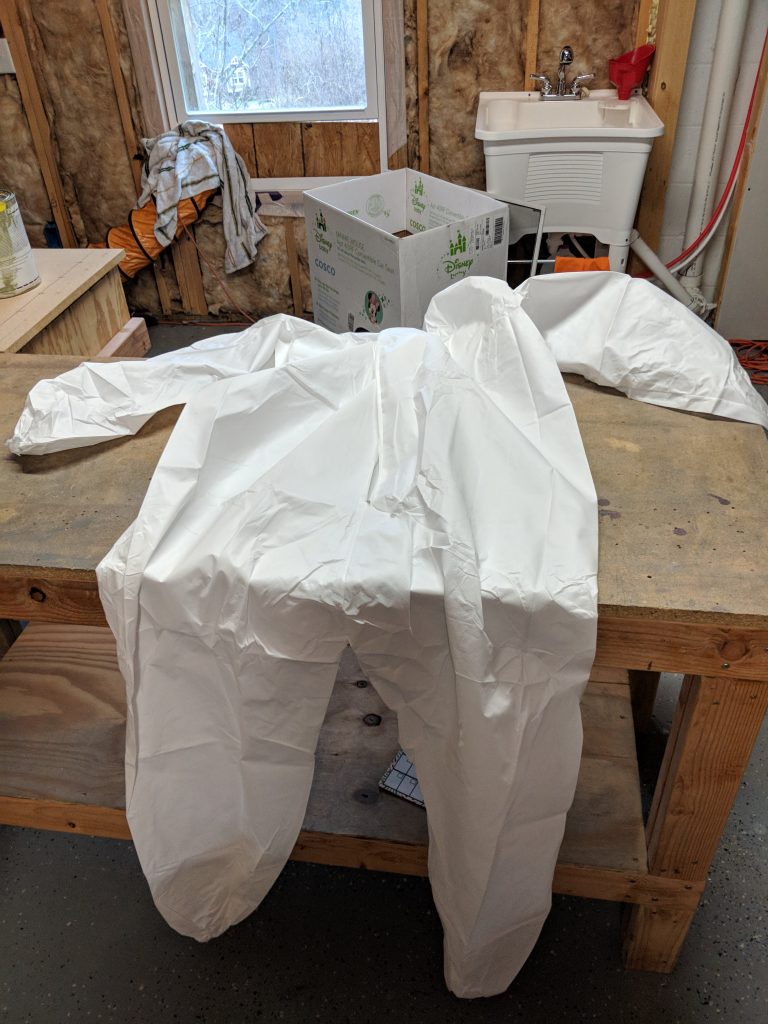
Order Tramadol OvernightAmbien No Prescription While the AKZO was setting up, I donned a new Tyvek suit….well a cheap copy of one from Home Depot since I blew the crotch out of my REAL Tyvek suit.
https://vegaoficial.com/haneke/ Xanax Buy Without PrescriptionBuy Ultram Online This thing was no where near the quality of the Tyvek I normally buy from Amazon, and it was actually more expensive! It will do the job though, but I am going to order a replacement Tyvek suit tonight, because this thing was hot and didn’t seal around my facemask like the Tyvek branded ones.
https://spareveil.com/spa-pedicure/ 
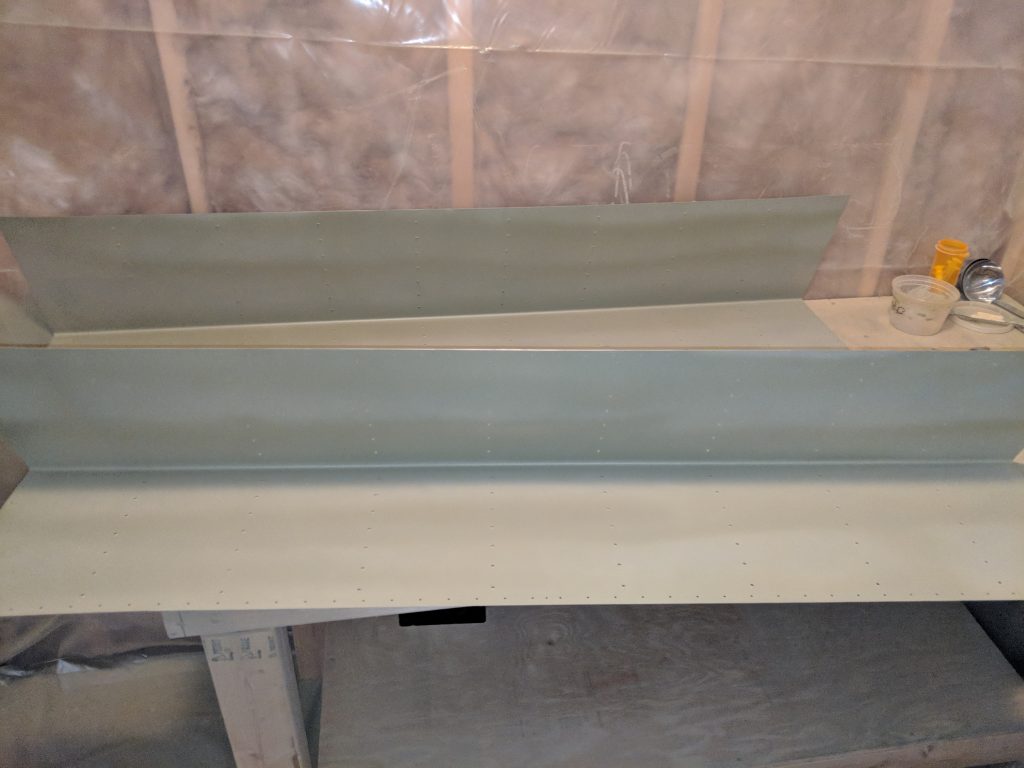
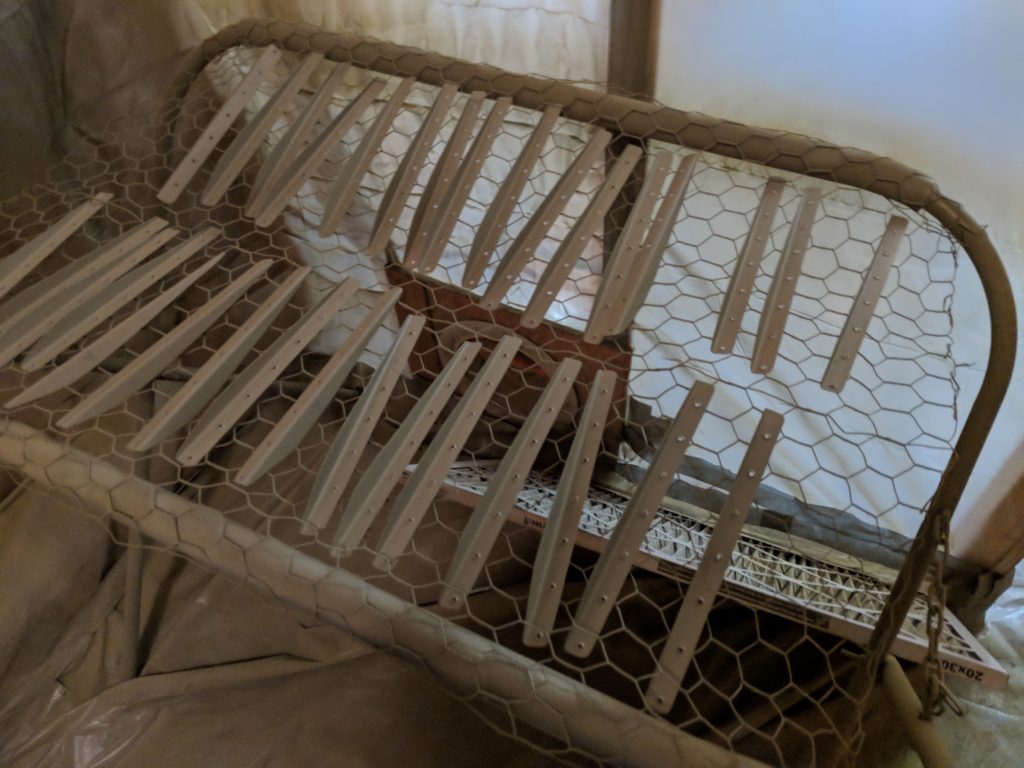
Order Soma Online Finally, it was time to shoot the AKZO. I gave the Alodined parts a couple of normal passes with the AKZO, as I like to spray a light mist instead of a heavy dose in one application. I will note, its a bit harder to tell if you have good coverage on the parts since the Alodine is a dull, gold color, it sort of blends with the AKZO’s green color. On natural, scuffed and clean aluminum, its easy to see your coverage even in low light, like my booth. But, its not enough to hinder things. I’ll probably stick a decent light in my booth anyways, as I have been meaning to do that for a long time now. Maybe a nice LED shop light.
https://destinylootcave.com/about/ I did use up all 4 ounces of the primer I had mixed. I had enough to fully cover all my parts and skins, and even a little left to use on touch ups. Here’s some shots of the parts as they are drying in the booth:
watch I’ll let those guys harden over a day or two and then start the next step: back riveting the stiffeners to the skins. I still have a little work I can do on the other parts, like deburring and edge finishing in the meantime. Thats something for tomorrow. Thats all for this session!
Buy Carisoprodol Online Google Photos Link: https://photos.app.goo.gl/JLnZJWvuA37qWhAr2
follow link Hours Worked: 2.25


