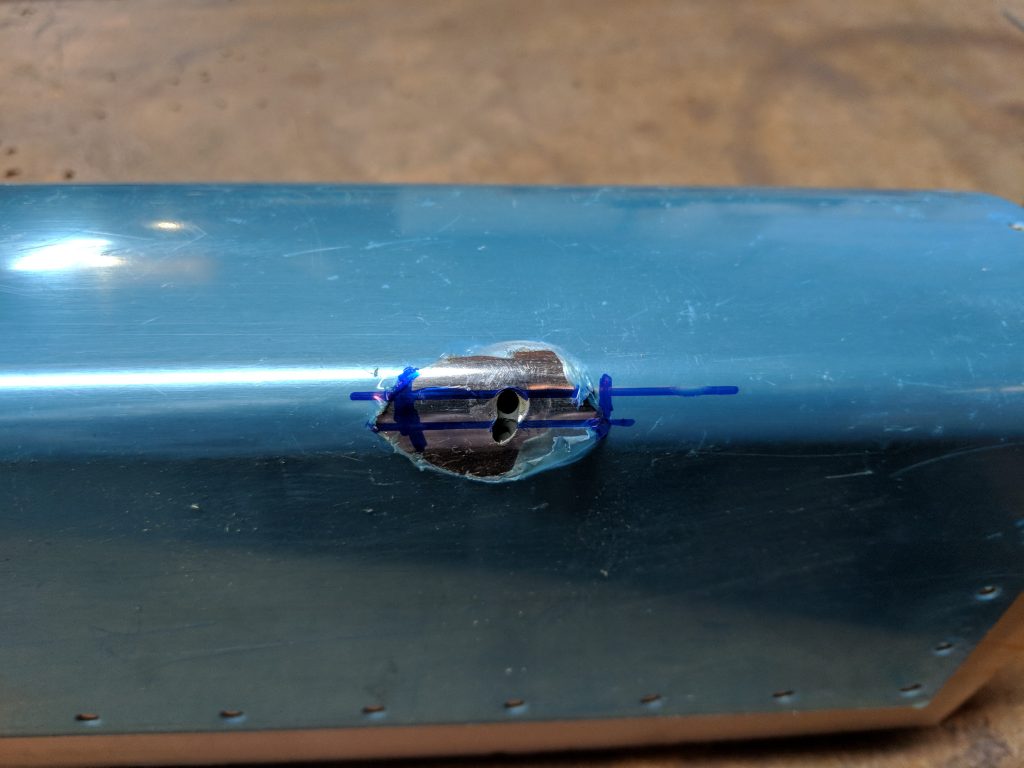
see Even a little progress is some progress.. right? I didn’t get a whole lot done tonight, but I did get over a small hump that I have been mulling over: The messed up leading edge rivet. A few posts back I ended up damaging the left leading edge skin due to some poor drilling technique. After conferring with several folks, the consensus was to drill two new holes of the same size, 1/2″ on either side of the bad hole. So, I clecoe’d the A-409 counterbalance pipe back to its leading edge skin, and marked my holes 1/2″ on each side:
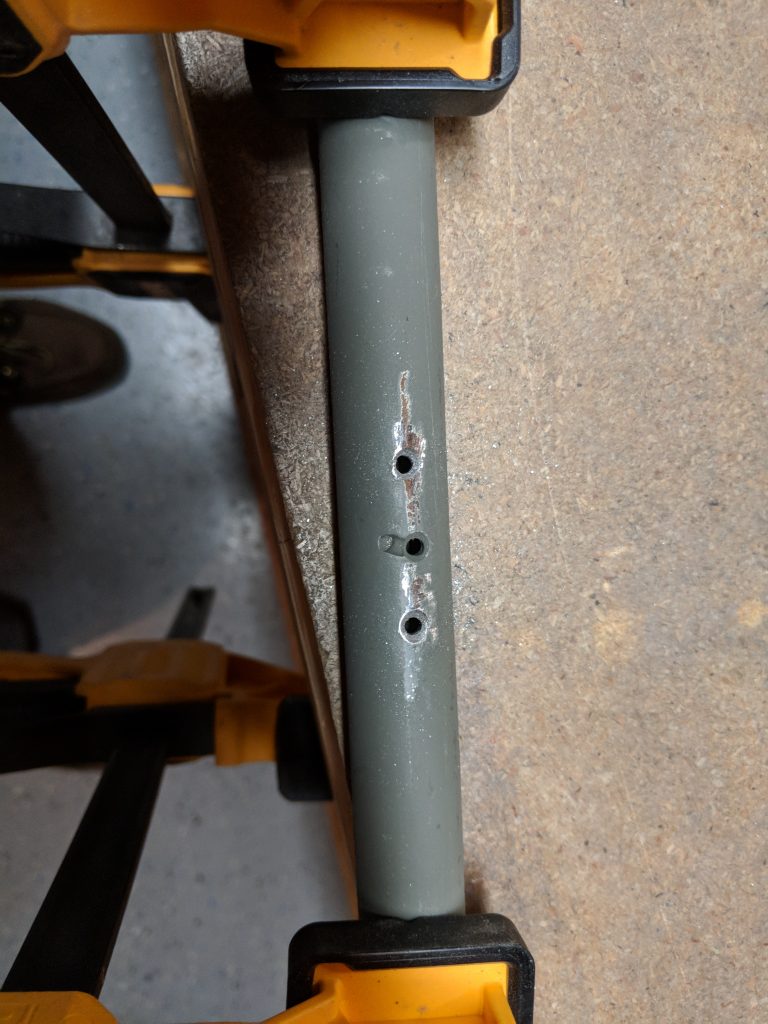
Order Diazepam Onlinehttps://vegaoficial.com/mirlo-blanco/ With that done, I used a center punch to help create a guide in the skin, then I SLOWLY drilled through the skin and into the pipe, being absolutely positive to control the drill so as to not repeat the same mistake. Thankfully, the new holes were nice and clean and did’t wallow out like the earlier one. The only thing left to do was to deburr the new holes, clean up the old janky one and then countersink and dimple the new holes. I drug out the old, worn countersink and used it on the new holes. Like the last time, I had to clean the edges with a file, and drill with a #30 to clean up from this old worn out countersink. I’ll respray these spots with primer, so no biggie.
Ambien Without Prescription The last step was to dimple the leading edge skin to match the pipes countersinks, and I used the hammer/anvil method from my previous posts to get the skin to match the A-409 so the pulled rivet will sit flush.
Buy Tramadol Without Prescription 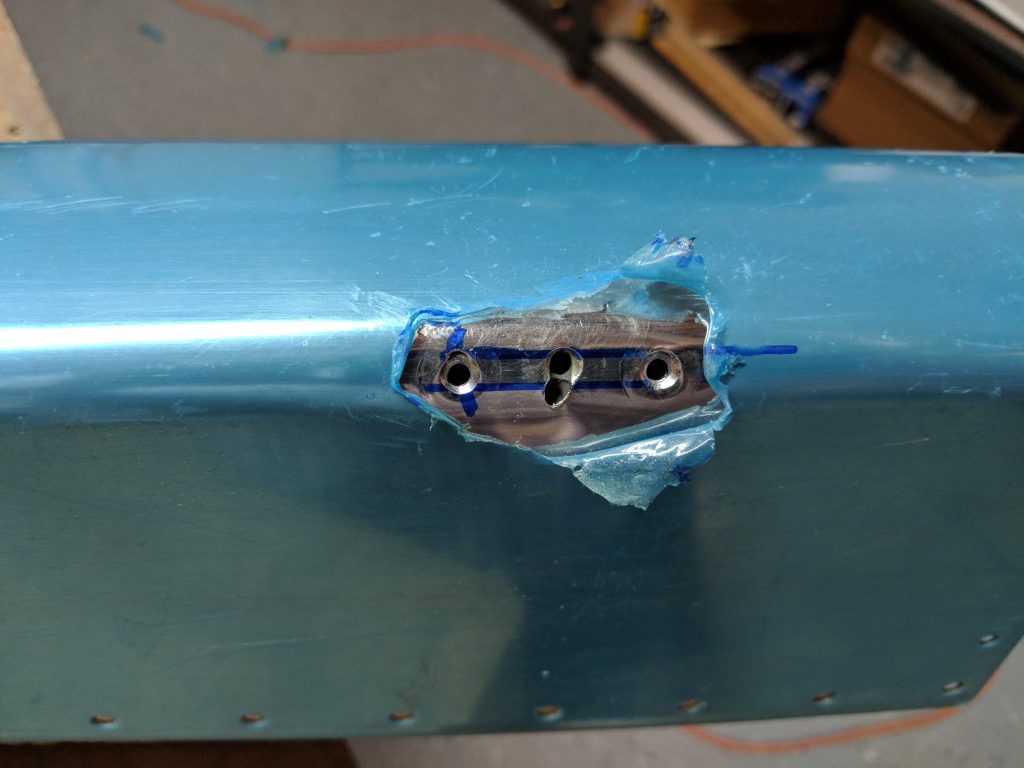
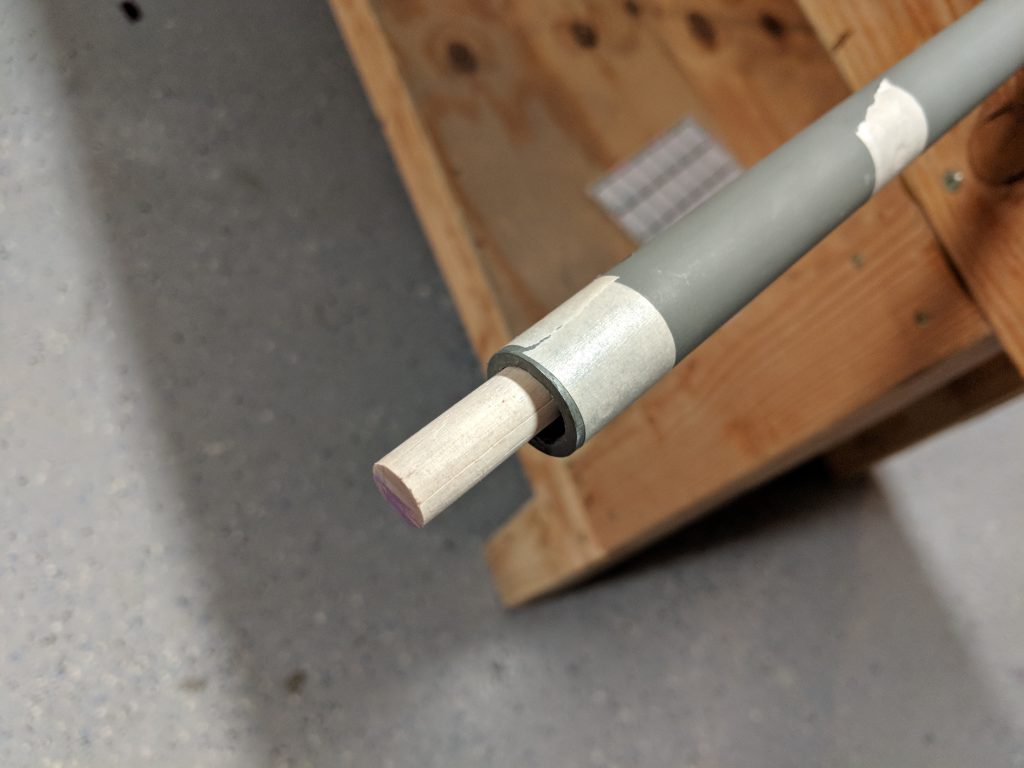
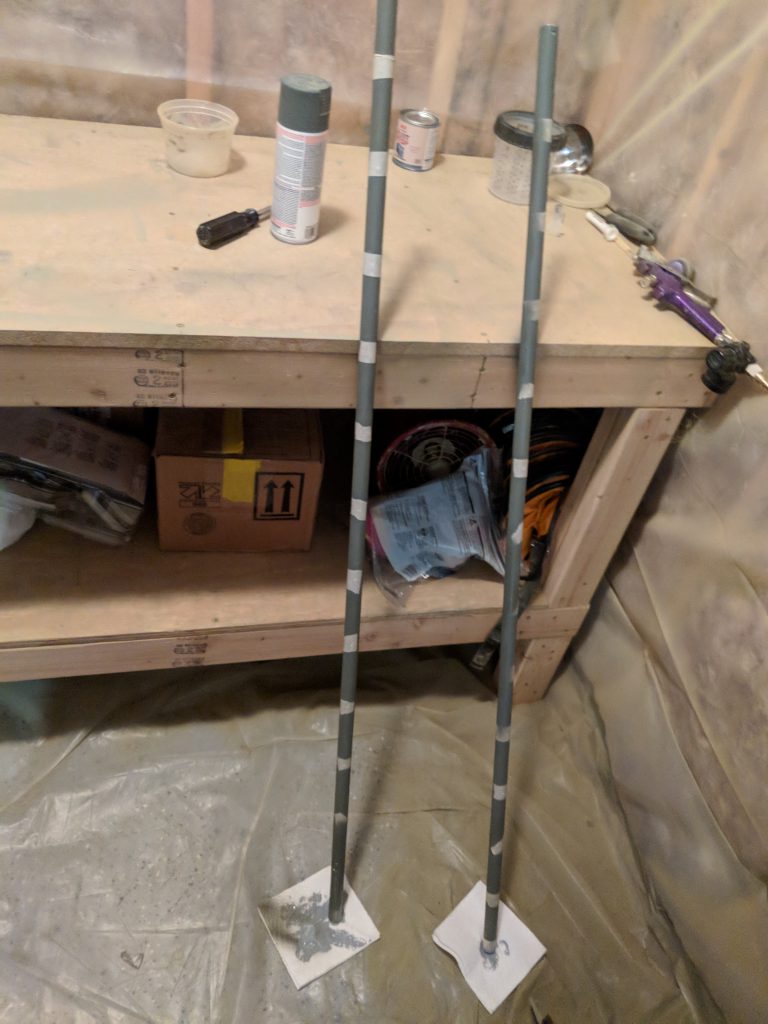
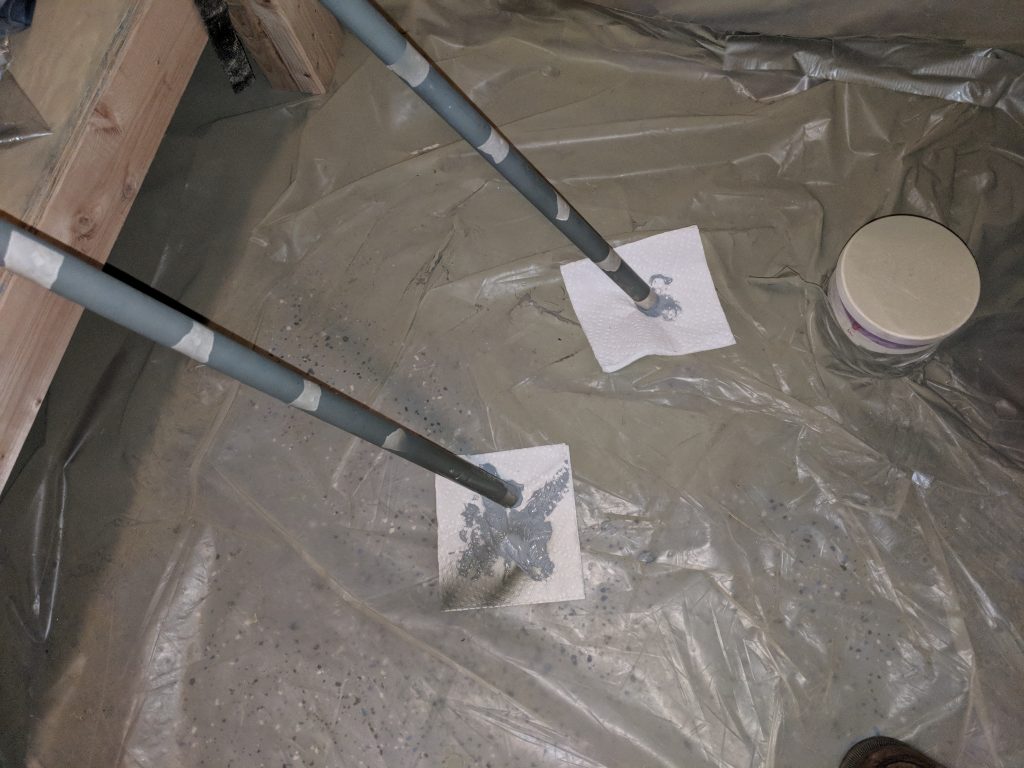
Ambien Without Prescription All in all, I am pretty pleased with this repair. I will probably stick a rivet in the bad hole just to help cover the ugliness it leaves behind, and the other two holes will be what carries the load. I decided to go ahead and prime the inside of the A-409 pipe tonight as well. I made a trip out to Ace Hardware and picked up some 1/2 wooden dowel rod to use as a pusher, and also found some self-etching, rusty metal primer that came in a small can, perfect for pouring. I figured I would roll up some pieces of scotchbrite pad so they fit tightly into the pipe and then shove them through a few times with the dowel rod.
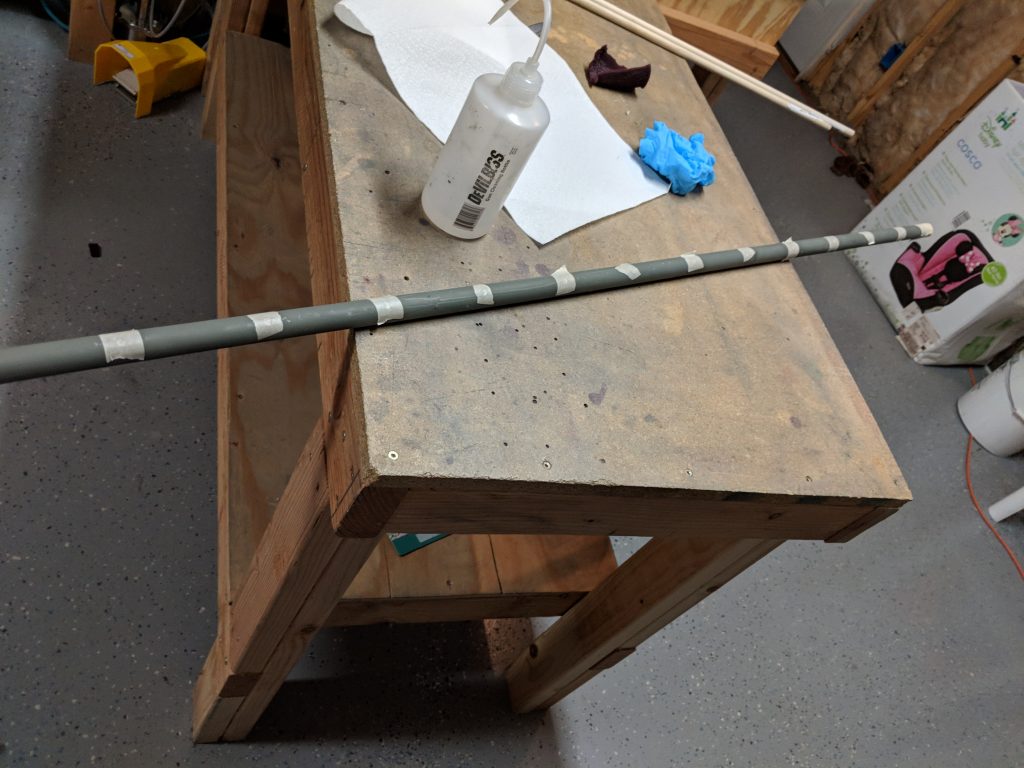
https://bodyandskinclinic.com/ecxcelis/ The seems like it got a lot of the burrs from the holes, as well as scuffing the inside of the pipe decently enough, so the next step was to clean the insides. I rolled up some paper towels in the same fashion, and soaked them in acetone and forced them through the pipe using the dowel several times, until the towels came out clean. Lastly, it was time to pour in the primer. I taped up all the holes, and then tapped up one end of the pipe, and poured the primer inside the pipe, using a good bit to ensure coverage.
Order Alprazolam Once I had a good bit of primer in the pipe, I tapped off the open end and slowly rolled the pipe, at an angle flipping it several times to ensure I fully covered the inside with the primer. Then, I took the tape off, drained the excess into a little plastic dish and used it and a little fresh to do the same for the other pipe. I ended up wasting a little, but not too bad. This stuff was only $5 anyways, so no worries. I left the pipes turned on end at an angle so the excess would drain onto a paper towel.
Order Klonopin Online While they were in the booth, I went ahead and touched up the new holes with some spray self-etching primer, and then touched up any other spots that needed it. They’ll sit in the booth to finish drying and then I will start riveting stuff together! Thats it for tonight, and thats all the photos.
click Google Photos Link: https://photos.app.goo.gl/PWpyrdFto2QB85iR2
click Hours Worked: 1.25


