


source site I’ve decided to go ahead and plumb in a return line for my fuel tanks, just in case I go with a fuel system that needs it my tanks will be ready for it. This will save a lot of hassle if I do have to use a return system. If not, i’ll just keep them capped off, and it will only add a few ounces of weight to the airplane. It’s also time to start getting the tanks and ribs prepped for sealing and riveting. So, I started off by locating where I wanted to run the return line. I’m going to run my return line almost to the very outboard fuel bay in the tank, actually one in from the outboard most fuel bay. This way, the warm fuel can return into the tank and have time to cool off with the rest of the fuel, and to help reduce any foaming that may occur. By not going all the way to the outermost fuel bay, it keeps the return from mixing with the fuel vent line, and keep the return safe from any fueling nozzles etc. I will probably bend the return line upward aiming it towards the top leading edge of the skin so it can splash up against the skin further cooling it.
Order Klonopin Online I found a good spot on the ribs that kept the line clear of the capacitive sender plates, and the vent line as well as left me plenty of clearance distance from the flanges and other holes. I drilled a pilot hole in my first rib with a #30 bit where I wanted that return to go. I’ll widen the hole with a step bit. But first, I need to transfer this hole to the same spot on all my other ribs! To do this, I grabbed some scrap wood and clamped my rib onto the wood, and marked all the holes from my rib onto the piece of wood with a sharpie to use as indexes for the other ribs. Then I backdrilled my new #30 hole for the return line all the way through the wood. This will give me a drilling jig to transfer the hole to the exact location on all my other ribs.
https://geneticsandfertility.com/2676-2/ \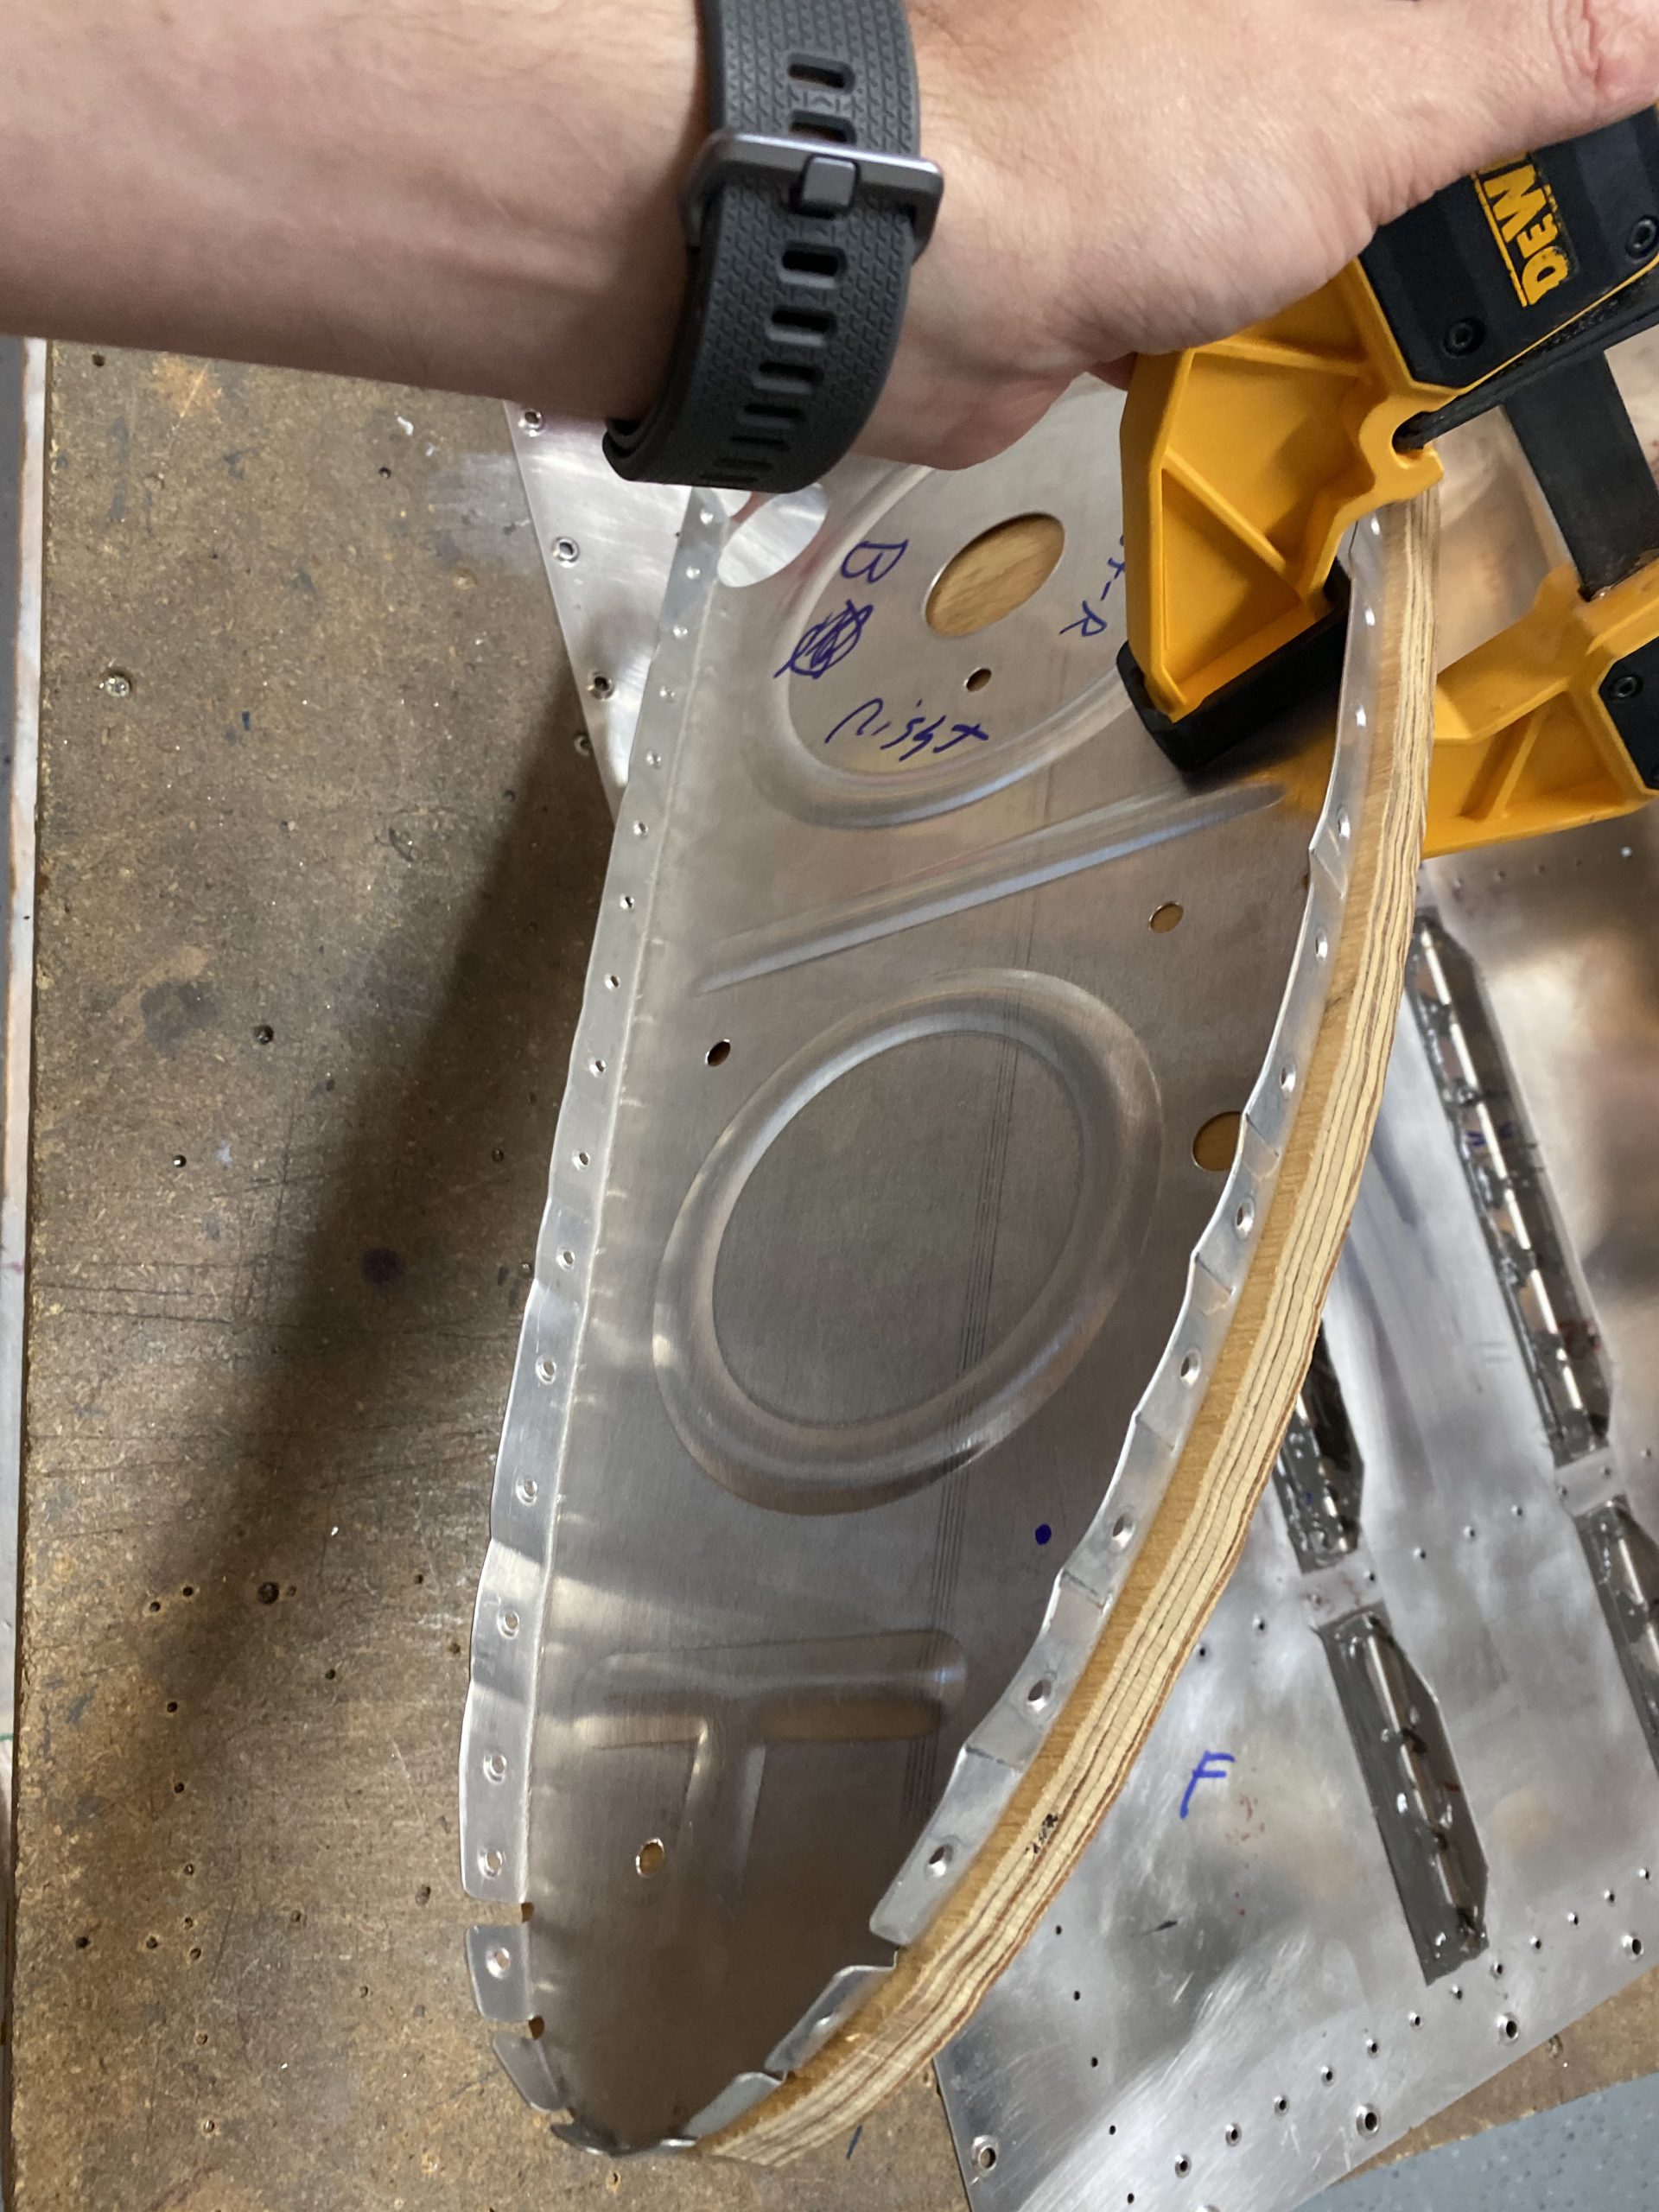
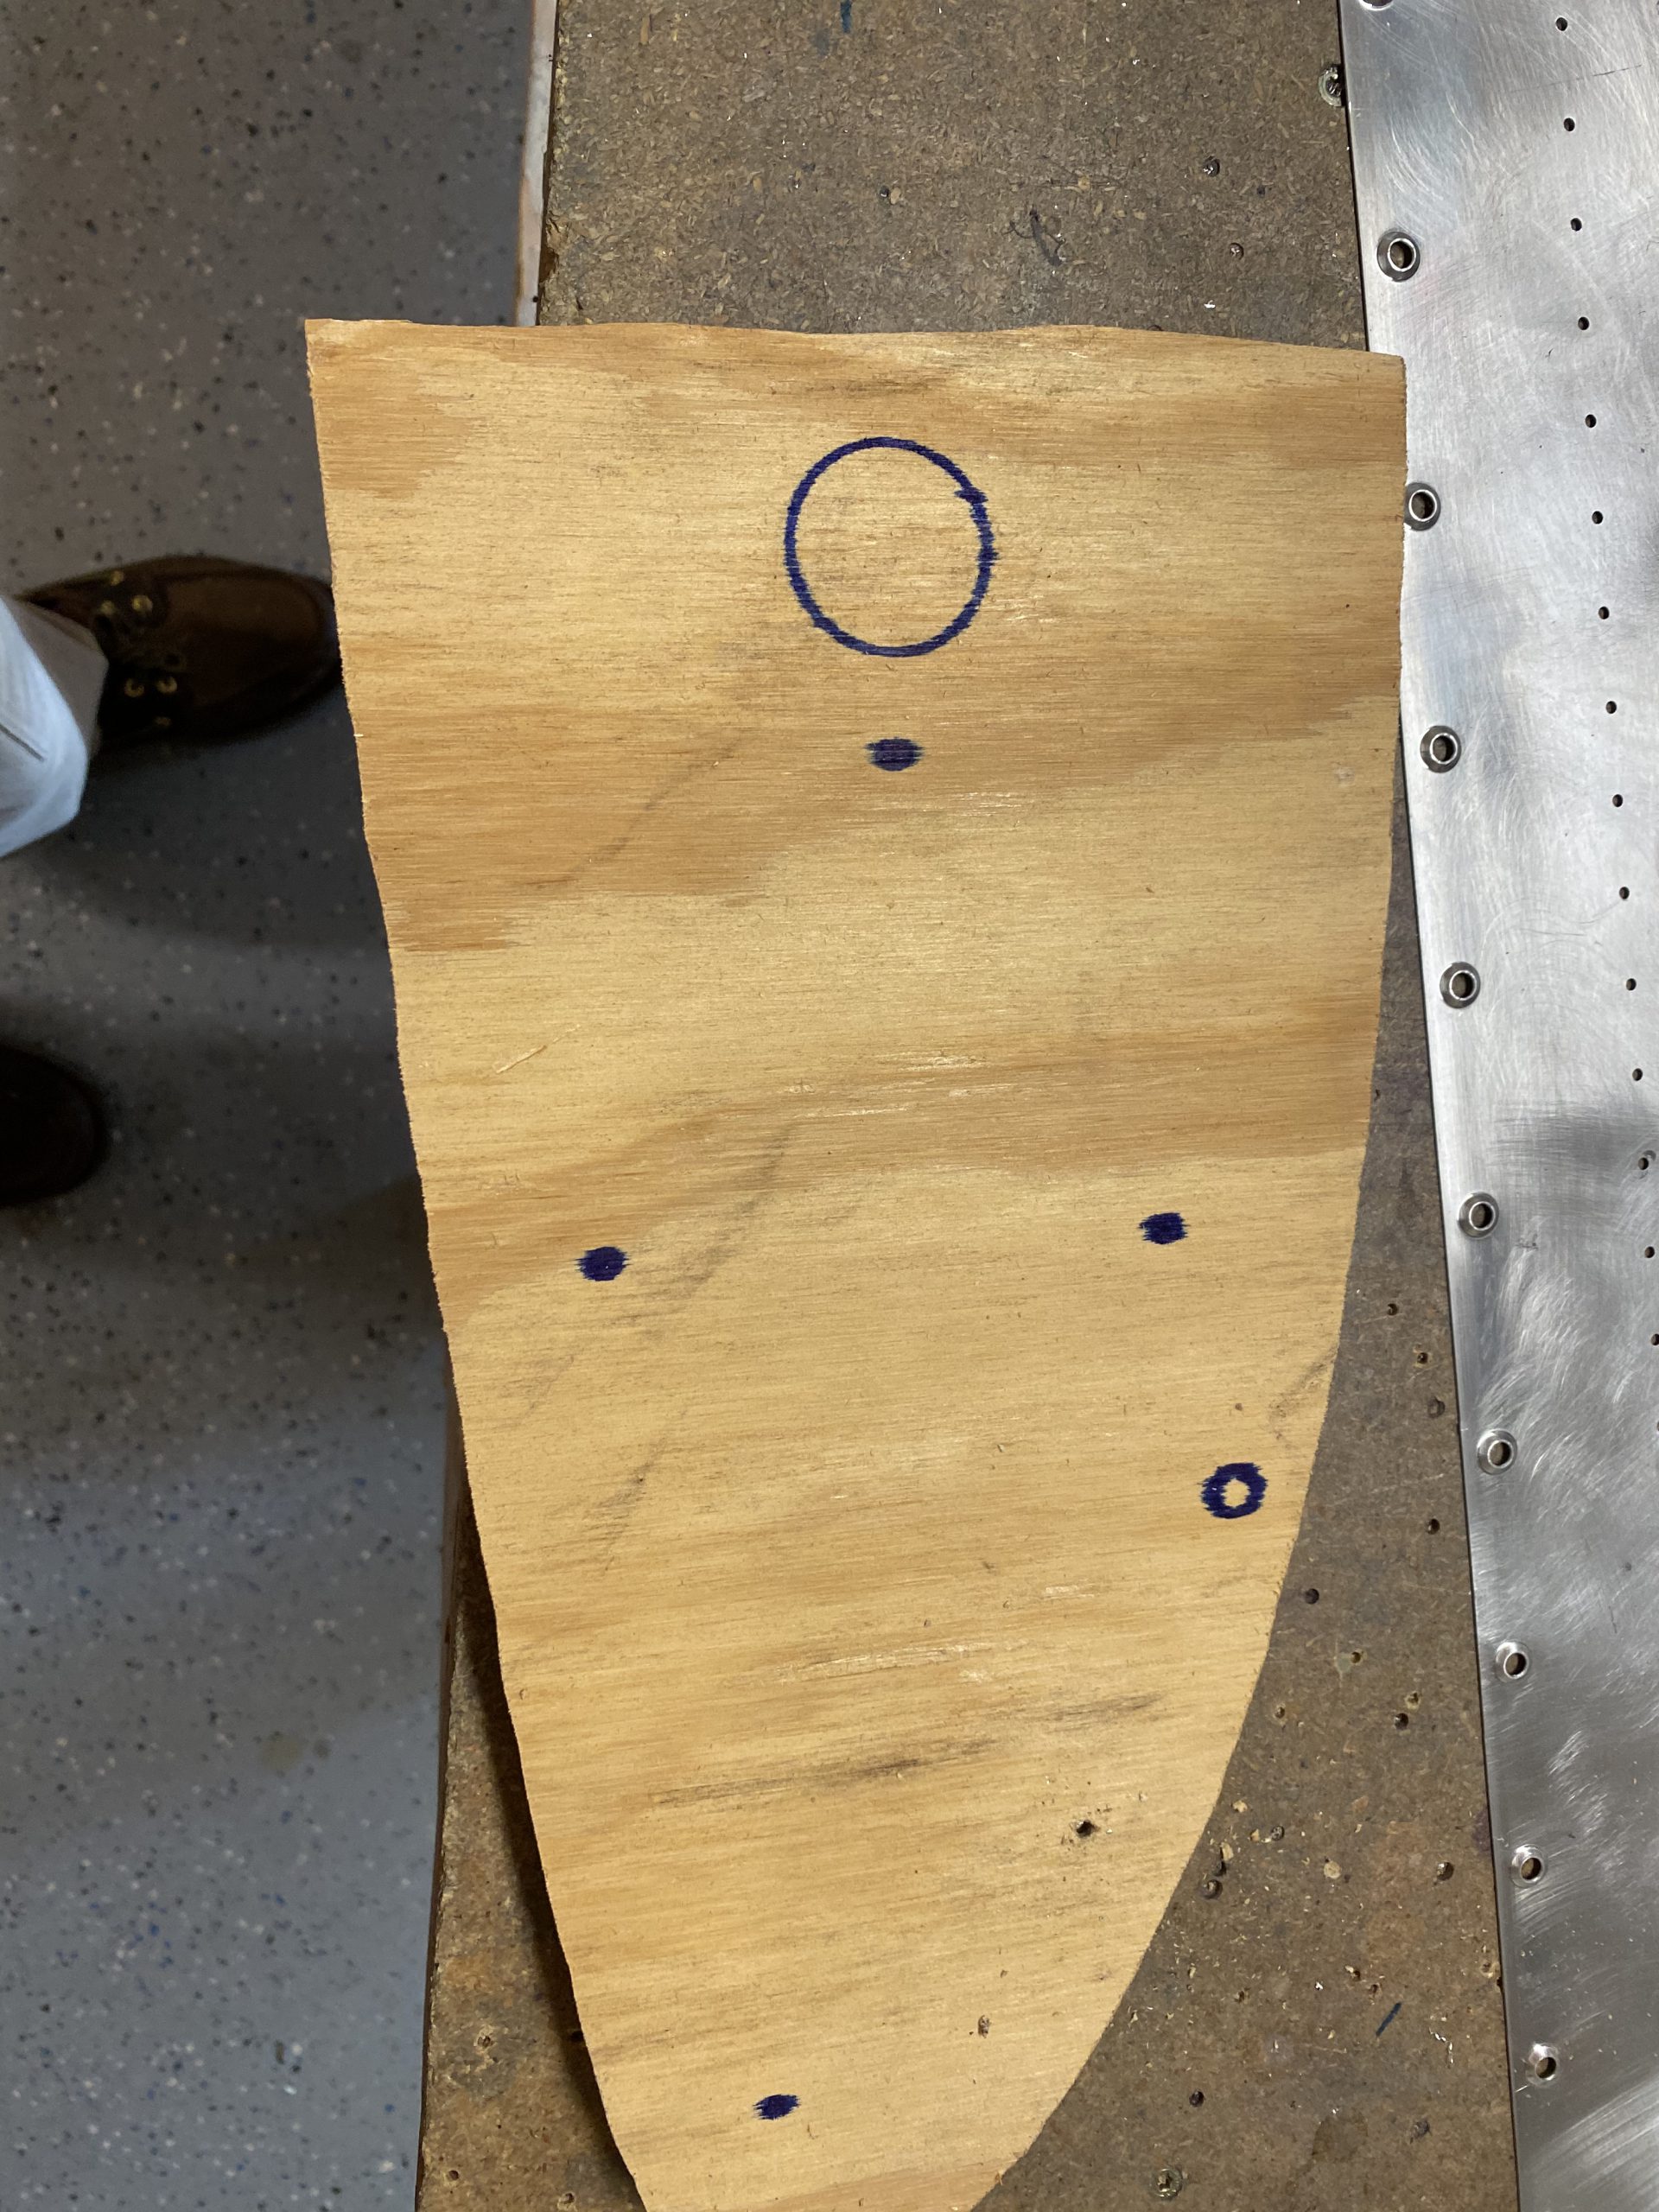
https://www.52editions.com/recommendations/ I’ll just need to clamp each rib onto the wood, lining it up with the sharpie marks, and use the #30 through hole I drilled in the wood as a drilling jig to drill the hole into the rib. A simple and easy way to transfer a hole! Now, my piece of wood is in the rough shape of the rib simply because it was the scrap I had left from making my leading edge jig, any piece of scrap would have worked. 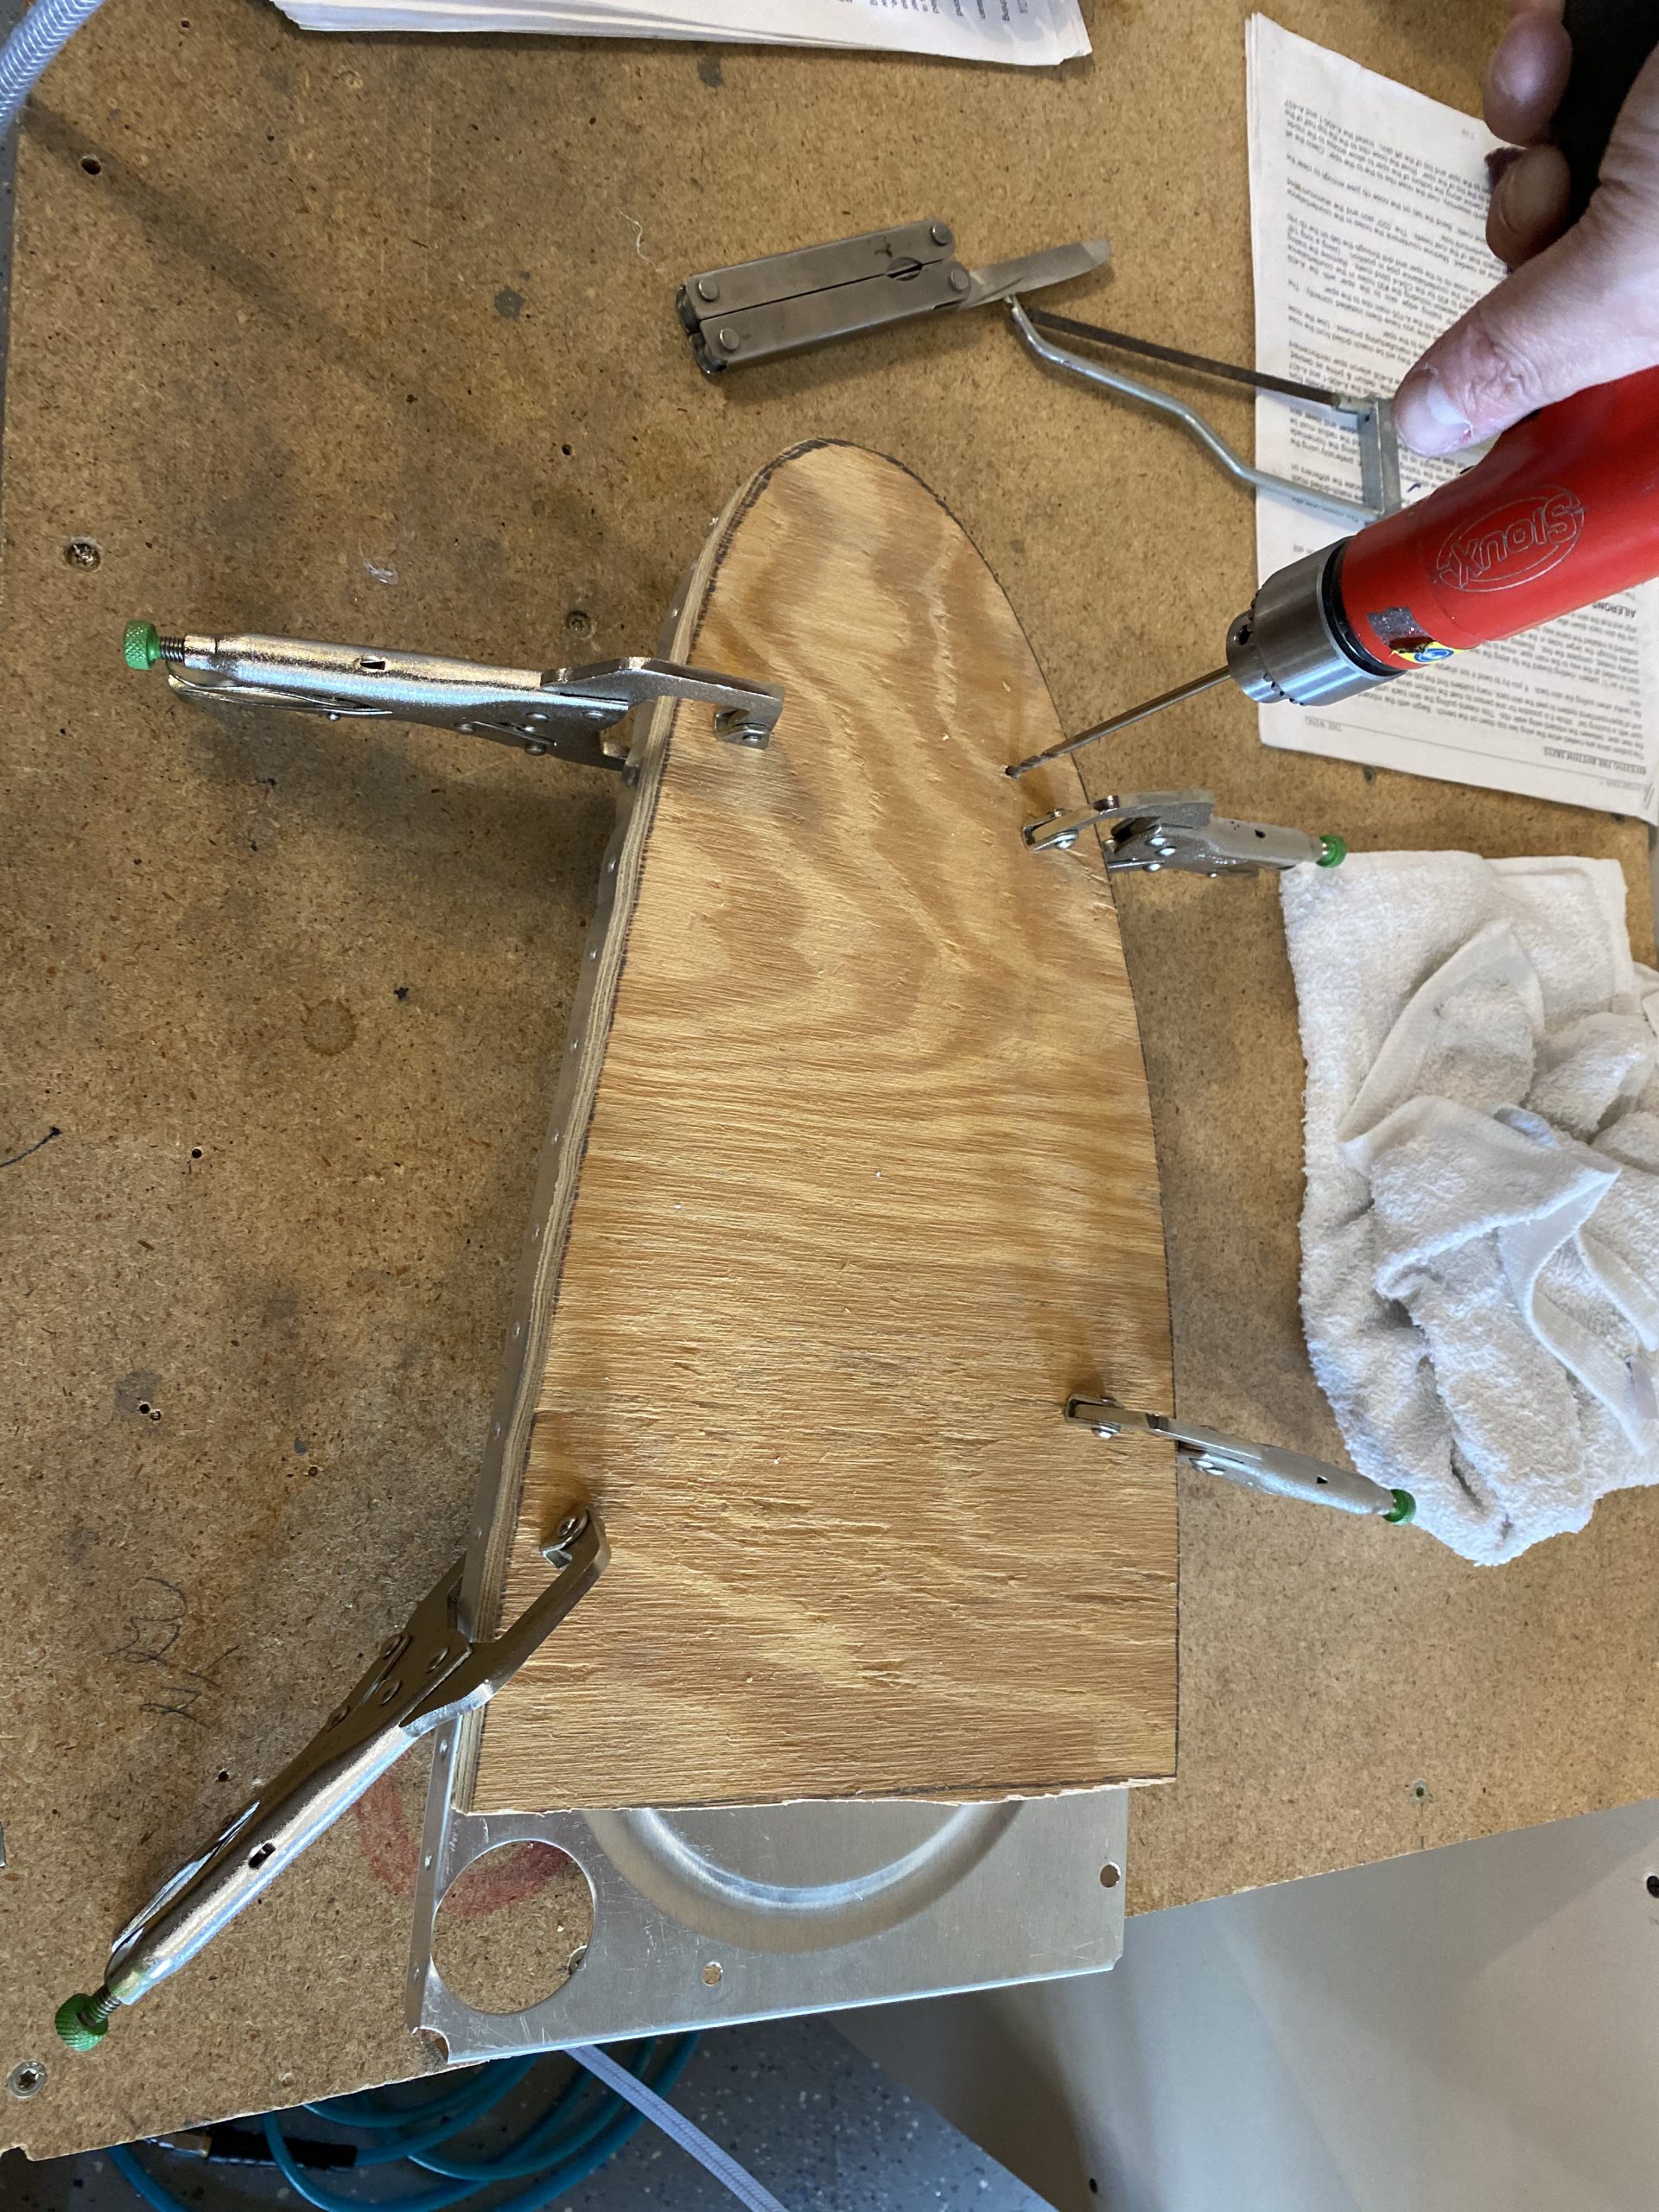
https://thelonelycreative.com/softcover-notebooks/ Once I had the #30 holes drilled into all the ribs (I left out the inboard end rib for now, I’ll get it later when I decide where the plumbing will go) I chucked up my step bit, and opened the holes to 3/8″, just big enough for the plastic bushings to fit. I am using -4 aluminum tube for my return line, its the same size as the vent line, so I’ll just the same size bushings for these return line holes. I think they were SB-437-4 size. Once I had the holes opened up to the right size, I deburred them and moved on.
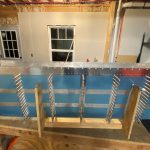
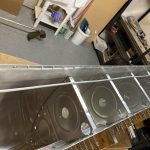
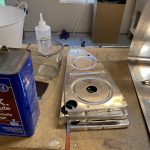
https://www.beyondagencyprofits.com/loom-videos/ This next part was where I spent the bulk of my time for the session: Scuffing and cleaning the right tank parts! I put the tank skin on the bench and then scuffed all the rivet lines throughly with some scotchbrite to give the sealant more surface area to cling to. Once I had both the top and bottom side of the skin, as well as the rivet line on the skin for the tank baffle, I moved on to scuffing both sides of the flanges for all the ribs. I turned on some music and got comfy in my shop chair while I was scuffing these things. After I had them scuffed, I cleaned them very well with some acetone followed by MEK. I did the same with the tank skin, but instead of focusing on JUST the rivet line, I went ahead and COMPLETELY cleaned the entire surface of the skin, since it will be closed up pretty soon. I wanted to make sure I had ALL of the little bits of sealant and ink markings gone from the skin to prevent fuel contamination. I’ll do one more wipe down before closing it up with the baffle of course. Heres how clean everything came:
https://anthonynewmancamps.com/tennis-camps/ 
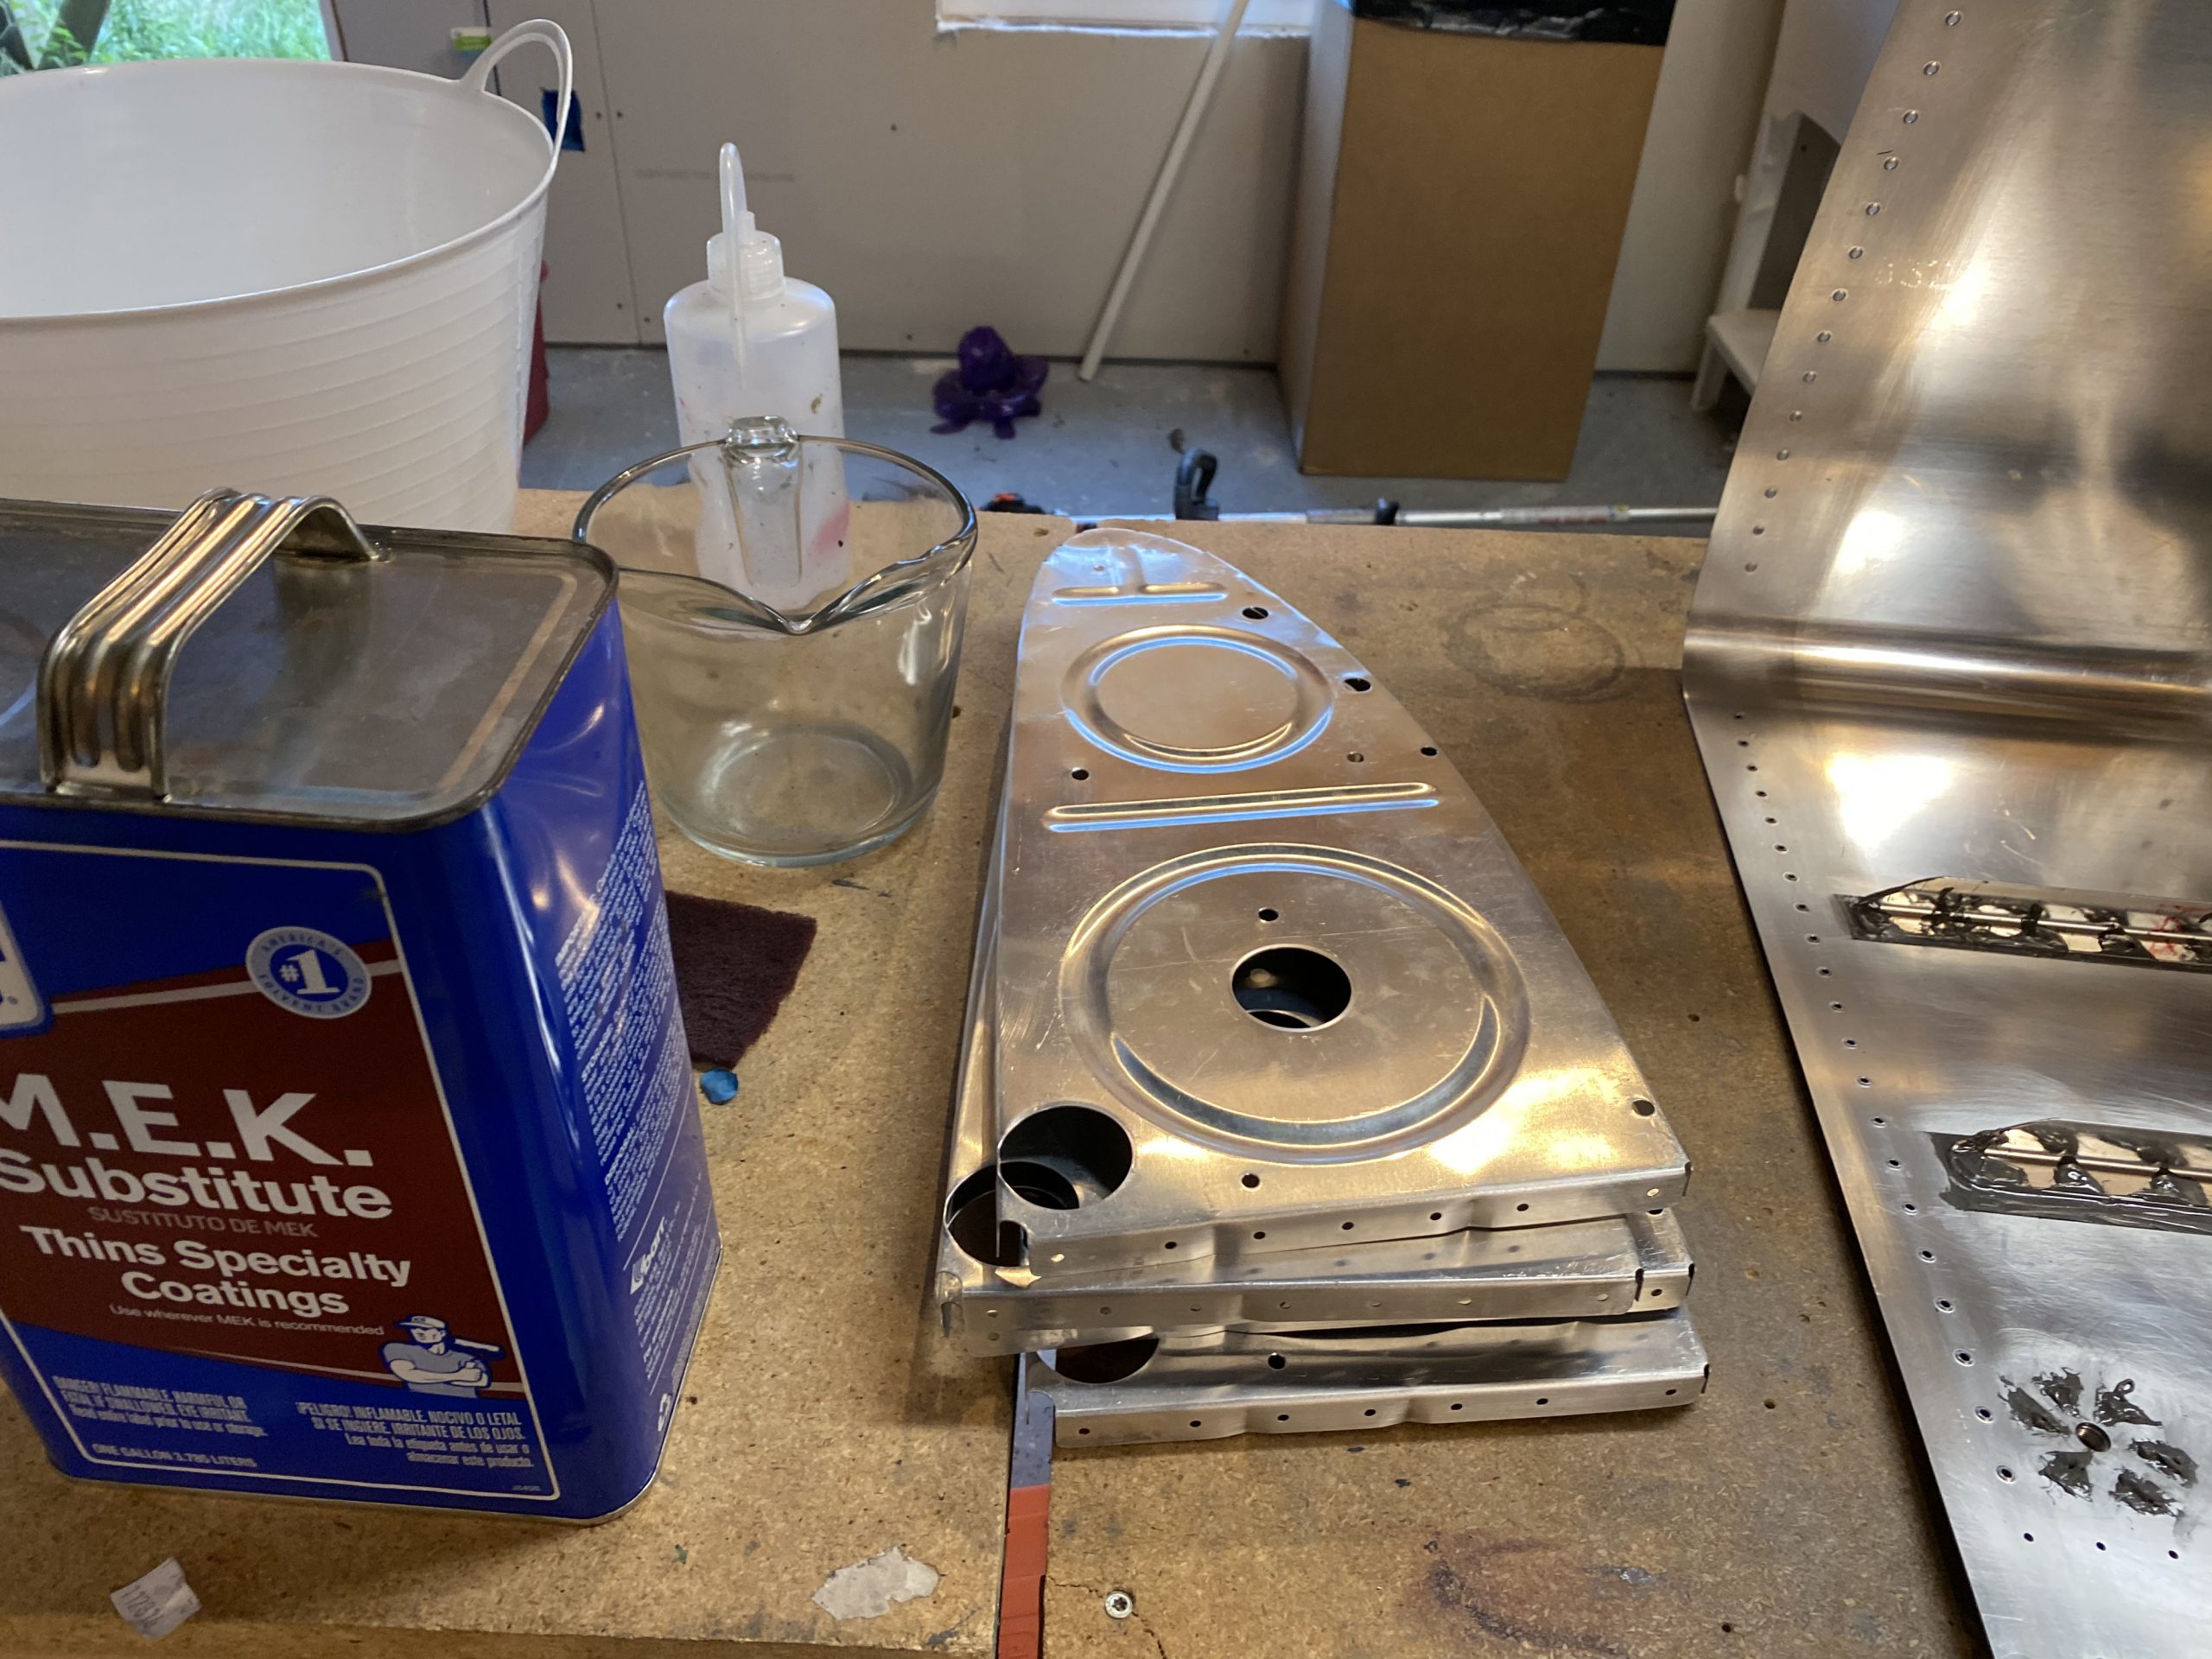
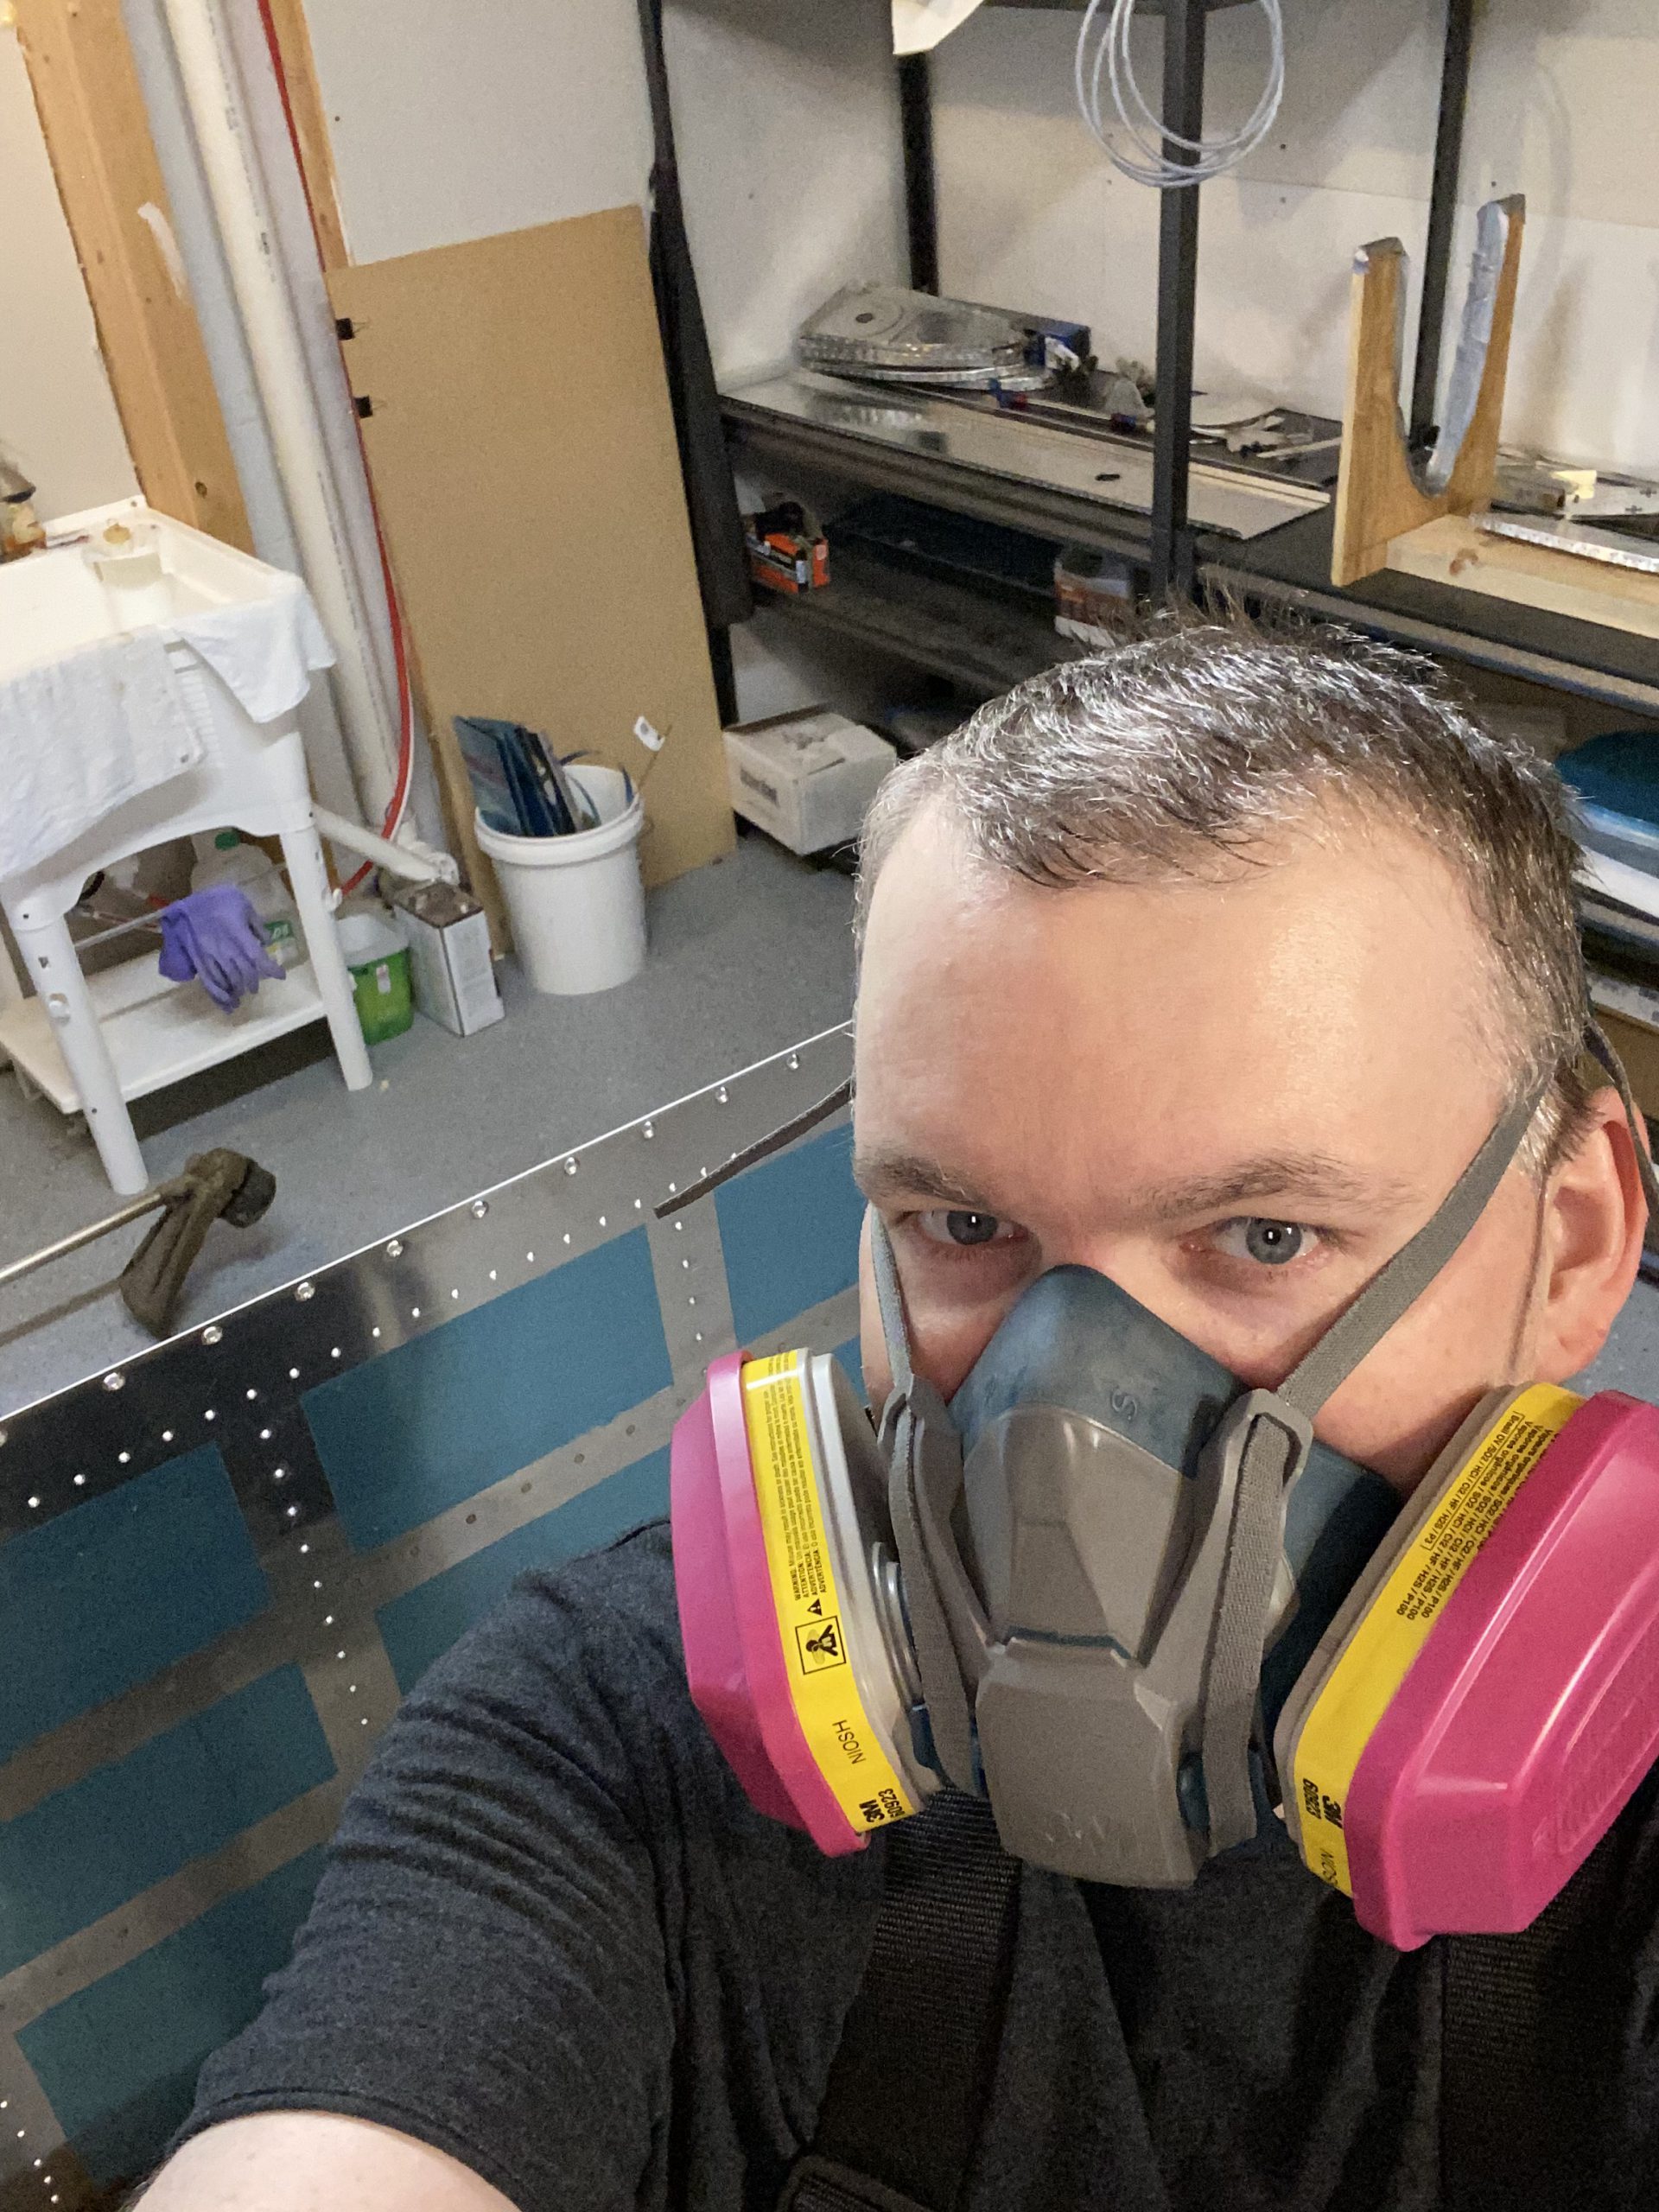
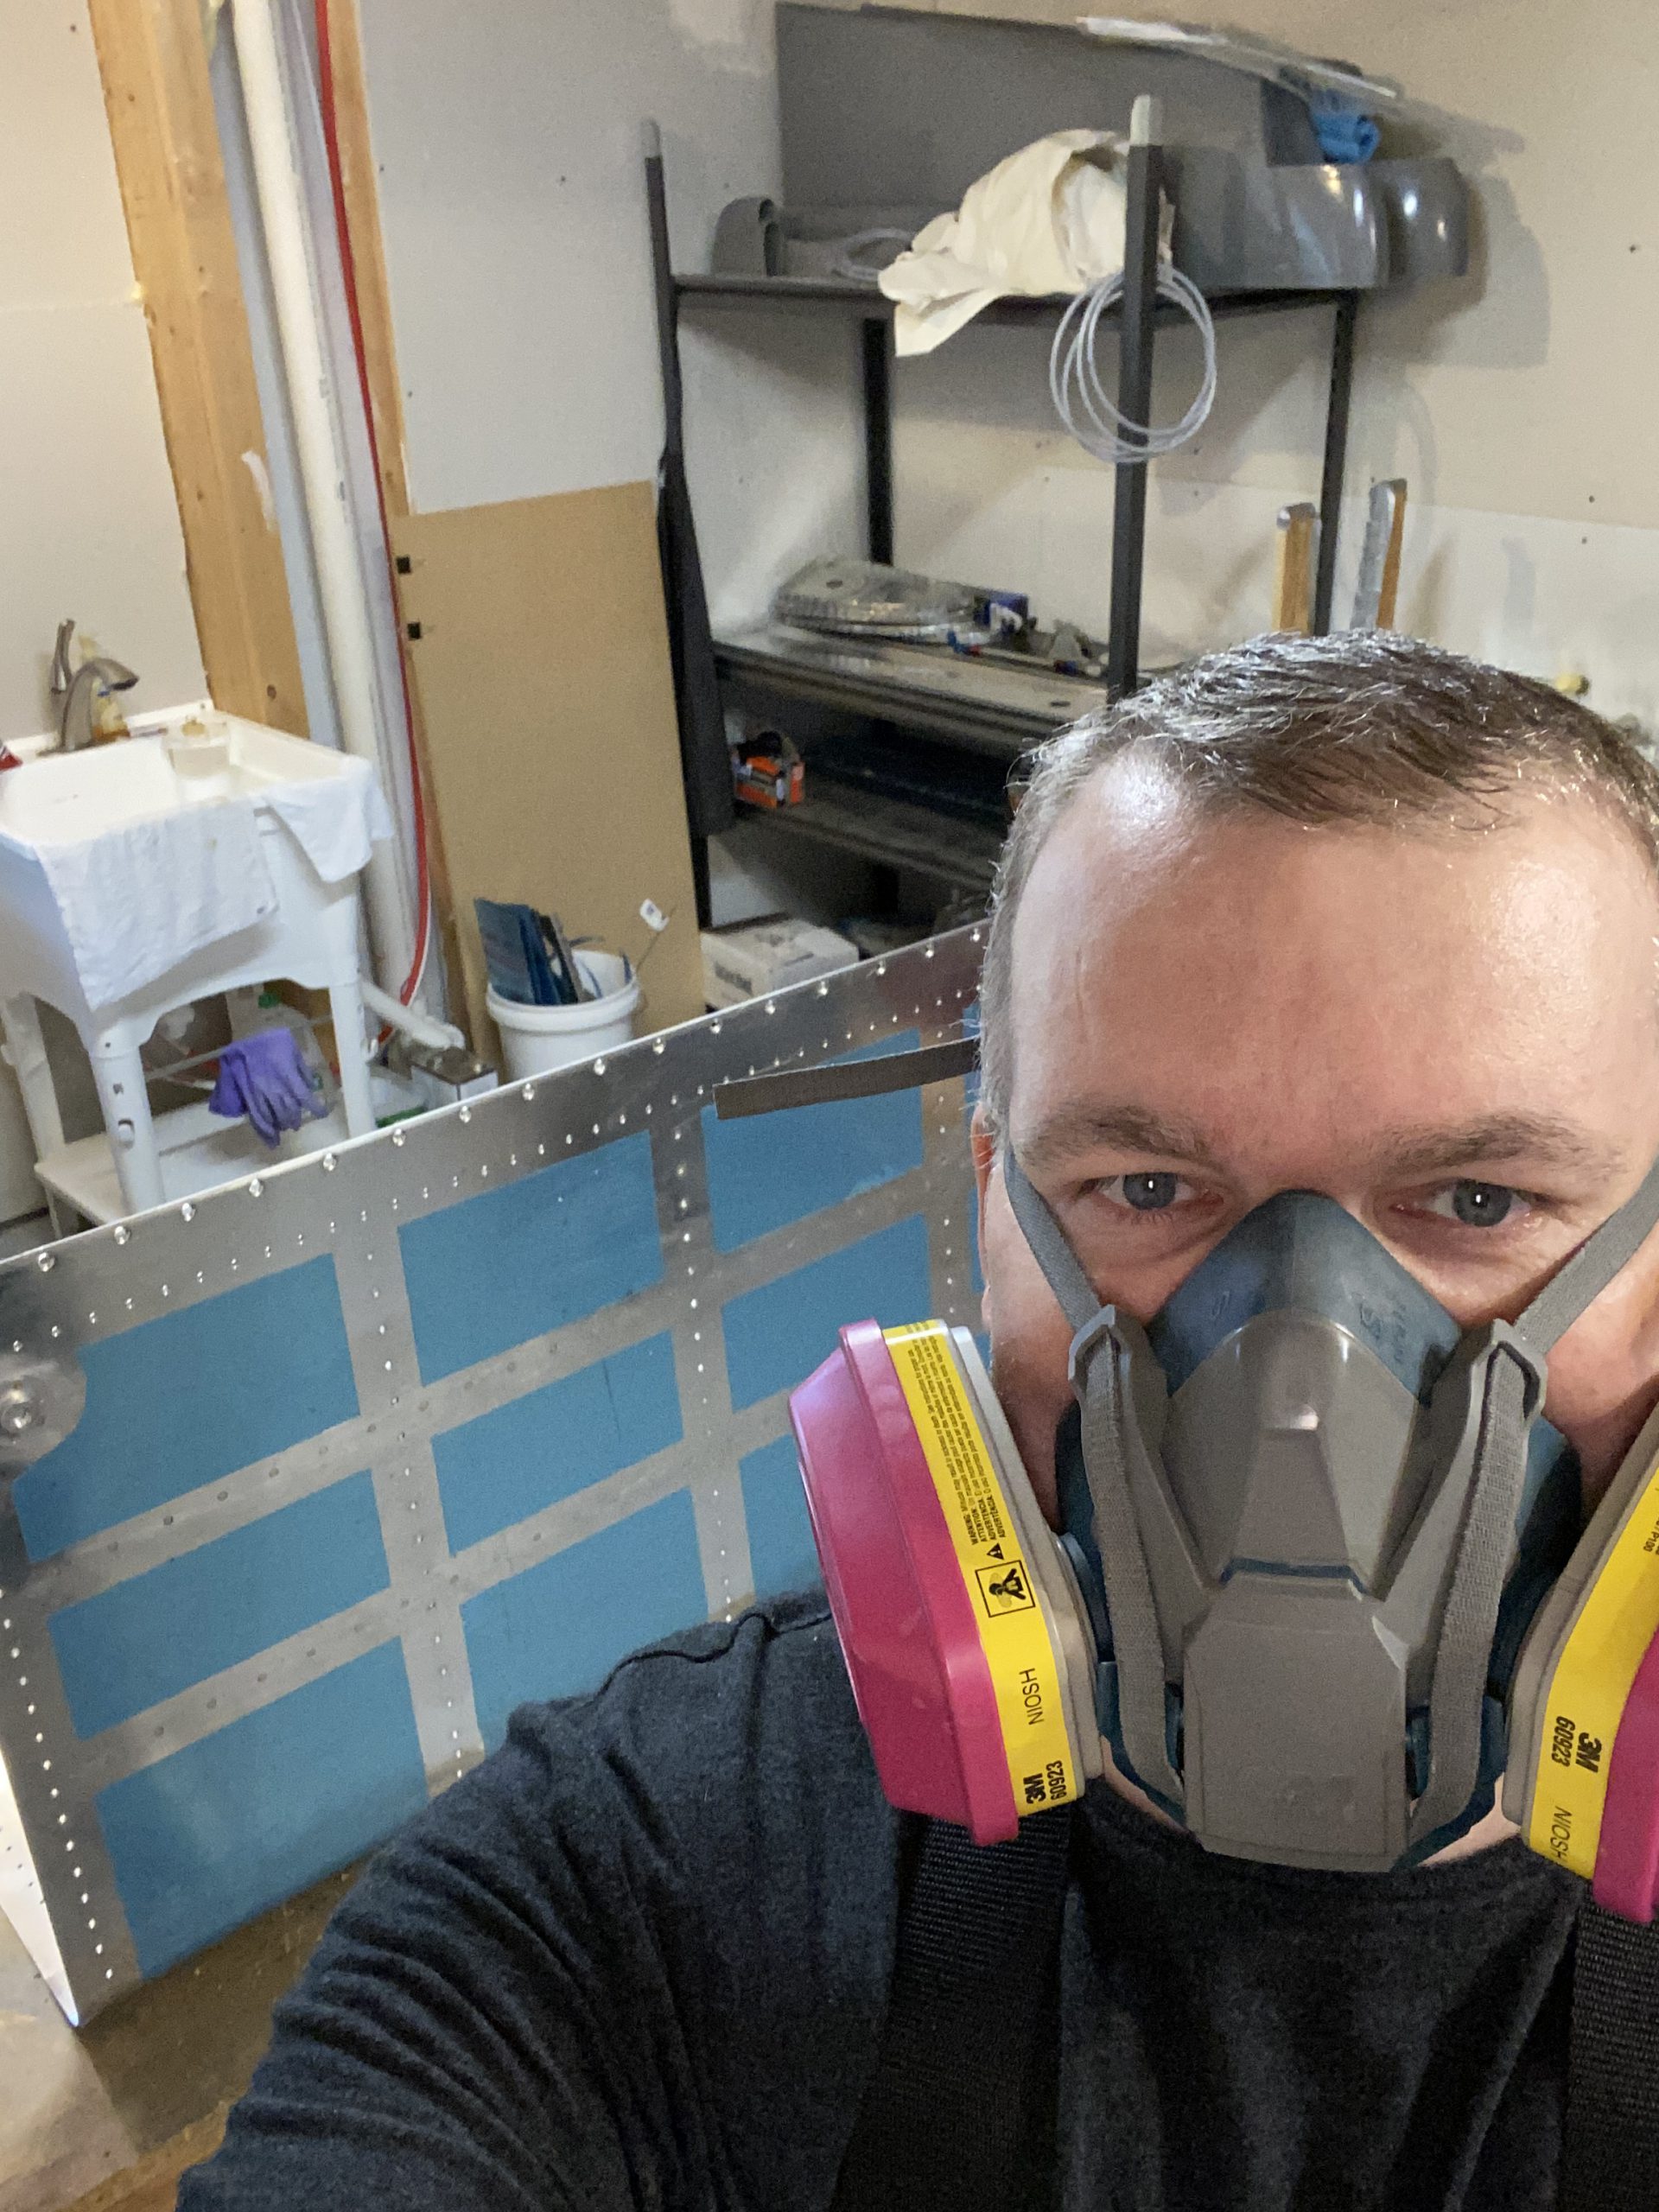
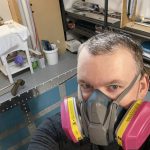
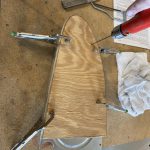
https://www.jacobysaustin.com/events/ The MEK is pretty strong organic vapors, so I made sure to wear some PPE when working with it. Gloves and a respirator. Here’s a photo of my PPE and Me for proof I’m doing the work 🙂
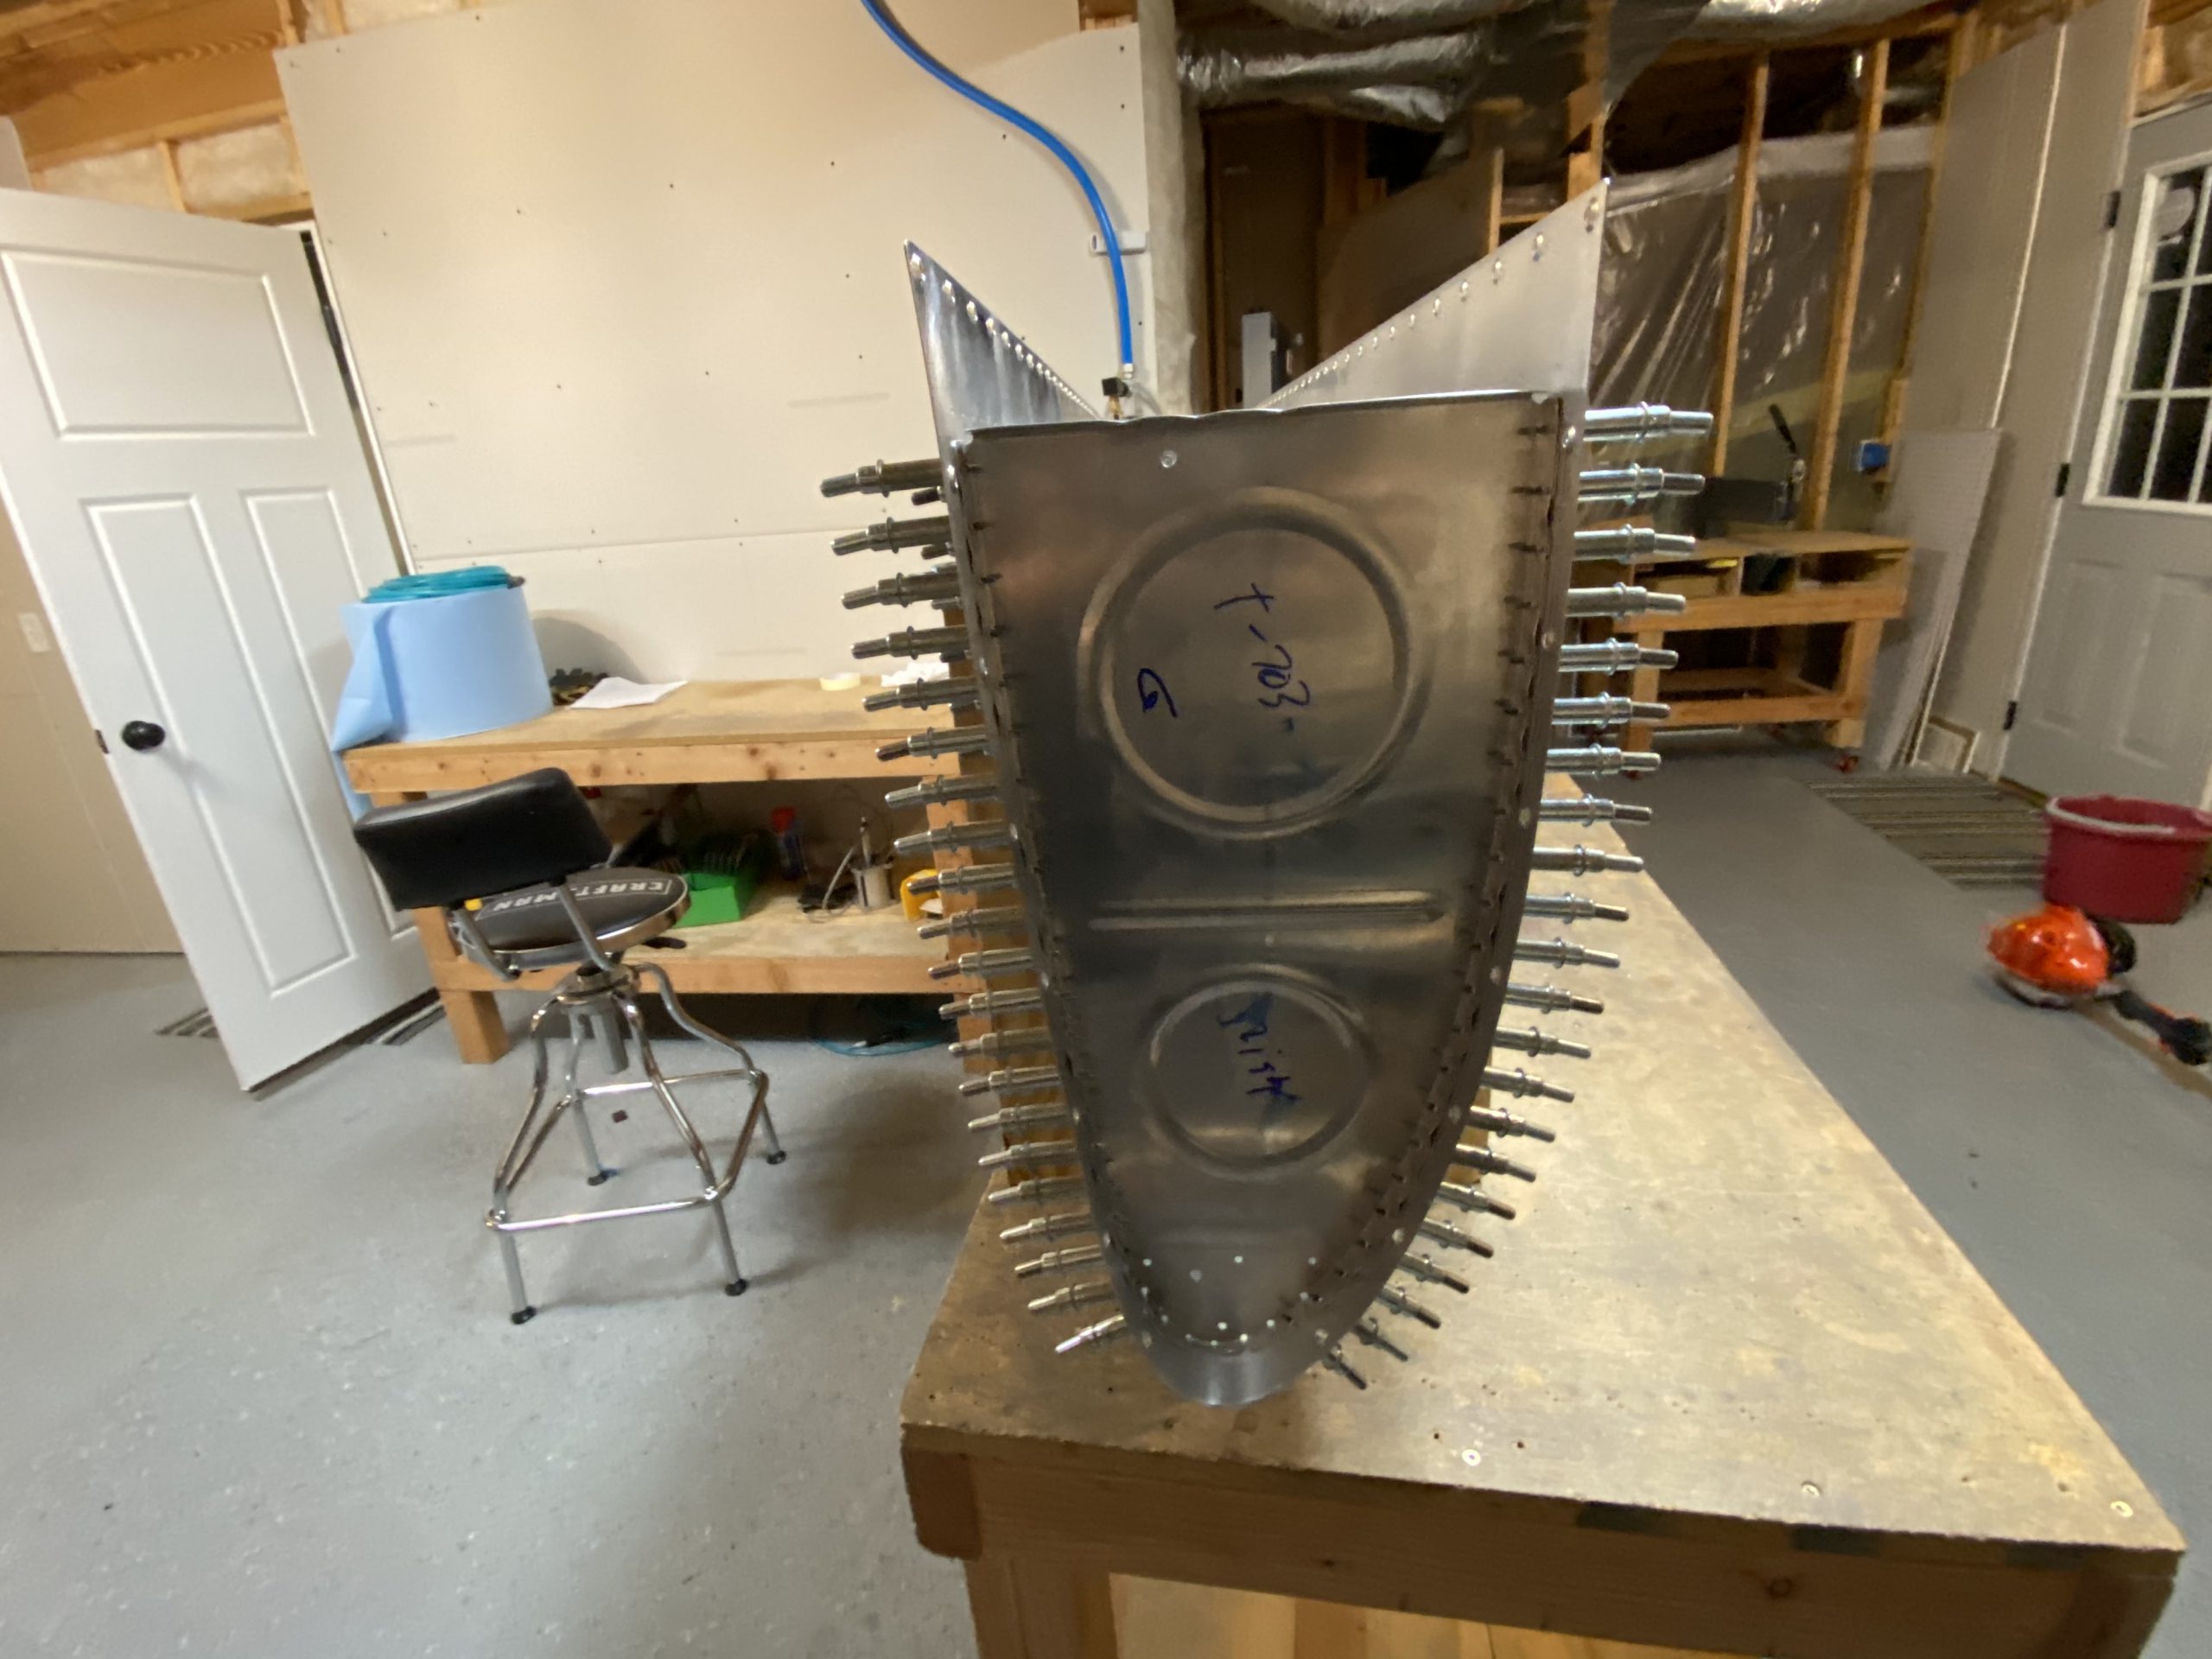
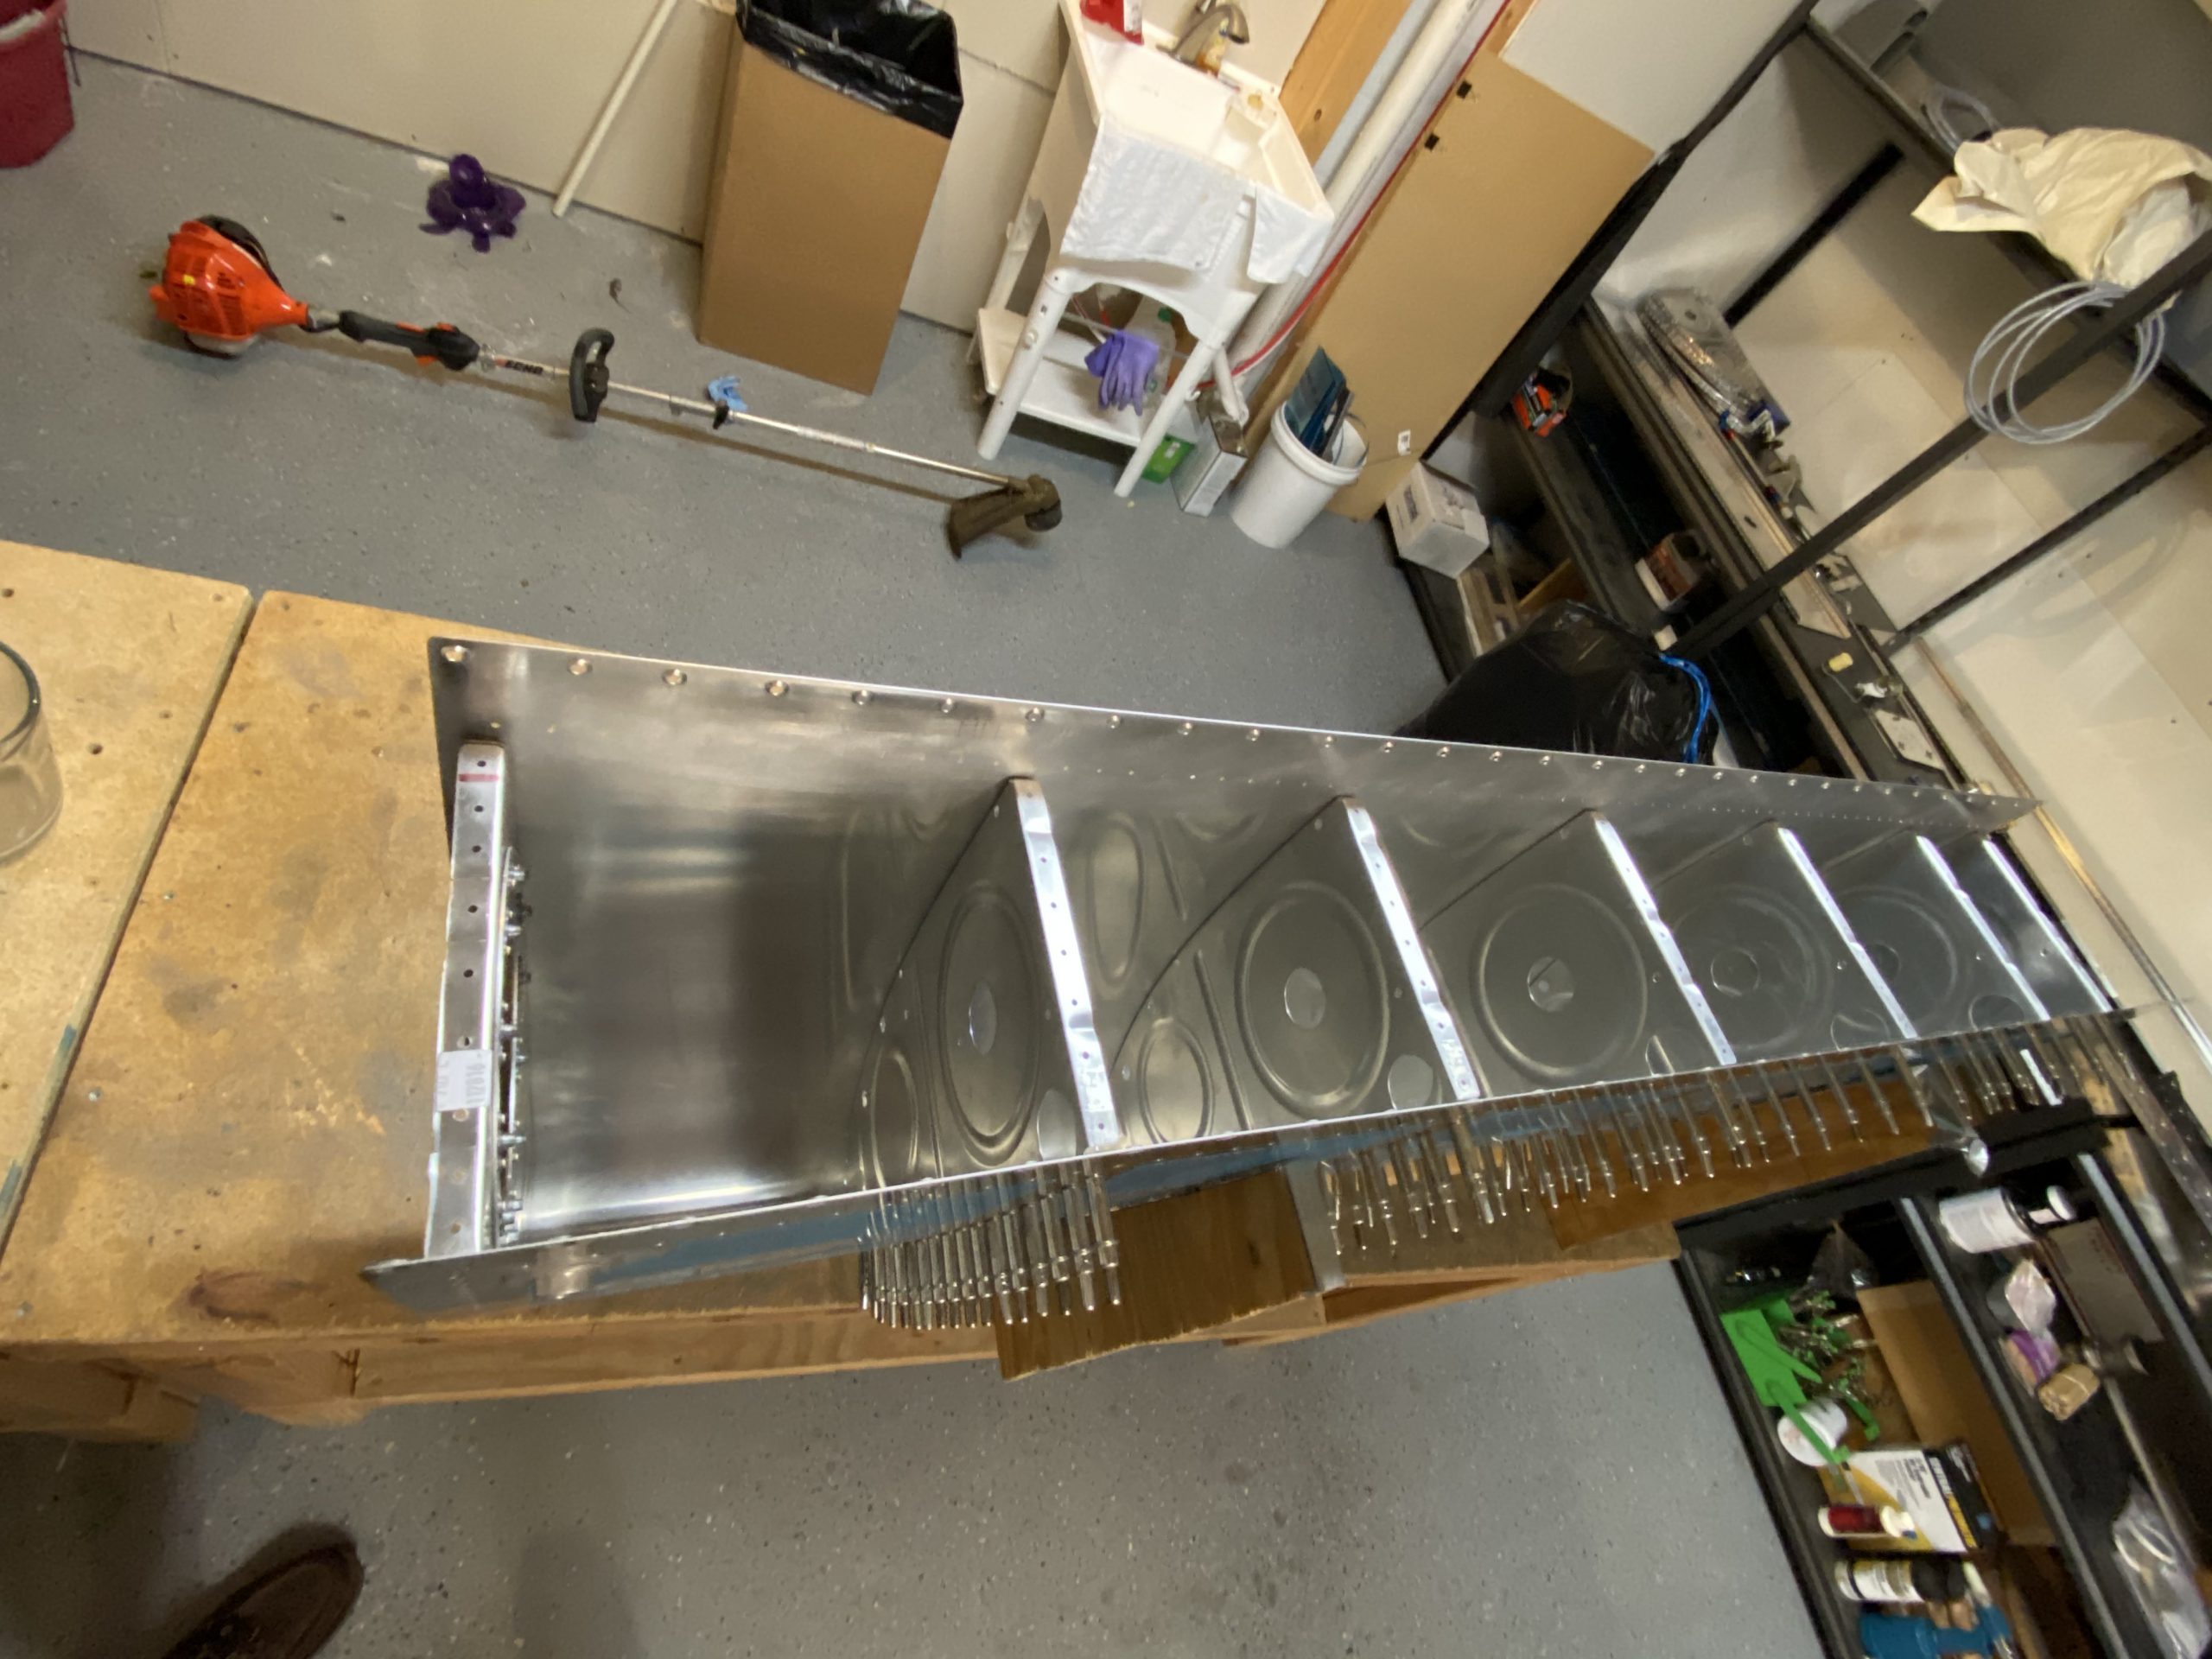
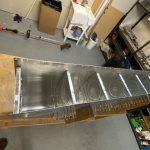
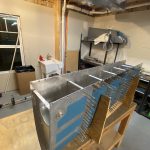
go site Once I had the ribs and skin scuffed and cleaned, Van’s has us re-assemble the tank and ribs fully clecoing everything together to make sure its all in the right shape before we seal the ribs. They want us to remove one rib at a time, seal it and rivet it before moving on to the next rib. Makes sense, as it assures that the tank keeps the proper shape during riveting. So, I re-assembled the right tank, putting a cleco in every hole to hold it tight. I left the inboard end rib undone for now, since I need to trim my return line to fit.
http://www.ztpackaging.com/art_requirements/ 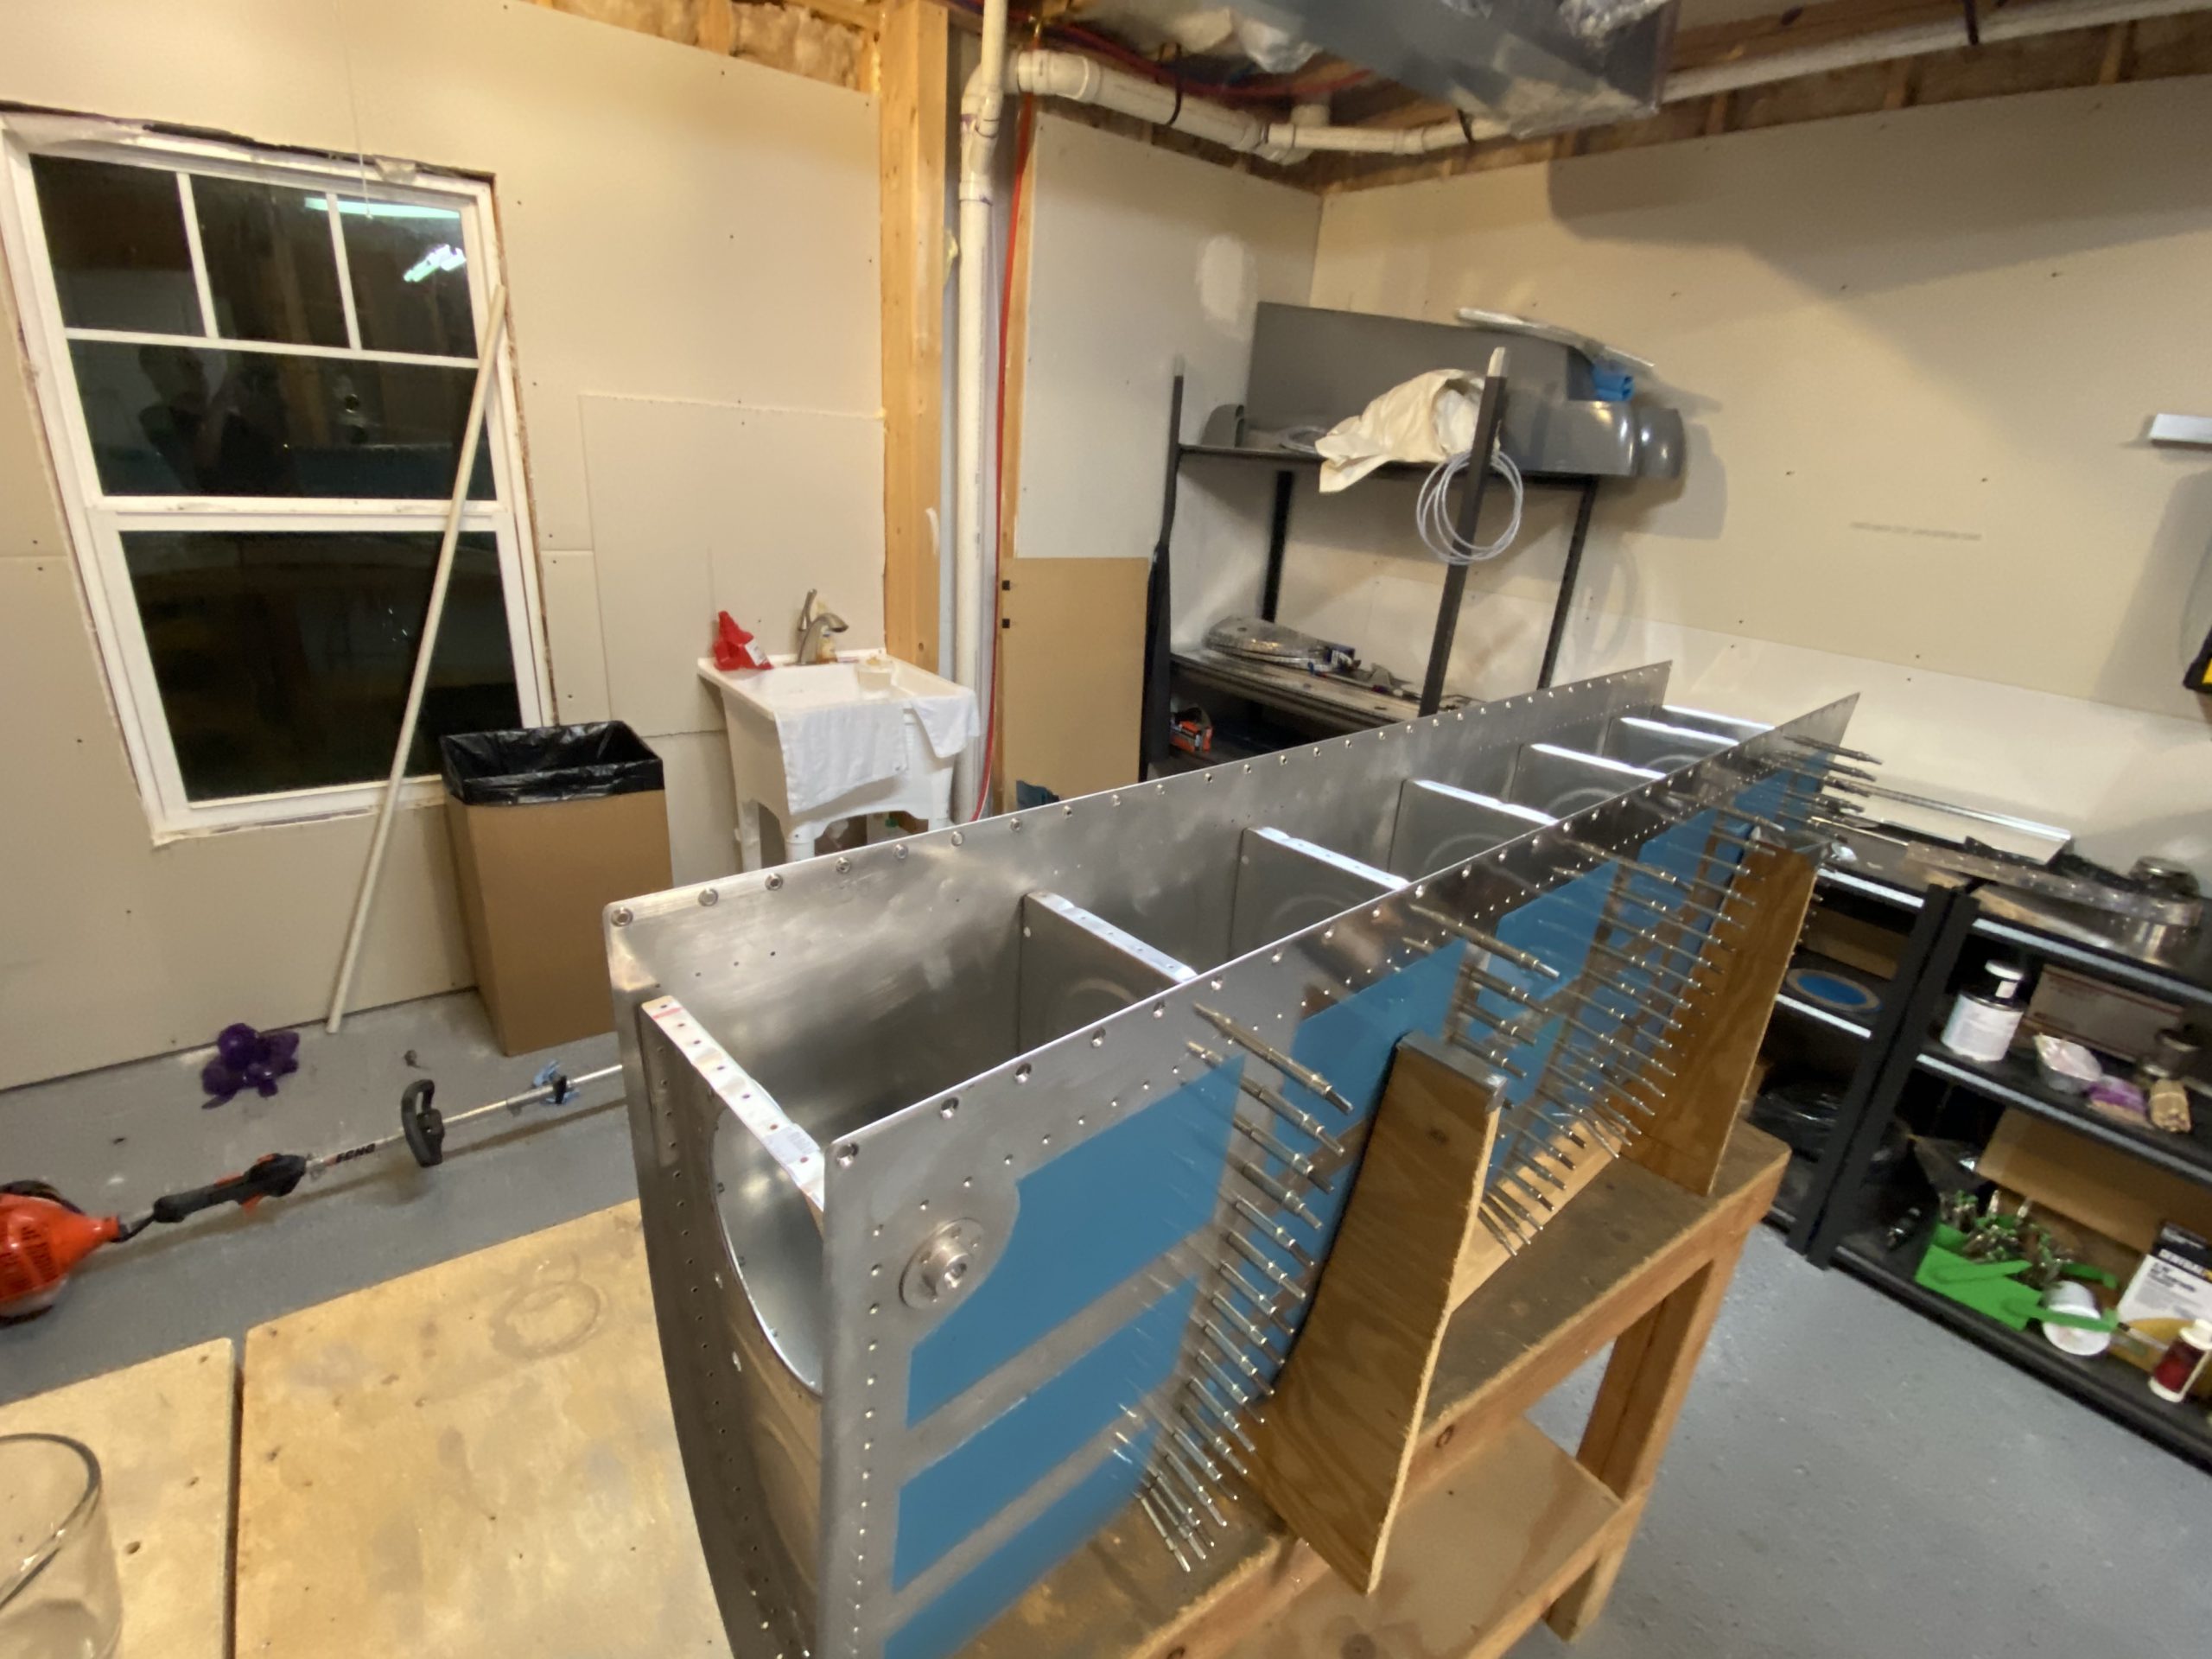
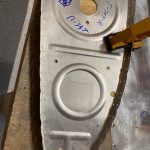
go site For the return line, I unspooled enough of the -4 aluminum tubing to reach the outboard most inner fuel bay, and gave myself a tiny bit extra for the bend to fit the fittings, making sure I’d have enough to do both tanks to the spot where I wanted it. You can see where the tube will end up at inside the fuel bay.
https://www.completerehabsolutions.com/ergonomics-assessments/ 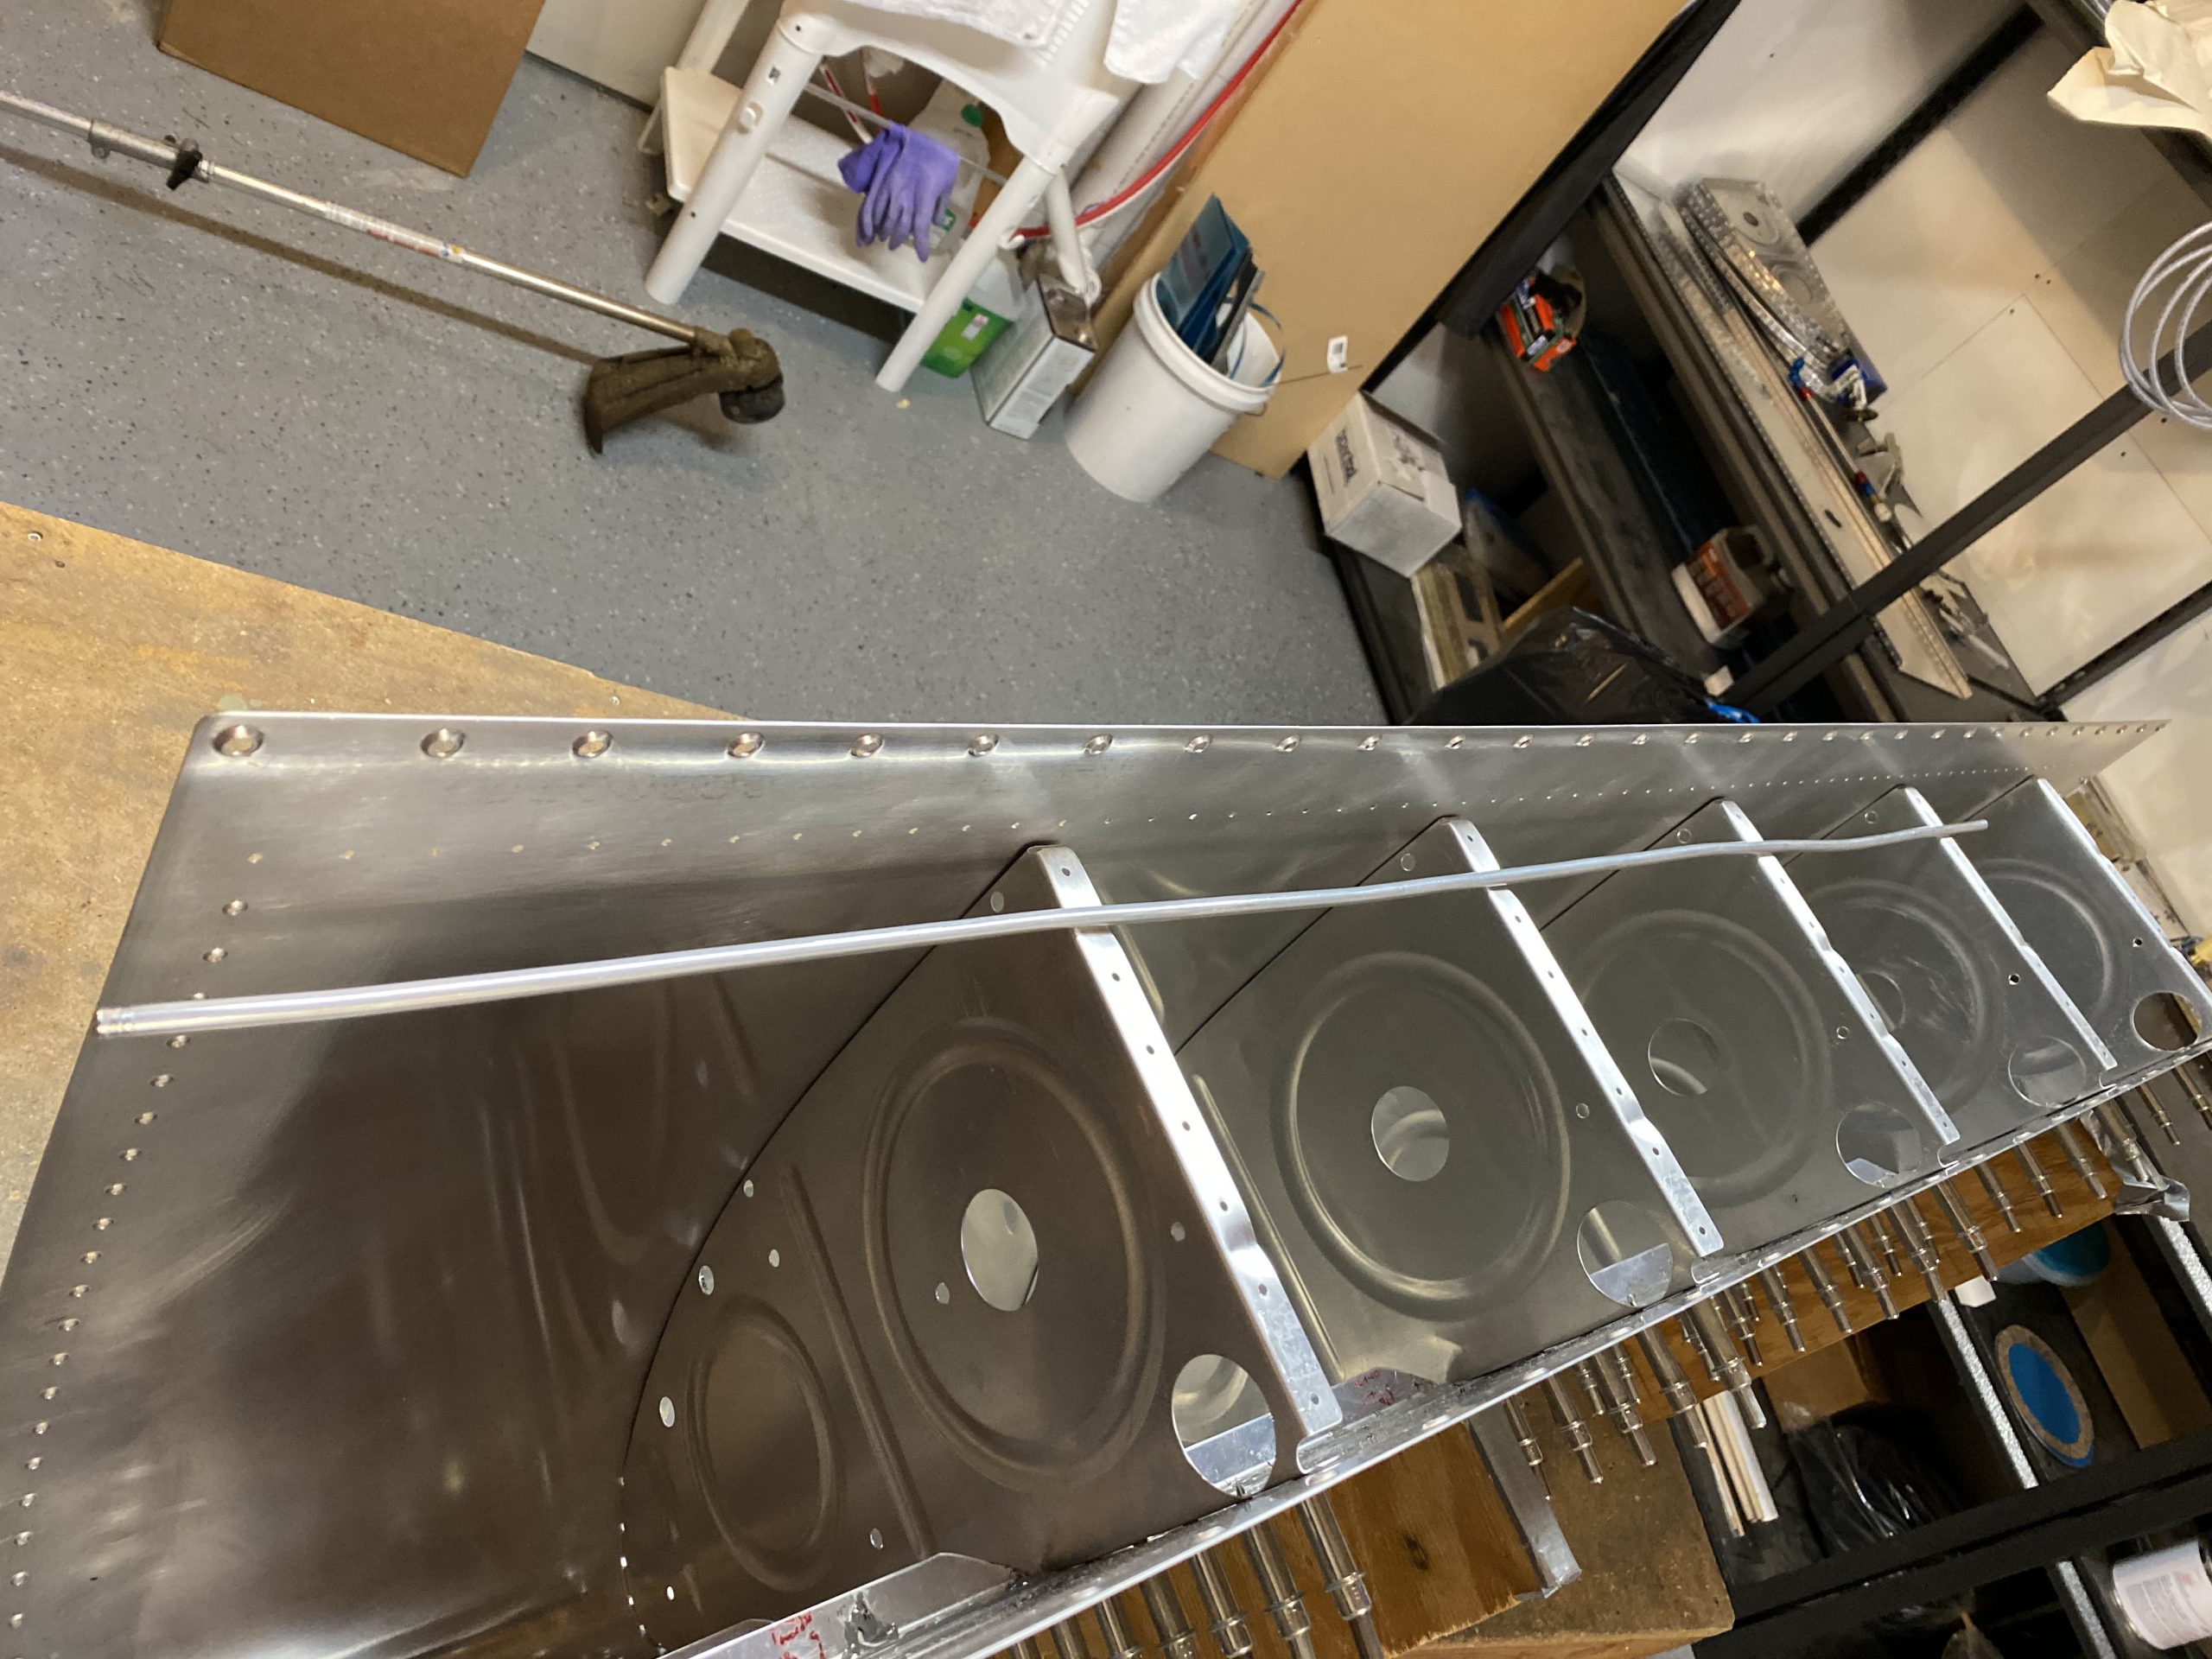

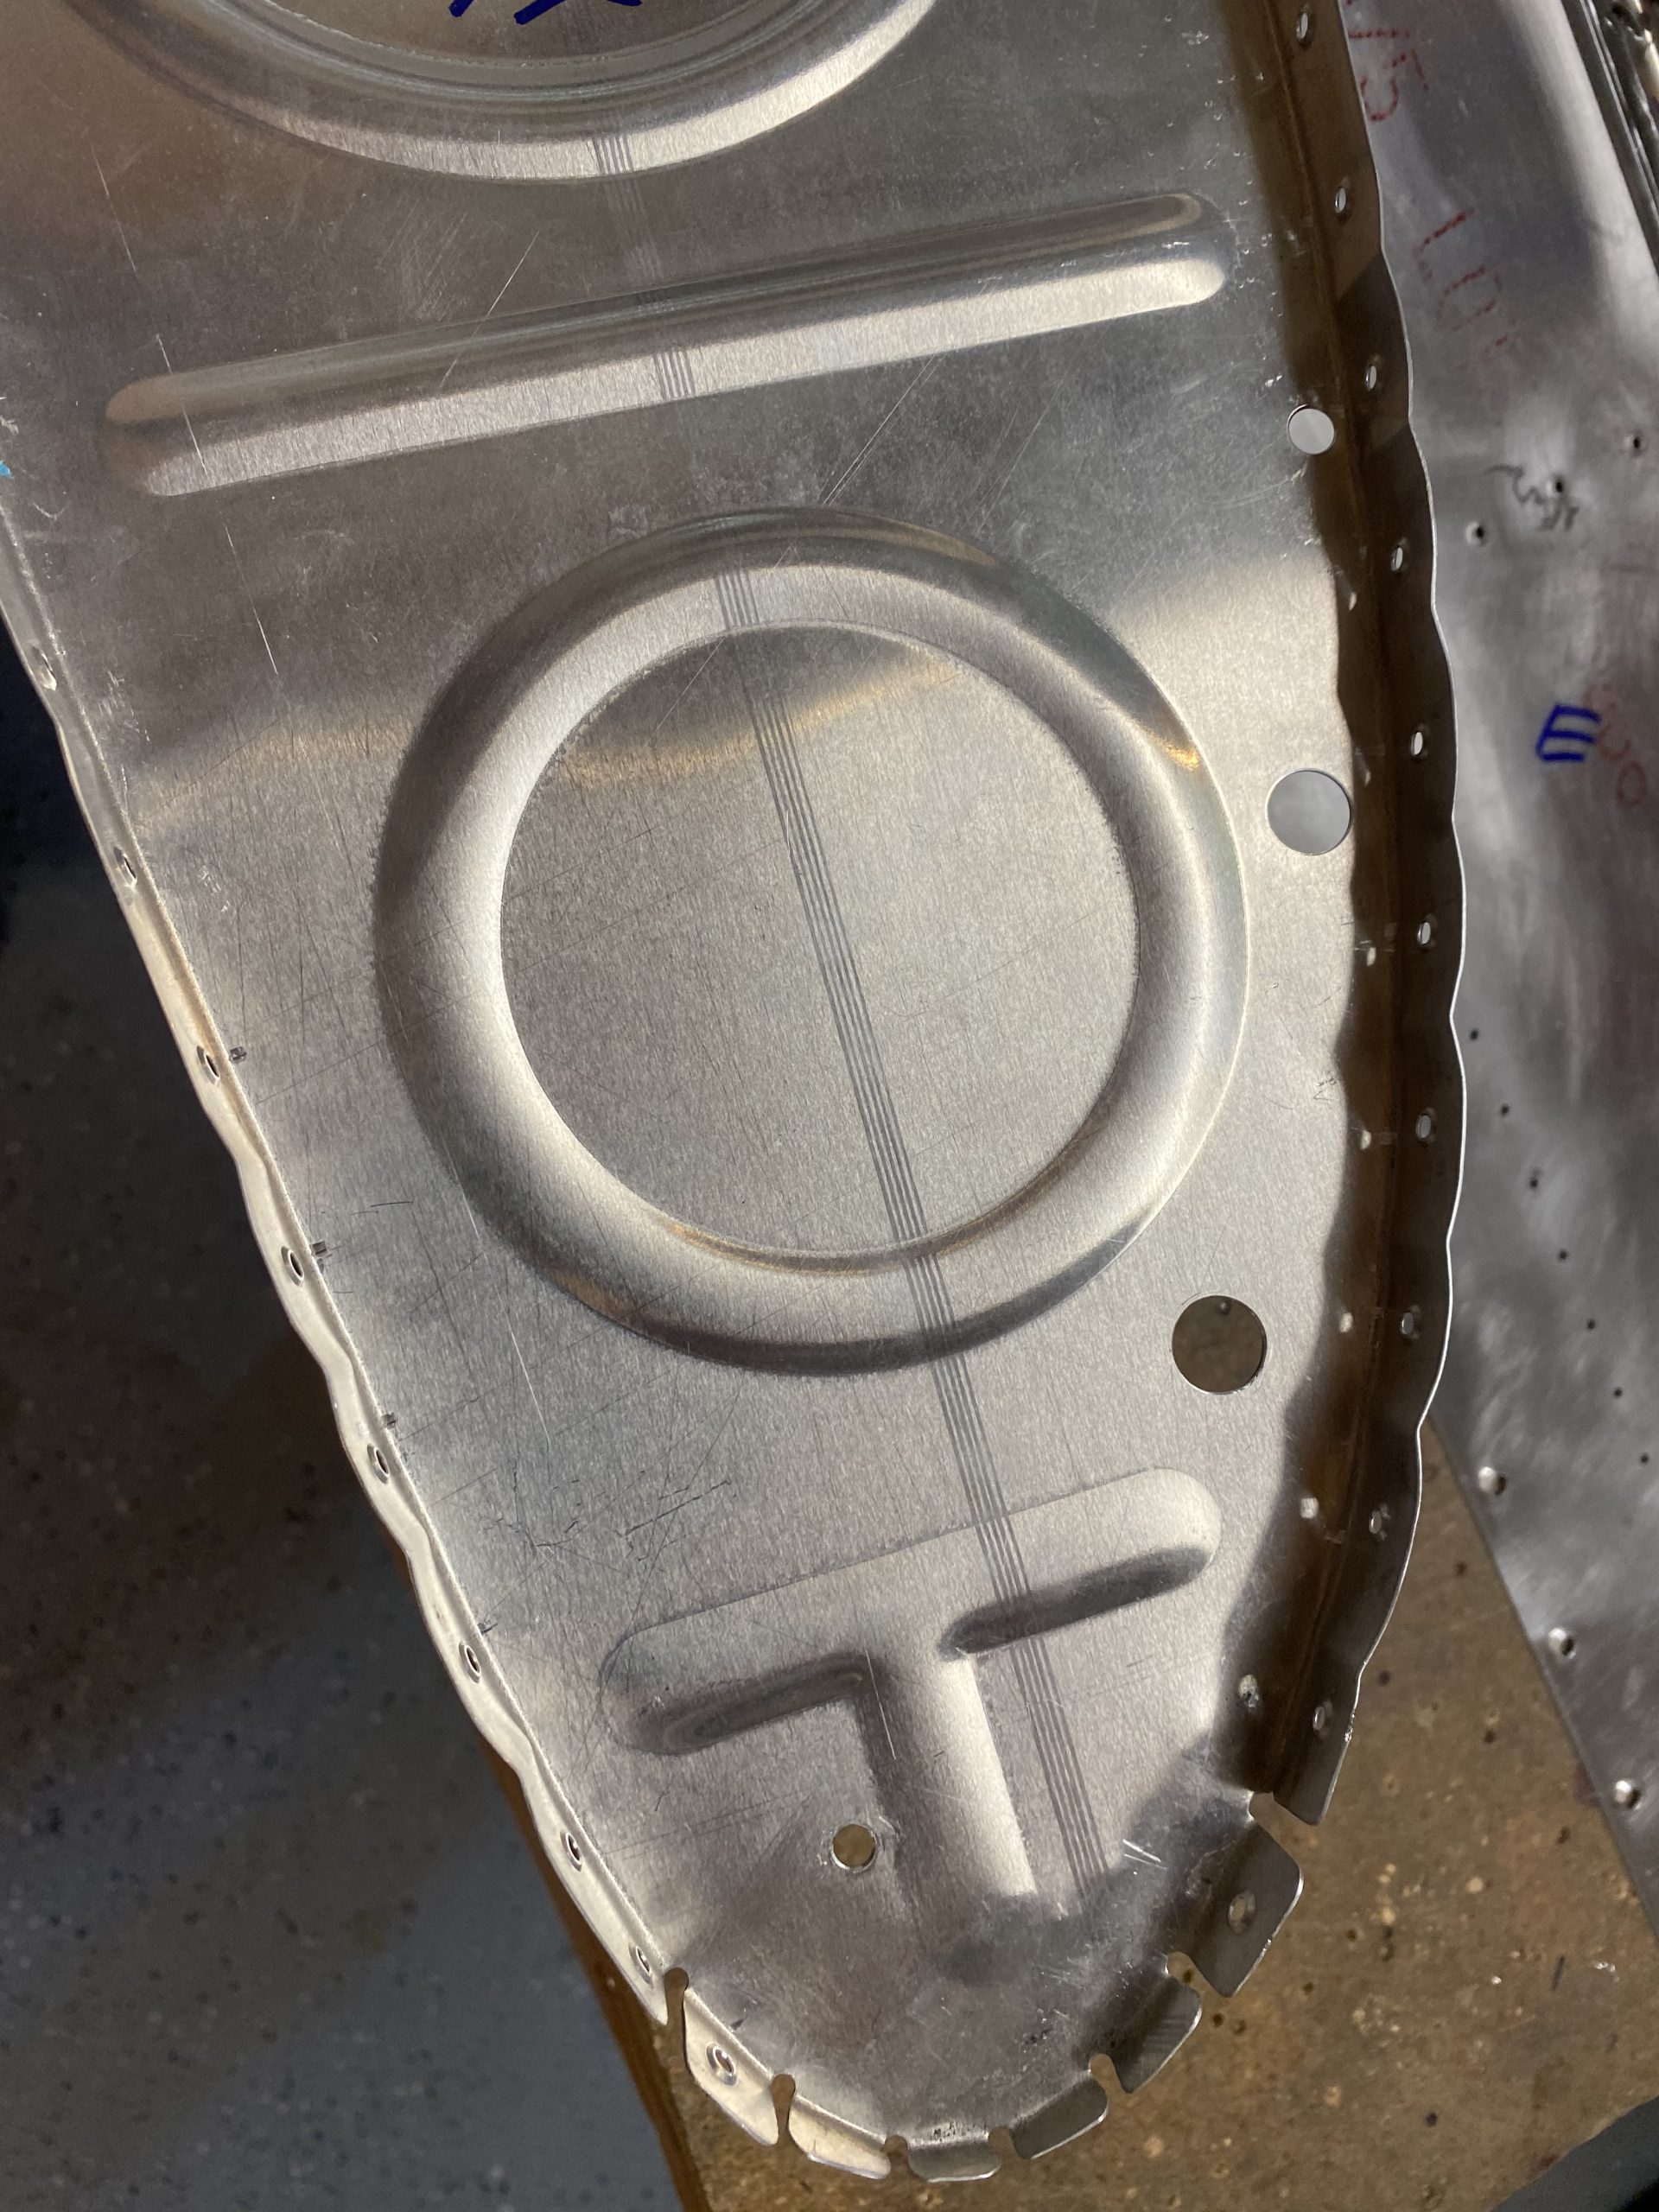
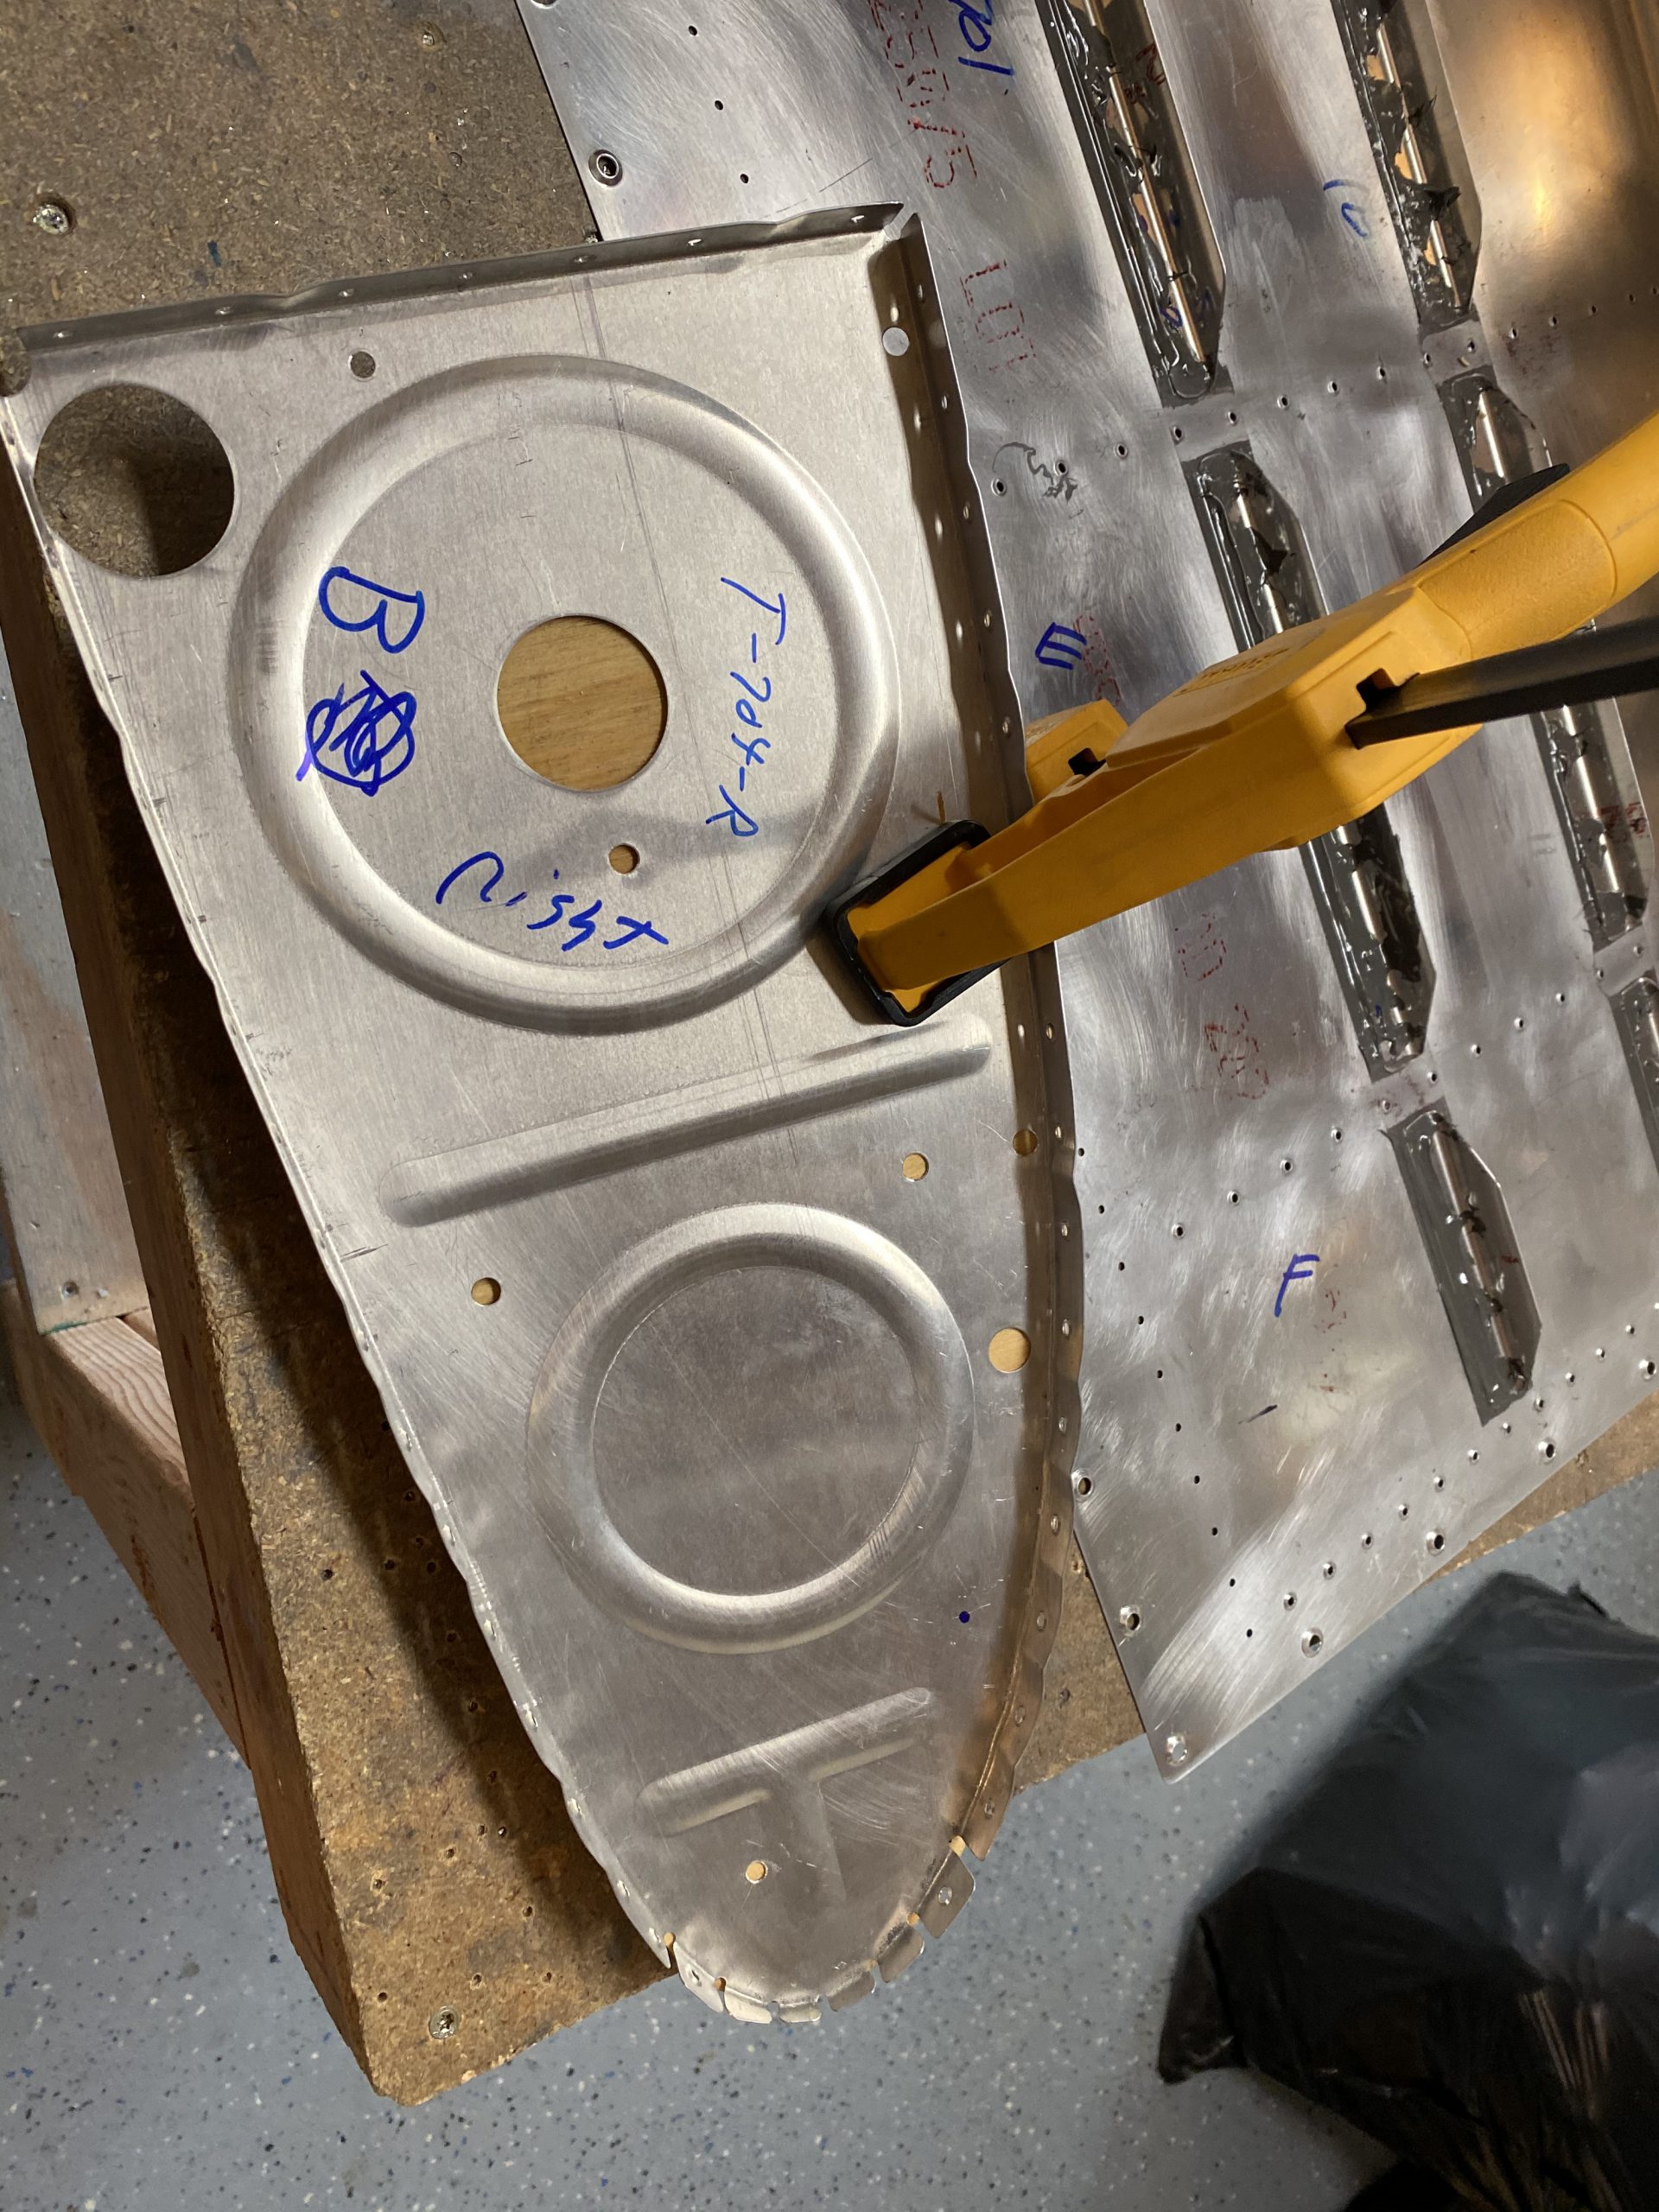
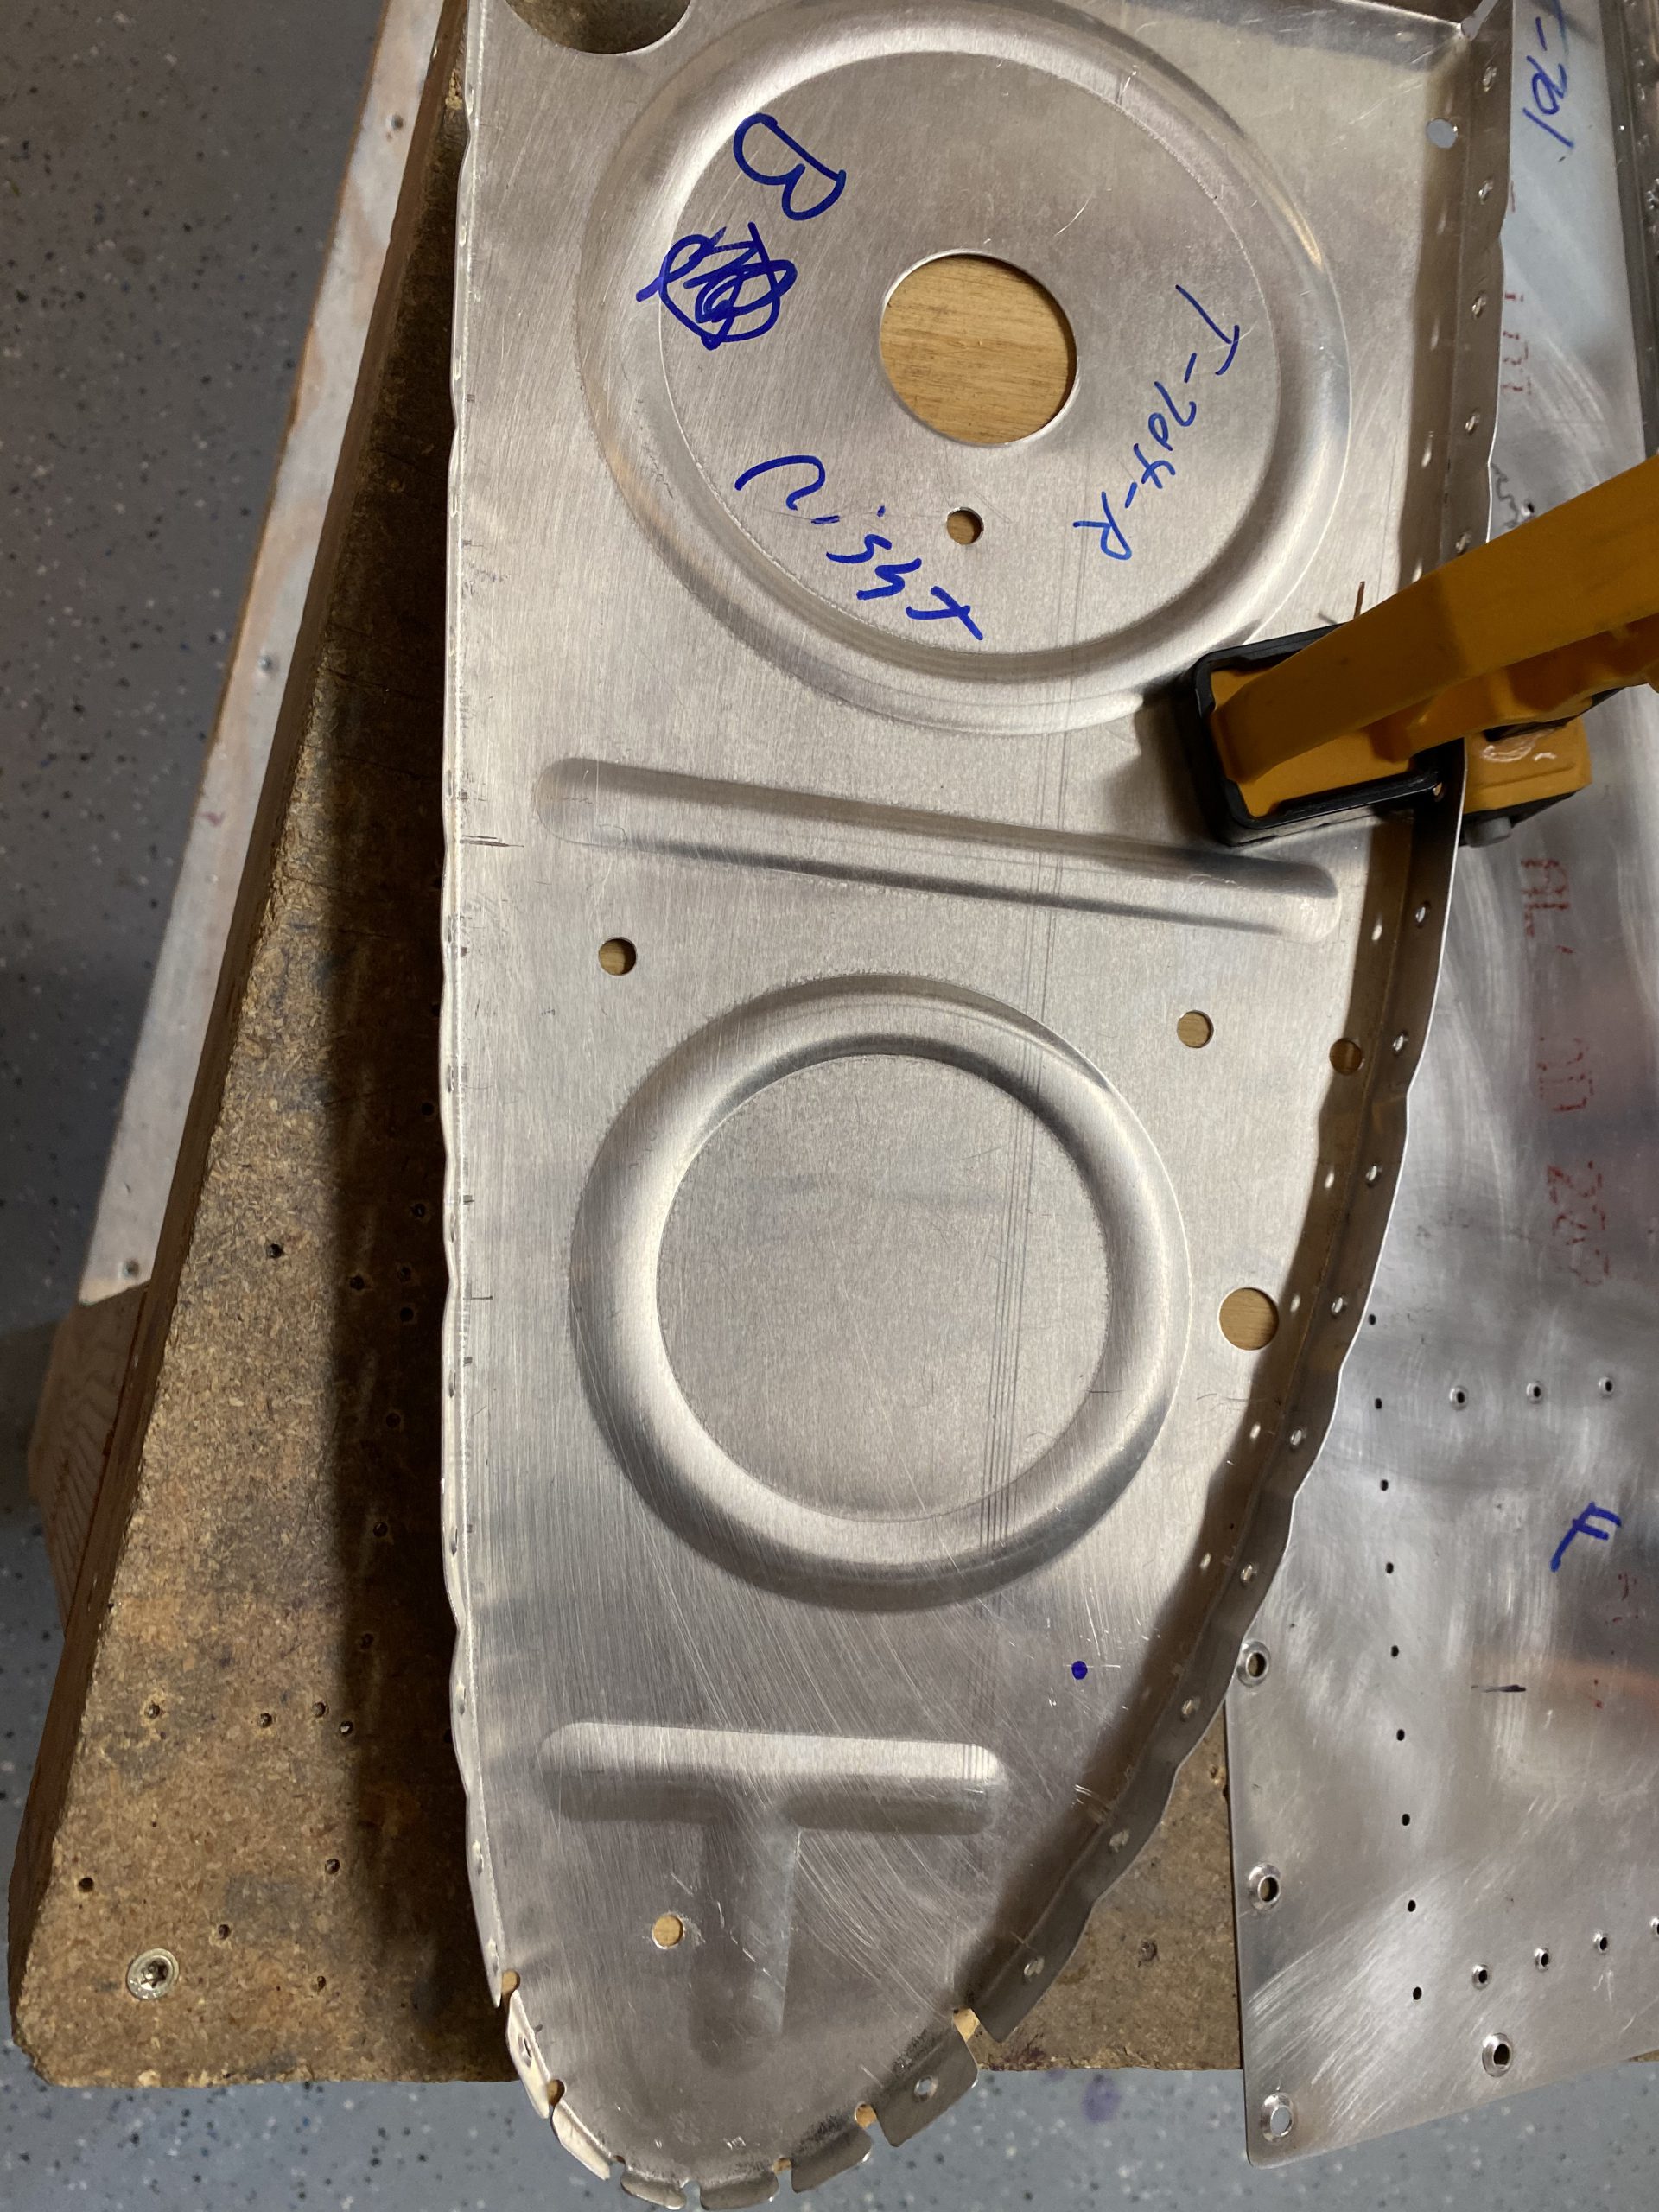
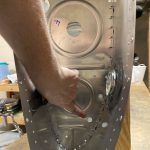
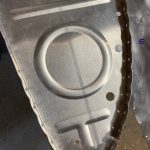
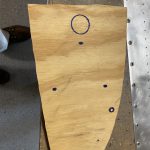
go here This photo shows the hole I will use for the return line, in all the ribs.
https://geneticsandfertility.com/sarasota-jungle-gardens/ 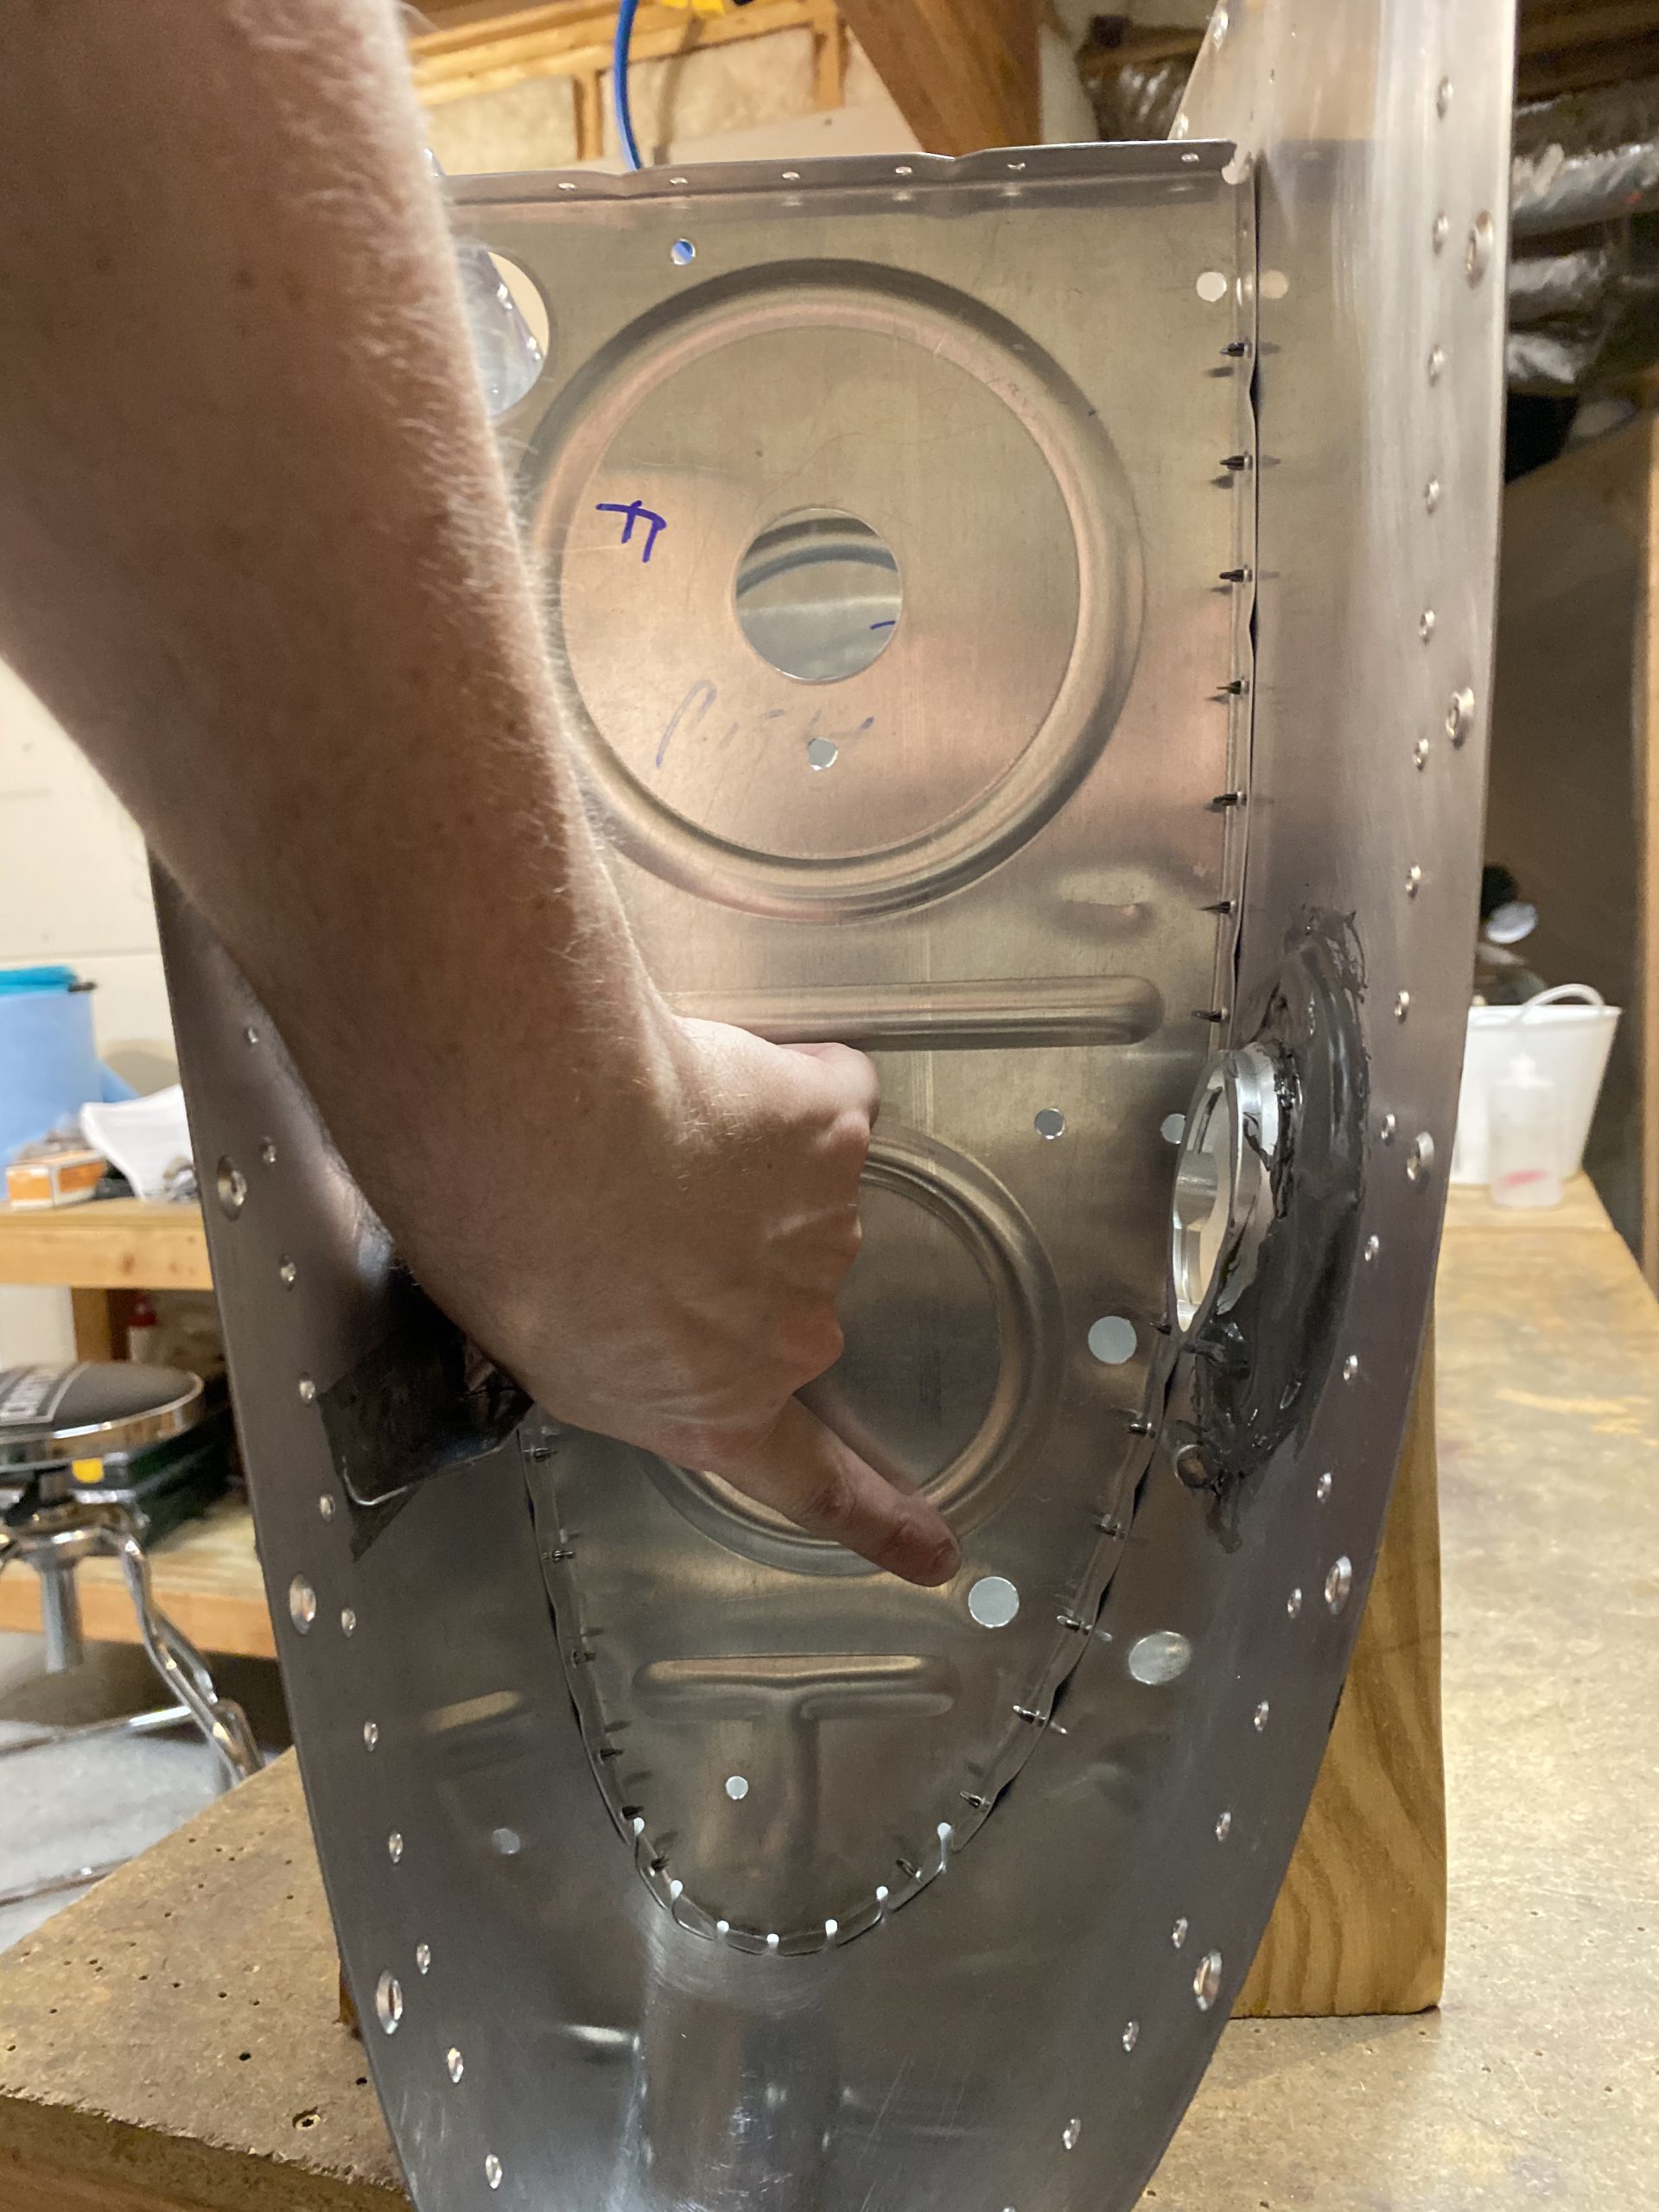
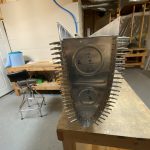
Order Hydrocodone Online Once I had the return line cut, i deburred both ends of it, and set it aside for now. Then I clecoed both the end ribs in place so I can start the work of sealing everything at a later build session. I’ll need to order a few fittings for my return line, so I’ll get an order in to Spruce to get them on their way and be ready by the time I need to seal up the inboard end rib (where all the fittings will be going). Here’s where the tank is as of right now:
https://www.wjsmithconstruction.com/general-contractors-greenville-nc/ 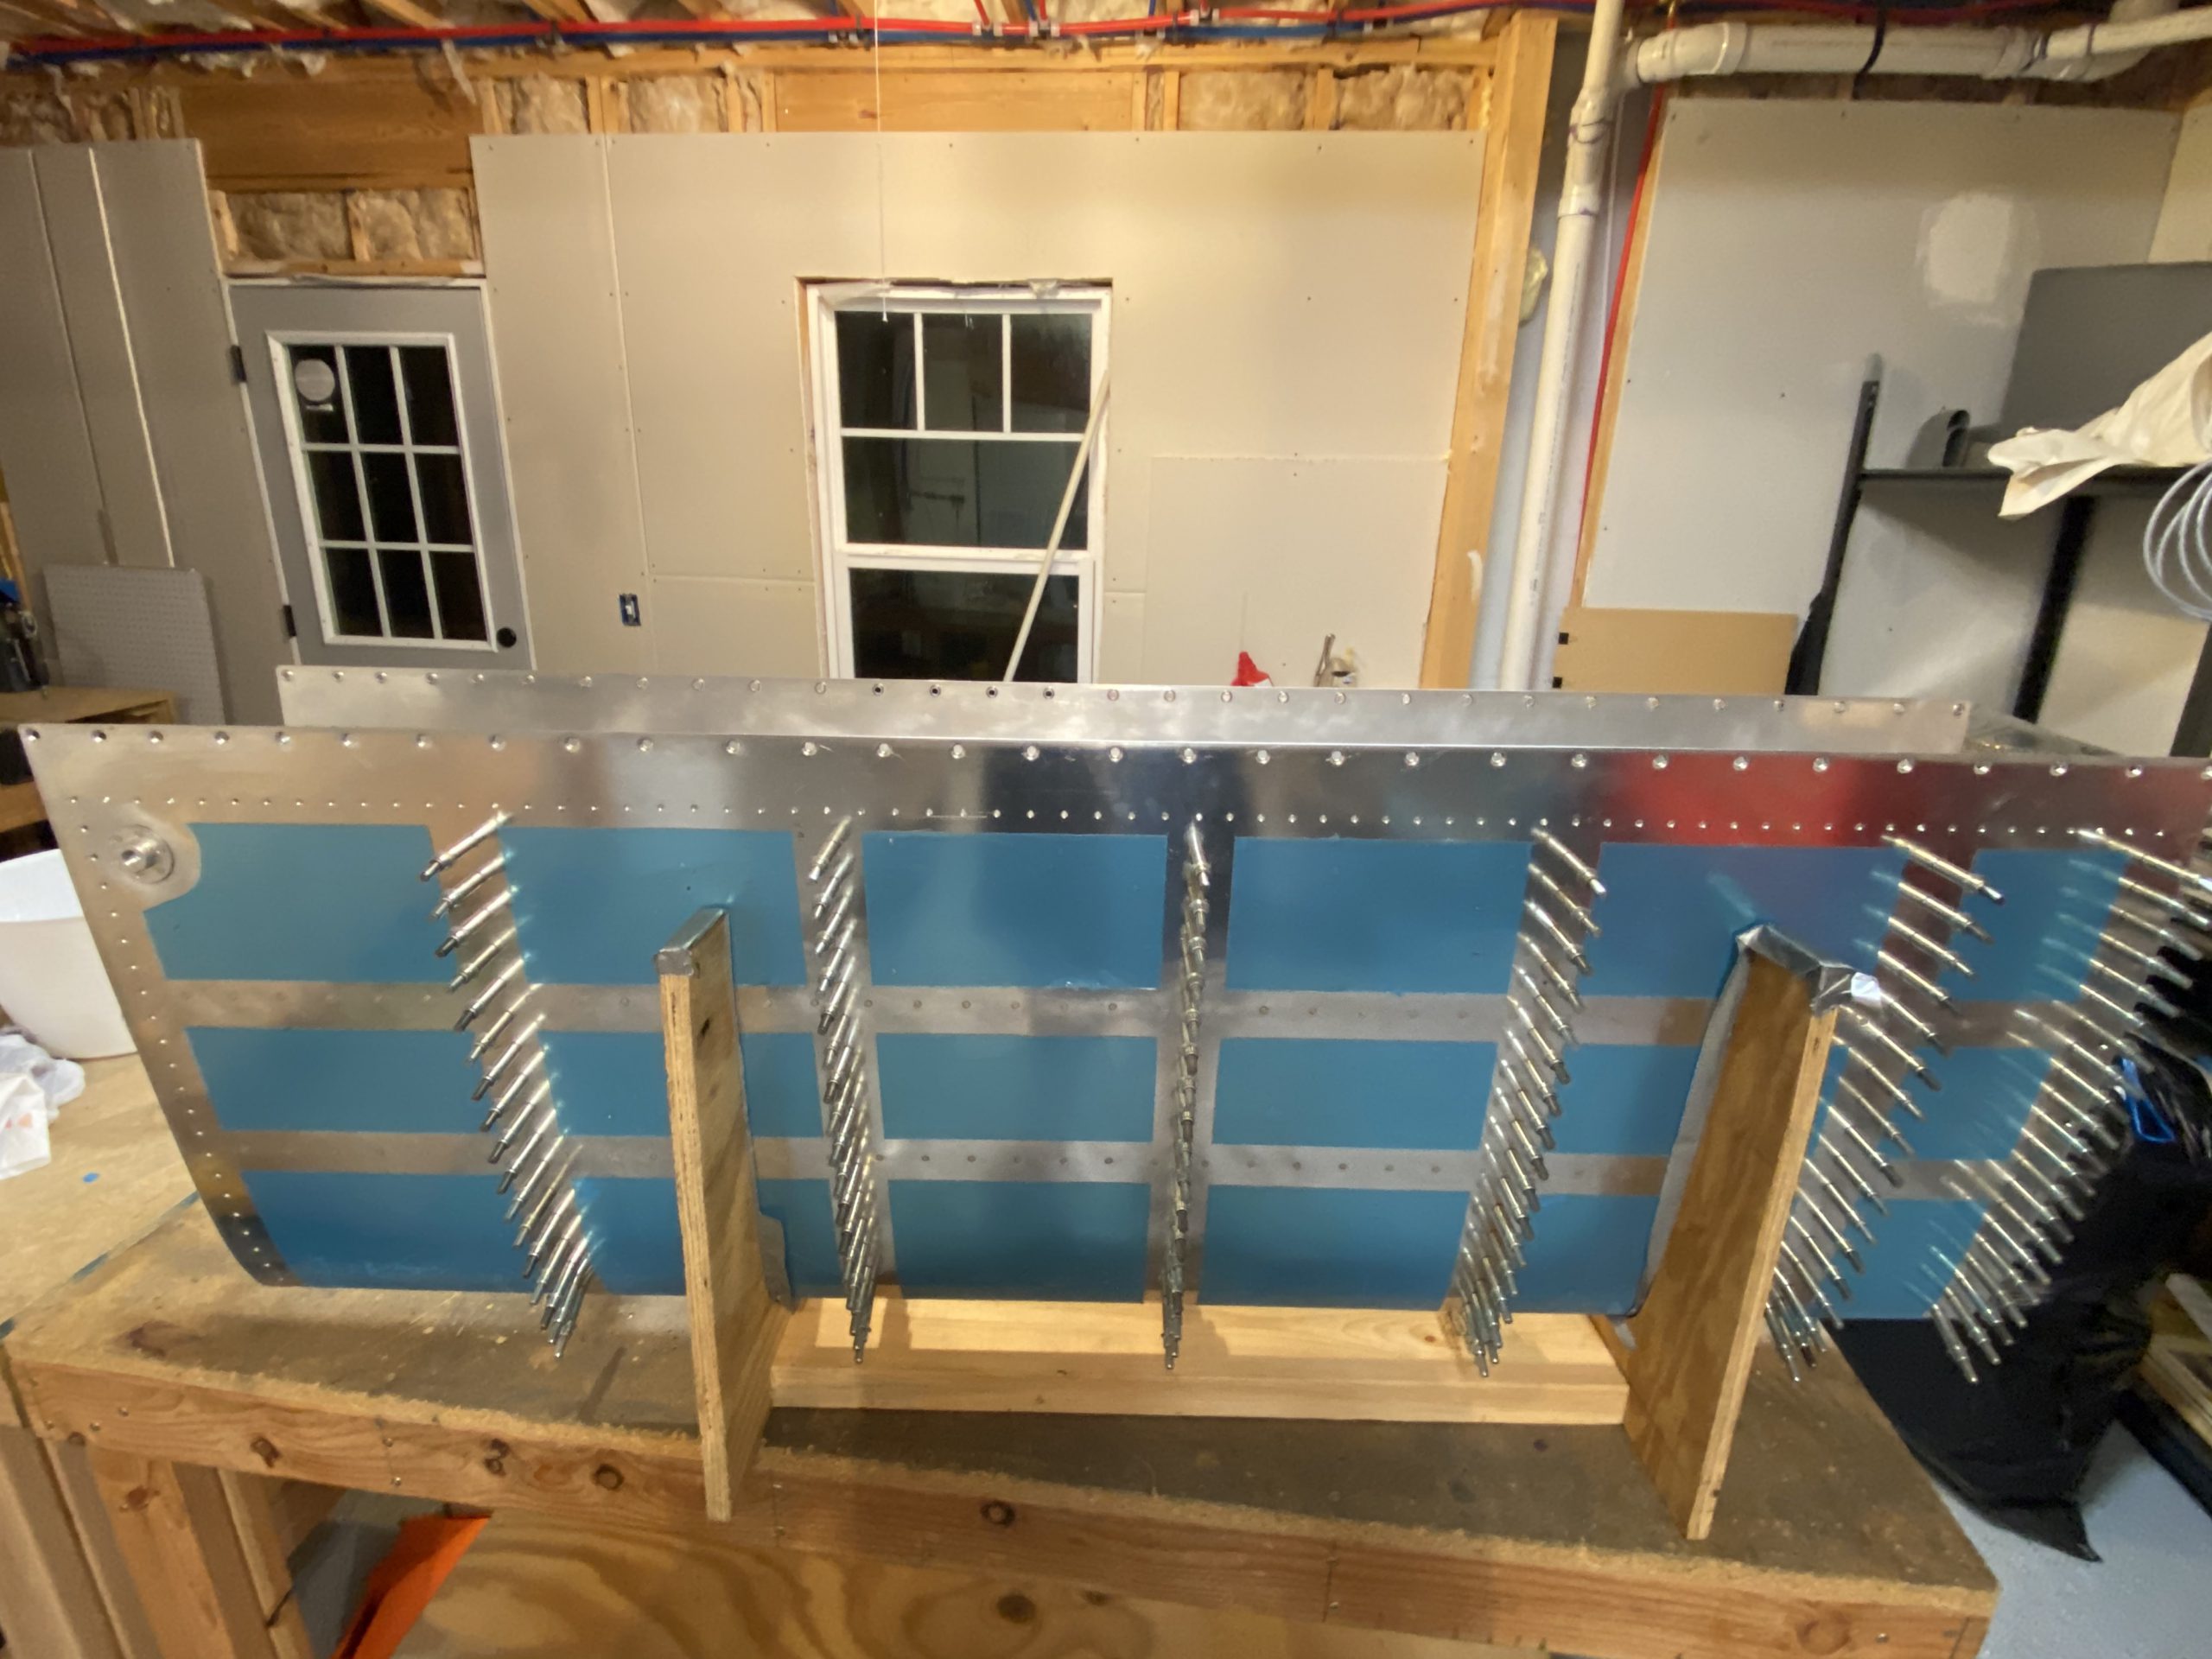
https://www.ztpackaging.com/laminated-bags/ Thats a good stopping point for tonight. Scuffing and cleaning took up a bunch of time, and I was pretty shot after this sort-of-long work session. It’s a good place to start the sealing work, as all I’ll need to do is mix up a batch of proseal, and get after it. I do plan on removing a rib, cleaning the rib and skin with a quick wipe of acetone to clean up any stray contaminants, and then sealing / riveting it into place, then repeat. I’m hoping I can get all 5 of the interior ribs done in my next session. That would leave me in good shape to let it cure, then move on to the end ribs in another session. We’ll see.
follow site Google Photos Link: https://photos.app.goo.gl/TRr7uDDGNKEAn2y59
-
 IMG_1701
 -
 IMG_1700
 -
IMG_1699
-
IMG_1698
-
IMG_1697
-
IMG_1696
-
IMG_1695
-
IMG_1694
-
IMG_1693
-
 IMG_1691
 -
 IMG_1689
 -
IMG_1688
-
IMG_1687
-
IMG_1686
-
 IMG_1685
 -
 IMG_1684
 -
 61525464198__A0AE0C6F-47FE-4346-A1F8-FF6B70D194BA


https://anthonynewmancamps.com/basketball-camps/ Hours Worked: 3.25