


https://www.wjsmithconstruction.com/general-contractors-winterville-nc/ Tonight was pretty much a repeat of the right tank drain and fuel cap sealing. I also had my wife Tammy helping me since we were kidless for the night! We made a trip down to our favorite restaurant “Boathouse Raw Bar and Rotisserie” and had a great meal, then I somehow managed to talk her into helping me on the tanks tonight since she is waaaaayyy less messy than me with working with goops. This session started off like all sealing sessions: Scuffing and cleaning the areas to be sealed. We scuffed both sides nice and well, and then cleaned both sides with some MEK until the paper towels came up clean. We did this for the drain flange and the tank filler neck.
follow url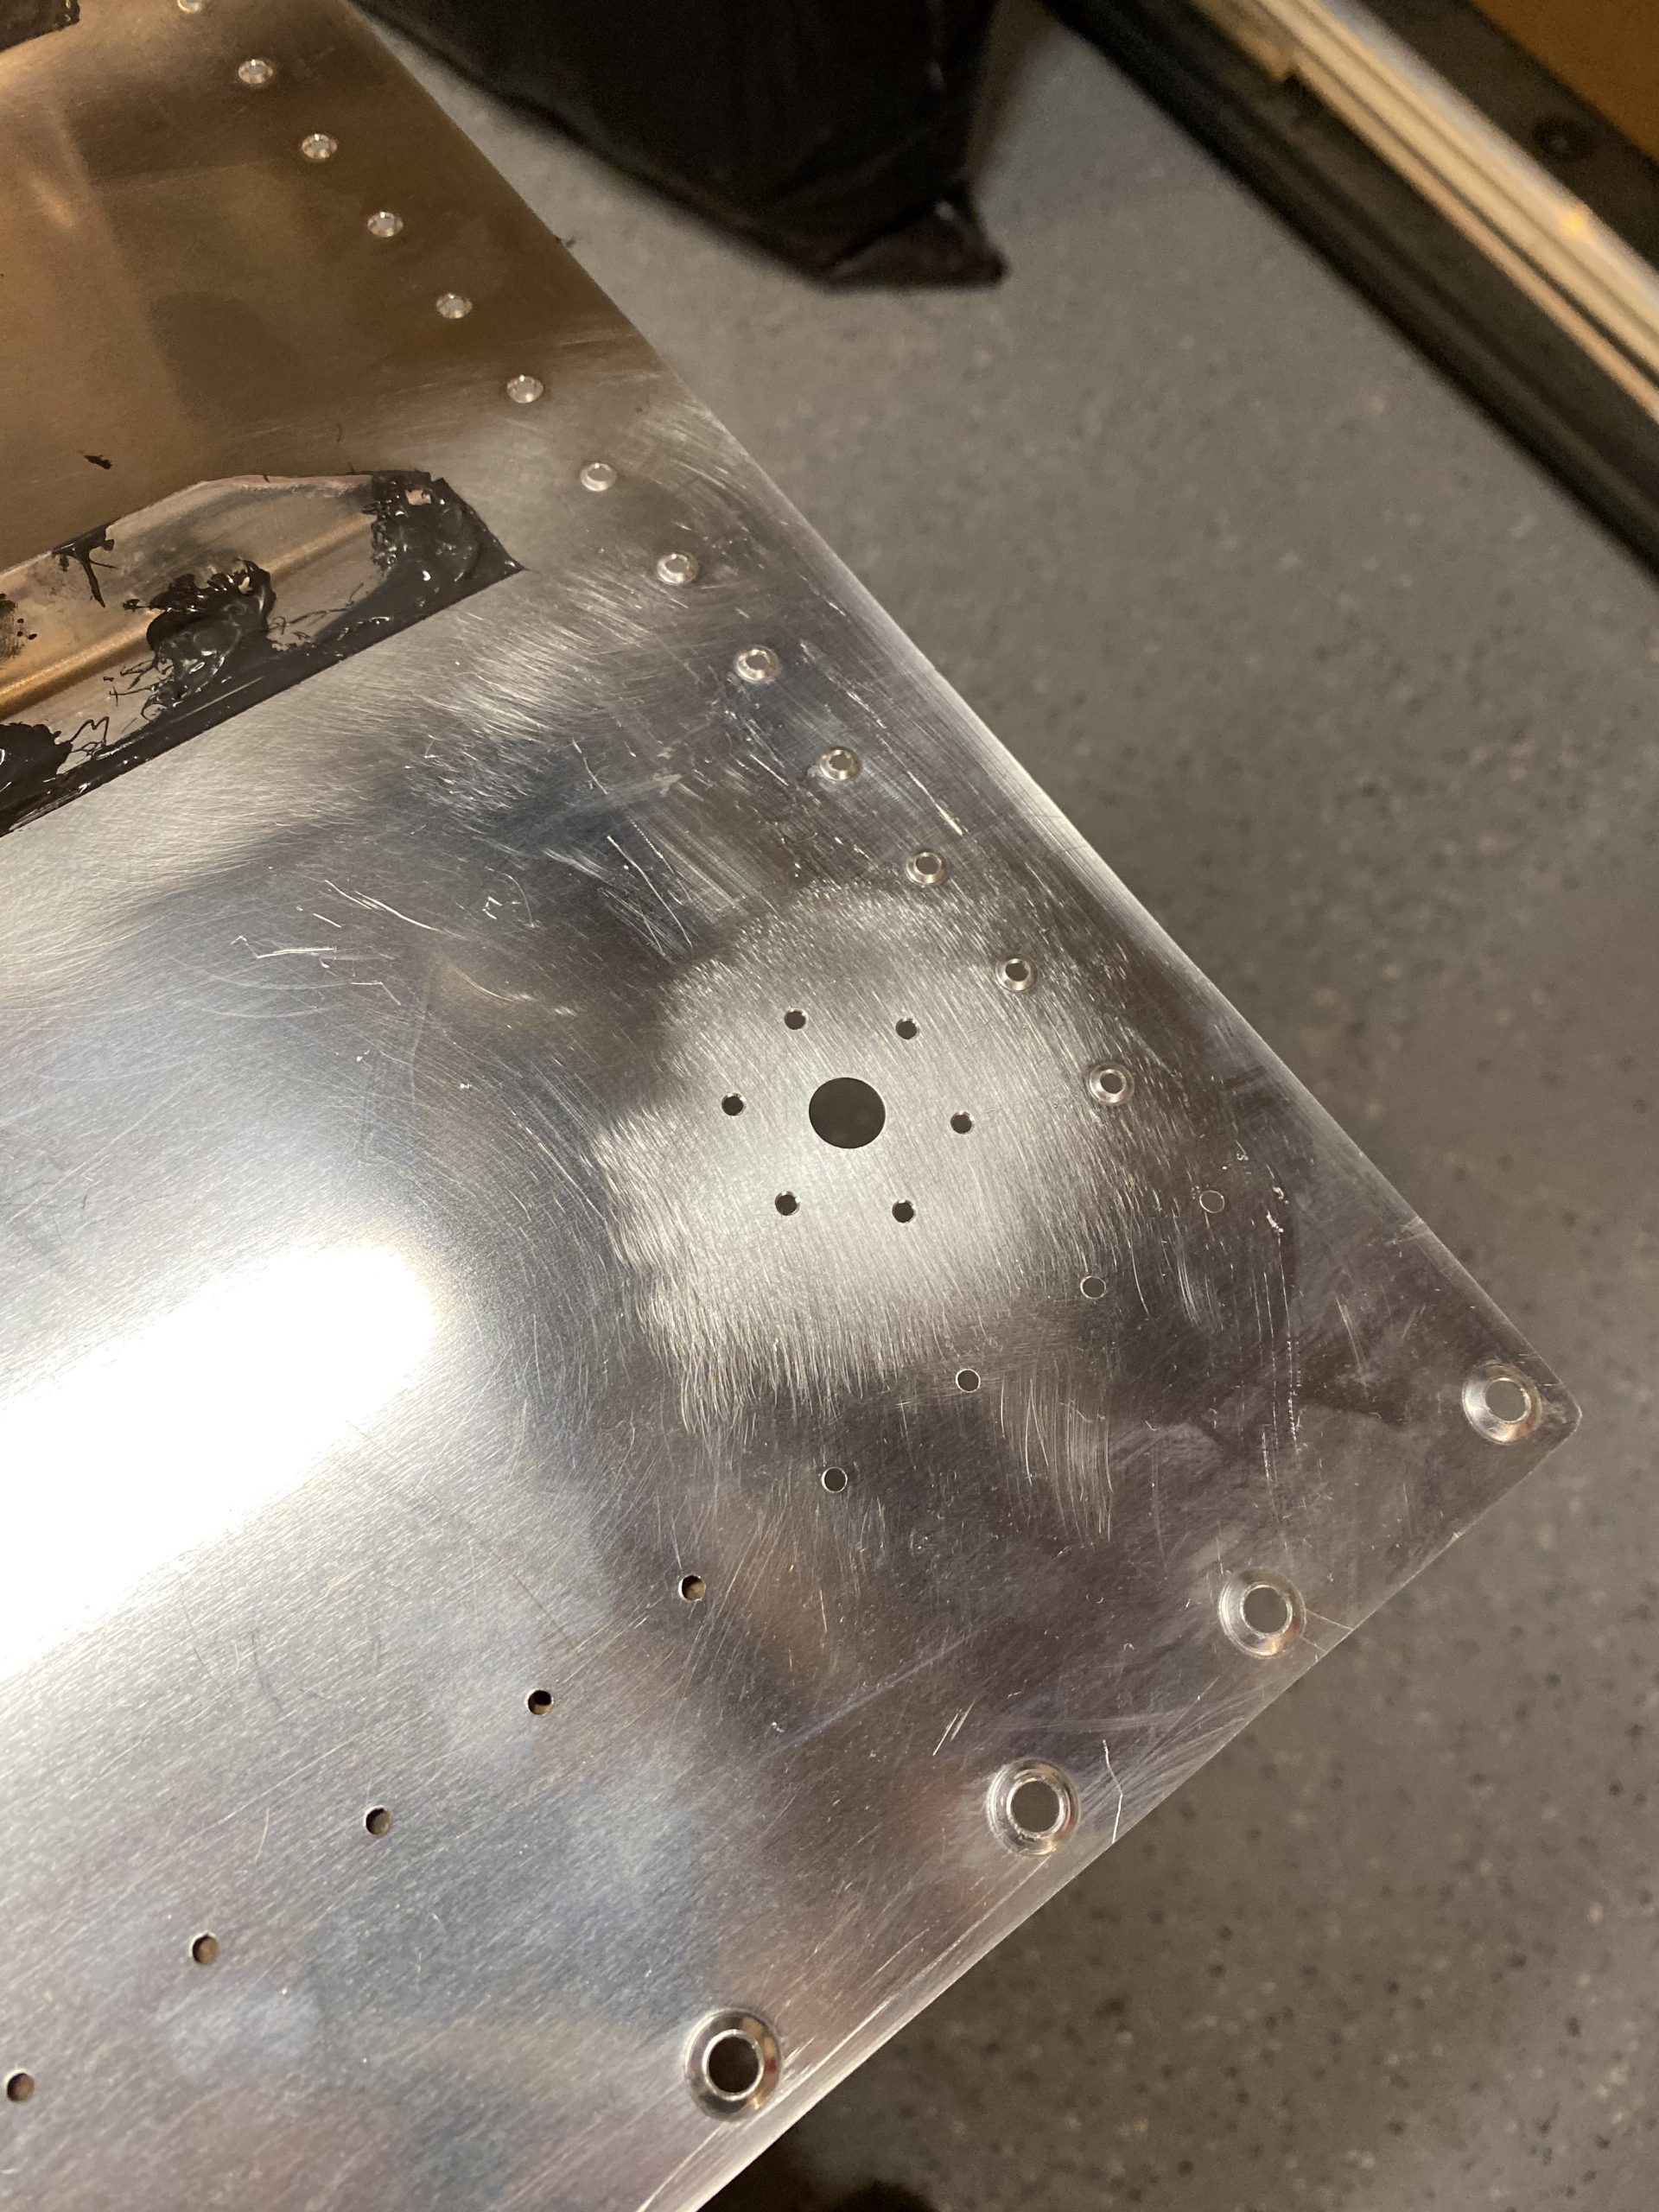
source Then Tammy mixed up 40 grams of sealant, while I applied some masking tape to the areas around the tank drain to create the little channels for water to drain safely into the sump. I did this last time and it worked great, so why not do it again this time?
https://www.appliquecafeblog.com/ikea/ 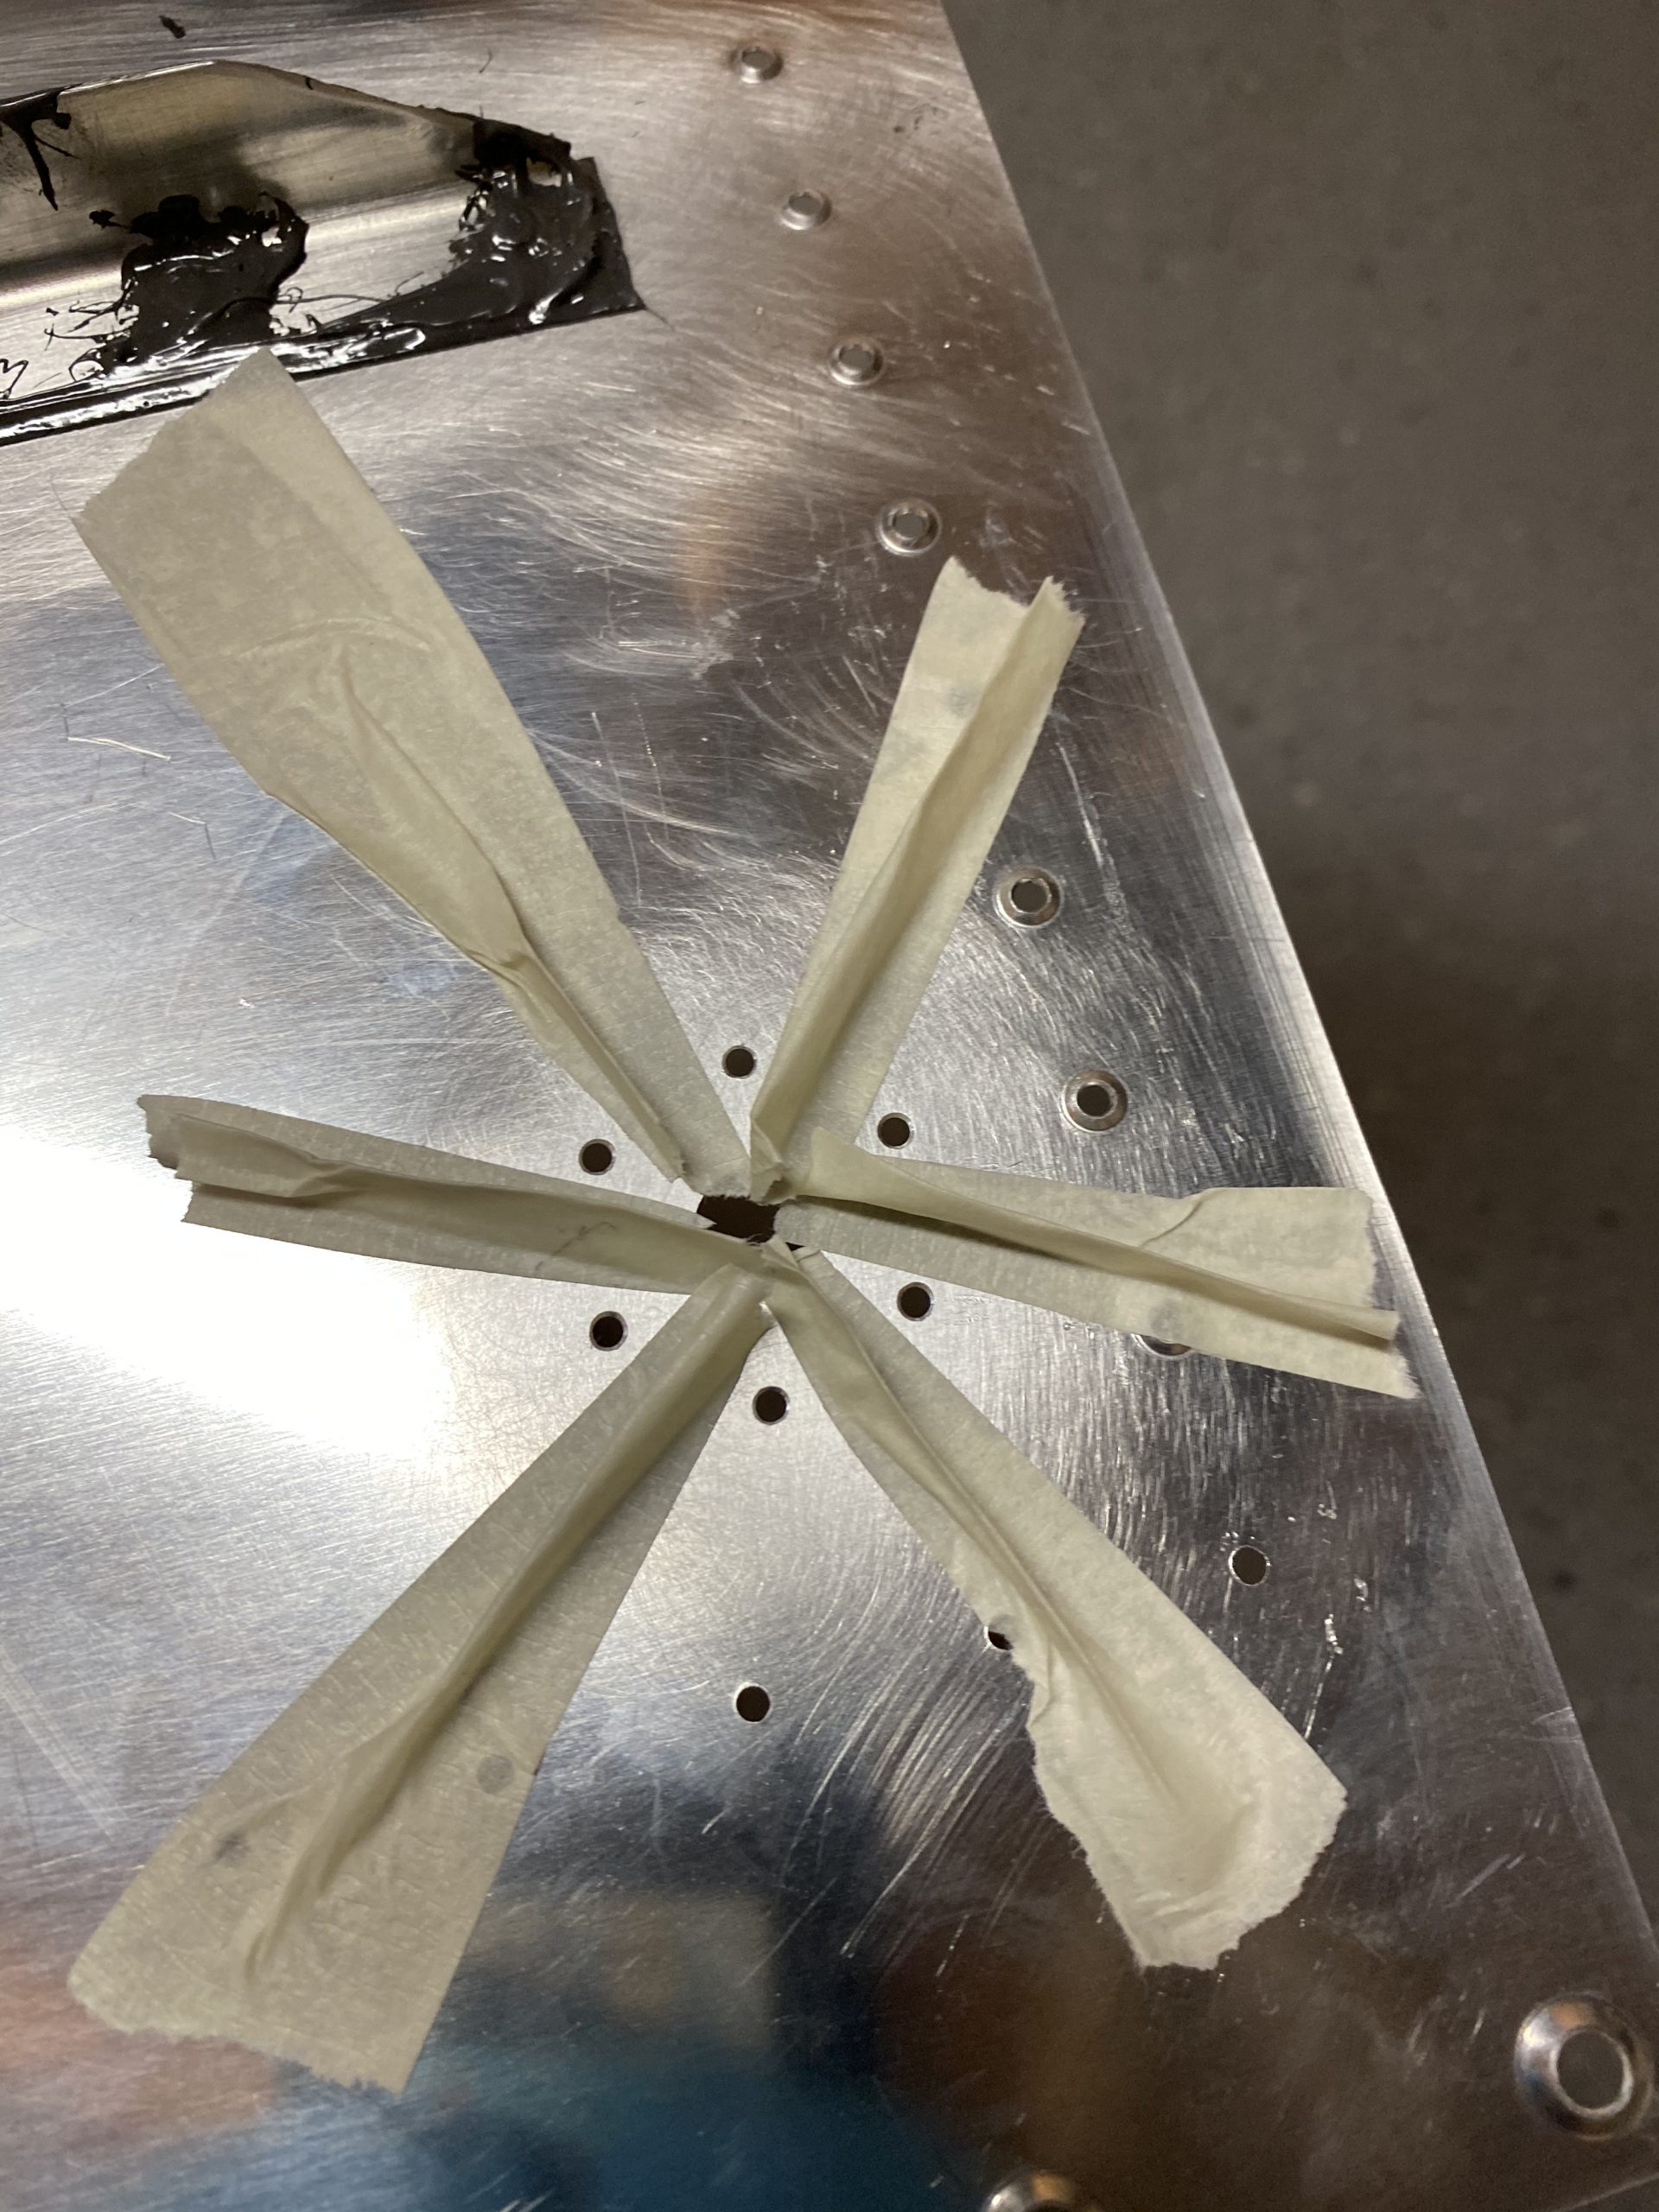
Vicodin Online Purchase Once Tammy had the sealant ready, she slathered some on the back side of the tank drain, and then put it in place on the tank skin while I clecoed it. She’s much cleaner at working with this stuff than I am! We went ahead and clecoed all the holes in the tank drain to hold it secure while we worked on the tank filler flange. This is where I didn’t get a chance to get any good photos, since we were gloved up and had sealant going everywhere. But, Tammy slathered a nice layer onto the skin facing side of the filler neck flange and then we clecoed it in place, making sure to not forget the vent tube holder.
https://rmscherubimhealthcare.com/departments/myers-glutathione-infusion/ Now its time to set the rivets. I pulled out the AN426AD3-4 rivets, cleaned them in a jar of MEK, and then dried them on a towel. Then I inserted then into the tank drain flange, and squeezed them with my squeezer. I was able to use my 4″ flush squeezer yoke to get all of these rivets very nicely, just be cautious as the set will slip and slide on the sealant so keep a steady hand and bring the set up to the work very gently. I’m happy in how it turned out. All the rivets set very nicely, and flush in their dimples, with a tiny bit of sealant oozed around them to further help them seal. Here is what they look like after they were cleaned off:
source link Tammy then dolloped on the sealant on the shop head side of the rivets on the tank drain, and then we pulled off the masking tape to clean up any little bits of sealant before it dried. She did a good job on this, and made sure there was a clean path for the water to drain, as well as making sure the threads were all cleared of sealant.

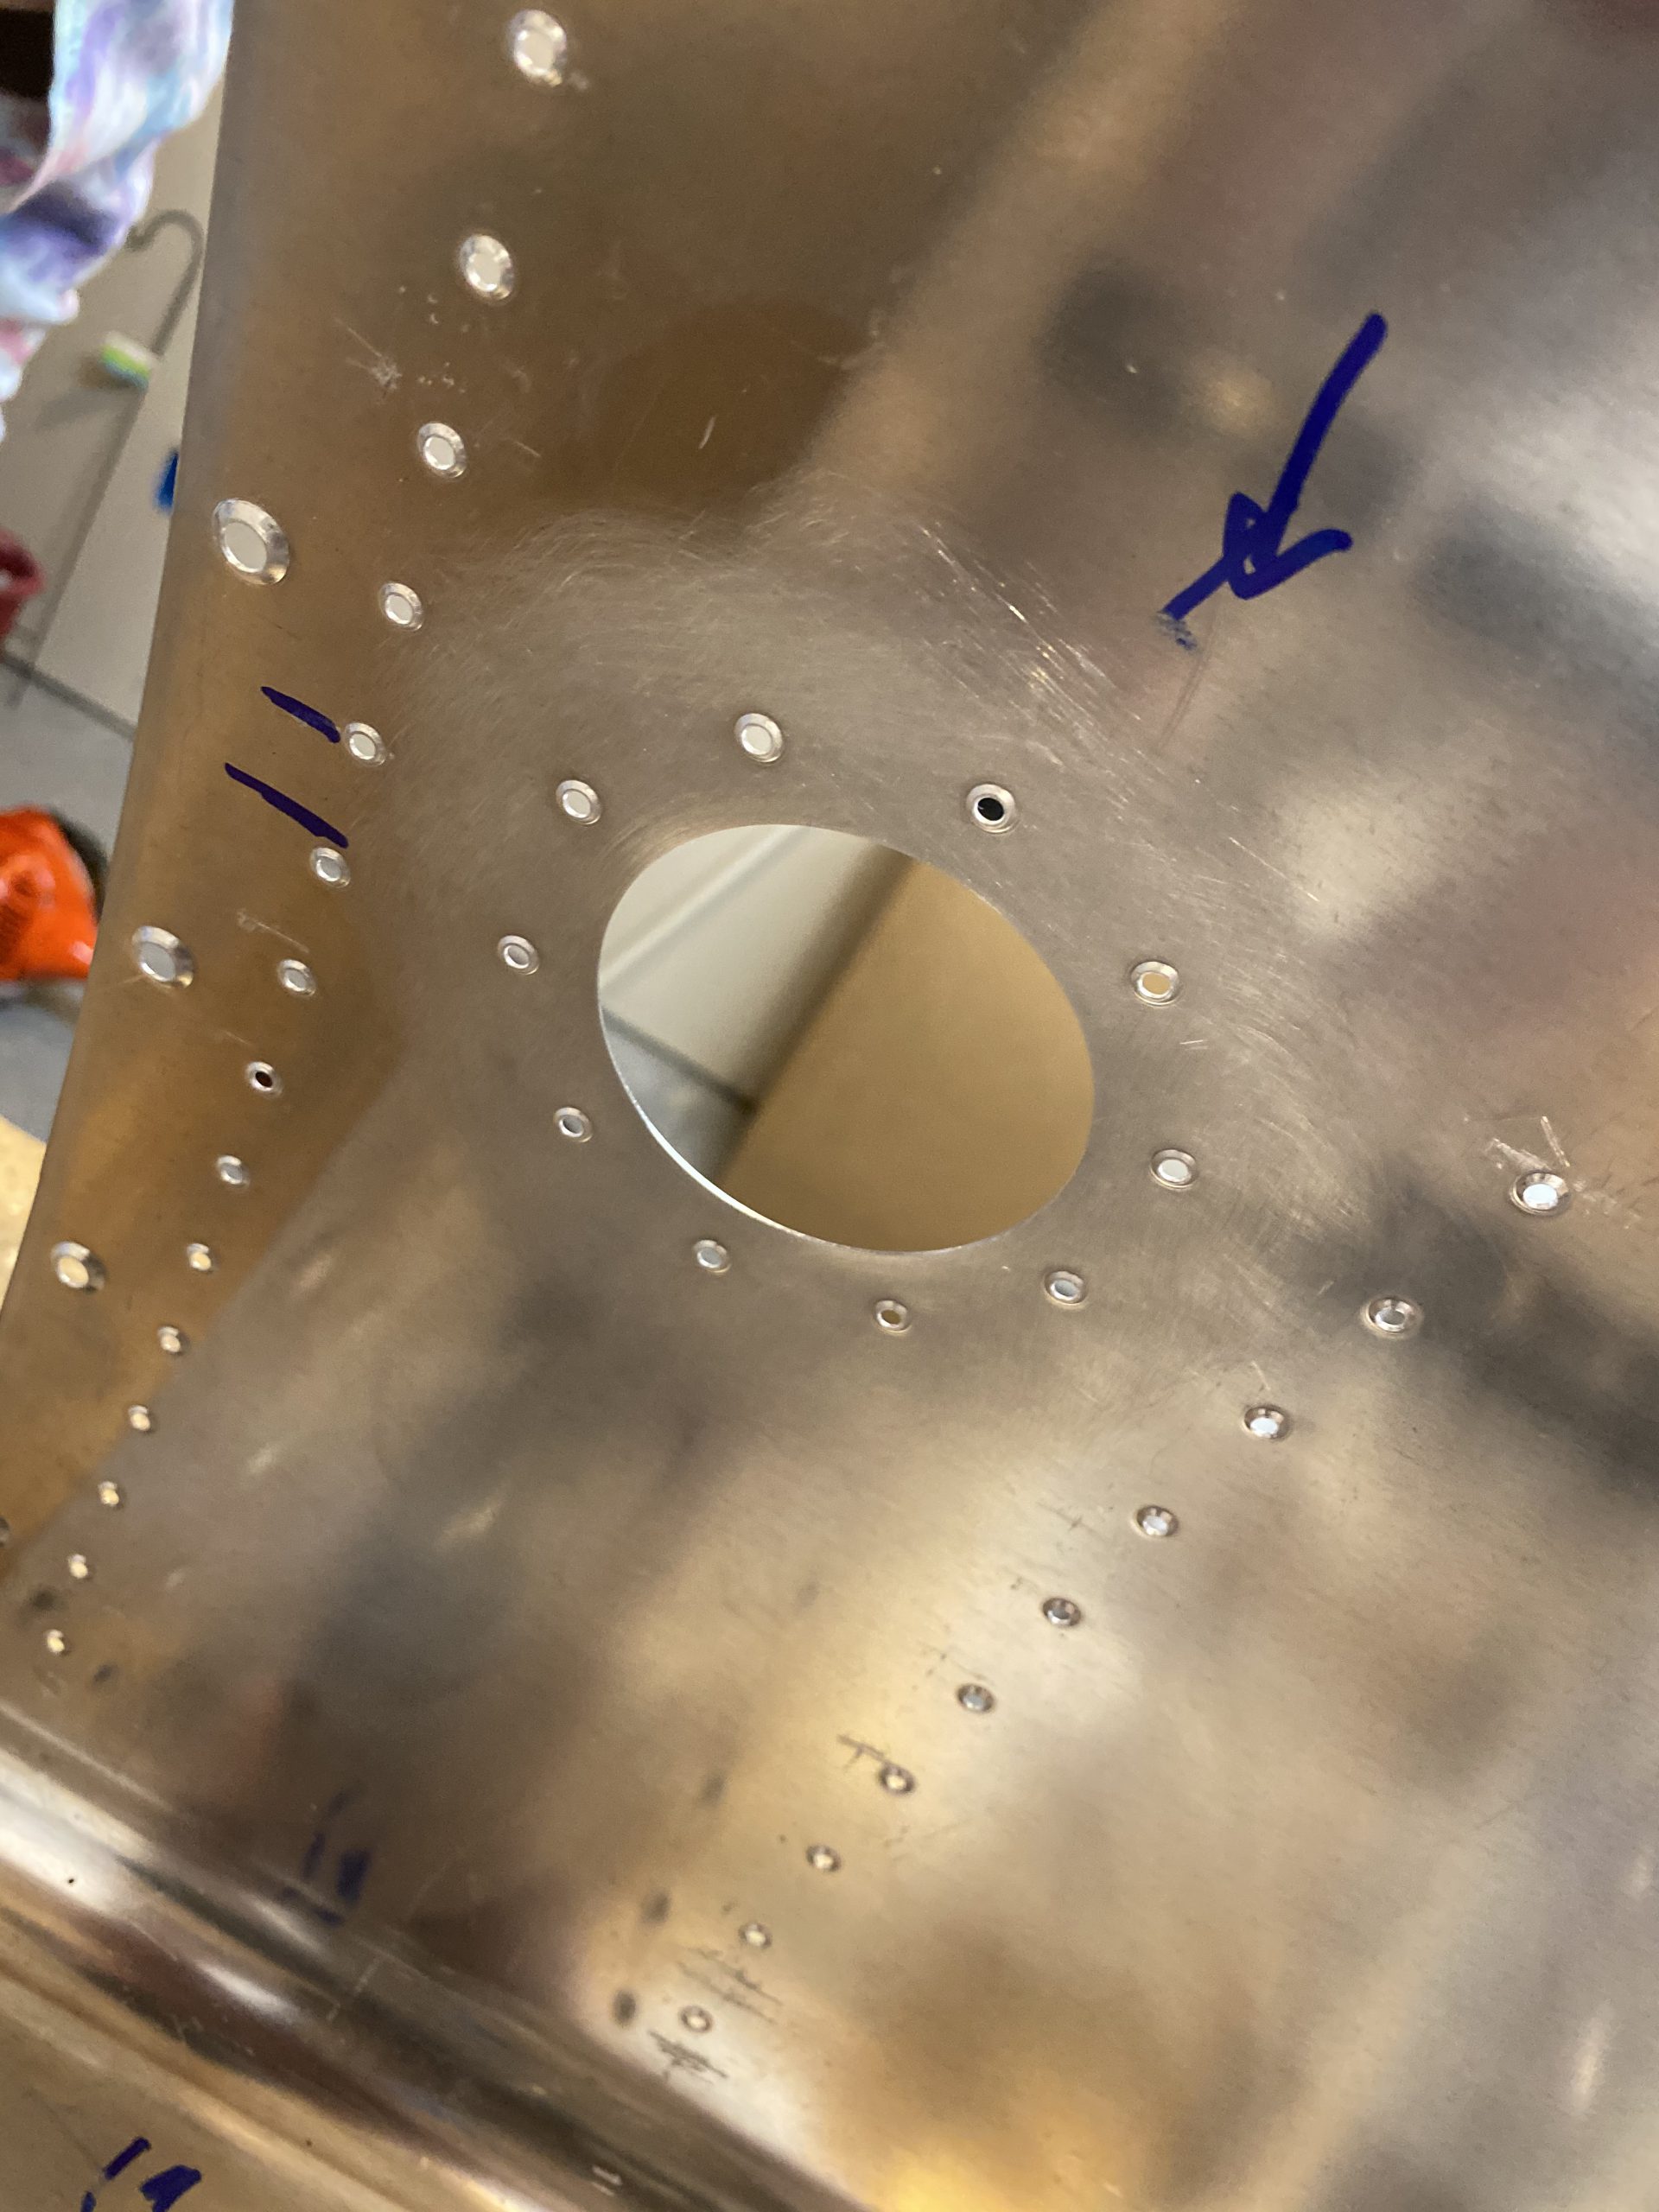
https://hymnsandhome.com/christmas-winter/ While she was working on that, I used the squeezer to start setting the rivets on the fuel filler neck. I was able to reach all but 4 of the inboard rivets with the squeezer. However, like the right tank, the plans called for AN425AD3-4 rivets, but they seemed to short for the deluxe caps flange. So I used the sizer and went with AN425AD3-5 rivets cleaned with MEK. The 4 inboard rivets I set with a standard rivet gun and bucking bar, and they came out really nicely. here is what it looks like after riveting, and before applying sea
see lant on the back side.
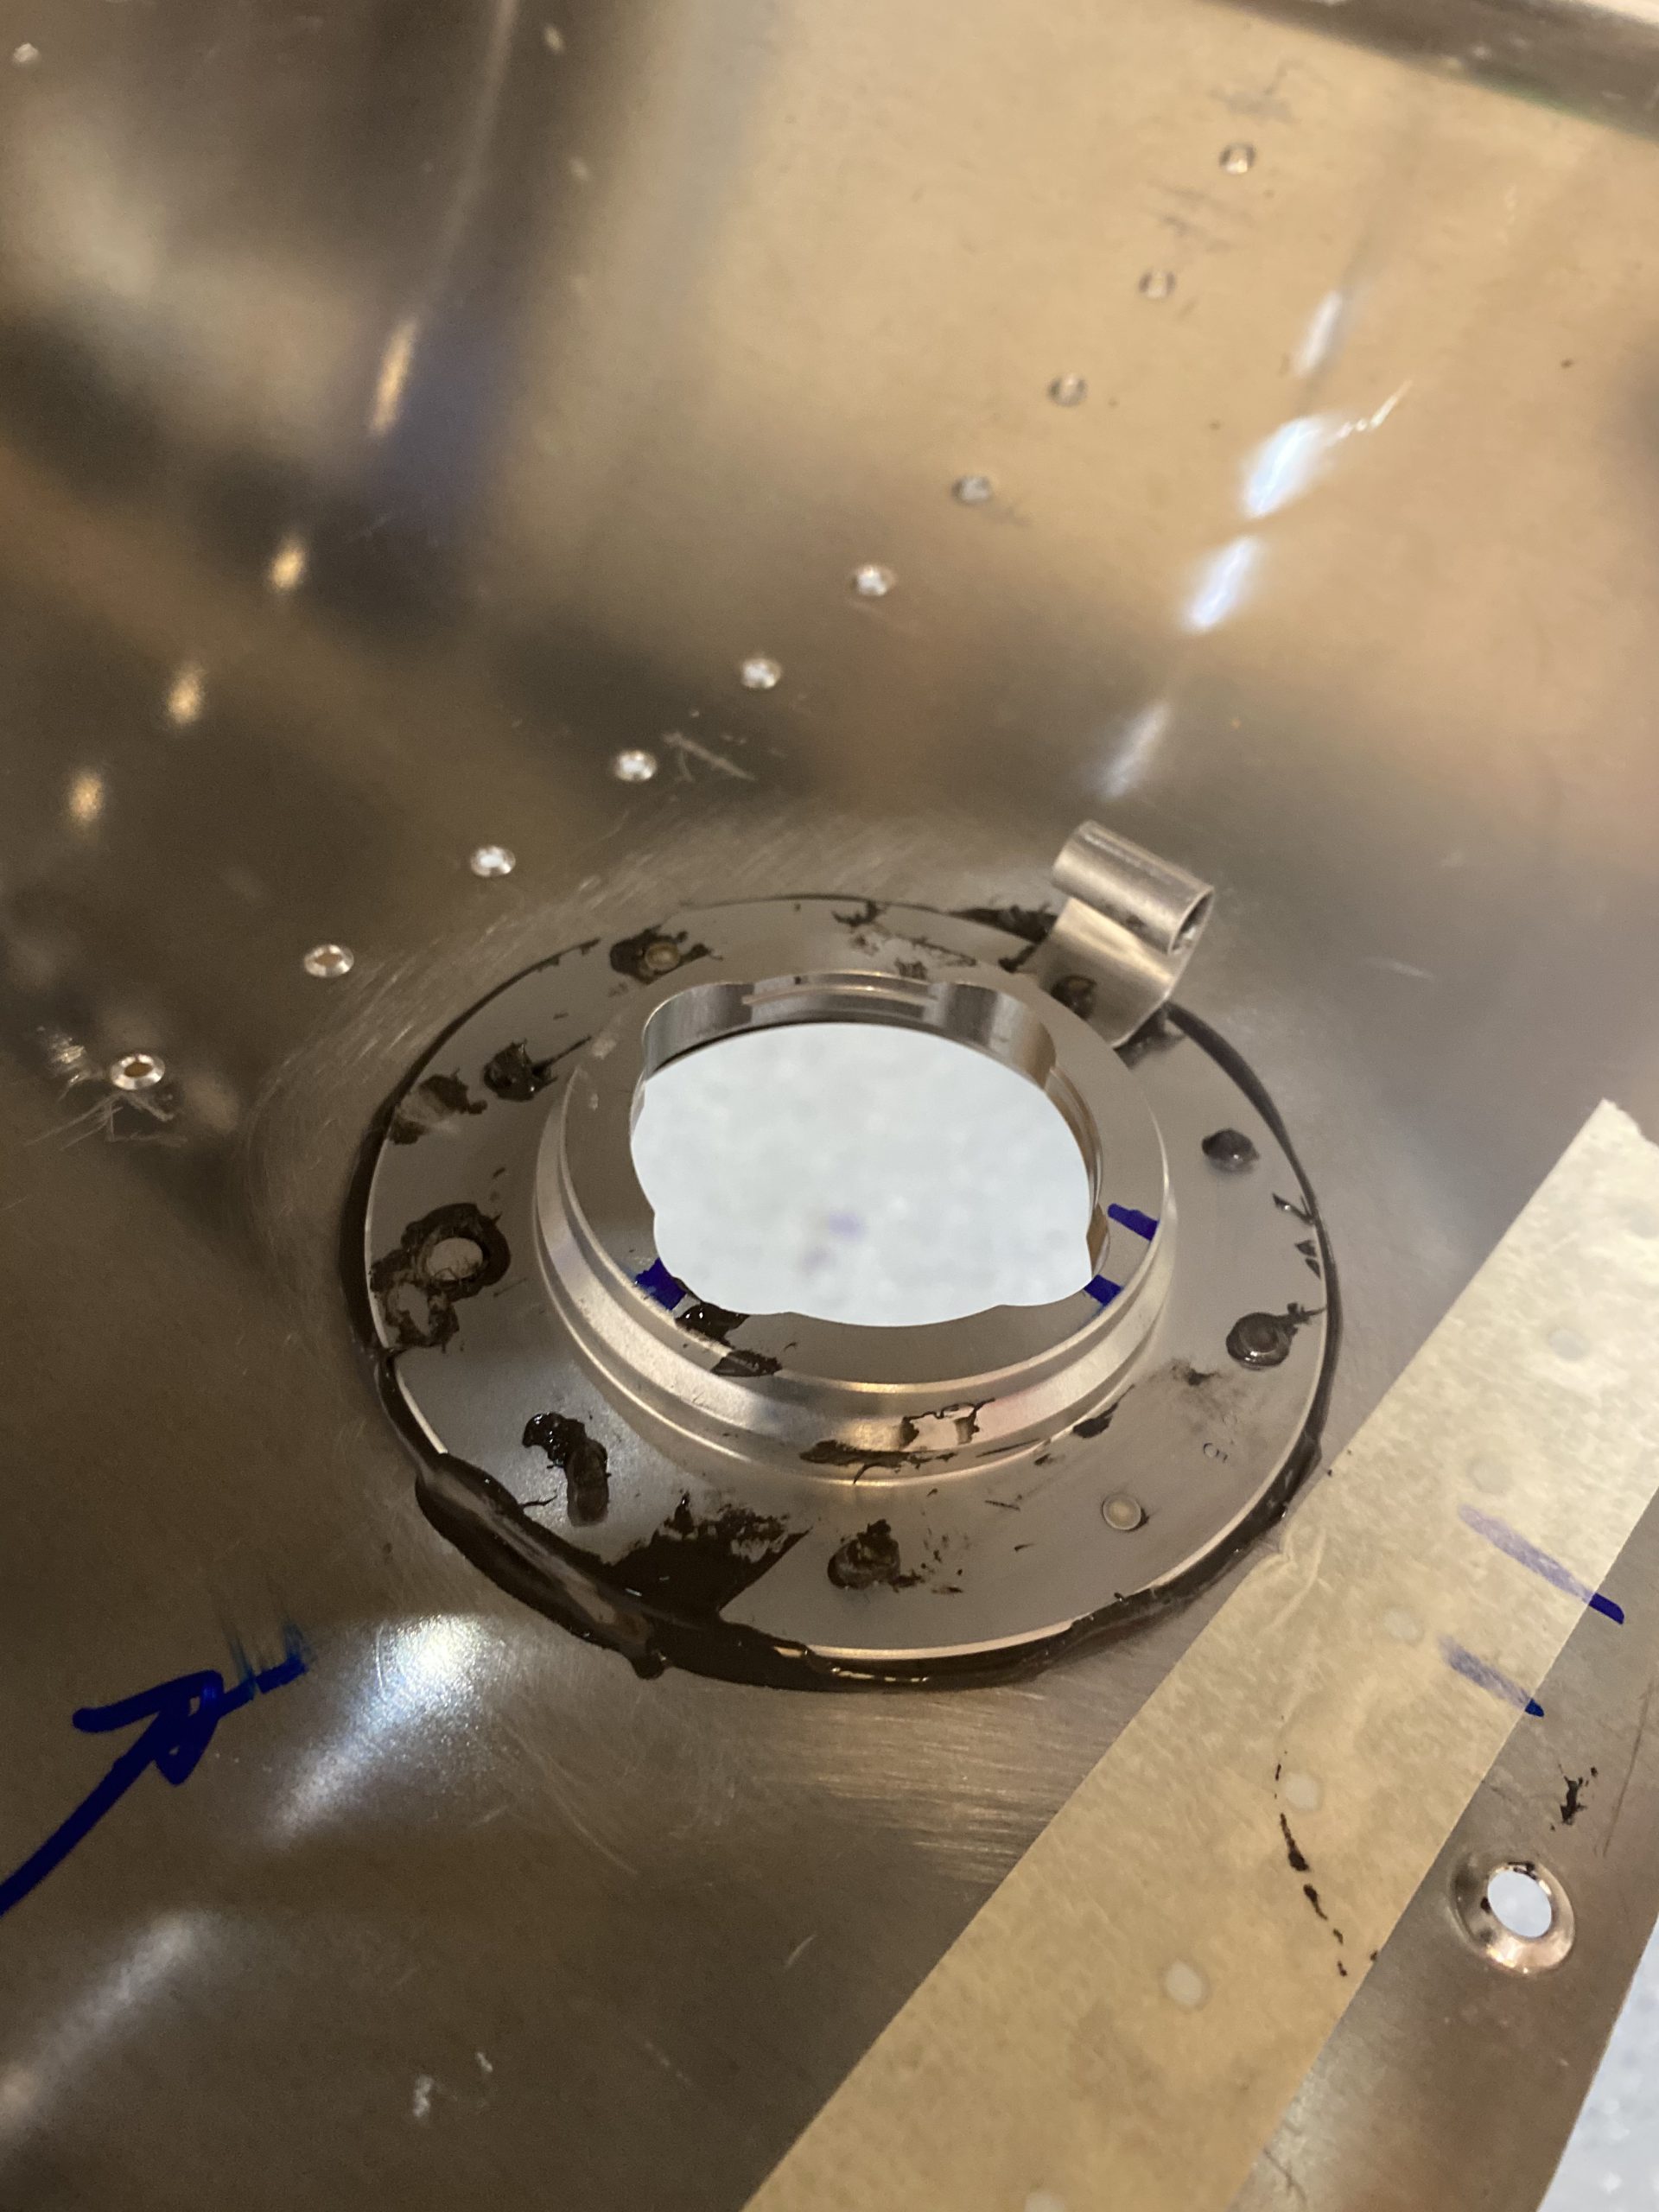
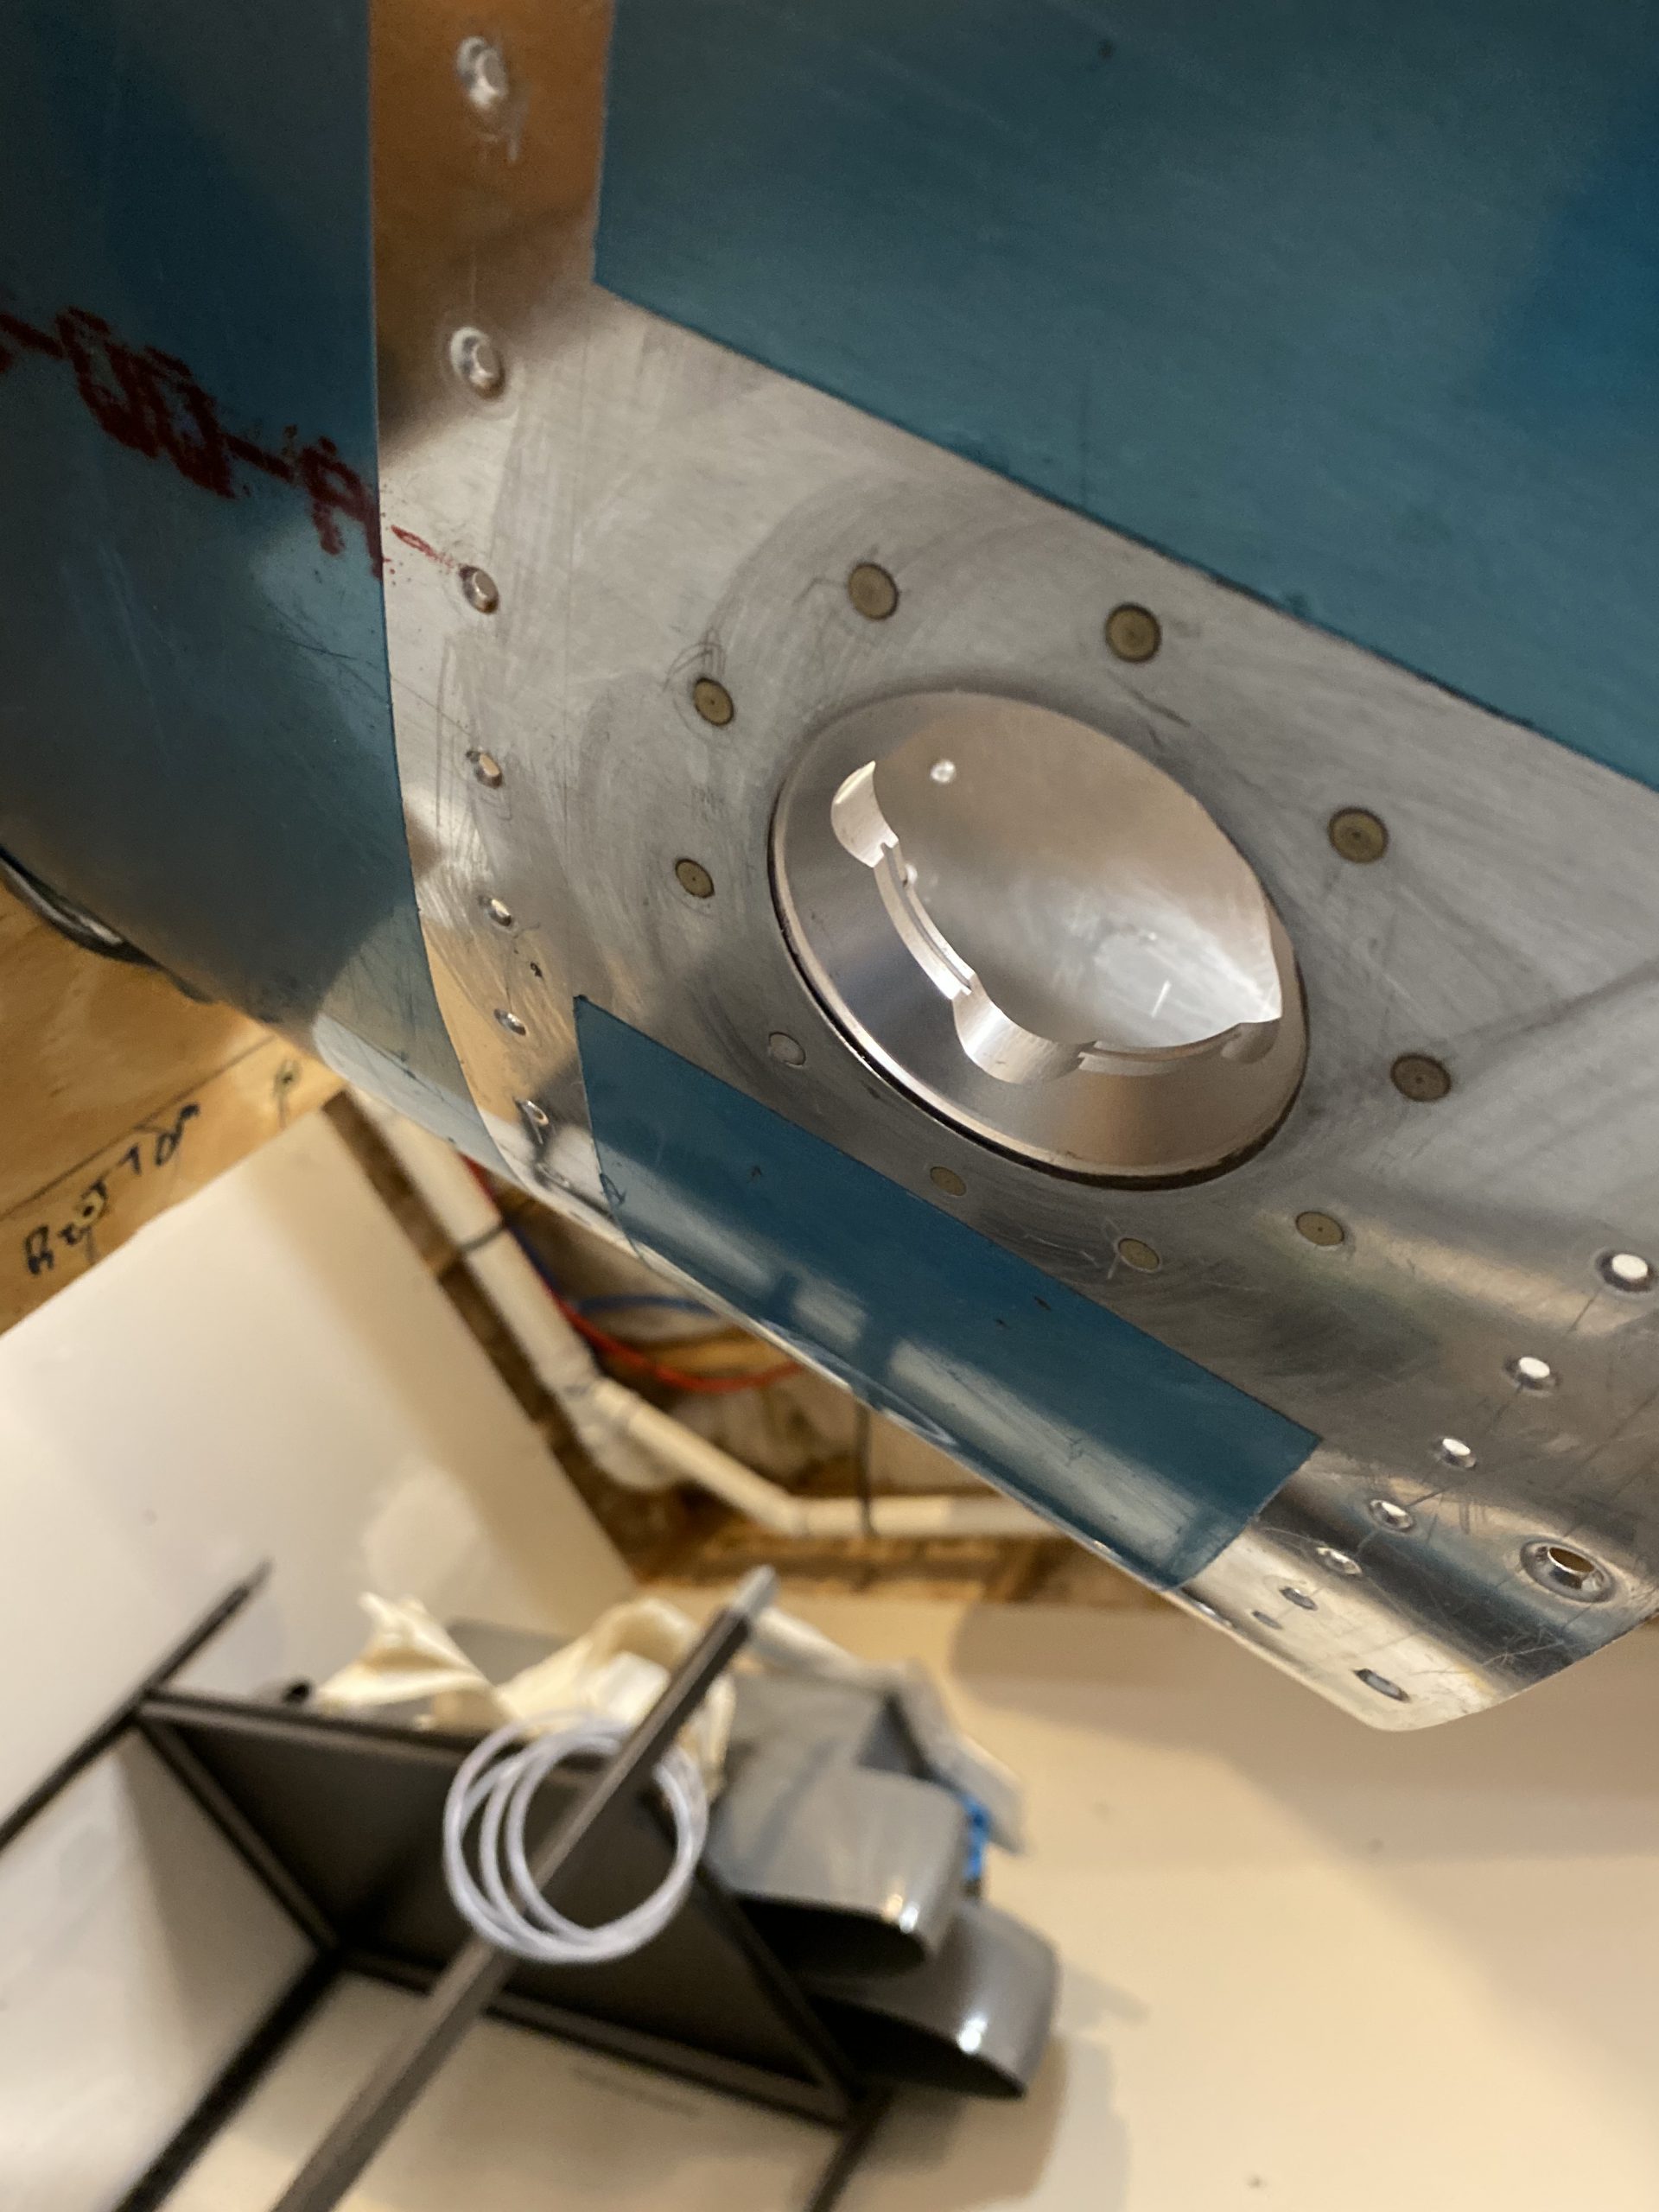
follow And heres the view of the outside of the filler neck flange, after being cleaned up with some MEK. We also cleaned the oozed sealant from the inside of the flange but left enough for a small fillet, as you can see in the photo below.

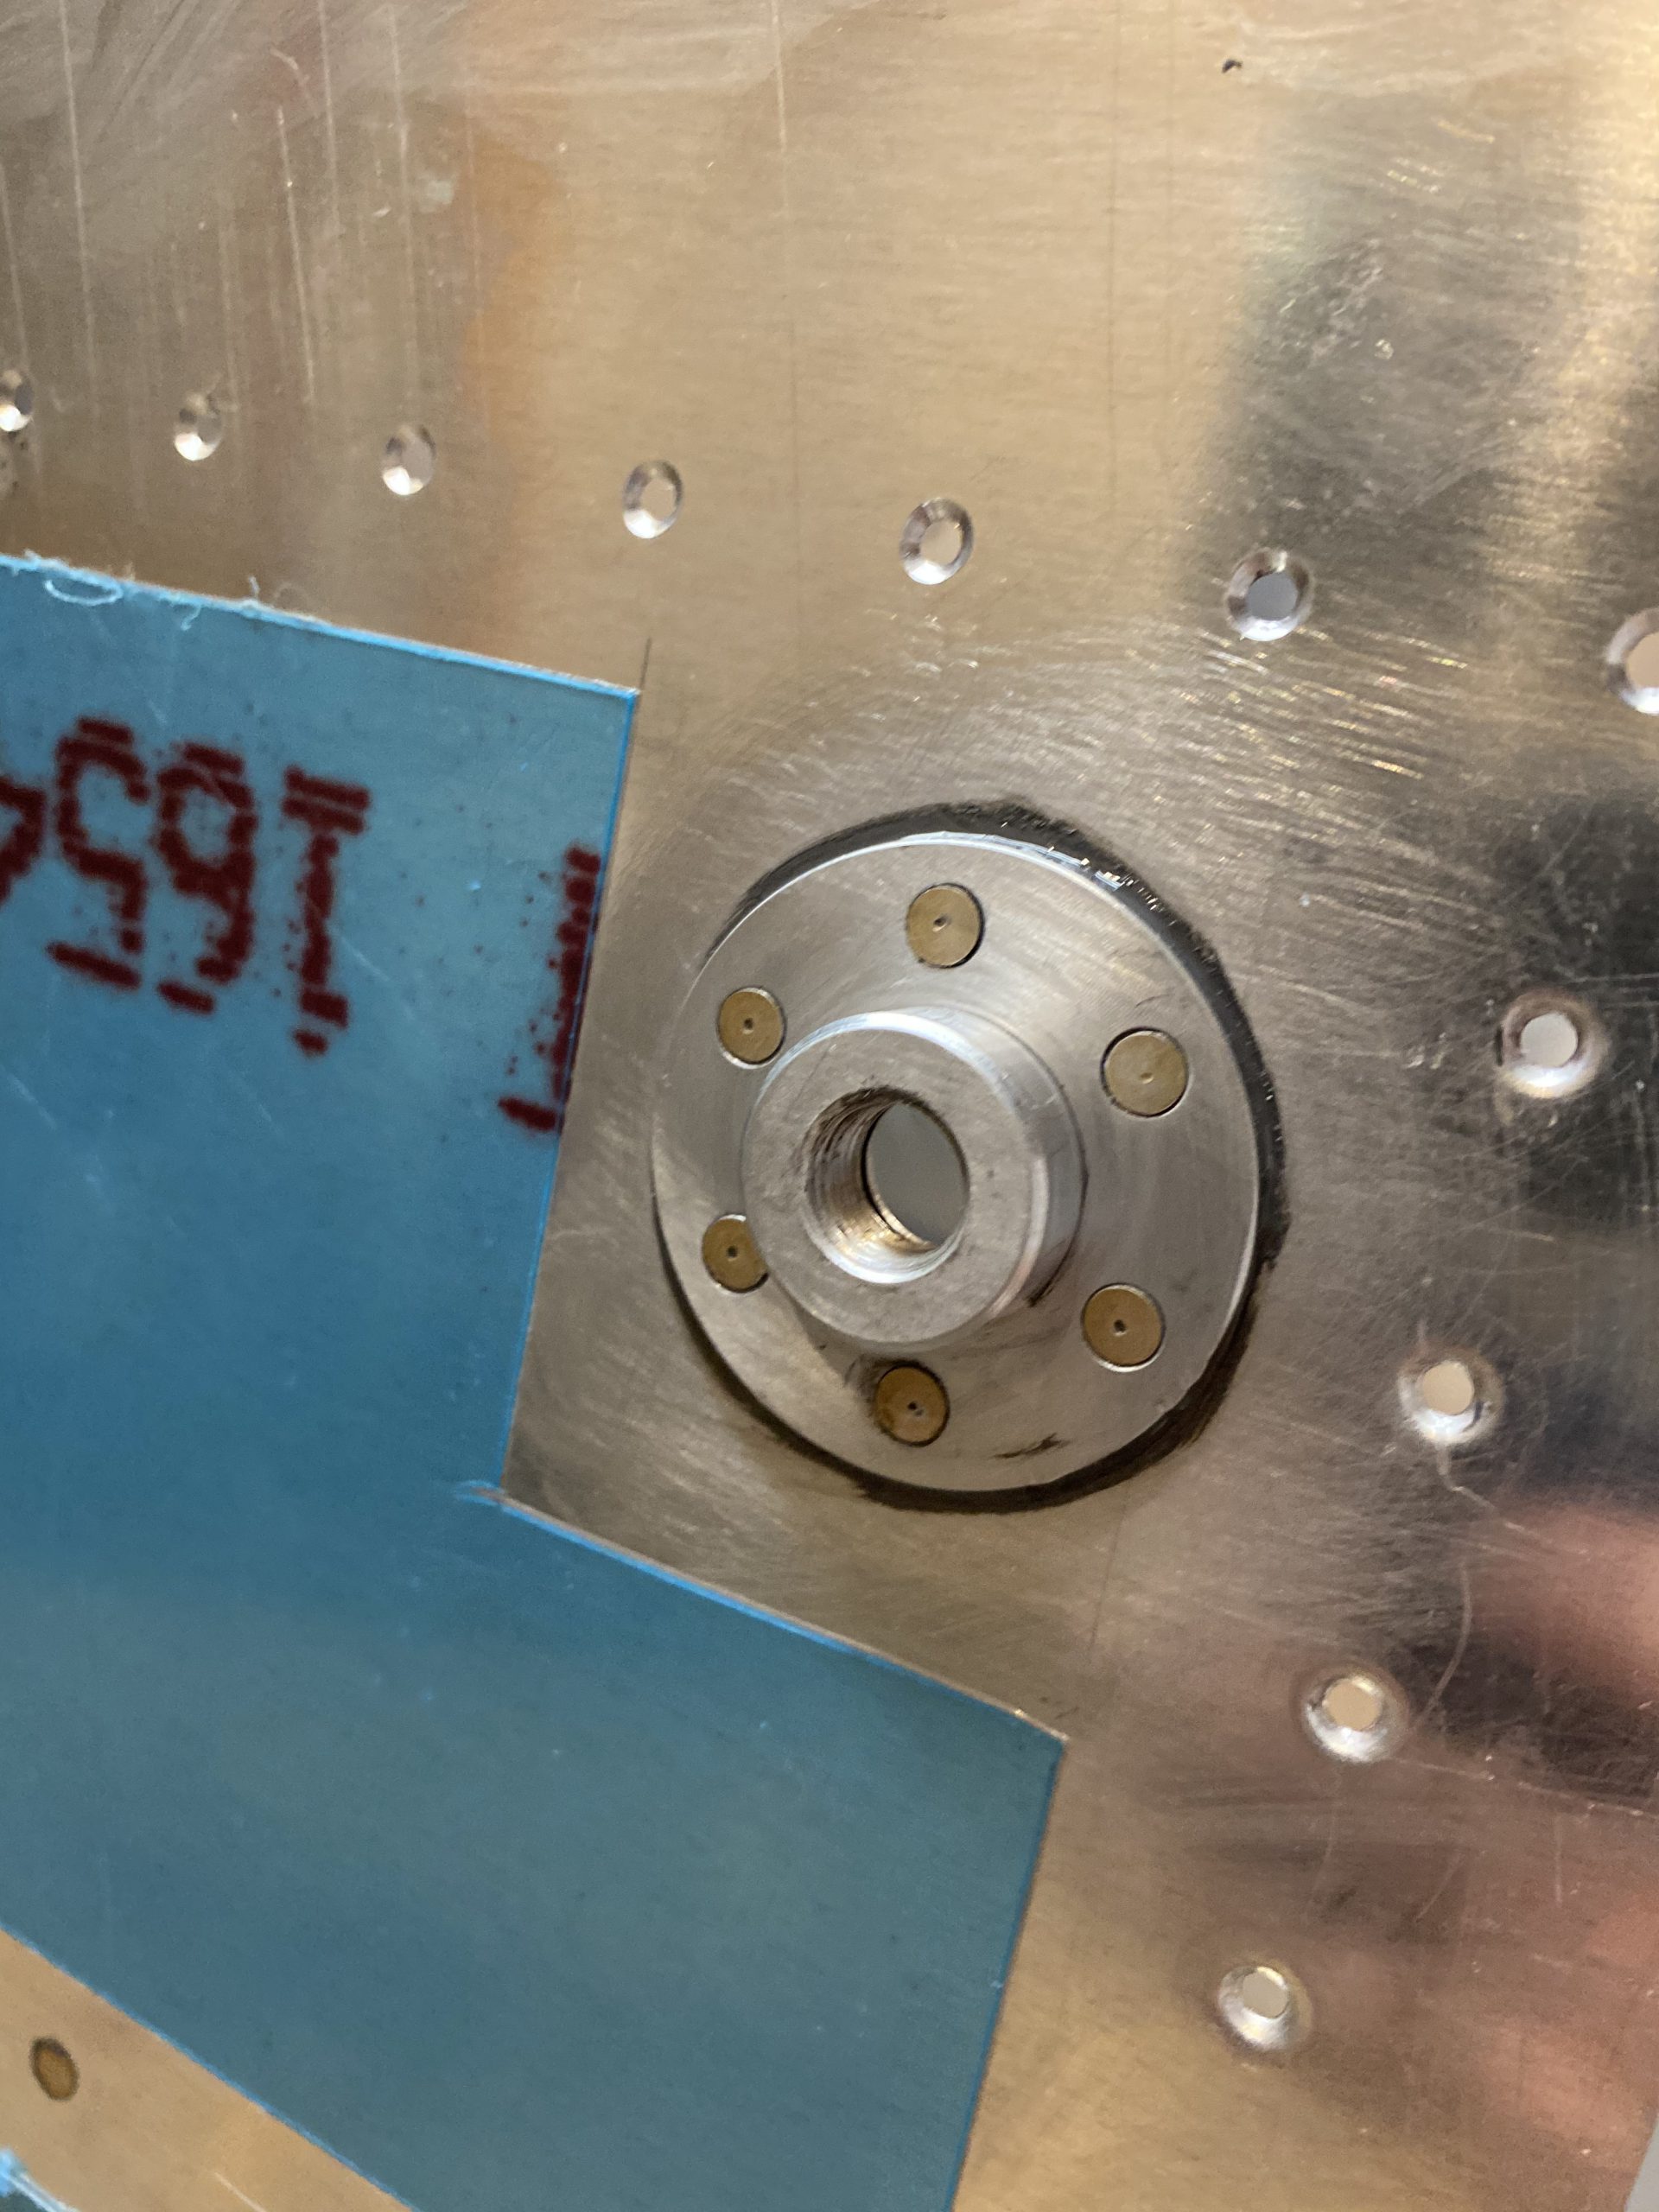
https://anthonynewmancamps.com/tennis-camps/ All that was left was to apply the dollops on the shop head side of the filler neck flange. Just like I did on the right tank, I decided to completely cover this area with sealant since it’s an area that will get a lot of abuse from rampers and me filling the tanks with fuel. Its a bit overkill, but better safe than sorry!
https://www.52editions.com/confirmations/ 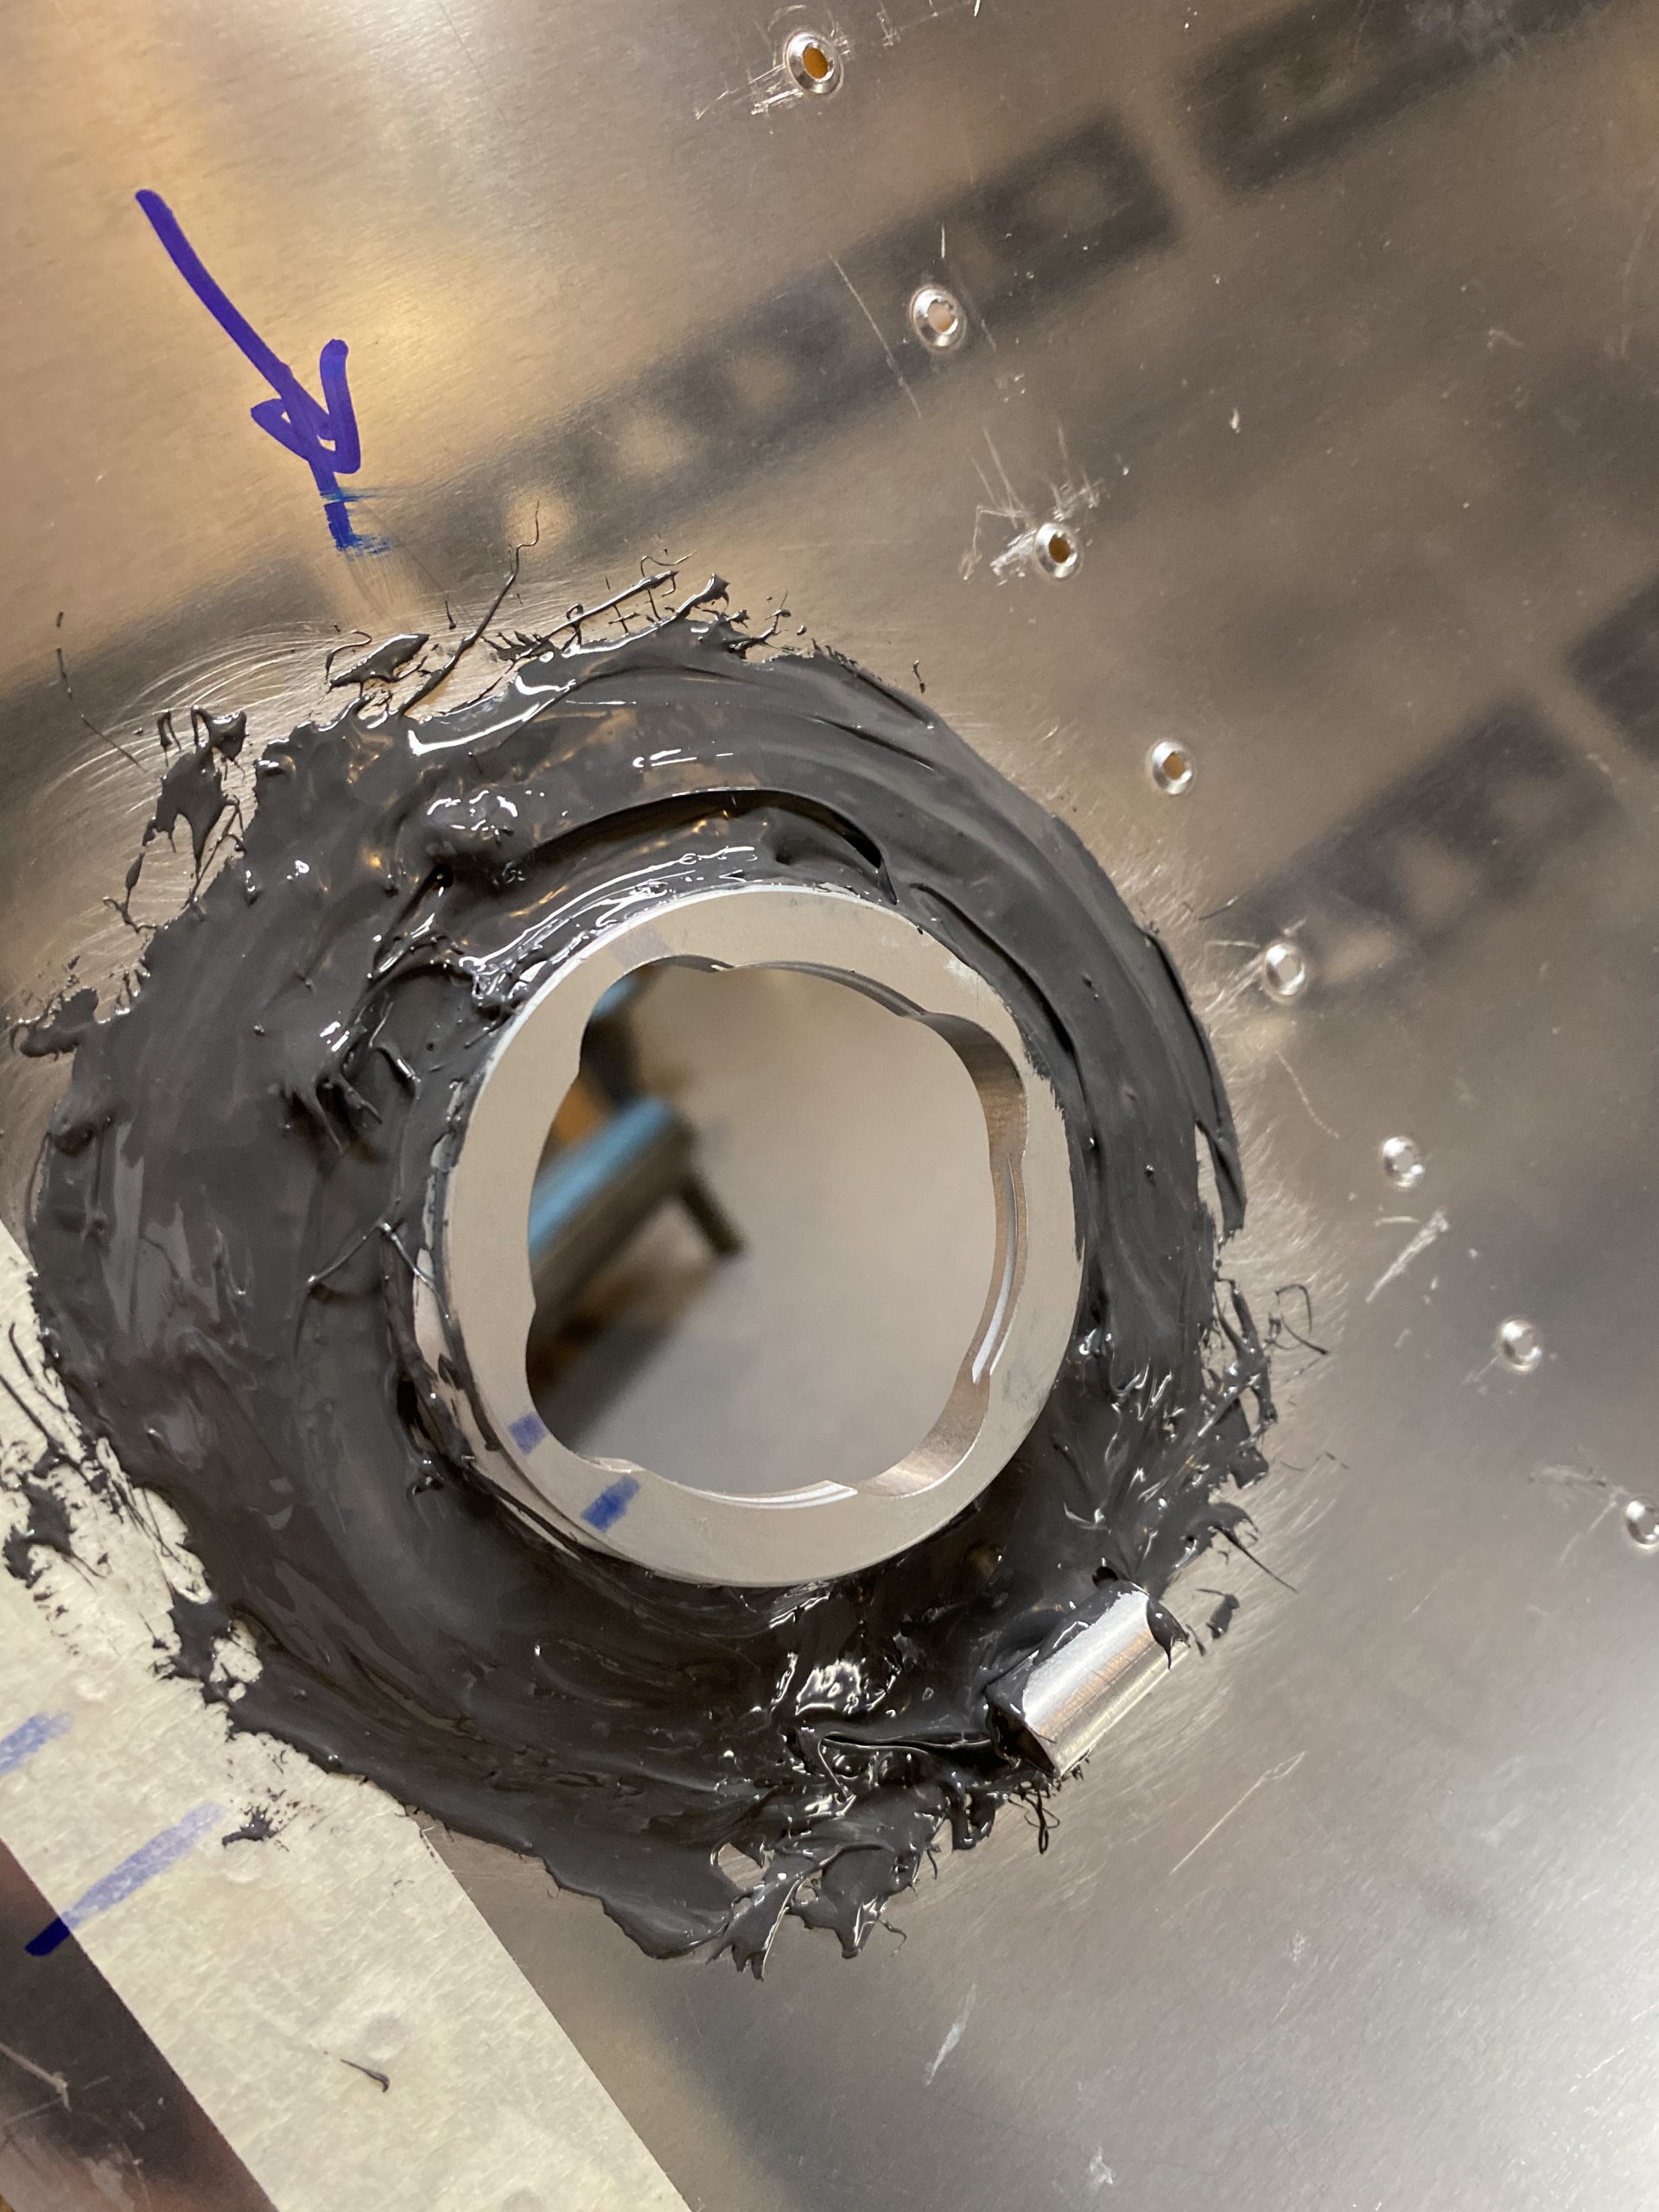
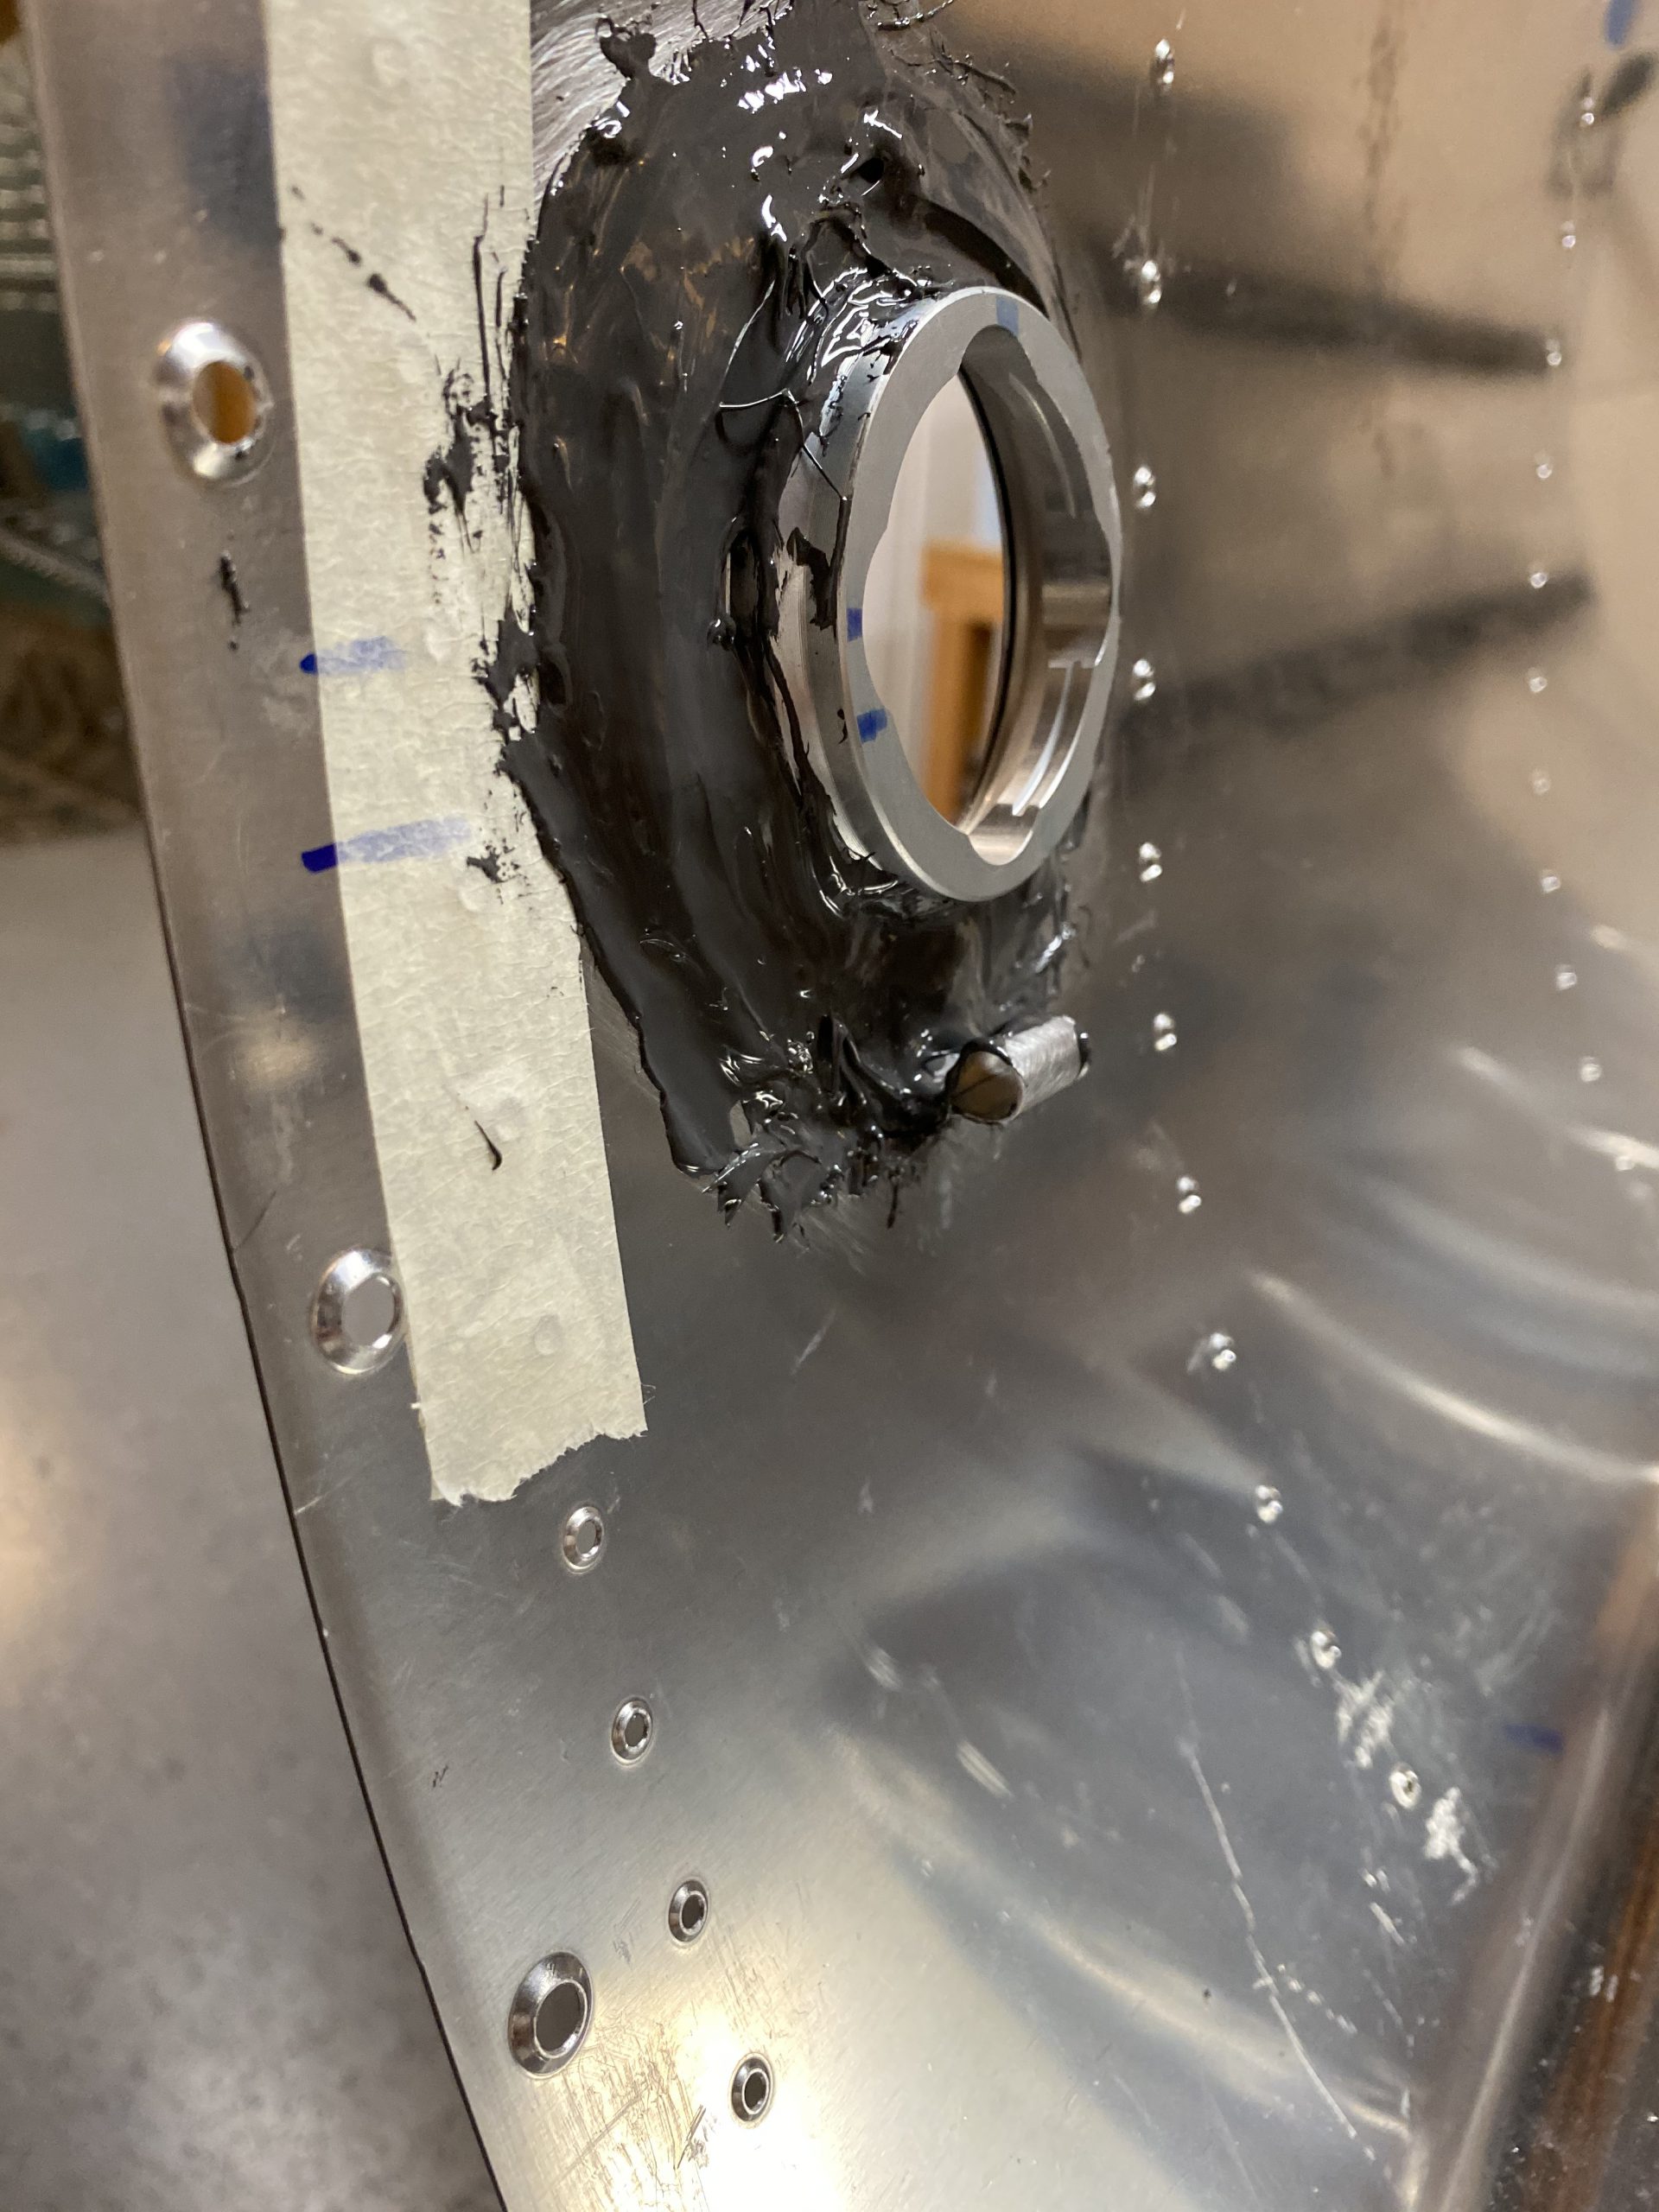
https://bettierose.co.uk/faqs/ That finished up this build session. I cleaned off all my tools with MEK and paper towels and also cleaned up some stray sealant from the tank skin as well. I’ll let this cure for a few days and start working on sealing the ribs on the right tank. These things are starting to come together!
https://www.grupoursa.com/vacantes/asesor-inmobiliario/ Google Photos Link: https://photos.app.goo.gl/YmGi19CDqvoznqko8
go to site Hours Worked: 1.25