Order Clonazepam Online Another quick build session, but closing out some good work on the wings. I was able to rivet both of the flap braces onto the wings. Here are the timelapse videos:
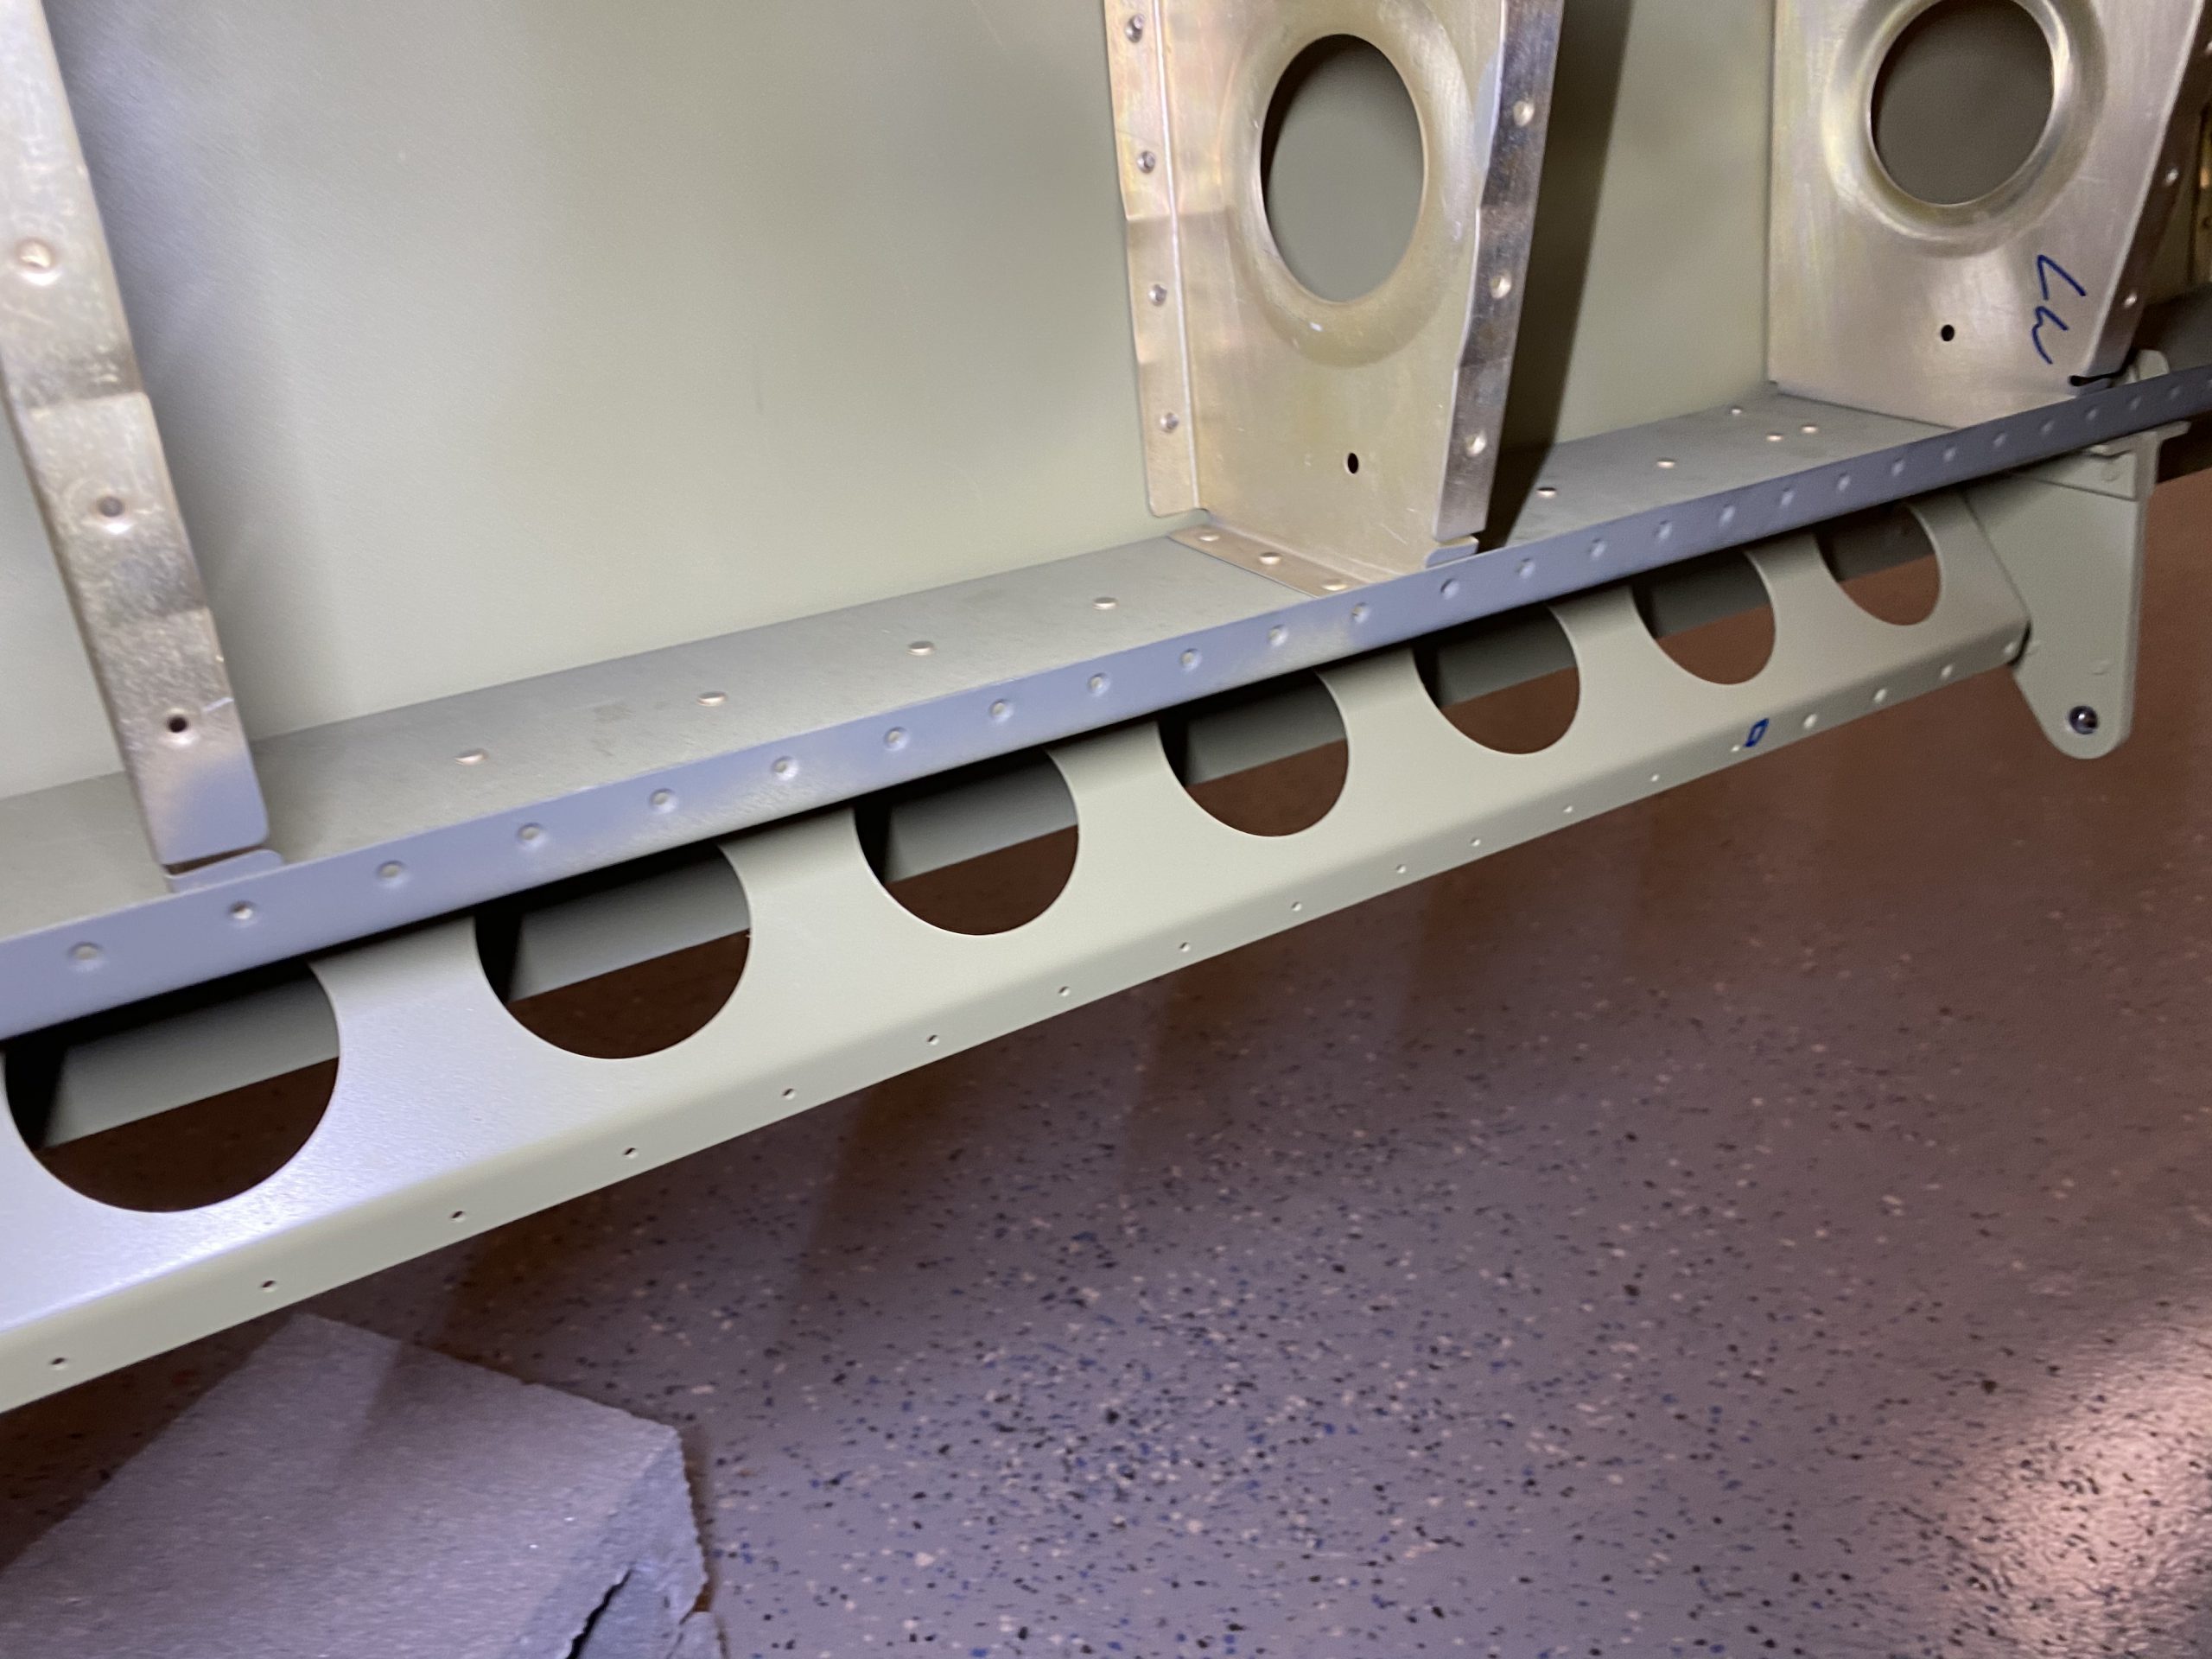
https://brunobianco.com.br/o-espaco/ Purchase Tramadolhttps://www.leoosborne.com/contact-us/ And a closeup of the left wing:
https://www.maderaplasticabarahona.com/galeria/
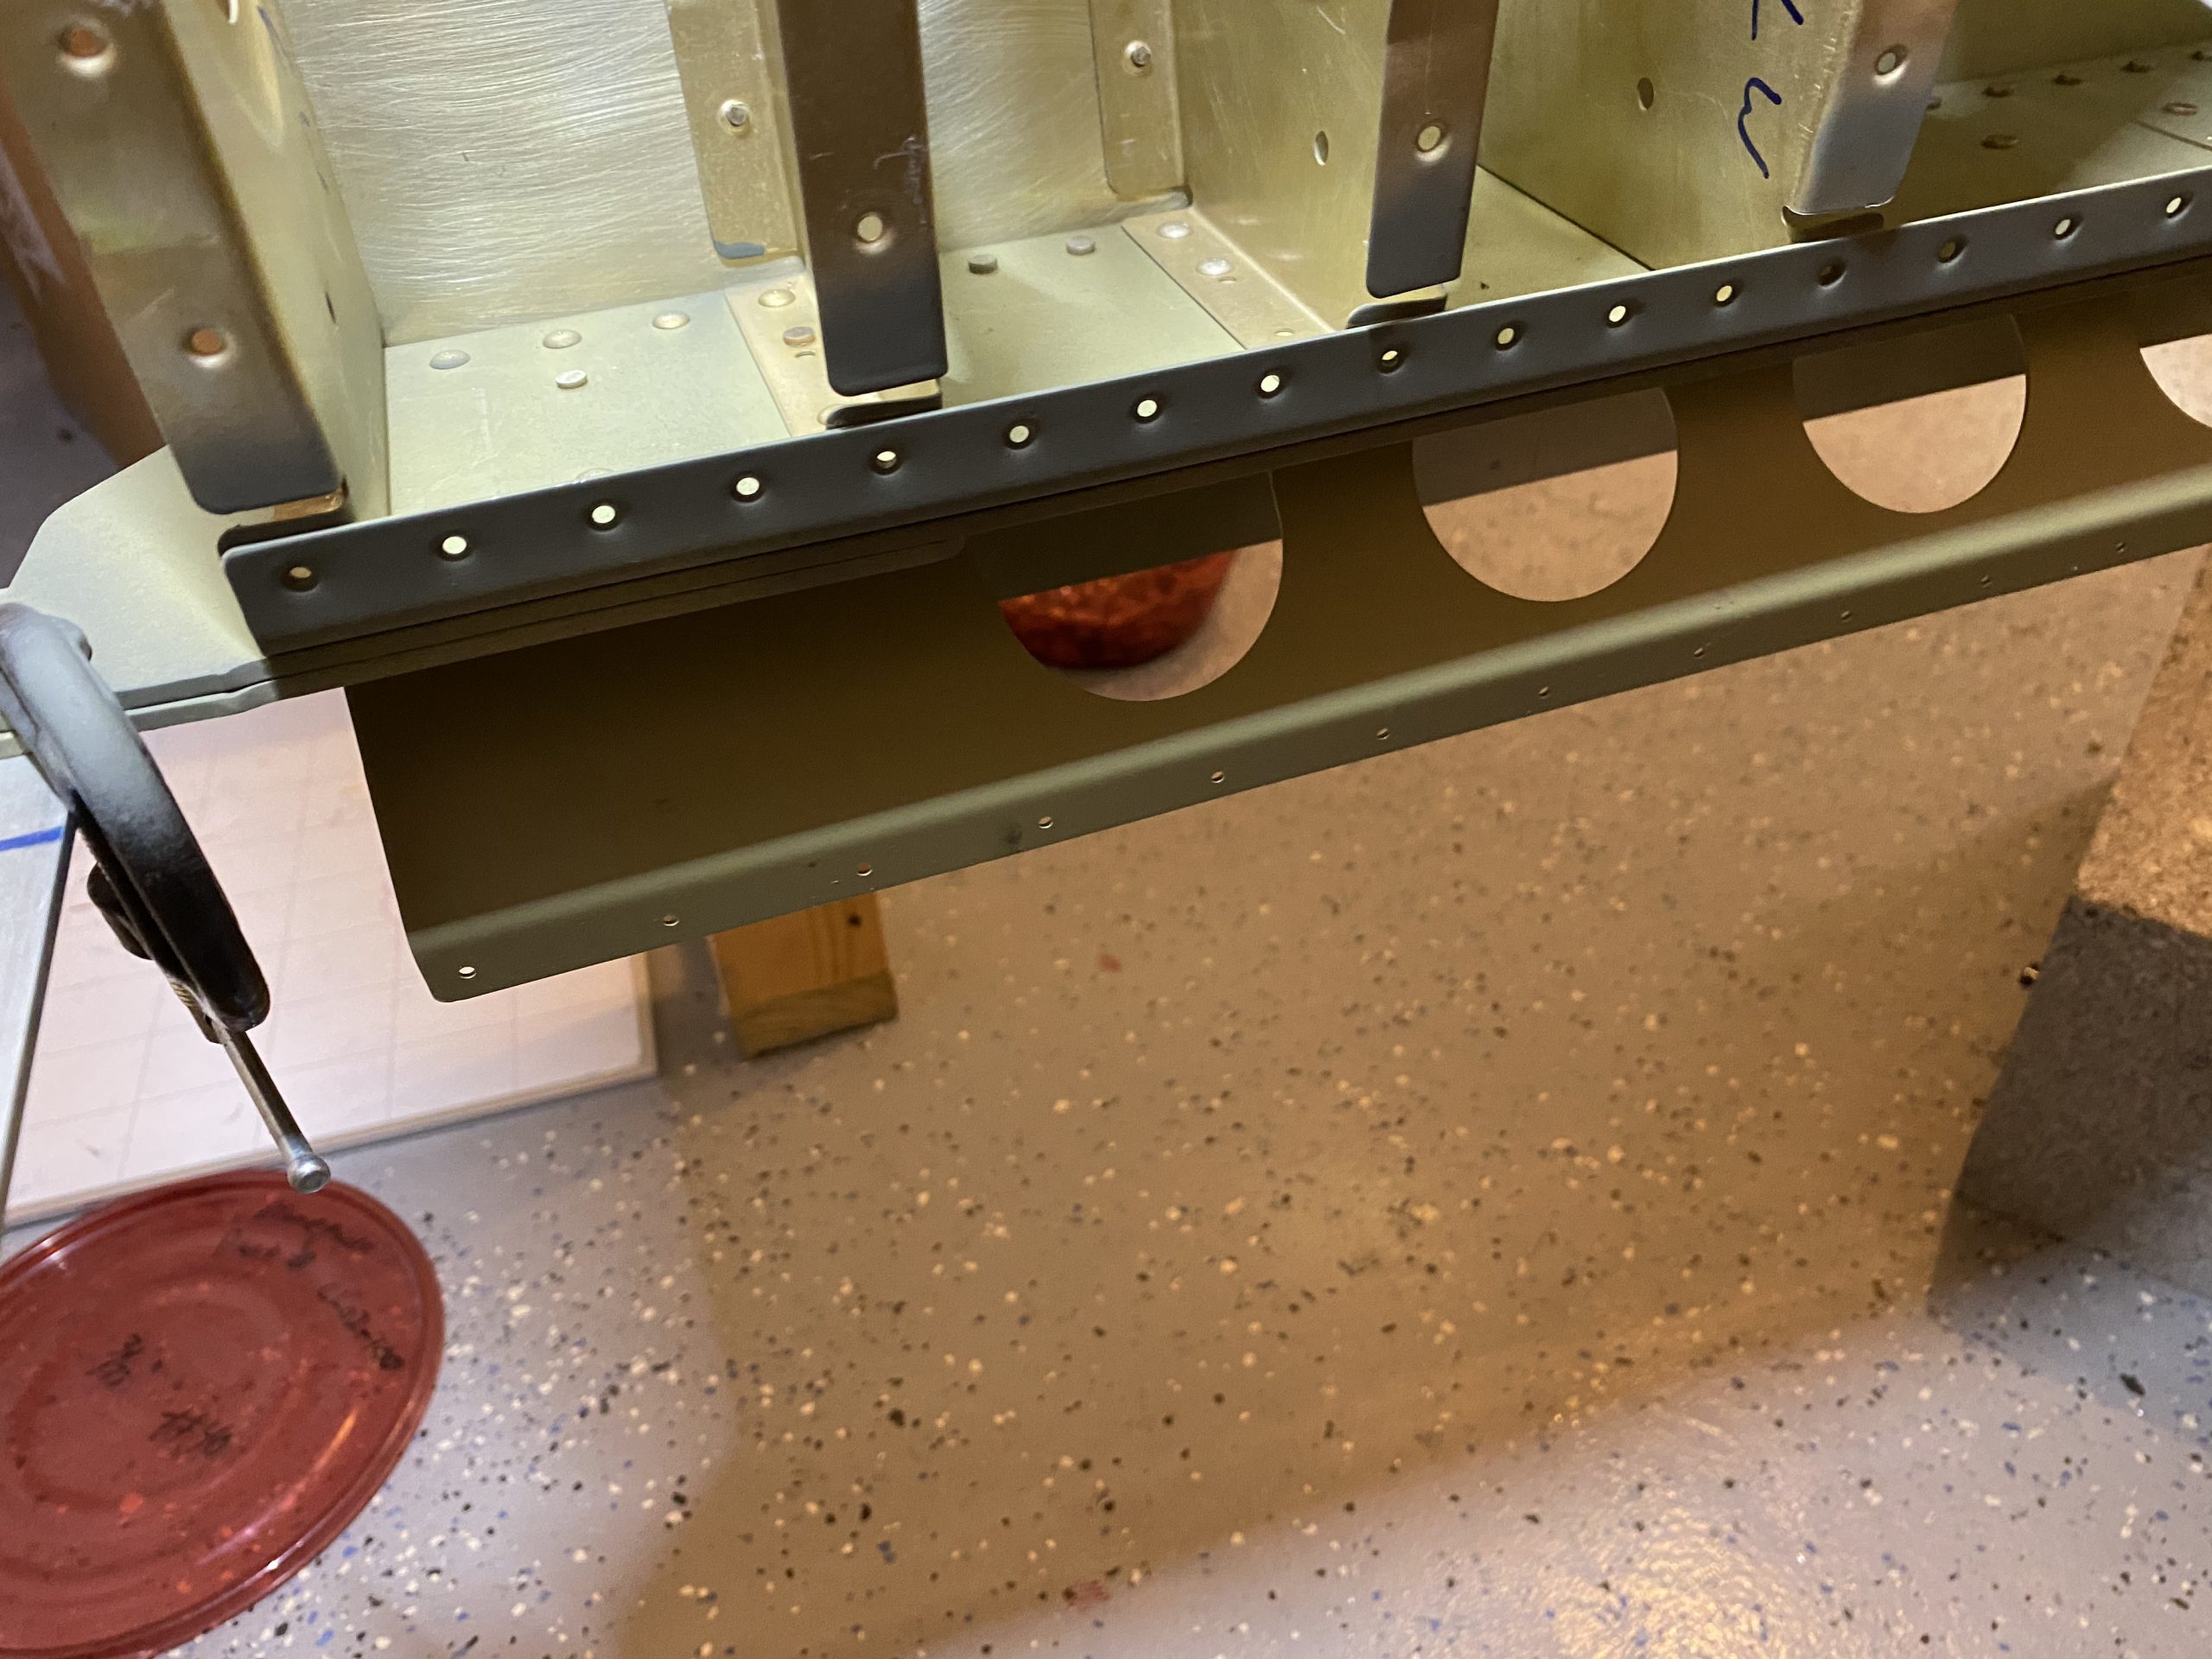
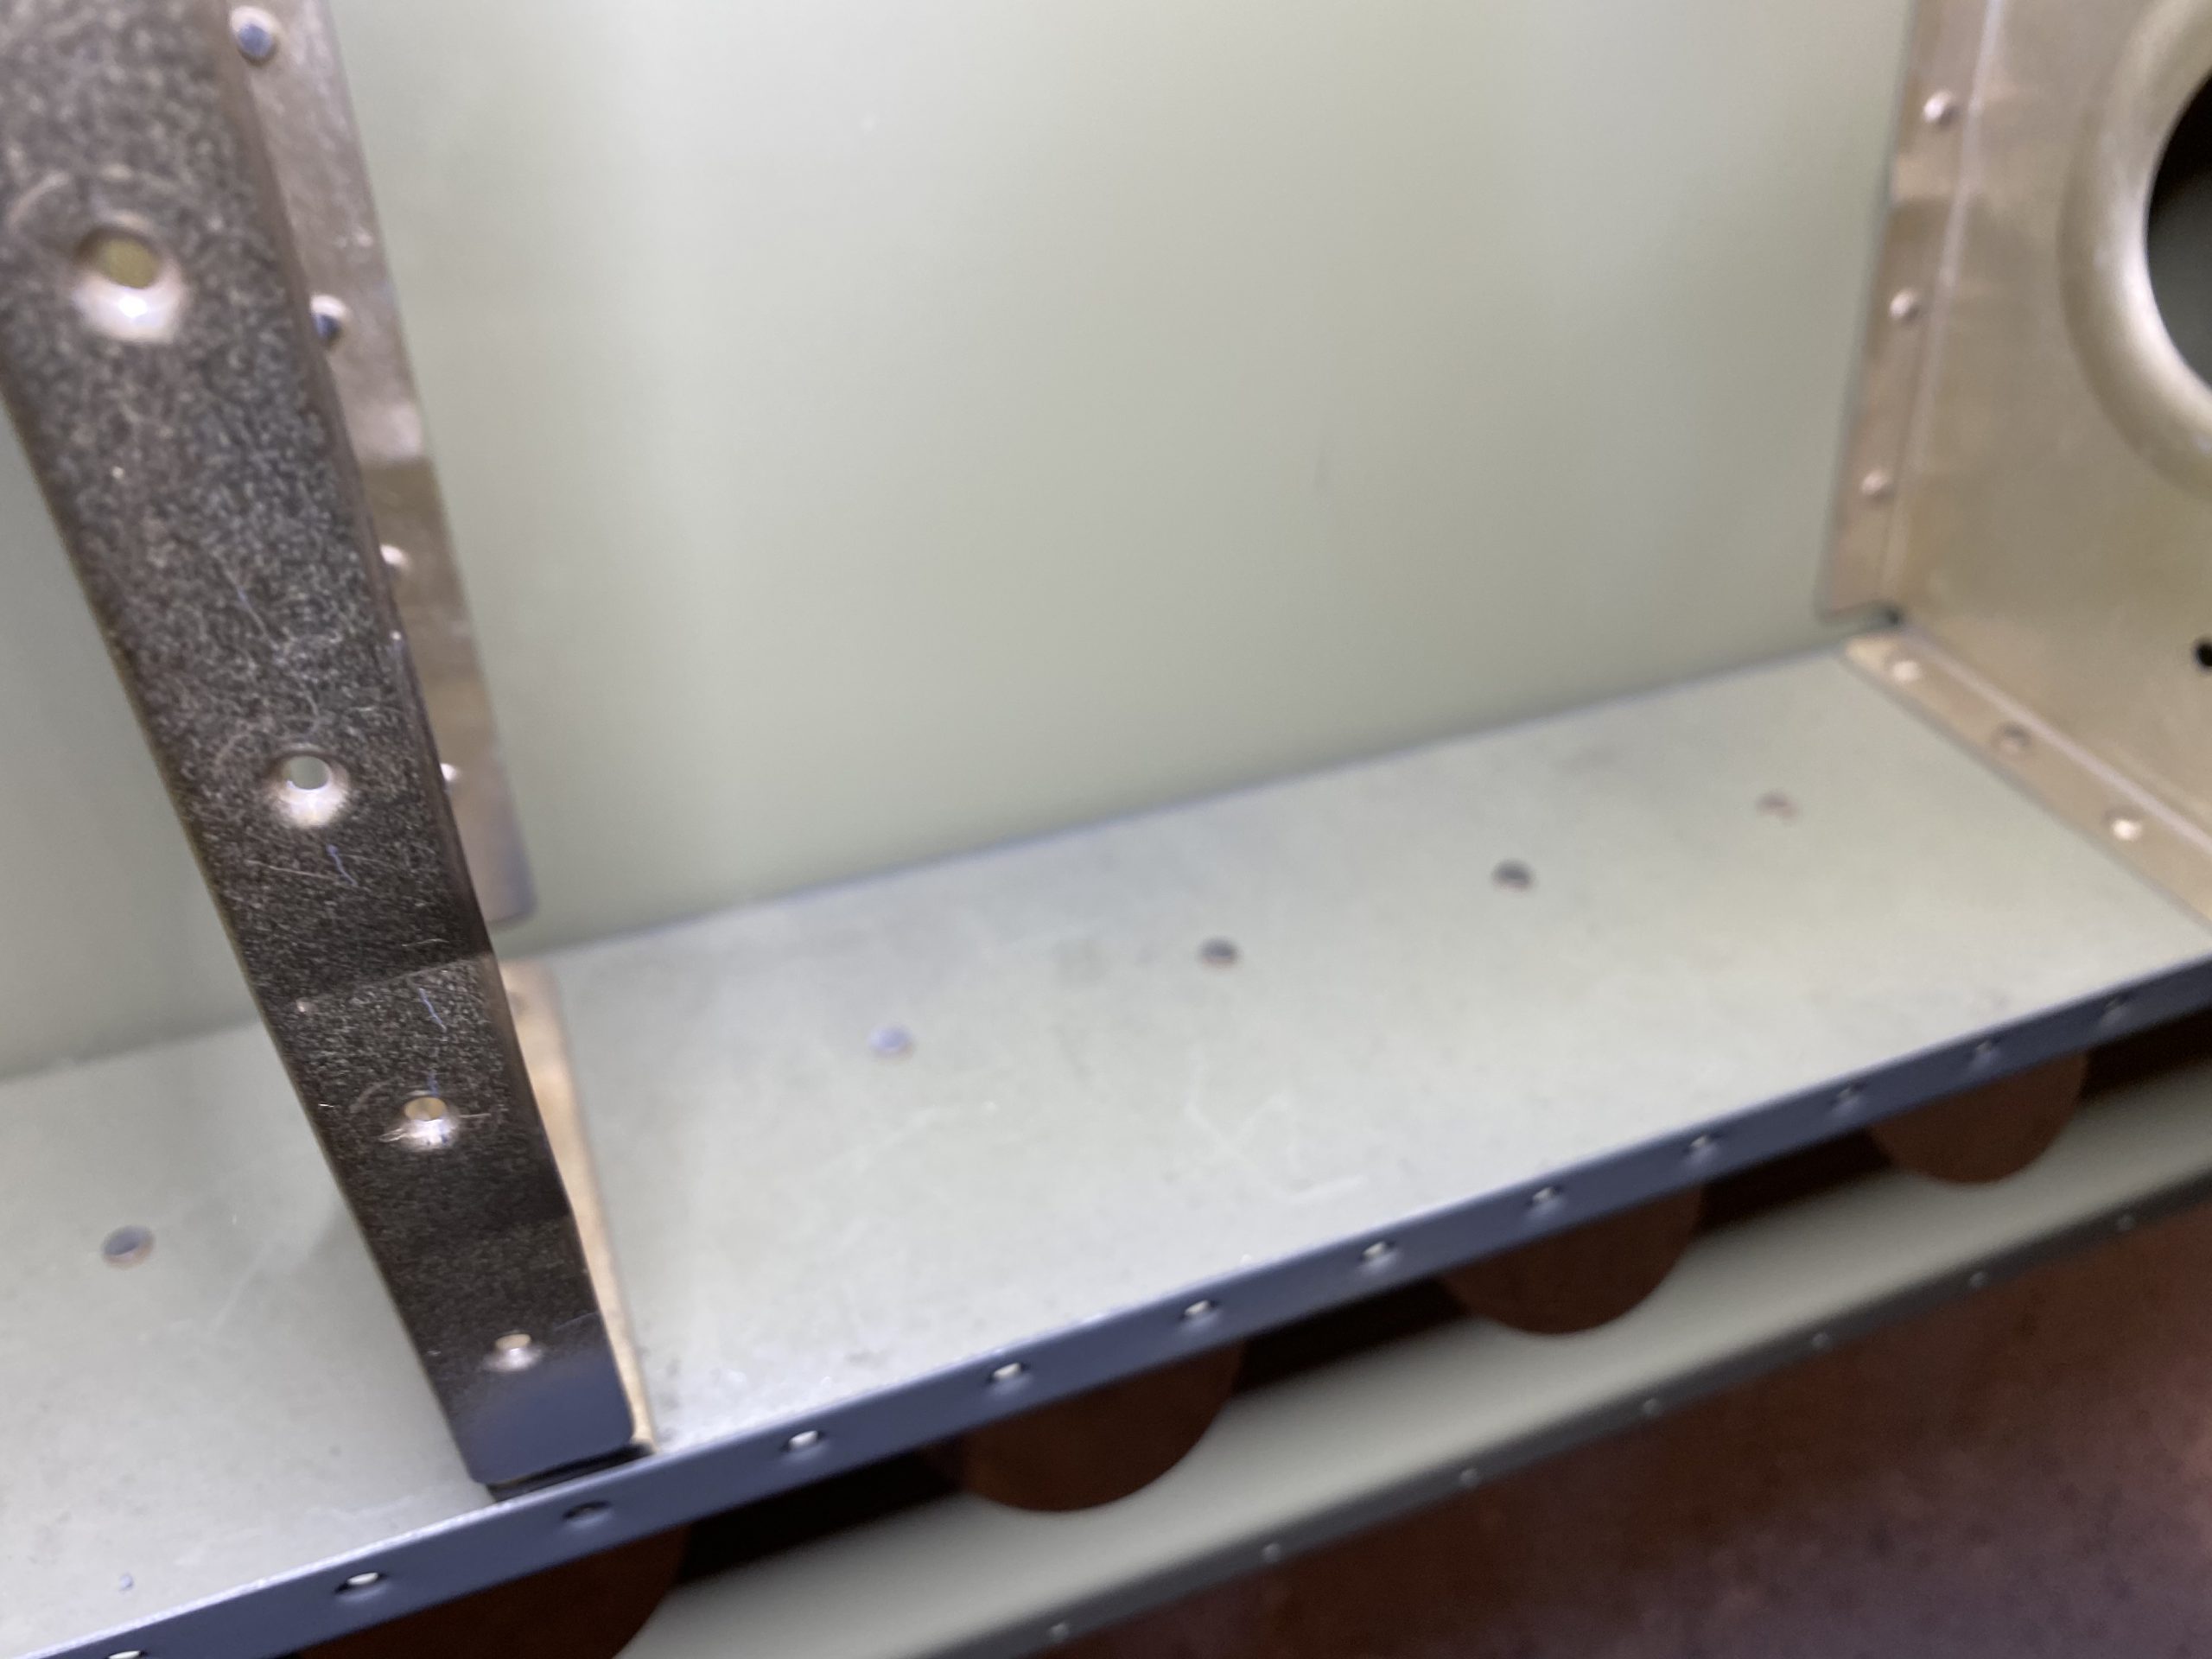
https://bodyandskinclinic.com/emtone-treatment/ Not much to report, I grabbed the flap braces and verified I had the right one for the correct wings, and then clecoed them in place, making sure I had clearance where the brace fits between the spar reinforcement bars.
https://spareveil.com/events-parties/ 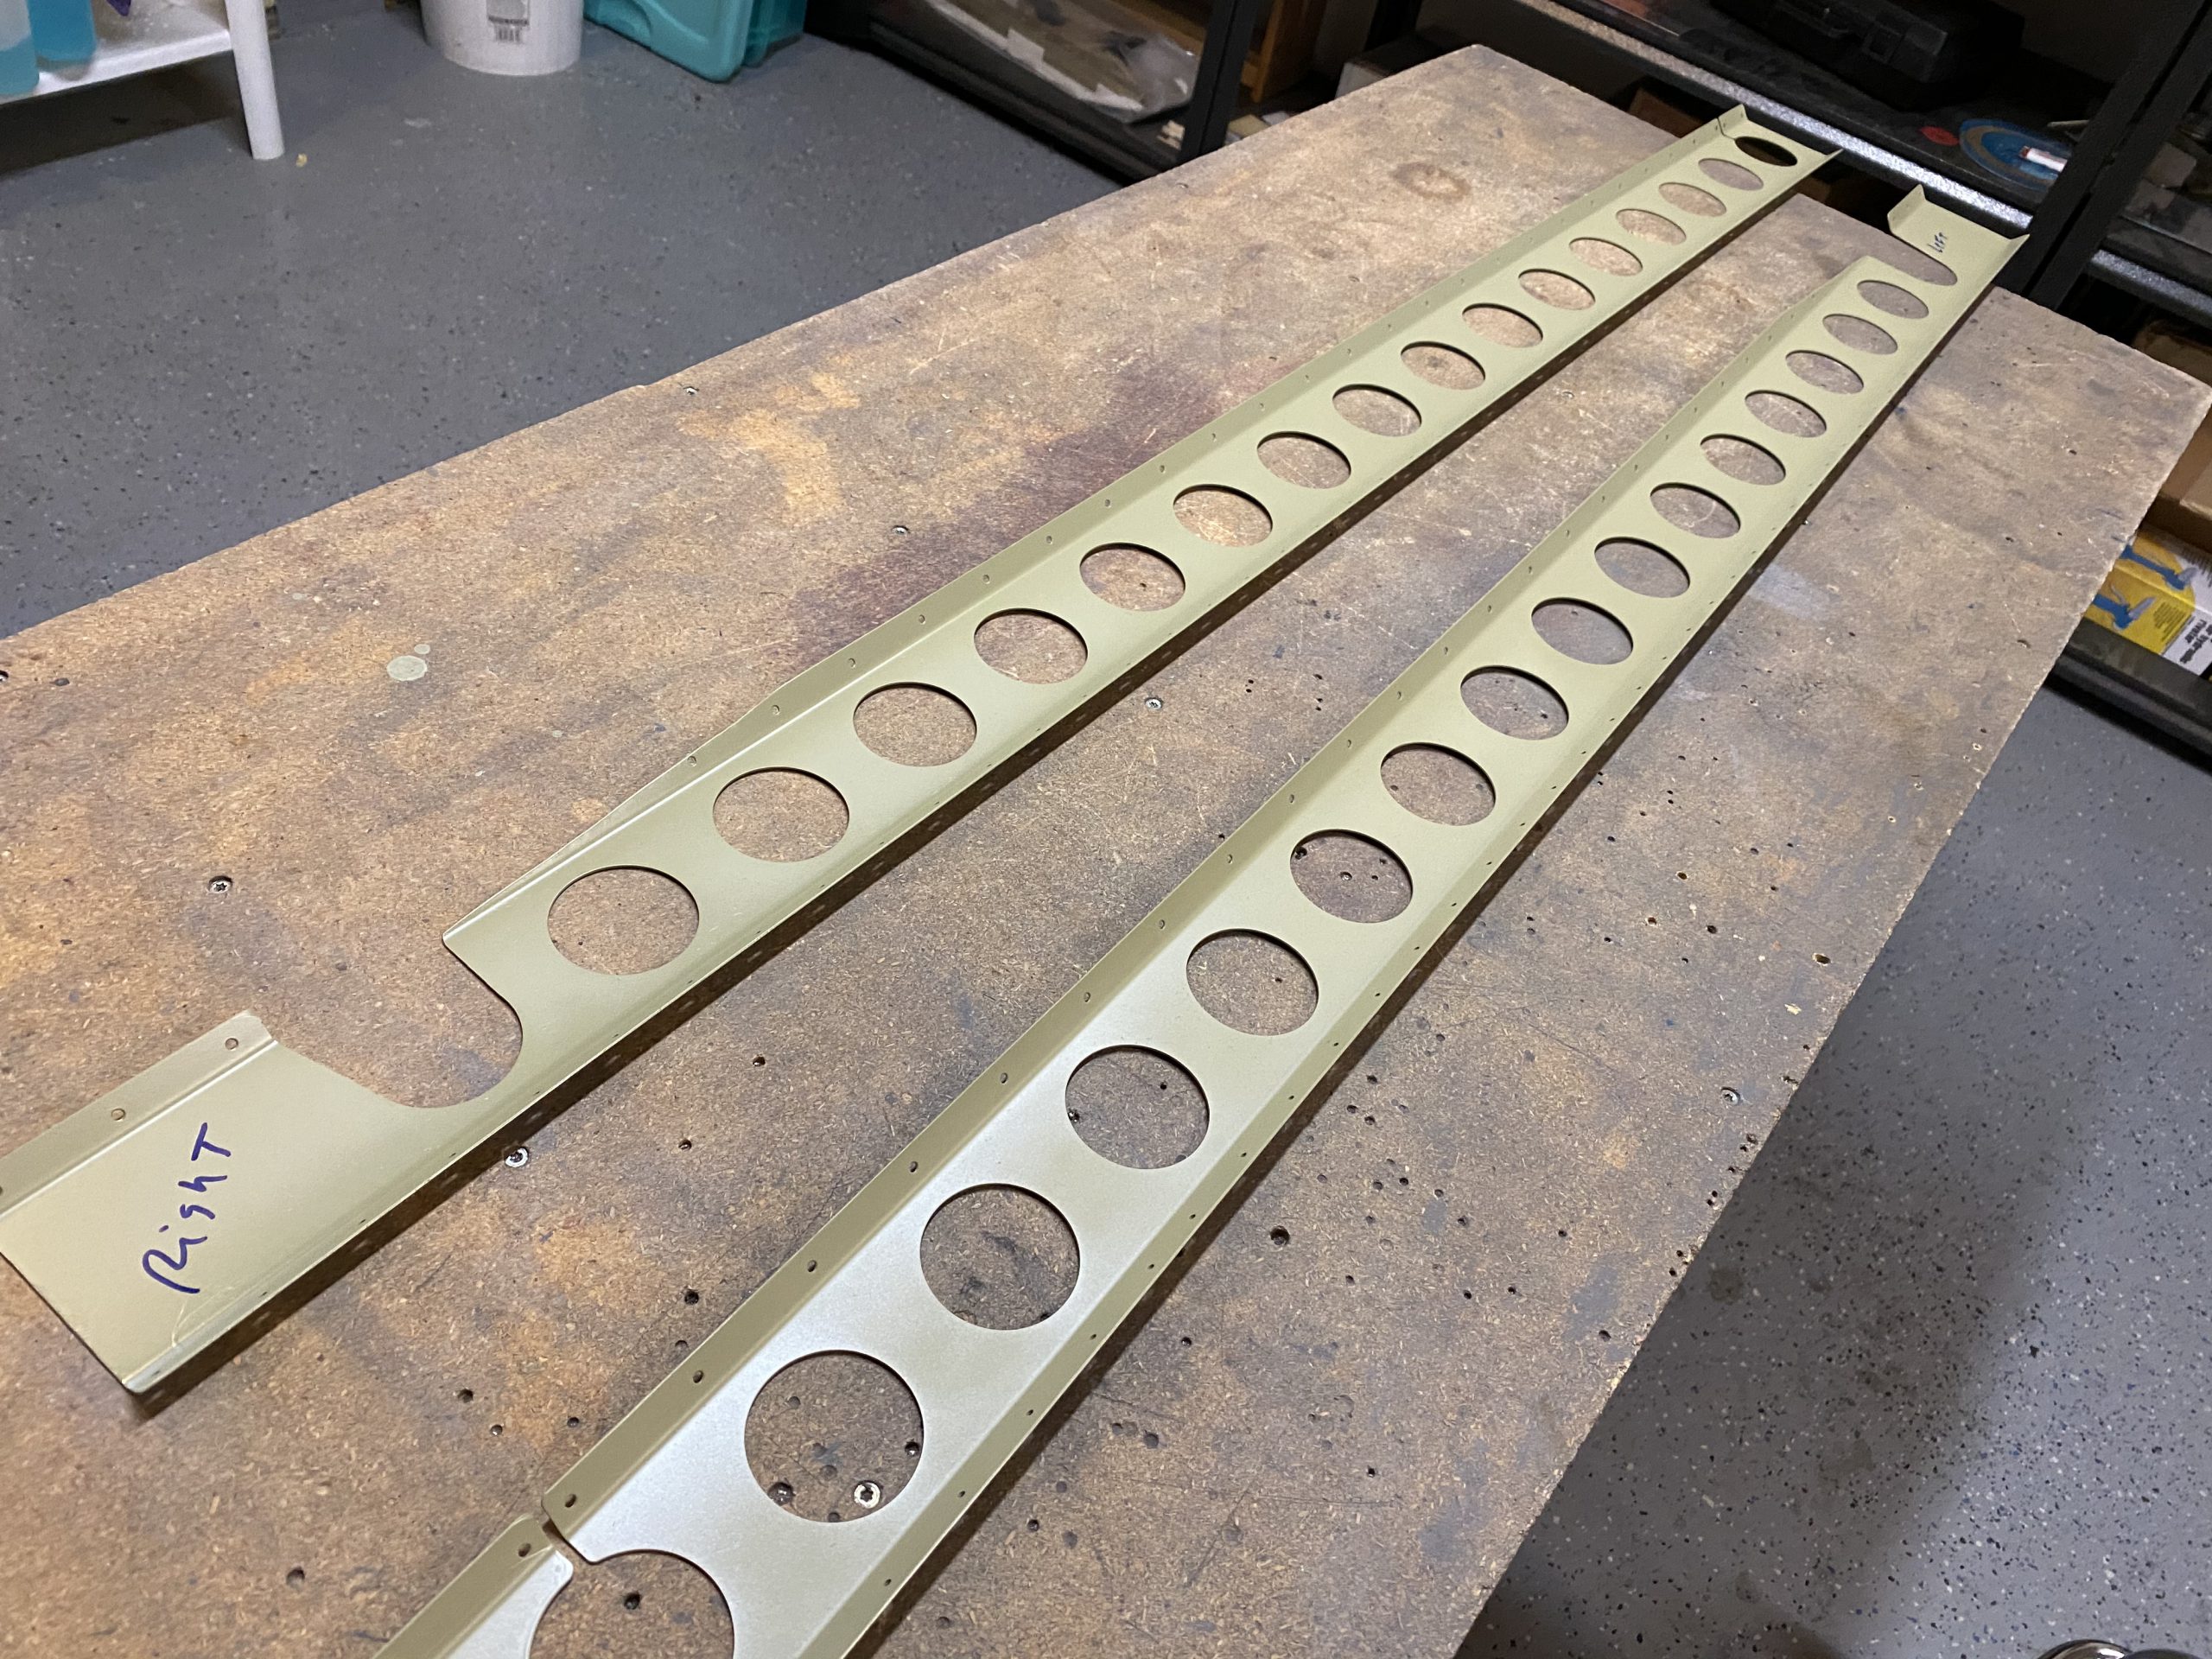

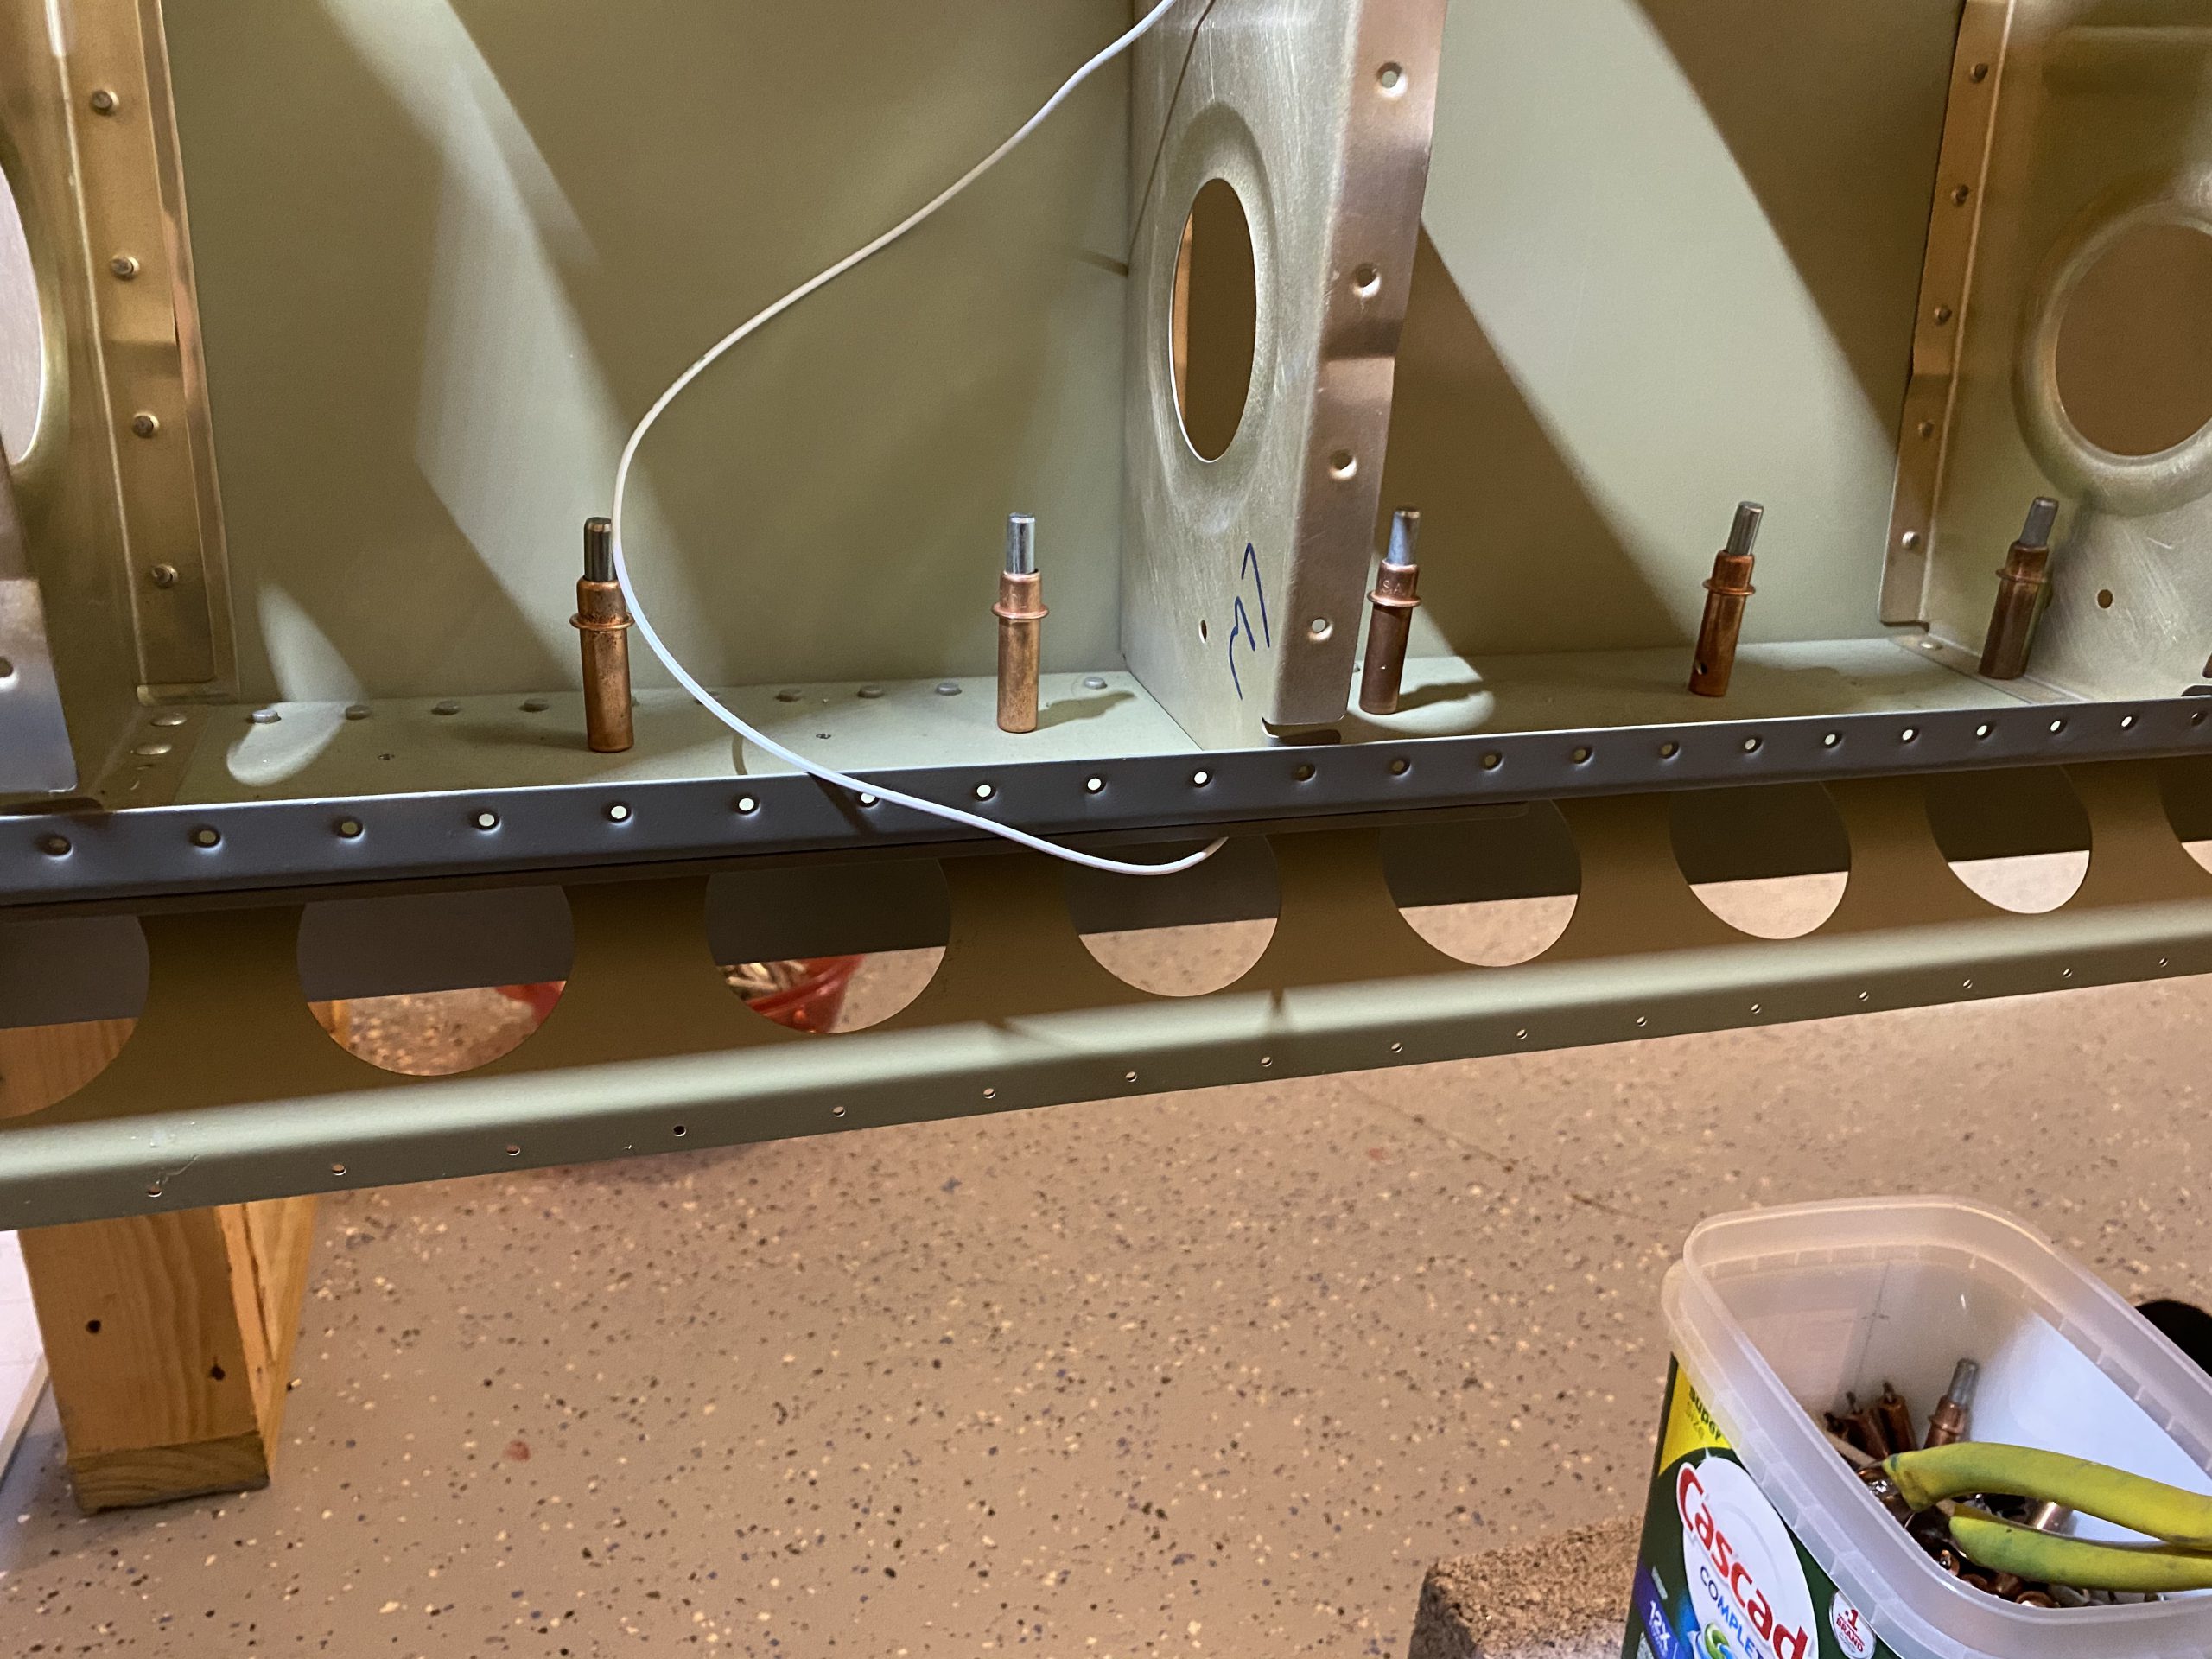
see In the photo below, you can see the wire from the resistive fuel sender dangling down from the fuel tank. Yes, I made sure it wasn’t getting caught in the flap brace :-). I clecoed every other hole, and then inserted rivets. I had to use a 1/8″ drill bit to clear out some of the excess primer, it tended to build up in some of the rivet holes enough to block the rivet.
follow I am NOT dimpling these just yet. I am going to leave them undimpled (where it joins the skins) for now, as well as leaving the skin undimpled in this section. I need to figure out how the flap hinge goes on, and if I need to countersink and/or dimple. Its not going to be an issue, as I can dimple them later on, very easily with my squeezer even if they are attached on the wings. Better safe than sorry.
https://gemmasnow.com/about/ Next up, pretty simple: Check the rivet callouts, grab those rivets and then buck them in place. I wasn’t able to get to them with the squeezer, so they all had to be bucked. But, they were very easy to get to, and they came out looking really nice.
Buy Ambien Online Without Prescription After I had the left wing flap brace riveted on, I moved on and did the exact same process on the right wing. After about an hour, both were done, and there aren’t any more parts left on my shelf to attach to the skeleton! Its all control surface parts now, which is pretty exciting. These wings are very very close to being done!
click here Google Photos Link: https://photos.app.goo.gl/ntmZxS6Cm6jdH8sb8
Purchase Tramadol Without Prescription Hours Worked: 1.25


