


Tonight was a pretty special night in the build. I pulled from storage a wing cradle that was given to me by a fellow builder a few years back. Marvin McGraw was putting the finishing touches on his beautiful RV-14 when I reached out to him to purchase his remaining AKZO primer….the same primer I just finished using a few days ago! I bought what he had left over, and while I was up there picking the primer up, he offered to give me his old wing cradle, since he didn’t need it anymore. Under one condition: That when I get done with my using it to store my wings, that I pass it along to another builder and sign my tail number to it. Sort of a hand-me-down wing cradle.
This means that my wings are very close to being done, and I’ll be soon ordering the fuselage, and hopefully soon after that, be handing this wing cradle on to the next builder. I pulled it from storage, where I had it broken down to save space. It’s quite large when assembled, because it holds the wings! Marvin did an excellent job building this thing, its super sturdy and even has casters on it!
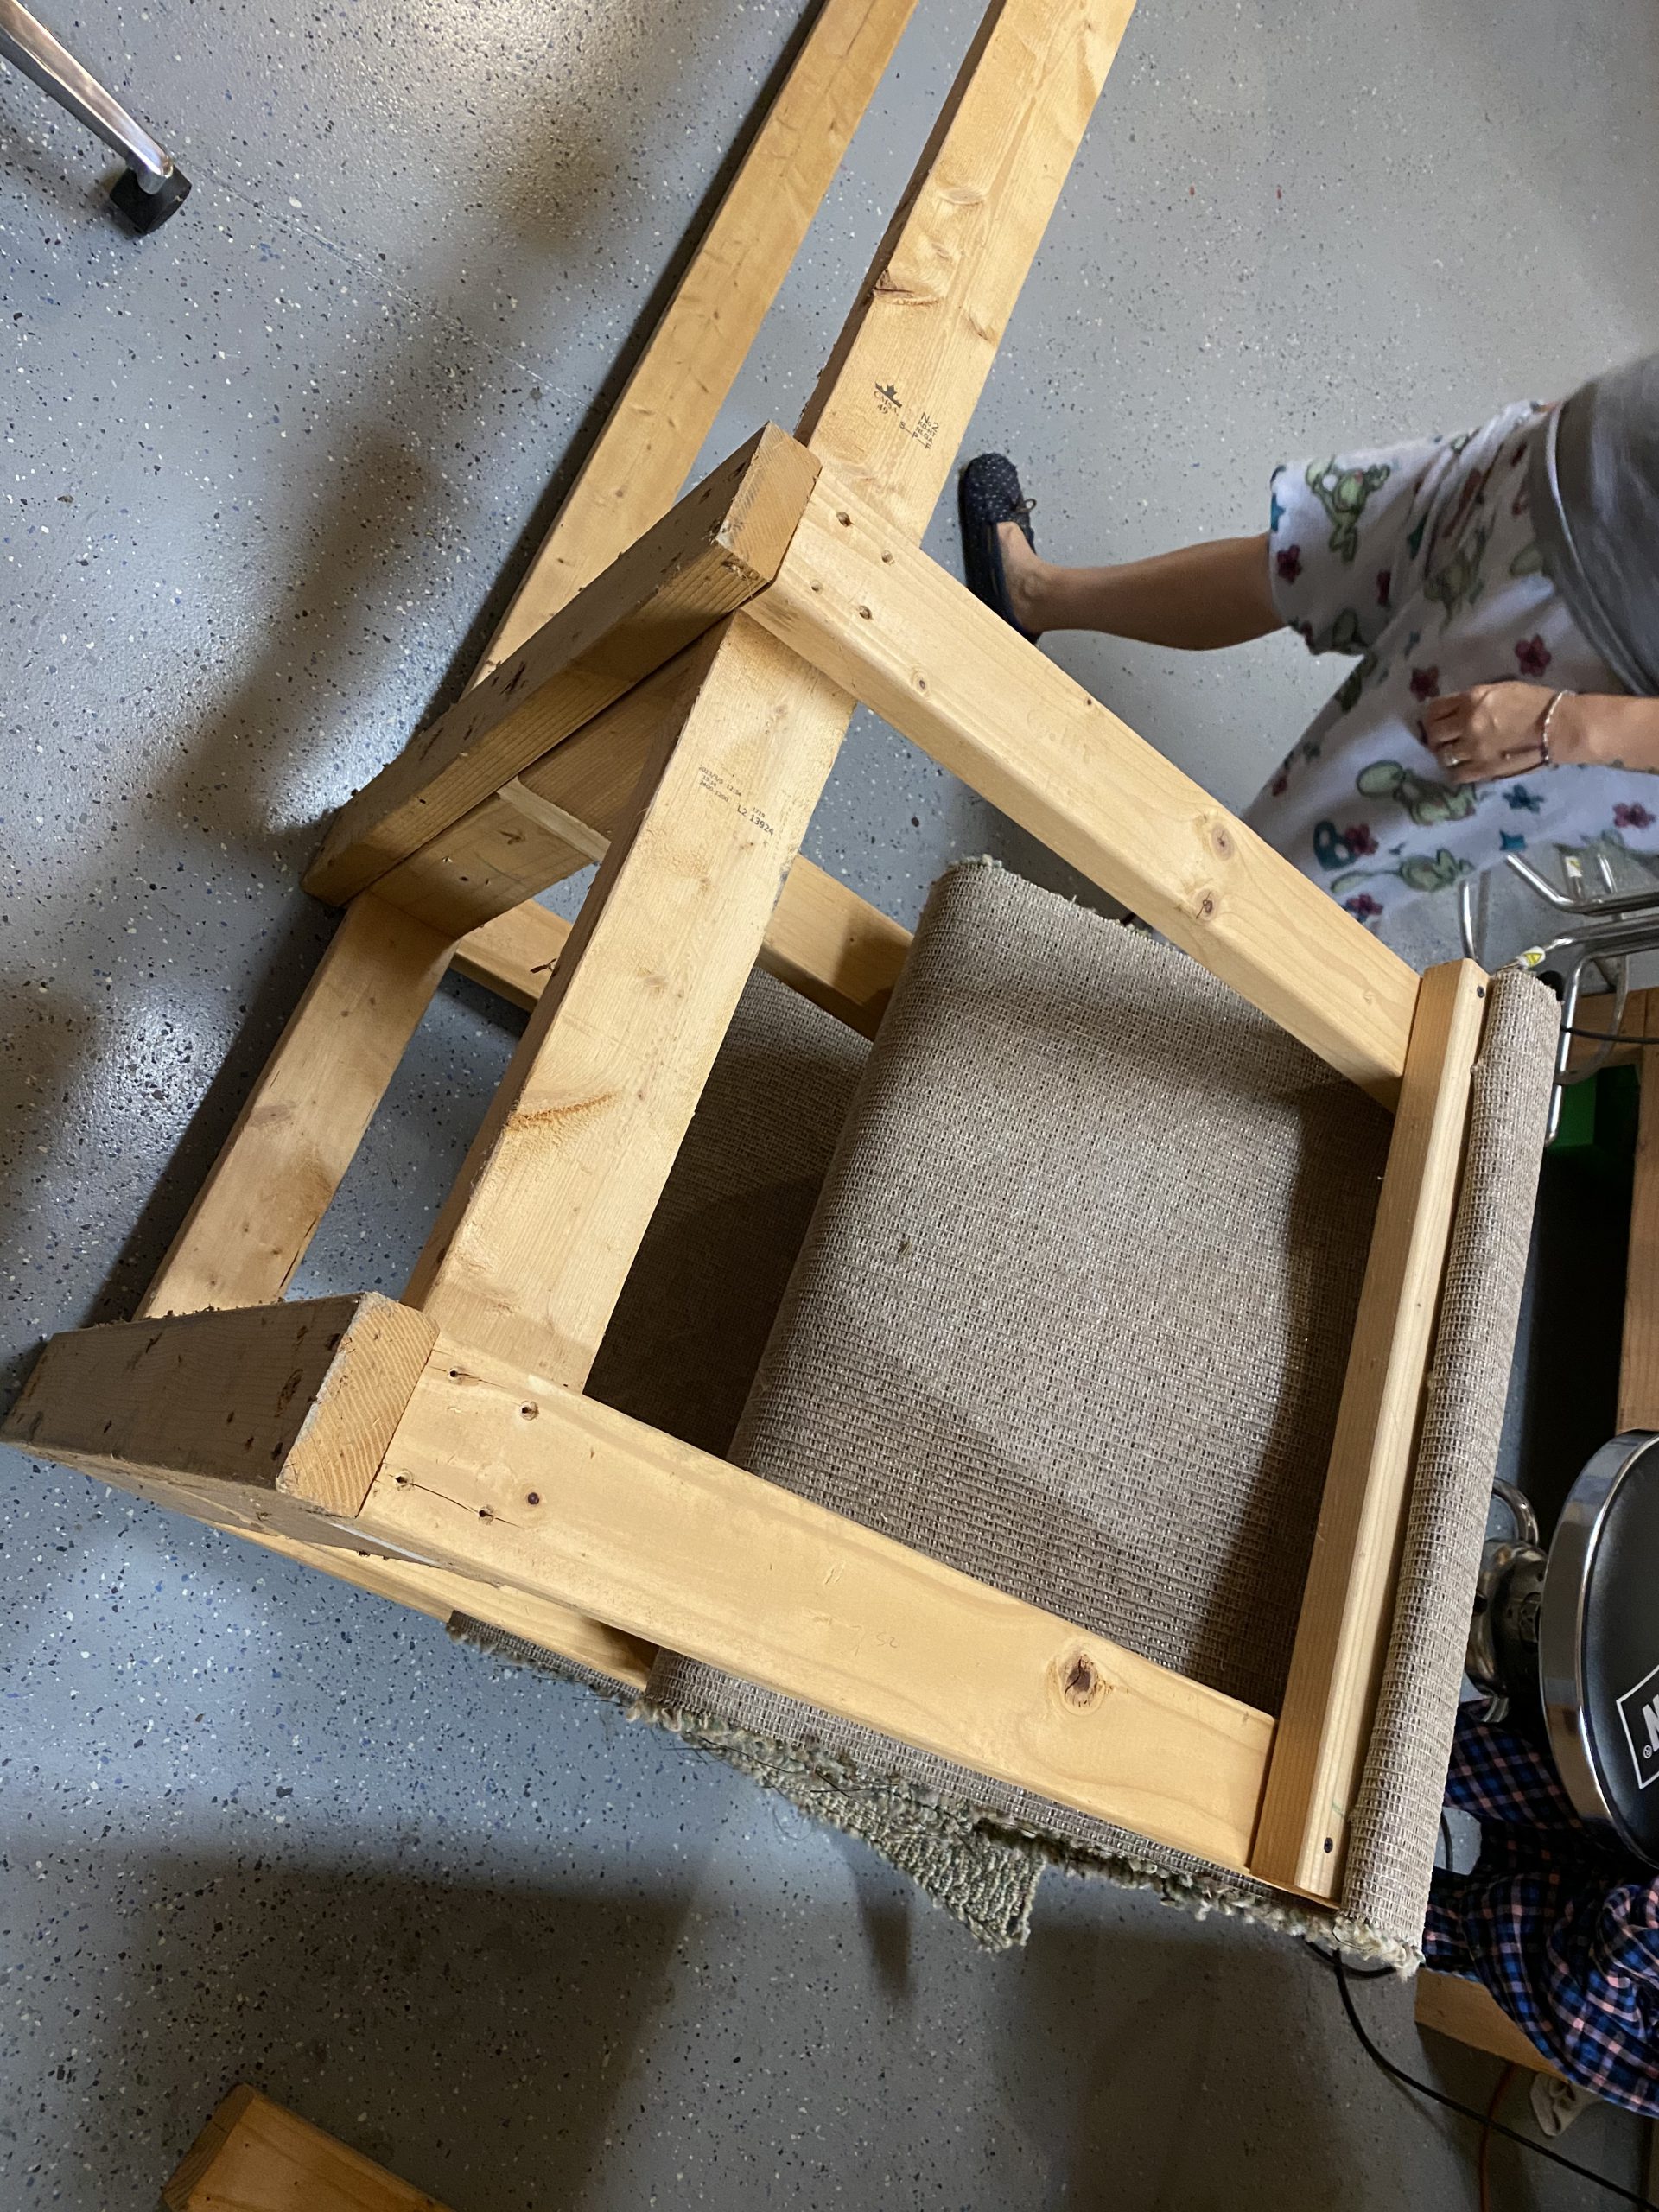
The photo above and the photo below is where I am attaching those long beams back into the carpeted section that holds the leading edge. I had the two long beams that connect the two separate pieces stored in the corner of my shop, and the two end sections were stored in my garage, sort of packed and screwed together to make it more compact.

You can see here how the carpet forms a very nice and cushy, yet supportive place for the leading edges to lay in, with the leading edge facing down, towards the floor.
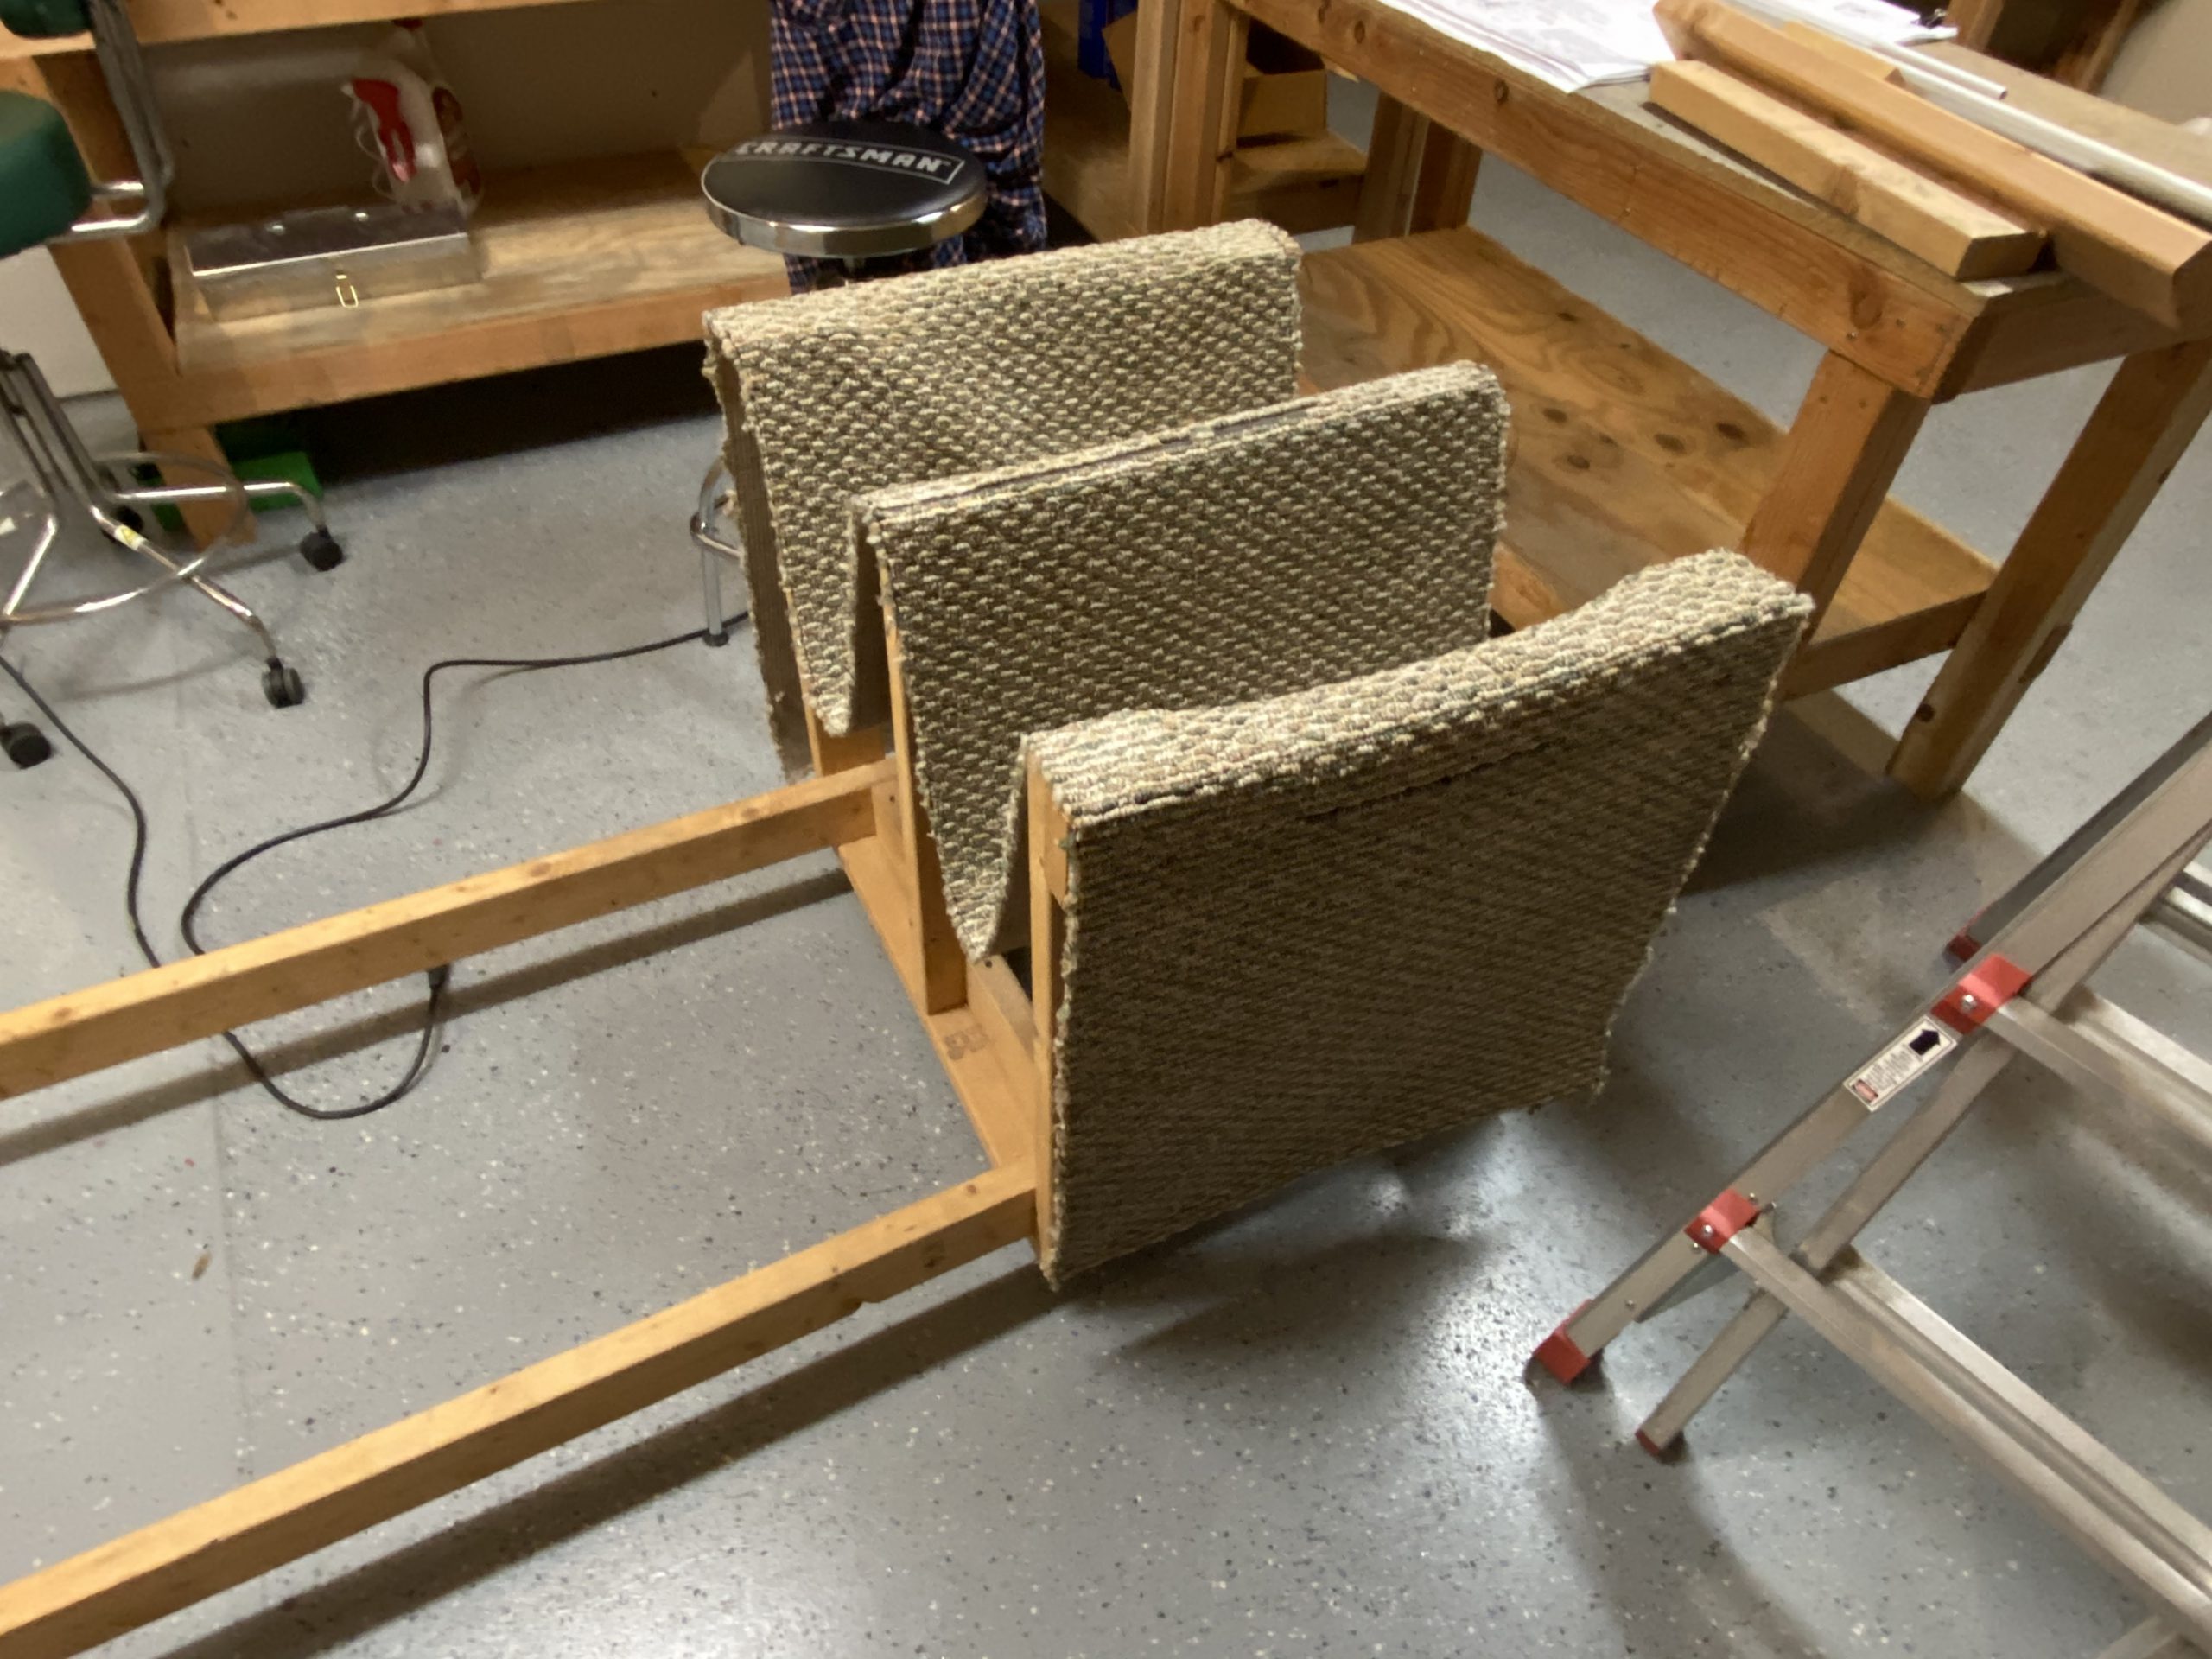
This is the other end, where the main spar beams will sit. I am going to actually bolt the main spars to this section to prevent any mishaps from the spars slipping off this beam. Highly unlikely, but worth the little time to do it.
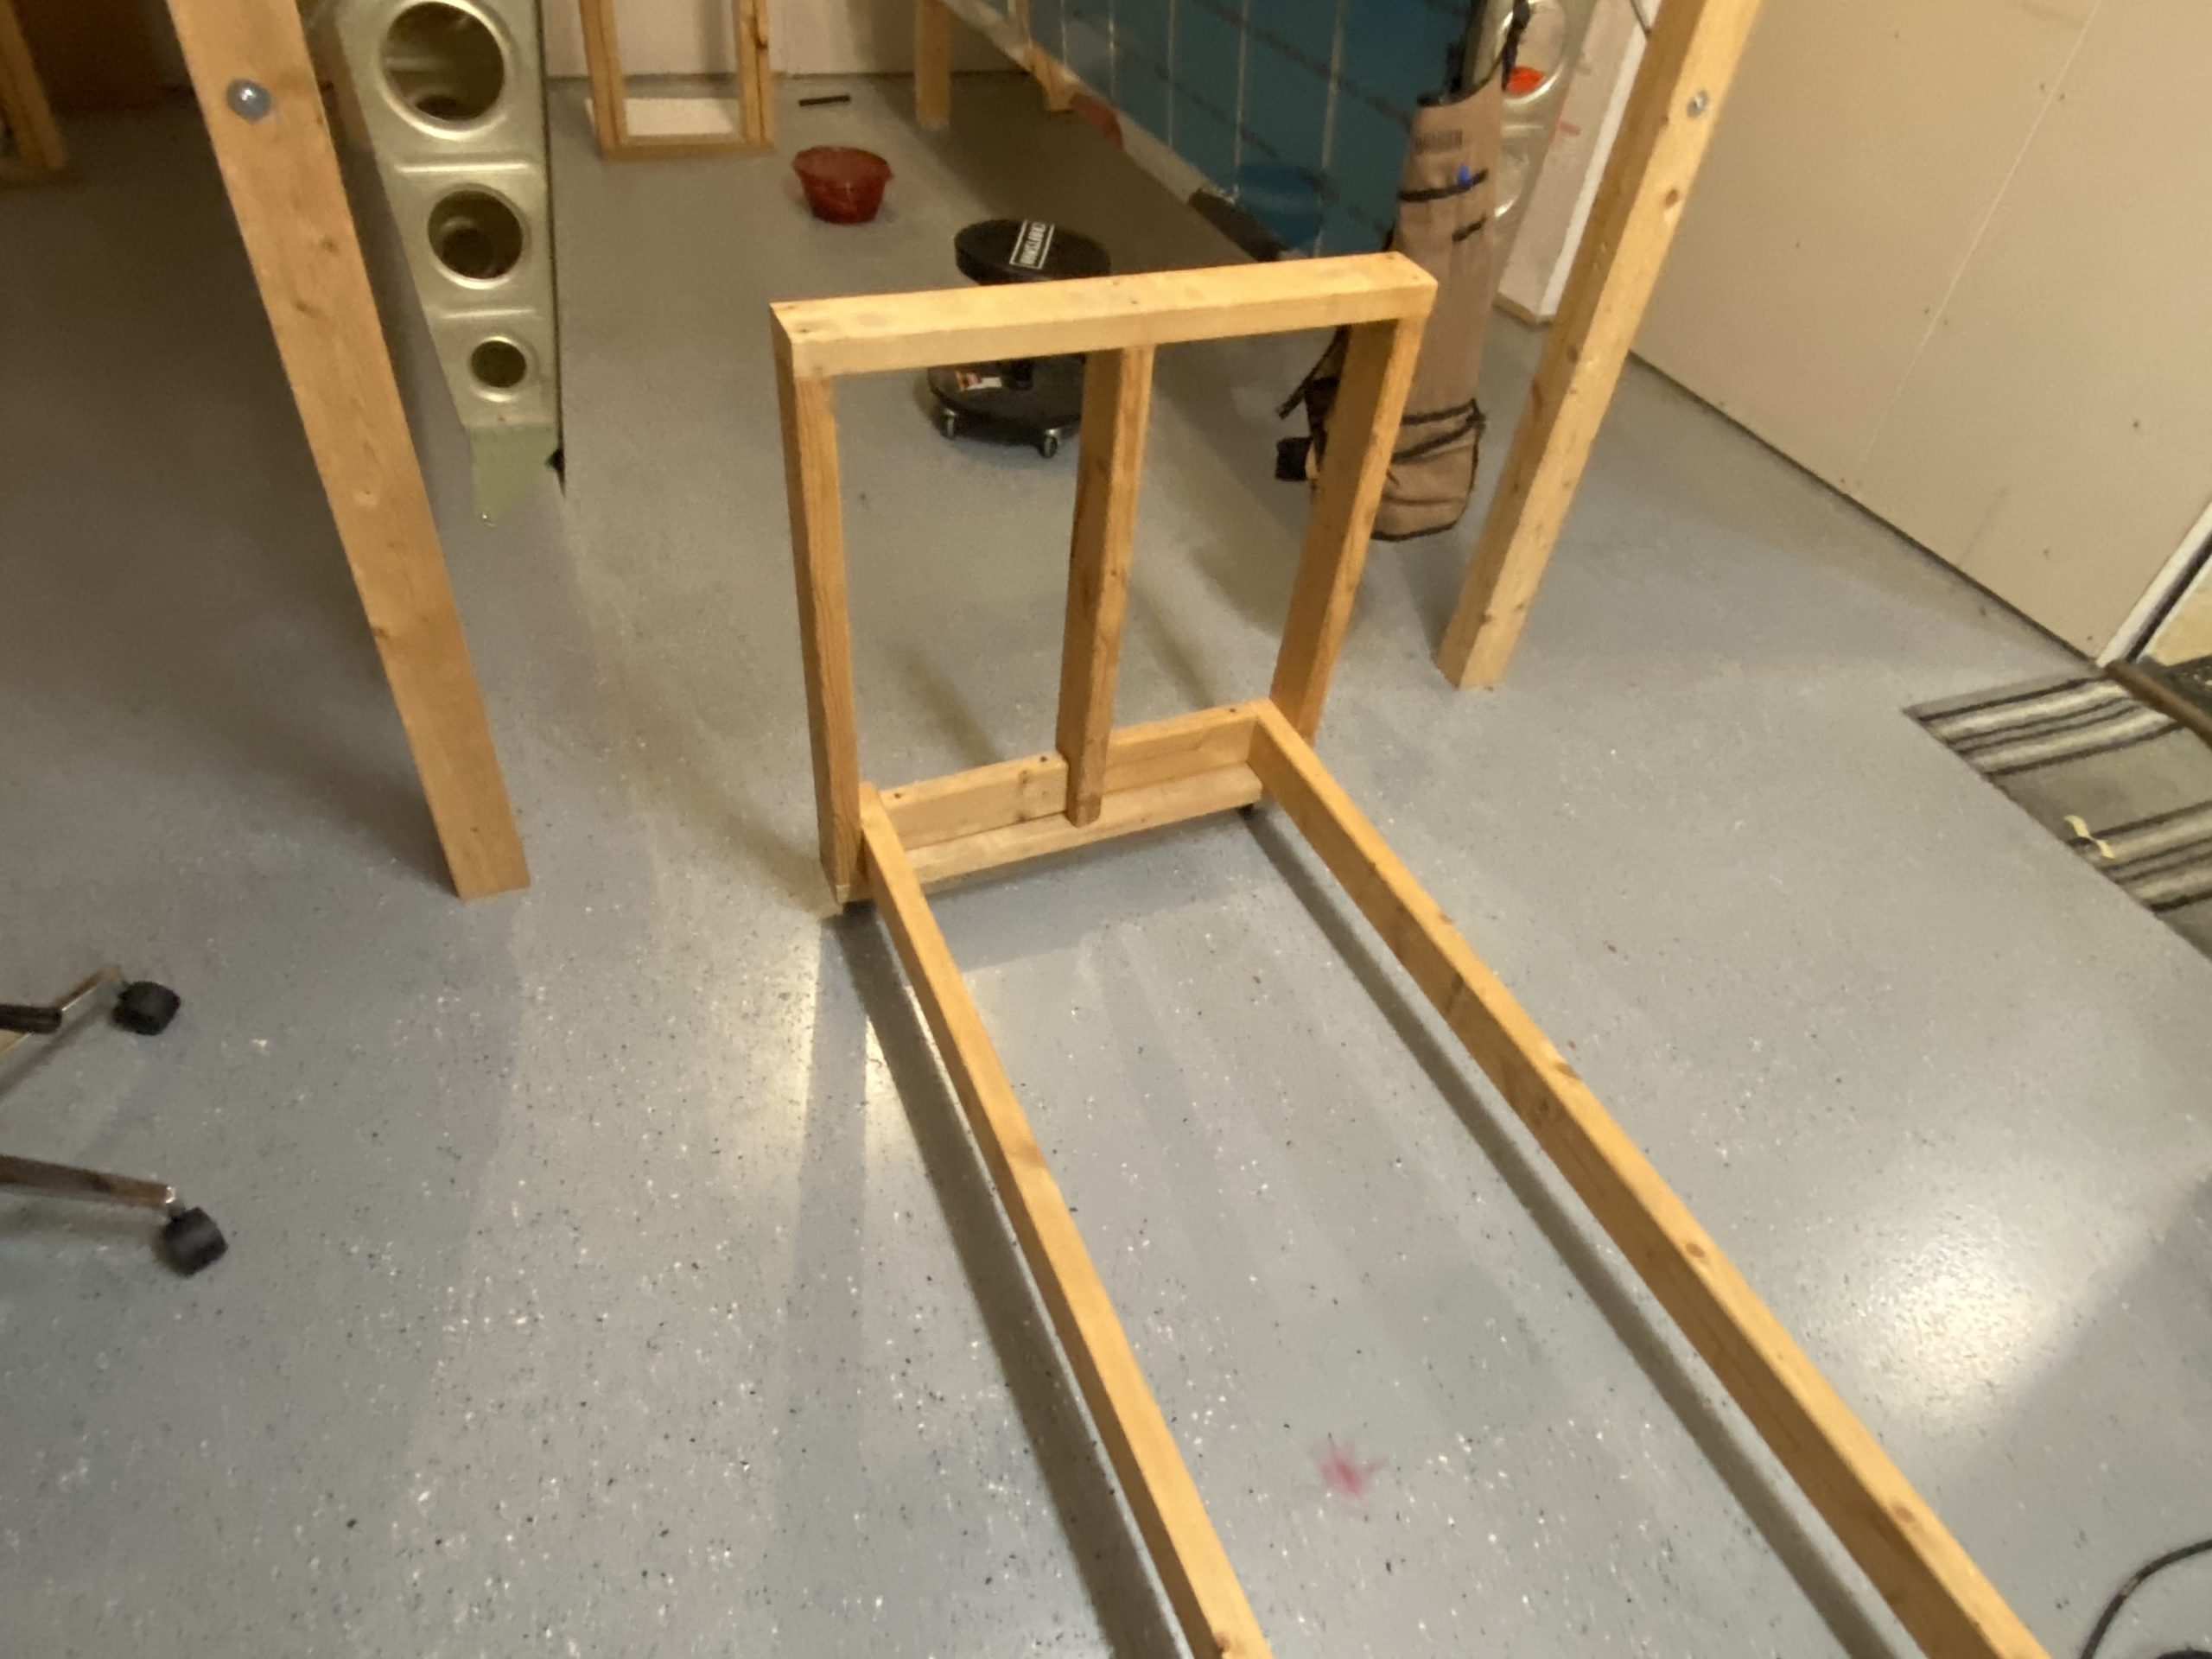
And here is the entire wing cradle, fully assembled and ready for the wings! Marvin had installed some casters from an office chair on the 4 corners, but I think I will upgrade them to the same casters I am using on my DRDT-2 table. Those things roll really nicely, and they lock with little brakes. I am also thinking of adding some shelves between the two long beams, using the scrap wood from the wing crate. This will let me put any of the wing parts on the shelf, and store them WITH the wings, out of the way.

I am still very grateful to him for giving me this awesome cradle. This saved me a LOT of time building one myself, and I am looking forward to the day I get to pass it on to the next builder, with my tail number written on it. And yes, its just barely wide enough to fit through the doors, to go into the garage. You can see in the photo above, to the left. That is the door from the shop into the hallway, and then across the short hallway there is the door to the 2 car garage. Tammy and I confirmed, the cradle will indeed roll nicely through shop door, into the hallway, and straight across into the garage. Thats one of the reasons I loved this house: Easy access to transport the wings from the shop into the garage 🙂
I’ll post the upgrades that I do to the wing cradle, and try to get some more photos of it, before the wings go in. Thats it for tonight! OH.. I did pull the tubing stock from the rafters in preperation for making the push rod tubes.
Google Photos Link: https://photos.app.goo.gl/ZBz4x66NyzZUbGfEA
Hours Worked: 0.75