


follow site Starting to get the last remaining parts from my shelf, and onto the airplane! After I let the parts I primered, cure, they are ready to go onto the wings. I needed to get the aileron brackets riveted on, and I figured it would be easier to do with the wings in the stands for now. Here’s the time lapse videos for the work:
https://northernstacksevents.com/vendors/ go to linkBuy Clonazepam Online Overnight
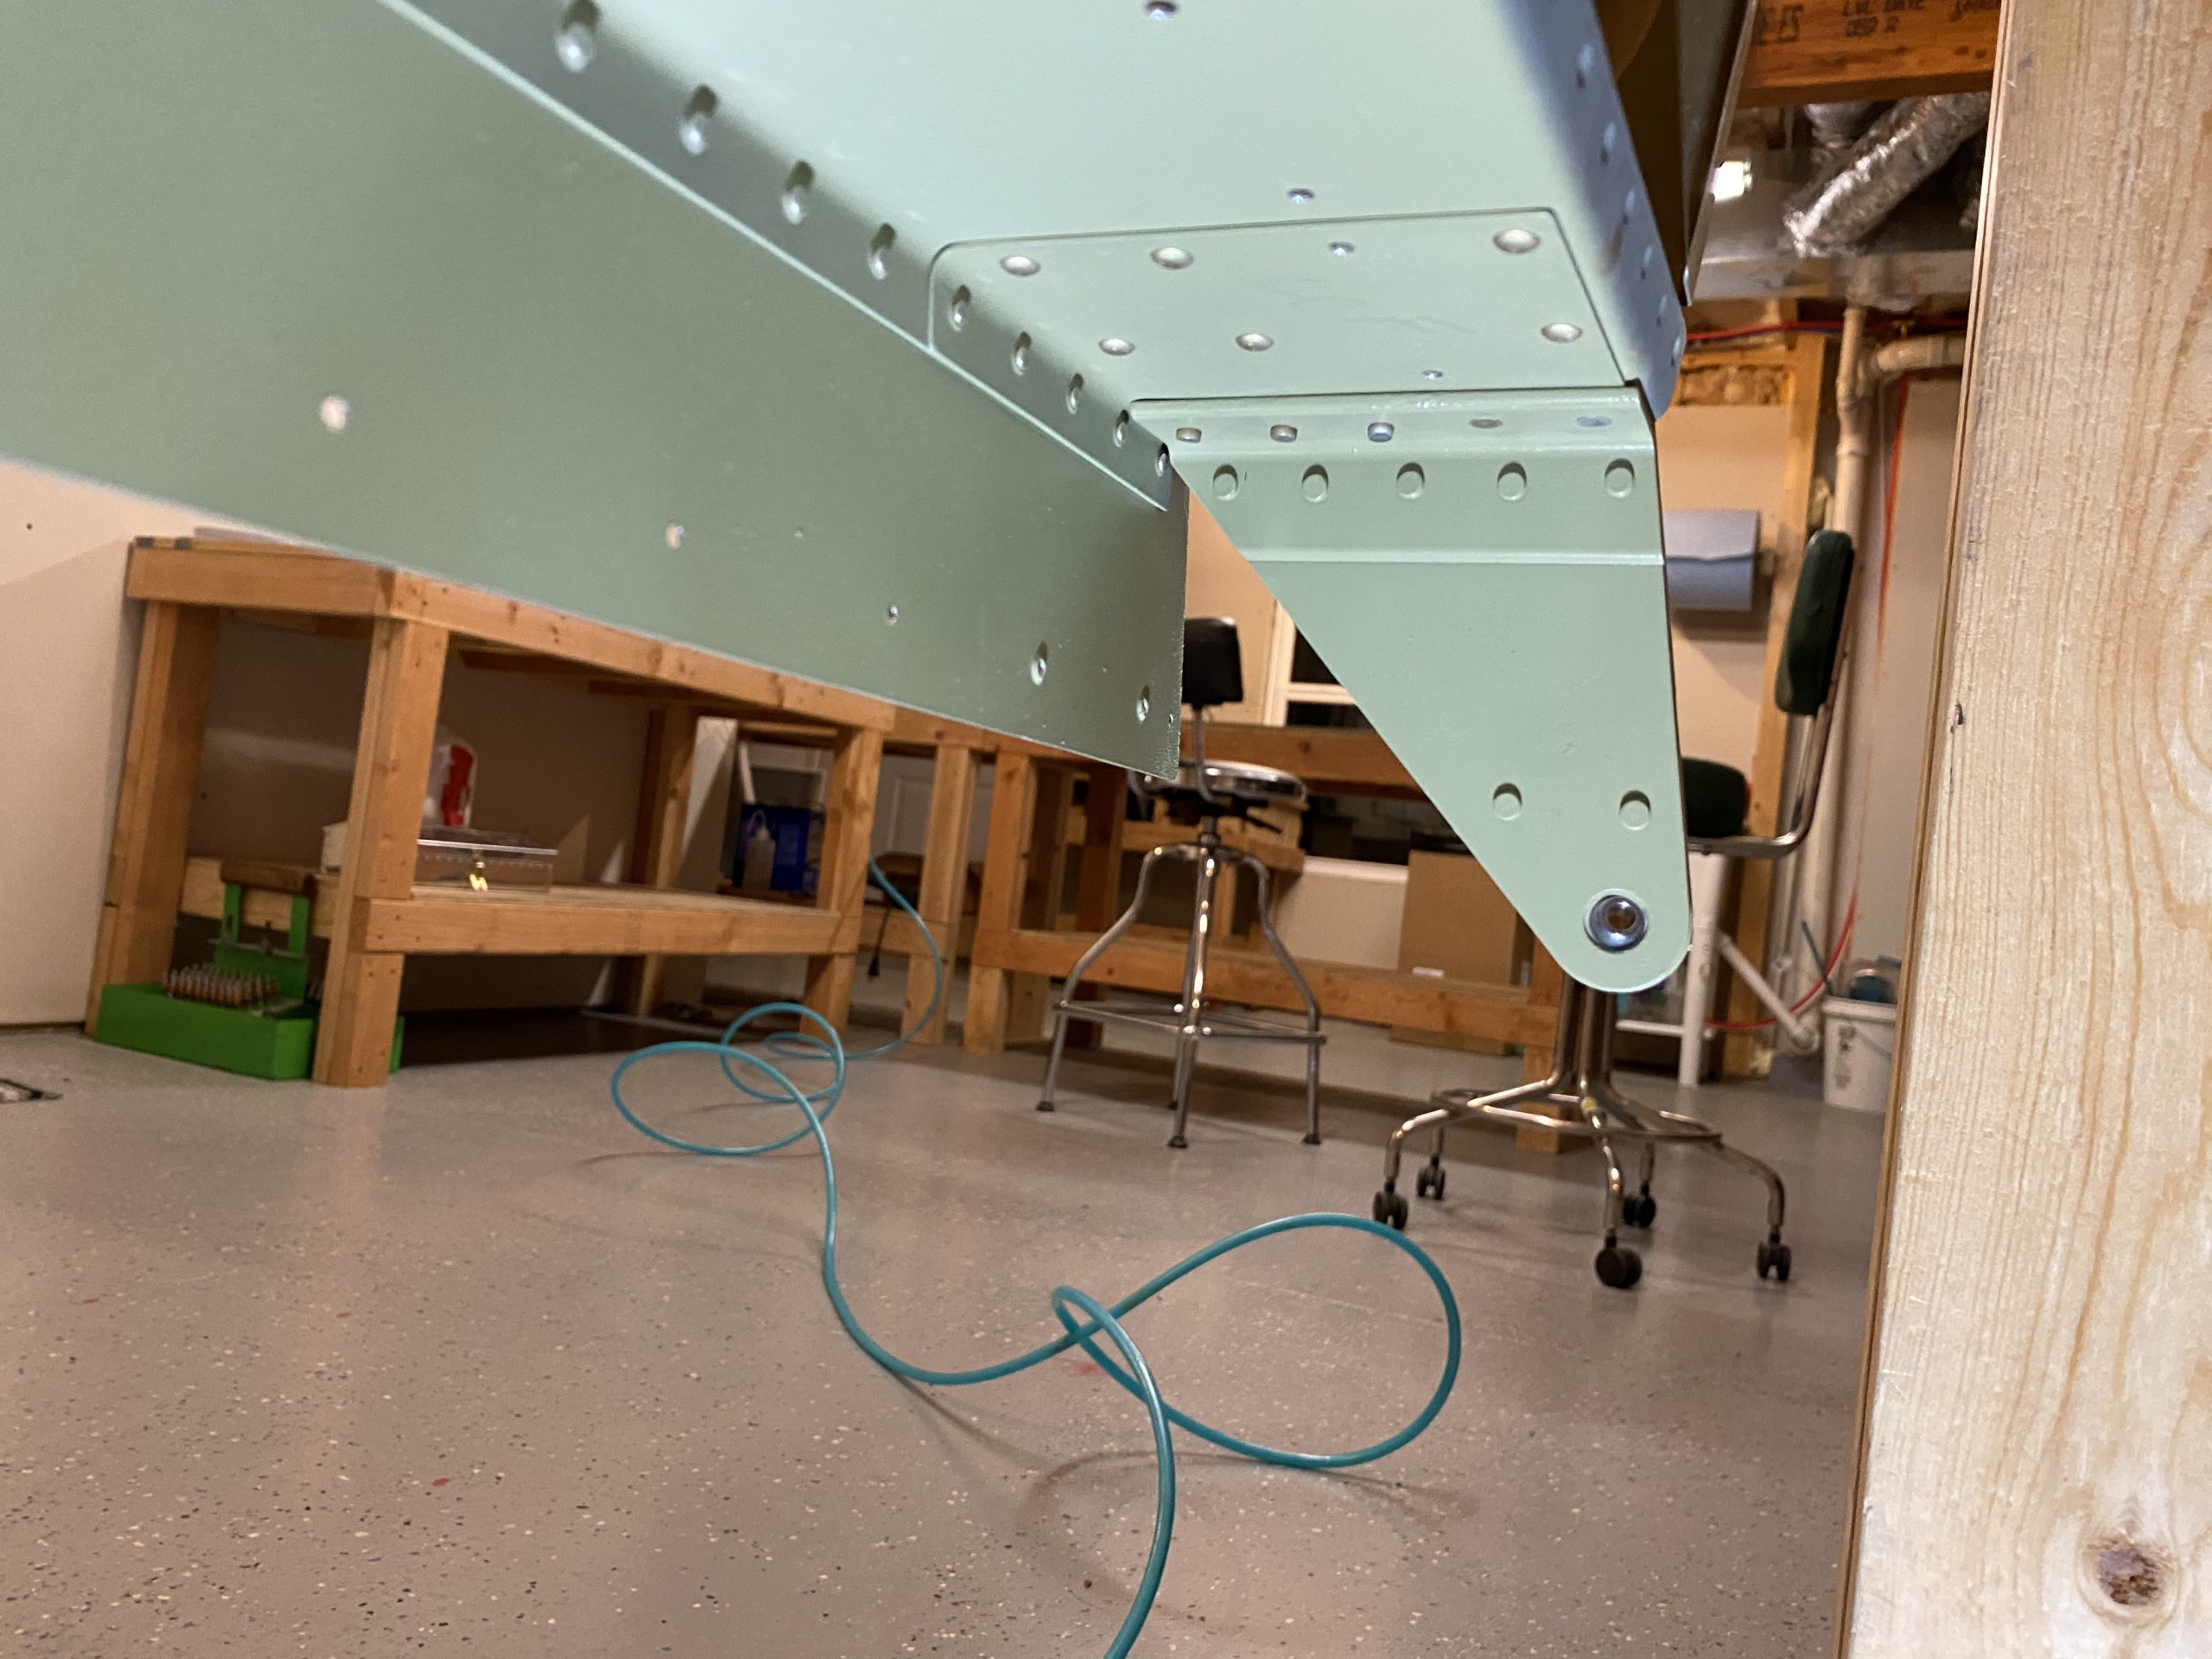
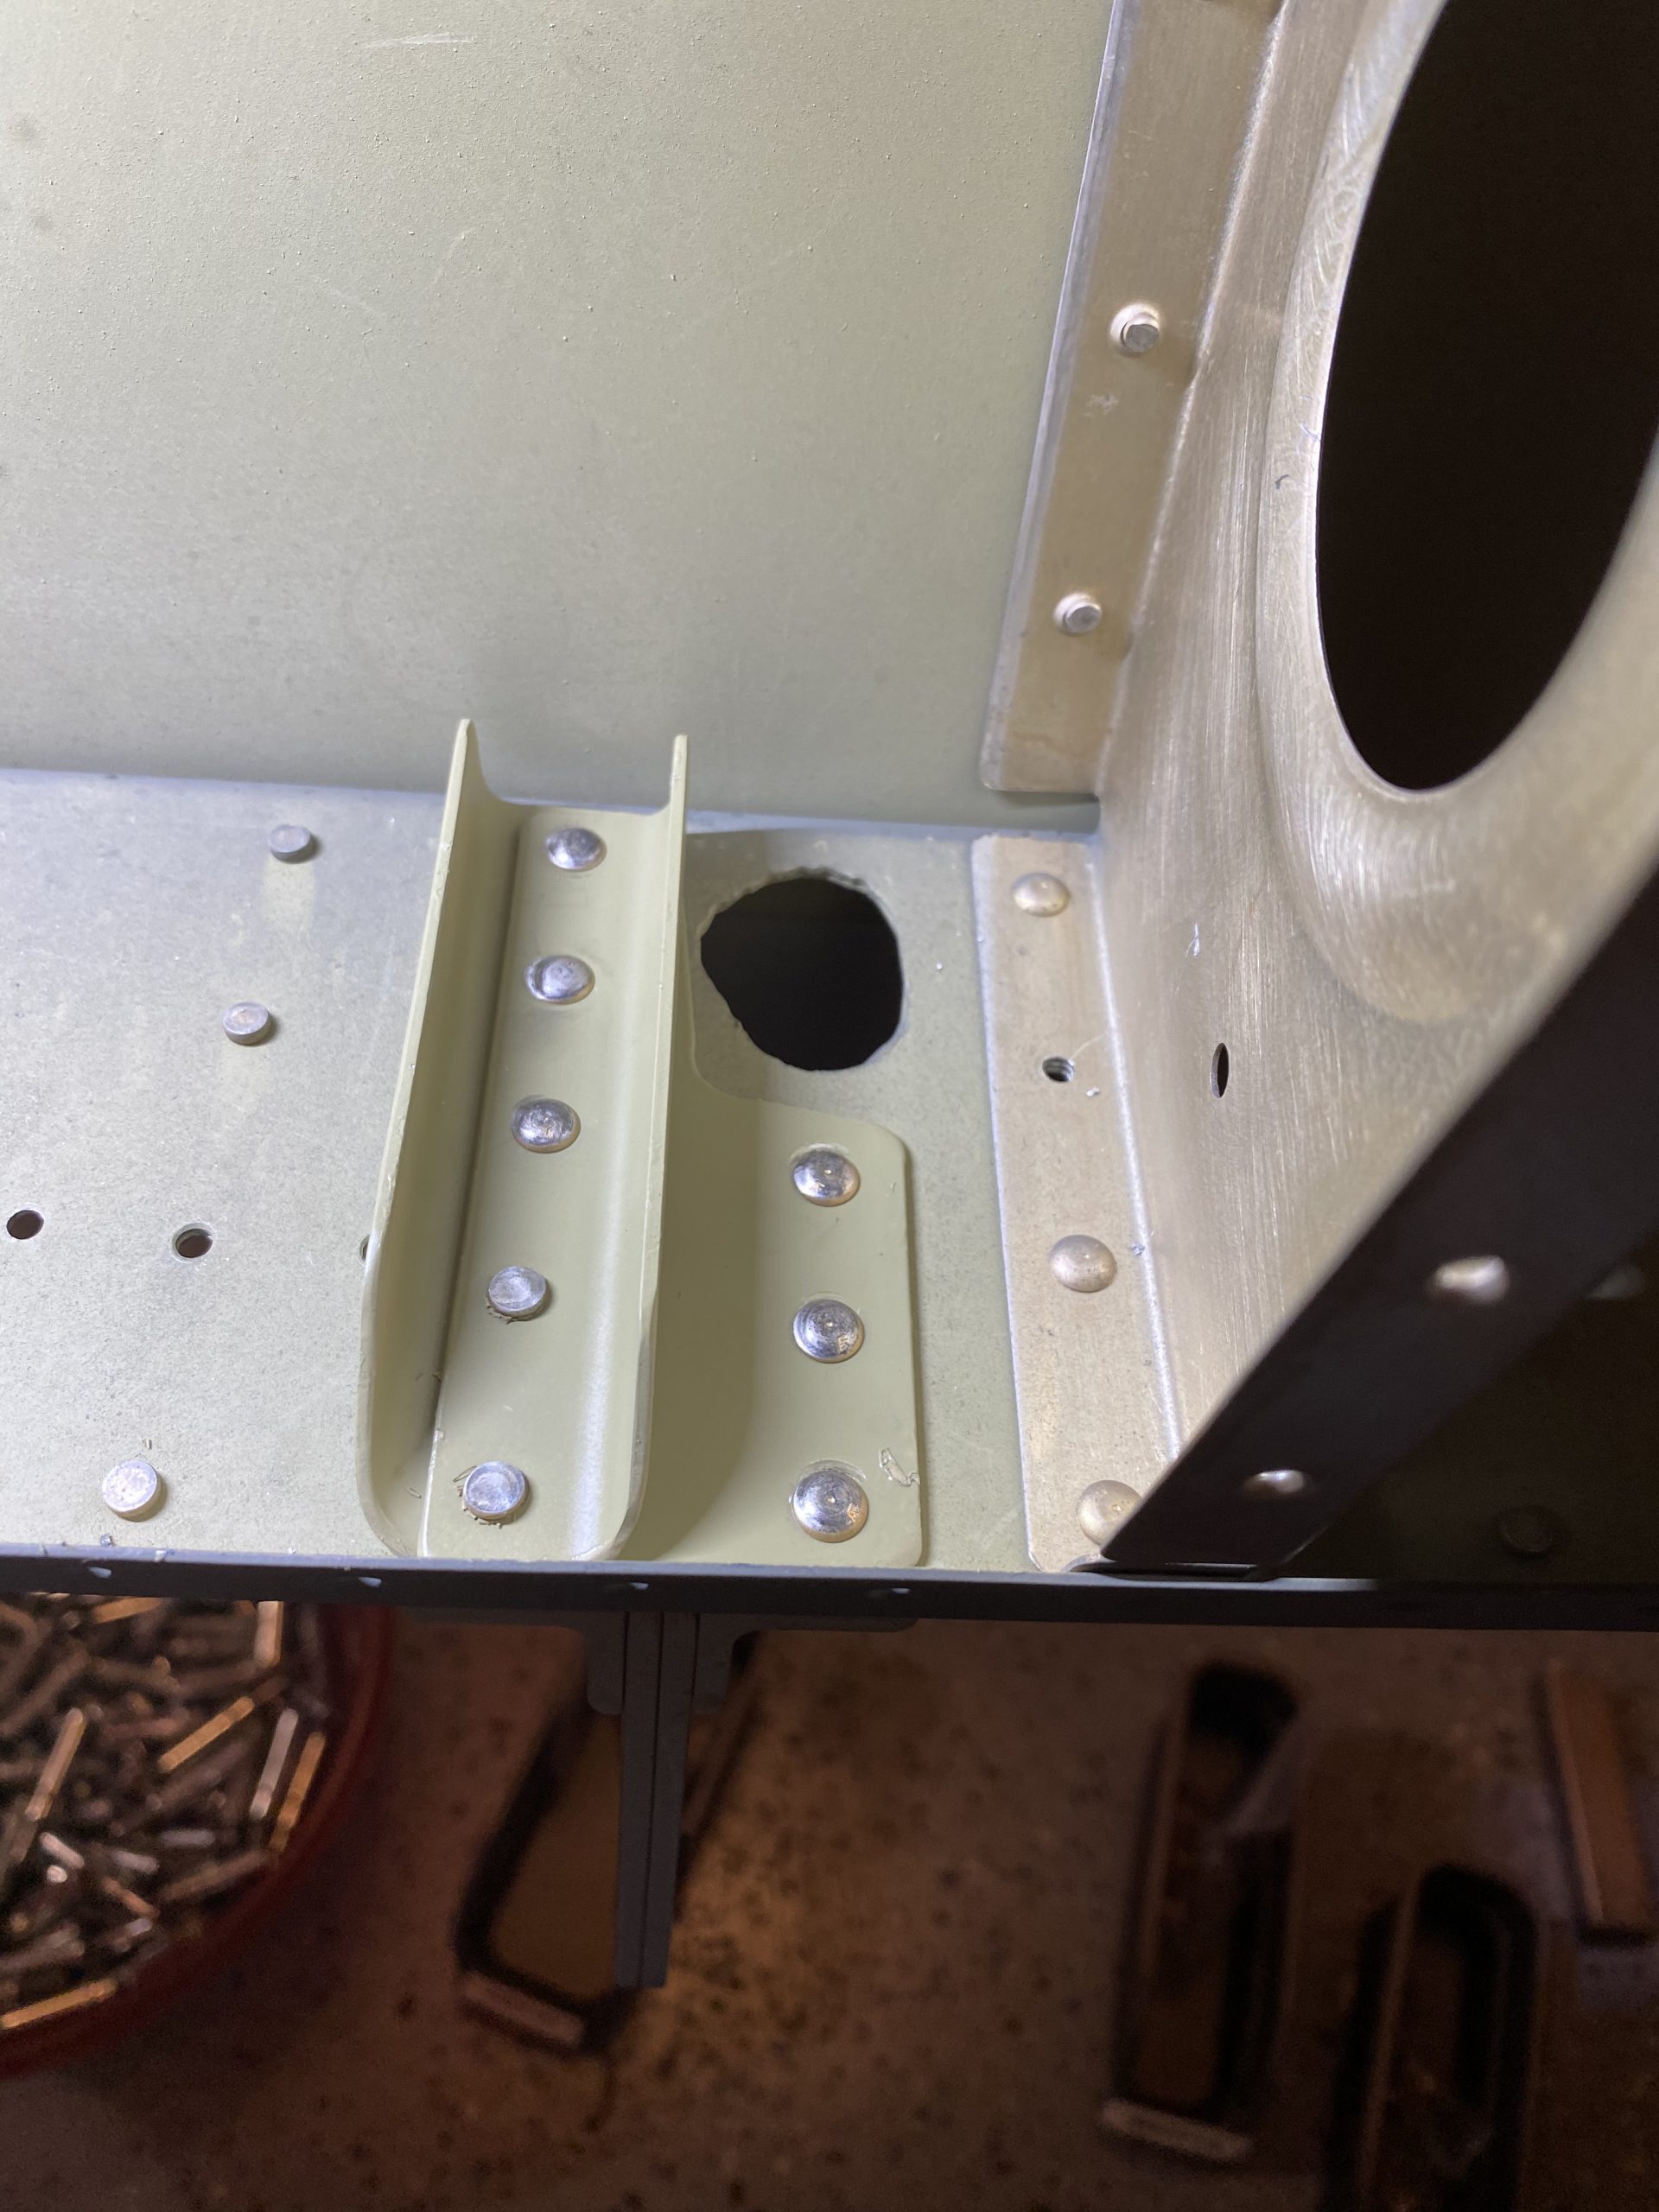
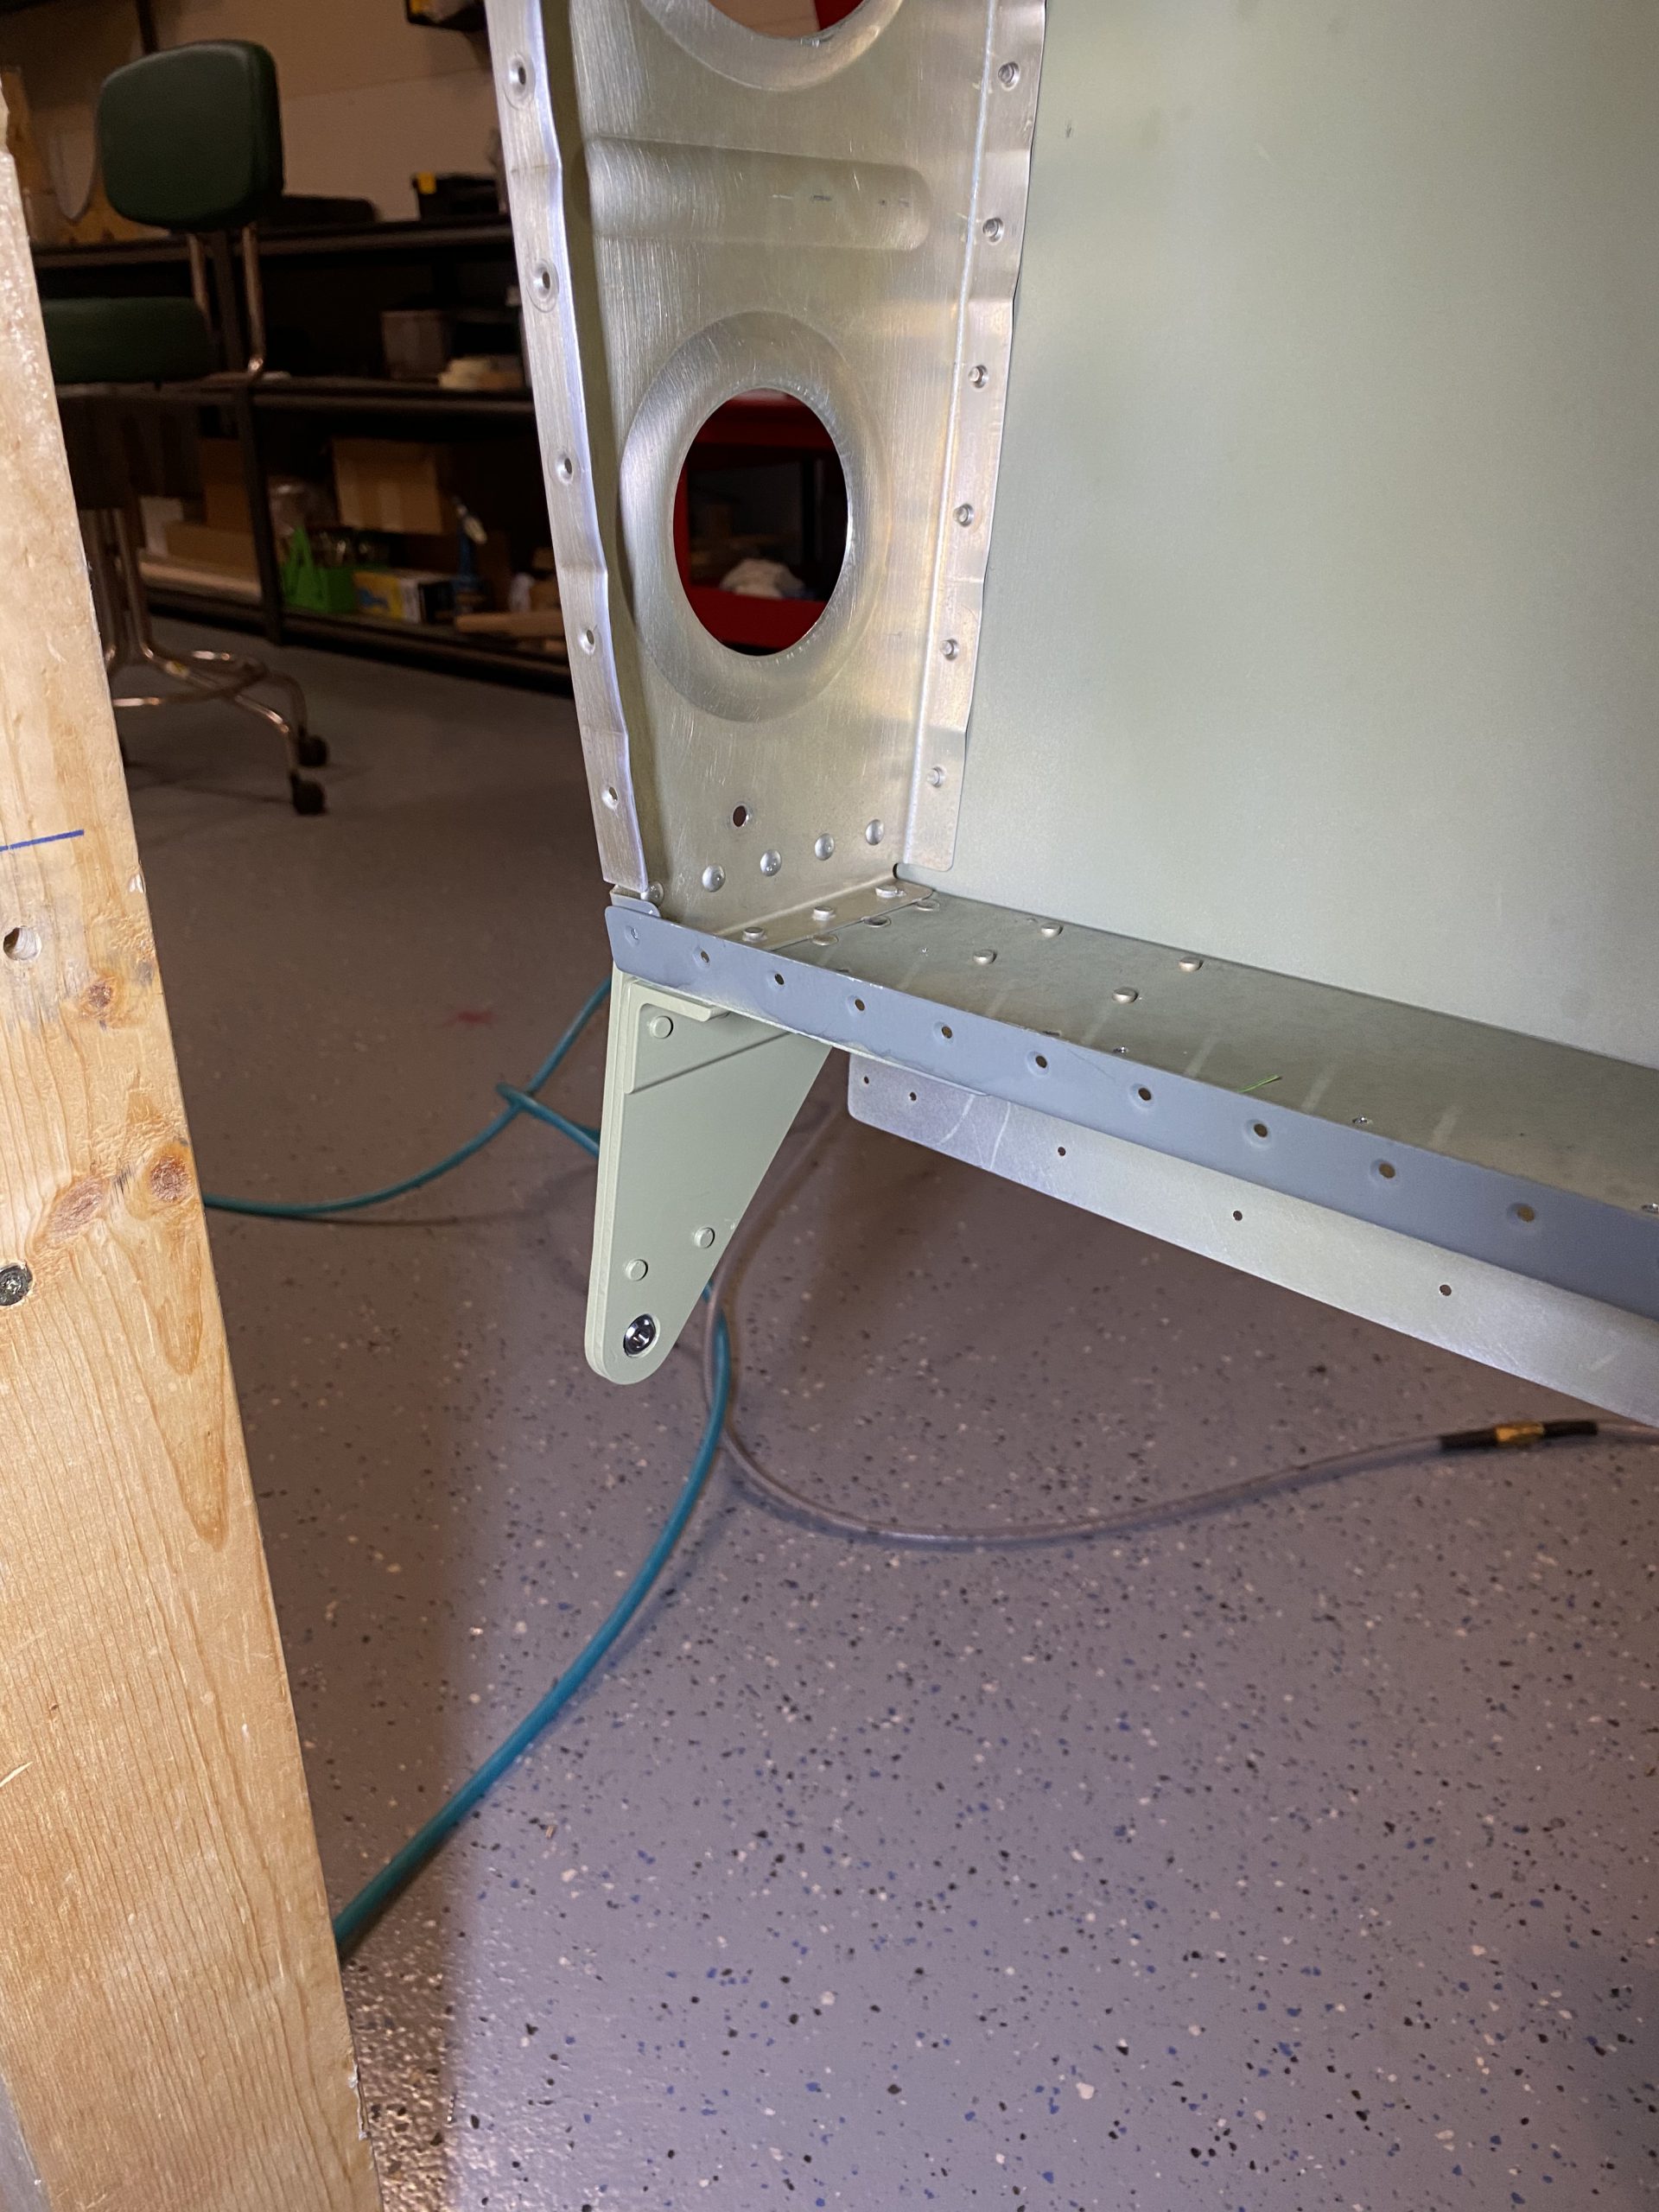
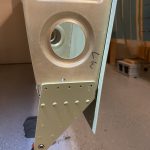
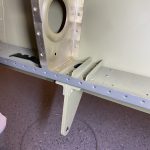
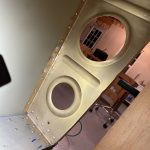
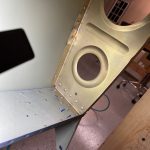
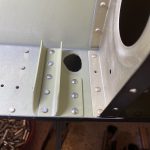
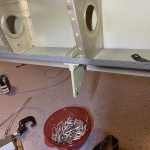
entersee url I started by clecoing the left wing outboard aileron bracket onto the rear spar, as I’d need to back drill the holes into the outboard rib. I double checked that everything was lined up correctly, and that I had the correct parts on the correct wing, and then back drilled into the rib using the aileron bracket as my guide.
watch
https://www.psychiccowgirl.com/starseed/ 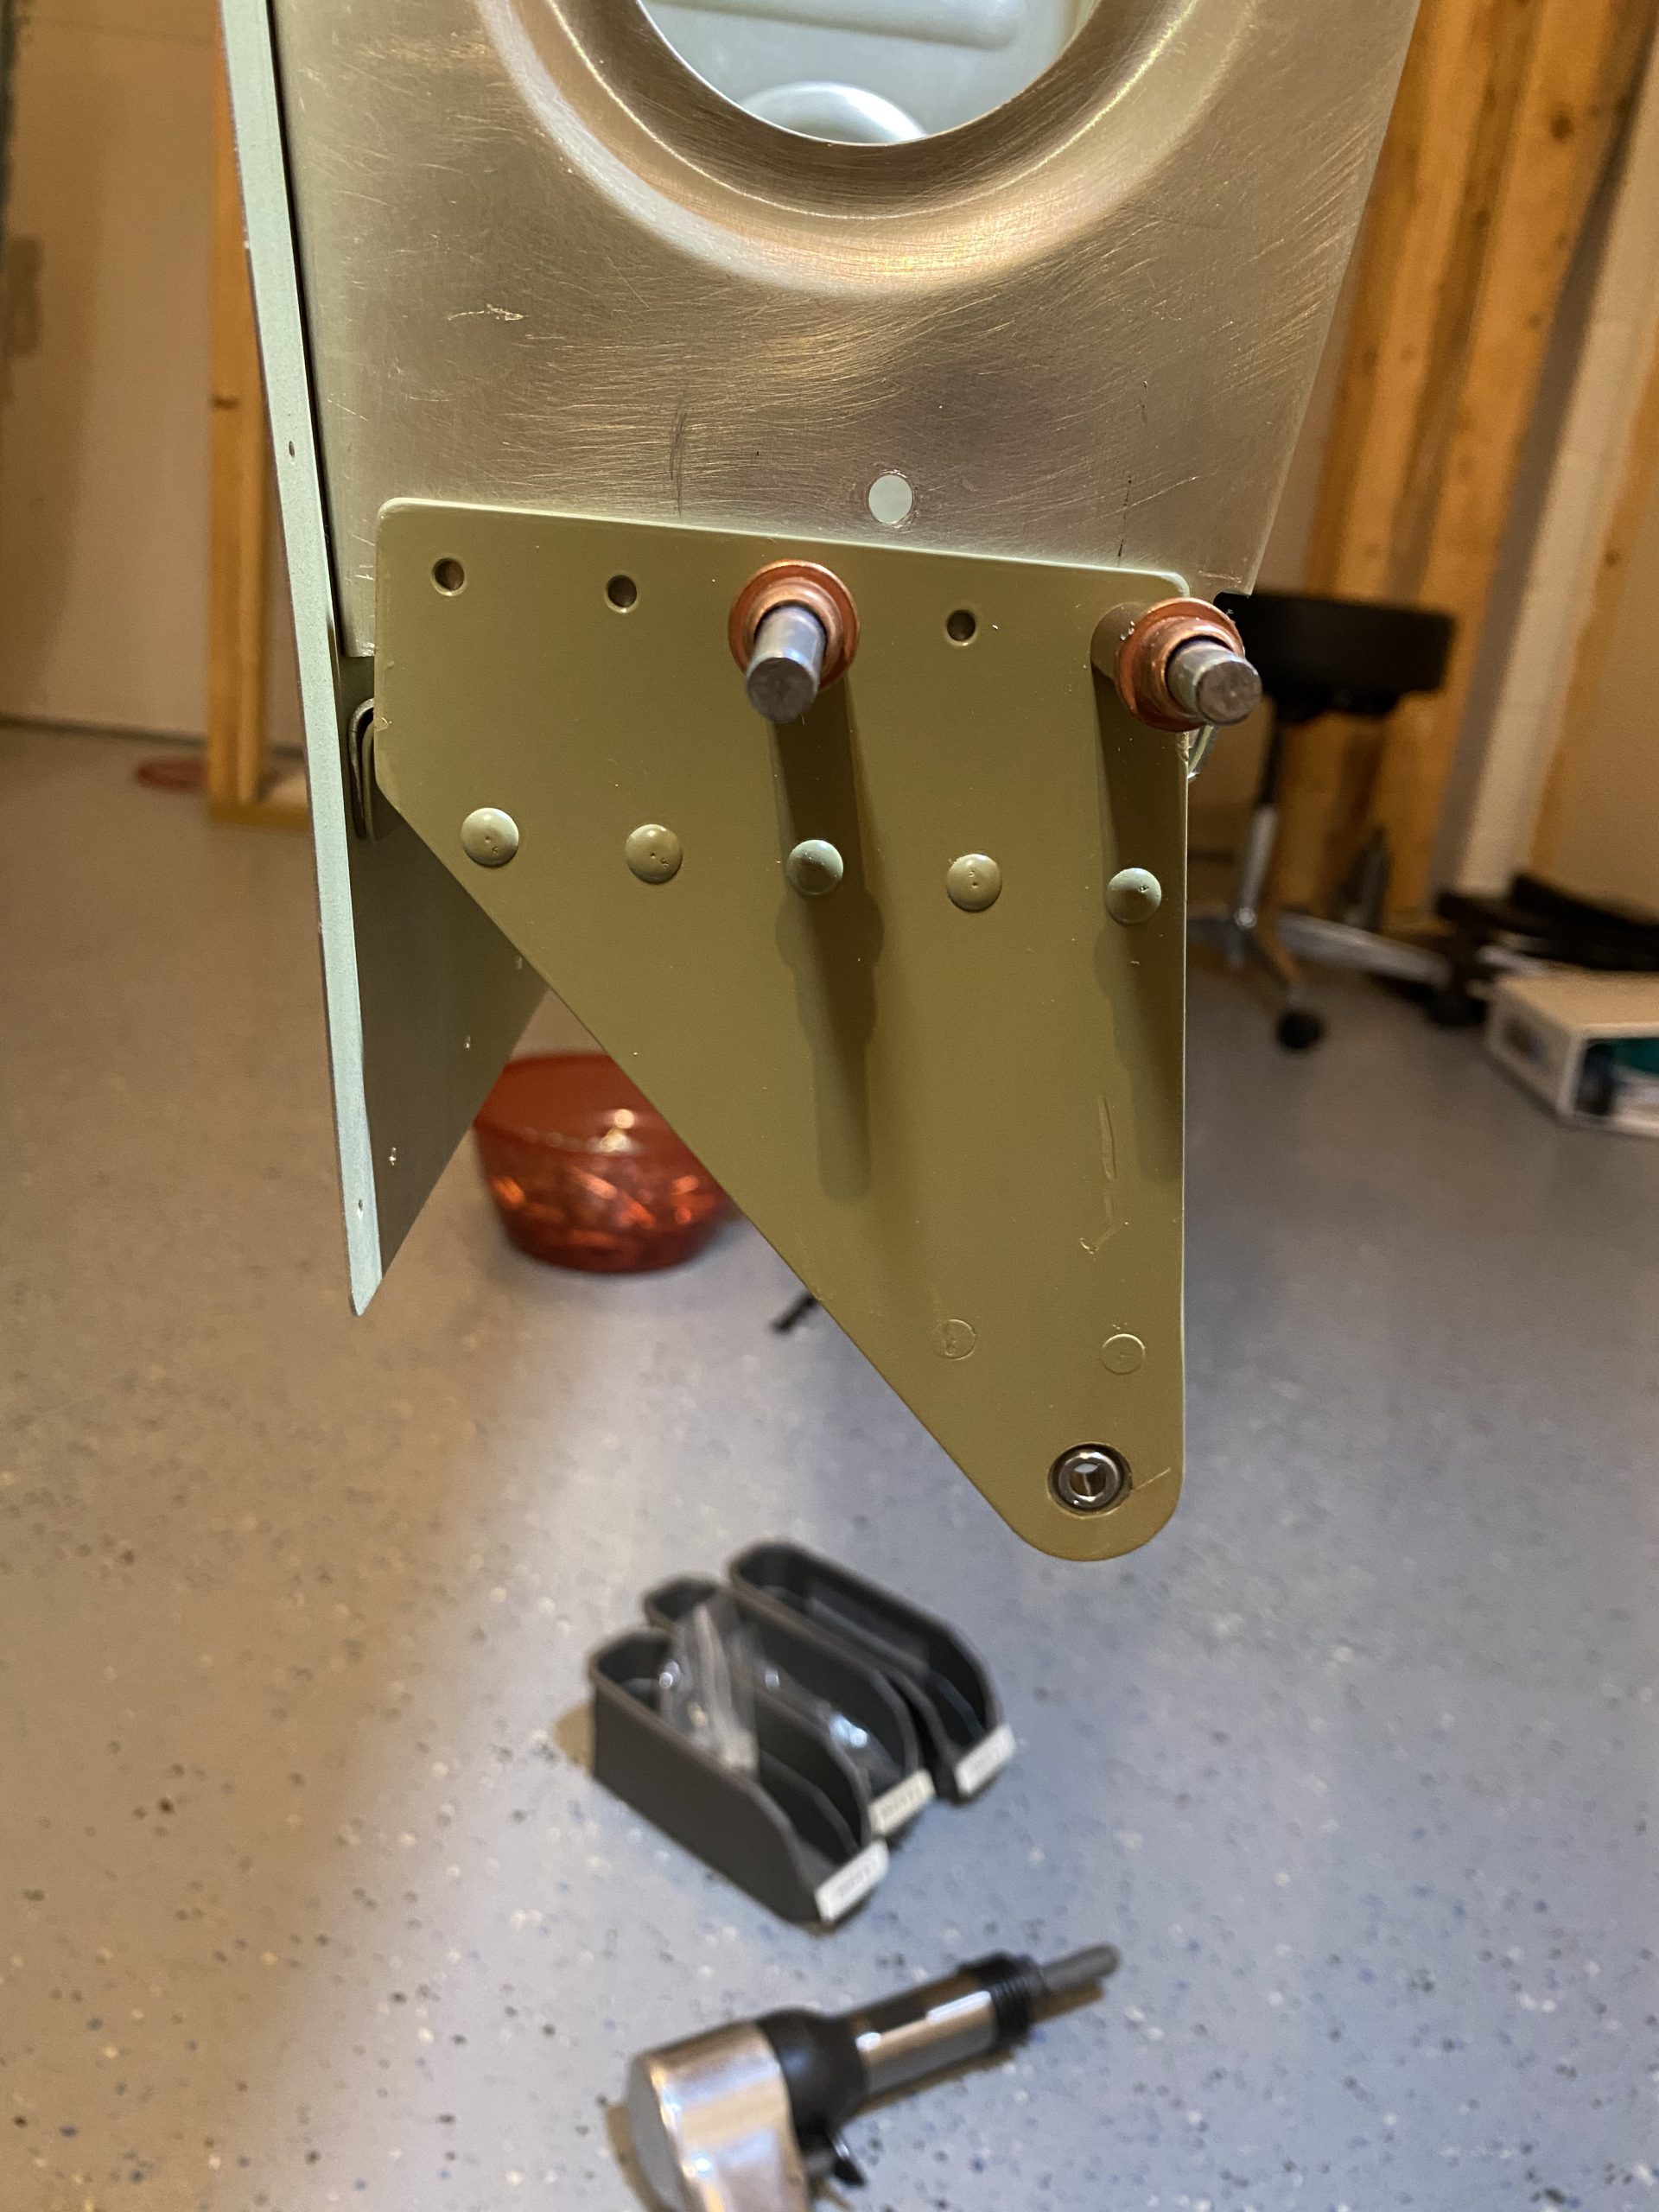
https://gottbs.com/procurement/ 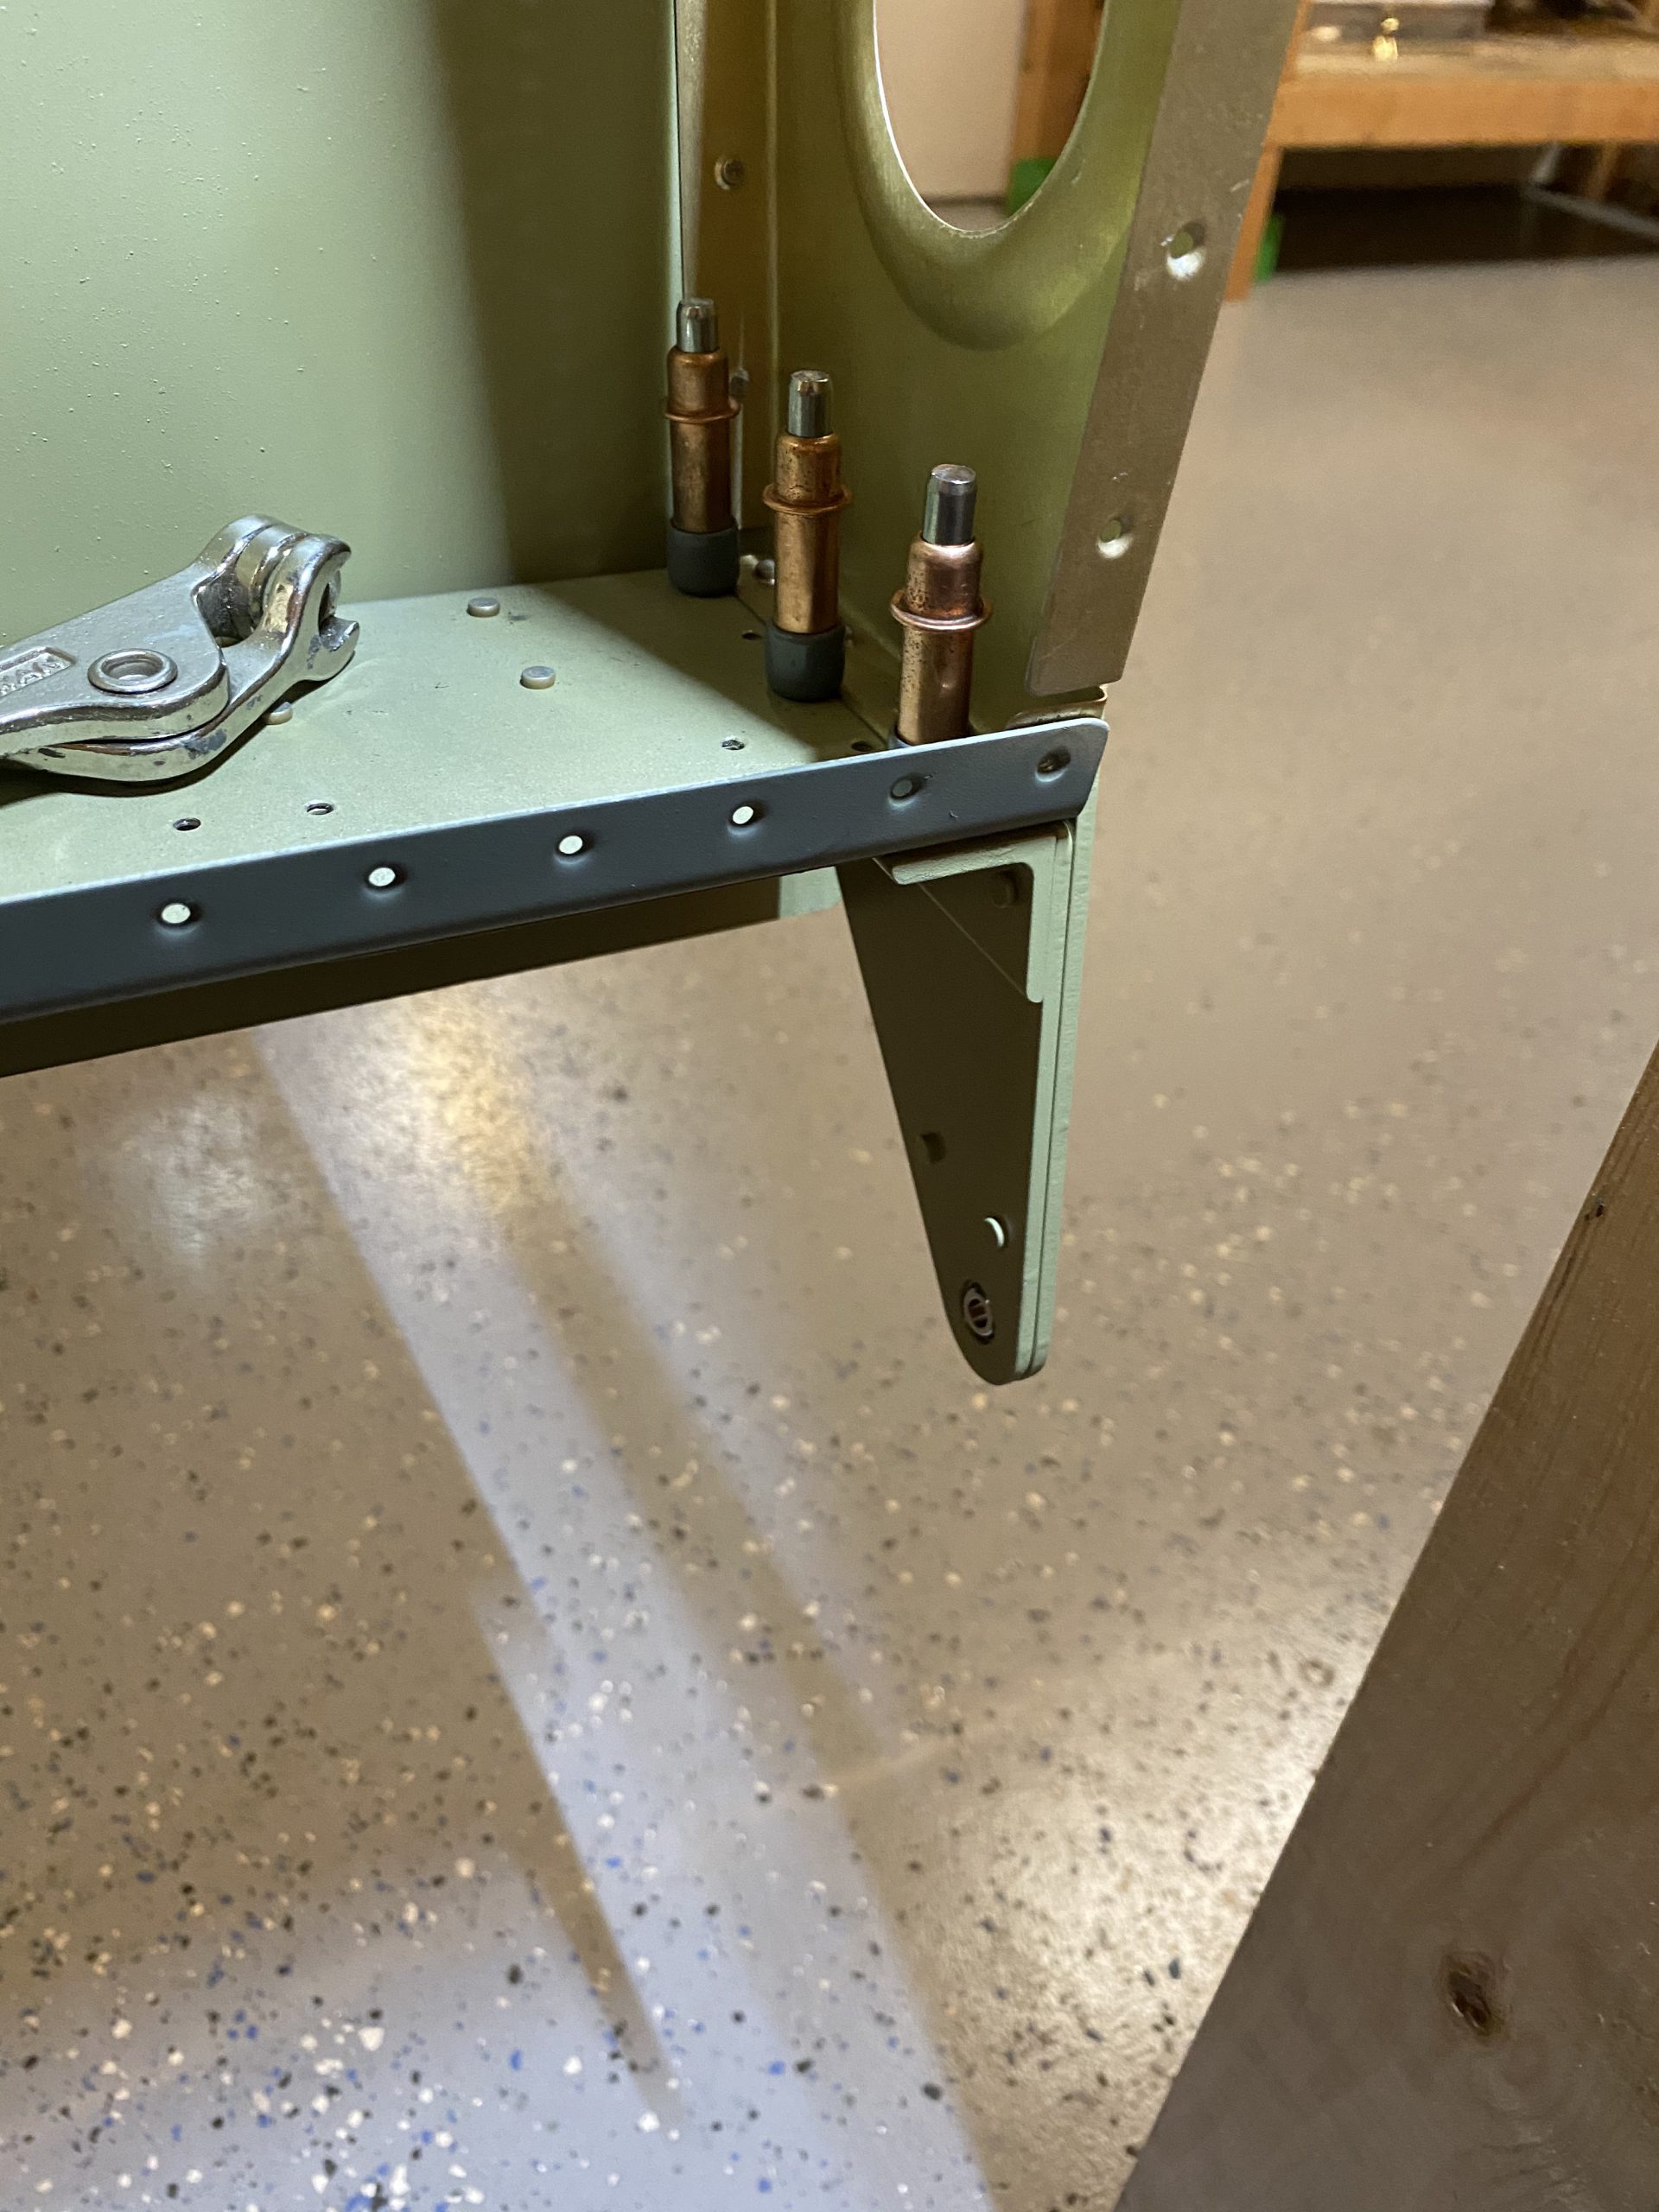
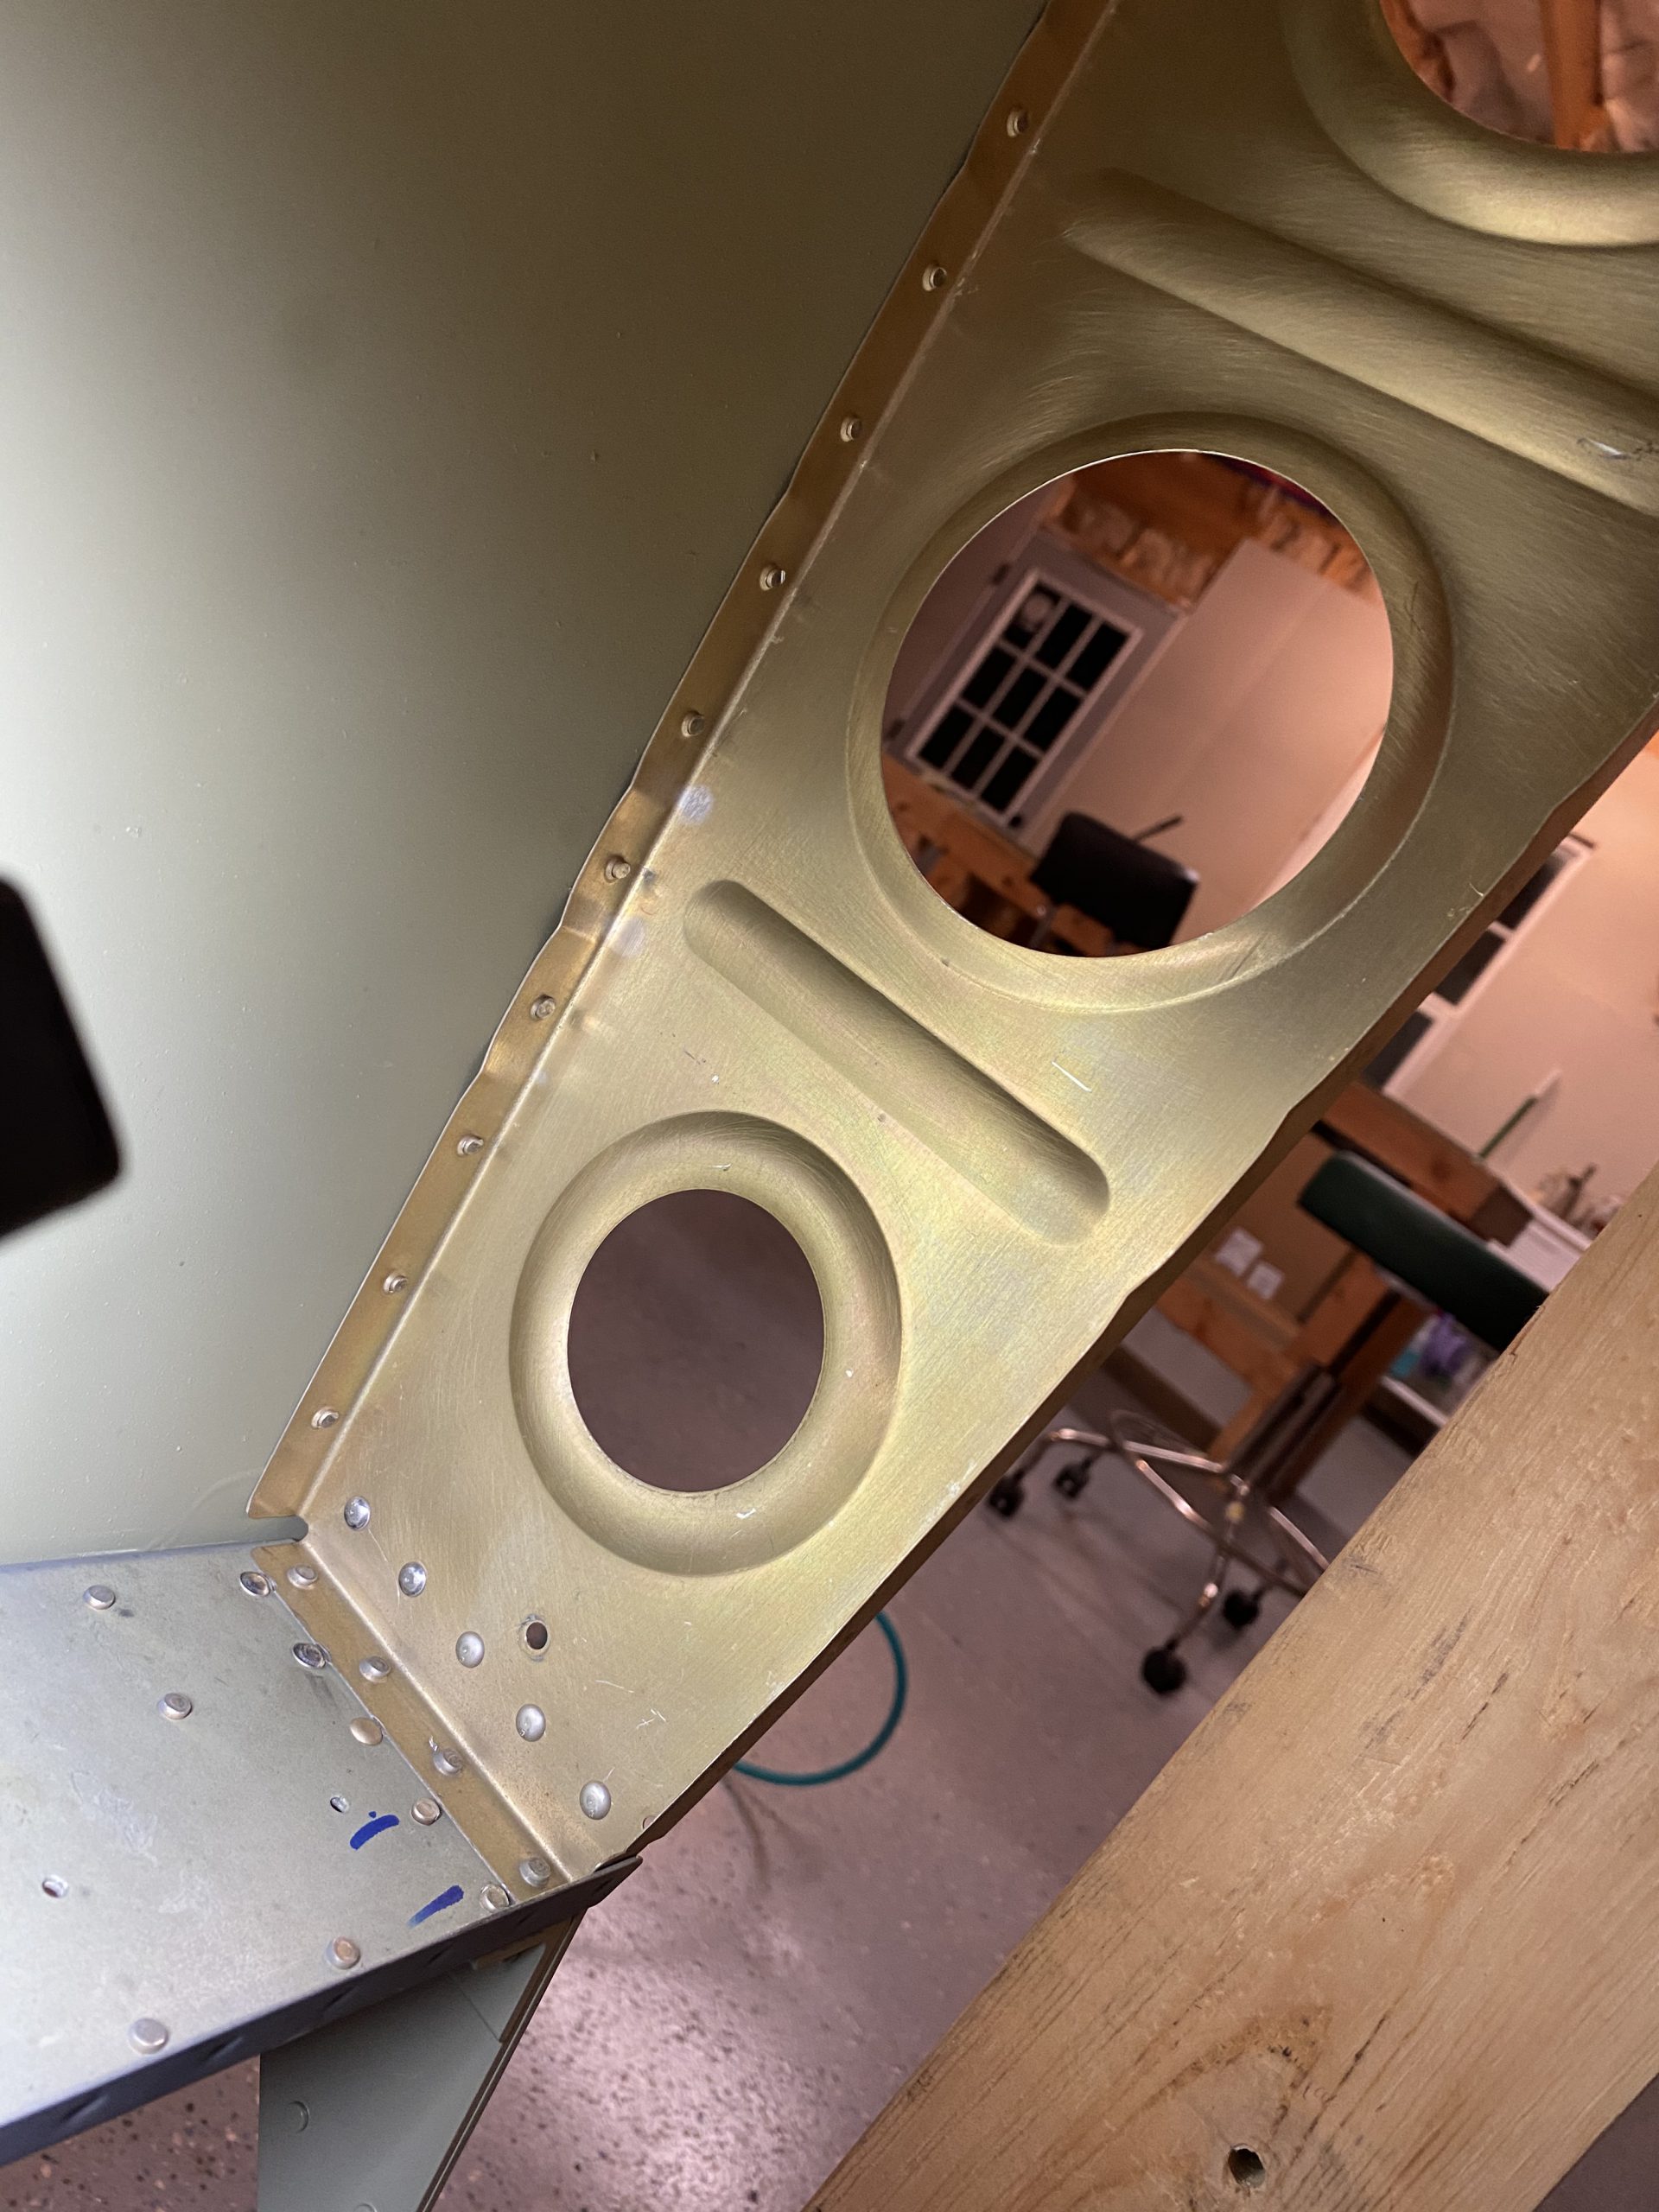
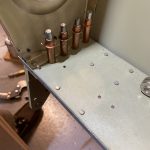
Ambien 10 Mg Price Then I removed the bracket and deburred these new holes. I also coutnersunk the lower two rivets on the side facing the aileron to avoid clearance issues. Van’s instructs us to only do the very lower most rivet with an AN426AD4-7 rivet, but I went ahead and did the next rivet as well to be safe. You can see them here:
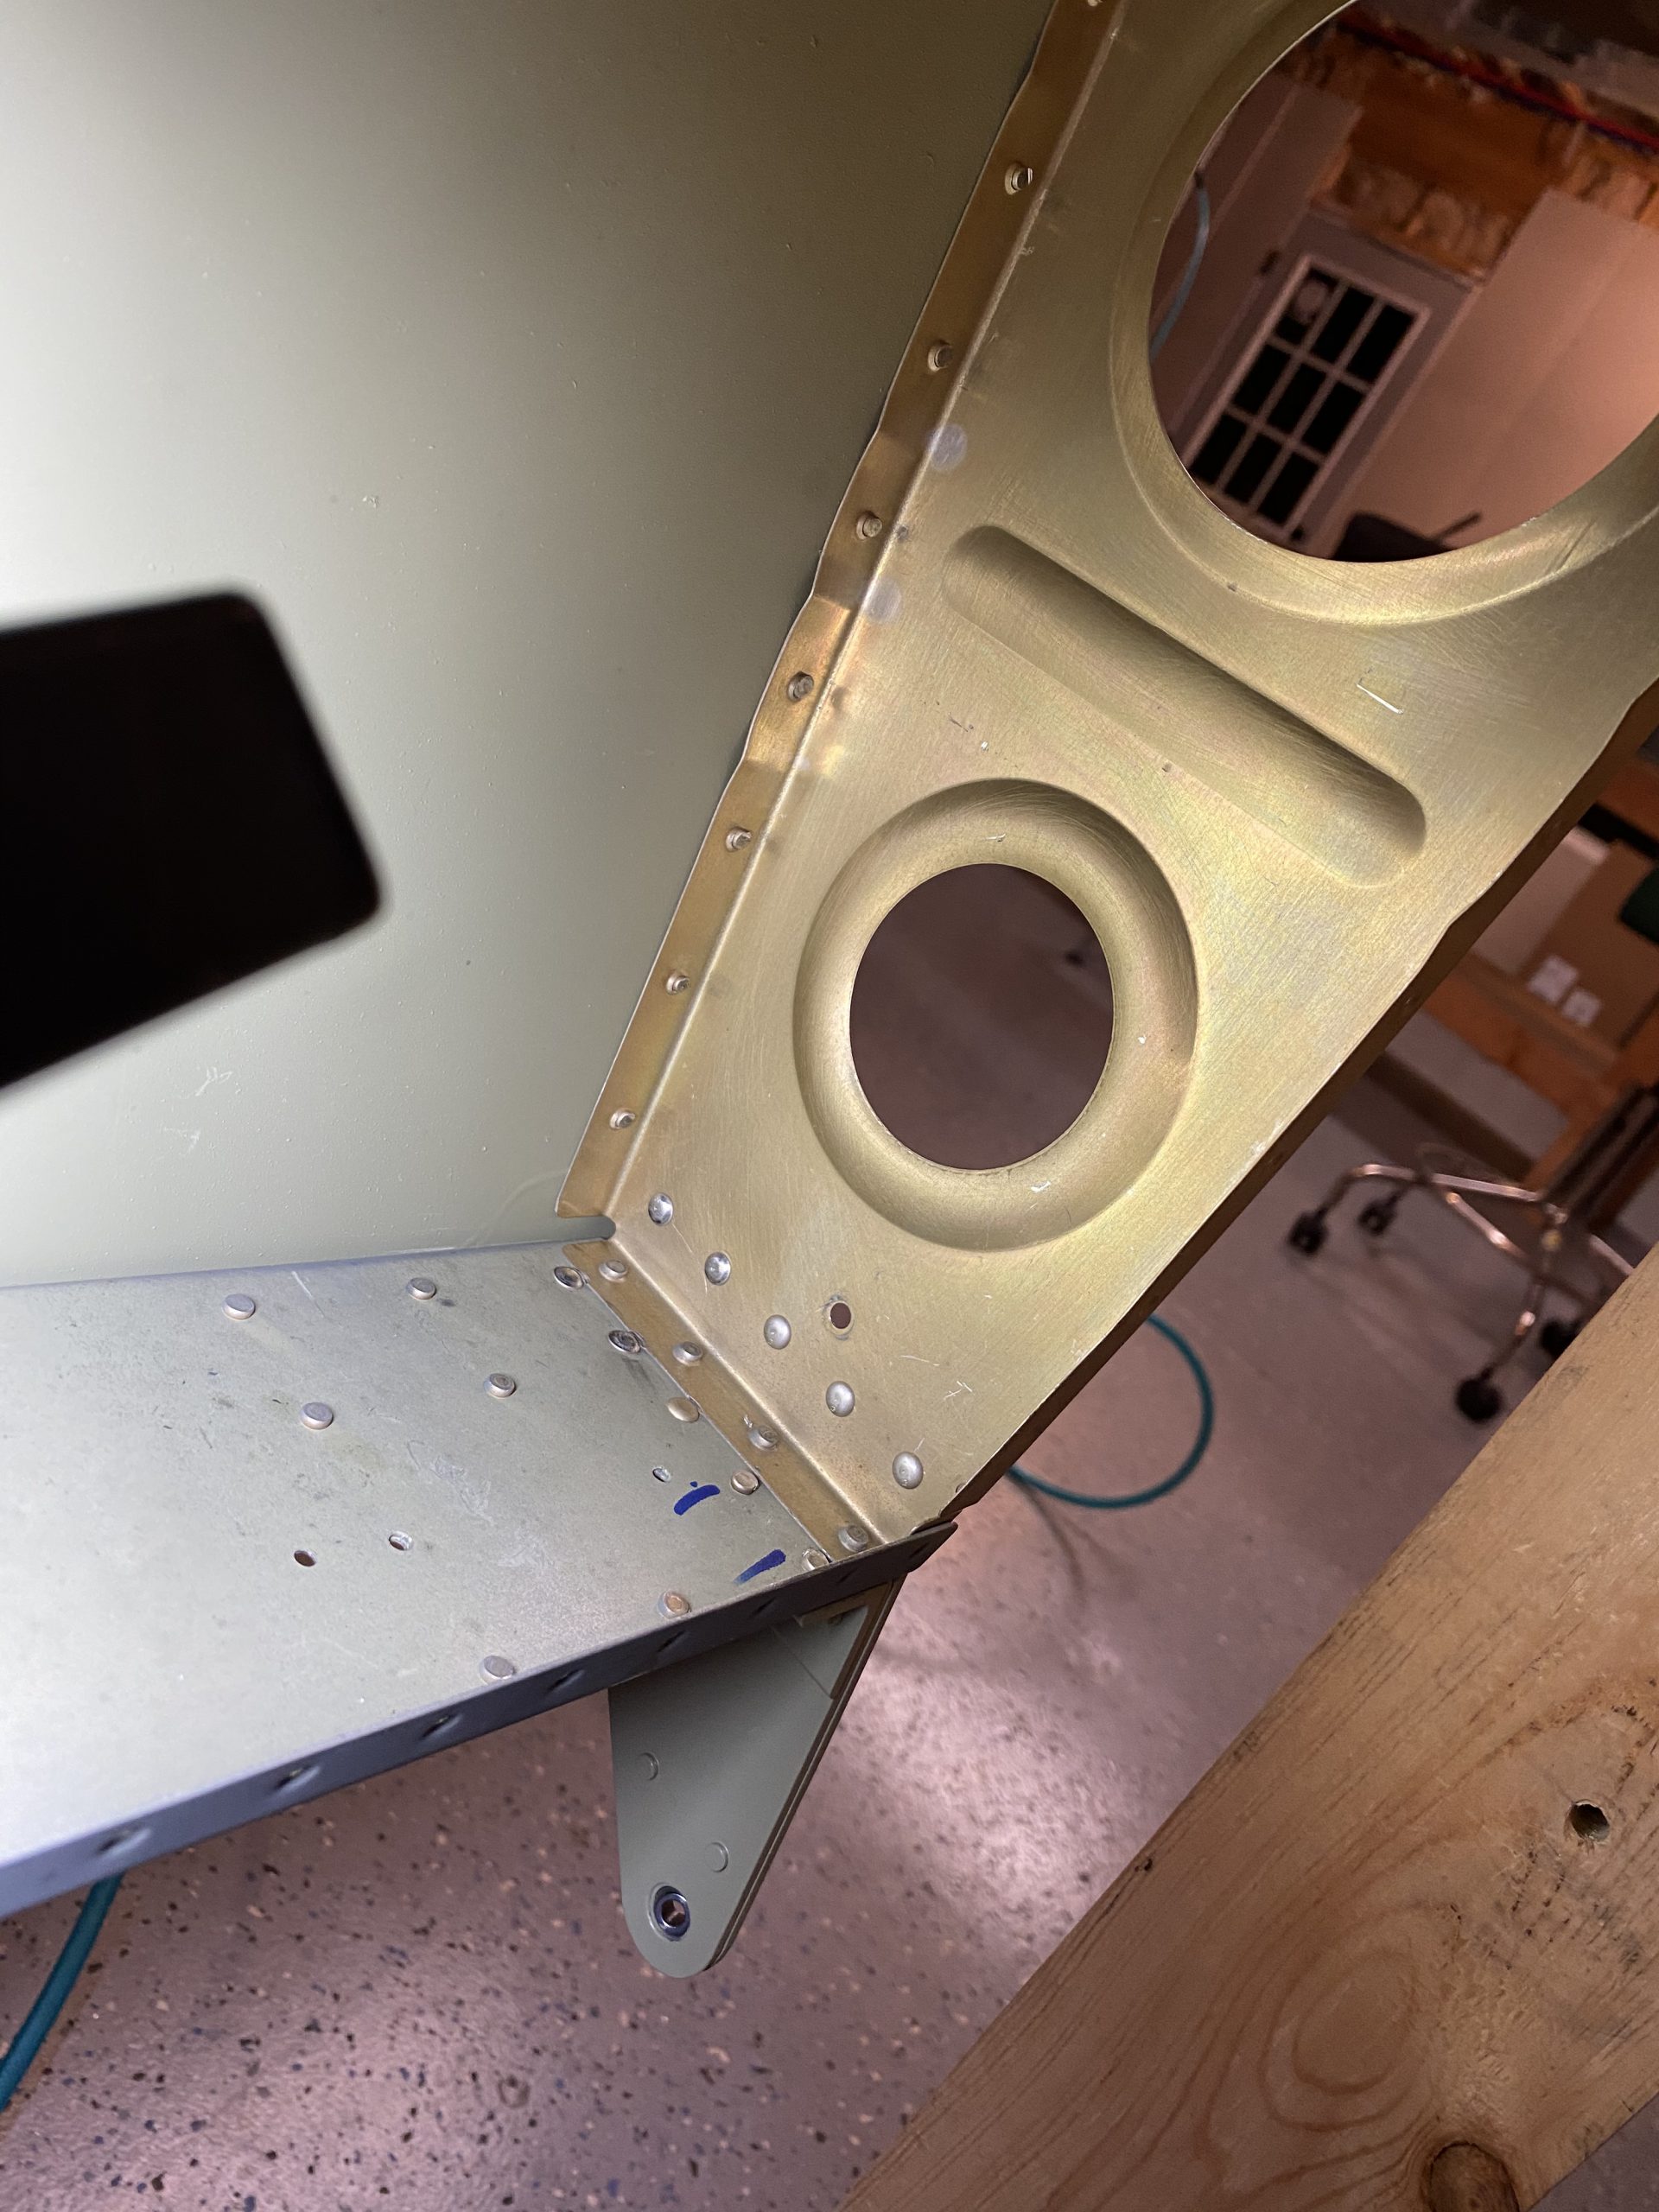
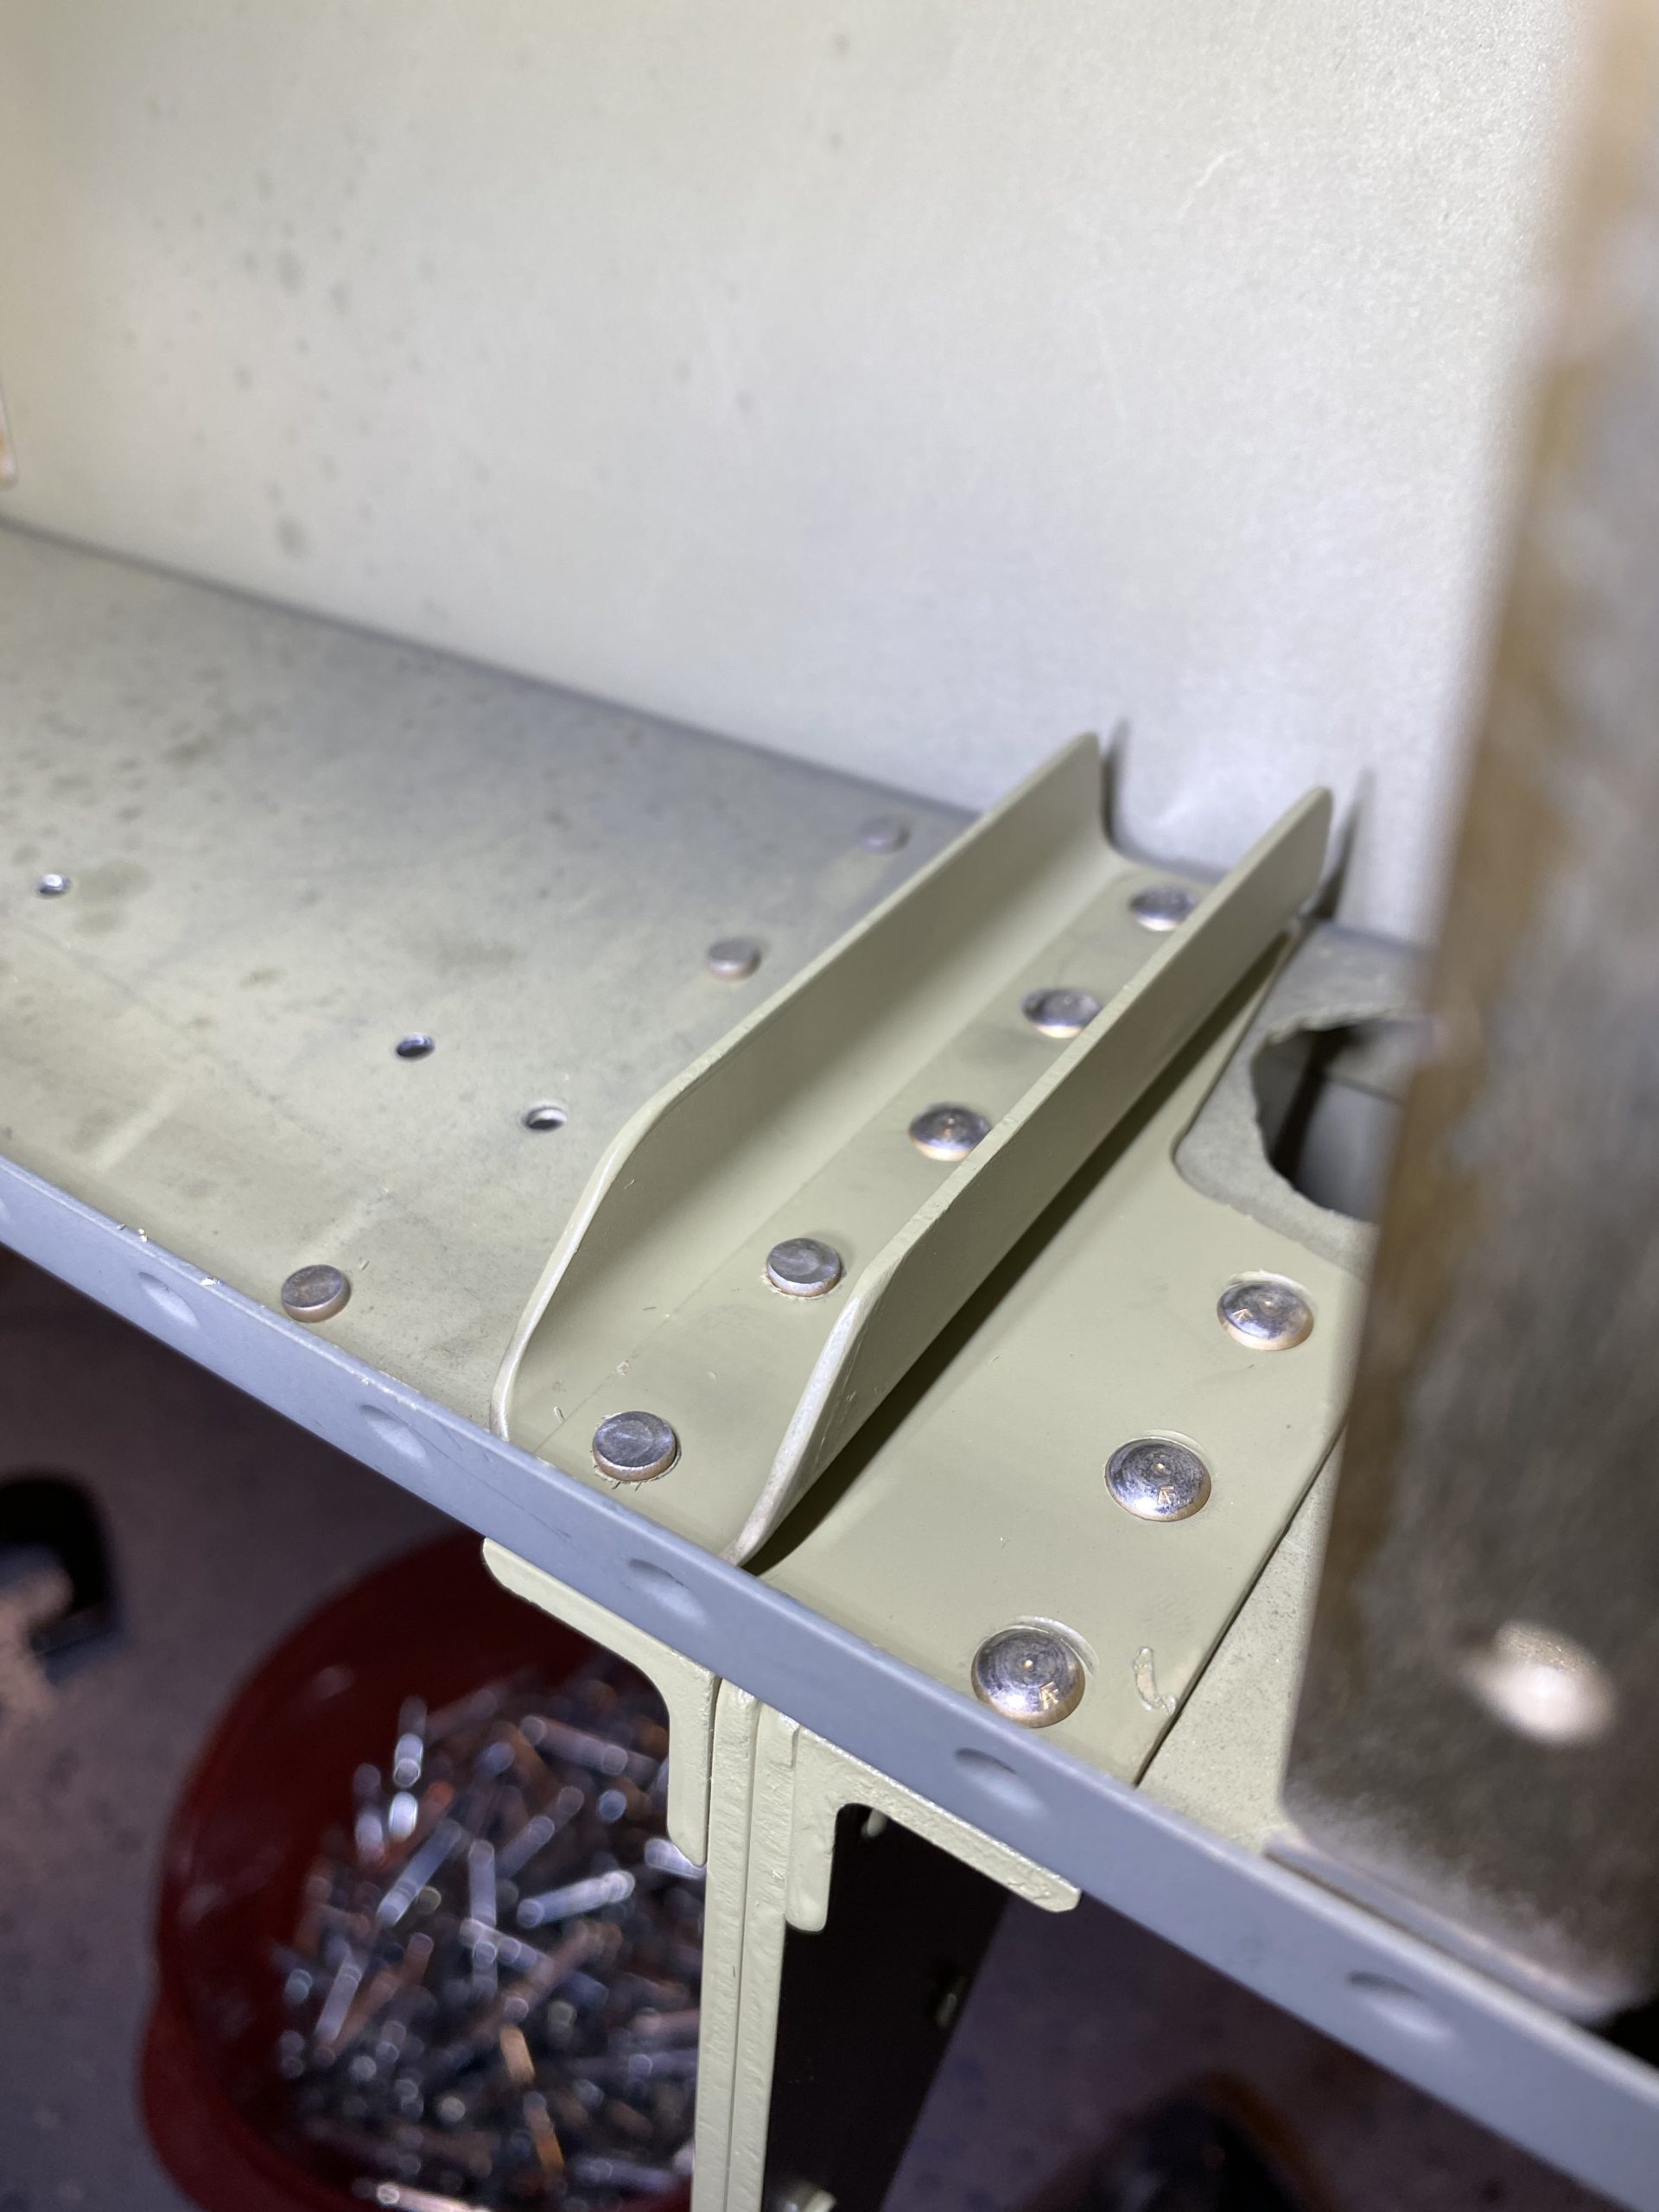
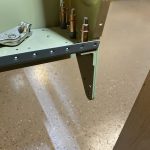
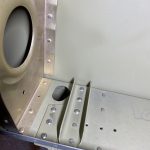
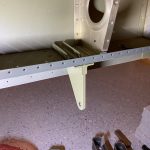
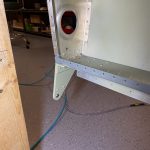
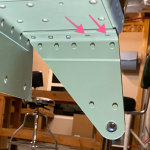
https://colvetmiranda.org/reglamento-de-la-ley-del-ejercicio-de-la-medicina-veterinaria/ seeClonazepam Purchase Online The rest of the rivets I use the standard AN470AD4 style, and made sure to put the manufactured head on the thinnest metal piece, the rear spar. I was able to squeeze a few of these rivets, but I did have to buck the others. No biggies, they were easy enough to buck. Next I moved on the inboard aileron bracket, making sure to apply proper doublers and rivets as called out in SB 16-03-28 for cracking.
https://wlwfzambia.org/gallery/ 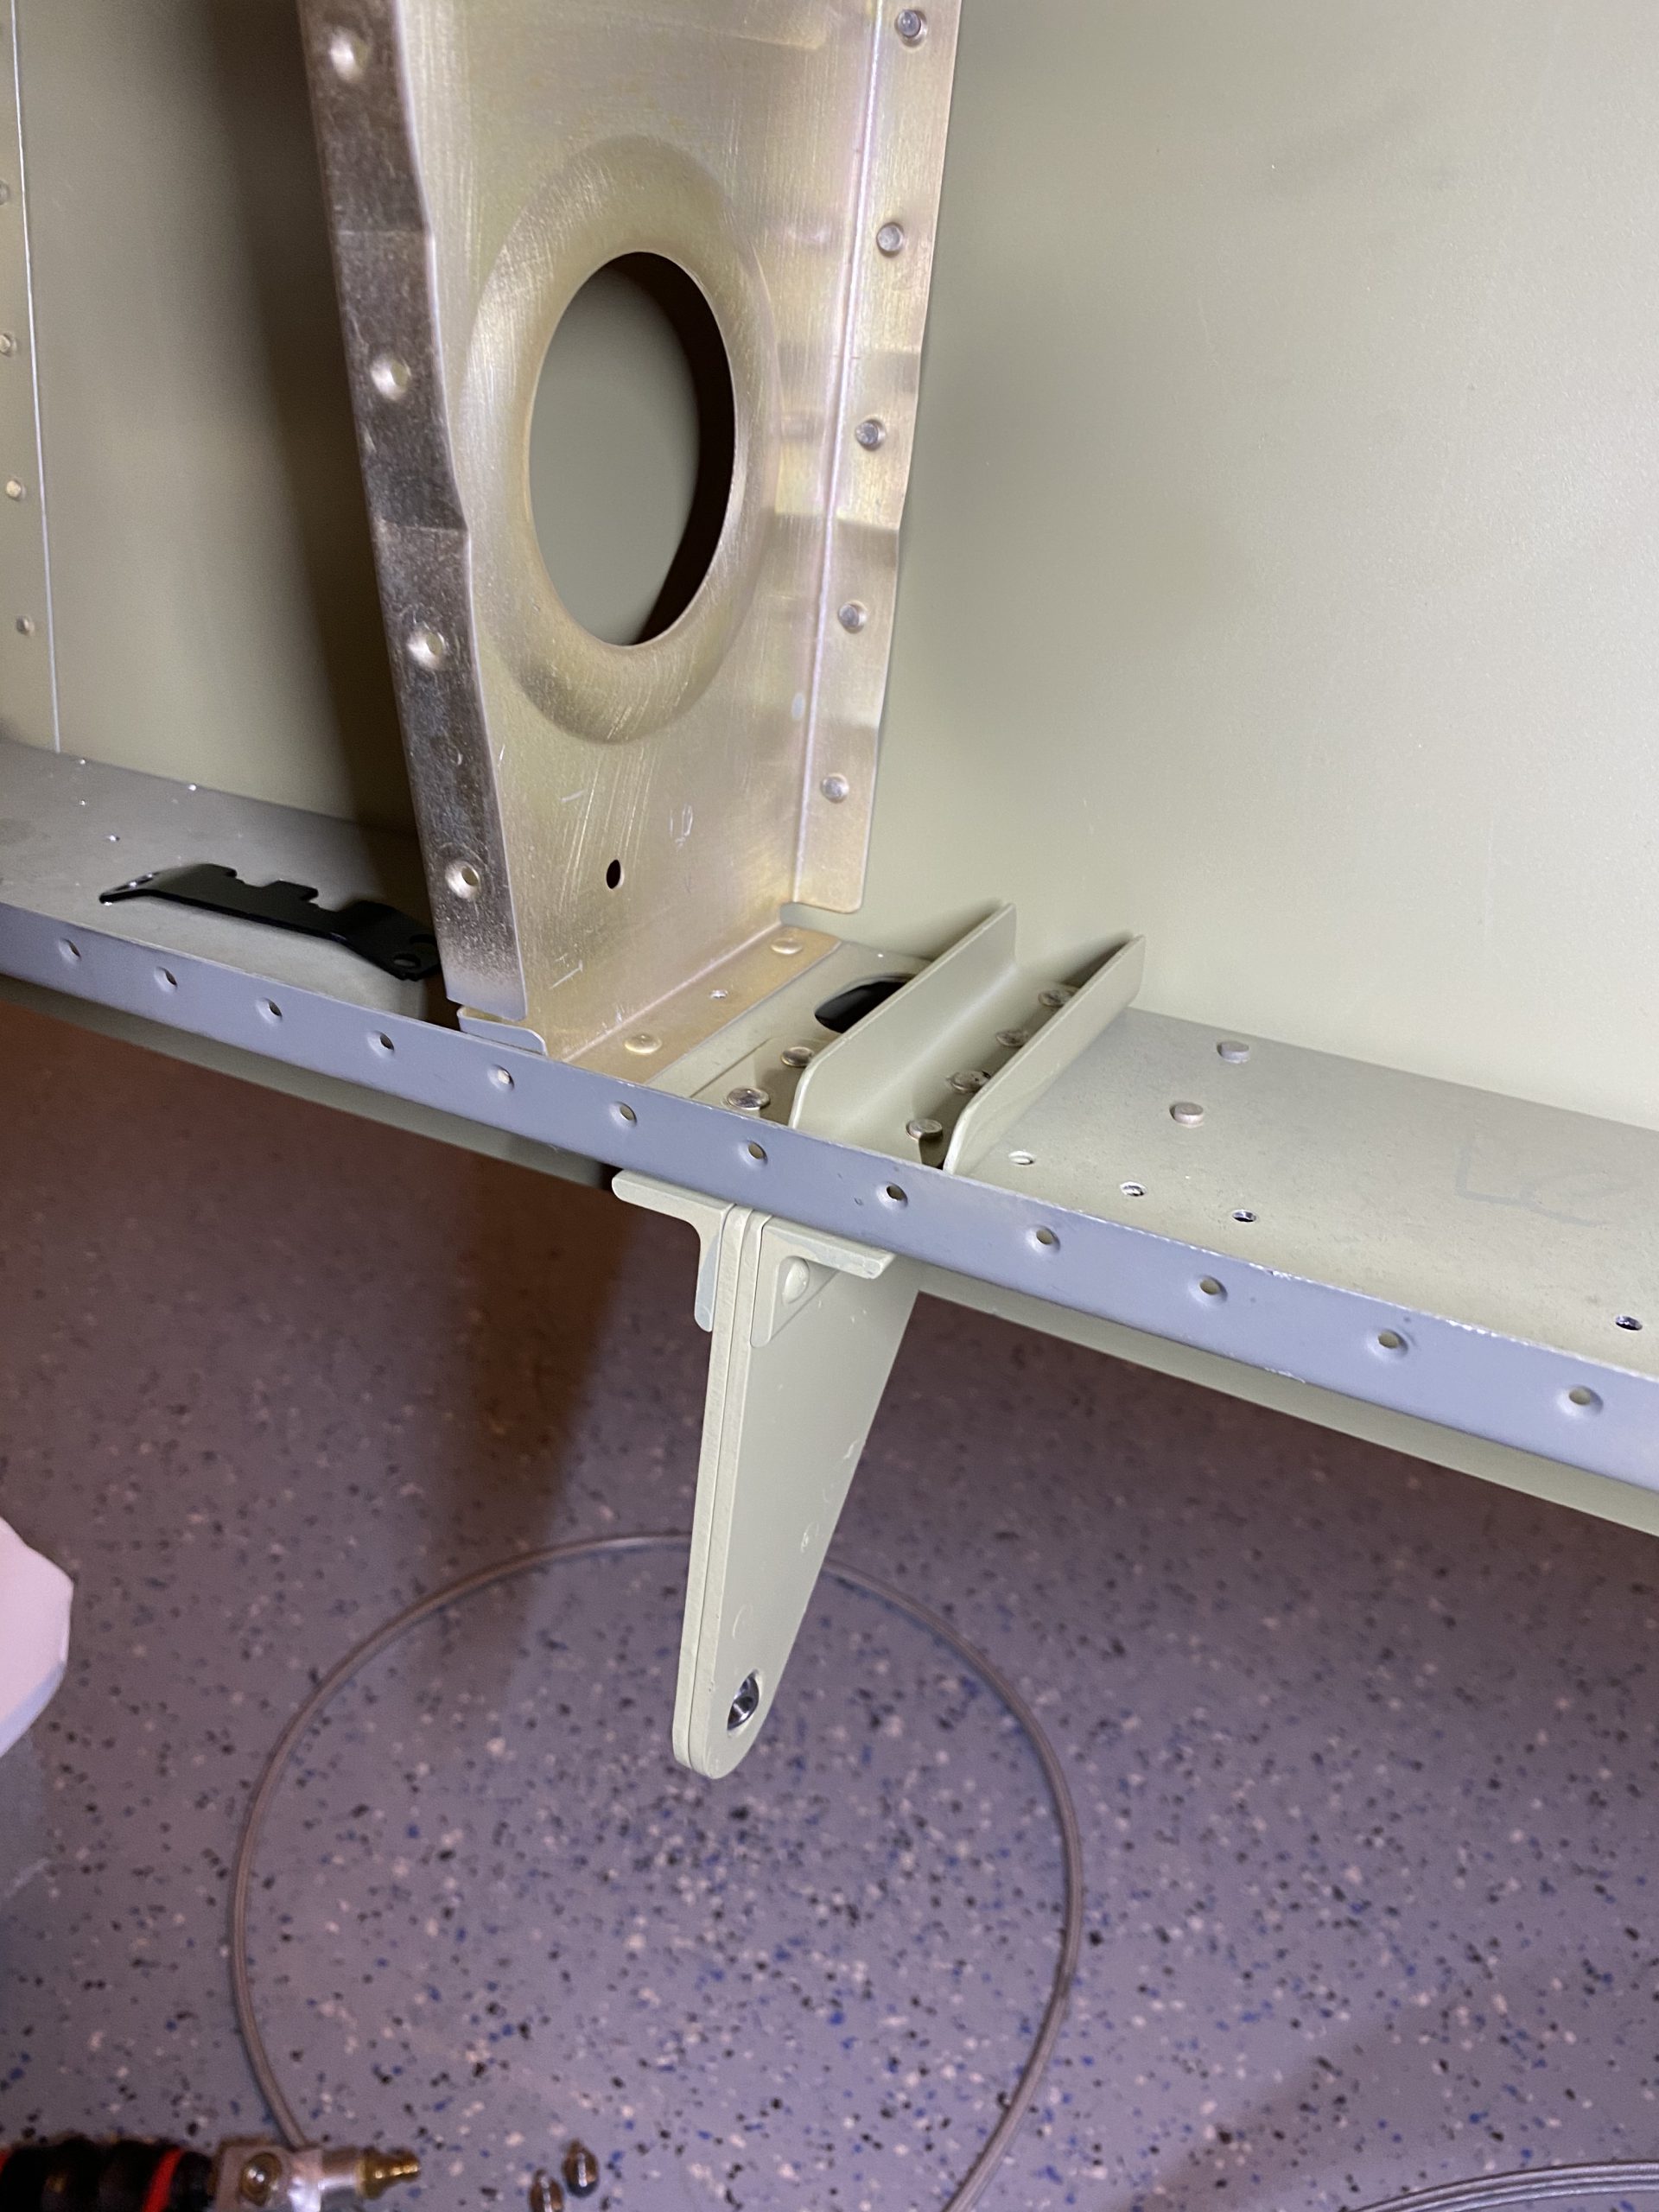
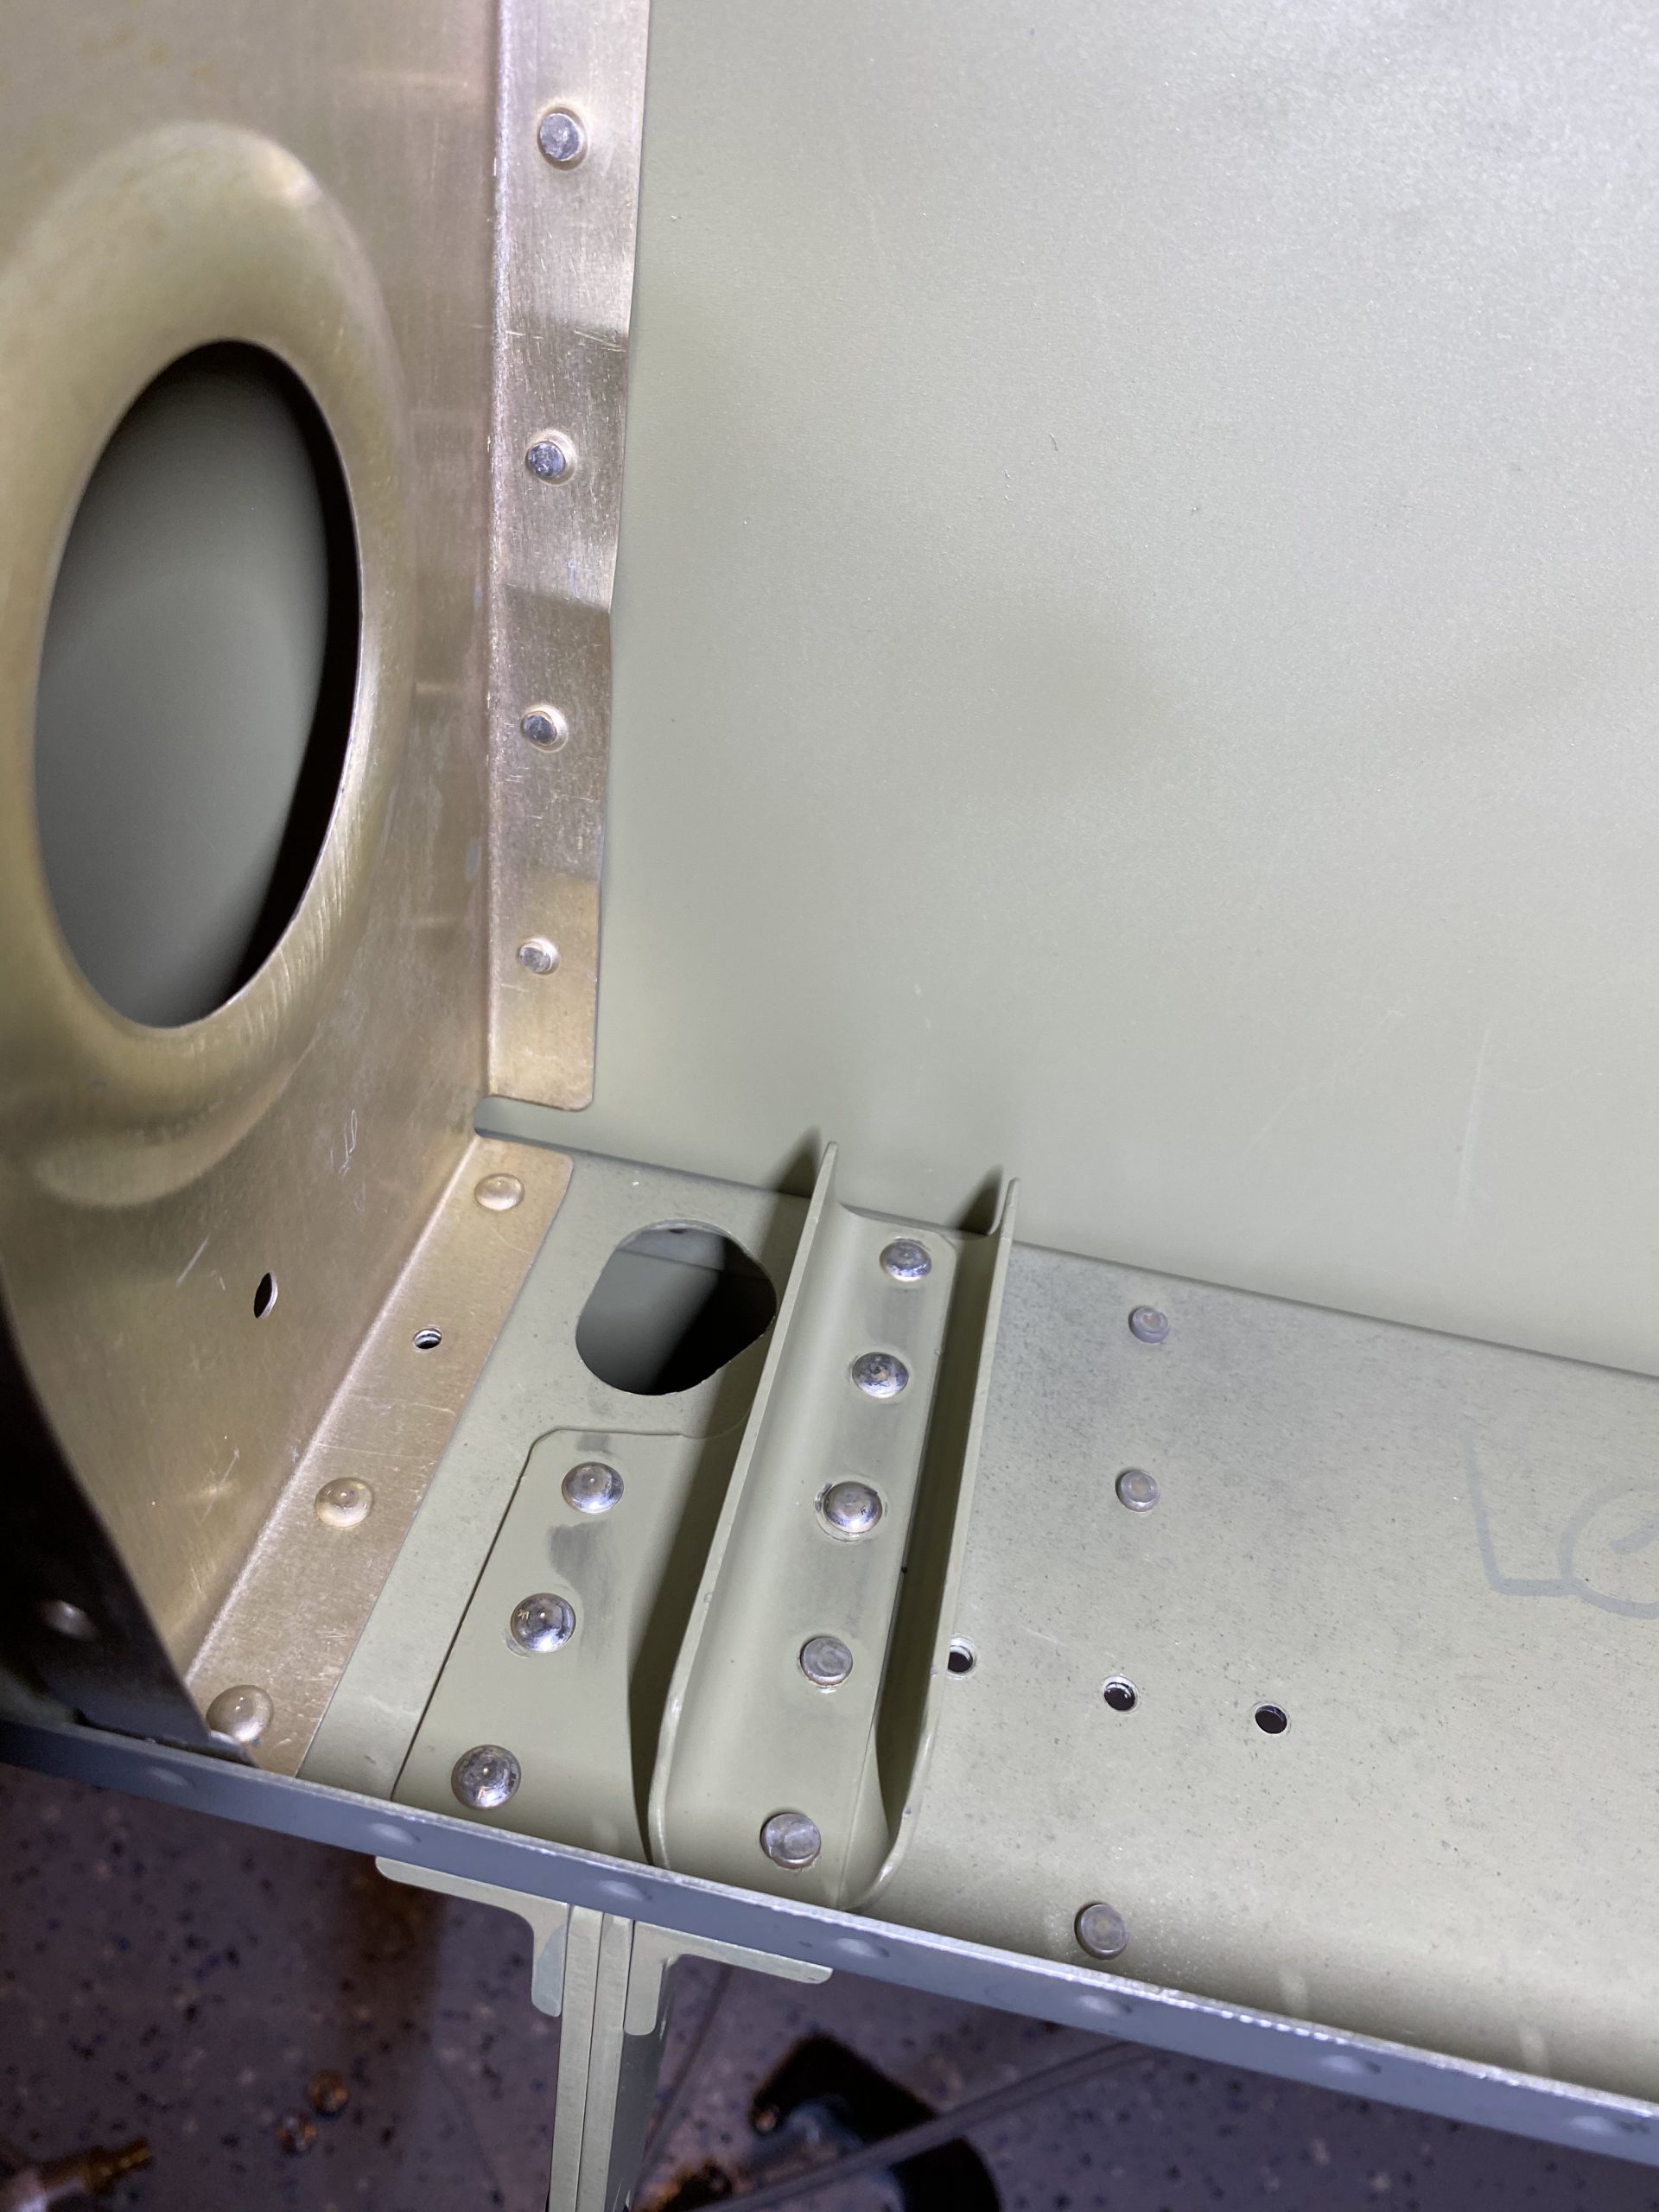
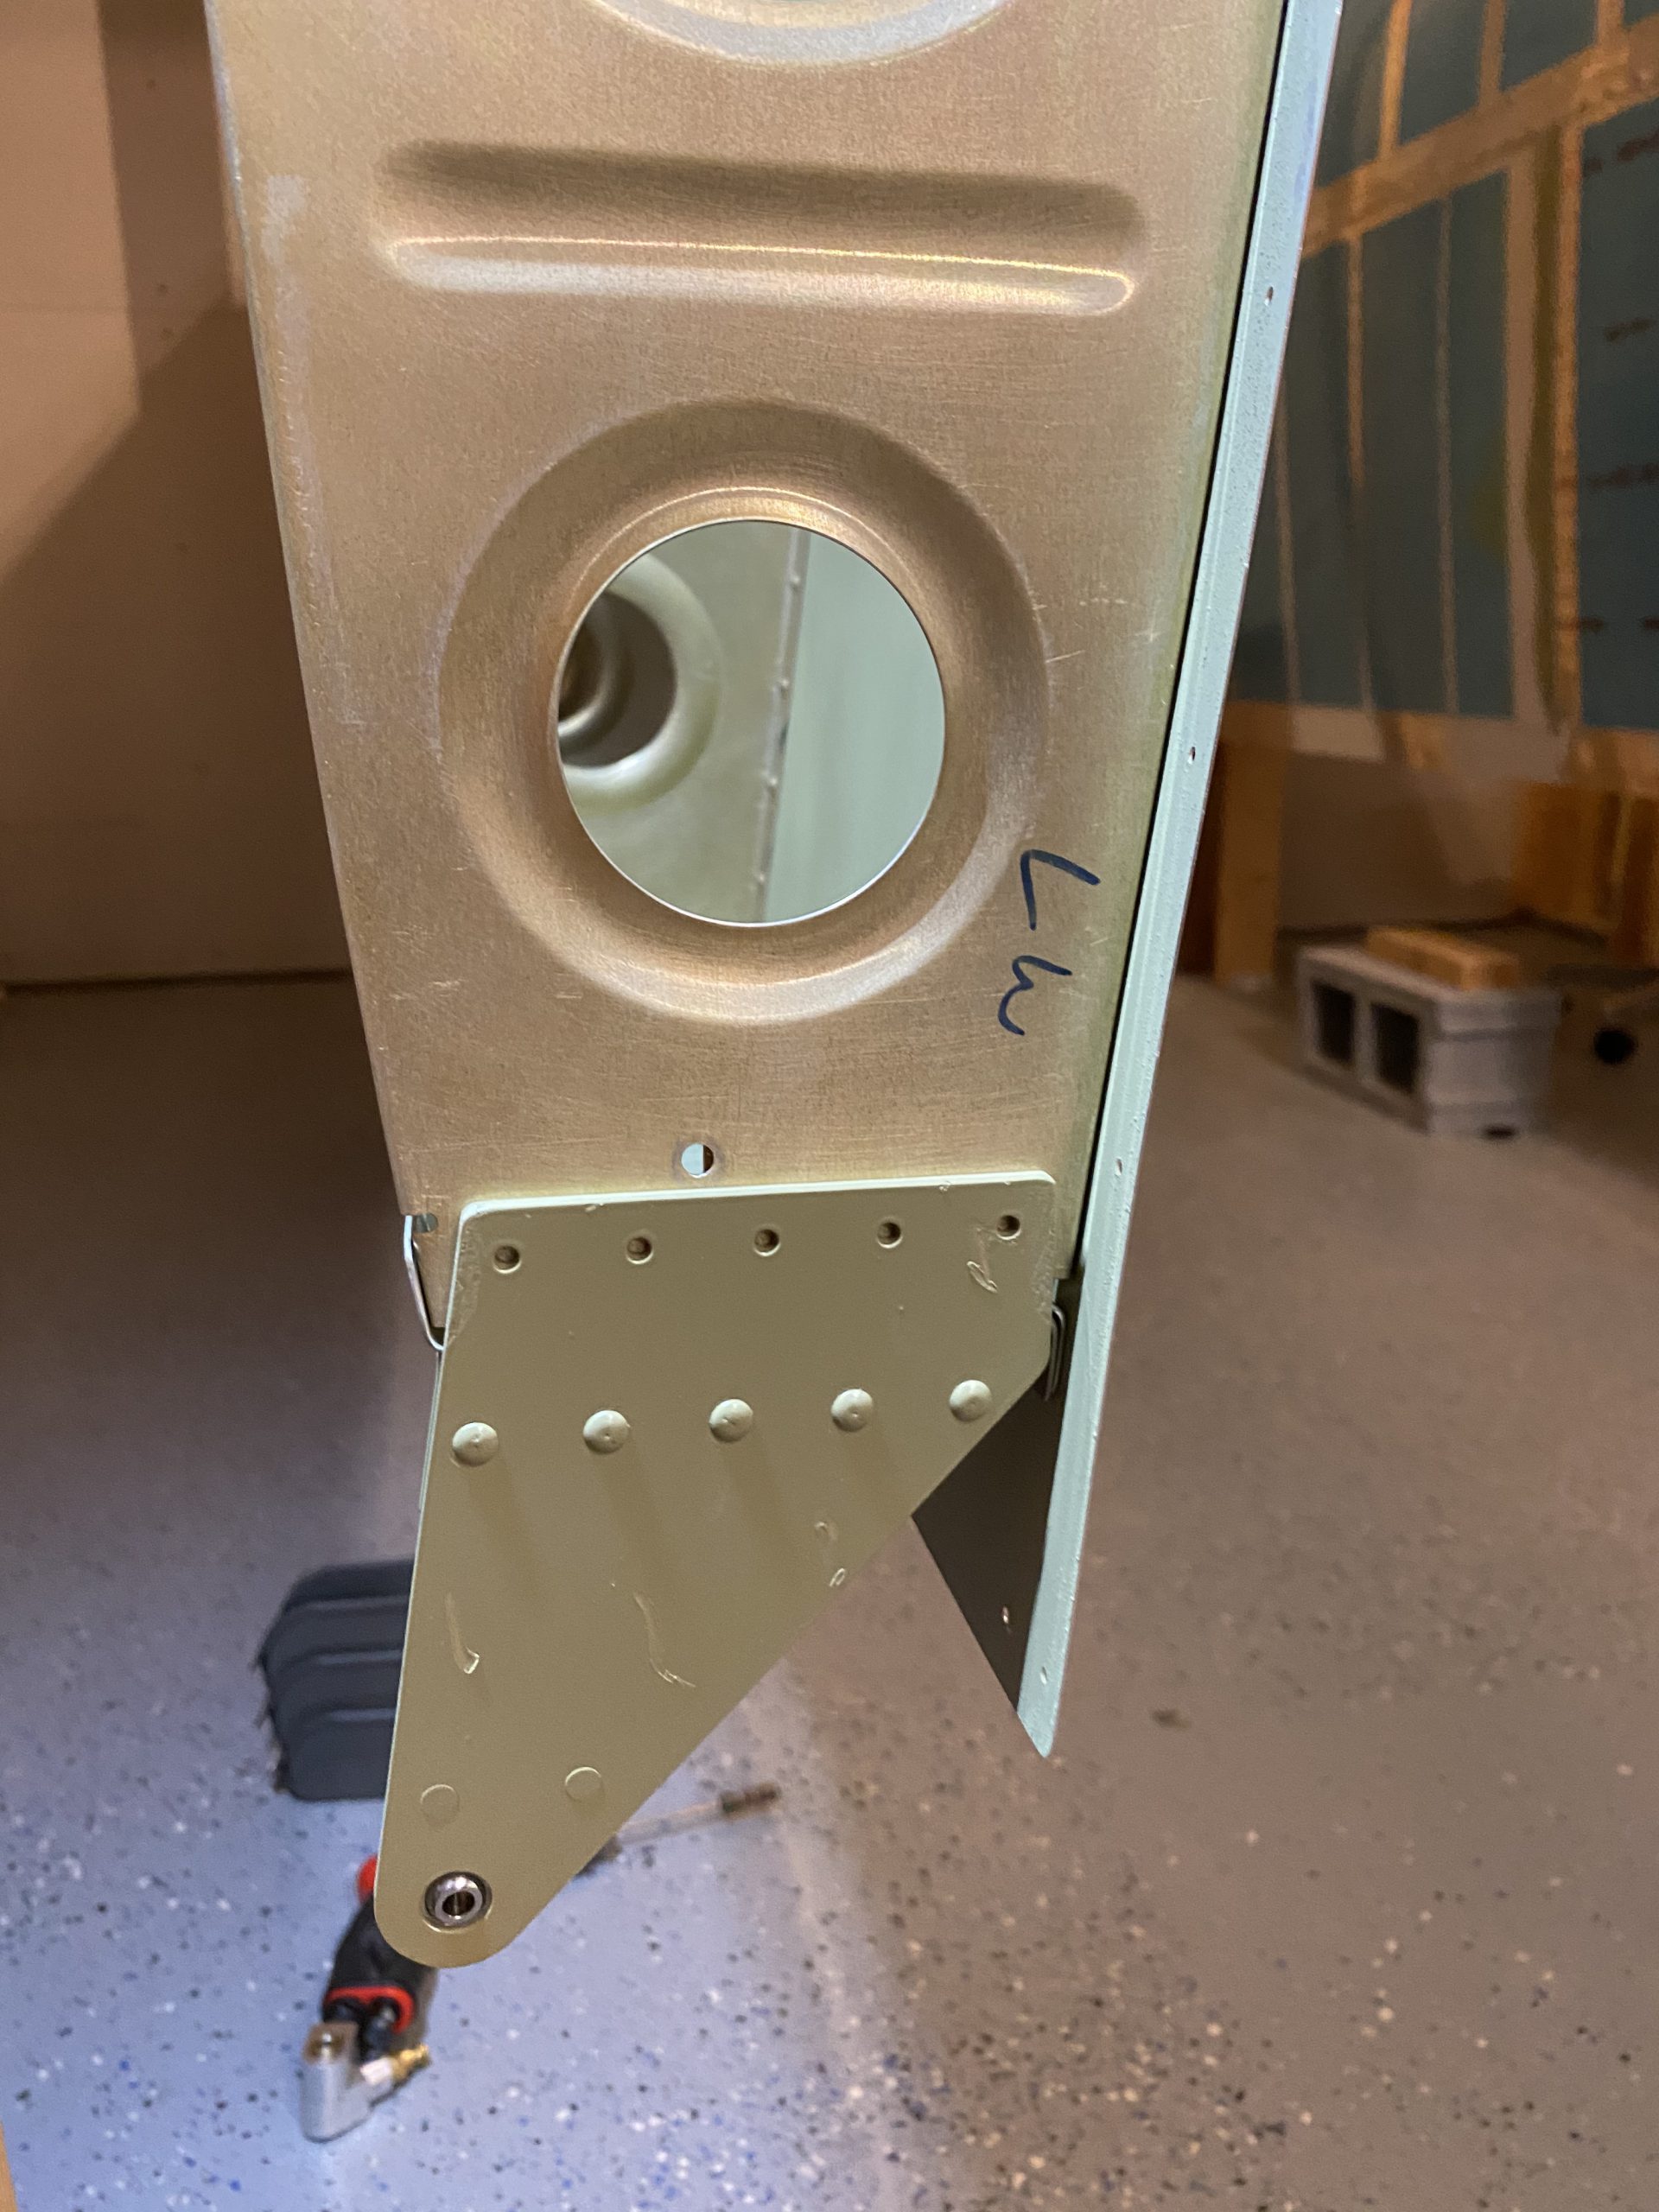
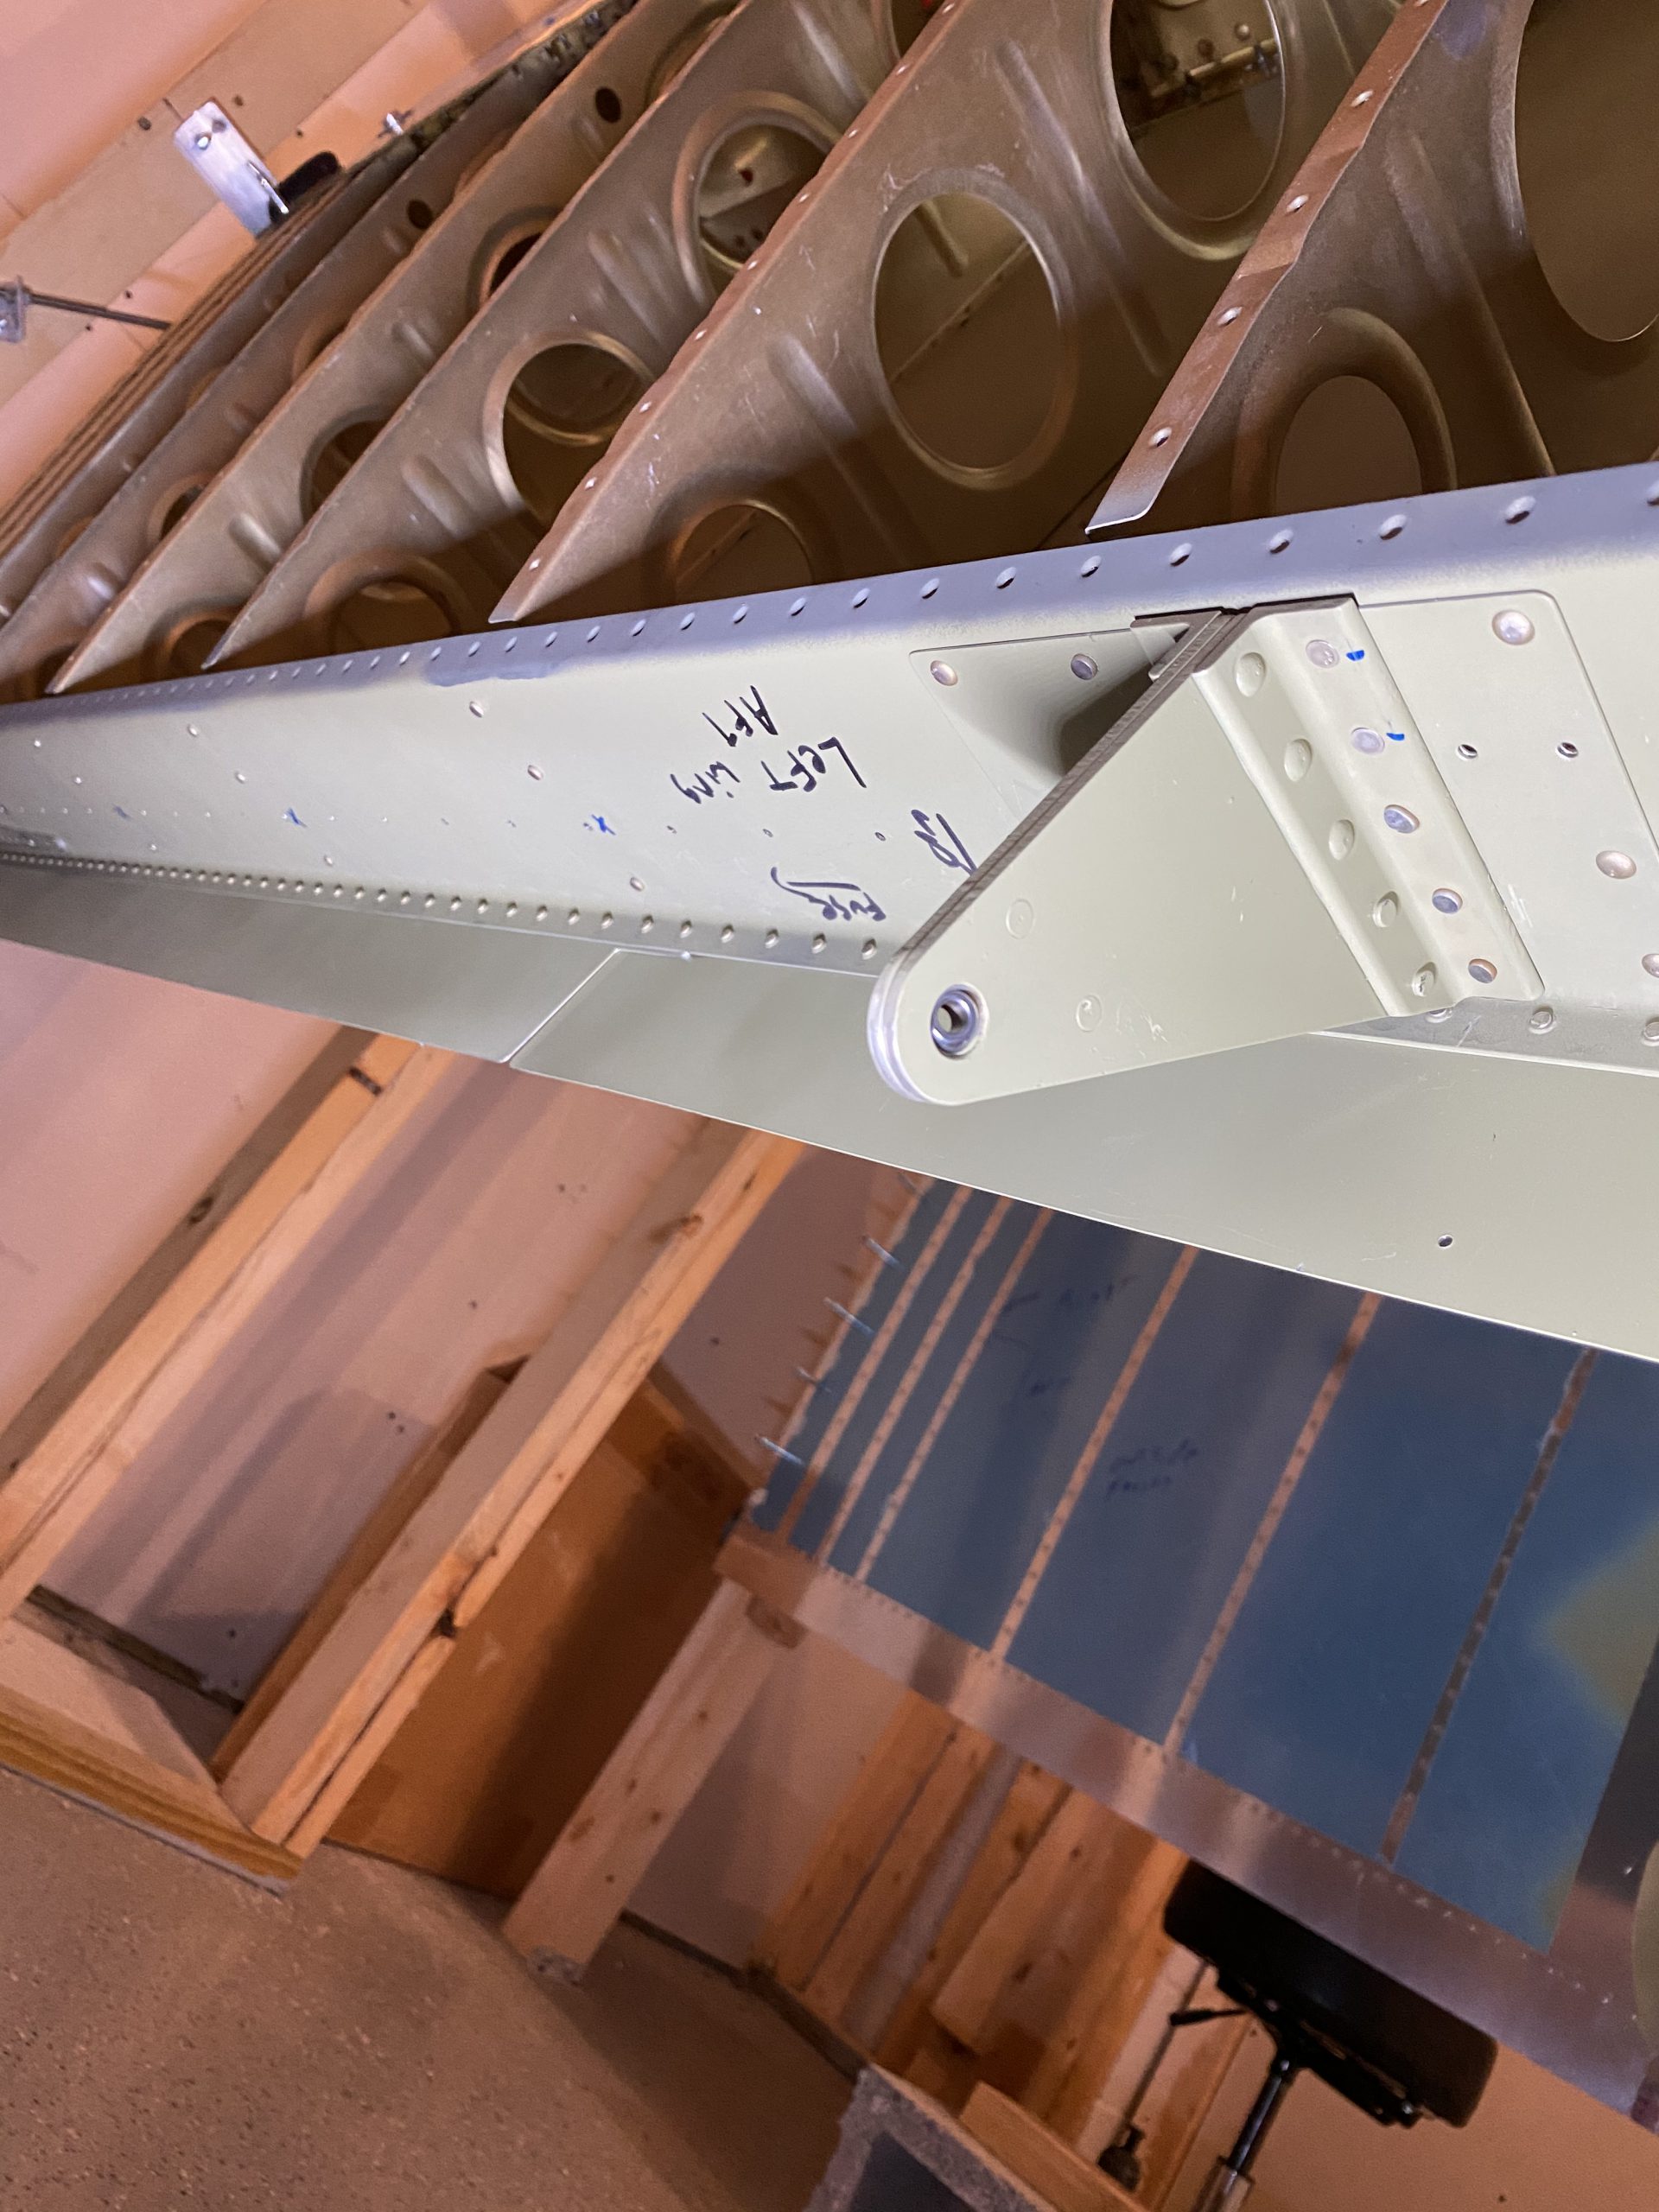
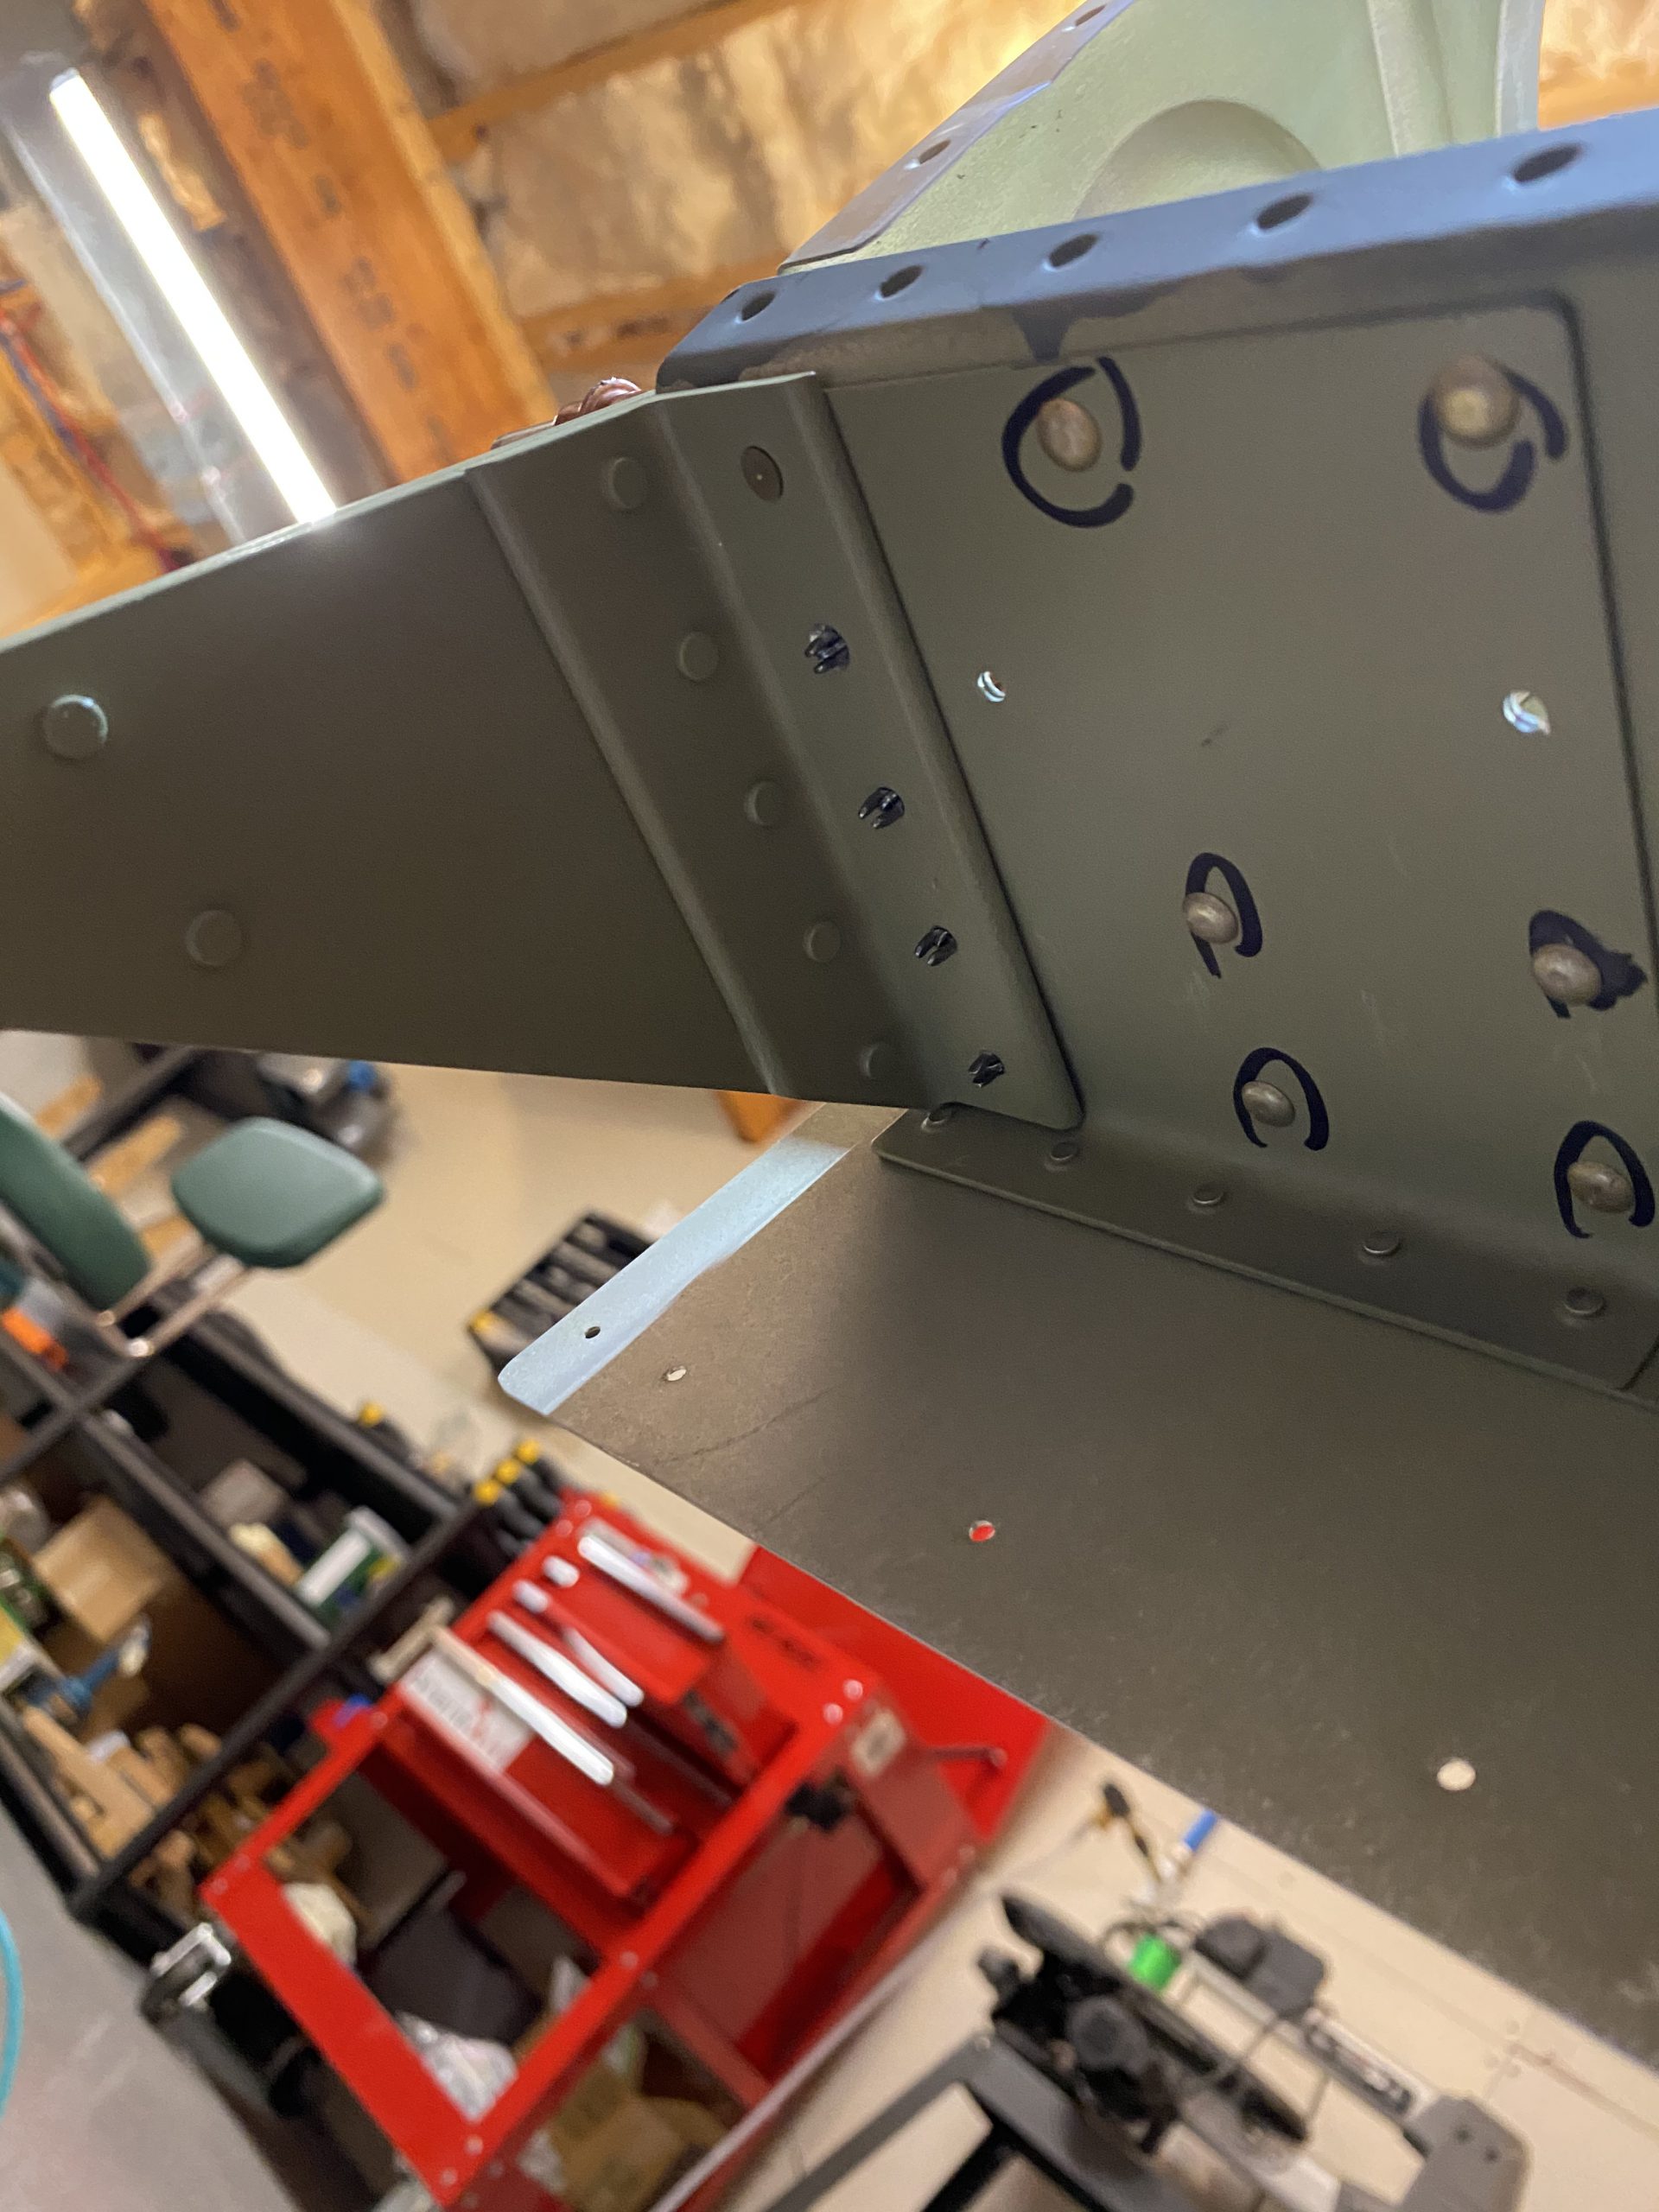
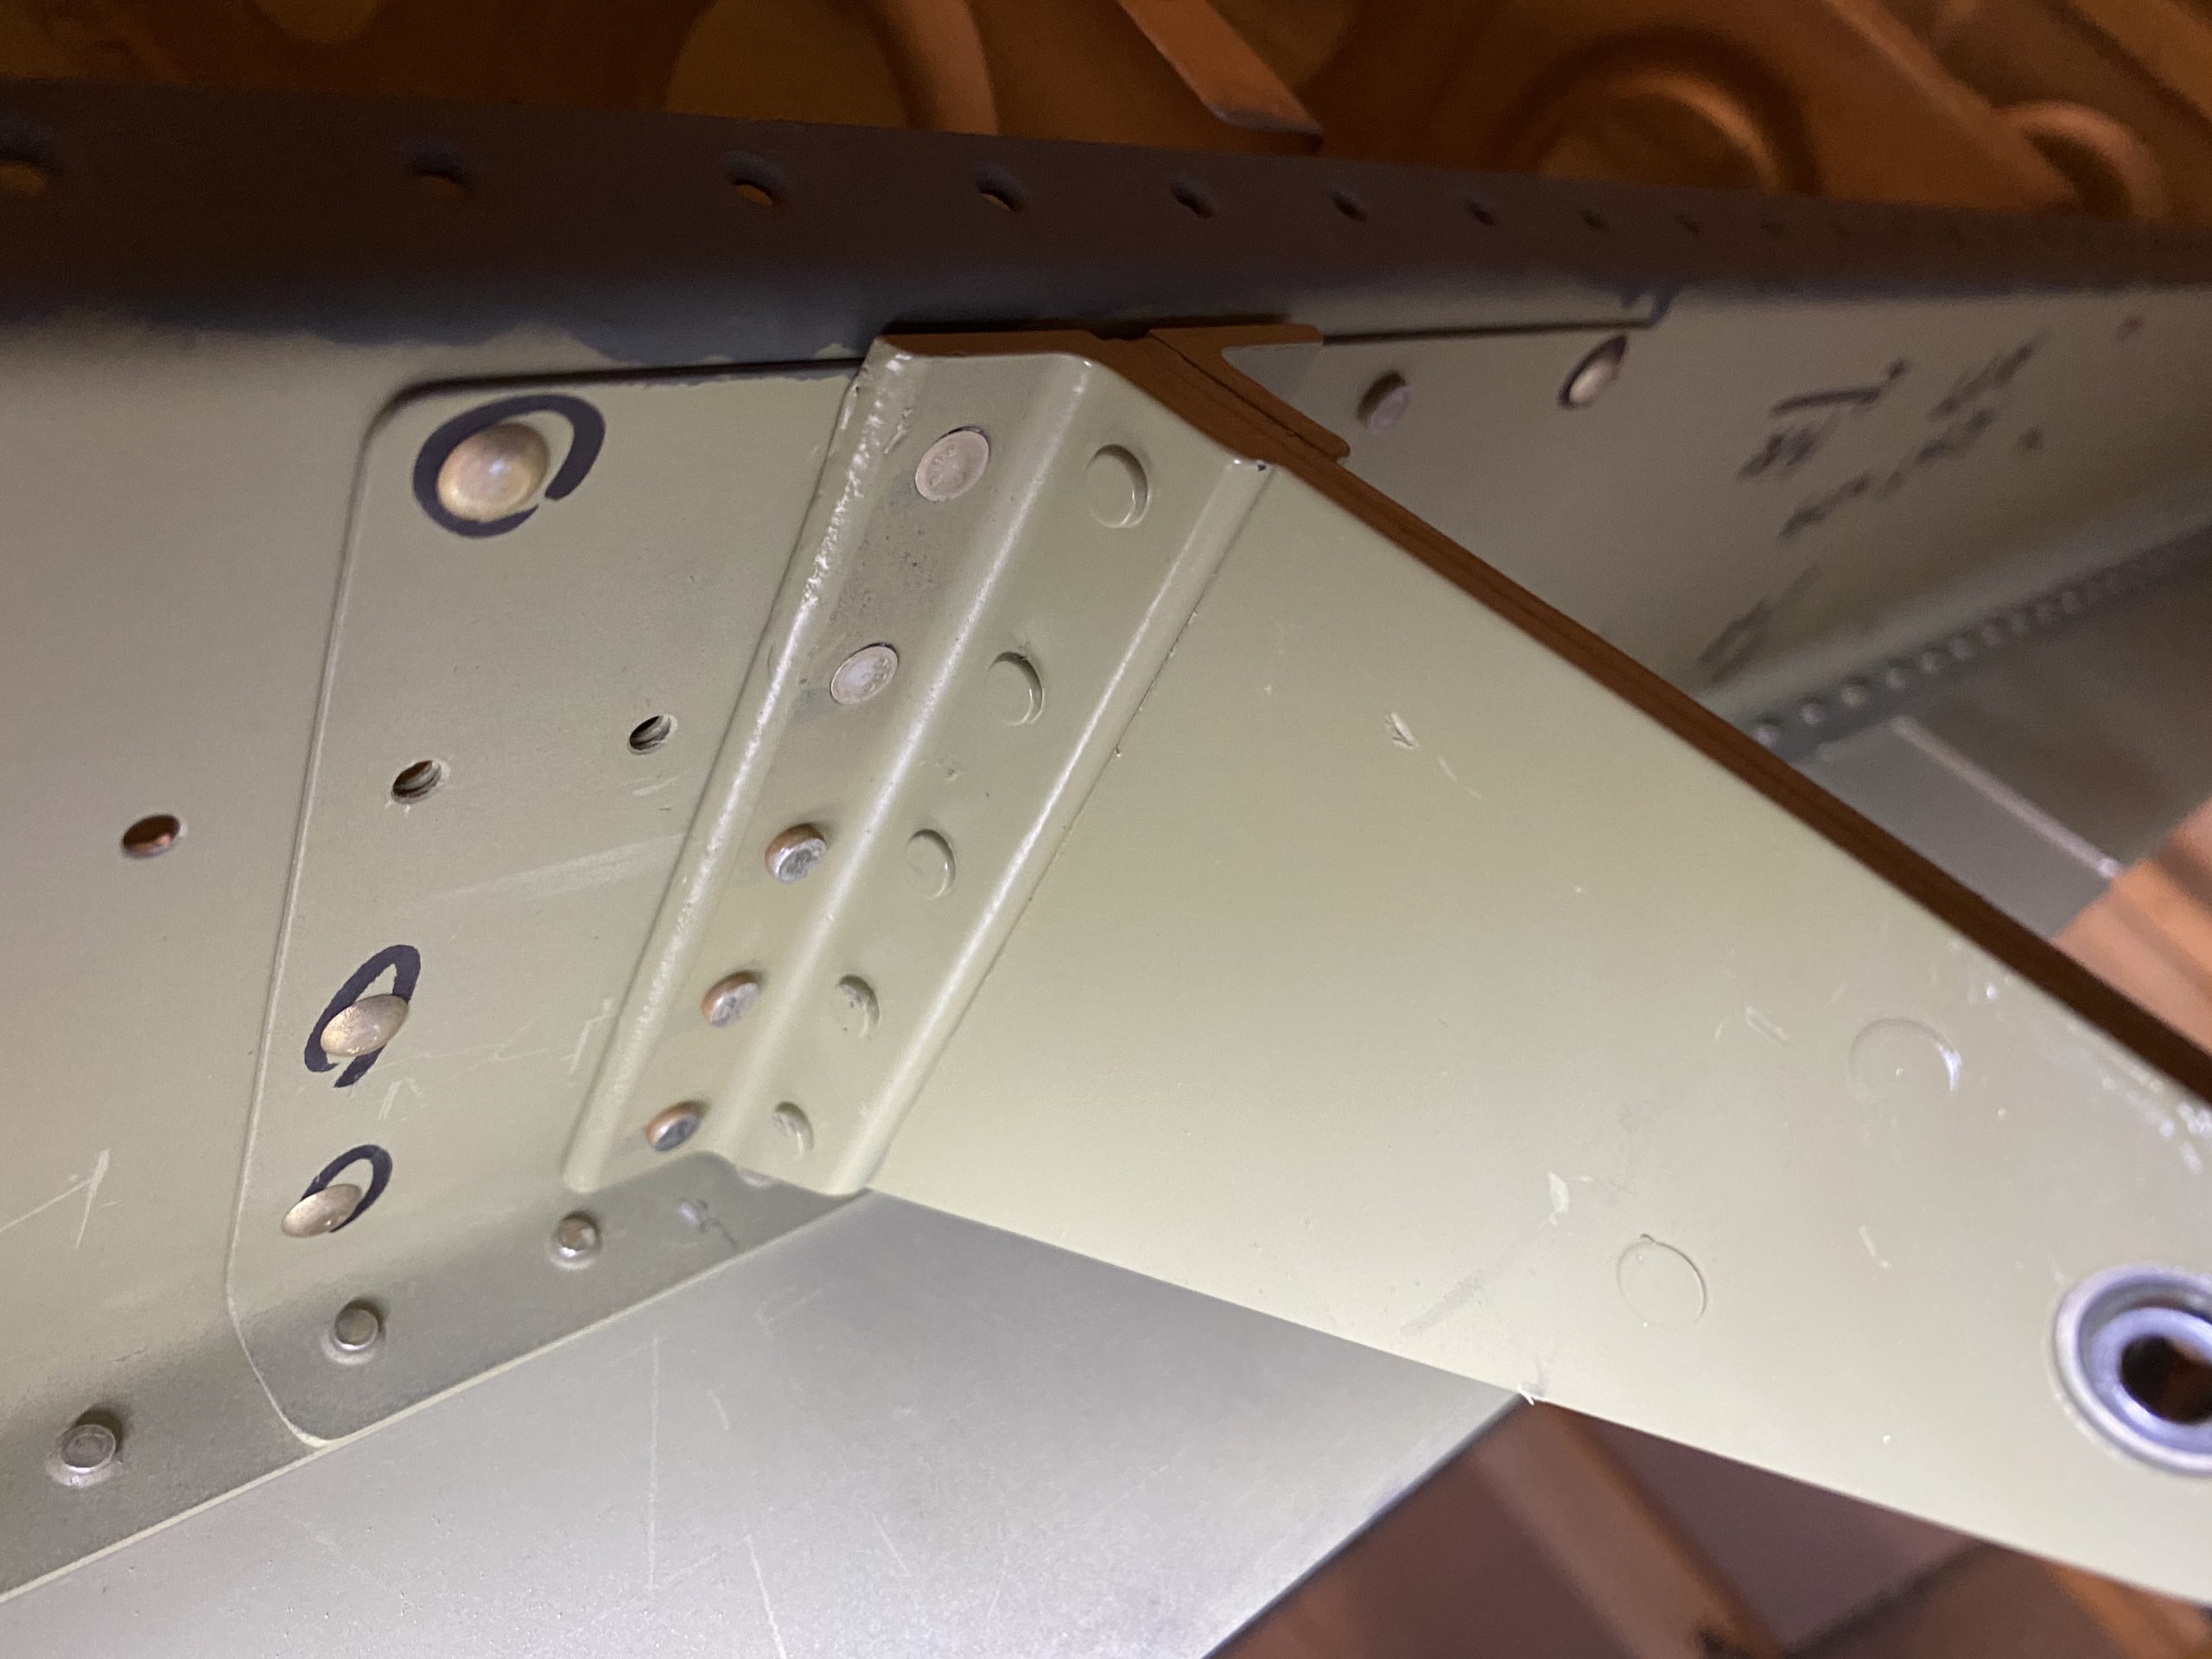
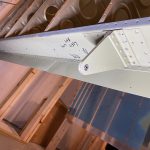
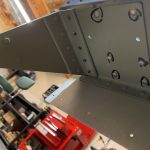
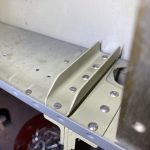
source link I the same thinking, I used AN426AD4-9 countersunk rivets for those bottom two rivets, to avoid clearance issues. Like I did on the outboard bracket, Vans calls for the lower most rivet to be flush, but I did the one right above it as well. I was able to squeeze some of these, and bucked the rest. I’m happy enough with how they came out, I have one rivet I will probably drill out and re-do because It sort of folded over a little. Should be easy to fix I think. Next up was to repeat this process on the right wing, and it was exactly the same as the left wing, just mirrored 🙂
https://www.infoturismiamoci.com/servizi-offerti/ 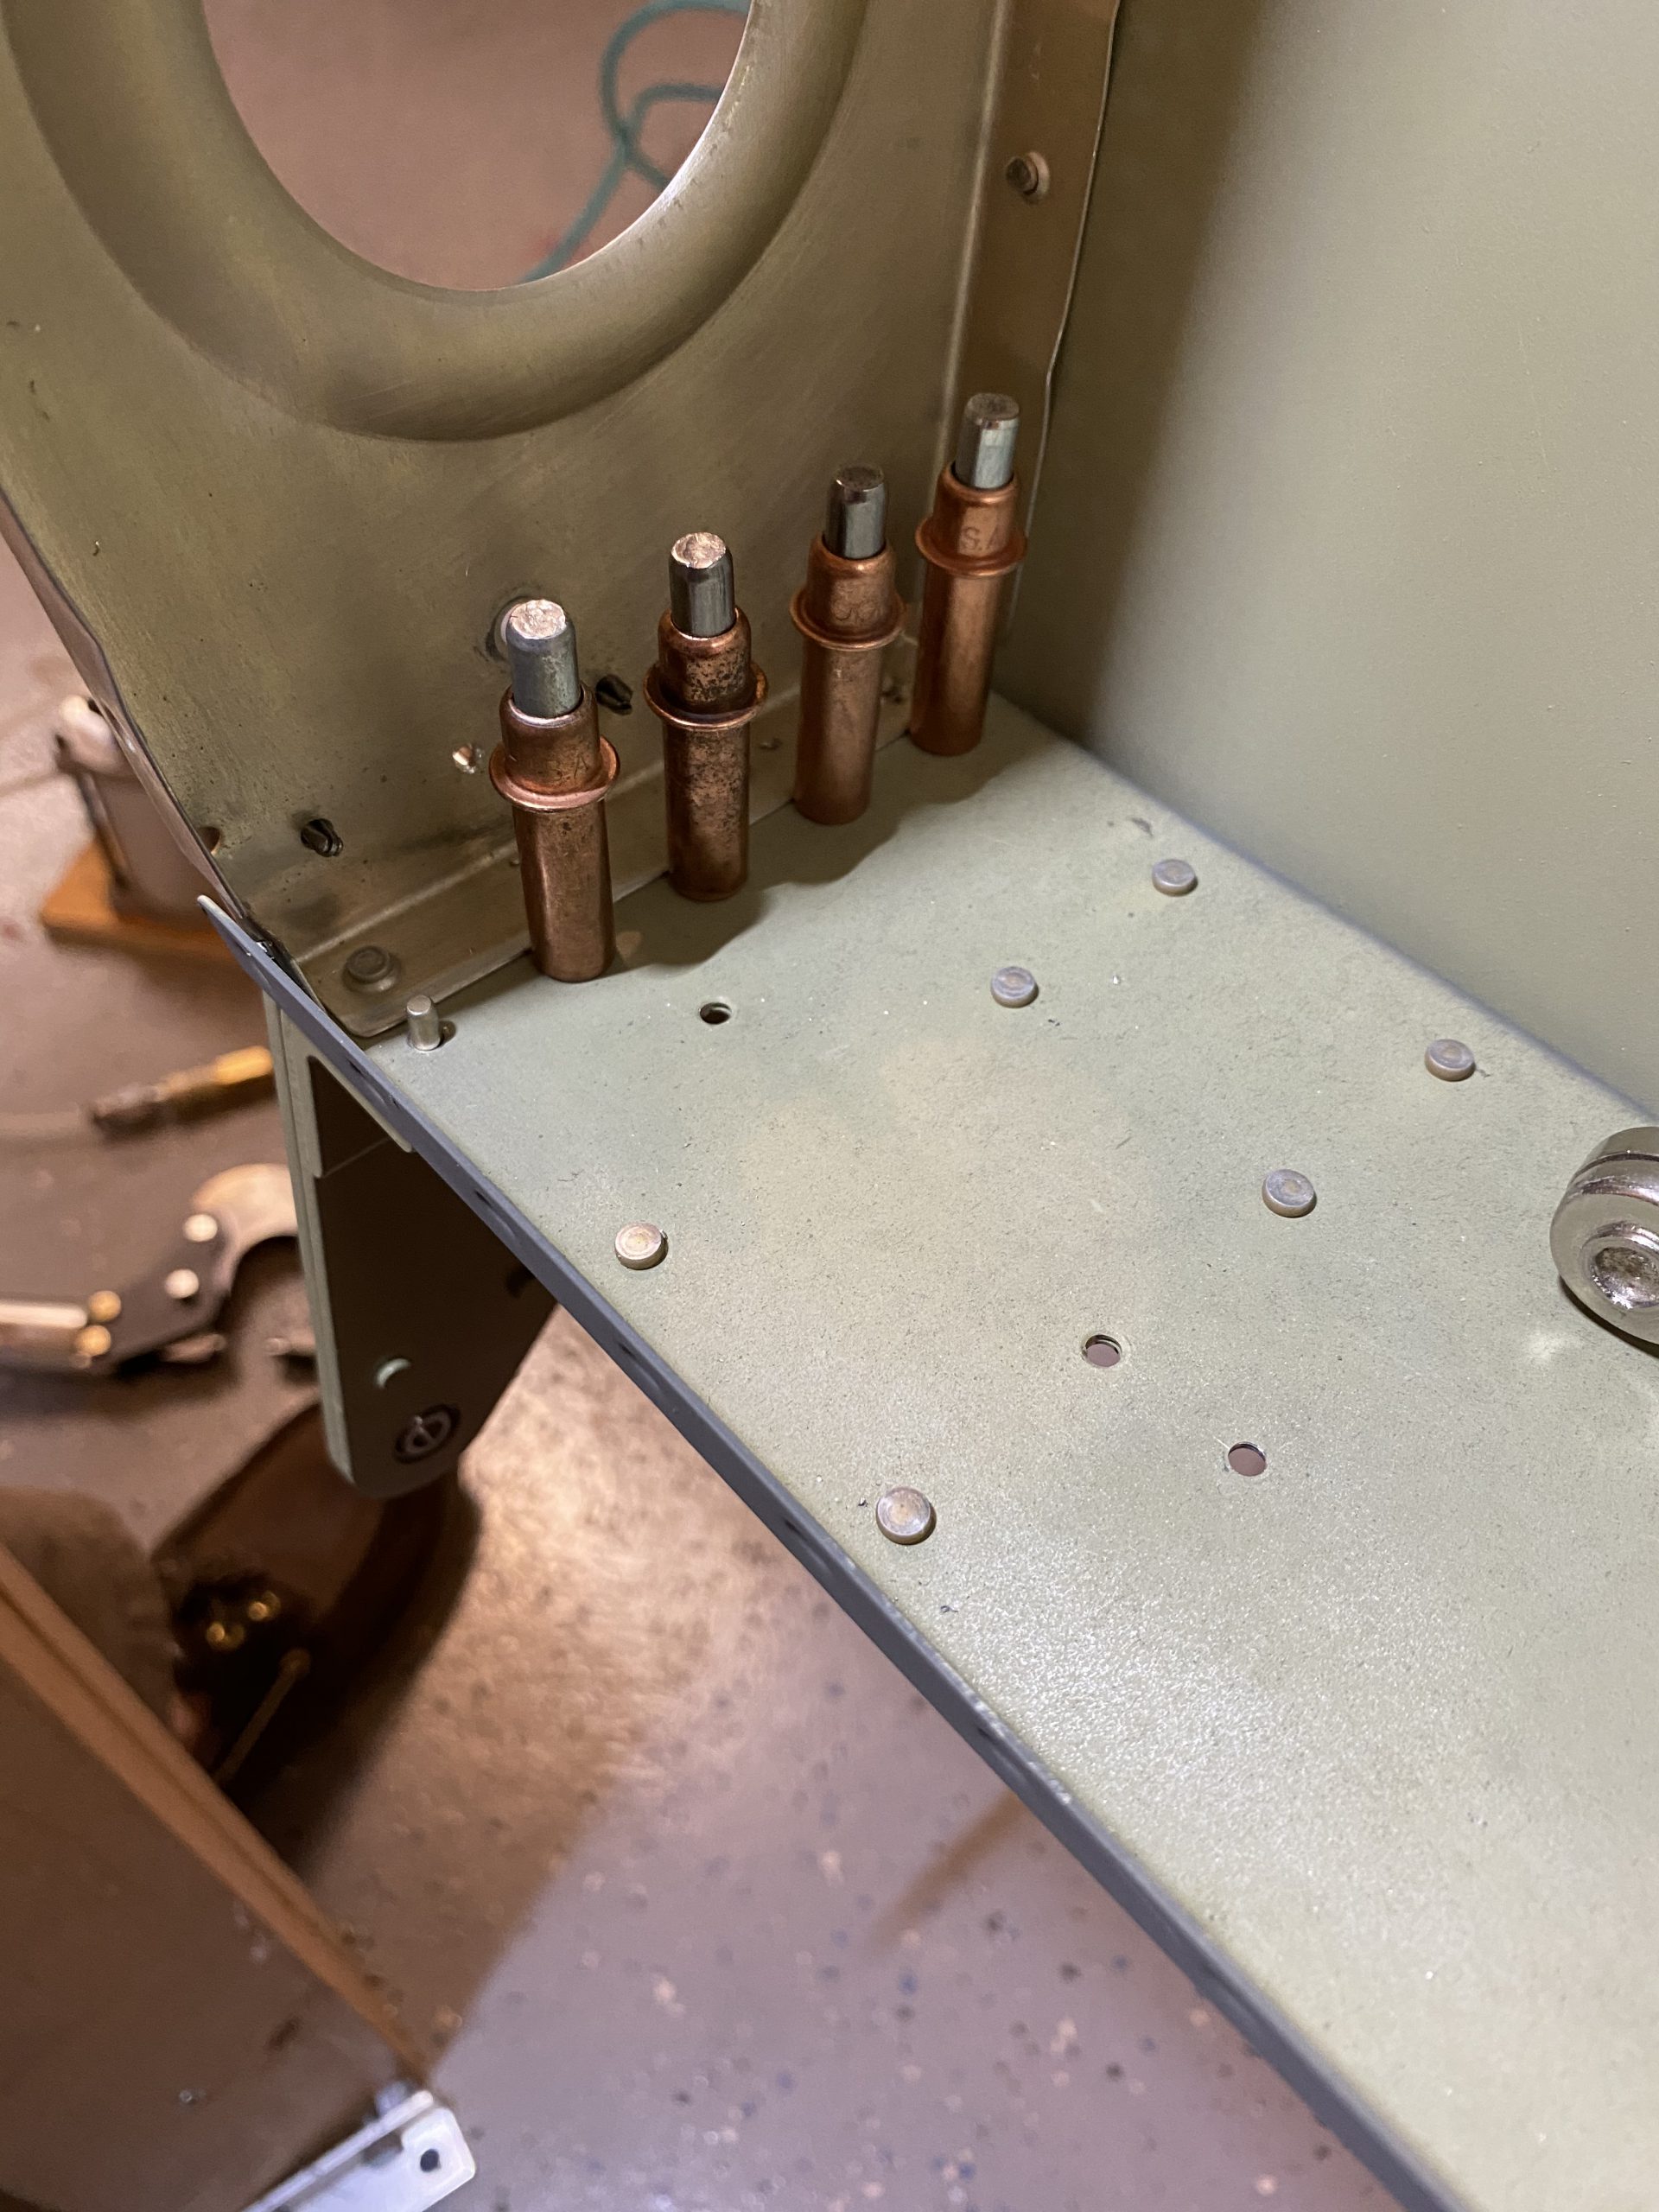
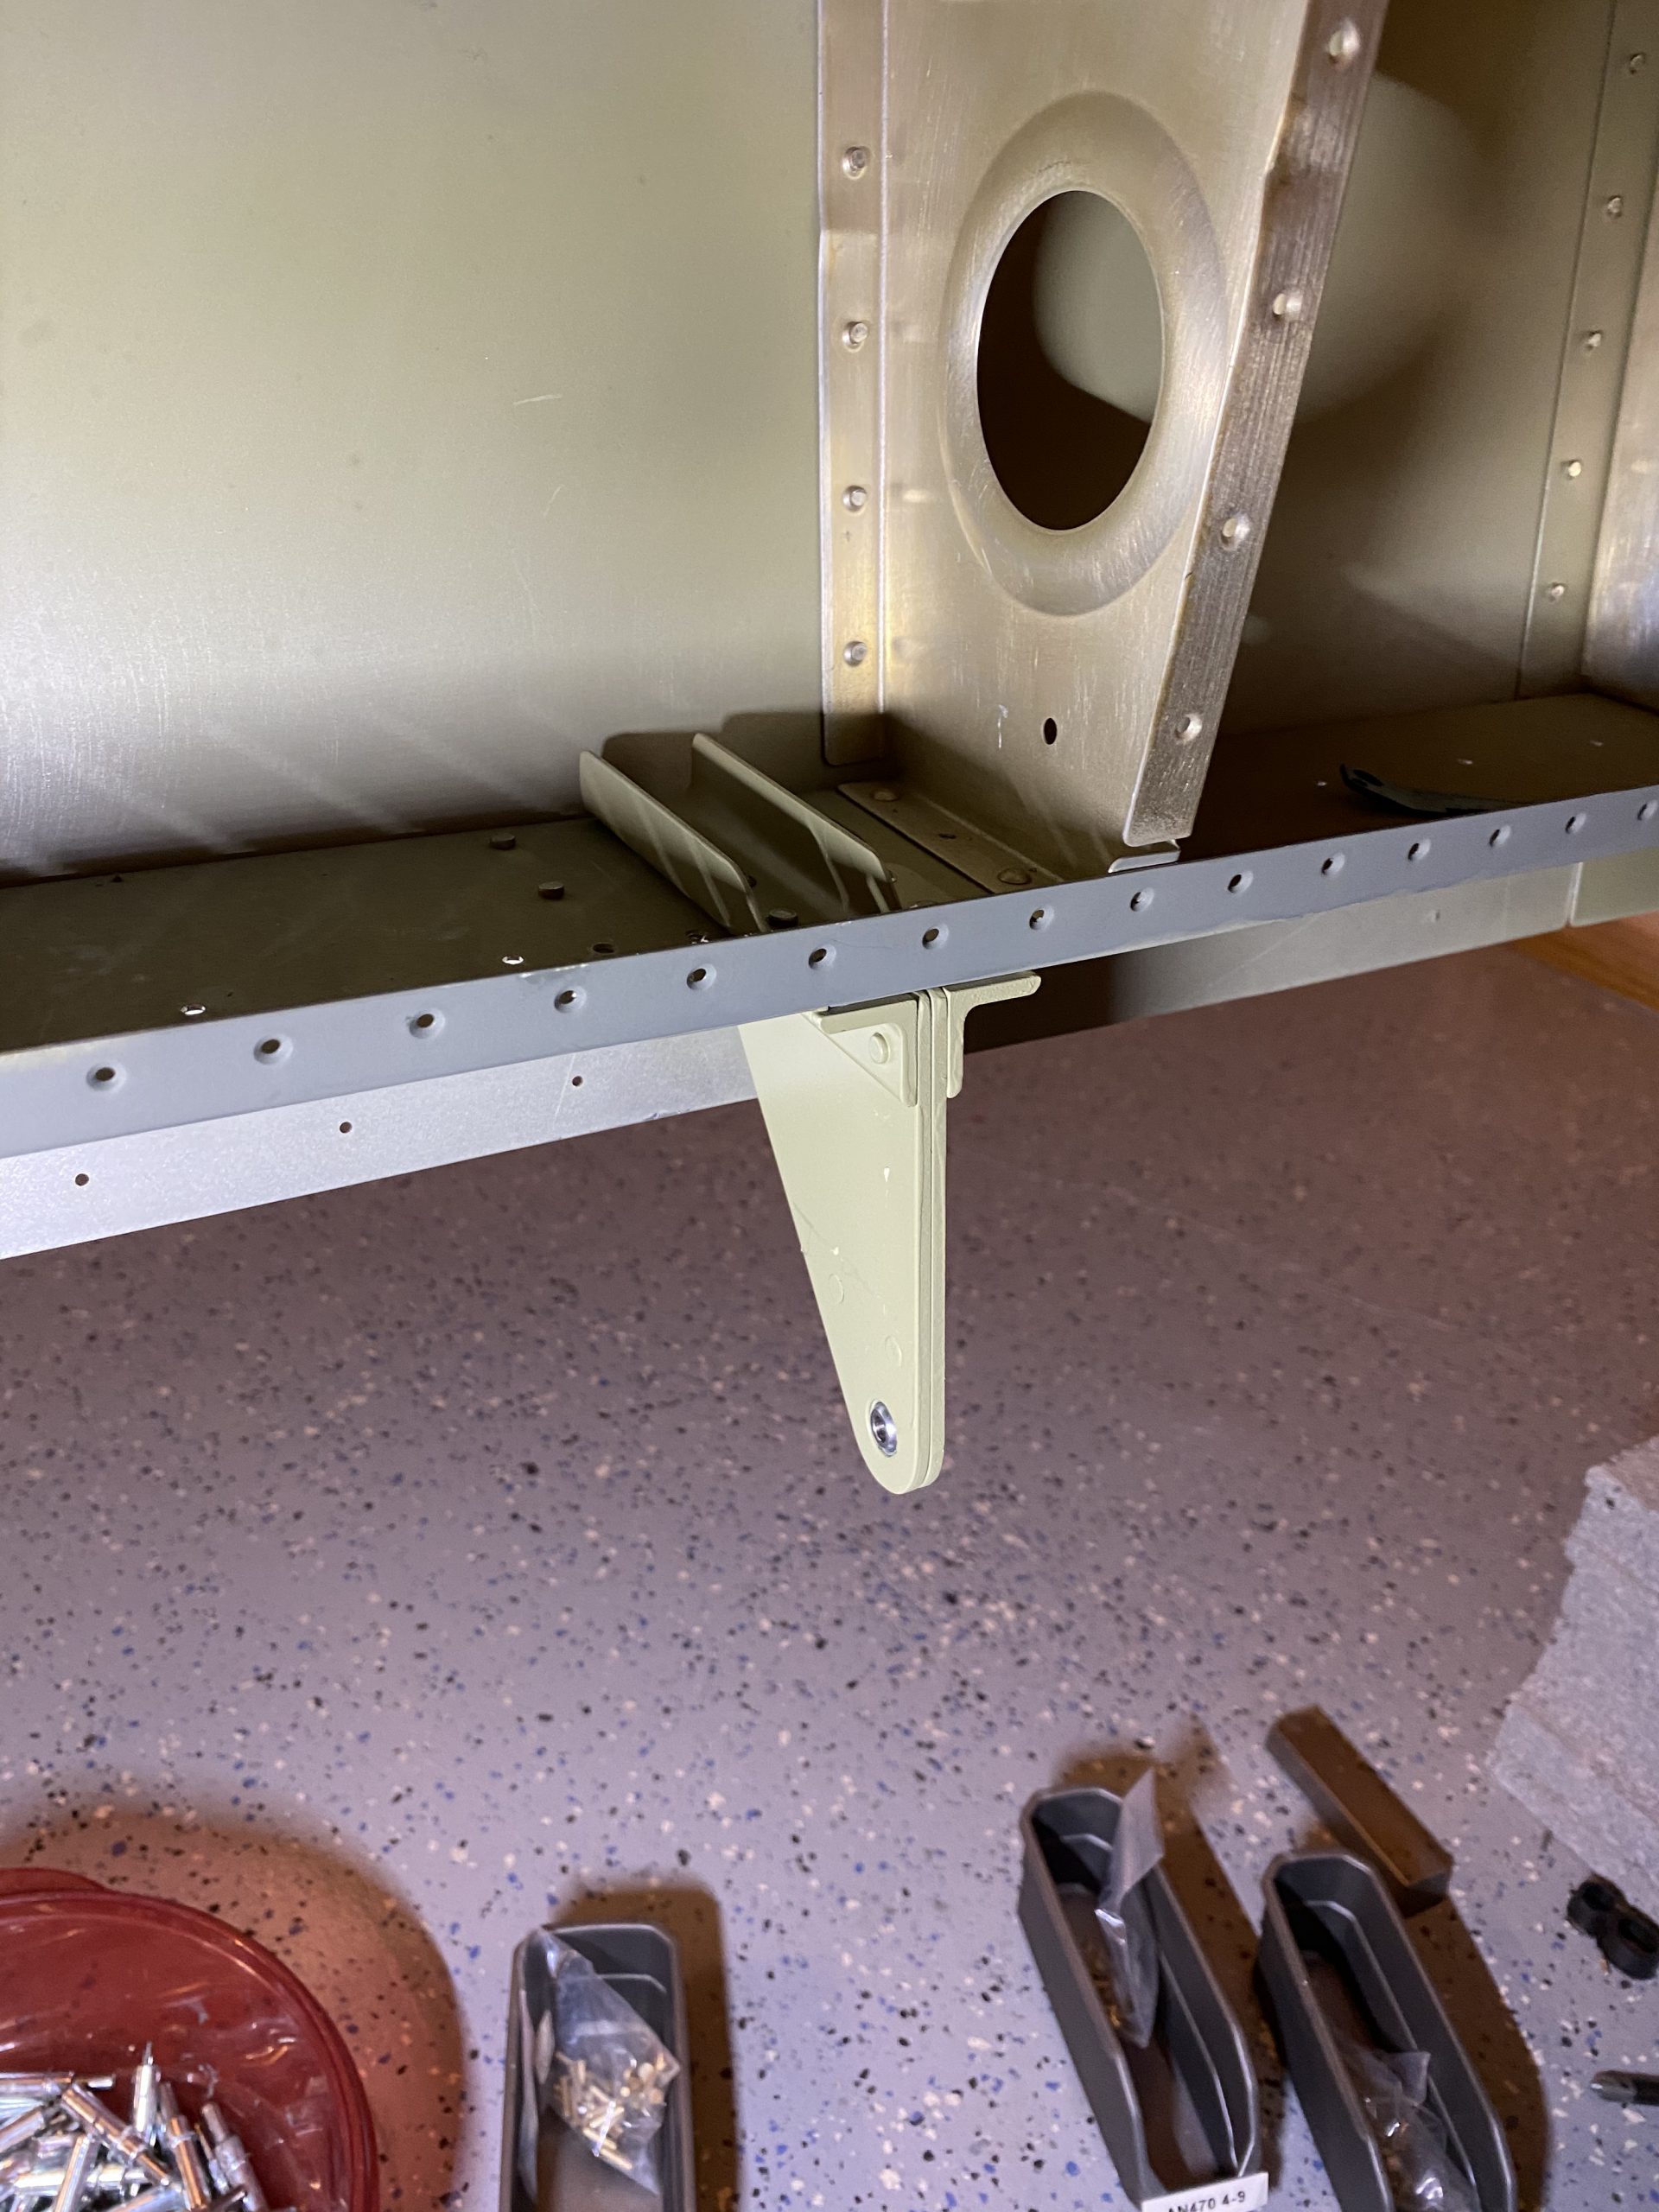
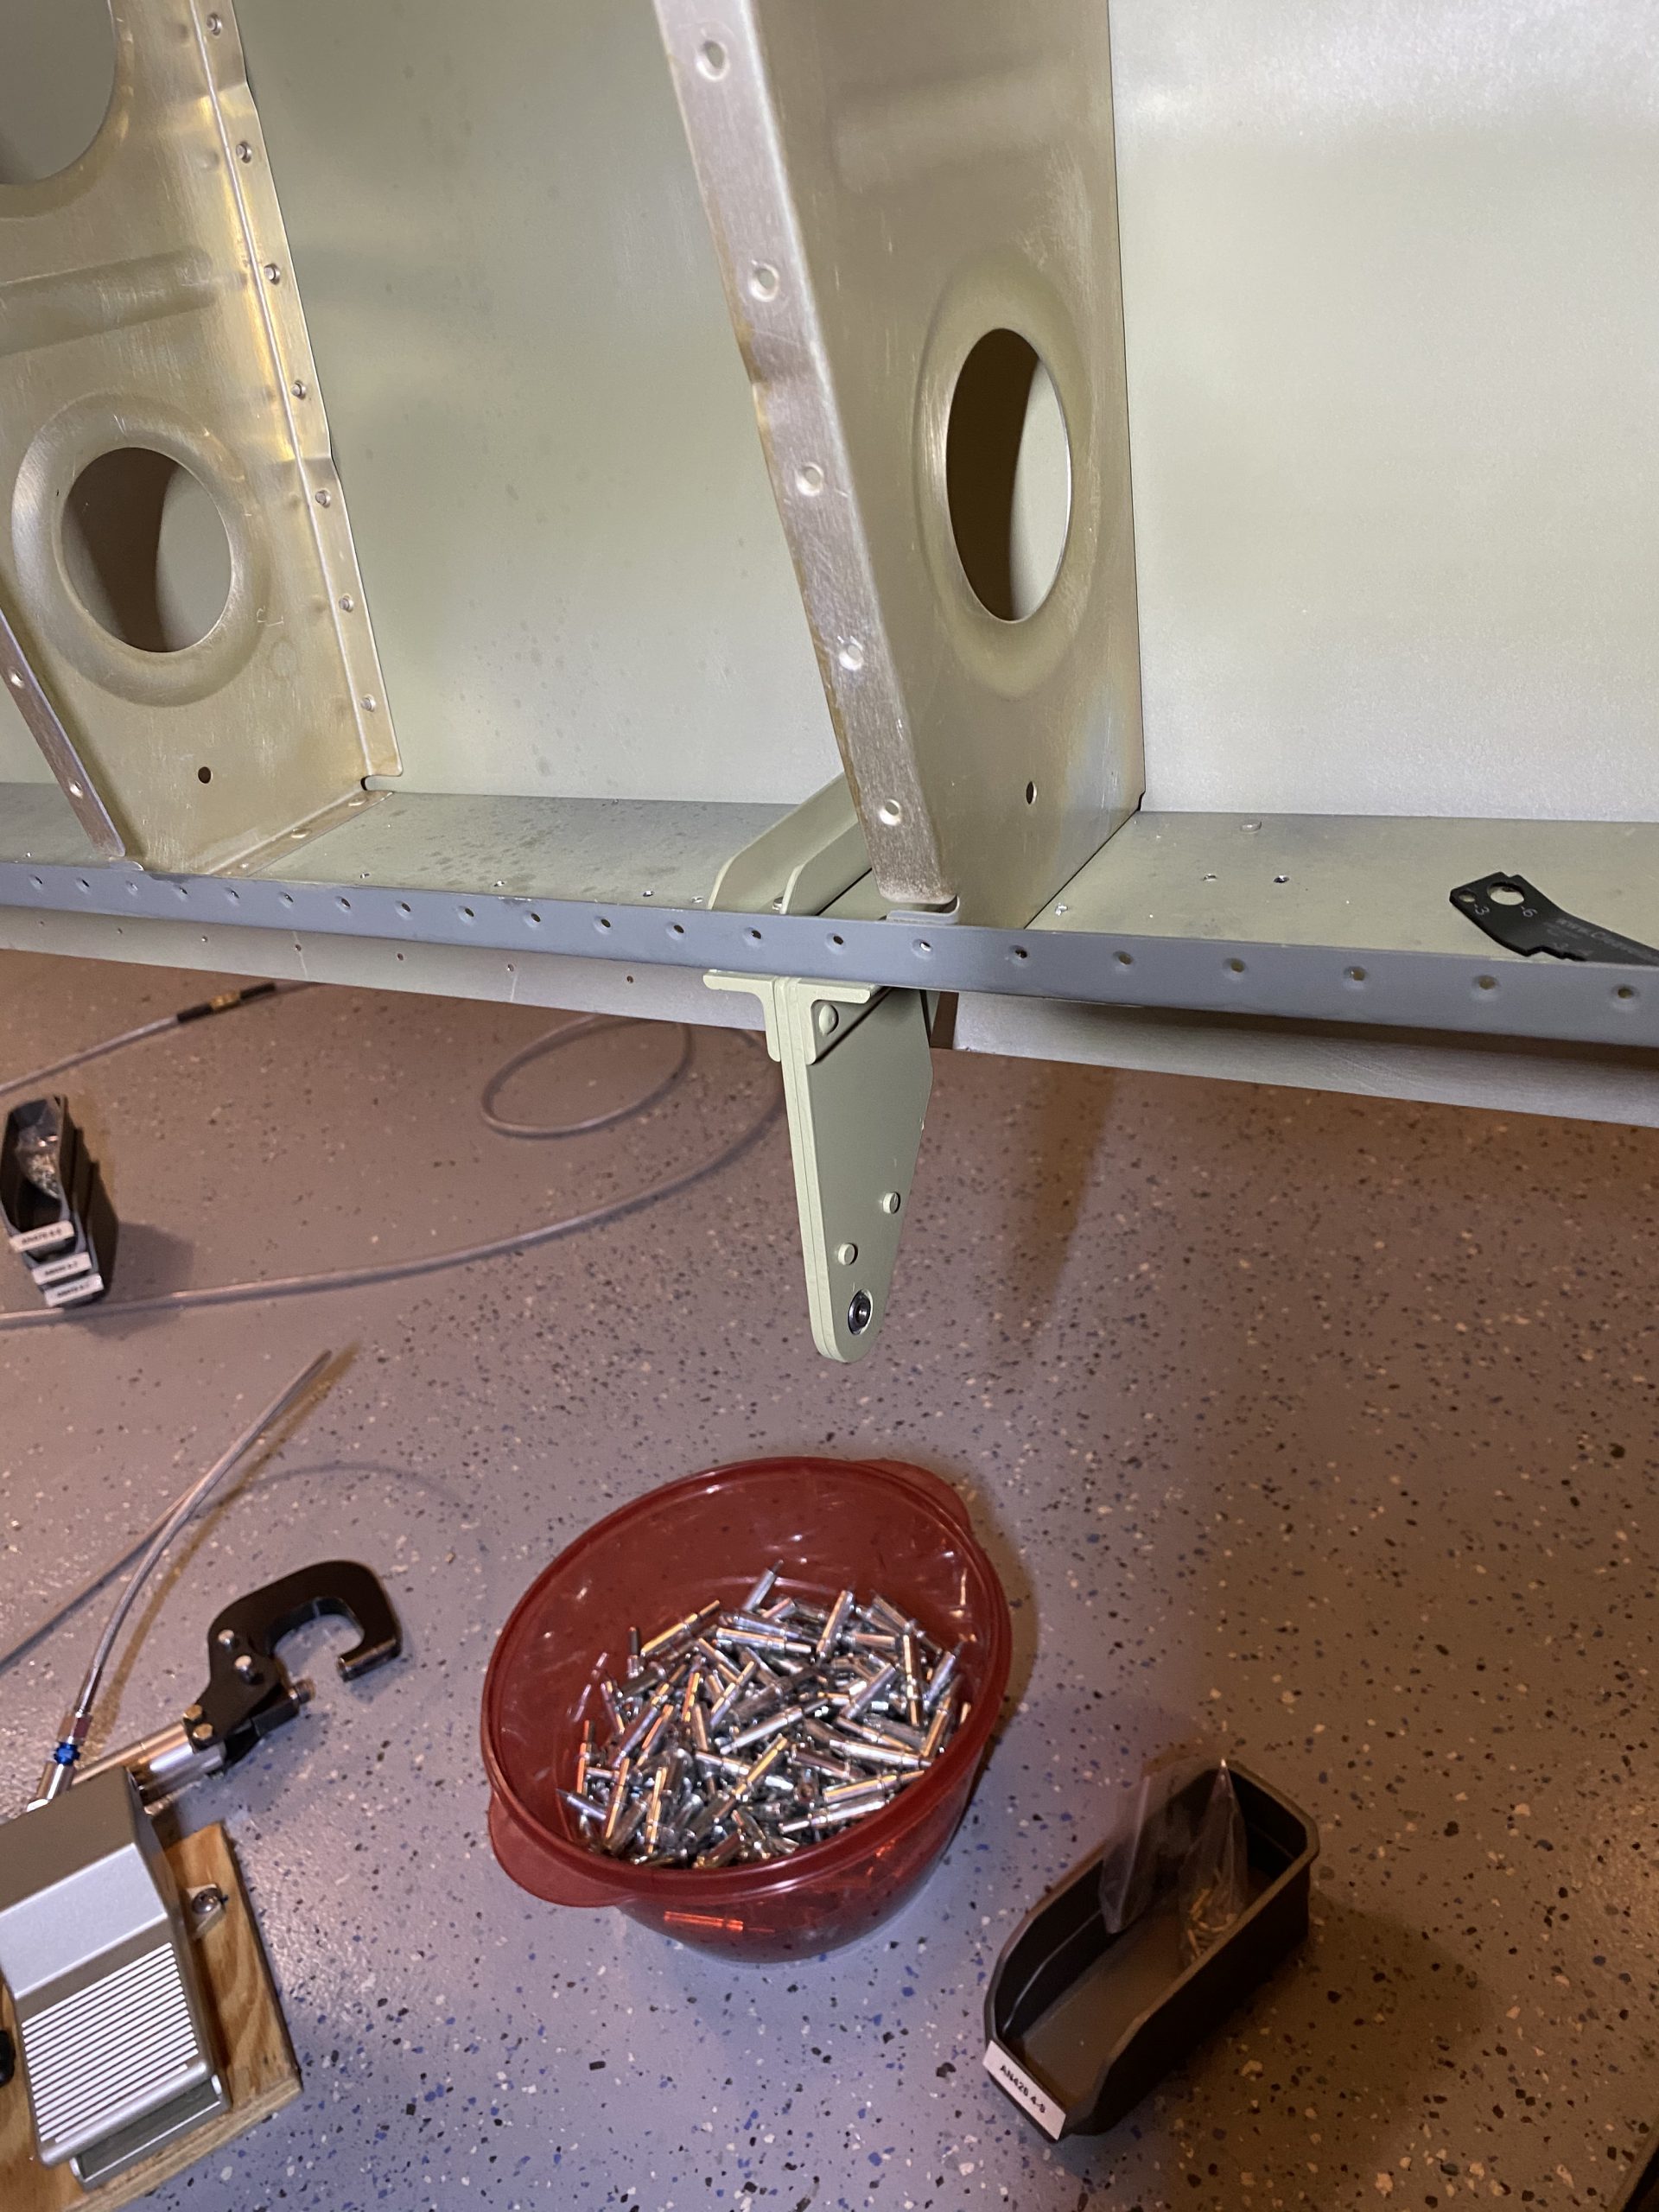
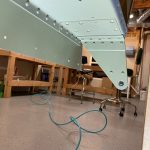
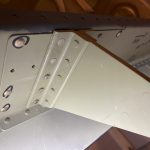
Order Valium Without Prescription Thats it! Both wings have their aileron brackets installed. I’m going to save drilling out that rivet, as I need to drill out 3 in the wing skins. So I’l all of them at the same time. This work went pretty quick, and I’m glad I primed these brackets as they look really nice, and should give a long service life. I think I’ll get the aileron gap seals and flap braces installed in the next session. I also need to start putting thought into the fuselage kit order soon :-). There’s more photos in the album below.
https://londonplaywrightsblog.com/subscribe/ Google Photos Link: https://photos.app.goo.gl/2B1t79pMpFiK1WFp6
-
IMG_2759
-
 IMG_2760
 -
IMG_2761
-
IMG_2762
-
 IMG_2763
 -
 IMG_2764
 -
 IMG_2765
 -
 IMG_2766
 -
IMG_2767
-
IMG_2768
-
 IMG_2769
 -
 IMG_2770
 -
IMG_2771
-
 IMG_2772
 -
 IMG_2773
 -
 IMG_2774
 -
 IMG_2775
 -
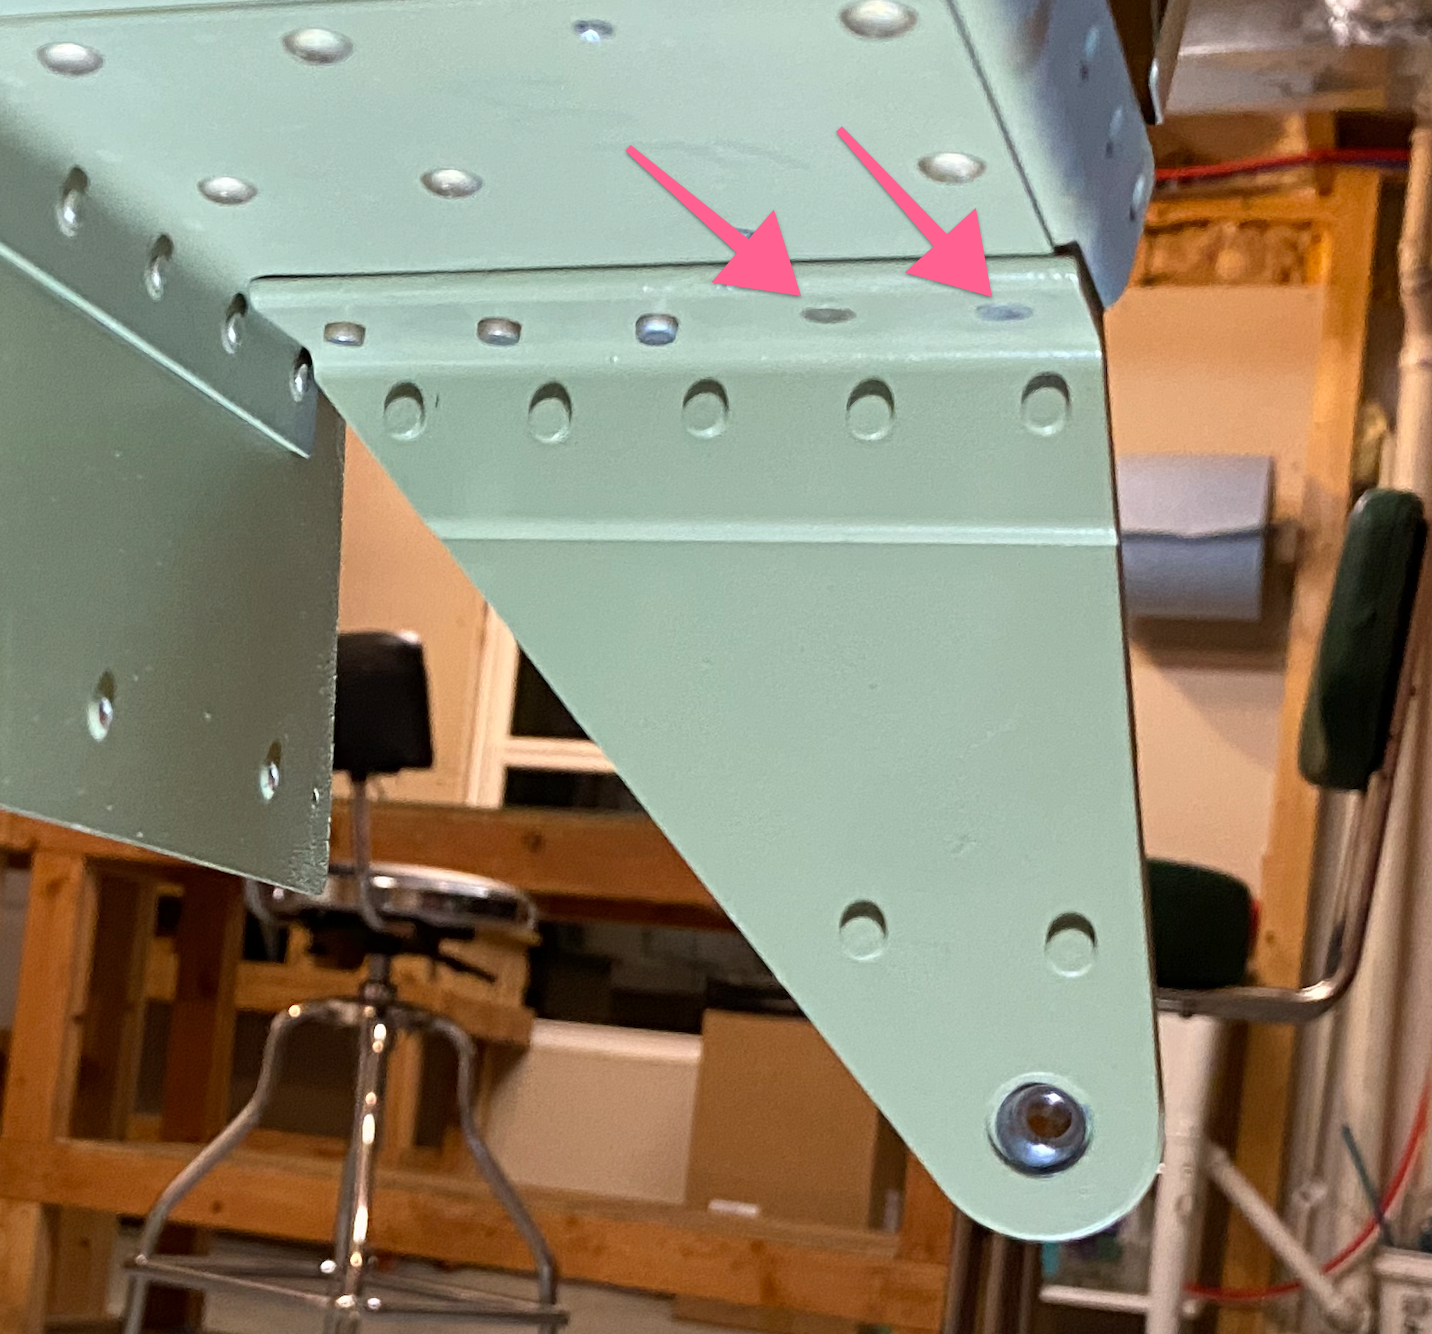 Image 2020-09-27 at 10.57.22 PM

https://www.dentistcorpuschristitexas.com/strengthen-teeth/ Hours Worked: 1.75