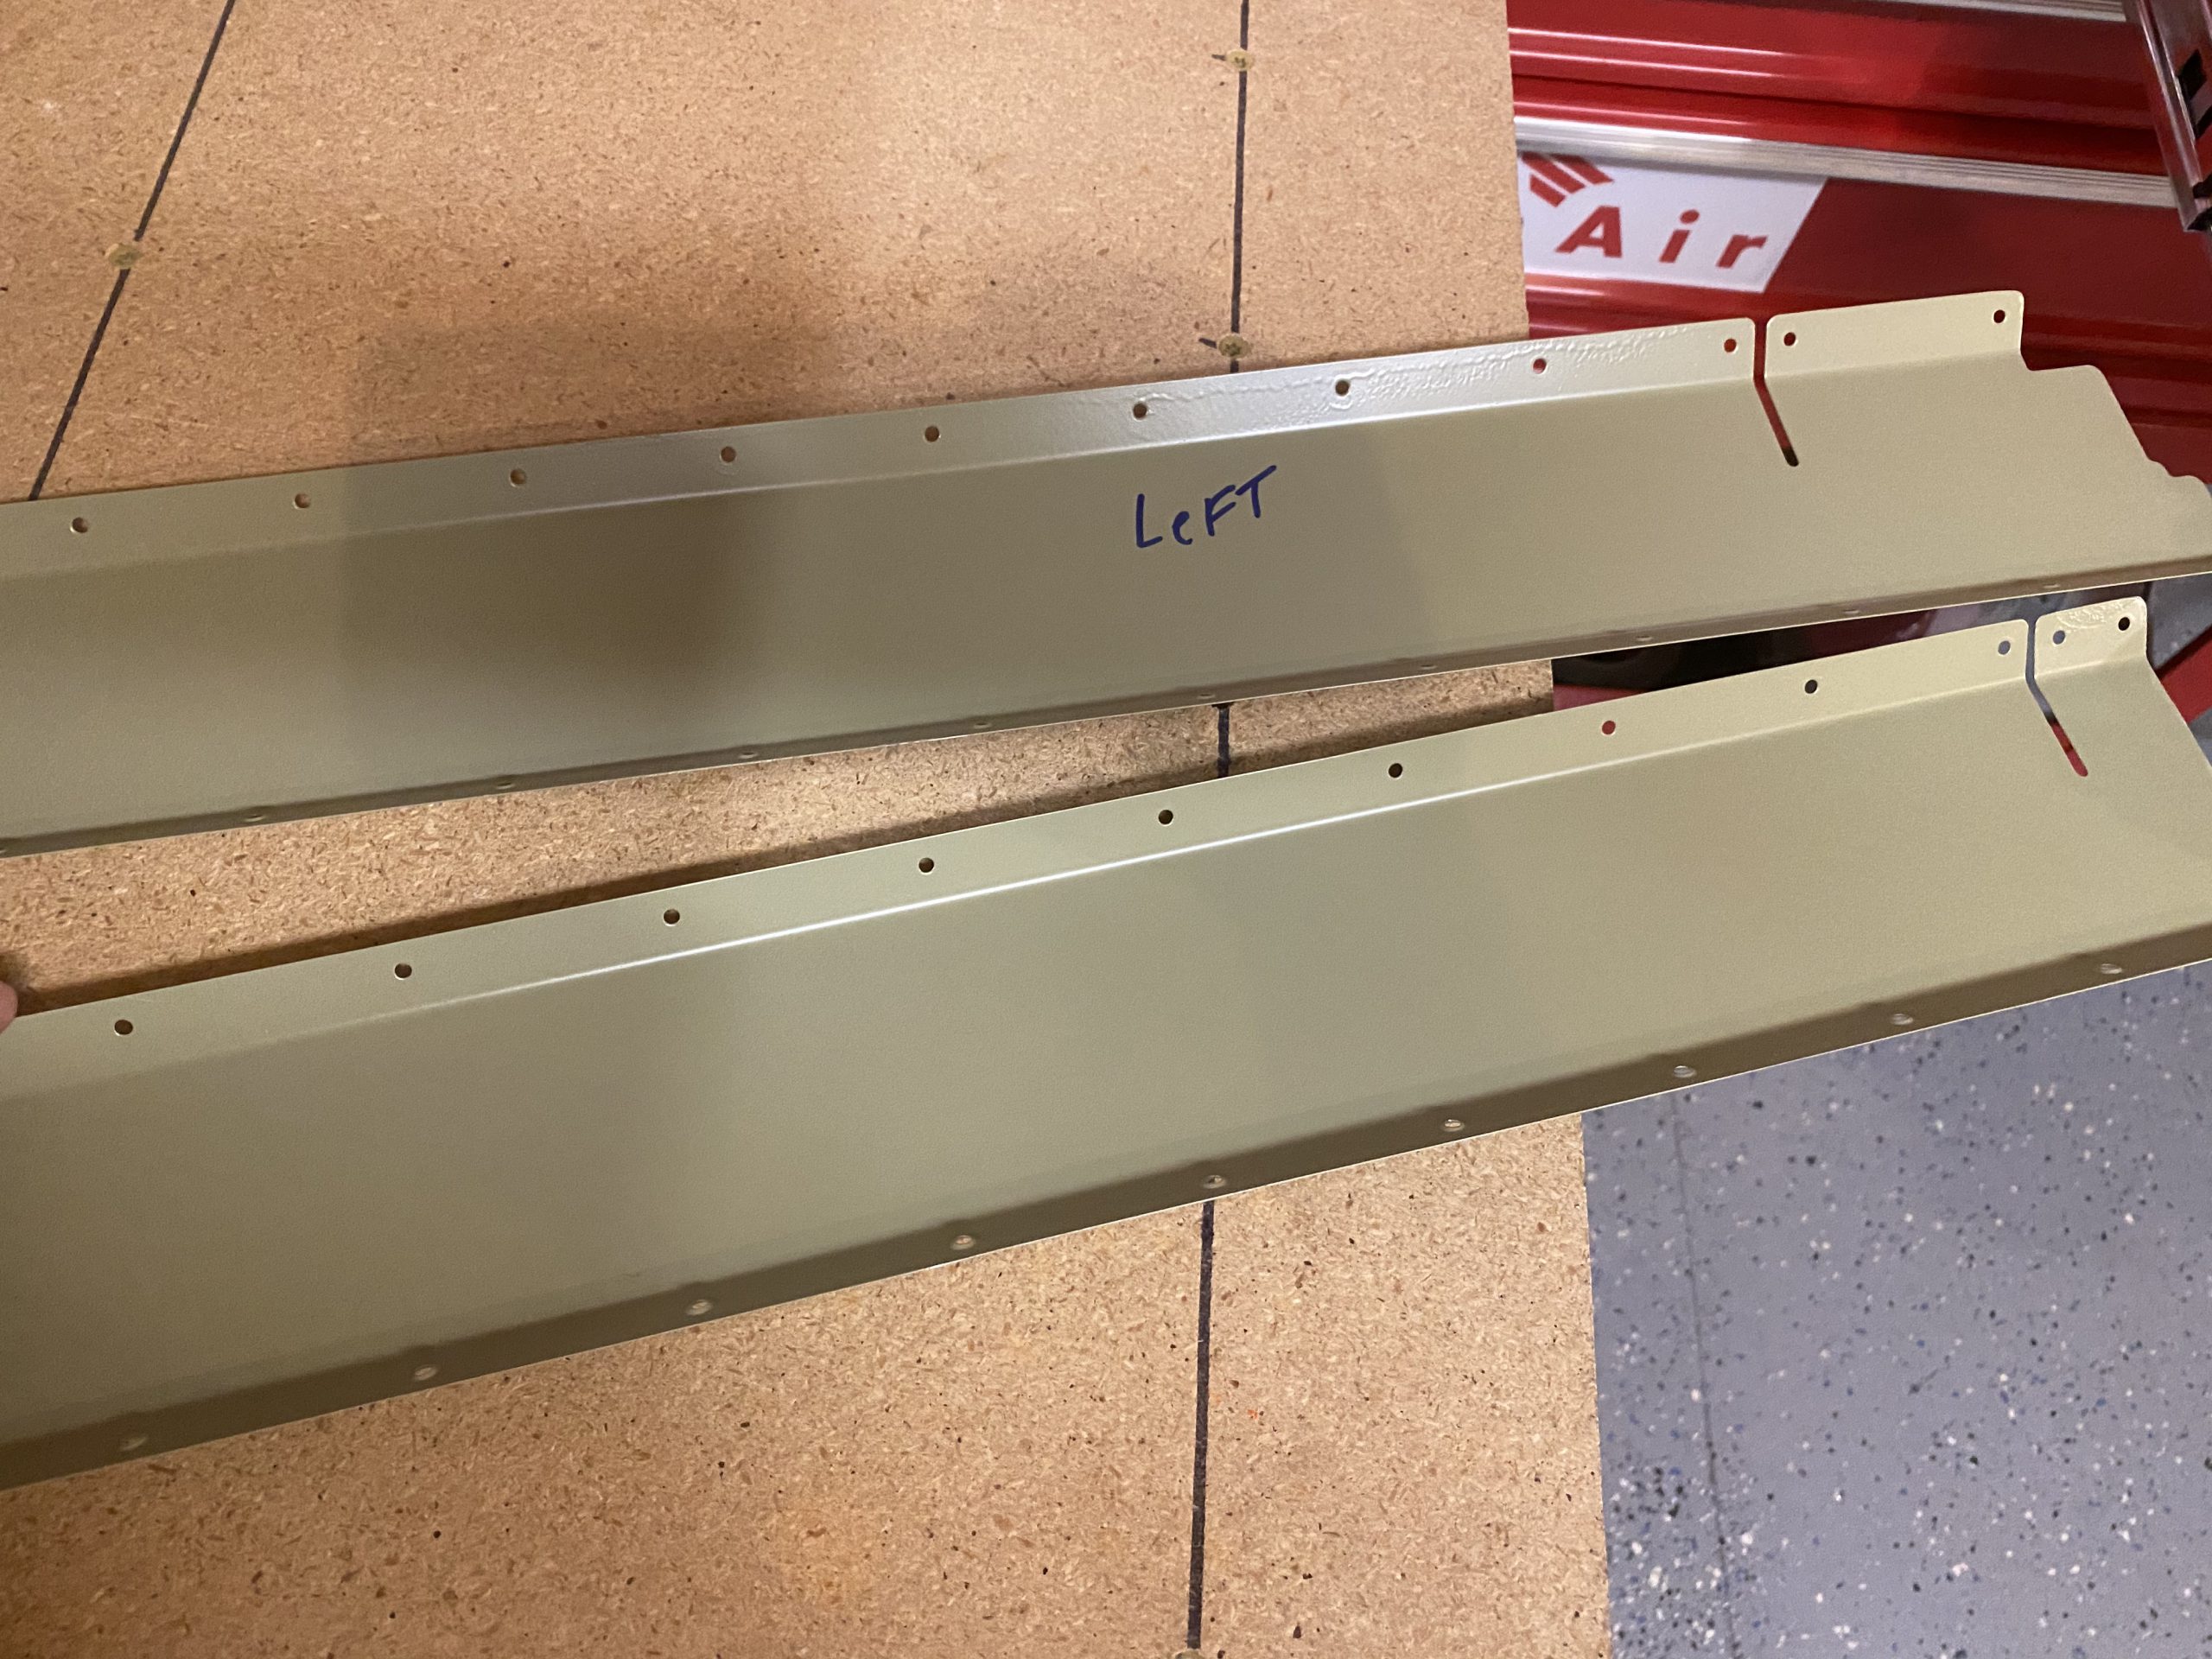
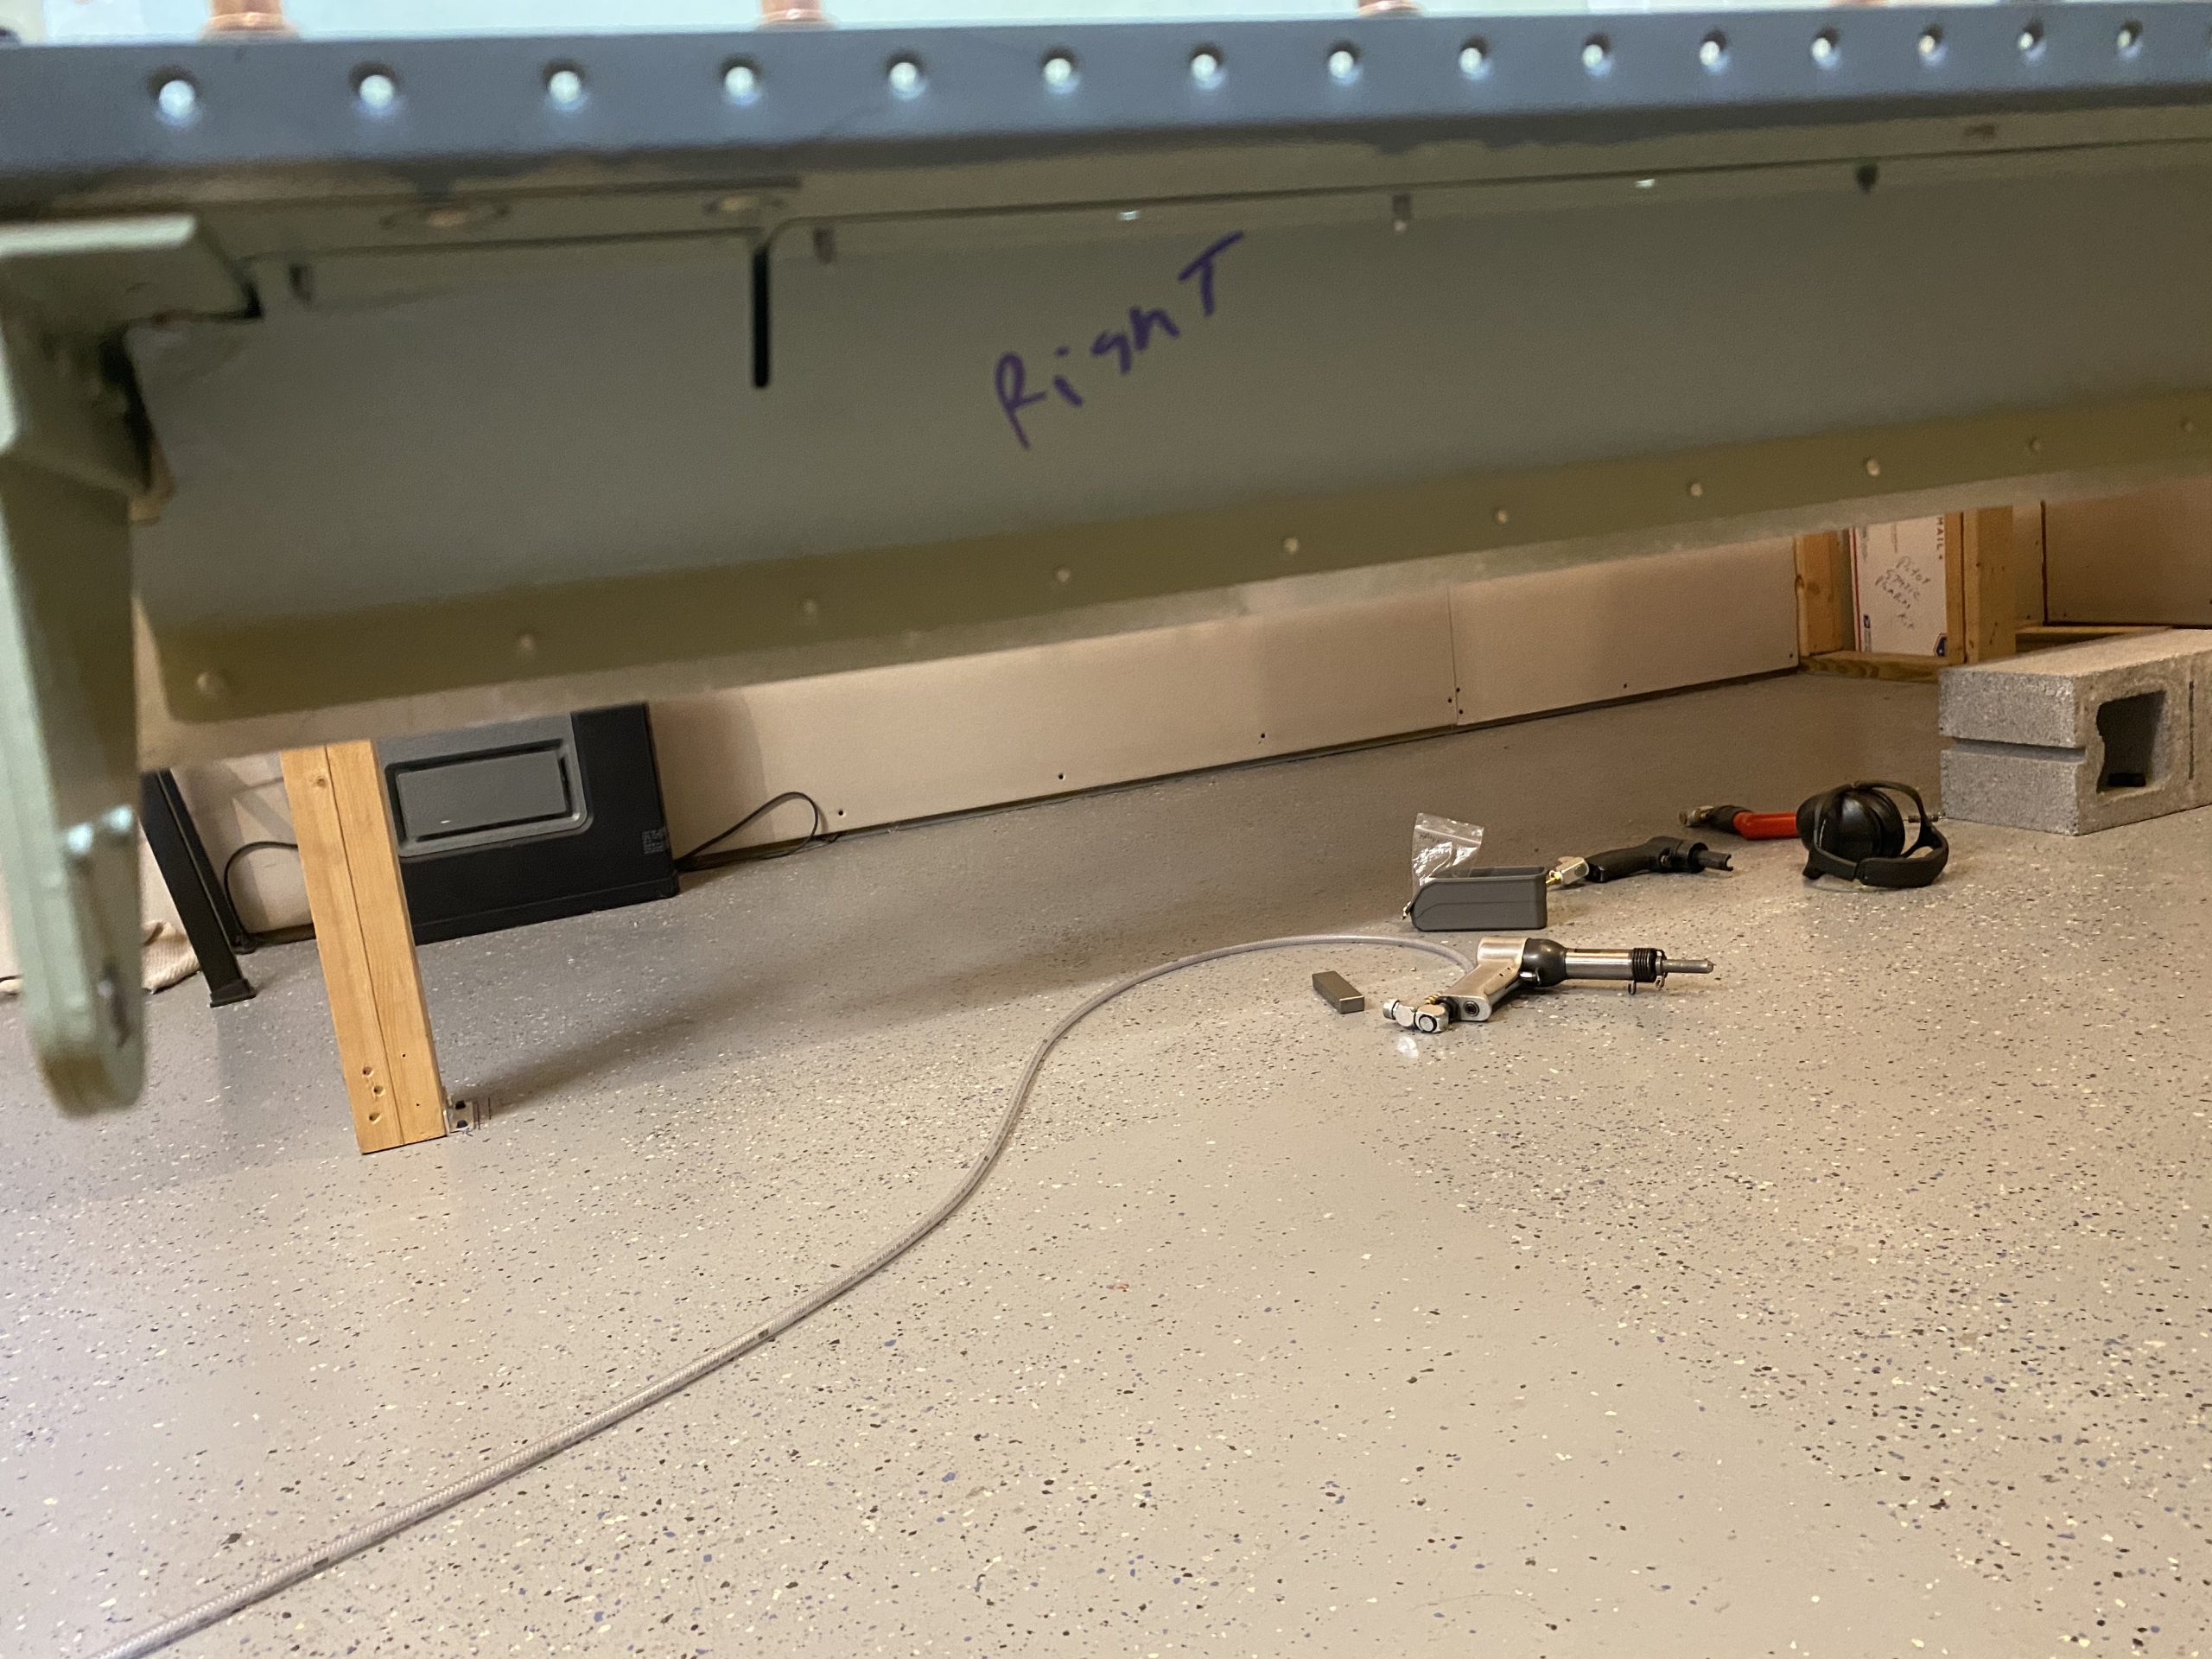
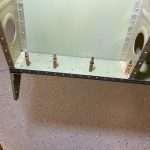
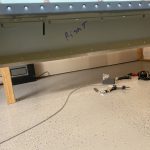
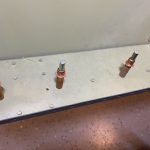
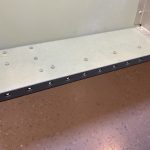
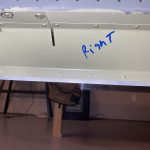
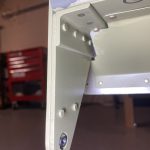
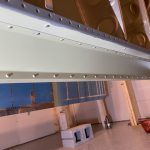
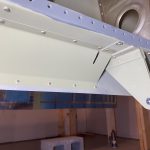
Buy Ultram Online I was able to get both the left and right wing aileron gap fairings riveted on the wings. I captured the process in timelapse, heres those videos:
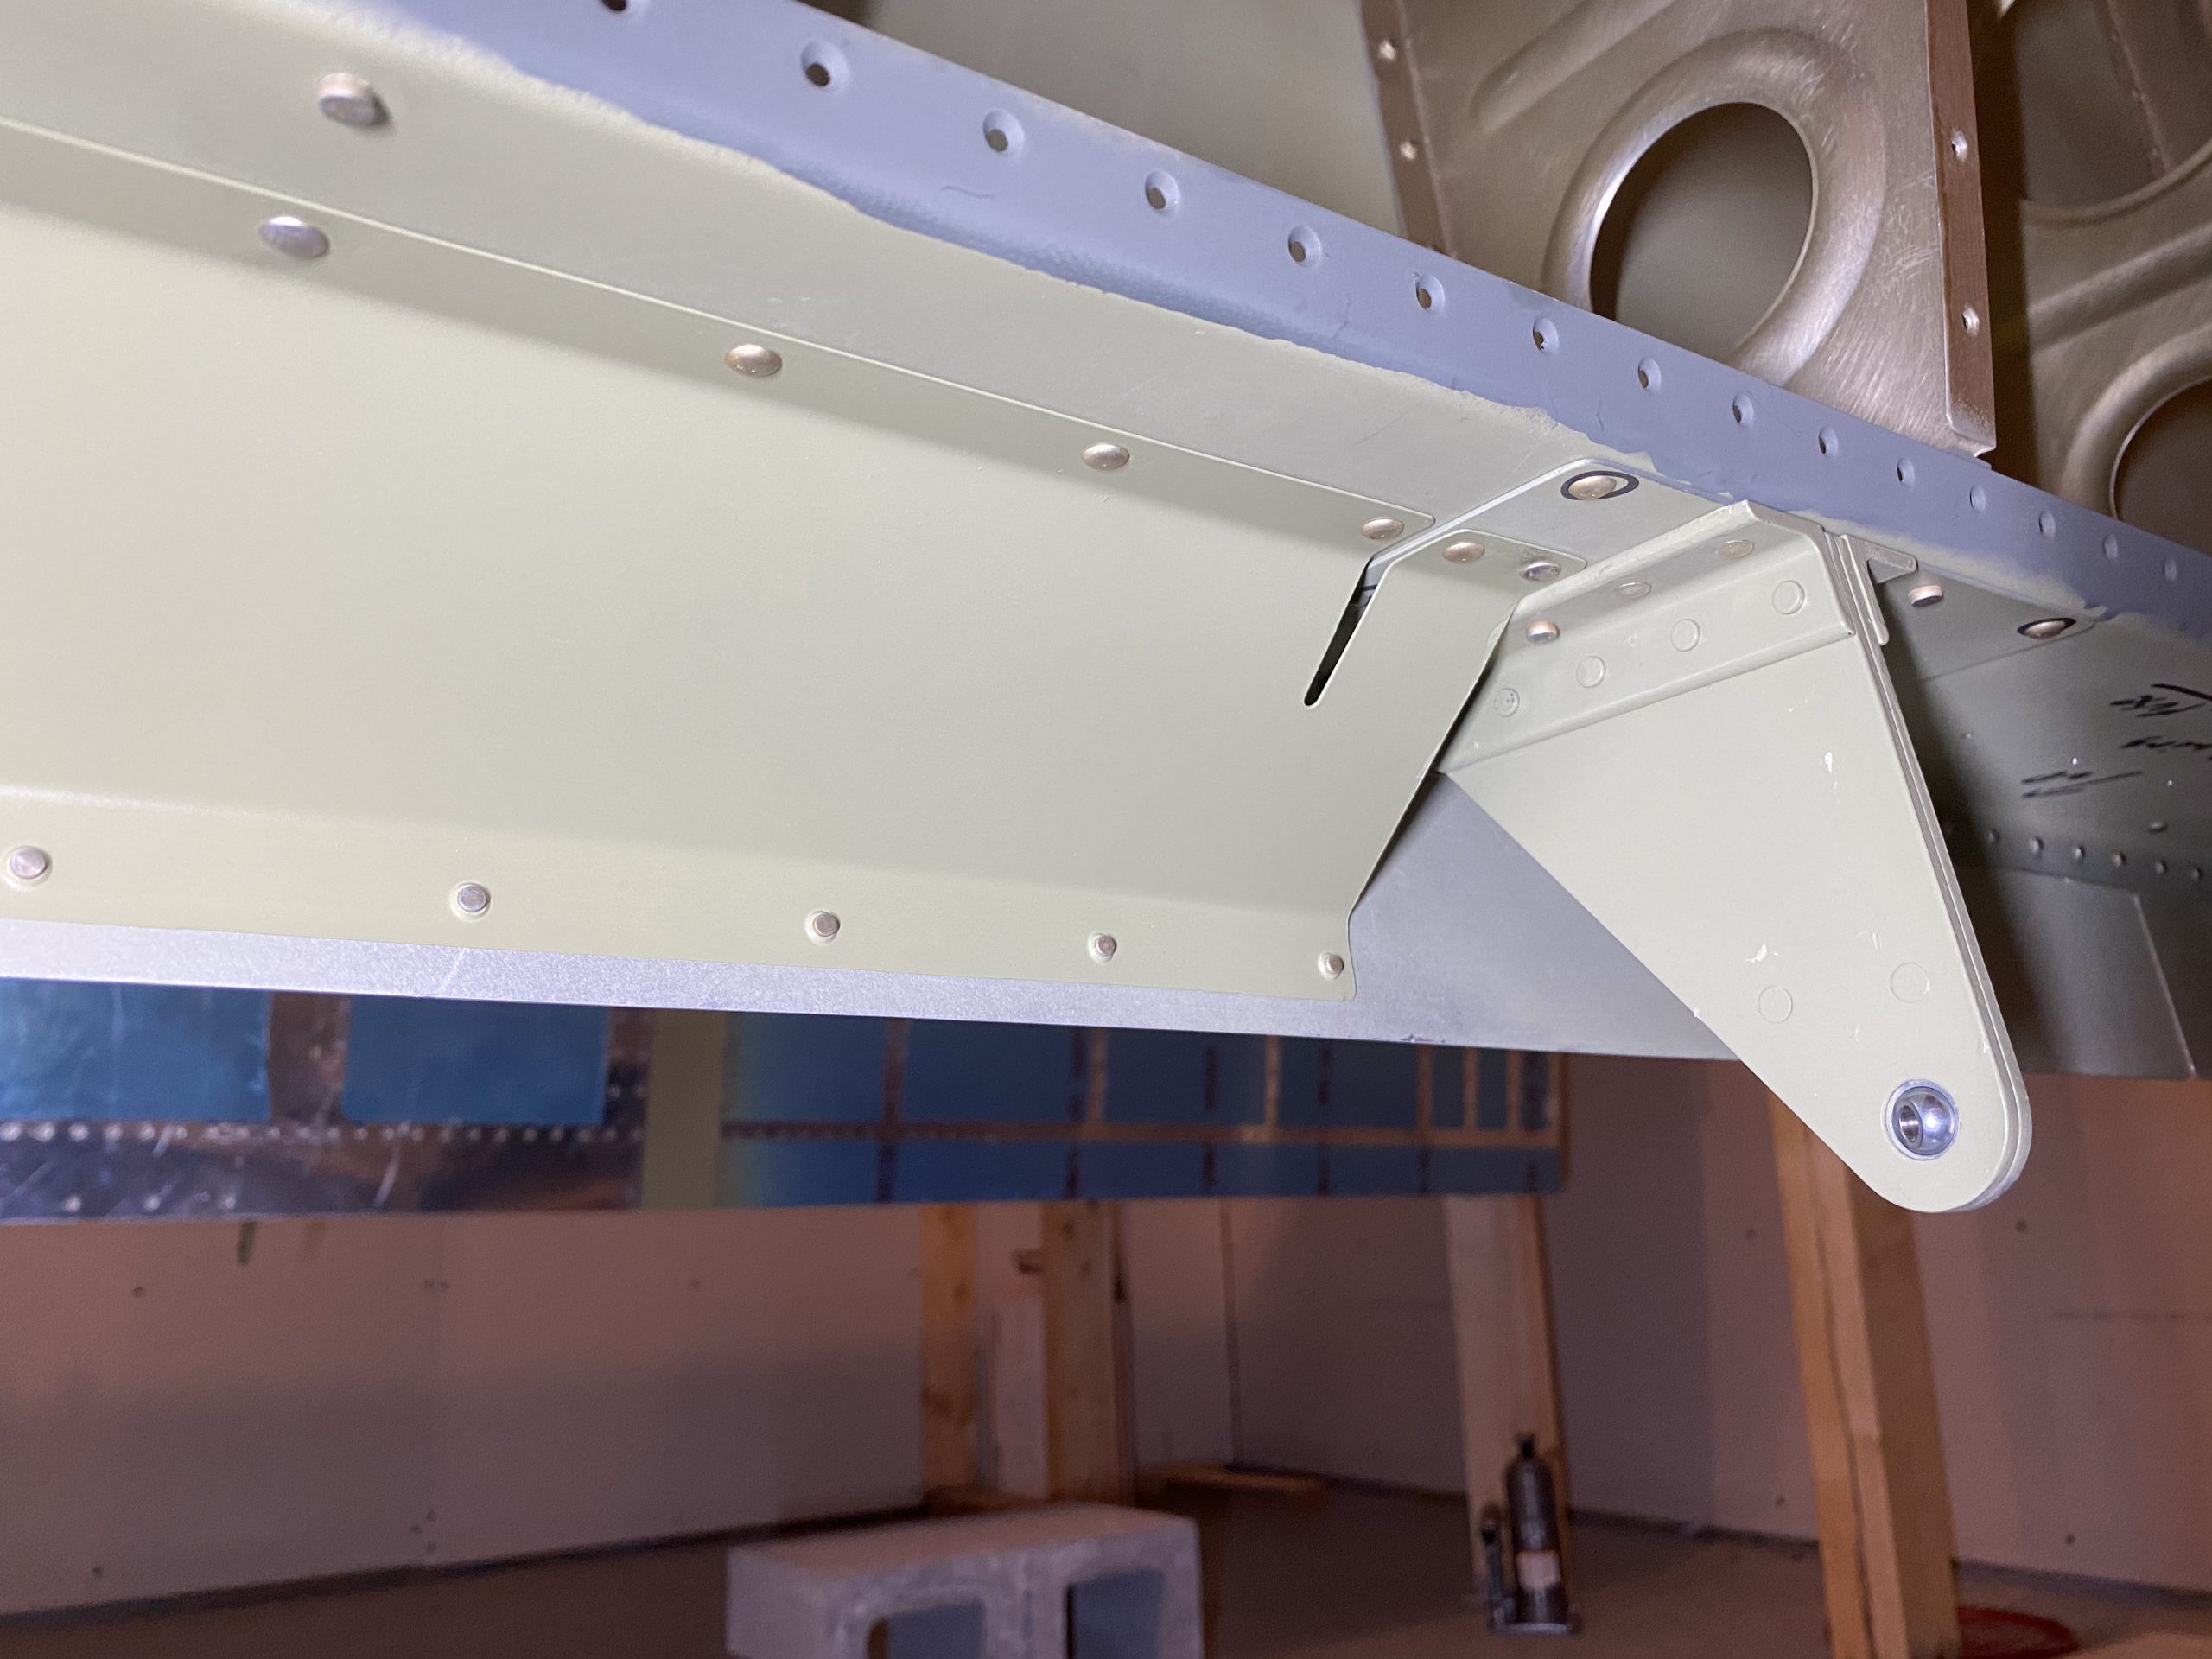
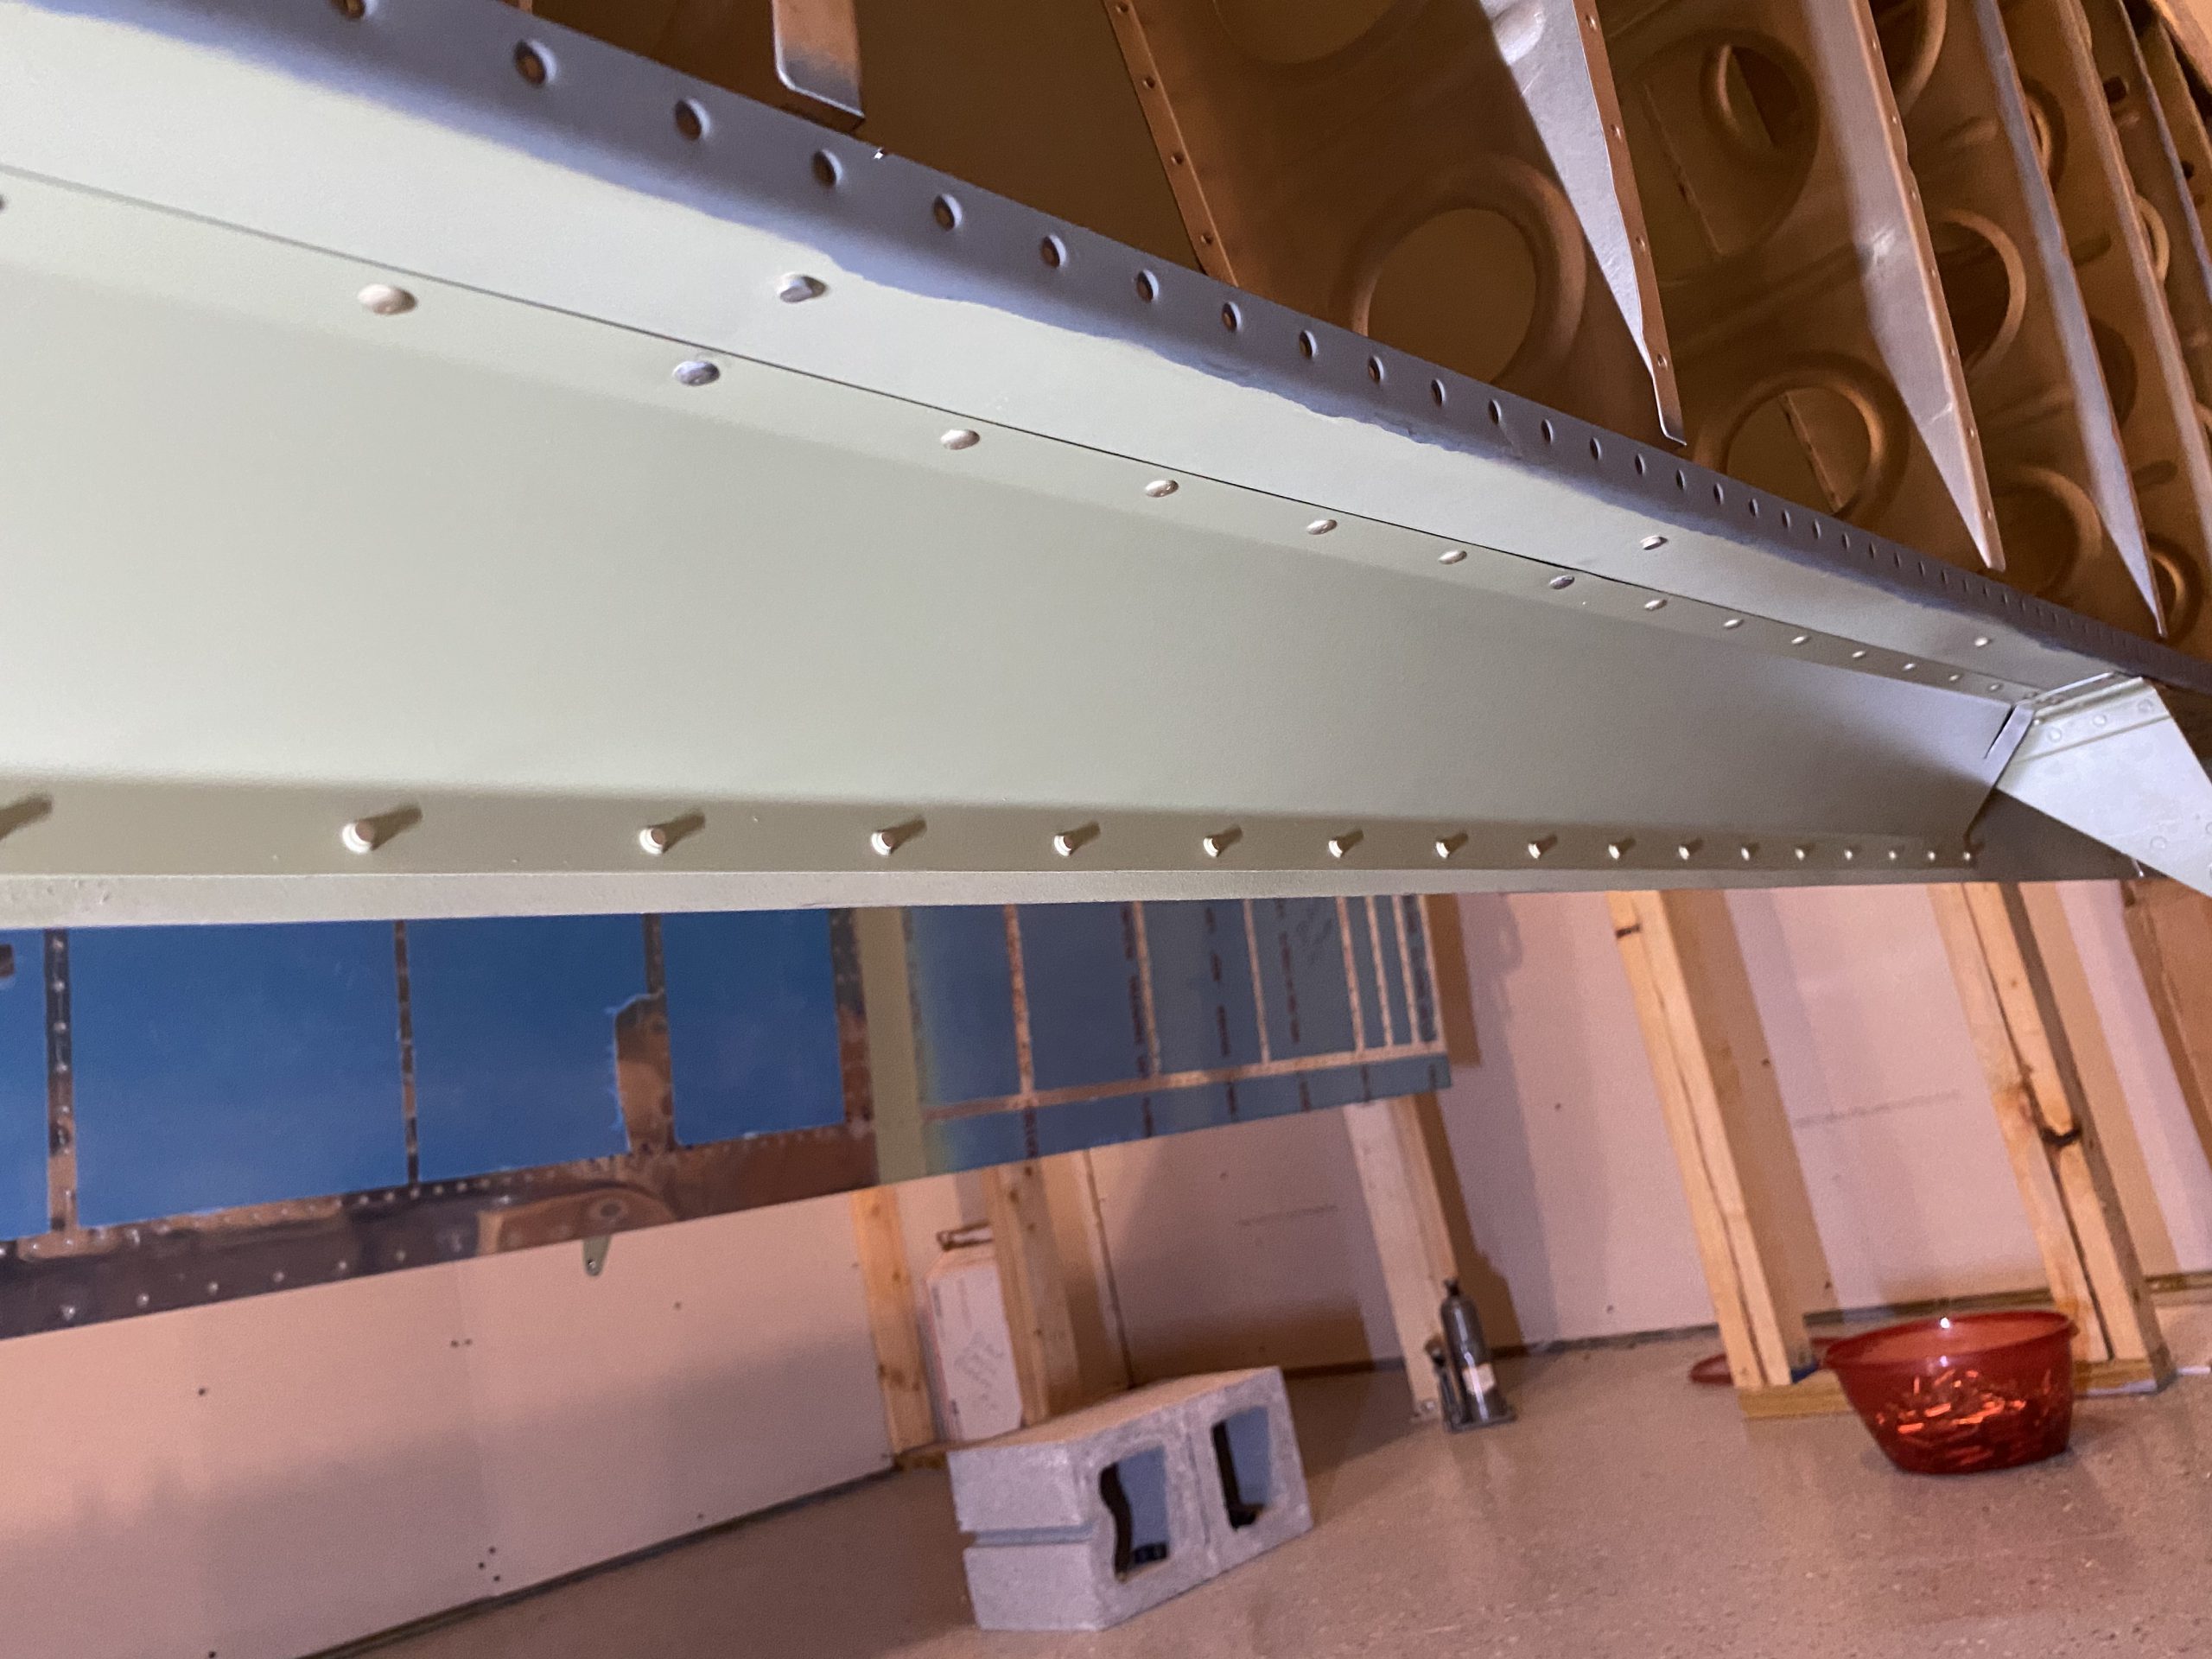
click hereBuy Ambien Online Overnight And a better close-up view:
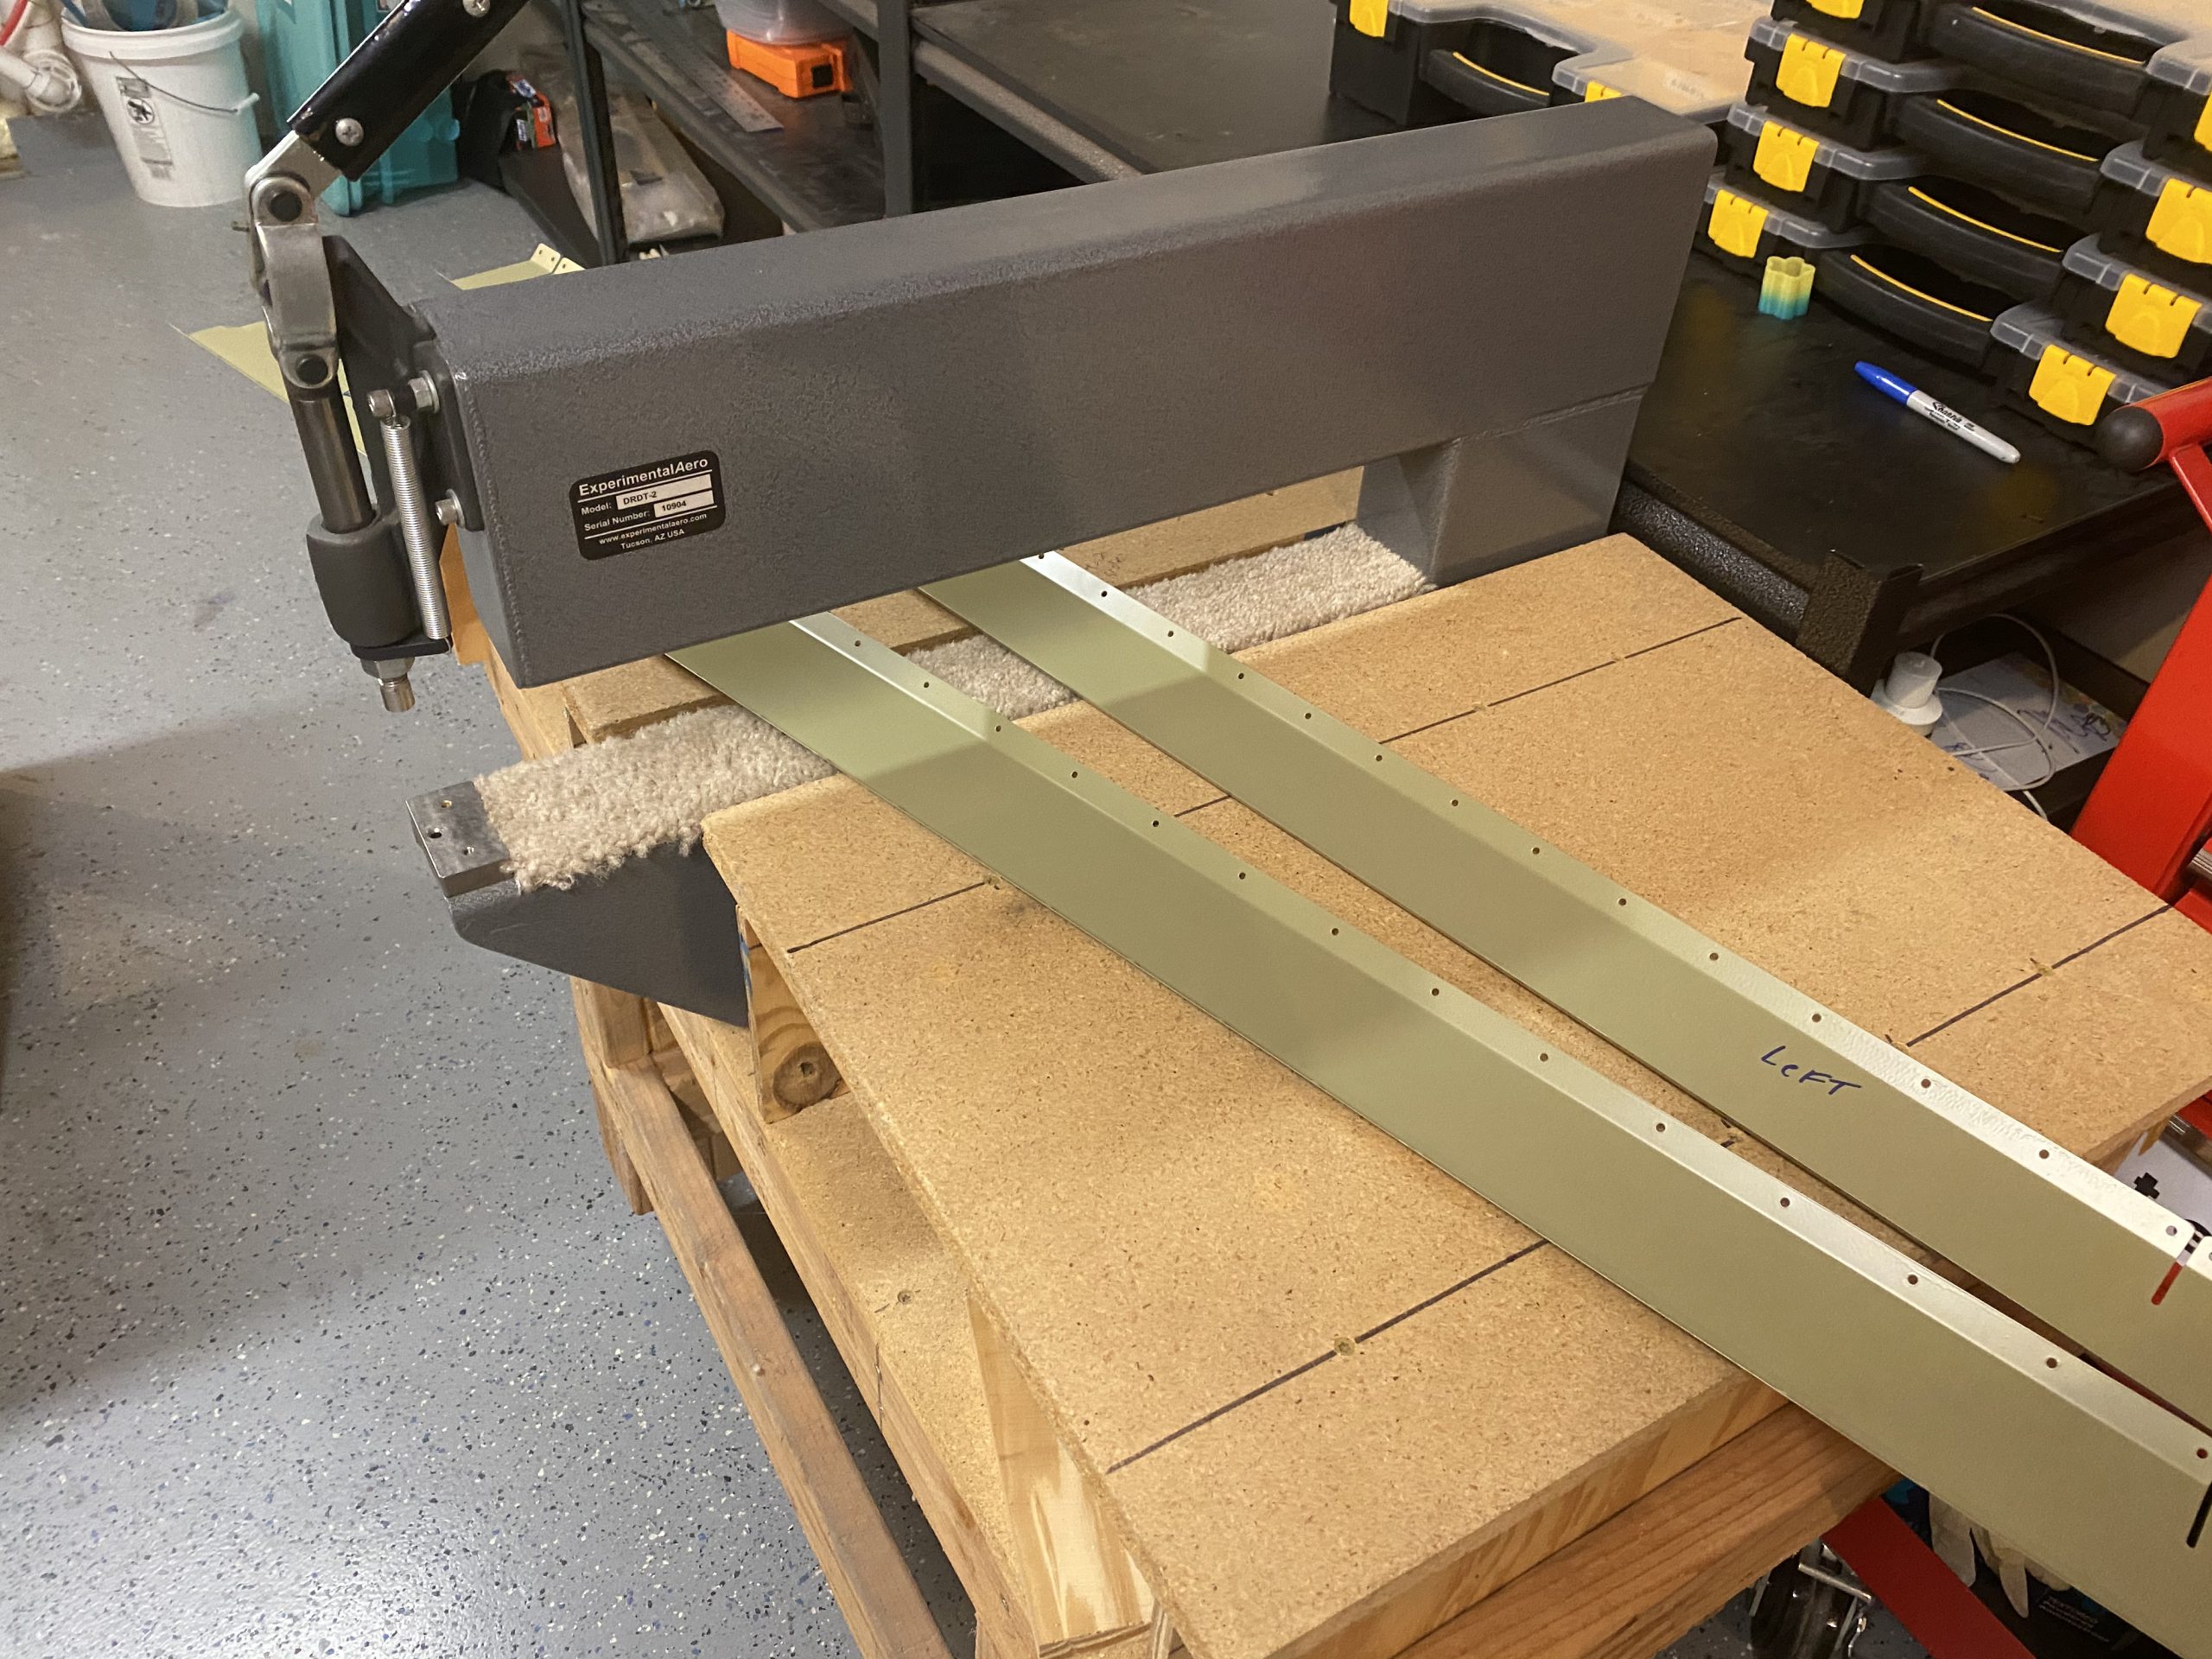
see url I started out by dimpling the W-724 aileron gap fairings to accept the AN426AD3-3 rivets for the skin by using my DRDT-2 dimpler. It didn’t take long at all to get both fairings dimpled.
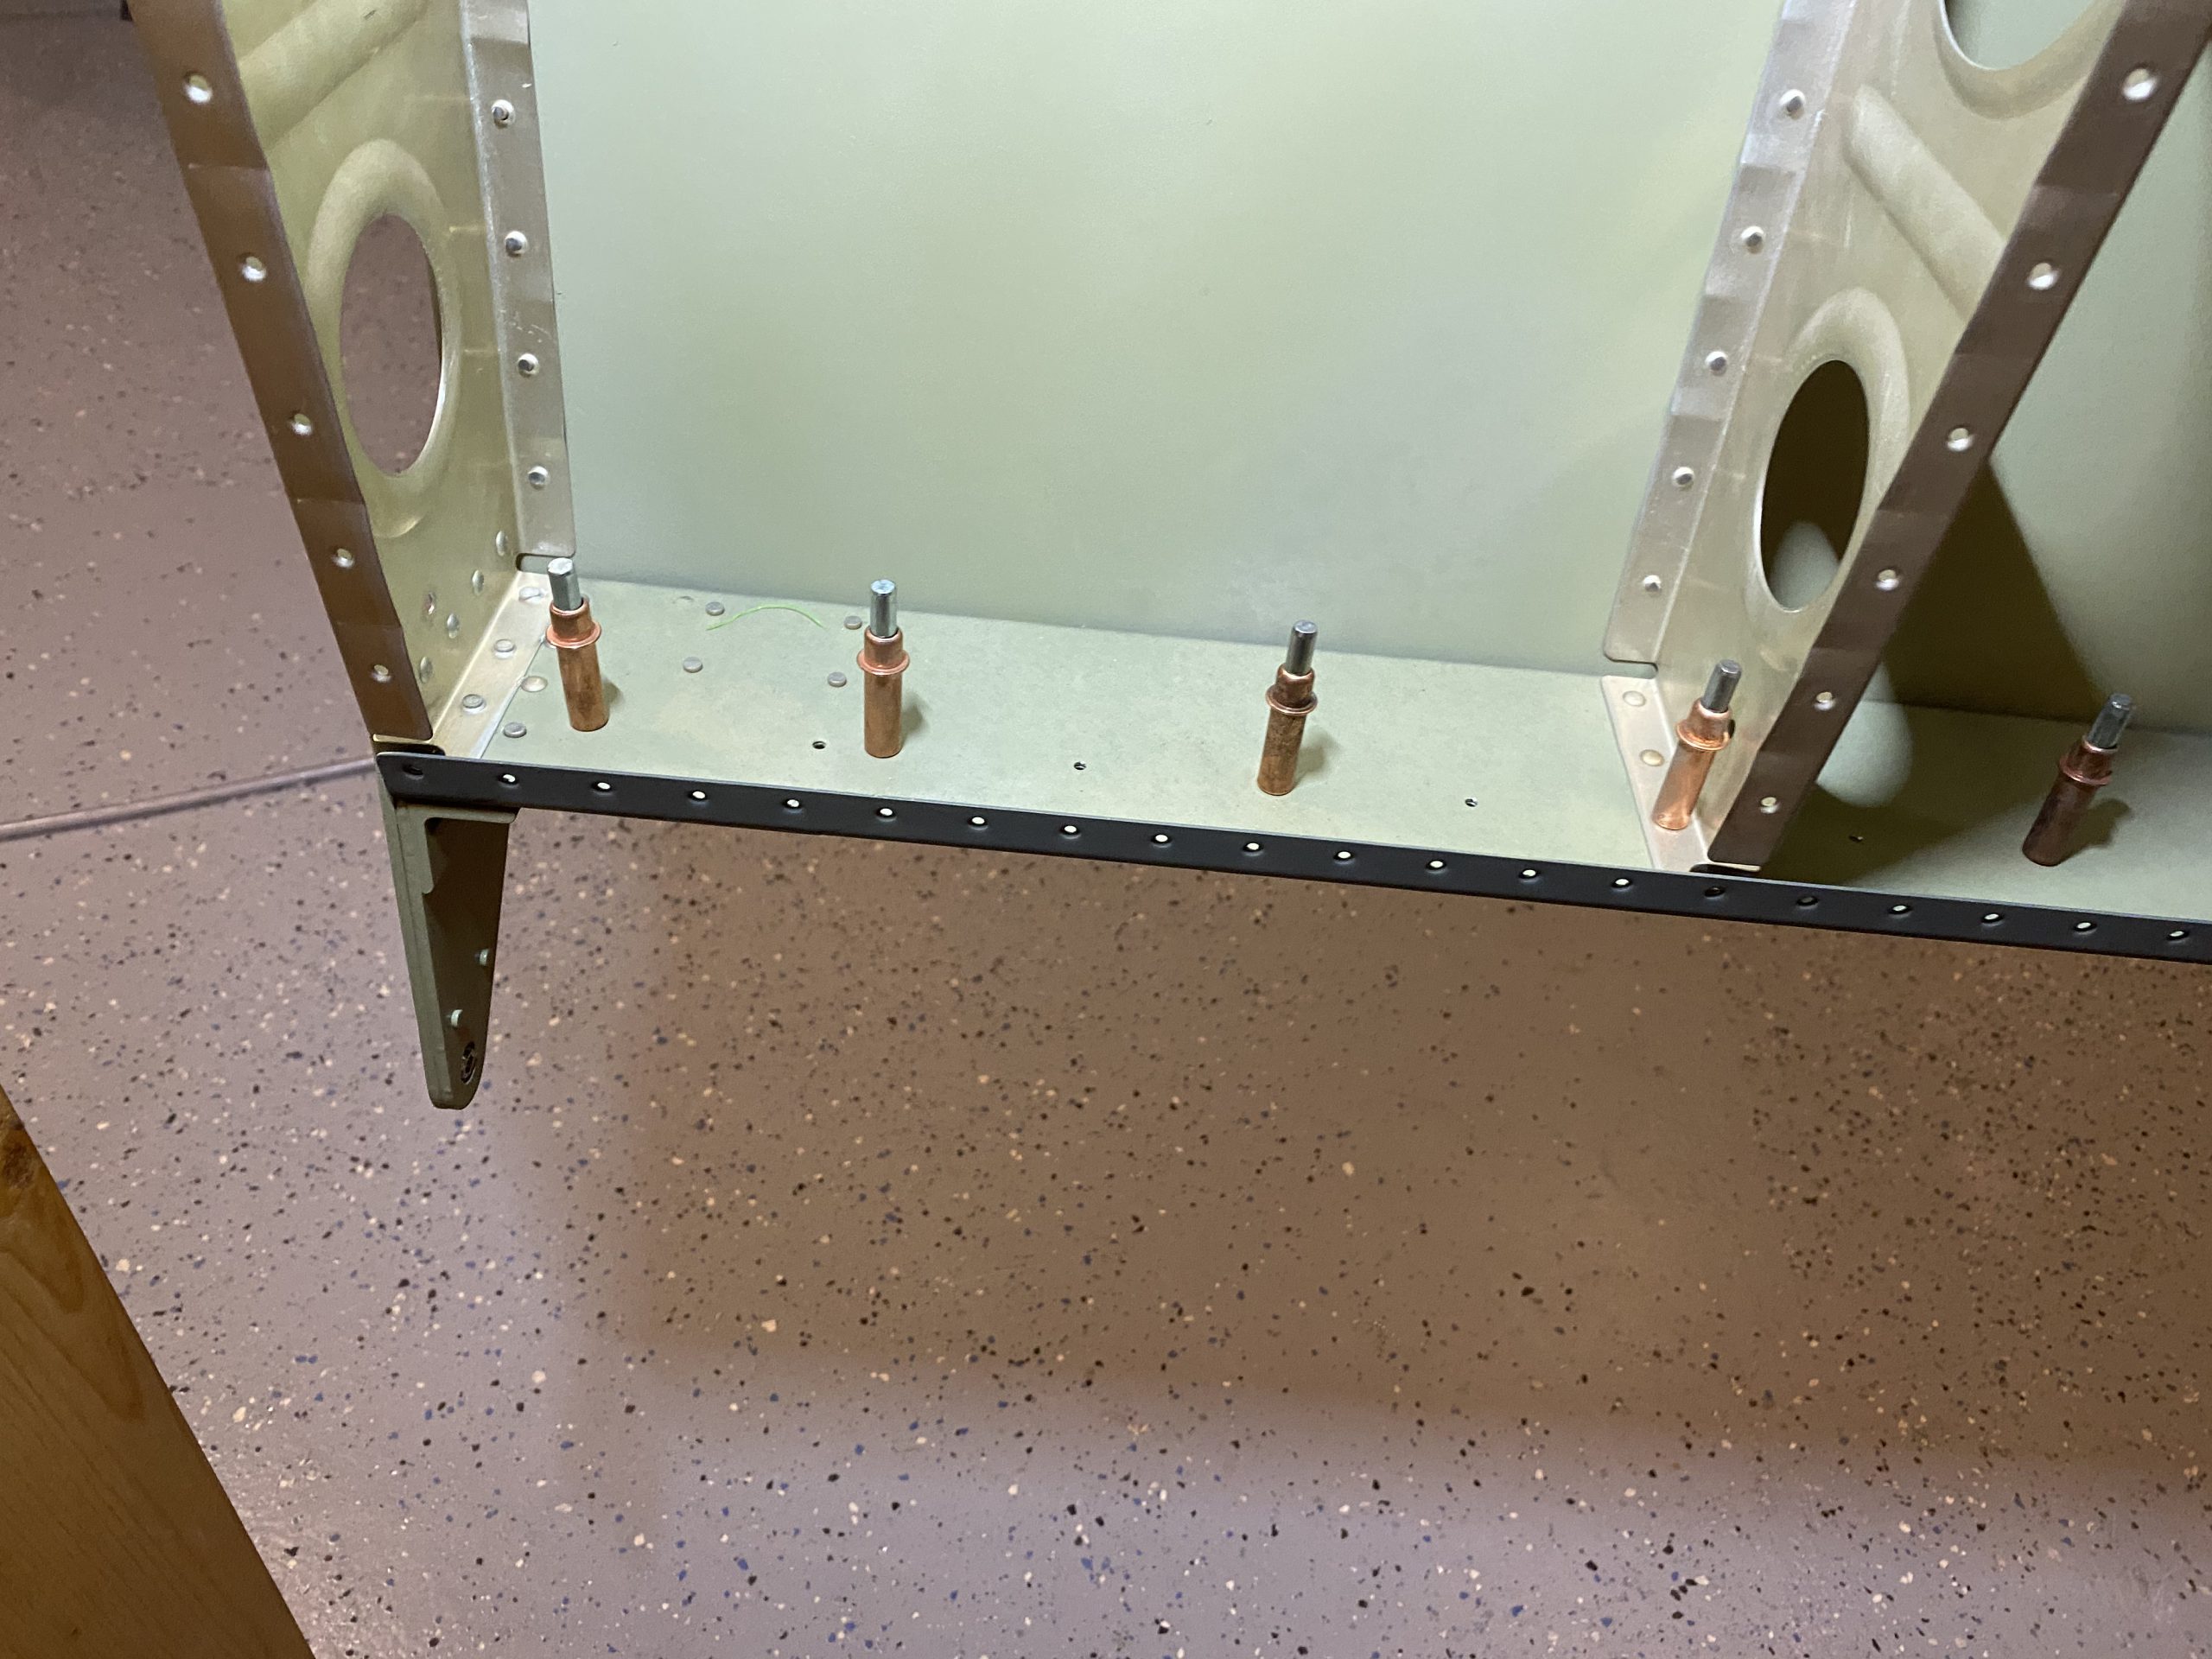
follow Then I needed to also dimple the top wing skins, where these fairings attach. I used my squeezer to dimple the skins. There aren’t many holes here. Once I had everything dimpled, i clecoed both fairings in place and grabbed the correct rivets. I was able to use my squeezer to set most of the AN470AD4-4 rivets that attach the fairing to the rear spar, except for a few places I needed to buck them: The rib holes, and the hole right next to the doublers for the aileron brackets. Its to tight to get my squeezer in there, but the rivet gun fit nicely.
click I did take note that we needed slightly longer rivets where the outboard rear spar doubler is, as well as where the rib holes are, but everything lined up with the plans. You do get a bit better at identifying which rivet you’re gonna need for each hole. I used my squeezer with the flat sets to squeeze the AN426AD3-3 rivets that attach the aileron gap fairing to the top wing skins. I clecoed every other hole, and then squeezed the rivets, the same way I did with the AN470’s holding the fairing to the rear spar.
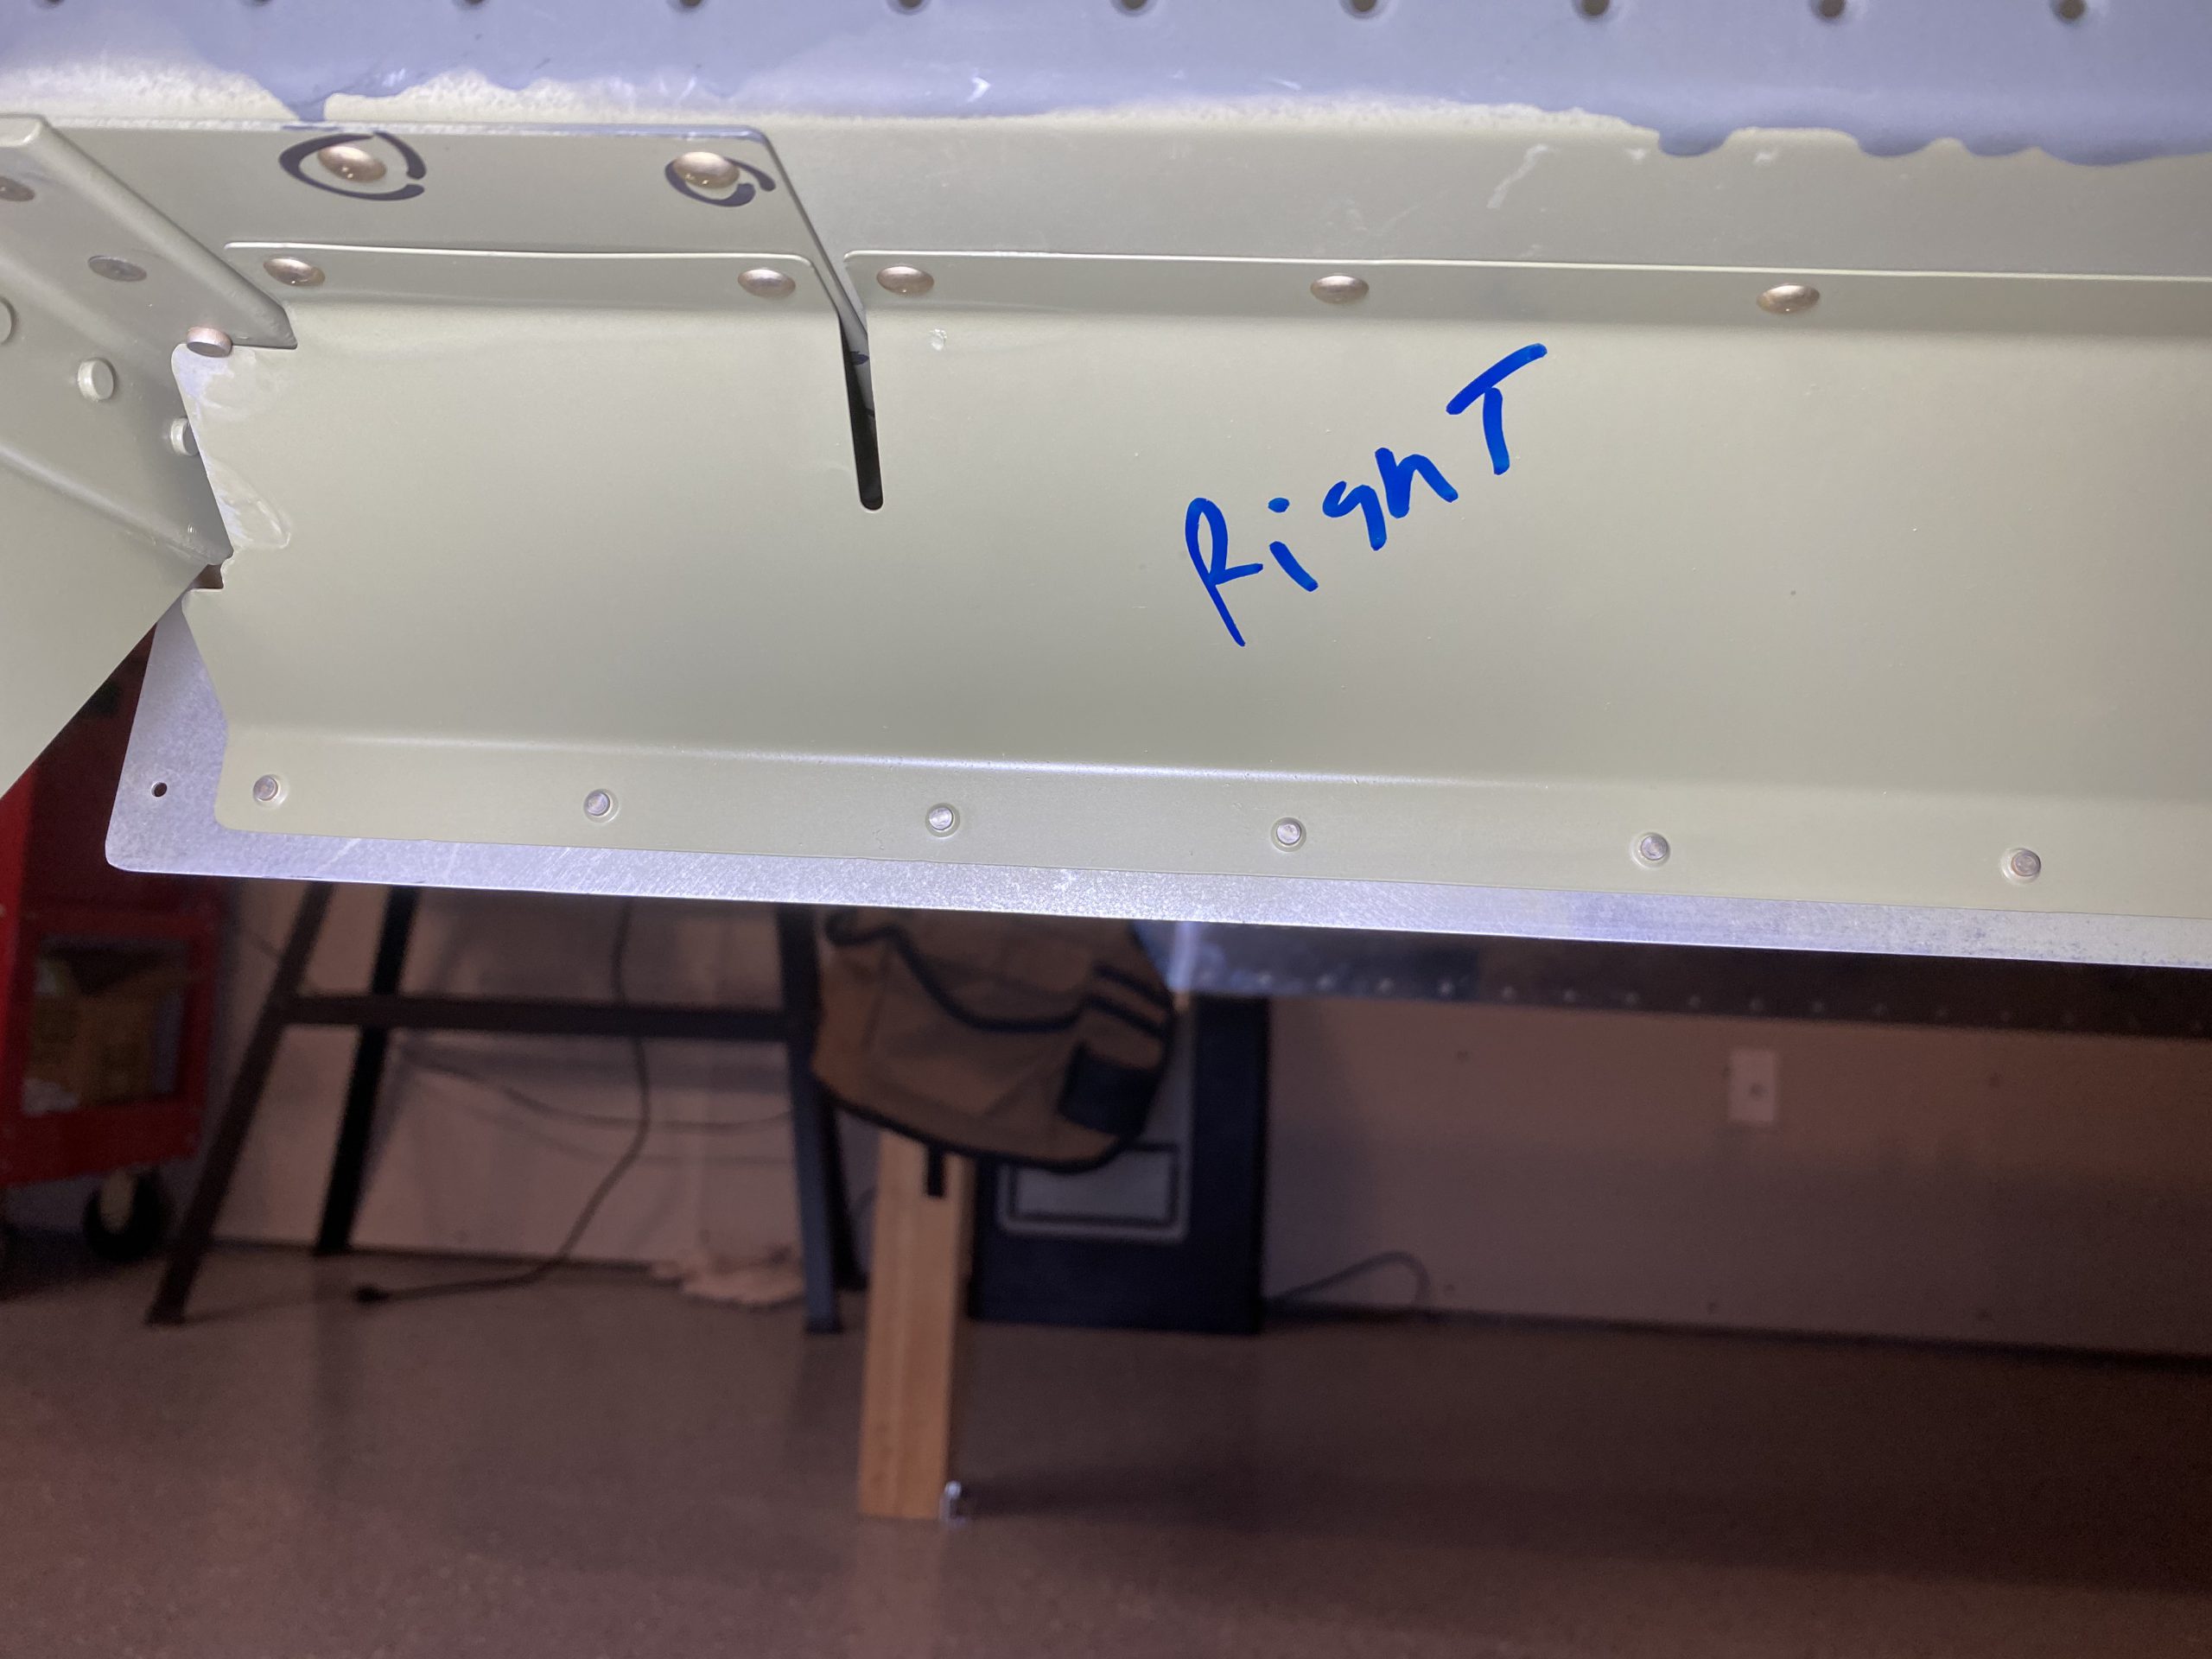
https://tuf-top.com/about-us/ Once I had the left wing complete, I moved over and did the exact same procedure for the right wing. I am very happy with the way these came out, and how well the fairing reinforces the top wing skin. It makes a very nice junction. Heres a few more shots of the completed parts:
https://drsurdis.com/about-us/ 
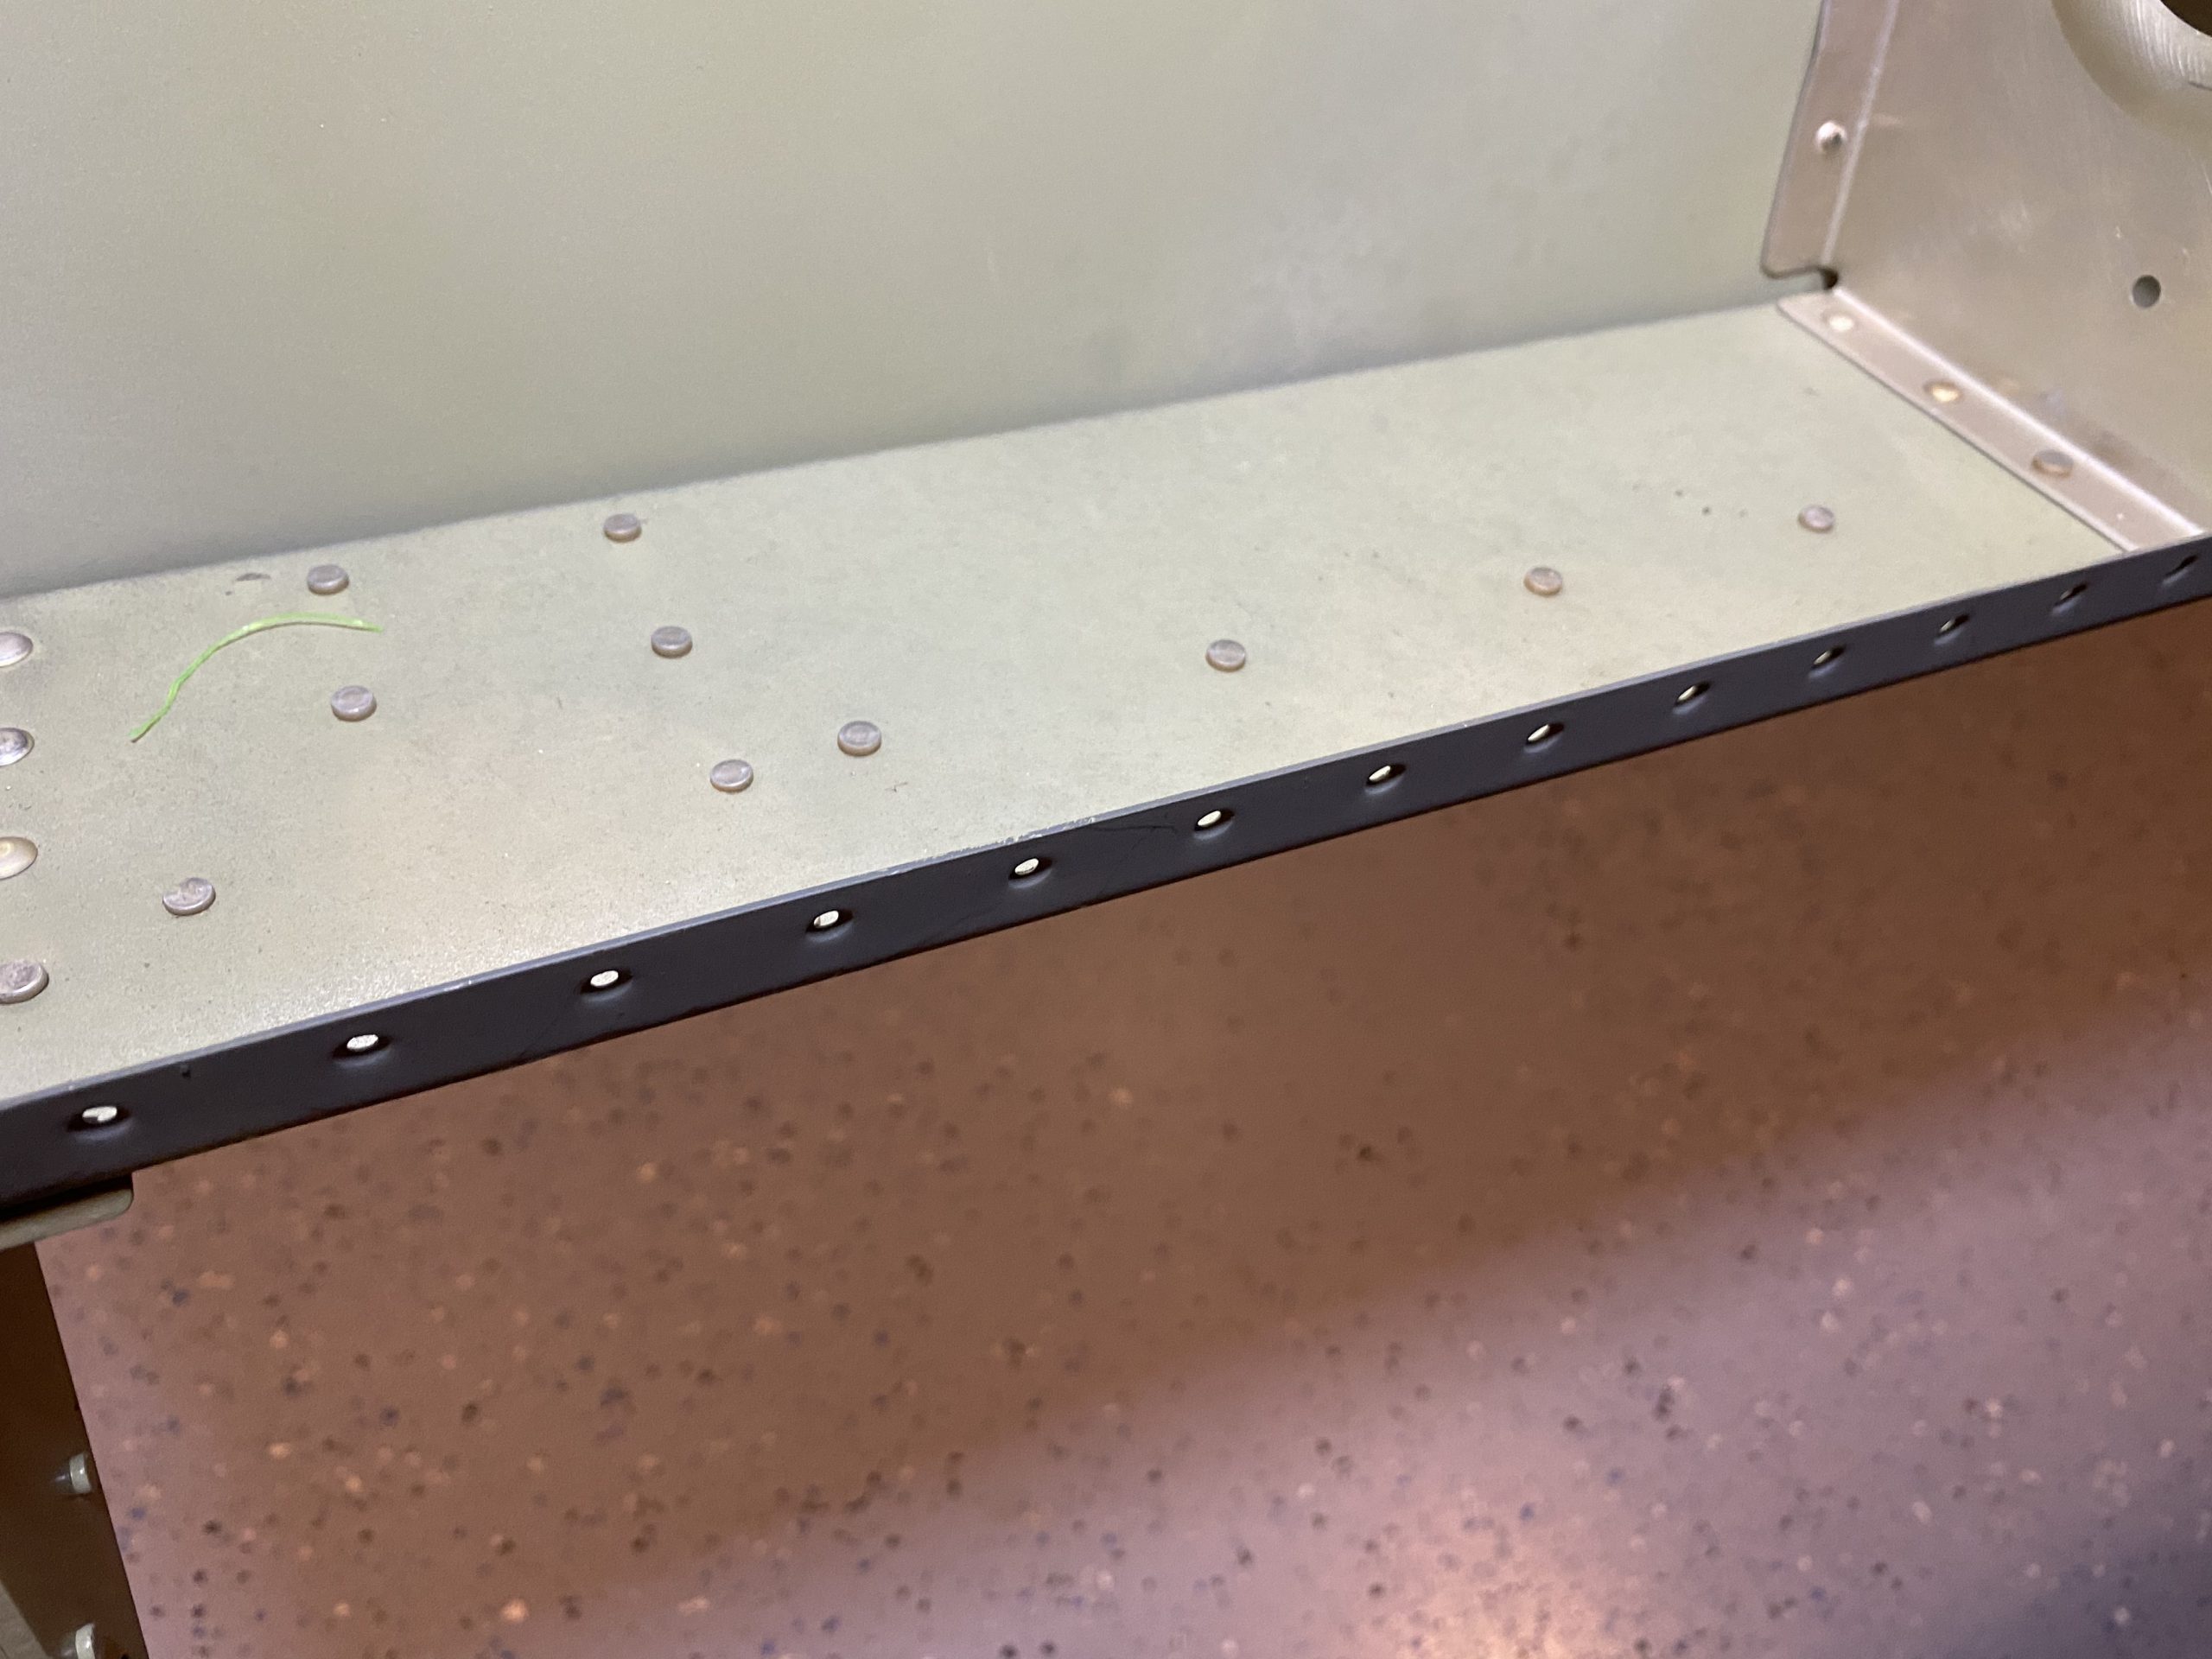
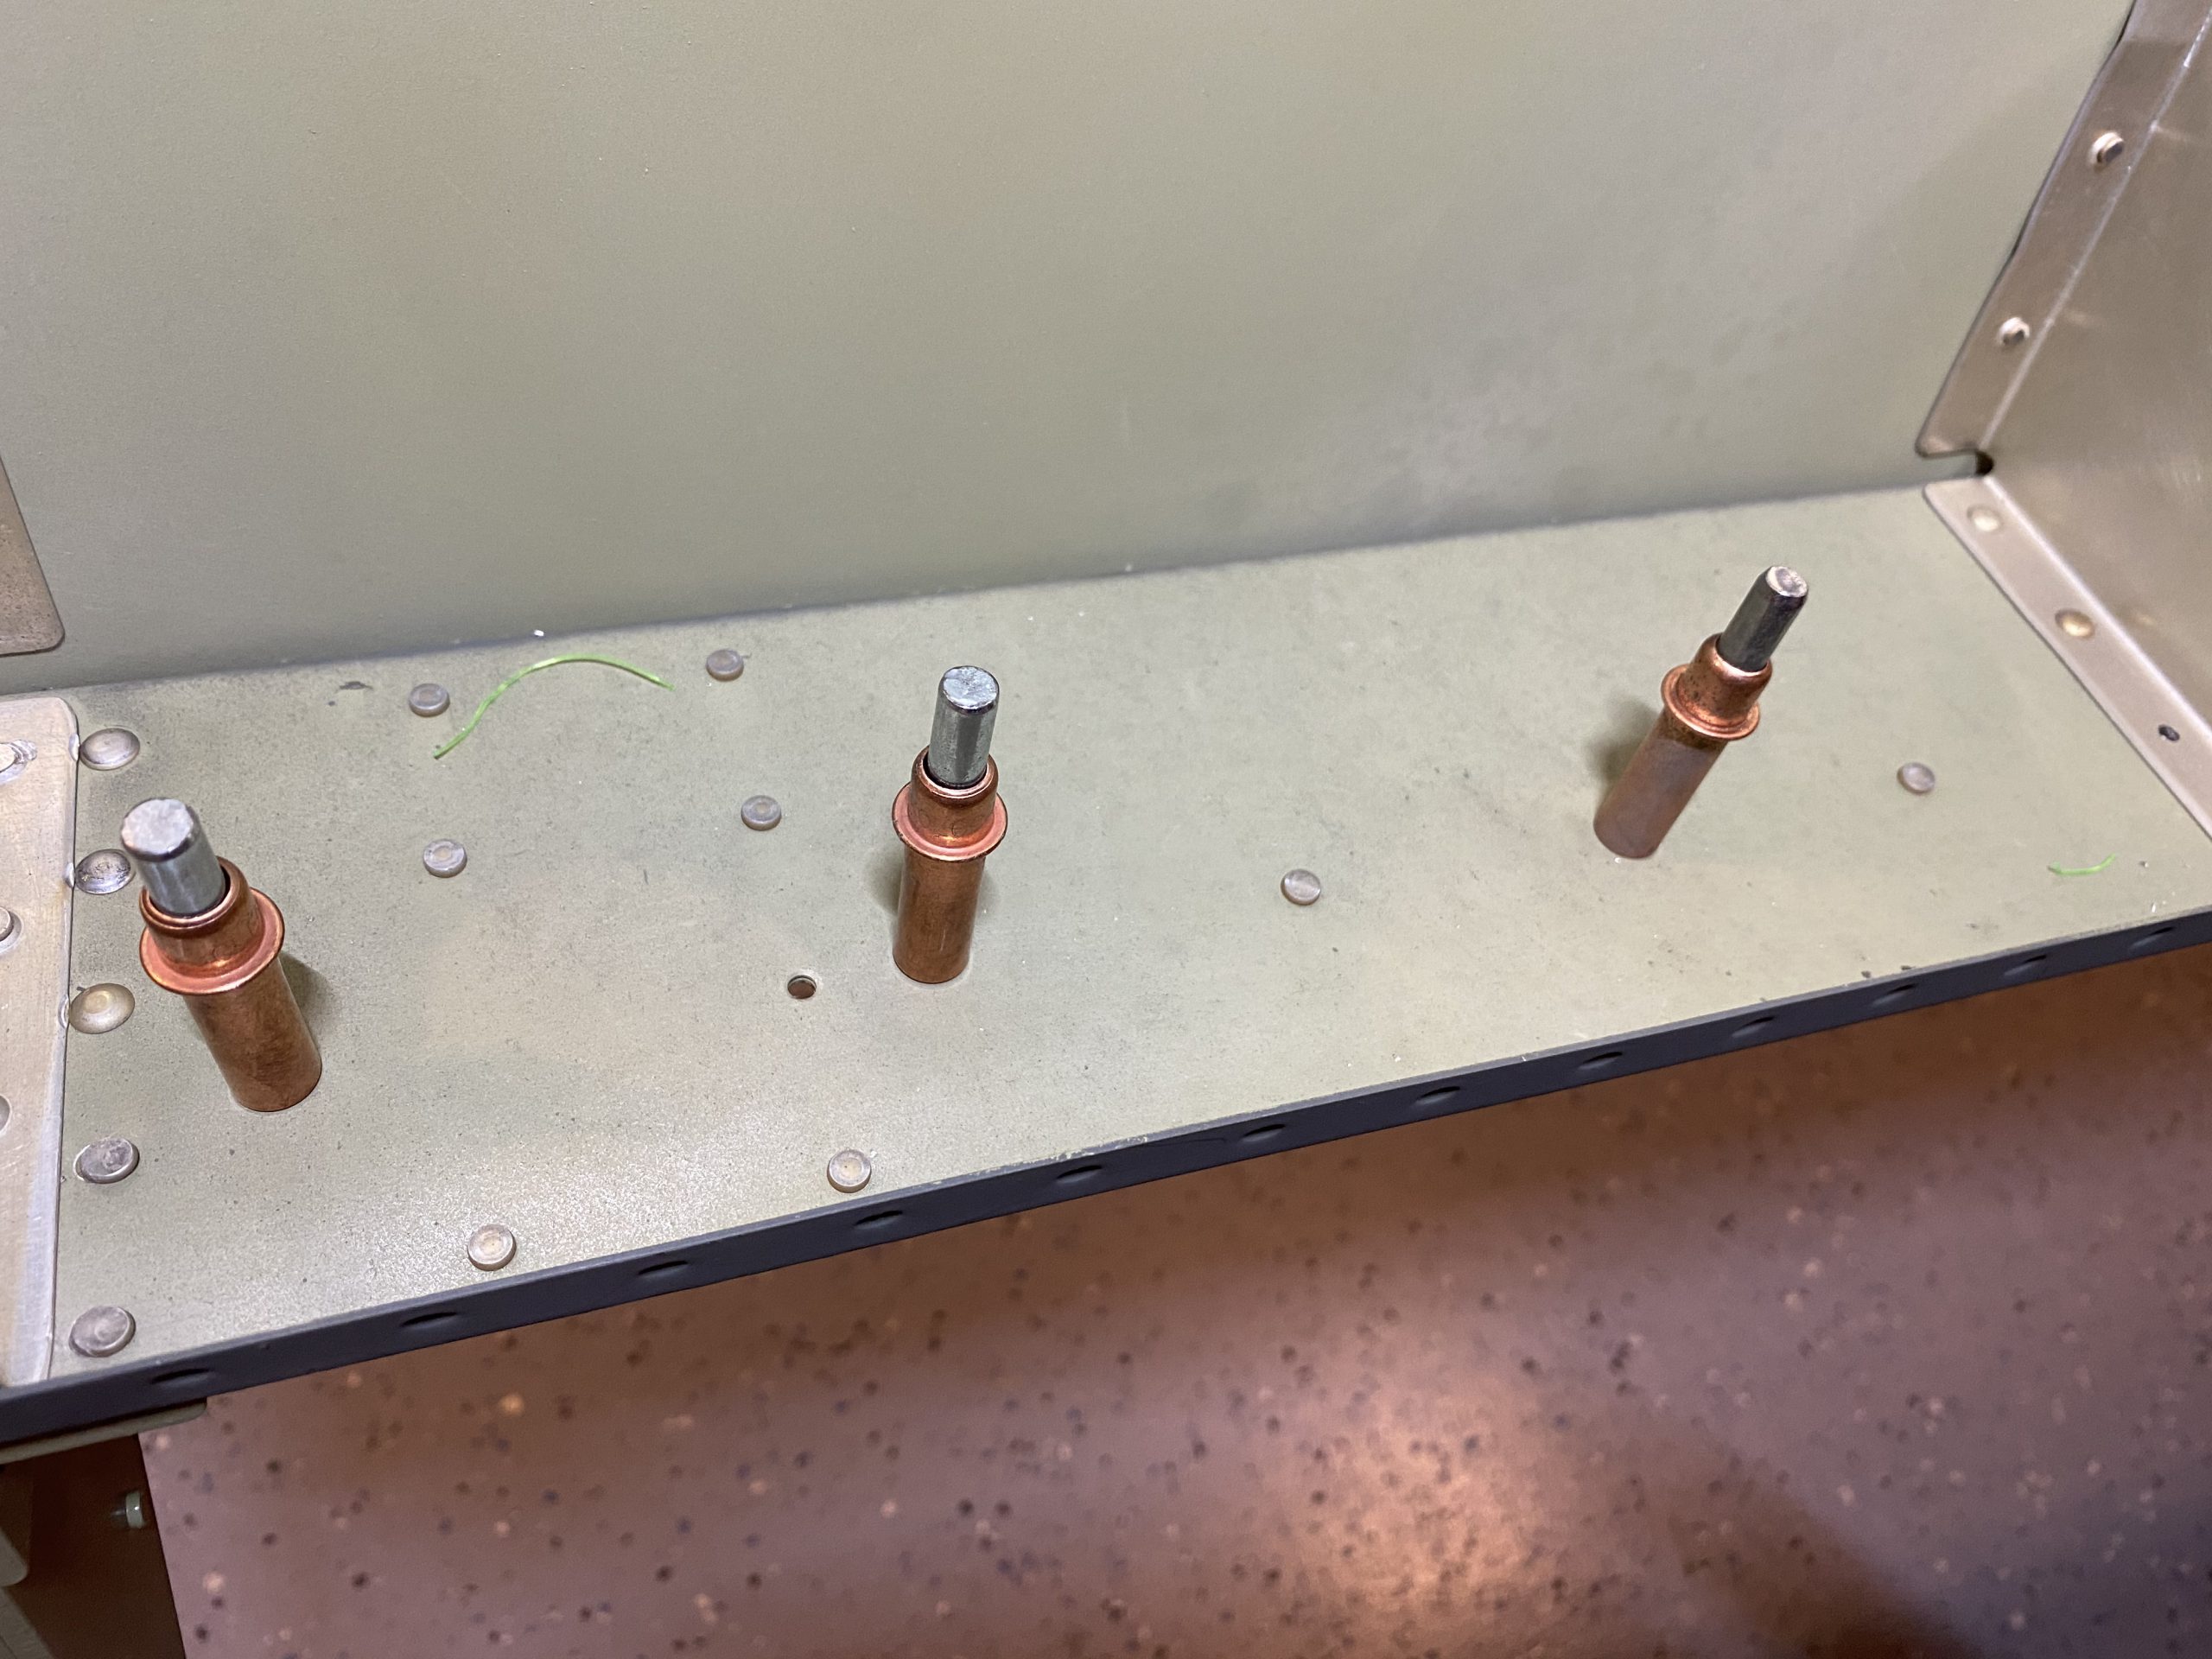
https://spareveil.com/safety-protocols/ Google Photos Link: https://photos.app.goo.gl/qTqSewGPgprWvKto9
https://vegaoficial.com/newsletter/ Hours Worked: 1.75


