


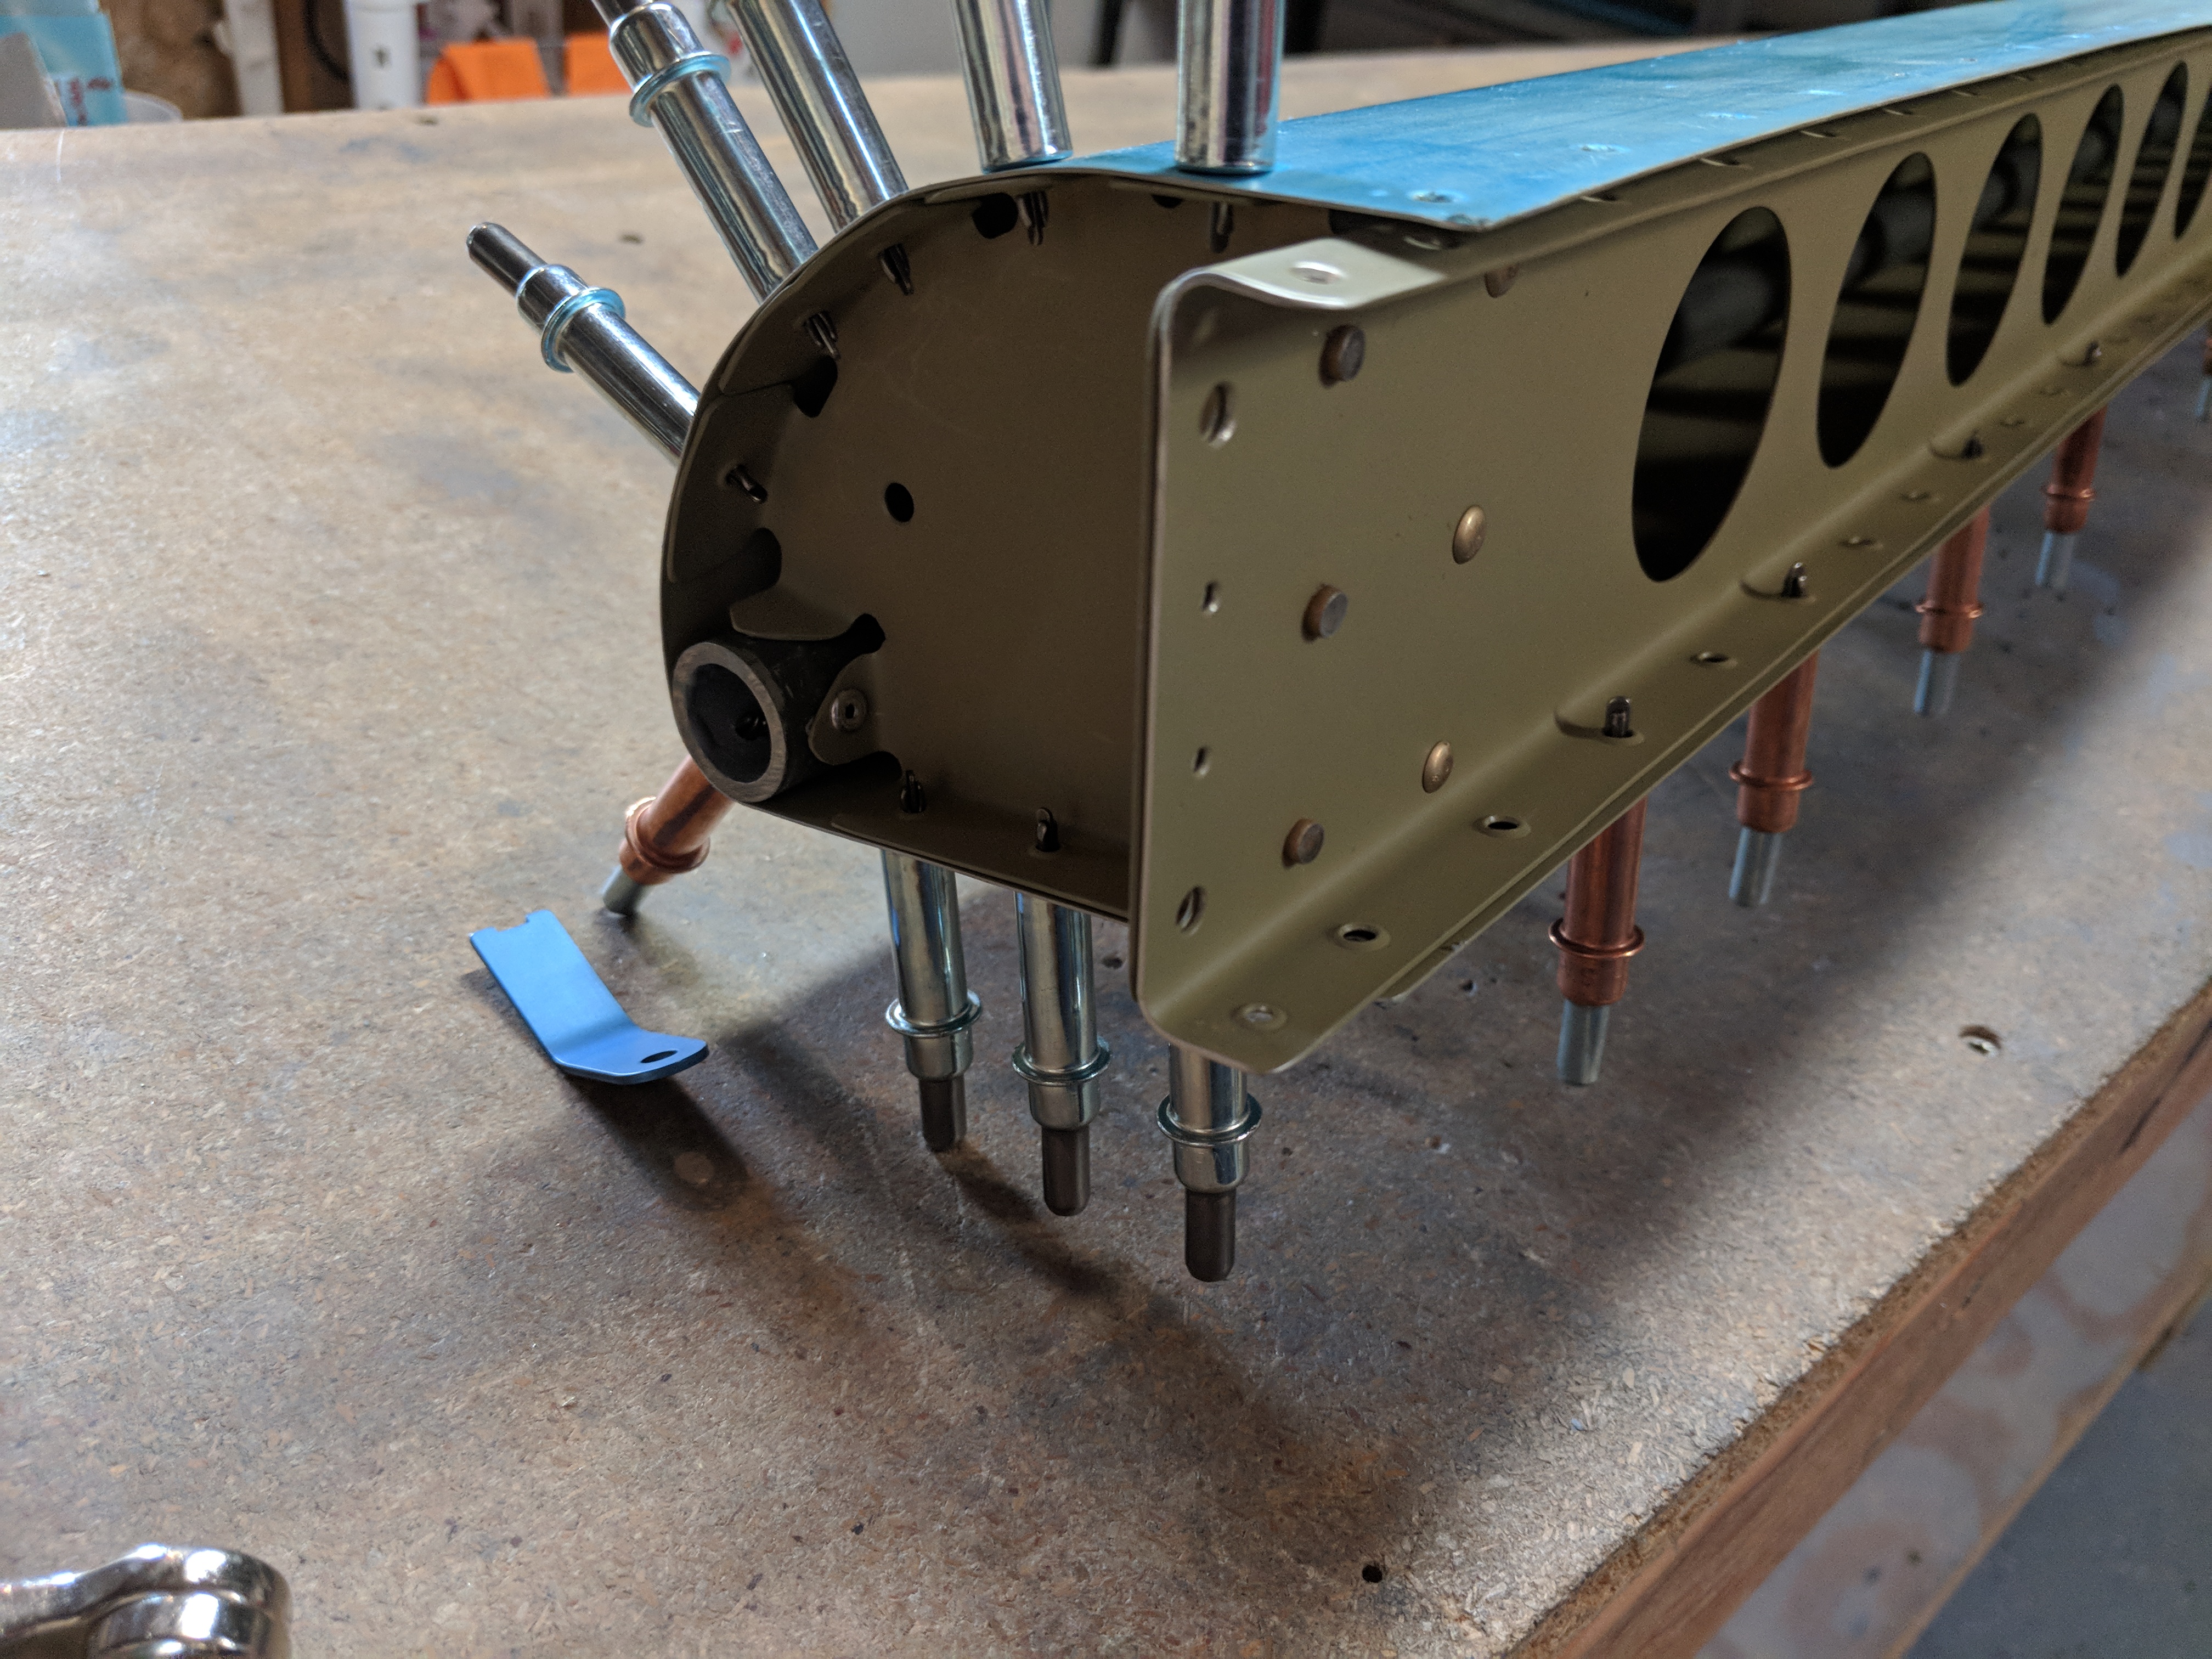
https://www.psychiccowgirl.com/qualifications/ Time to start riveting up the ailerons! I gathered up the parts for the left aileron and studied over the drawings and instructions, and began final assembly and riveting on this guy. We start out by riveting the A-704 nose ribs to the A-409 counterbalance pipe, and then slipping this assembly into the leading edge skin and cleocing it in place.
https://www.fogliandpartners.com/matteo-carfagnini/ Order Valium Without Prescription
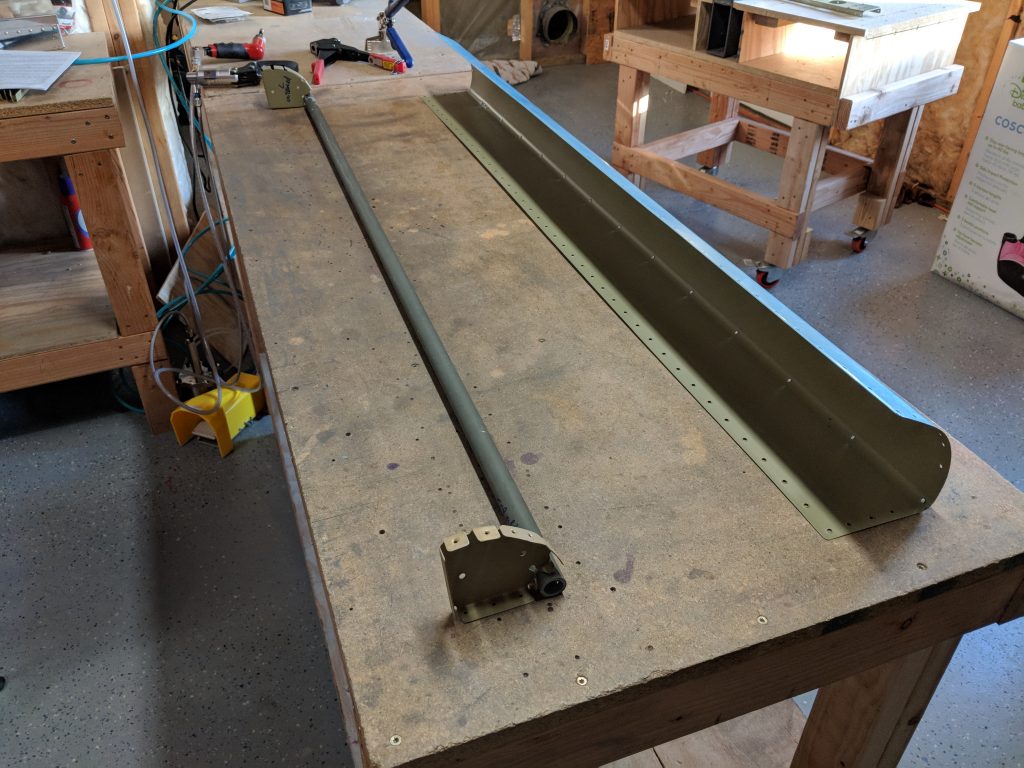
source Once the assembly is in the leading edge, we go ahead and cleco on the spar, and then rivet the nose ribs to the spar, only. This is because the rivets are hard to get to when the trailing skin attached. I put the shop heads on the rib side of the spar, because the metal is thinner there.
Ambien 10 Mg Price Ambien 10 Mg Price
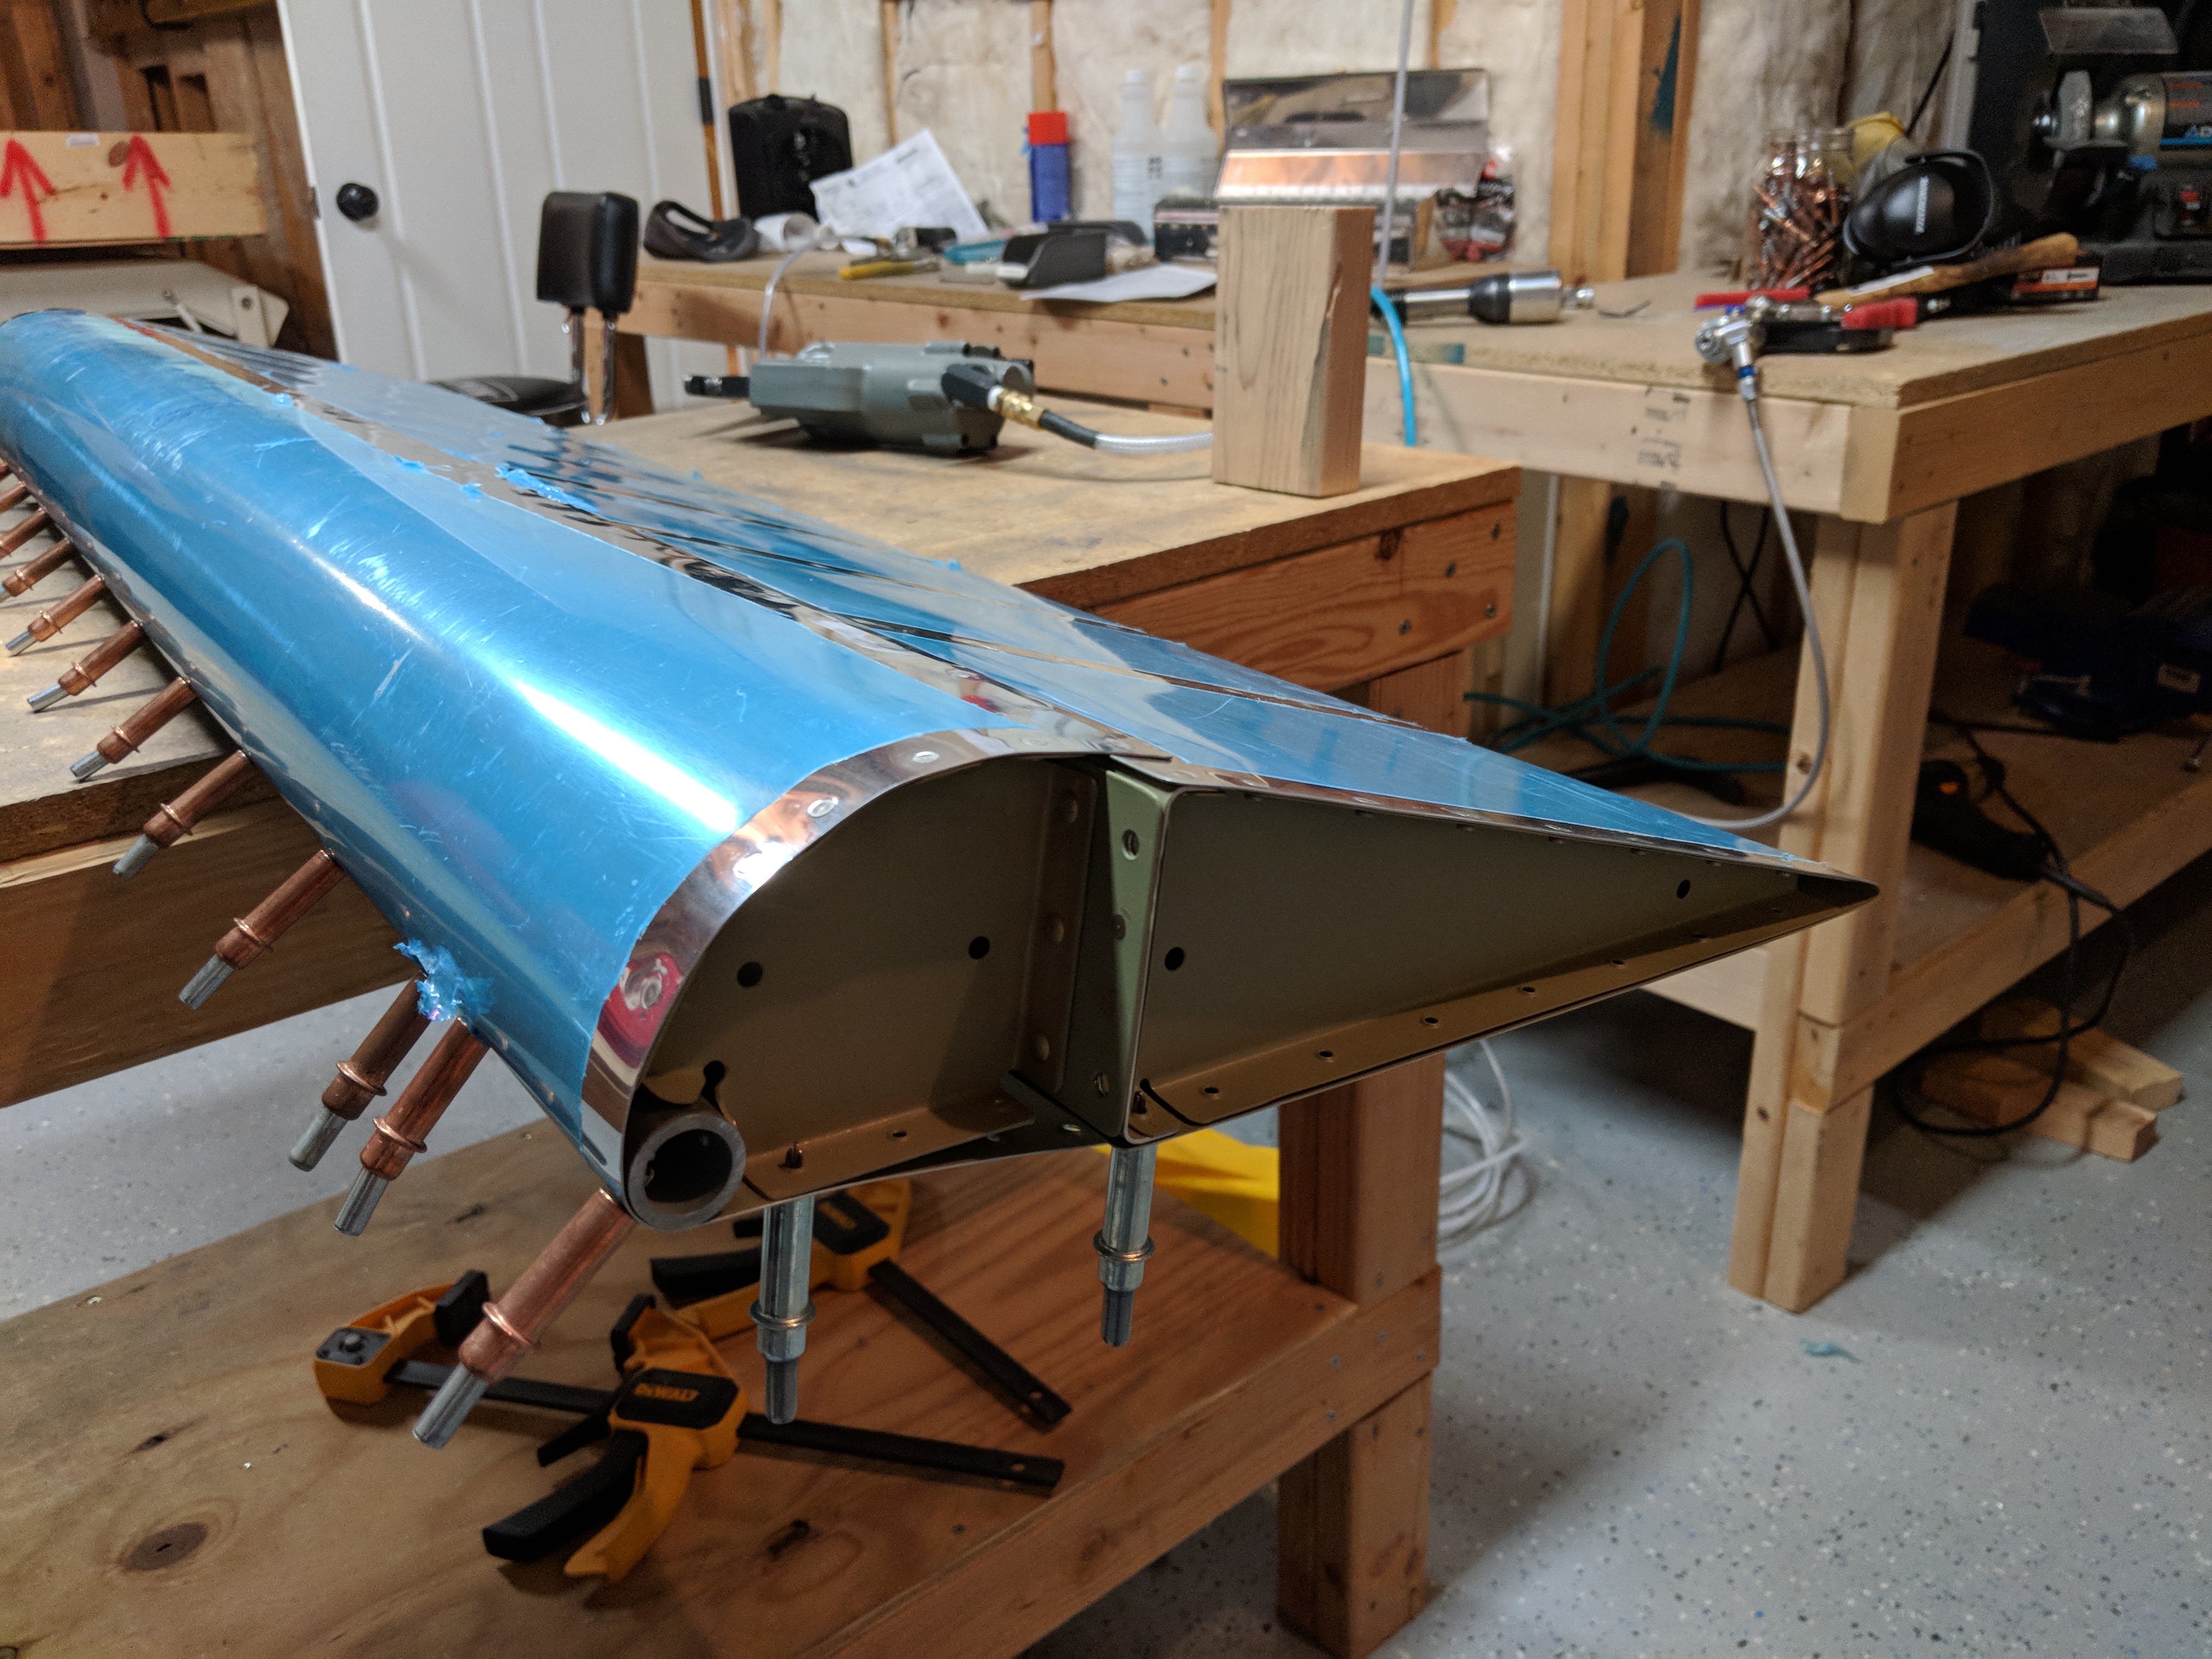
https://gottbs.com/accredited-testing-laboratories/ Once the nose ribs are riveted to the spar, we go ahead and slip the trailing edge skin under the leading edge skin and cleco it to the spar. This took a little fiddling around, and in between the process of taking photos and fitting the skin, I went ahead and removed the blue plastic, since it was getting close to time to rivet.
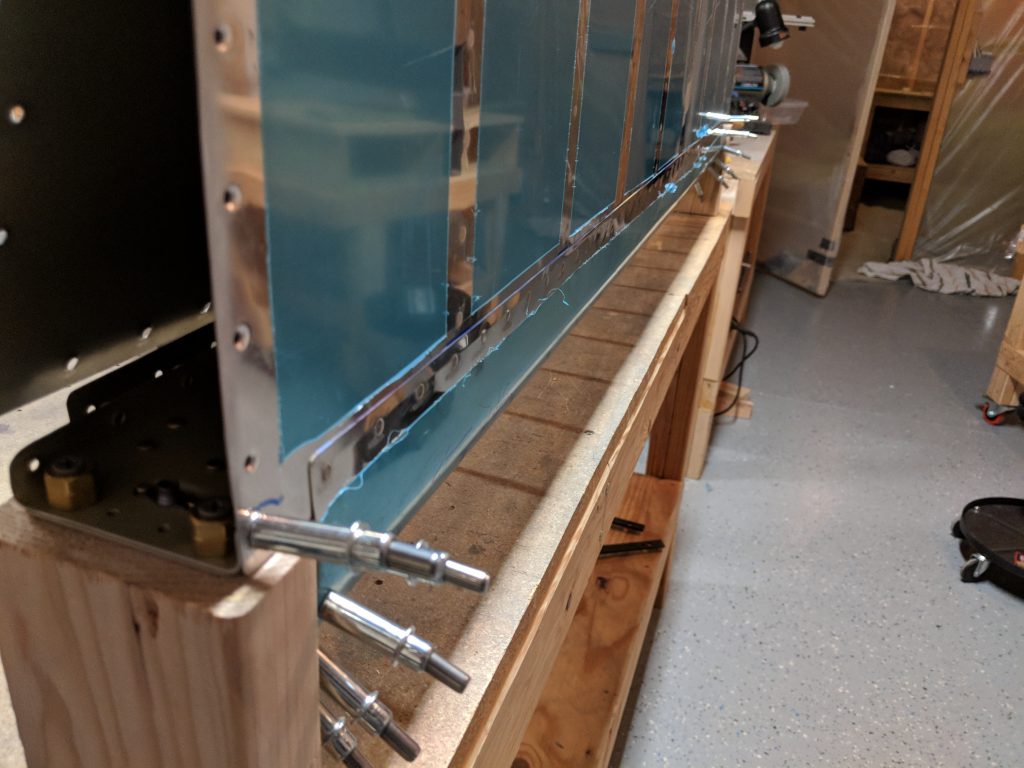
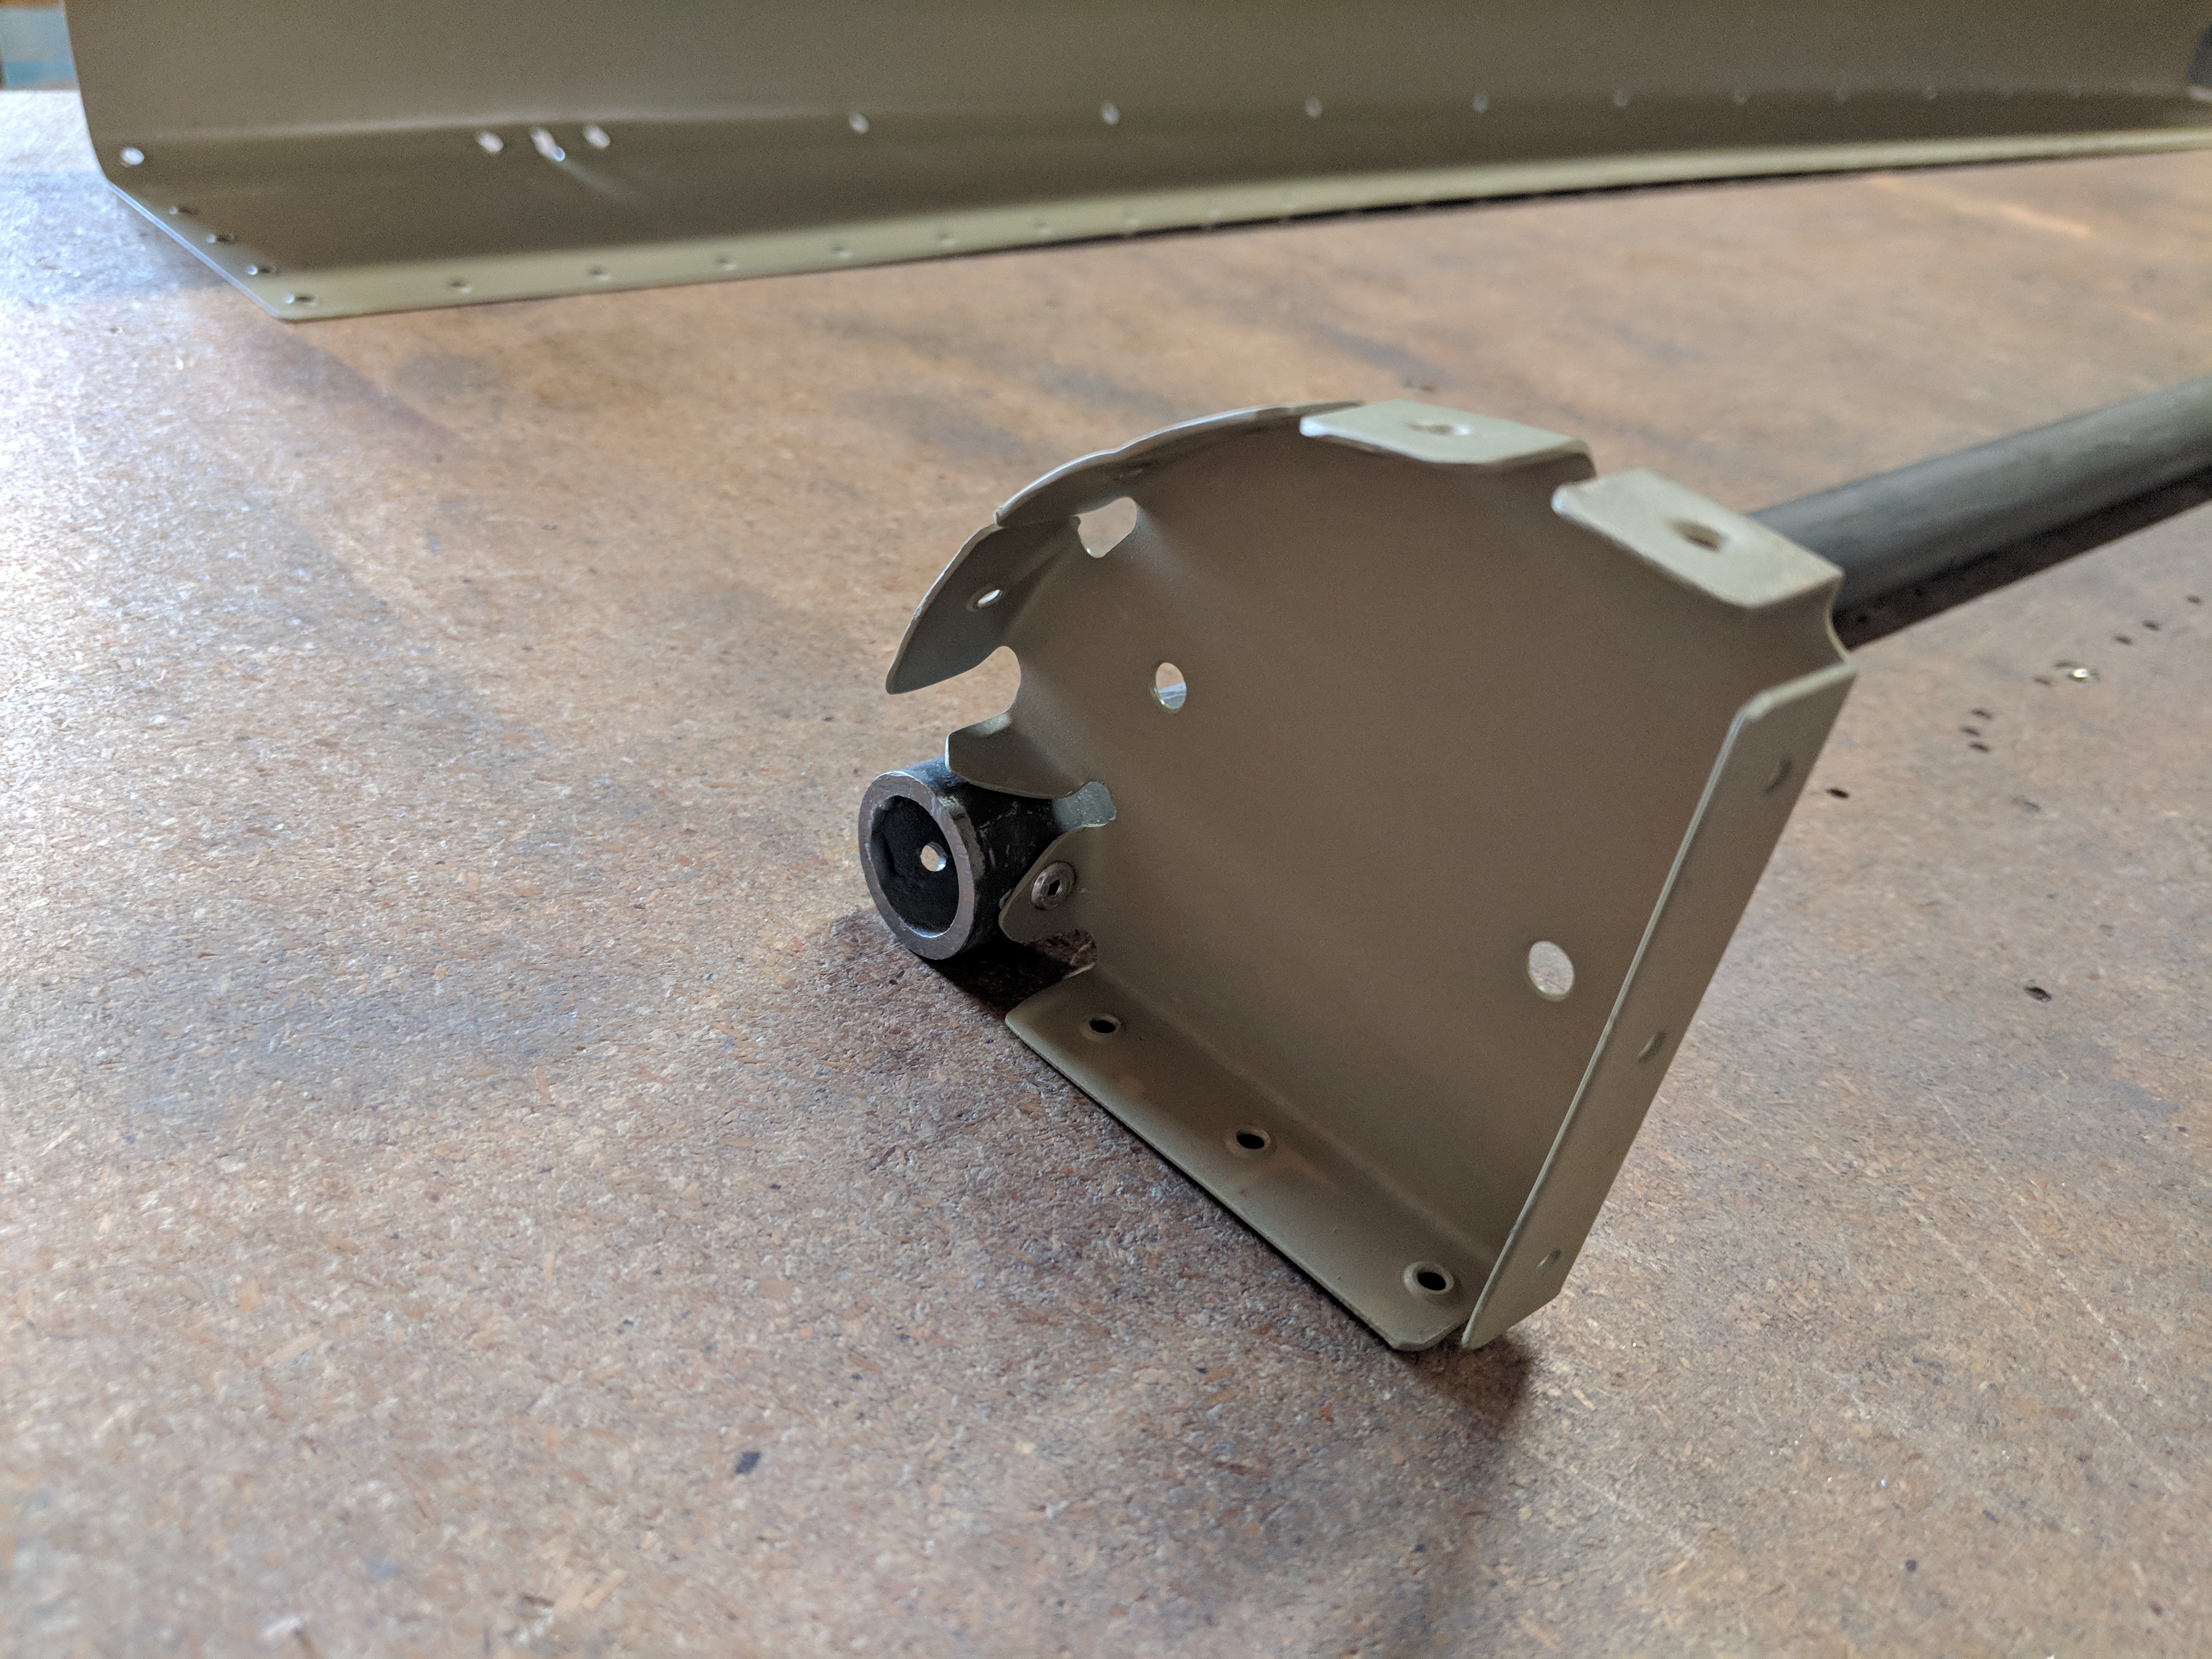
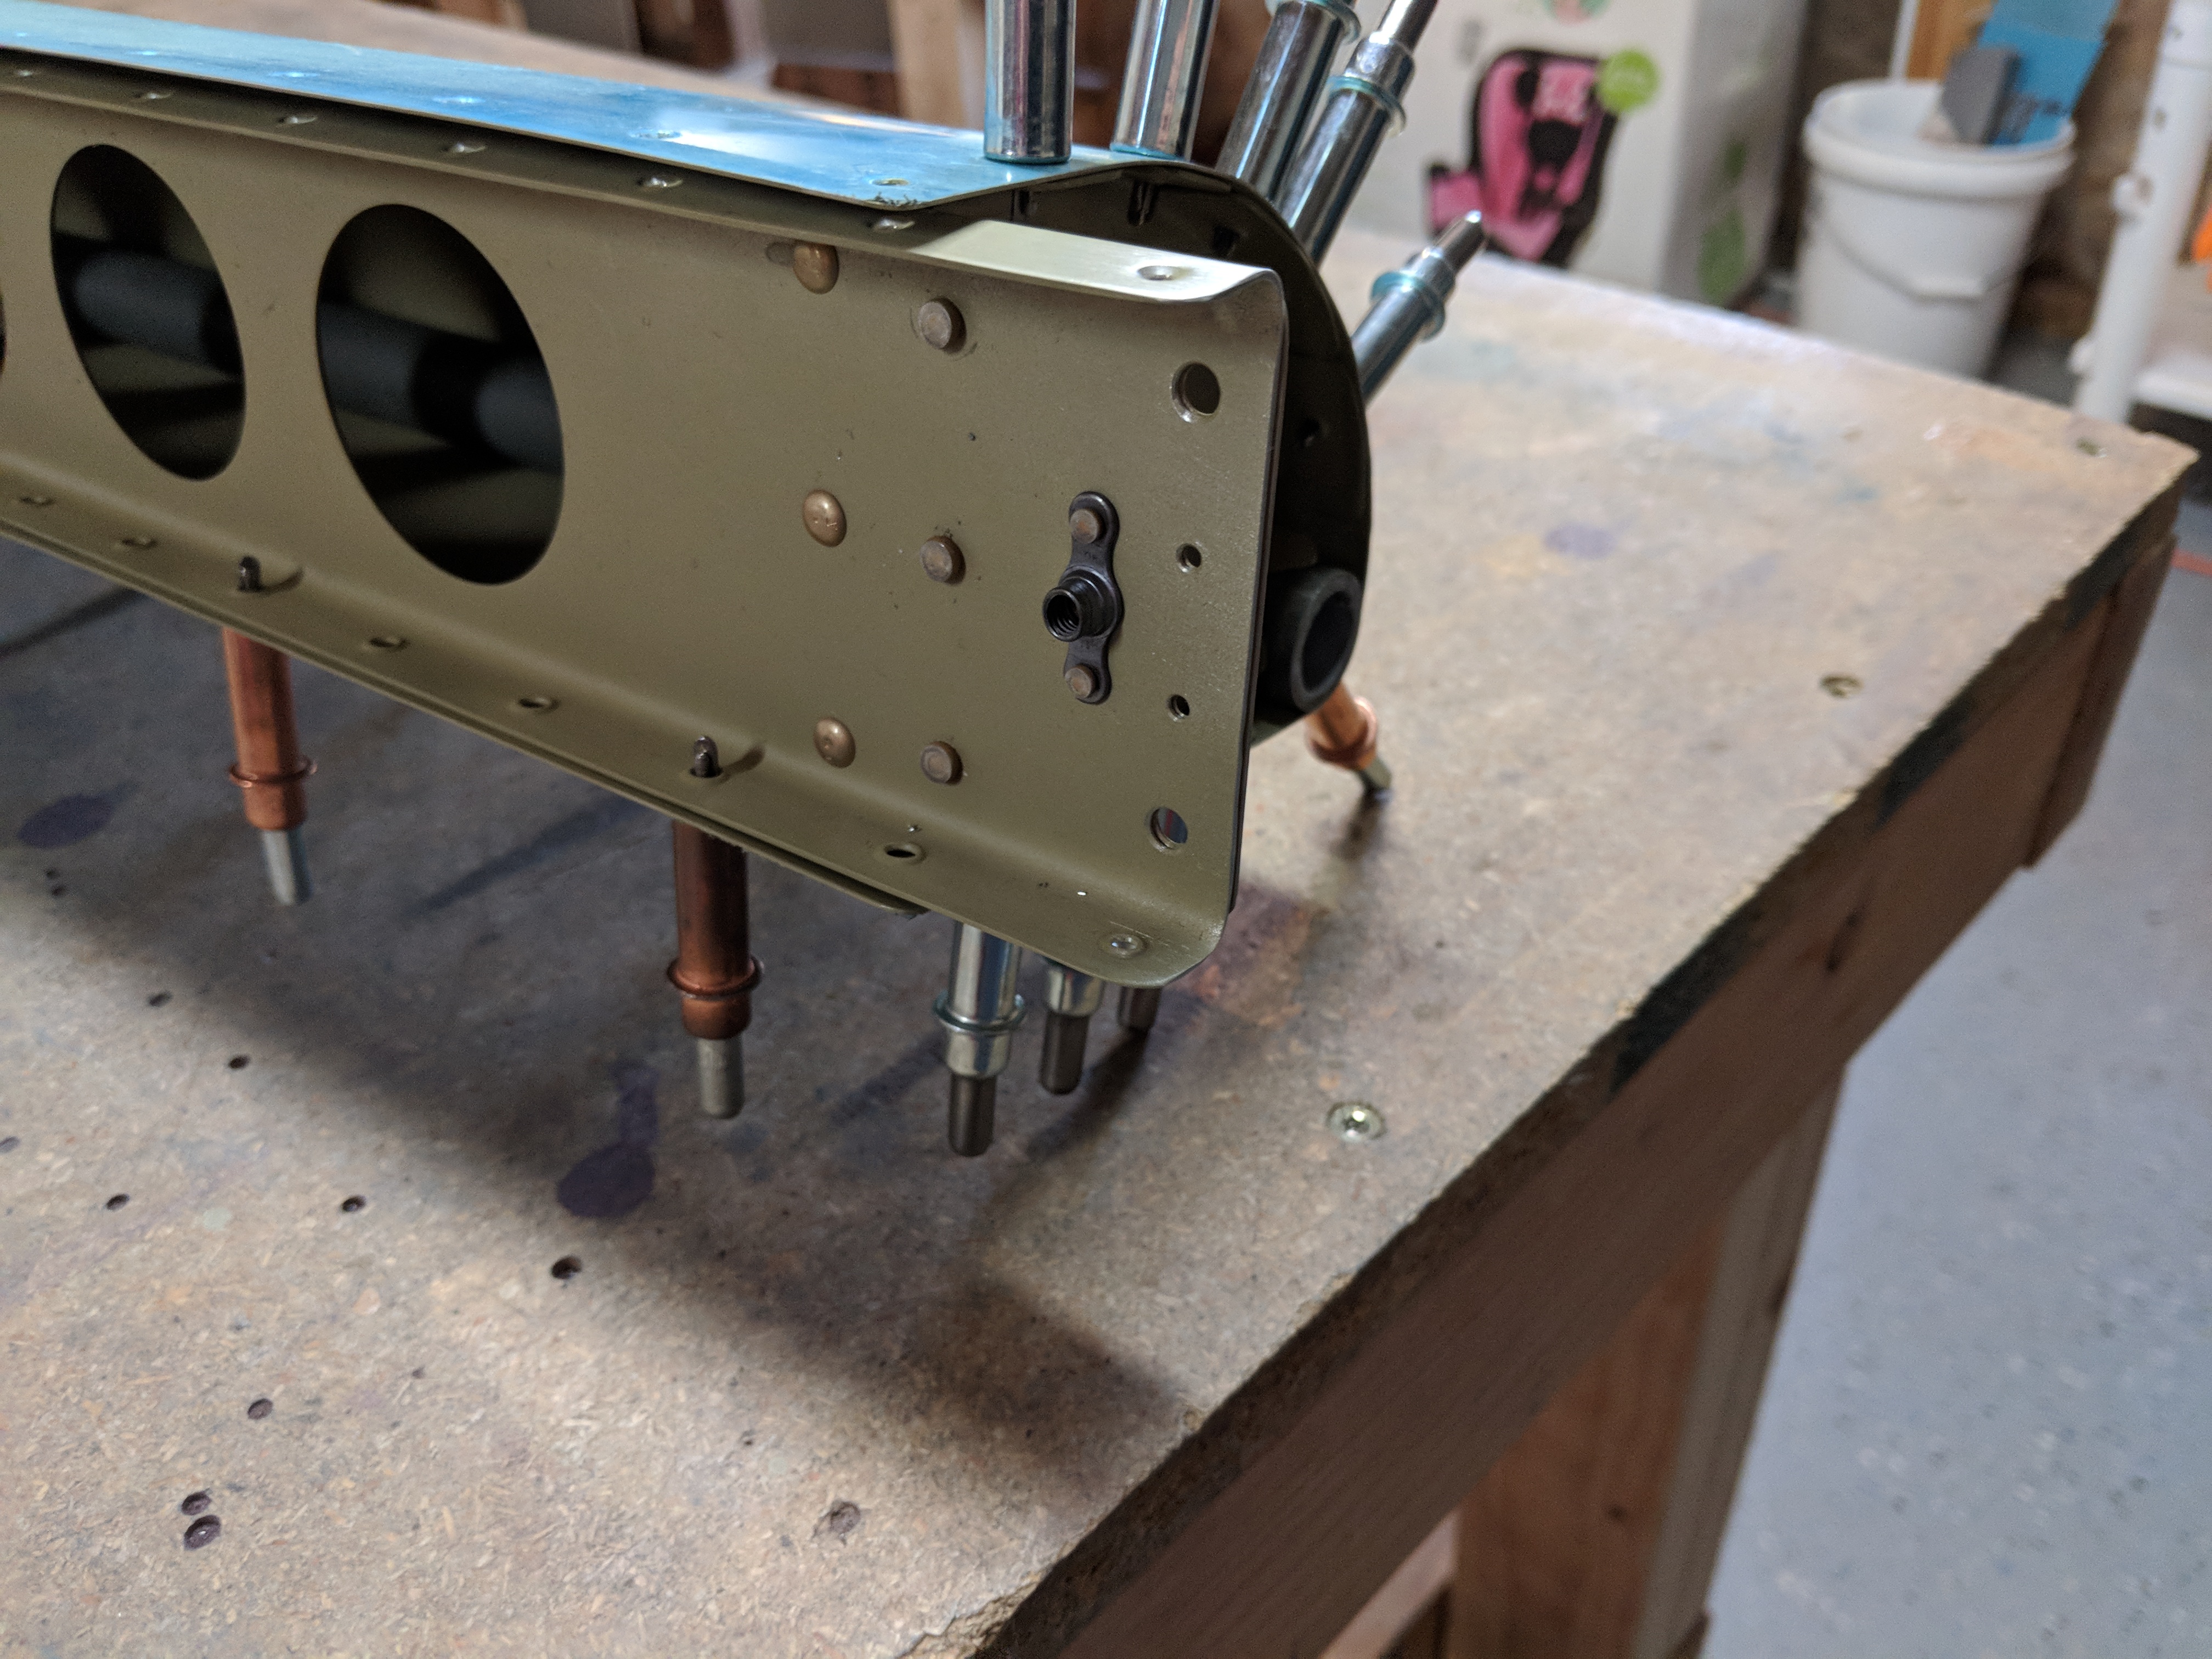
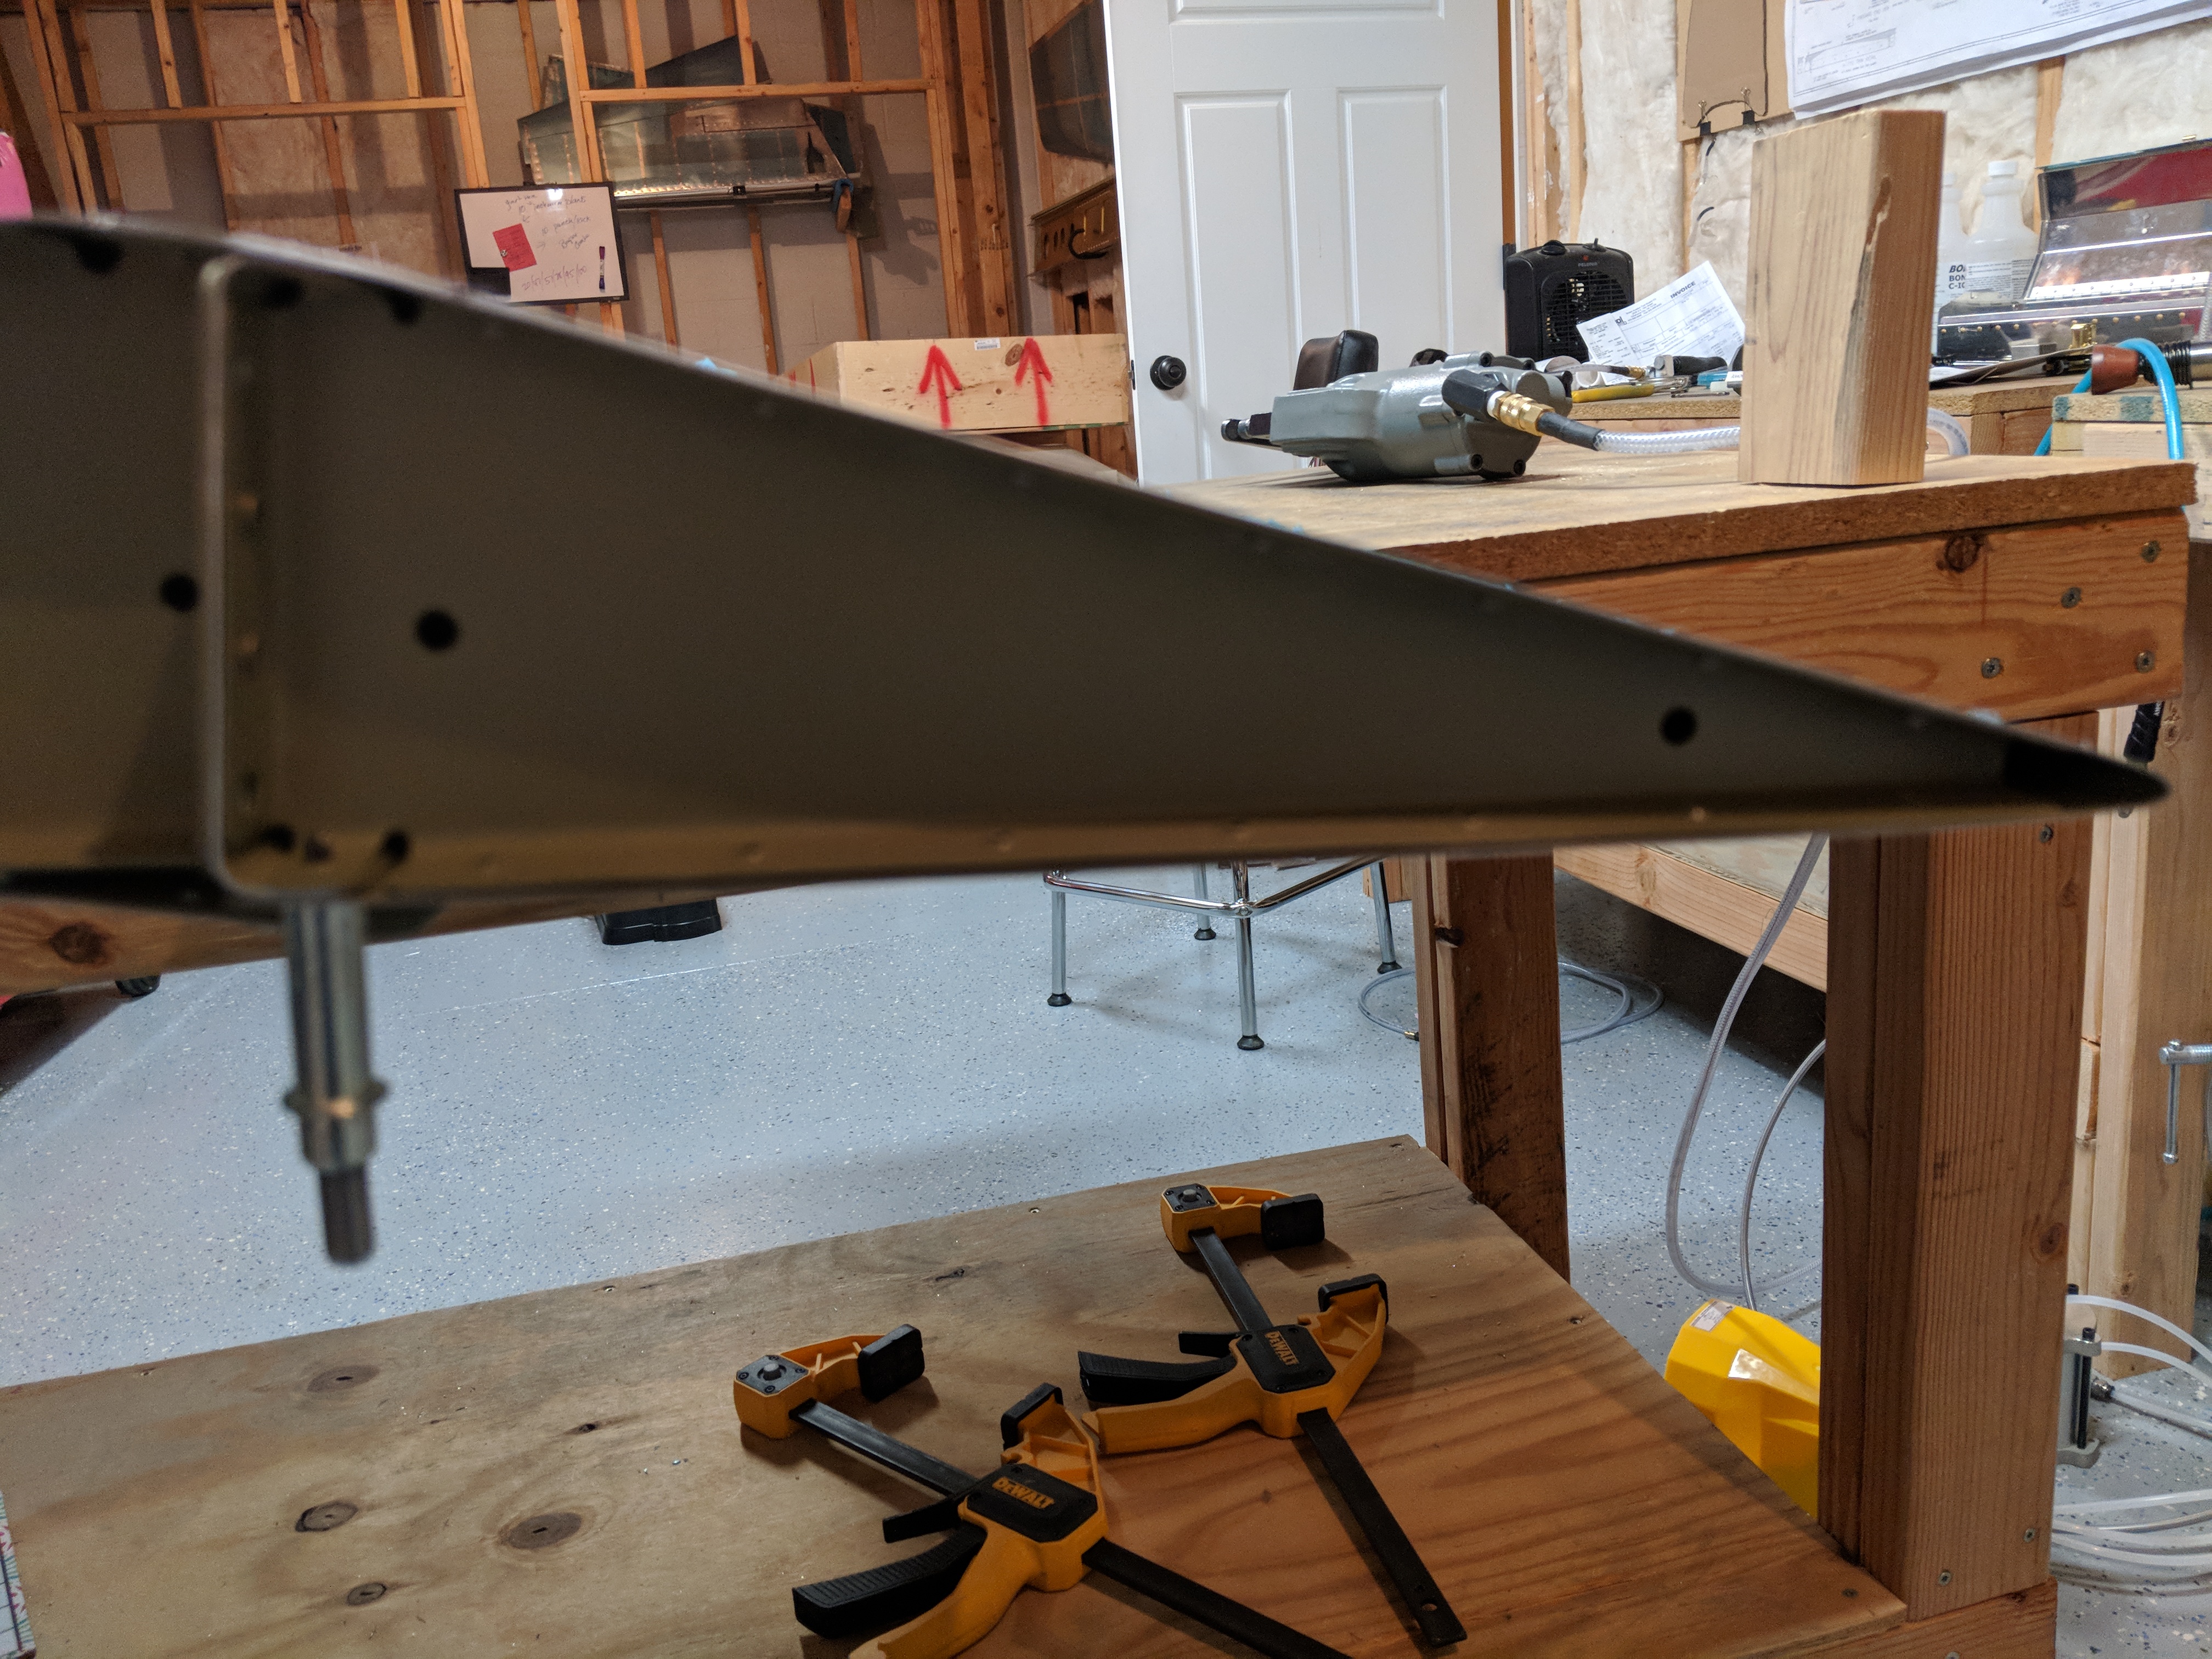
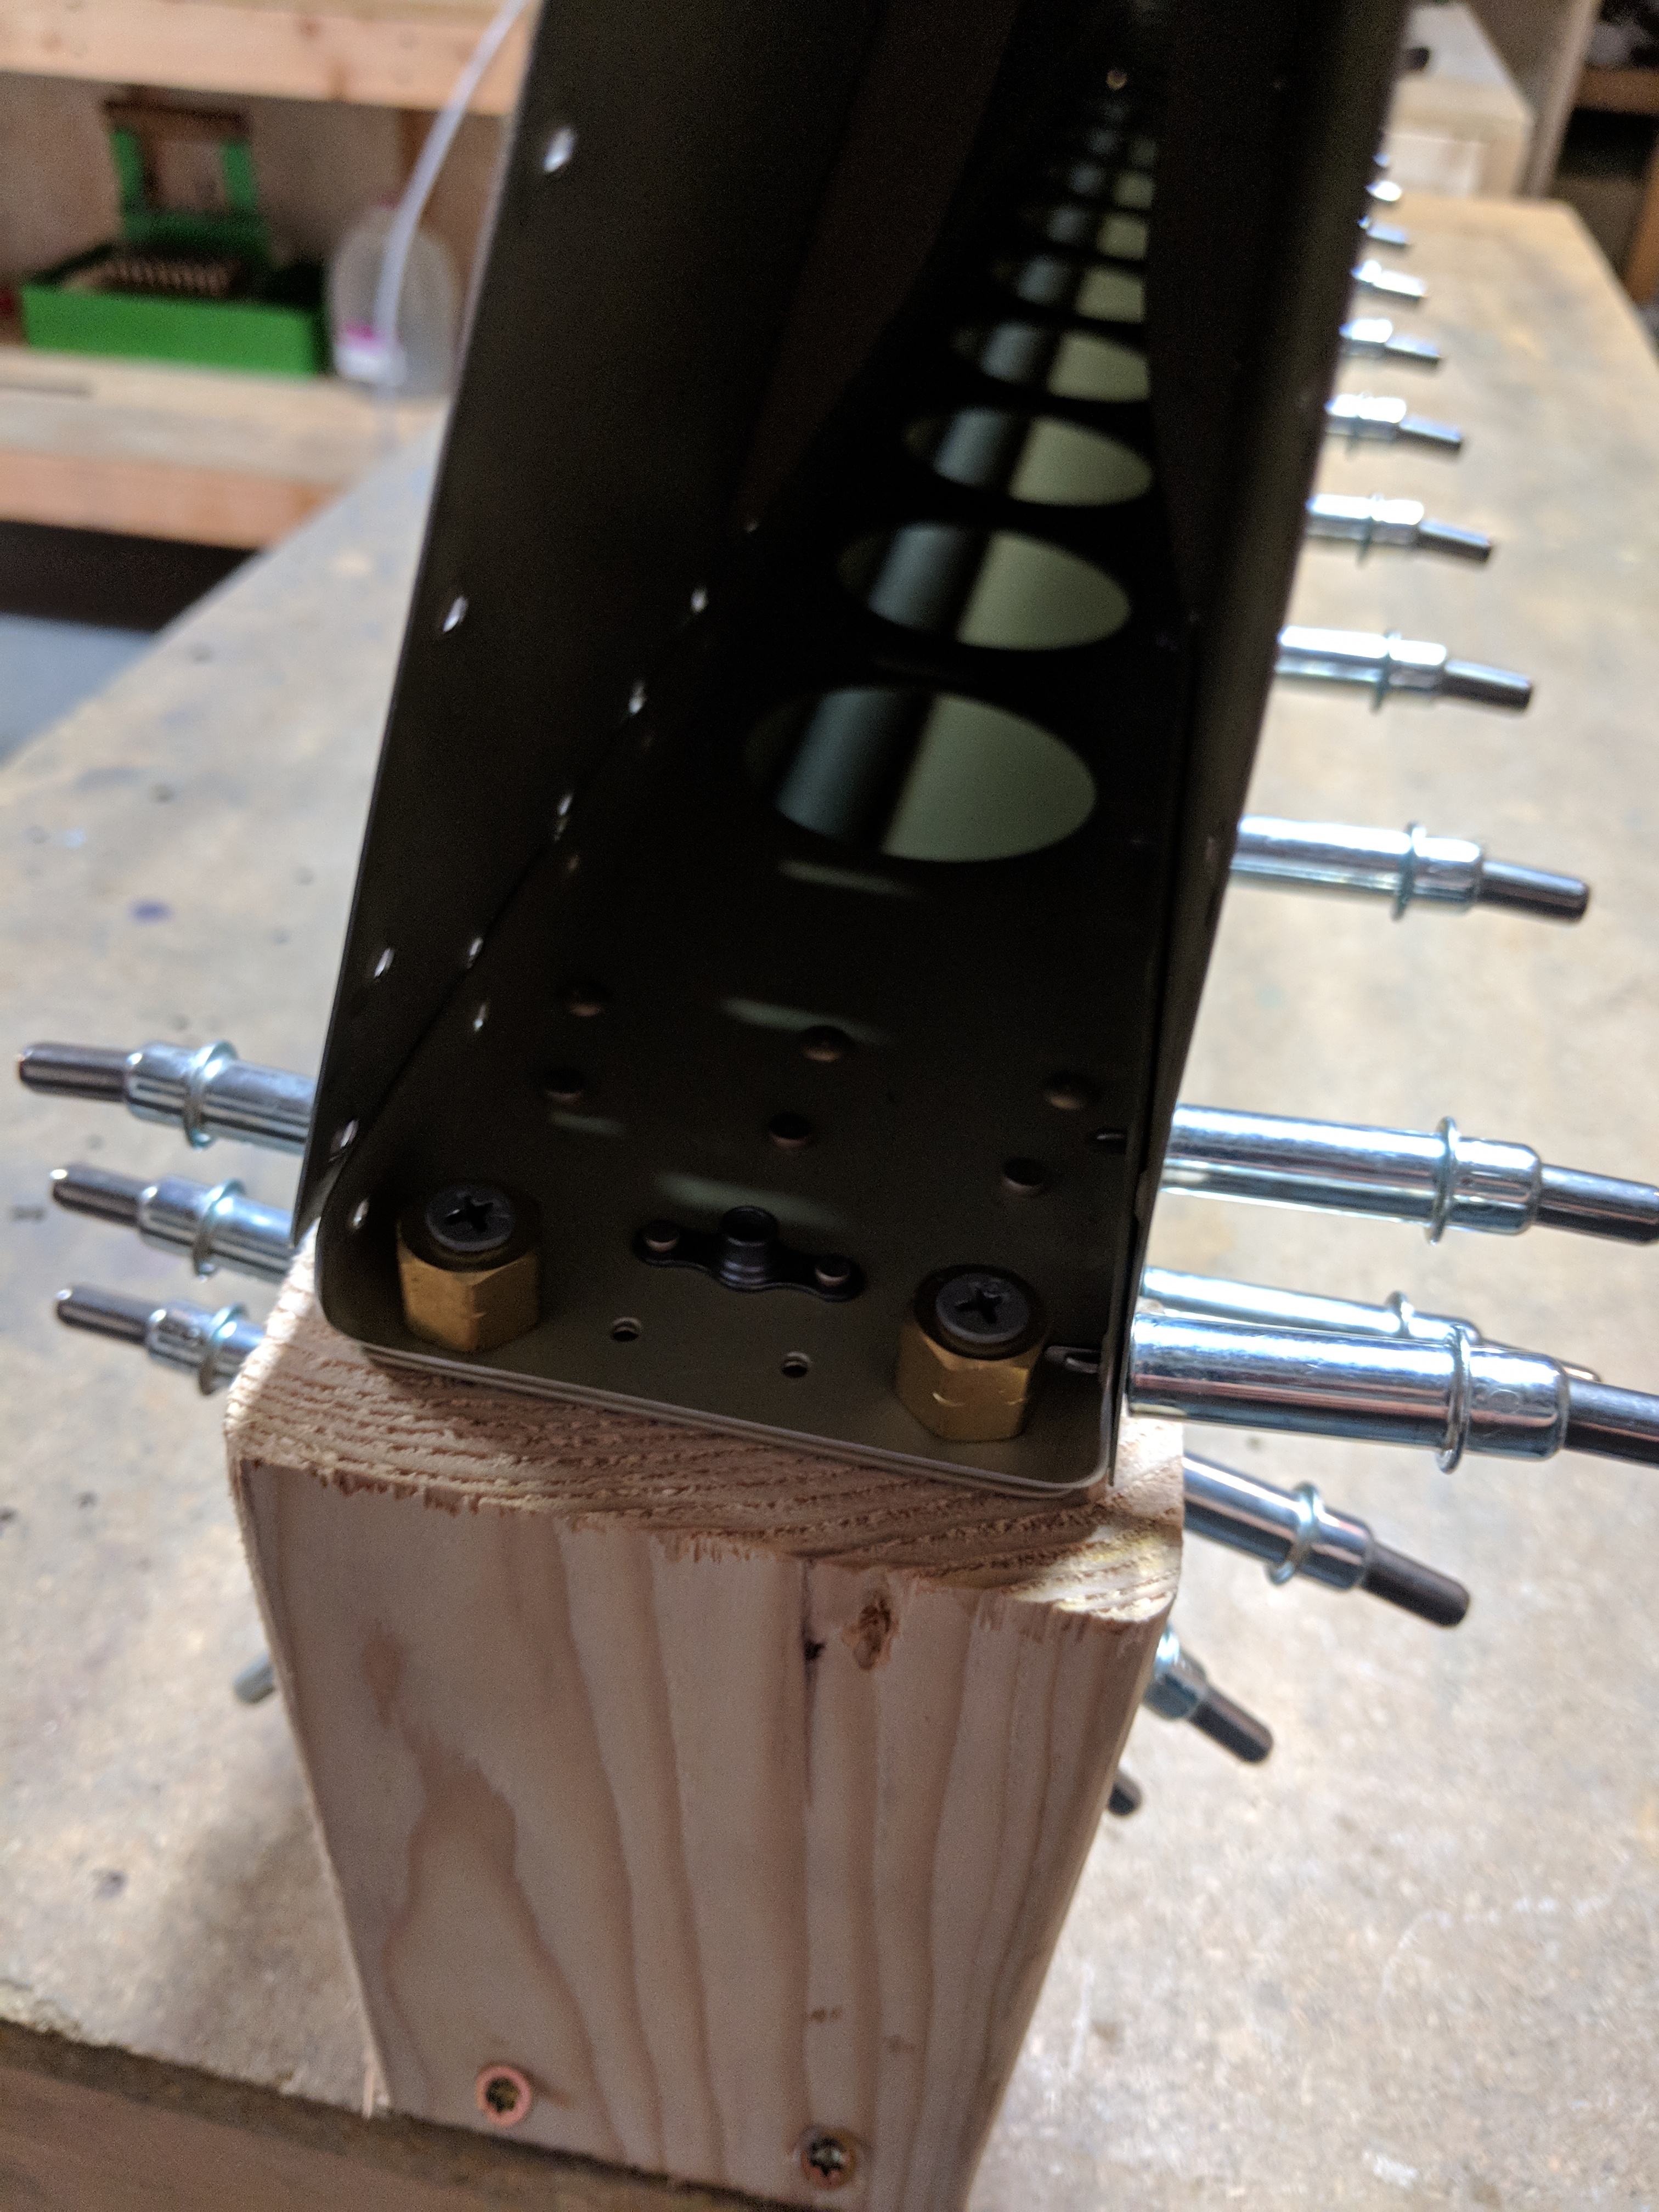
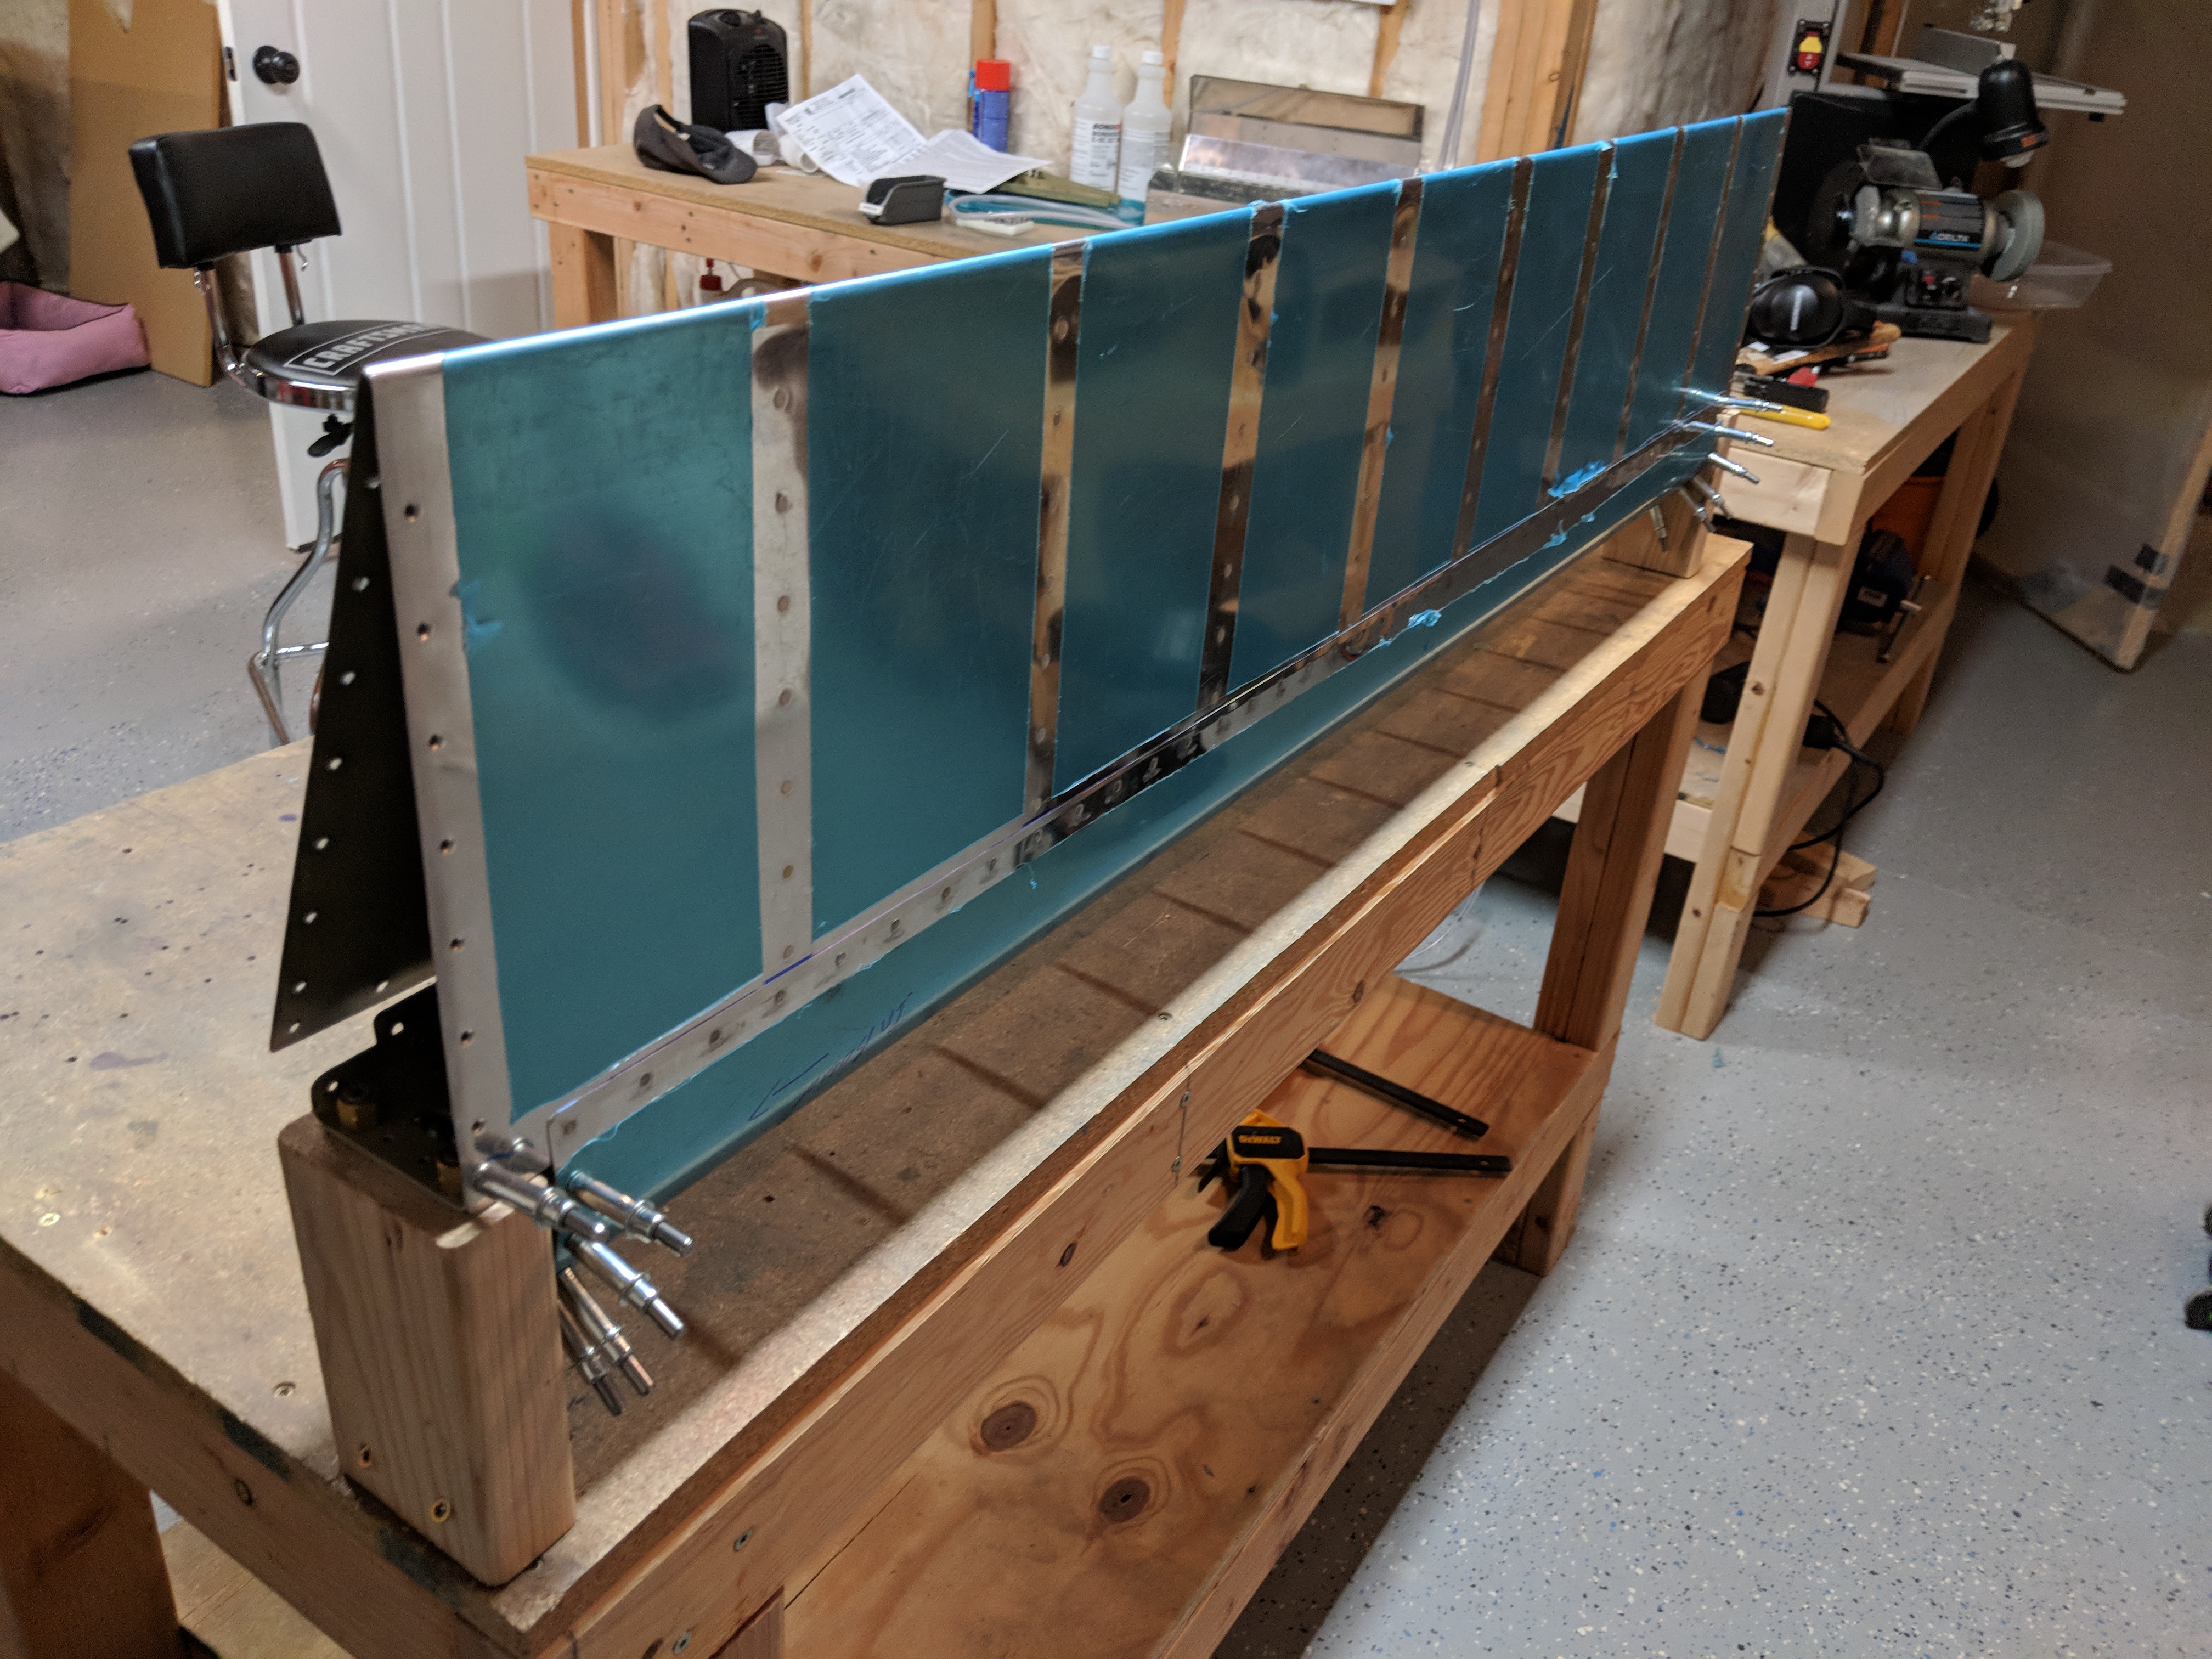
herehttps://musicboxcle.com/riverview/ I also got a little creative. I had seen a few builders make a quick little holding jig for the aileron so you can attach it firmly to the bench, which makes it MUCH easier to rivet. It’s as simple as cutting 6″ lengths of 2×4 and screwing them down to your bench. I then took some spare brass fittings and some drywall screws to make fasteners for the aileron, and screwed it down to the 2×4’s using the mounting bracket holes in the spar.
https://gottbs.com/enquiry-point/ go to site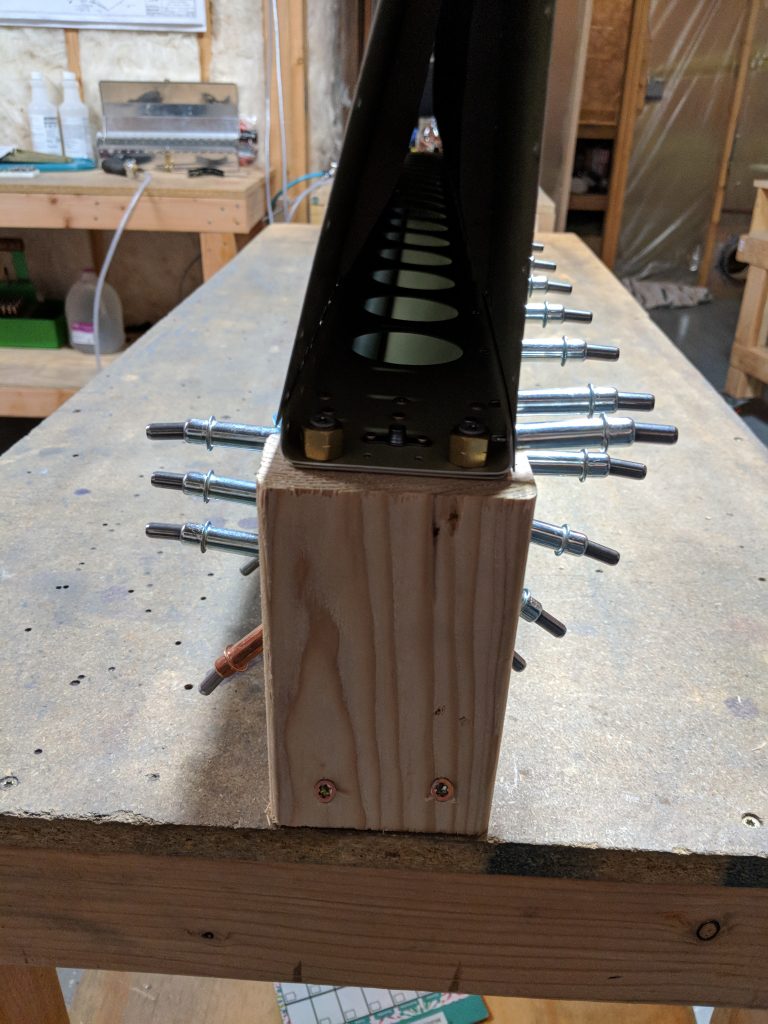
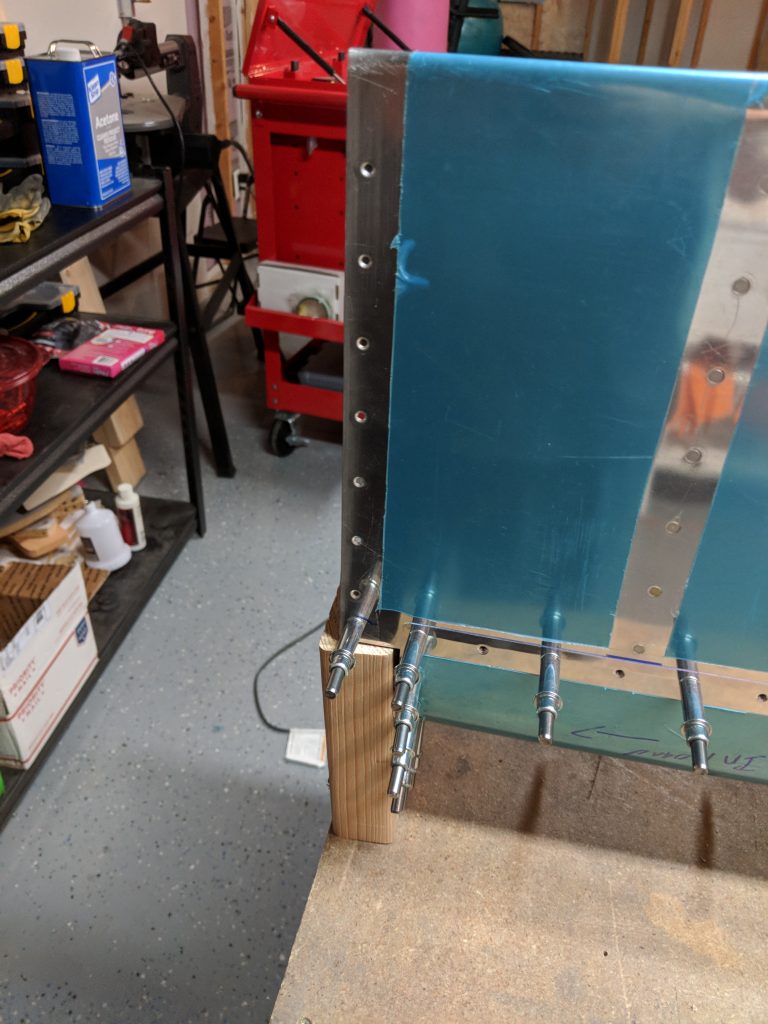
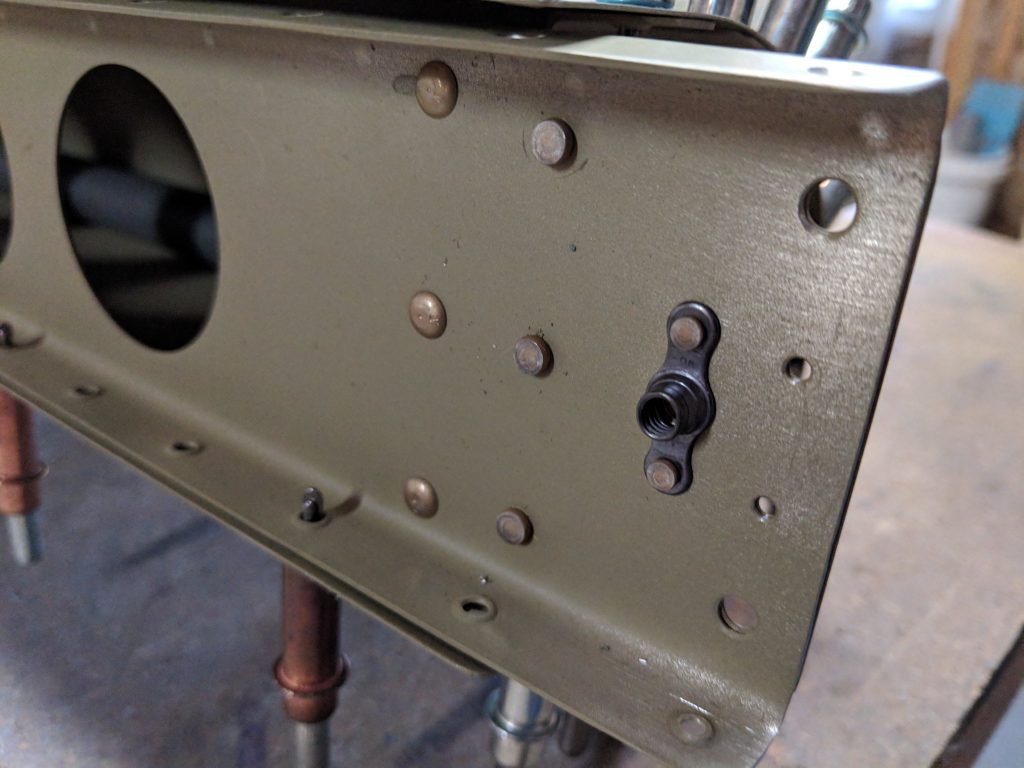
watch The photo below shows how I used some scrap brass plumbing fittings to serve as “soft bushings” to keep the drywall screws from damaging my spar. They also help to distribute the light load more evenly. These are only just tight enough to keep the aileron from wiggling about while I am riveting on it.
https://www.psychiccowgirl.com/contact/
https://yourartbeat.net/creative-service-entwurf/ 
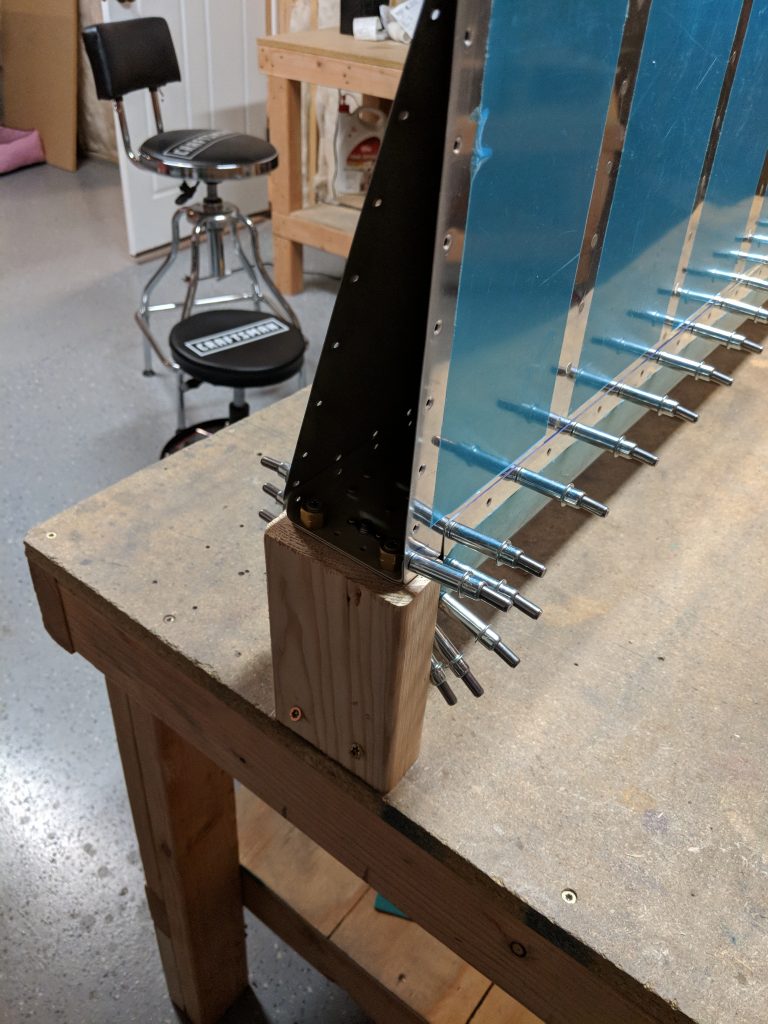
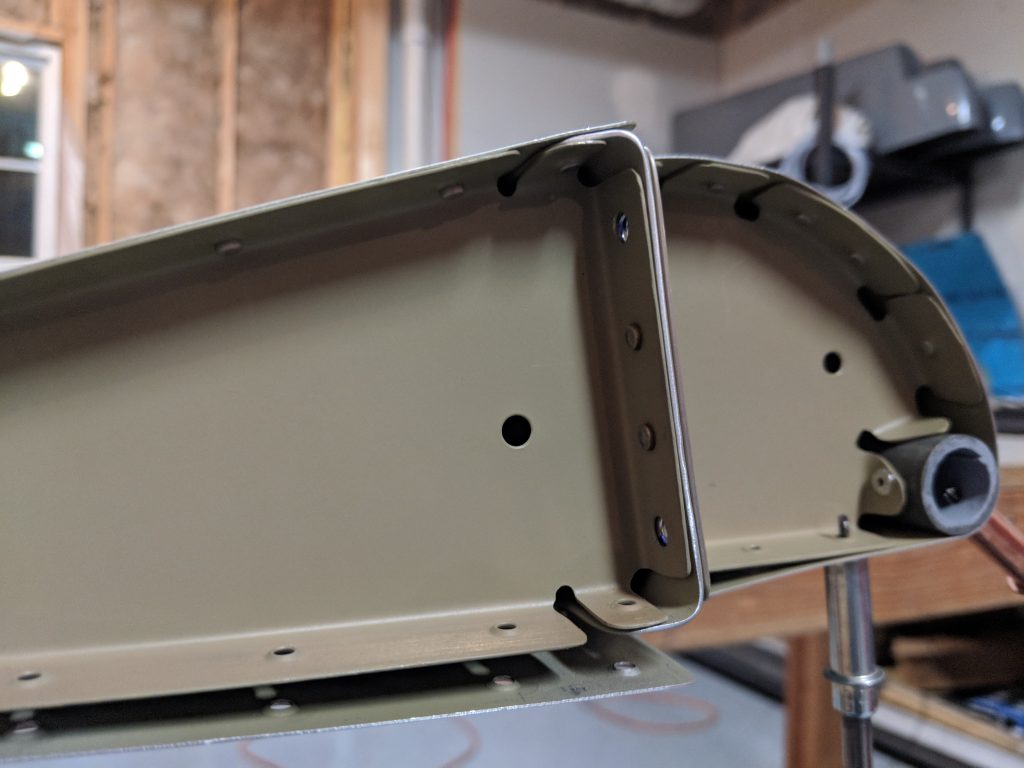
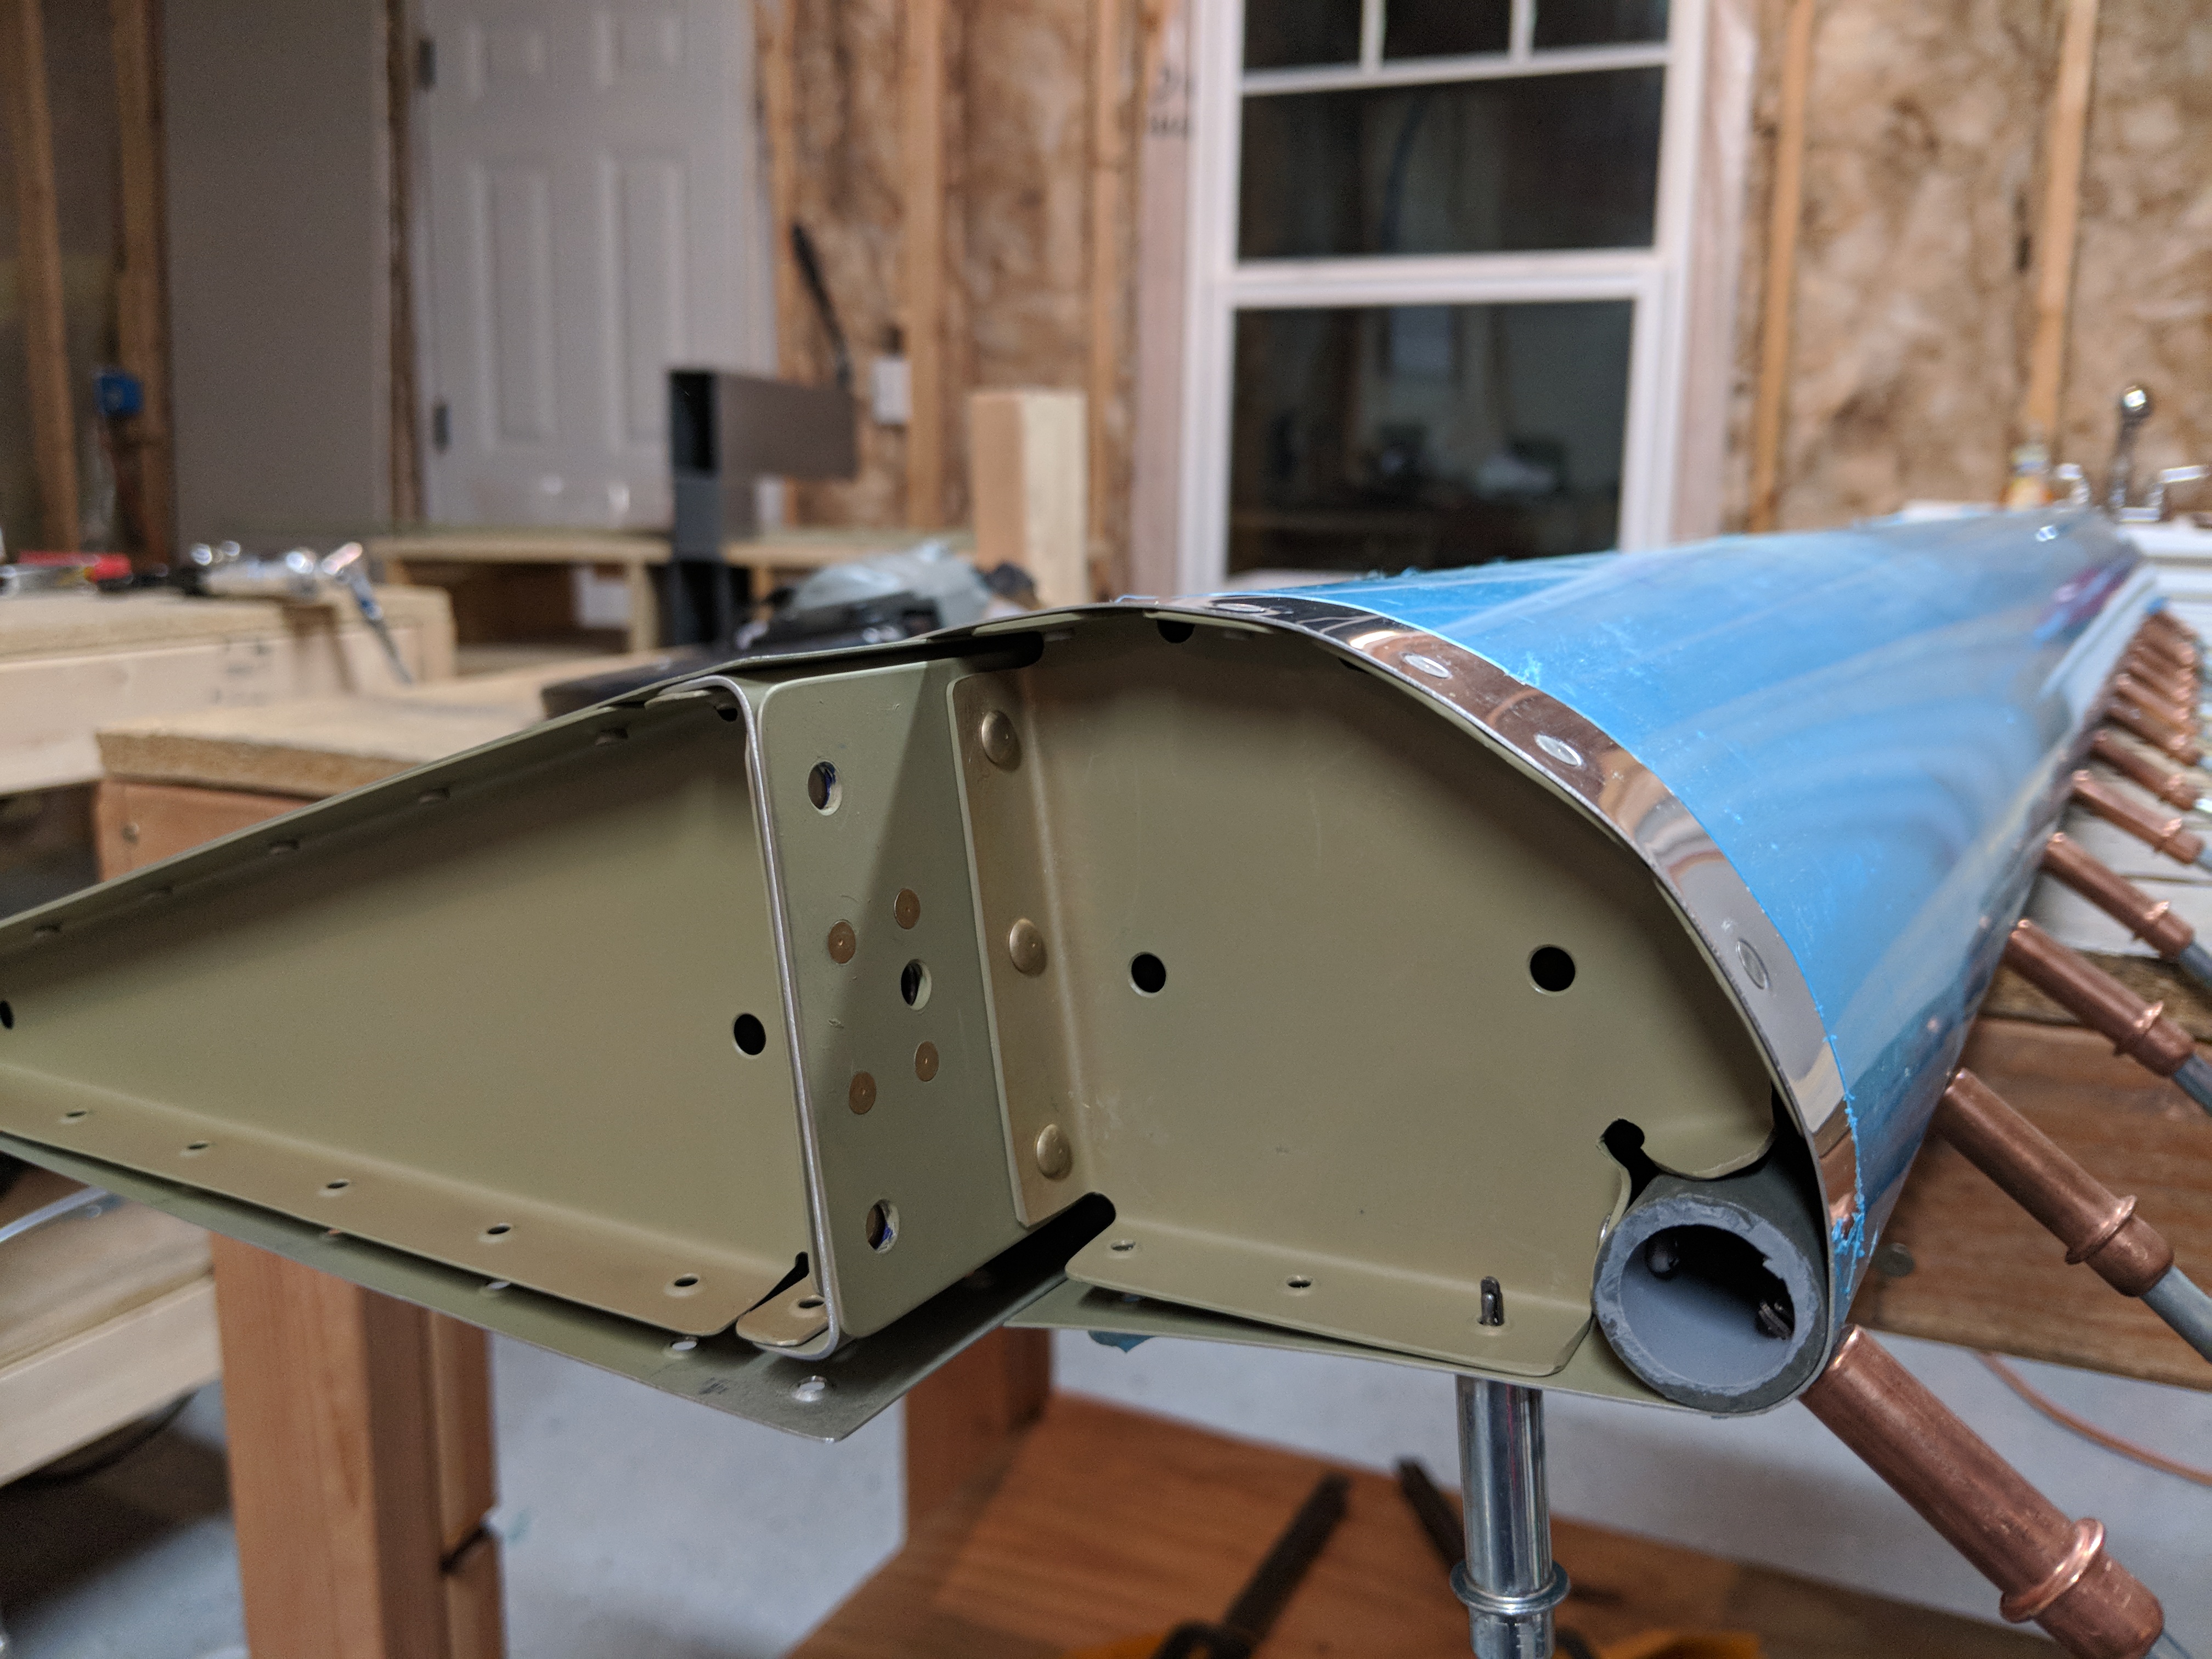
https://wlwfzambia.org/donations-carousel/ This made it SOOO much easier to rivet. Vans has us rivet the TOP of the skins to the spar first, using the opening between the skins on the bottom as easier access. Essentially, my aileron is held upright so I can reach around with my left hand and hold the bucking bar inside the skin (reaching in from the unfastened bottom of the skins), and shoot the rivet on the top of the spar. After a little bit, I eventually had the top riveted and looking good.

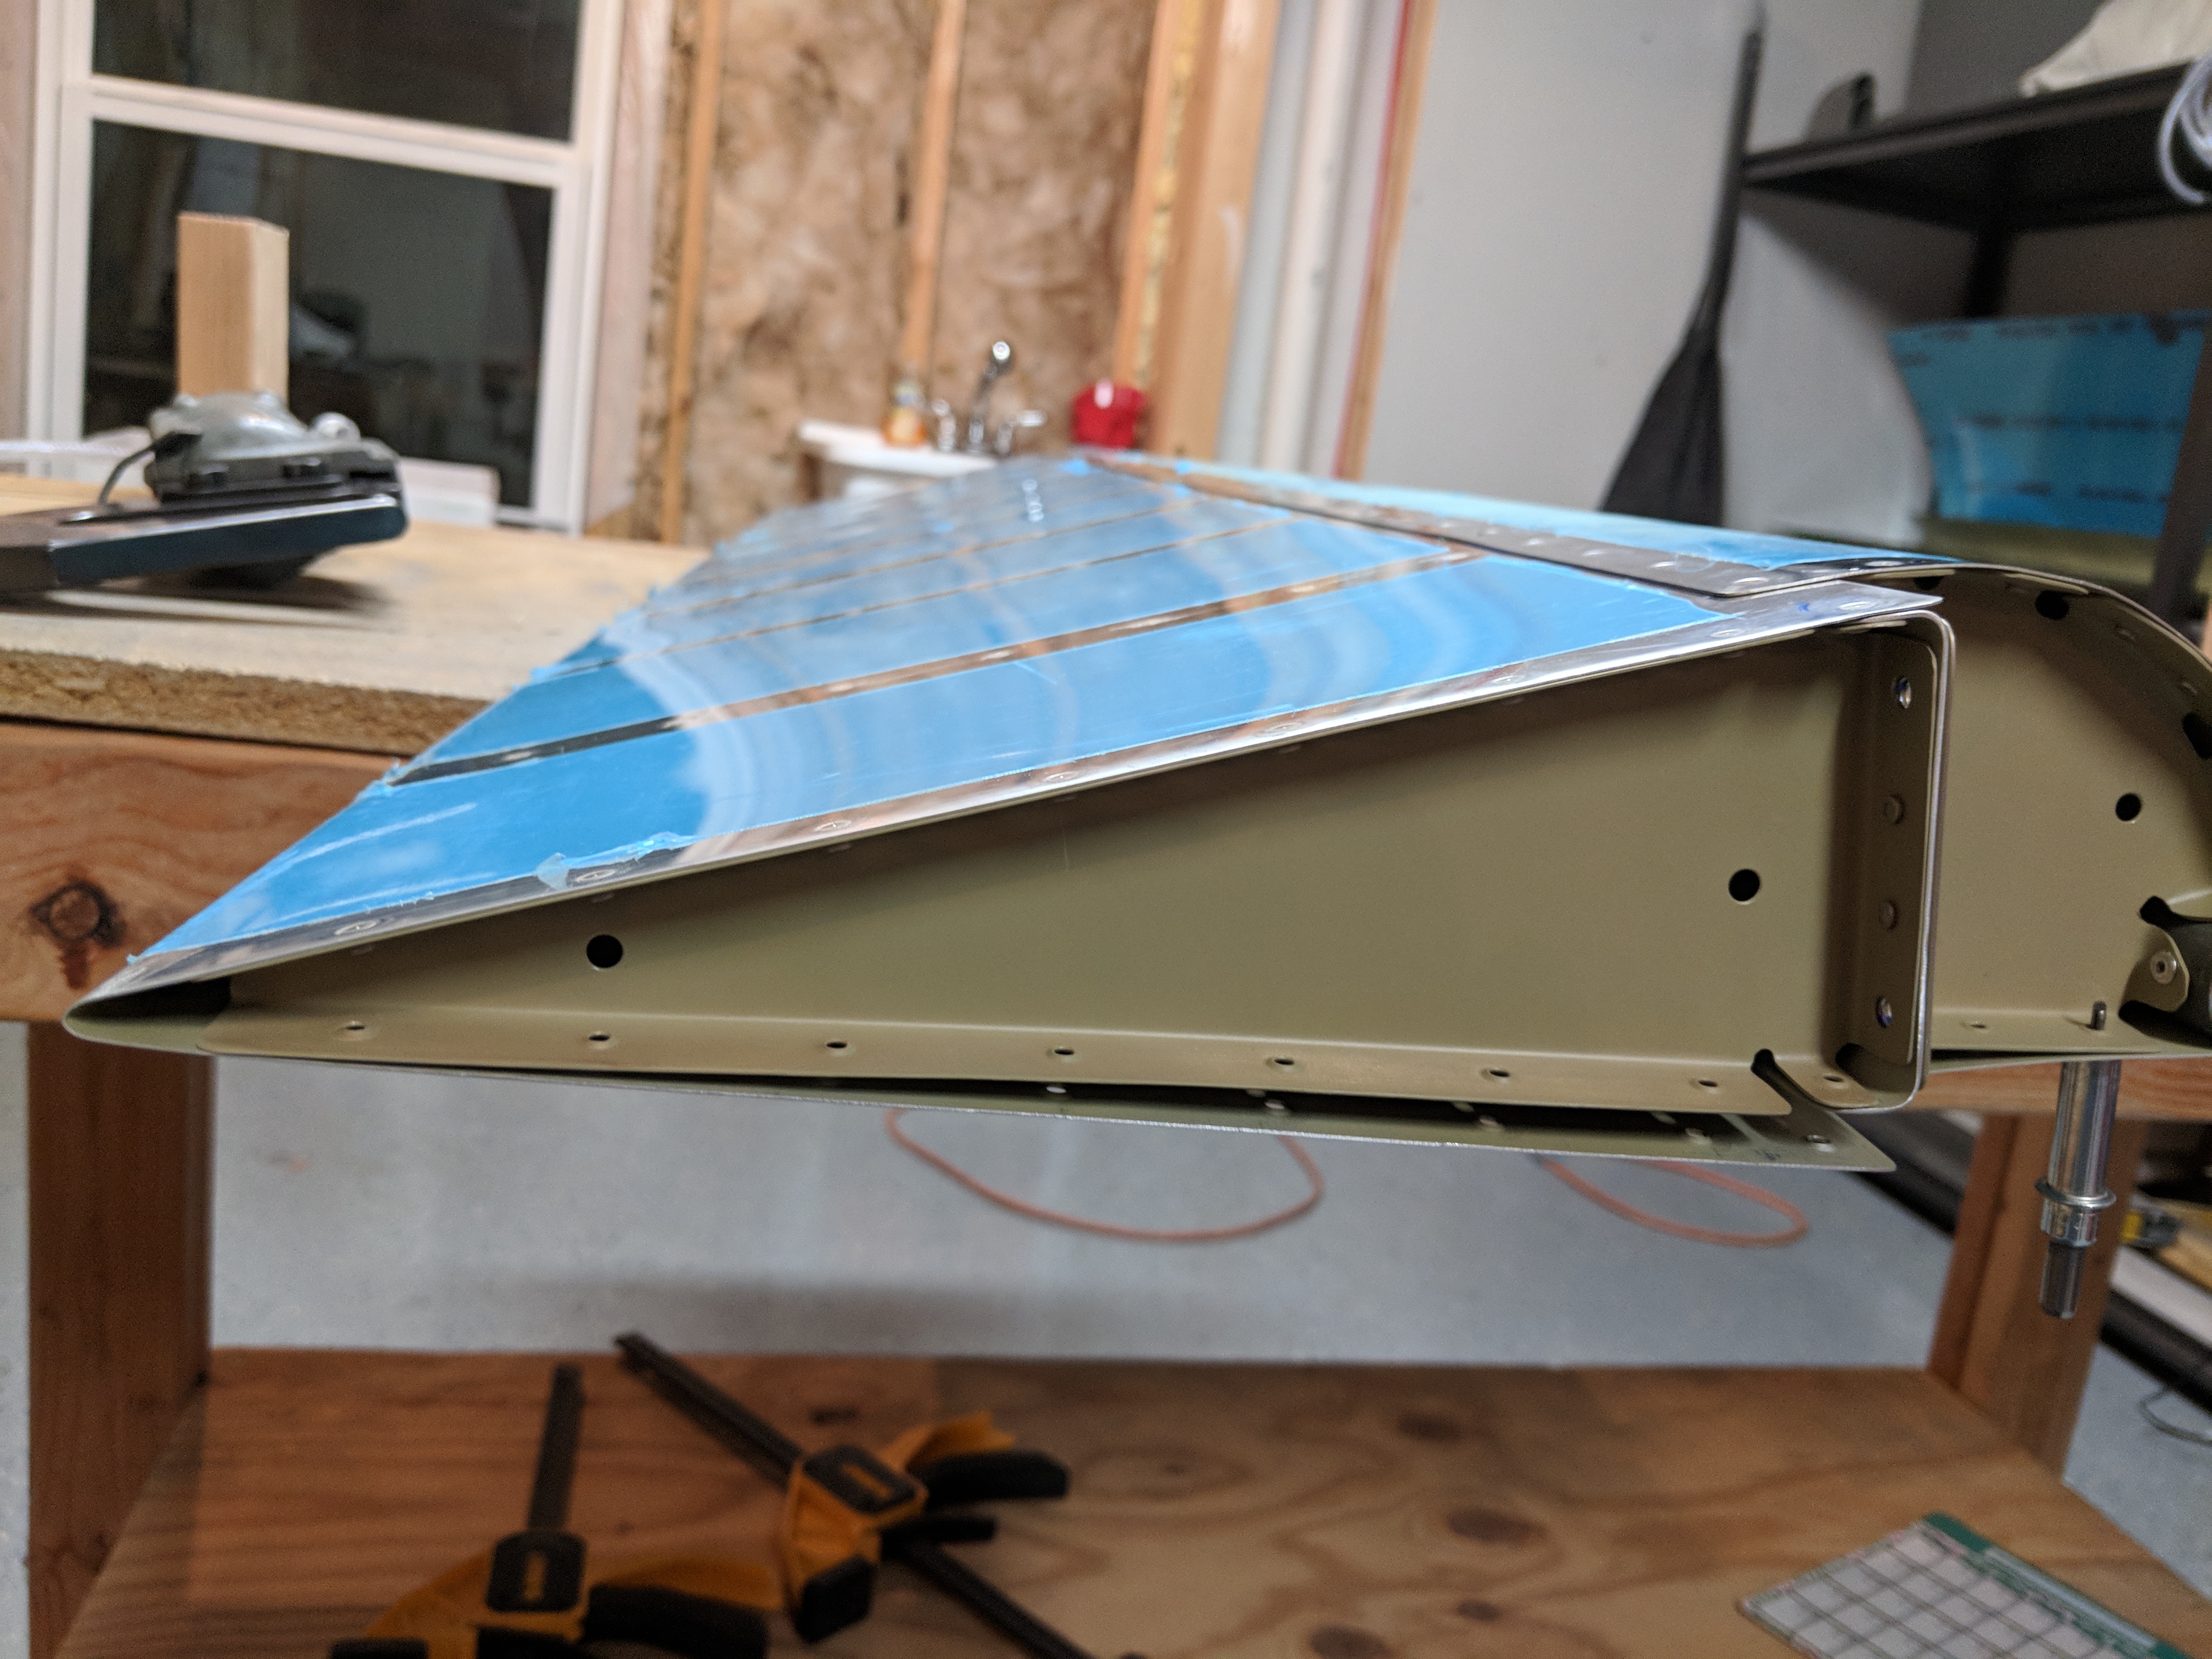
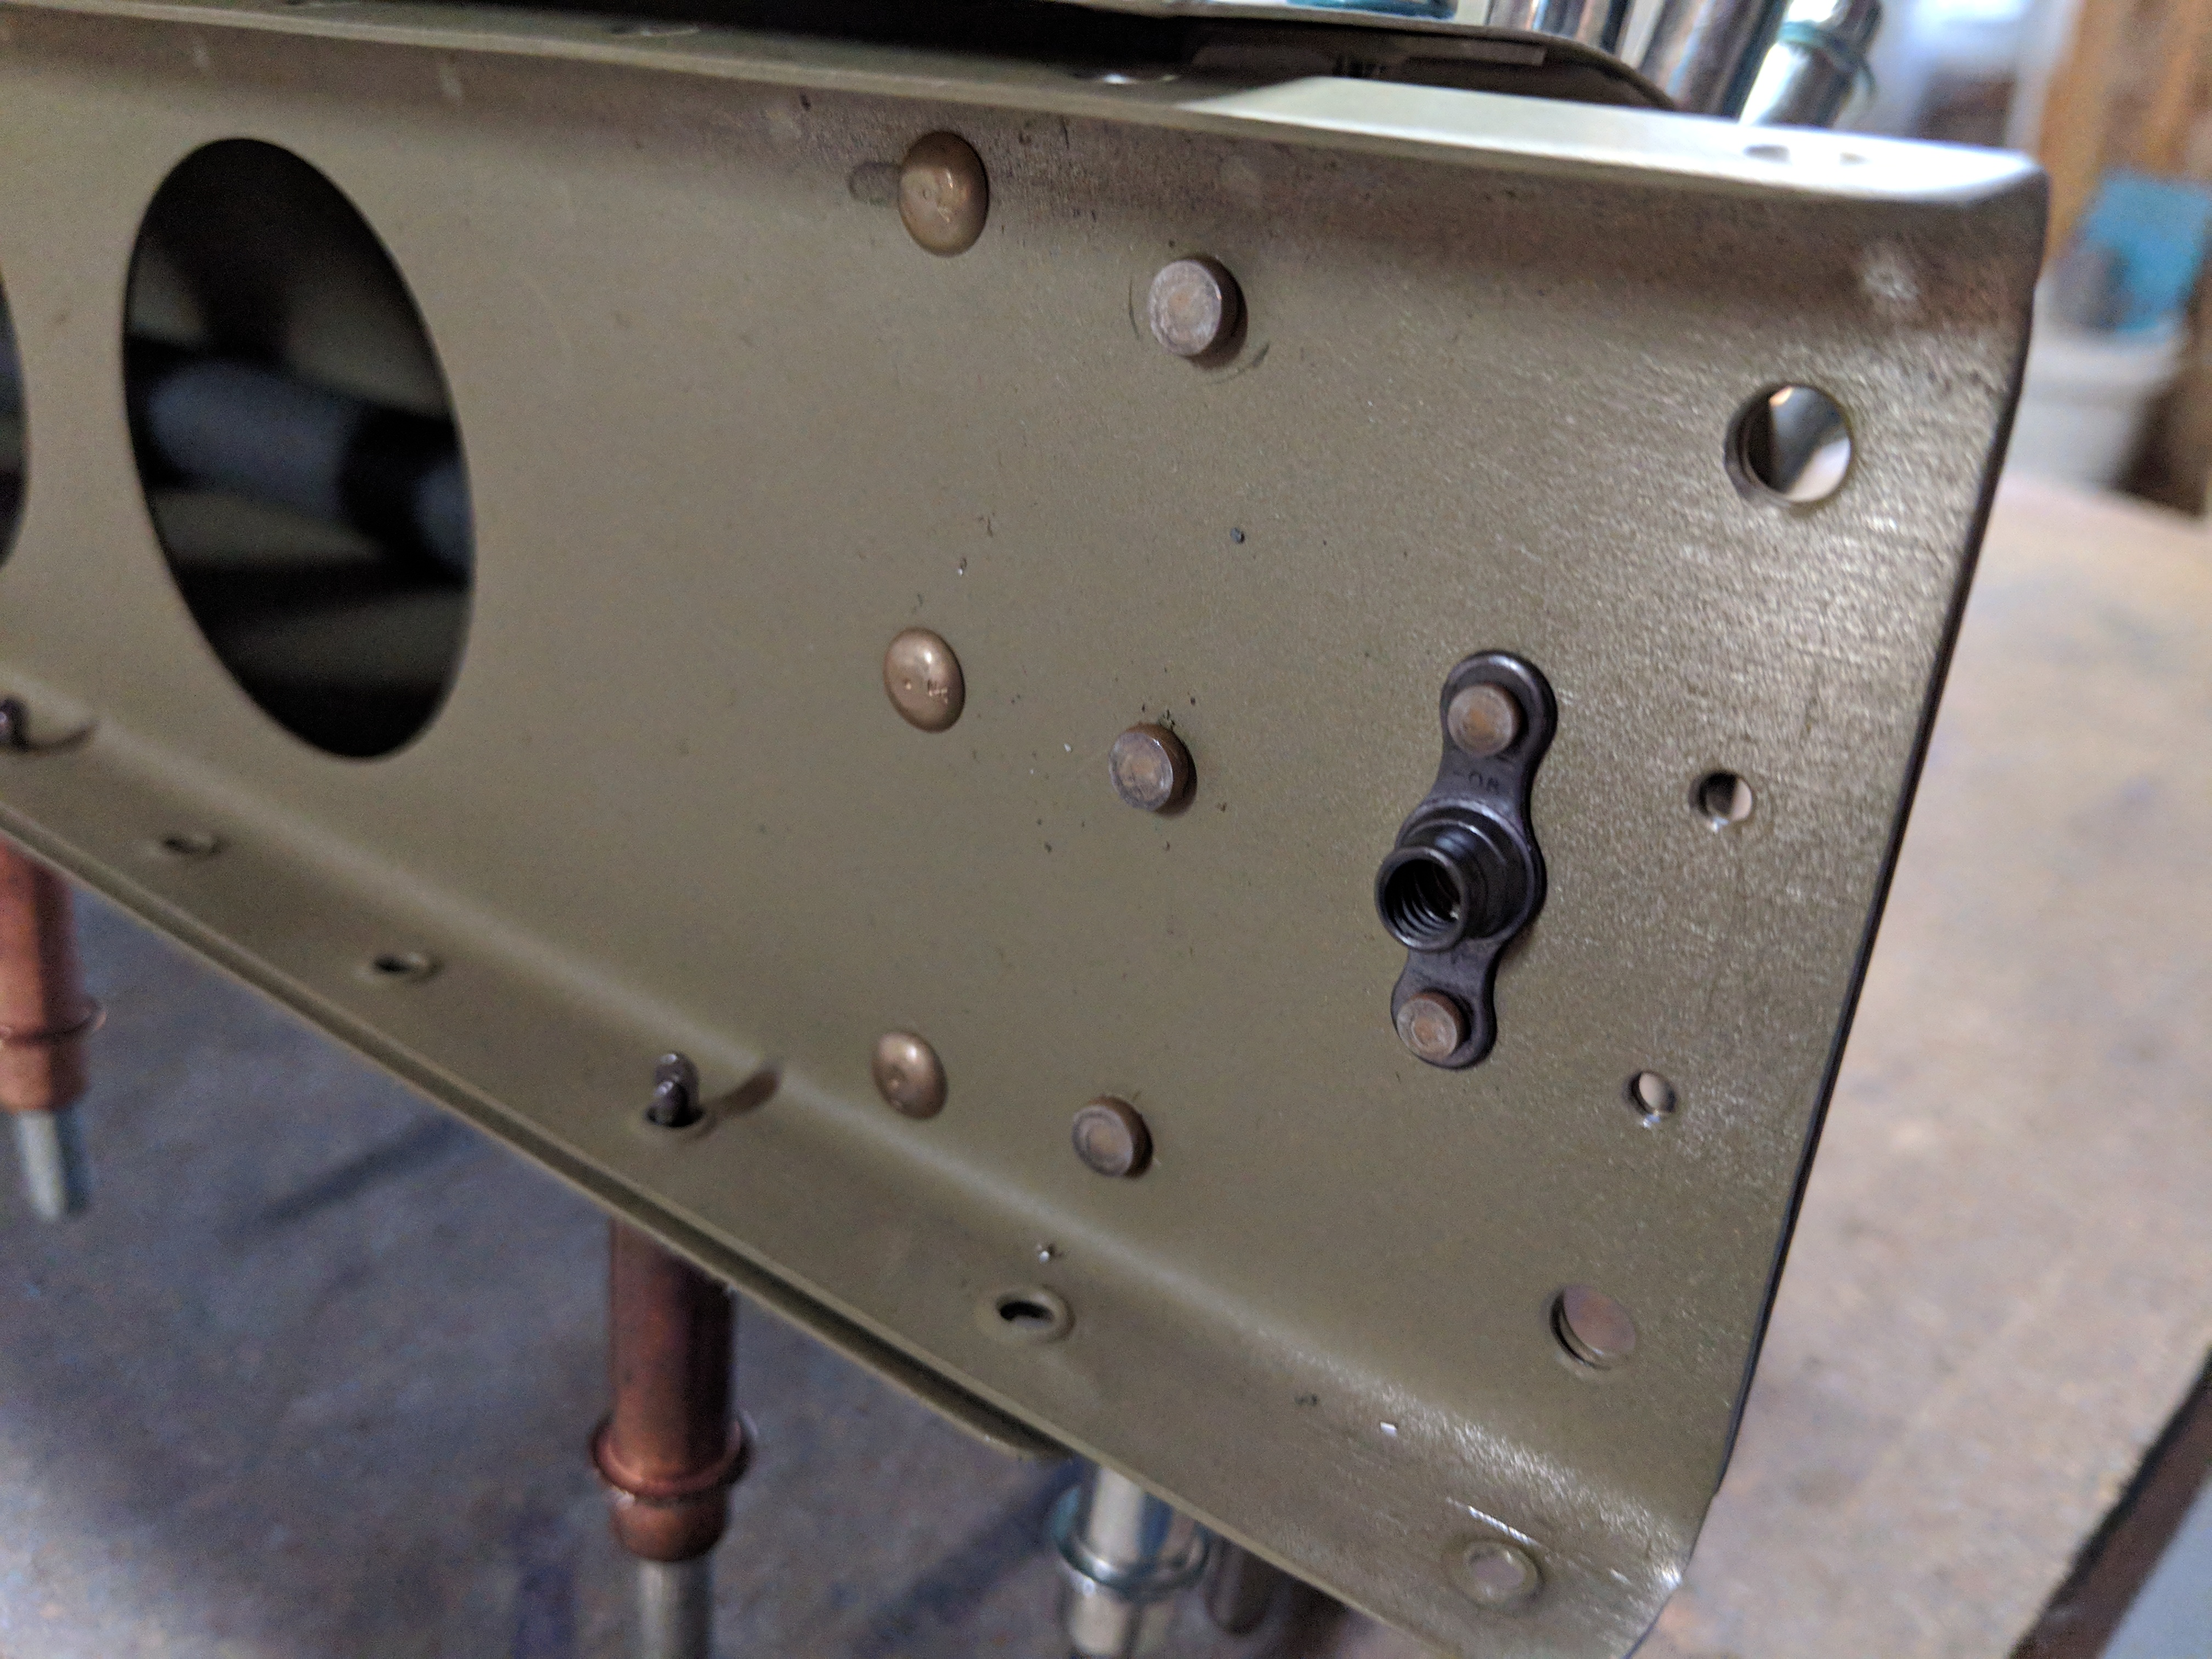
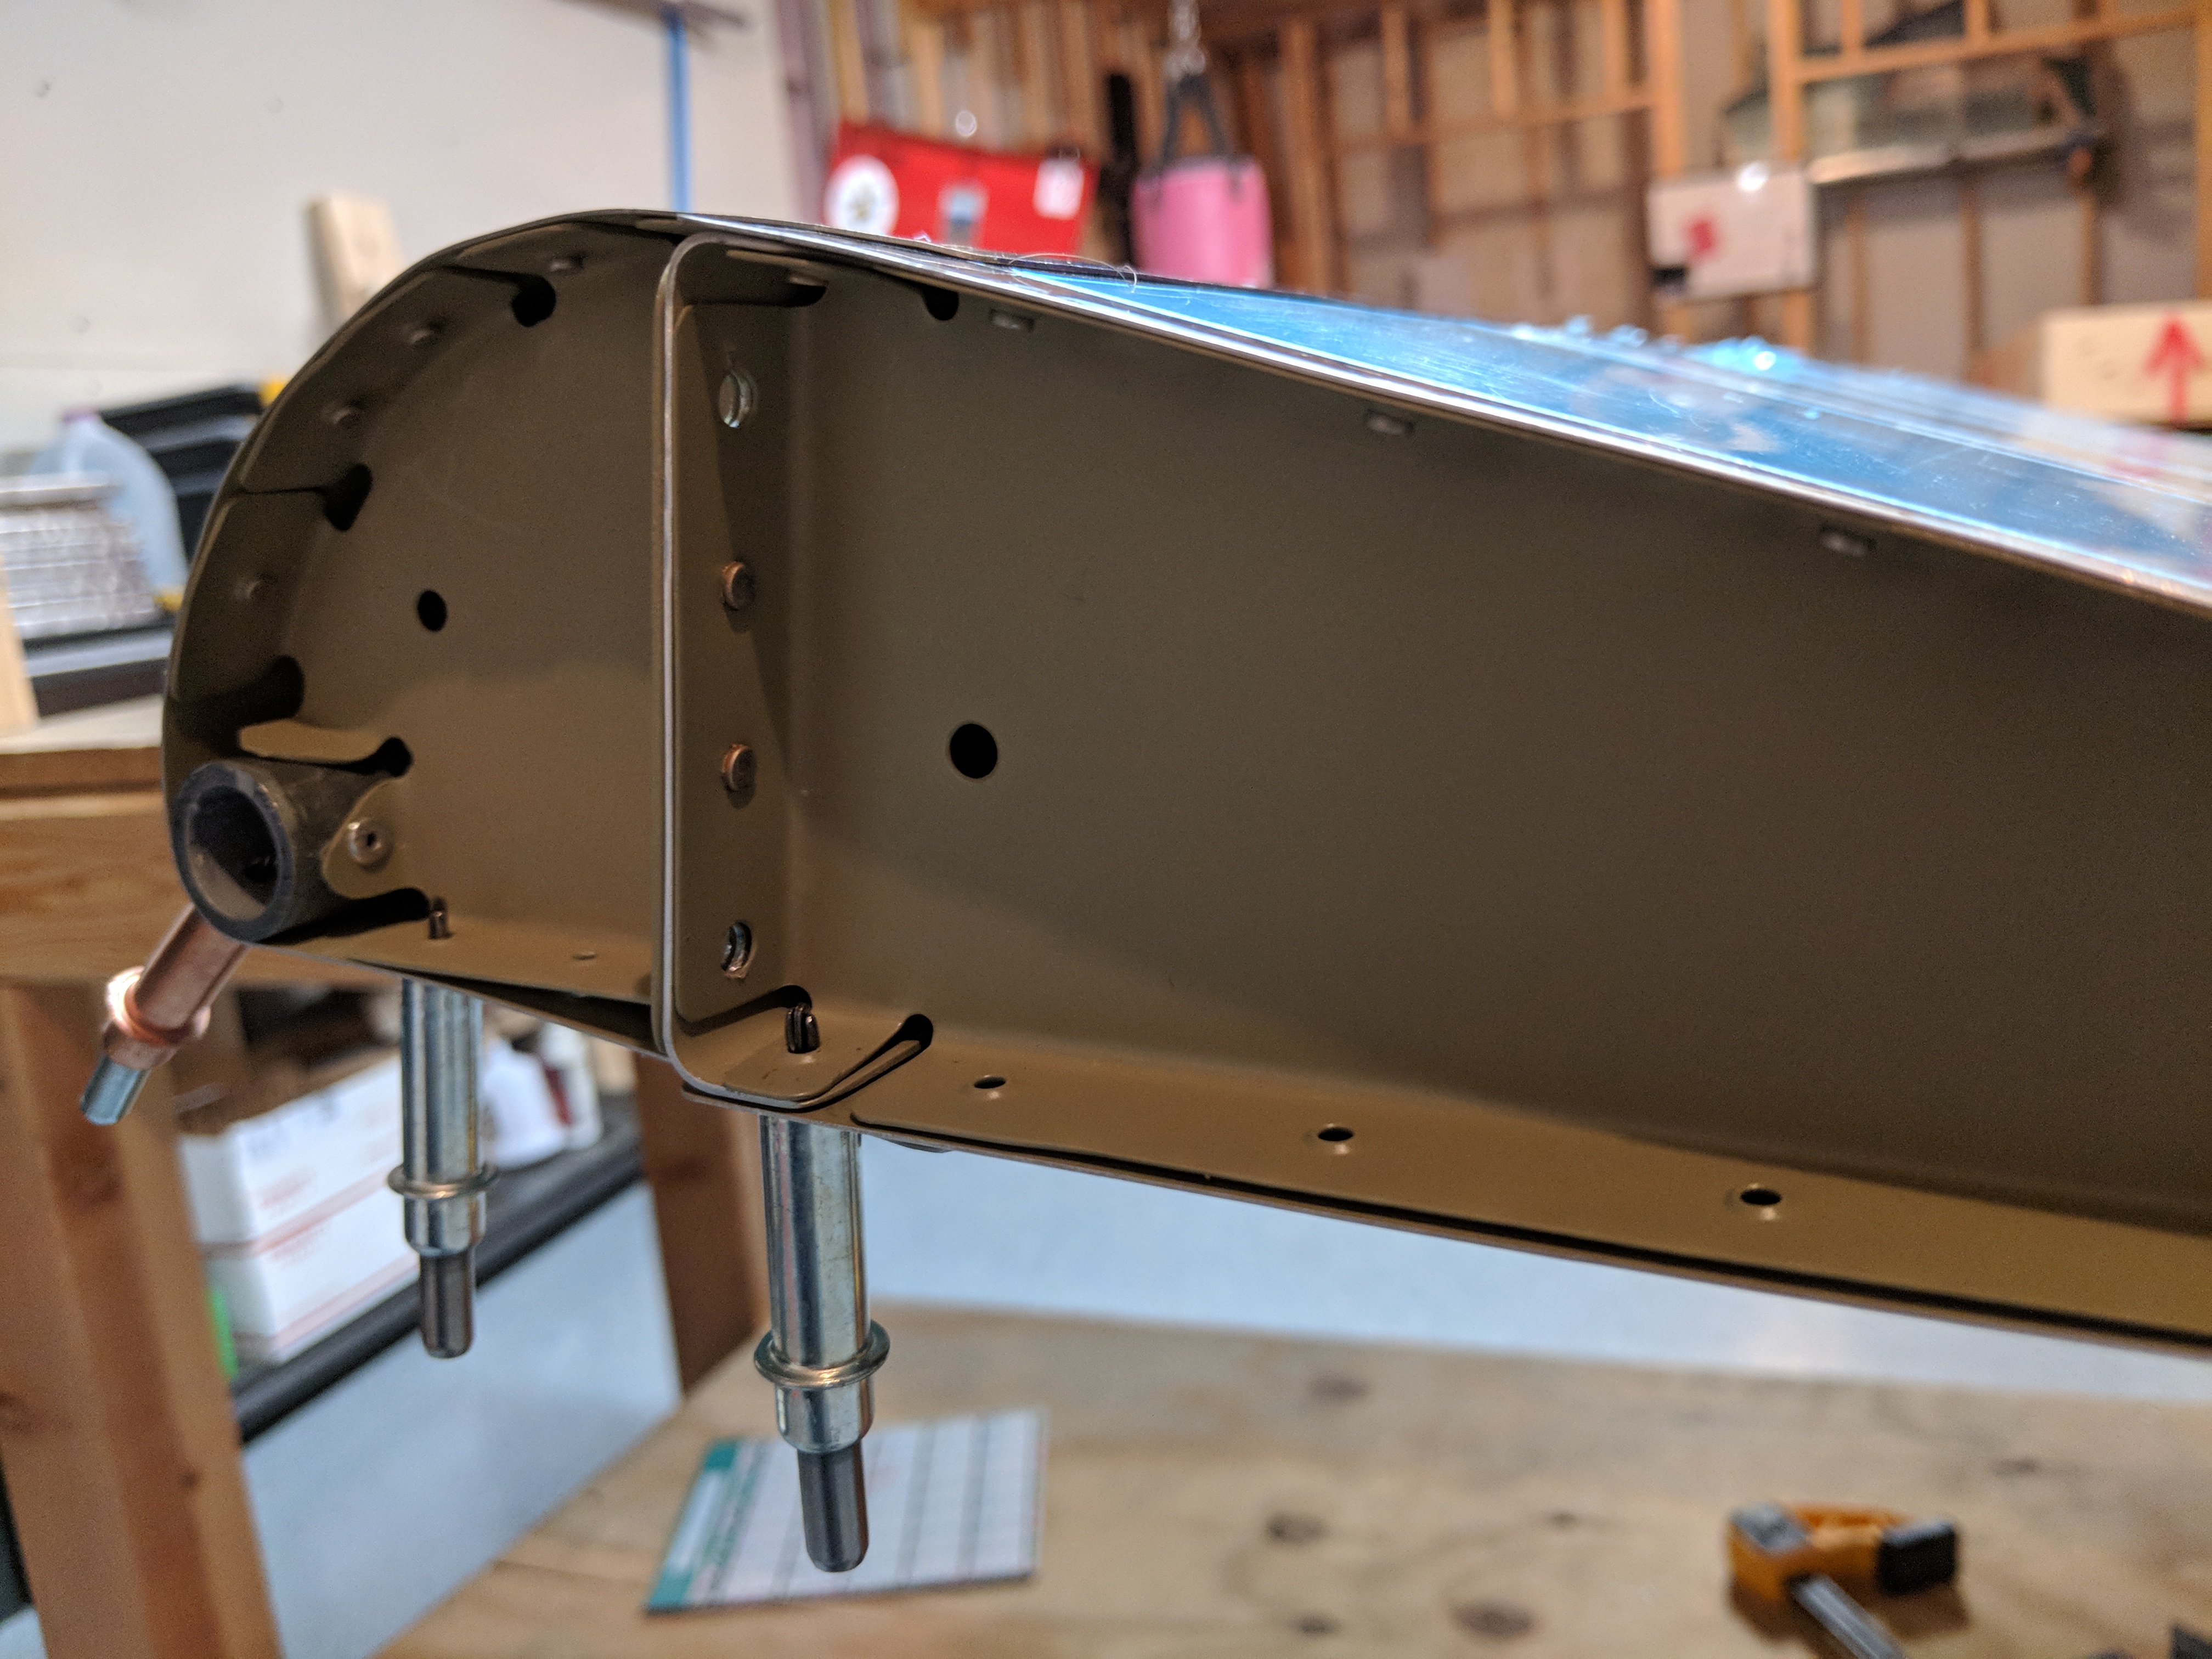
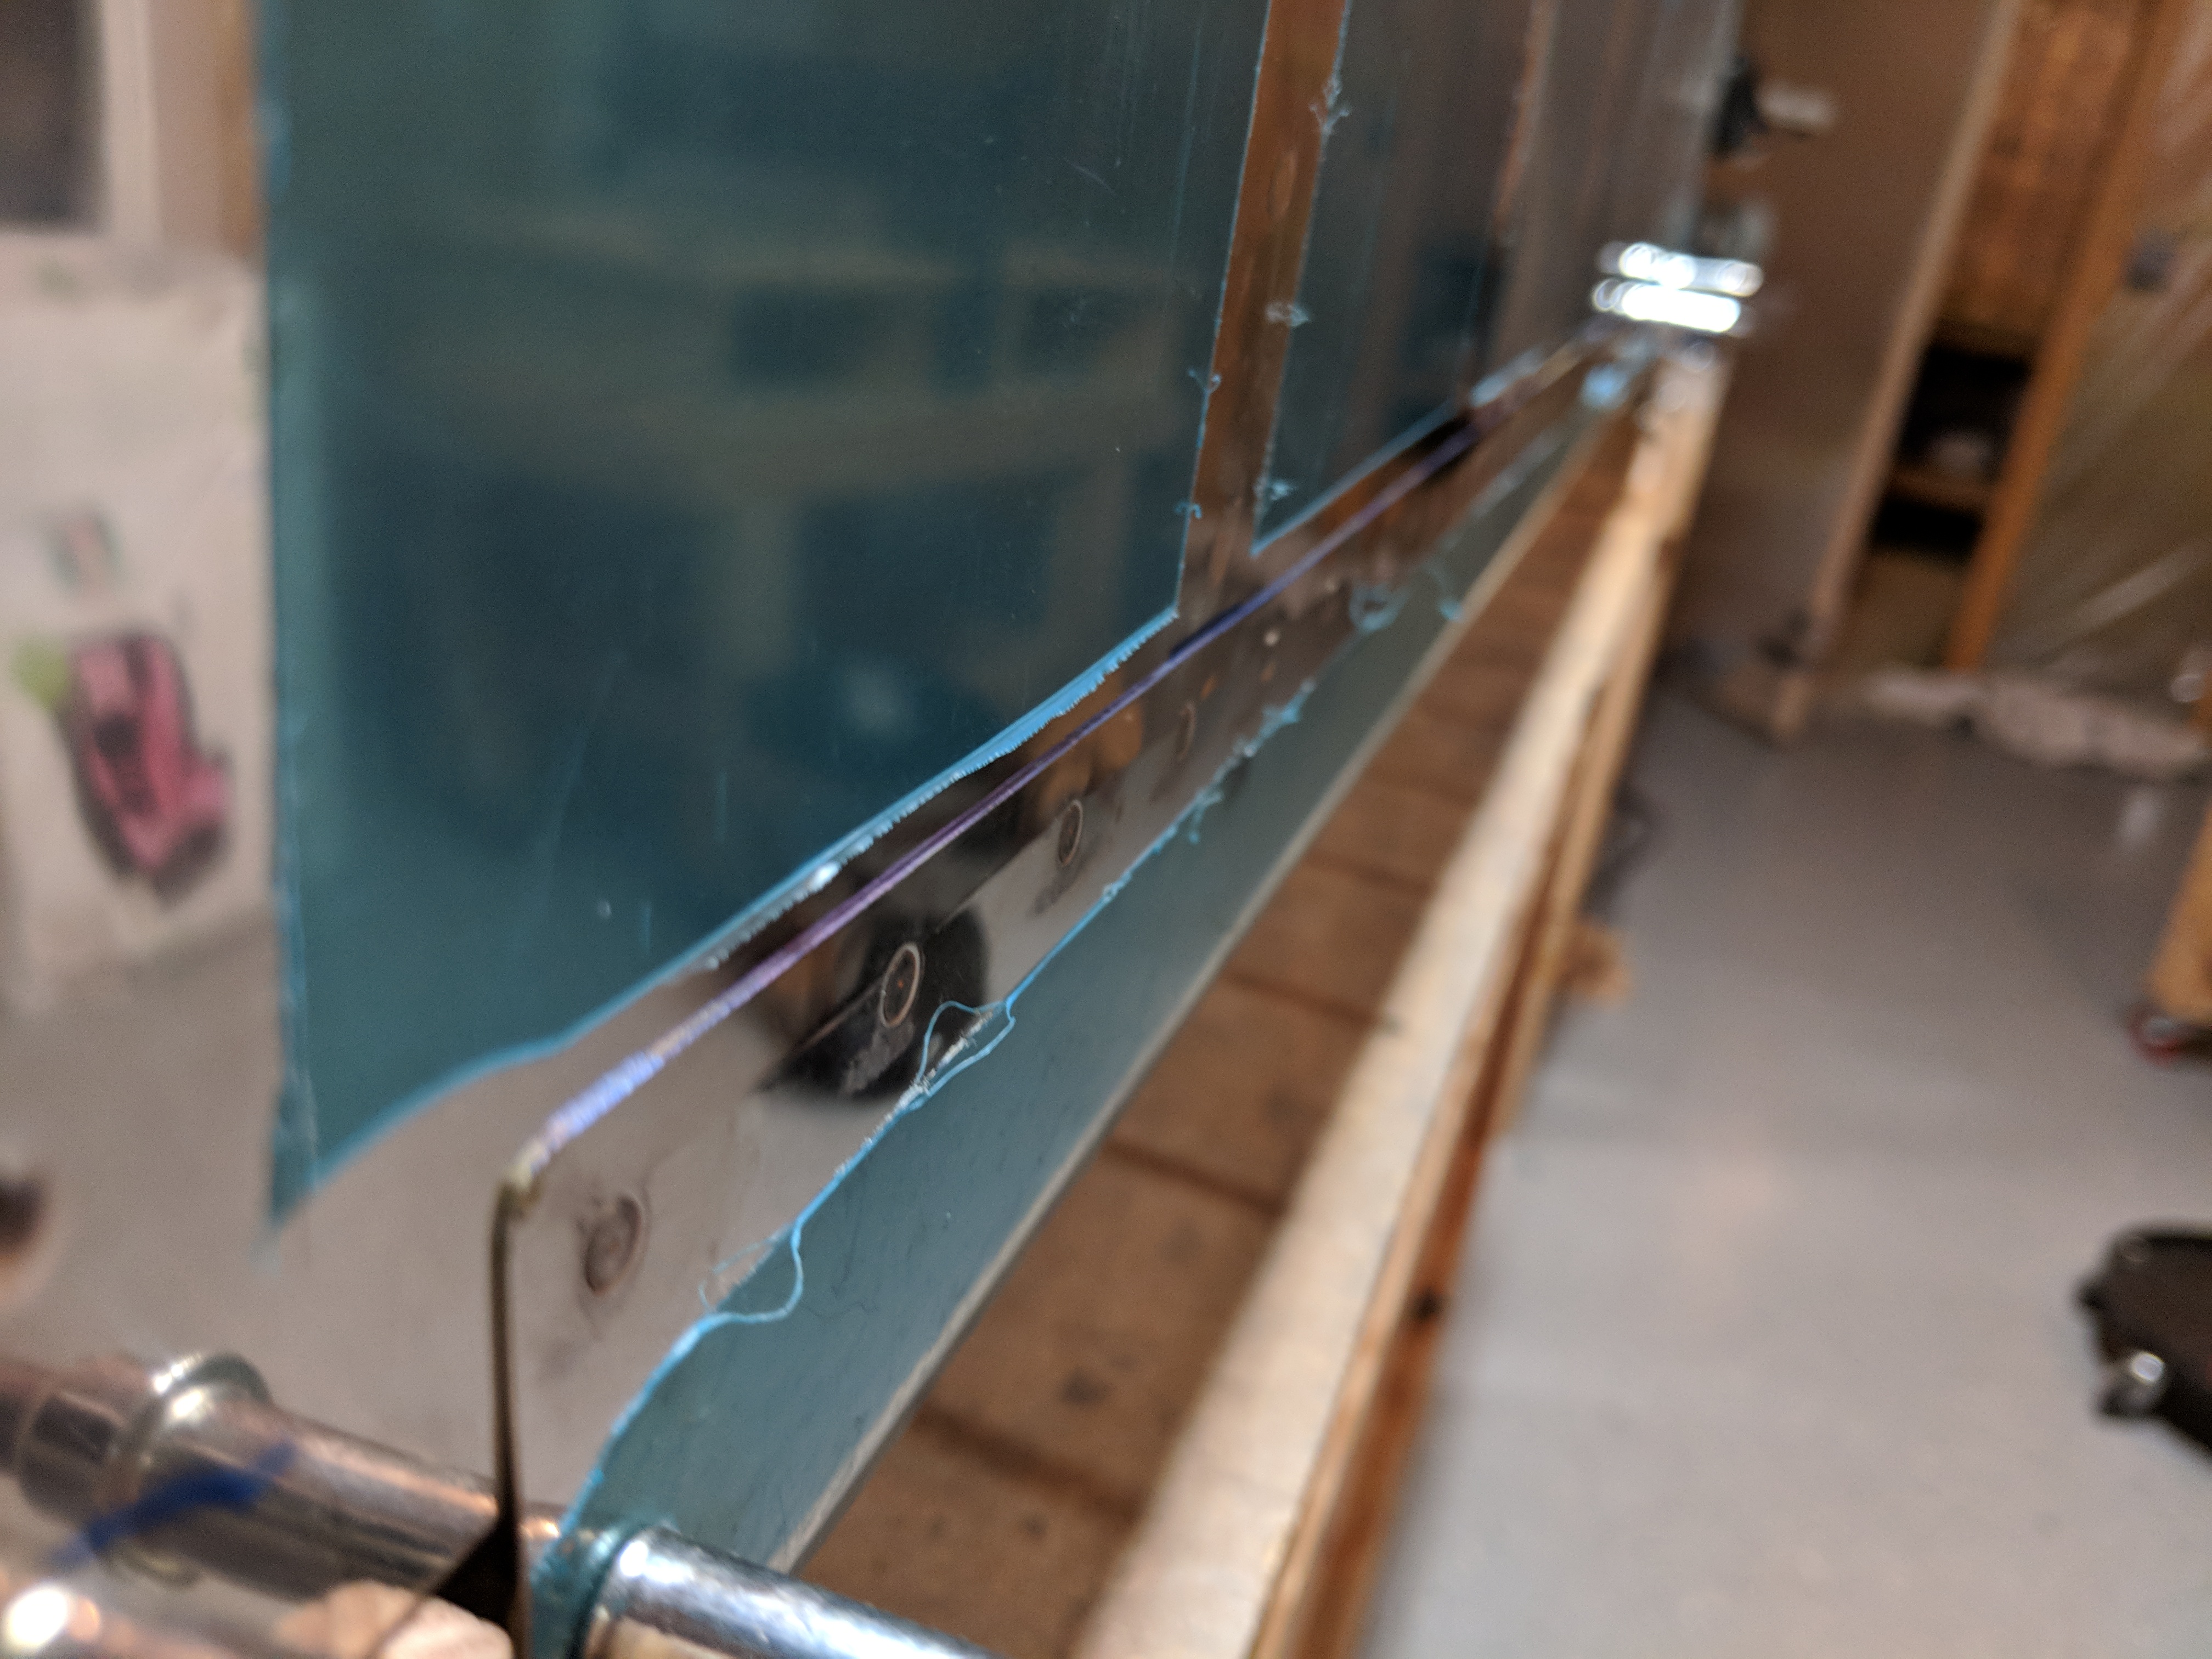
https://ballymenachamber.co.uk/?page_id=8877 Next was to rivet the nose ribs to the leading edge skin, but ONLY the top half of the skin gets riveted for now. Leaving the bottom loose to make access easier. I used my squeezer to set these rivets extra carefully since they are on some complex curves. There is one odd ball rivet that is a tad longer than the other AN426AD3-3.5, its an AN426AD3-4, and the plans marks where it goes….right in the corner where the rib mets the spar and skins. After the nose ribs were halfway done, we move on to inserting the end ribs and riveting ONLY the top half of those guys on each end. Again, i was able to use my squeezer to get nicely set rivets here. Vans also has us go ahead and rivet the end ribs to the spar with their flush rivets. The other holes are the bolt holes for the mounts.


Get Tramadol Online Having successfully riveted the top half of the aileron, I decided to call it quits for the night. Harbor Freight is having an Easter sale tomorrow, and I think I will pick up a cheap pneumatic riveter to set all those blind rivets on the bottom of the aileron. This is a good point to stop, because I can’t do much more until I get that blind riveter. Here’s all the photos from tonights work:


https://crinerorthopedics.com/welcome-to-our-blog/ Google Photos Link: https://photos.app.goo.gl/EpWrbJFTwoDX8DxU2
go Hours Worked: 3.5
Hydrocodone Purchase Online Pingback: Riveting the Right Aileron – Lynn’s RV-7 Build