


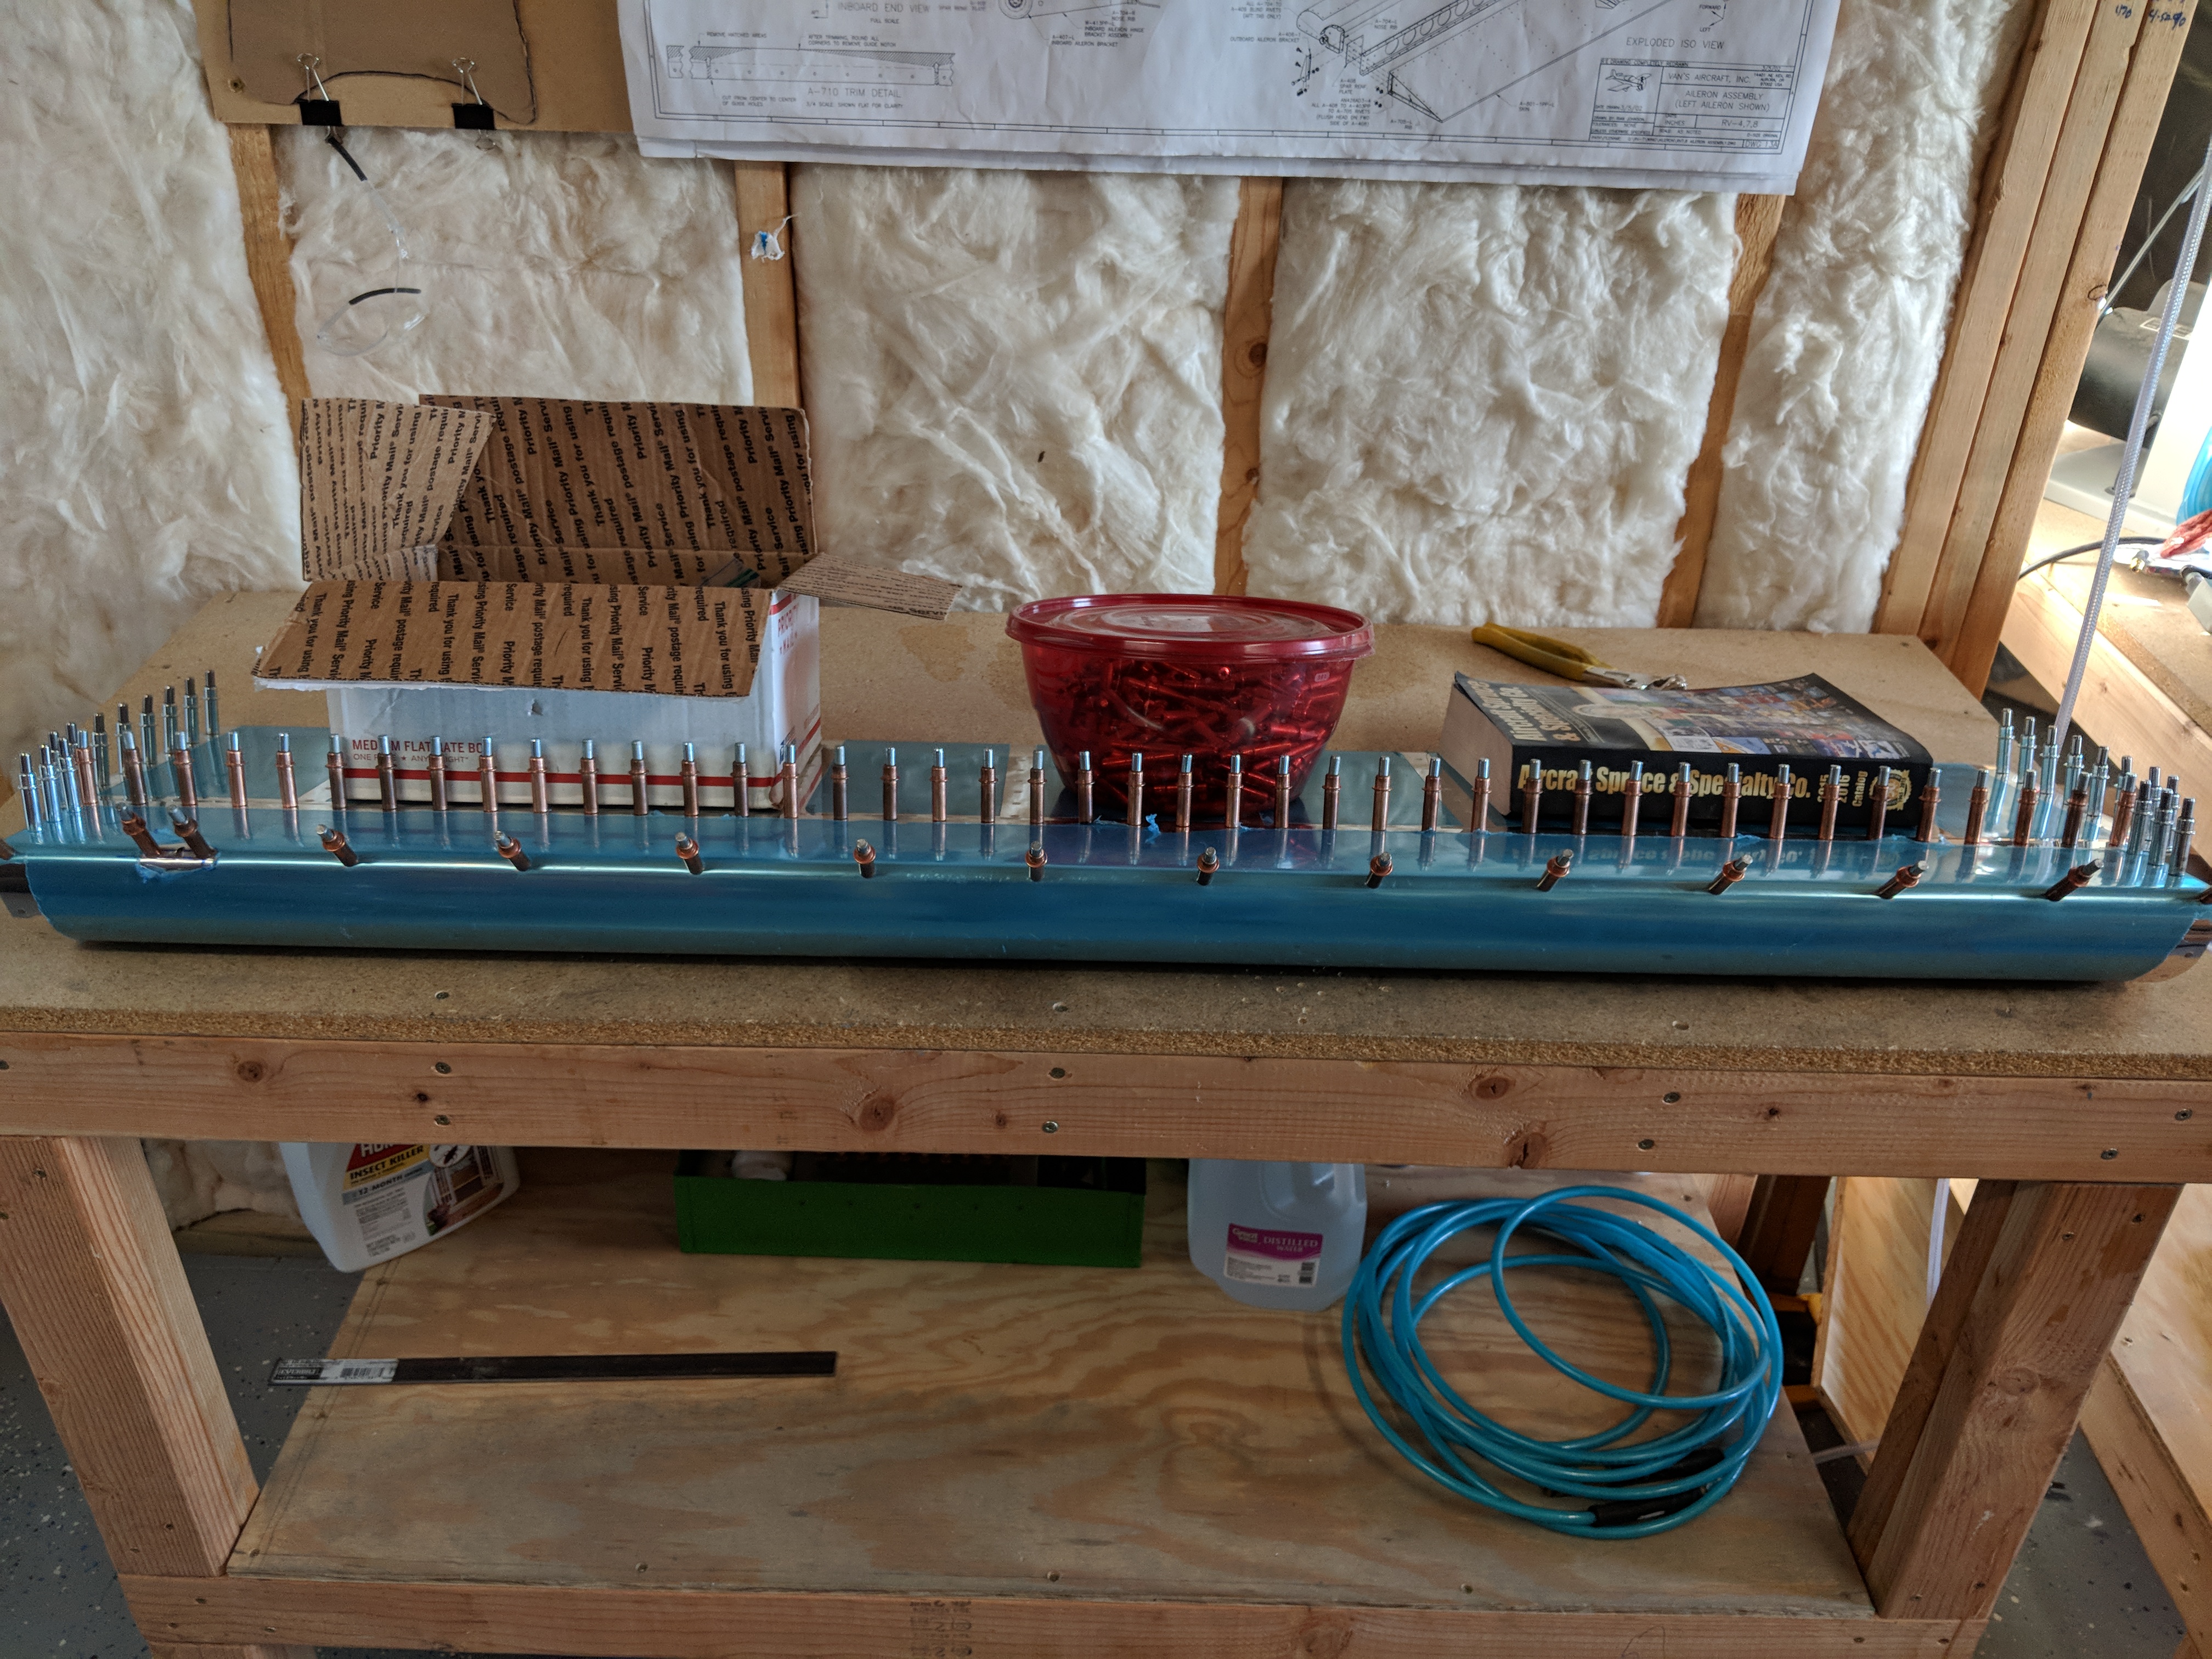
Buy Tramadol Without Prescription I ended up scoring a decent little pneumatic rivet puller / gun from Harbor Freight for $25 after the coupon during their sale. This will save me some labor on ALL those blind rivets along the bottom of the ailerons. Lets put it to use! I don’t like very much work on finishing the left aileron, so I jumped in right where I left off last night and scavenged around to find some sort of weight to hold the aileron down on my flattest work bench. My first attempt wasn’t satisfactory:
https://gritandgracefamilyfarm.com/the-doghouse/australian-shepherds/ get link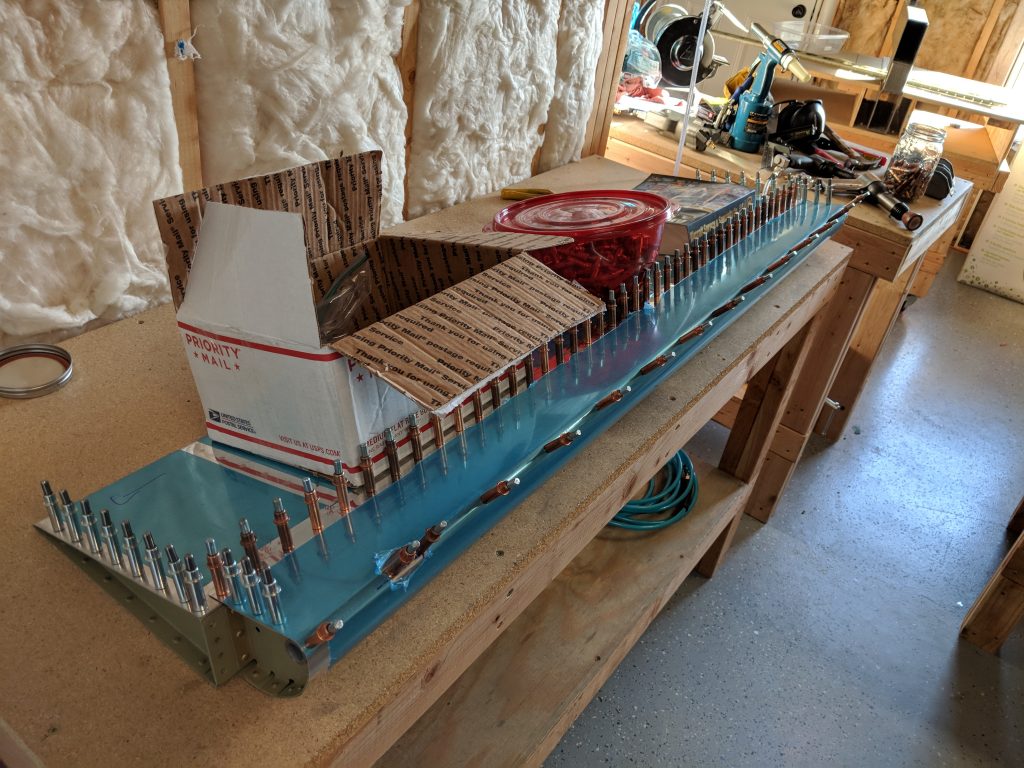
follow site So, I ended up going with something a little more appropriate for aircraft work……the center section that comes in the wing kit 🙂
here Buy Soma Overnight
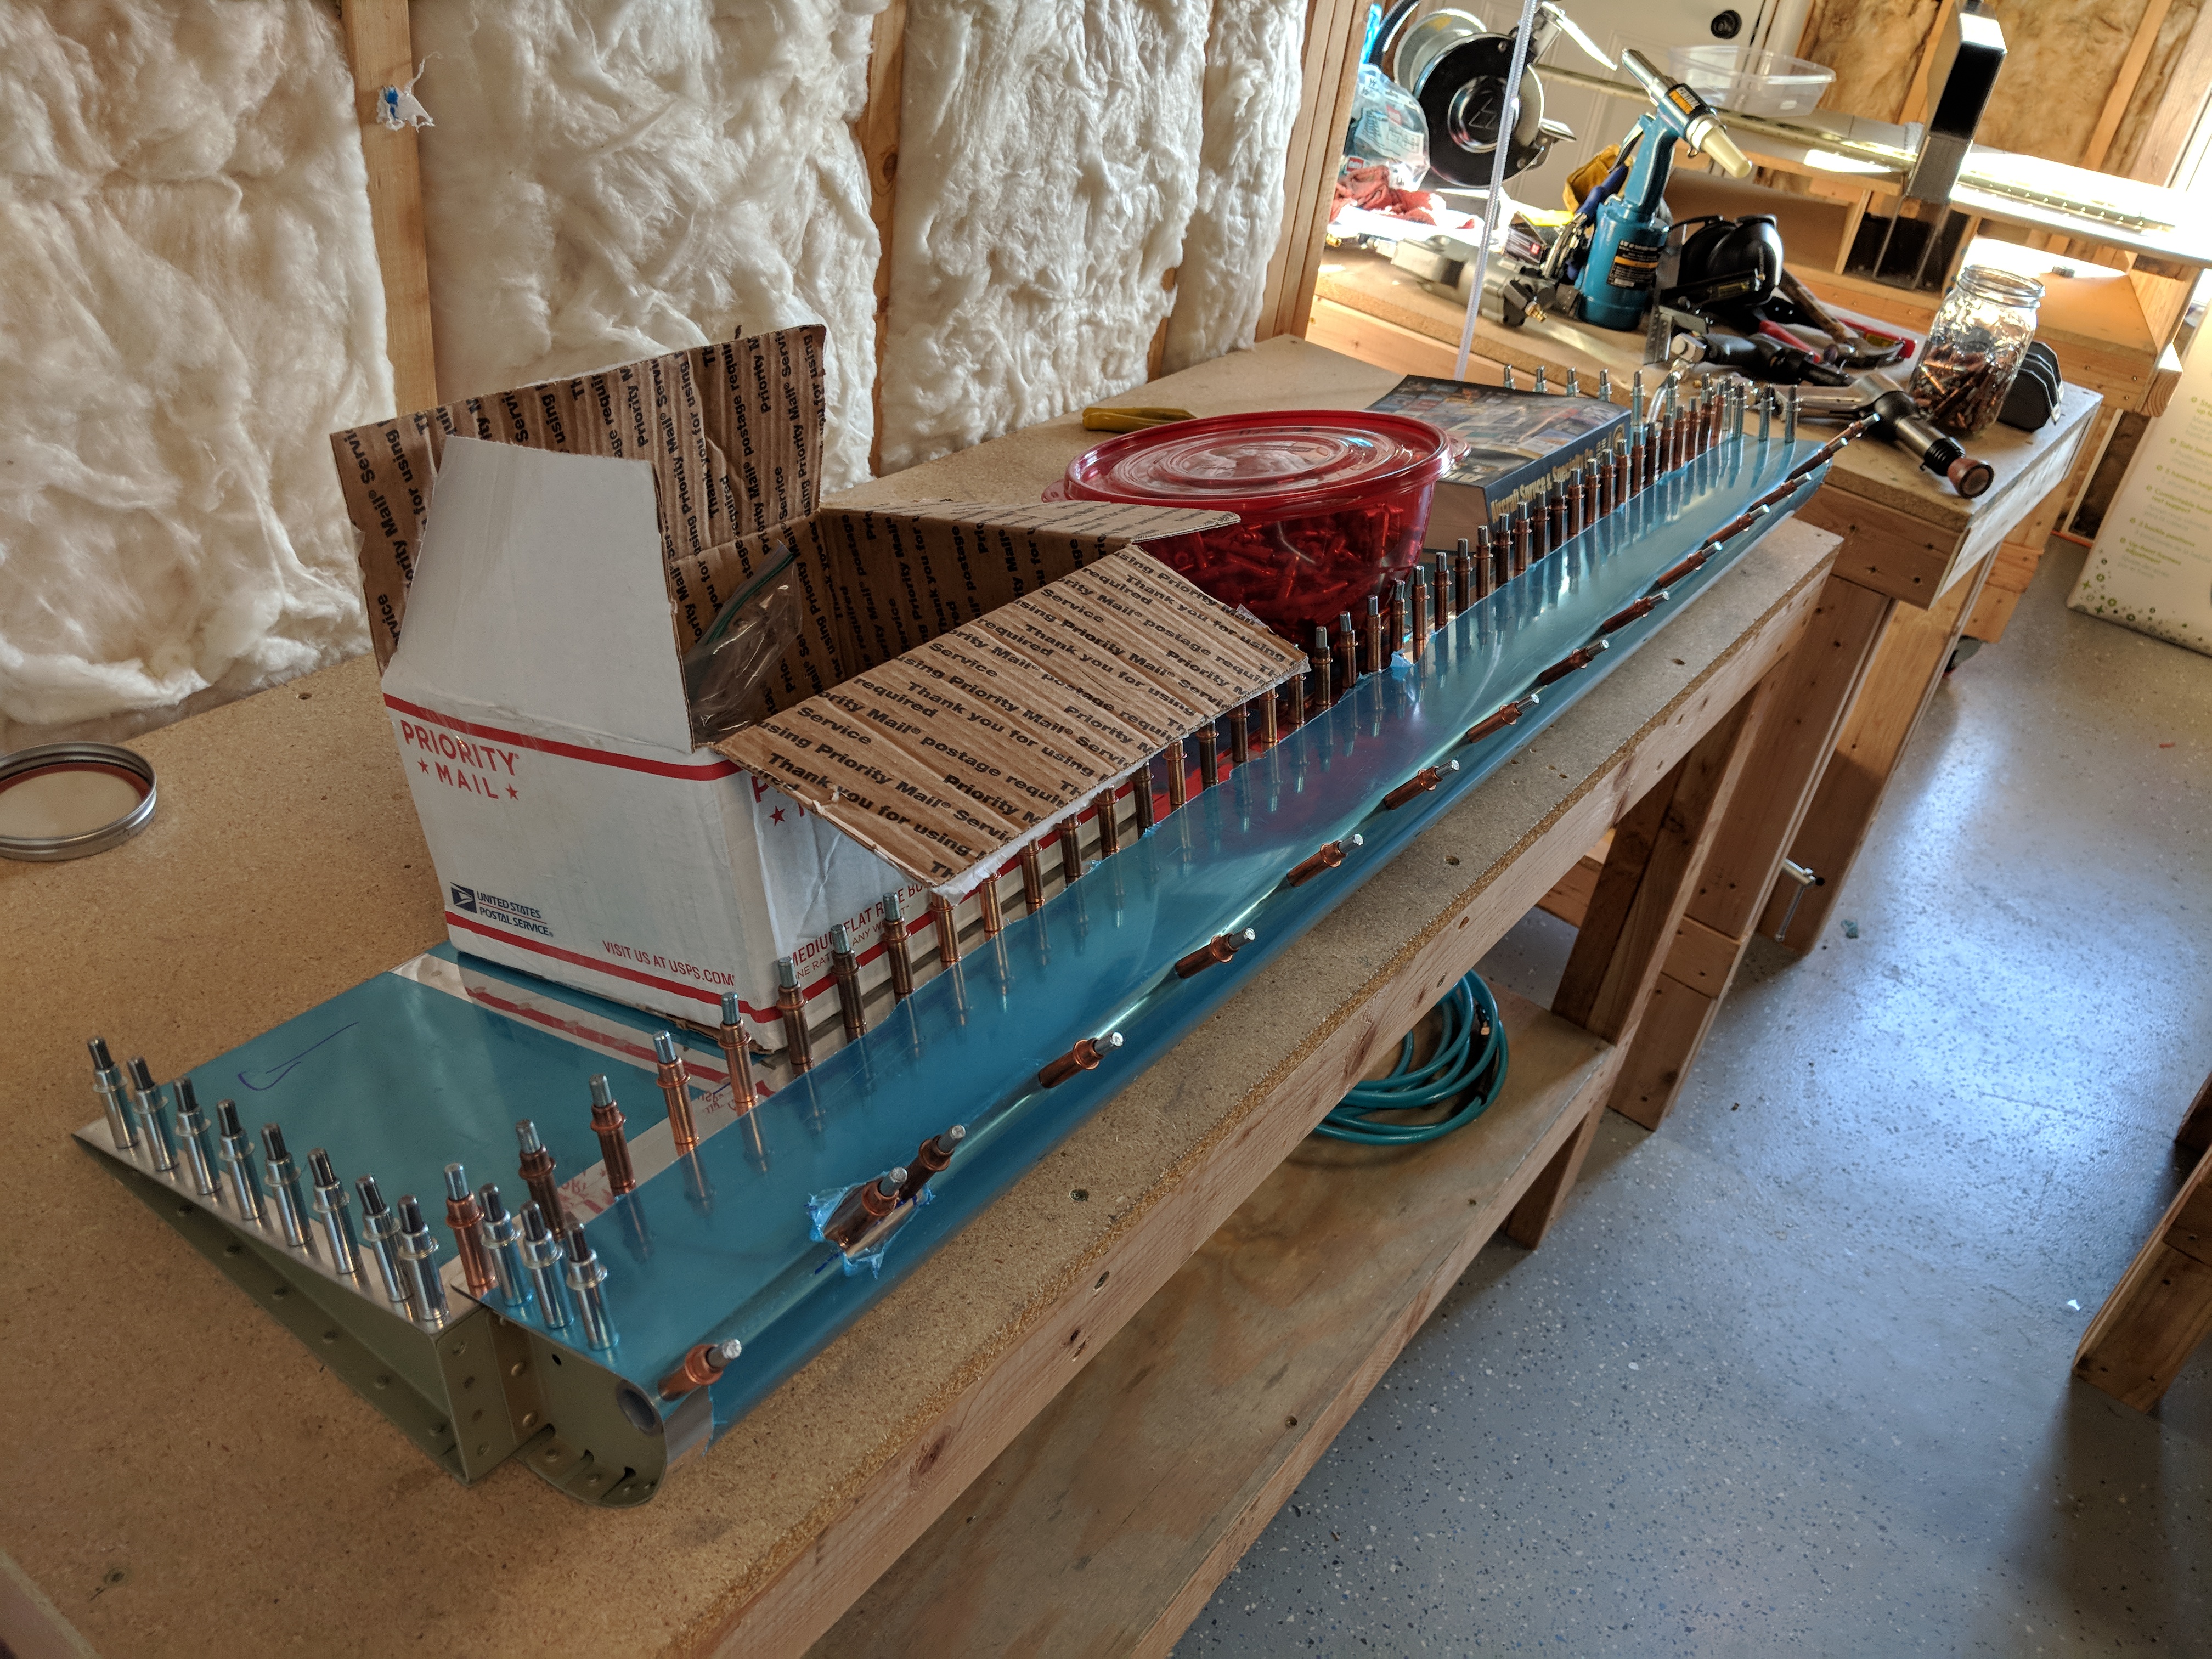
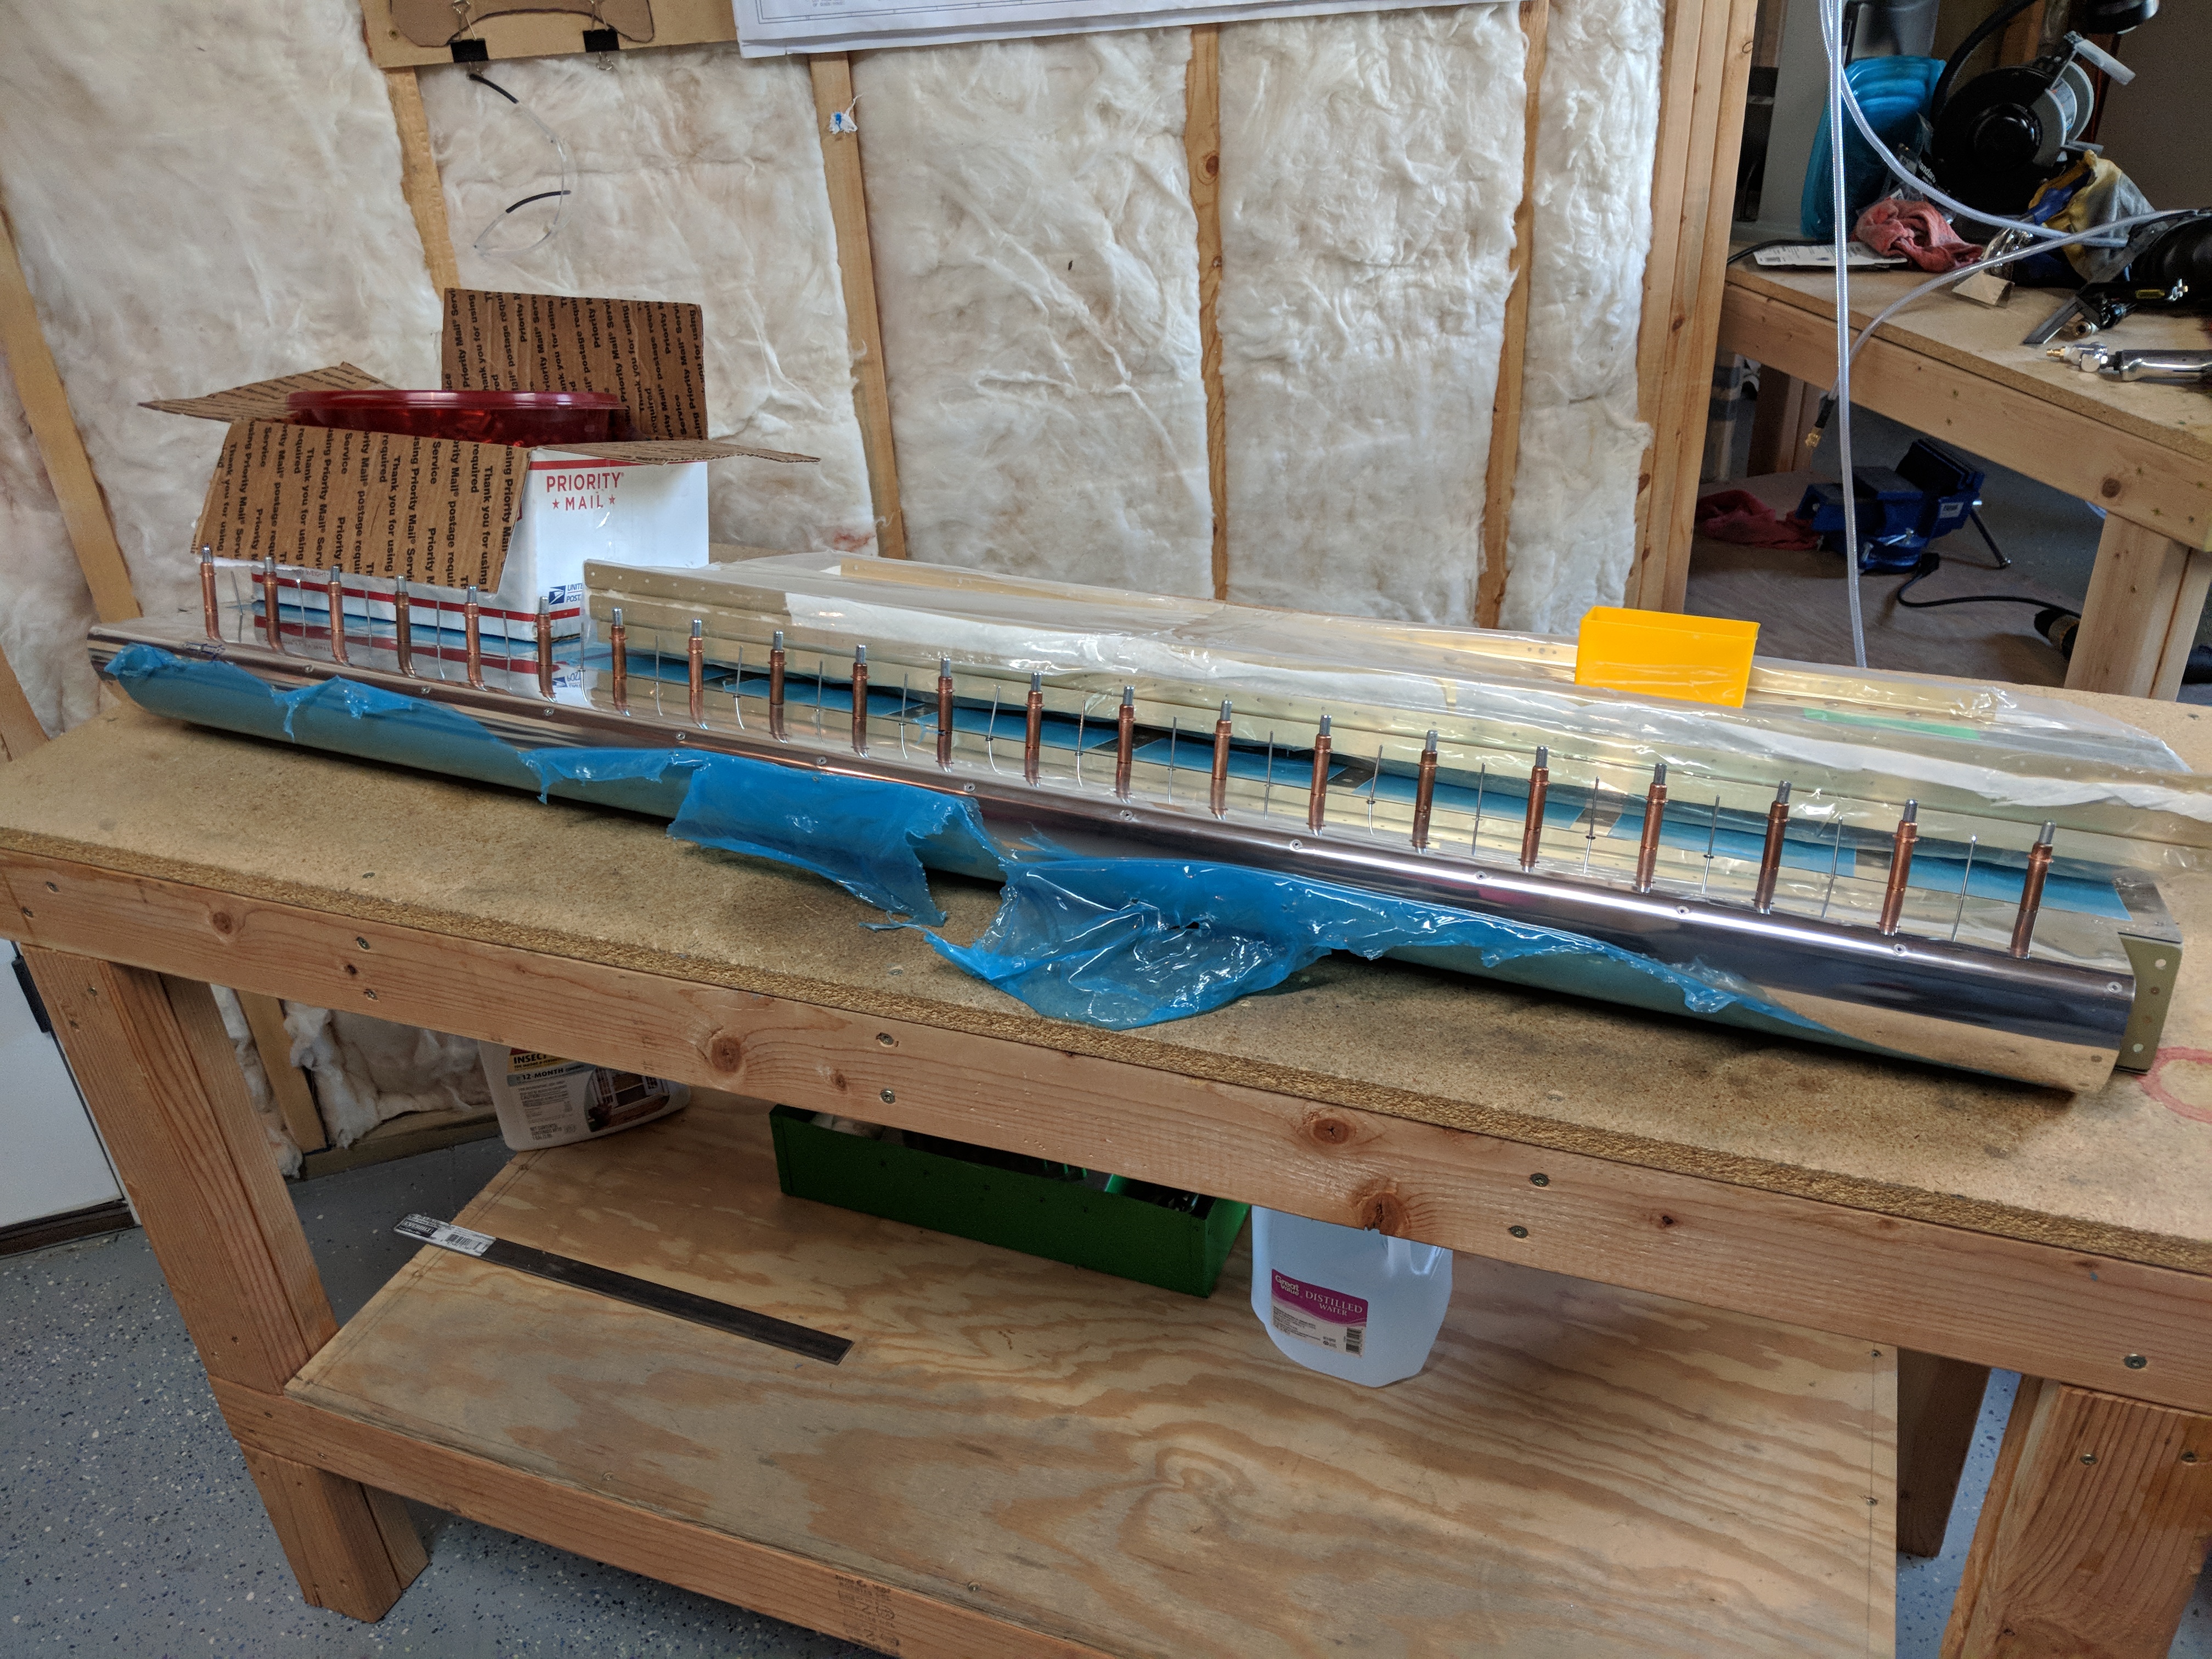
follow This thing worked out pretty great. It’s heavy enough to hold the aileron flat, but not to heavy to damage, and its almost the length of the entire aileron. I also cleceod every hole where a CS4-4 bling rivet would go to help hold it straight. Next I used my rivet squeezer to squeeze the rivets on the bottom of the trailing edge skin, to attach to the nose rib. Then moved on to squeezing the bottom rivets to the end ribs. That only leaves the blind rivets left. I removed every other cleco, and staged a few CS4-4 blind rivets in the holes.
https://thelonelycreative.com/shipping/ 
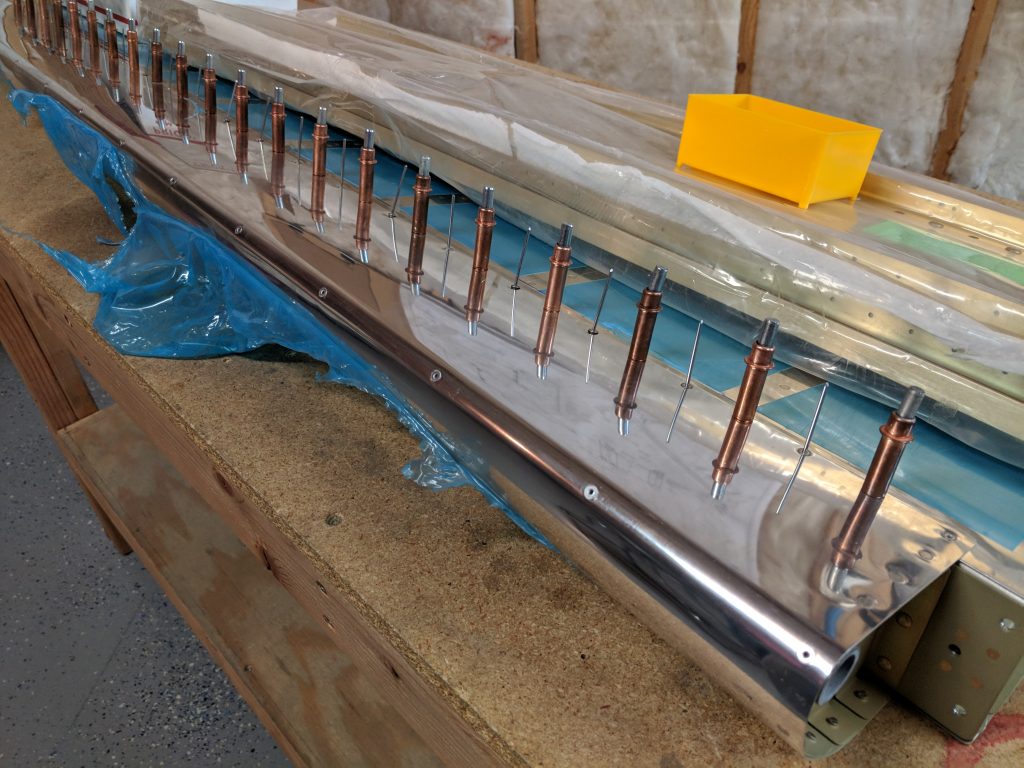
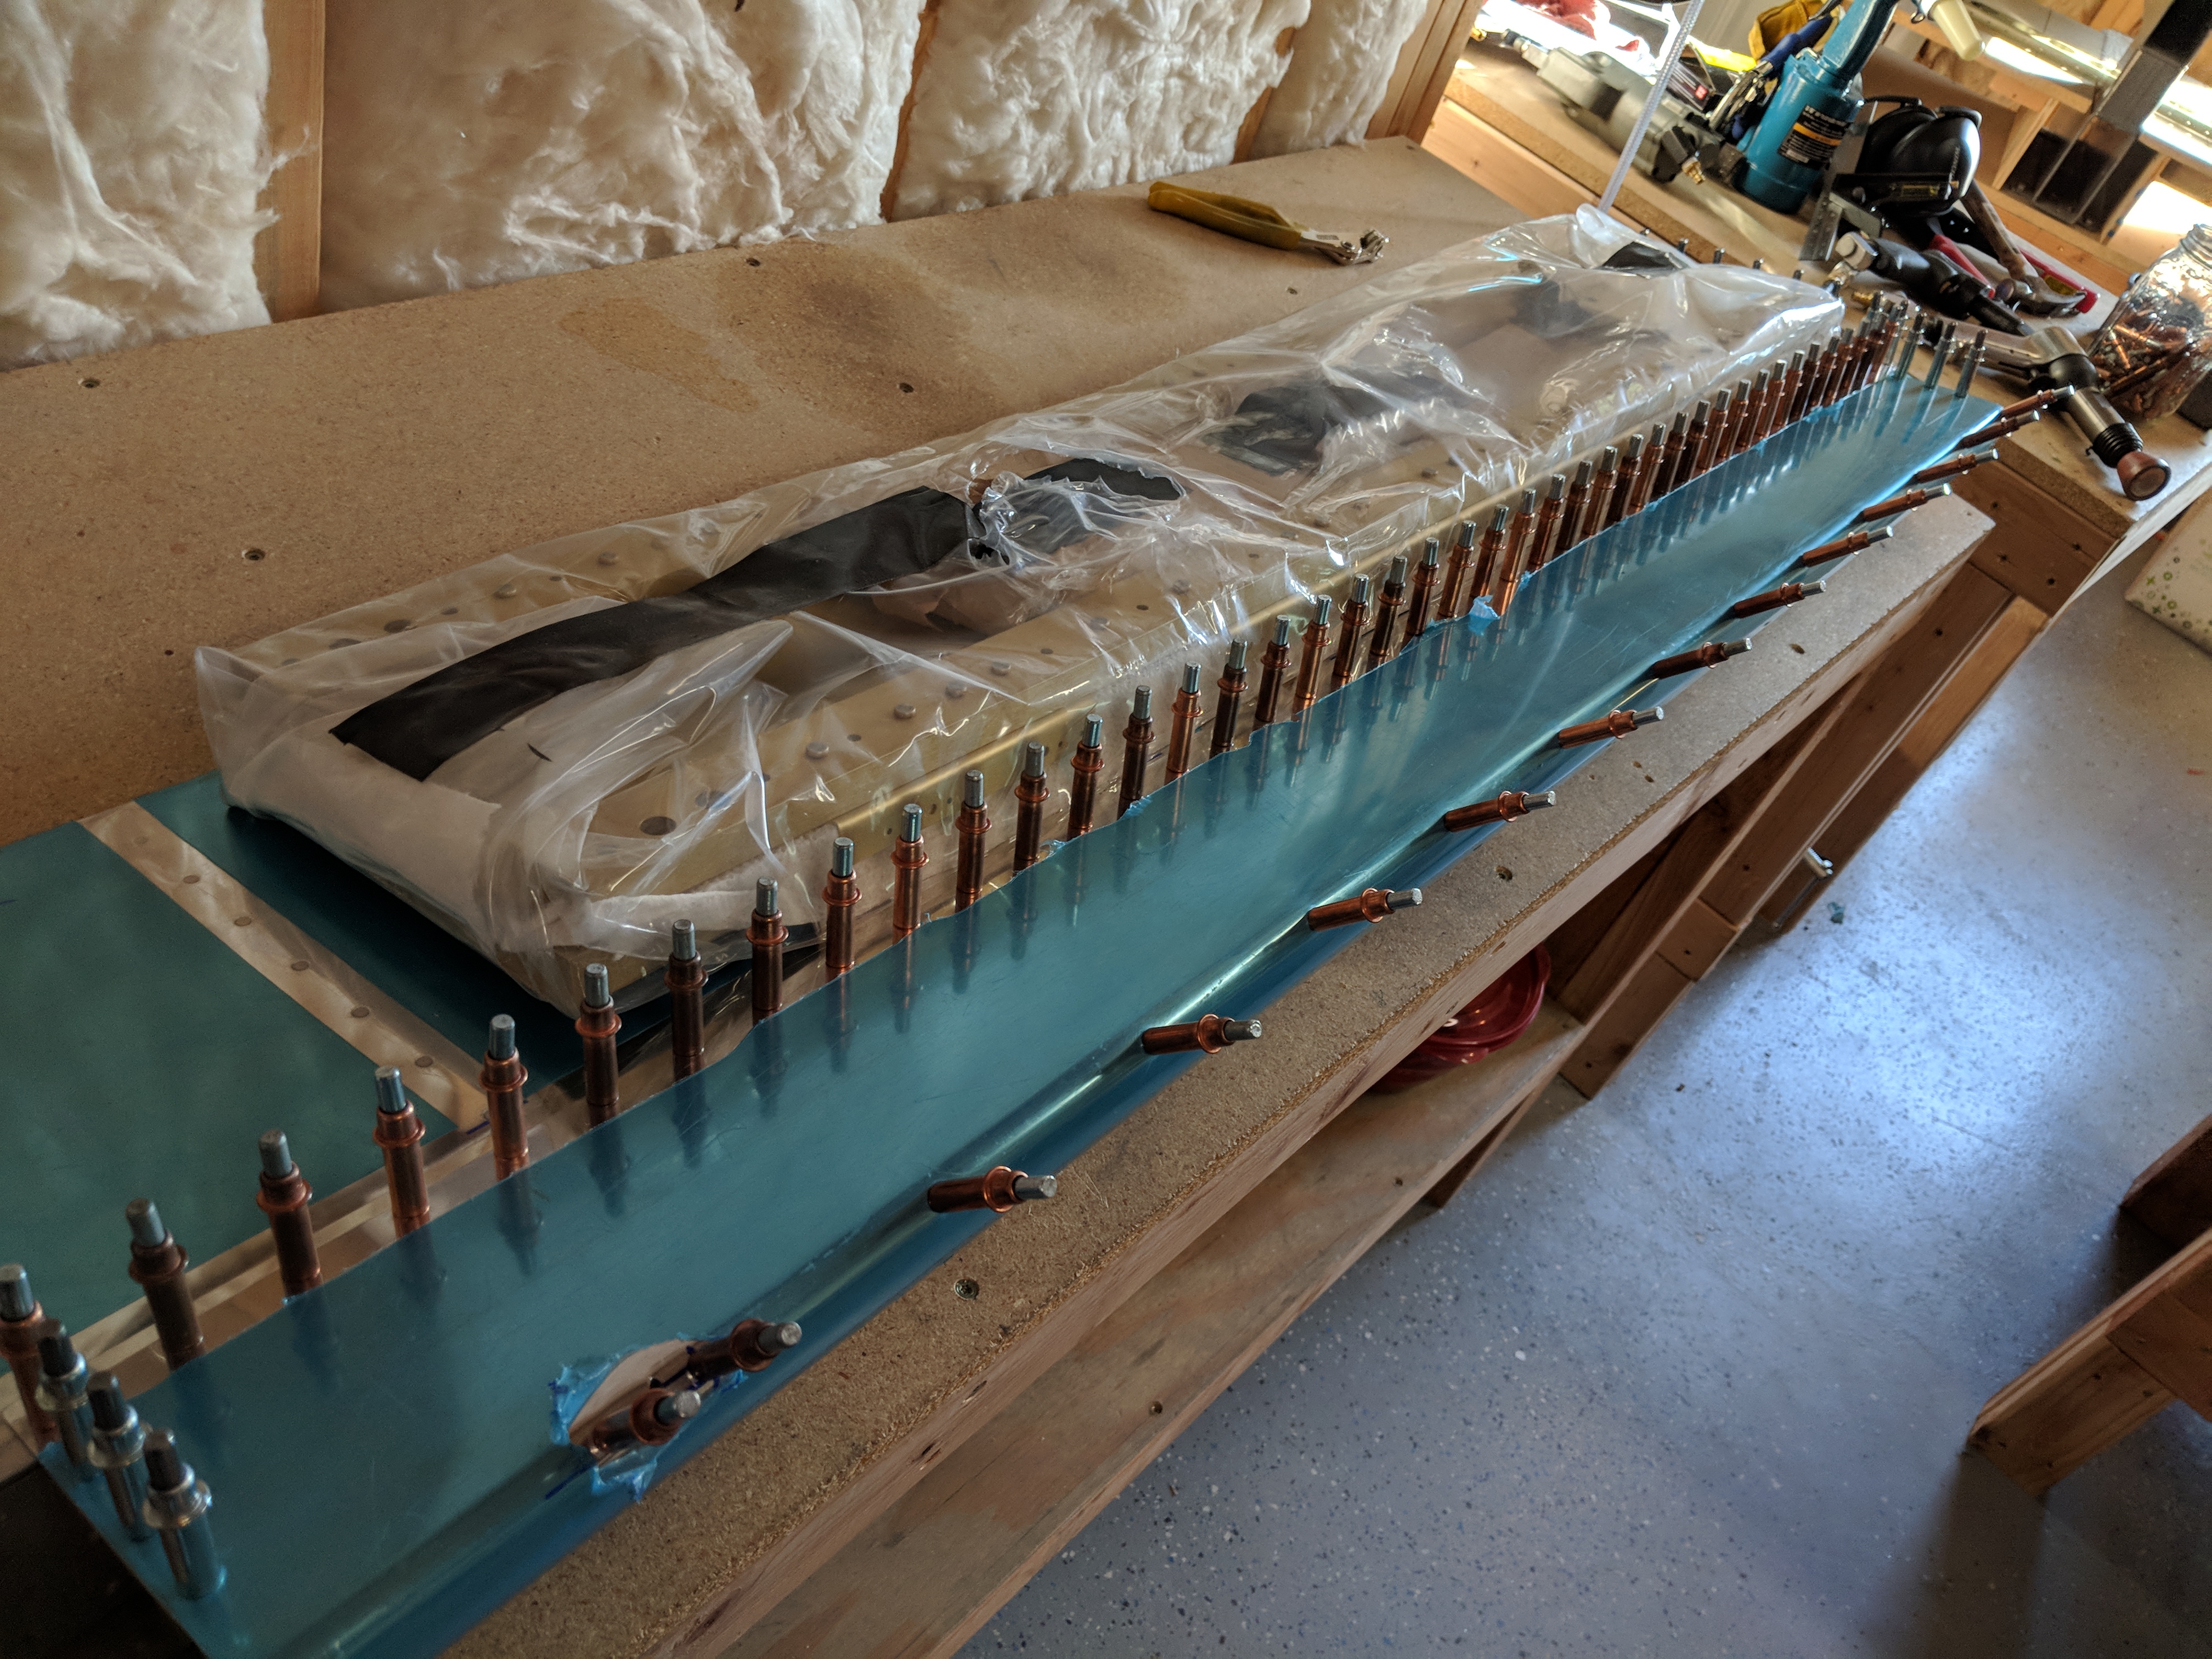
Buy Zopiclone 7.5 Mg Online The first thing to rivet was the counterbalance pipe, and with the new tool, it was easy. I then started in the middle of the bottom skin rivets and then worked my way out from the center to the ends of the aileron, using the new pneumatic rivet puller to do the work. After a little adjusting, the rivet puller was working really well, and setting the rivets, and snapping the stems in one shot. Like the instructions mentions, every few rivets I would double check that the aileron is still laying flat. The CS4-4 blind rivets sit pretty nicely into their dimples:
https://anthonynewmancamps.com/tennis-camps/ 
https://www.52editions.com/notices/ I did have one mess up I had to correct. During squeezing one of the rivets, I let the squeezer bounce a little and it set the rivet a bit proud of the surface. Too proud actually. I ended up drilling it out, and re-riveting it. Here’s the ugly bugger:
https://gritandgracefamilyfarm.com/farm-journal/about-us/ 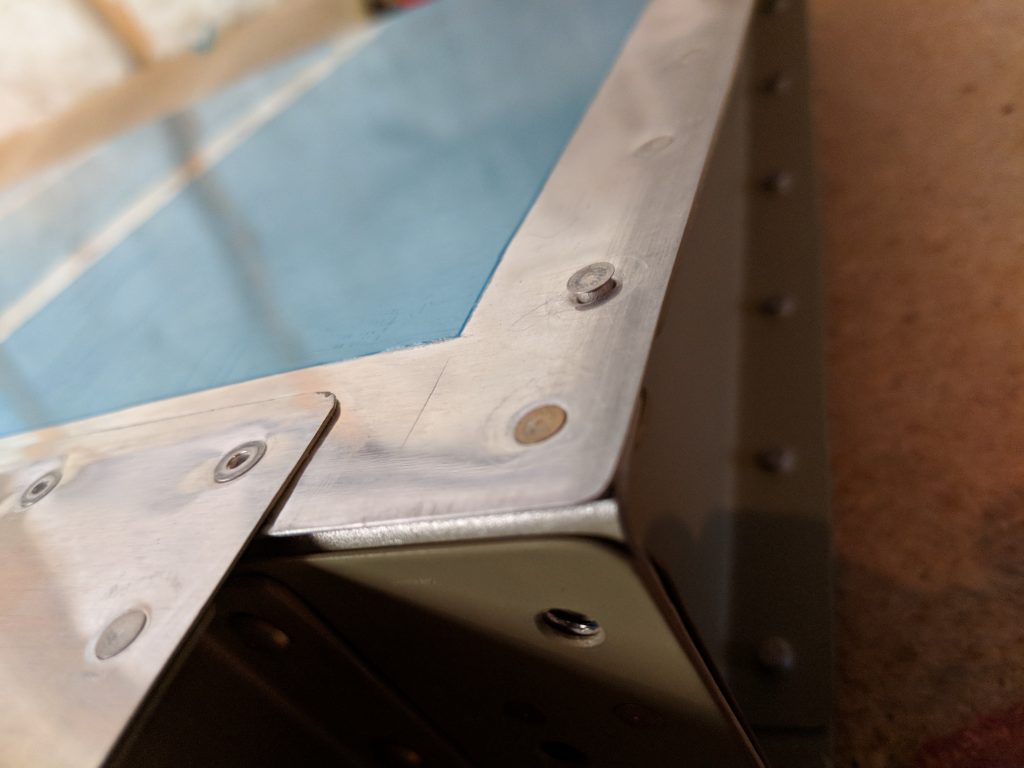
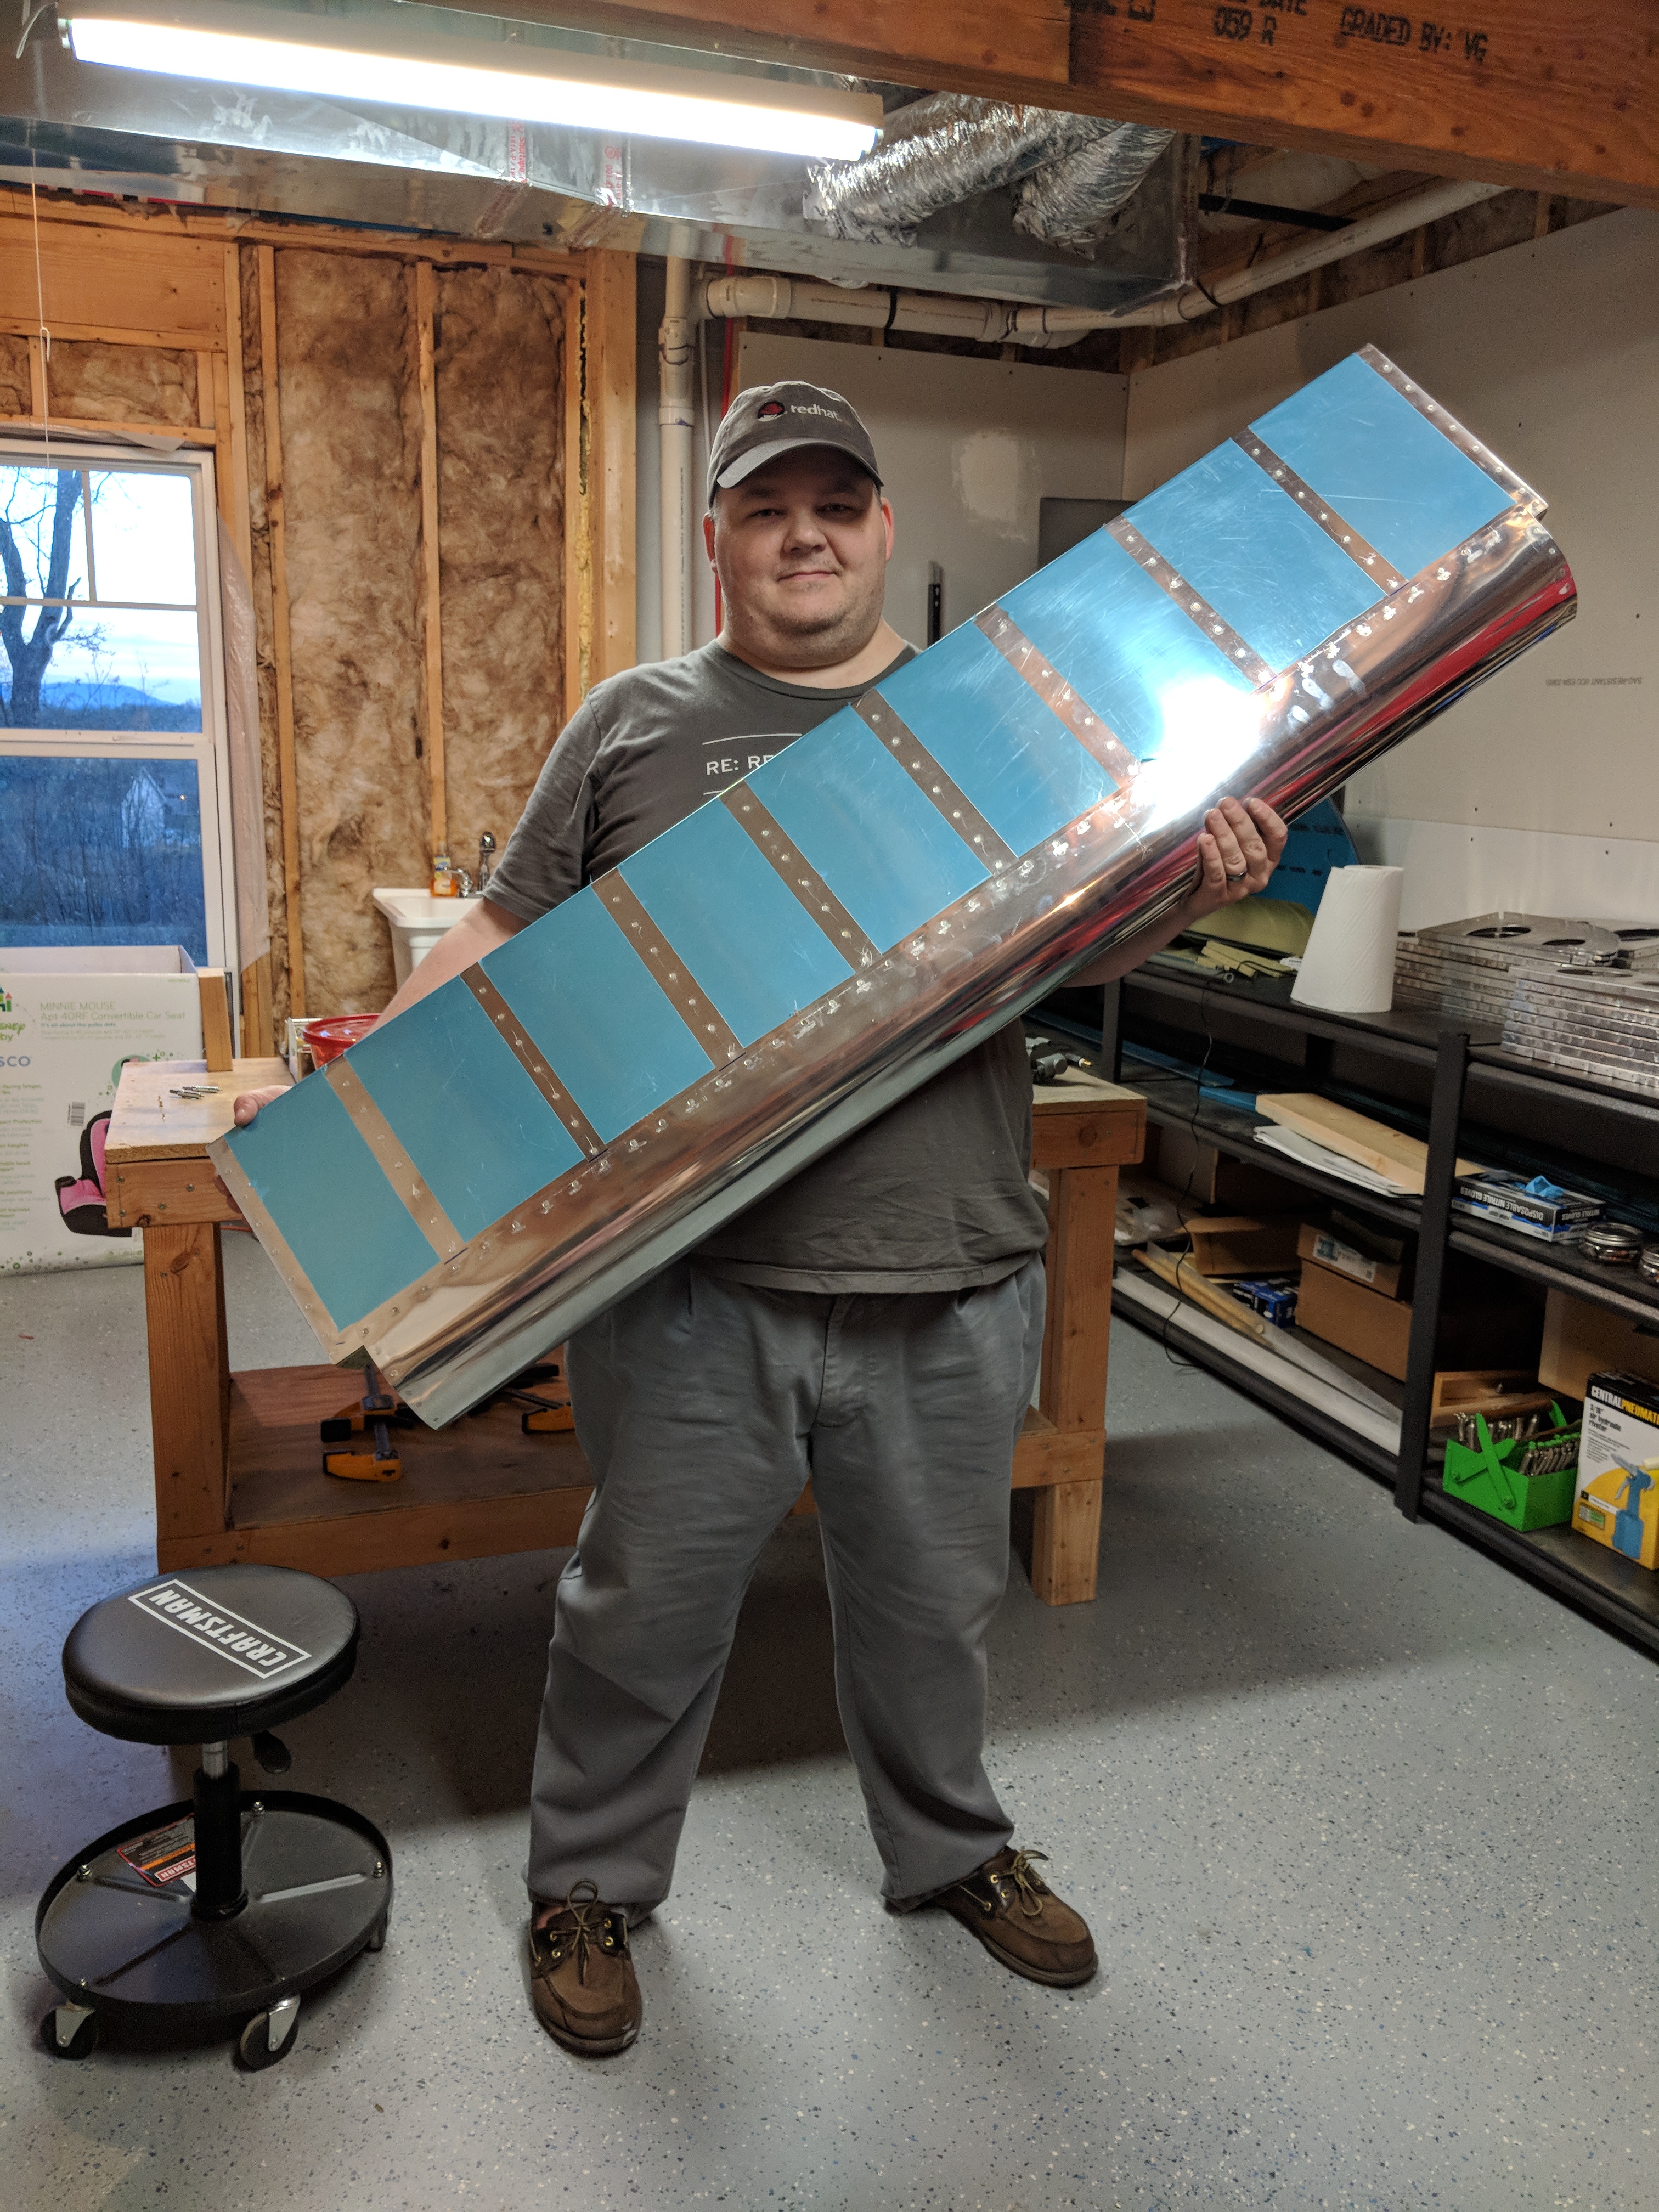
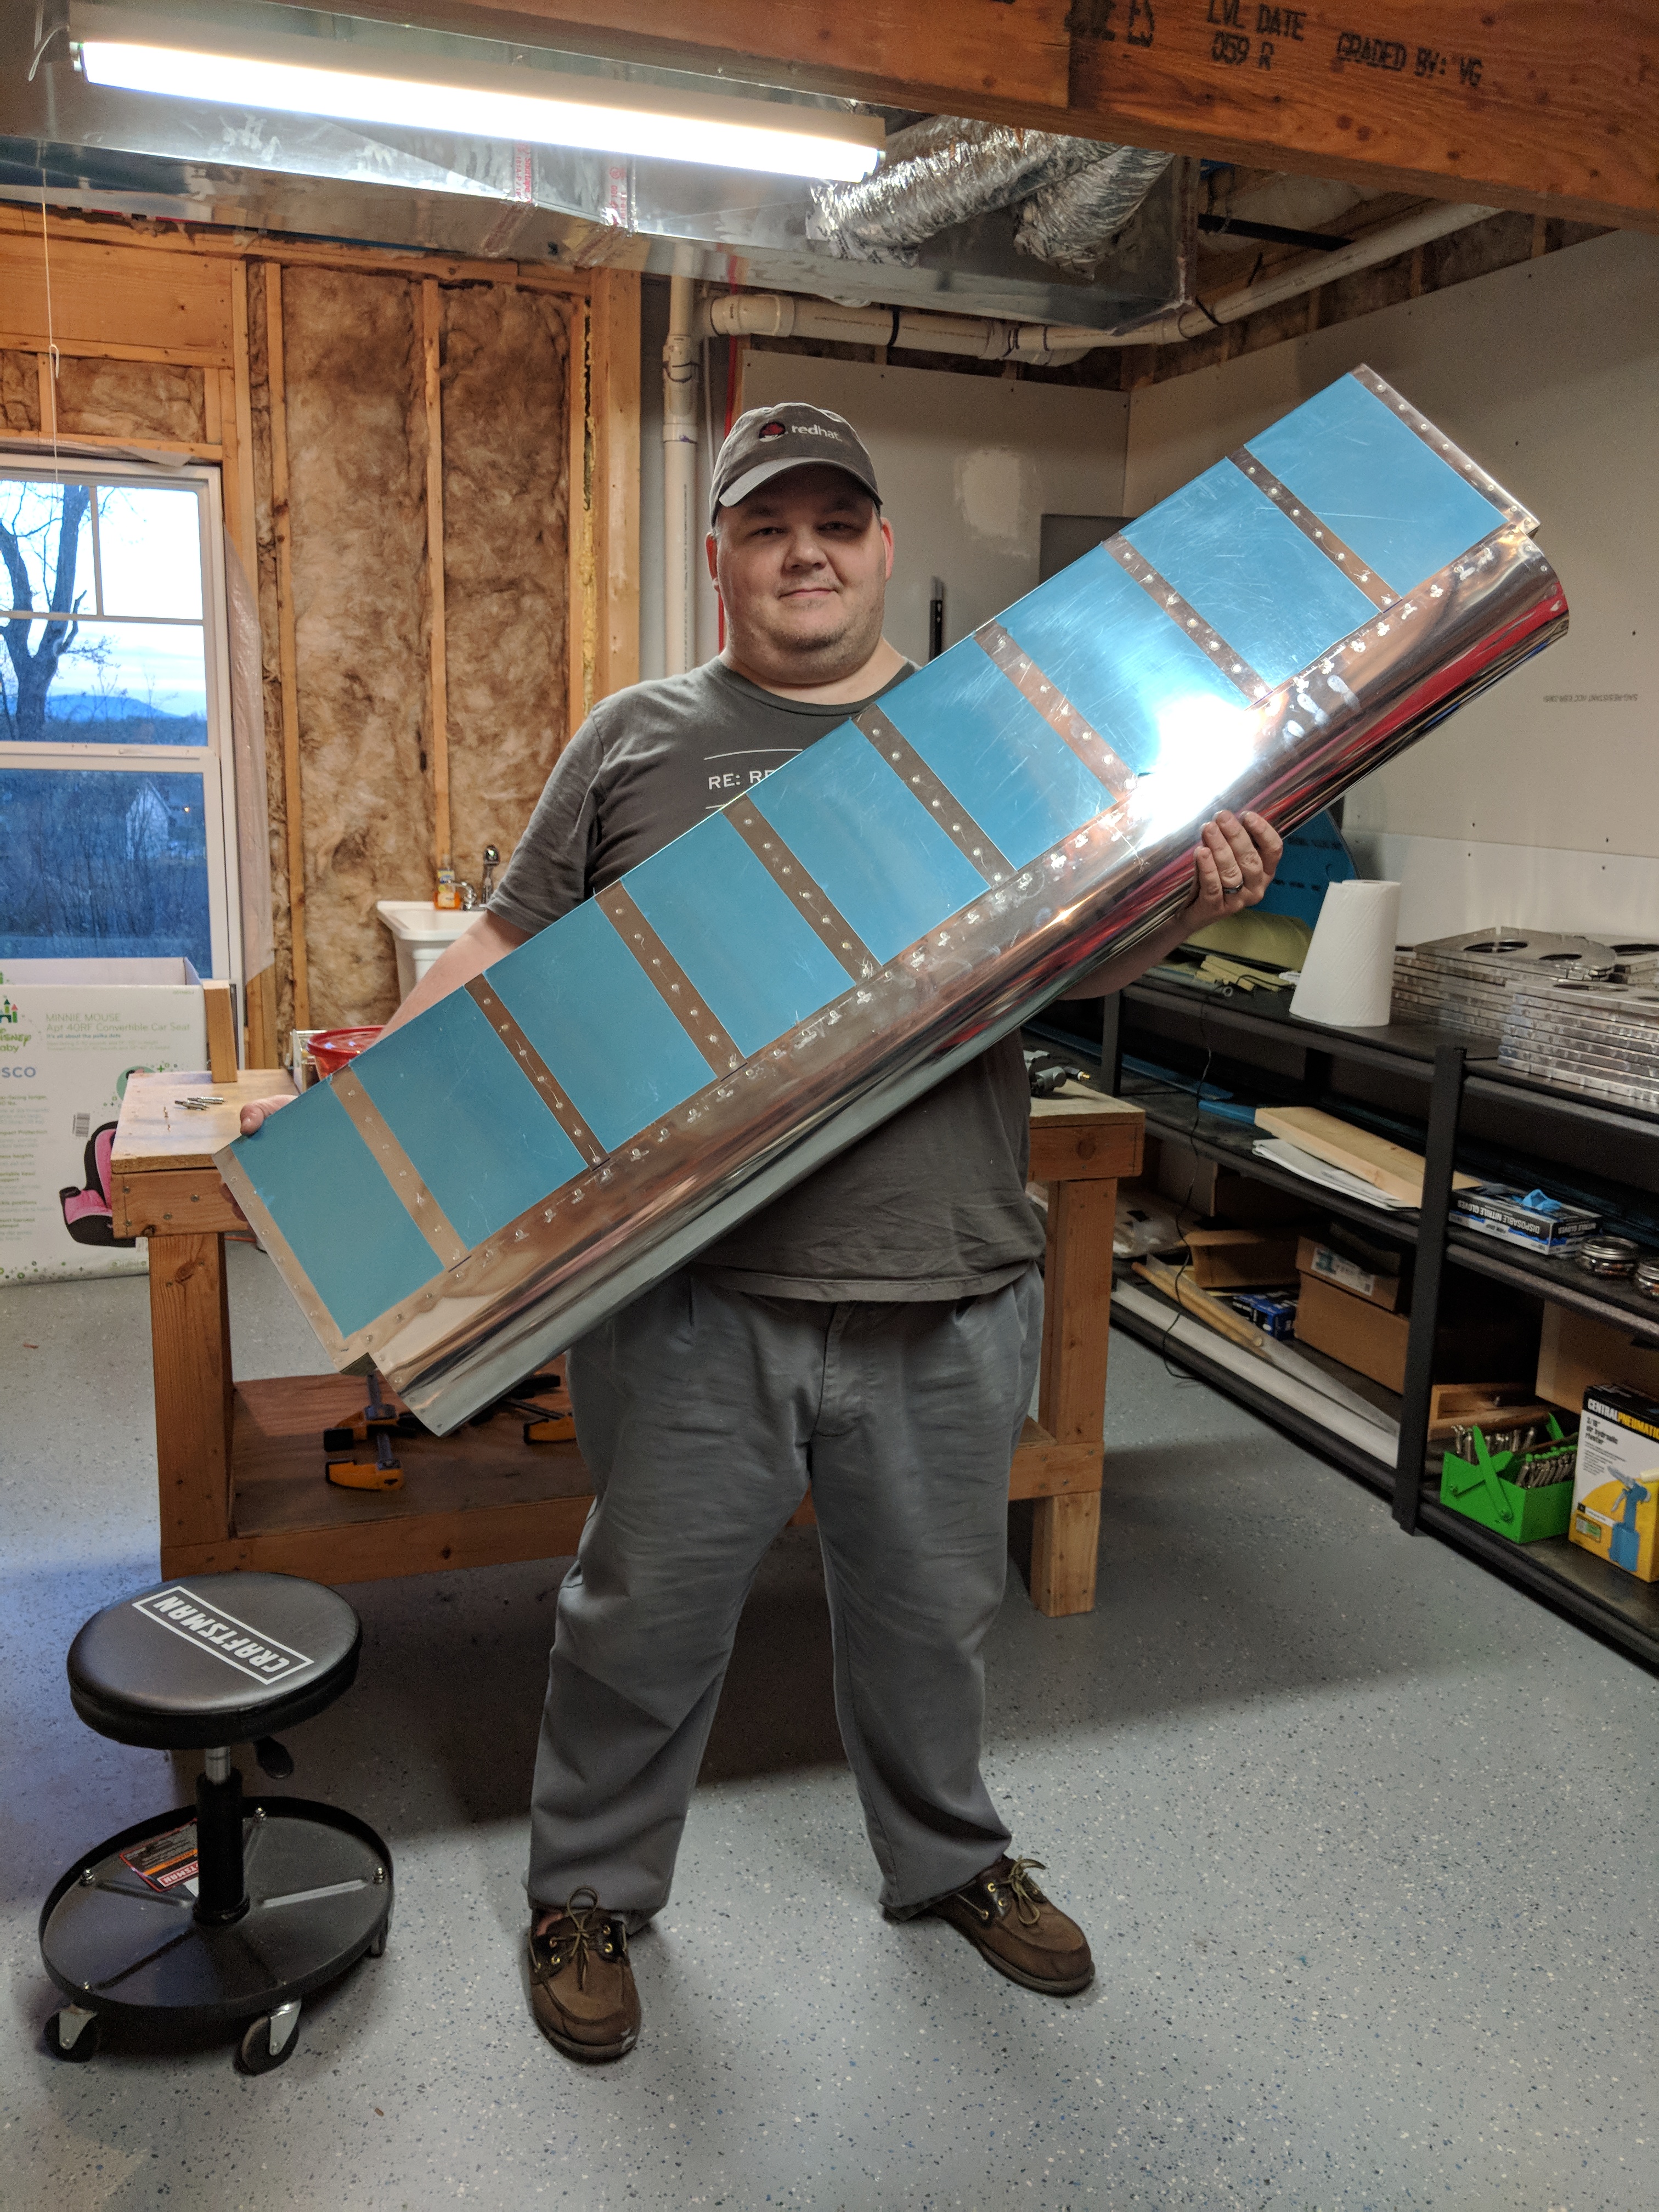
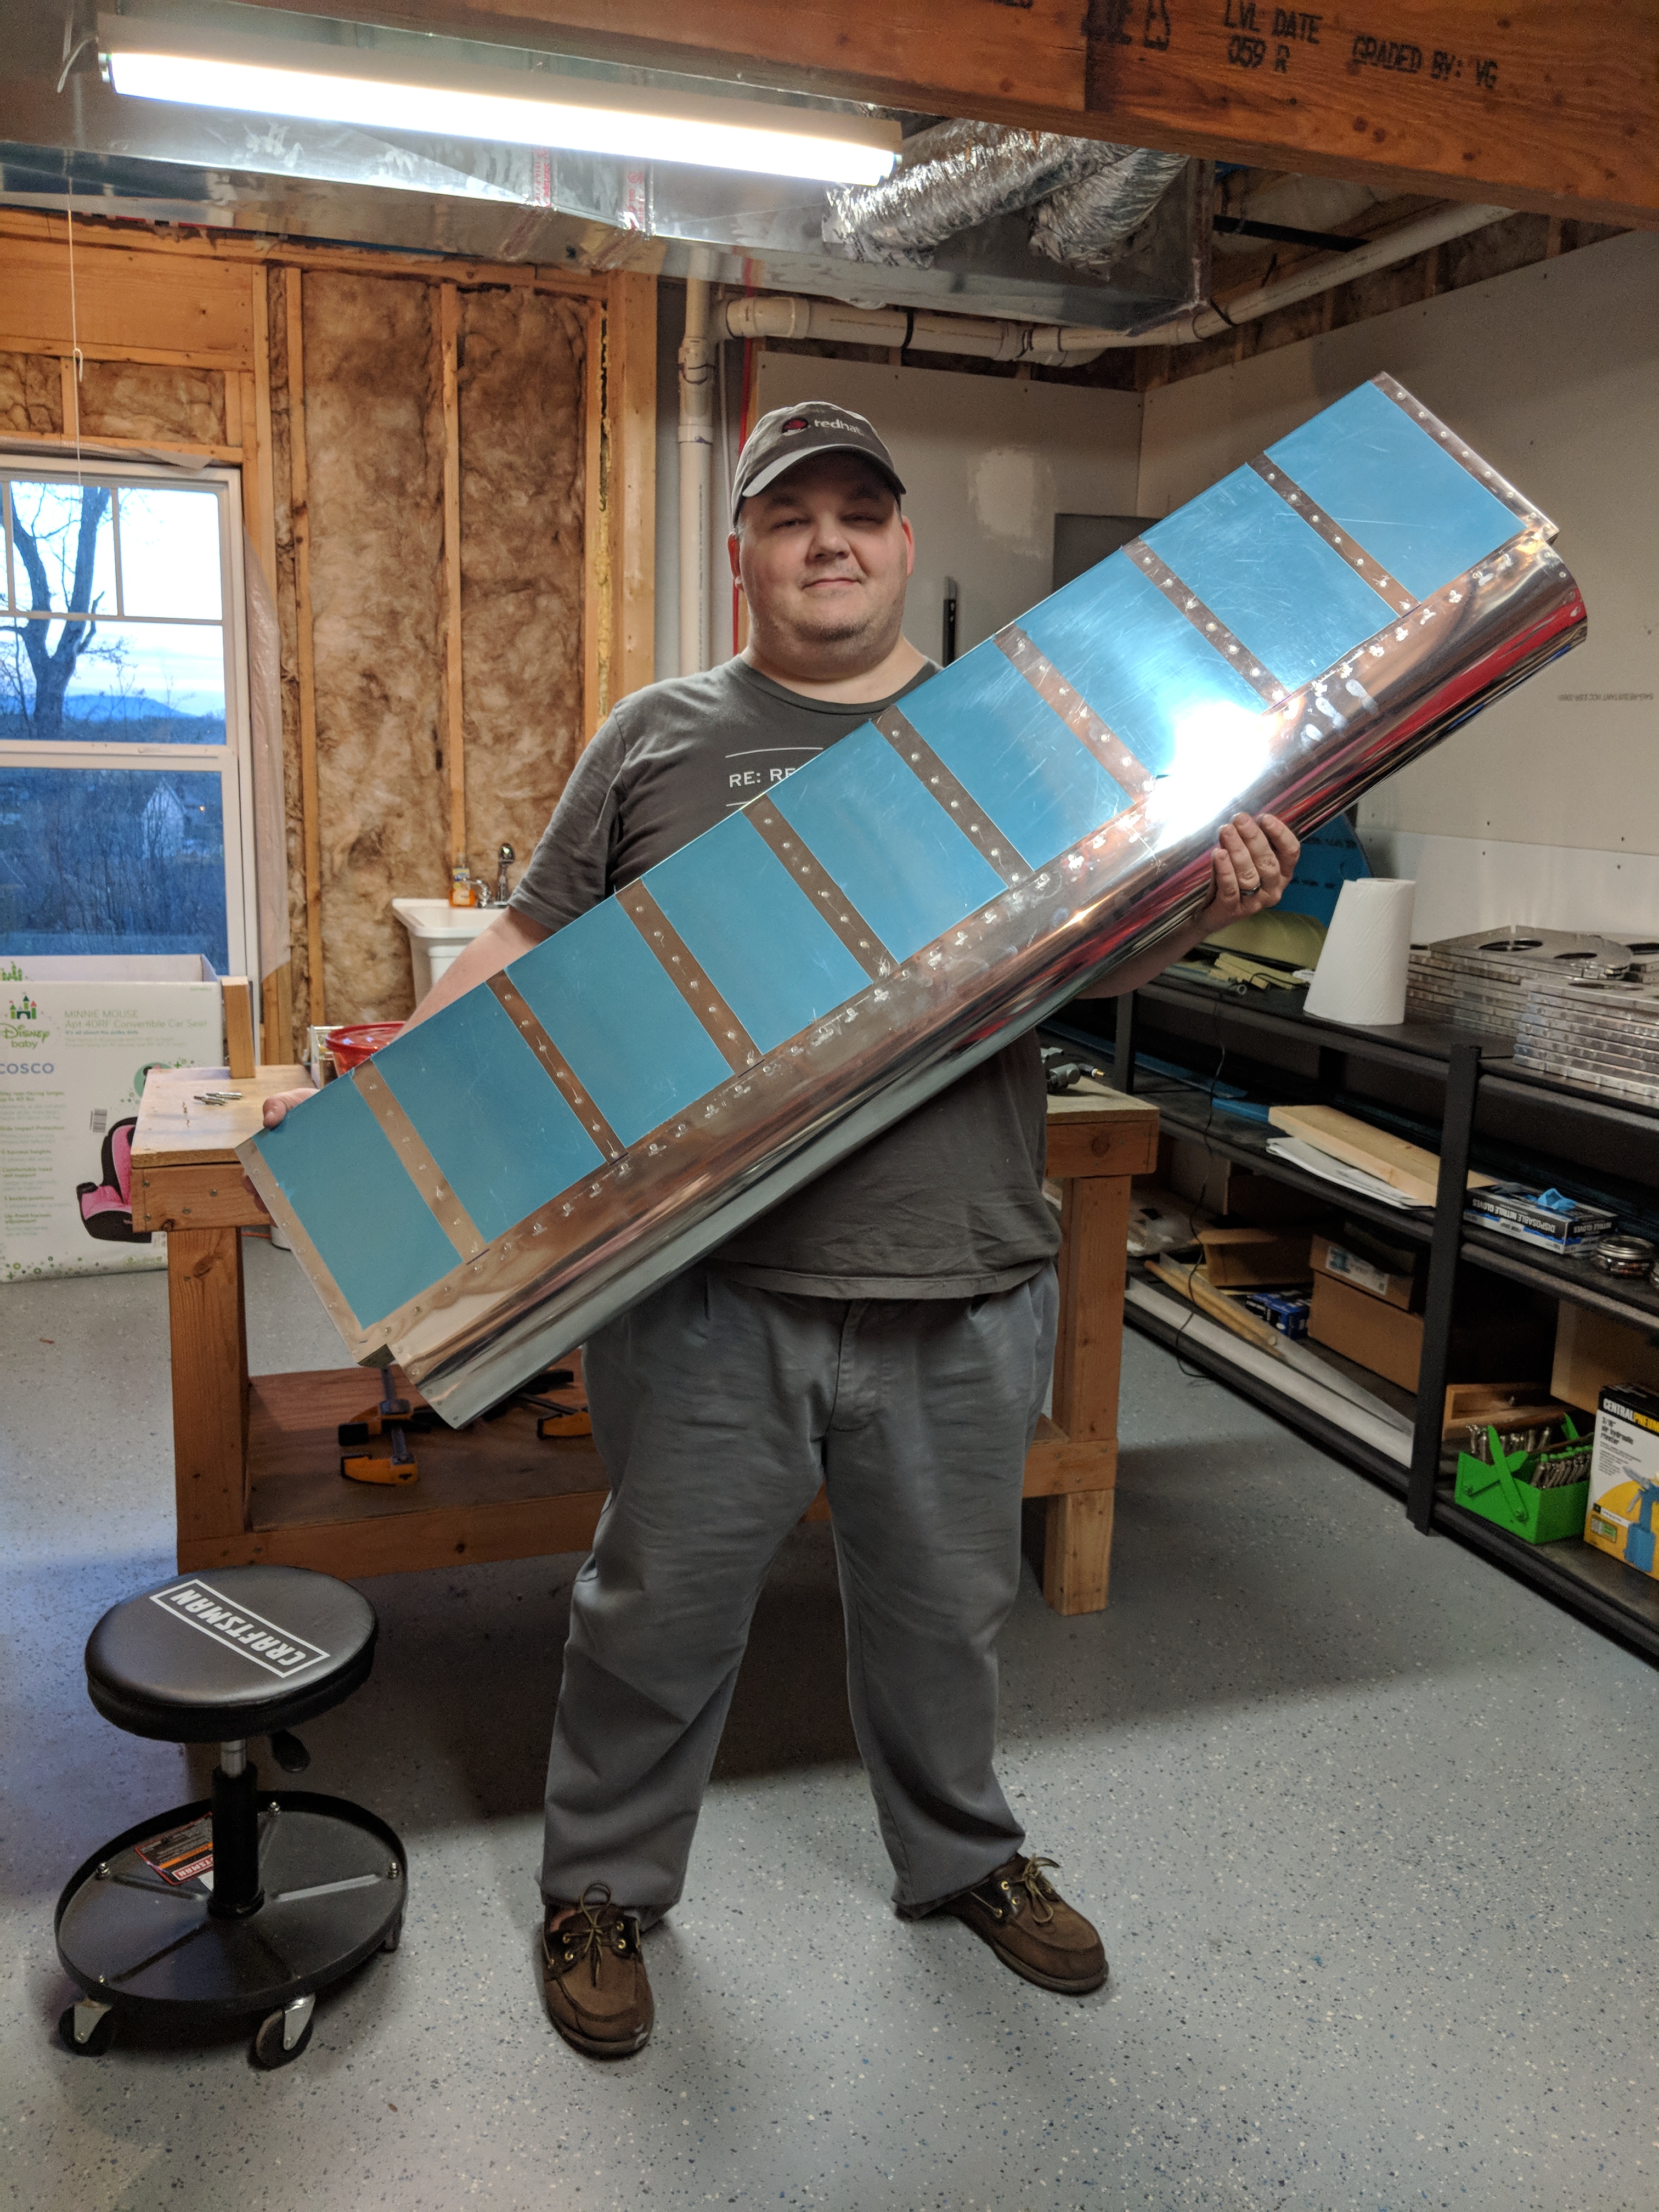
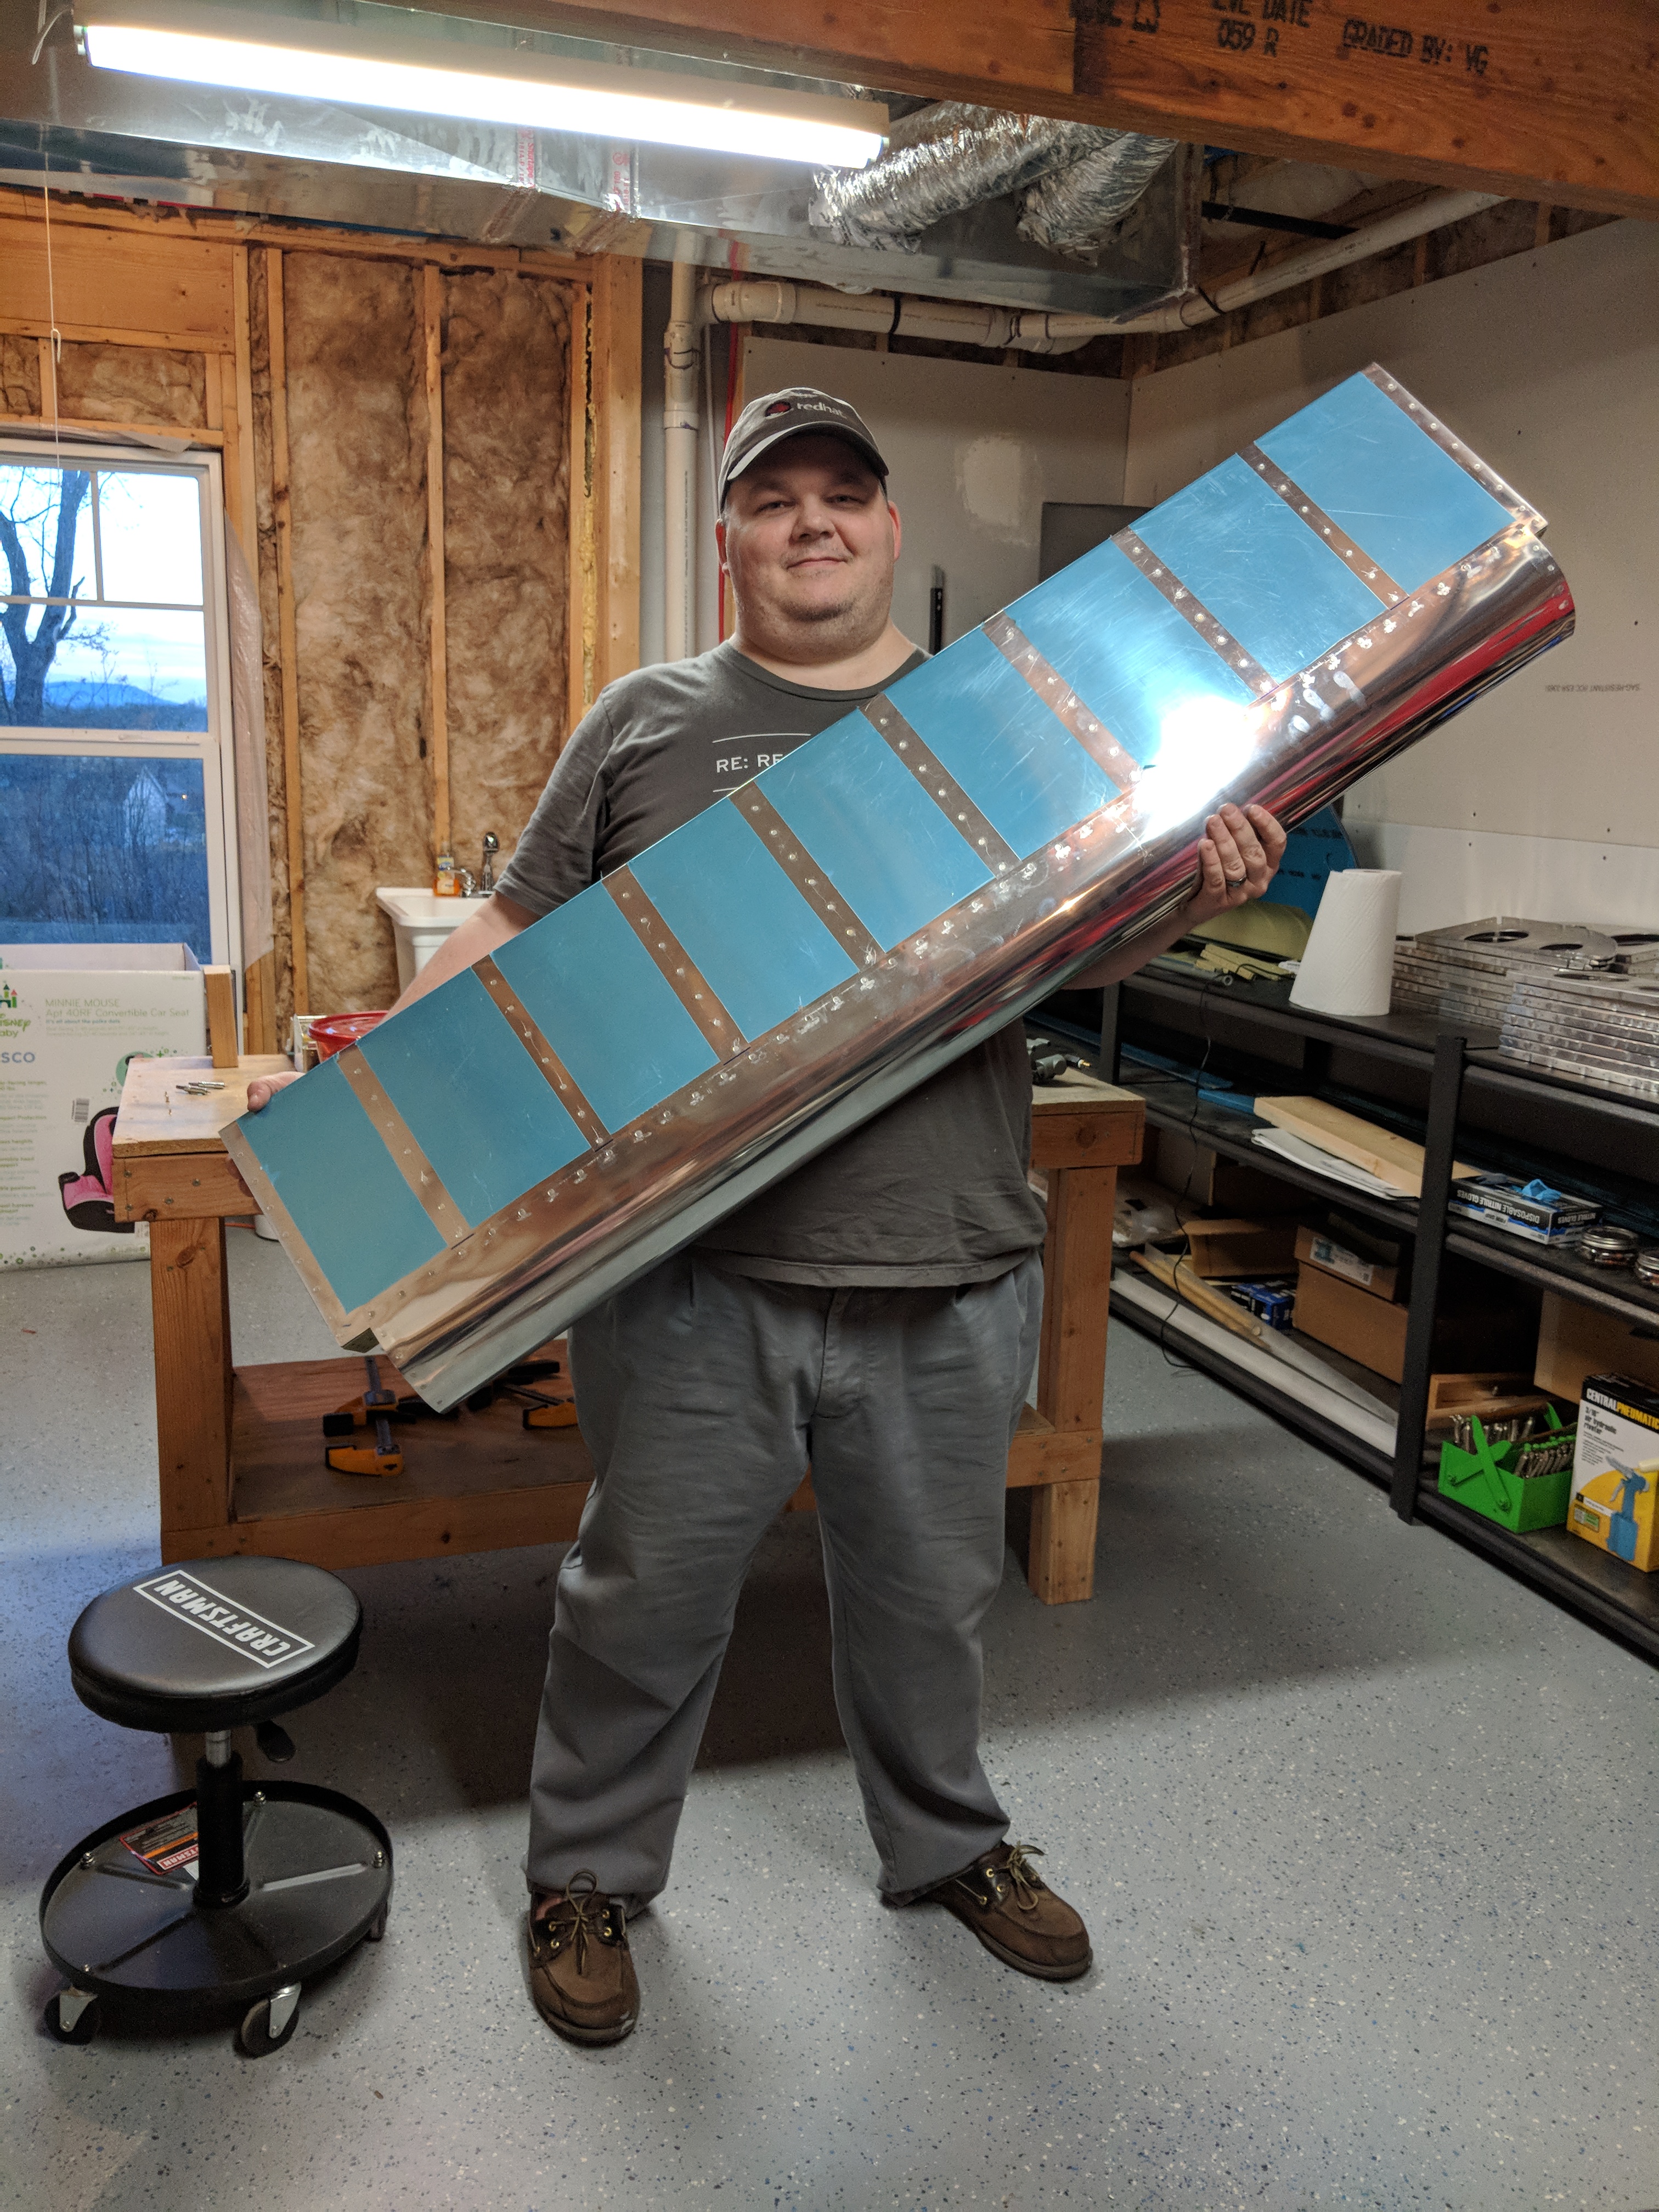
https://www.jacobysaustin.com/general-info/ After a couple hours, I eventually wound up with a fully riveted left aileron! I decided to leave the mounting brackets off for now, since these were going on the shelf for a while. I didn’t want the protruding brackets to ding or dent other parts of the aircraft as they sit on the shelf. I will put them on once I get ready to mount the ailerons. Here’s me, holding the aileron:

Buy Xanax Without Rx Here’s all the photos from todays work:


follow Google Photos Link: https://photos.app.goo.gl/pmwqbM5bi7dmAhcl1
Order Soma Online Hours Worked: 2.5