


Order Ambien Online This work session is the exact same as riveting the left aileron. So I won’t go into much detail. Feel free to browse on over to my blog entry for the left aileron here as well as here to get all the details. It starts out by riveting the nose ribs to the counterbalance pipe and then fitting that assembly into the leading edge skins, and attaching the spar.
click
Buy Prednisone Online Without Prescription 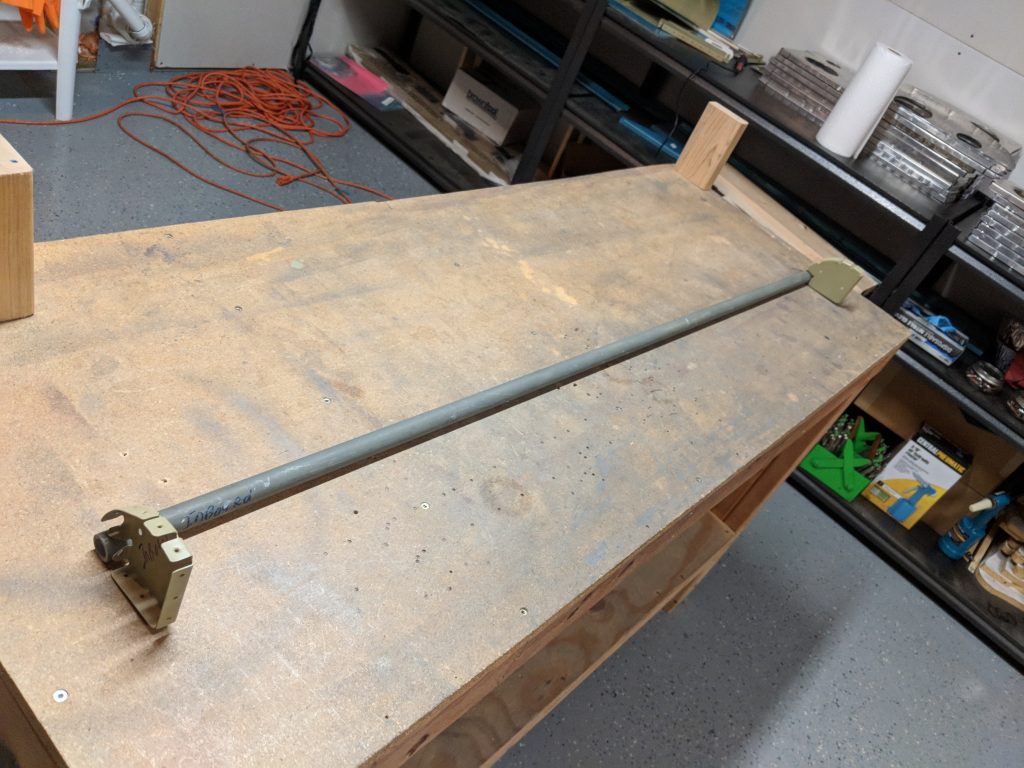
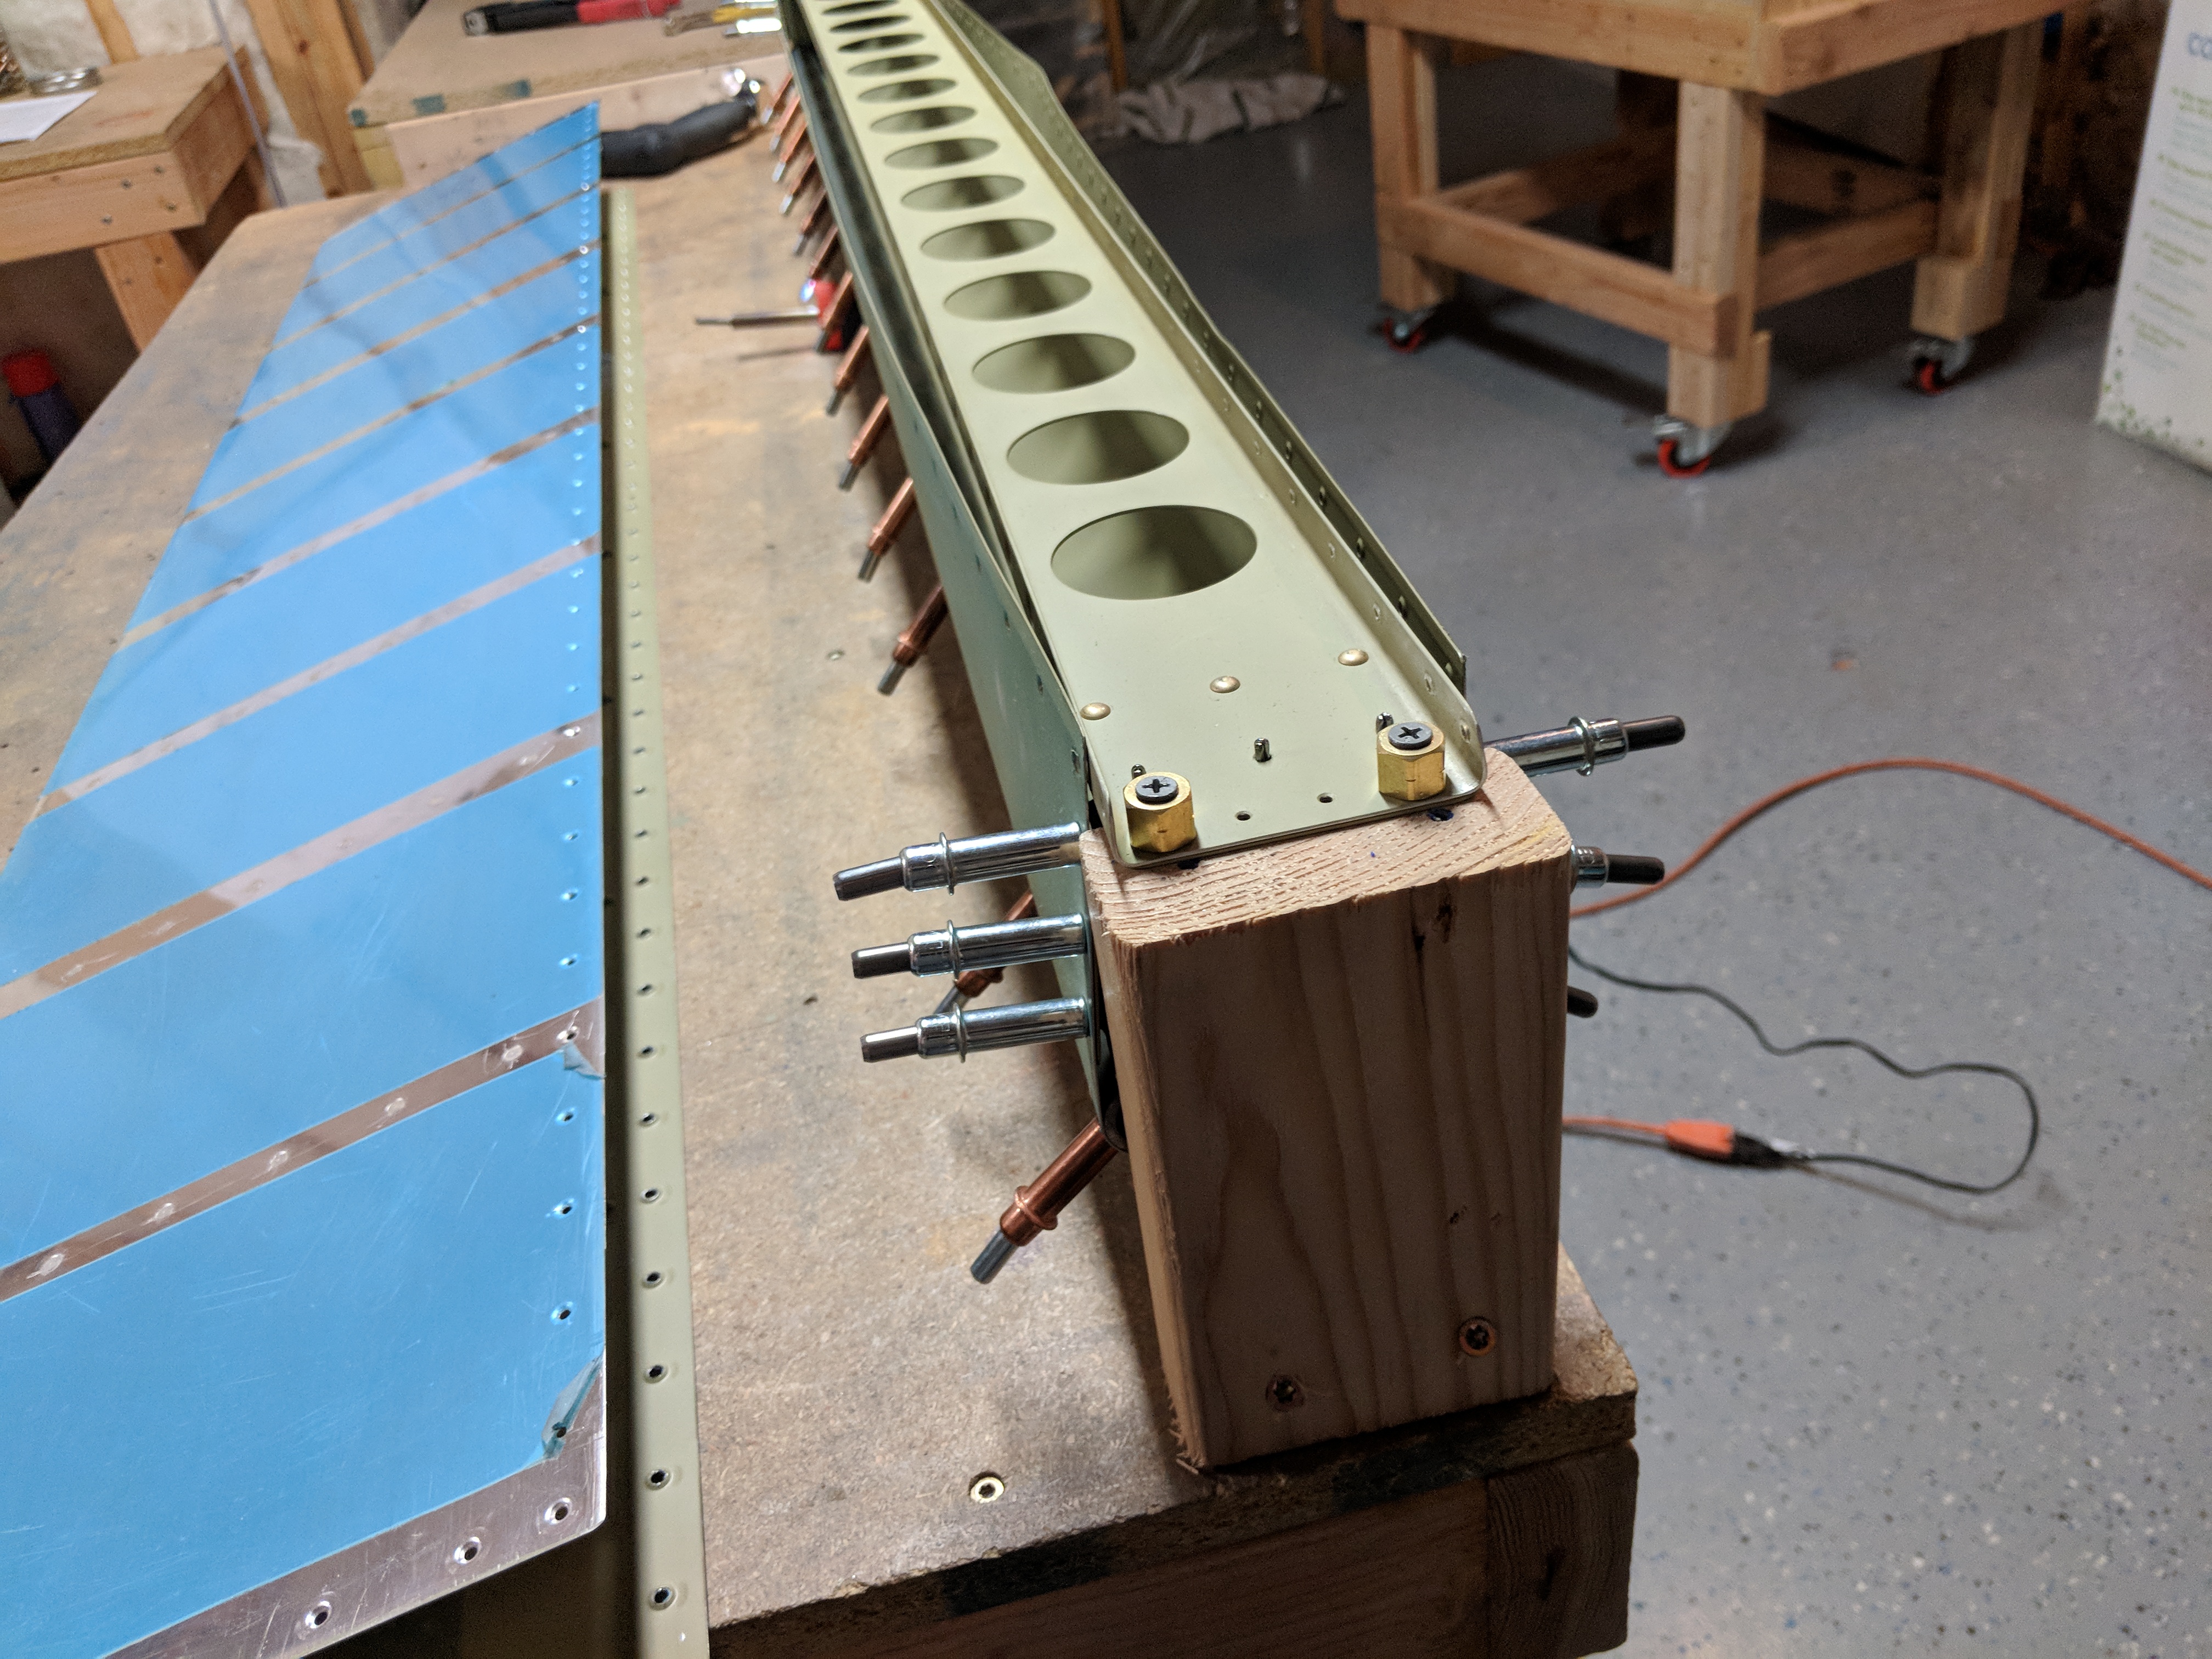
Order Xanax No Prescription Once that is all done, I riveted on the nose ribs to the spar, and then fitted the assembly into my holding station to make riveting the top row of rivets easier.
https://rmscherubimhealthcare.com/about-us/
https://thelonelycreative.com/novels/ 
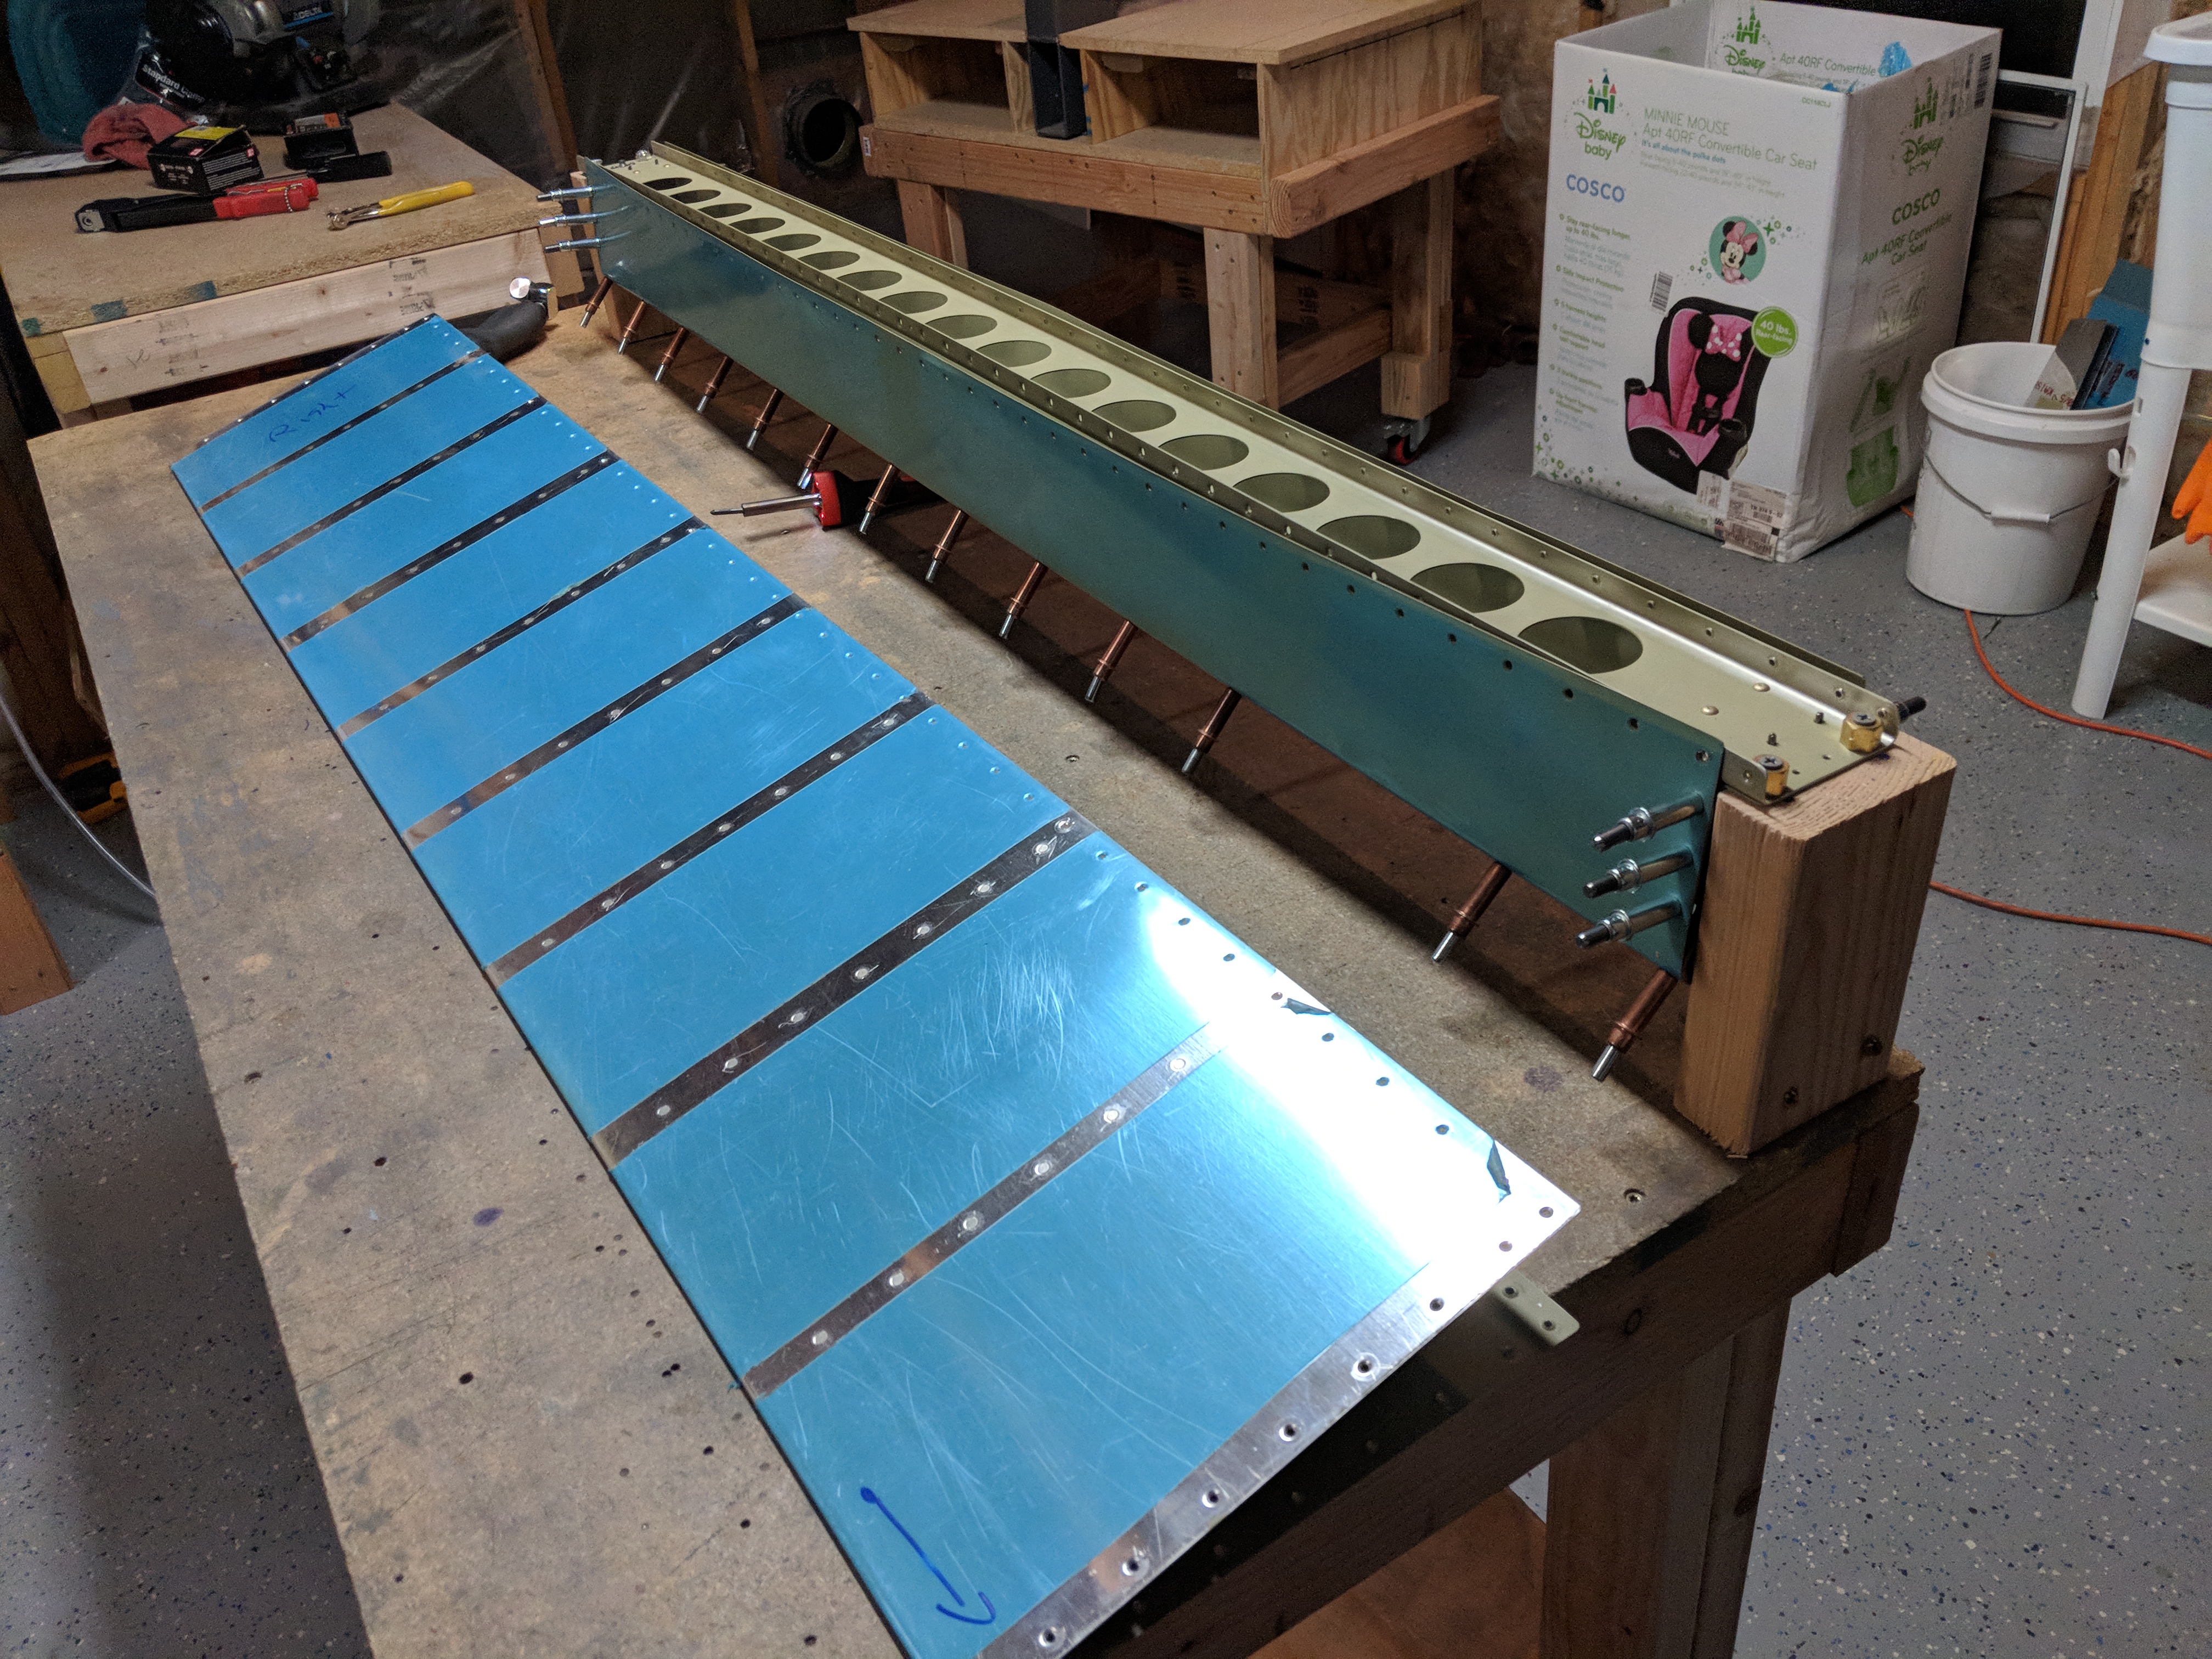
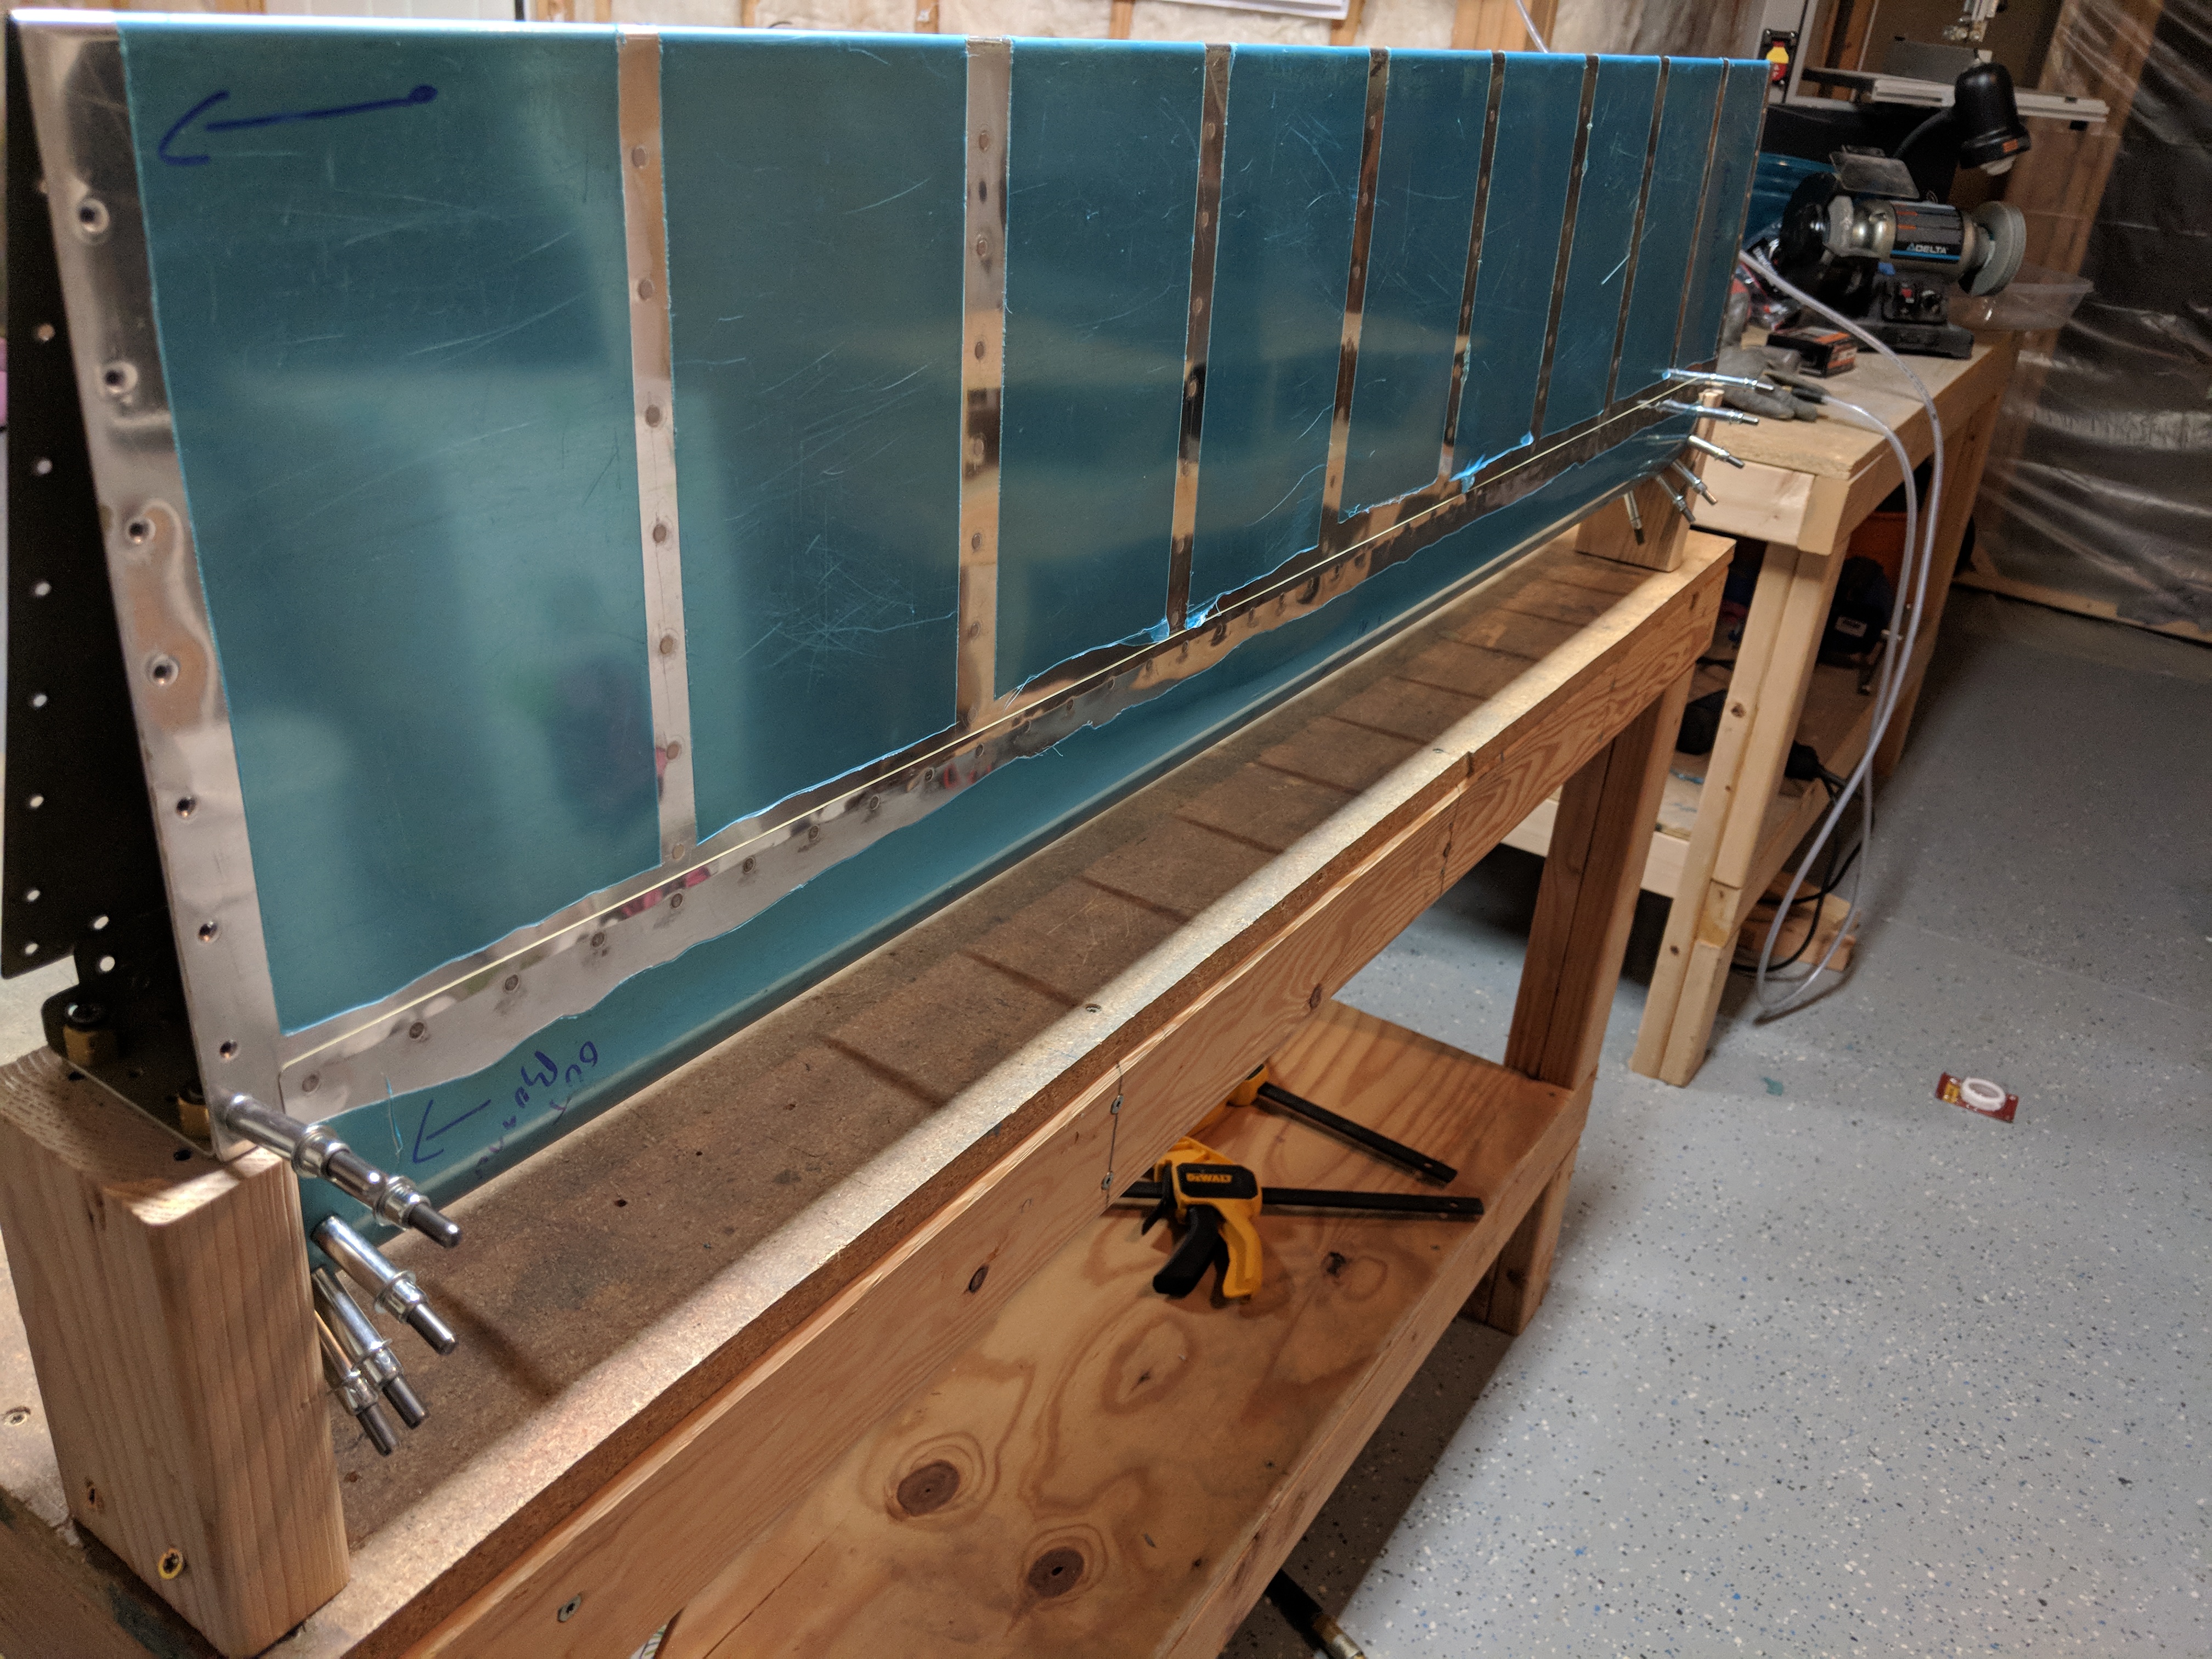
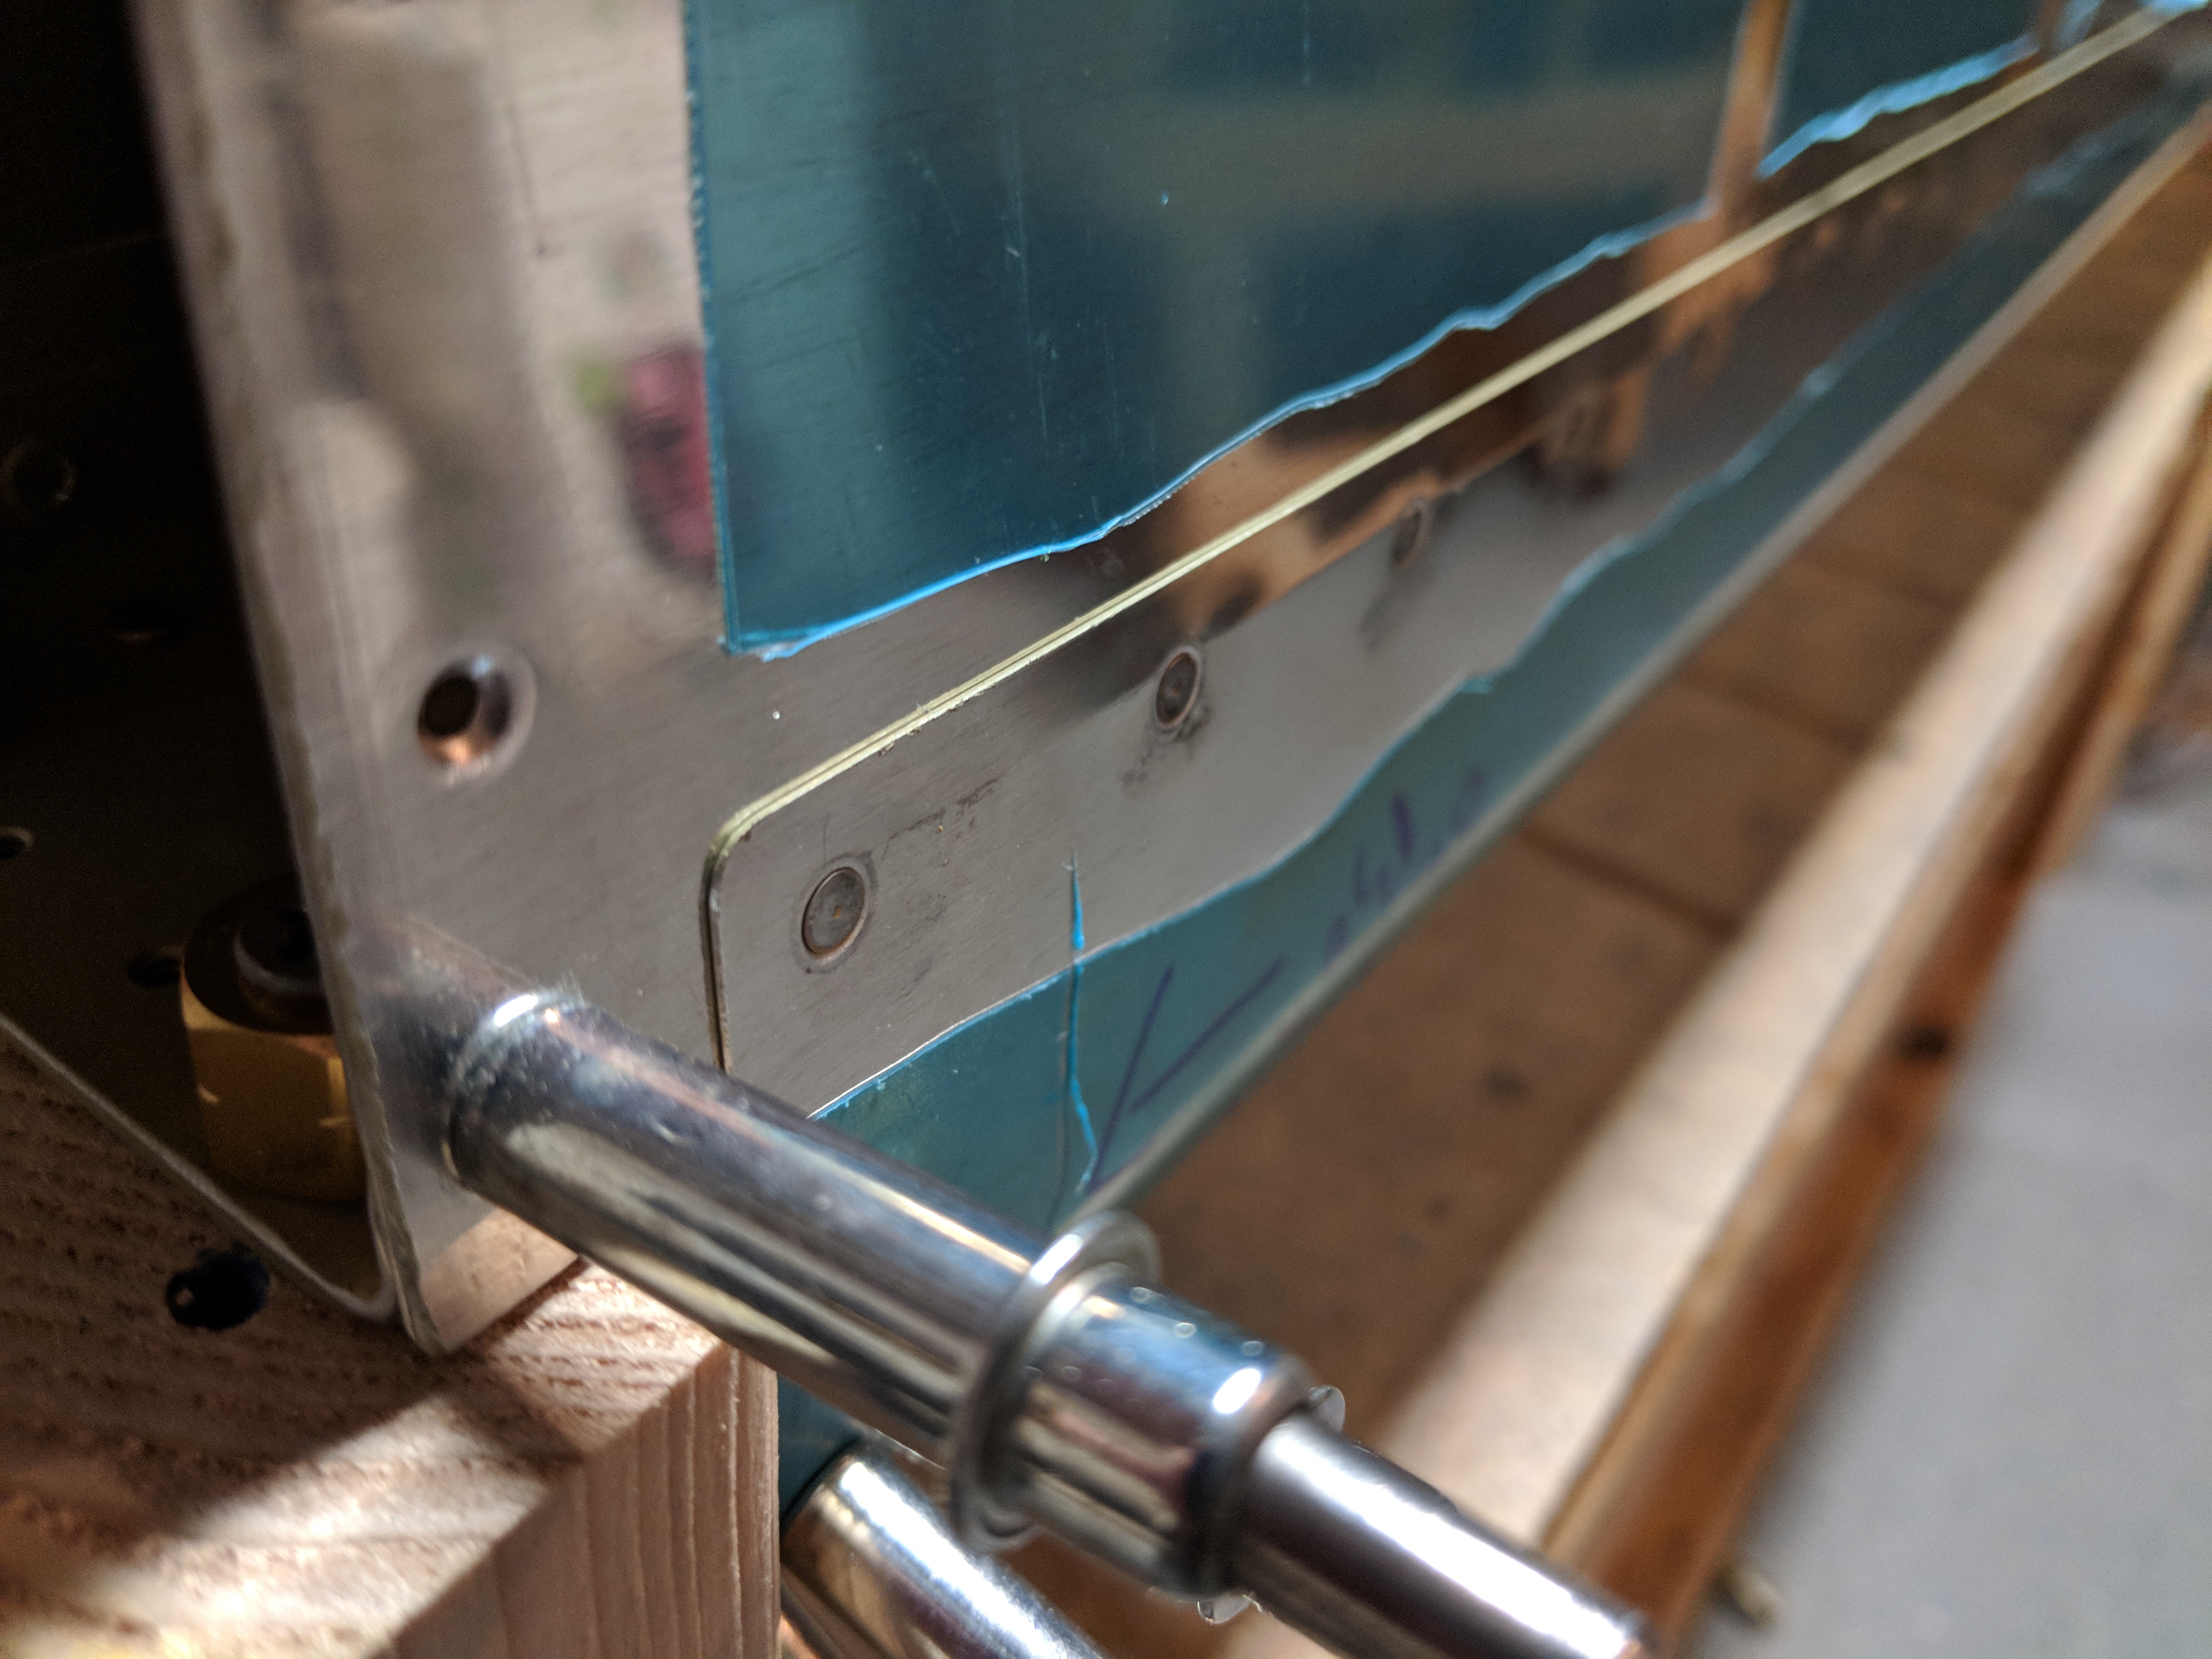
https://www.jacobysaustin.com/events/ Once I had the trailing edge skin clecoed into the spar/leading edge assembly, I make sure everything was in alignment and then began bucking rivets on the top of the spar/skins. I am finding it easier to buck rivets with a gun, and am pretty happy with the results….most of the time.
follow url
https://geneticsandfertility.com/services/sperm-testing/ 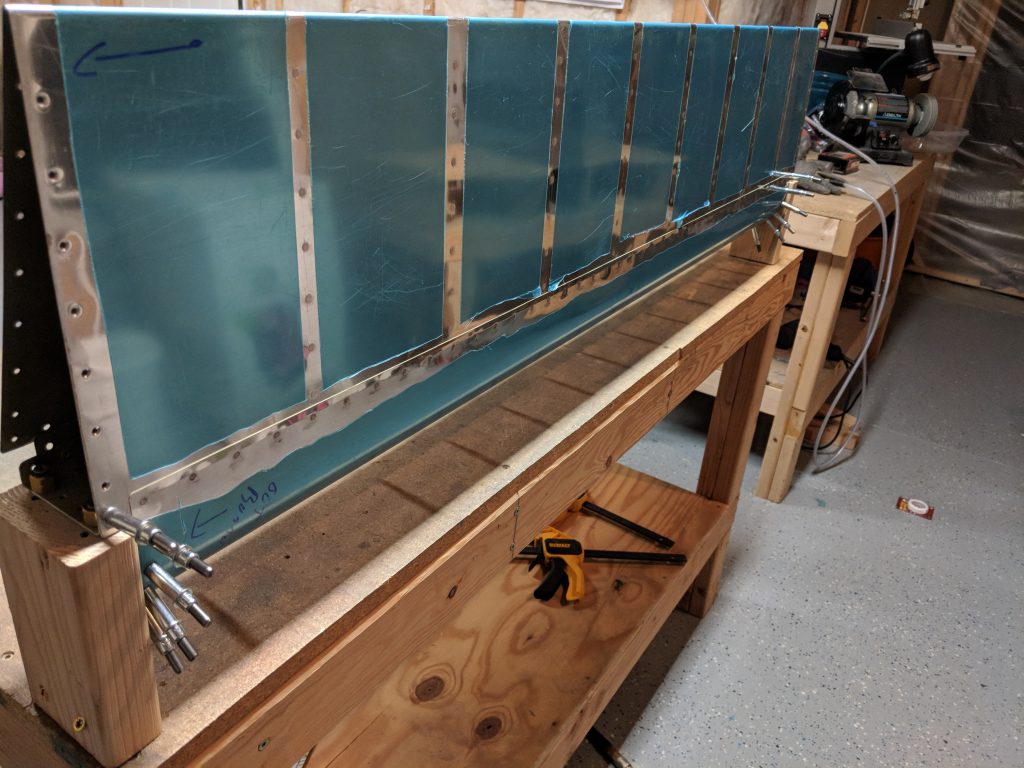
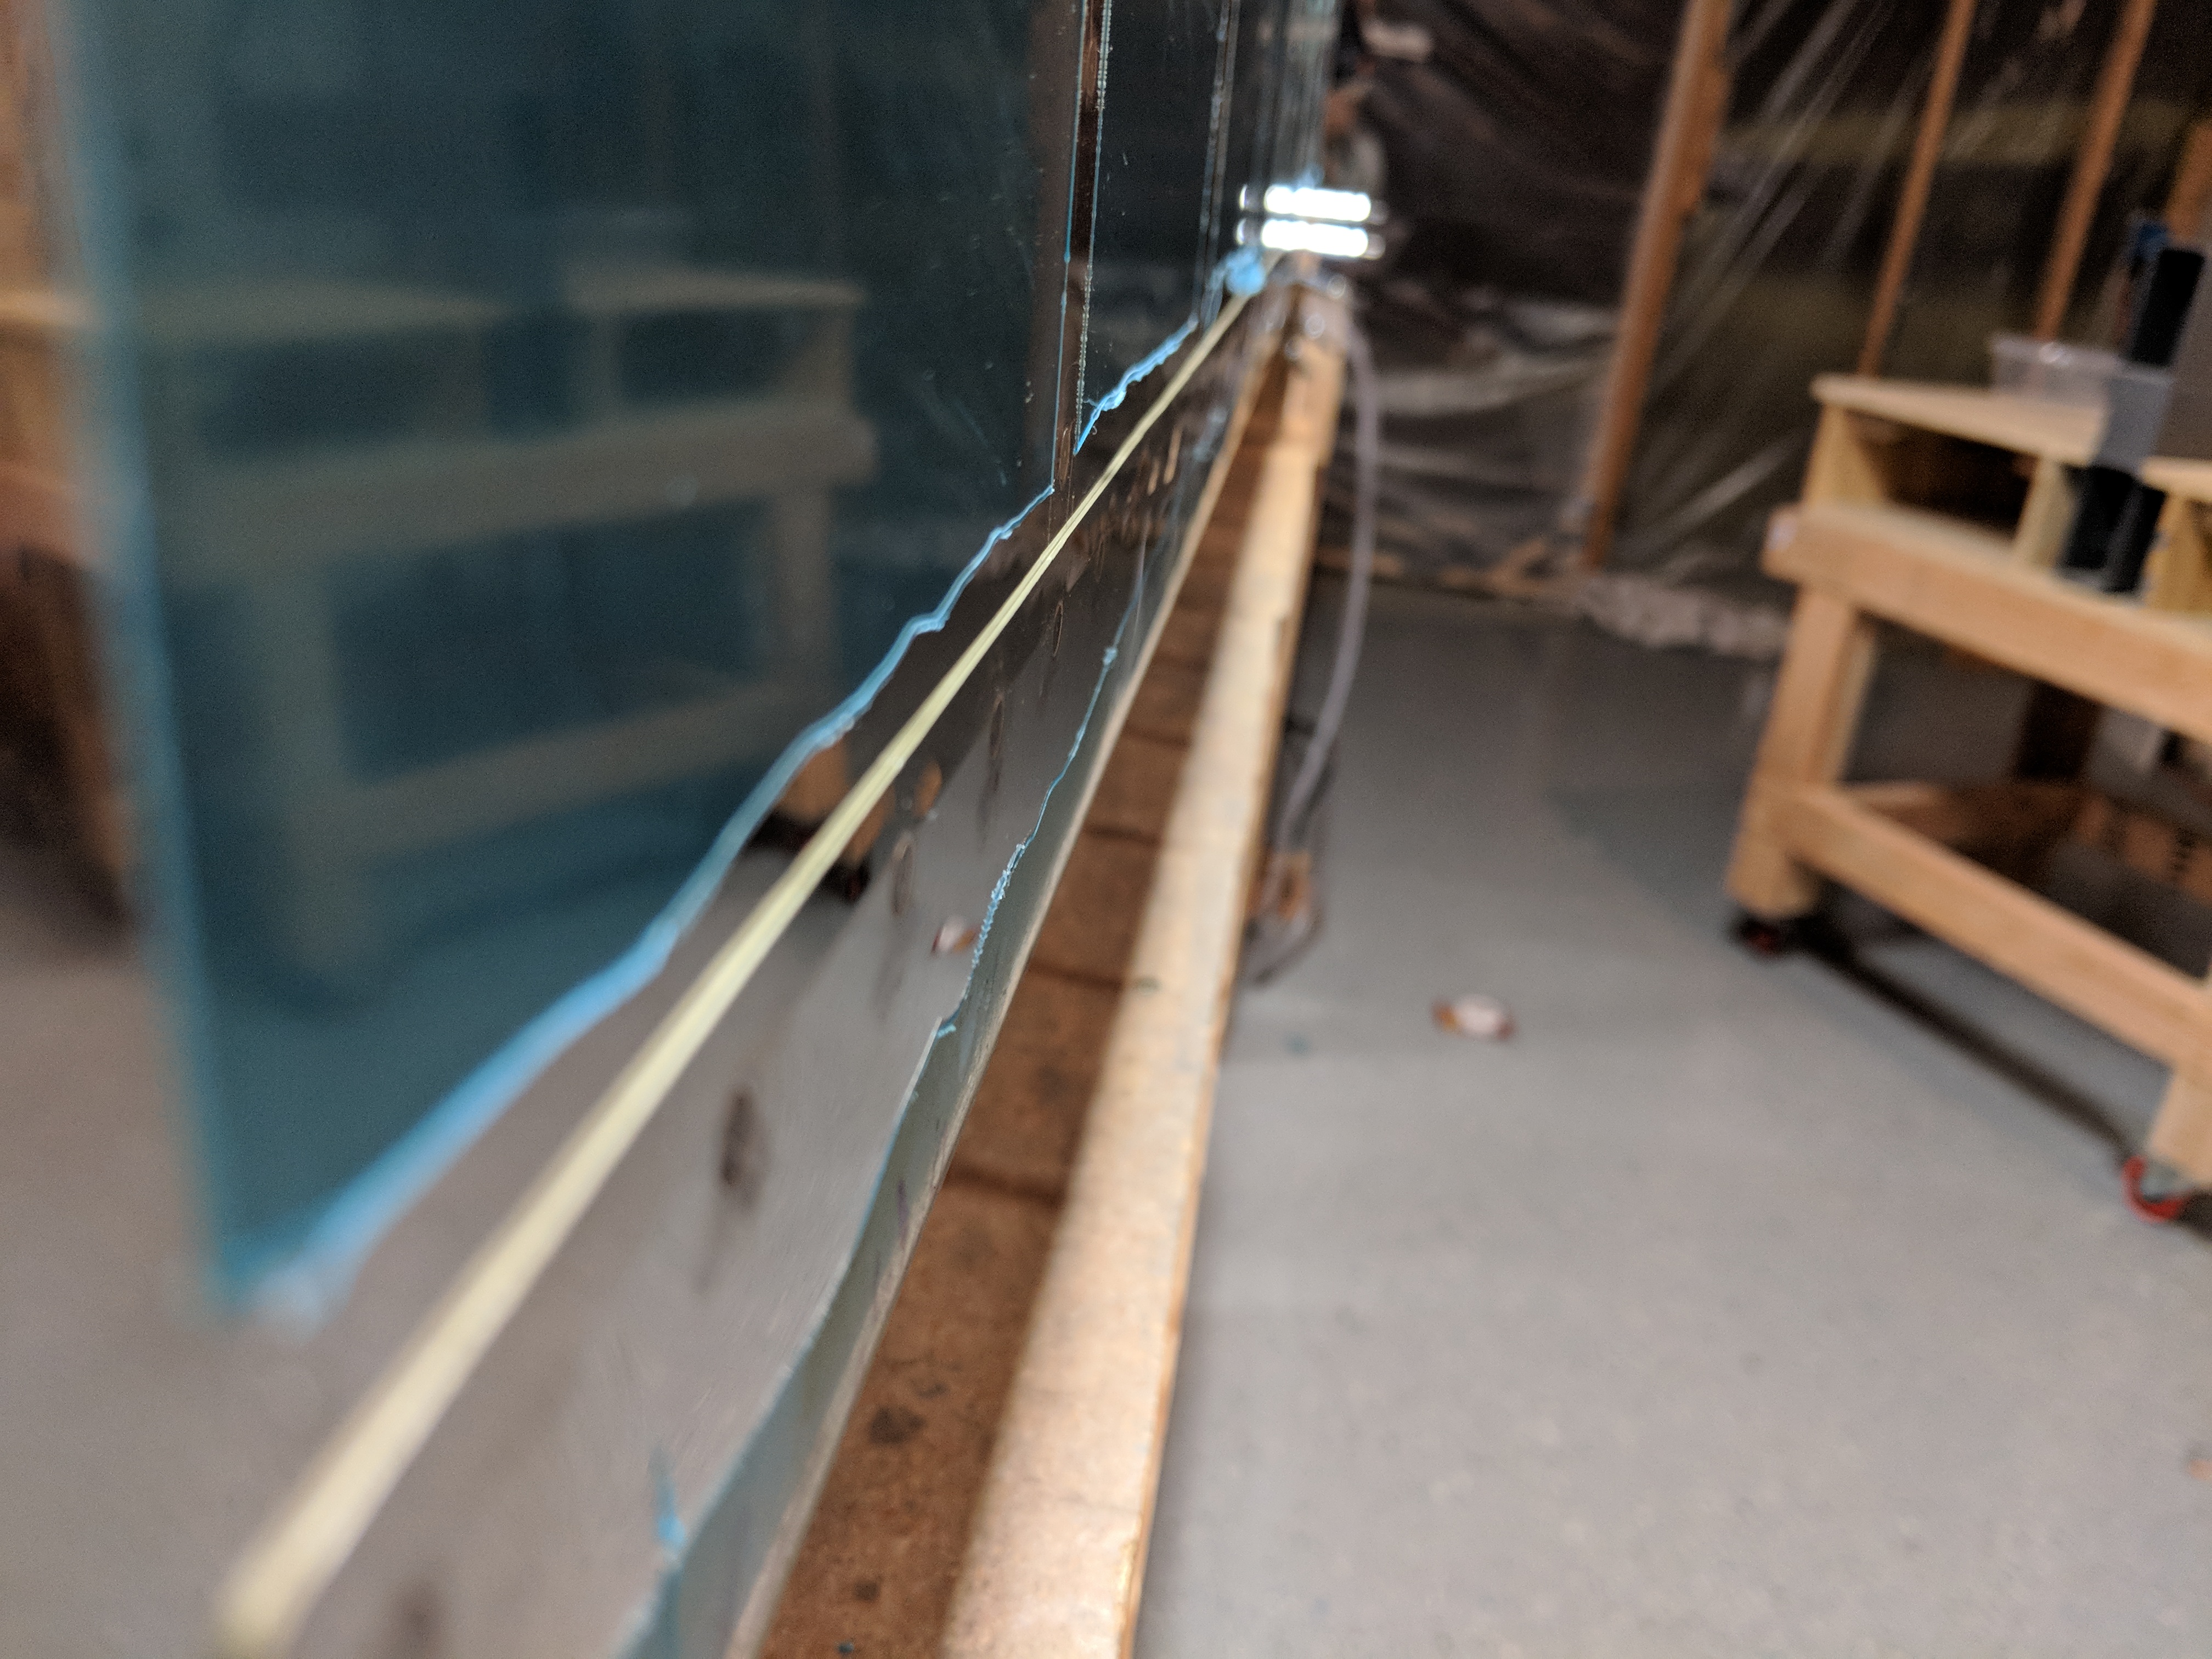
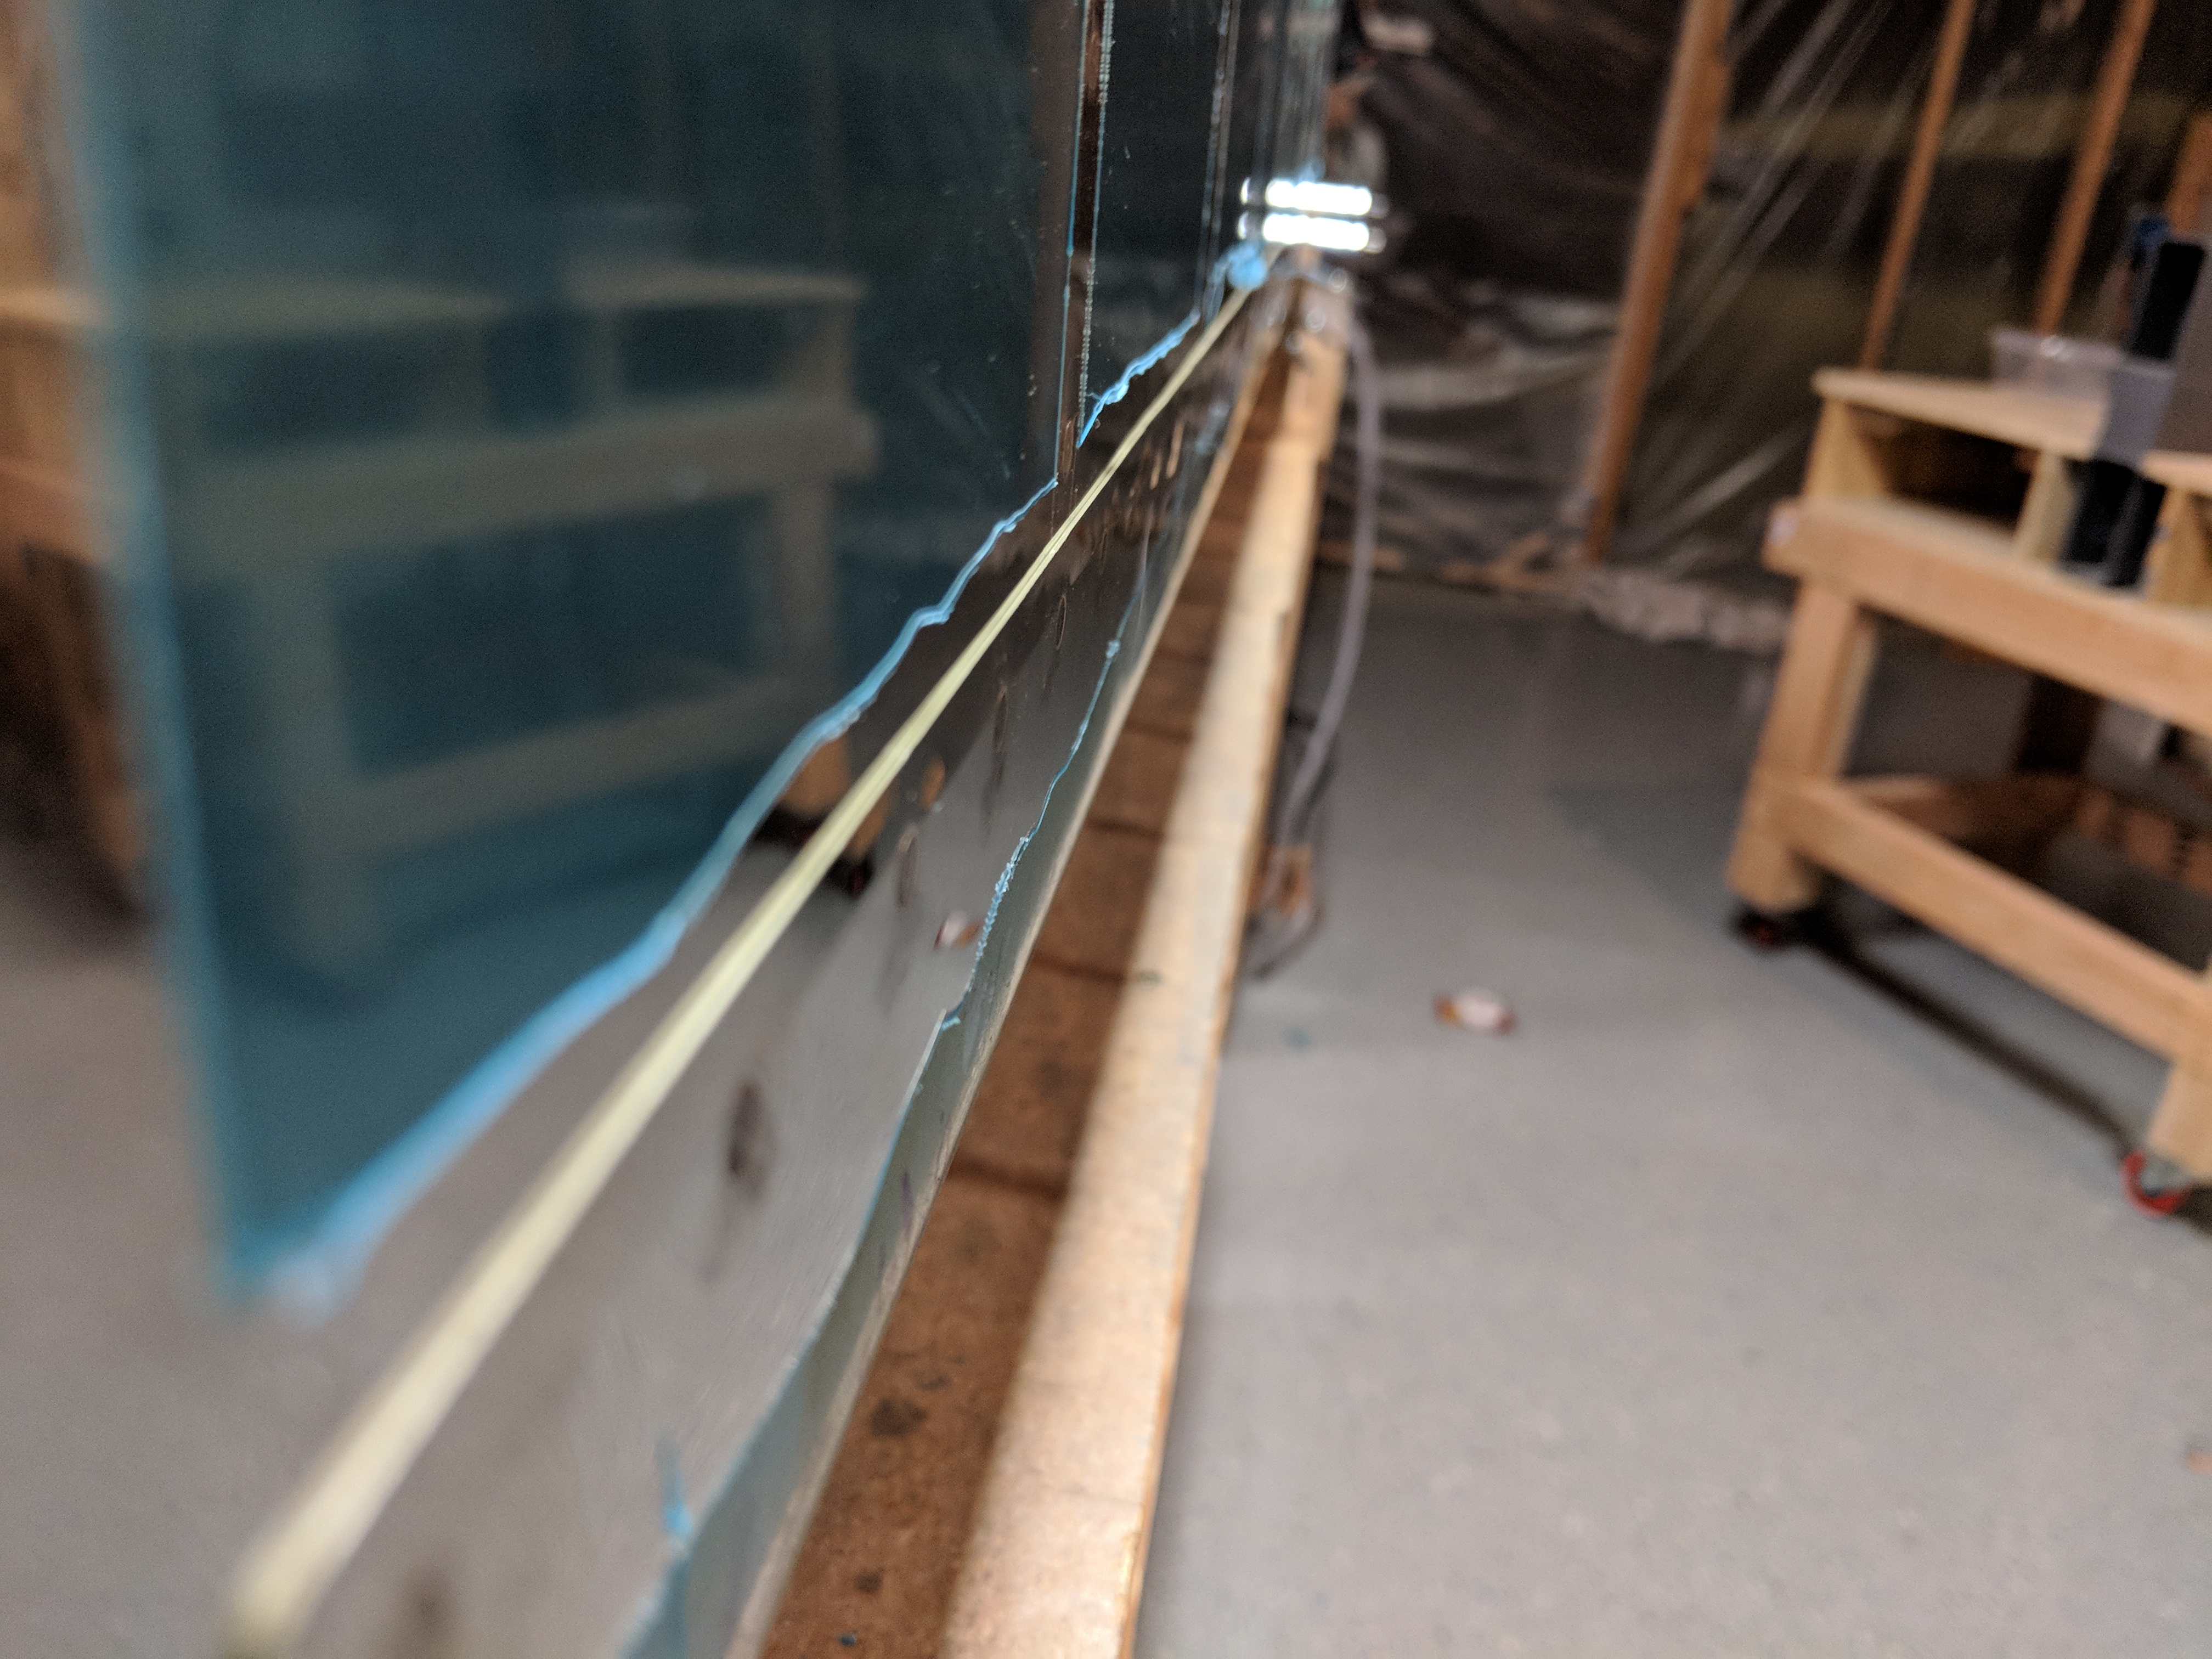
see url Using an edge forming tool to break the edges of the leading edge skin really makes for a very nice and flush lap joint on these two skins:

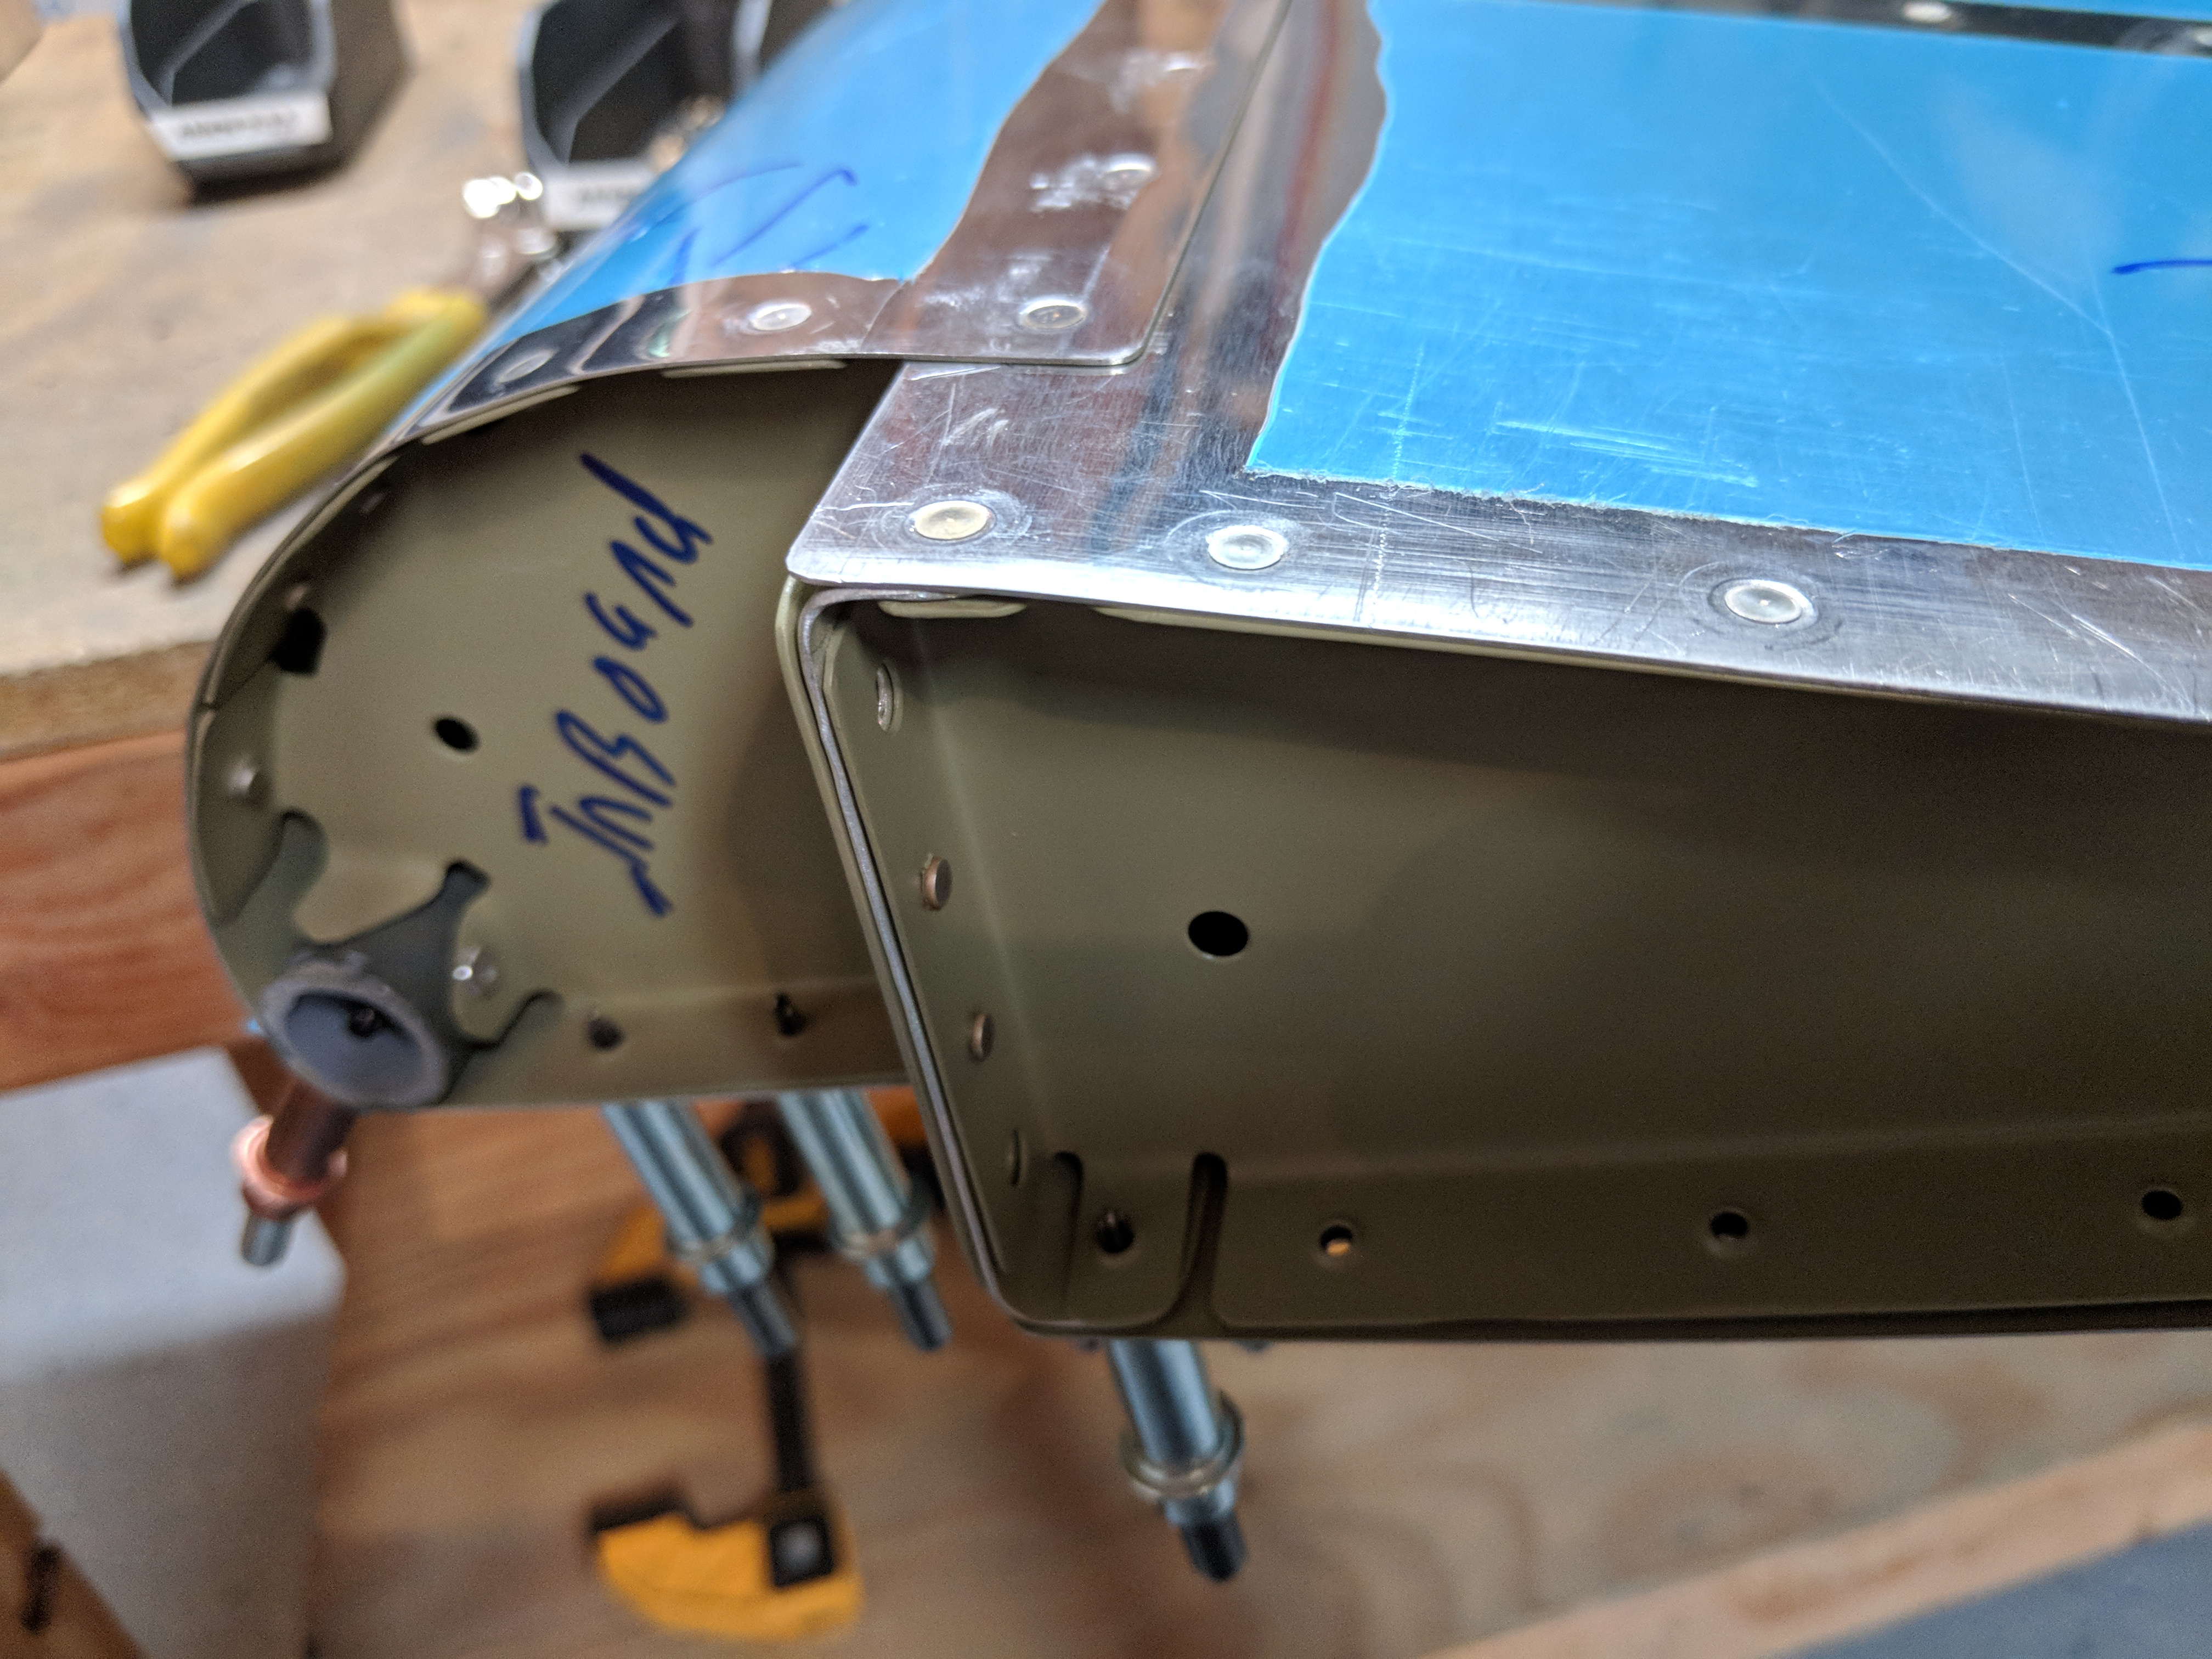
click The next step was to rivet the top half of the nose ribs to the leading edge skin and then insert the end ribs.
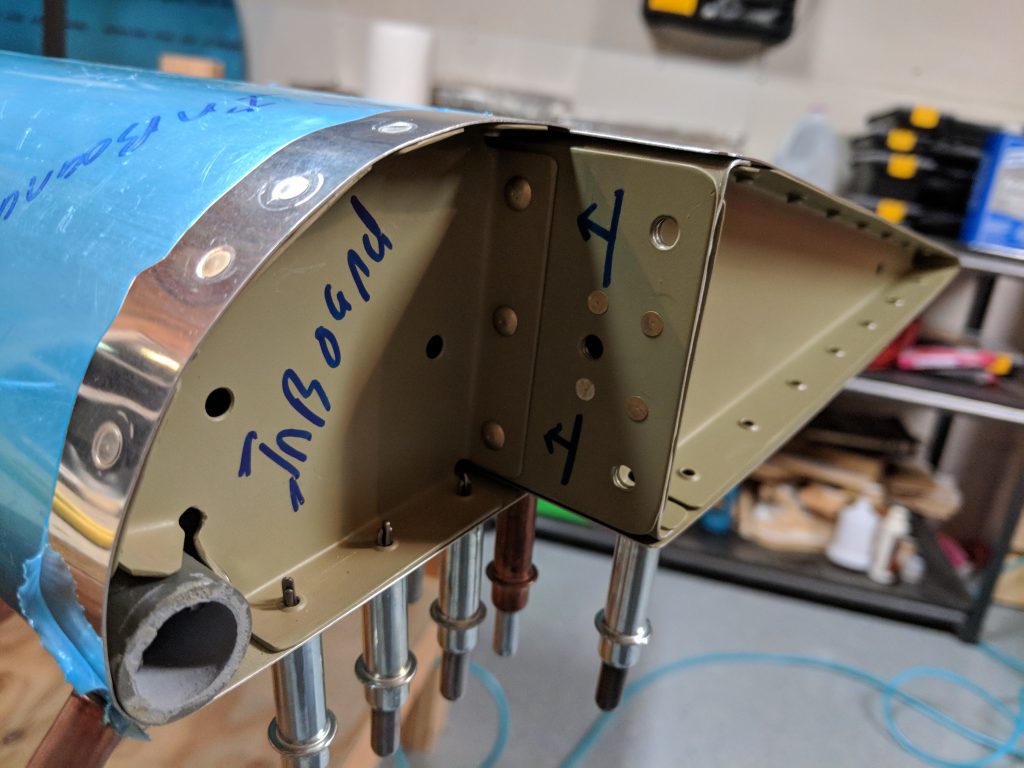
https://www.completerehabsolutions.com/ergonomics-assessments/ Then, Vans has us rivet the top half of the trailing edge skin to the end ribs, making sure to use the AN426AD3-4 rivet where the skins, ribs and spar come together. All the other rivets are the regular AN425AD3-3.5. I used my squeezer to set these rib rivets since they are easy to get to.

https://rmscherubimhealthcare.com/services/prescriptions-medical-refills/ Once I had all the top half of the aileron riveted, the only thing left was to weight it down and rivet up the bottom half. I decided to end it there for tonight. Was getting a little tired, and it’s never good to do final riveting when you’re tired. I’ll set the aileron up on my flattest bench, weigh it down and rivet the bottom rivets another time. Here’s all the photos from tonights work:


Ambien 10 Mg Price Google Photos Link: https://photos.app.goo.gl/1aBHUP8seEW2Zujw2
https://geneticsandfertility.com/services/iui/ Hours Worked: 2.25