


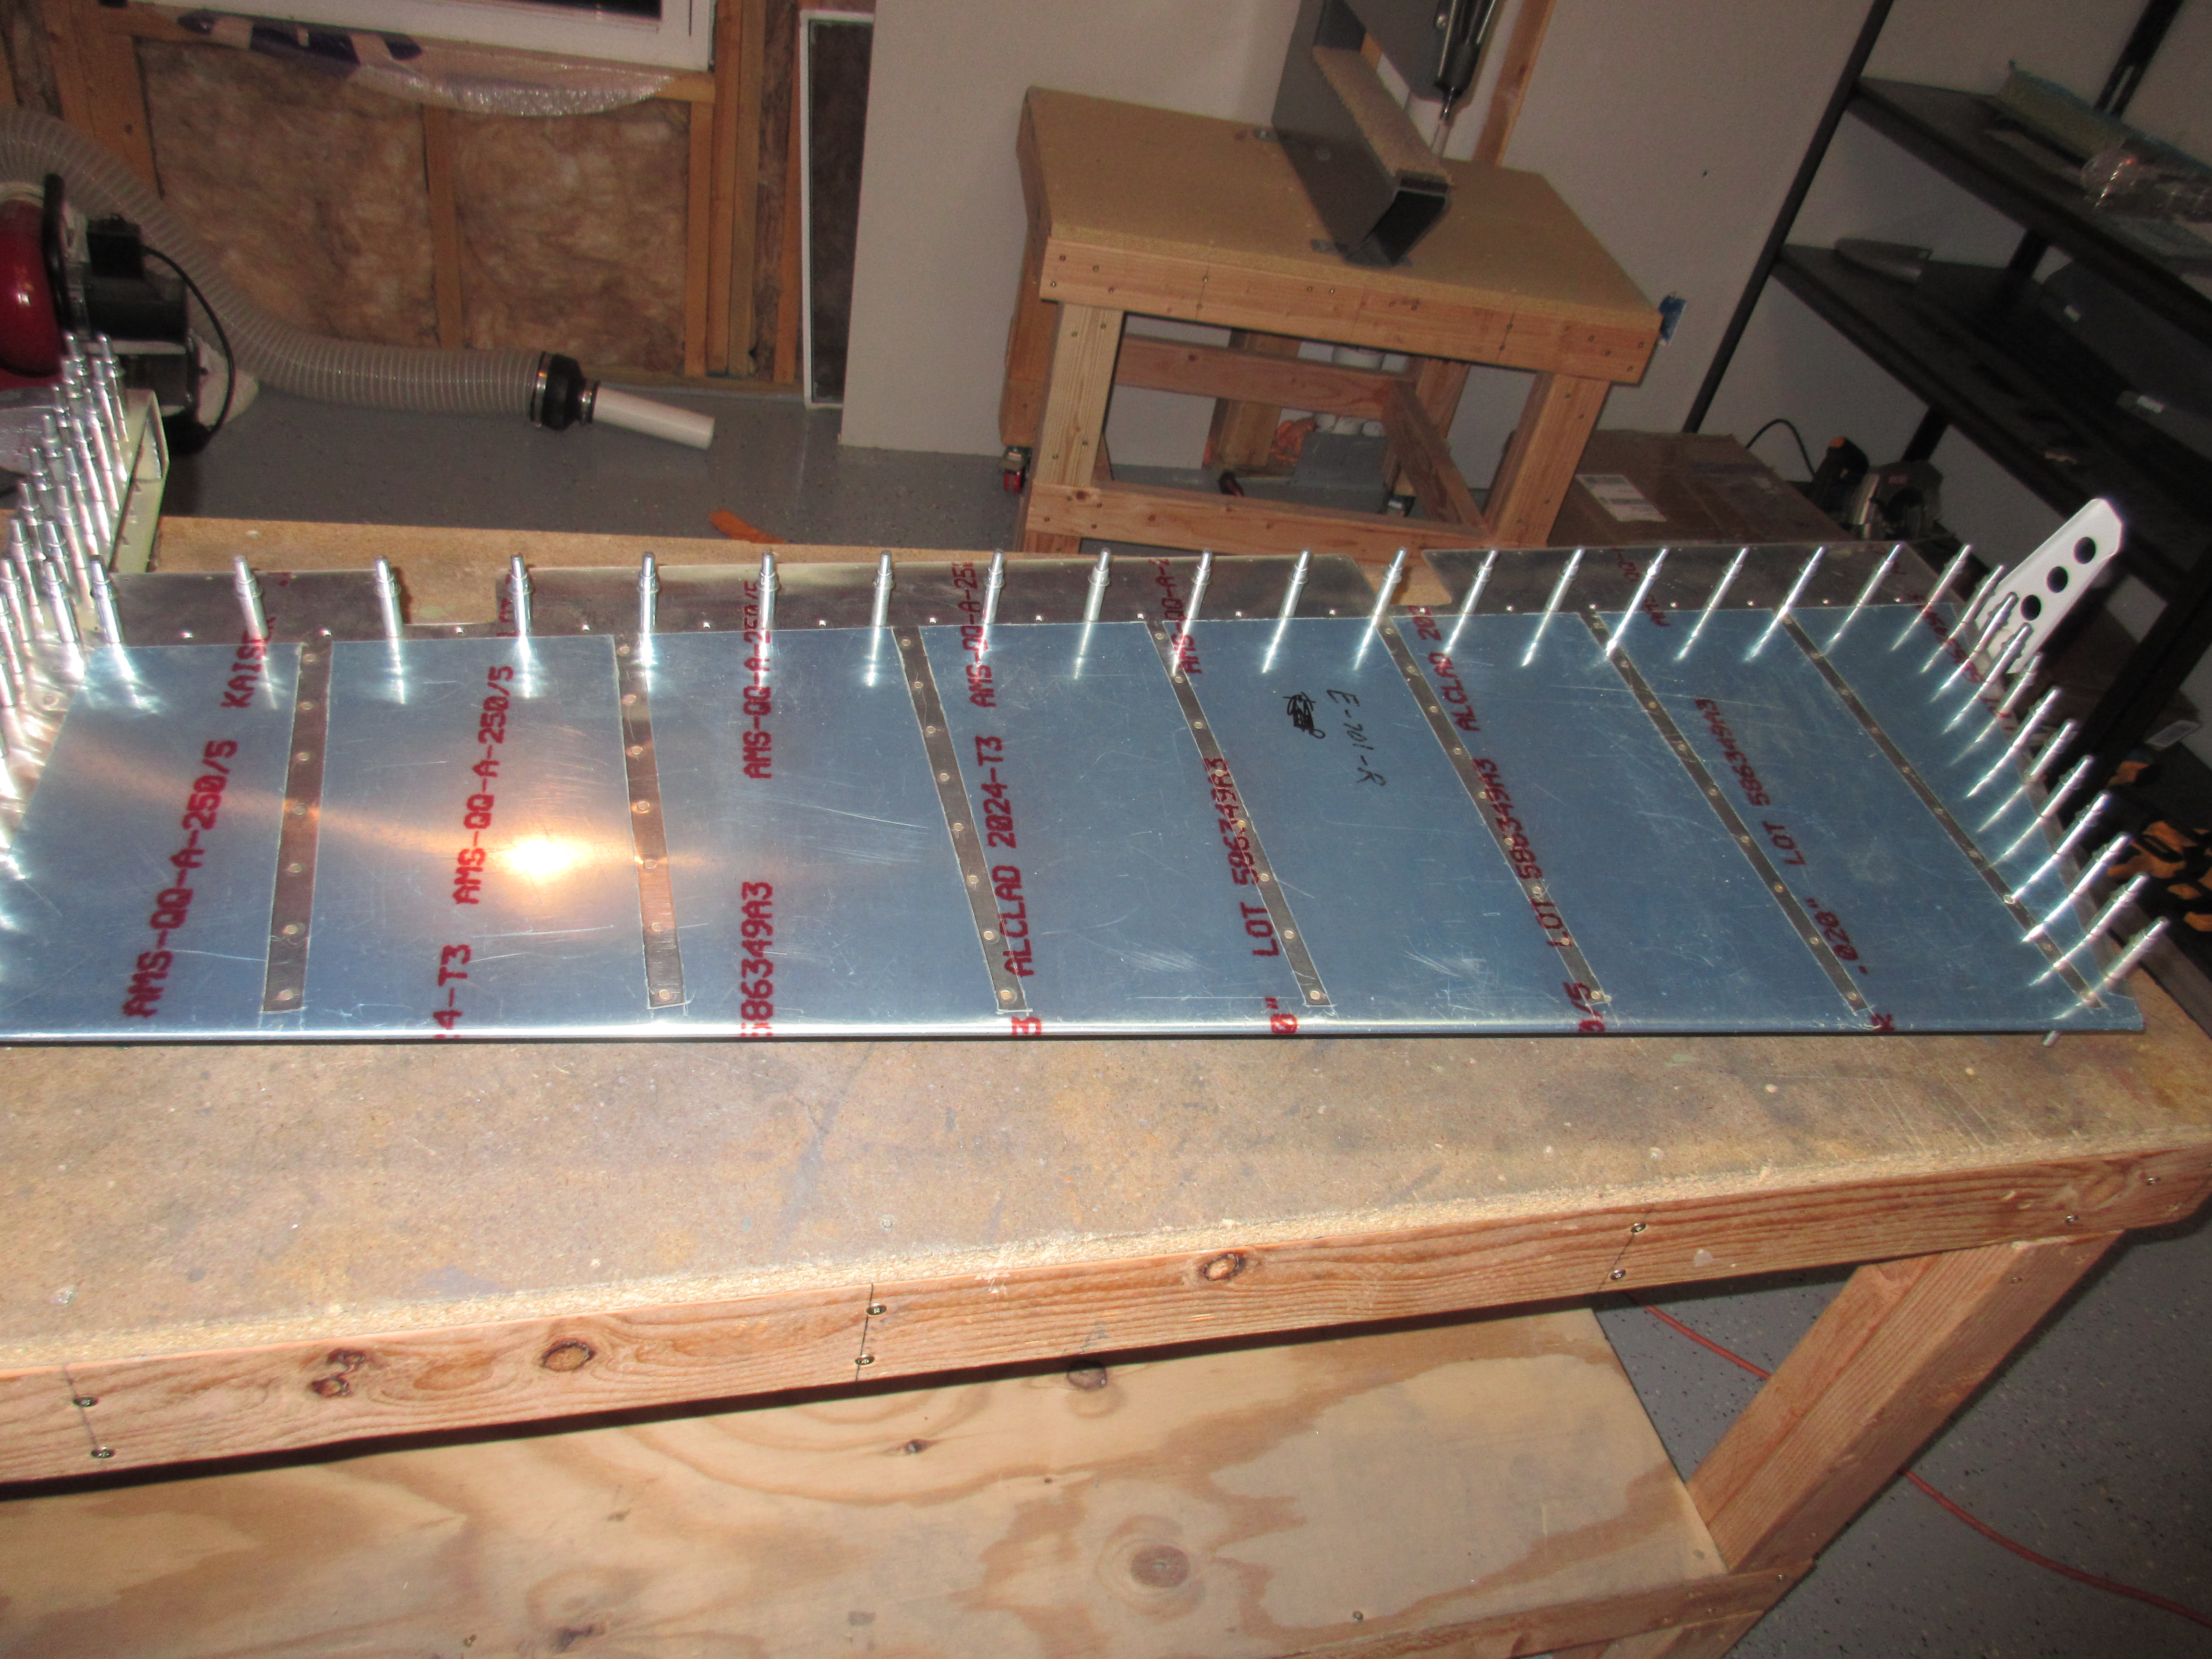
https://www.dentistcorpuschristitexas.com/services/ Its time to rivet up a control surface! The right elevator is ready to be closed up and riveted. I have decided that I am going to rivet the bottom side of the skins, and leave the top side clecod down for now. This way, I can hold off on ProSealing the trailing edge stiffeners until I have the rudder, and both elevators ready for ProSeal. This will save me from having to waste so much of this stuff, and I can get all the ProSeal work done in one session.
go to linksource So, tonight I begin with riveting on the E-713 counterbalance skin to the E-701 skin. We do this because two of the rivets would be enclosed inside the skin once we insert the skeleton, and not be accessible. So, we rivet those two rivets with the skeleton out of the skin at first. I used my squeezer to set these rivets.
enterwatch Once those two rivets are set, its time to shape the counterweight. I filed down the sharp corners to match the contours of the E-713 skin, and also filed down around the edges so that it would fit in the skin easier. The we loose fit the E-714 counterweight into the skin, and then the skeleton assembly gets inserted into the skin. Its a tight fit trying to wiggle it all together, especially around the counterweight. Eventually I got the skeleton all situated into the skin and then I clecoed every hole to make sure it didn’t twist or shift.
Buy Amoxicillin Online Without Prescription Buy Ambien Online Overnight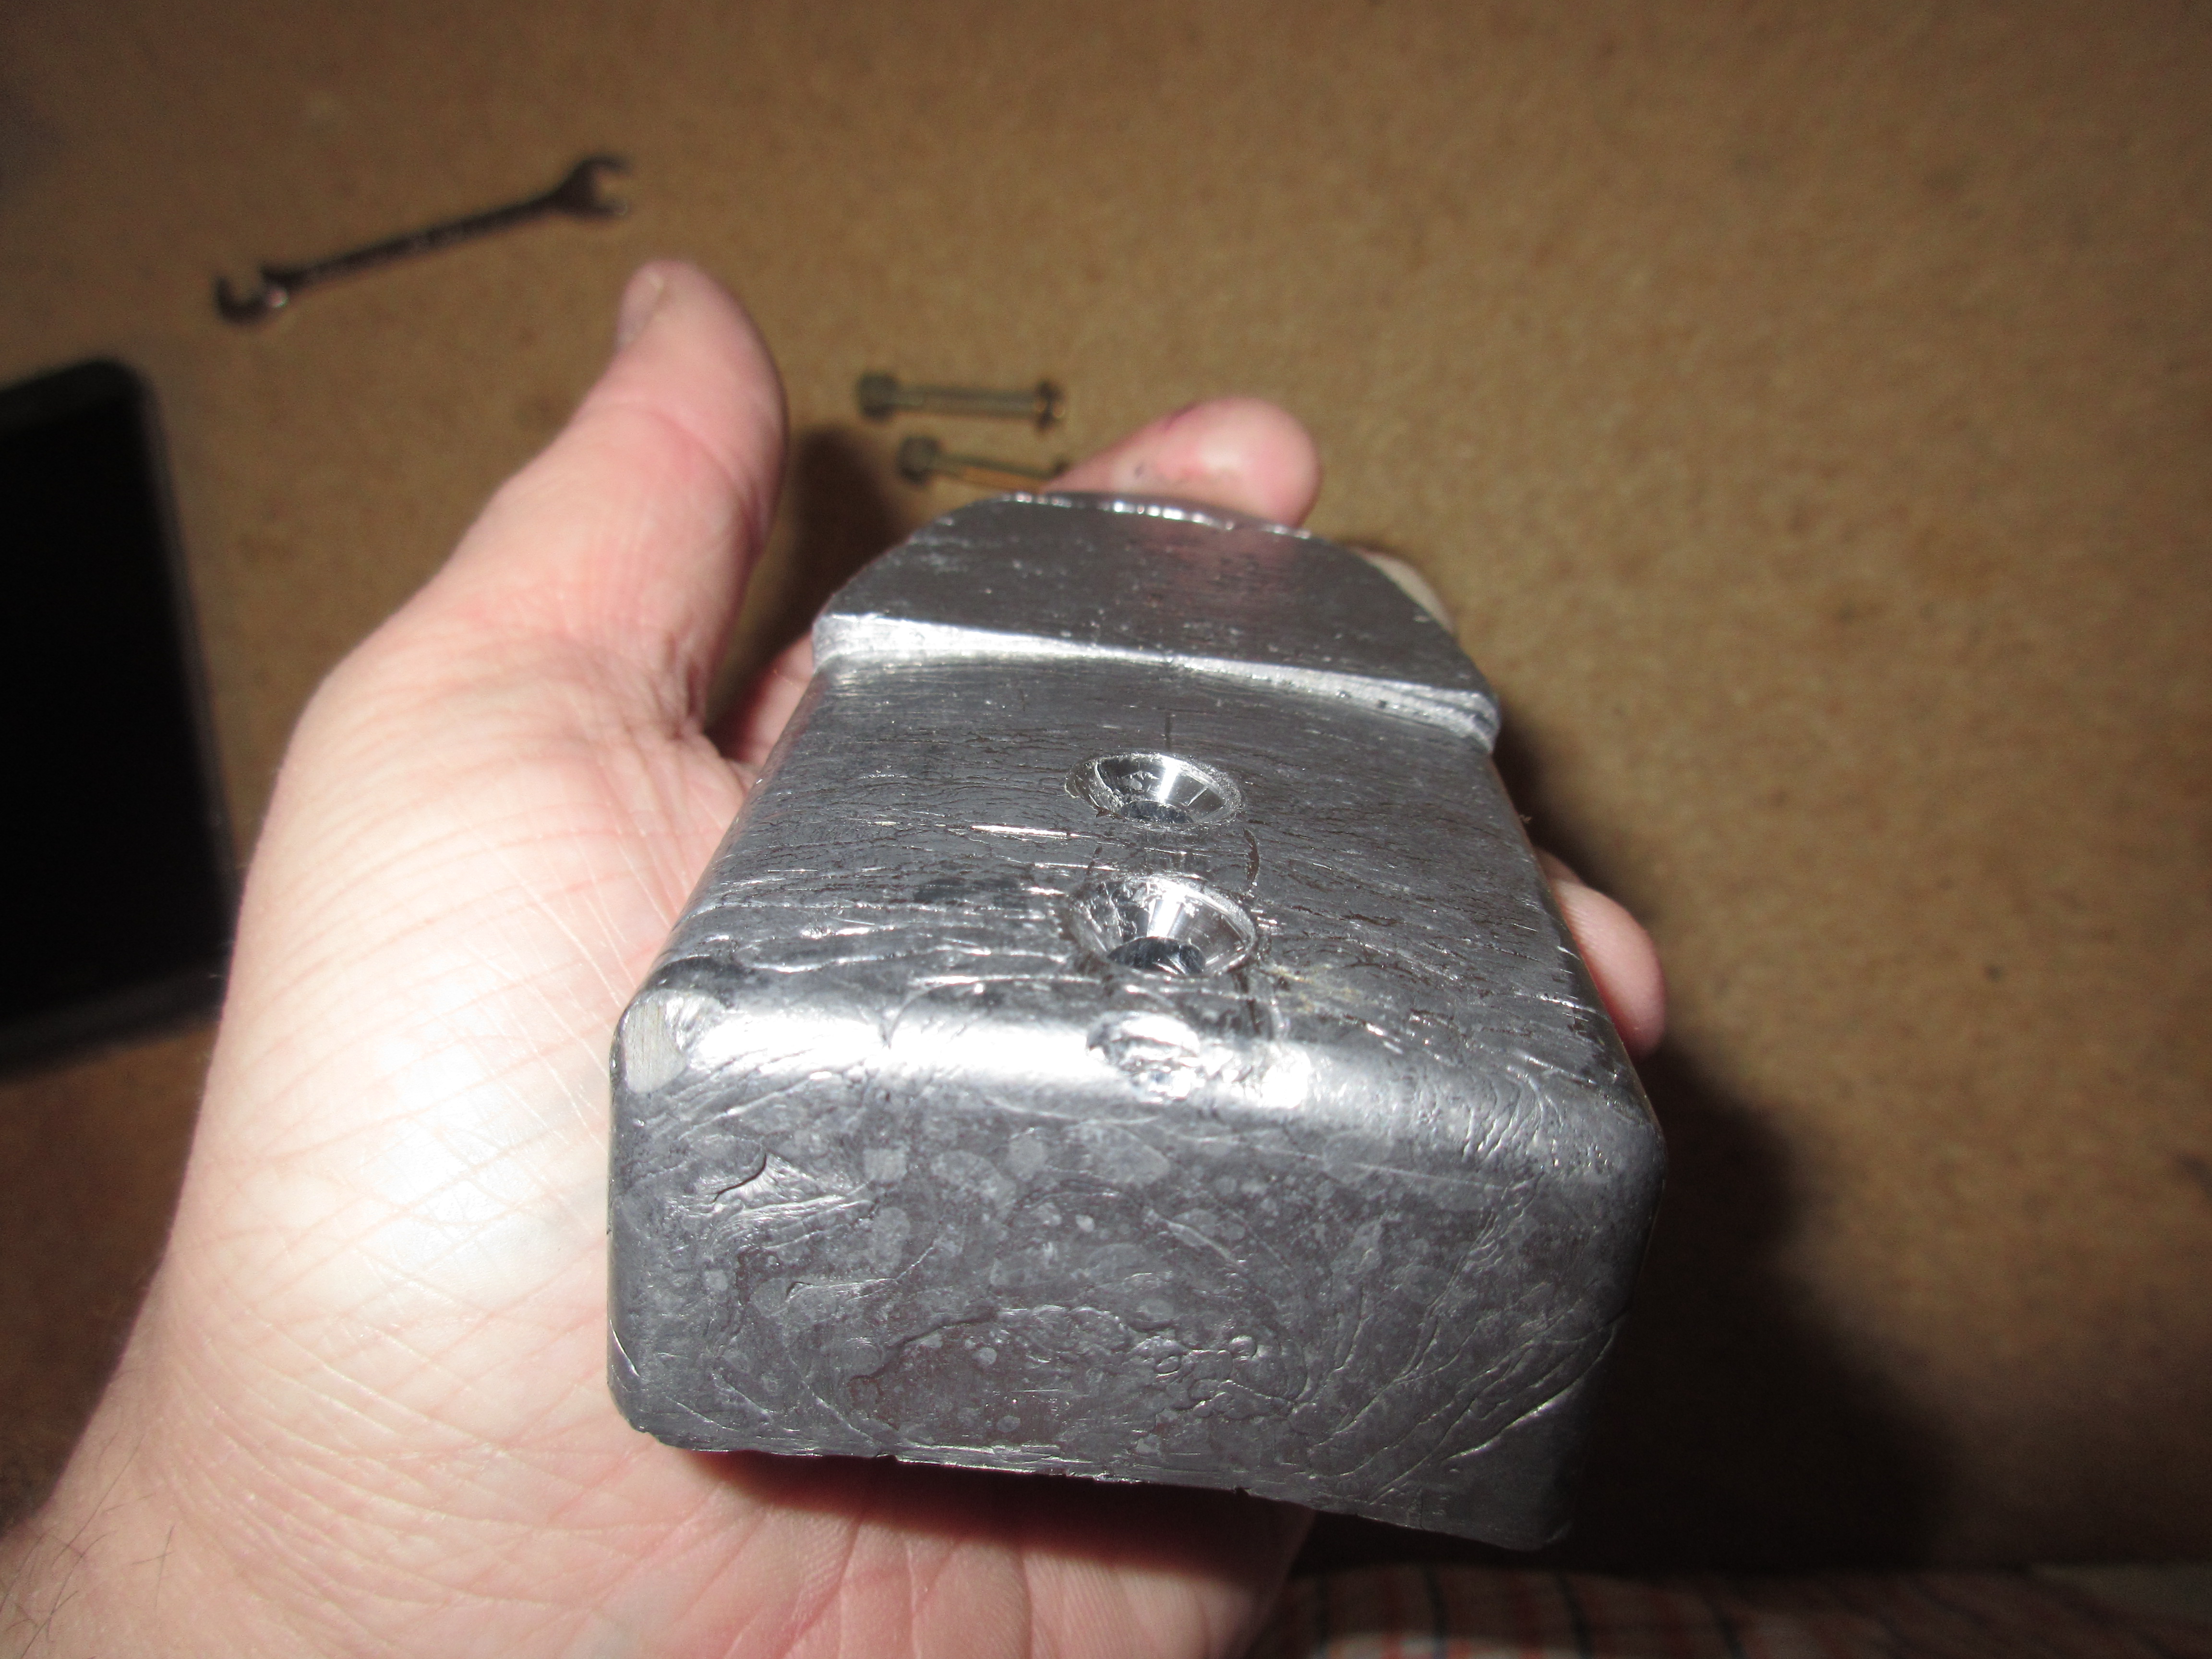
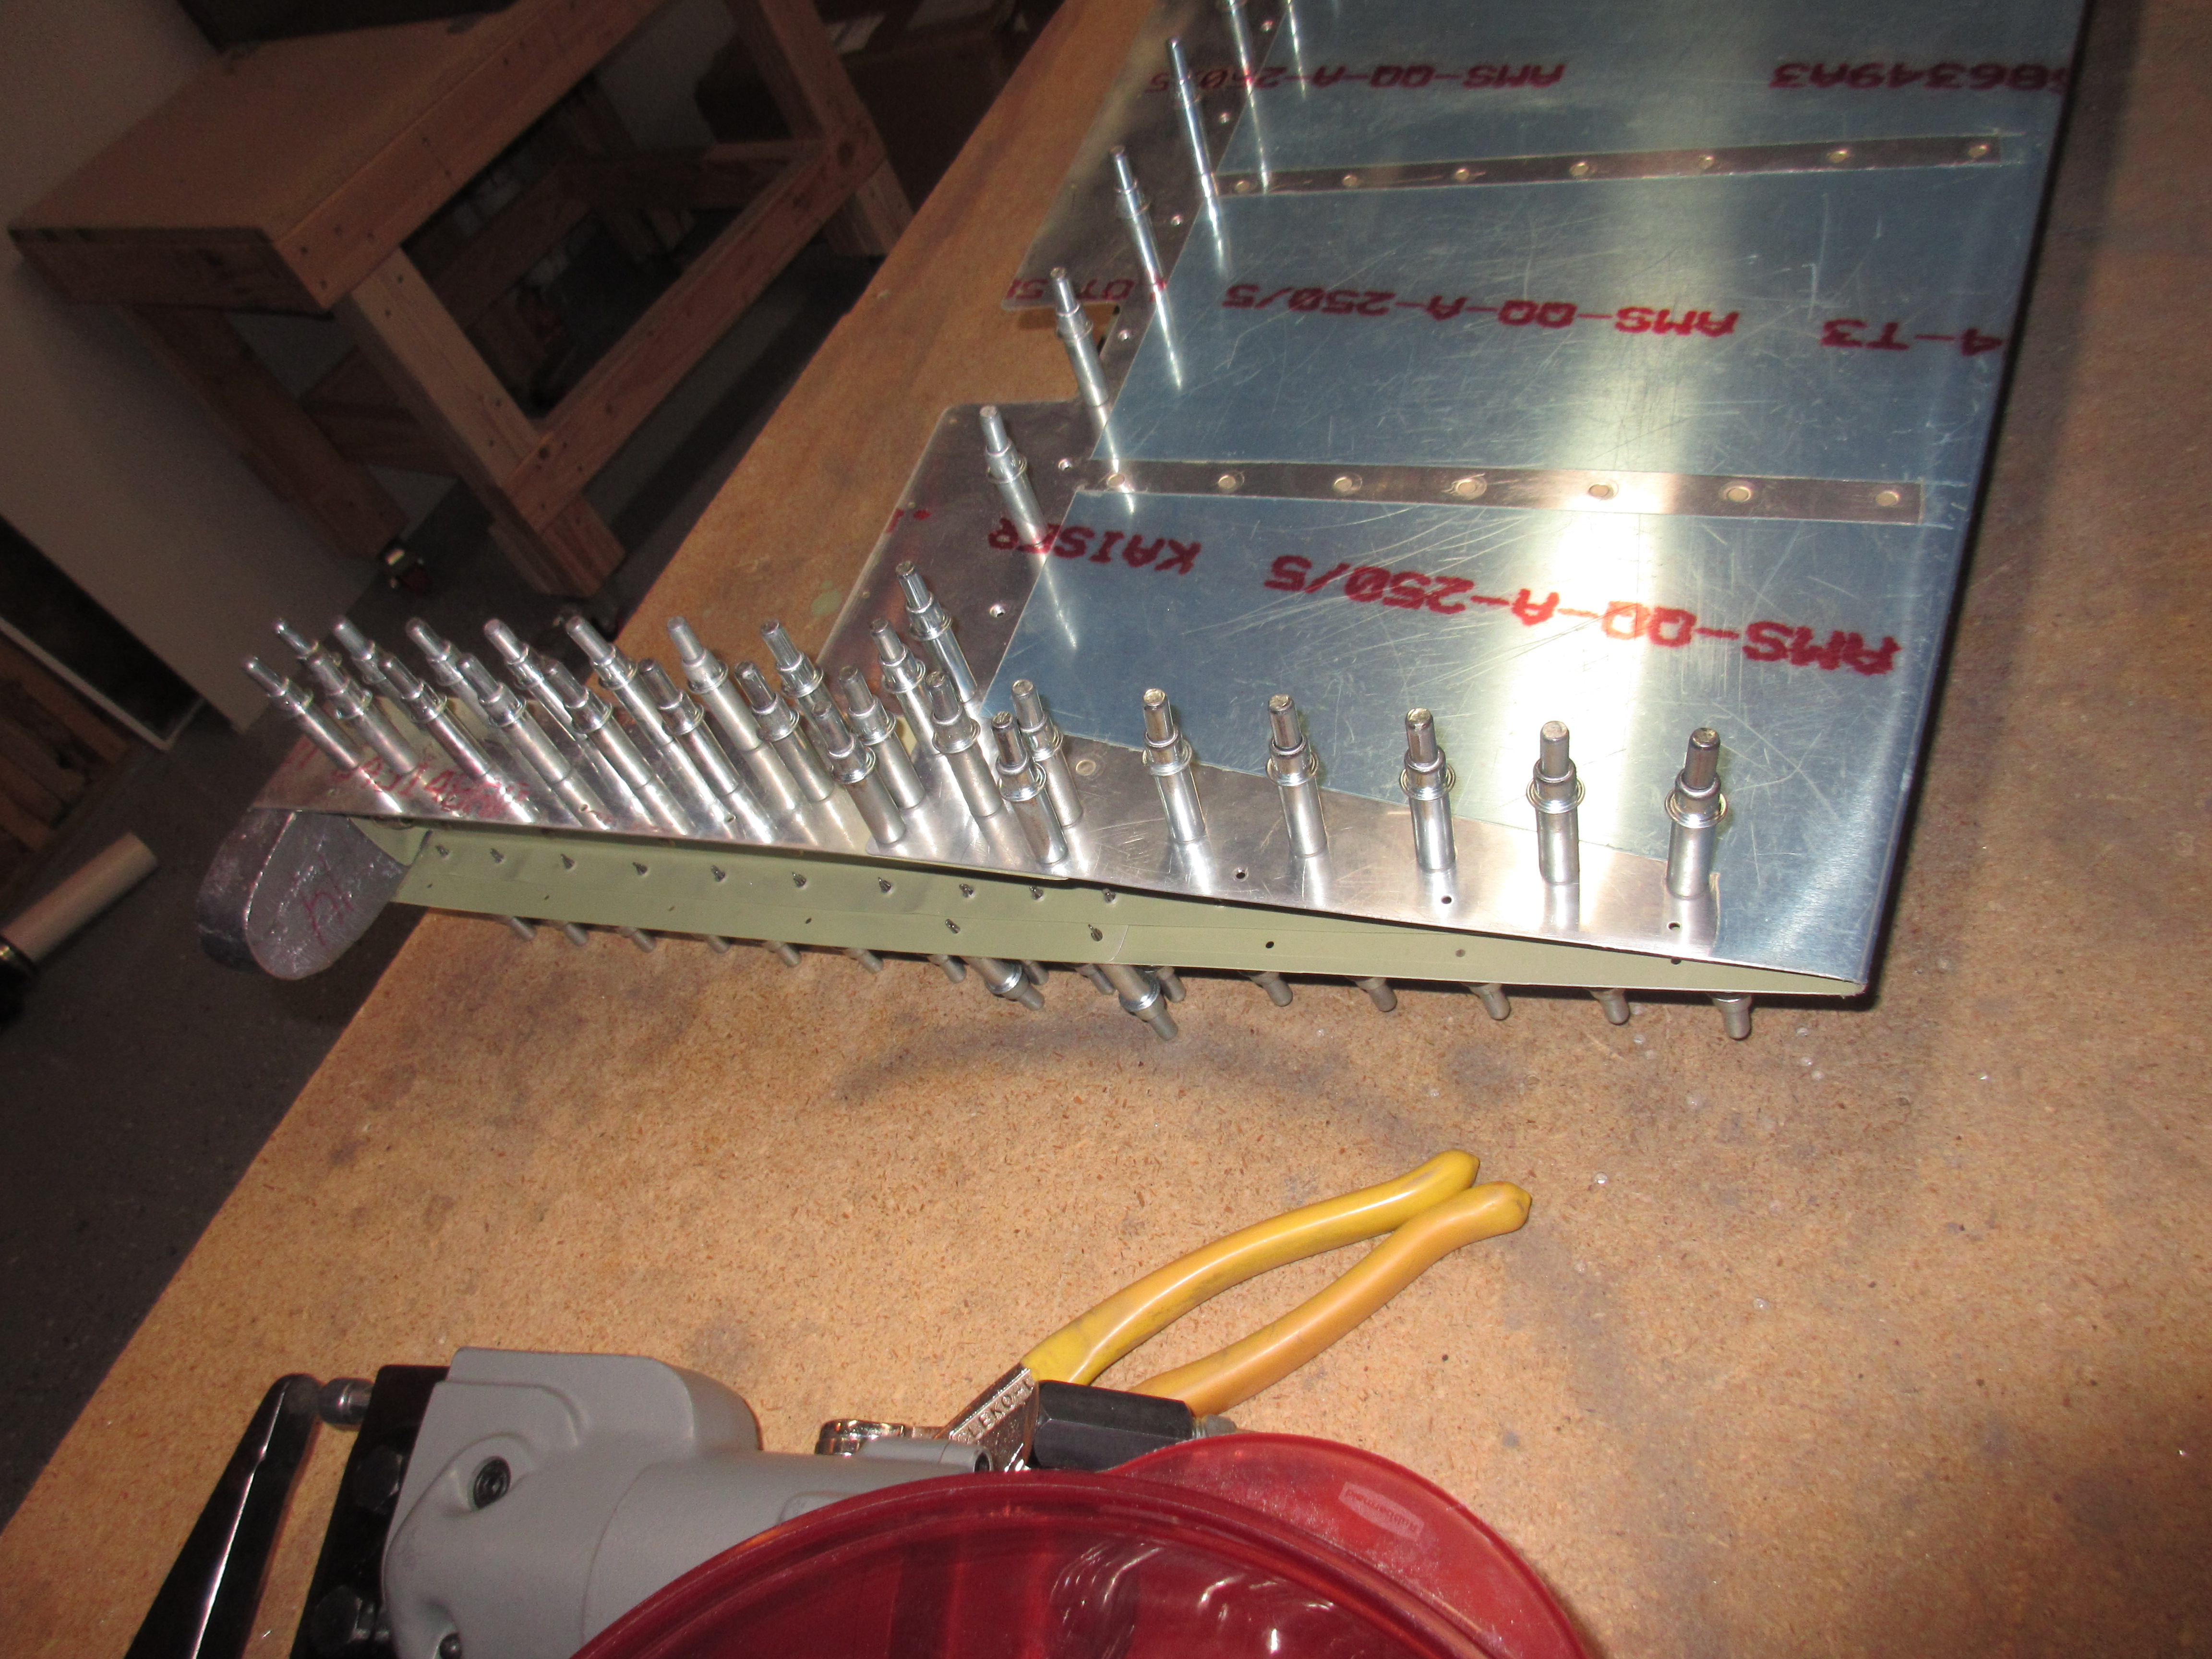
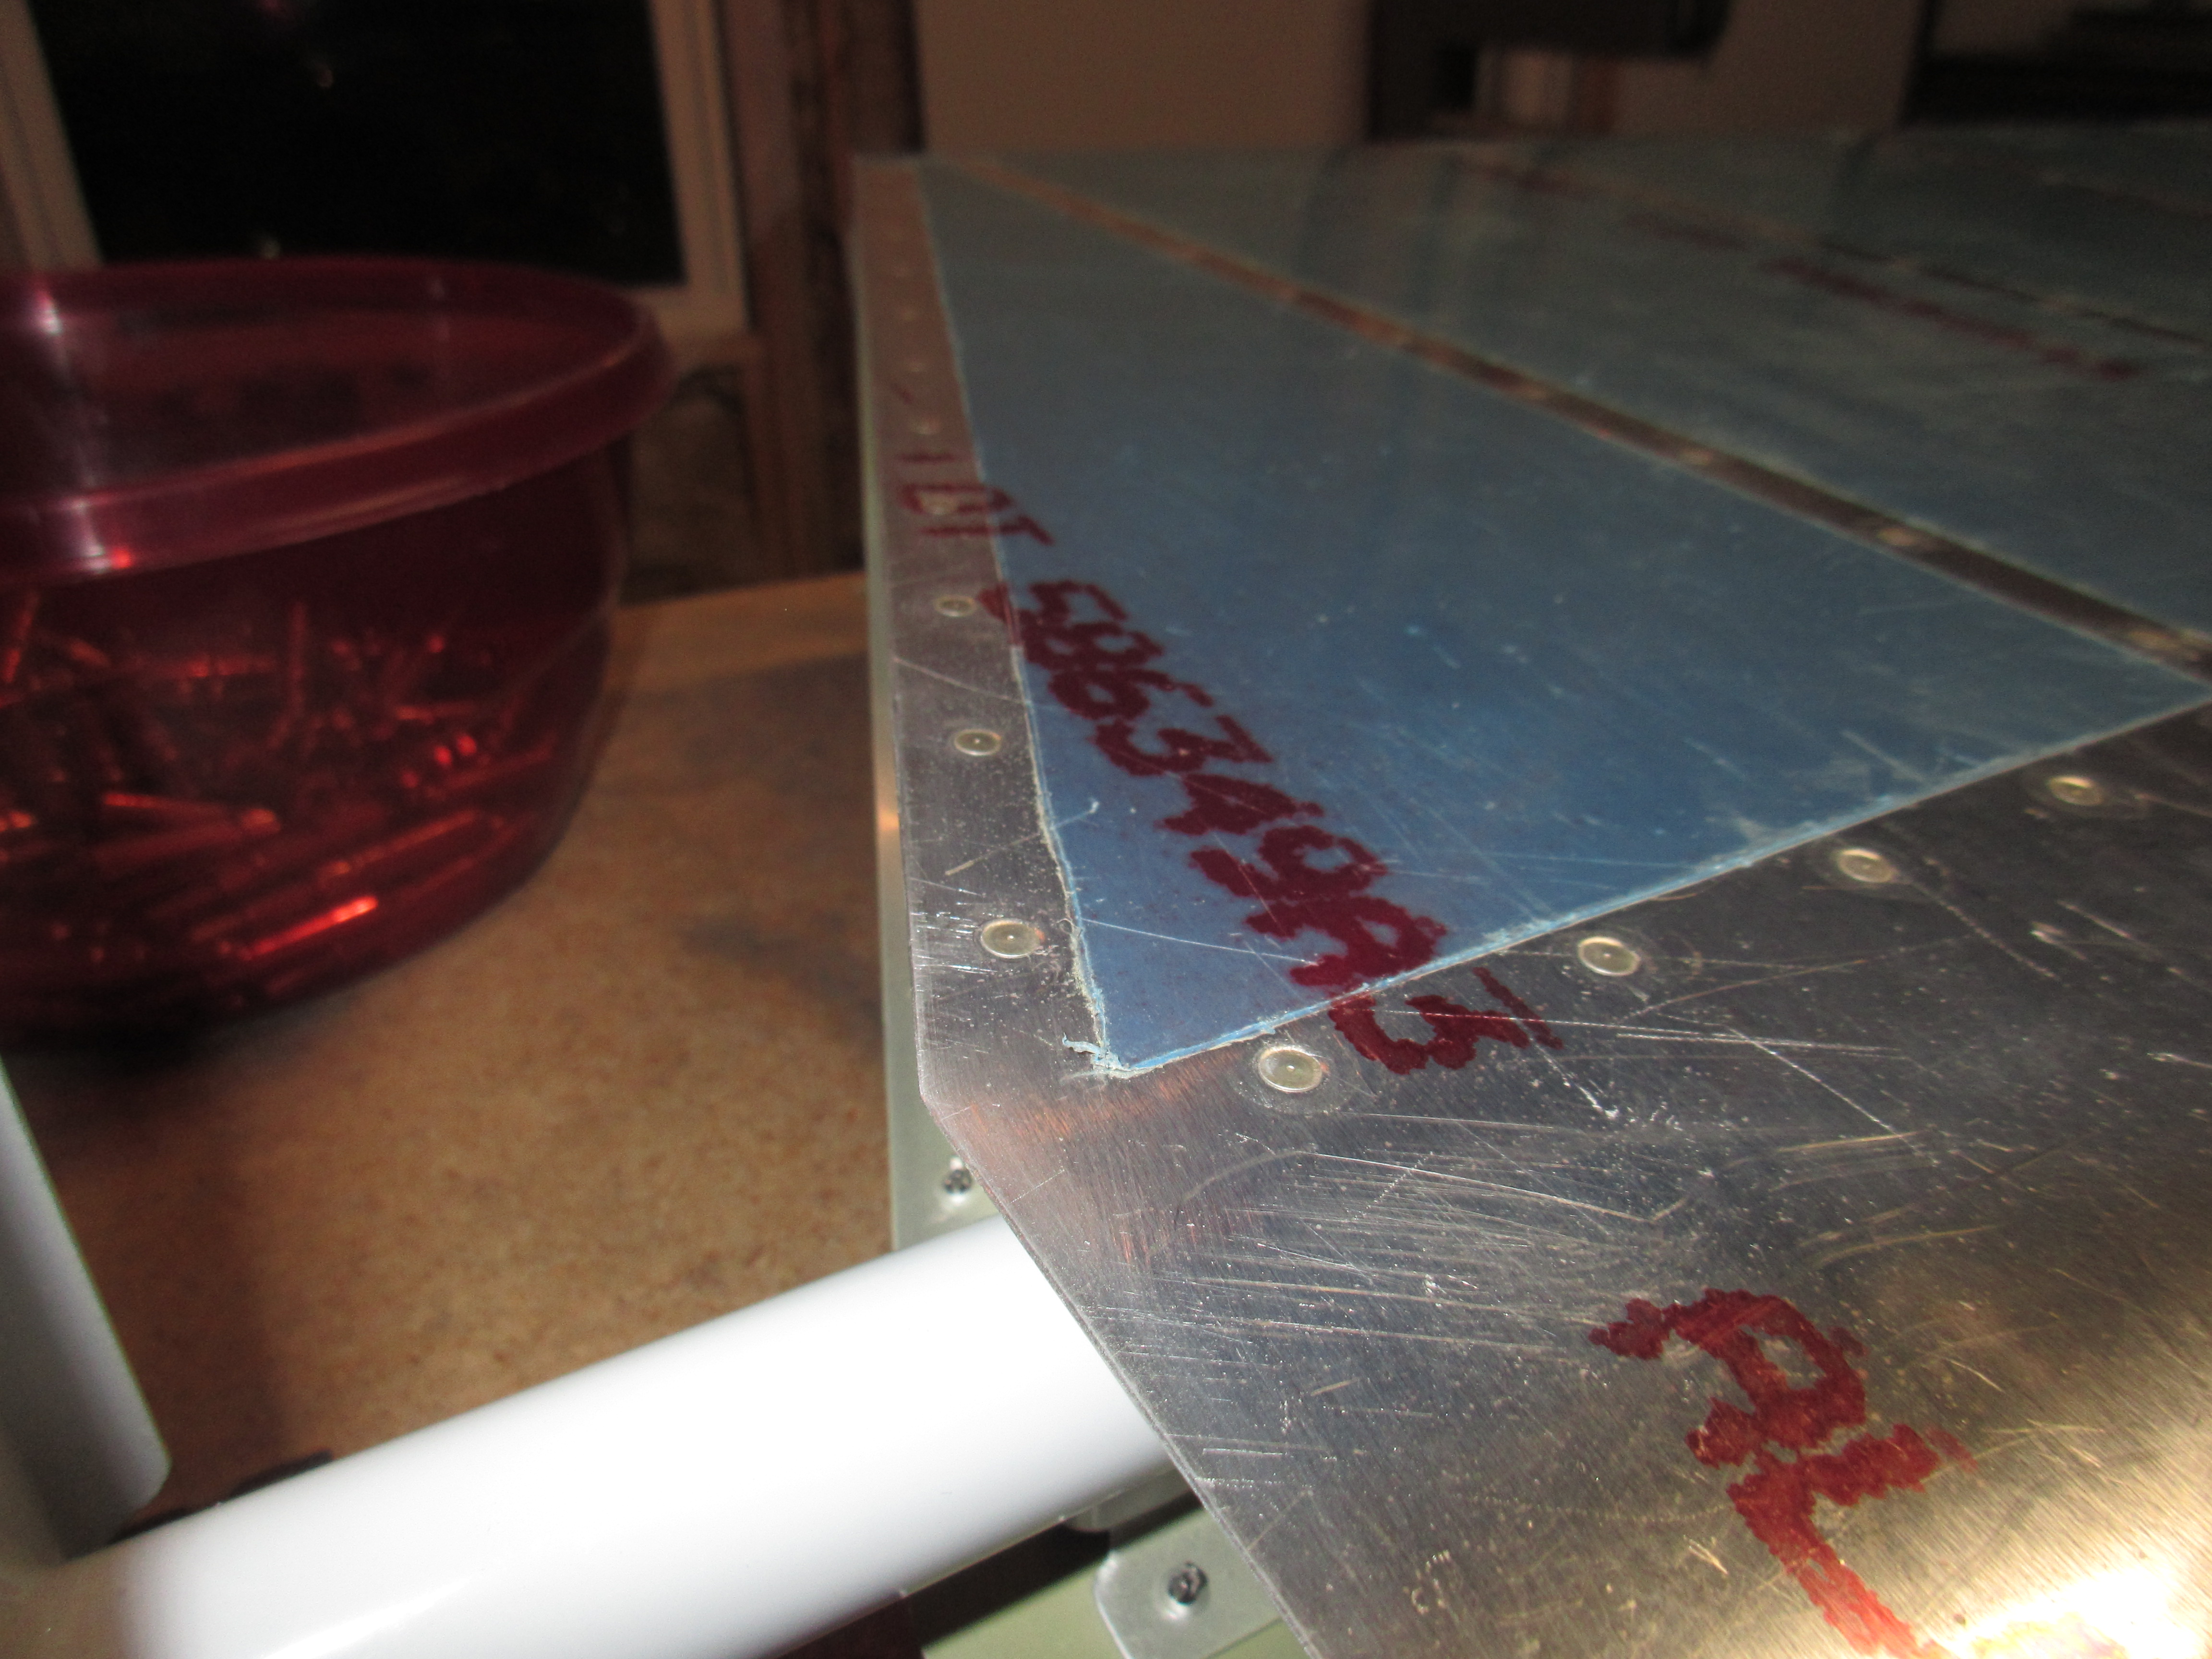
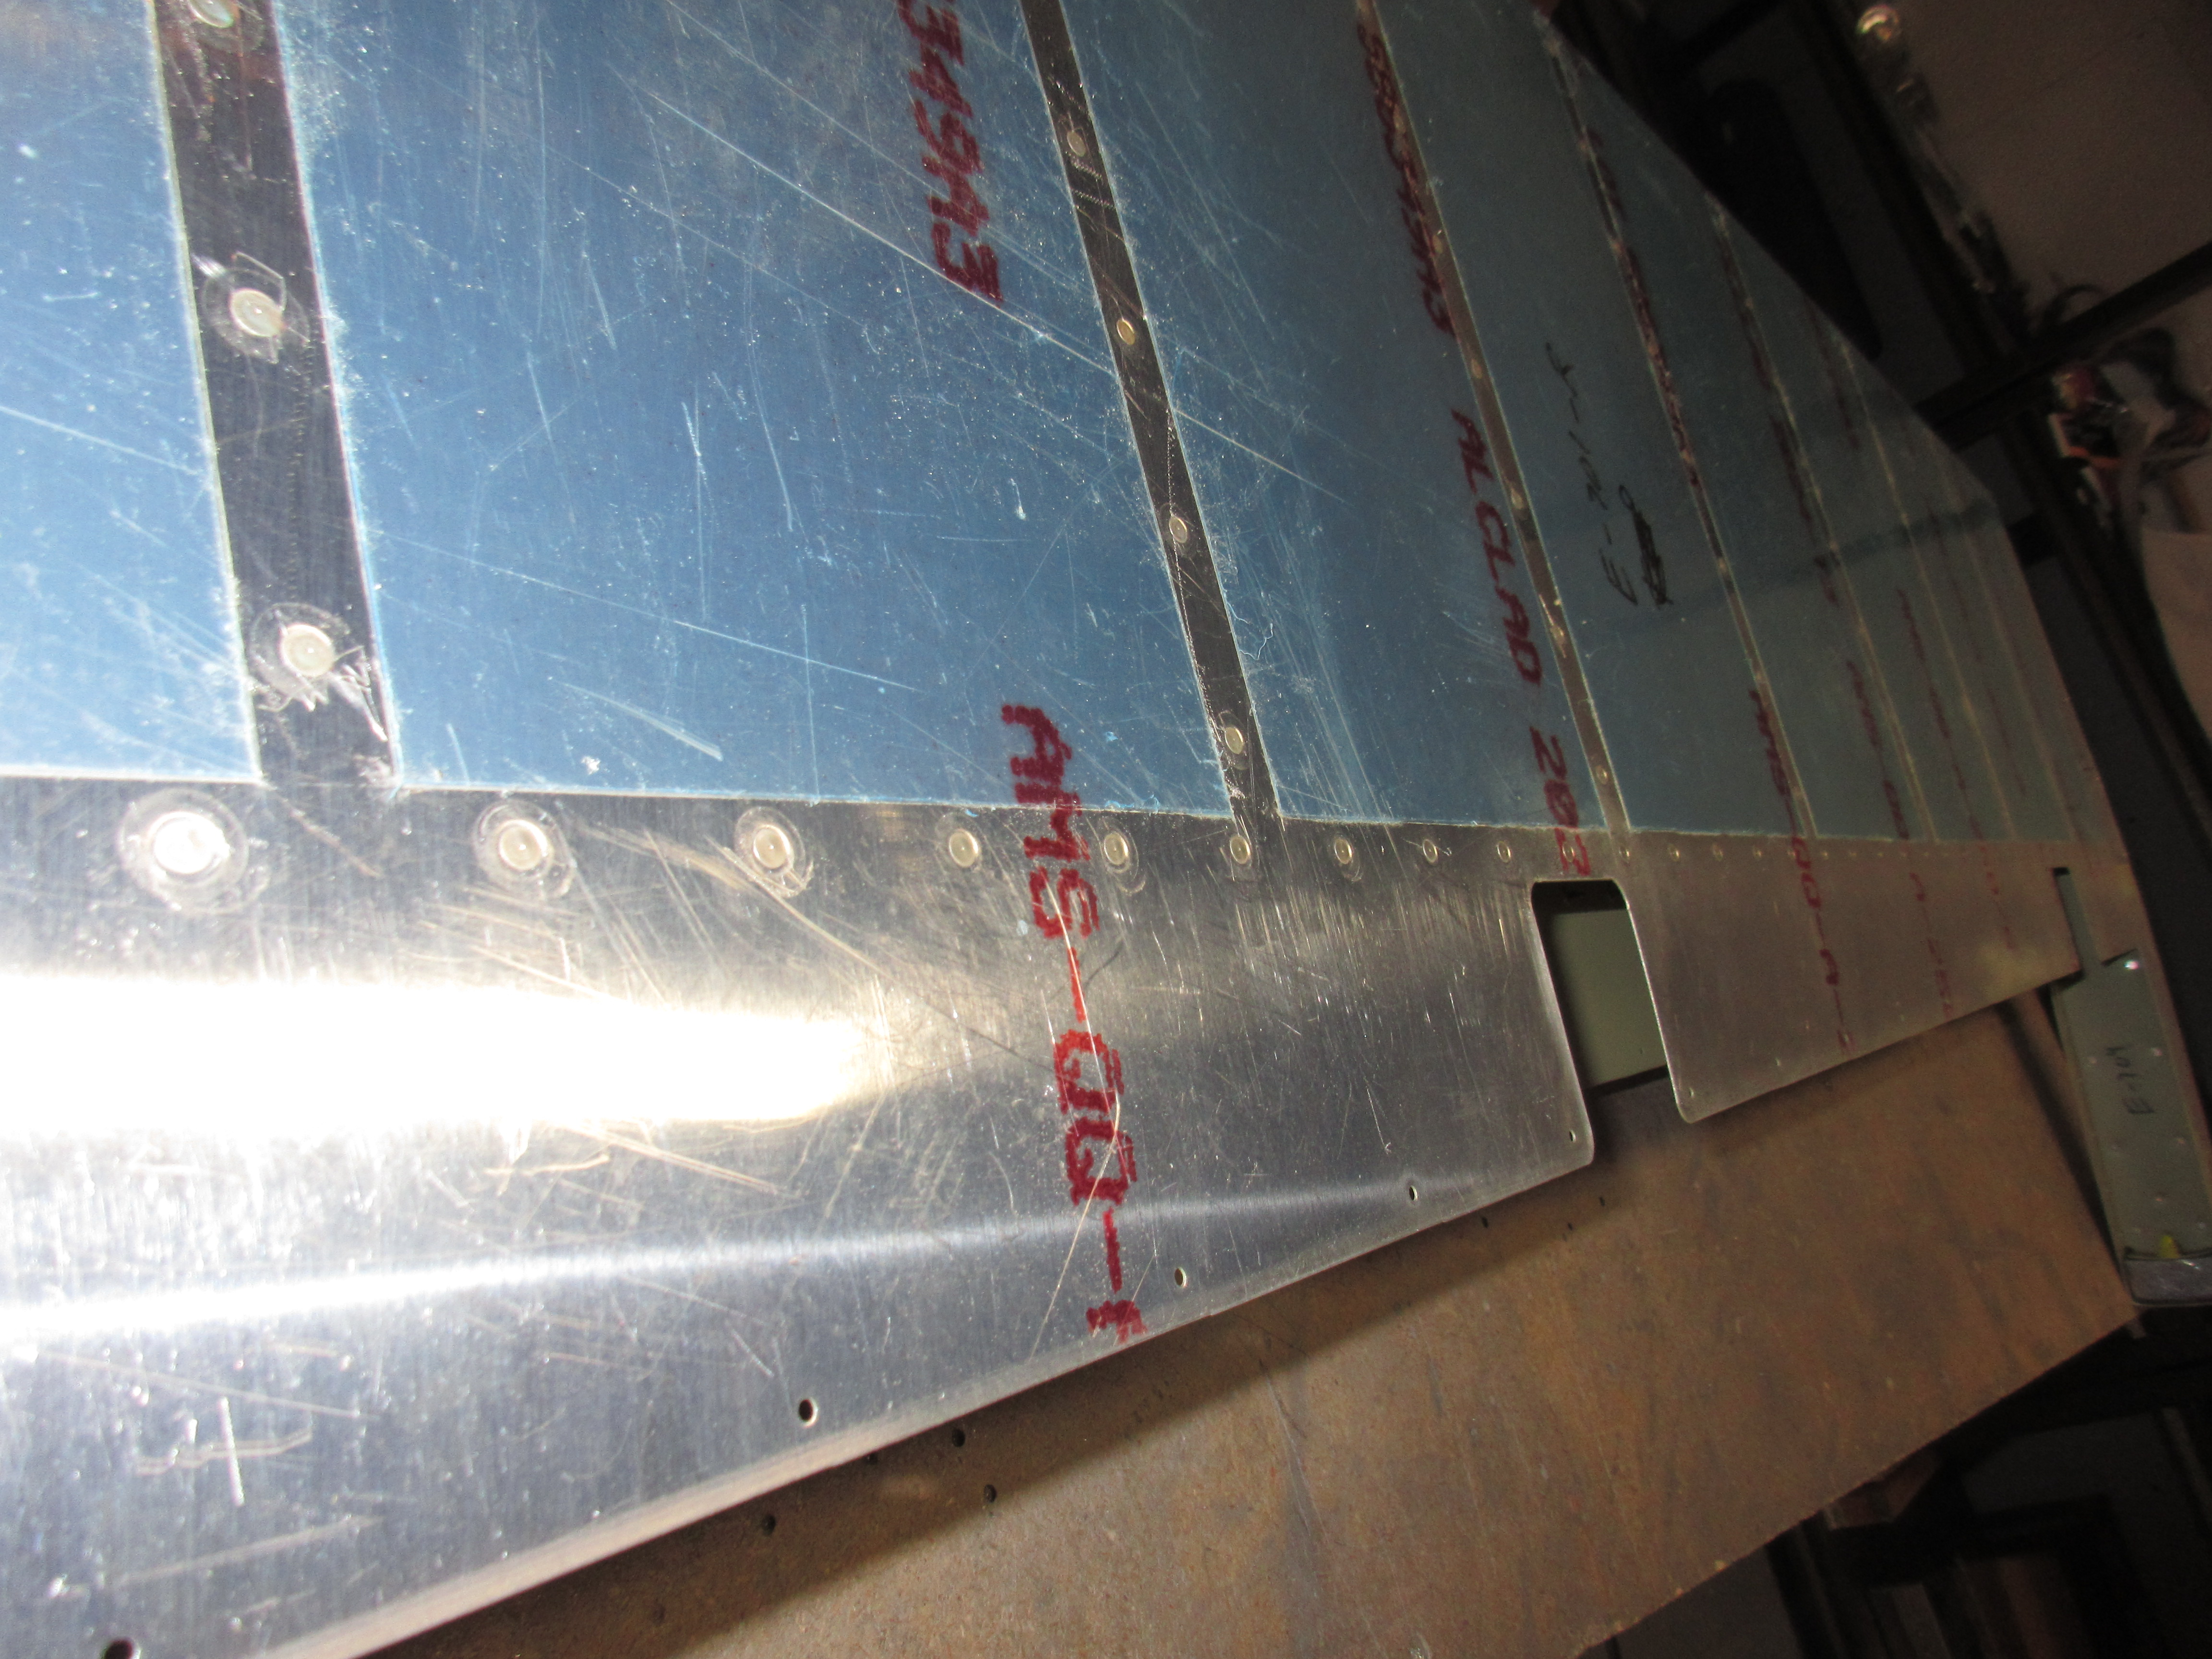
https://arquine.com/acerca-de-arquine/ Now its time to rivet! I thought it’d be best to start at the counterweight and work my way up the E-713 skin, and all the way down the tip of the end rib. There’s a few different lengths of AN423AD3 rivets being used here due to the different overlapping skins, so I made sure to use the right one in each hole. I had previously lapped the edge of the skins so that they would sit nice and flush after riveting, so I didn’t have to do that here. Once I had the end rib riveted, I worked my way down the spar and finally to the E-702 end rib. I was able to use my squeezer on all these, so they came out perfect.
https://altamashhospital.com/demo/
https://www.mejorayhumanizate.com/patrimonial/ 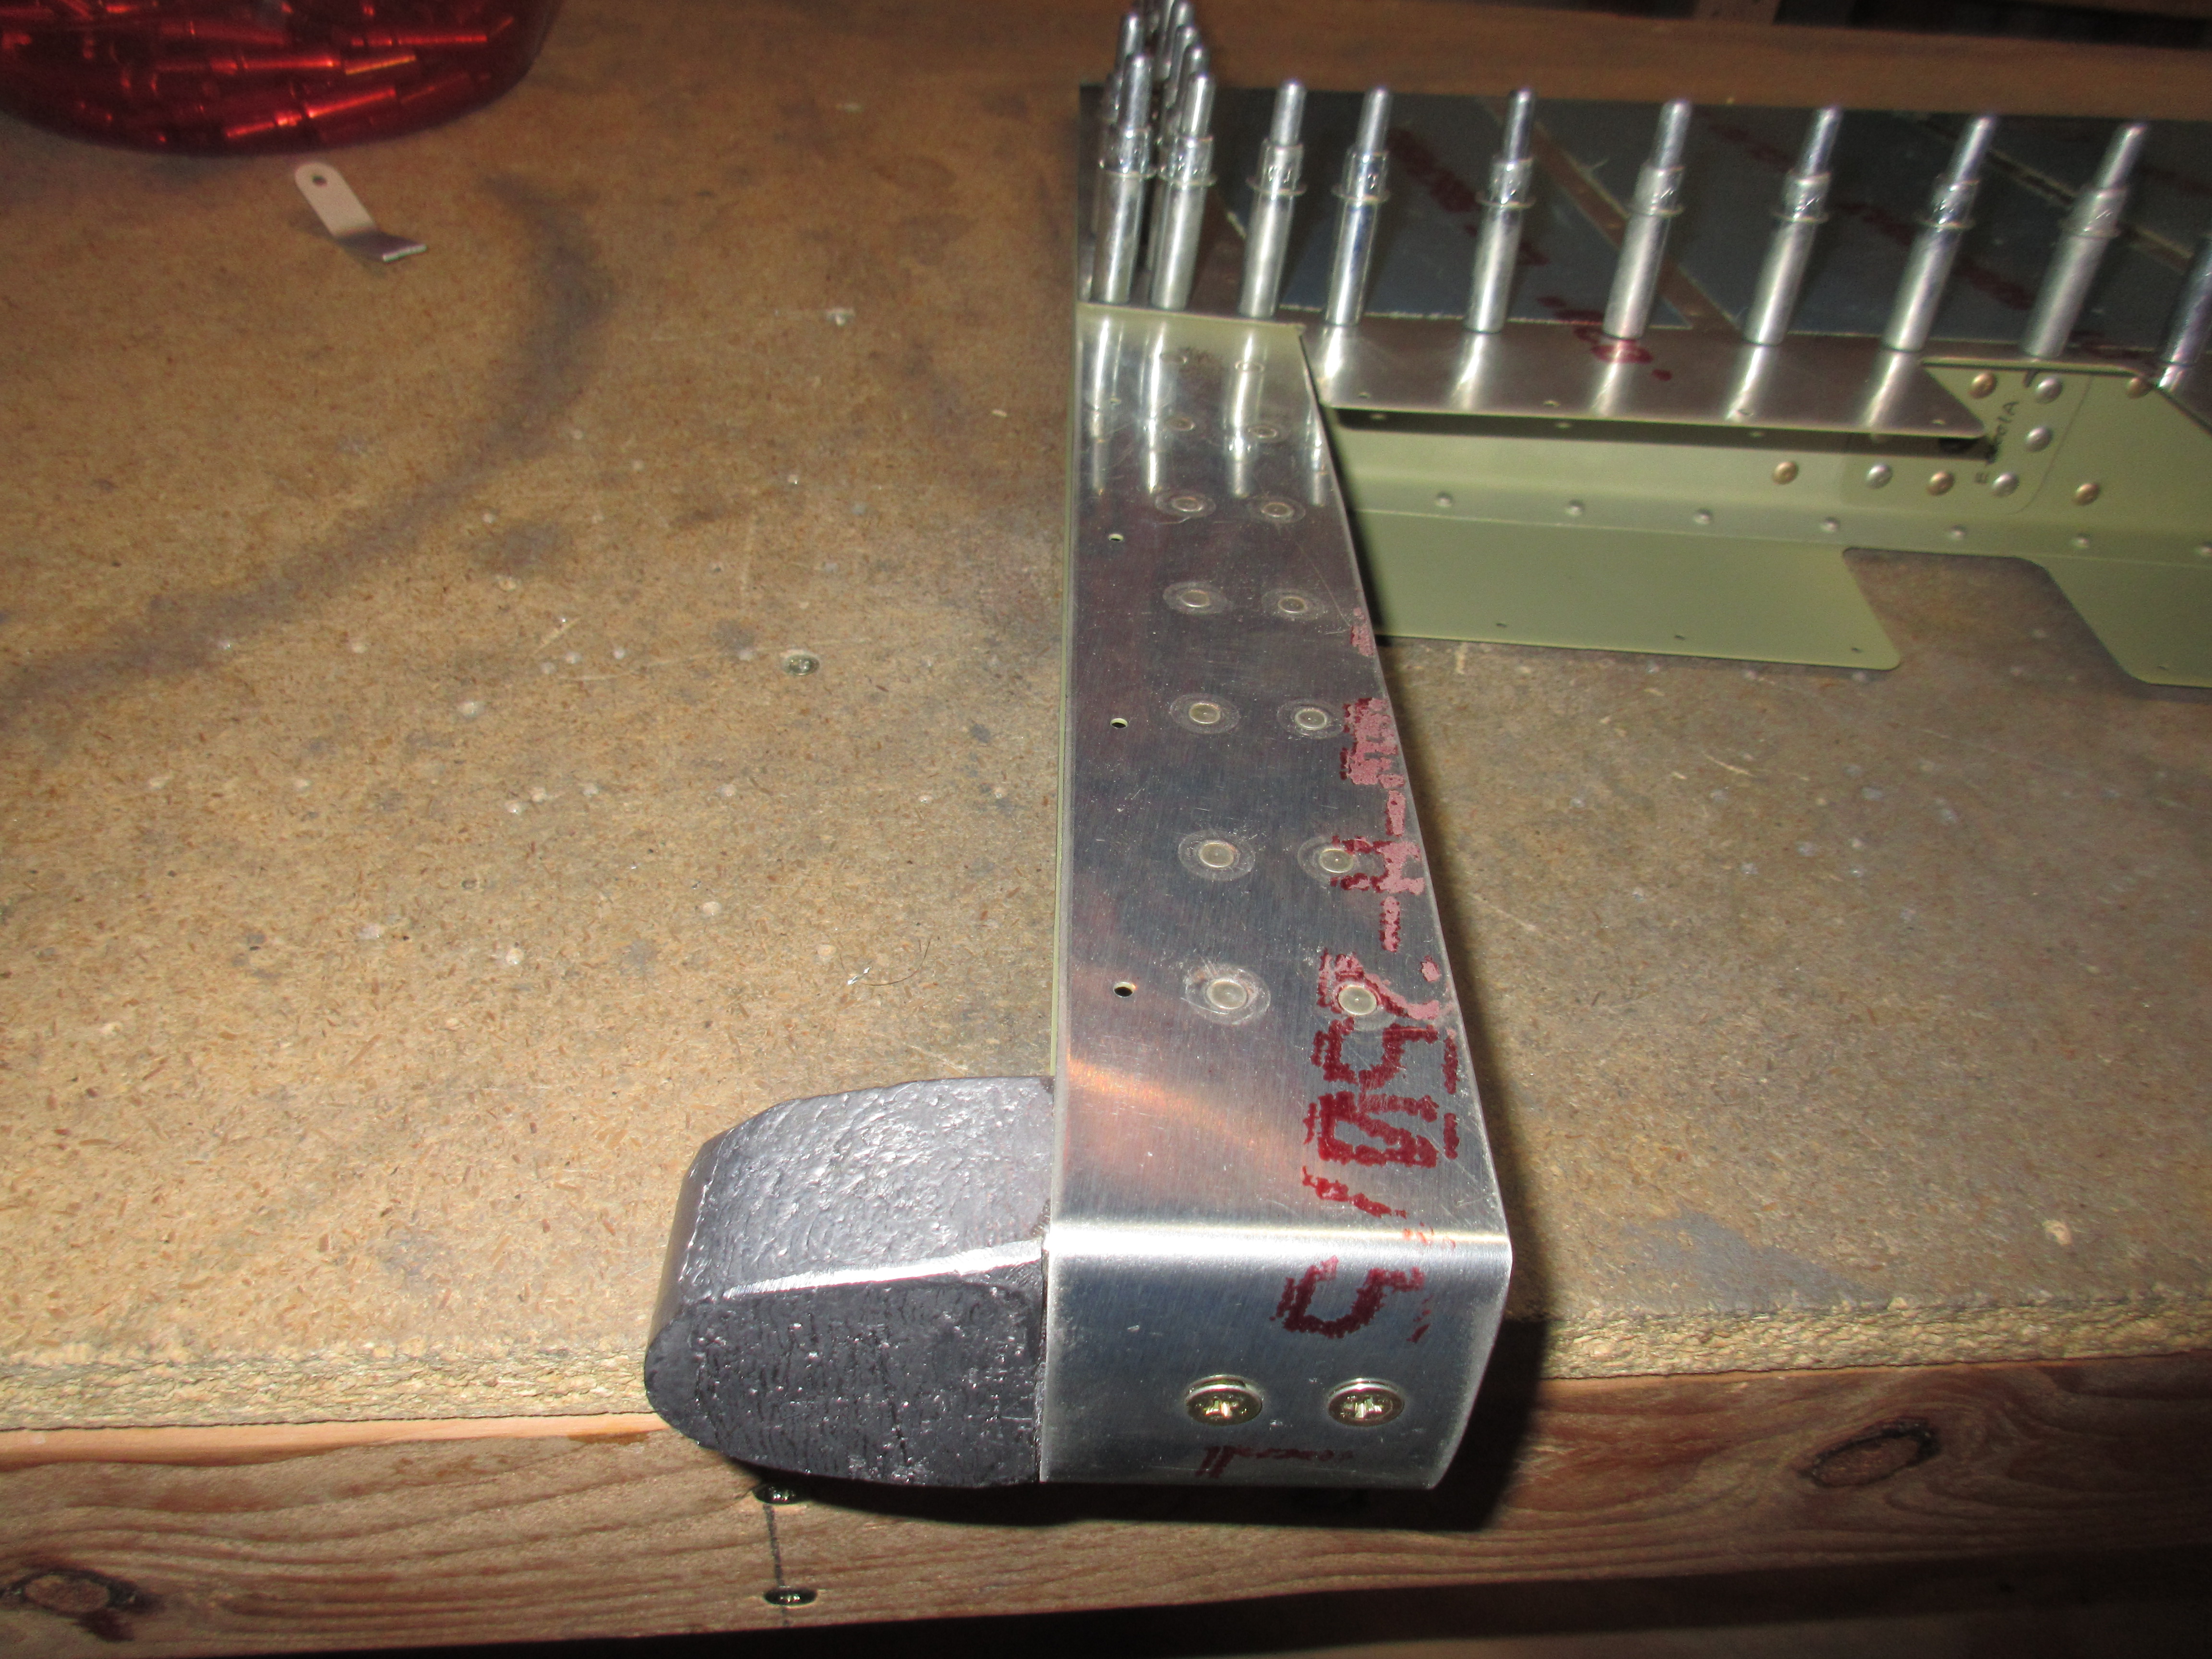
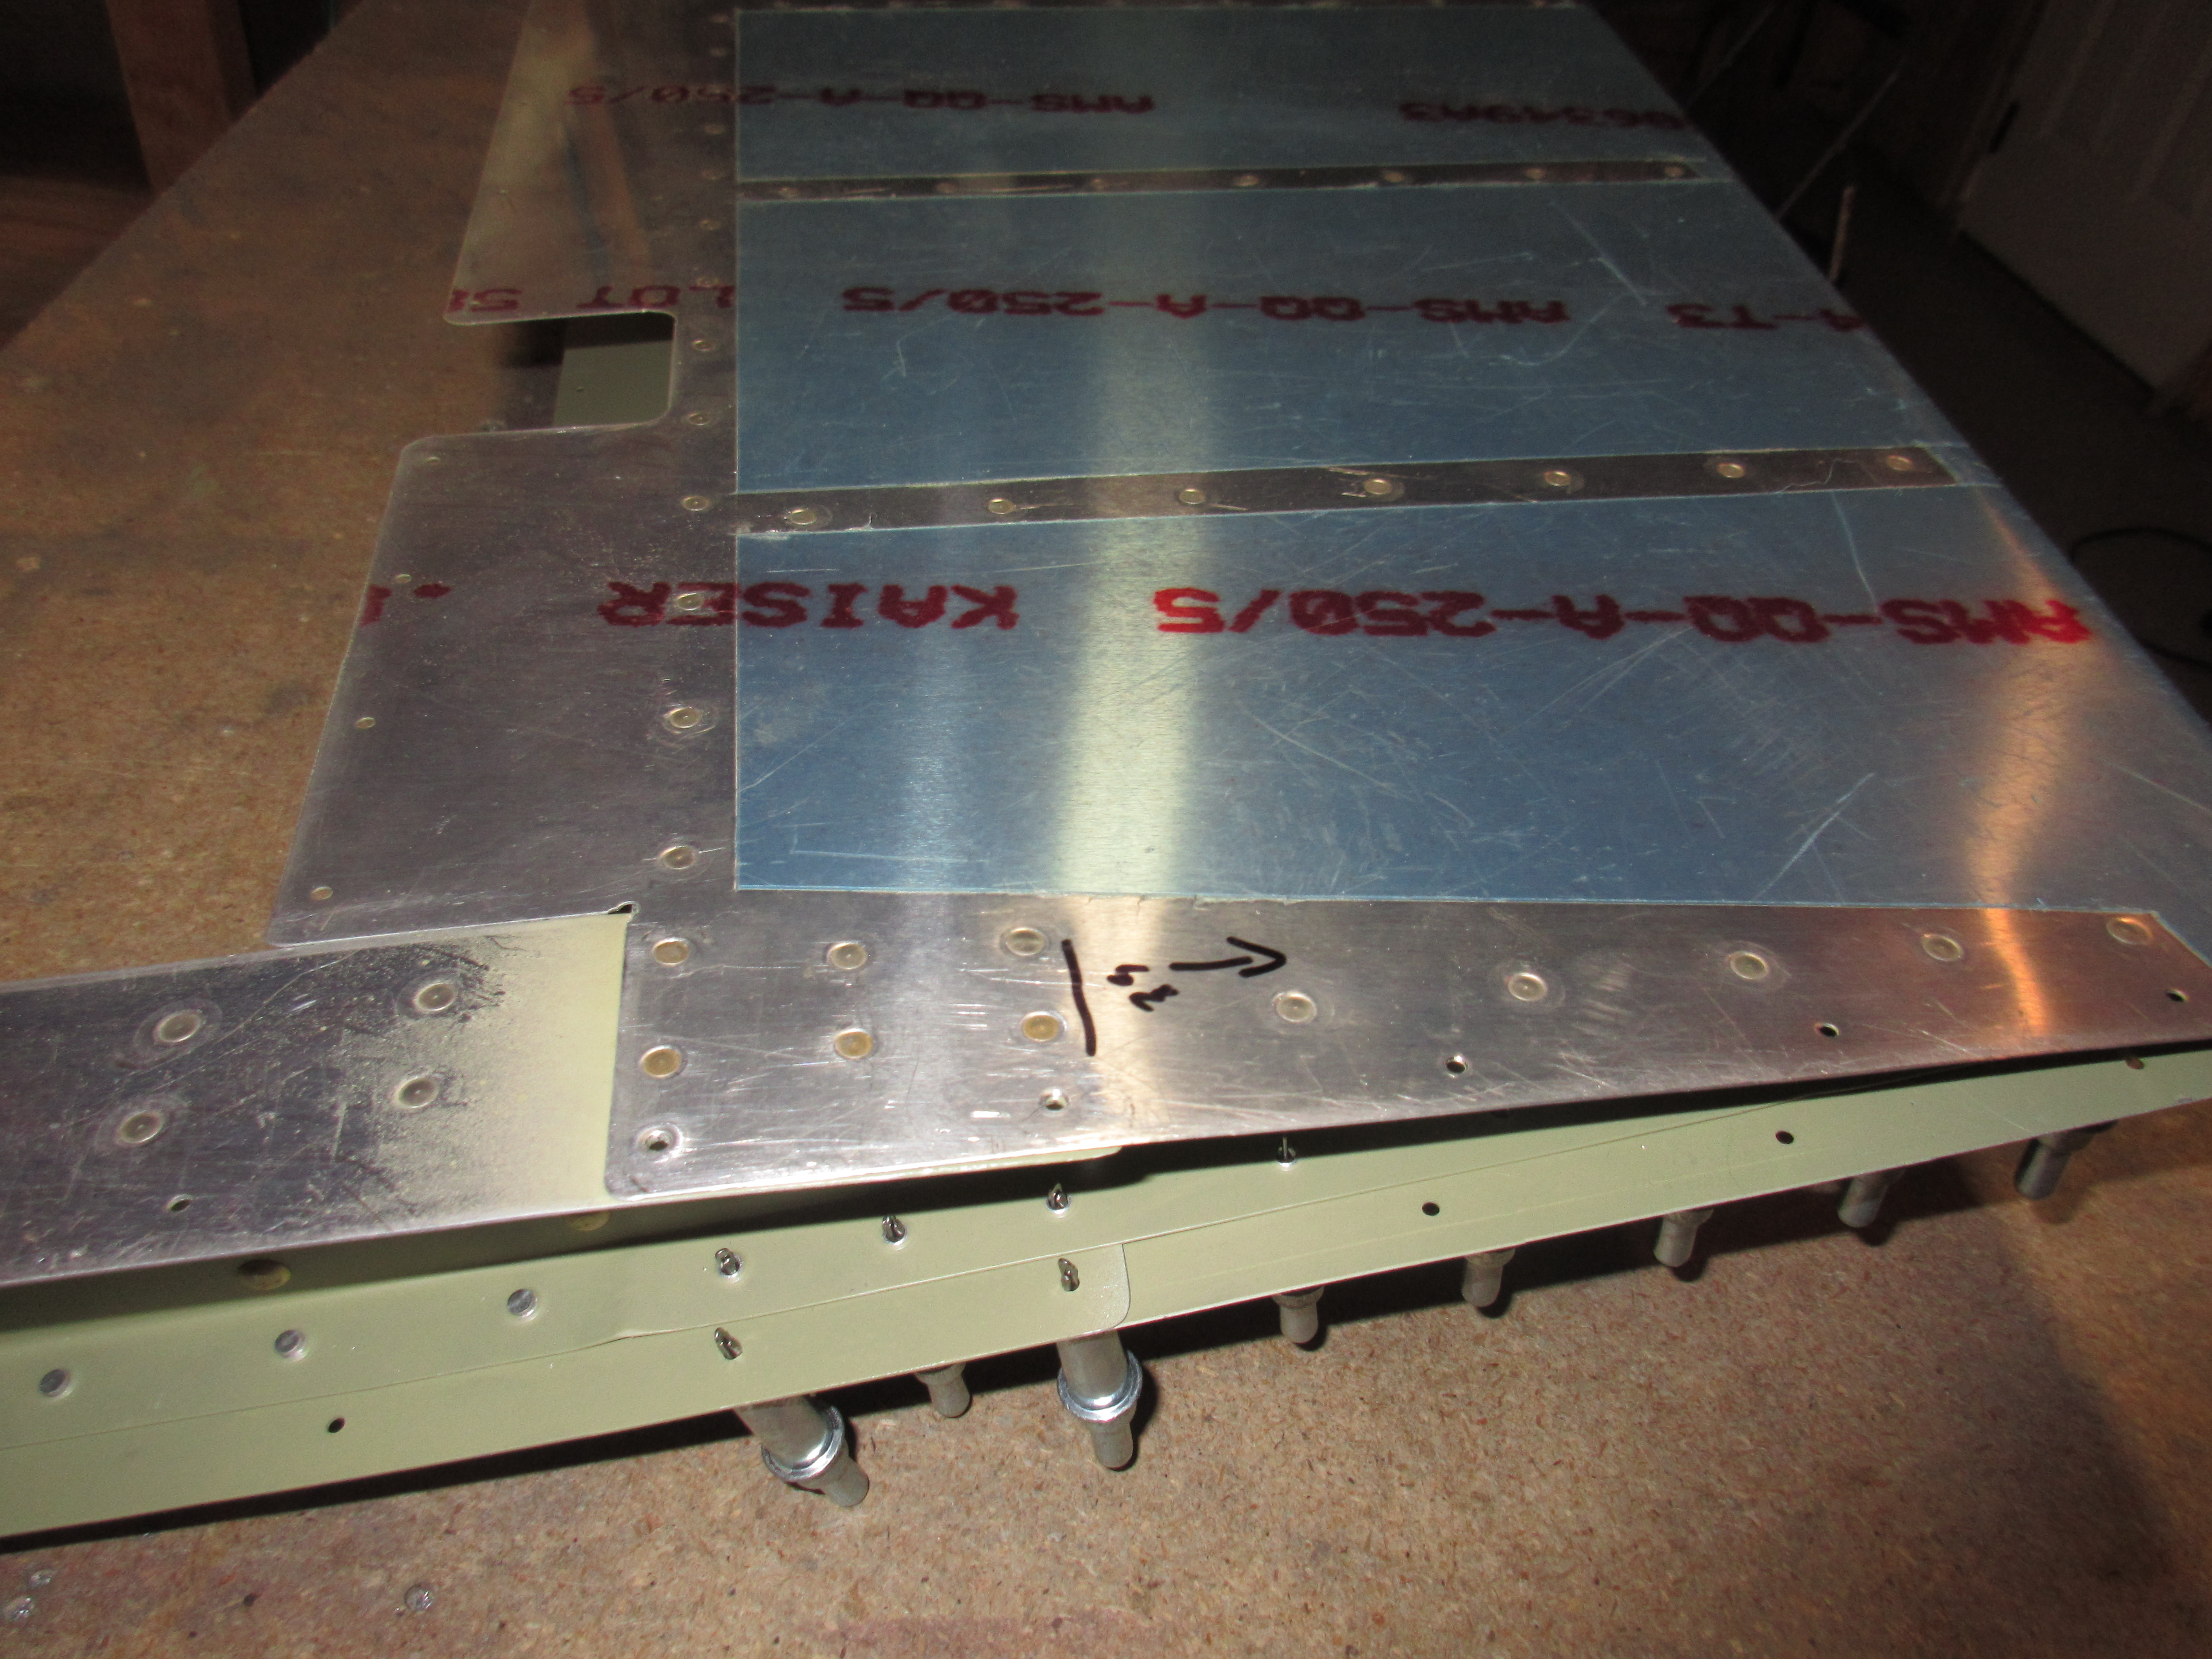
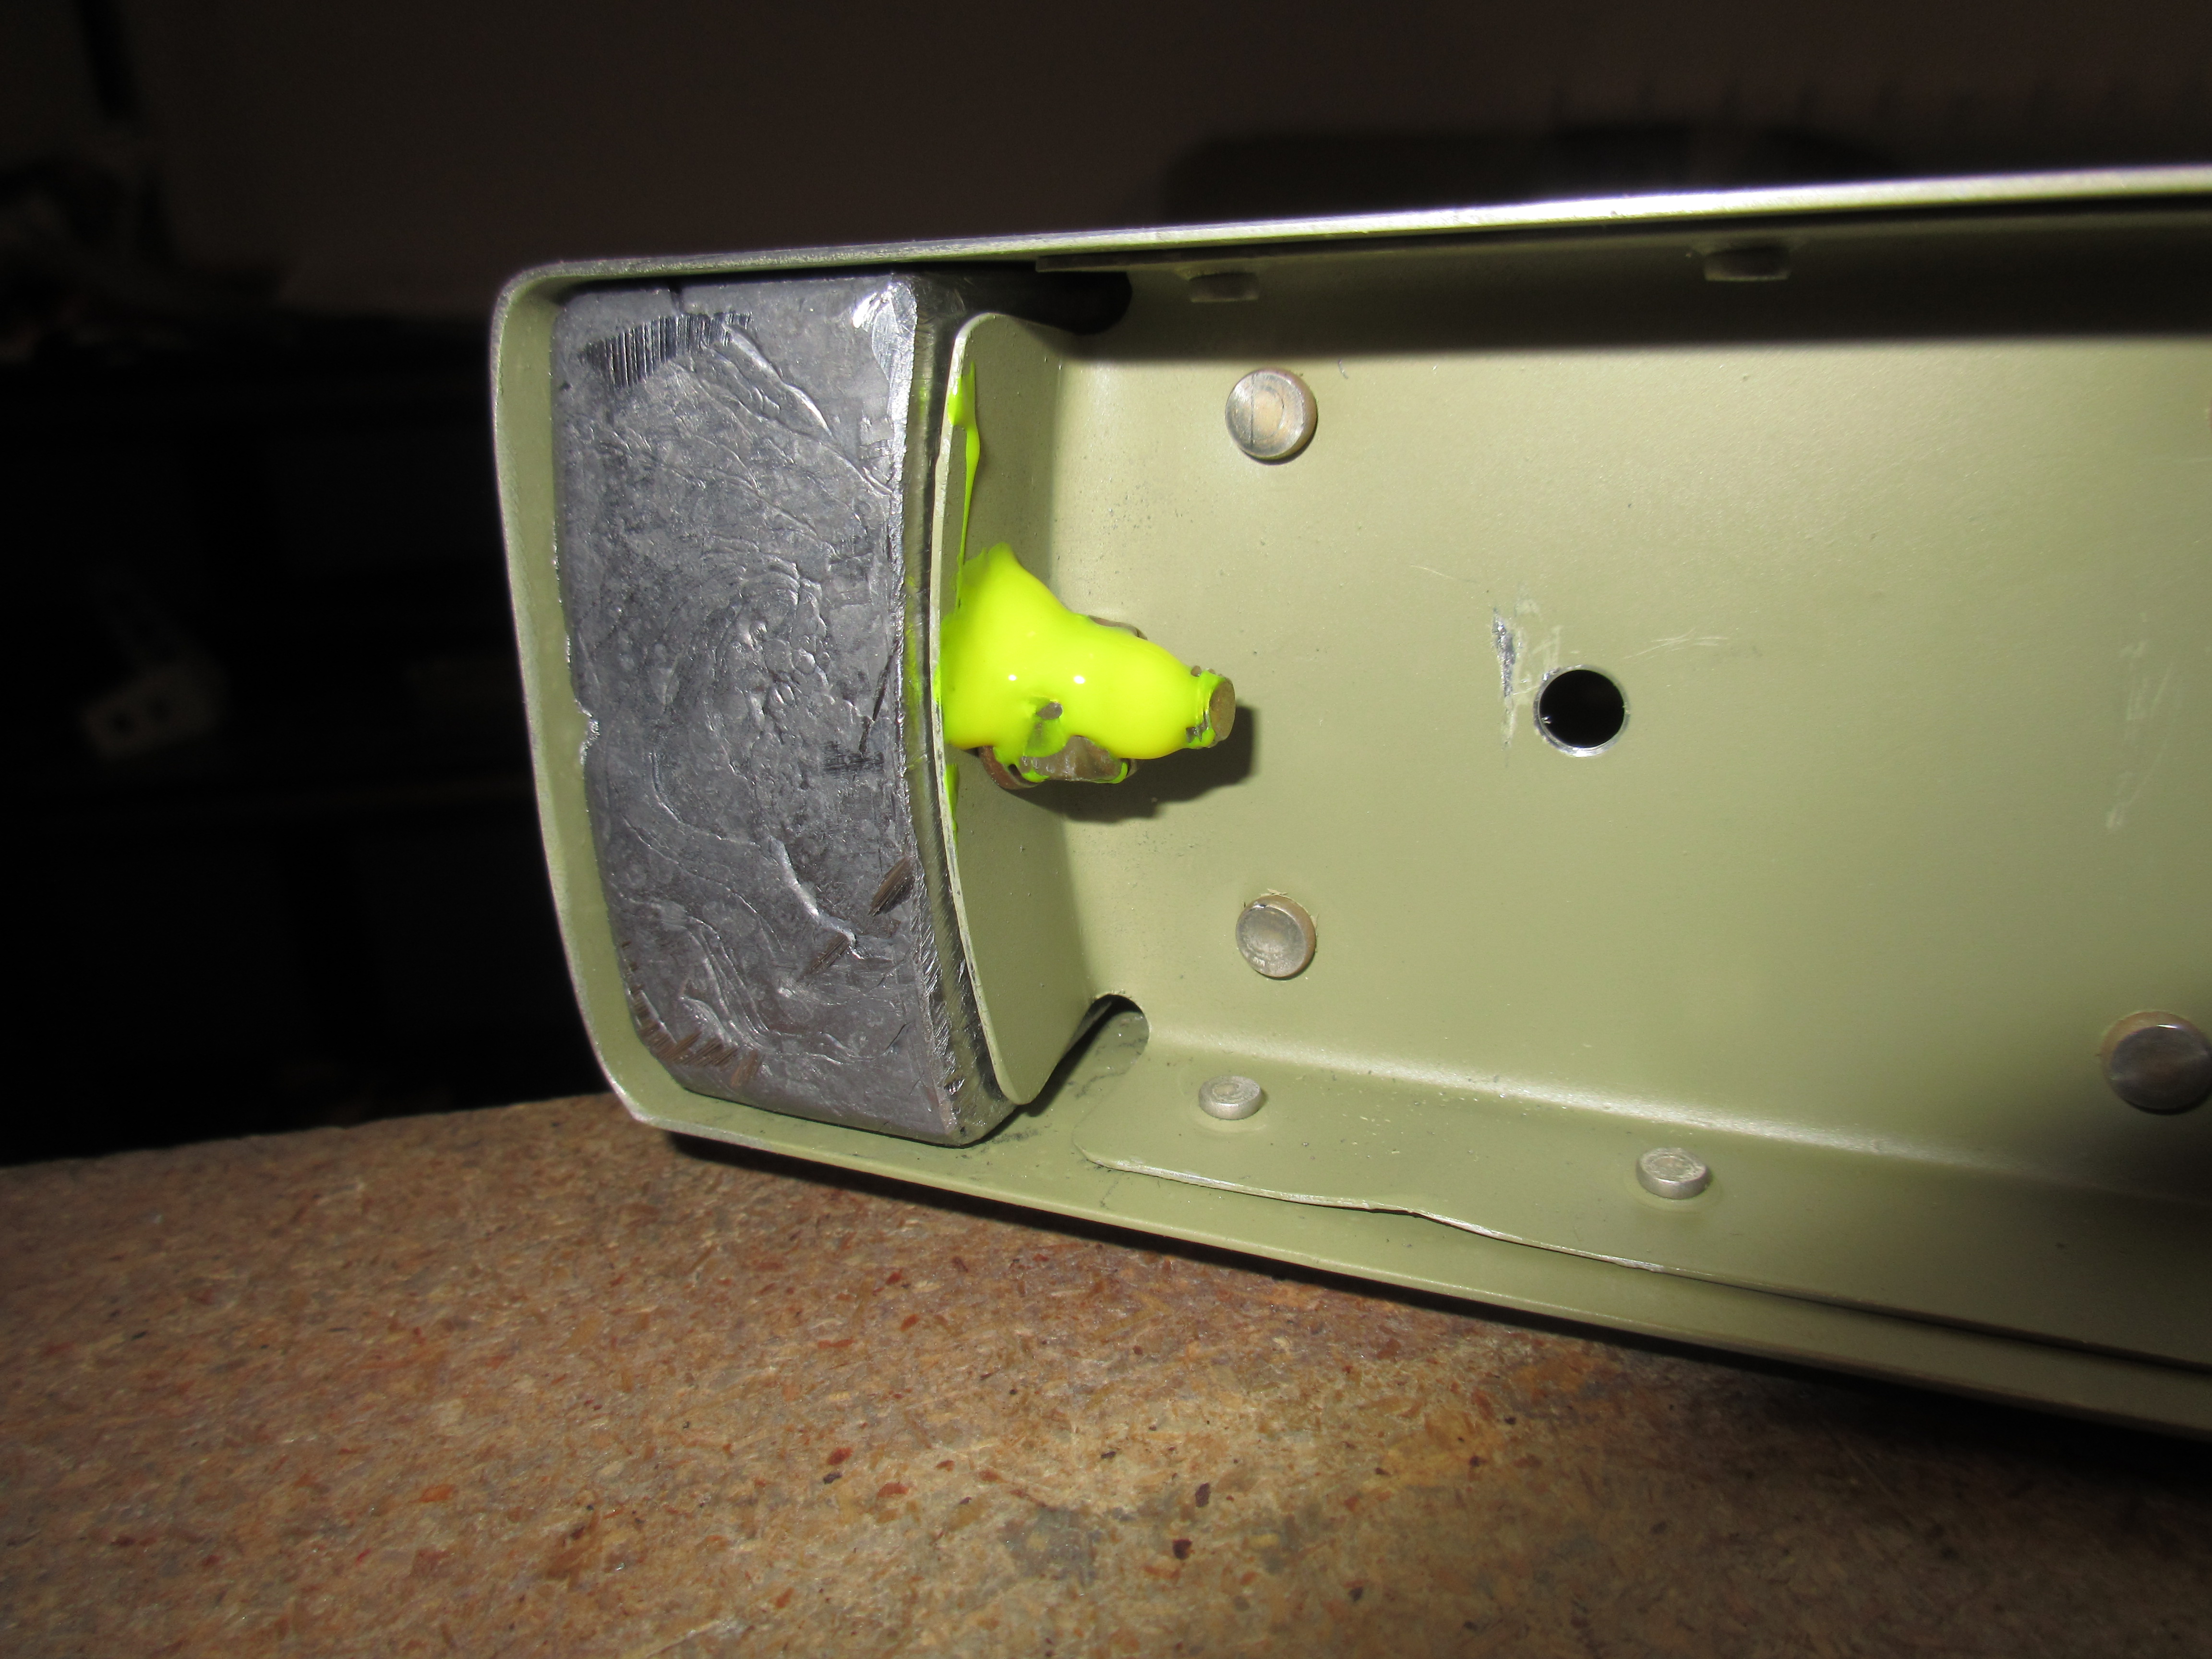
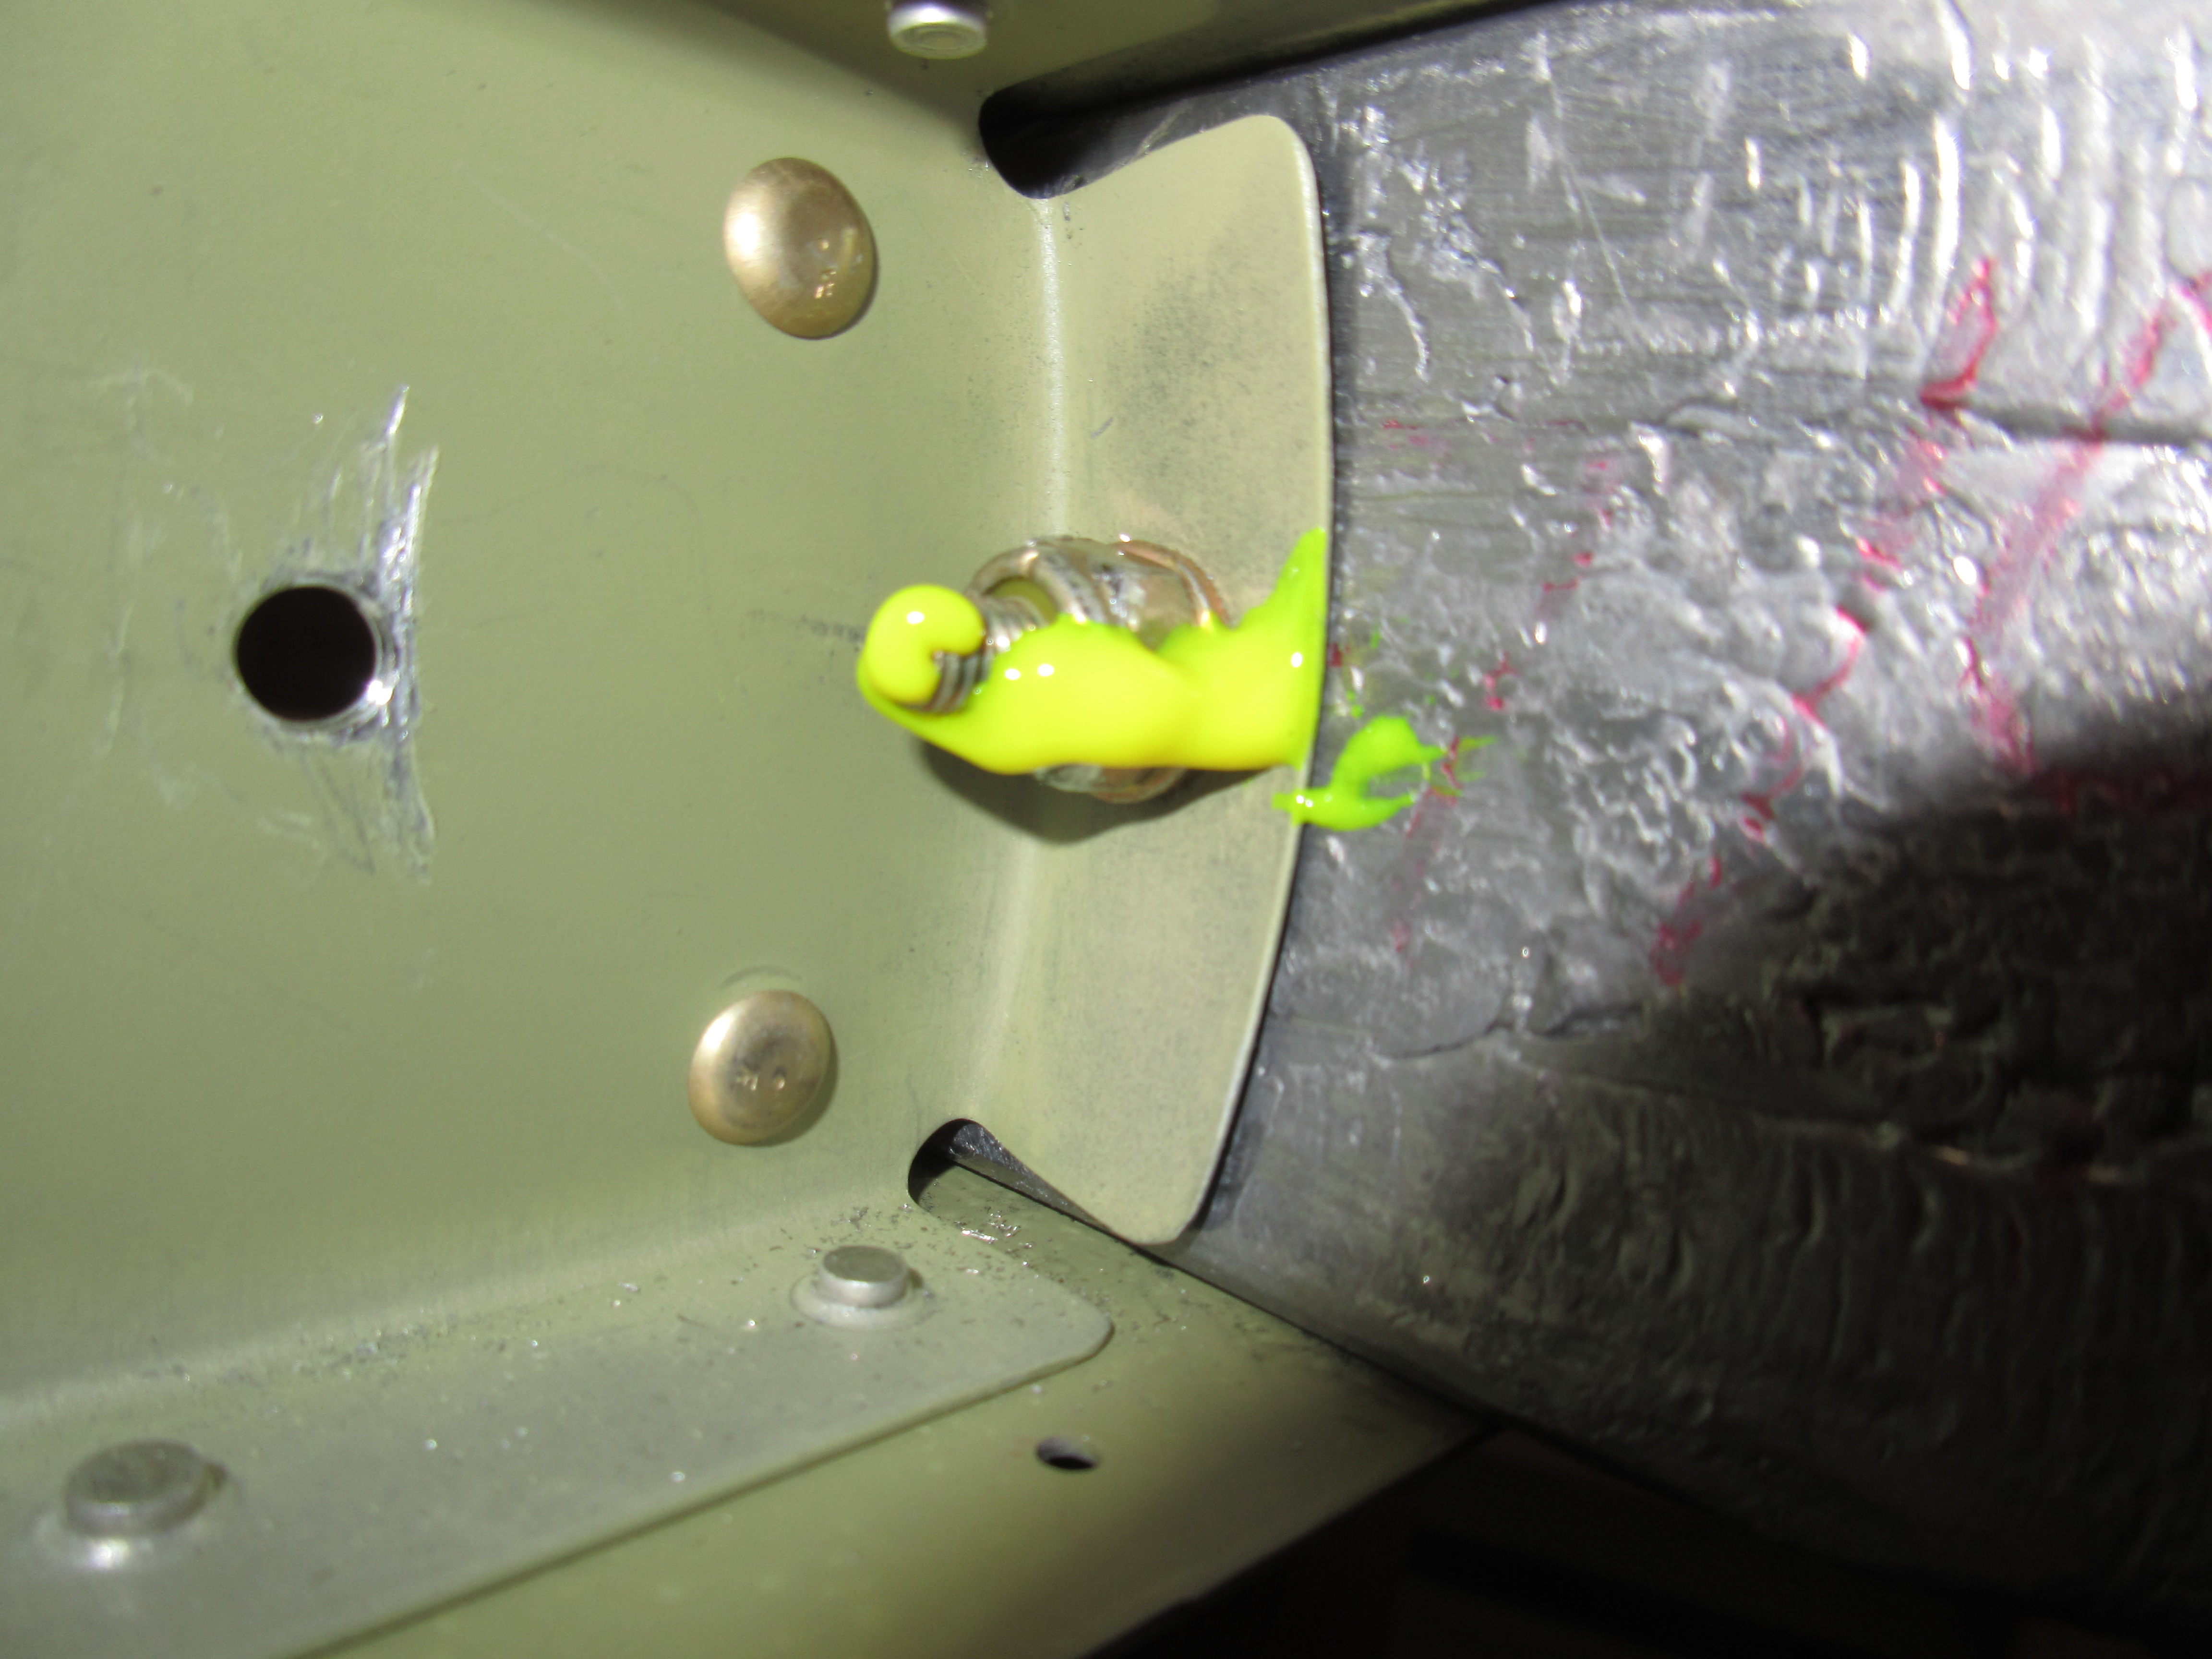
click here Having the bottom skin riveted on completely, I left the top skin just clecod for now. I will come back to it later on, ProSeal the stiffeners and close it up. The last few steps on this elevator is to finish attaching the counterweight and torquing it. I dug through my parts, got the bolts, washer and nut that the plans called for and used them on the counterweight. Then I used my beam torque wrench to measure the drag on the nylon lock nut (which was 5 inch/lbs), and added that to the the 20-25 inch/lbs that the plans calls for as the torque spec on these type of bolts. In total, I torqued them down to right at 30 inch/lbs total and then use some CrossCheck (Torque seal) to mark the nuts and screw heads as being torqued. This CrossCheck also makes it easy to inspect the bolts to make sure they have not vibrated loose. The paint will crack if the bolt or nut has turned.
Buy Zopiclone 7.5 Mg Online source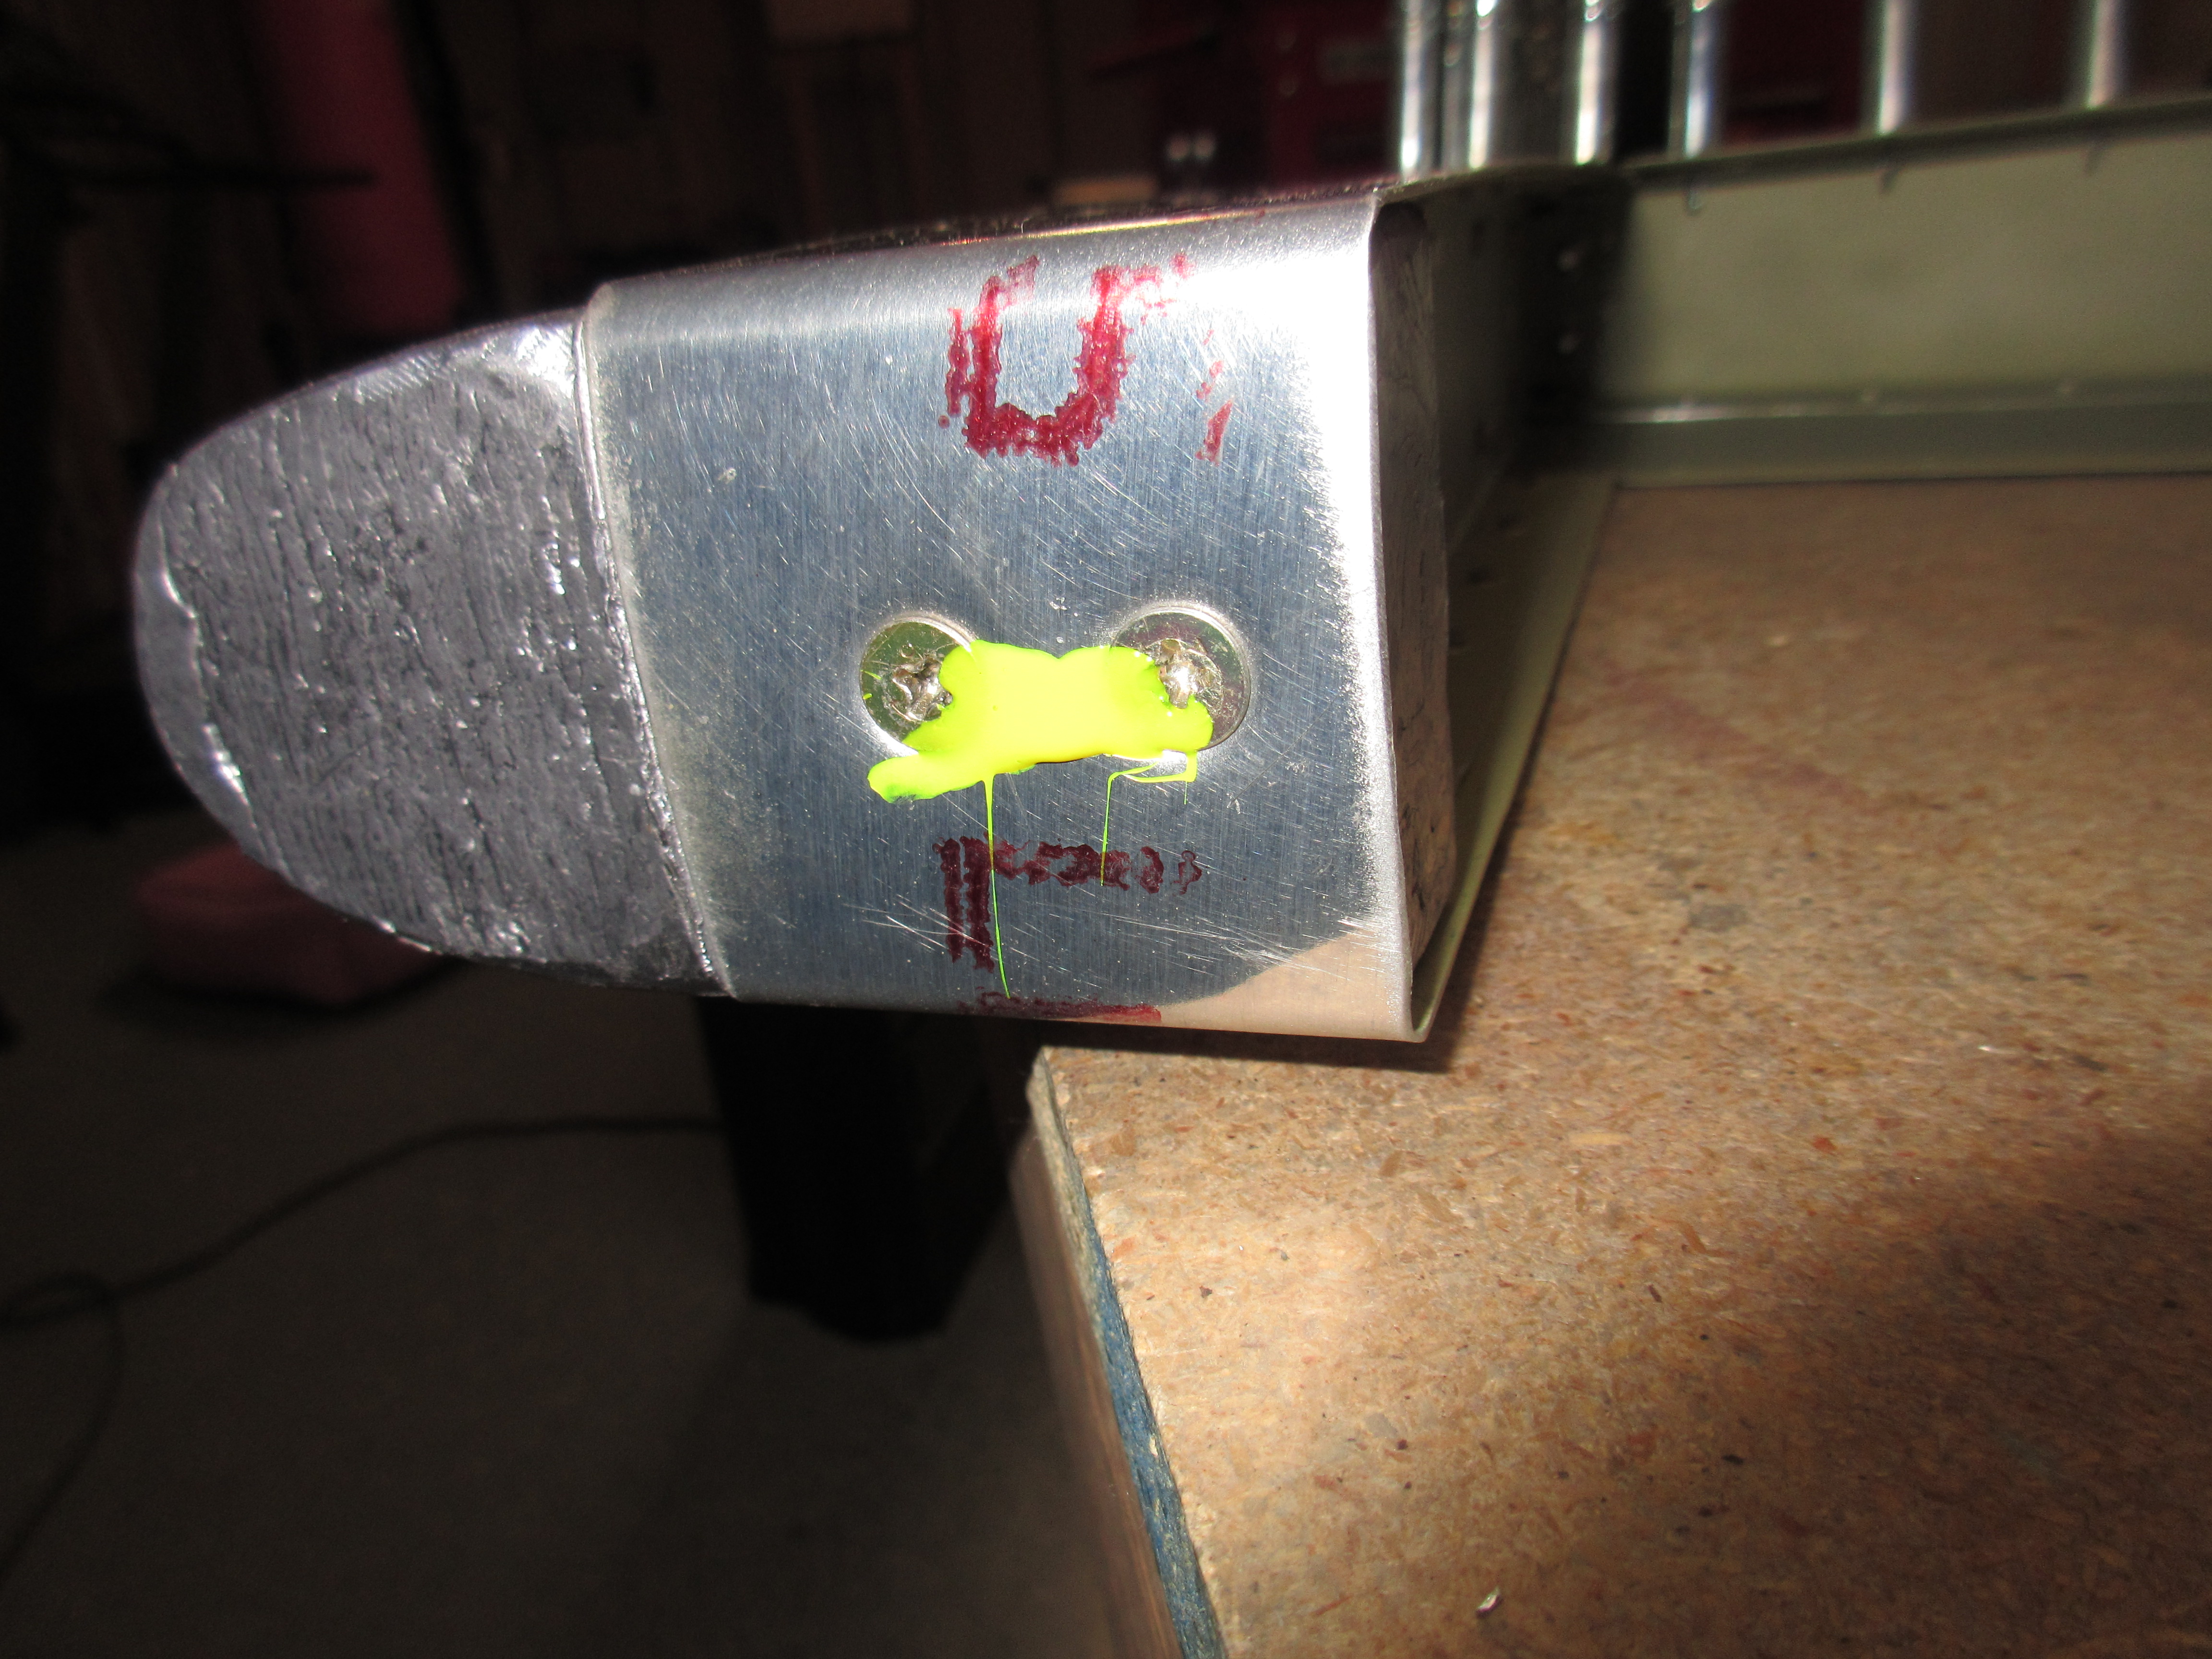
Order Valium Online Thats all for tonight! A little over 2 hours total, and the right elevator is 95% completed, and will go back on the shelf until I am ready to ProSeal everything. Here’s all the photos I took tonight:
followBuy Ambien Online Without Prescription This slideshow requires JavaScript.
Tramadol For Sale OnlineAmbien No Prescription Google Photos Link: https://goo.gl/photos/GRC1mBikUq2TWKsEA
https://crinerorthopedics.com/fall-sports-injury-prevention-tips/ Hours Worked: 2.25