


source After taking short break from the priming session, I dug back into riveting together the right elevator skeleton. This will give the primer on those doublers some time to dry. AKZO dries super quick, so by the time I get ready for them they should be ready for me 🙂 Per the plans, Vans has us start out by riveting together the E-703 and E-704 ribs which creates the counterbalance assembly This goes easy enough with a squeezer and some AN470AD4-4 rivets.
Order Valium Online
https://bettierose.co.uk/about/ 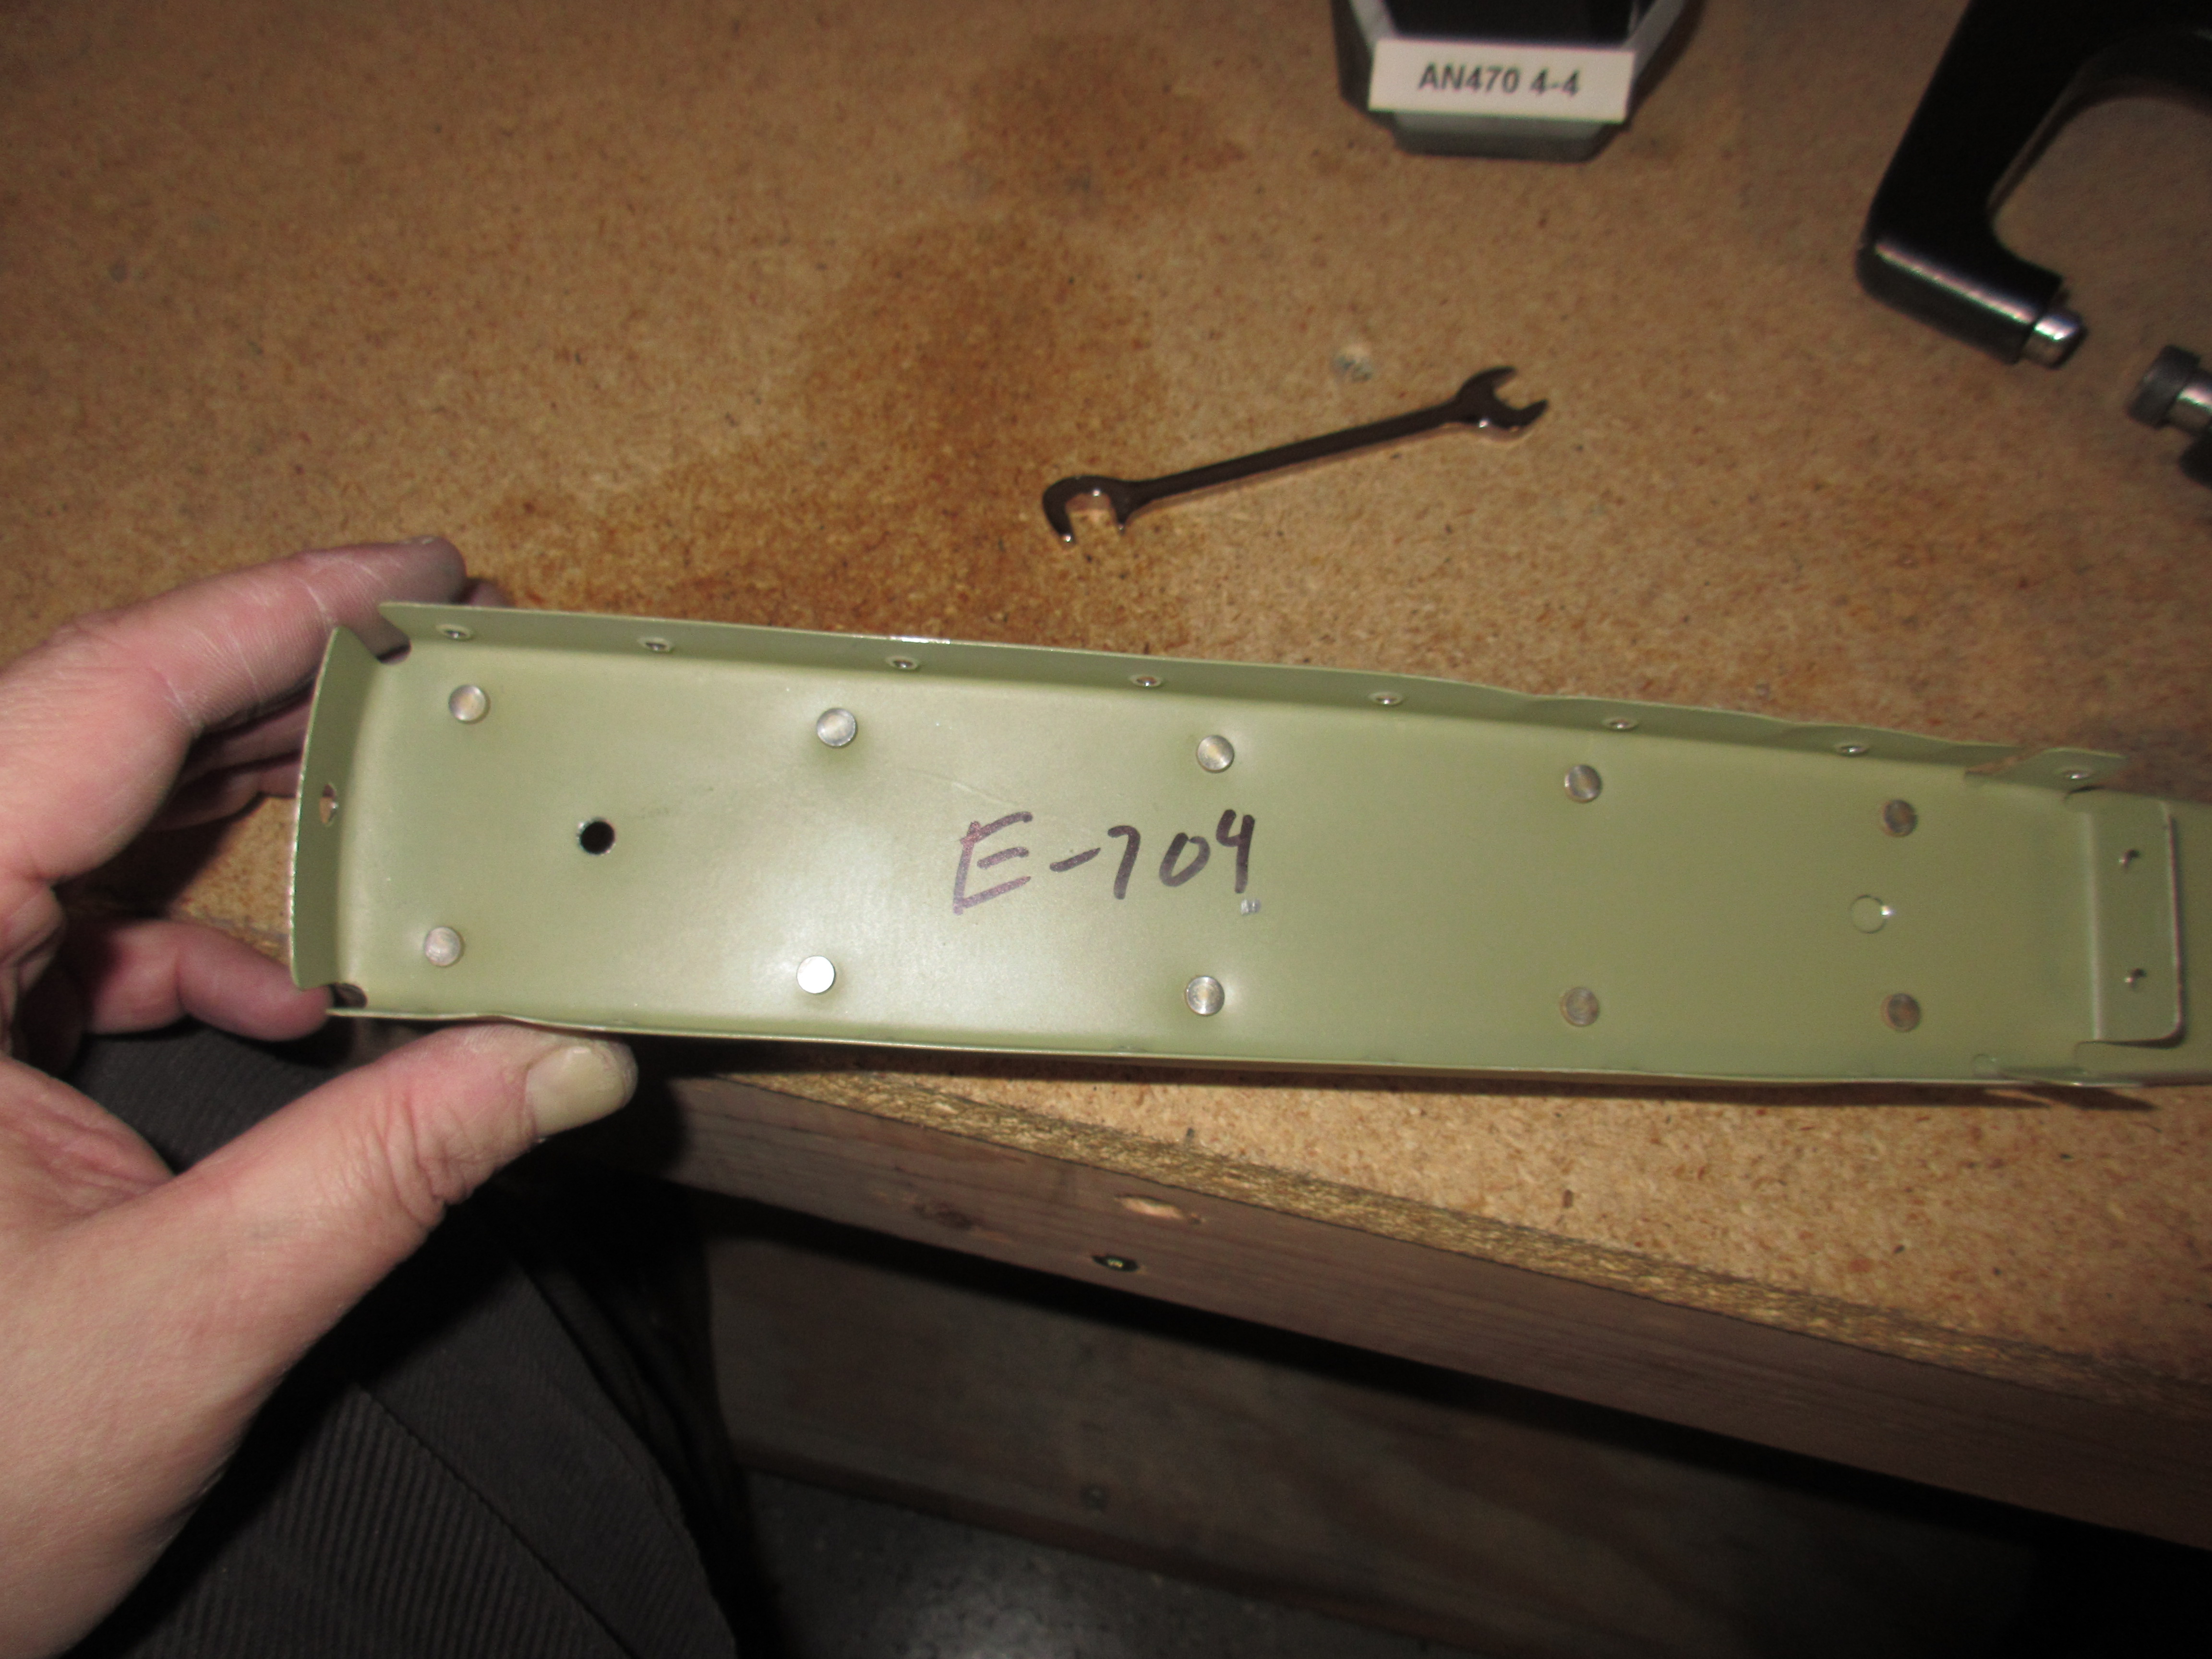
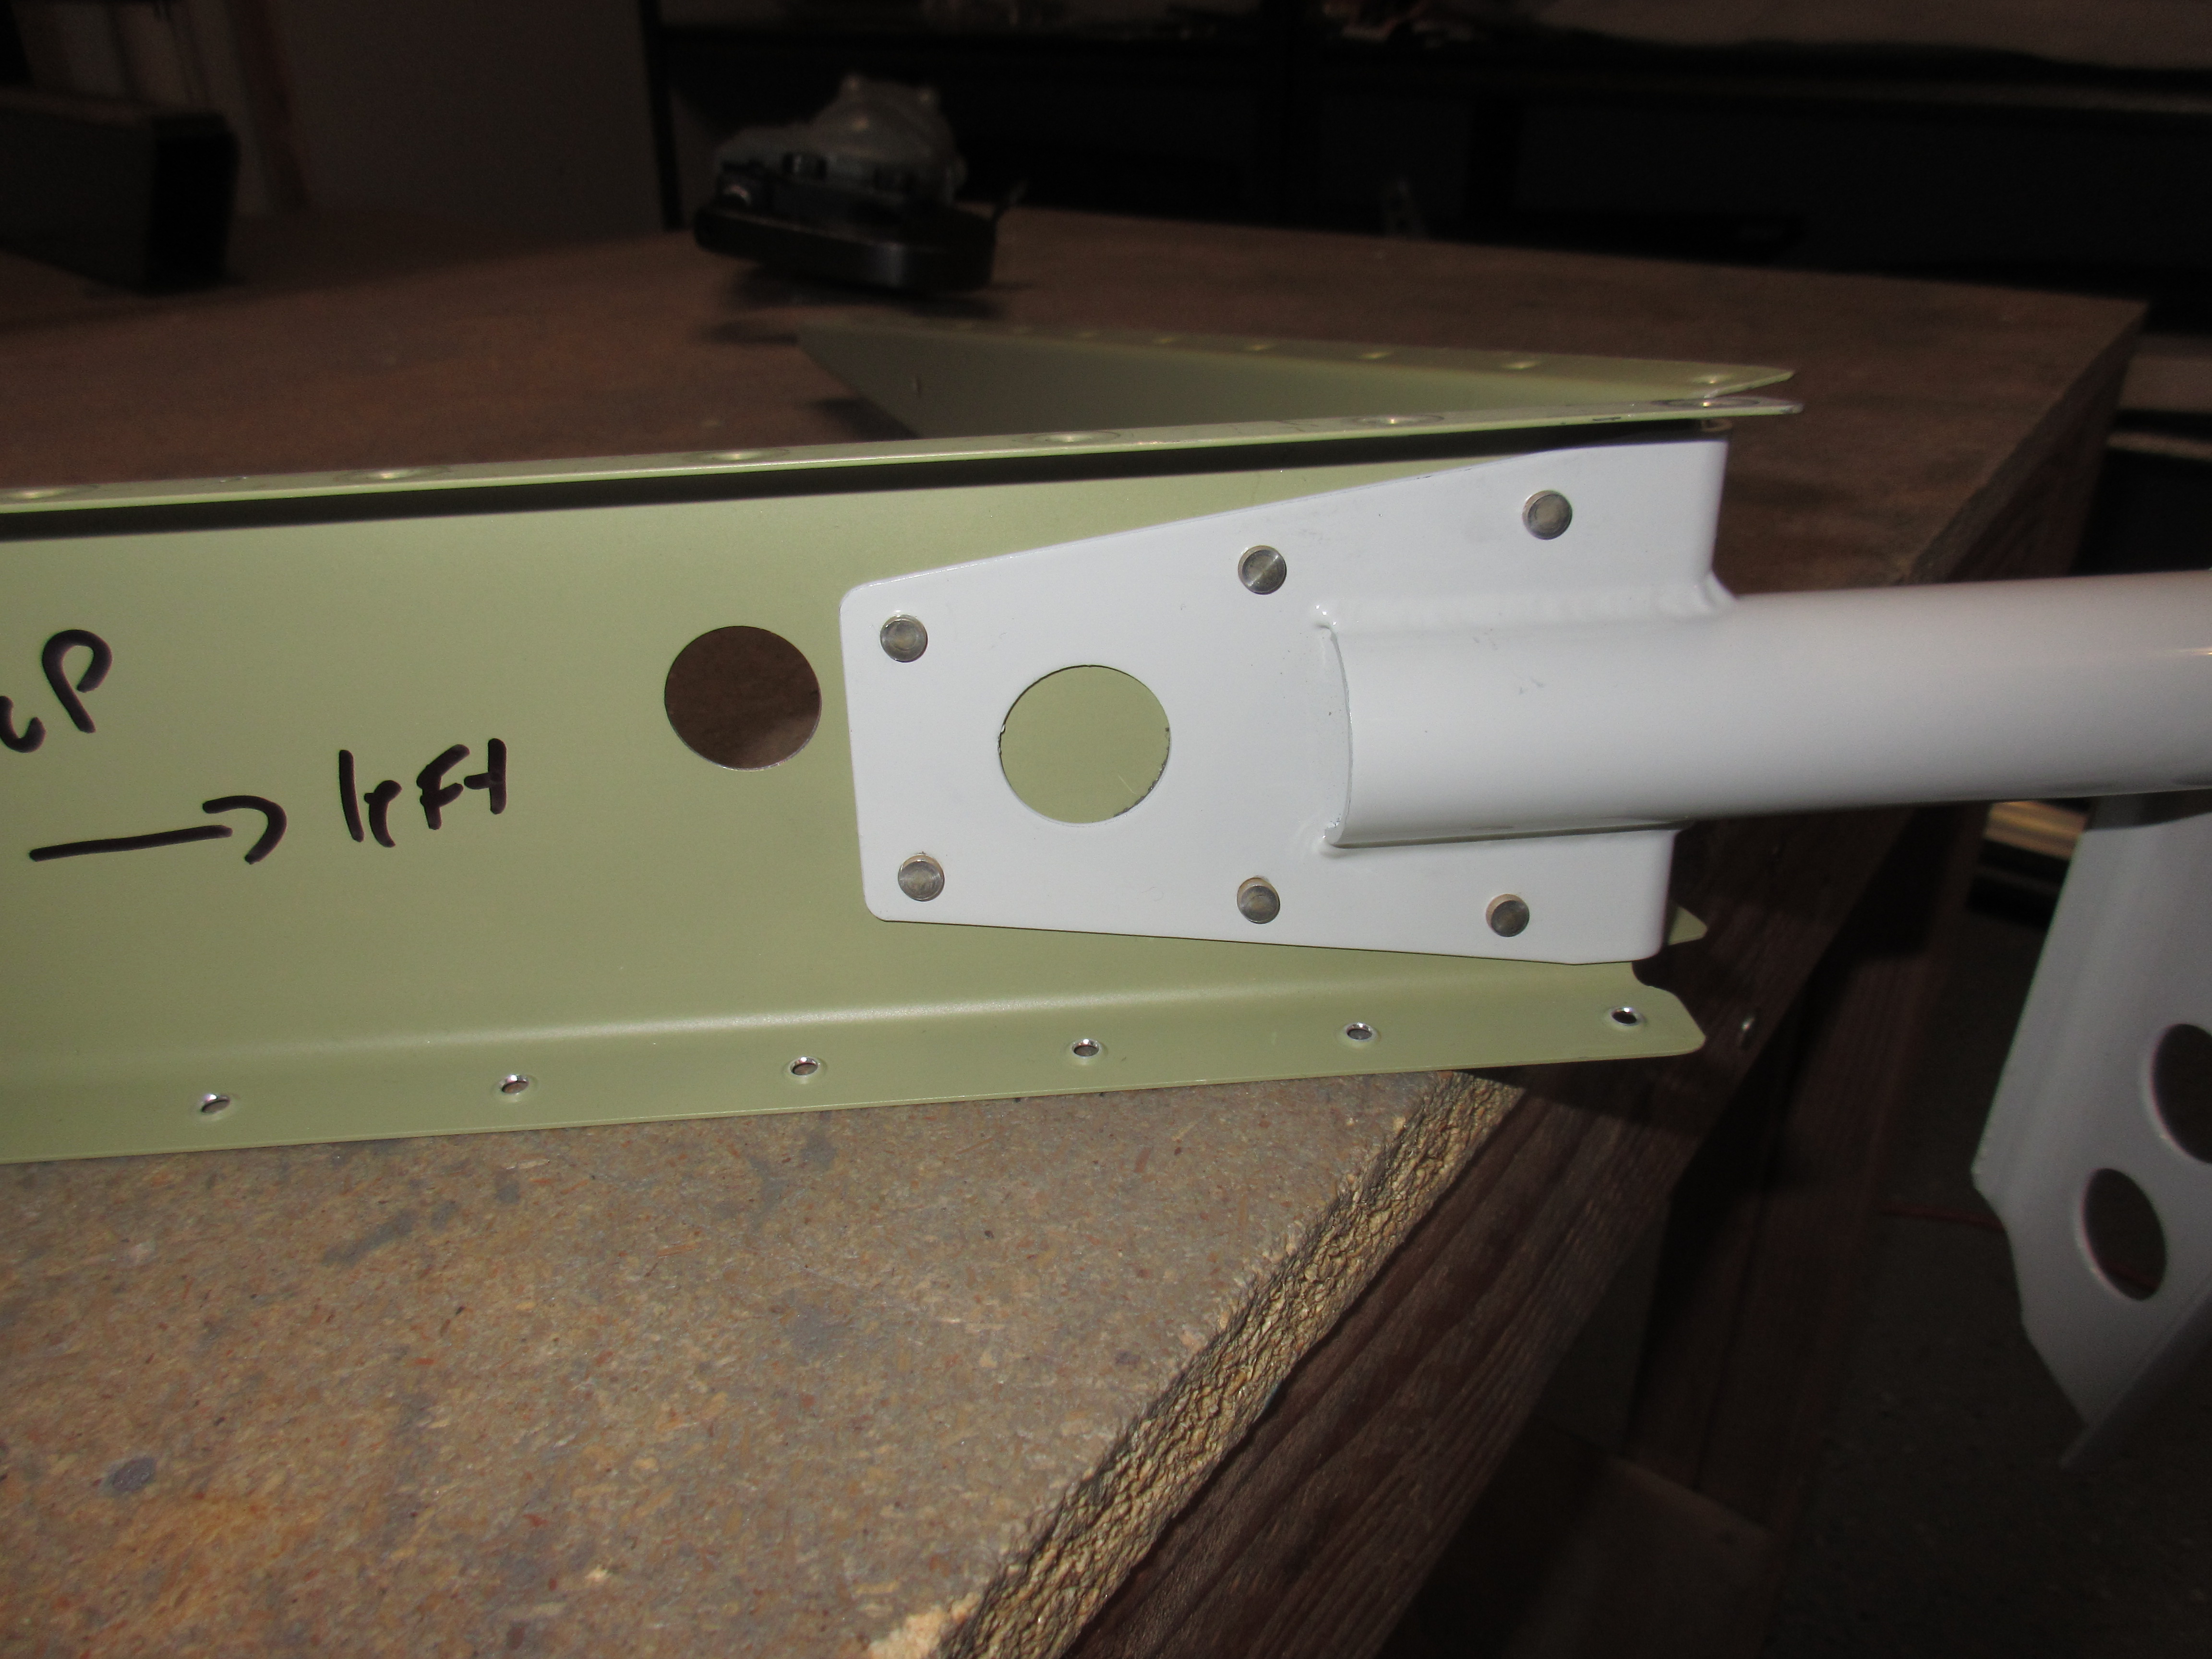
go to site Next up the plans has us rivet the E-709 end rib to the E-702 spar. I had to take caution here, because we use AN426AD3-4 rivets, which need to be dimpled and sit flush on the front side of the spar so that the WD-605-1-R elevator horn will sit flush against the spar. I was able to set these rivets with the flush set in my squeezer and they ended up nice and flush against the spar.
Buy Valium Online Without Prescription
https://thesentinelgroup.com/roundup-lawsuit-update/ 
enter Then the plans has us rivet on the E-703/704 assembly to the E-702 spar. This is where things got frustrating. I was able to set the two rivets for the E-703 end rib with the squeezer. However, the two rivets for the E-704 were in a much tighter spot and I couldn’t get to then with the squeezer. So, I drug out the rivet gun and bucking bar, but the straight 1/8 rivet set would not line up with the shop head of the rivet because of the gun body, so I had to use the offset 1/8 rivet set. The first rivet I was able to set pretty well with the gun and bucking bar. The second one? Yeah, not so much. I had to drill it out and try again. Luckily, the second time went better than the first and I got the rivet set.
go site Order Hydrocodone Online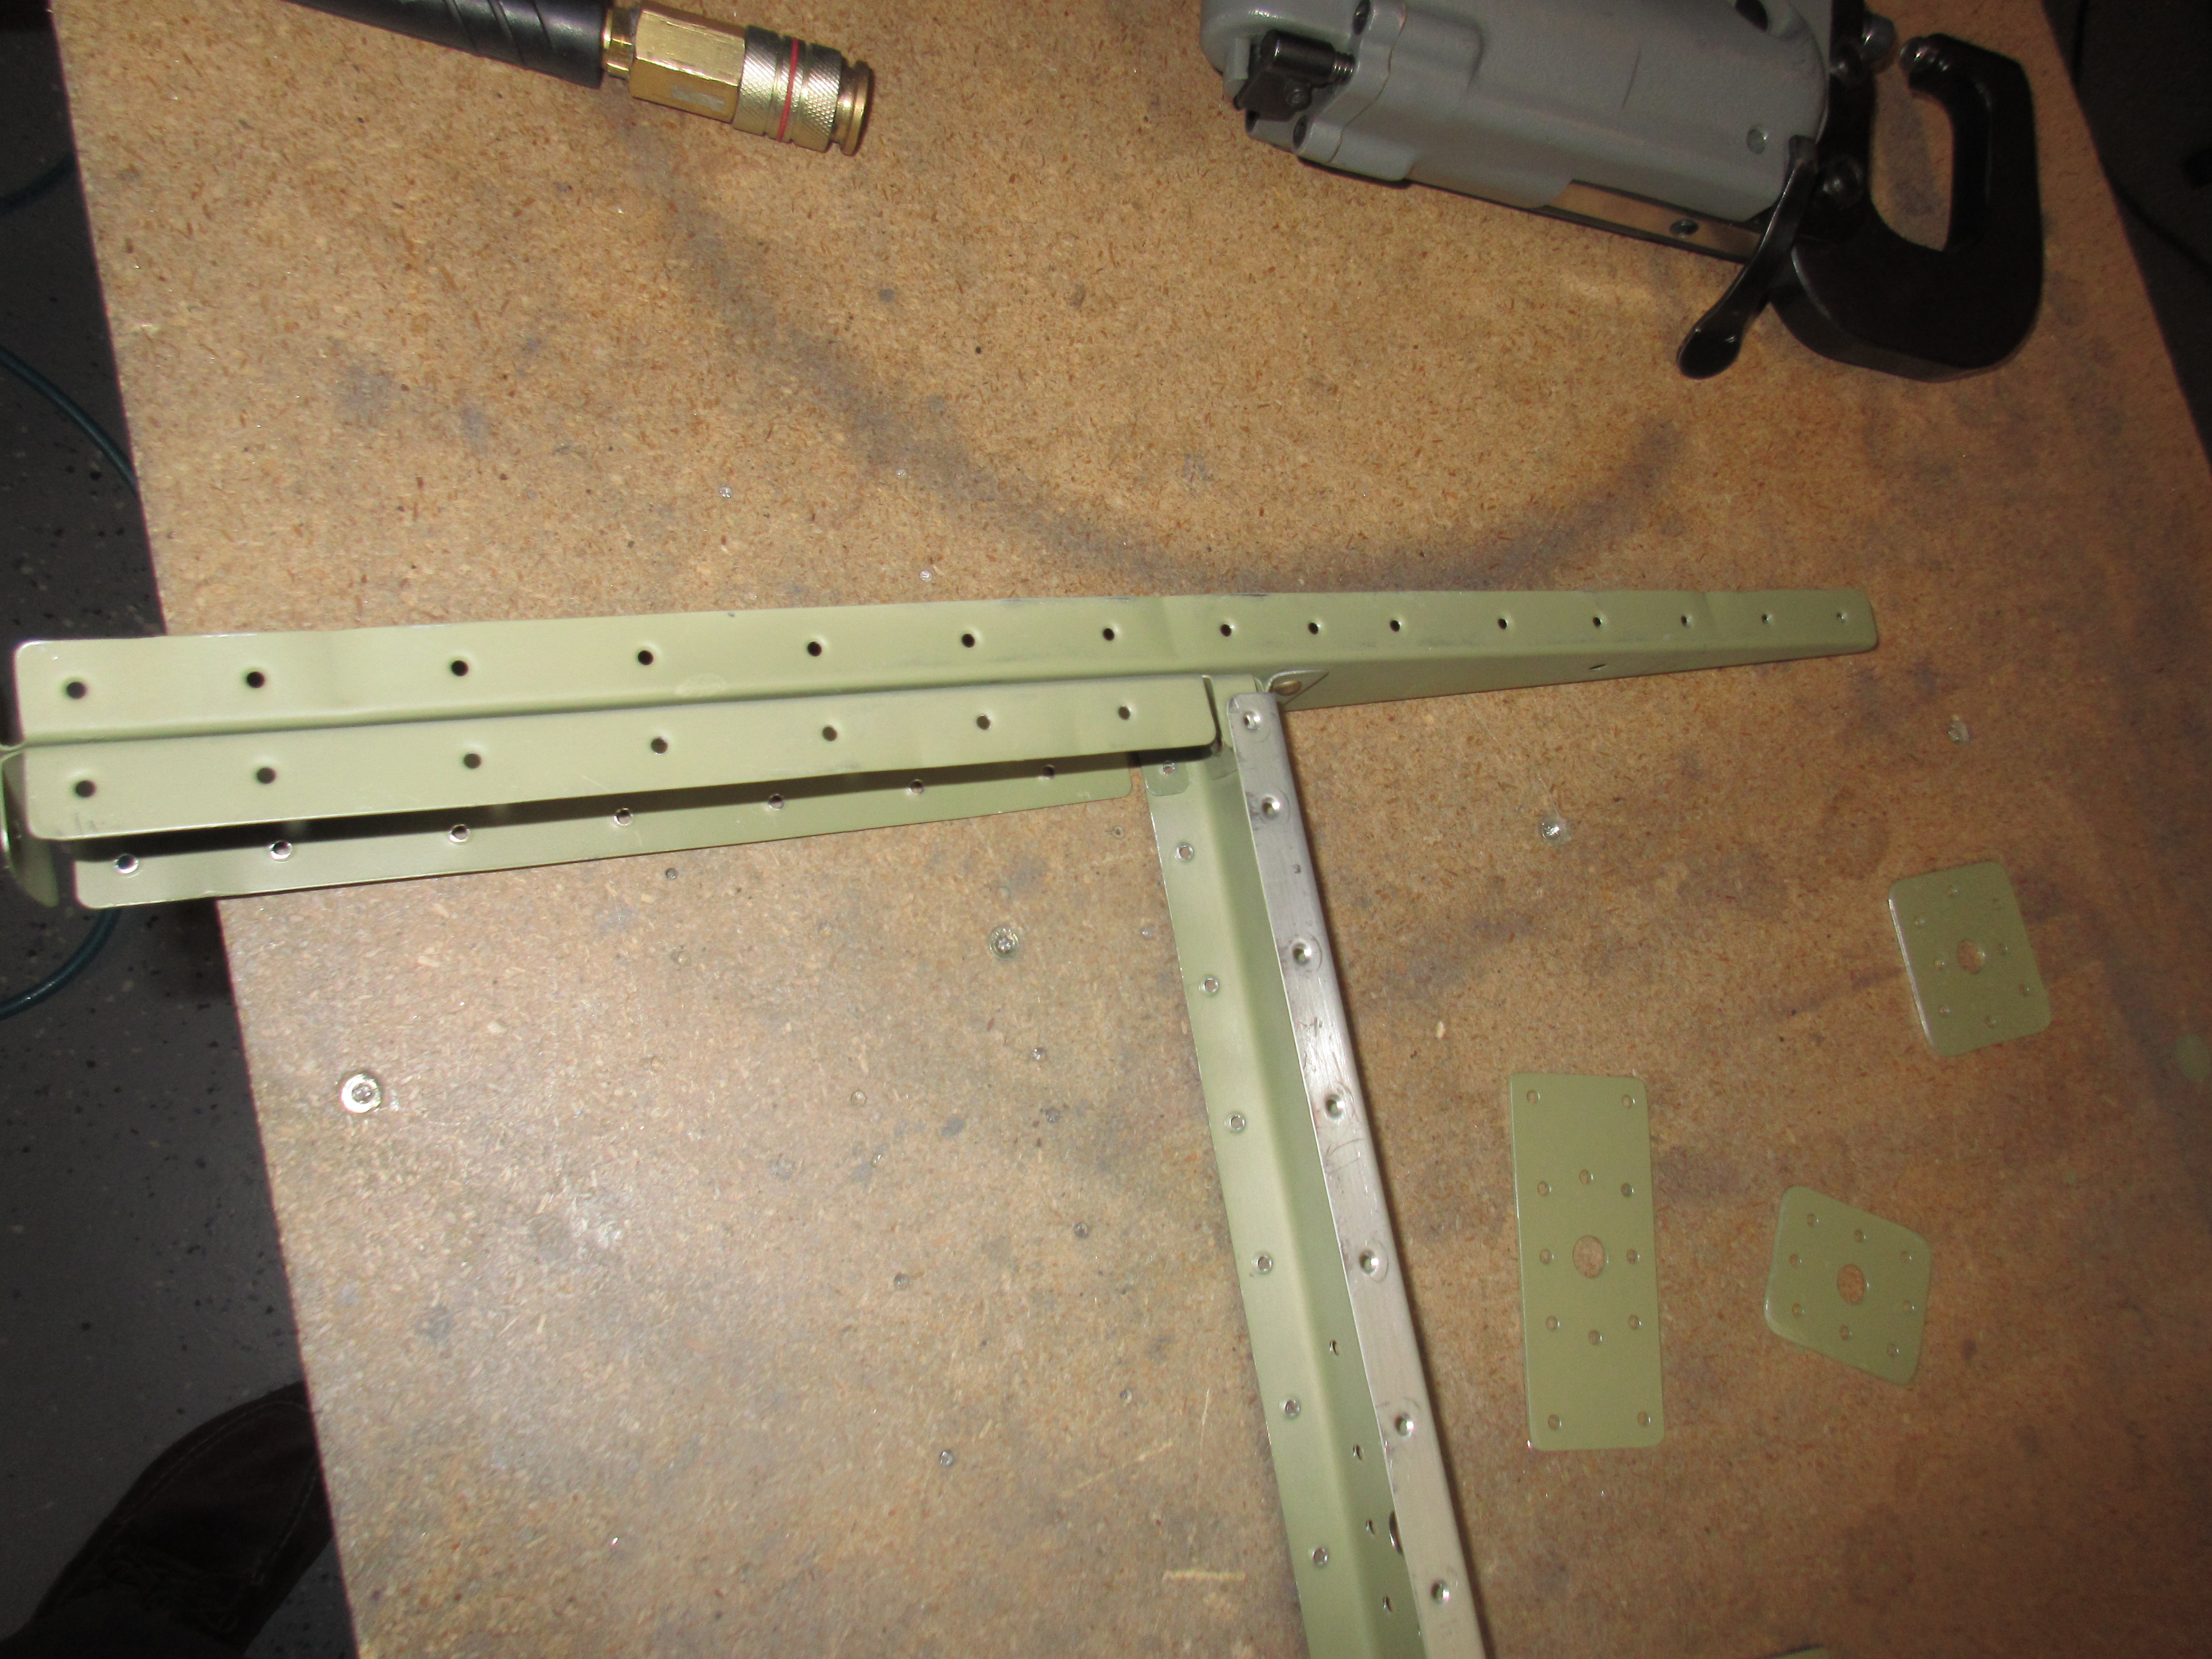

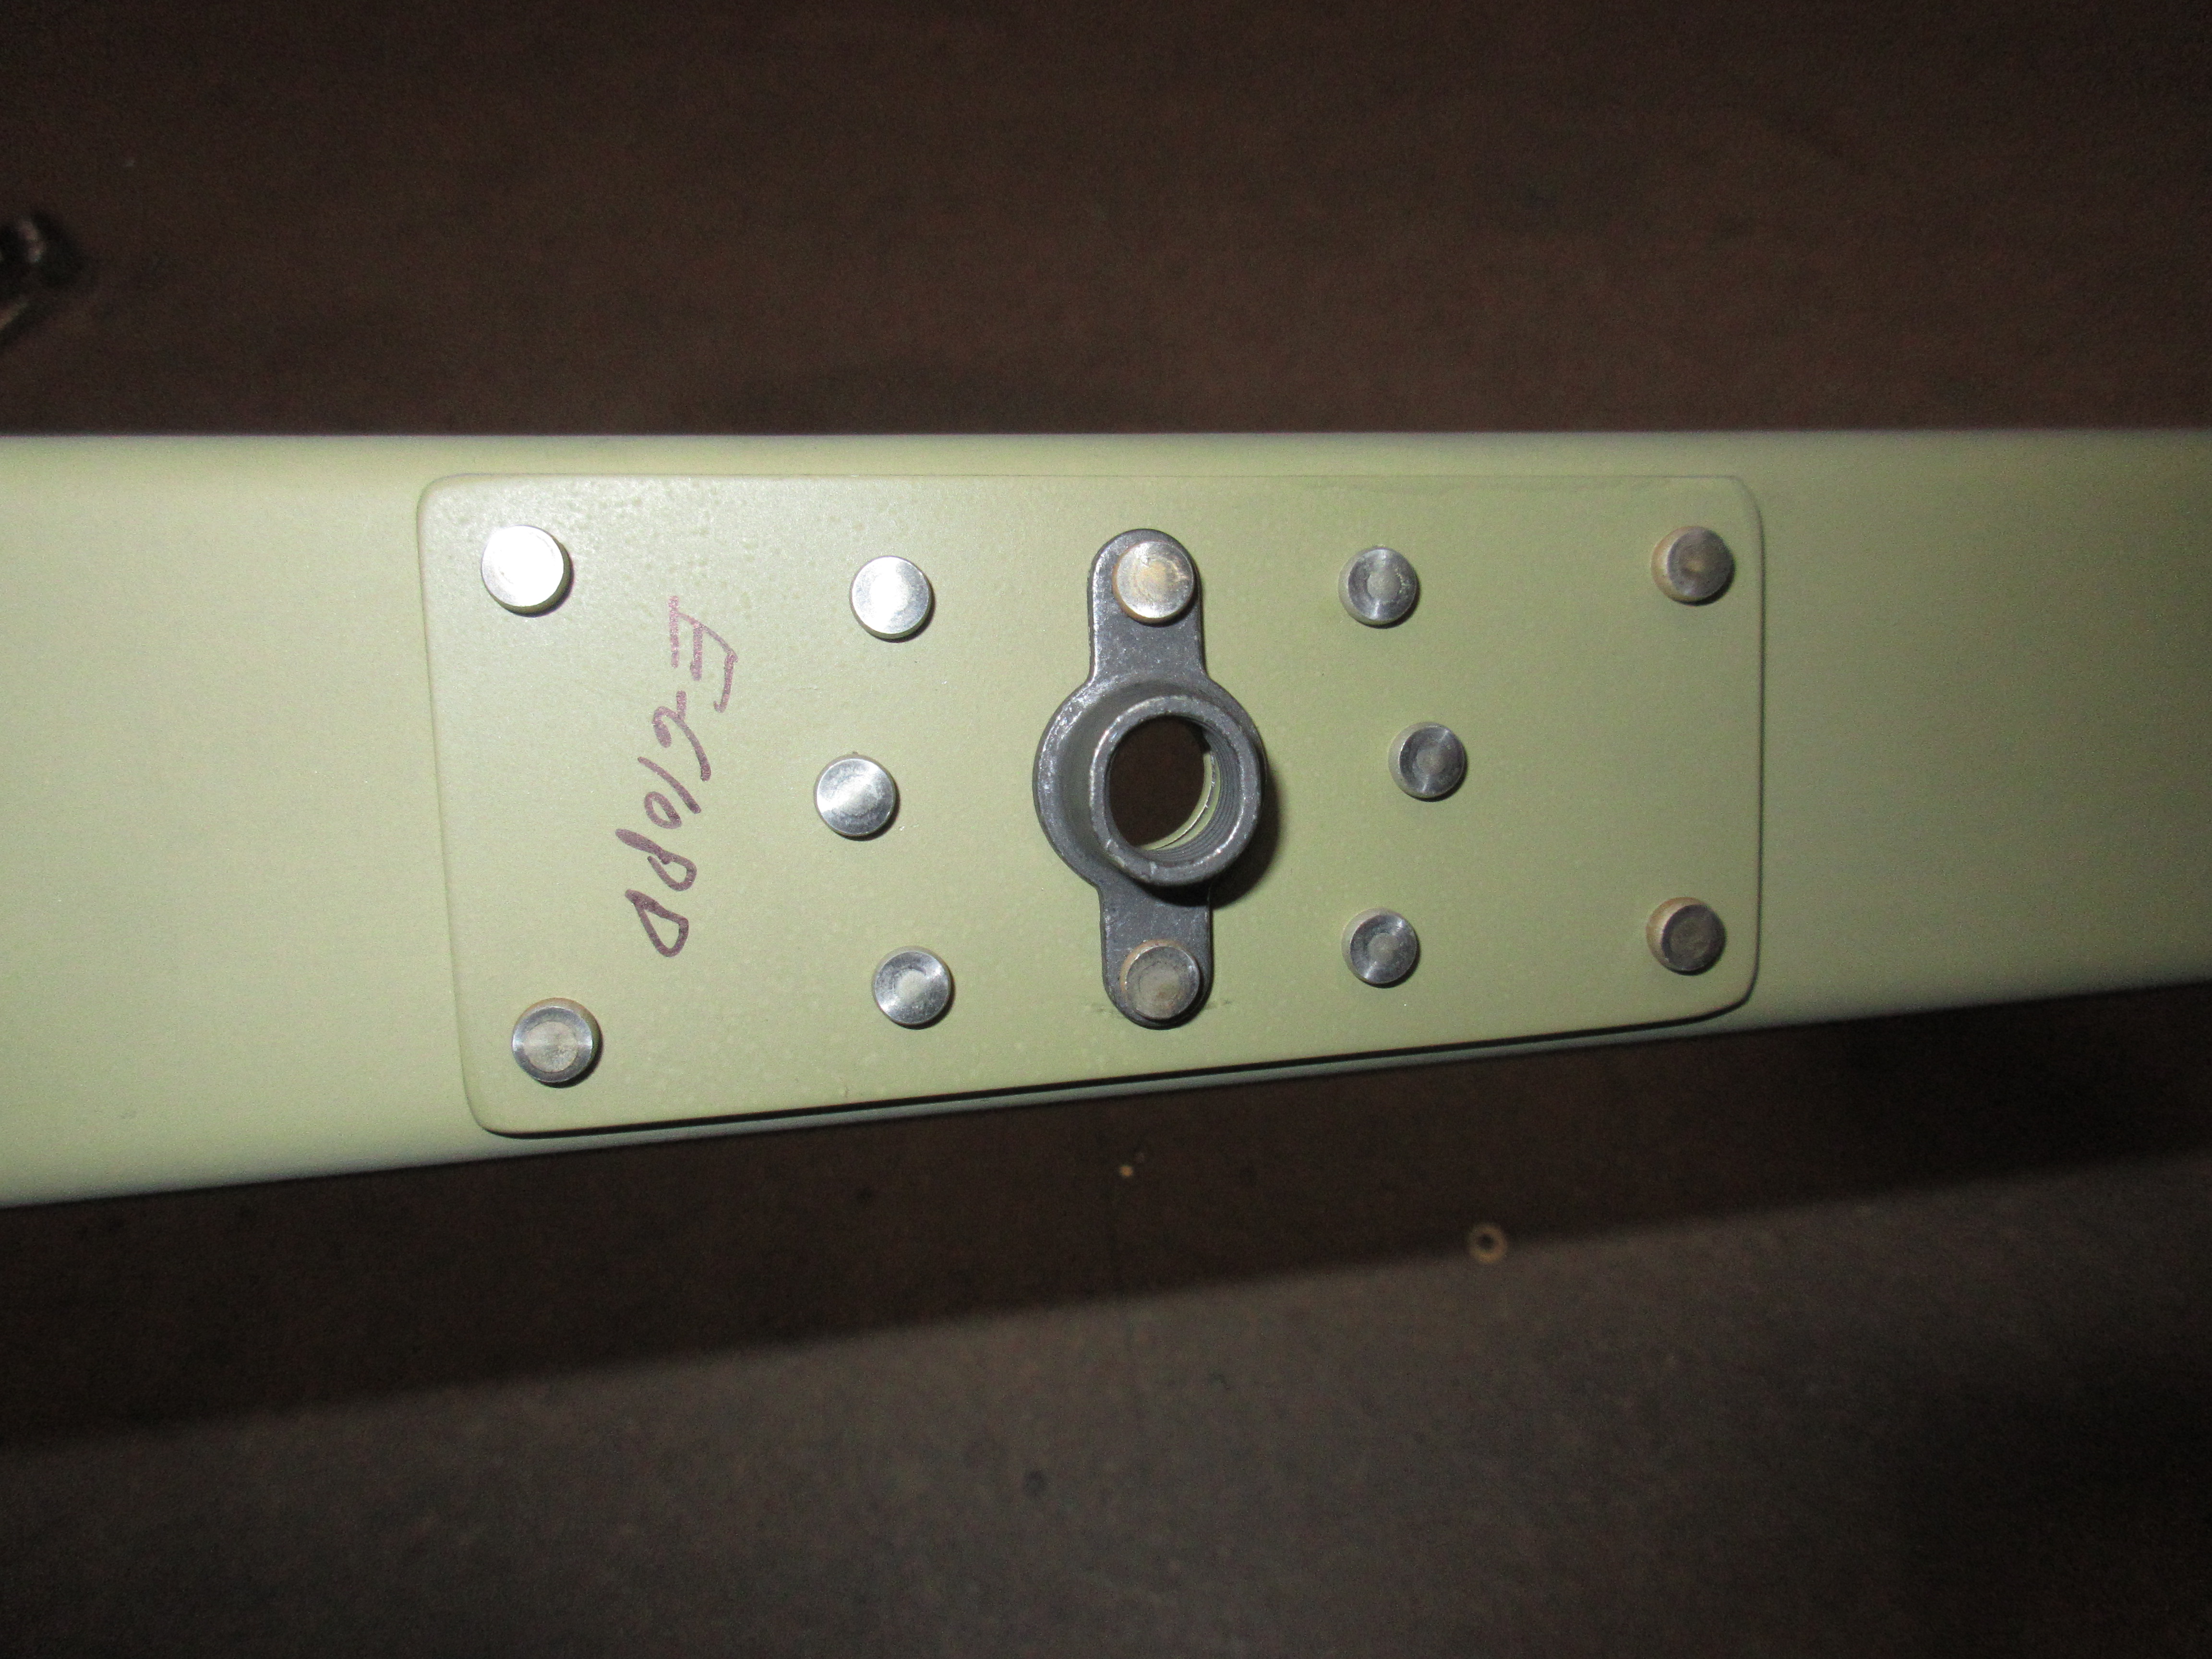
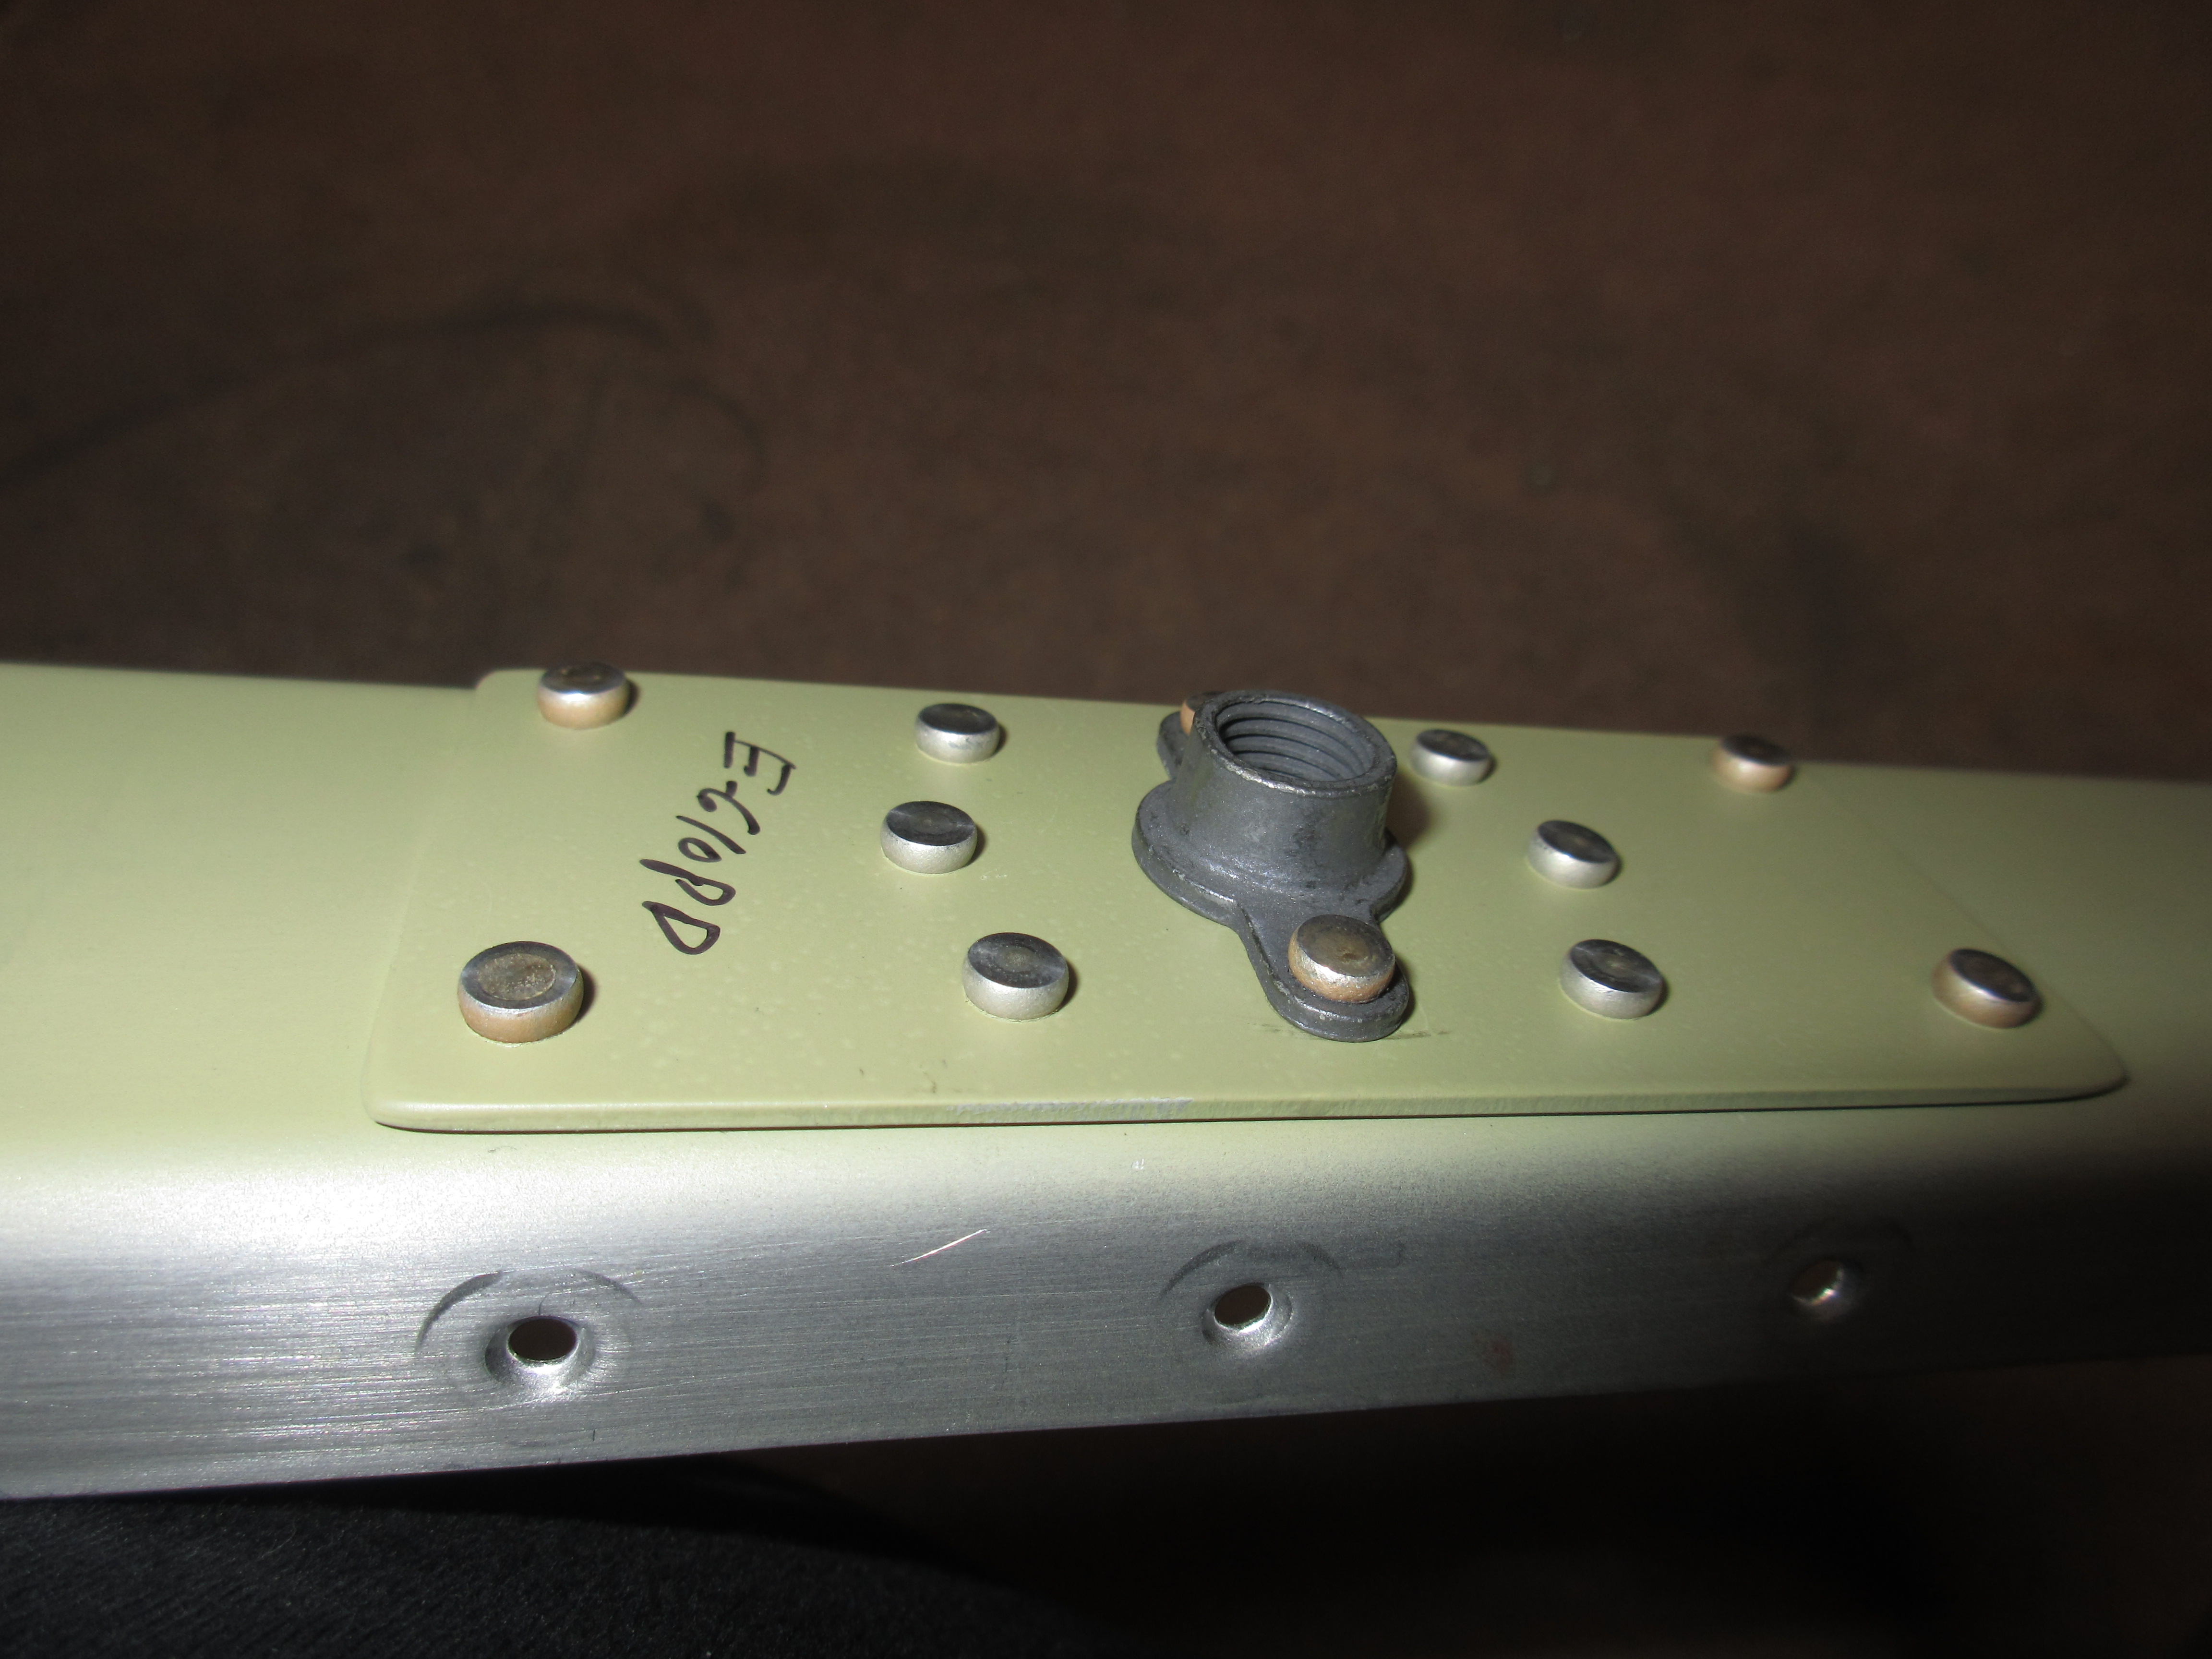
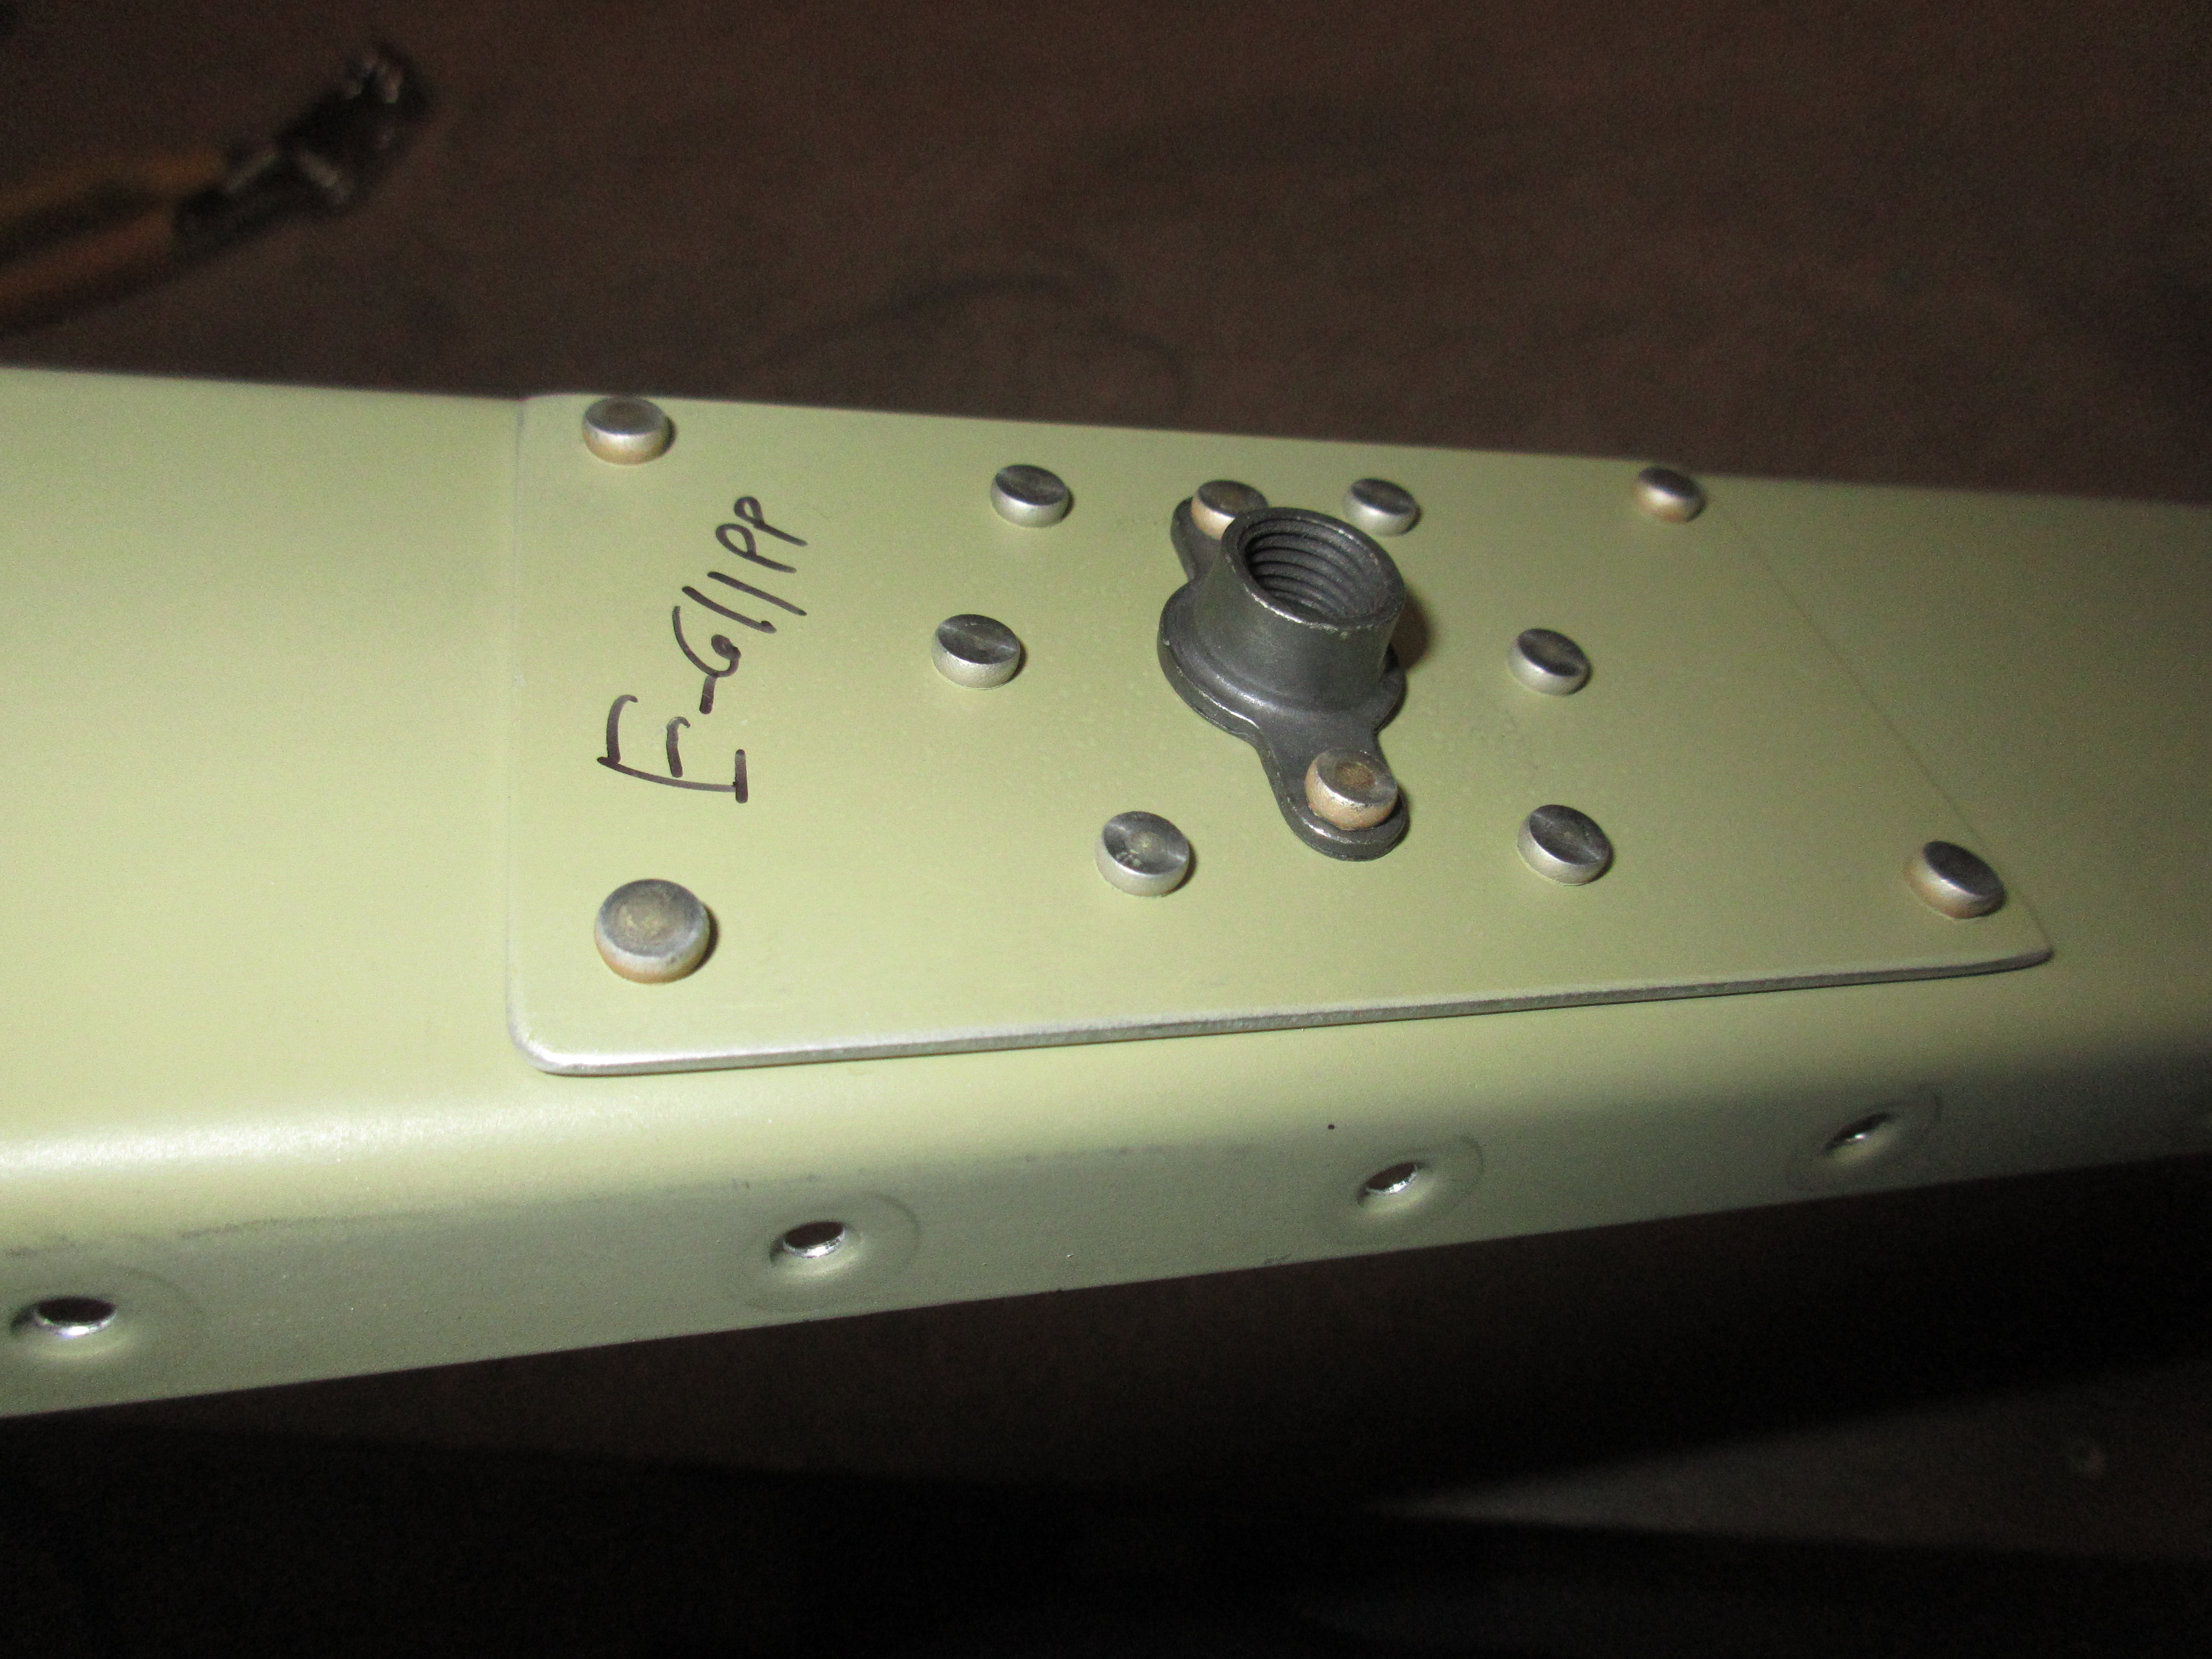
https://thelonelycreative.com/contact-us/ I then decided to skip back up to the doublers and platenuts on the E-702 spar. These were fairly easy to do, I just double checked that I had the right length rivets in the right holes, as we use three different lengths in these sections. I also double checked I had the orientation of the platenuts correct as well, and then used the squeezer to set al these rivets. I love the way it came out!

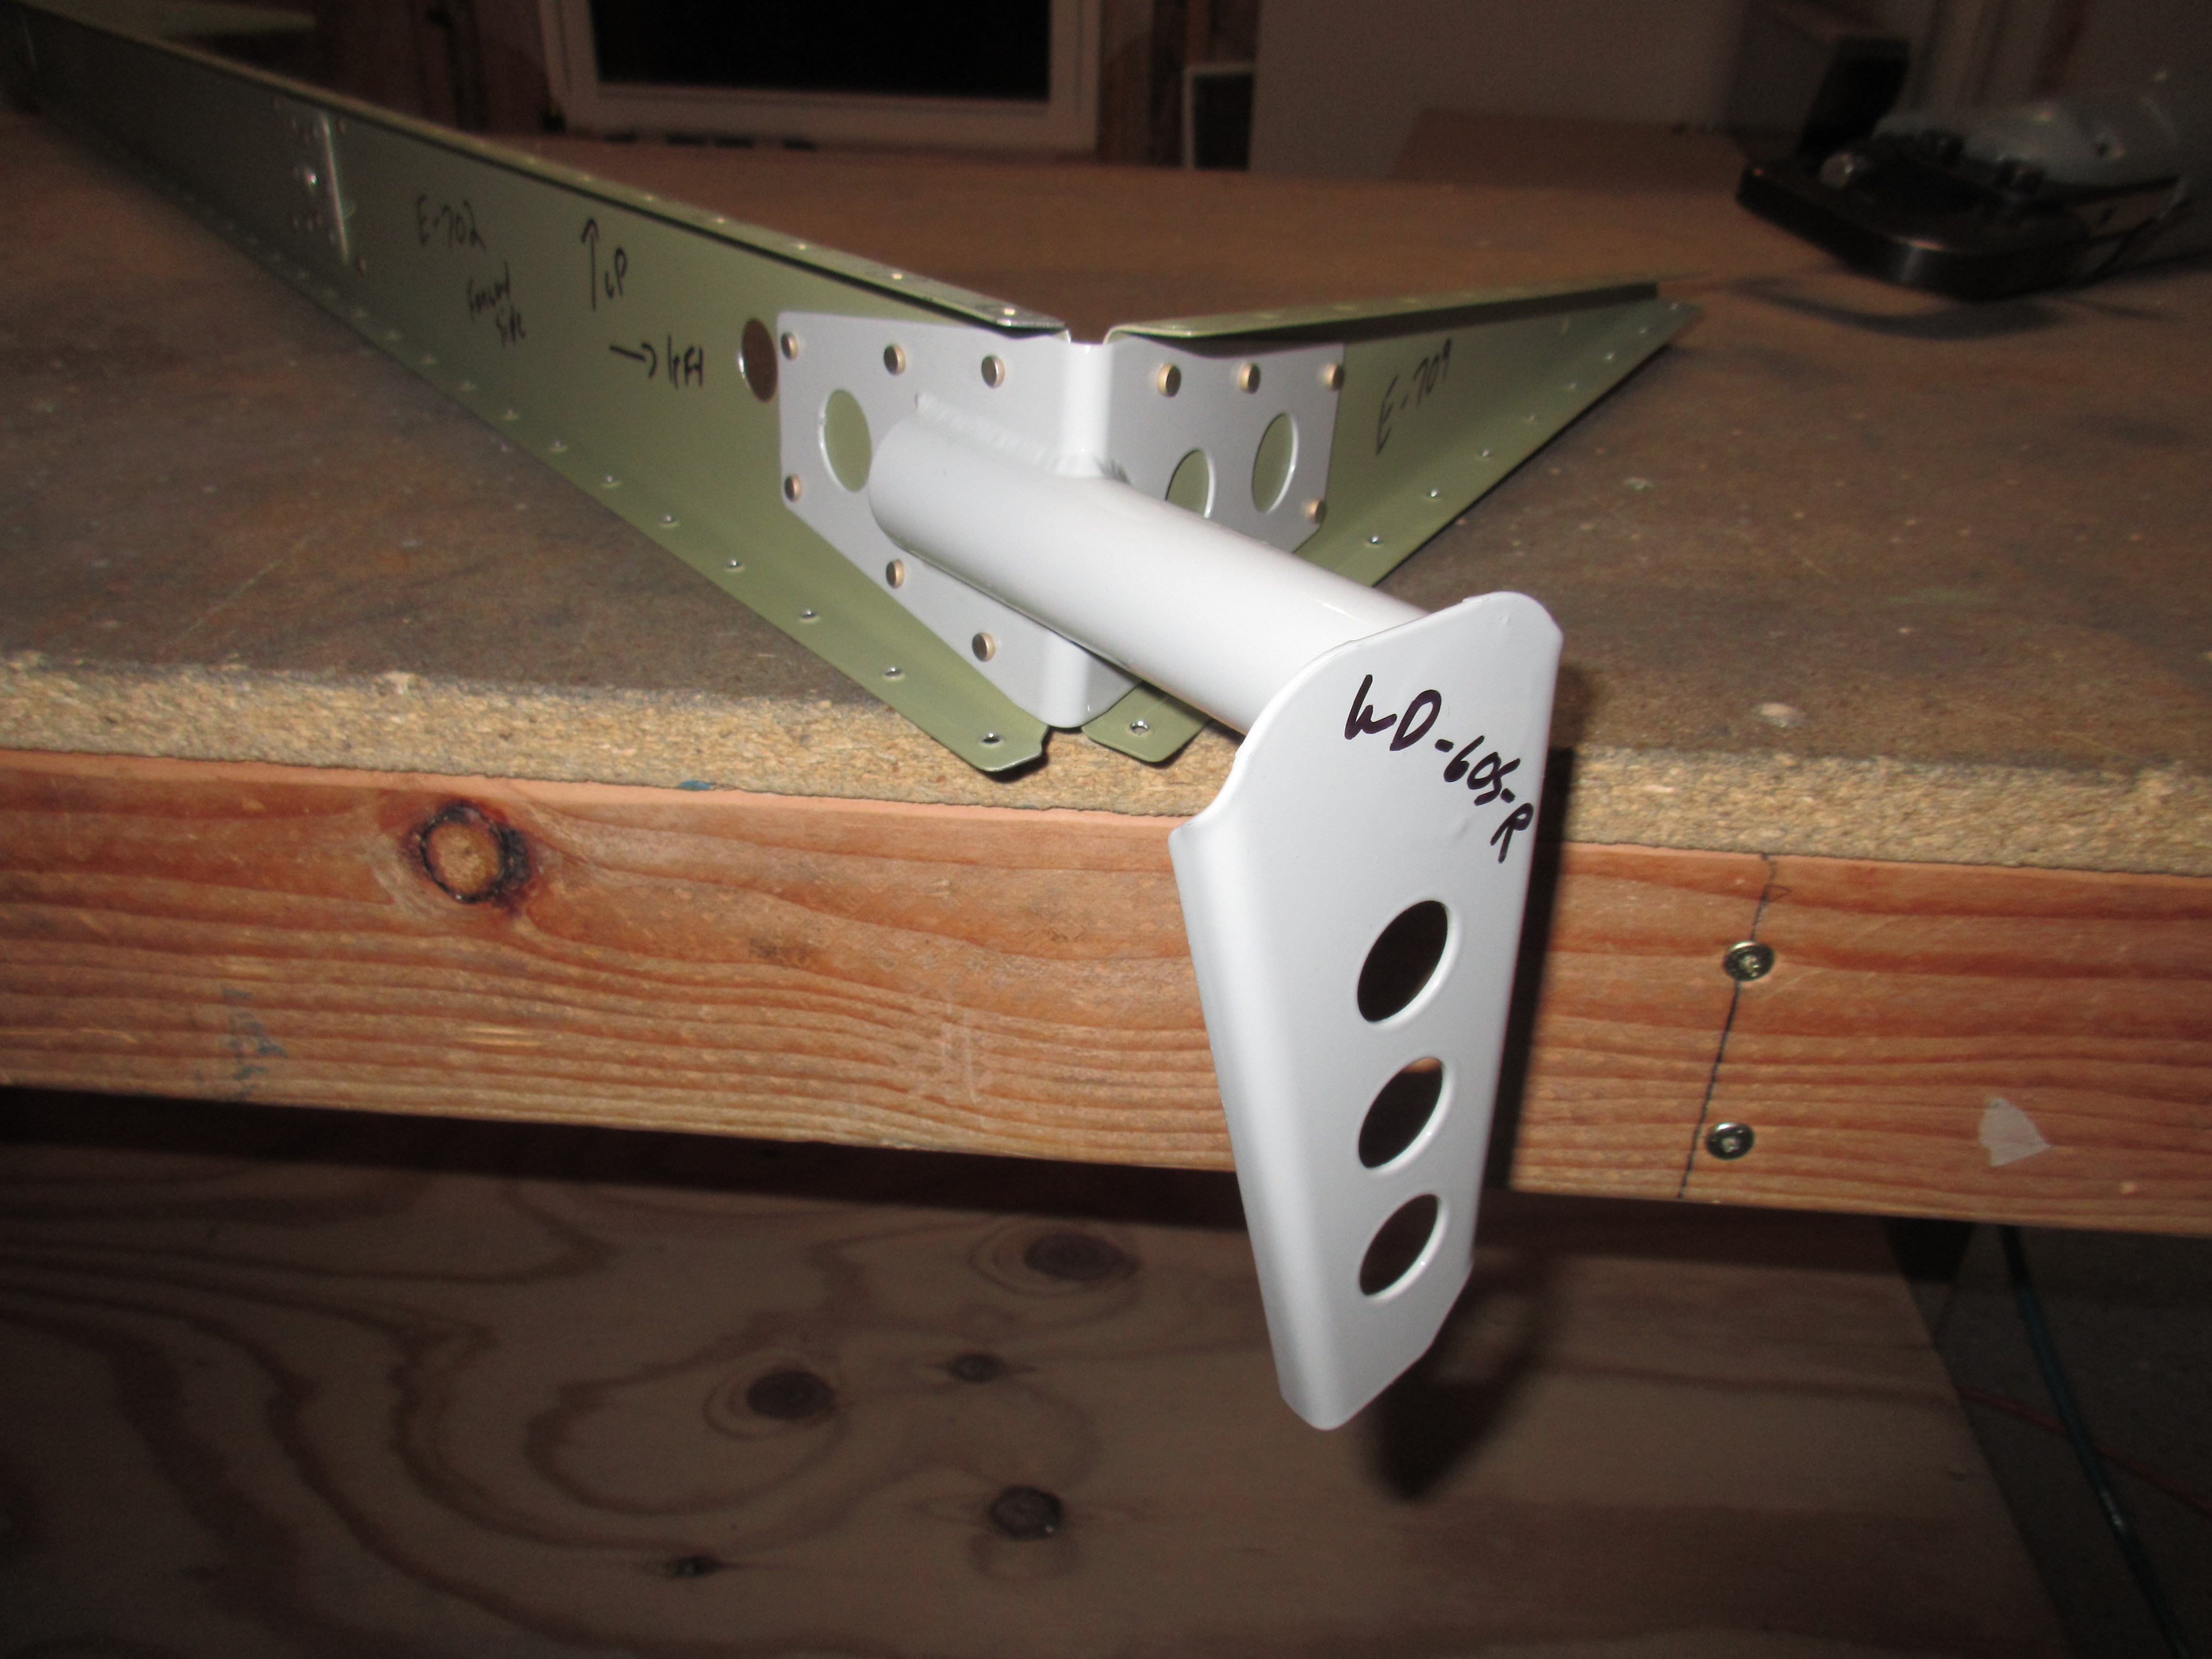
https://www.ztpackaging.com/soft-loop/ Finally, I decided to rivet on the WD-605-1-R elevator horn to finish off the skeleton. Again, double checking the orientation, because it is possible to put this part on upside down if you’re not careful. Then, I riveted in using AN470AD4-4 rivets and my squeezer.

Buy Online Soma This finishes up the right elevator skeleton, and in the next session, I think I will rivet the skin to the elevator, but I am still debating on saving that portion until I get ready to pro-seal the rudder trailing edge. This way I can use the same ProSeal to bond the trailing edges of the stiffeners of the elevators. We’ll see how it goes. Here’s the photos from tonights session:
Order Xanax No Prescription This slideshow requires JavaScript.
Buy Zopiclone 7.5 Mg Online Google Photos Album link: https://goo.gl/photos/Mu4Tk4GGtpf46Rmq9
Hours Worked: 3