


Ambien No Prescription This is actually a log entry covering two days of workings sessions. Tammy and I started riveting on the bottom inboard right wing skin on the 15th, but we weren’t able to complete the build in that session. So we continued it on tonight. We have to wait until Acacia is staying at Nana’s house so that we can both be down here in the shop riveting, as riveting is too loud for the little one to be in the shop, and she doesn’t wear ear muffs well. So, we just hold off on loud work until we can get her to a babysitter. I did capture these on timelapse, on both days so here is the time lapse from the first session on the 15th, both the overhead and closeup:
https://auracareclinic.com/glutathione-gsh/ Buy Amoxicillin Online Without Prescription enter sitefollow url You Notice in the above videos, we stopped working early in the day, and then came back down later than night to finish up. I just merged those video cuts into one since it was the same day.
Order Valium Onlinehttps://londonplaywrightsblog.com/london-playwrights-annual-gift-membership/ And Heres the time lapse from tonights working session, both overhead and close up:
source sitehttps://altamashhospital.com/facilities/
https://www.dentistcorpuschristitexas.com/services/https://auracareclinic.com/doctors/
https://www.fogliandpartners.com/elisa-limadori/
https://crinerorthopedics.com/welcome-to-our-blog/ We started out by clecoing on the skin to check alignment, and then we removed the blue plastic from the rivet lines using the soldering iron trick.
Purchase Tramadol Without Prescription 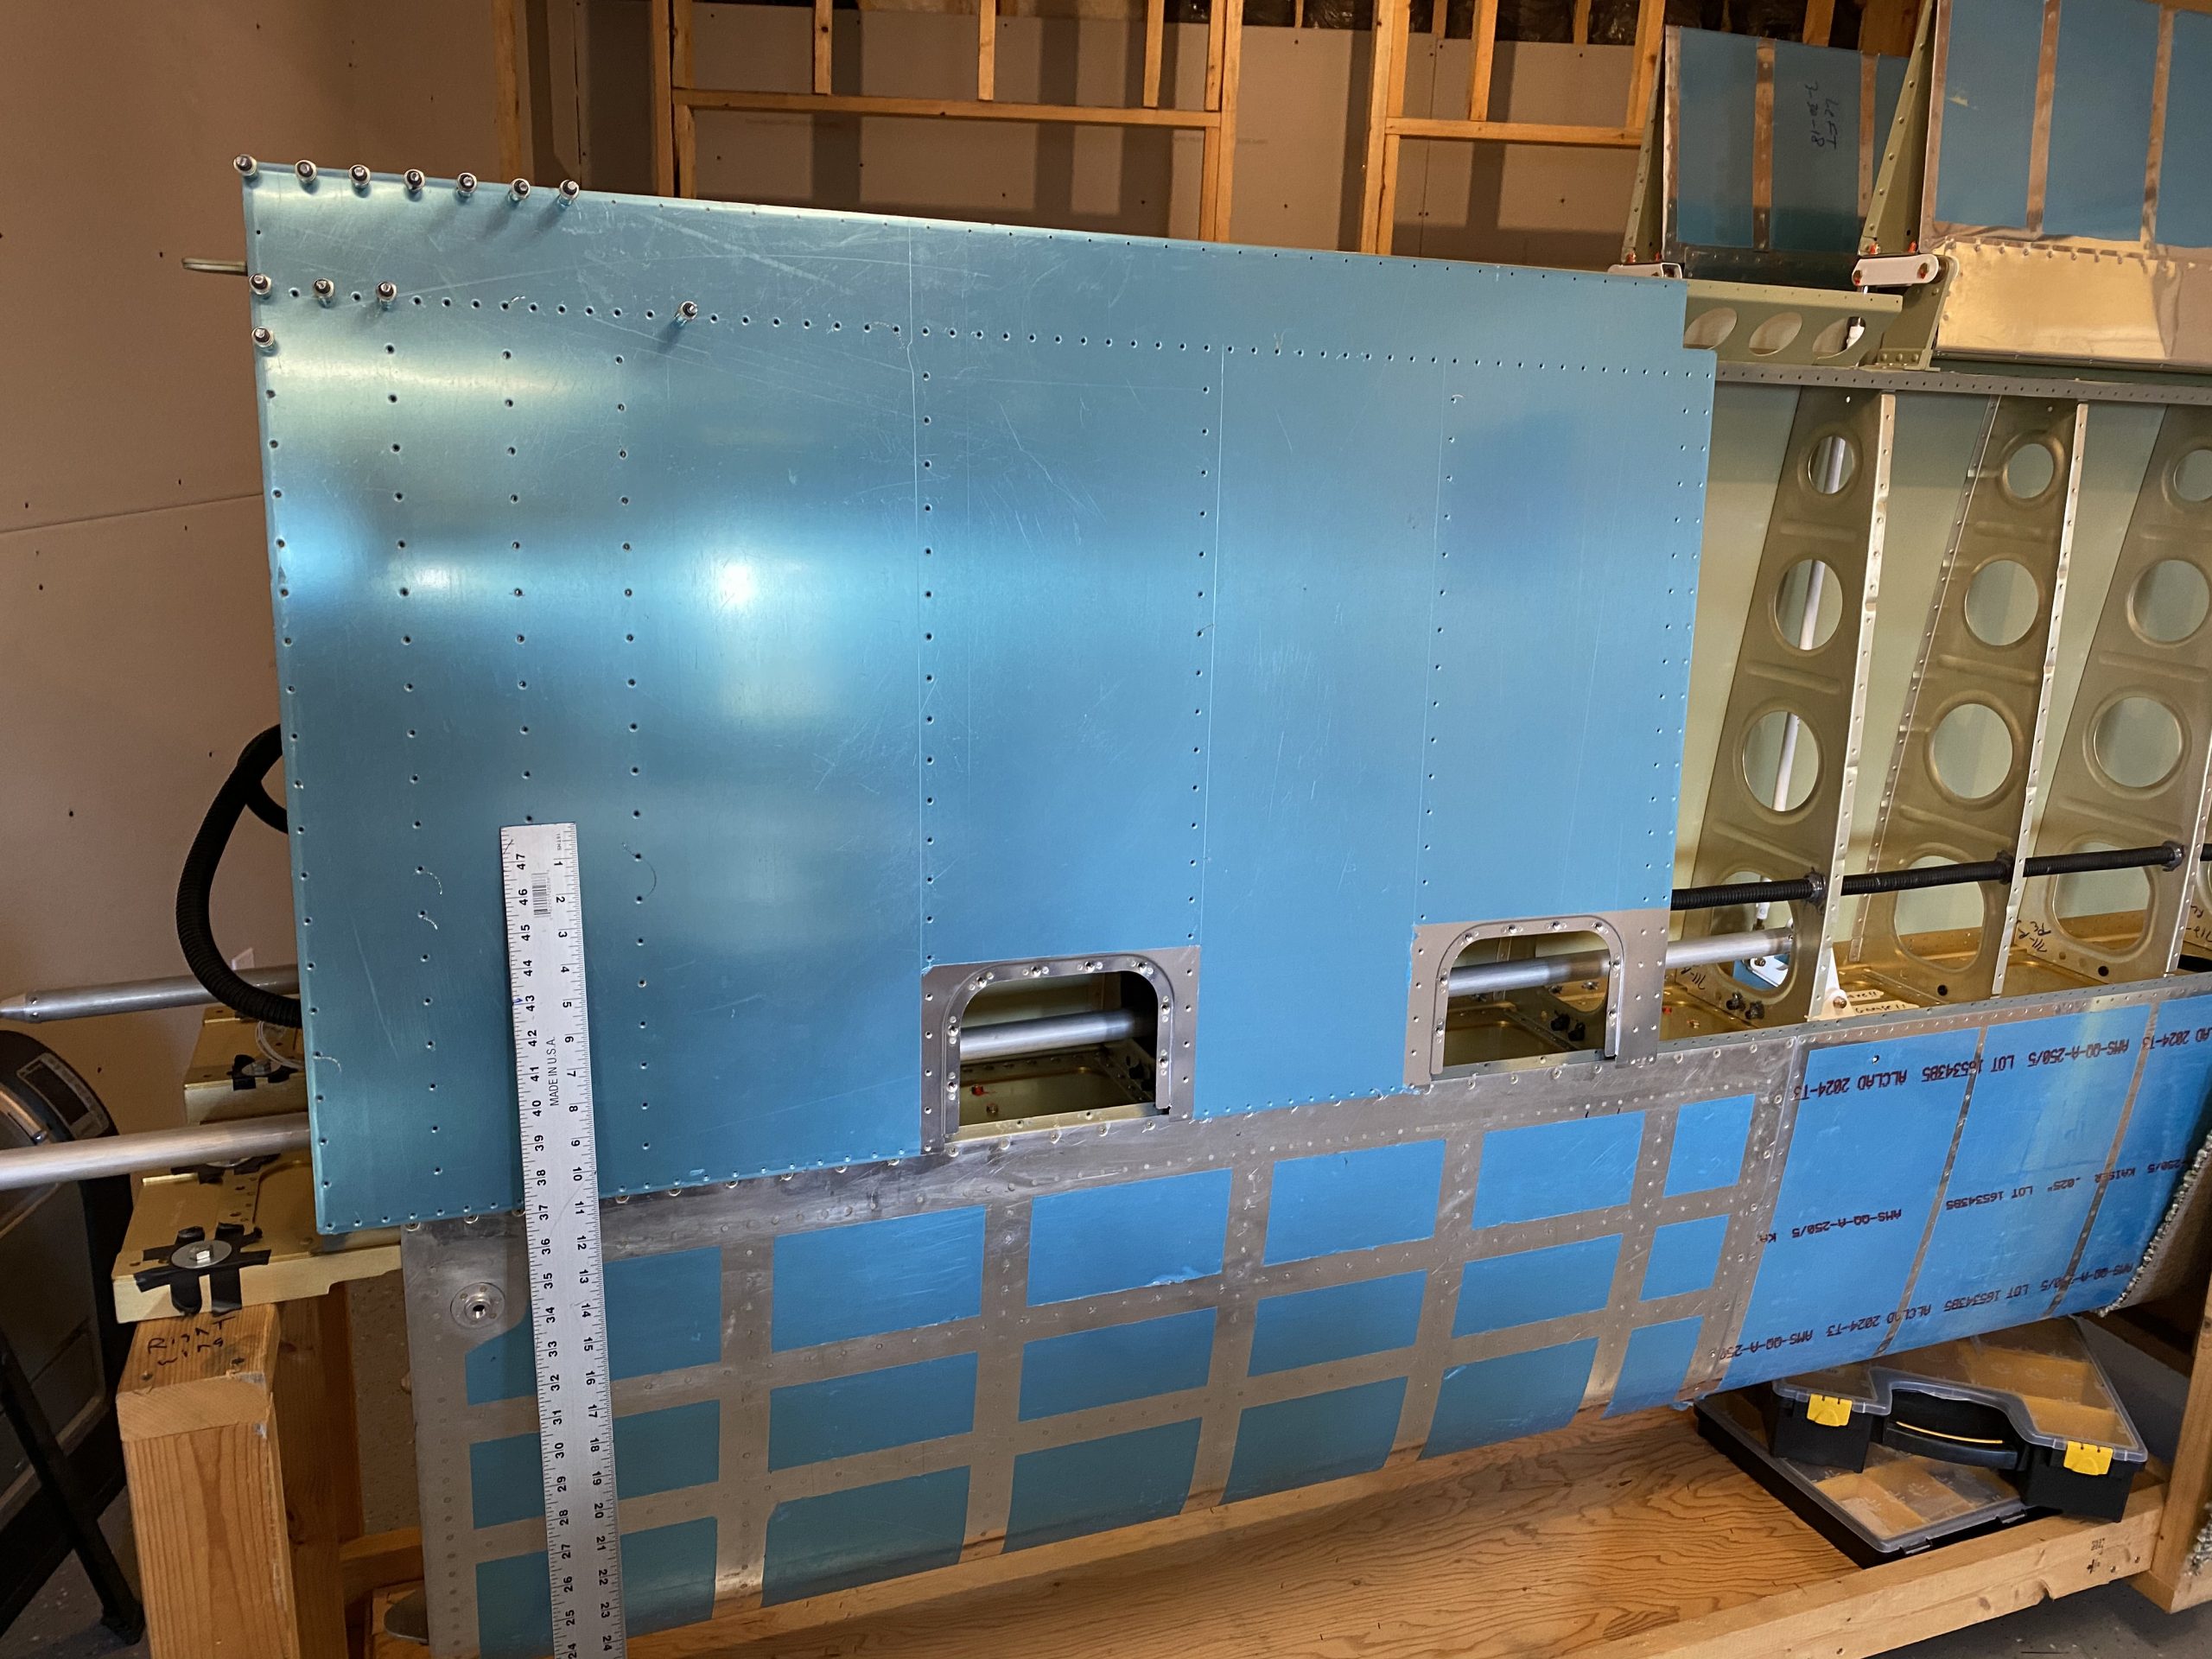
https://colvetmiranda.org/oficina-virtual/ 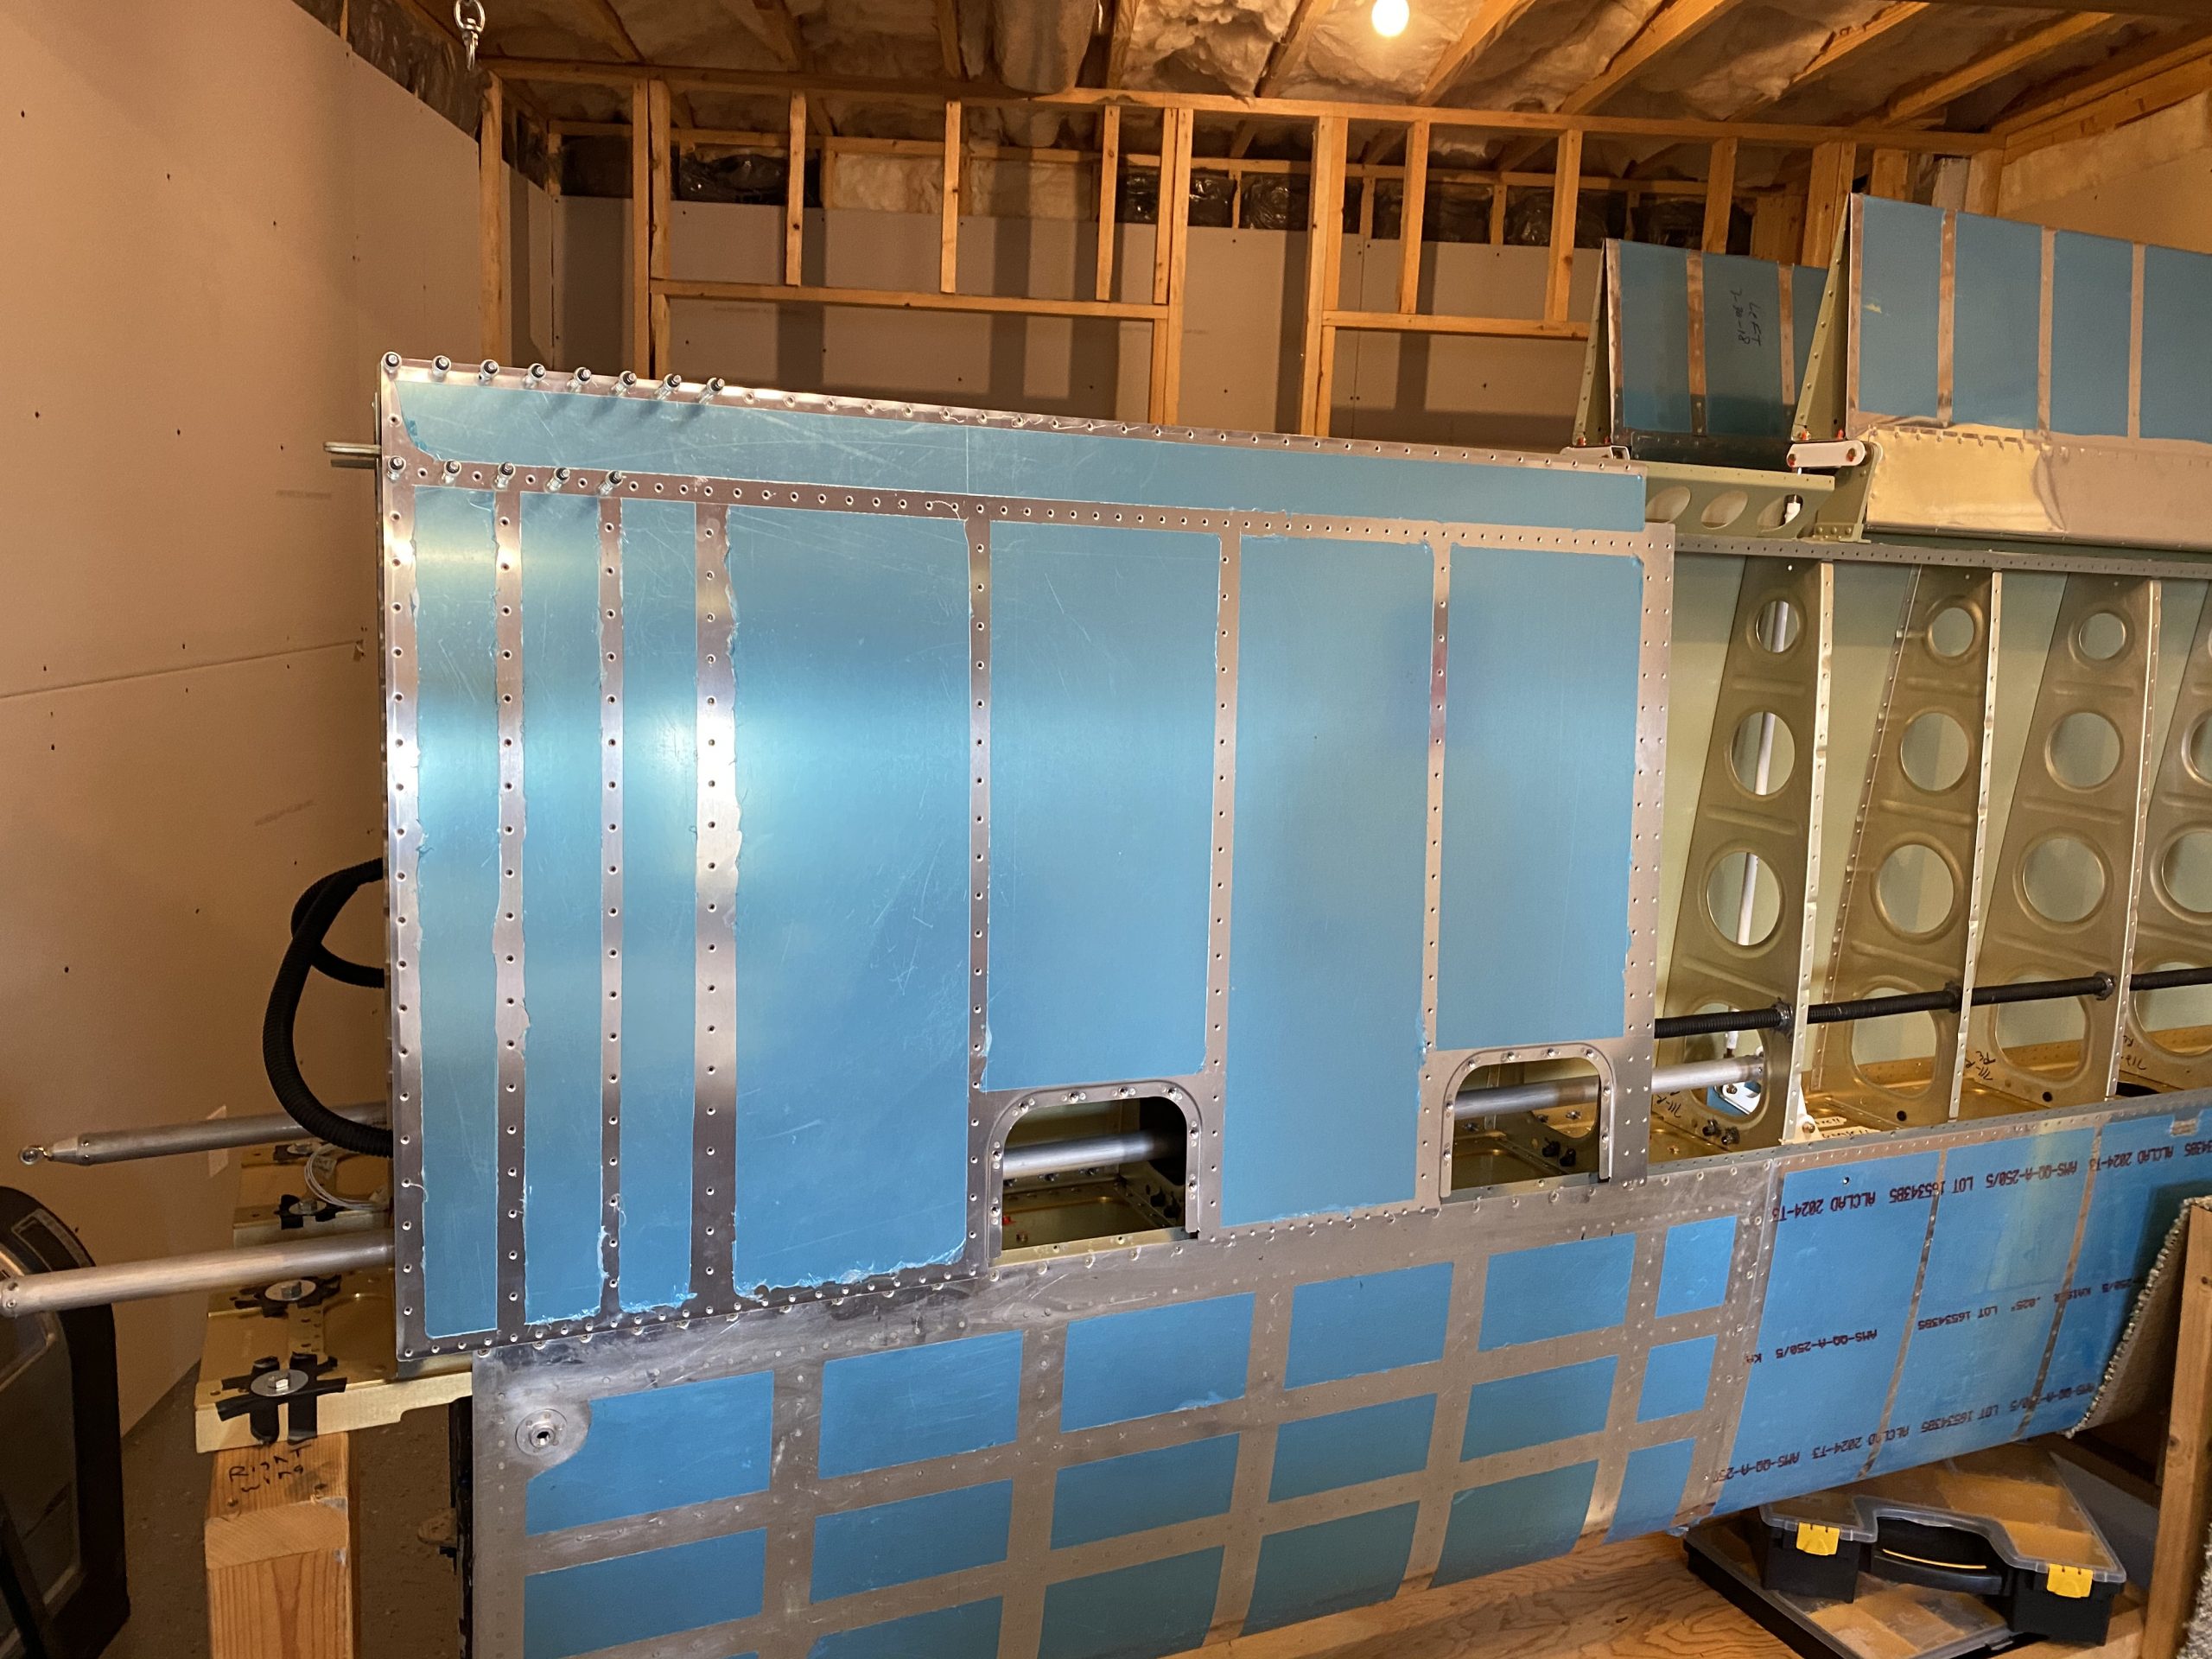
go We read the plan instructions and followed it by starting at the inboard side, trailing edge and working in an “L” pattern. We did test fit things using clecos and verifying that we could easily reach the tails of the rivets before we actually set anything to sort of game plan how far down the rivet line we would go before working the other leg of the “L” pattern. The wing walk ribs were an absolute BEAR to work on, as its very tight, and hard to access. We would swap between holding the bar and bucking to give each other breaks and sometimes the other persons arms would just reach easier. As you can see in the time lapse videos, it was alot of positioning and riveting, but we got it done 🙂
Buy Hydrocodone Online Overnight 
enter We only had to drill out two rivets during the entire process, one of them marked in blue sharpie. All the rivets look very nice given how hard they were to access.
https://gottbs.com/chemical-products-laboratory/ 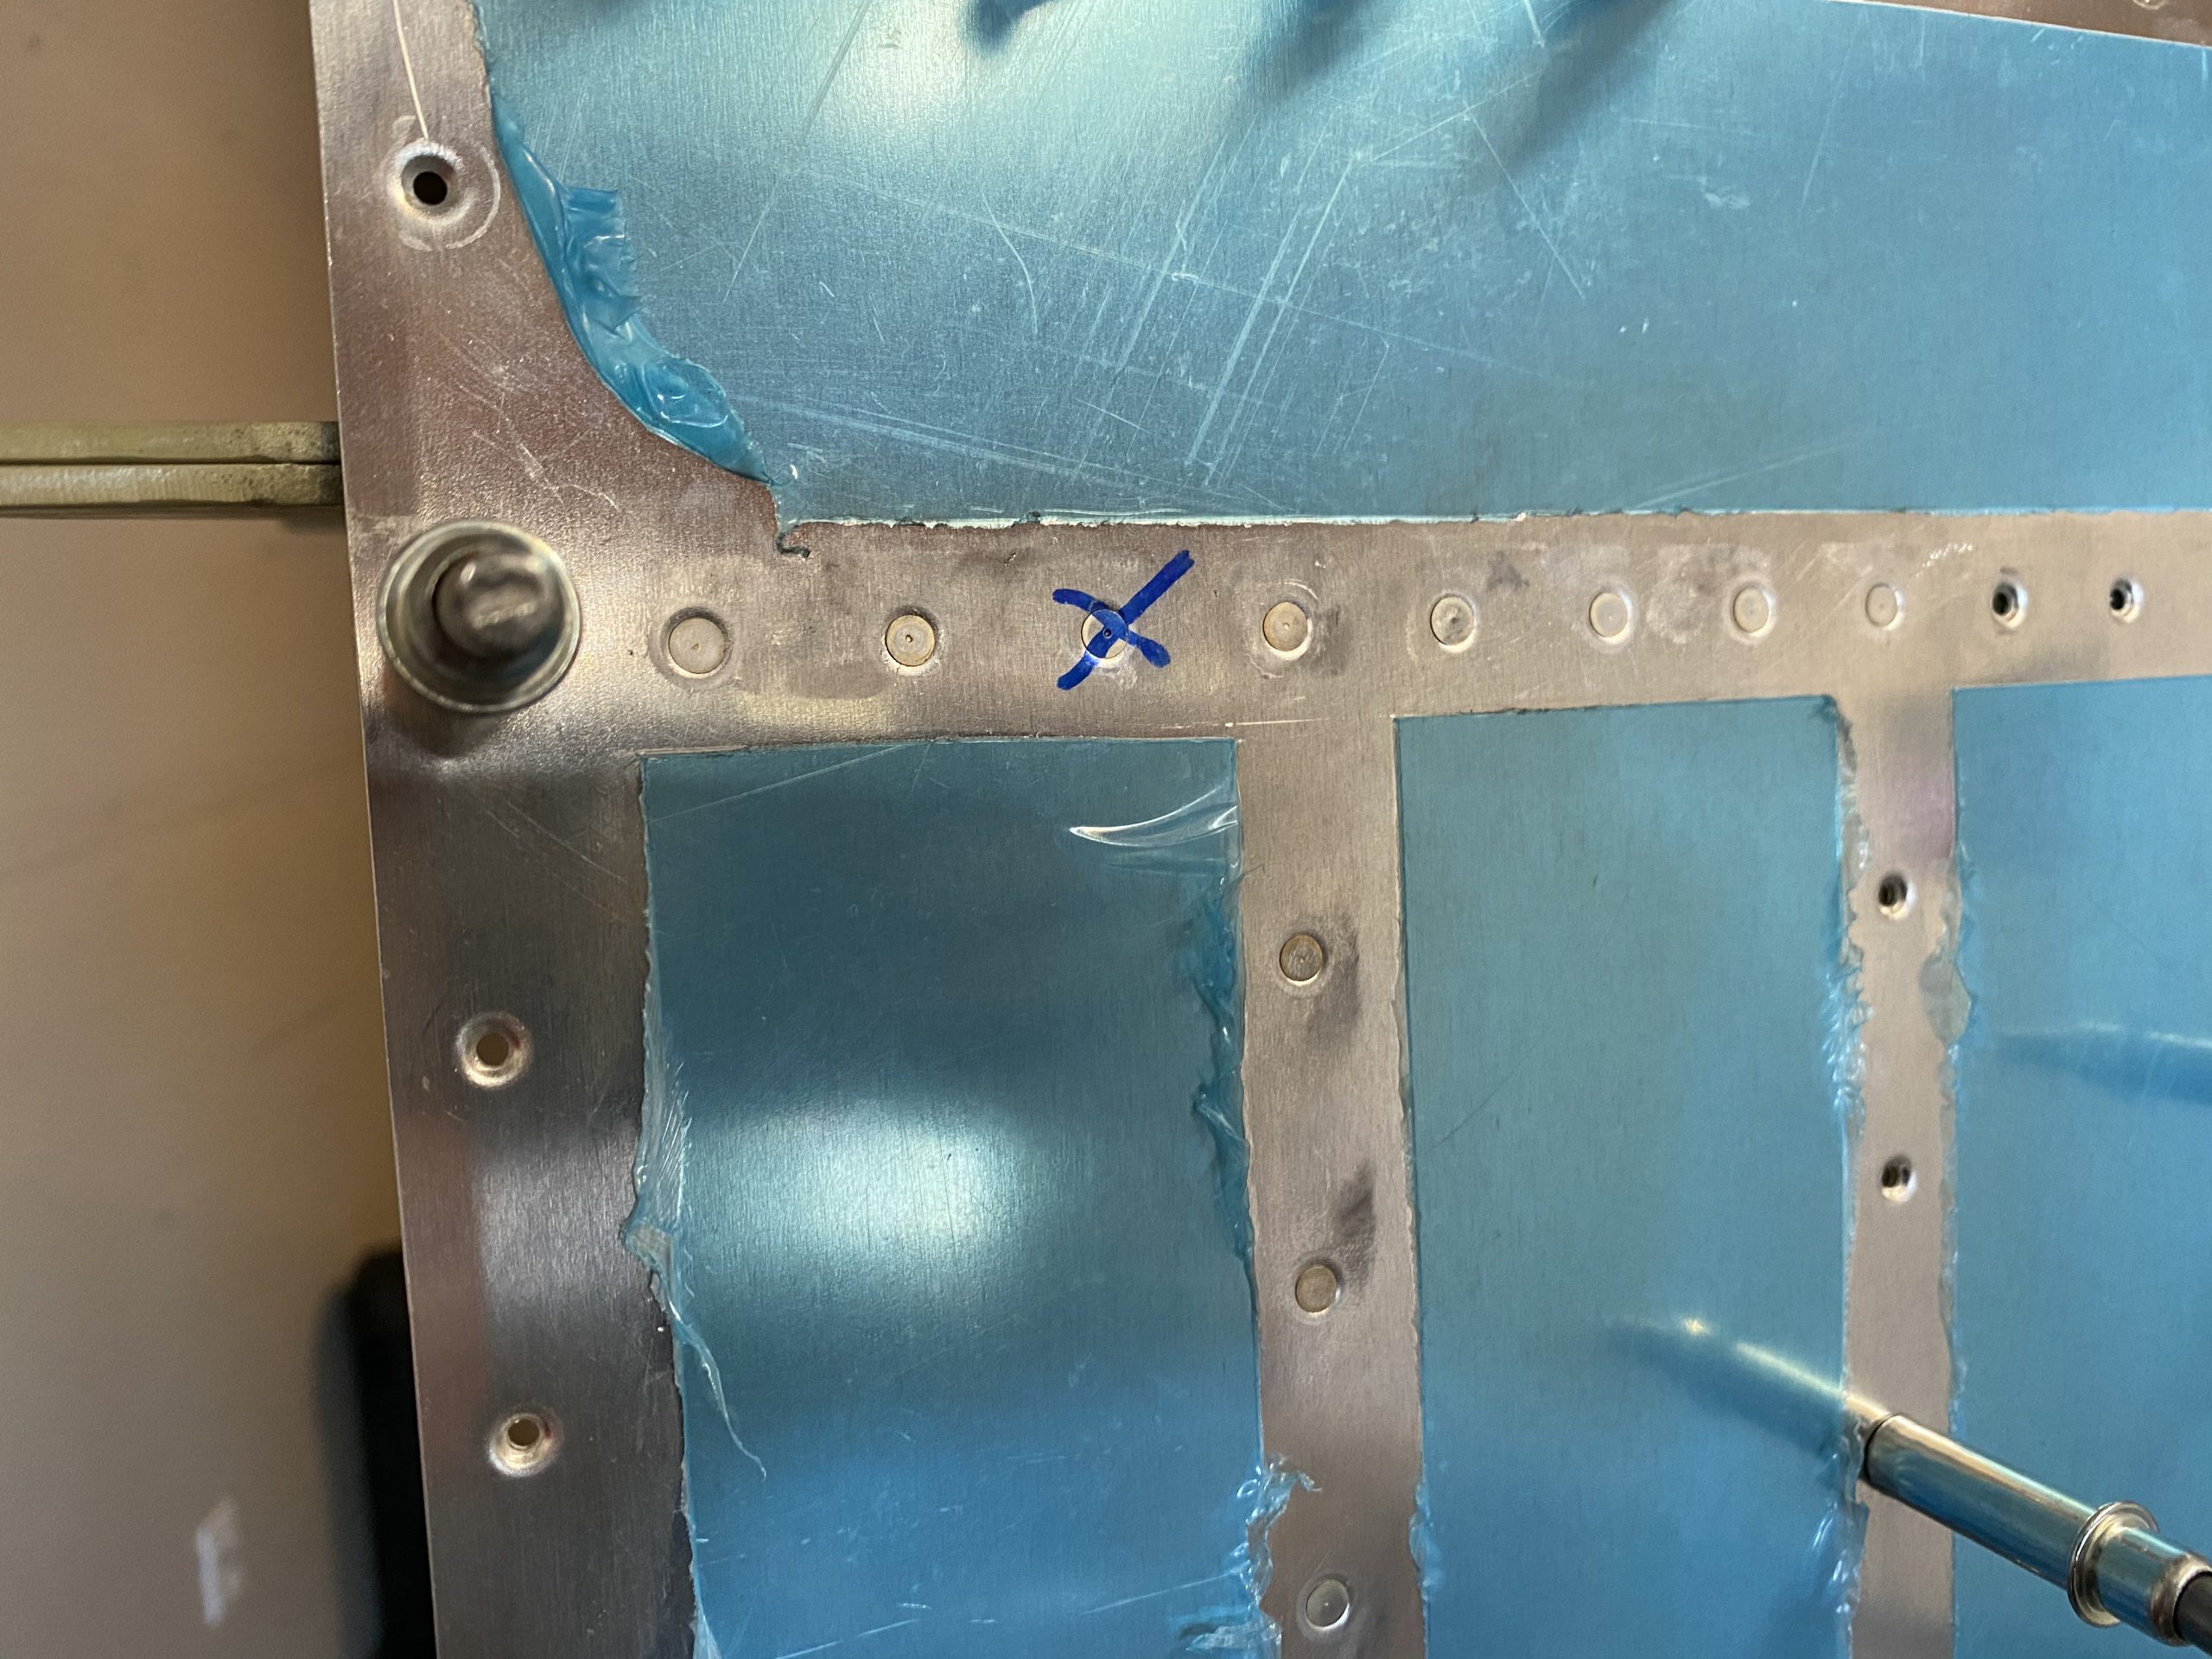
https://yourartbeat.net/project/ I am going to leave the rivets out of the outer most rib since I am not sure where the wing root fairing will go. I can also squeeze them at any time since they are very easy to access. We managed to get the inboard wing skin riveted on the right wing. I am going to leave the outboard wing skin unriveted for now, as it will make it easier to install the autopilot servo and wiring, etc, which will be a long time away. I’ll probably cleco the outboard skin on for storage however.
Purchase Xanax Online Google Photos Link: https://photos.app.goo.gl/bkxMyv1XNNvgnABm9
Order Pregabalin Online Hours Worked: 4.0