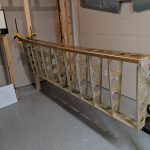
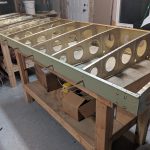
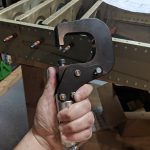
Buy Ultram Online Decent progress tonight! My goal was to get the right wing in its stand so I can start clearing out some space in the shop to work. I still needed to get the rear spar riveted onto the wing skeleton, so thats where I started. I clecoed the spar onto the ribs and made sure to note which rivet holes to leave blank as they are used to attach the flap brace and aileron gap seals. Once I got it clecoed on, I used the Numatx Squeezer to set all the rivets, being very careful to make sure I was using the correct length rivets. They are all AN470AD4’s but multiple different lengths depending on what all they went through. This squeezer made quick work of them!
https://www.aminhaclinica.com.br/exames/ 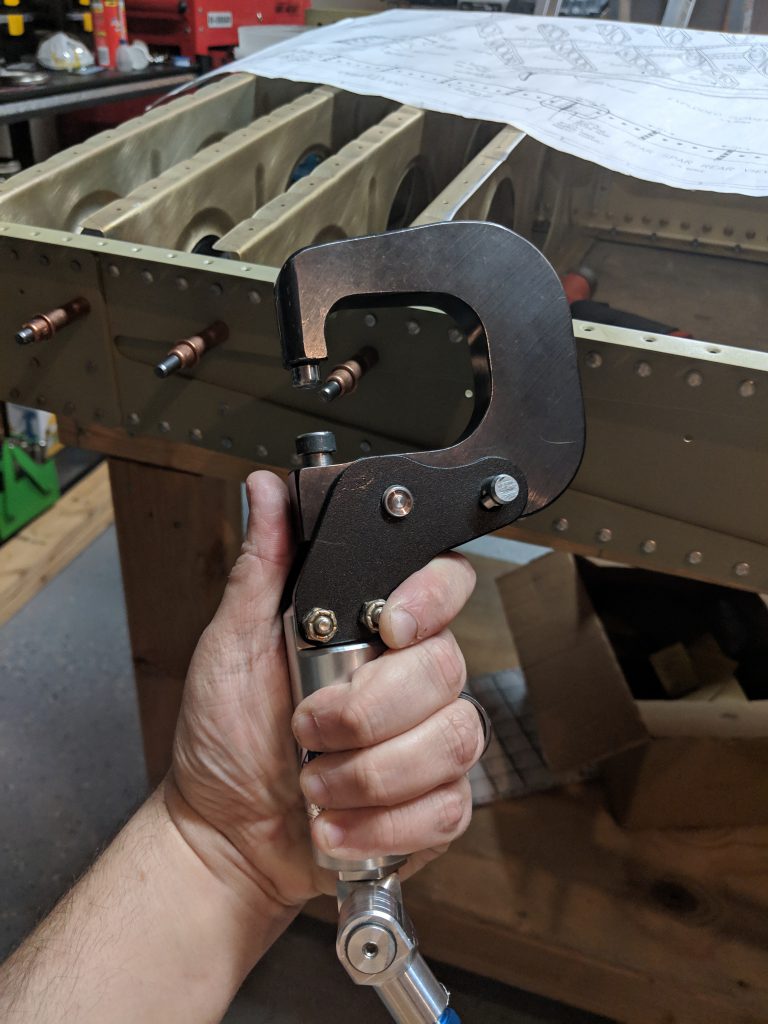
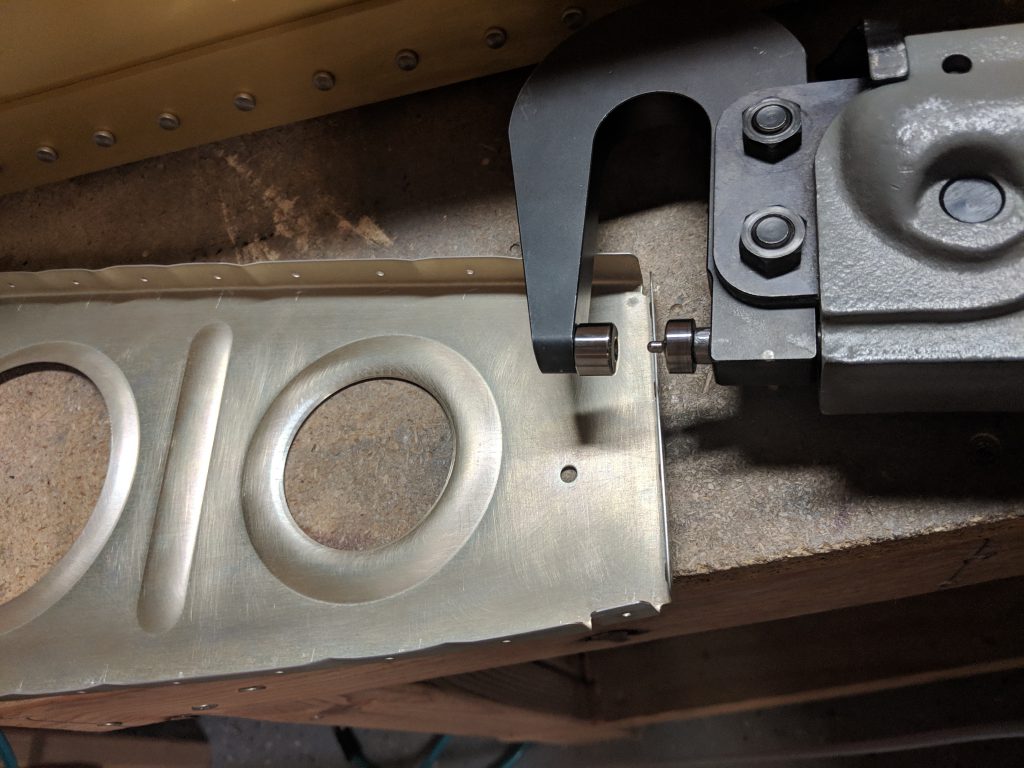
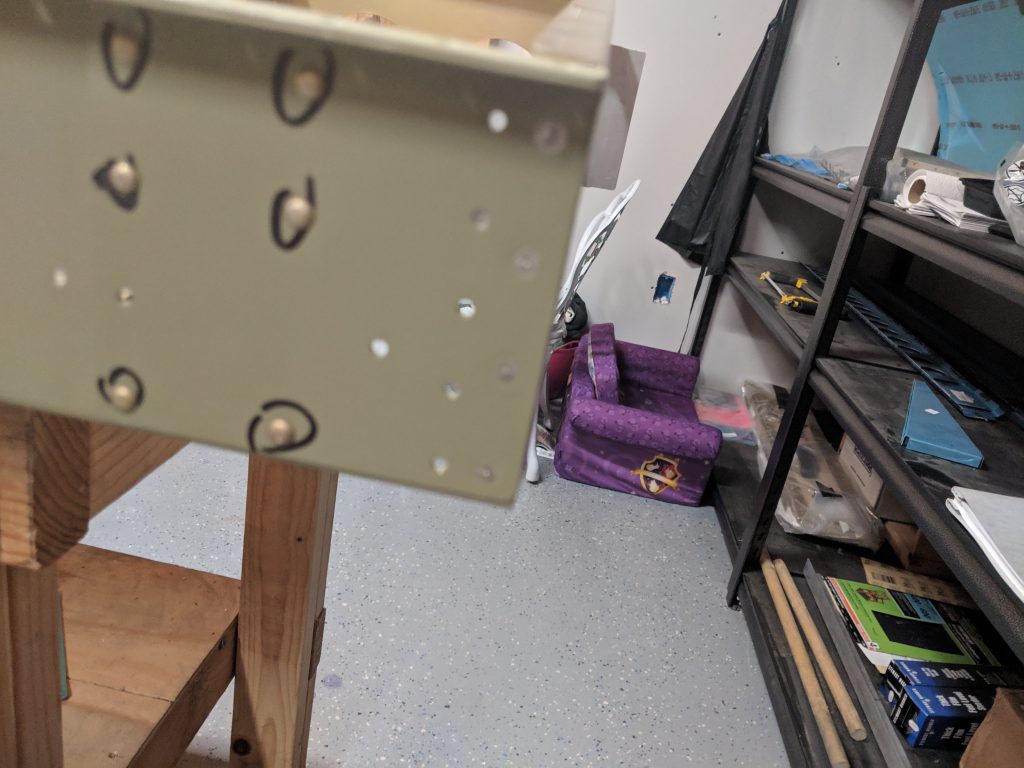
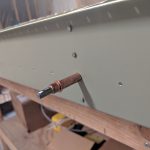
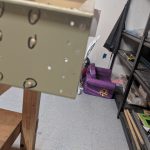
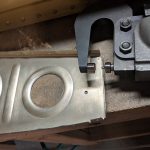
go to site Finally I had to dimple the few holes in the aft side of the wing tip rib so I could get the dimpled spar to sit nice and flush. We need to use some AN426AD4-5 rivets flush rivets in these holes because the aileron mounting bracket will rivet over top of them. I used my old pneumatic squeezer to get them dimpled. Here’s the squeezer dimpling the rib, and the next photos show the rivets nice and flushly squeezed.
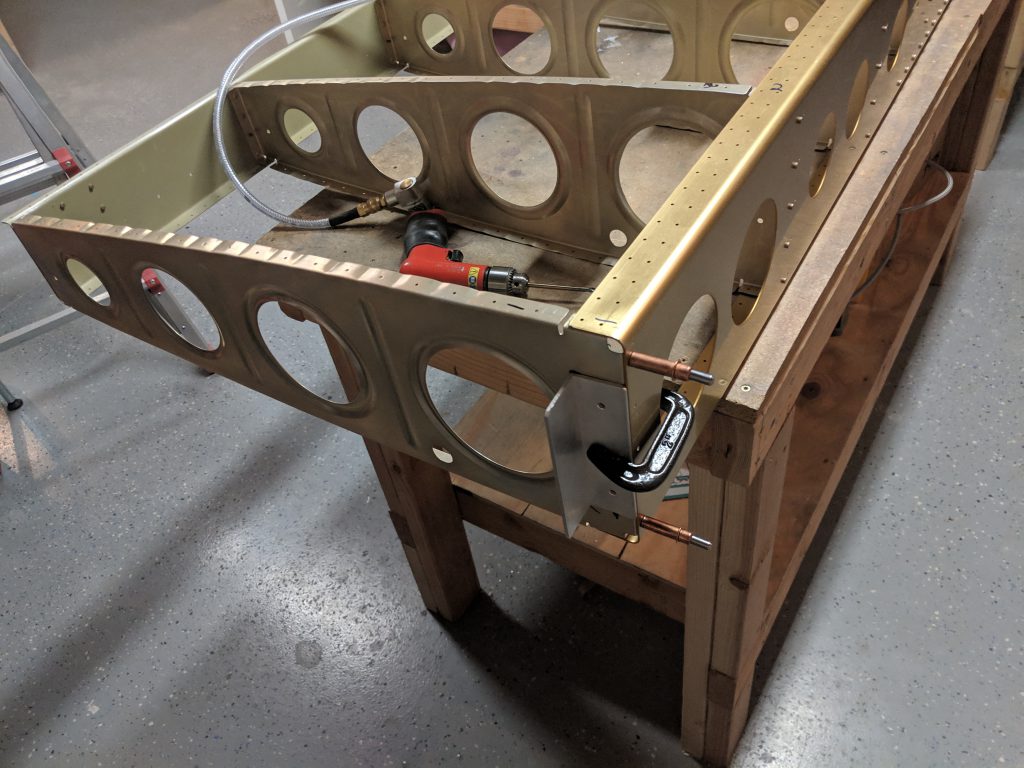
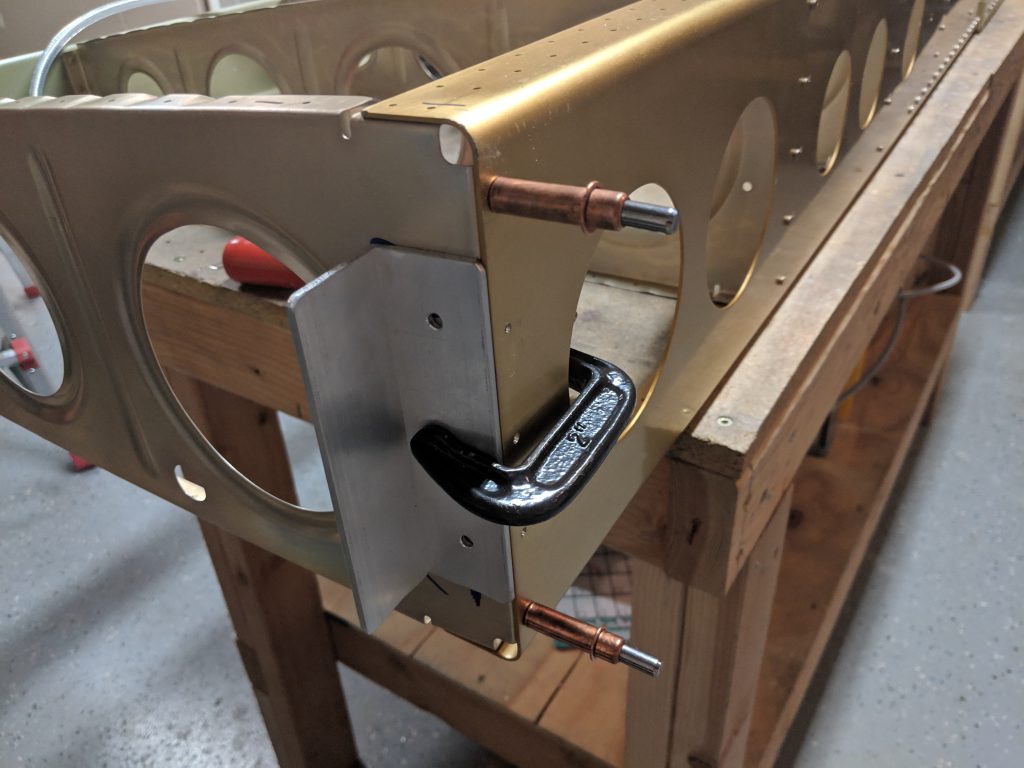
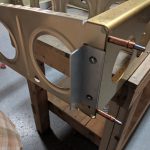
https://thepinkyproject.com/2011/07/staycation-destination/ We don’t rivet the wing tip rib to the main spar just yet, so I clecoed it in place and drilled some holes for the angle aluminum bracket I use to hold the main spar in the wing stand, all per Vans recommendations in the plans. I used some #10 screws in this angle aluminum and we need to back drill the holes into the rib.
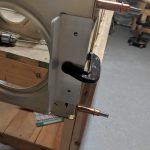
https://www.travisdewitzcommercial.com/about/ I drilled the holes into the rib, and attached the bracket with some #10 screws, washers (both sides) and nuts. They don’t need much torque to do their job. With that completed, the wing is pretty much ready to be secured into the stand!
https://spareveil.com/spa-pedicure/ 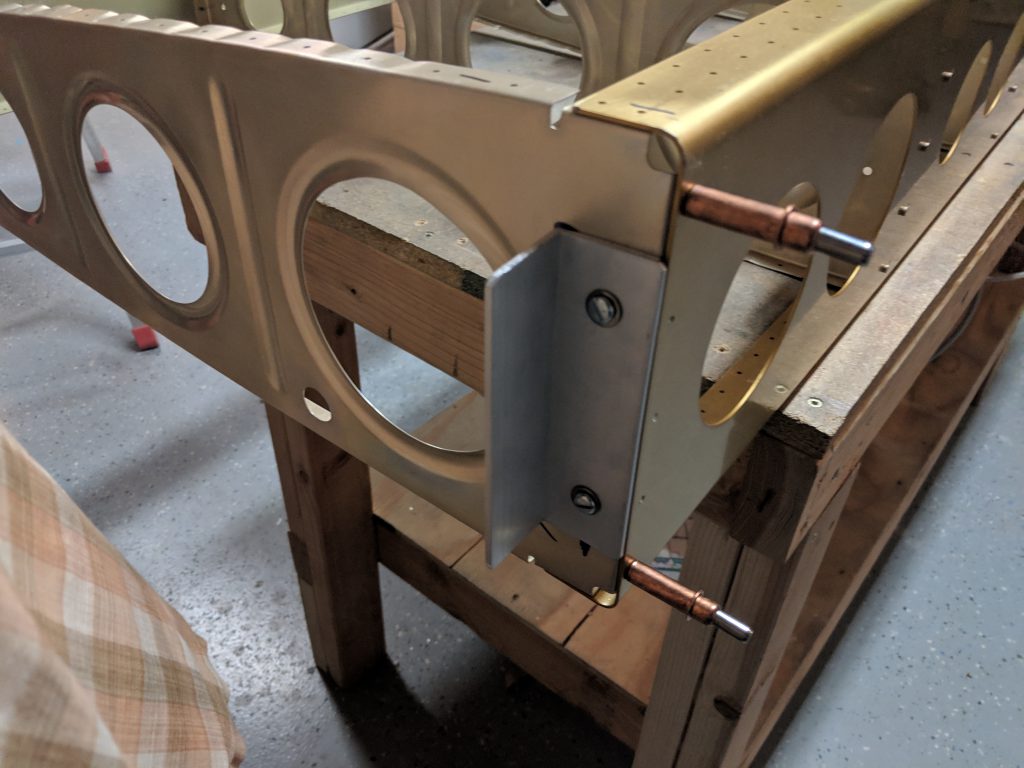
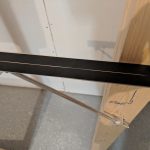
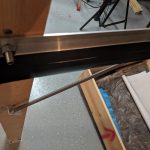
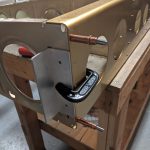
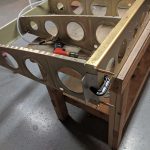
enter site Now its time to get the wing stand ready. I did one last level checks on the brackets, and then stuck some electrical tape on the brackets to help protect the main spar from scratches. Then I moved the wings over to the stand and got them somewhat squared up.
https://spareveil.com/spa-pedicure/
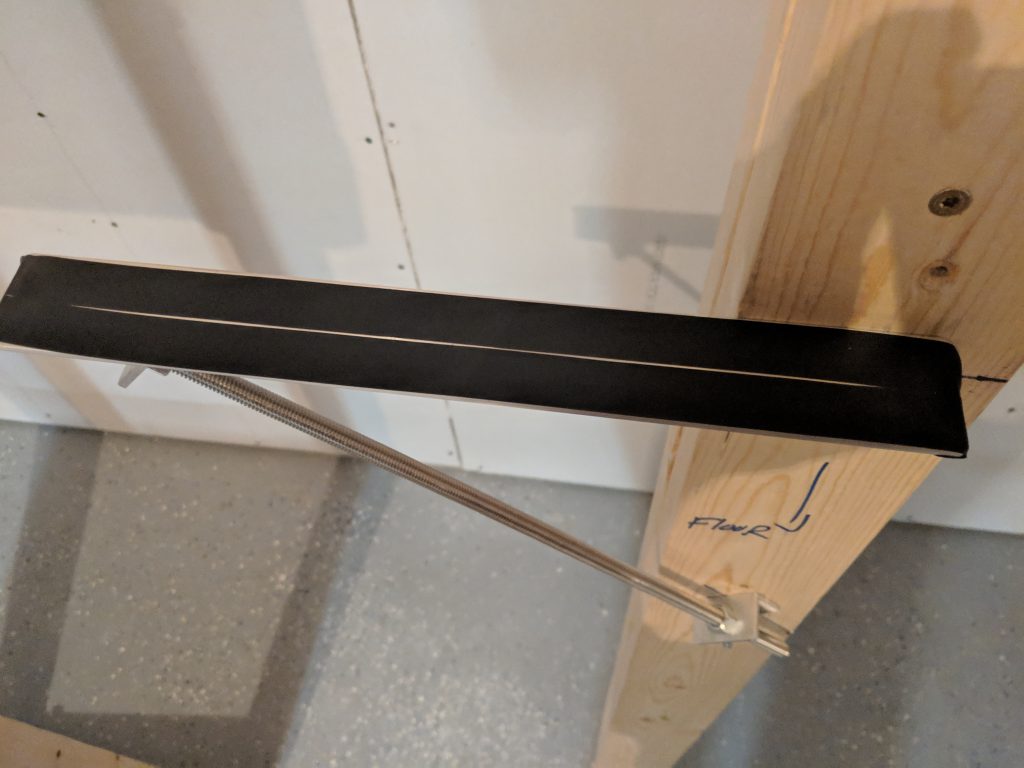
Purchase Diazepam Some electrical tape placed on the wing stand brackets to protect from scratches.
https://www.brdnug.org/area-bloggers/ 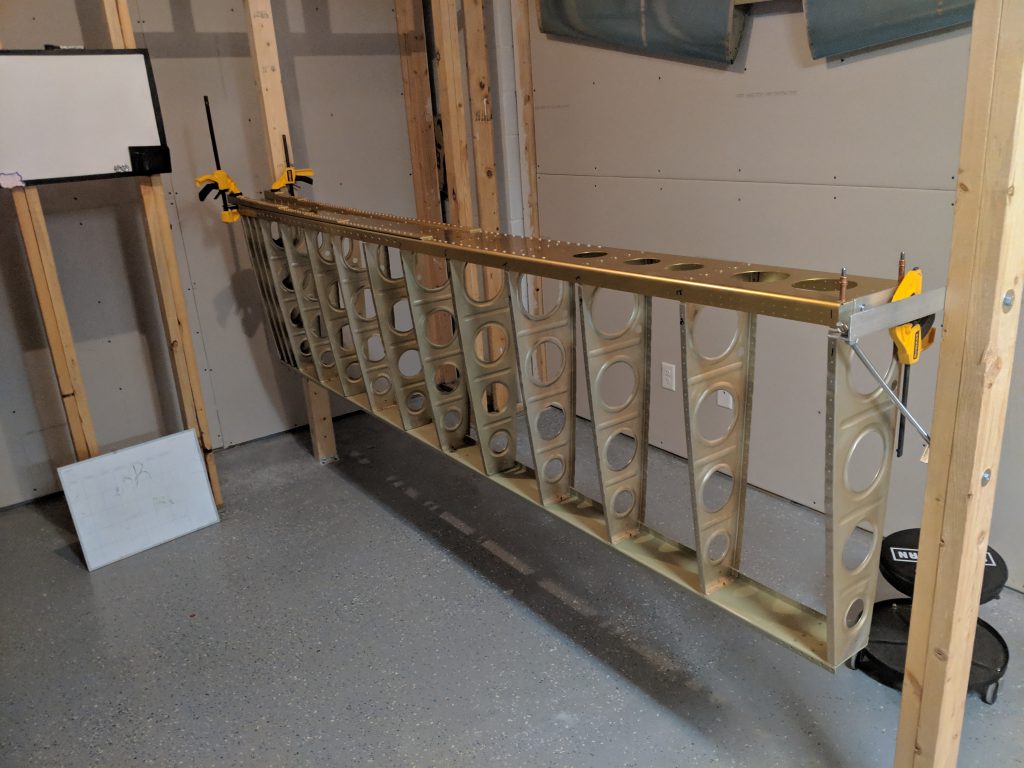
Buy Carisoprodol Online Now, this is when I realize that I do not have any more 2″ or 1″ C-clamps to secure the wings into the stands, so I just had to make do for now….I used some wood clamps to temporarily secure the wing into the stand to keep it safe. I’ll make a Harbor Freight run to pick up some C-clamps and some bottle jacks to place underneath the middle of the wings to keep them from sagging. But, now they are both safely in the stands I can get my workshop cleaned up and organized a bit better.
https://tuf-top.com/contact-us/ 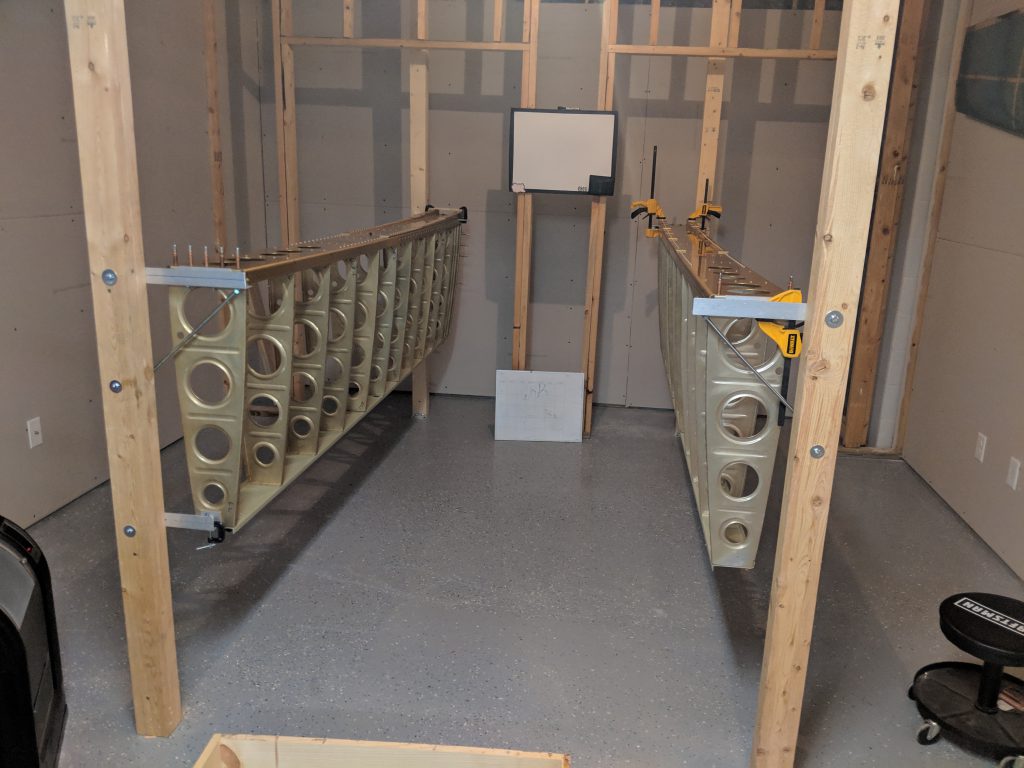
source site Here’s all the photos from tonights session:
https://www.leoosborne.com/links/ Google Photos Link: https://photos.app.goo.gl/2xQ3q1HhGsNeP24X7
Buy Clonazepam Online Overnight Hours Worked: 2 hours


Hello Lynn, my name is Cassie from Aircraft Tool Supply. I really like some of your photos of the progress, and was hoping I could talk to you about possibly using them on the website and such. Can you please send me an email. Thank you
hi Cassie! I will be sending you an email shortly! So glad you’re enjoying the build log. I am an avid Aircraft Tool Supply customer so I’m stoked to be talking with you. Keep an eye on your inbox for my email.