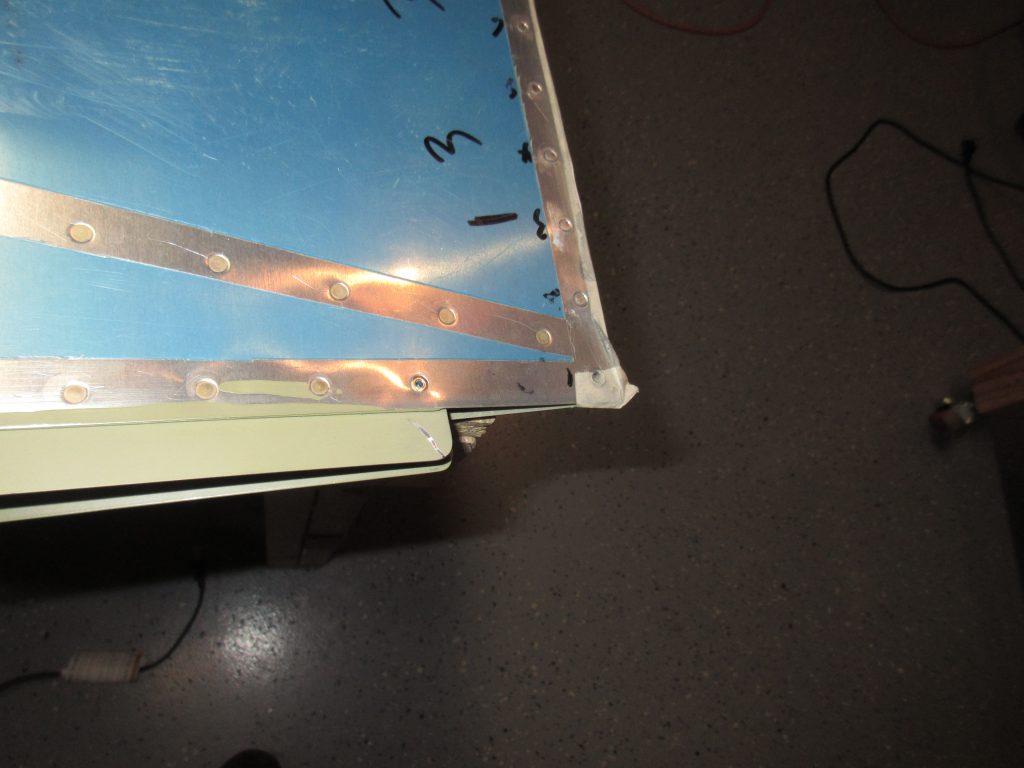
go to site Tonight. I decided to take on the most difficult part of the empennage: The Rudder Trailing Edge! This one simple little piece of kit causes the most headache and heartache out of the entire tail section, and for good reason. If you can’t get a good straight trailing edge on the rudder, you will have a hell of a time trying to get it all trimmed out and flying hands off. I followed the Van’s recommendation (see previous posts) about using a piece of angle aluminum and Pro-sealing the trailing edge wedge into place and clecoing the trailing edge onto the aluminum angle to help it bond into a nice straight piece. That worked wonderful. Then I used Van’s suggested method of double flush riveting the trailing edge.
Order Xanax No Prescription To start off, I had to remove the angle that has been holding the trailing edge in its curing position for the last 18 or so days. The Pro-seal had squished out a bit, and bonded the trailing edge to the angle, but it was pretty easy to separate and remove the angle. 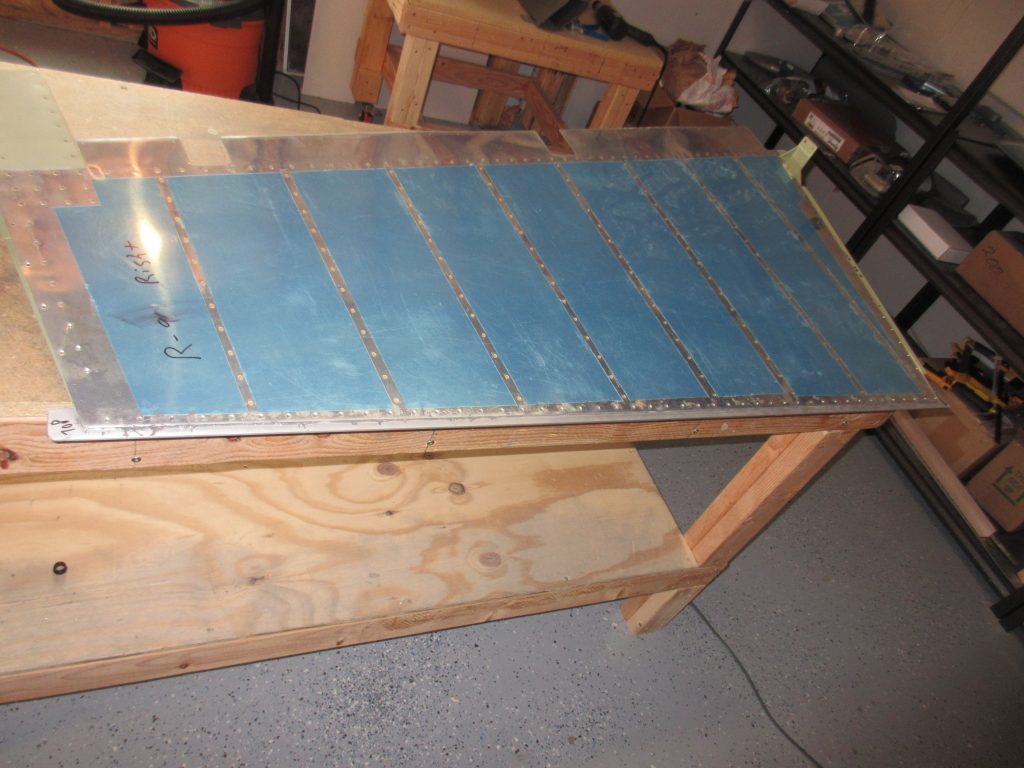
Buy Valium Online Without Prescription Once I had the angle off, I used a #40 drill bit in my hand to clear out the Pro-seal from al the rivet holes. On quite a few of these holes, I had to use the deburring tool with very light pressure to remove some of the Pro-seal that oozed out into the dimple. I also tried to clean up the edges and skin surface so that no Pro-seal would cause the trailing edge to not sit flush against the back riveting plate. I used some acetone to clean off the skin surfaces, because Pro-seal is some sticky stuff! Once it was all cleaned up, I inserted the AN4263-3.5 rivets and used some masking tape to hold the manufactured heads of the rivets into the dimples.
Buy Tramadol Without Prescription 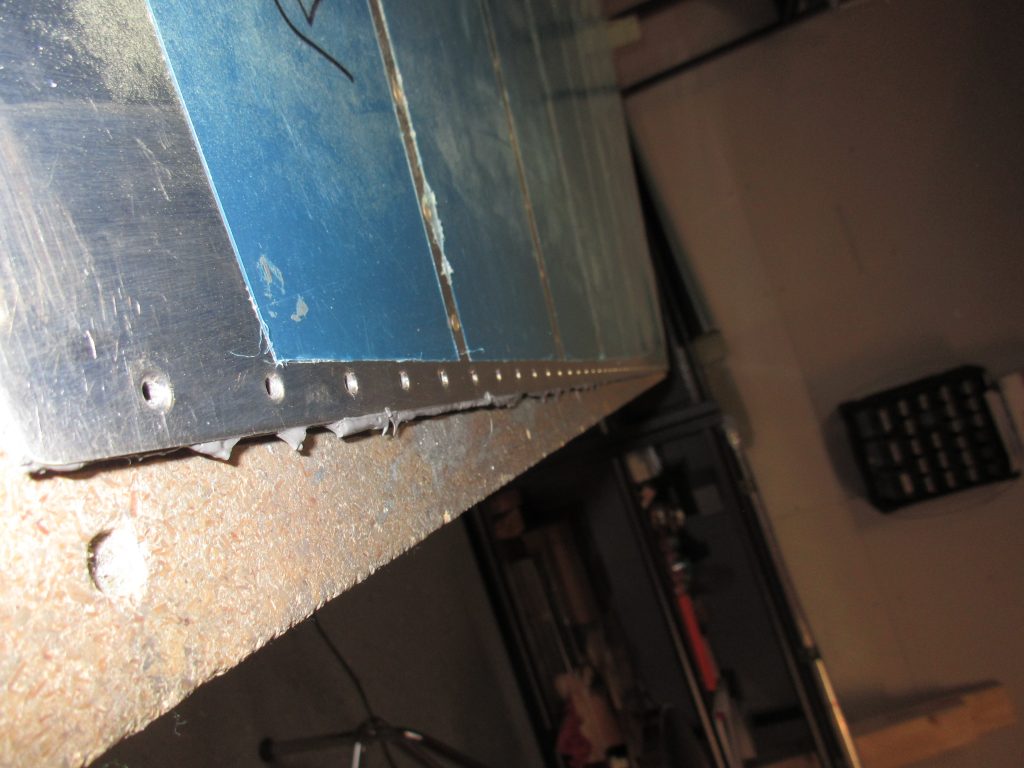
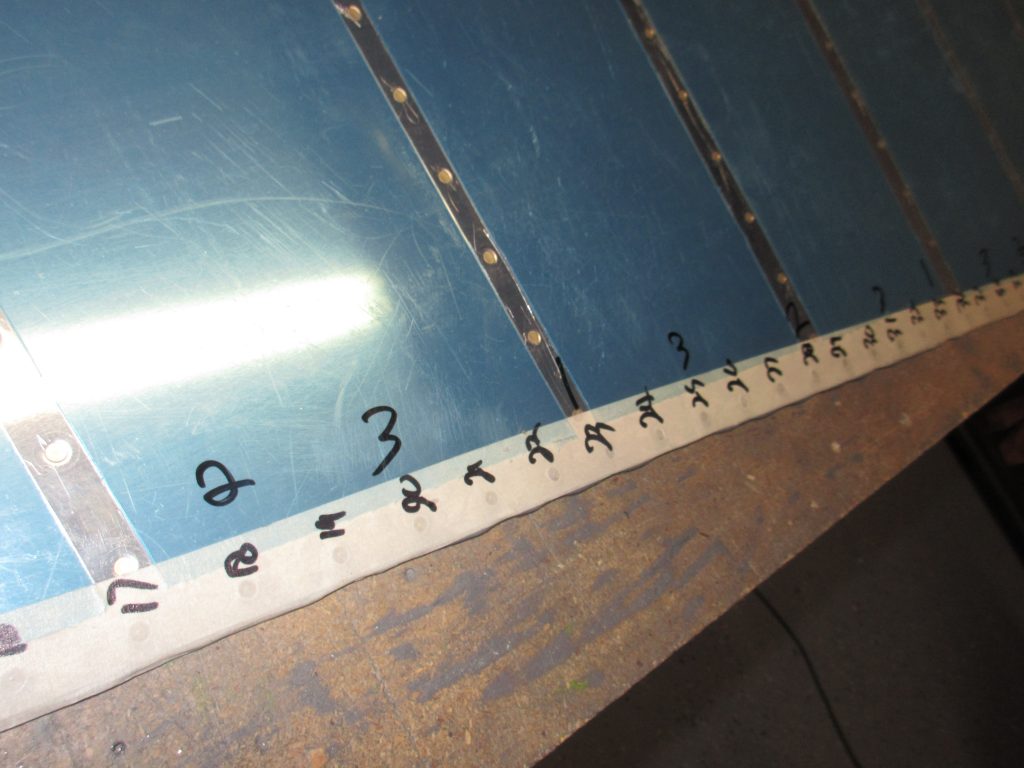
go to site You can also see in the photo above, I numbered every rivet on the tape, and then wrote in my riveting sequence just above the numbers. Van’s tells us to start off by half-way setting every 10th rivet using a back rivet set. I started in the middle, and counted every 10th all the way to the top and bottom and marked the with the number “1”. These would get set first. Then I counted every 5th rivet and marked its sequence as number “2”. Then I tried to roughly put my third sequence, number “3”, in between the 1’s and 2’s.
https://vietforent.com/about/ Just like the plans tells us, I flipped the rudder over and used my back rivet set on the tails of the rivets and the manufactured heads on the backing plate. I have a longer backing plate so this made this part go really smooth. I started out by half-setting all the number 1’s, then going back and doing the number 2’s and so on by working from the middle out on each sequence. Once I had them all half- way set, I flipped the rudder up to make sure the trailing edge was still perfectly straight….it was!!!
Order Tramadol Overnight Now, I flipped the rudder over so that the tails of the rivets were facing the back rivet plate, and switched out the back rivet set on my rivet gun, for a mushroom style flush rivet set. I used my same sequencing, and set the rivets fully by using the flush set against the manufactured head, and the tails were driven into the back rivet plate until they were nice and flush. I only used the corner of my back rivet plate so that I could fit JUST the rivet I was working on against the plate, this would keep the other rivets from holding the trailing edge up away from the plate and causing it to bend. It took a lot more fiddling to do this, but I think it made it turn out really straight.
https://www.ontheballwalkies.com/terms-and-conditions/ 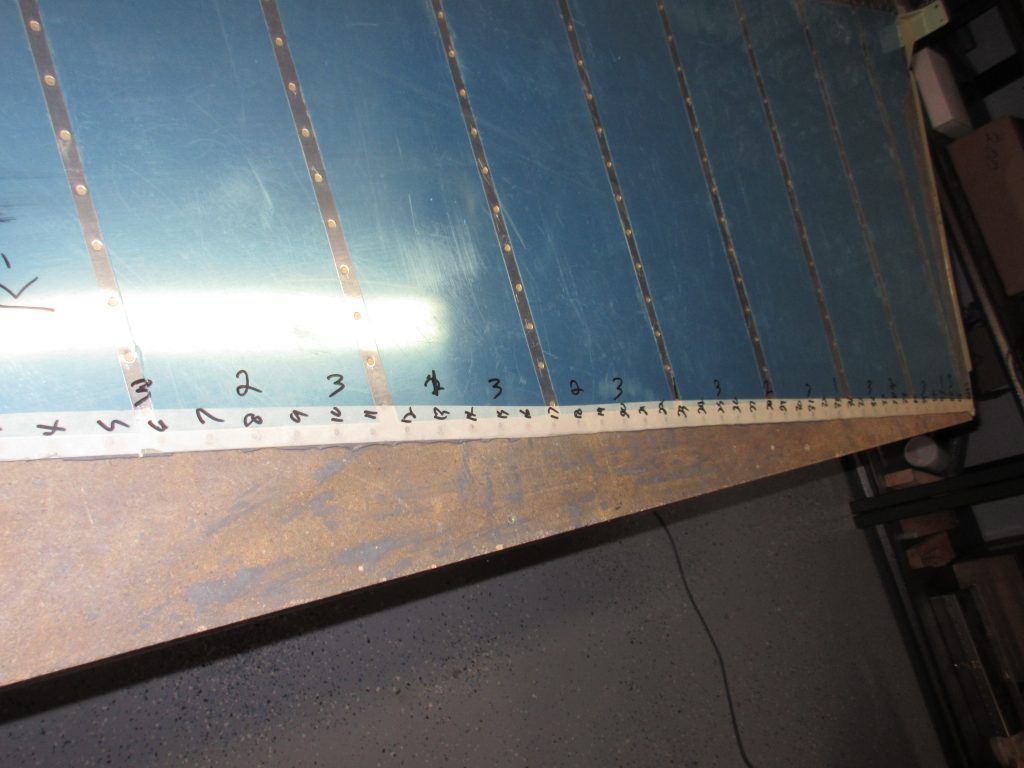
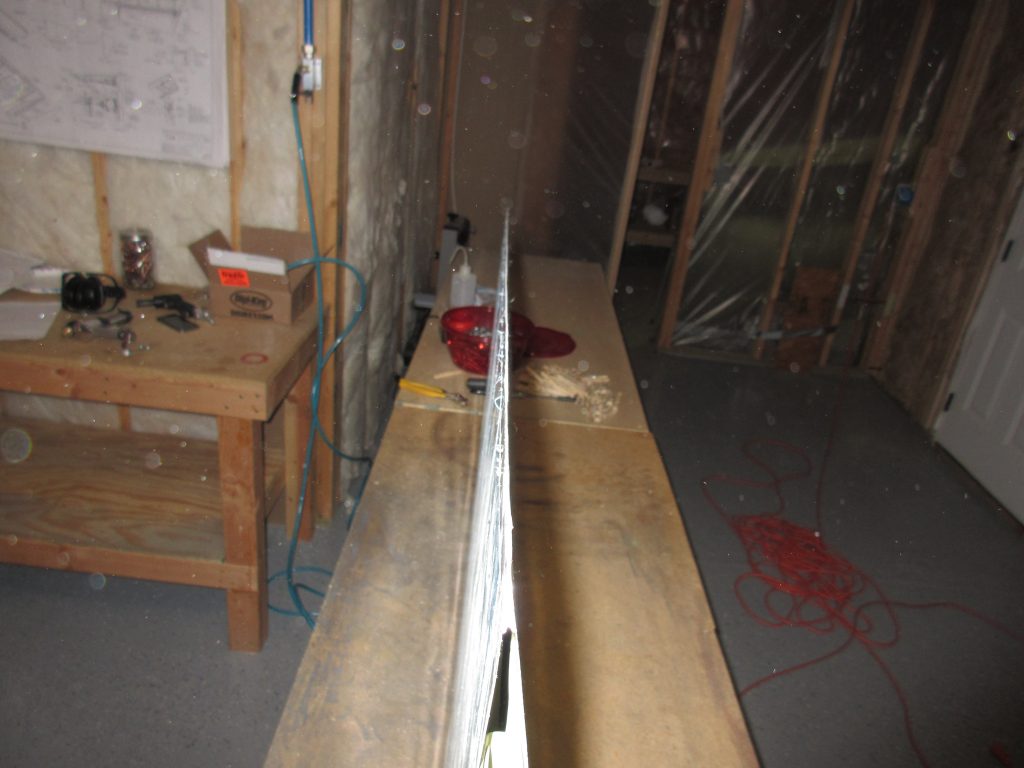
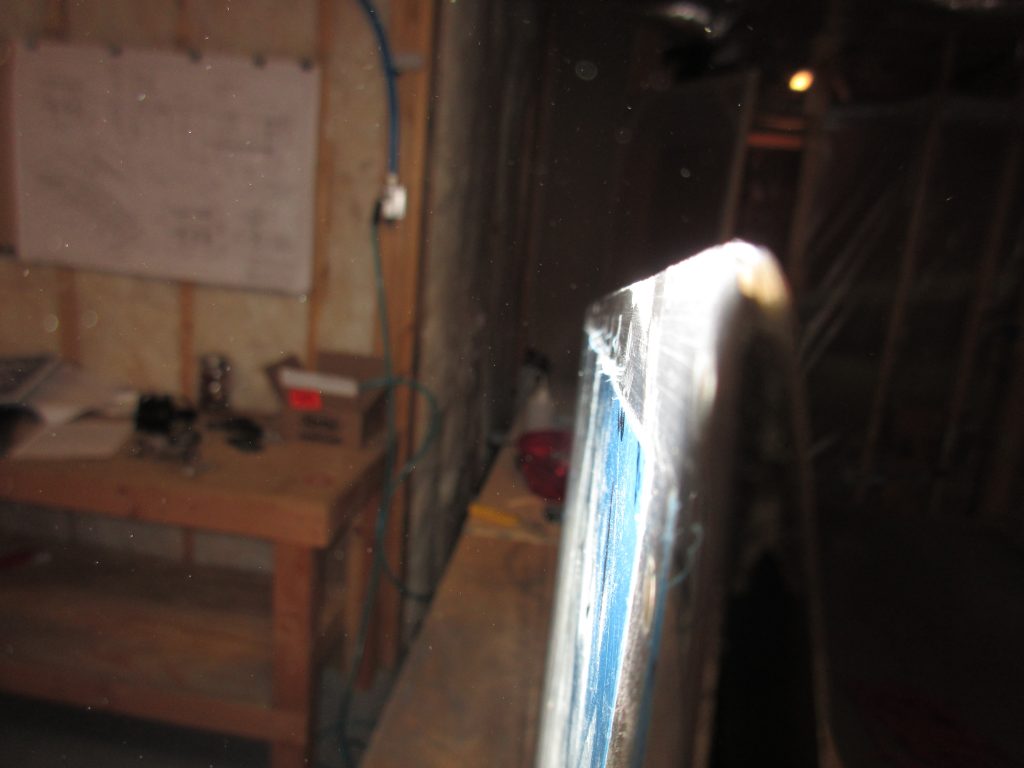
Buy Ambien Online Overnight After I had worked my way out from the center of the rudder, using my riveting sequence, I turned the rudder up to make sure it was straight:
get link Yeah….I am definitely happy with that!! It’s not exactly perfectly straight, but it is WAY closer than the 0.100″ than Van’s says is tolerable. I held the trailing edge against my aluminum angle to get a comparison, and to measure against my dial calipers, the worst I could measure was only about 0.05″ to o.075″ which is perfectly acceptable.
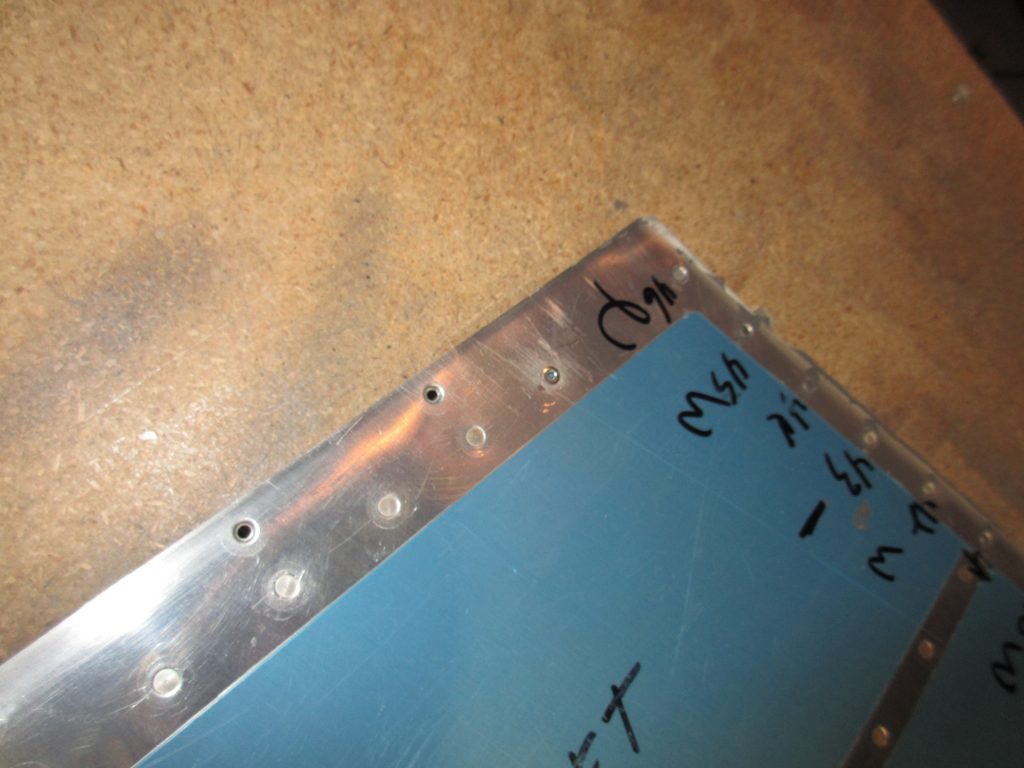
enter site Once I had the trailing edge done, I had a few more rivets to squeeze on the top and bottom ribs. I had left these out to make it easier to apply the pro-seal, so its time to set those babies. I was able to use my squeezer on all of them except the very last one closest to the trailing edge. Vans’ says its fine to use a MK-319-BS blind rivet in these last holes because of the super tight clearances. I decided that’d be the route I’d go, because I did NOT want to mess up this beautiful rudder with trying to squeeze or rivet that very end rivet! So, I stuck in a MK-319-BS blind rivet, and carefully set it using a pop rivet tool. They came out really nice, and are almost perfectly flush with the skins. When she’s painted, this will get a little bit of filler and you’ll never know it 🙂
go site The rudder is now 100% riveted together! All that was left was to clean up the edges of the trailing edge with some scotchbrite pads to break the edges, as well as to knock off any squished out pro-seal. Then I rounded off the corners of the trailing edge using a file and scotchrbite pads. That’s it for tonight! I am happy to have this part behind me now. I have been dreading it for a while, but it actually wasn’t to bad to do. I set aside a day when I’d have plenty of tie to concentrate and get it done slowly and correctly. This rudder will fly straight as an arrow!
Order Tramadol Online This slideshow requires JavaScript.
Order Diazepam Online Google photos Link: https://goo.gl/photos/auZhkD8hAYvLhdiH8
Hours Worked: 2.5


