


While Tammy and Acacia were taking a nap, I decided to sneak off to the shop and get some work done on the airplane. Since the trailing edge of the rudder was completed a few days ago, its time to finish it up, and that means bending the leading edge and threading in the mounting hardware. I started off by bending the leading edges, which is done exactly like the elevators in previous posts. I used Gorilla tape on the leading edges, and then a piece of wooden dowel rod as a rolling pin to roll the edges gently into a nice curved shape. 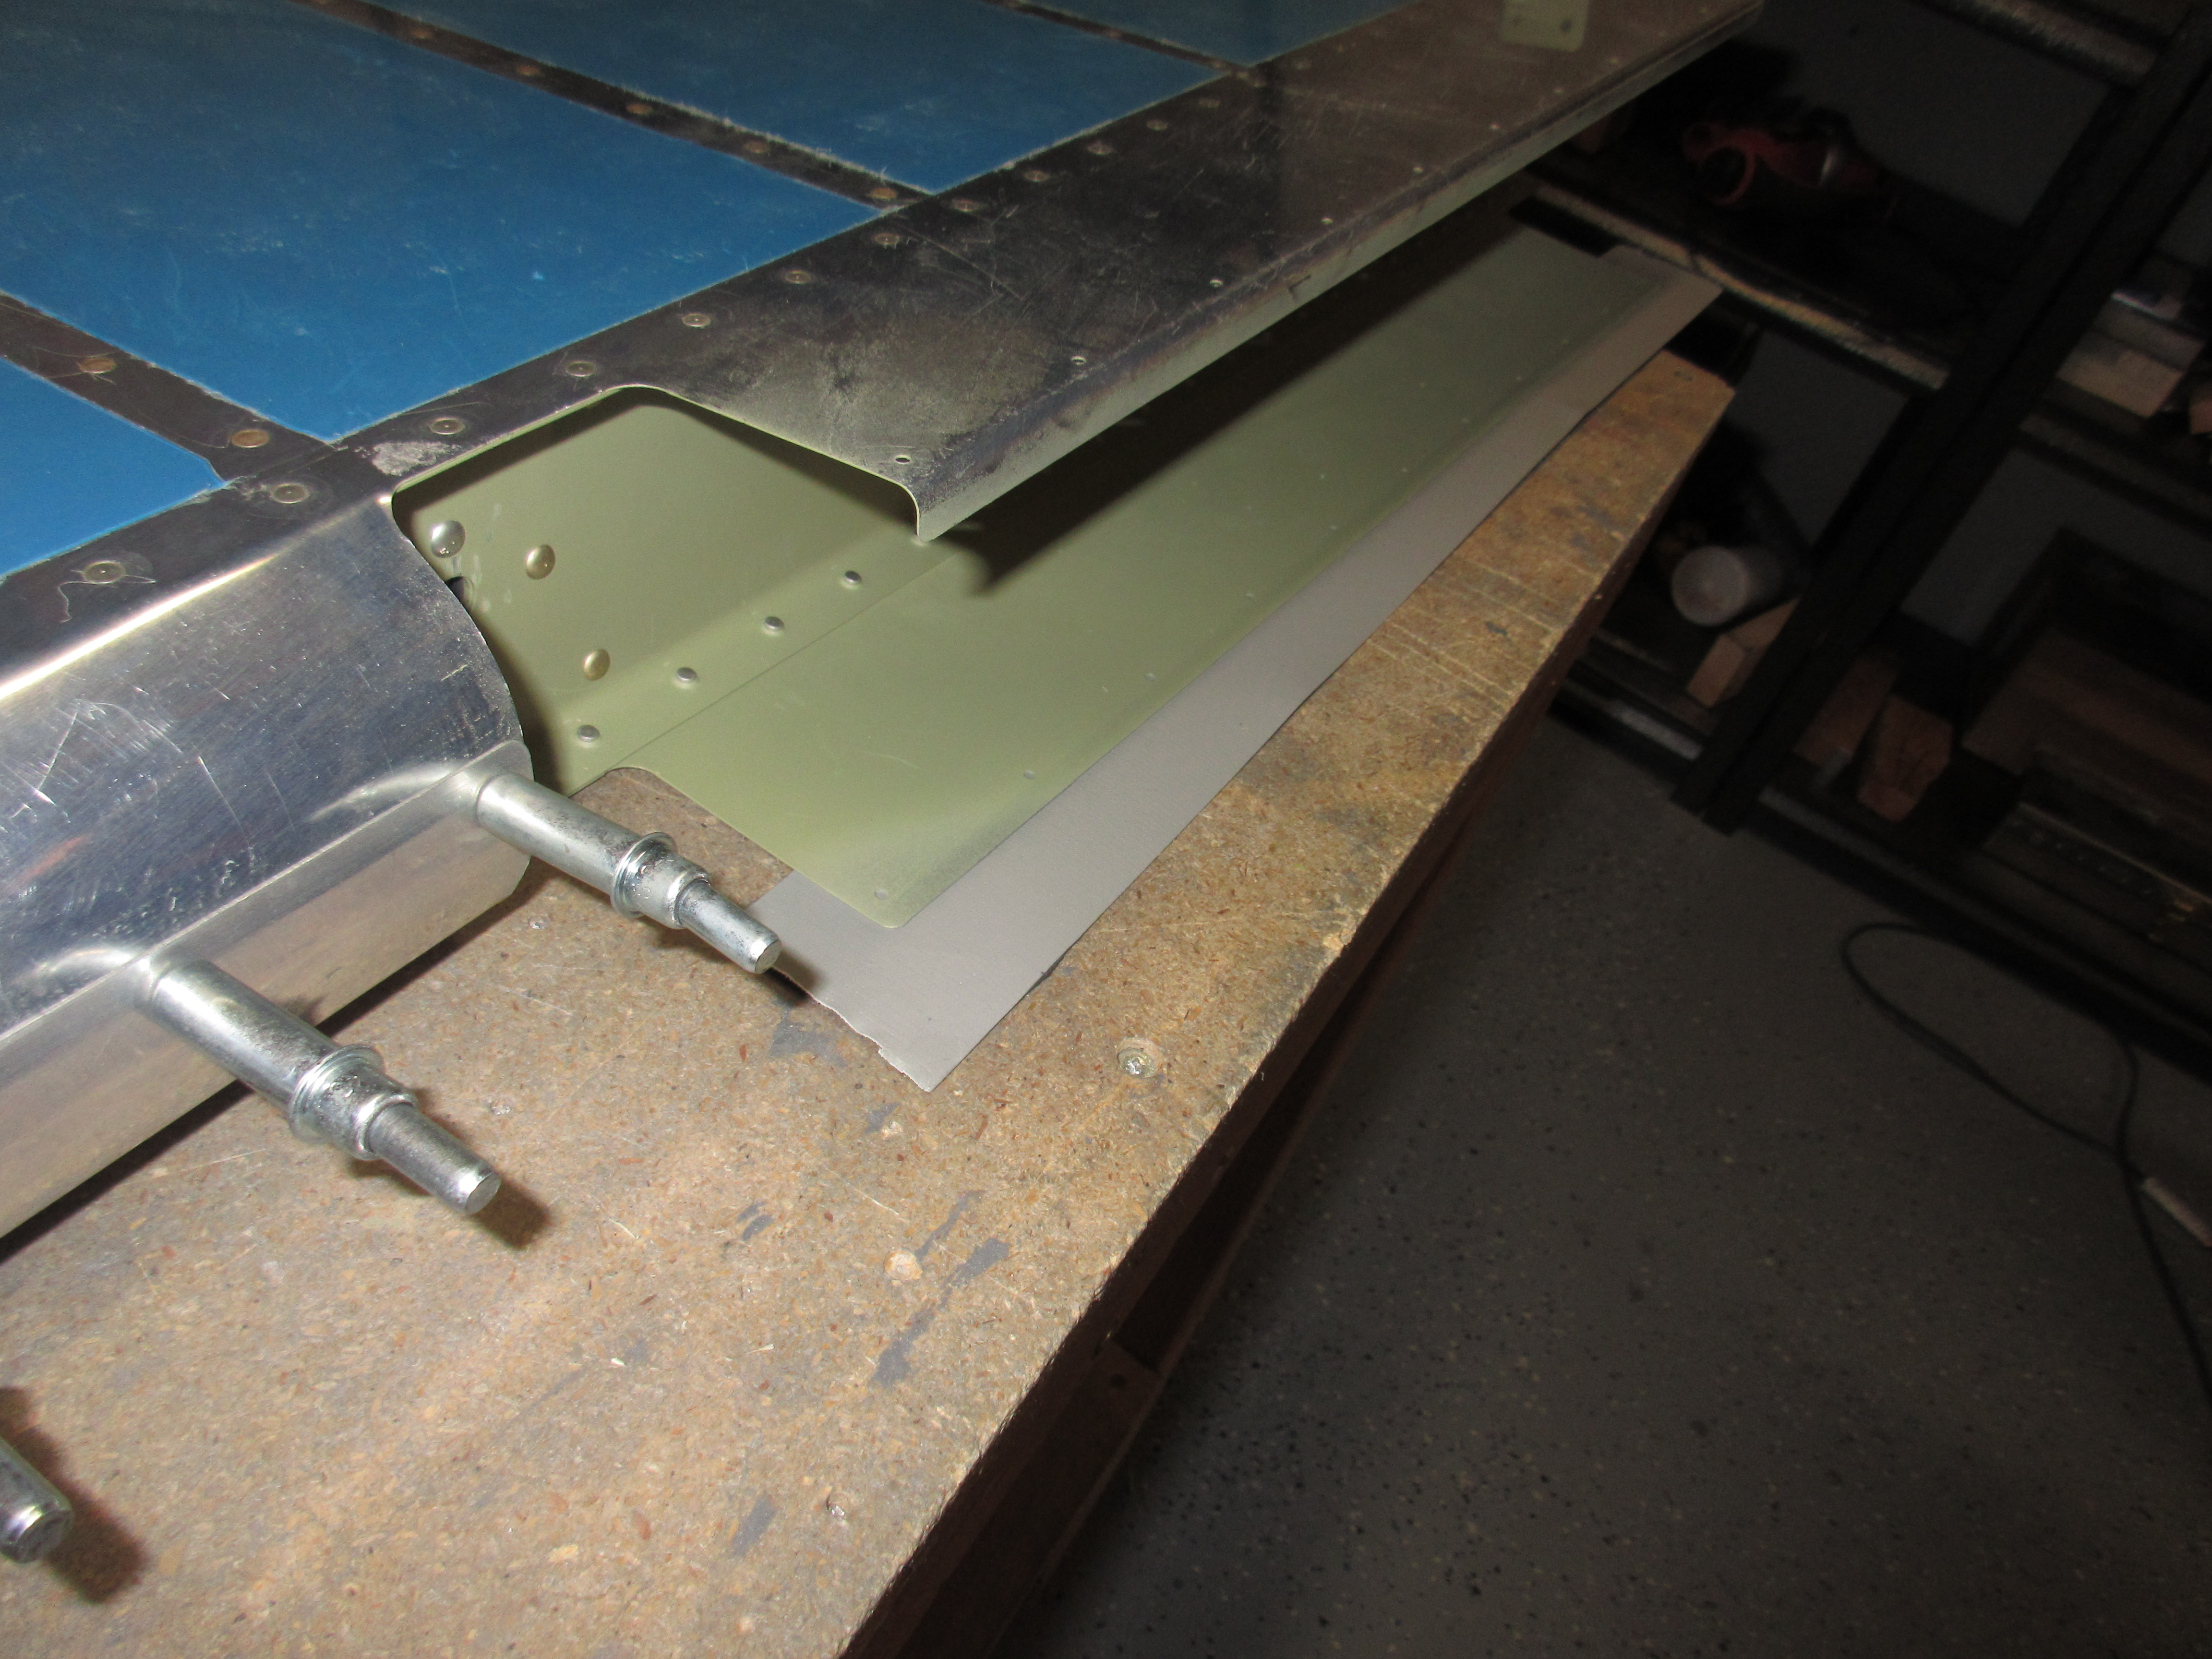
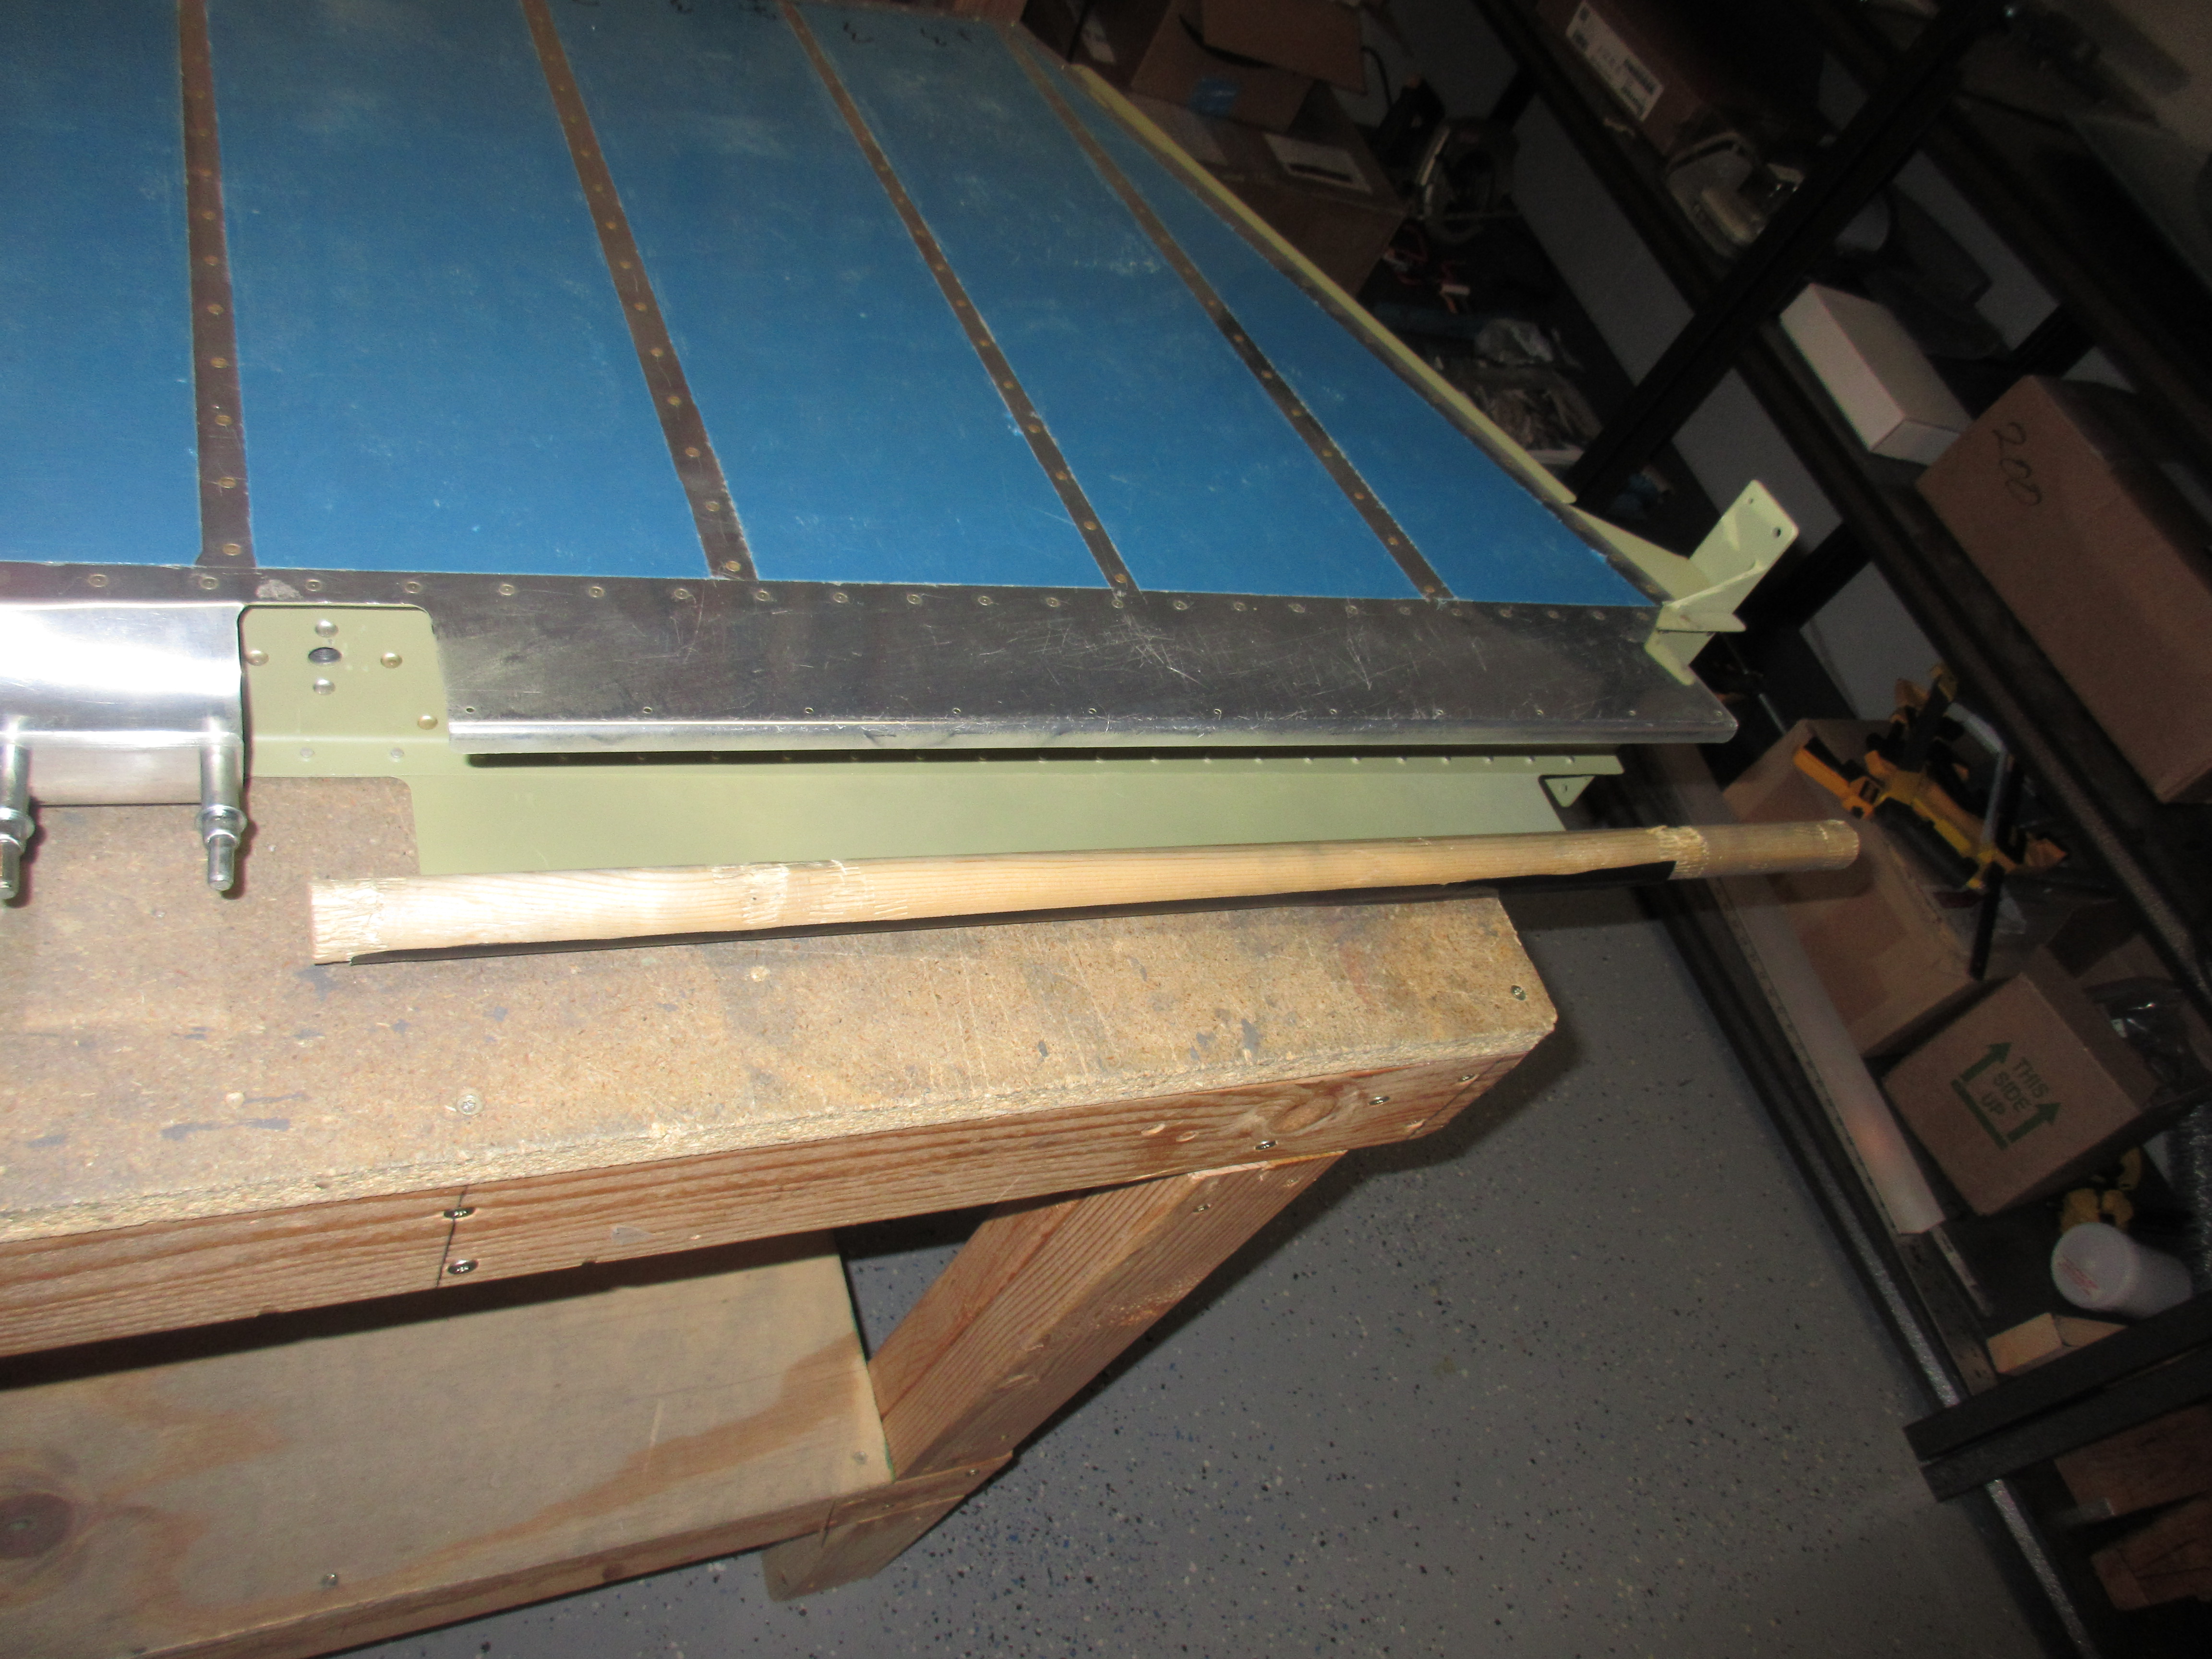
Once both sides have been rolled I had to finish the bends by hand to make sure the skins are lining up with the pre-punched holes, and to make the leading edge bend nice and neat and smooth. This is not a gentle process, and takes a lot of work to get the metal where I wanted it, but ultimately I got the bends to where I was happy. Then I used 3/32″ clecos in the #40 holes to hold the bends while I match drilled everything to a #30 hole for the AD-41-ABS blind rivets. As I drilled the holes, I replaced it with the larger 1/8″ cleco.
Once I had all the holes match drilled, It was time to deburr the holes. Since this part is hard to get to, I used a scotchbrite pad on all the surfaces I couldn’t reach with my deburring tool and made sure they felt nice and smooth with my fingers before moving on. Once the holes were deburred, I clecoed it all back together using 1/8″ clecos and started the blind riveting process, one hole at a time. These came out looking pretty good!
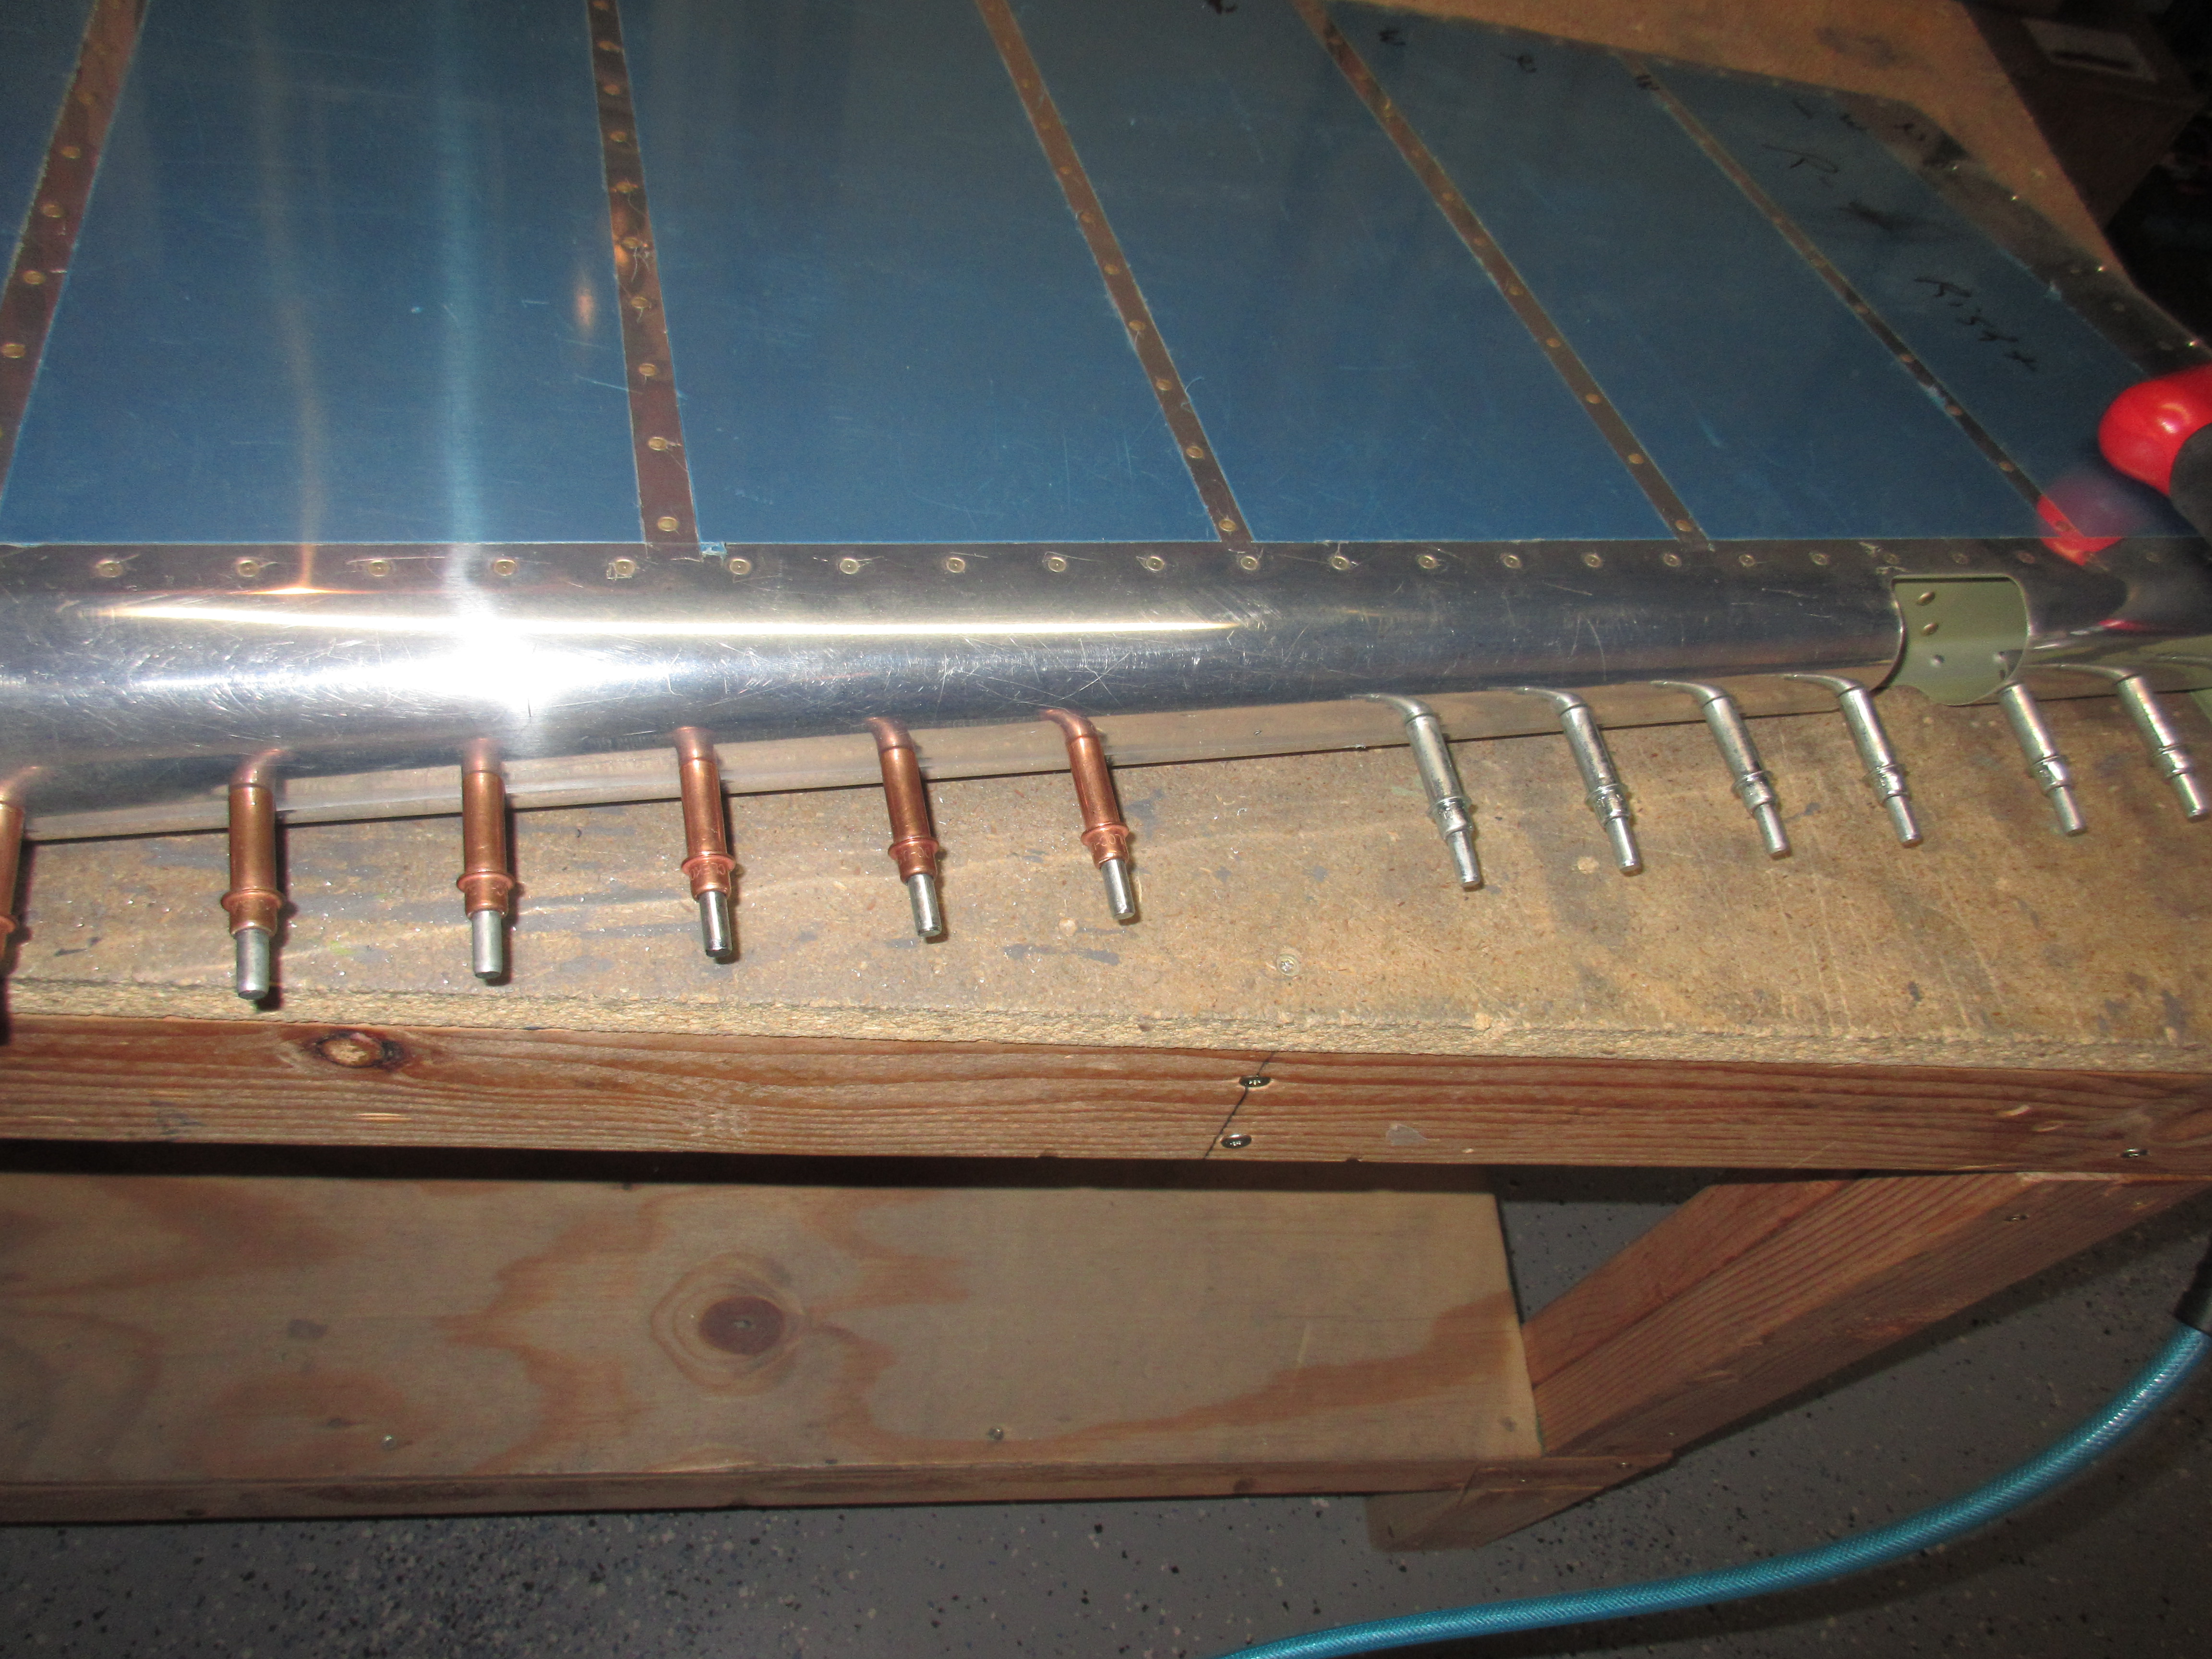
I decided to go ahead and thread the eye bolts into the mount holes of the rudder and get them roughly into position. I picked through my hardware bags until I found the proper eye bolts, and their jam nuts, then I coated the threads with a good helping of Boelube to help with the platenuts. I threaded them all in, and got them to roughly where they need to be per the plans as far as depth. I will temporarily mount the rudder to the vertical stabilizer in a few days to do the final alignment of the eye bolts, and then tighten the jam nuts fully to set their position. I am happy with how the rudder came out!

Here is a gallery of all of tonights photos:
Google Photos Link: https://goo.gl/photos/BqJkTwTFneTcLm1h6
Hours Worked: 1.5