


After having a lot of things going on today, I decided to get down to the shop and build a little on the airplane to help clear my mind. Our little 9 month old, Acacia, had to be put in a brace for her hip dysplasia for a few weeks, so that broke mine and Tammys hearts 🙁 Getting down in the shop and working on the plane and working with my hands is a good stress reliever for me so I figured I’d go do some build-therapy for a few hours tonight.
Since I am waiting on a good full day to prime the rest of the elevator parts, the only thing I have left to work on right now is the trim tab. I had previously assembled it, so I started this session by deburring all the trim tab parts, and dressing the edges of all the parts. Then I dimpled the skin using my squeezer, because the tight spaces wouldn’t allow it in my DRDT-2.
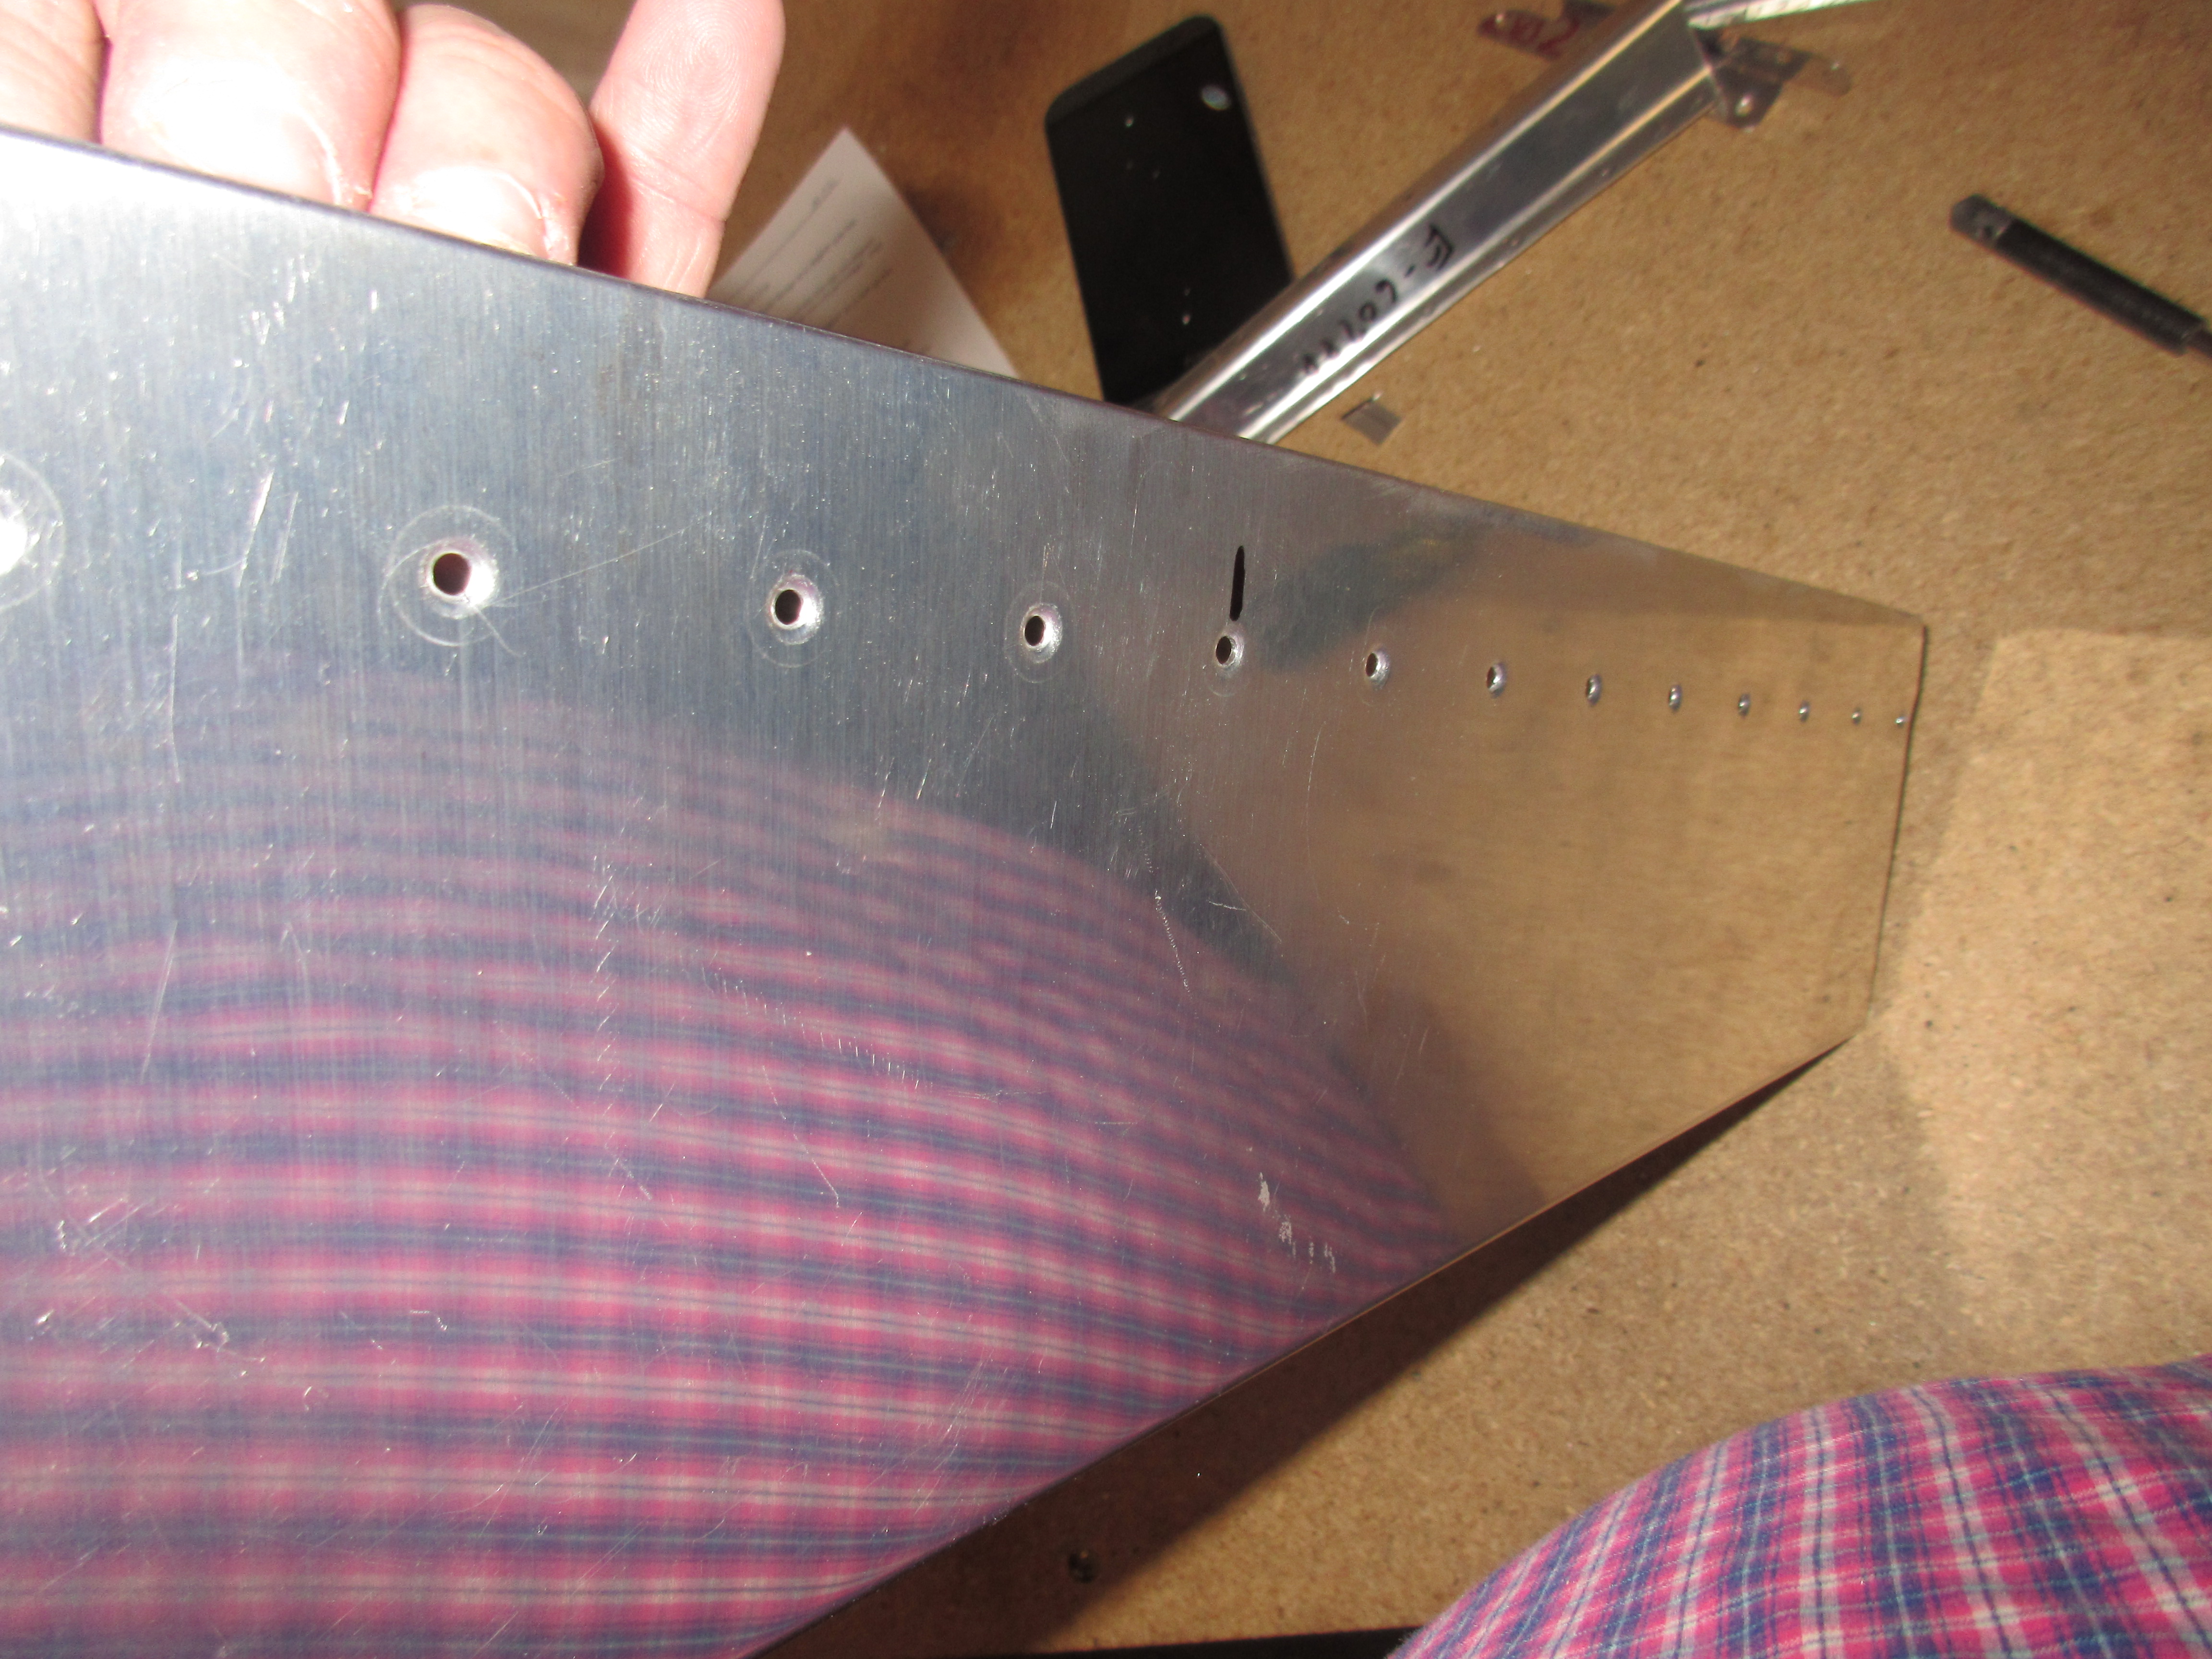
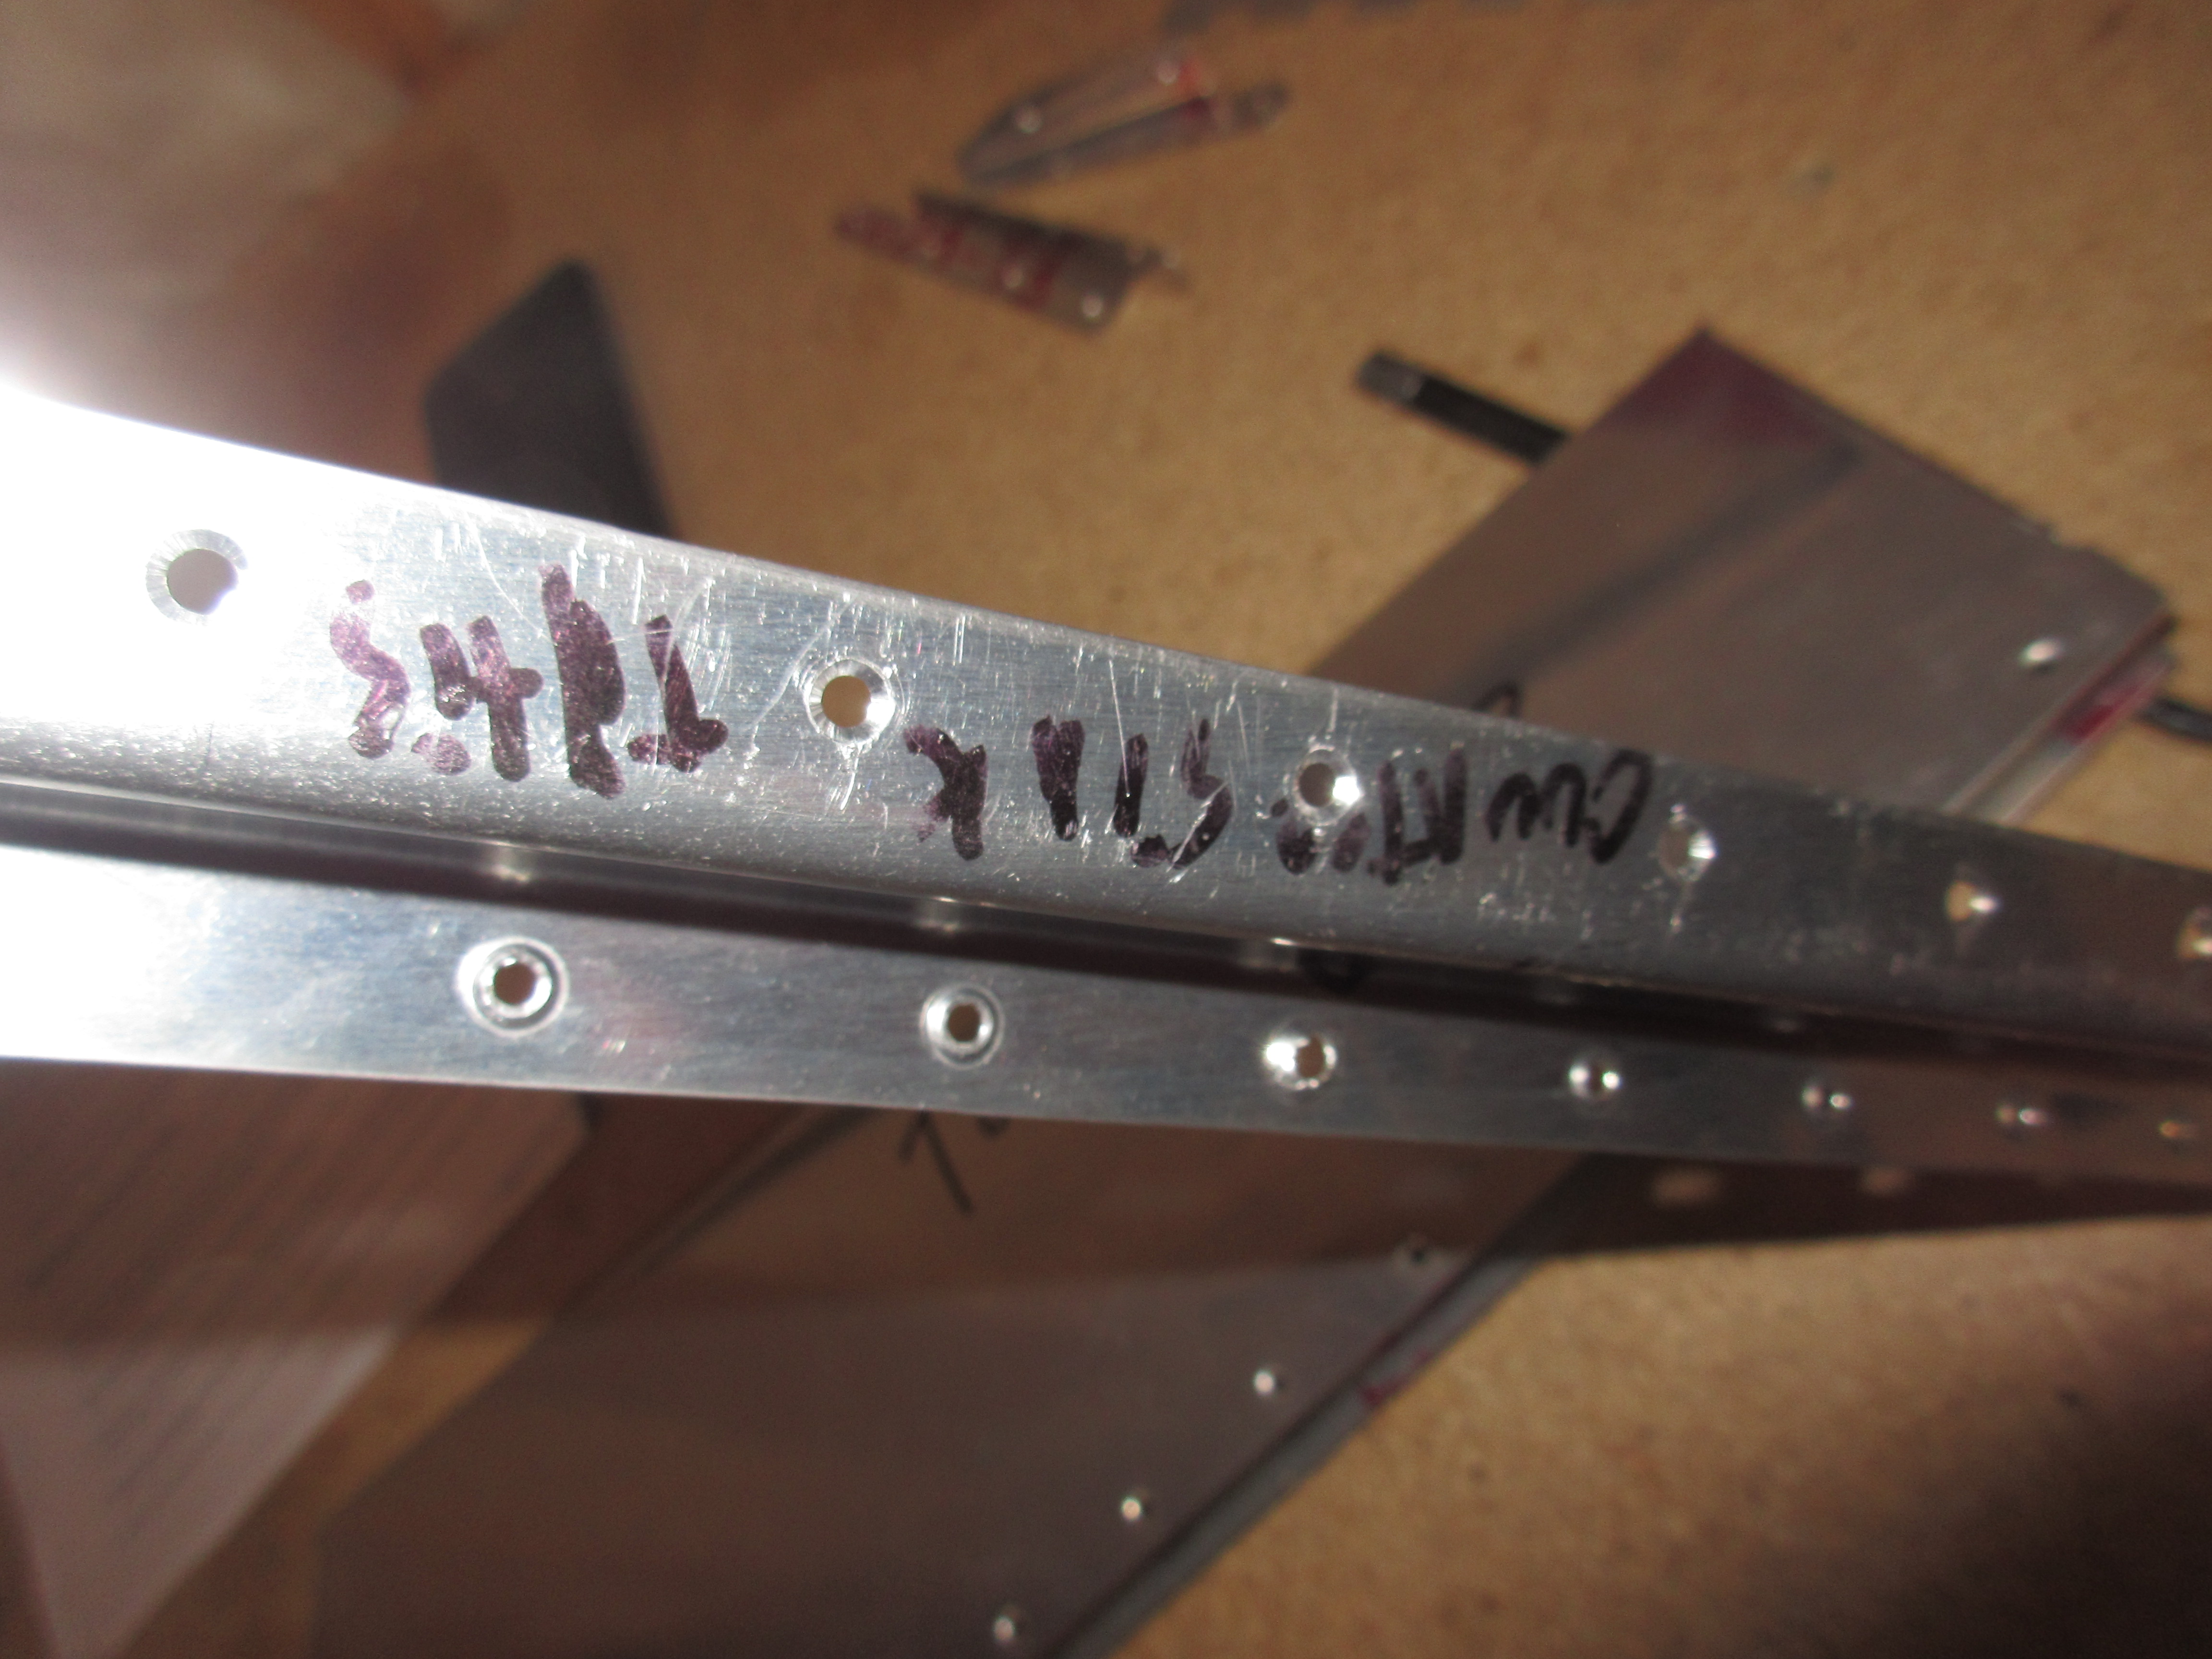
The E-607PP trim tab spar needs to be machine countersunk only on the top side so it can receive the dimpled skin, but we can’t dimple it because we don’t want a bulge on the bottom, where the hinge will attach. I fired up my micro-stop countersink and knocked this out pretty easily, and then followed it up by dimpling the bottom of the spar with my dimpler per the plans.
After all the parts were deburred, dimpled, dressed and countersunk, I went ahead and assembled everything to start riveting. I riveted on the bottom side of the skin to the spar using my squeezer, but this was not a fast process. I had to use a few blocks of scrap wood to hold the skin open in order to get my squeezer in there. It was still a tight fit in most of the spots, so I had to pay extra attention to what I was doing.

I left the E-717 and E718 trim tab horns for the very last so I did’t risk bending or damaging them during this process. I also used a cleco to help hold the hole for the clevis pin in alignment on the trim tab horns just to be safe. With a little bit of patience and fiddling, the bottom of the skin was riveted onto the spar.
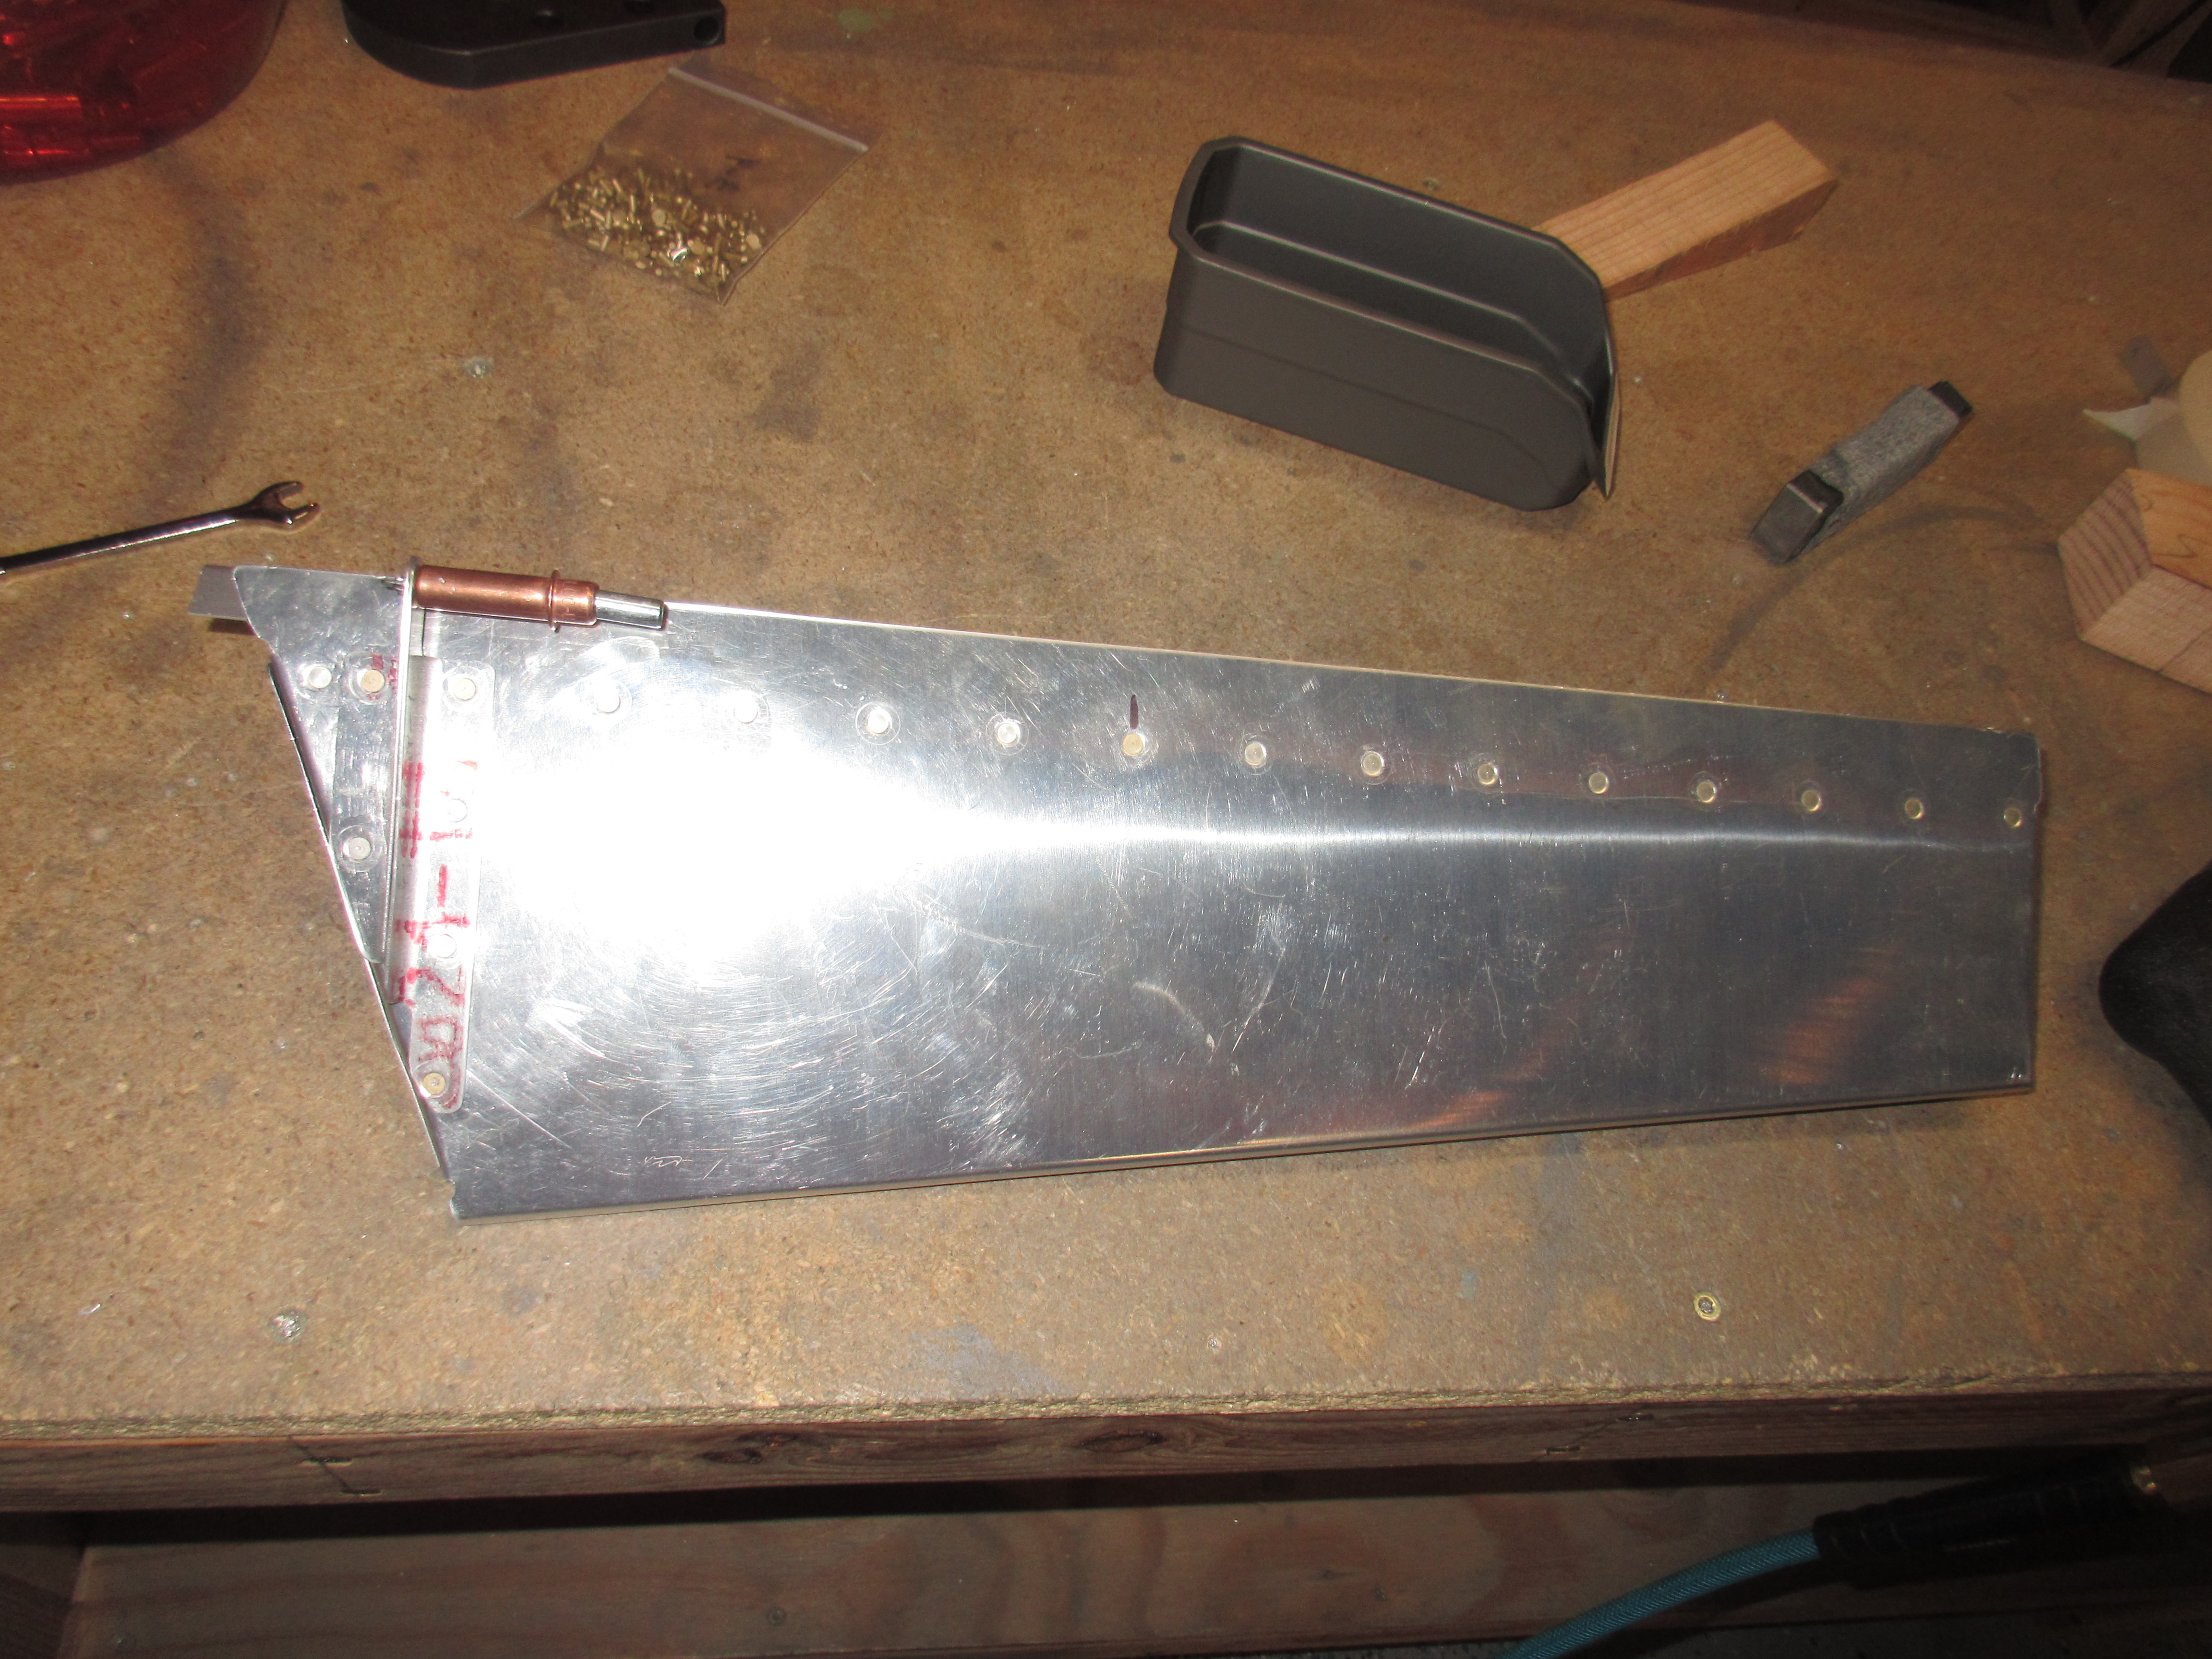
I am going to hold off on attaching the top part of the skin to the spar, because we have to do some measuring of the trim tab against the elevator in order to align both halves of the hinge just right, so for now, I just clecoed it on and then attached the forward half of the hinge to keep the hinge pin safe and free from getting bent on the shelf. That’s about all I got done tonight. A total of right at 2 hours of work and I called it a night. Here’s the photos from tonights session:
Google Photos Link: https://goo.gl/photos/rVtTaemn4fUUSQfX7
Hours Worked: 2