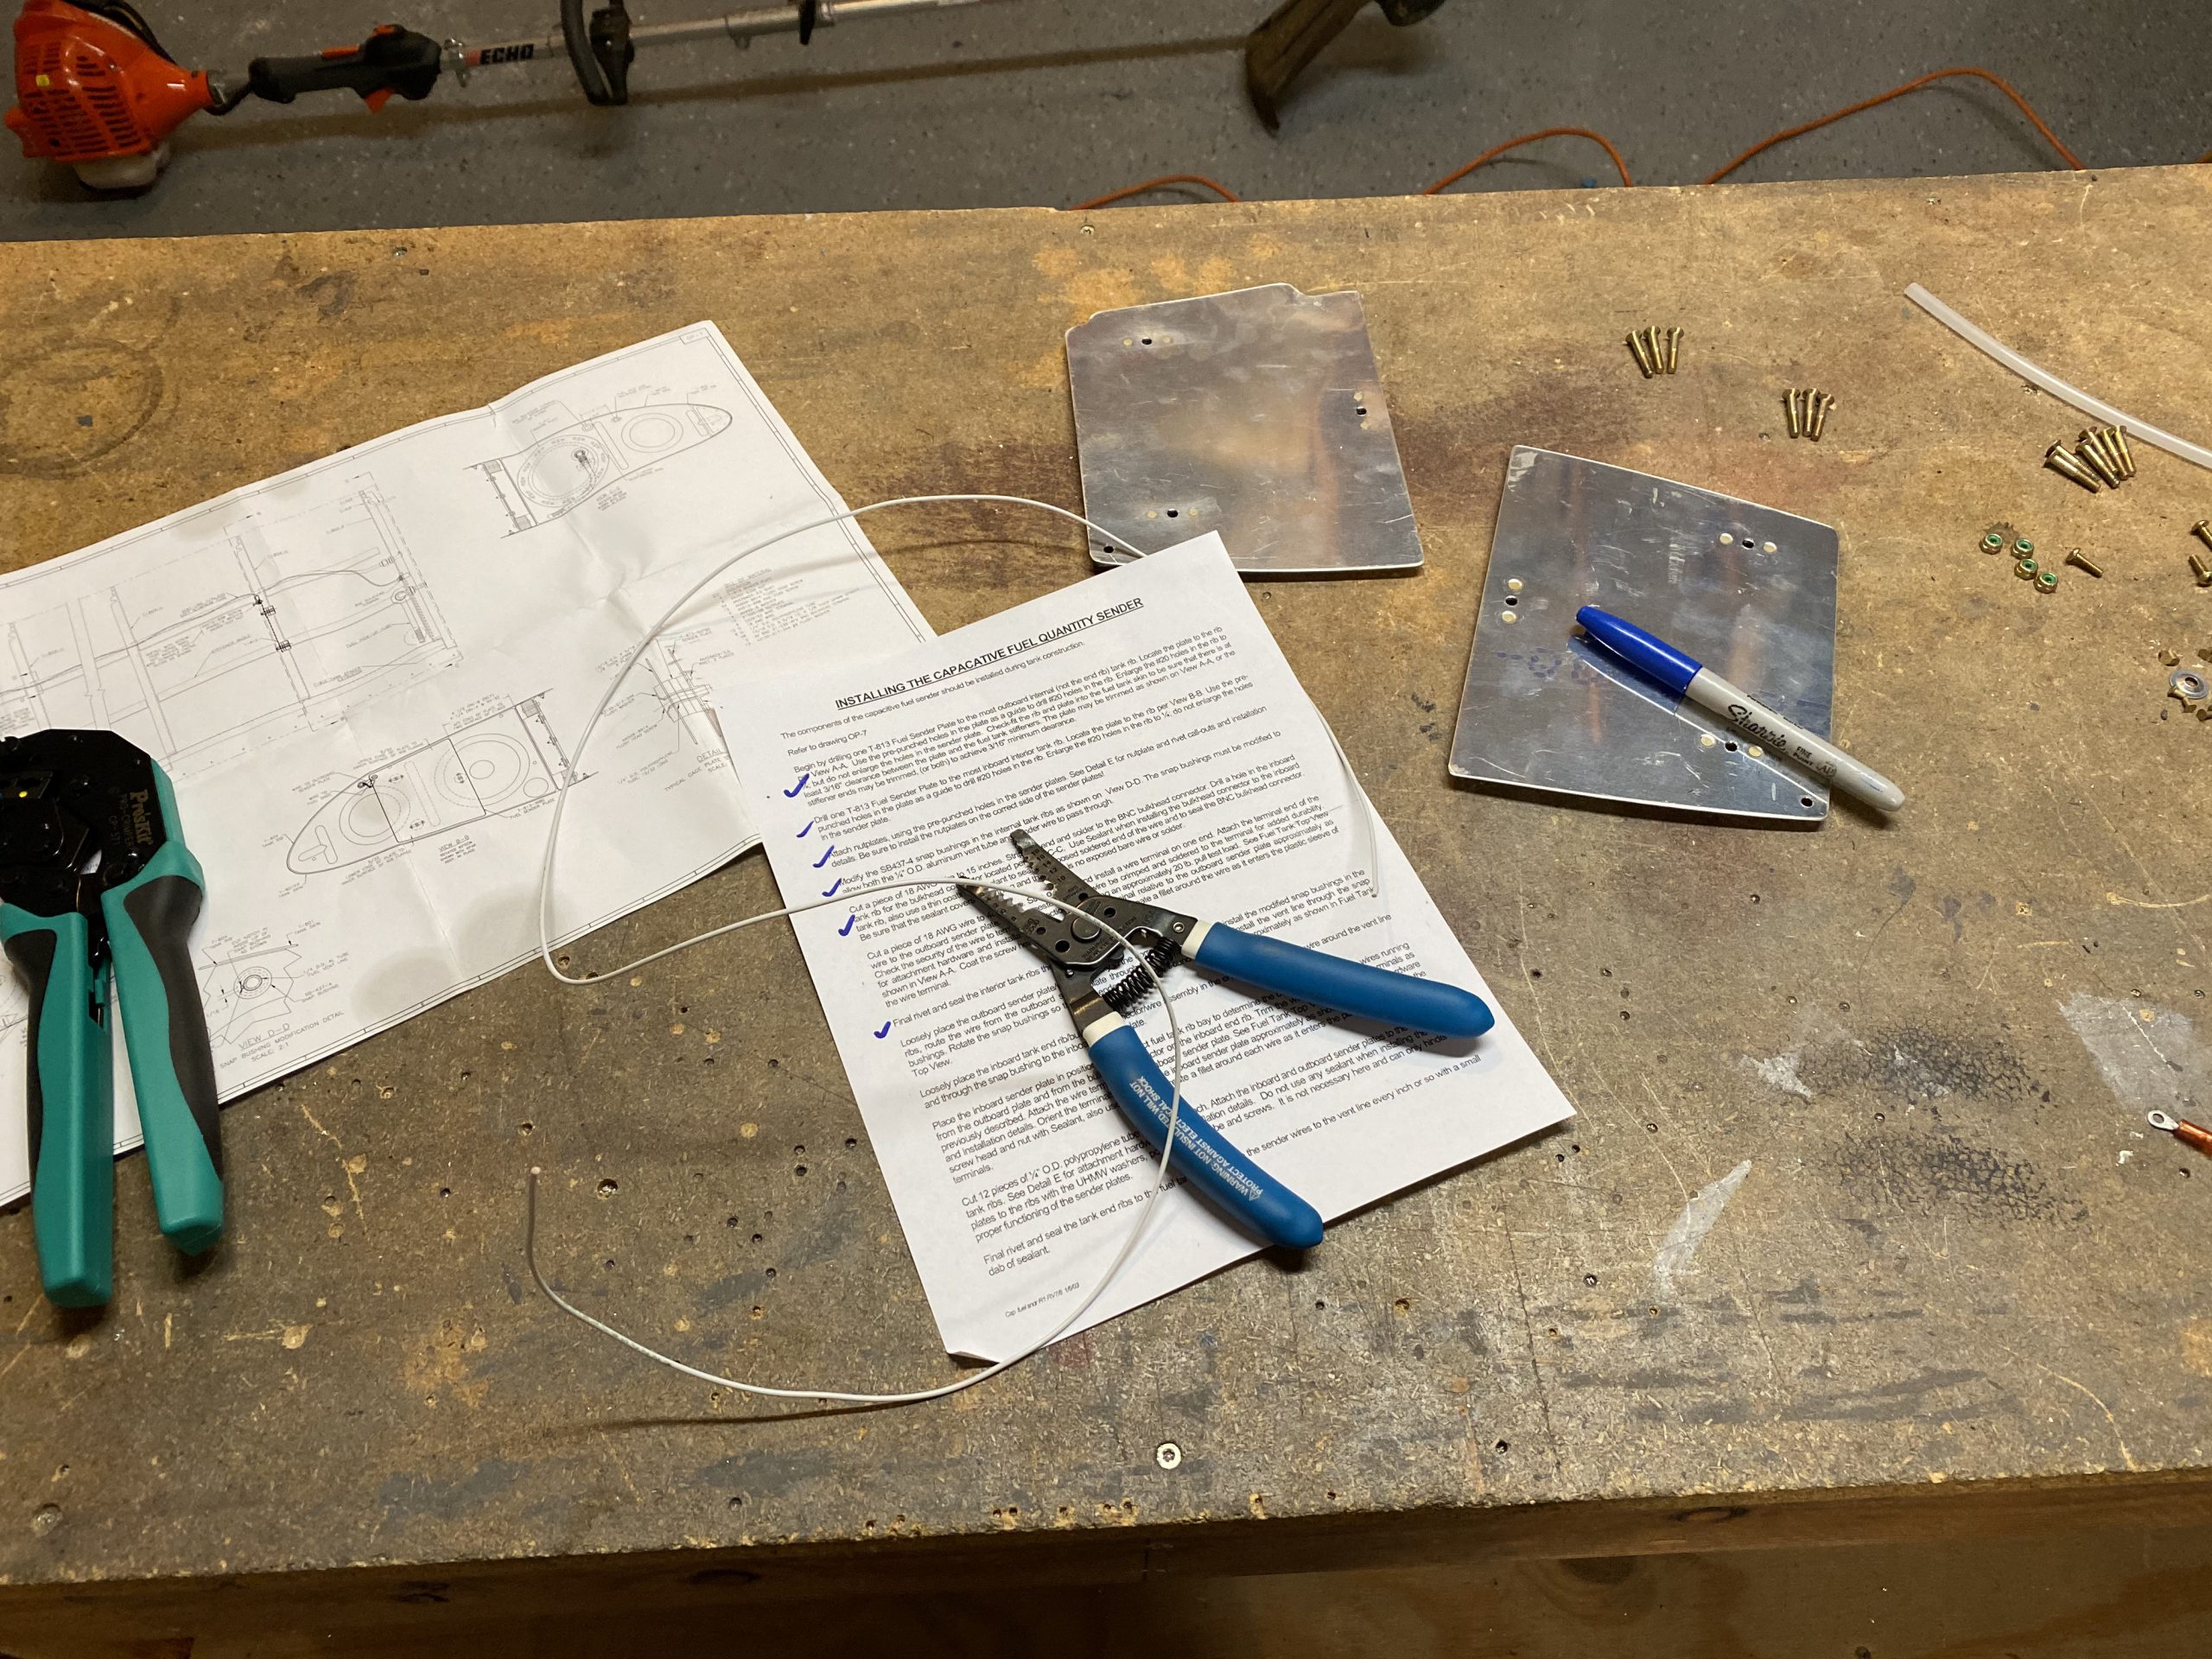
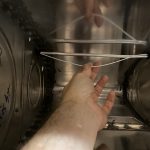
Its time to get the outboard rib sealed in place and start working on the capacitive sender for the right tank. This was a pretty long work session, but it went pretty easy. I started out by pulling out the plans and instruction for the capacitive sender. I picked up where I left off, and this time I needed to trim a 48″ piece of 18 gauge wire and crimp a ring terminal on it. All the parts were supplied in the capacitive sender kit, so this went pretty easy. I captured another time lapse of this work session, but it actually stopped and missed the last 30 minutes or so. I was just dolloping on the sealant on the shop heads so it didn’t miss much. Heres that video:
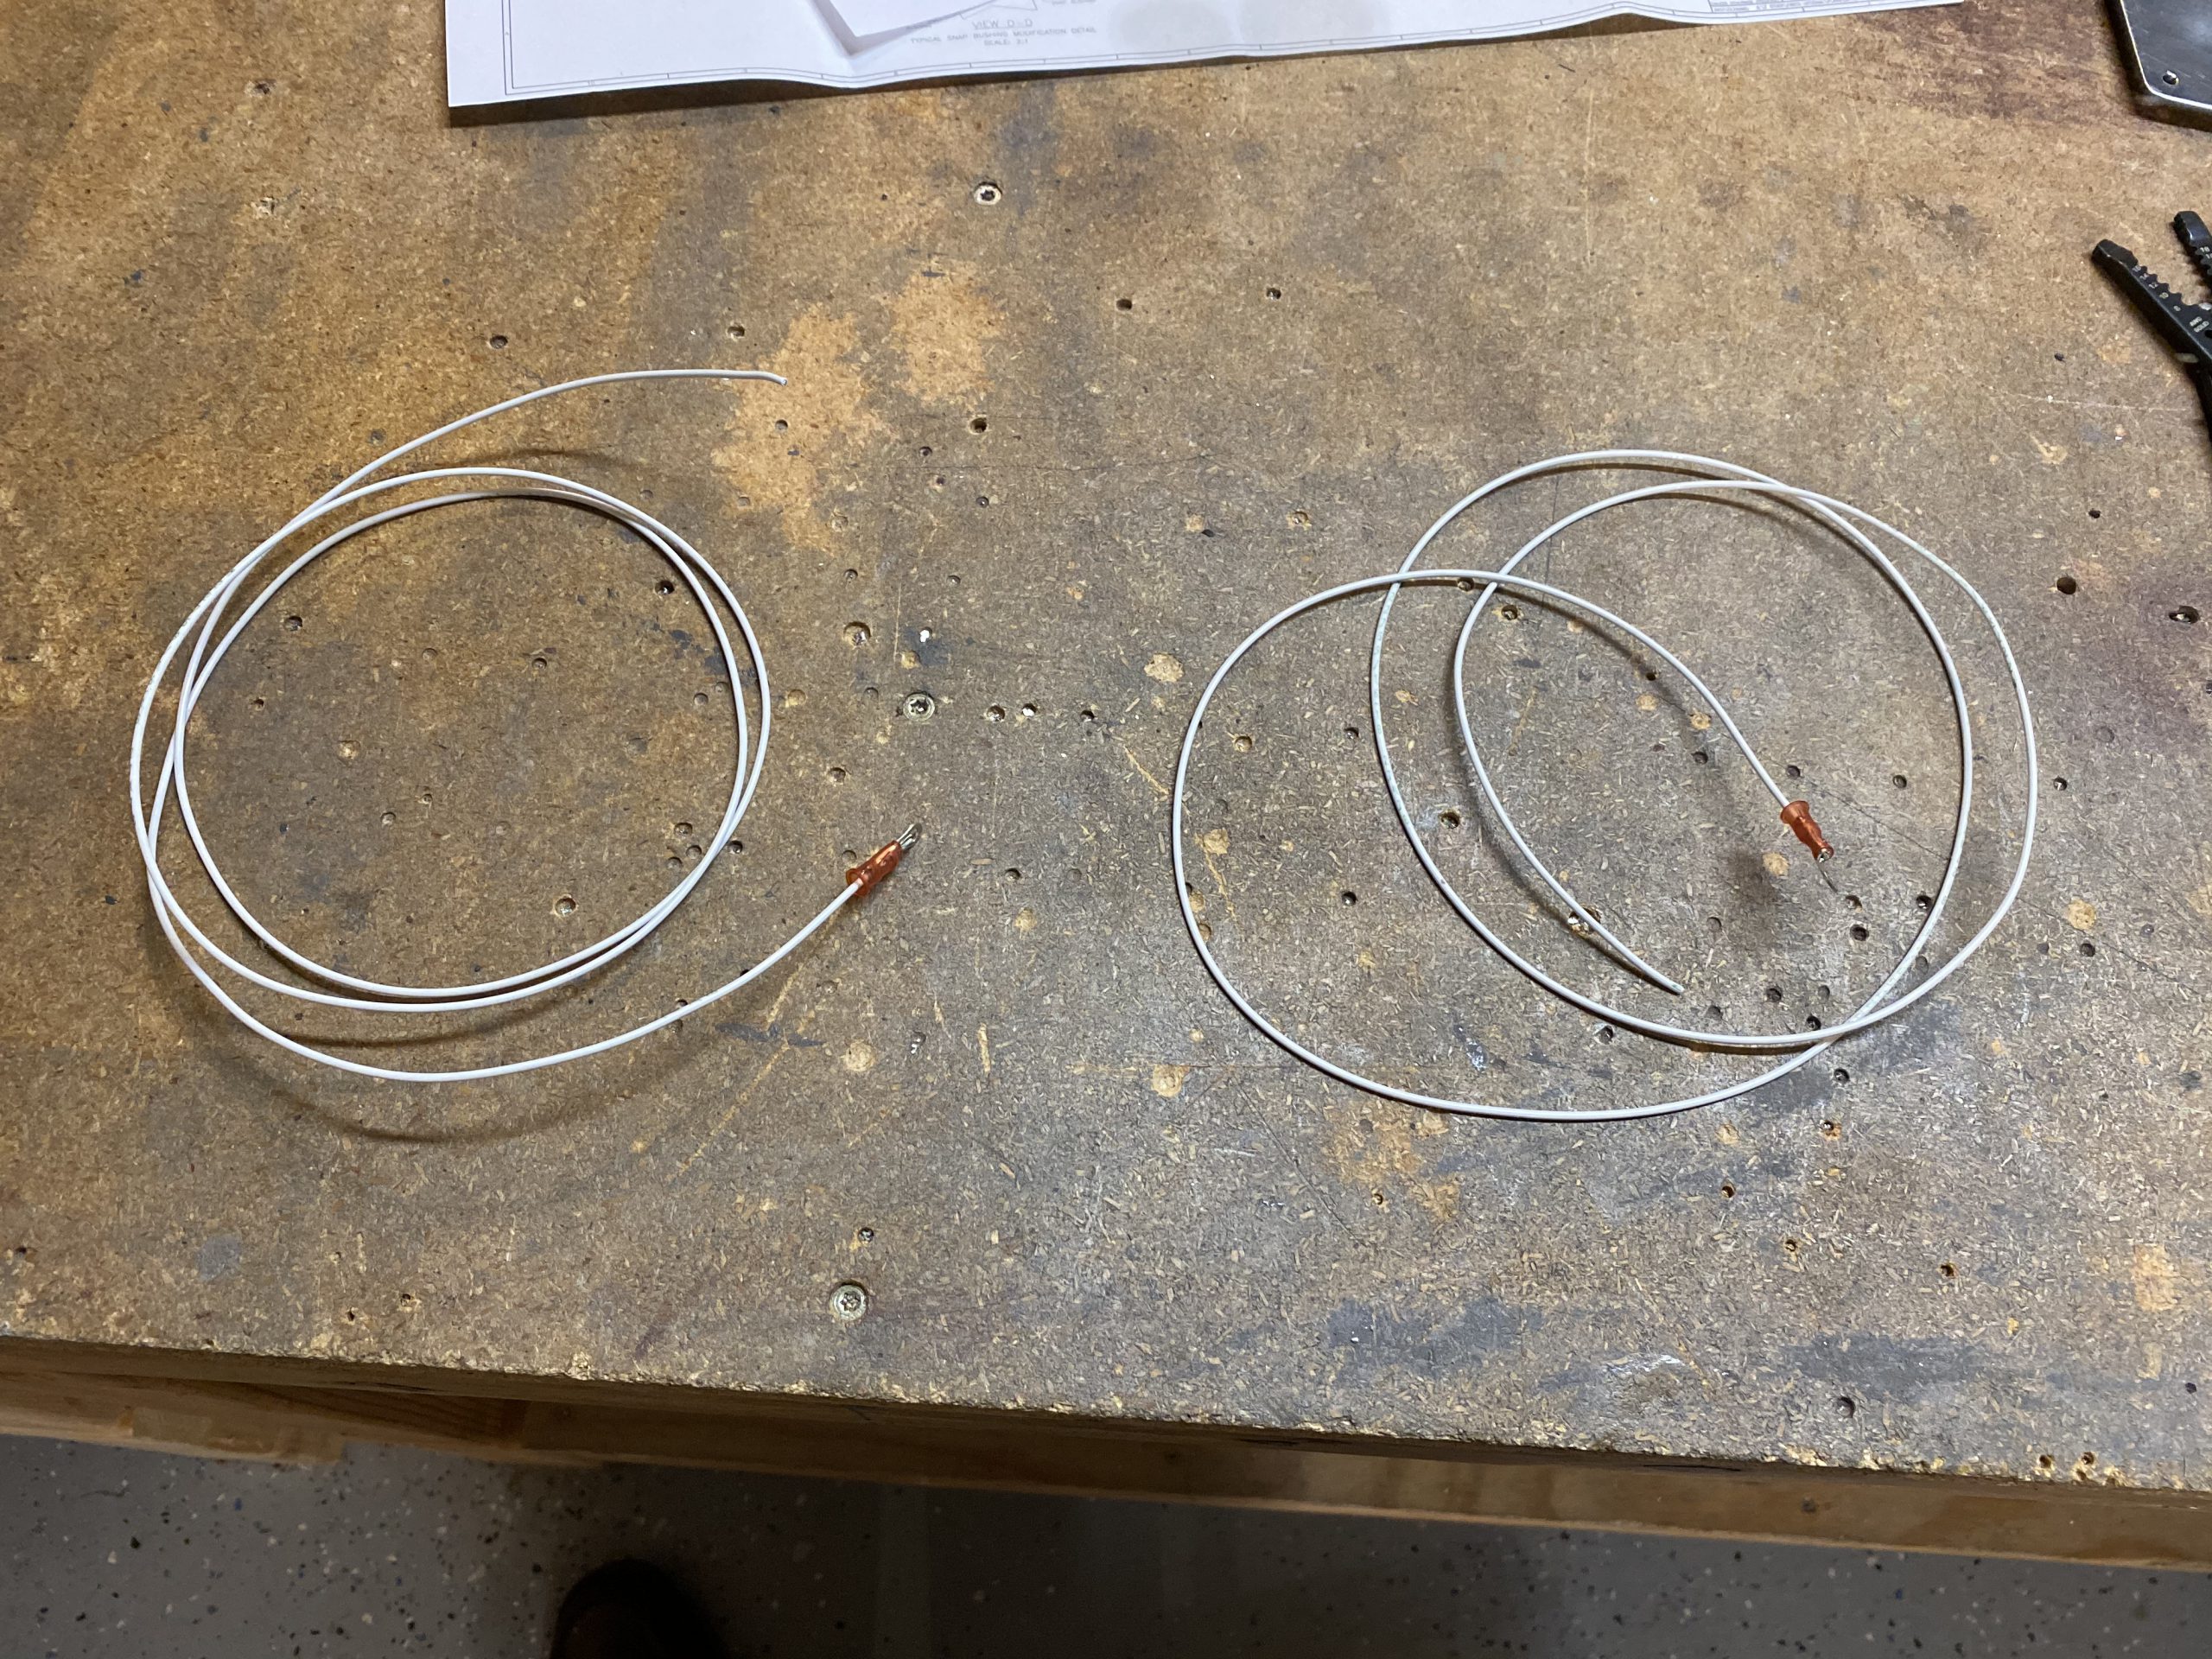
So, I started out by cutting the wire and crimping the end. I did this for both the left and right tank to save time.
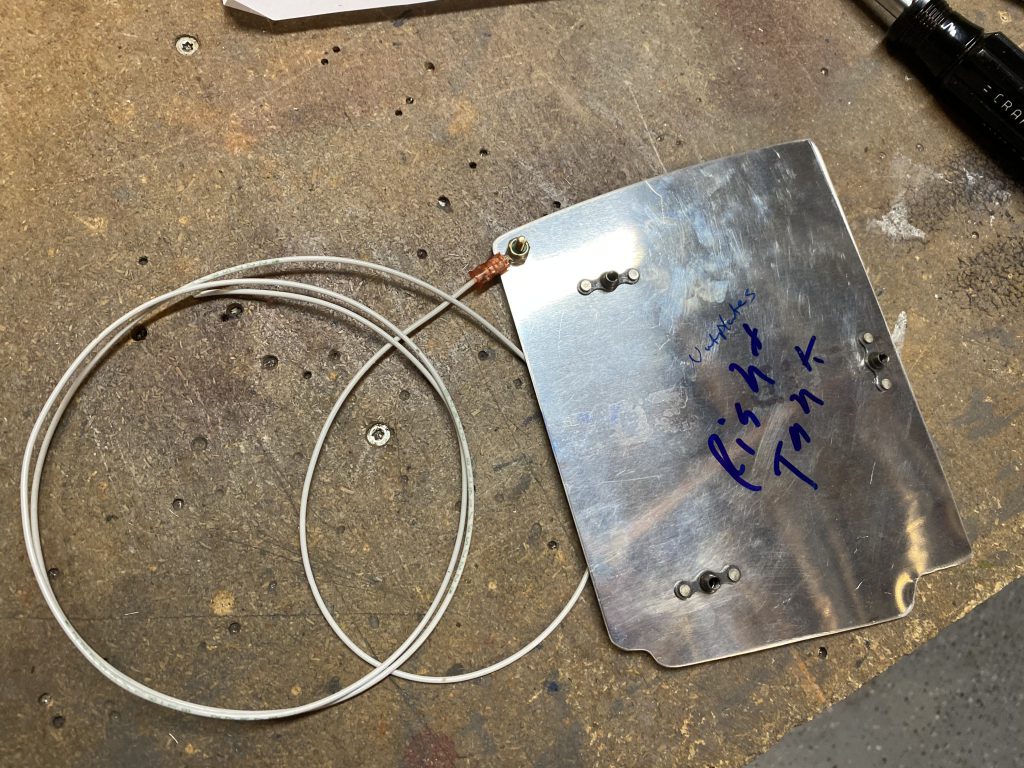
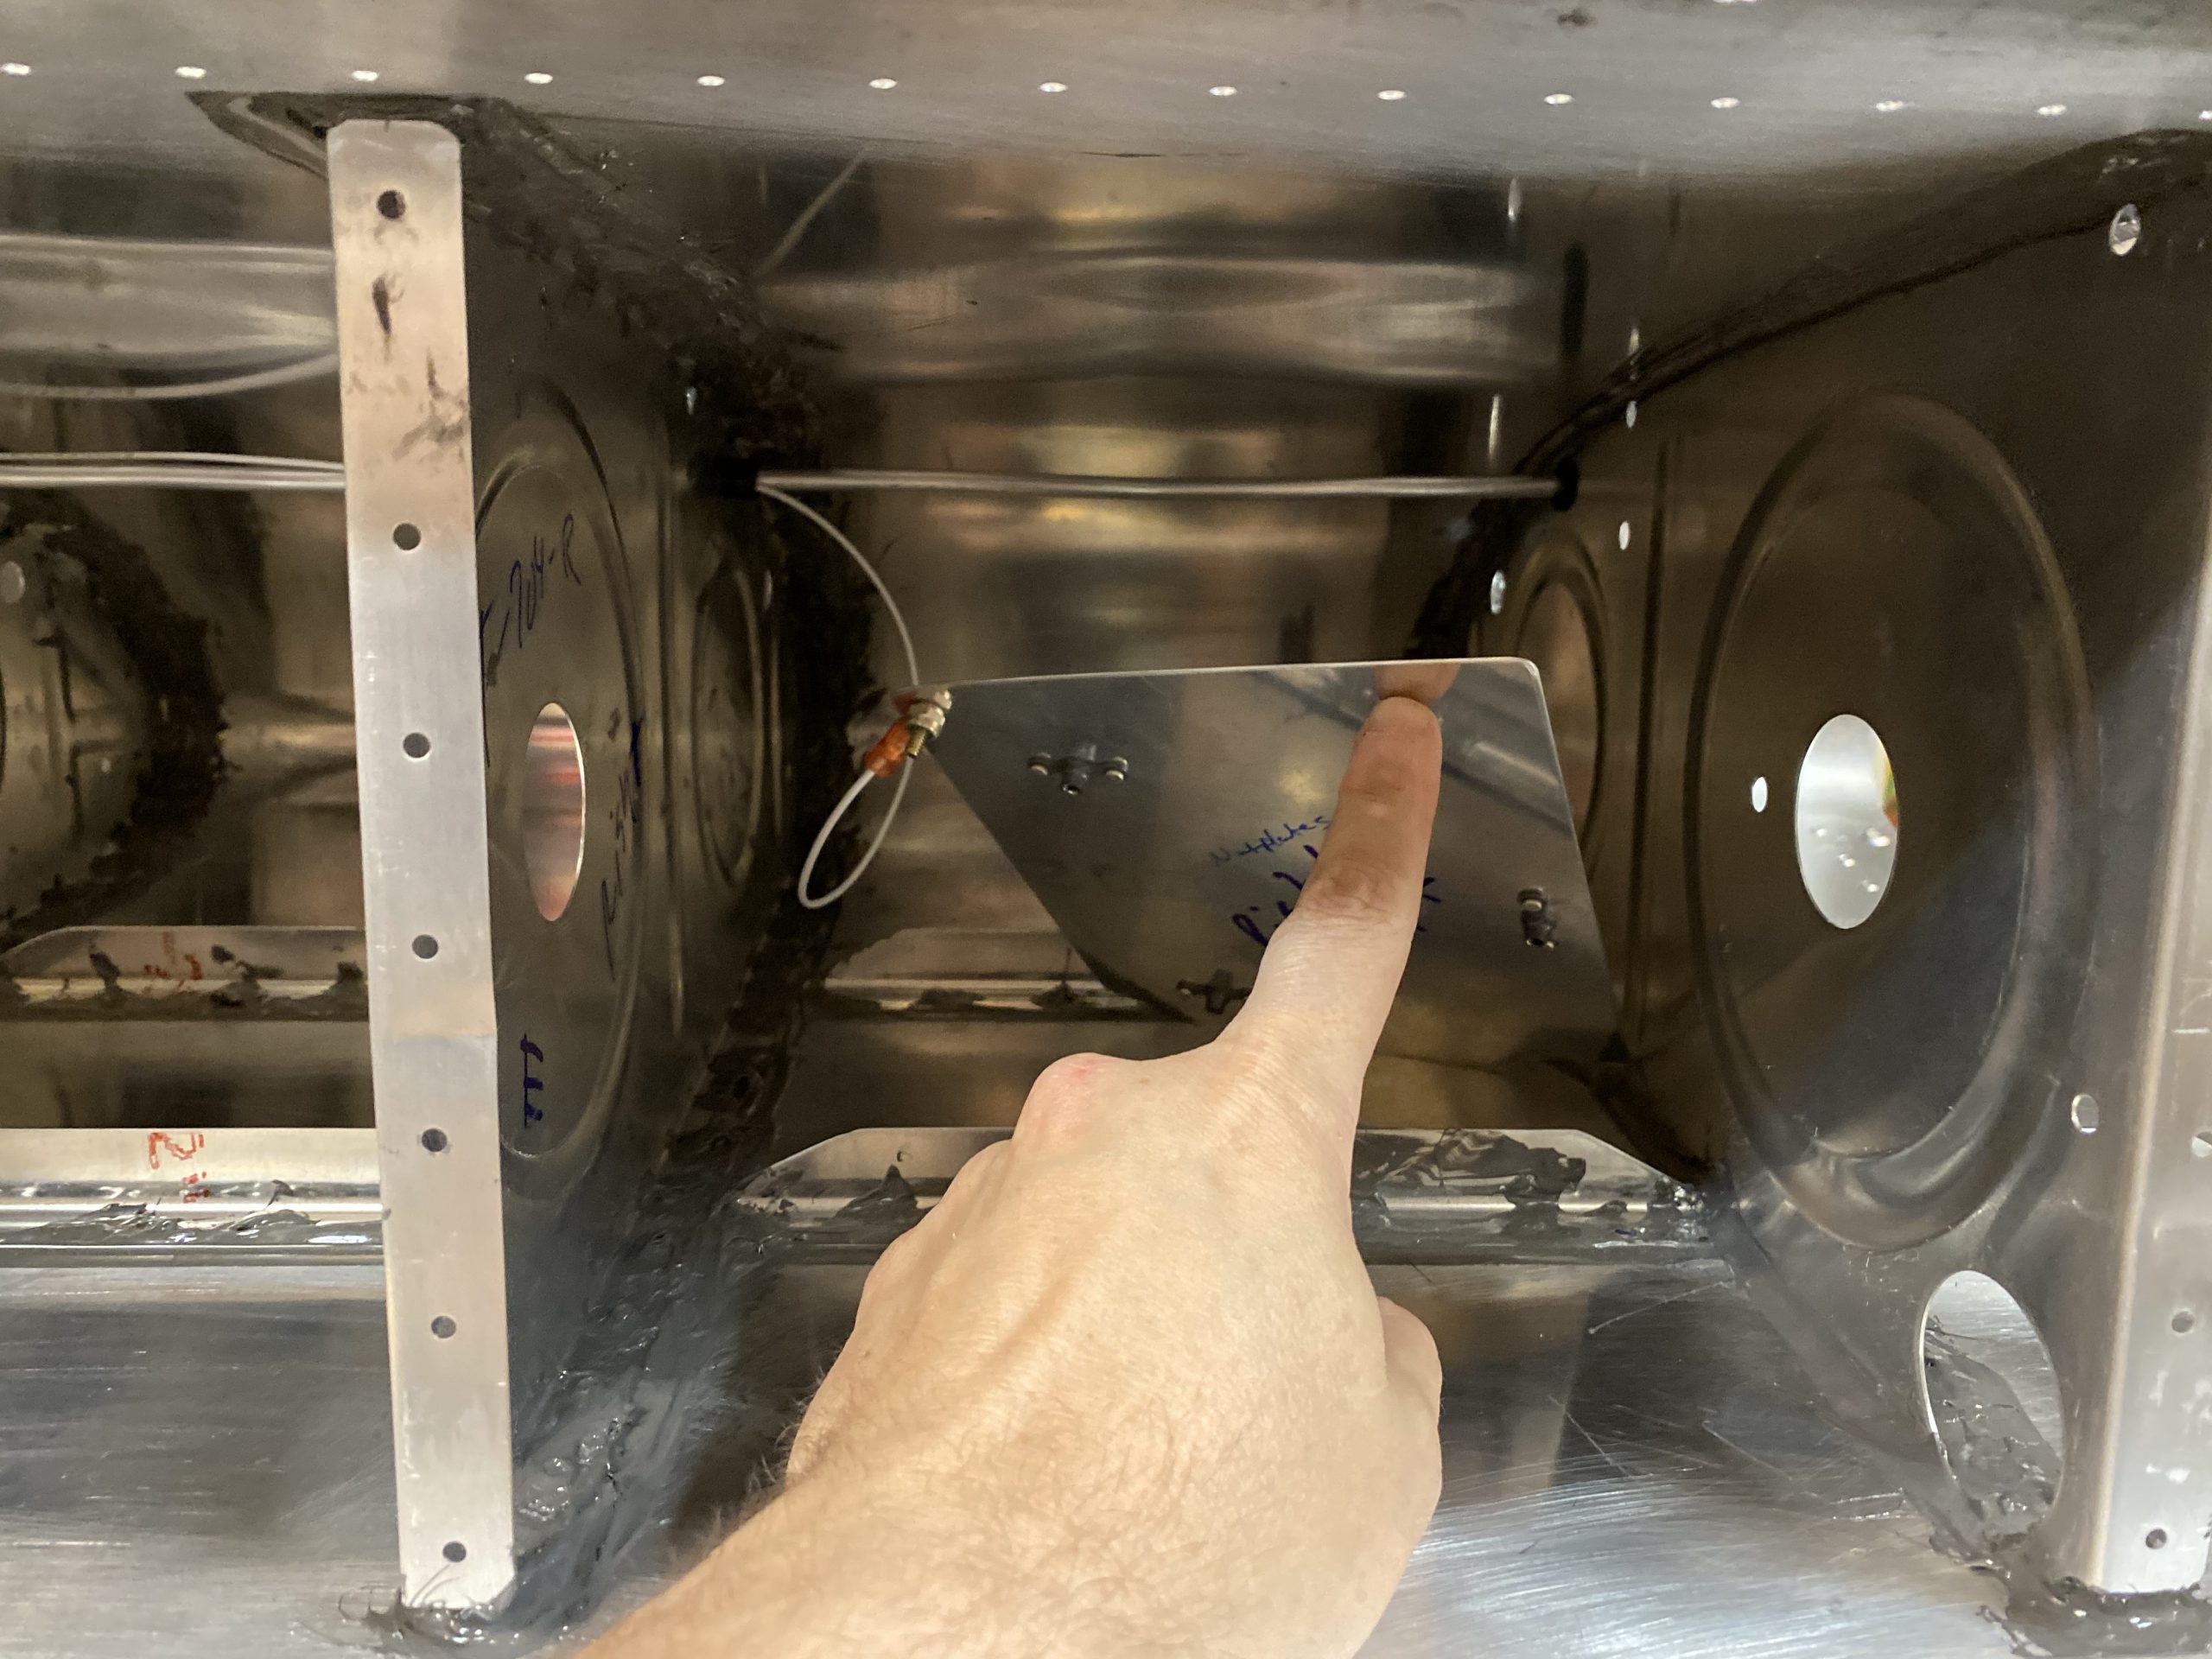
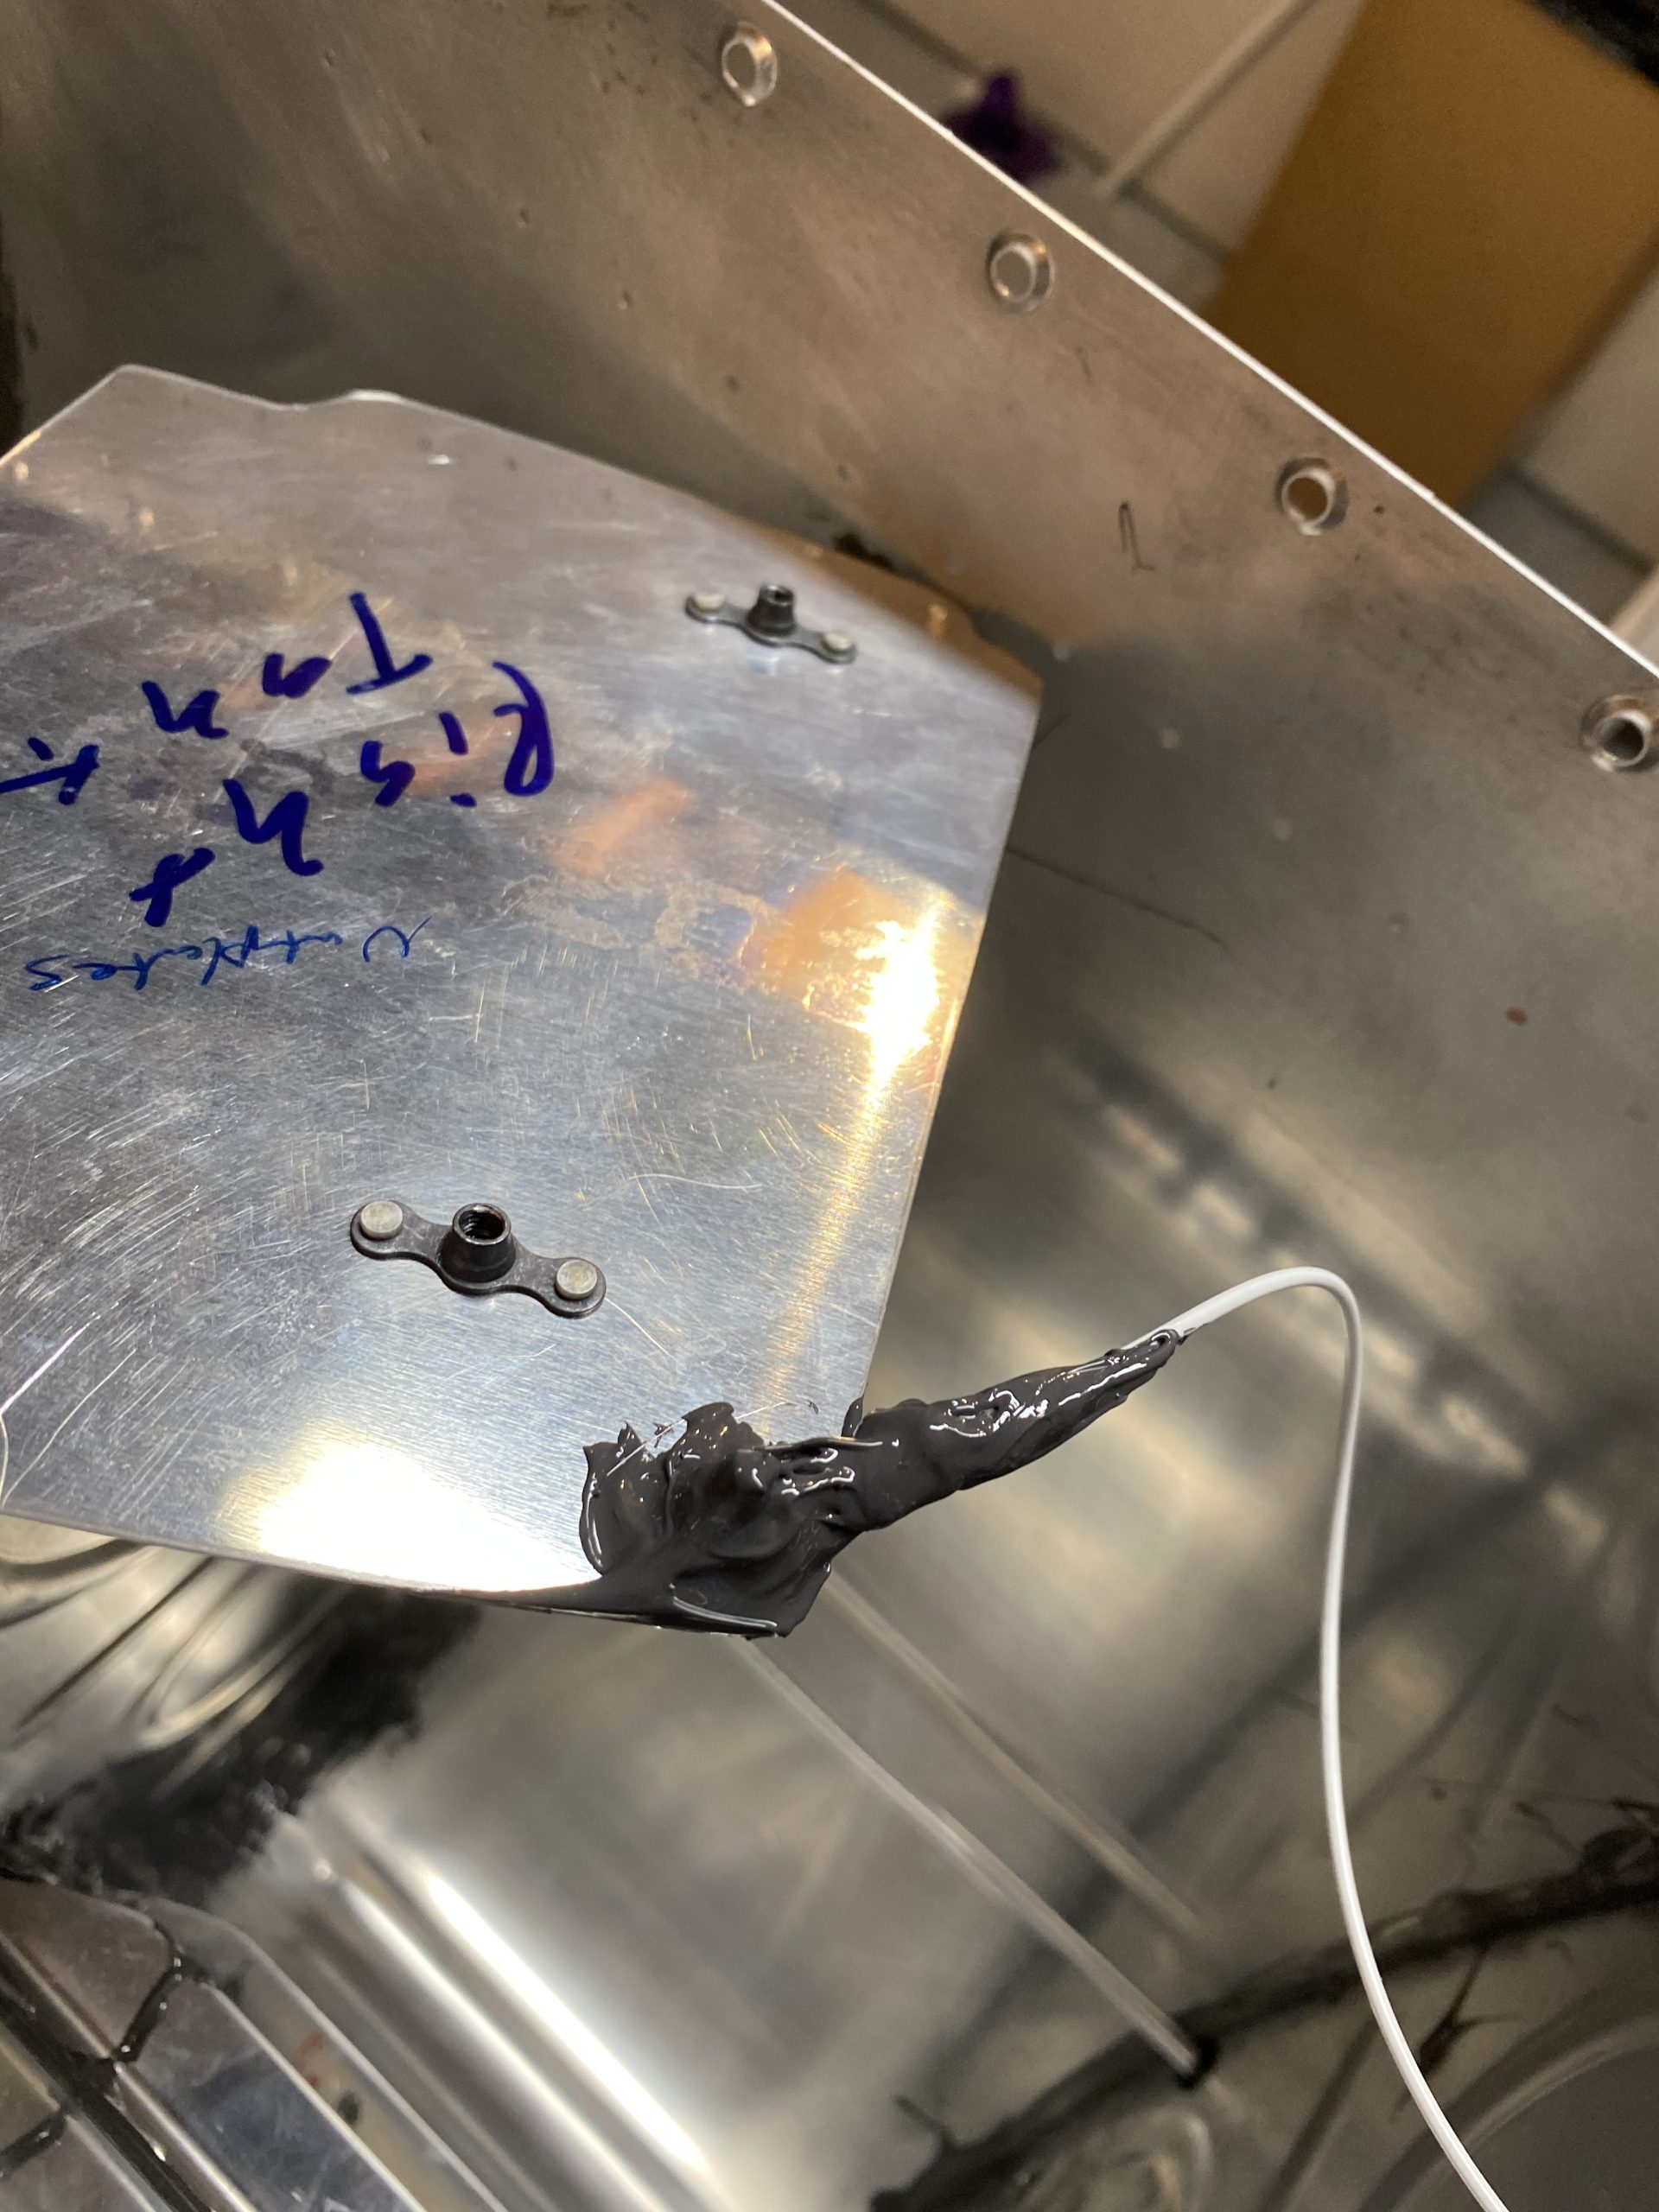
Next up, I gathered up my hardware, and screwed on the terminal connector to the right tank outboard sender plate, orienting like the plans tells us.
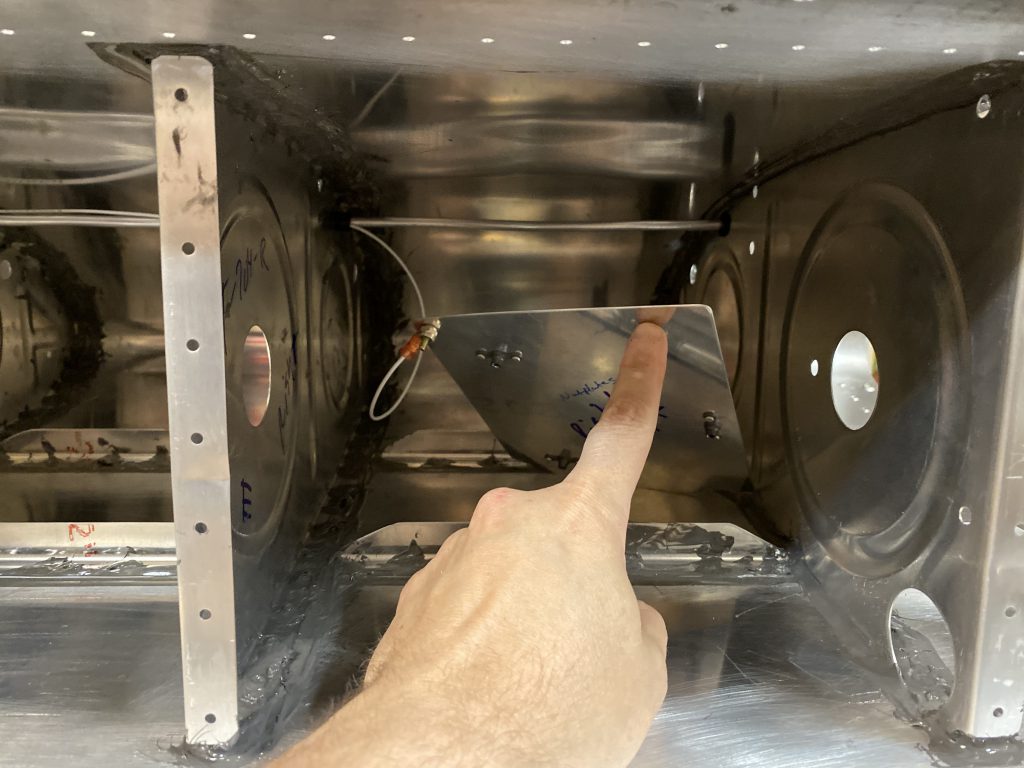
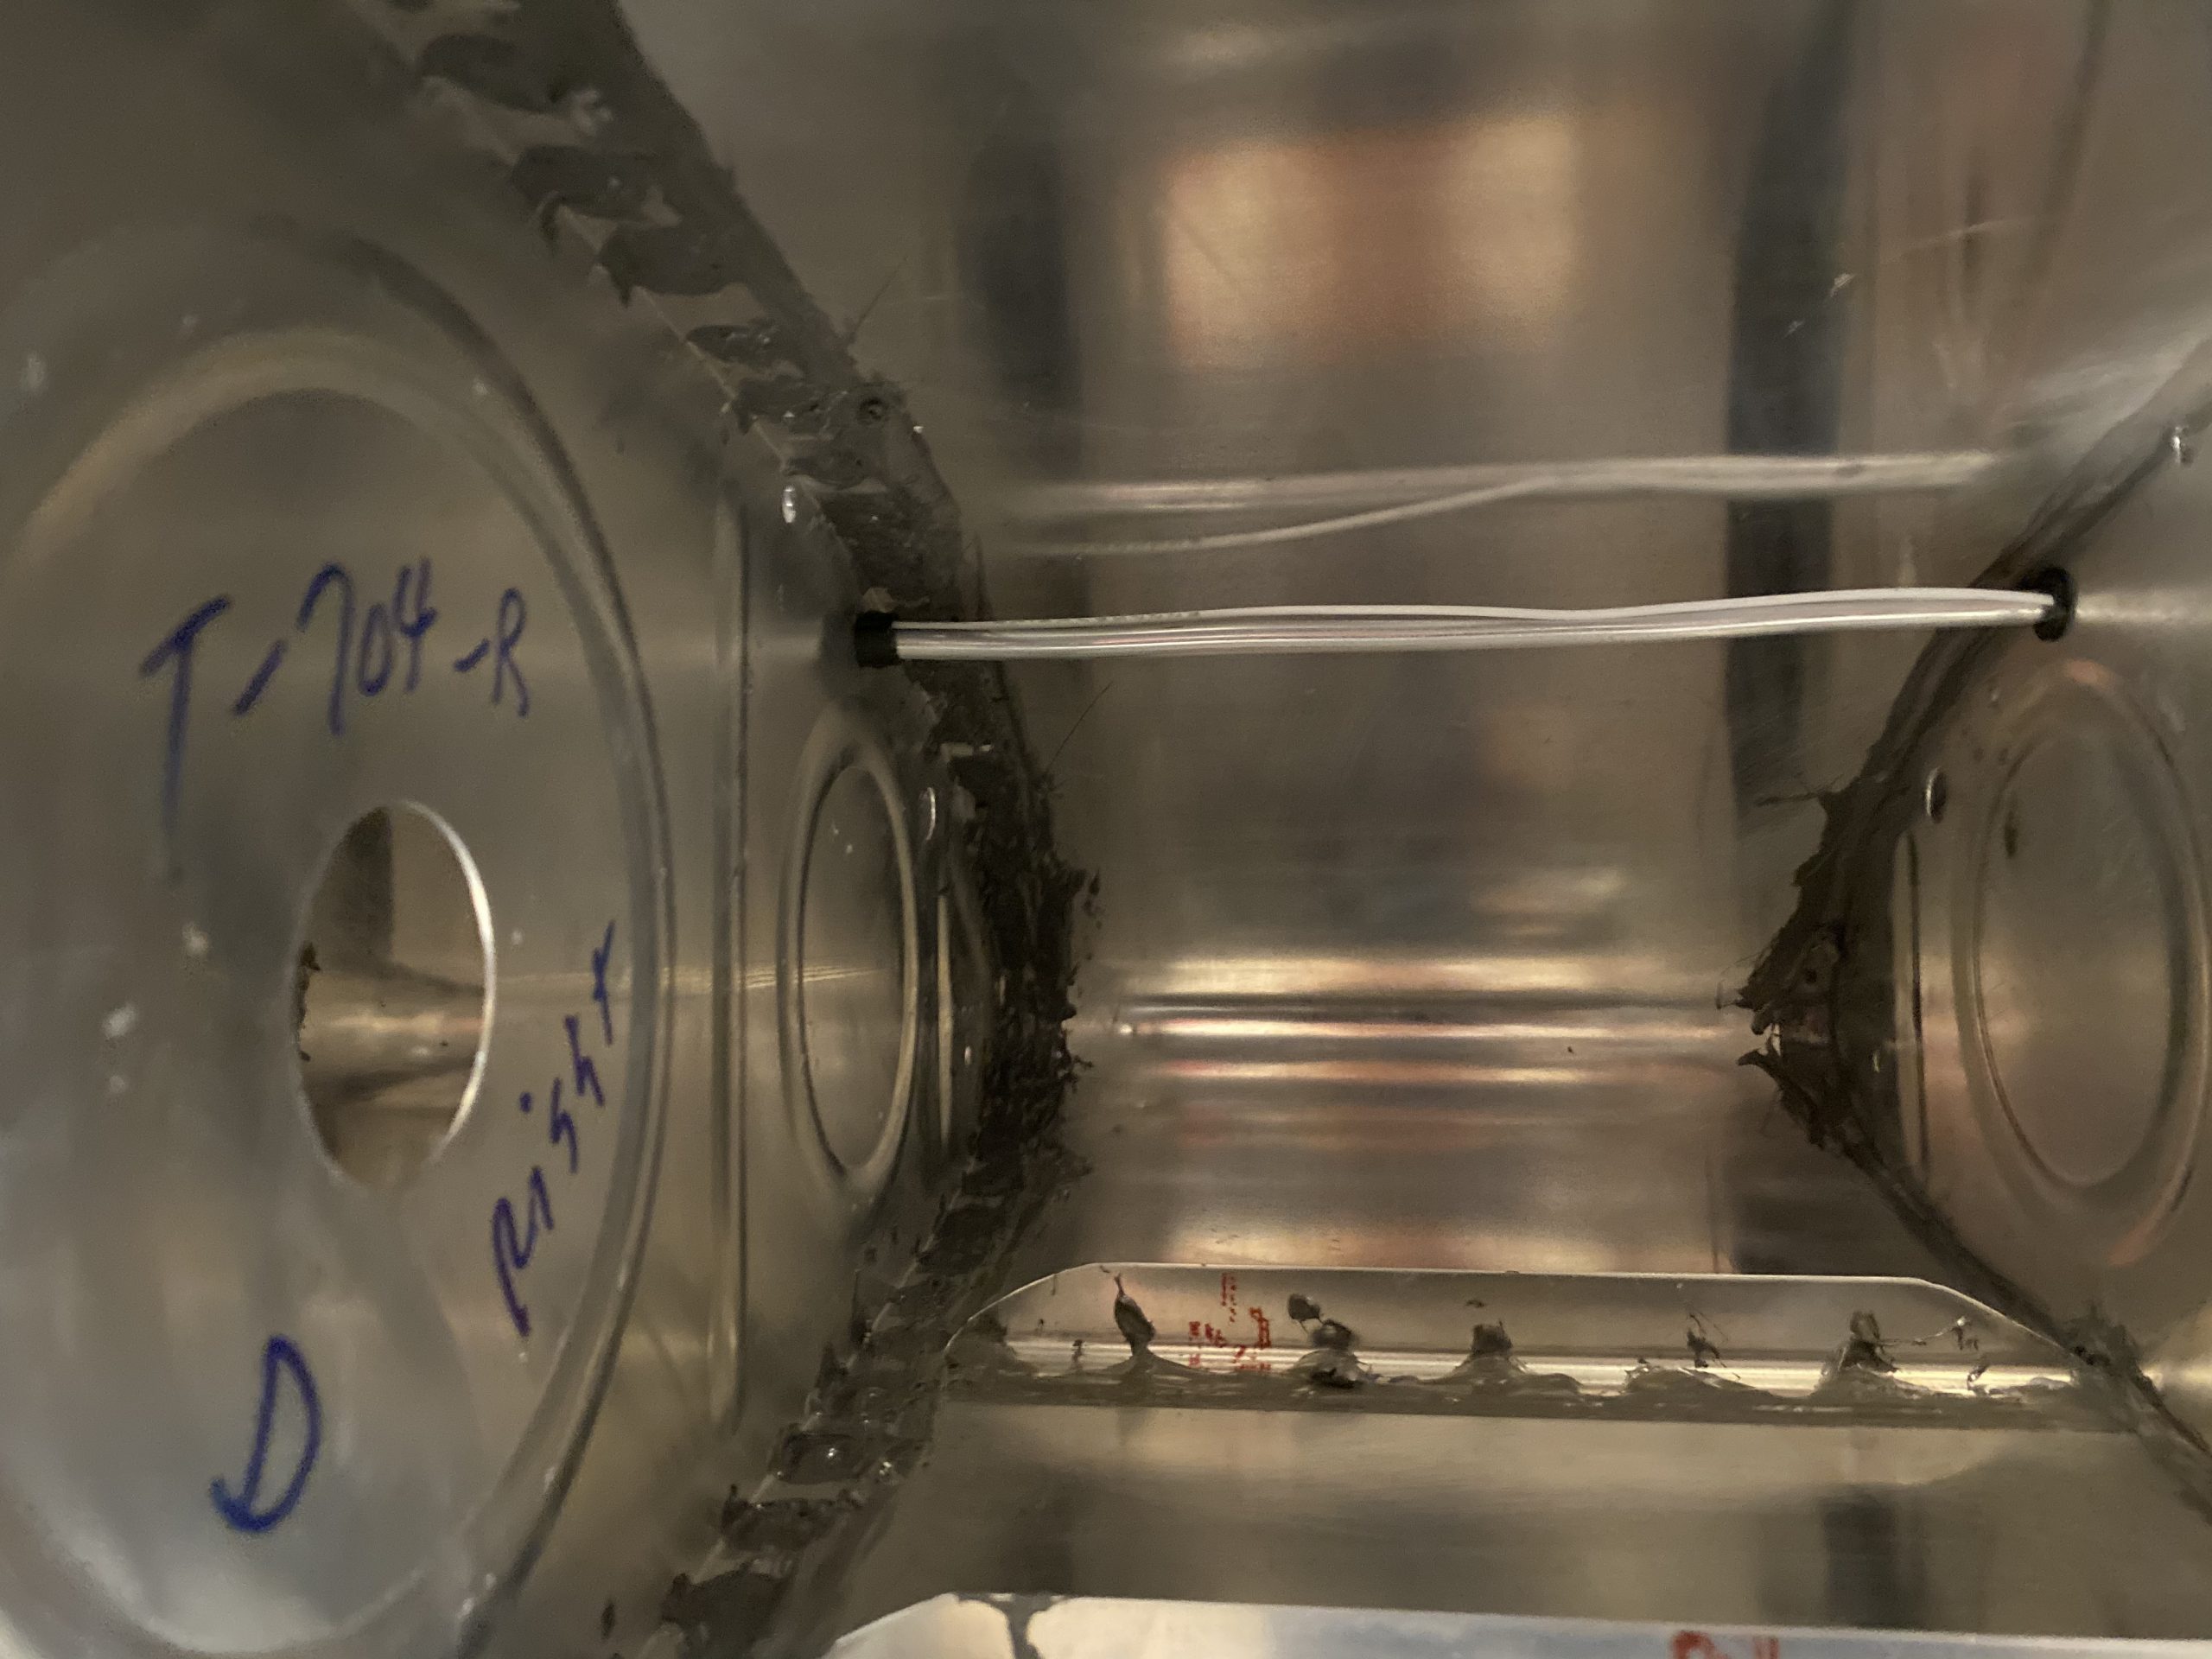
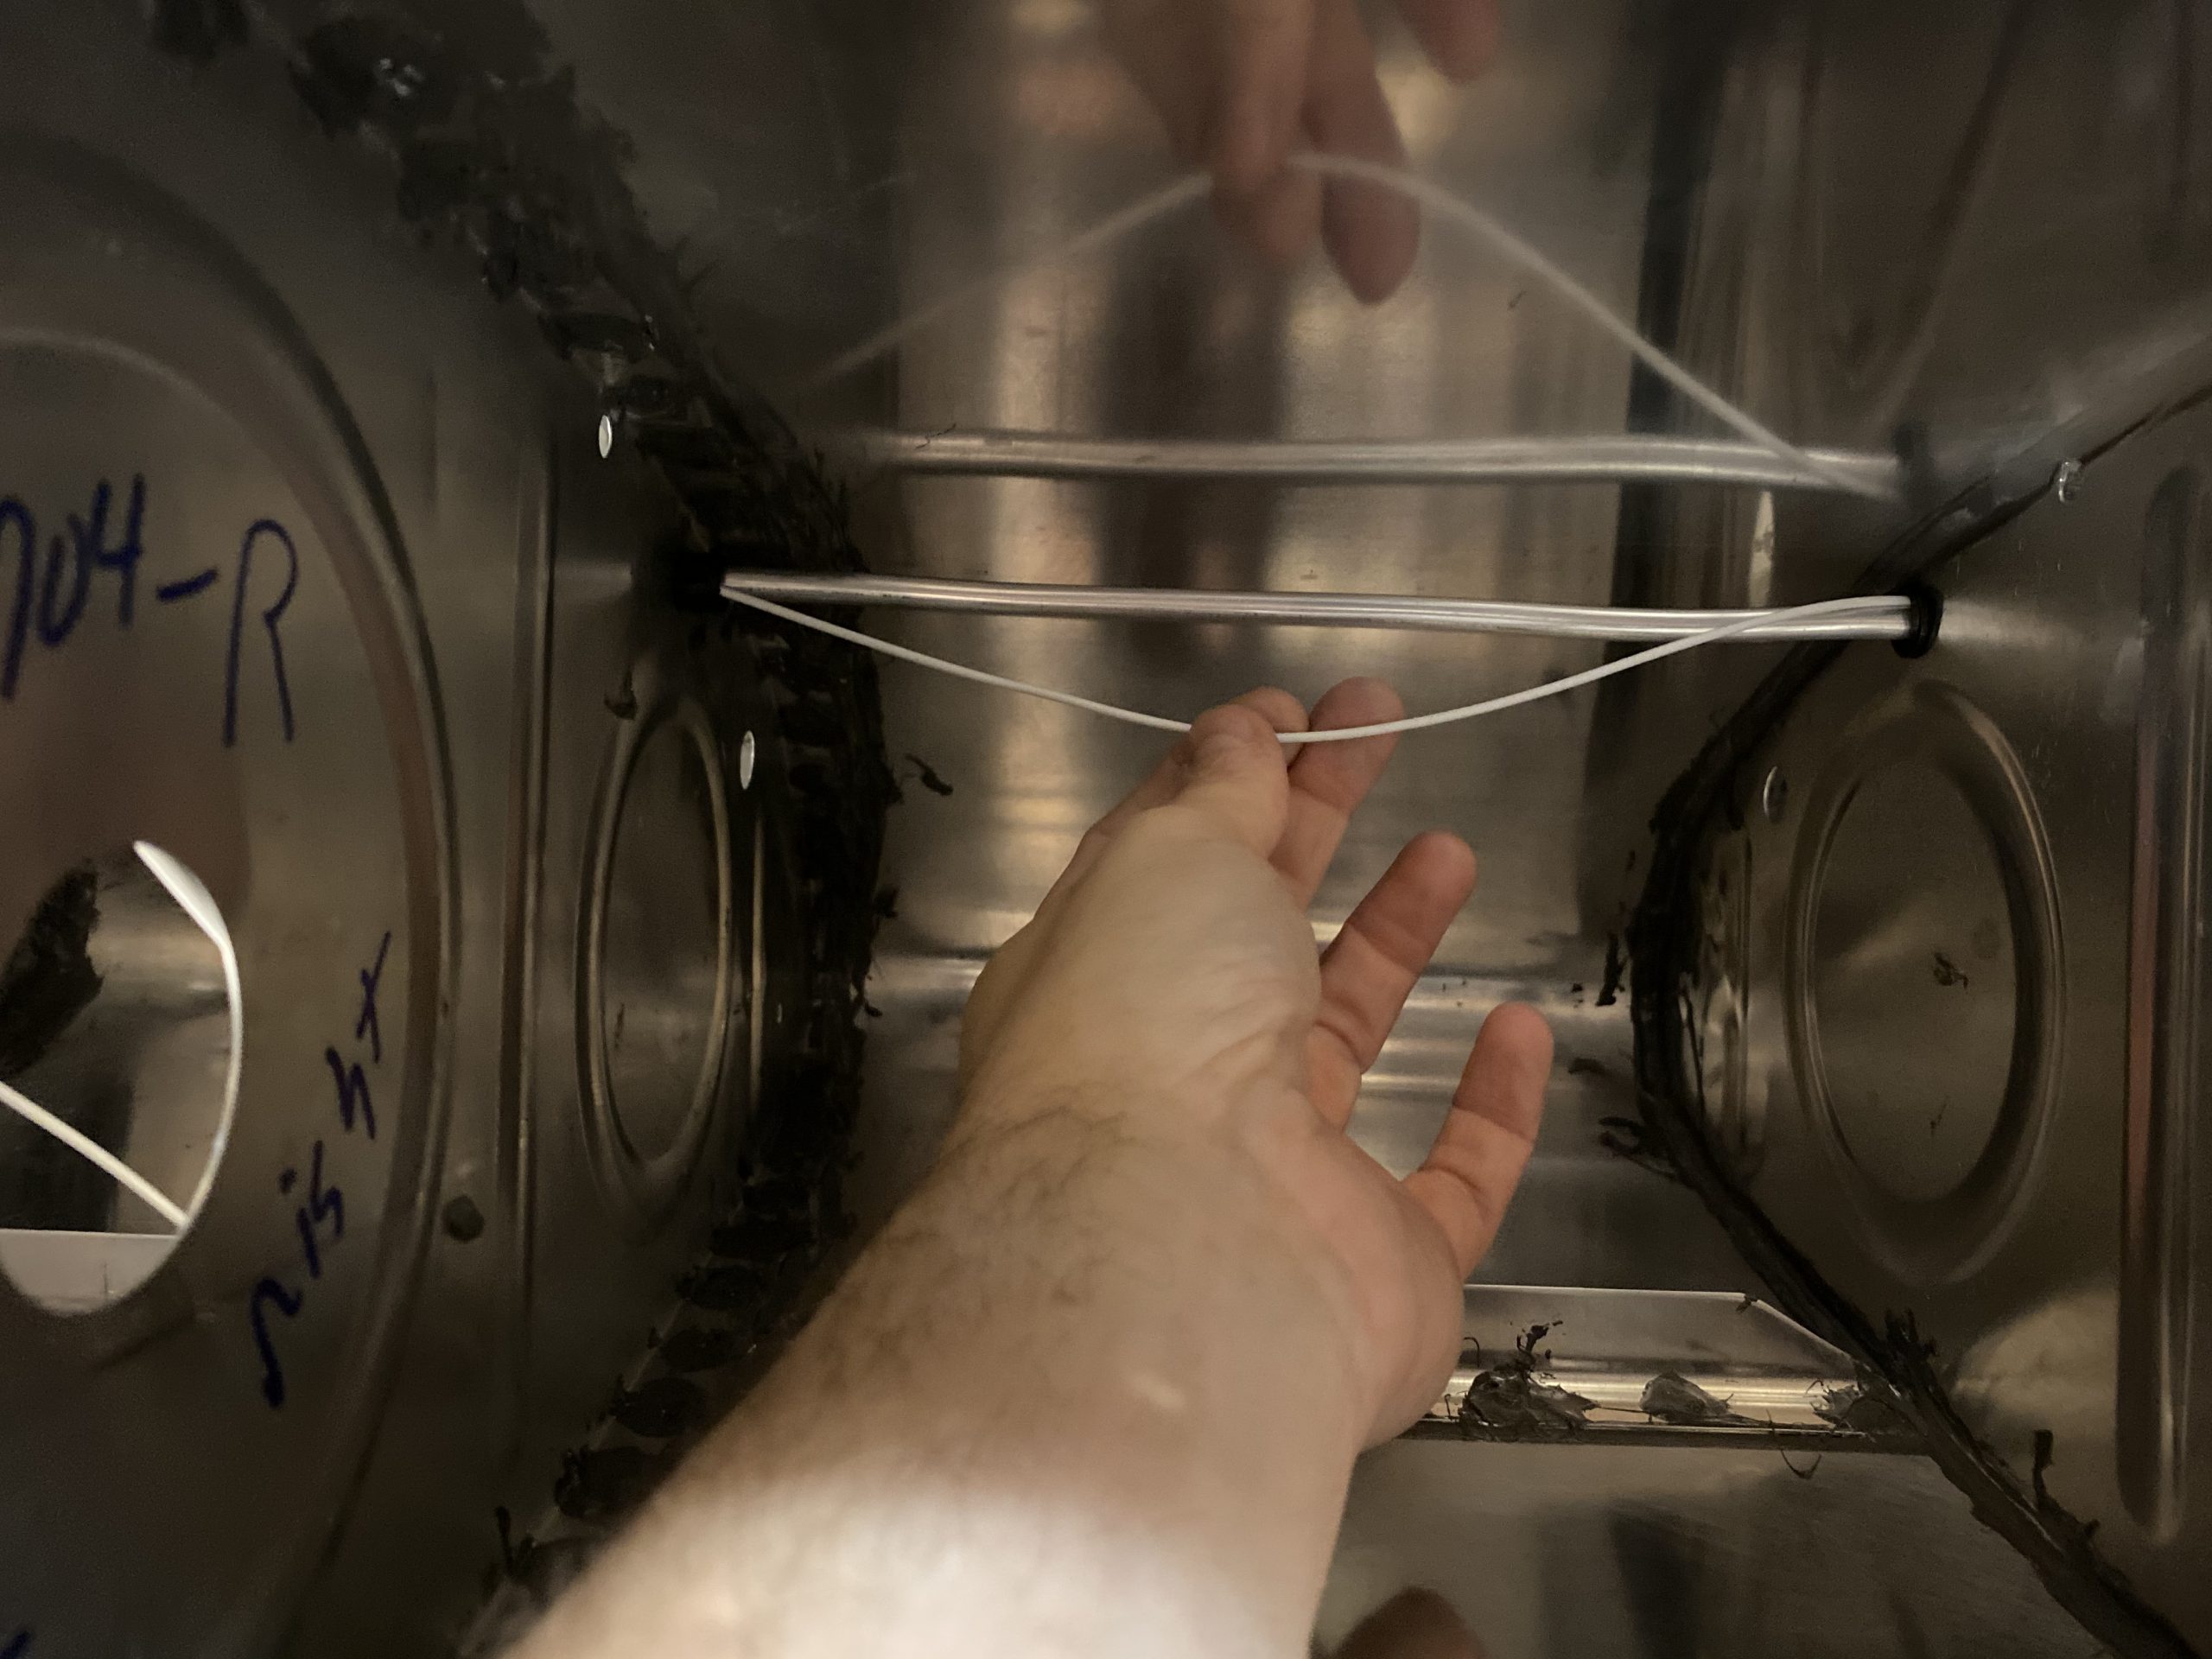
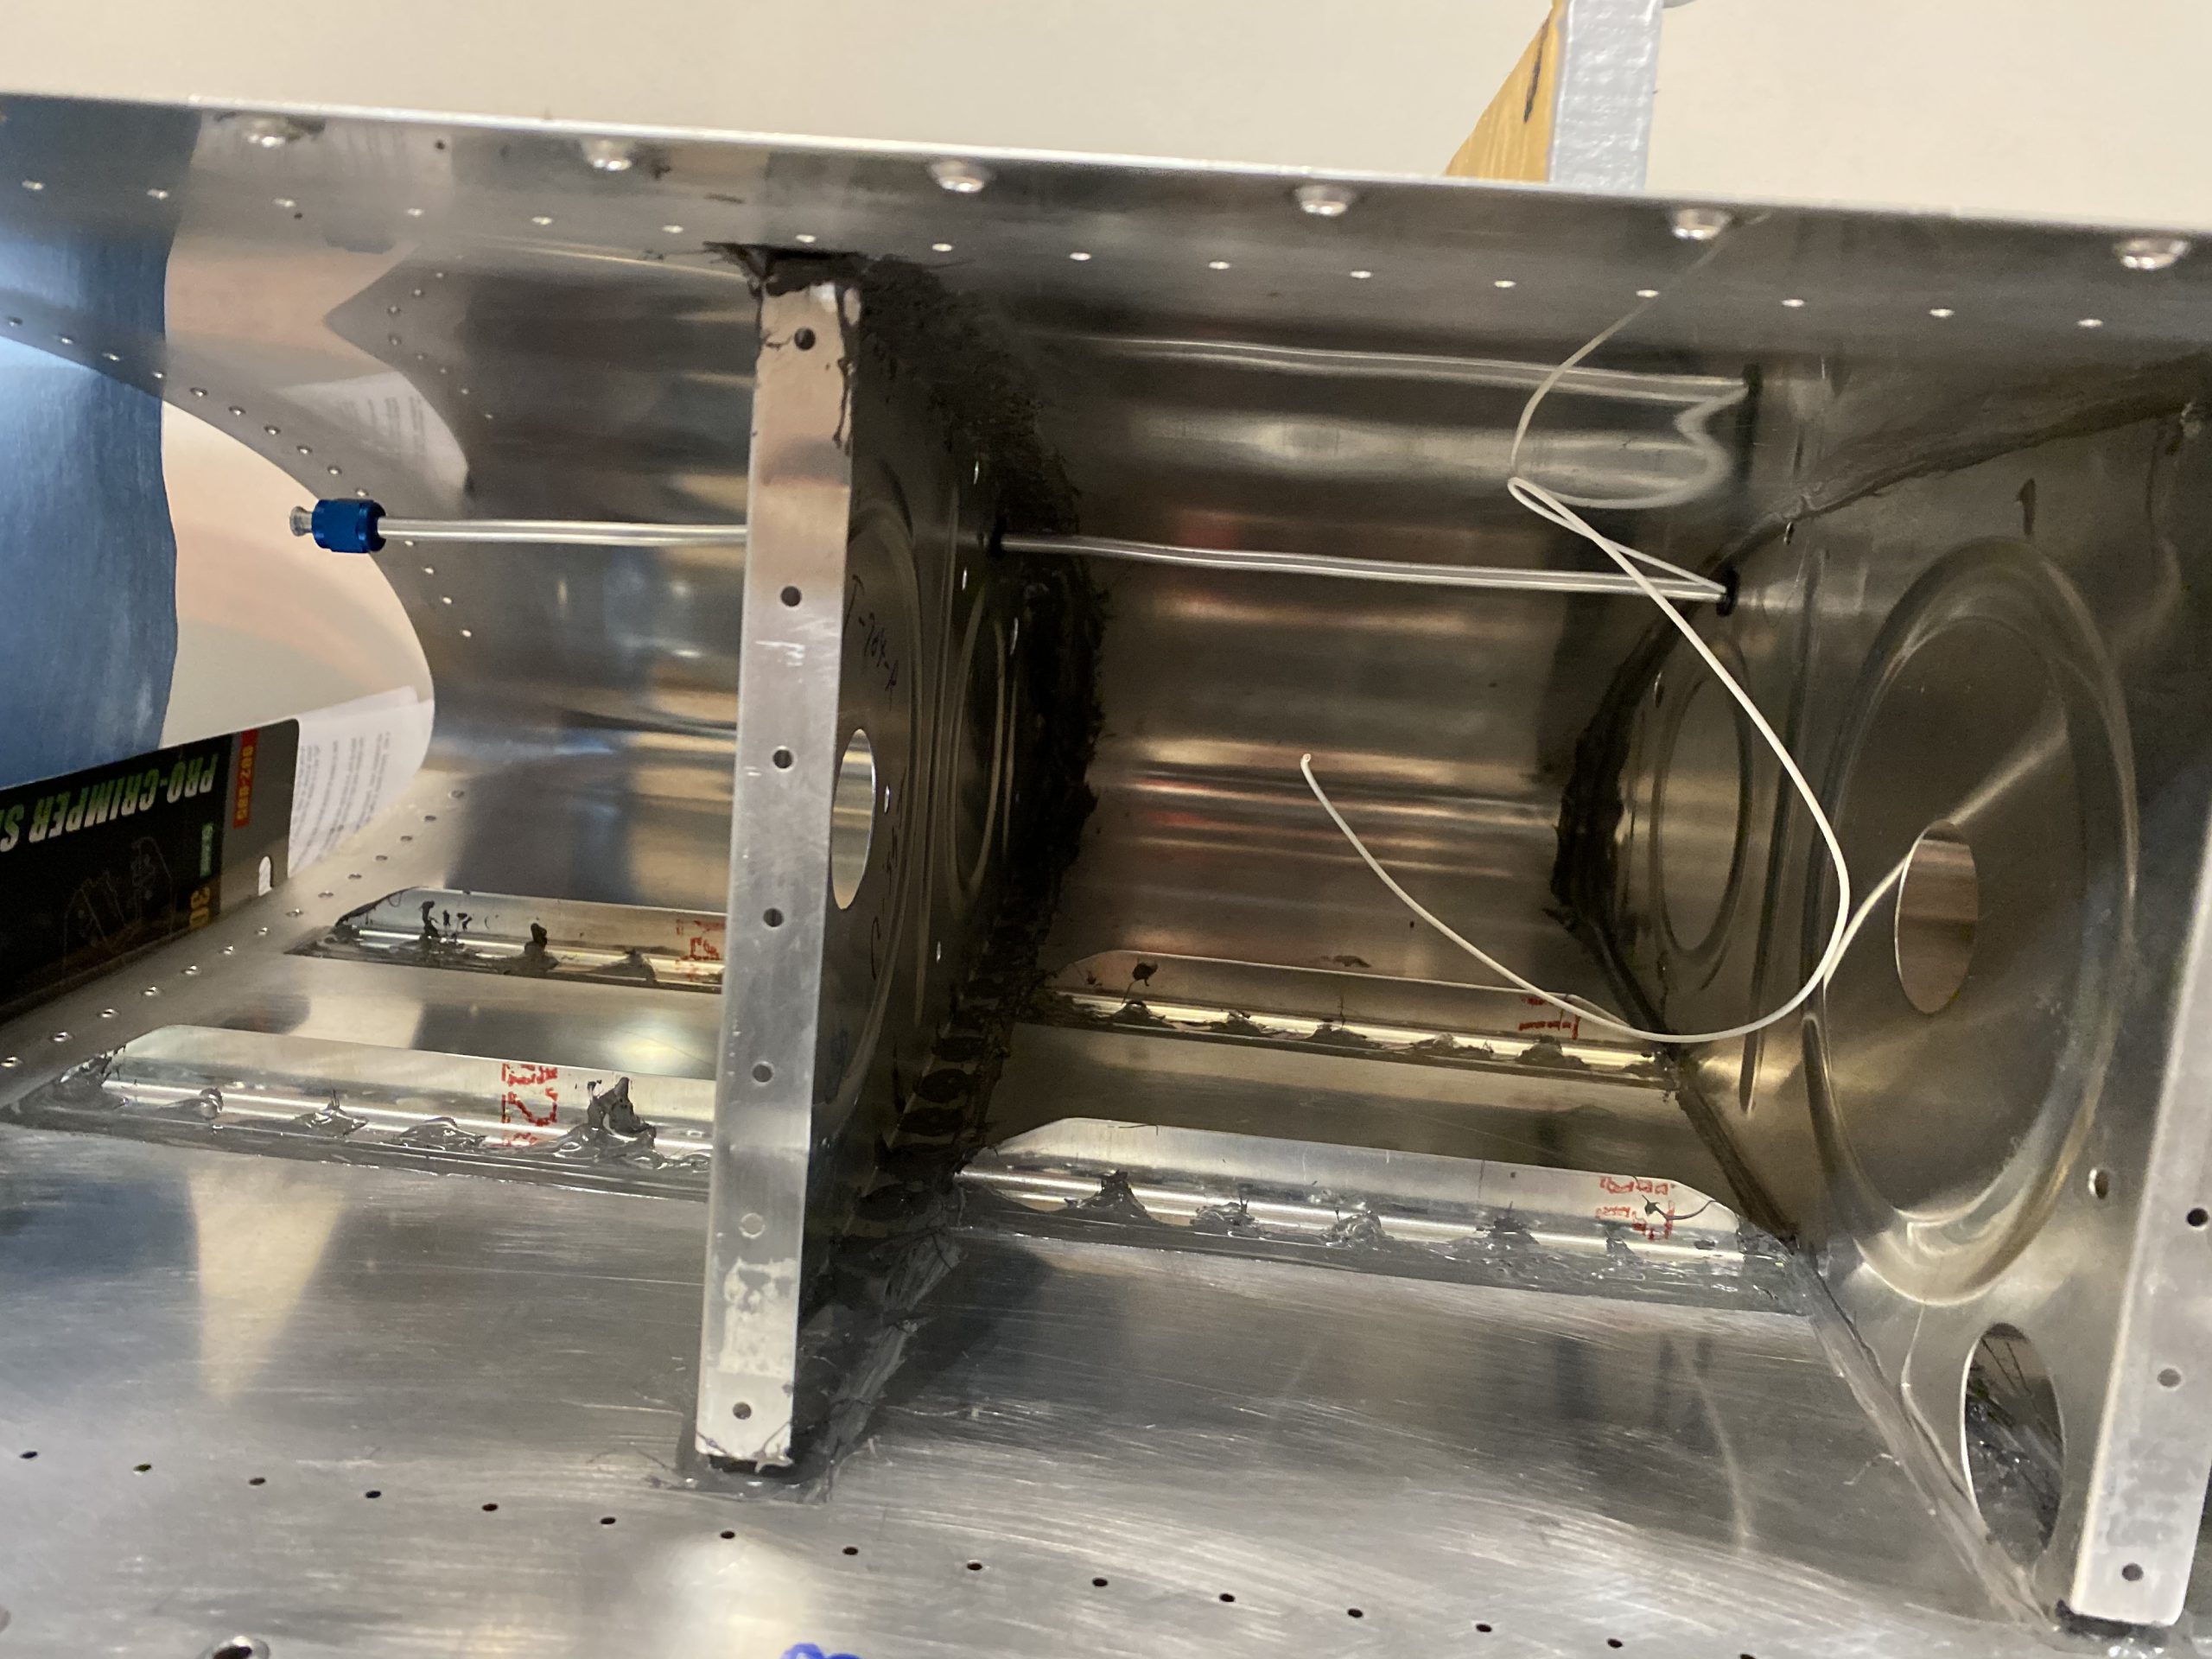
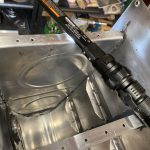
After that I put the plate in the tank and ran the wire through the plastic bushing, making sure the wire went into the notch I had cut in the bushings several work sessions prior. Then I inserted the vent tube into the bushings so I can make my last trim so it would fit in the tanks. I also made sure everything was lining up and looking right. I twist the wire around the vent tube once I get the plates mounted and ready for final crimping. I still need to install the inboard plate and crimp the wire from the BNC connector into this 48″ wire and and a terminal ring together.
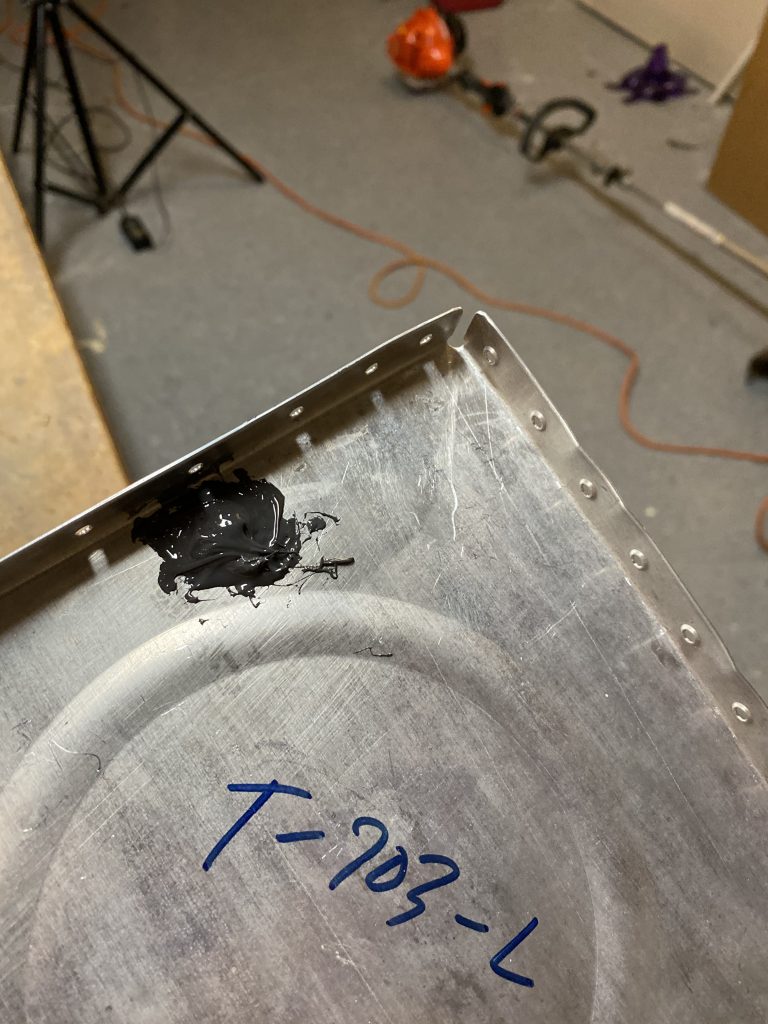
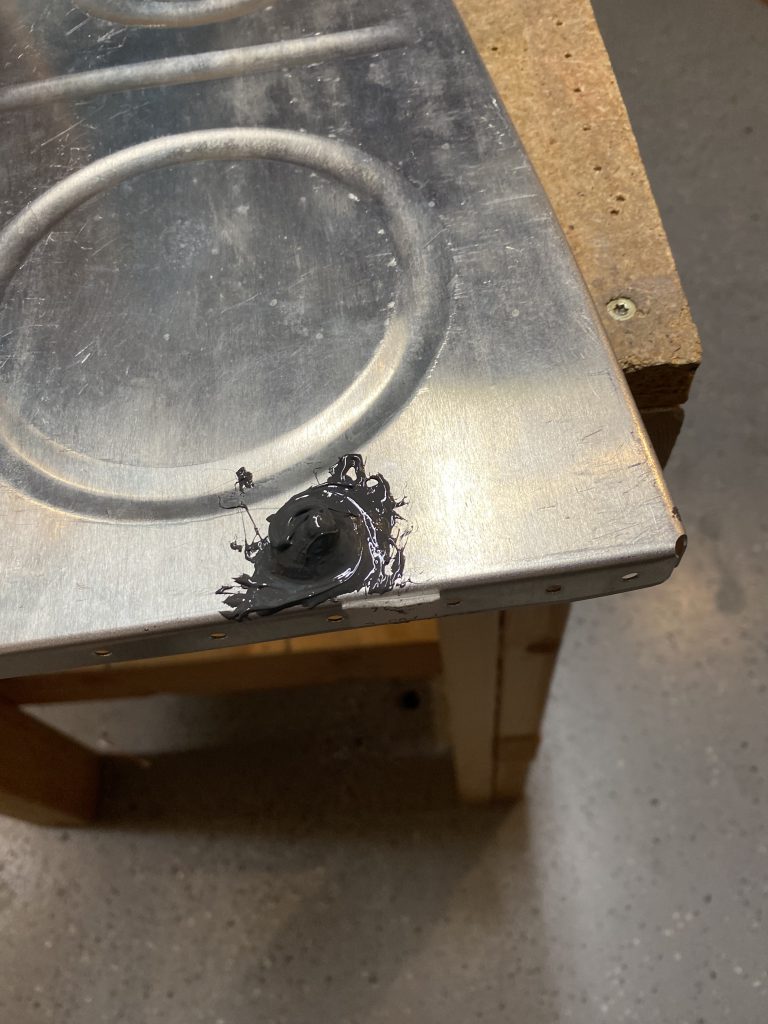
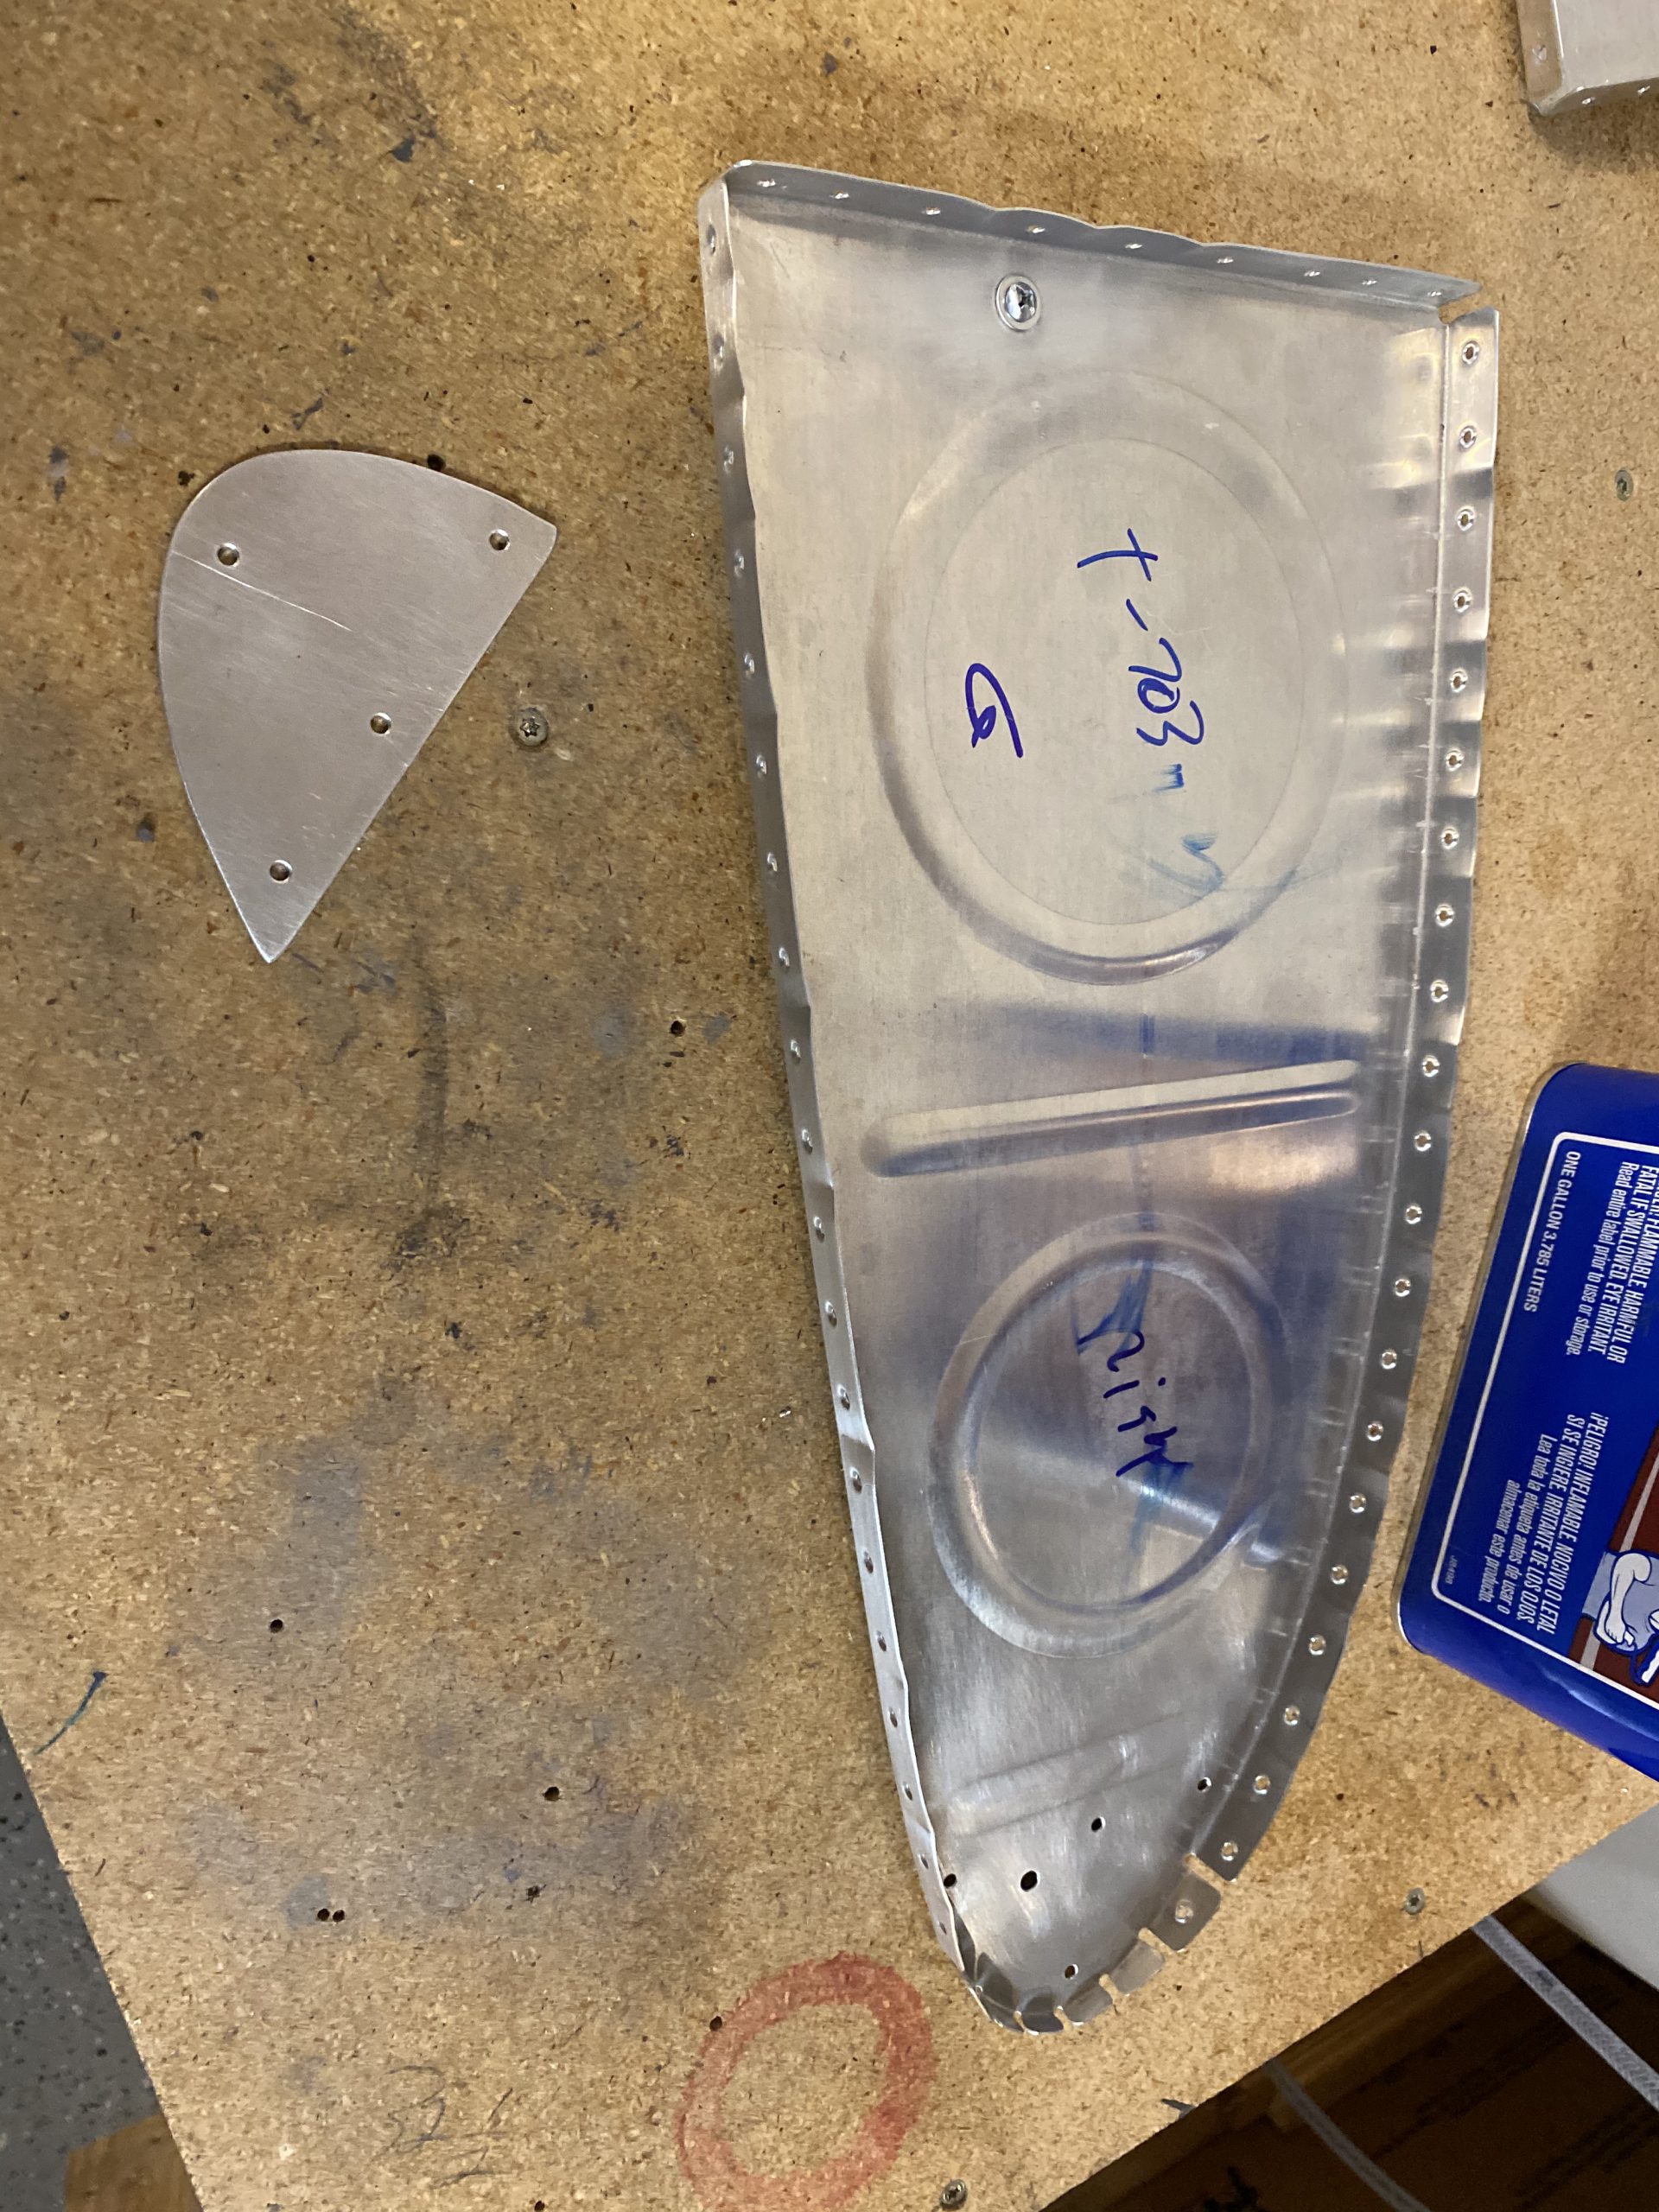
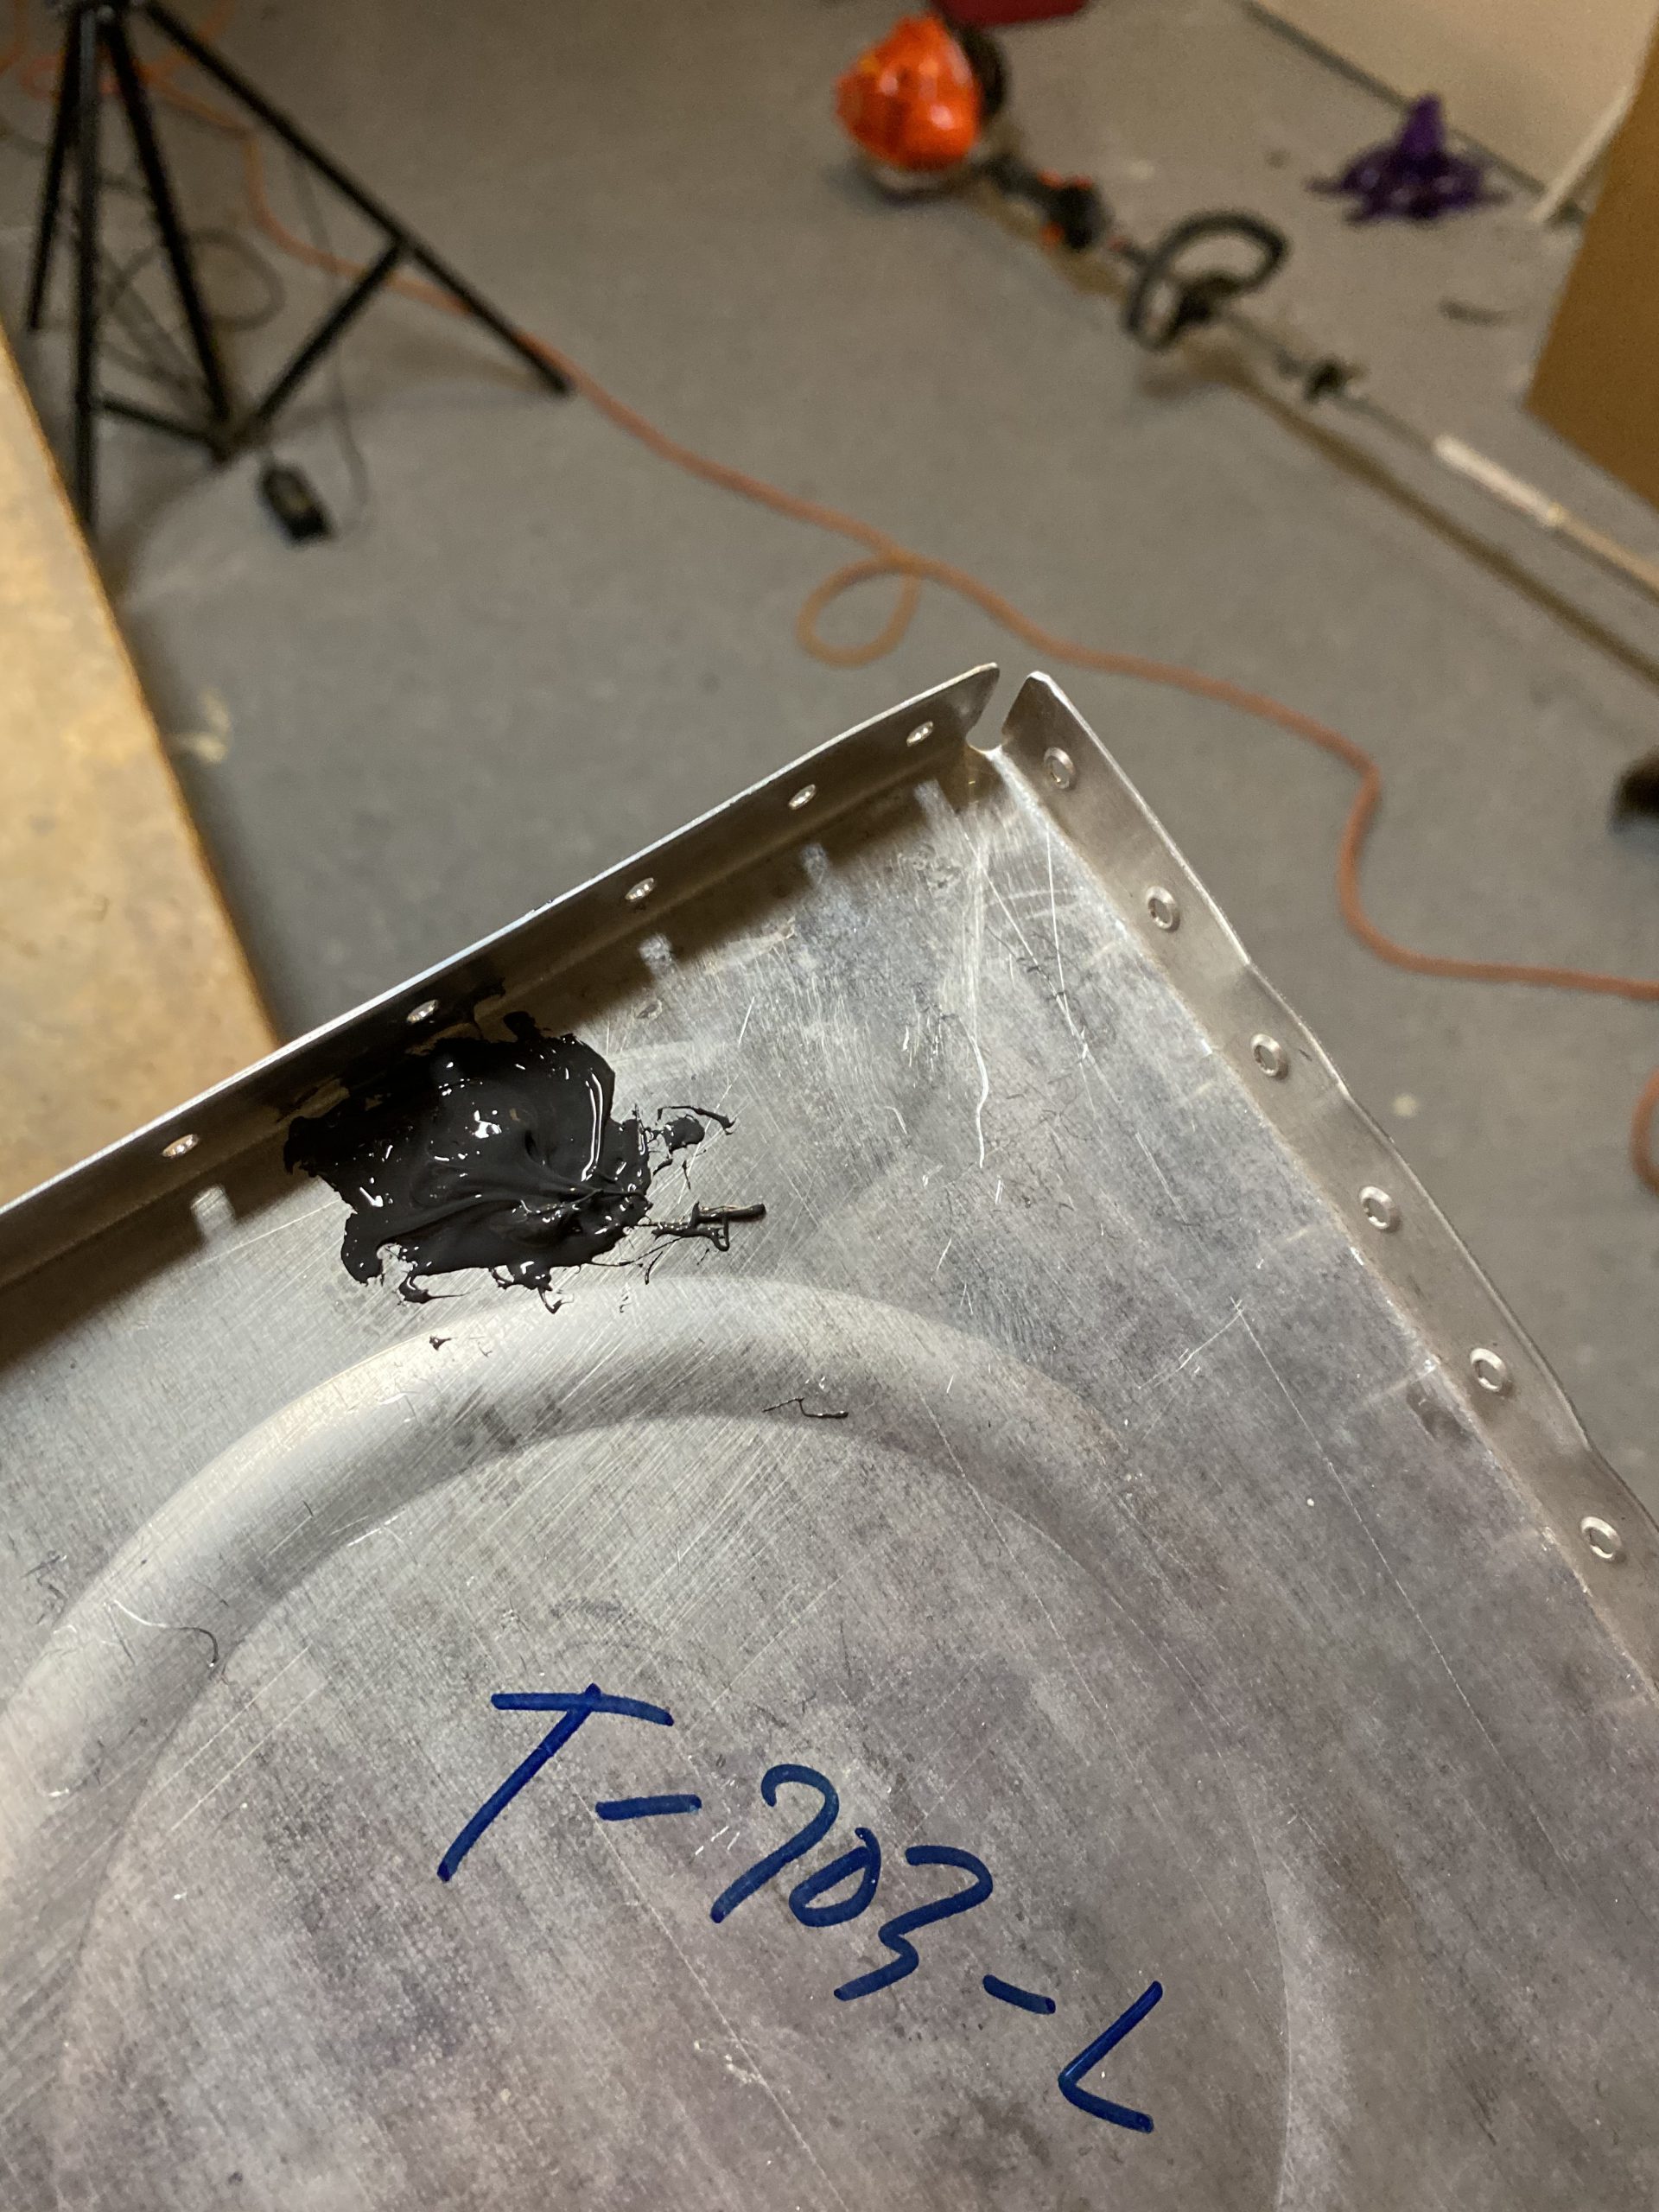
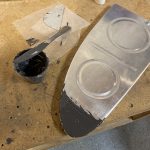
With the outboard sender plate ready to go, I needed to mix up some sealant to blob onto the terminal connector and its screw and nut to act as locktite and strain relief. Since I am mixing sealant, why not go ahead and install the outboard rib as well, since this is a good time to do it as well. But first, I needed to scuff the outboard T-703-L rib, and the T-410 reinforcement plate and get them clean, which I did, and cleaned them well with MEK.
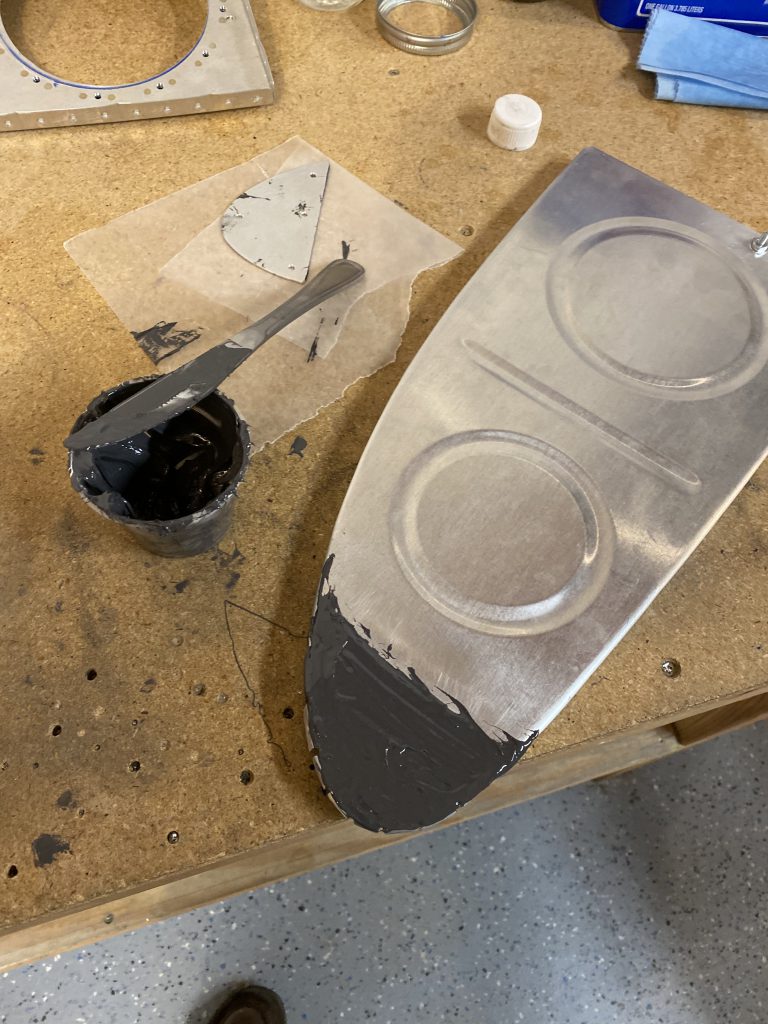
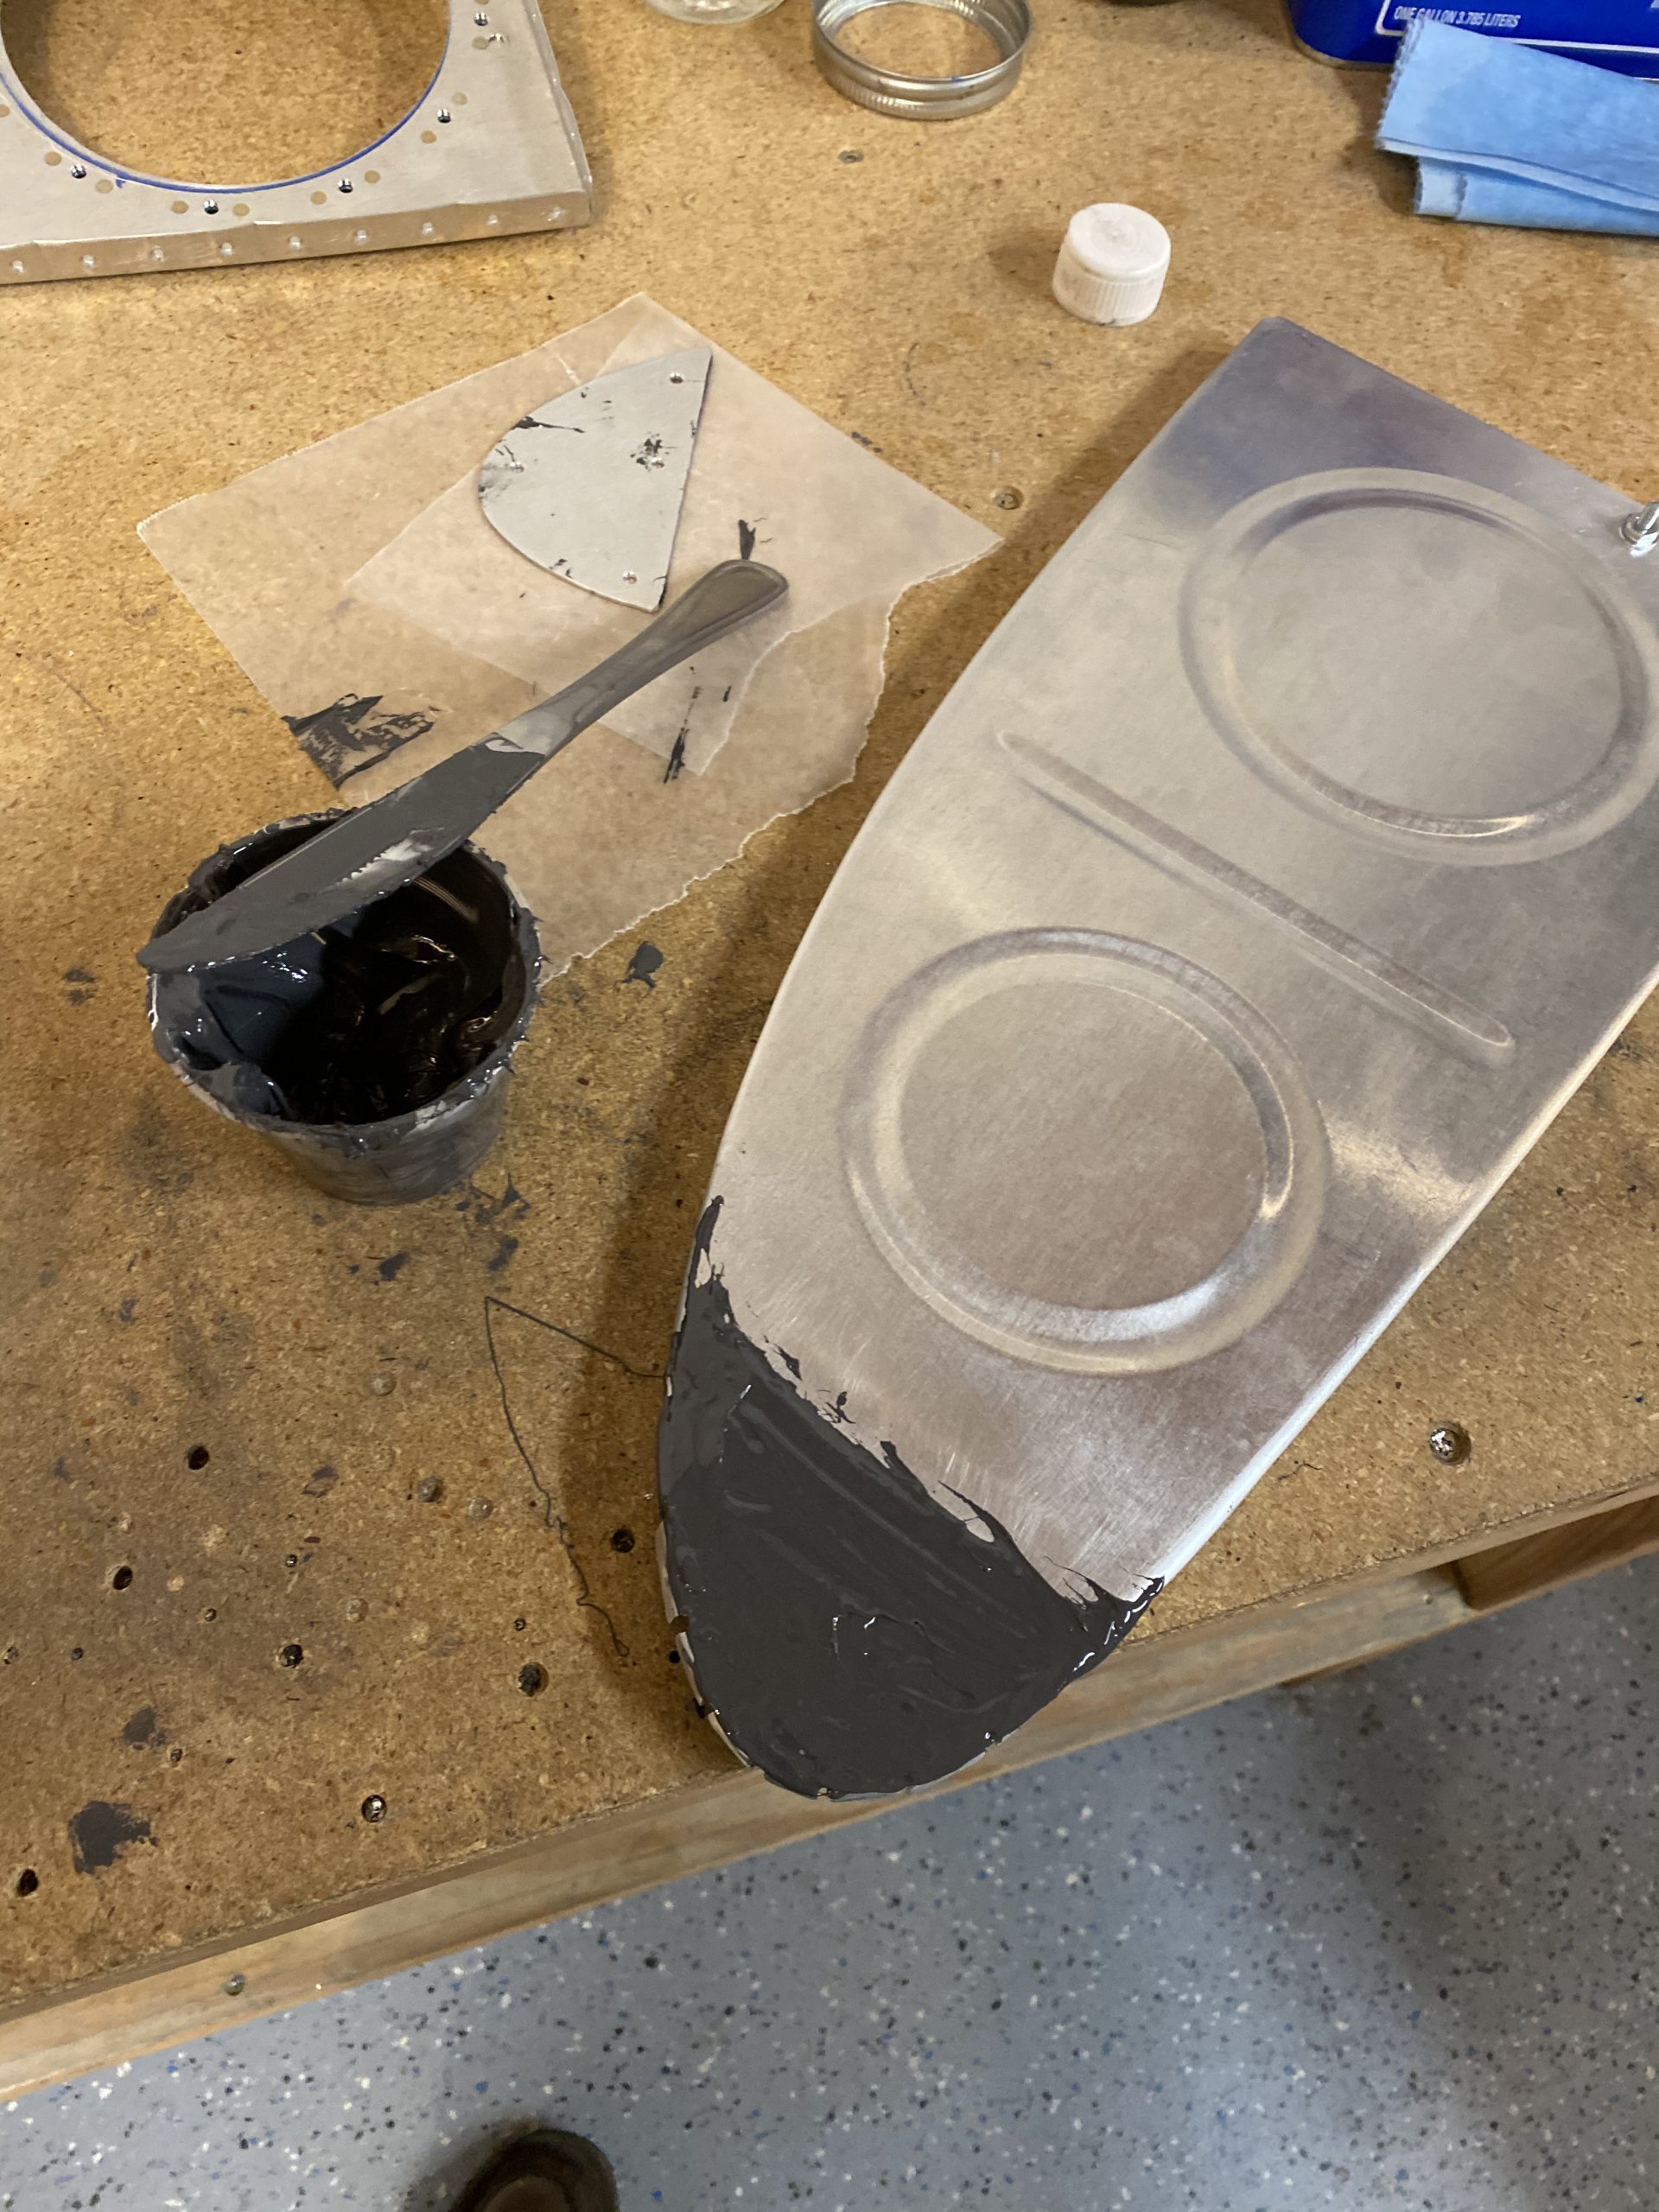
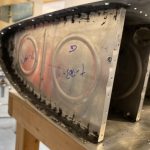
I made sure to do the flanges on the rib as well. Next I needed to find a rivet to use on the T-410 plate and T-703-L rib, so I used my rivet sizer and found that an AN470AD4-5 was a perfect fit. I grabbed 4 of them and cleaned them in MEK. I mixed up 70 grams of sealant and smeared a decent amount on the nose of the rib where the T-410 plate would attach.
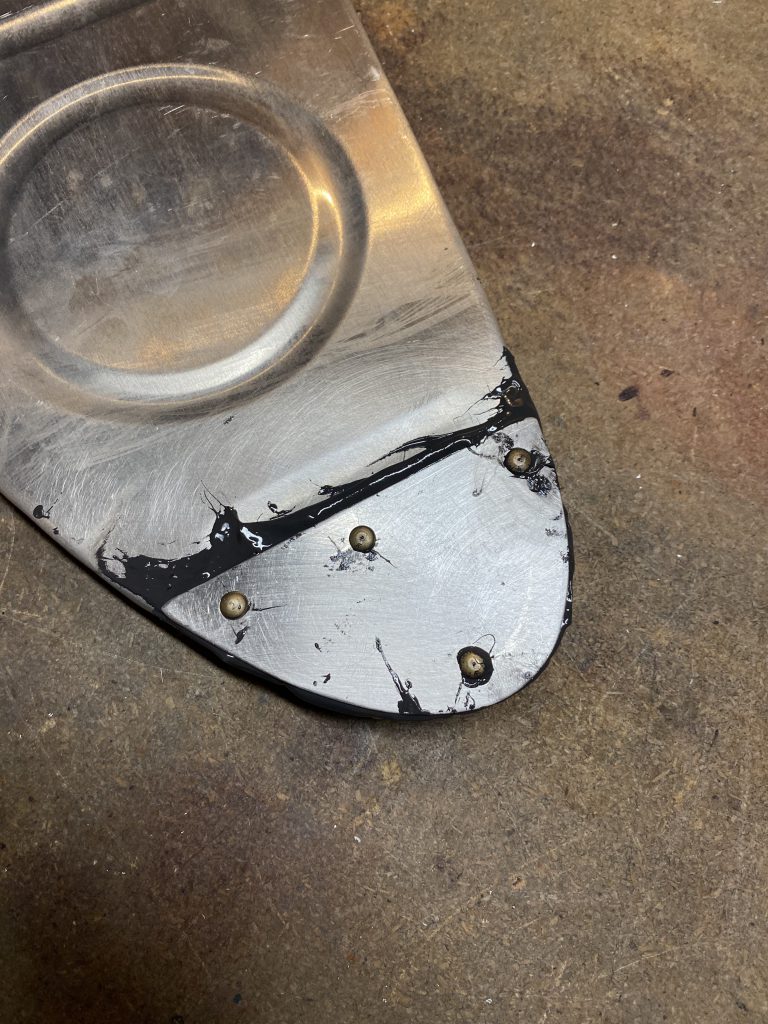
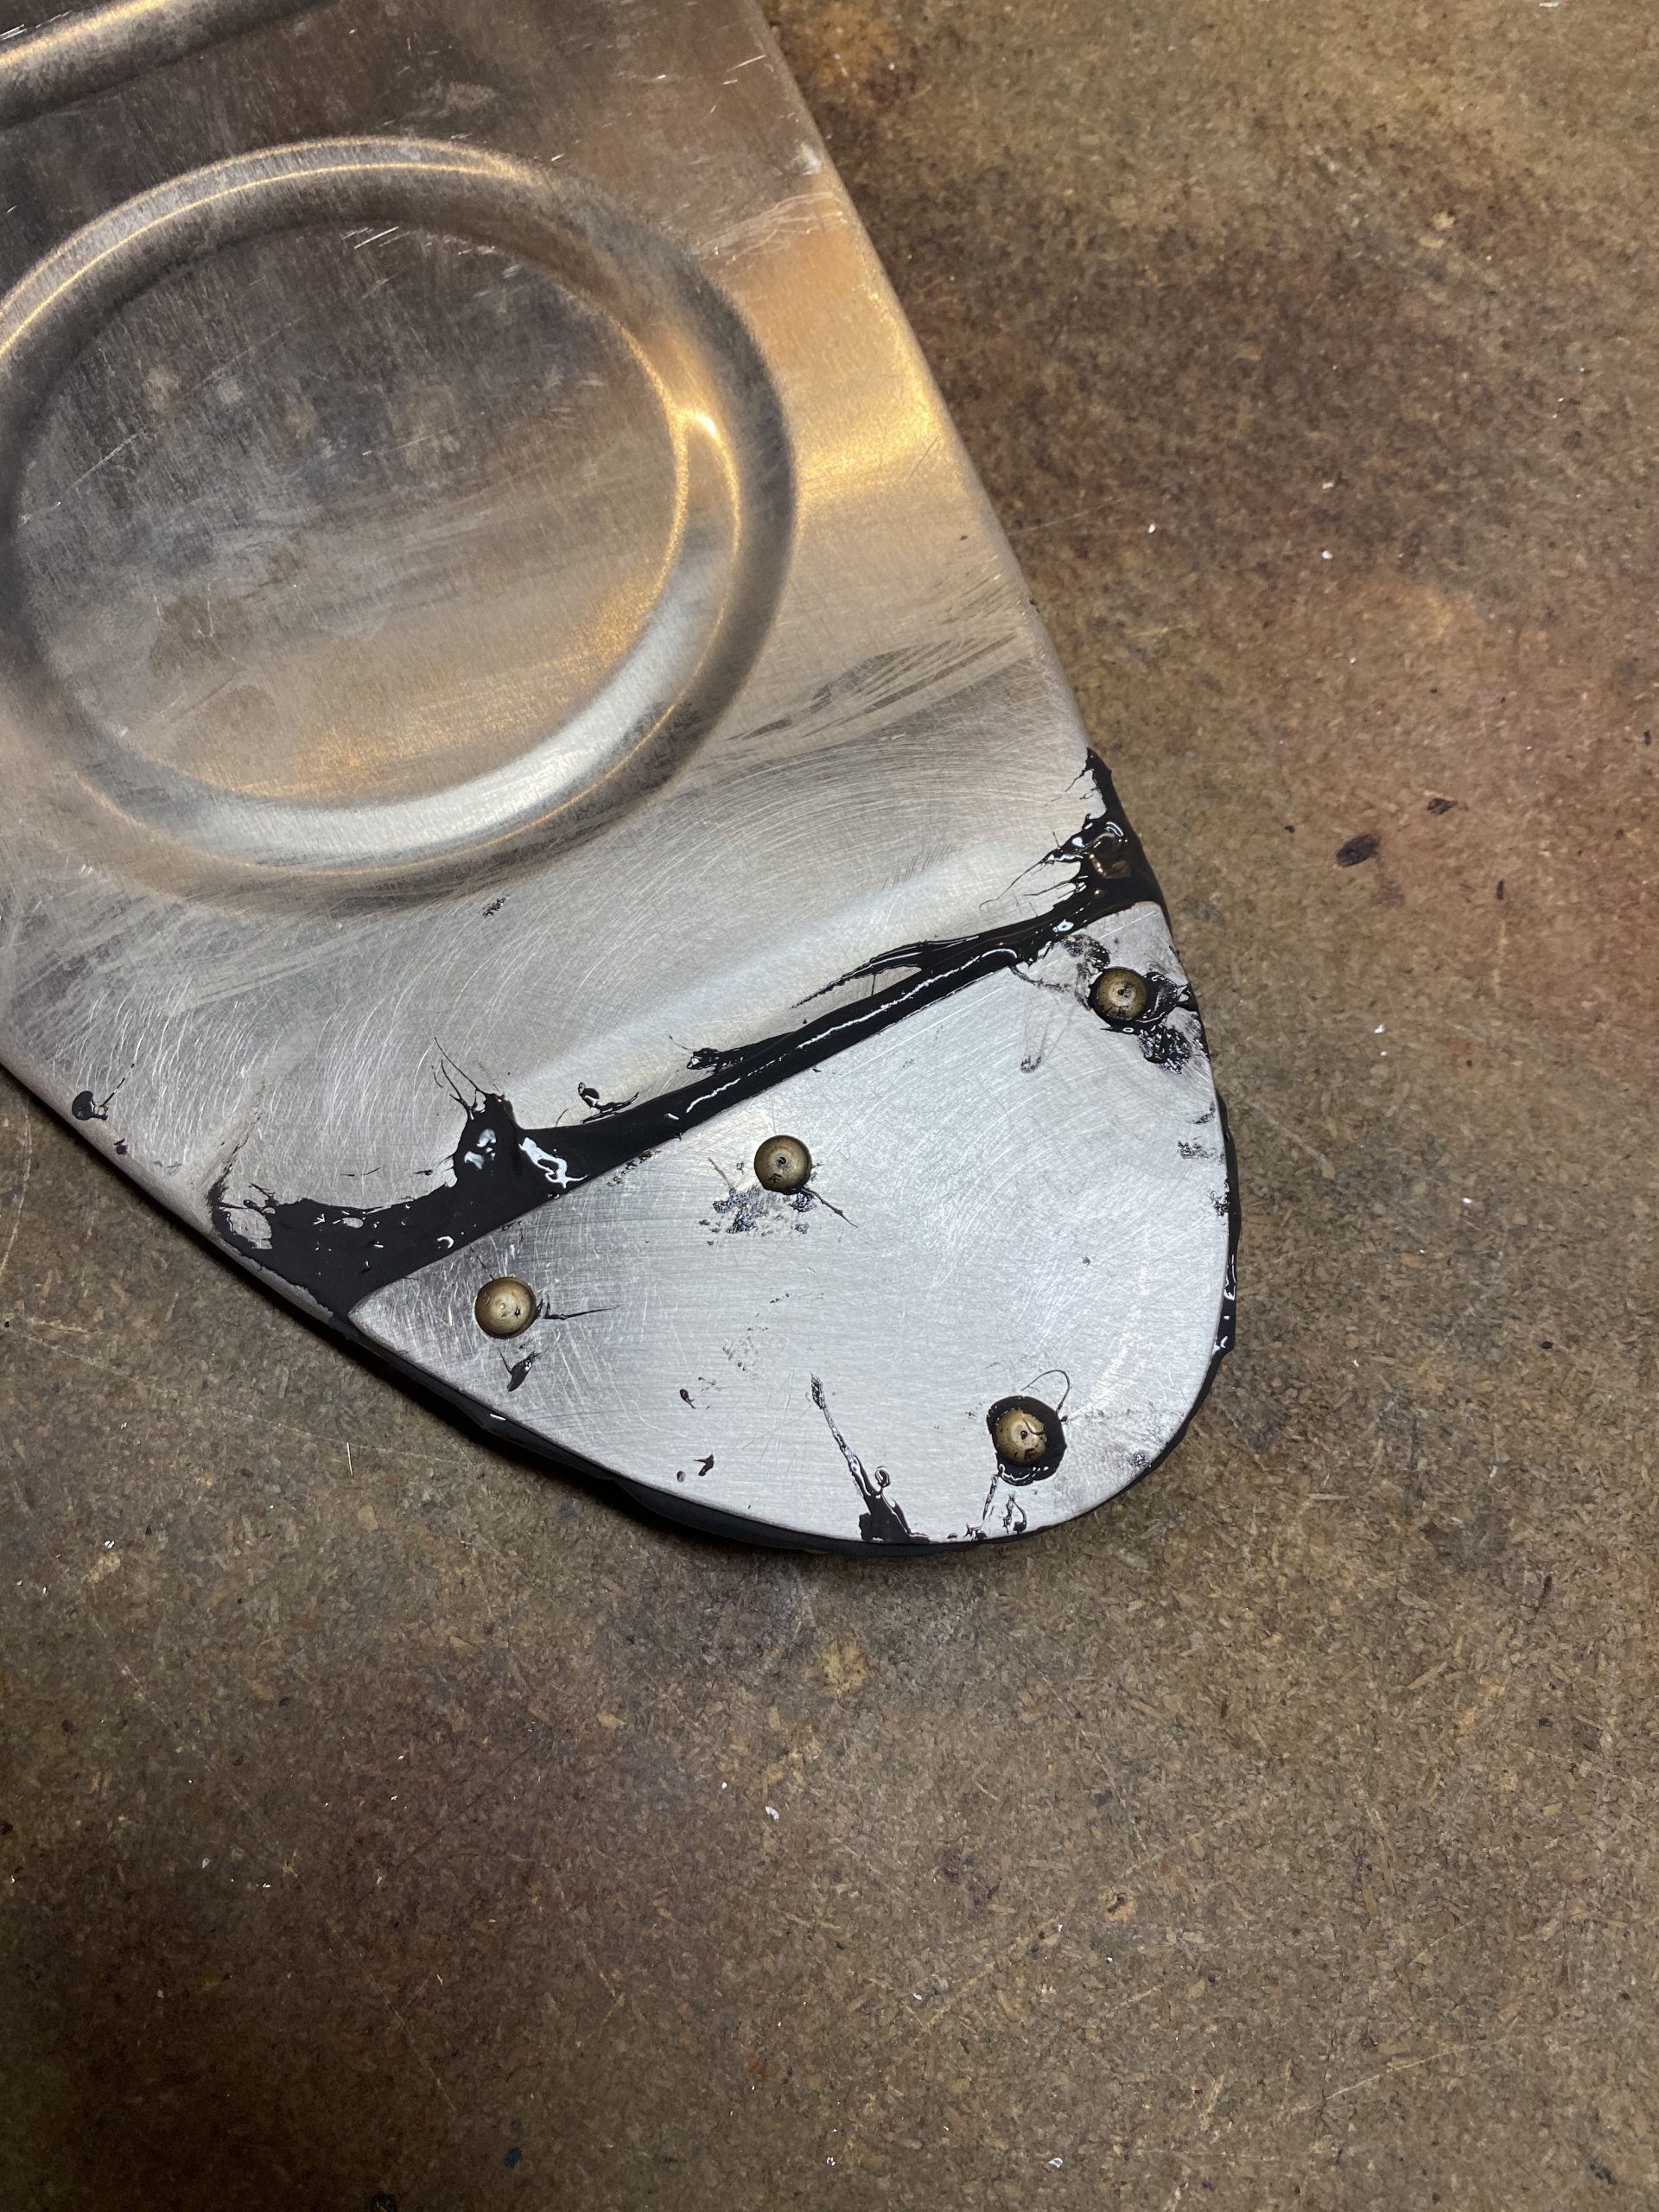
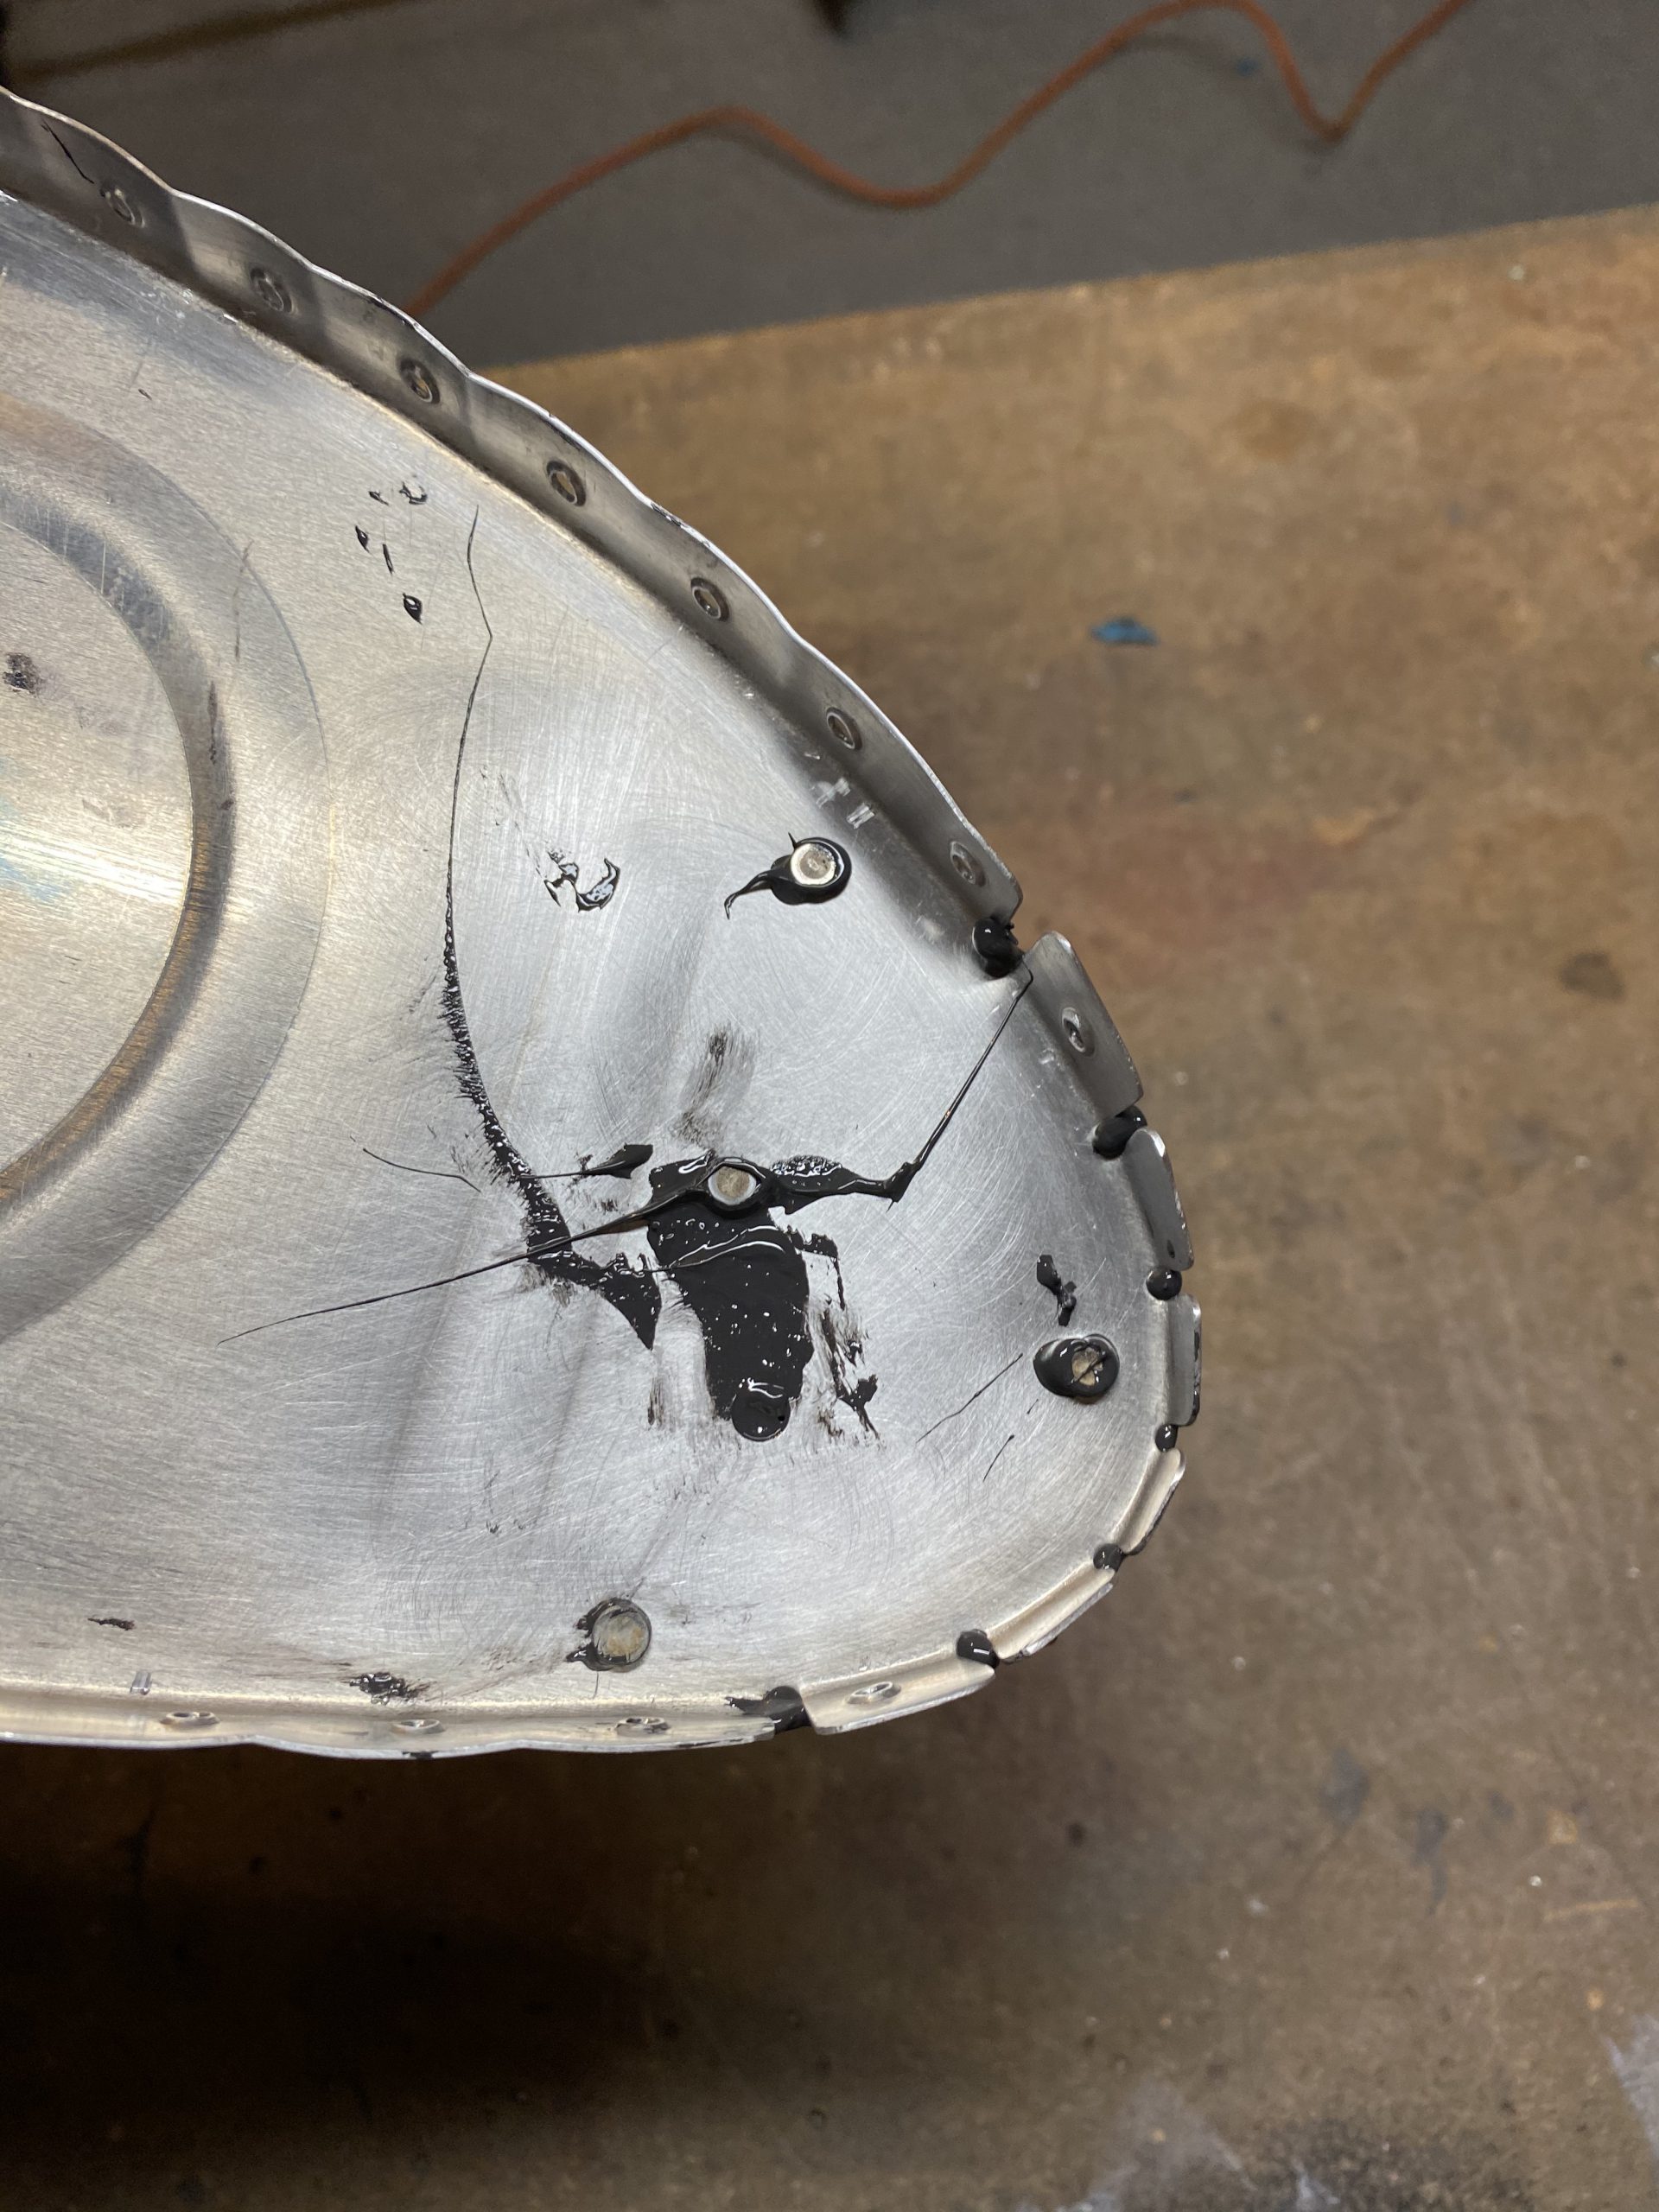
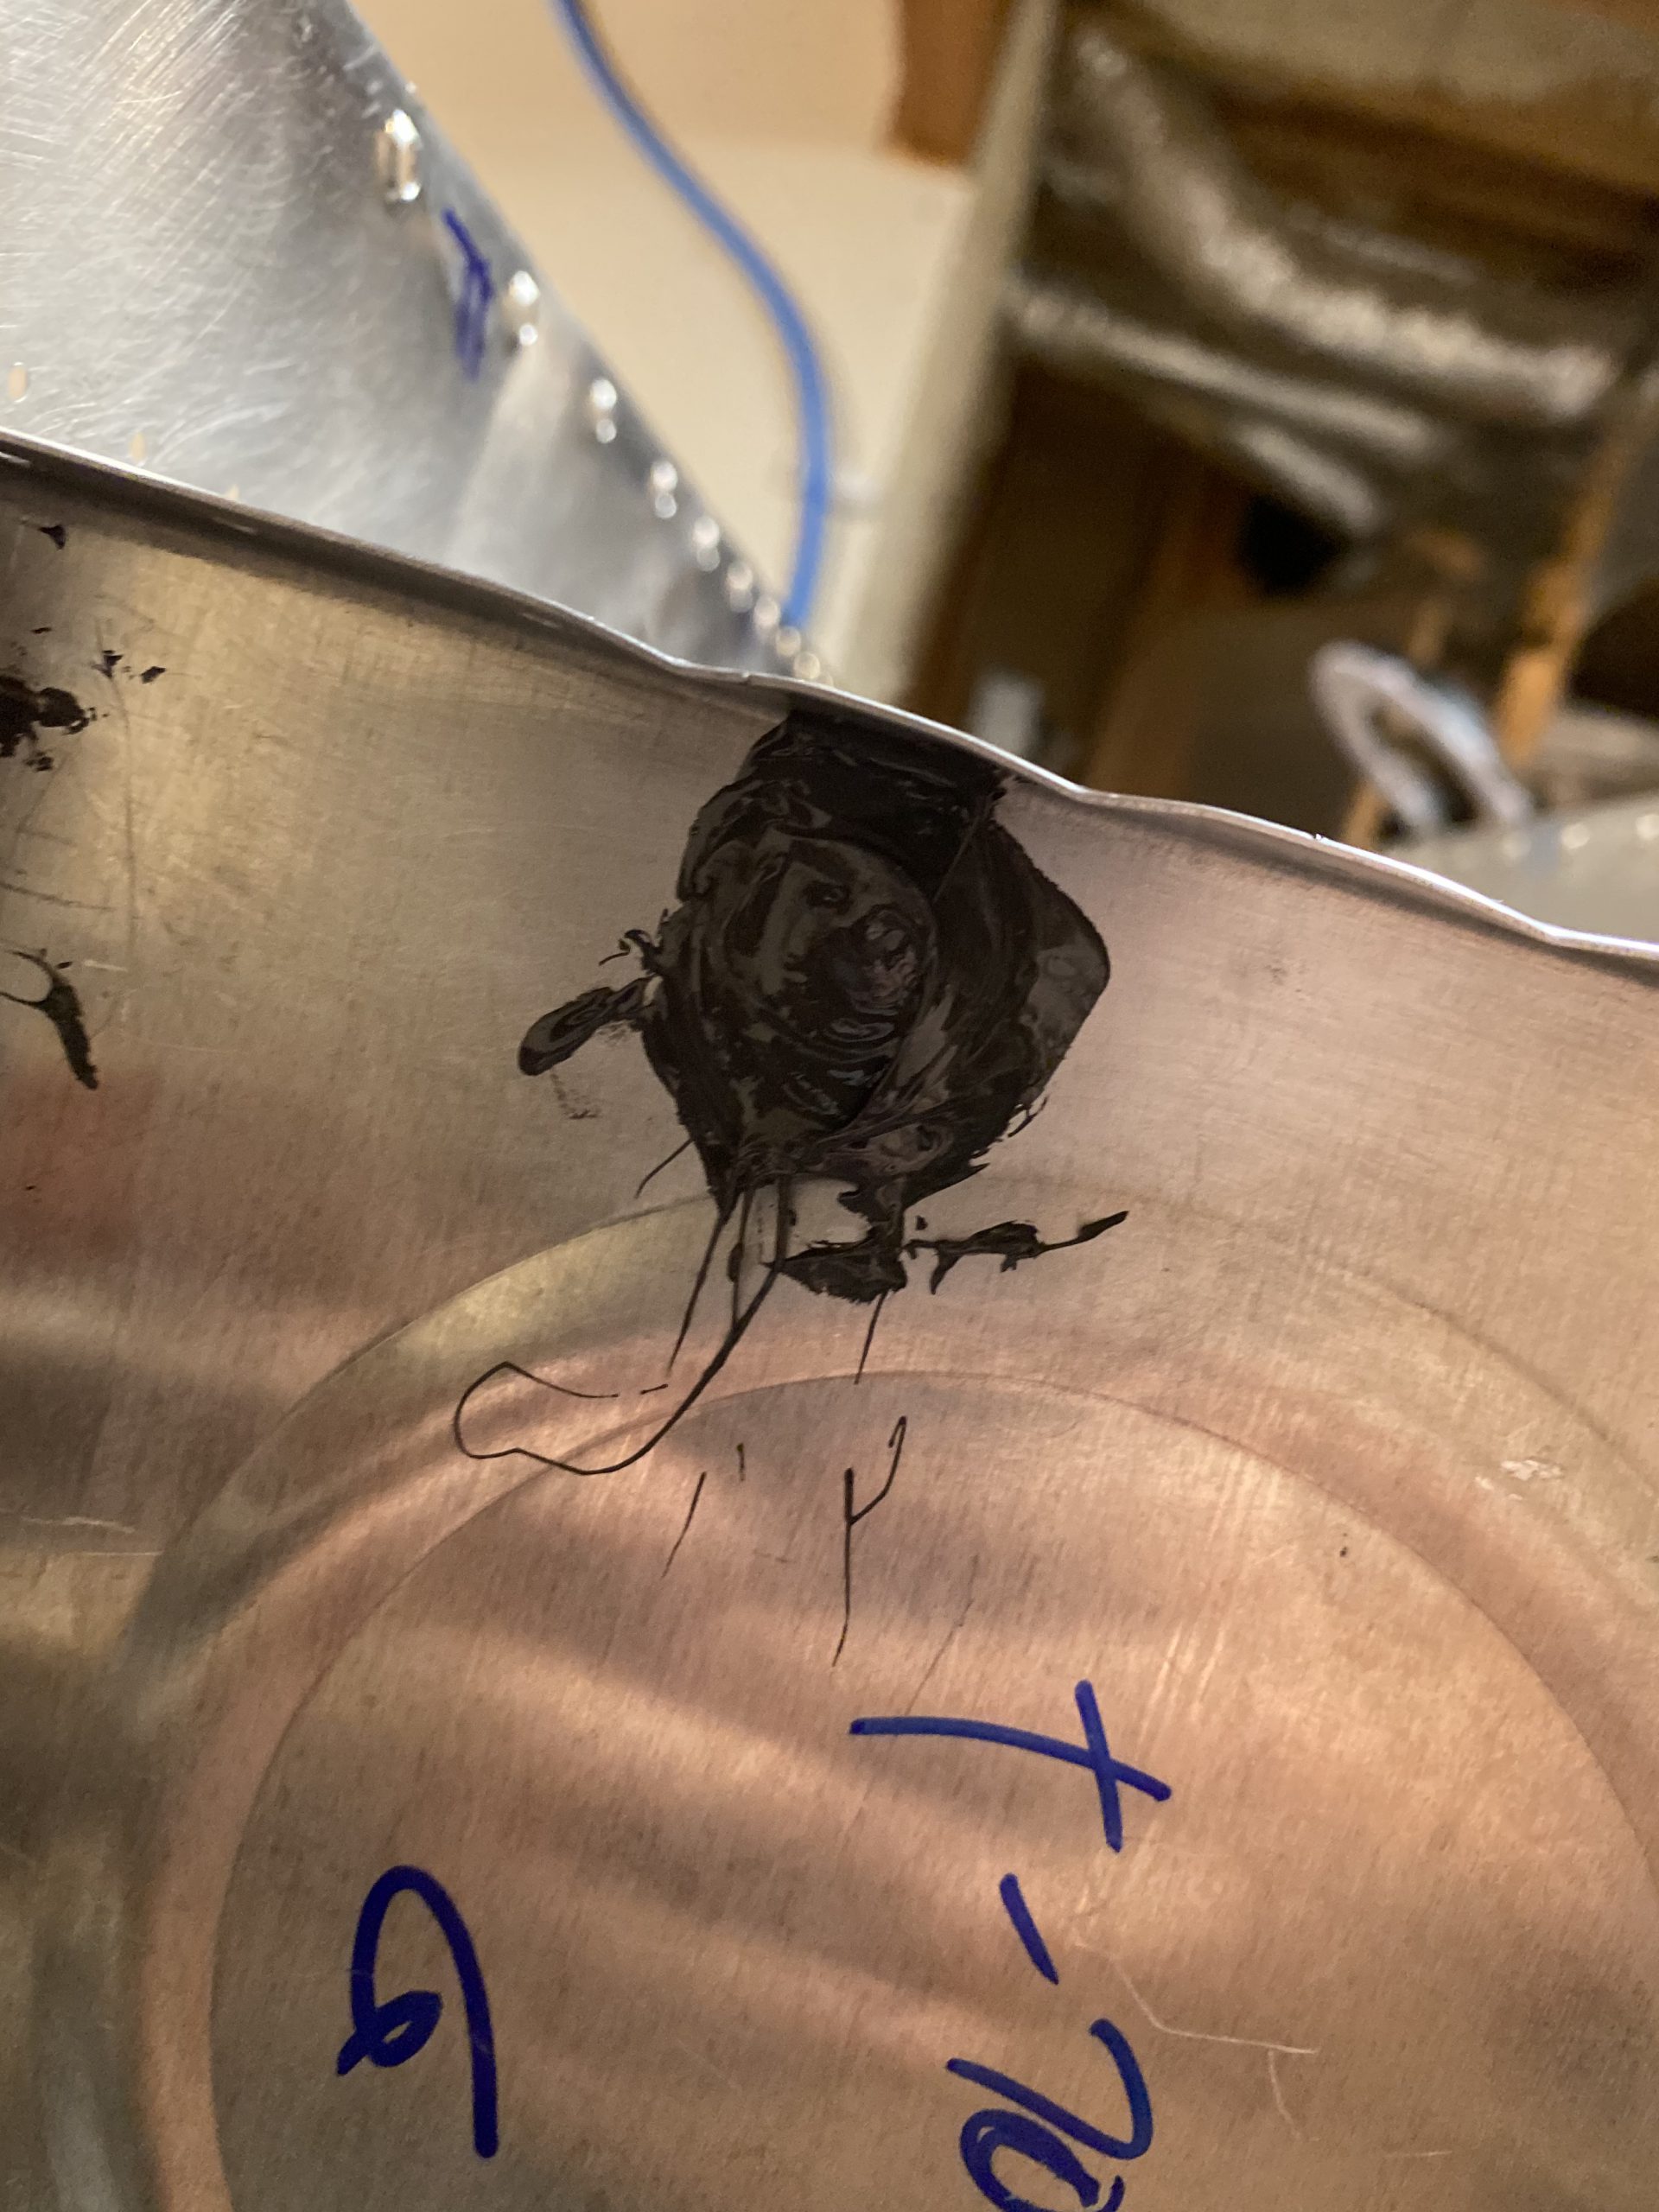
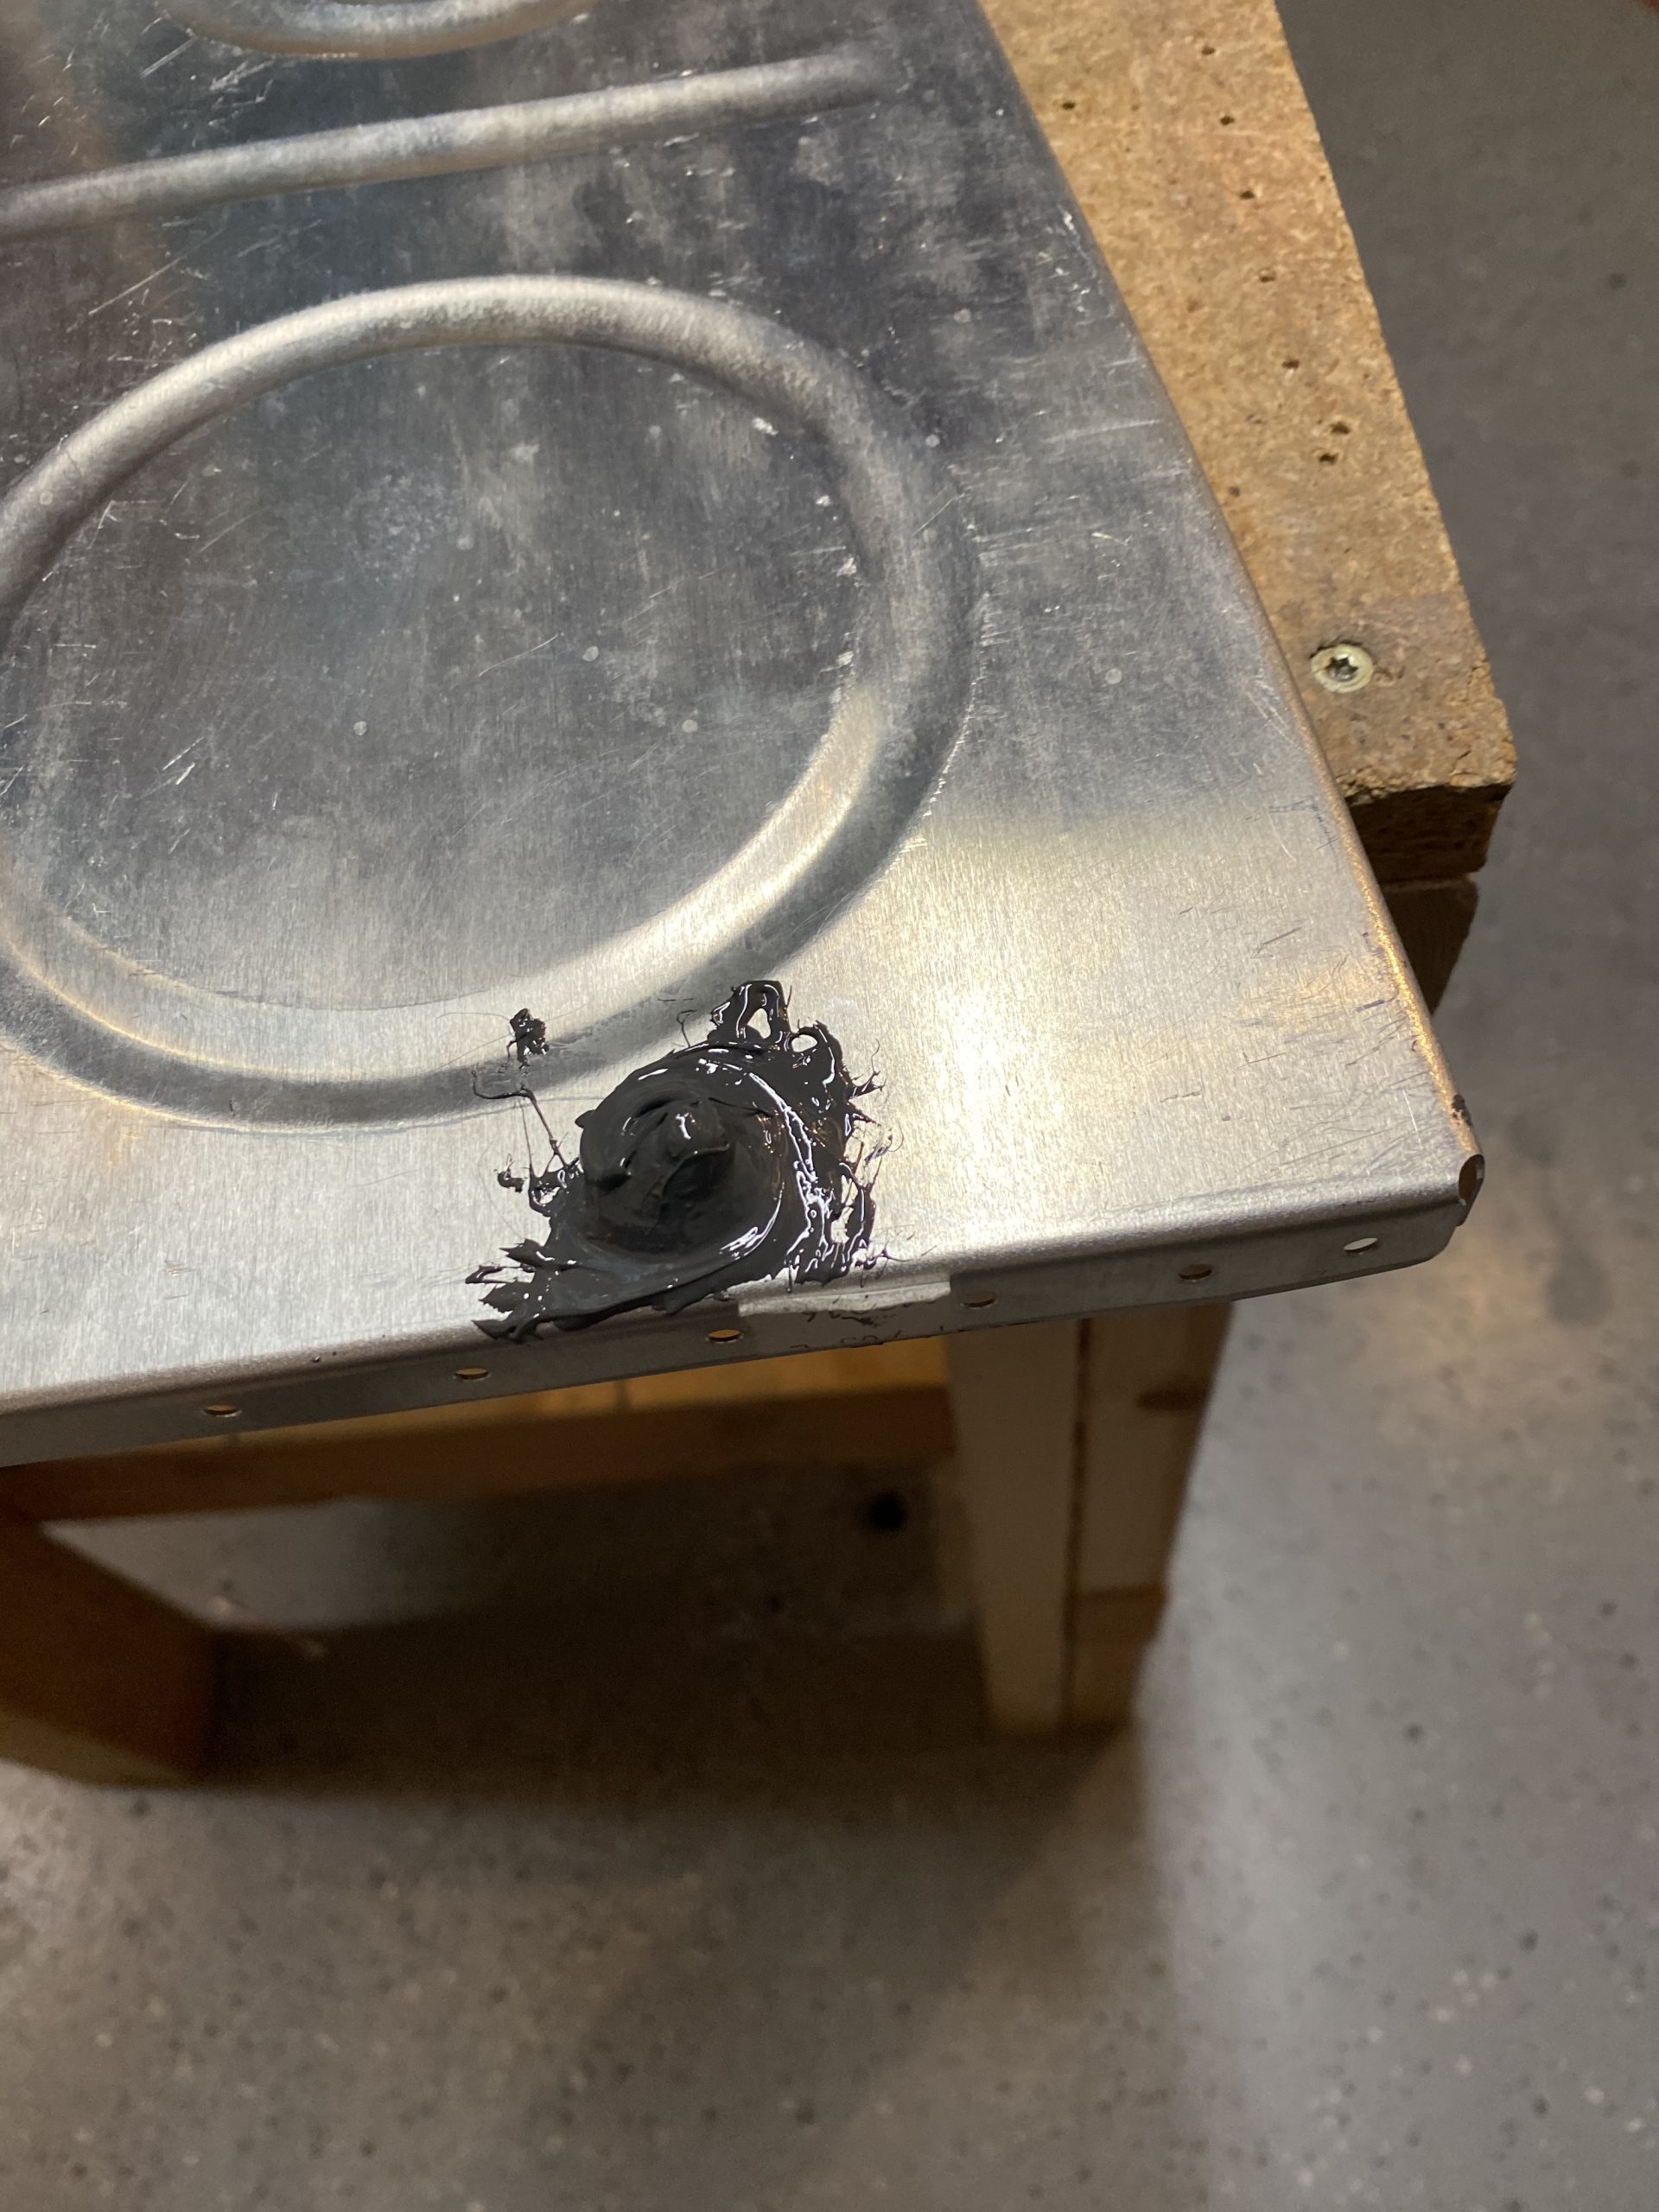
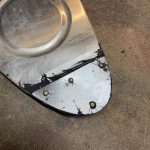
Then I clecoed on the T-410 and used a squeezer to set the rivets nicely. I used a popsicle stick to make a nice filet around the edges of the T-410. The photo below shows the rivets before and after I dabbed on a dollop of sealant and did the filet.
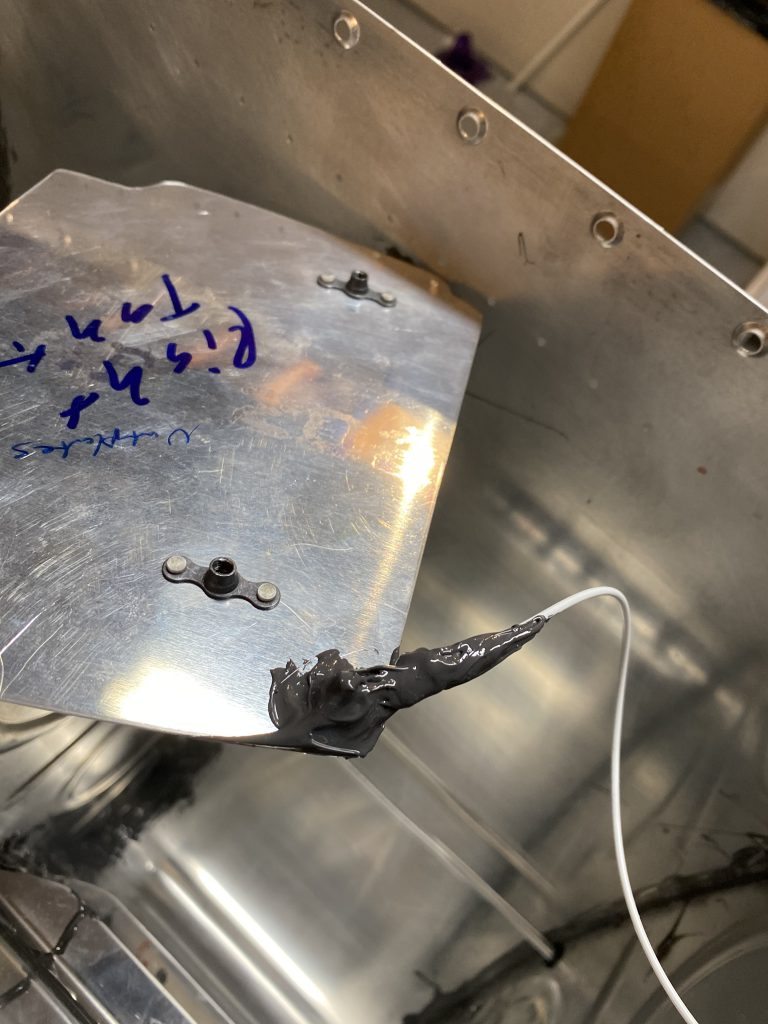
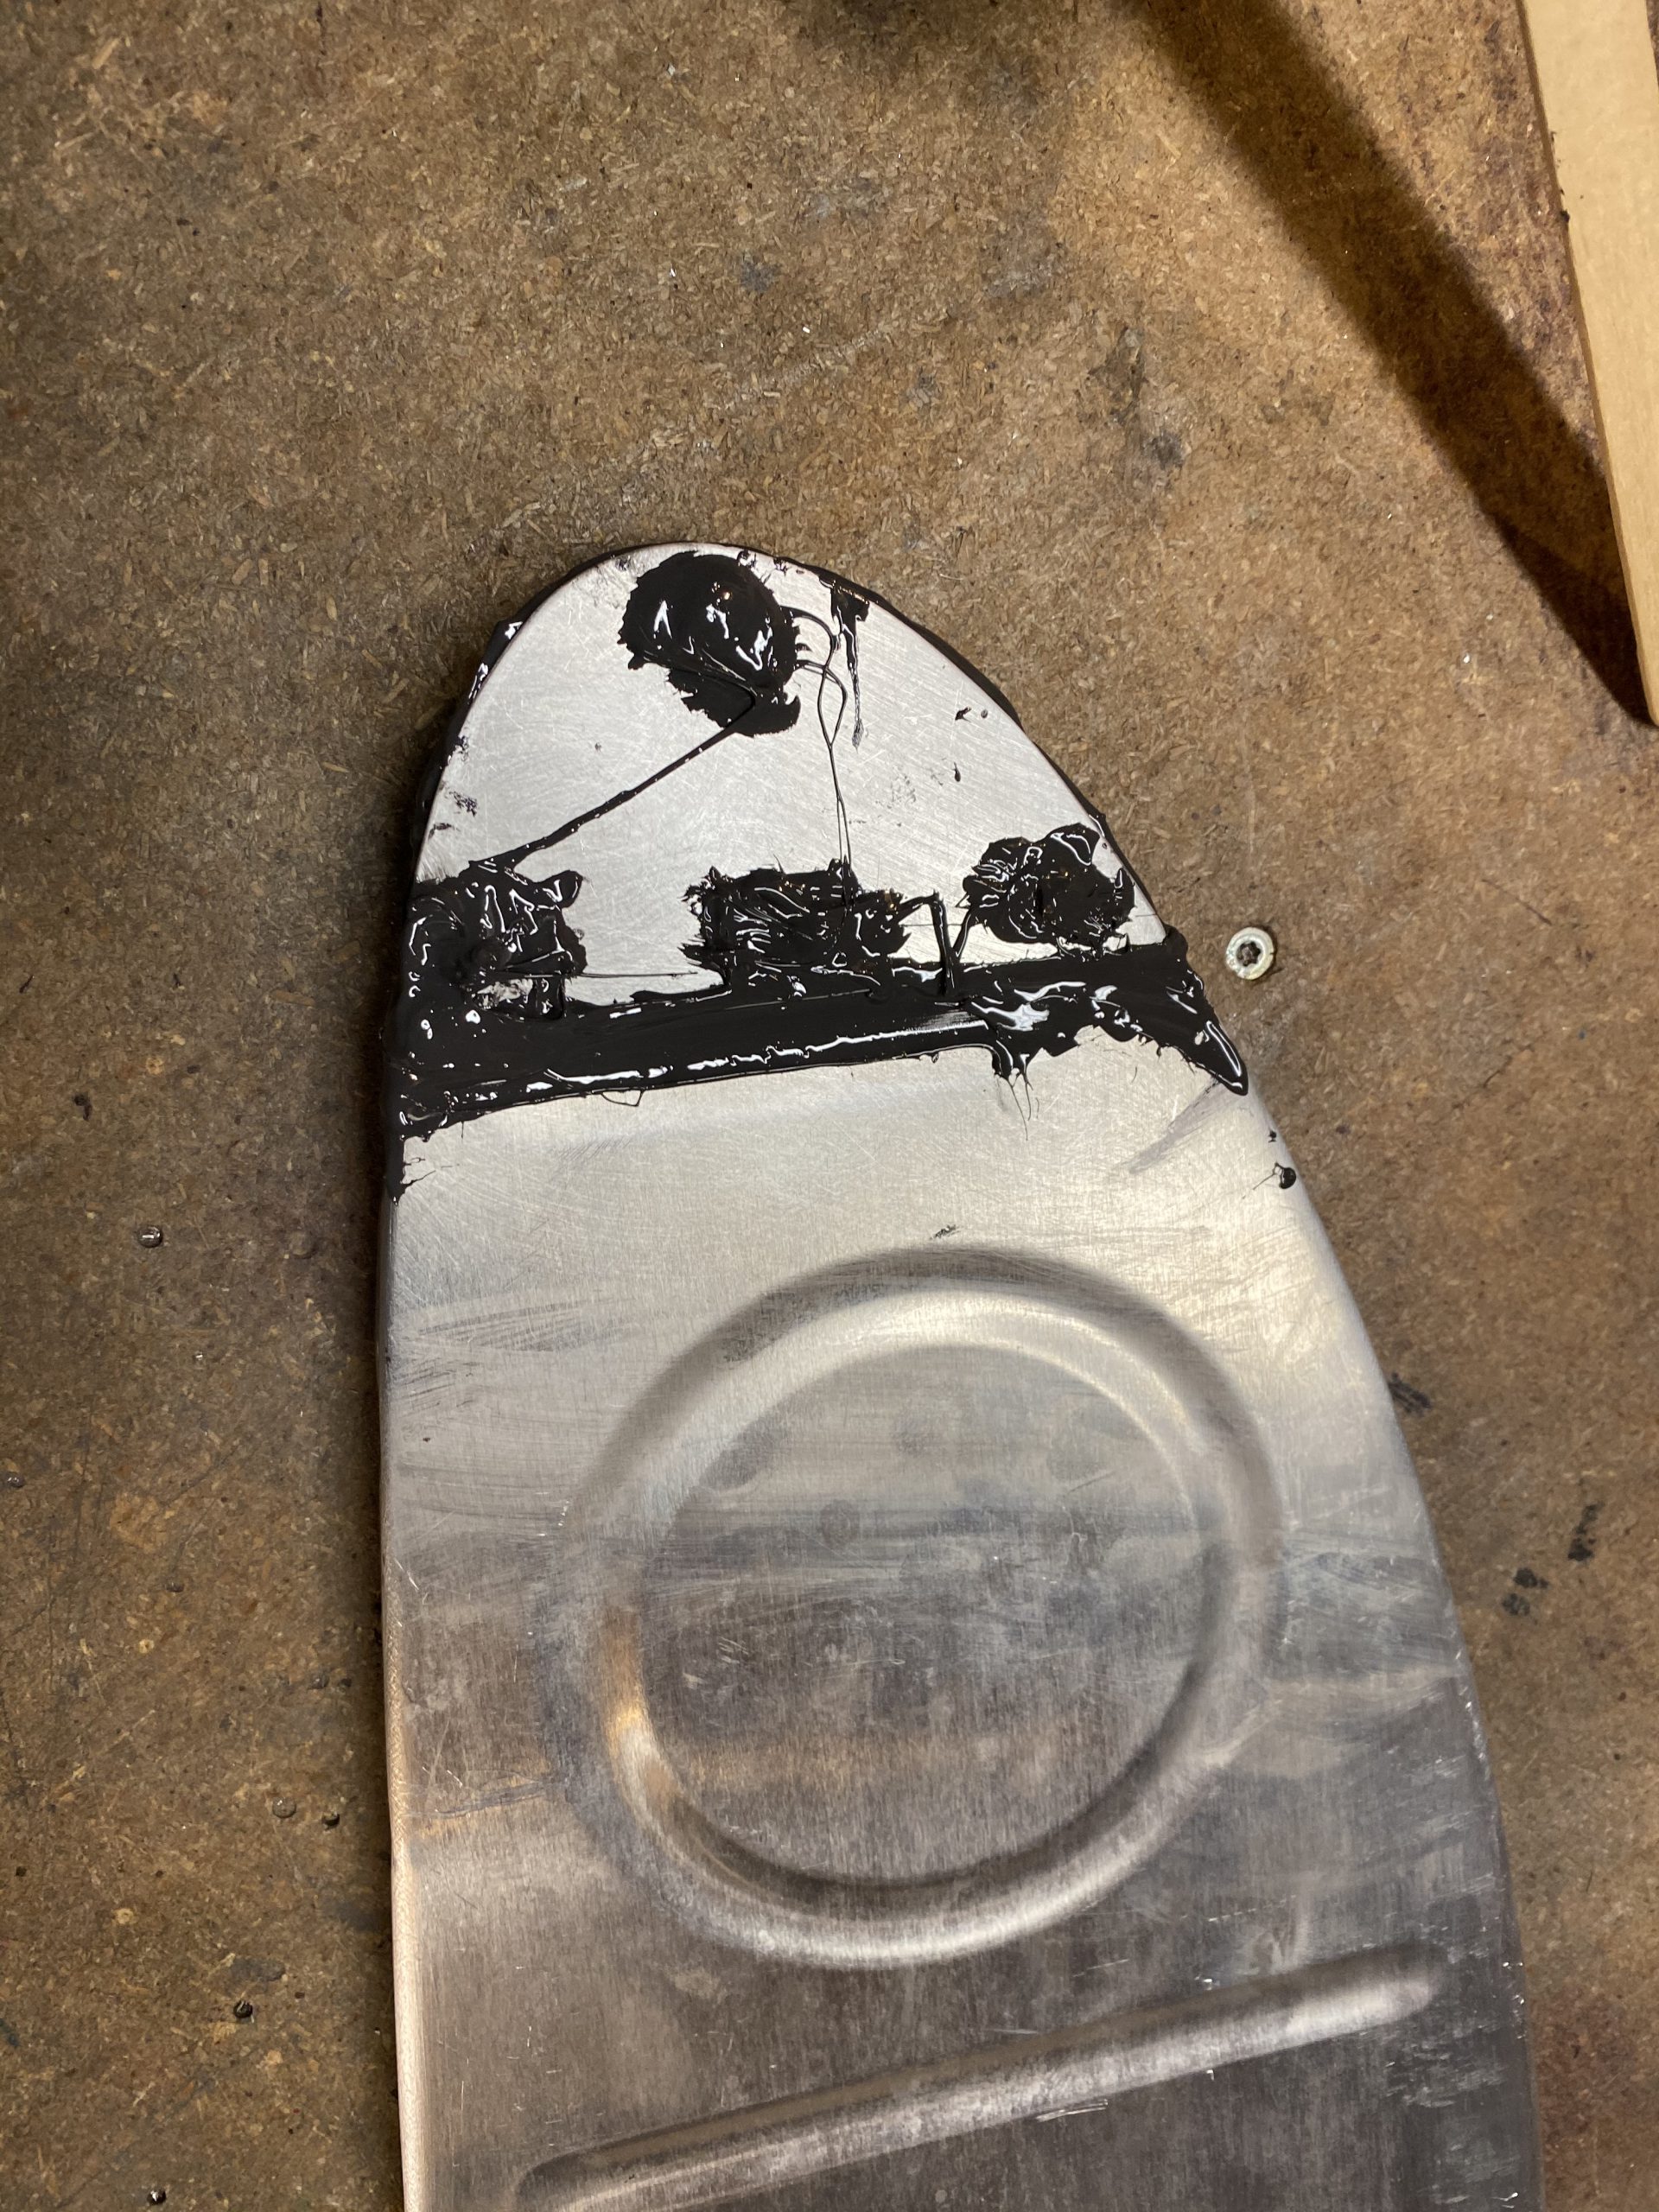
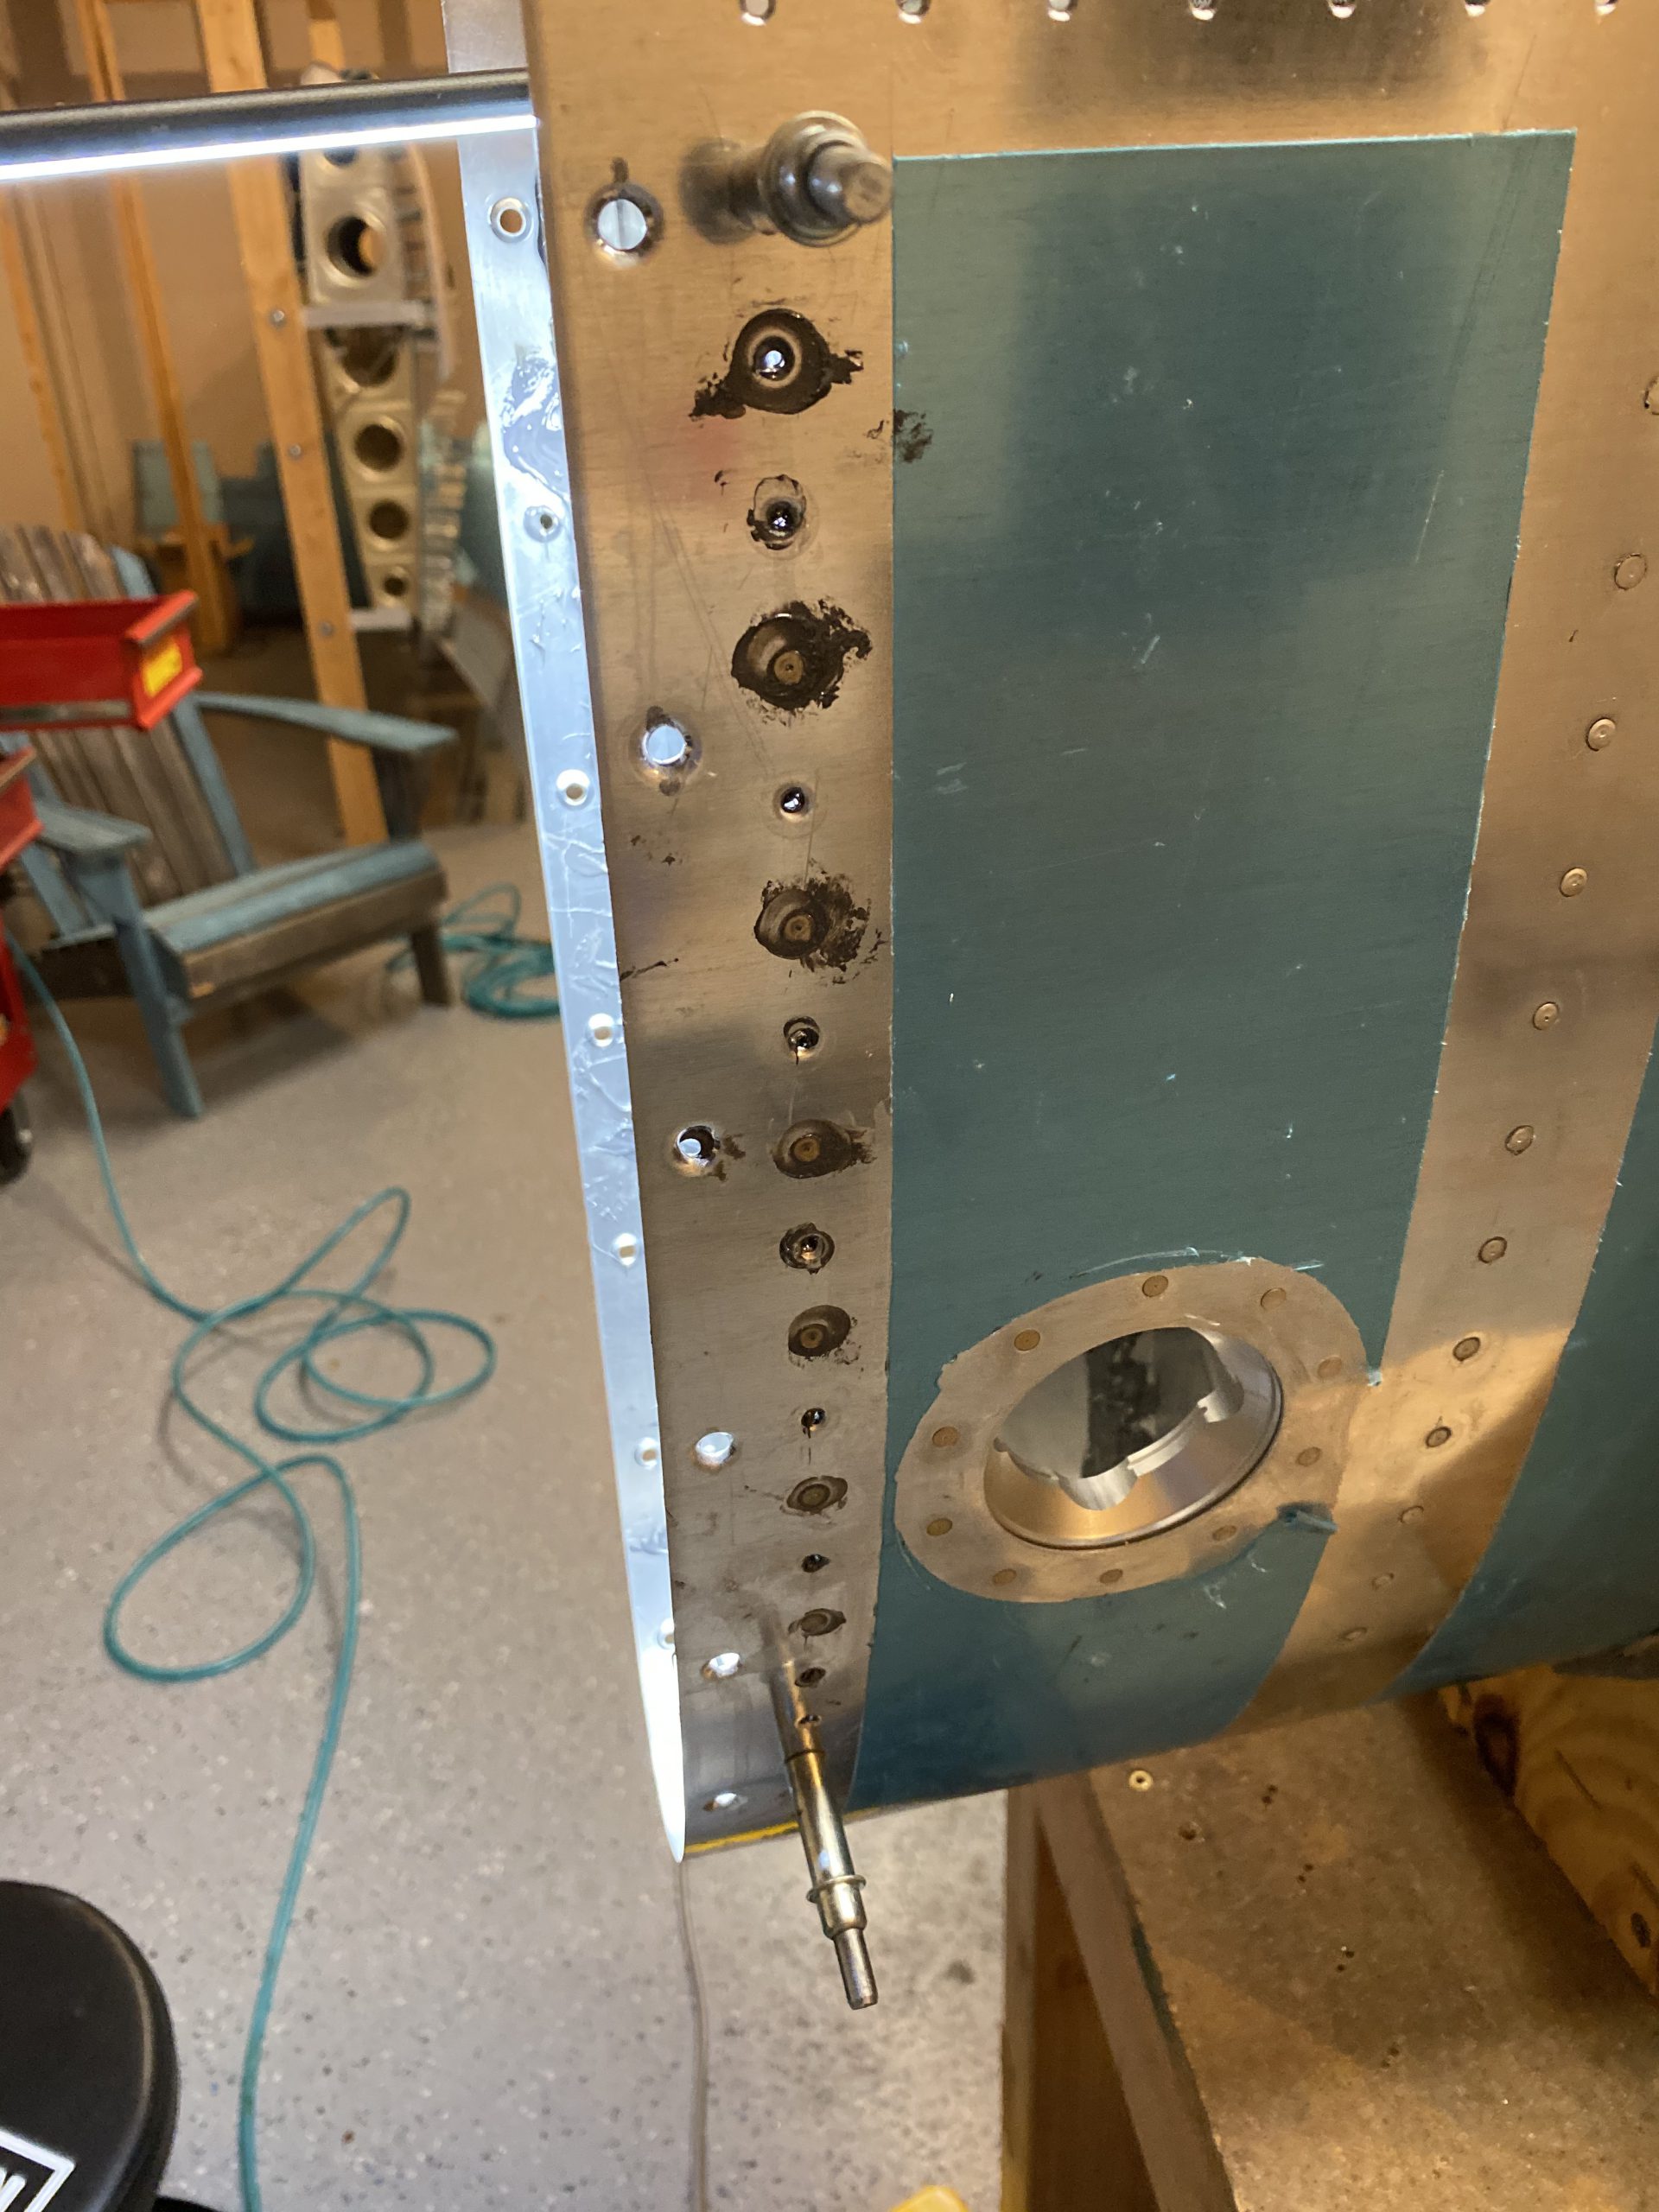
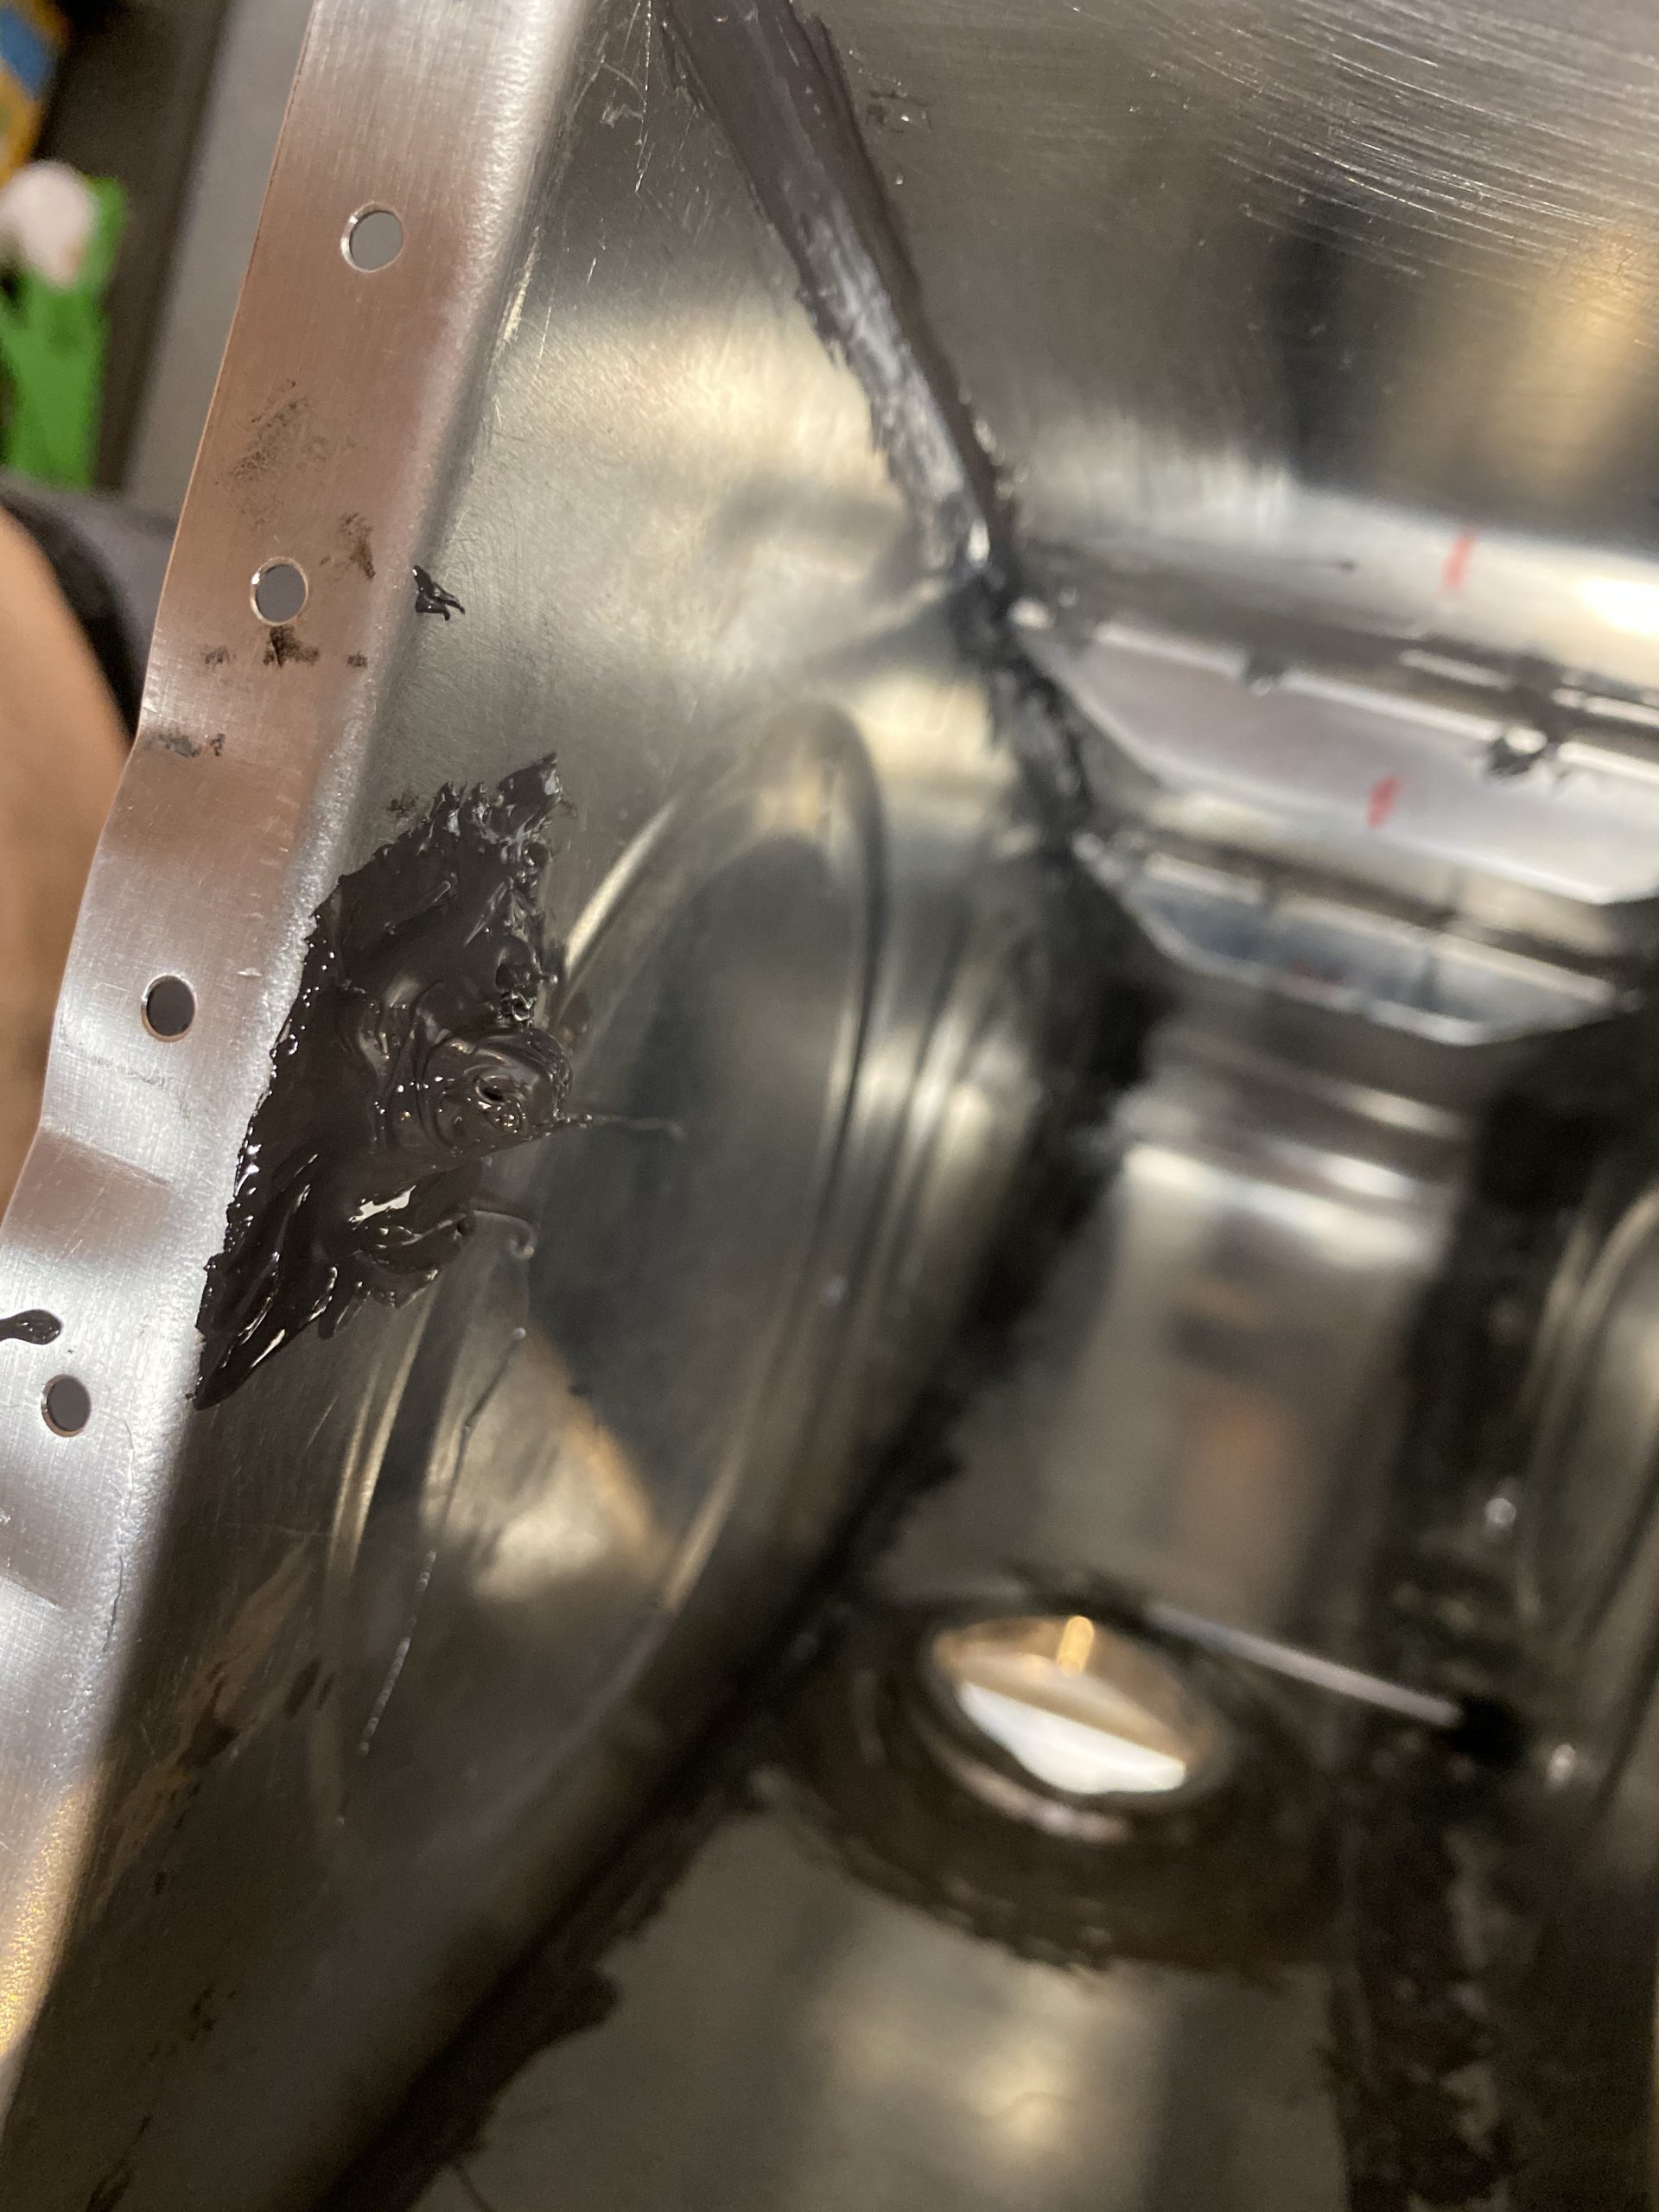
Next it was time to dollop on some sealant on the sender plate’s terminal and screw to act as a loctite for it. I probably over-did this a little bit. But it ain’t going anywhere!
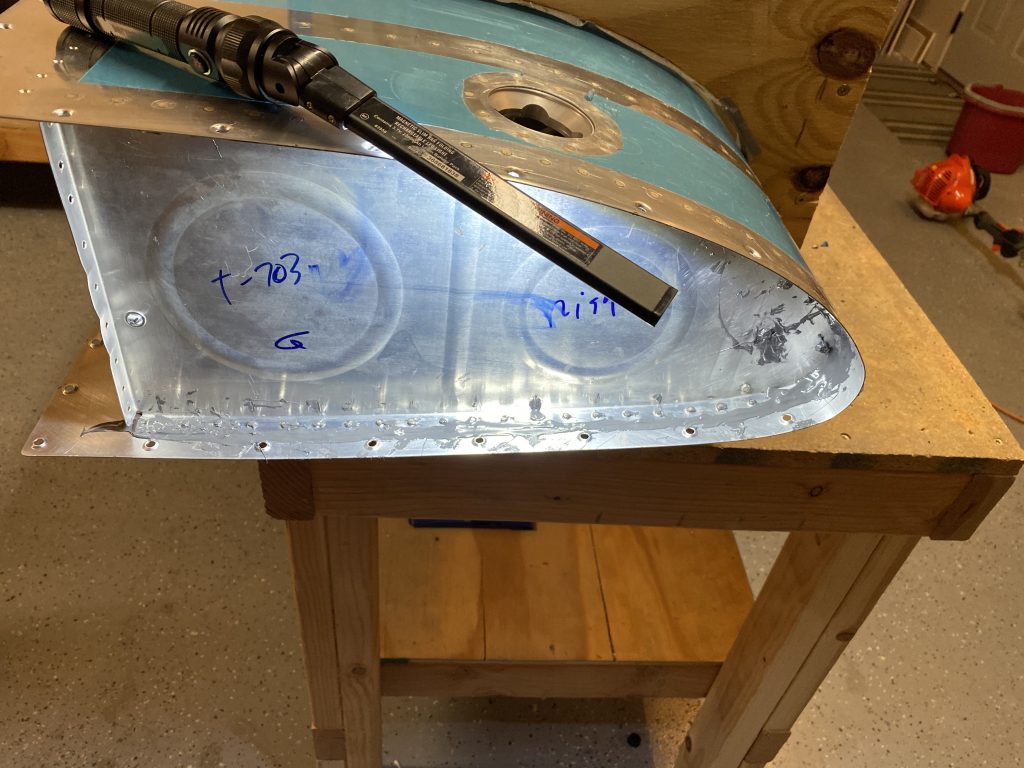
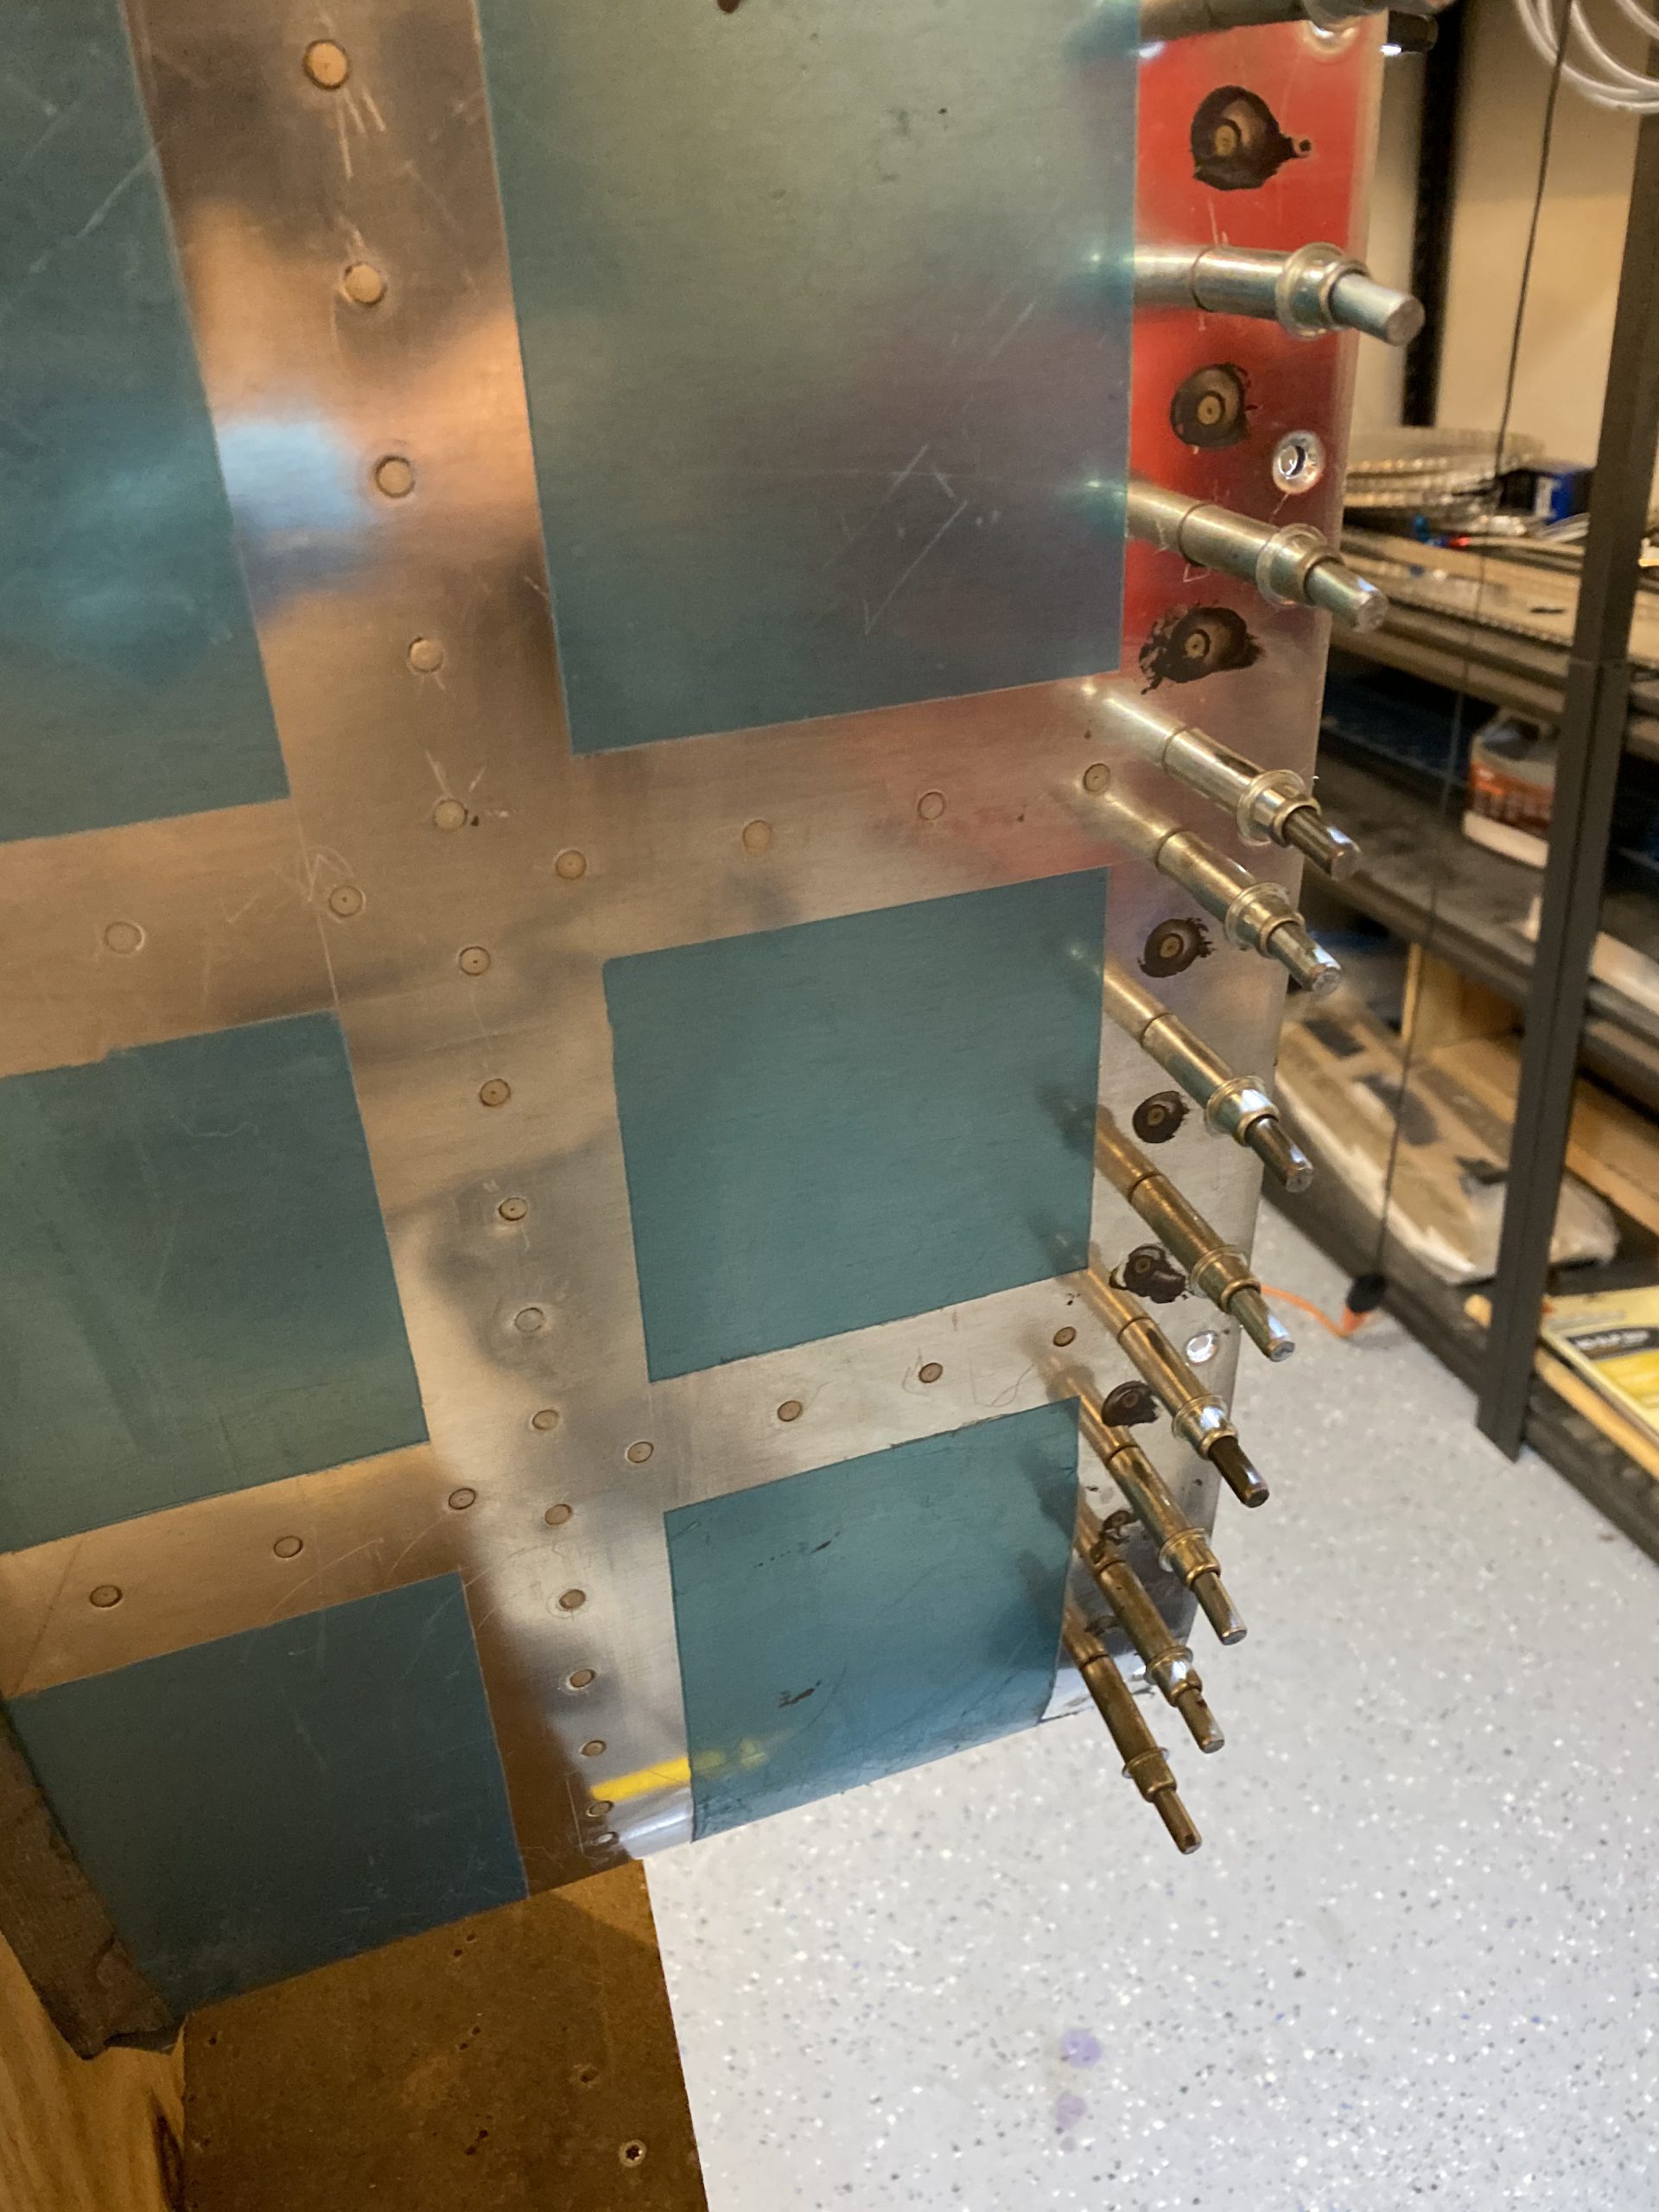
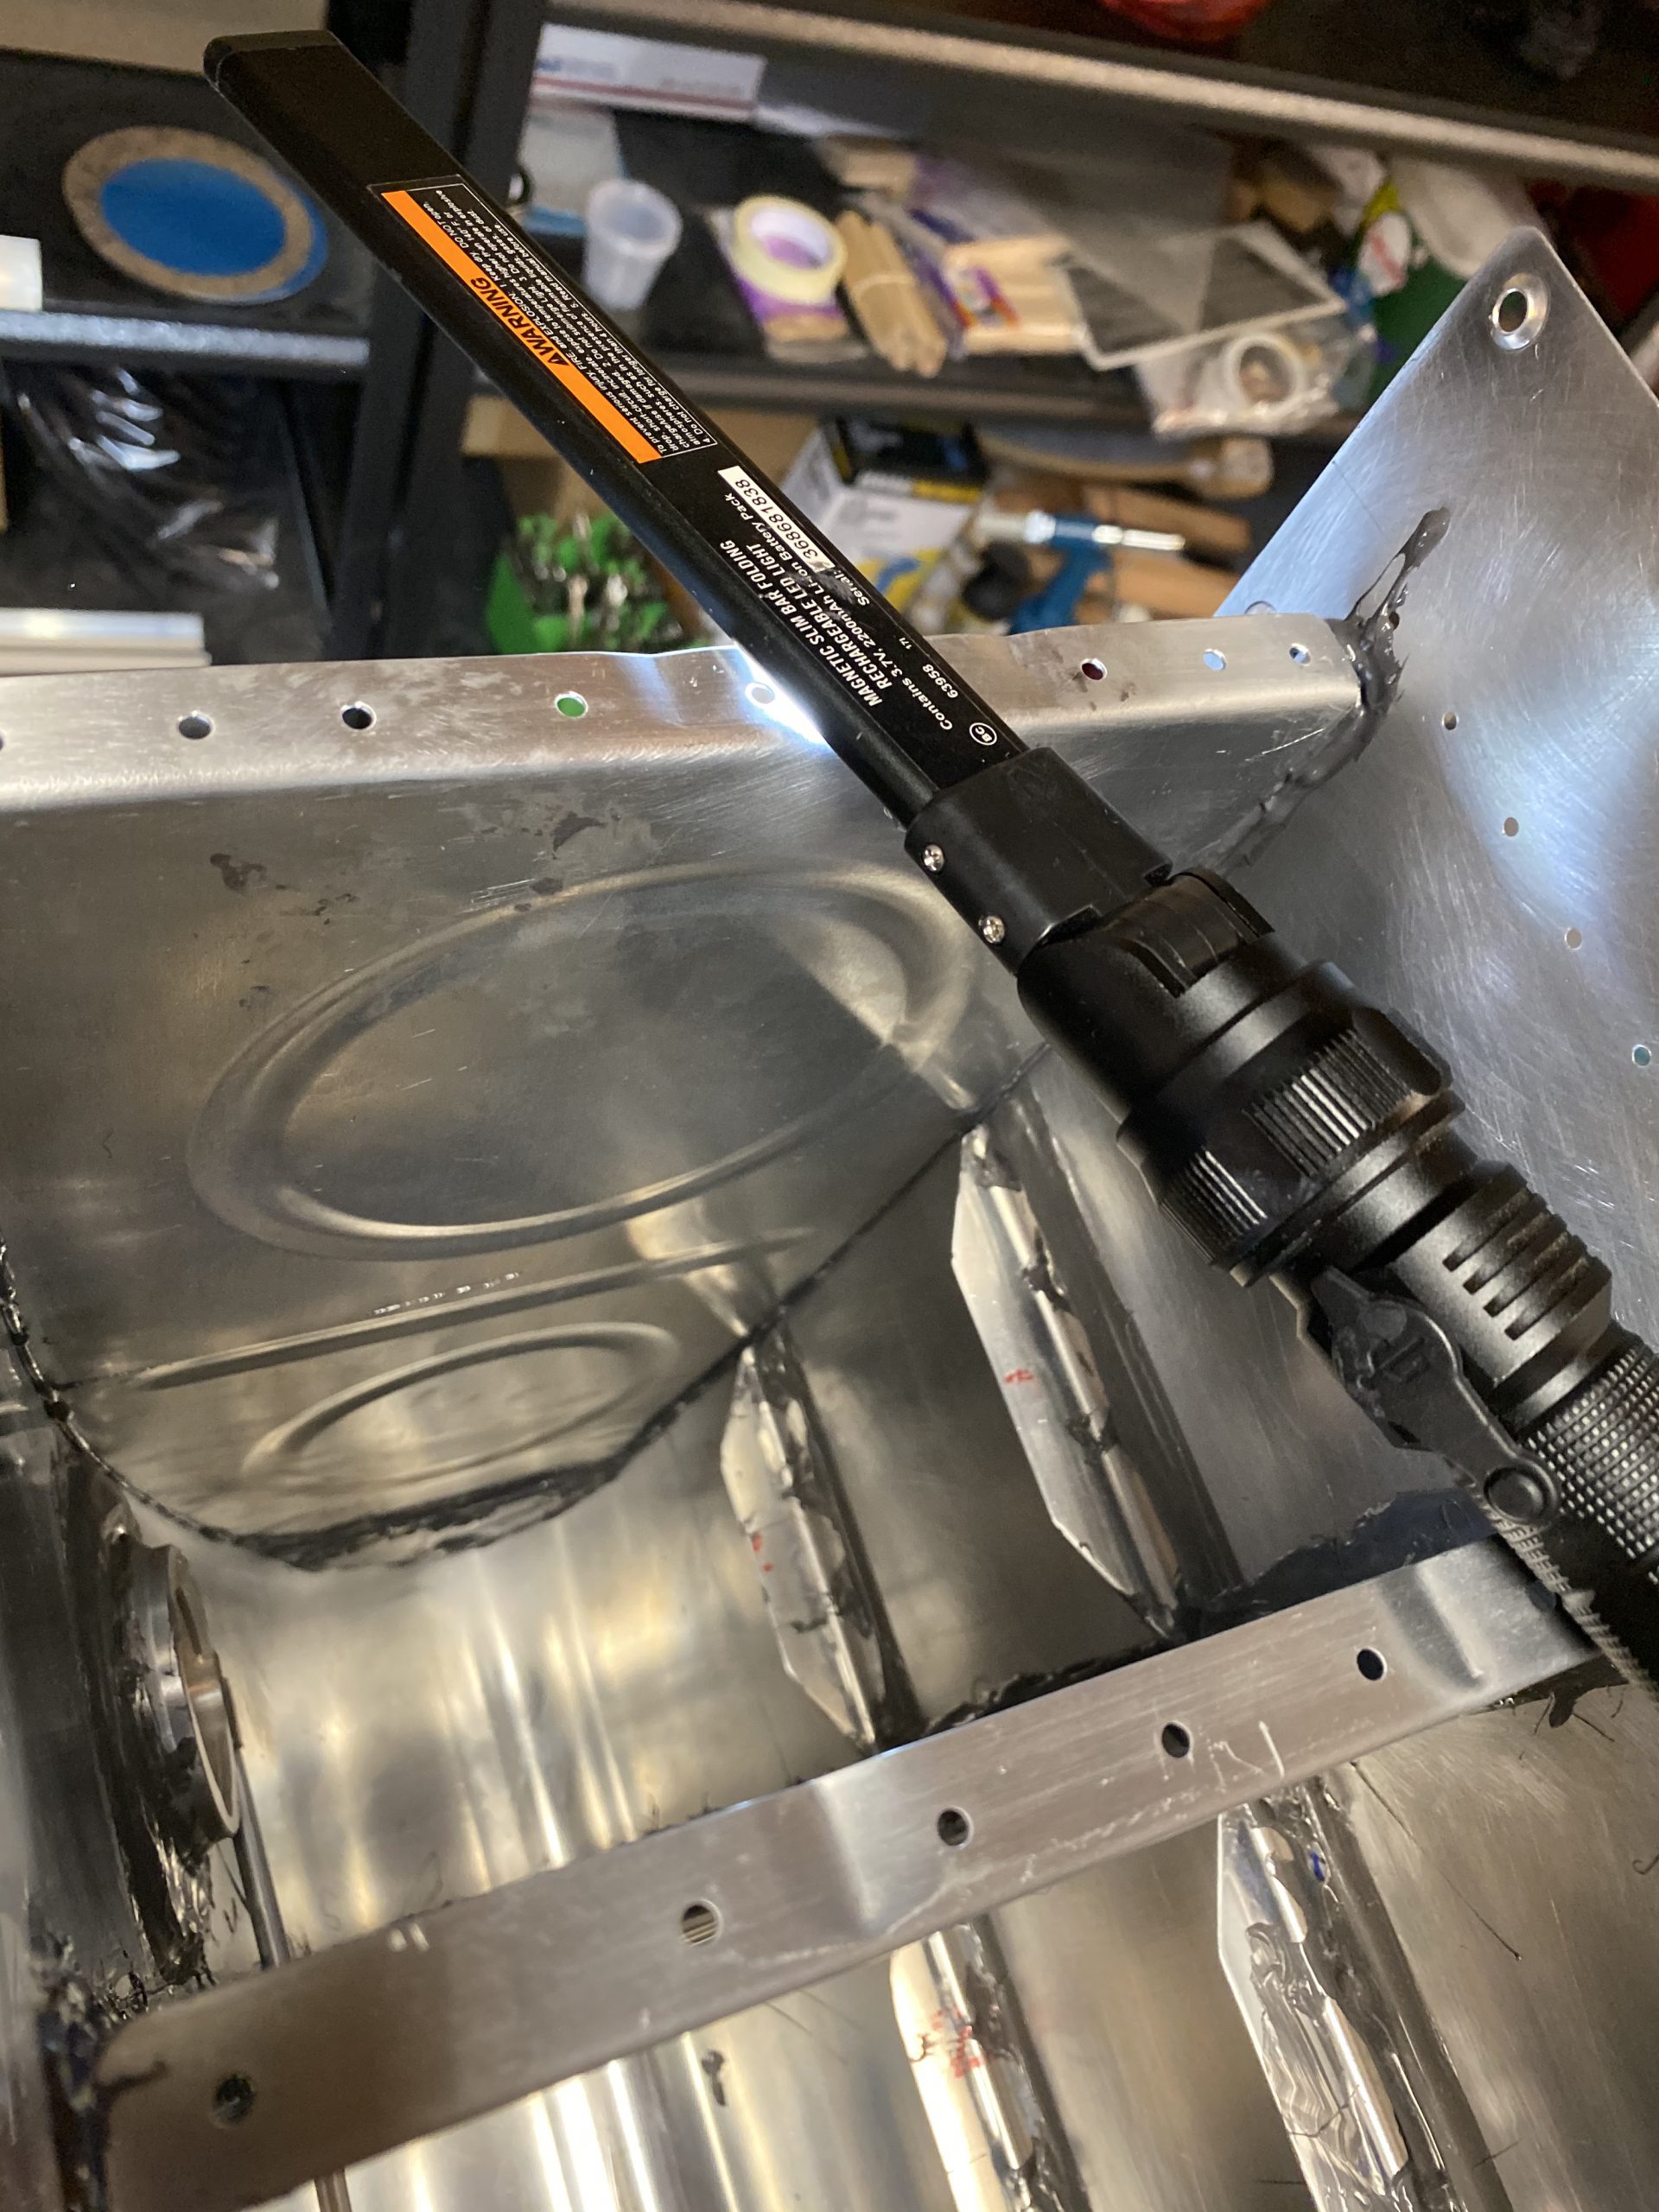
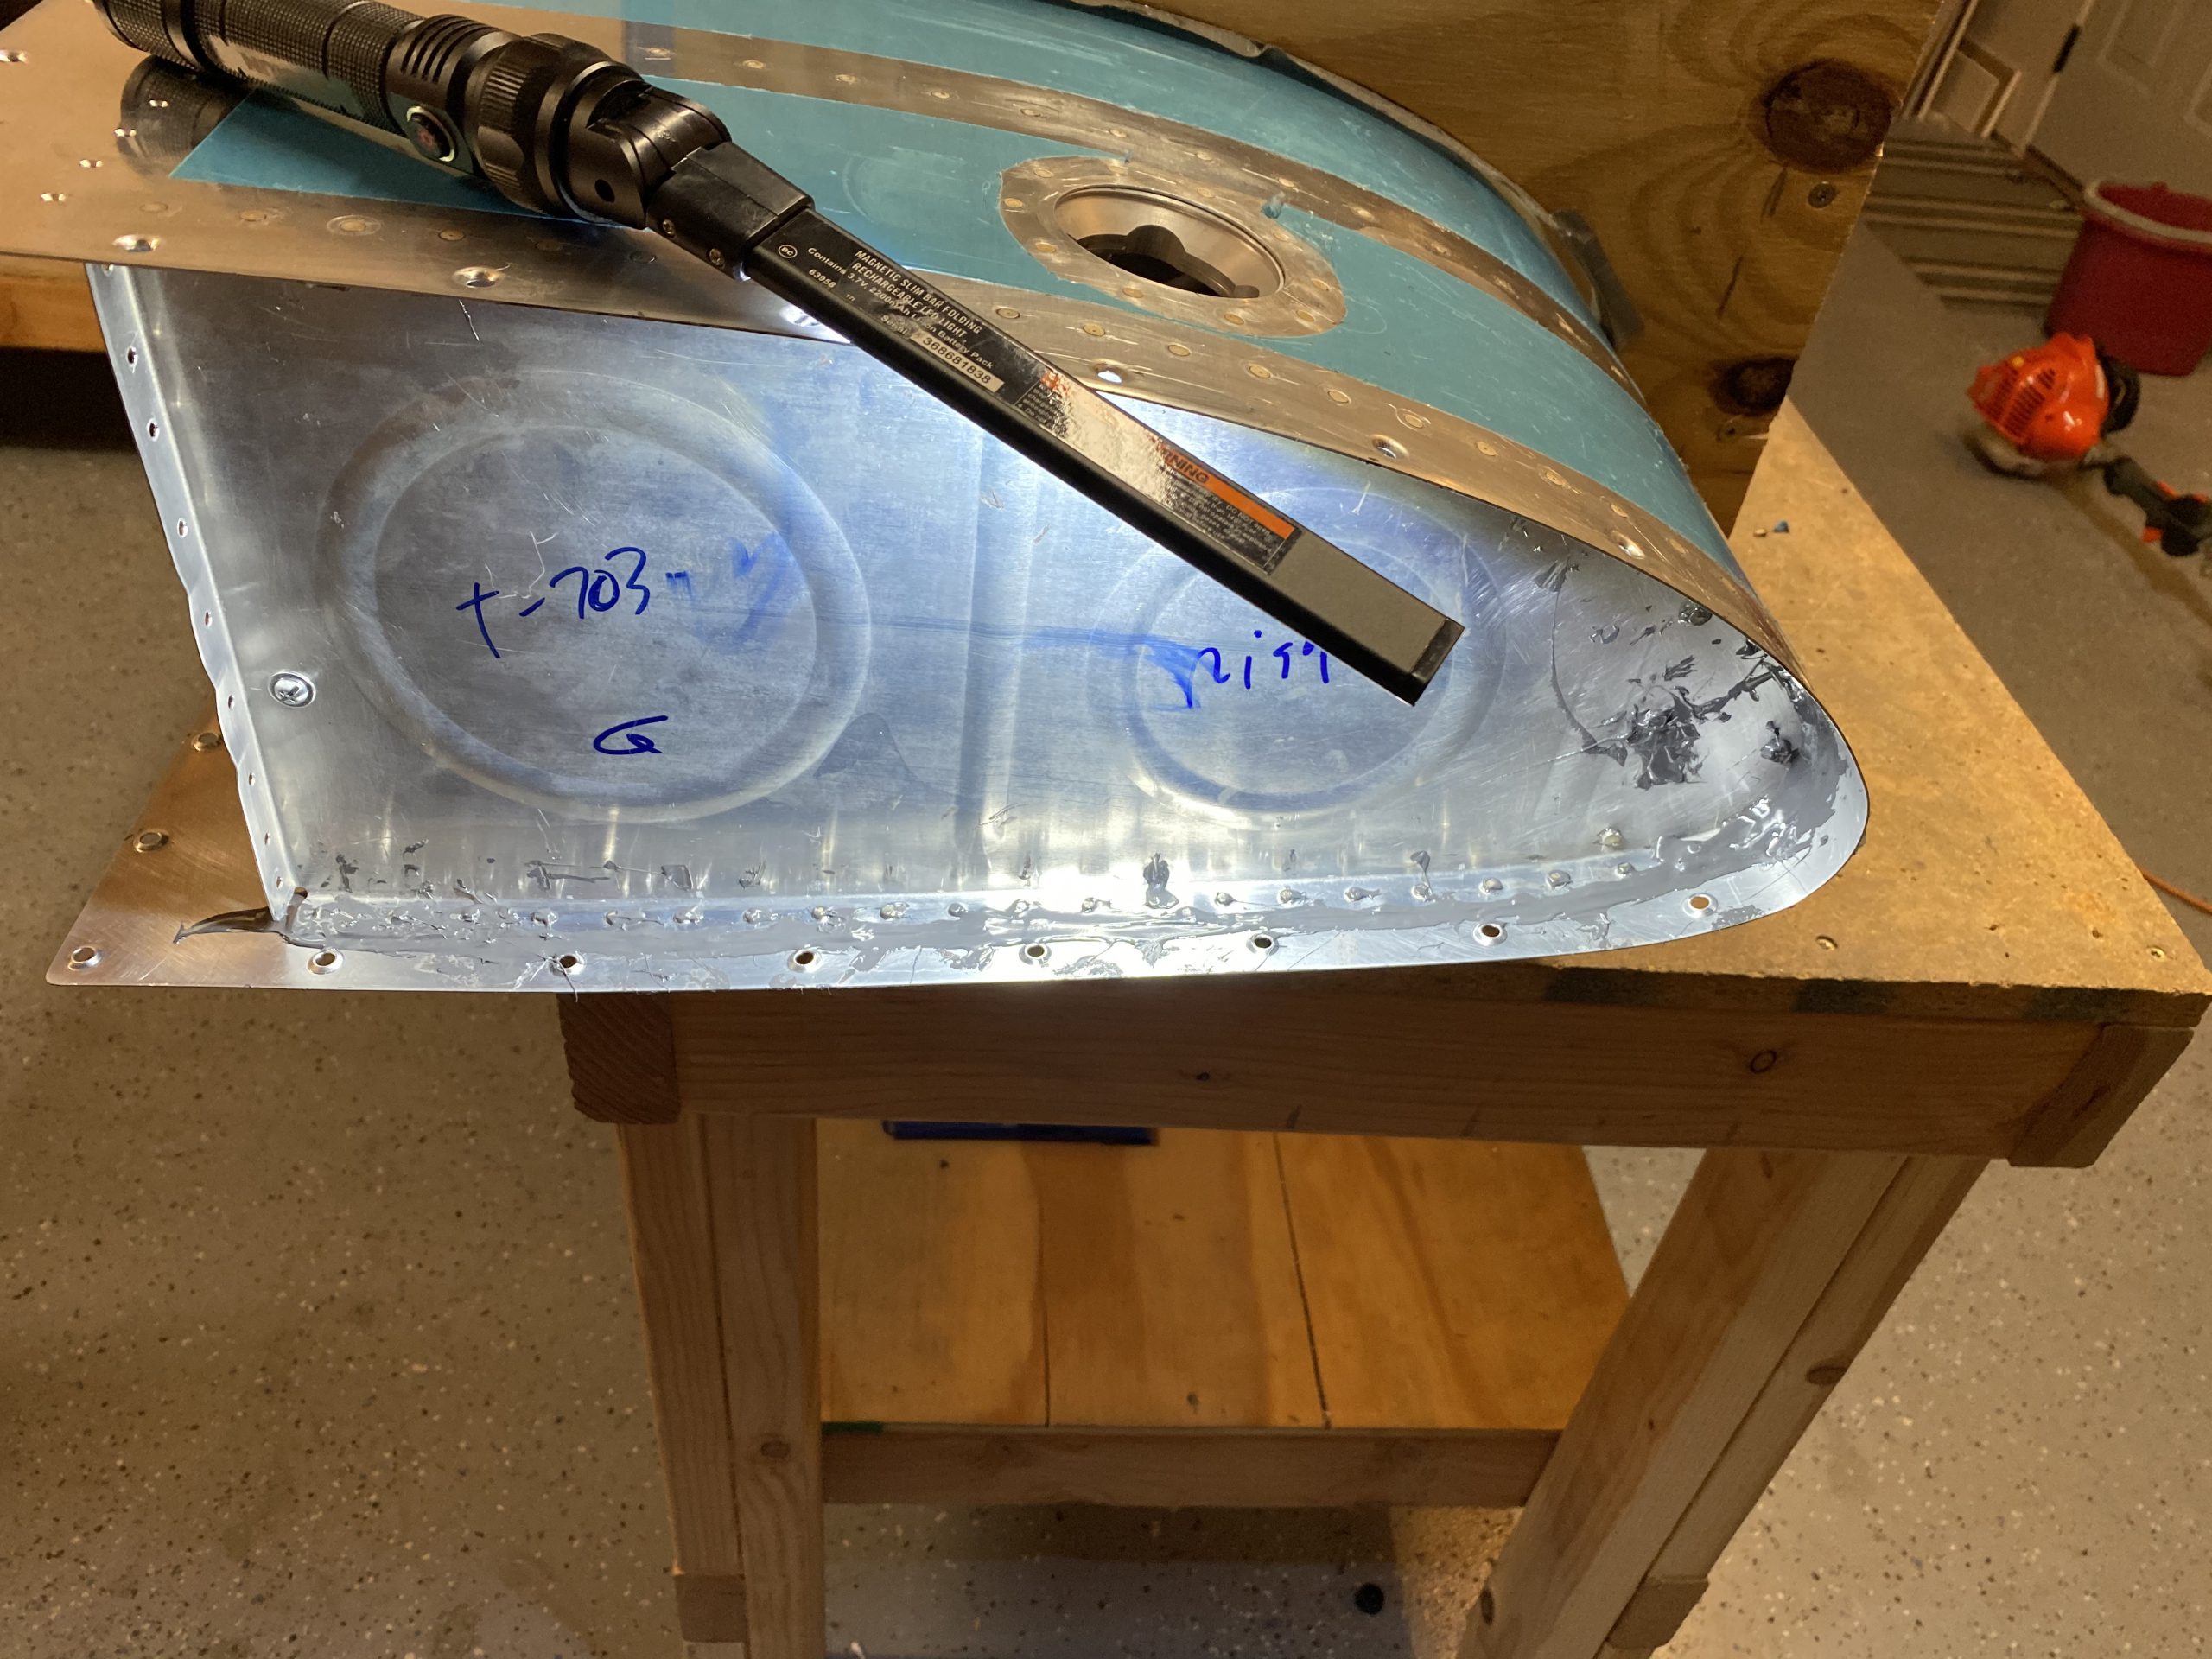
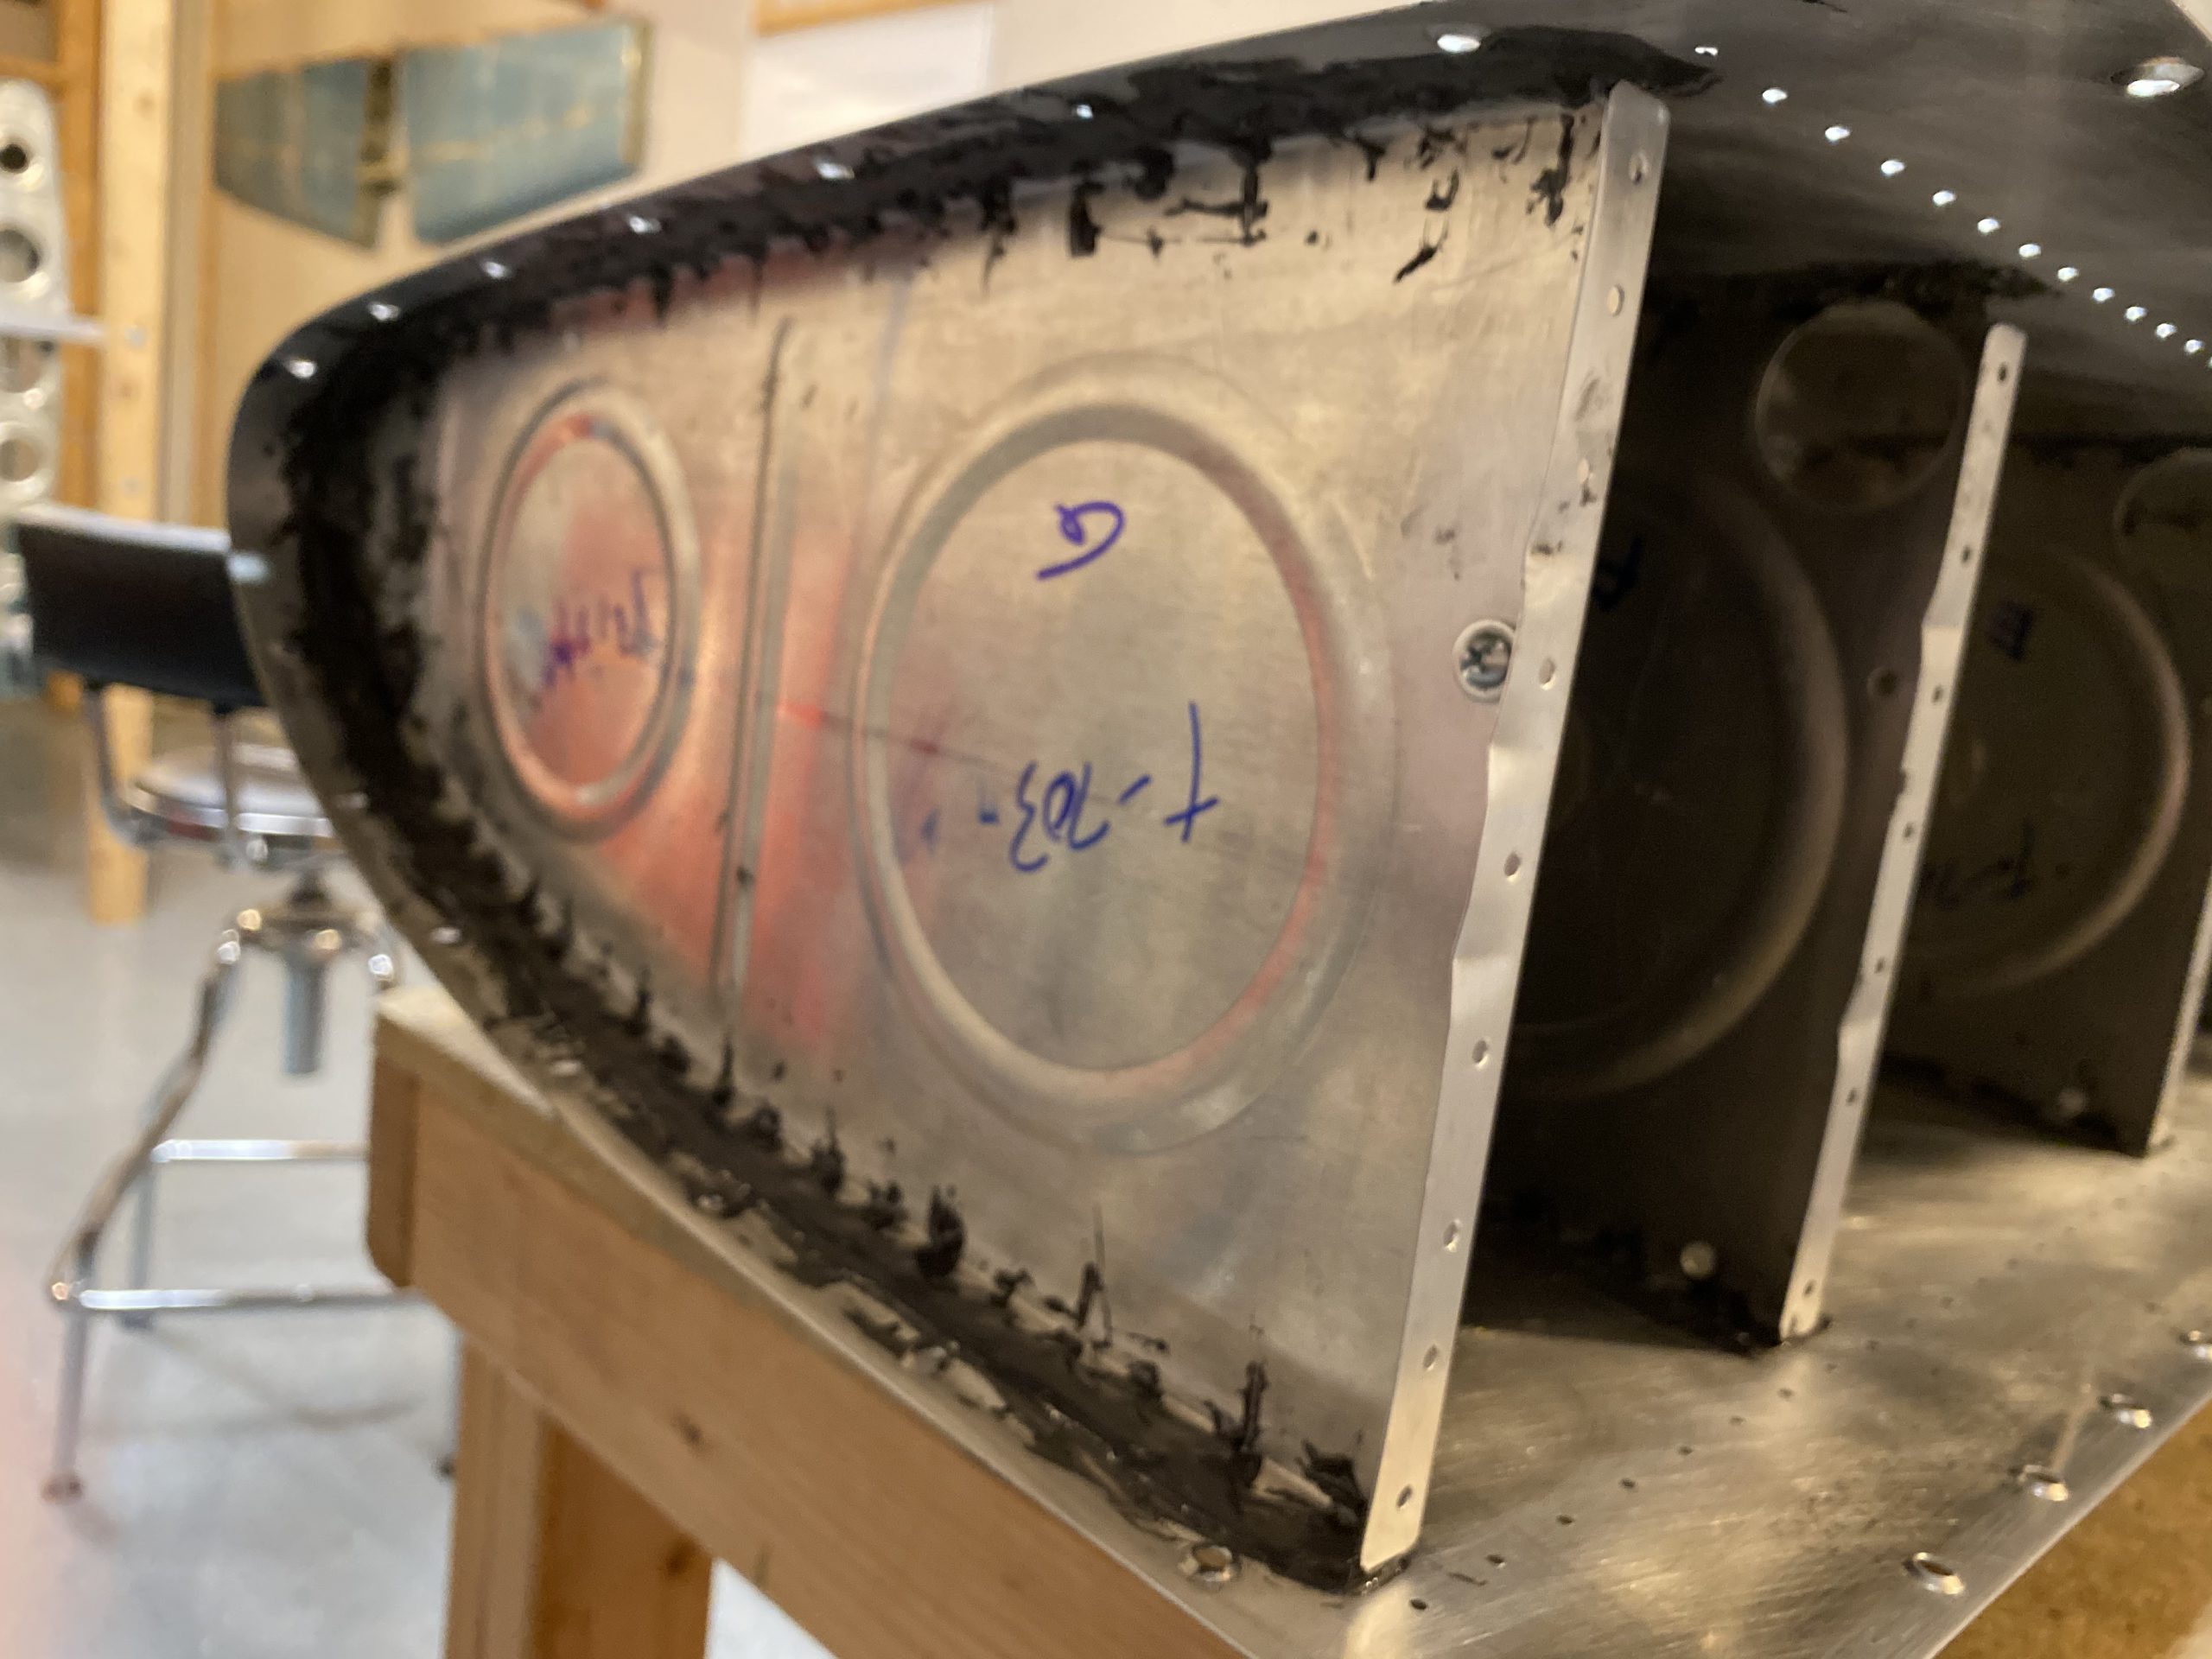
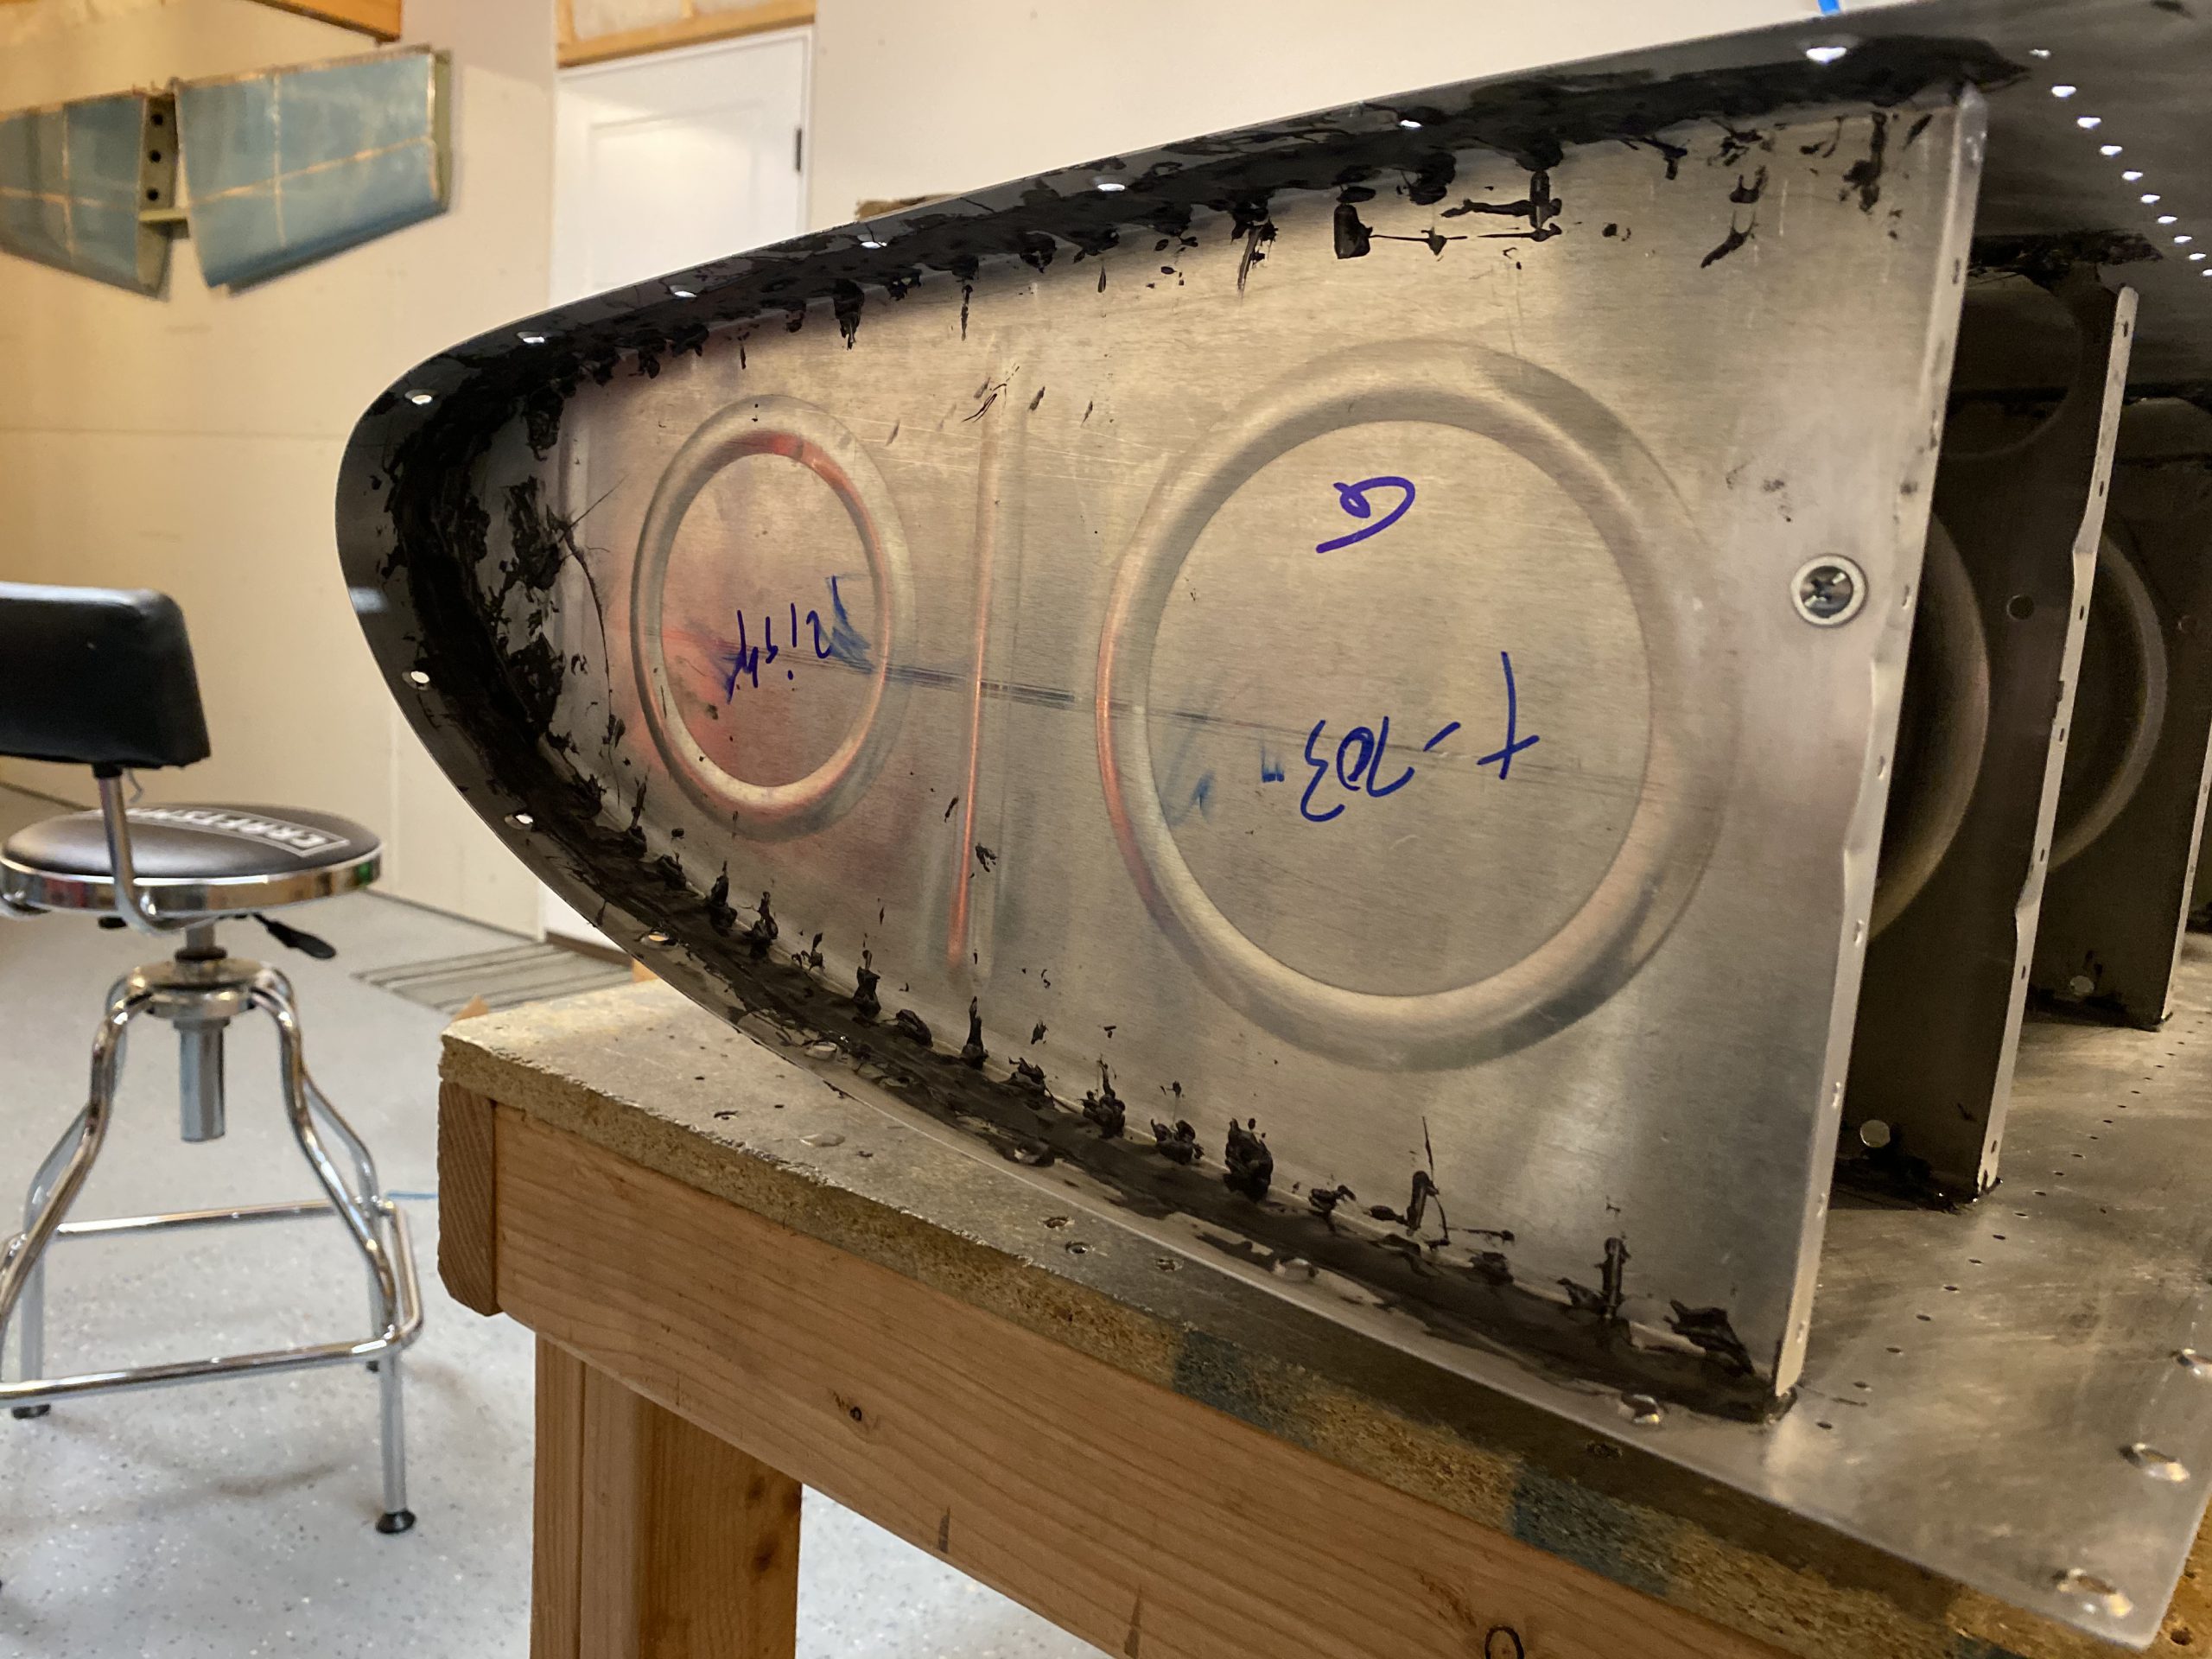
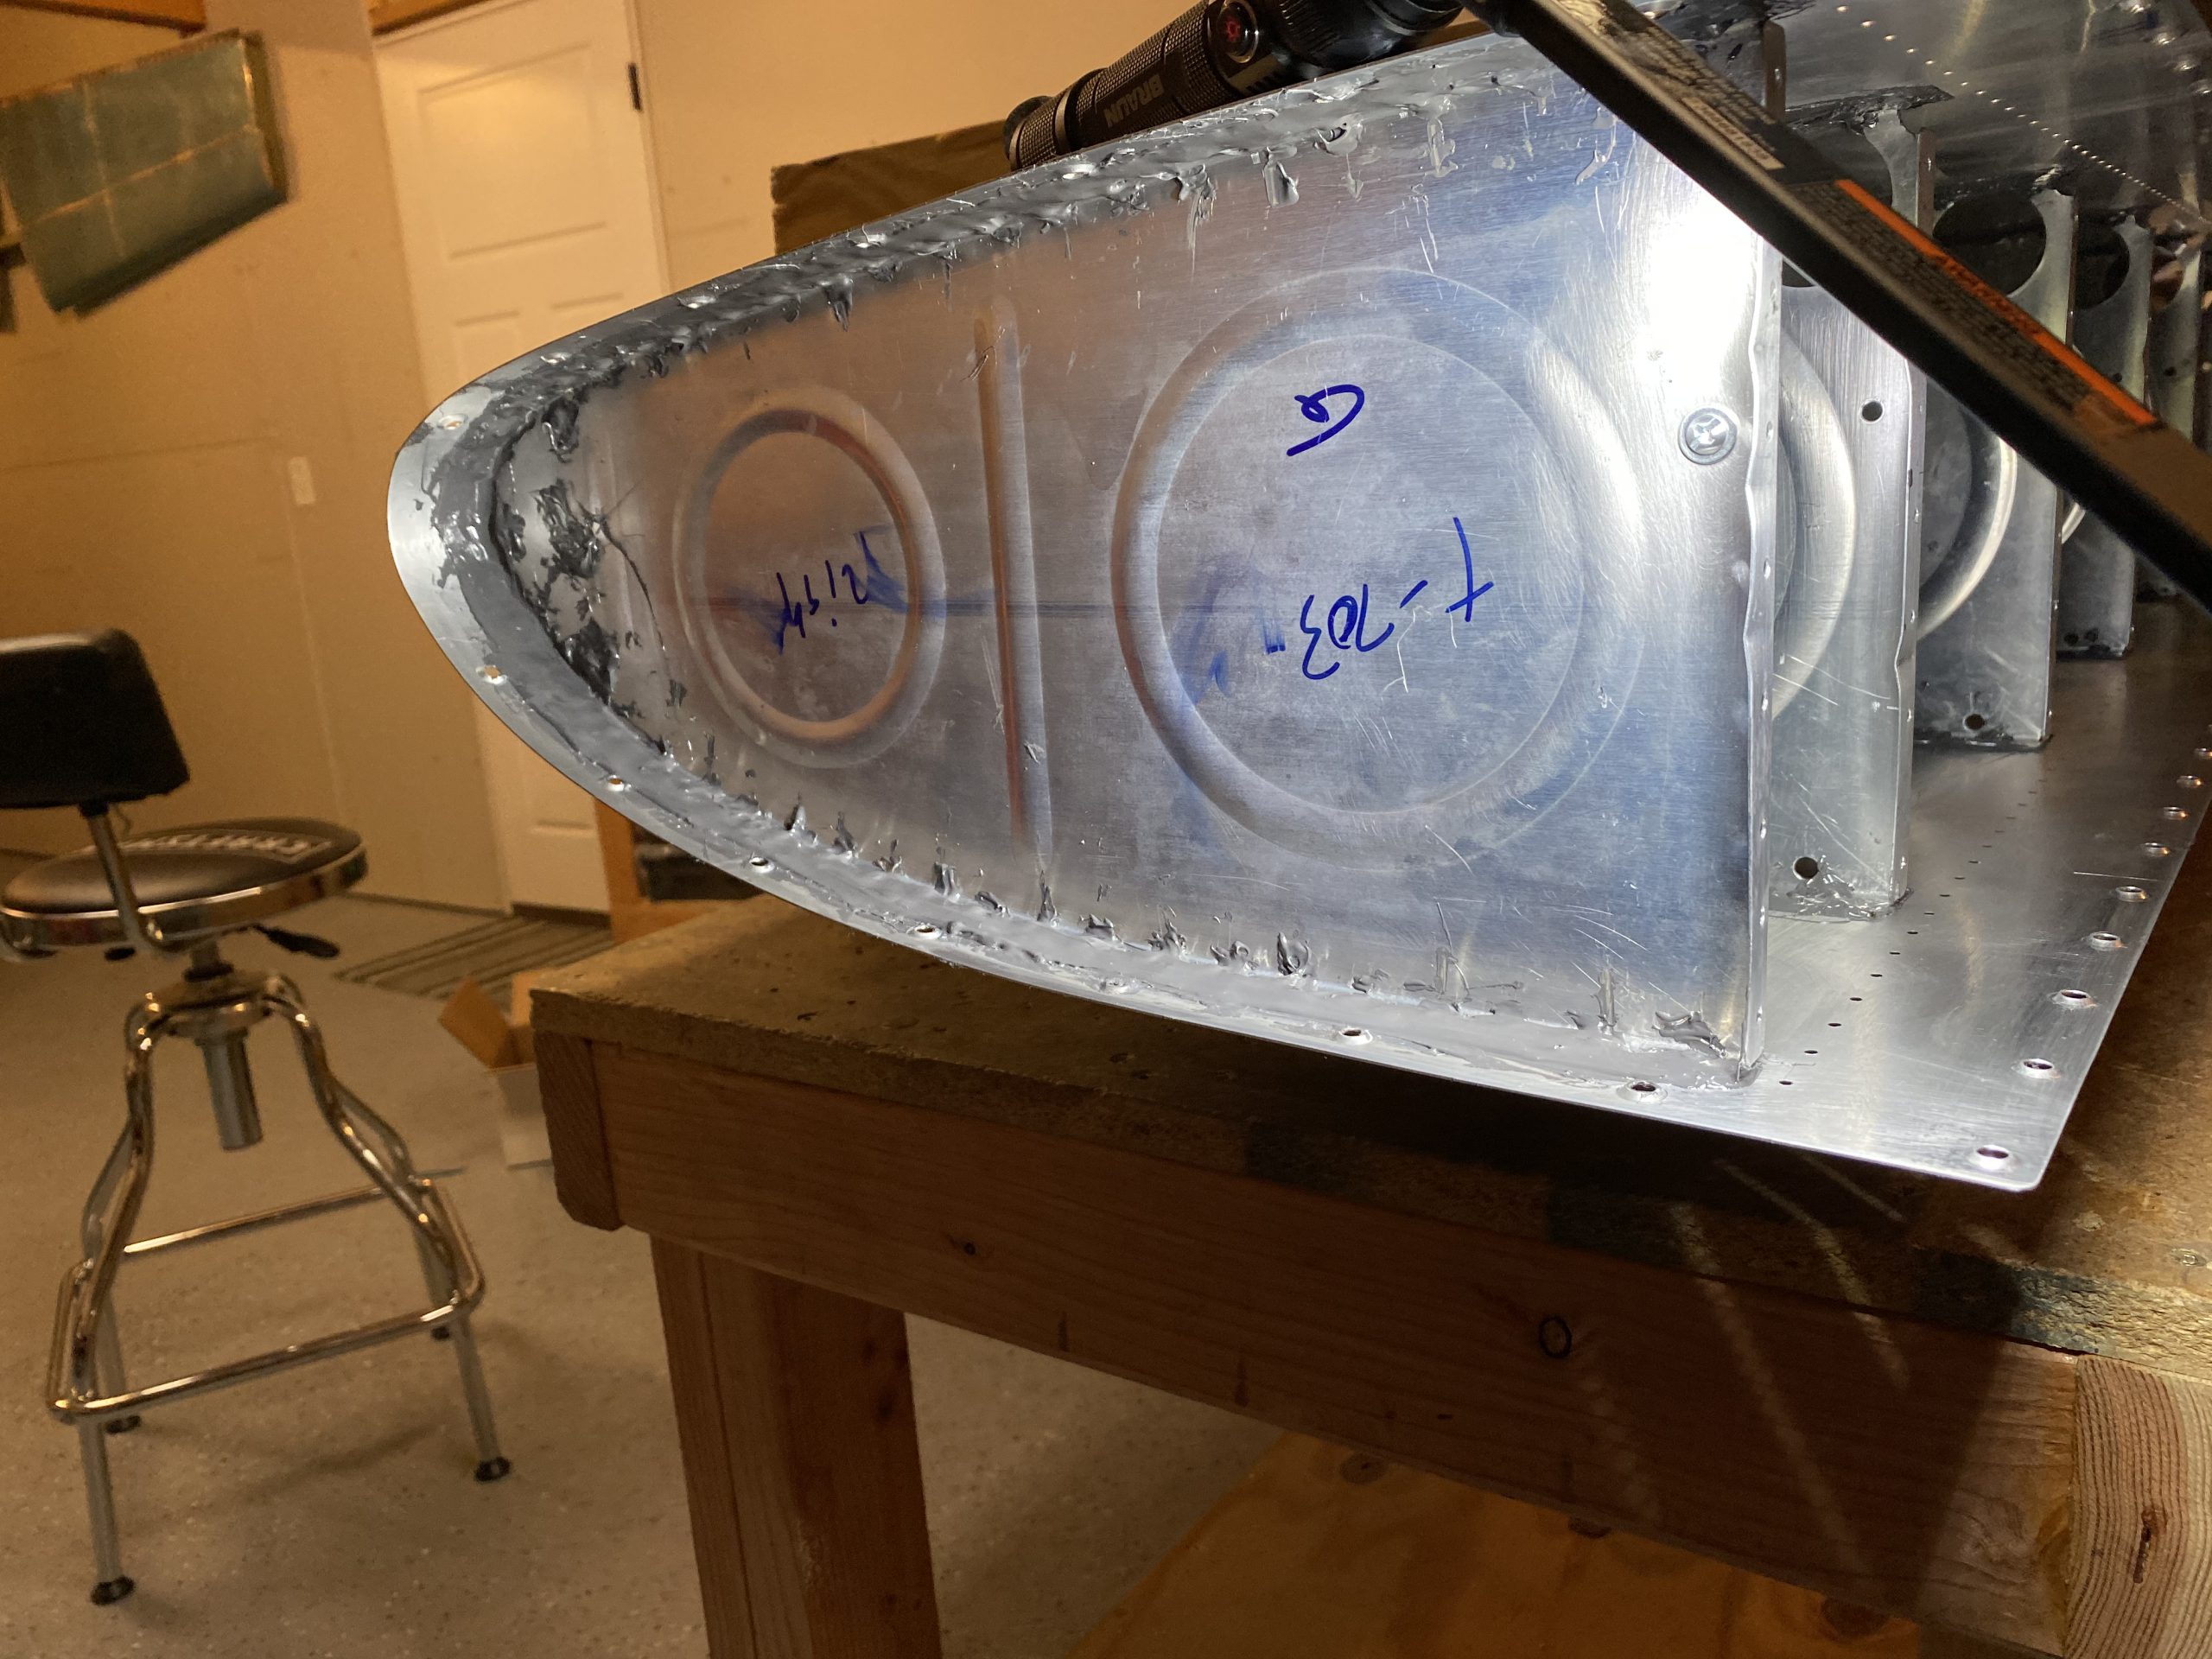
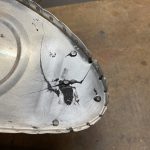
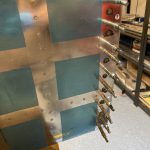
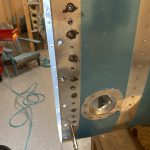
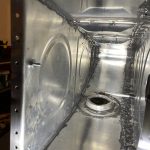
With that done, Its time to butter up the rib flanges, and get it clecoed into place for riveting. I used a popsicle stick to spread a layer of sealant on the flanges of the rib, making sure I had enough to cover the flutes in the flanges. I also but a good bit on the nose of the rib, since this seems to be where most people end up with leaks. My gloves got pretty messy on this part so I didn’t get any photos. Once I had it buttered up, I gently dropped it into place on the outboard of the tank, and clecoed every other hole. I am going to wet set these since I can use a squeezer and they are really easy to get to. In the other holes, I stuck a rivet in place and then used the squeezer to set them. There was a decent amount of ooze-out on both sides, which leaves me confident these wont leak :-). Heres what it looks like after the first round of squeezing. I only had to wipe my squeezer set off about every 8 rivets. Worked out nicely!
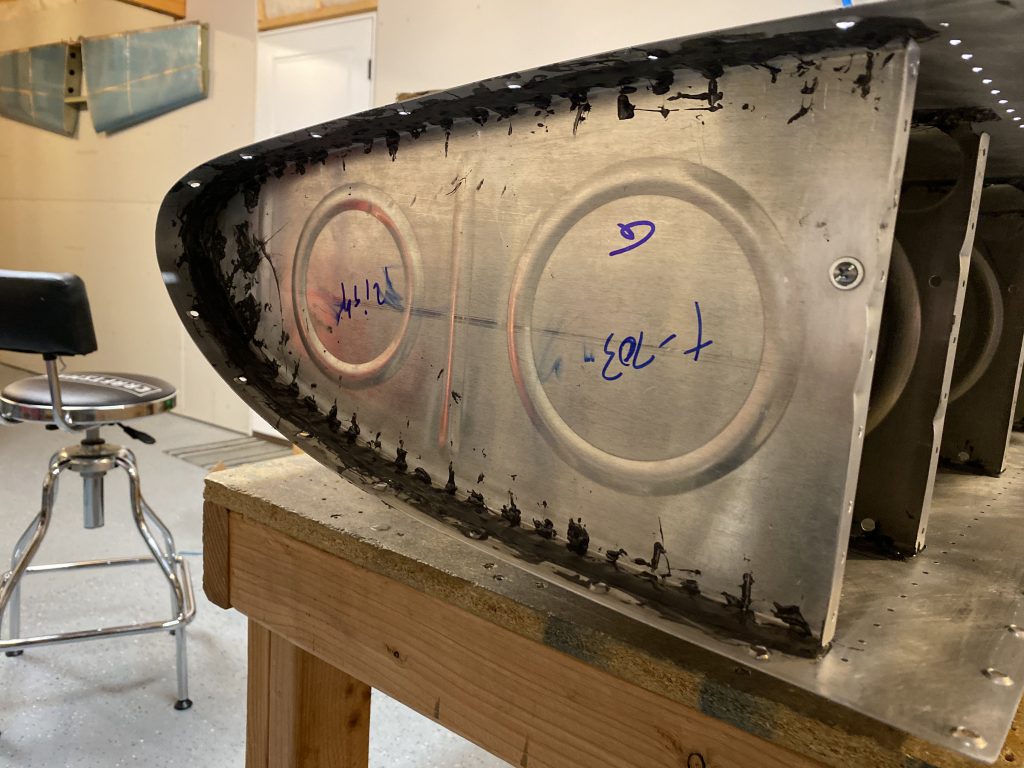
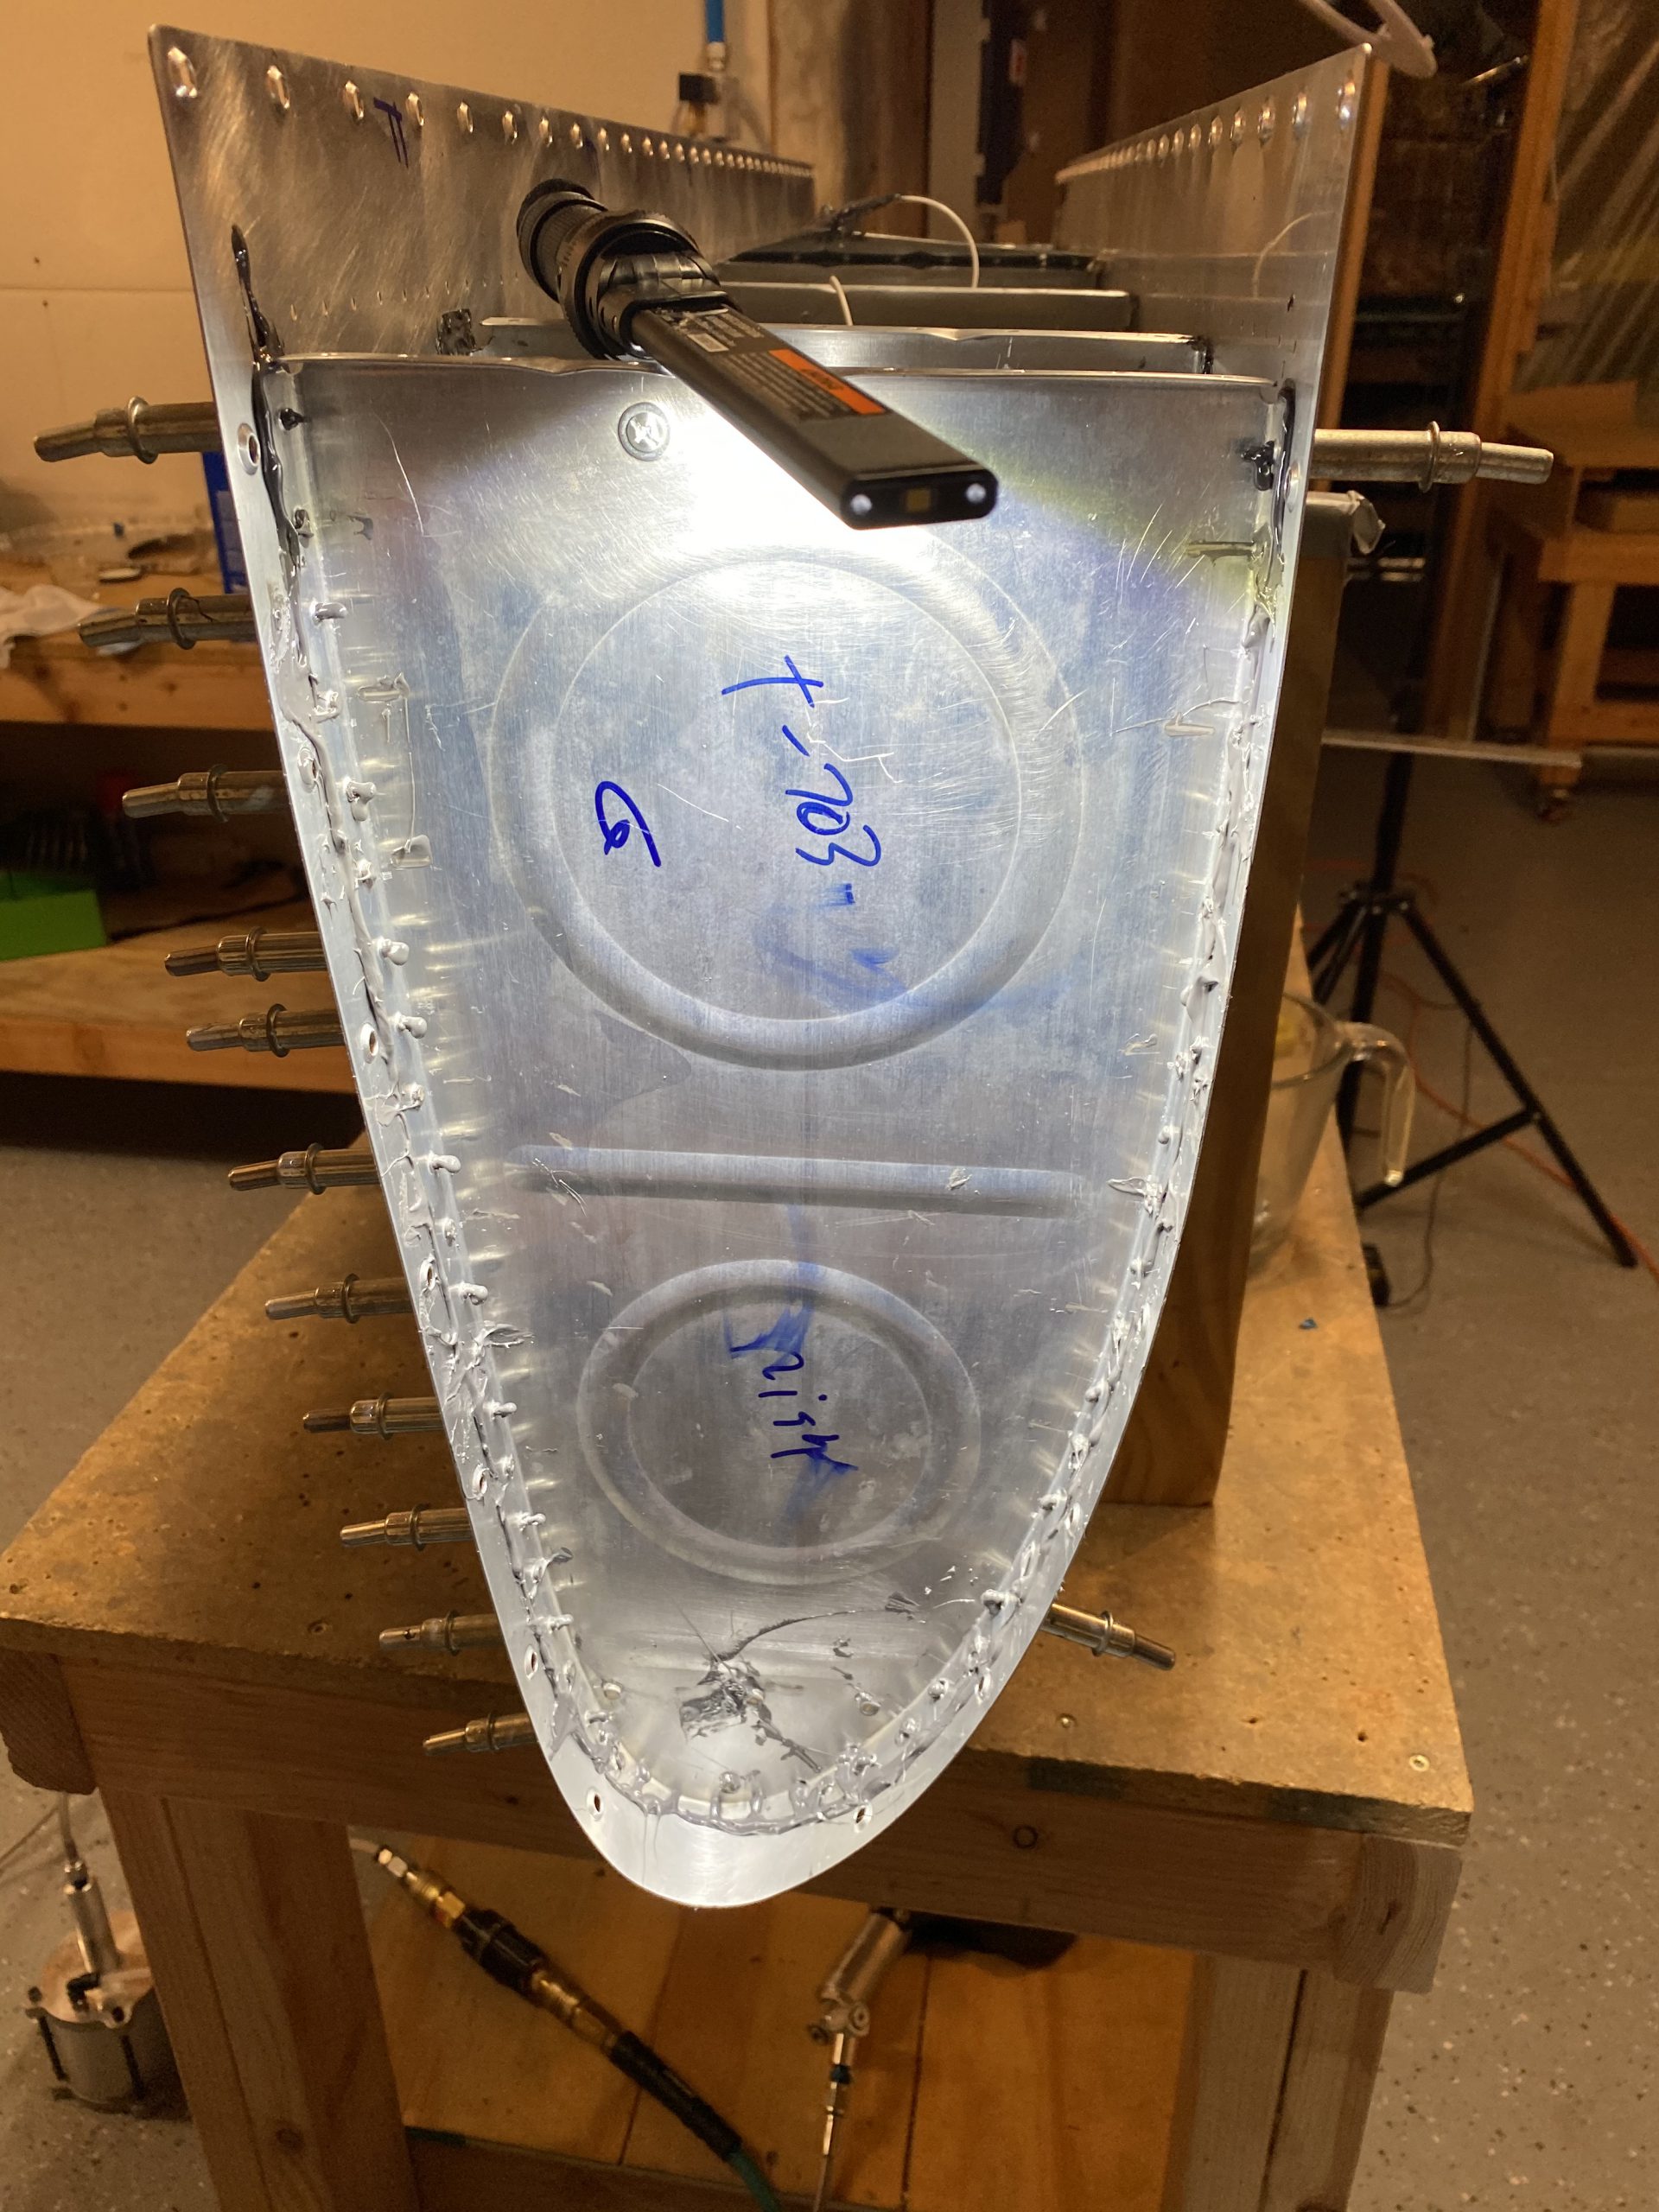
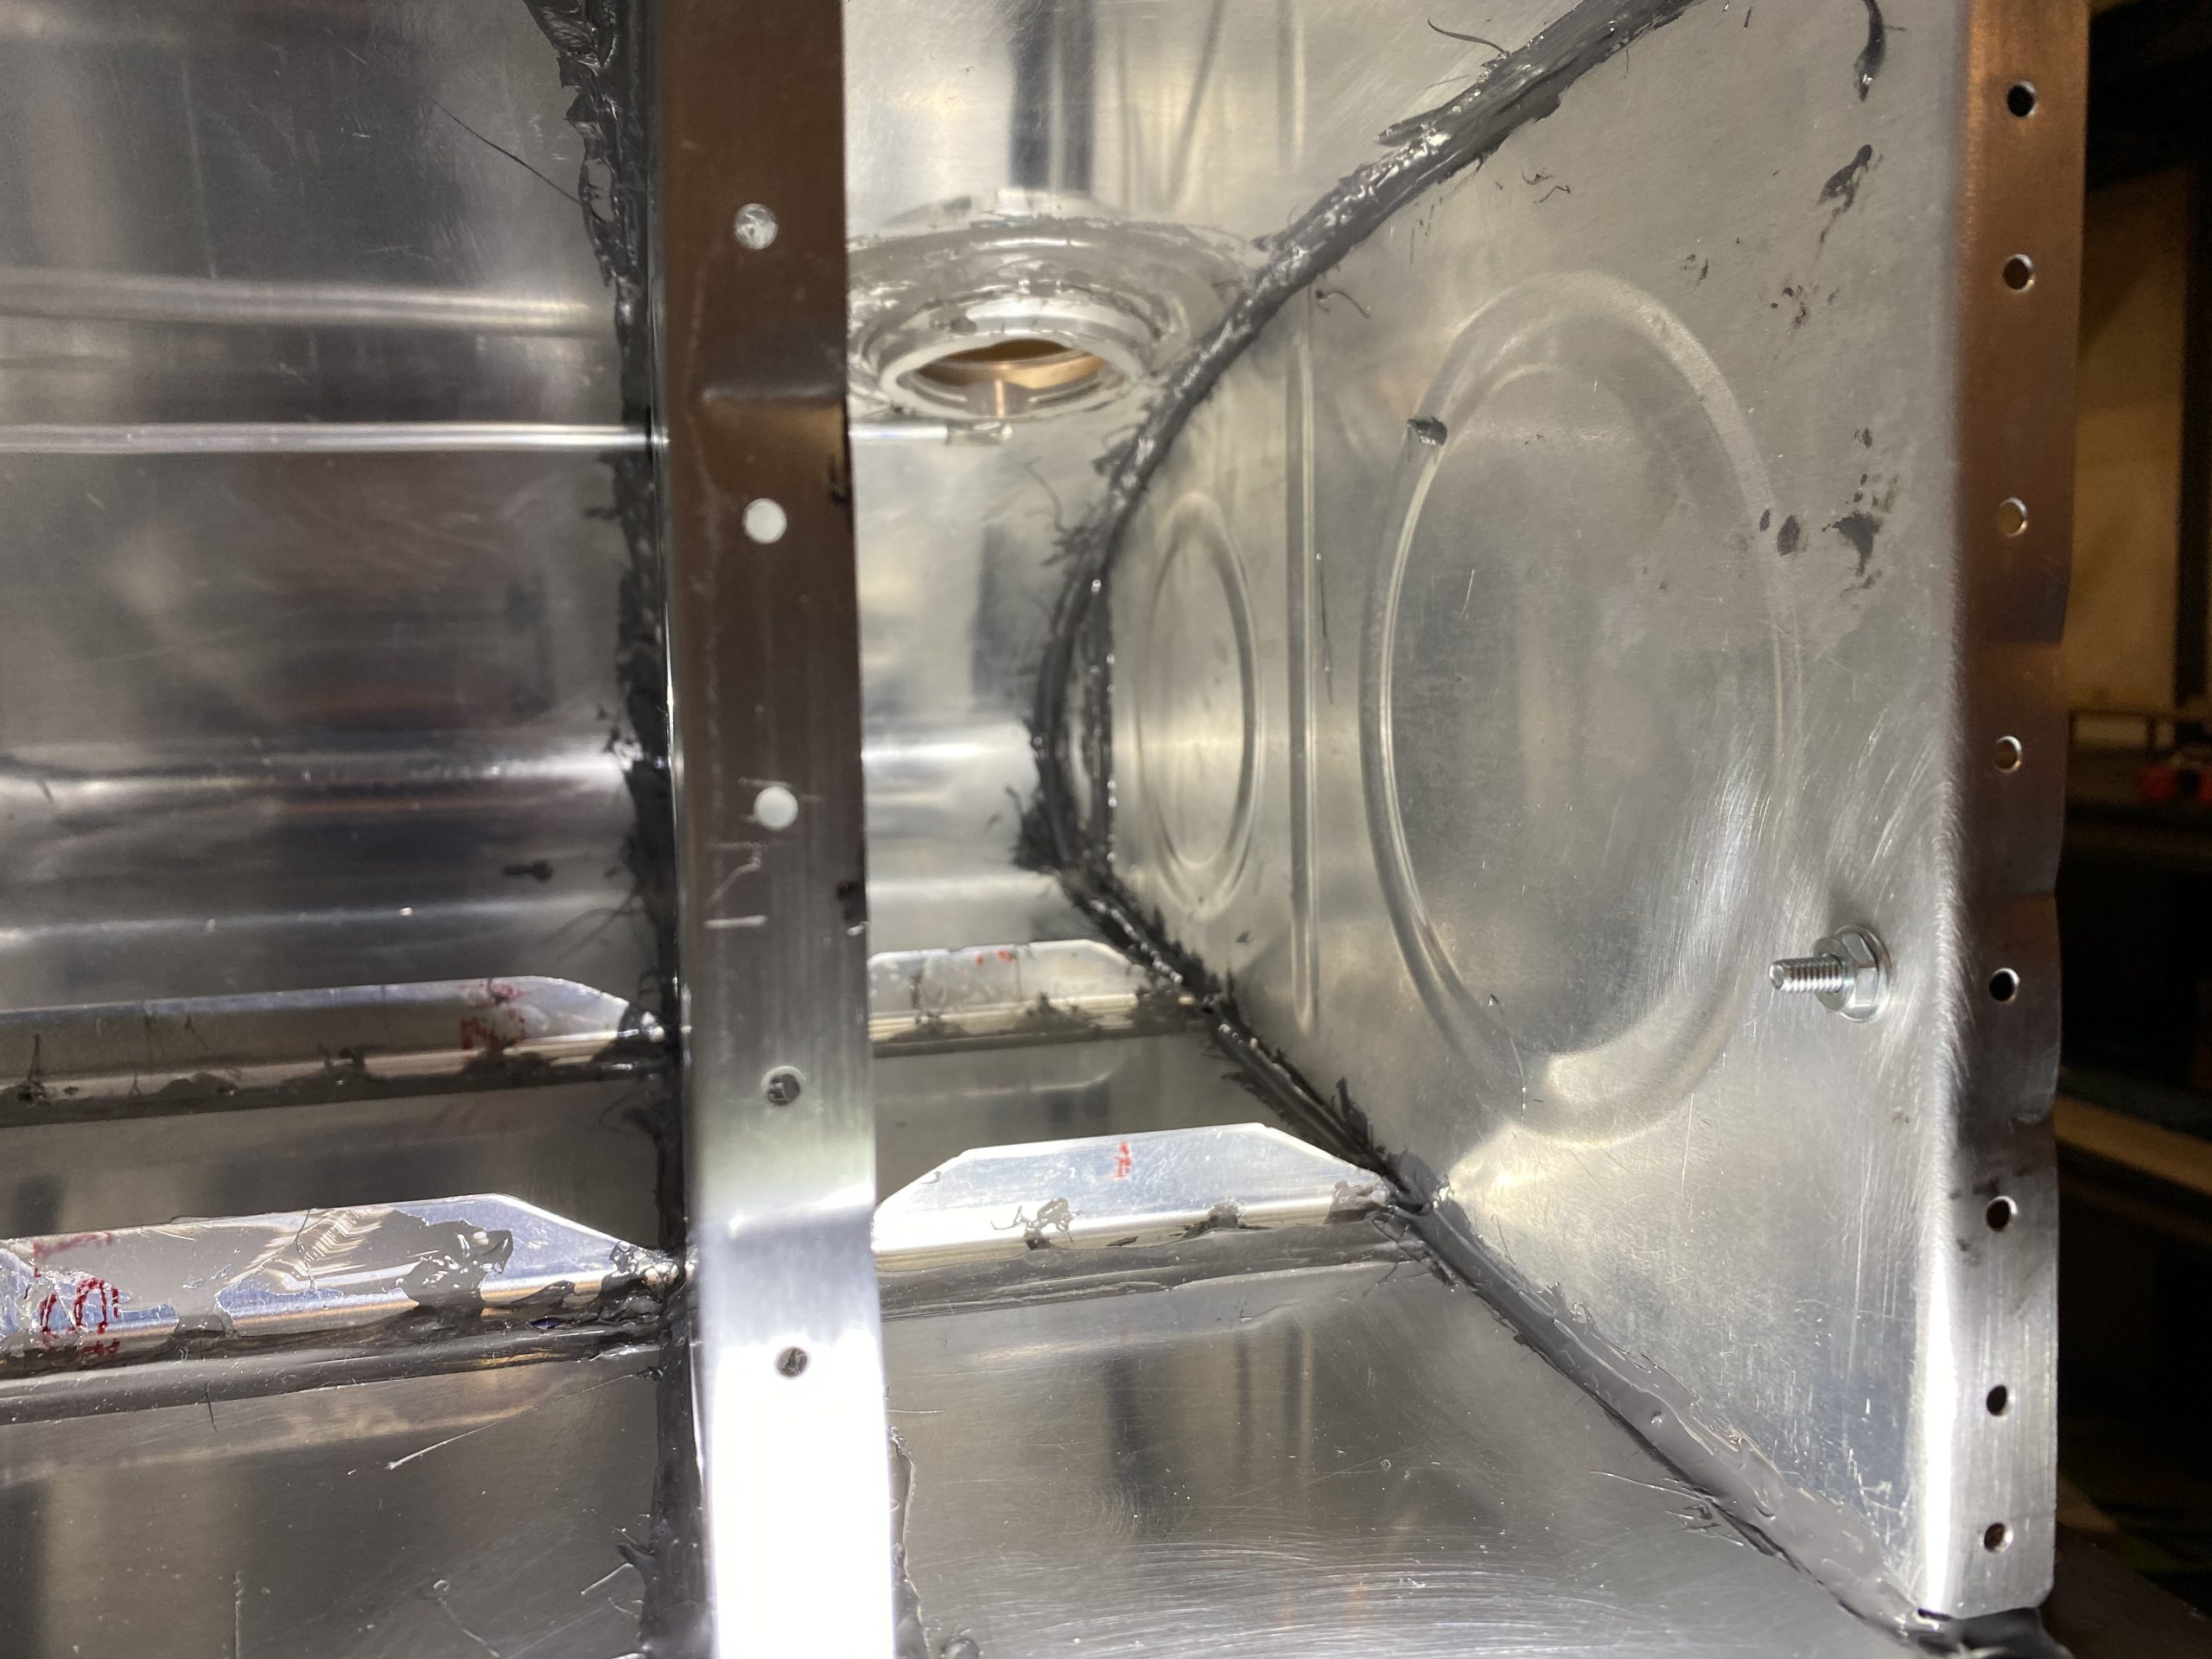
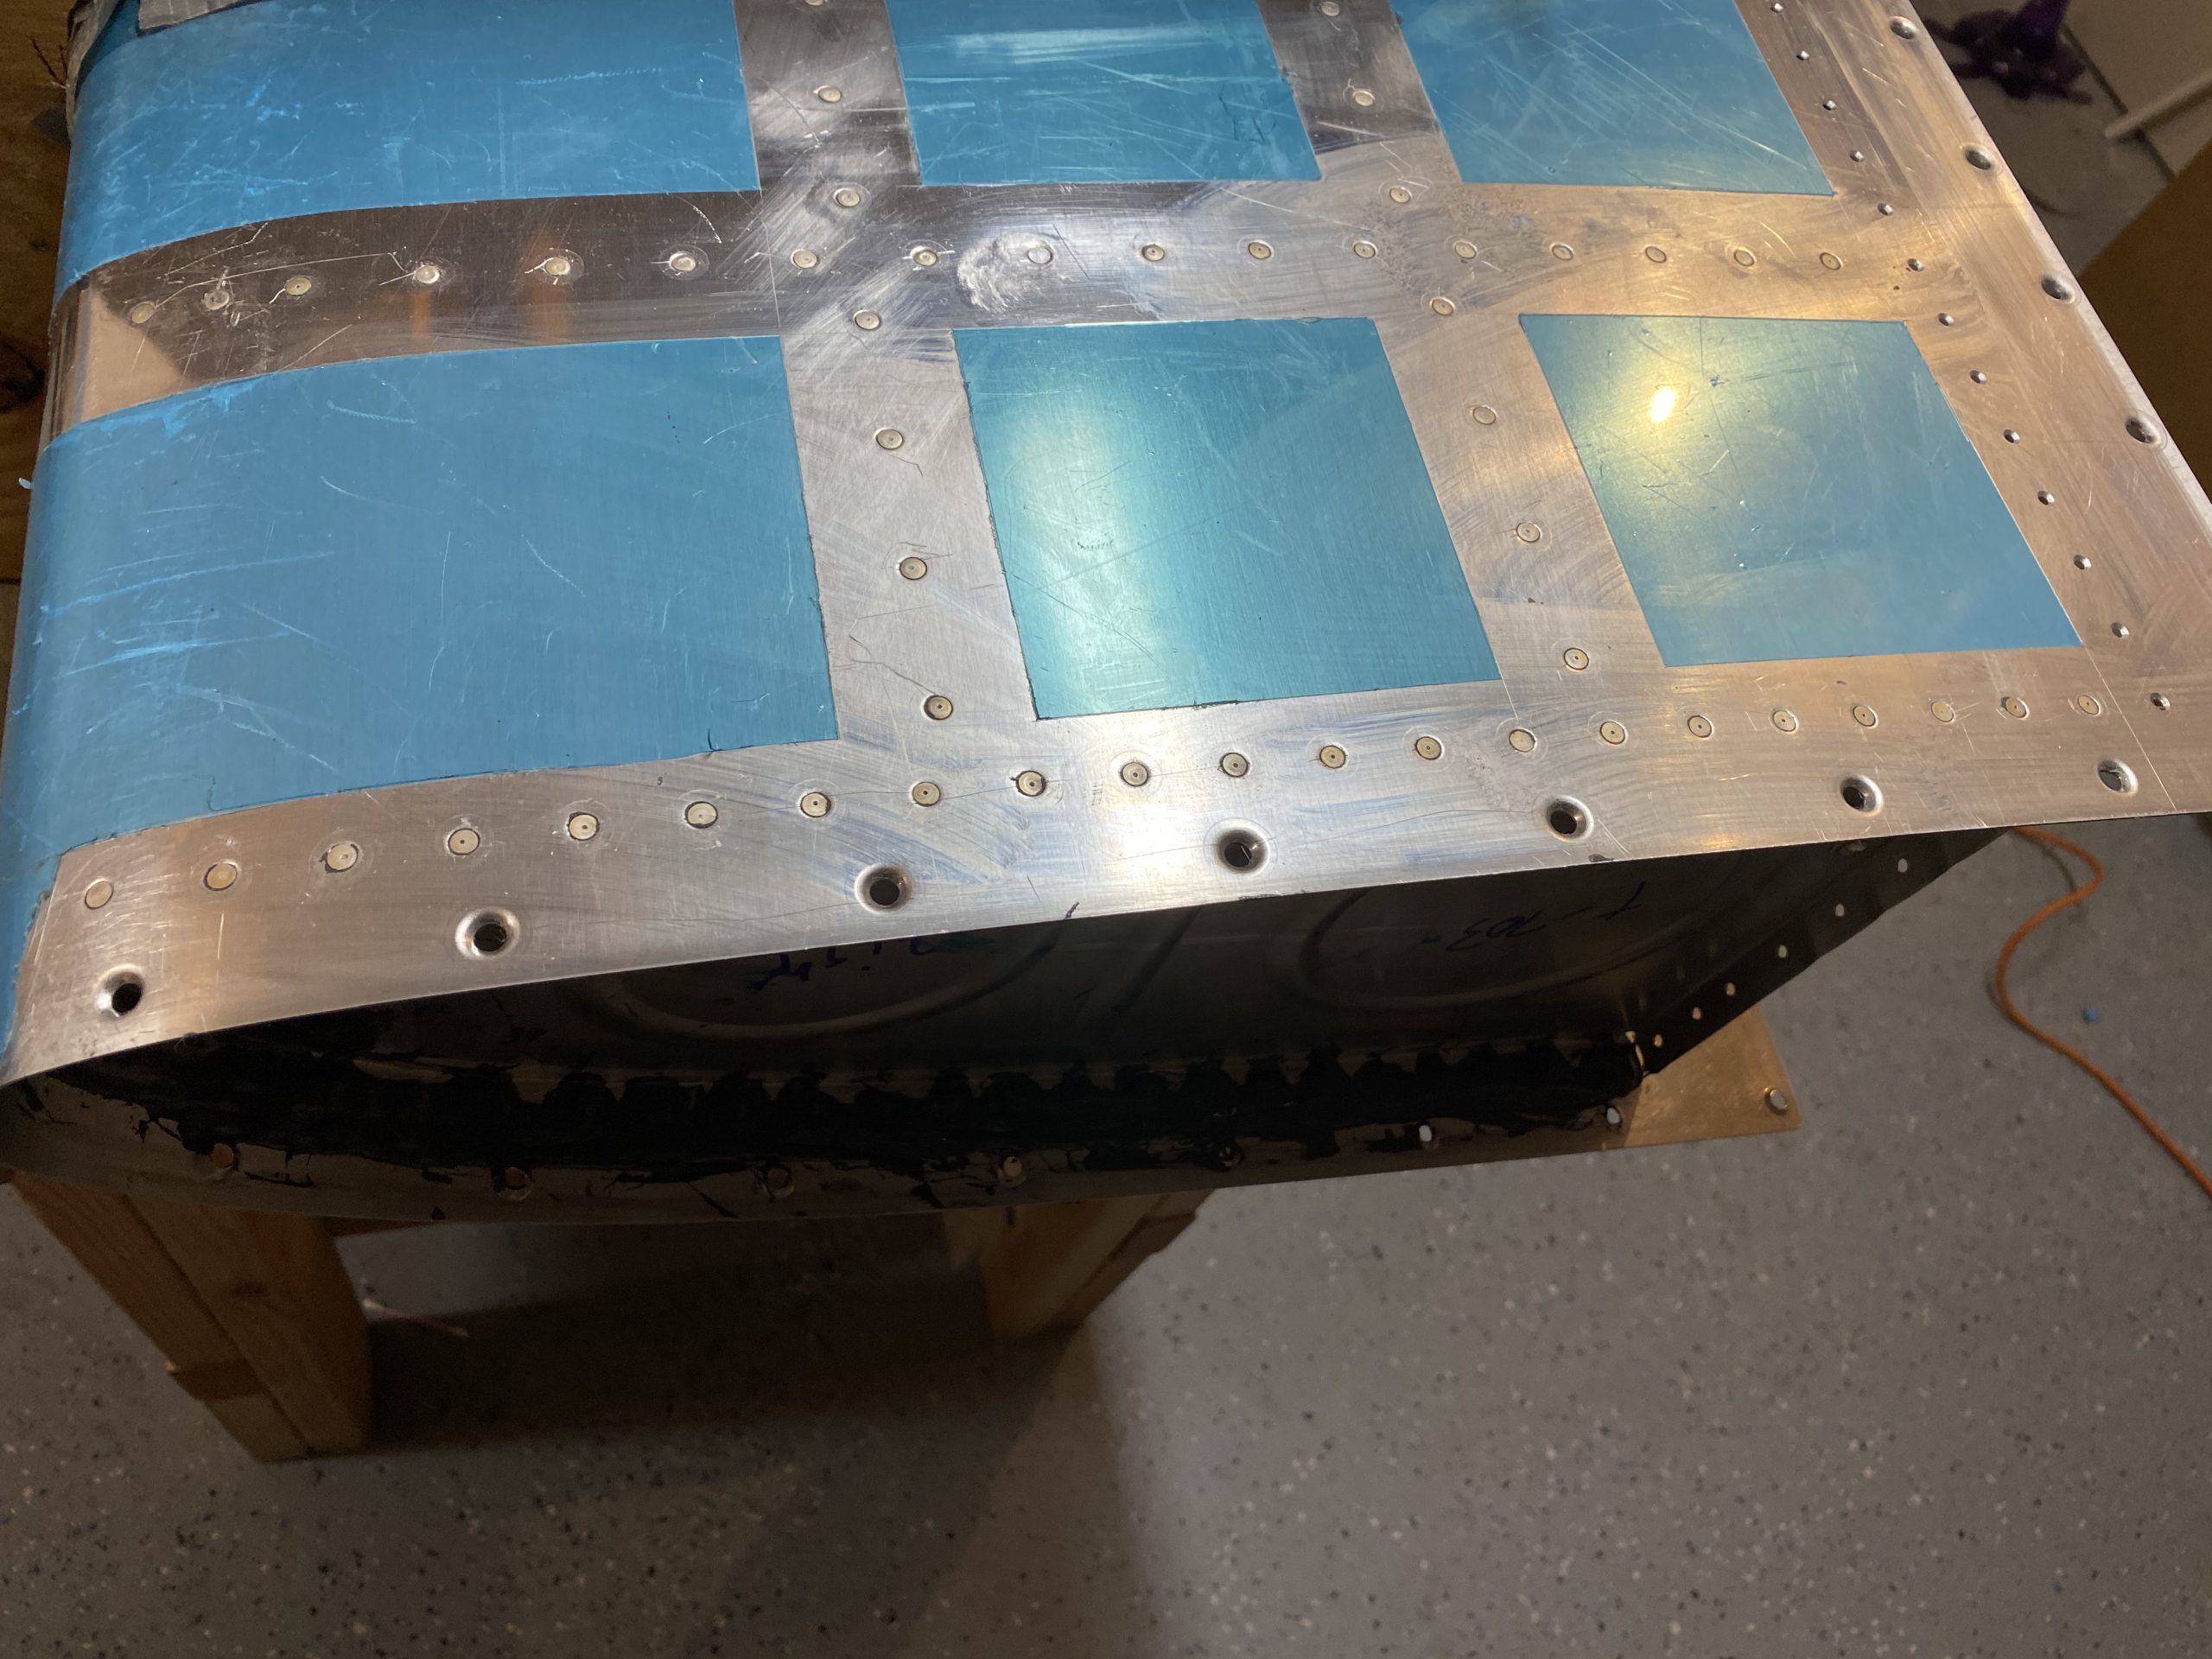
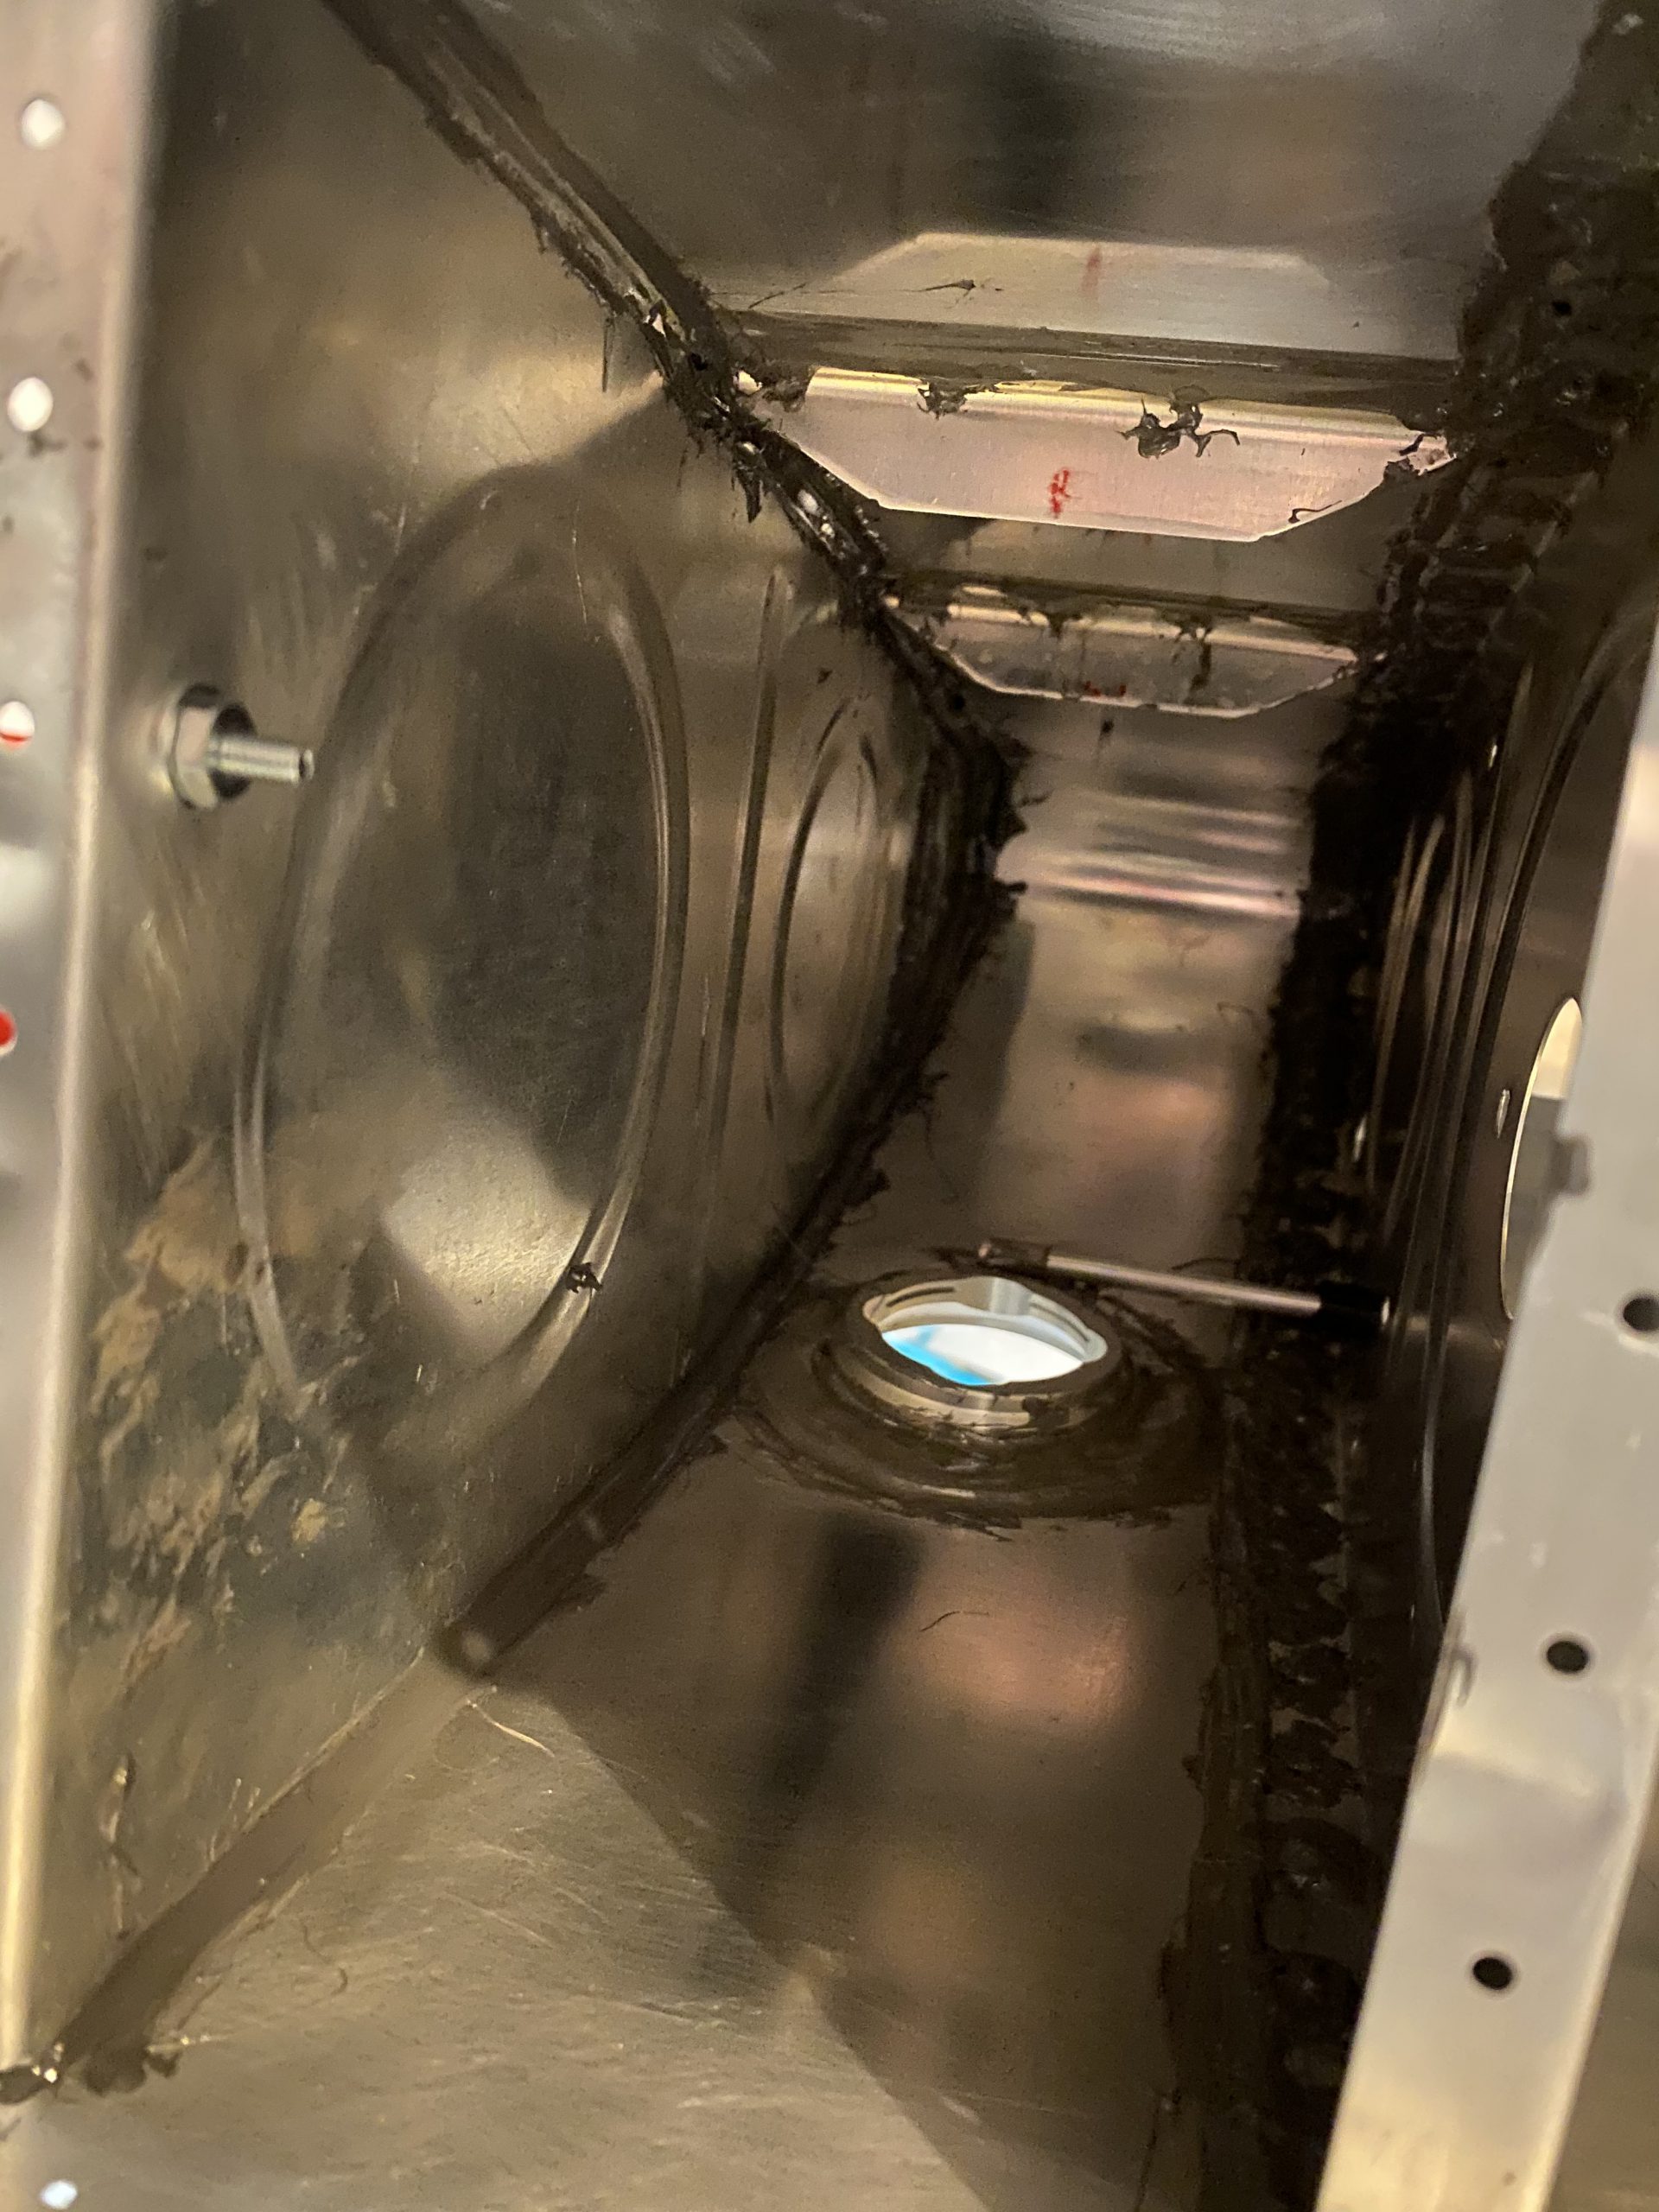
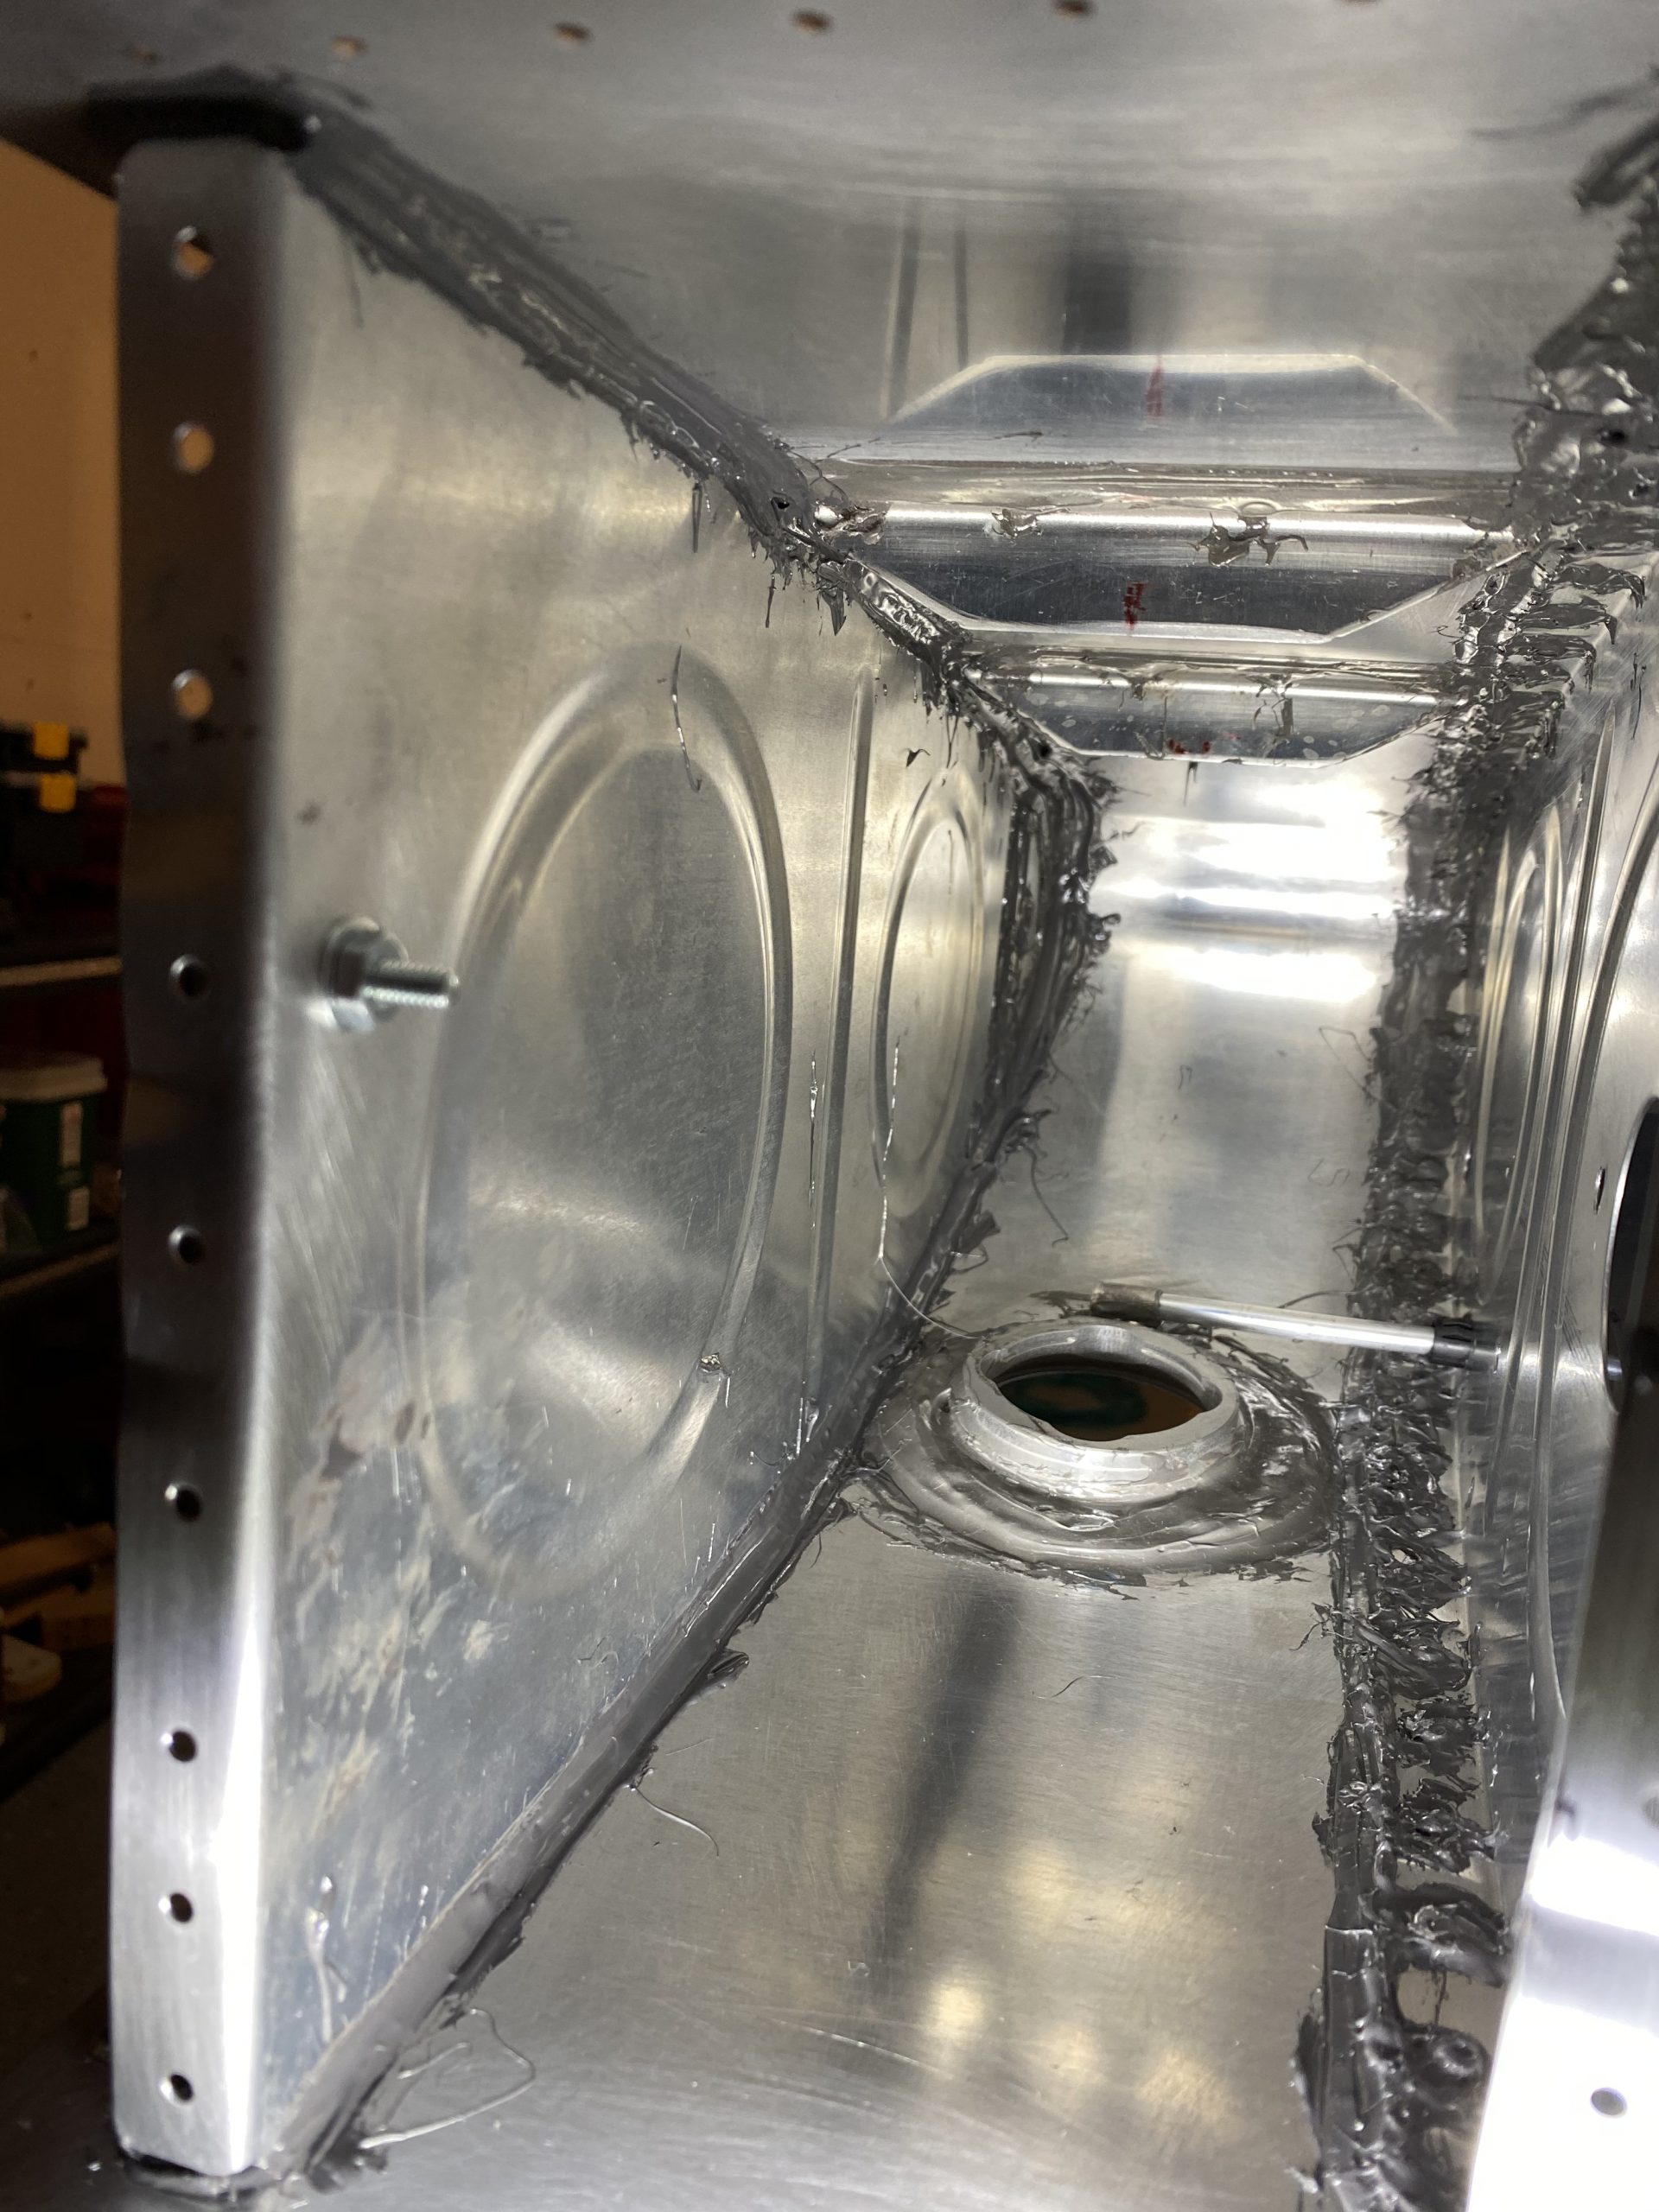
Then I removed the last of the clecos and riveted those last few holes up. After it was riveted, I used a filet spoon to make a very nice filet from the squeeze out sealant, only having to add a touch more here and there on the inside. I did however, glob on a pretty good amount around the nose of the rib, just to be cautious and give it a bit more change of not leaking. Once I had the filet on the inside, I moved to the outside and did the same with the filet spoon. Again, only having to add a tiny amount of sealant here and there.
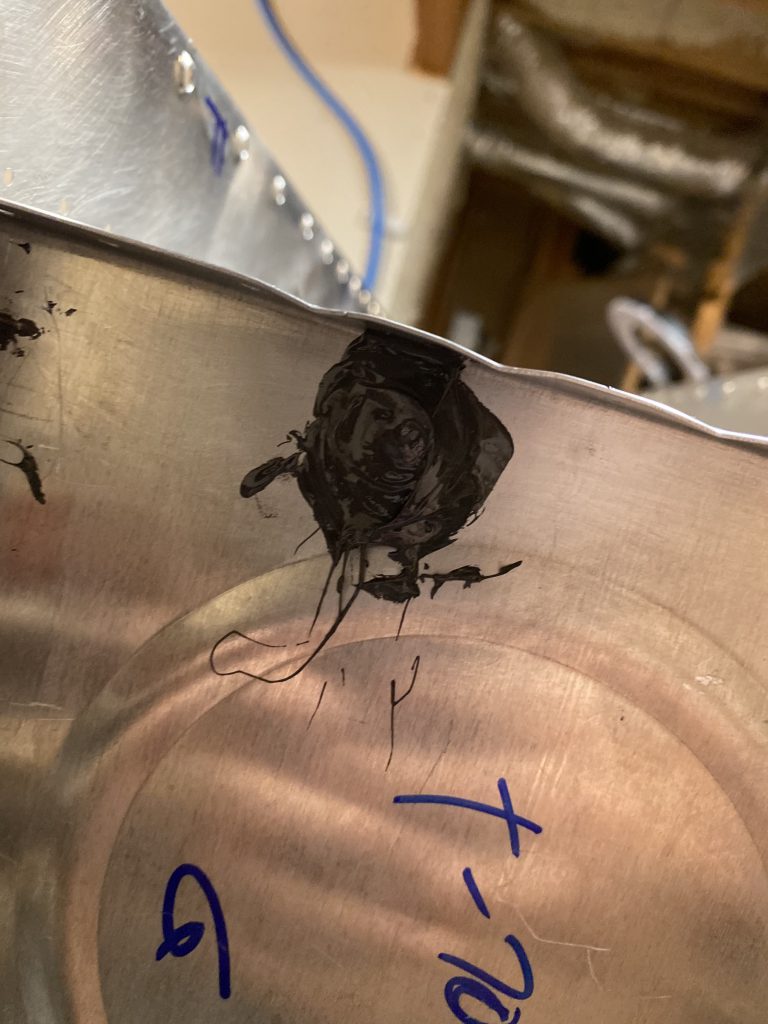
All that was left was to dollop on some sealant on the rivet’s shop heads, and then cover up the bolt and nut I am using to close off the tooling hole. I had to mix up another 30 grams of sealant to have enough for the rivet shop heads, but then I used a popsicle stick to dollop it on all the rivet heads, and smearing another big amount for a thick filet around the nose. I also dobbed on some sealant to the shop heads of those AN470 rivets that were holding the T-410 plate on as well.
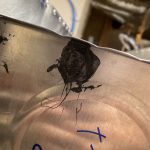
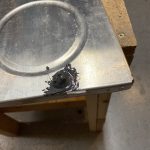
Lastly, I smothered the little bolt thats closing up the tooling hole with a generous amount of sealant. I went ahead and did the left tanks tooling hole bolt as well, because I had some extra left over. Why waste it right?
And that wrapped up the session for tonight! This tank is darn near ready for its baffle! I am still waiting on the parts from Van’s for my return lines, so I can’t seal up the inboard rib just yet. But, I can go ahead and start on the left tank getting it up to this point while I wait on those parts I guess. I will also need to order some more sealant, this quart is almost empty and I know it wont be enough to finish. I’ll go ahead and get another quart on its way so it will be here by the time this one runs dry.
Google Photos Link: https://photos.app.goo.gl/csVbPFtH2QgoTtZ1A
Hours Worked: 3.5


