


Excellent day today! I took Acacia (my now 4 year old) up for her first flight today! We took her up in our 1973 Cessna Cardinal RG and flew over Nana’s house, then over Lake Ocoee before heading back to KFGU. She did great and looks like she’s going to love flying! Tammy was in the back with her, and shot a video of her from taxi, takeoff and climbout for about the first 15 minutes of the flight. Here’s that video:
Now, on to the build! I decided to tackle the biggest sealing job so far: Sealing the interior ribs. I have decided to try the fay sealing method, on this tank and see how it does before doing the other tank. Essentially, you butter up the flanges of the ribs with sealant, then cleco them in place with every hole getting a cleco, doing all of the interior ribs first. Leaving the end ribs out for now makes it a bit easier to rivet. Then Once the ribs are 100% clecoed, you can take your time and make really nice filets on the inside of the tank, around the flanges of the ribs. Then you let the ribs sit at least overnight, longer if needed, before wet riveting them. Supposedly, this is way less messy and promotes a better seal. You can read about the method on the VAF thread here: http://vansairforce.com/community/showthread.php?t=7602
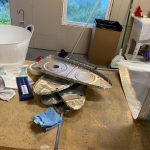
So, I started the night by cleaning the tank skin and ribs with MEK. They were already cleaned and scuffed in a prior build session, but I wanted to get them CLEAN before sealing. I opened my back door to let in some fresh air as MEK is pretty stinky, along with the Proseal!
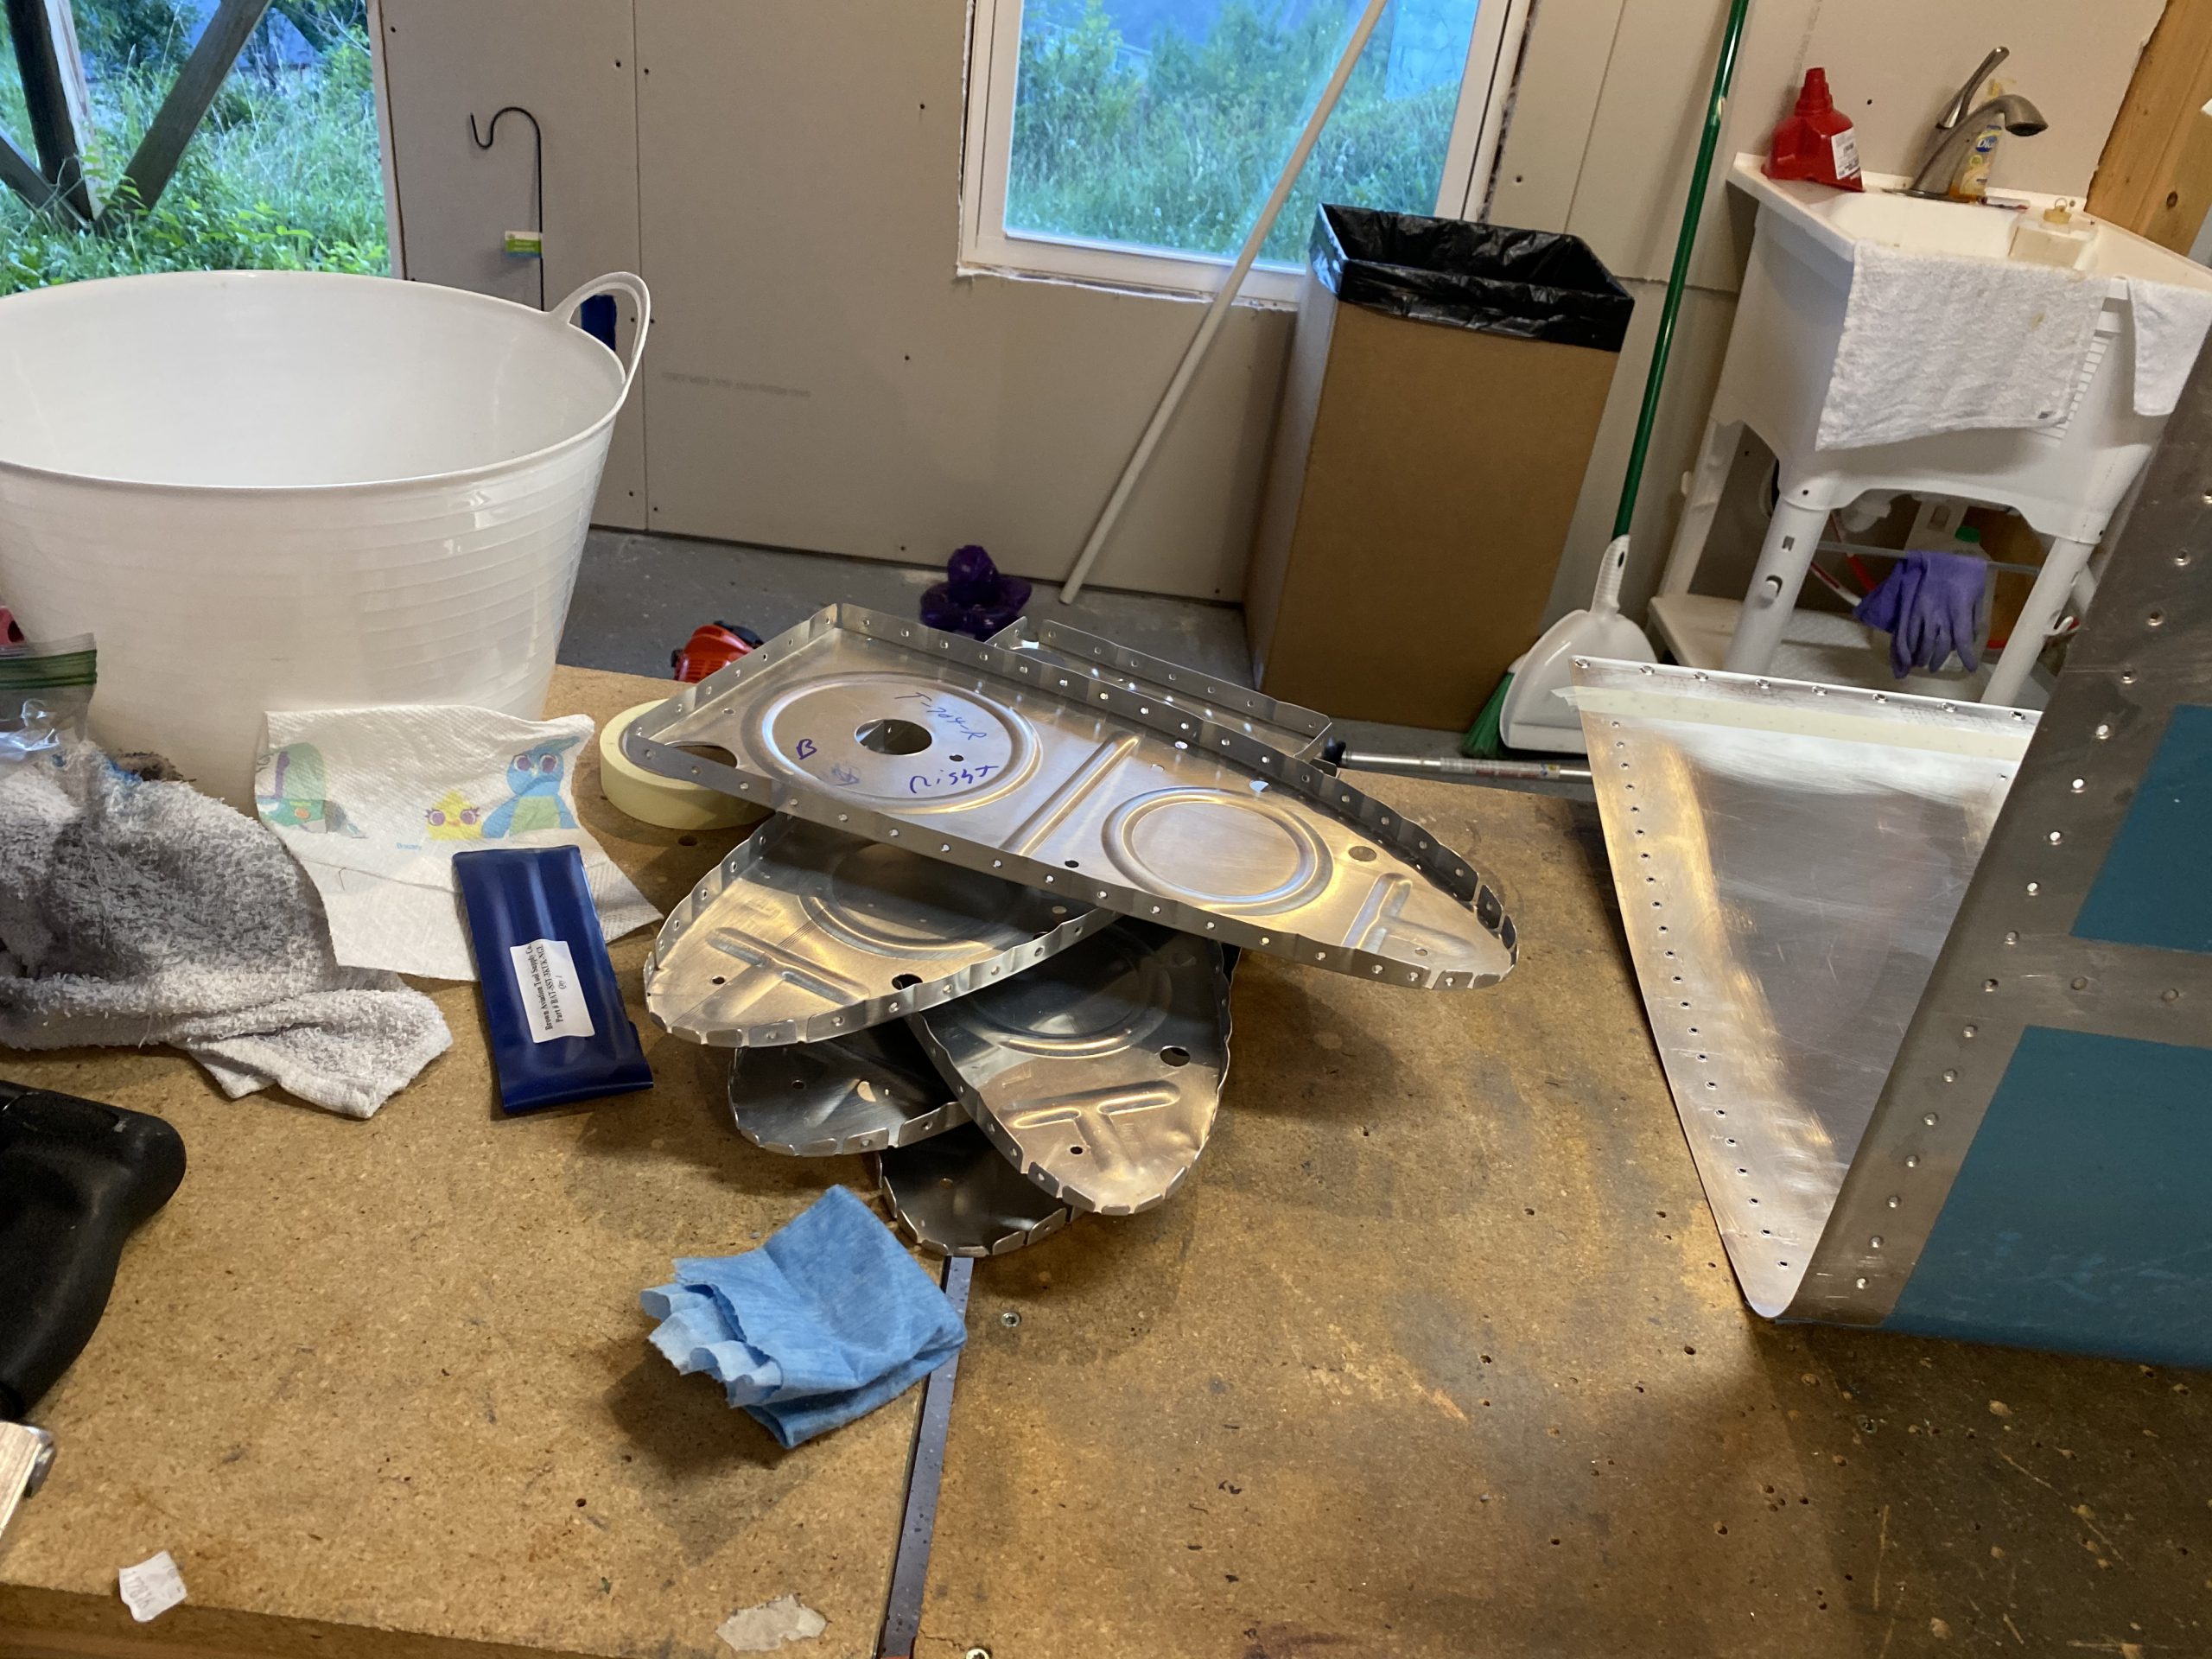
Once I had my ribs and skin thoroughly cleaned, I mixed up my first batch of sealant. I initially mixed up 70 grams, but that only got 3 ribs done. So I wound up mixing two more batches, ultimately I ended up using about 250 grams of sealant to get a good buttering on the rib flanges, and leave enough to touch up on my filets. I’ll go ahead and mix up 250 grams when I do the next tank, so figure about 50 grams of sealant per rib (there’s 5 internal ribs). Pro-Tip: Keep a glass jar of MEK ready to go for cleanup. I kept a paper towel(s) and would routinely dip it in the MEK to wipe of any errant sealant from my gloves and tools. That REALLY helped keep any mess down.
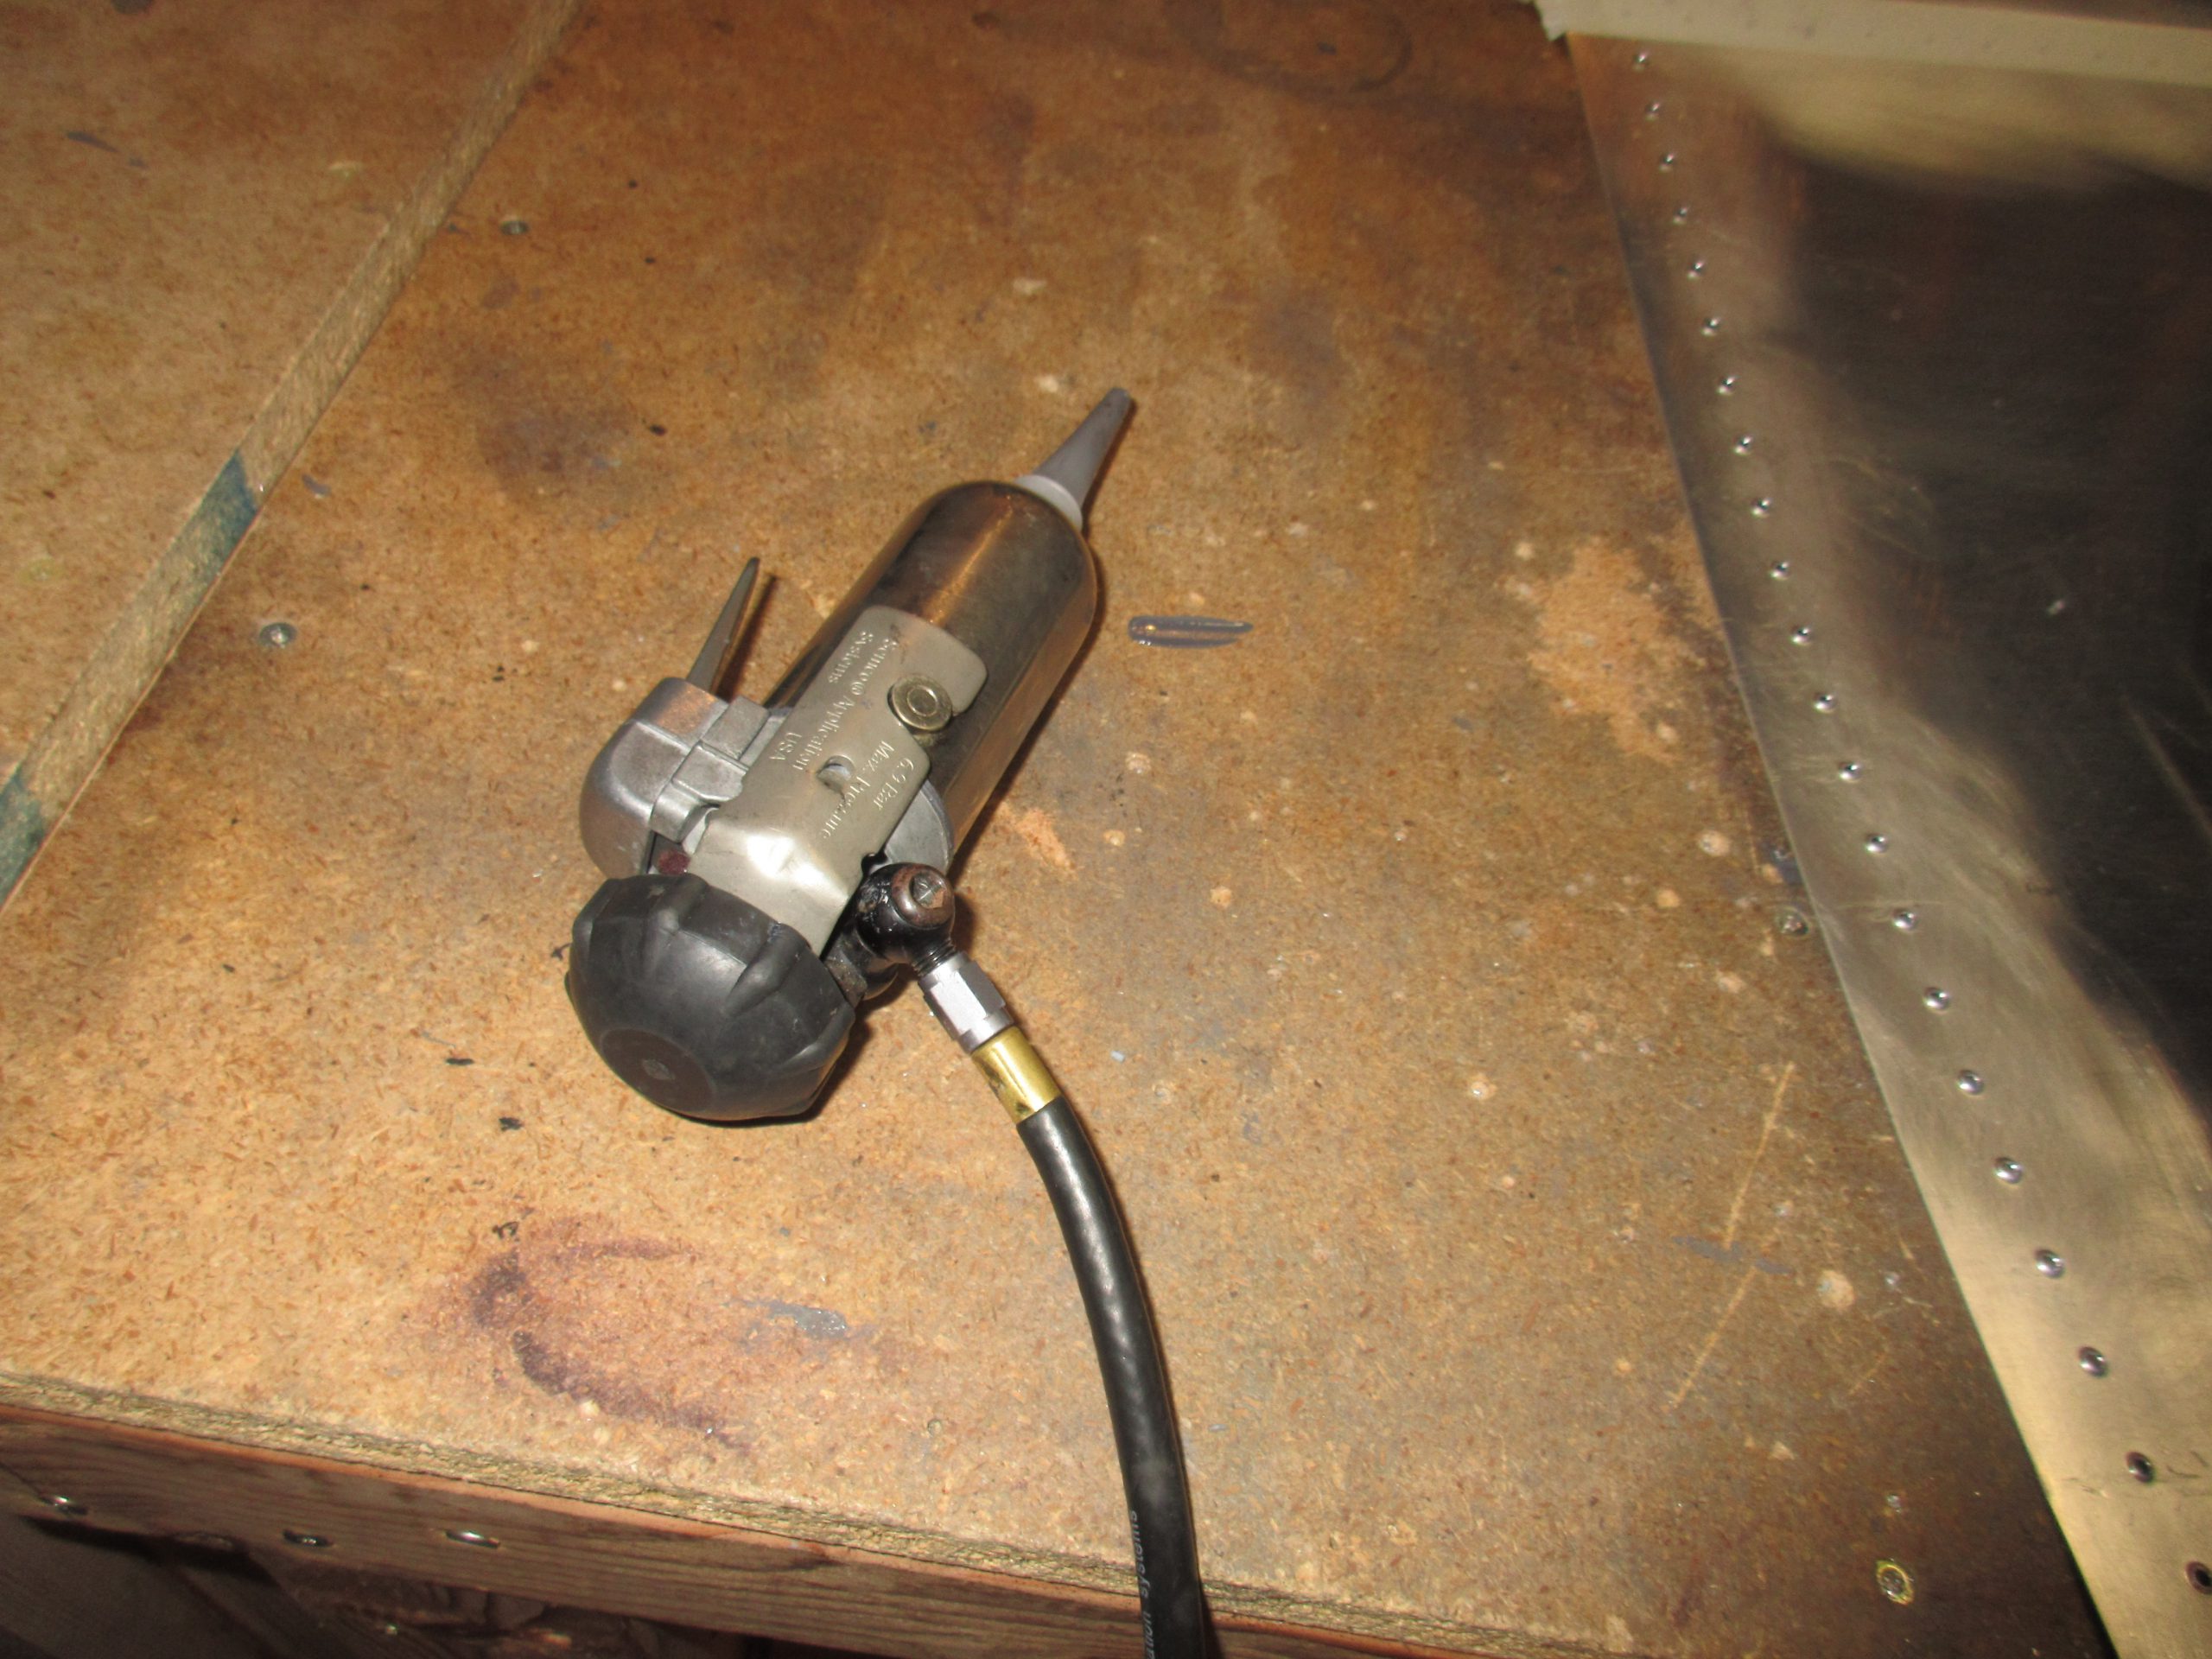
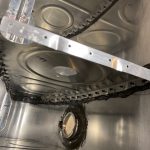
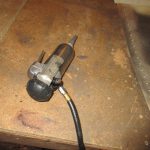
But, the biggest thing that made this go sooooo easily was a Semco Sealant gun. I had bought mine from Brown Tool a while back, along with the cartridges, nozzles and accessories for pretty cheap, and decided I’d use it this time. Here’s what it looks like:
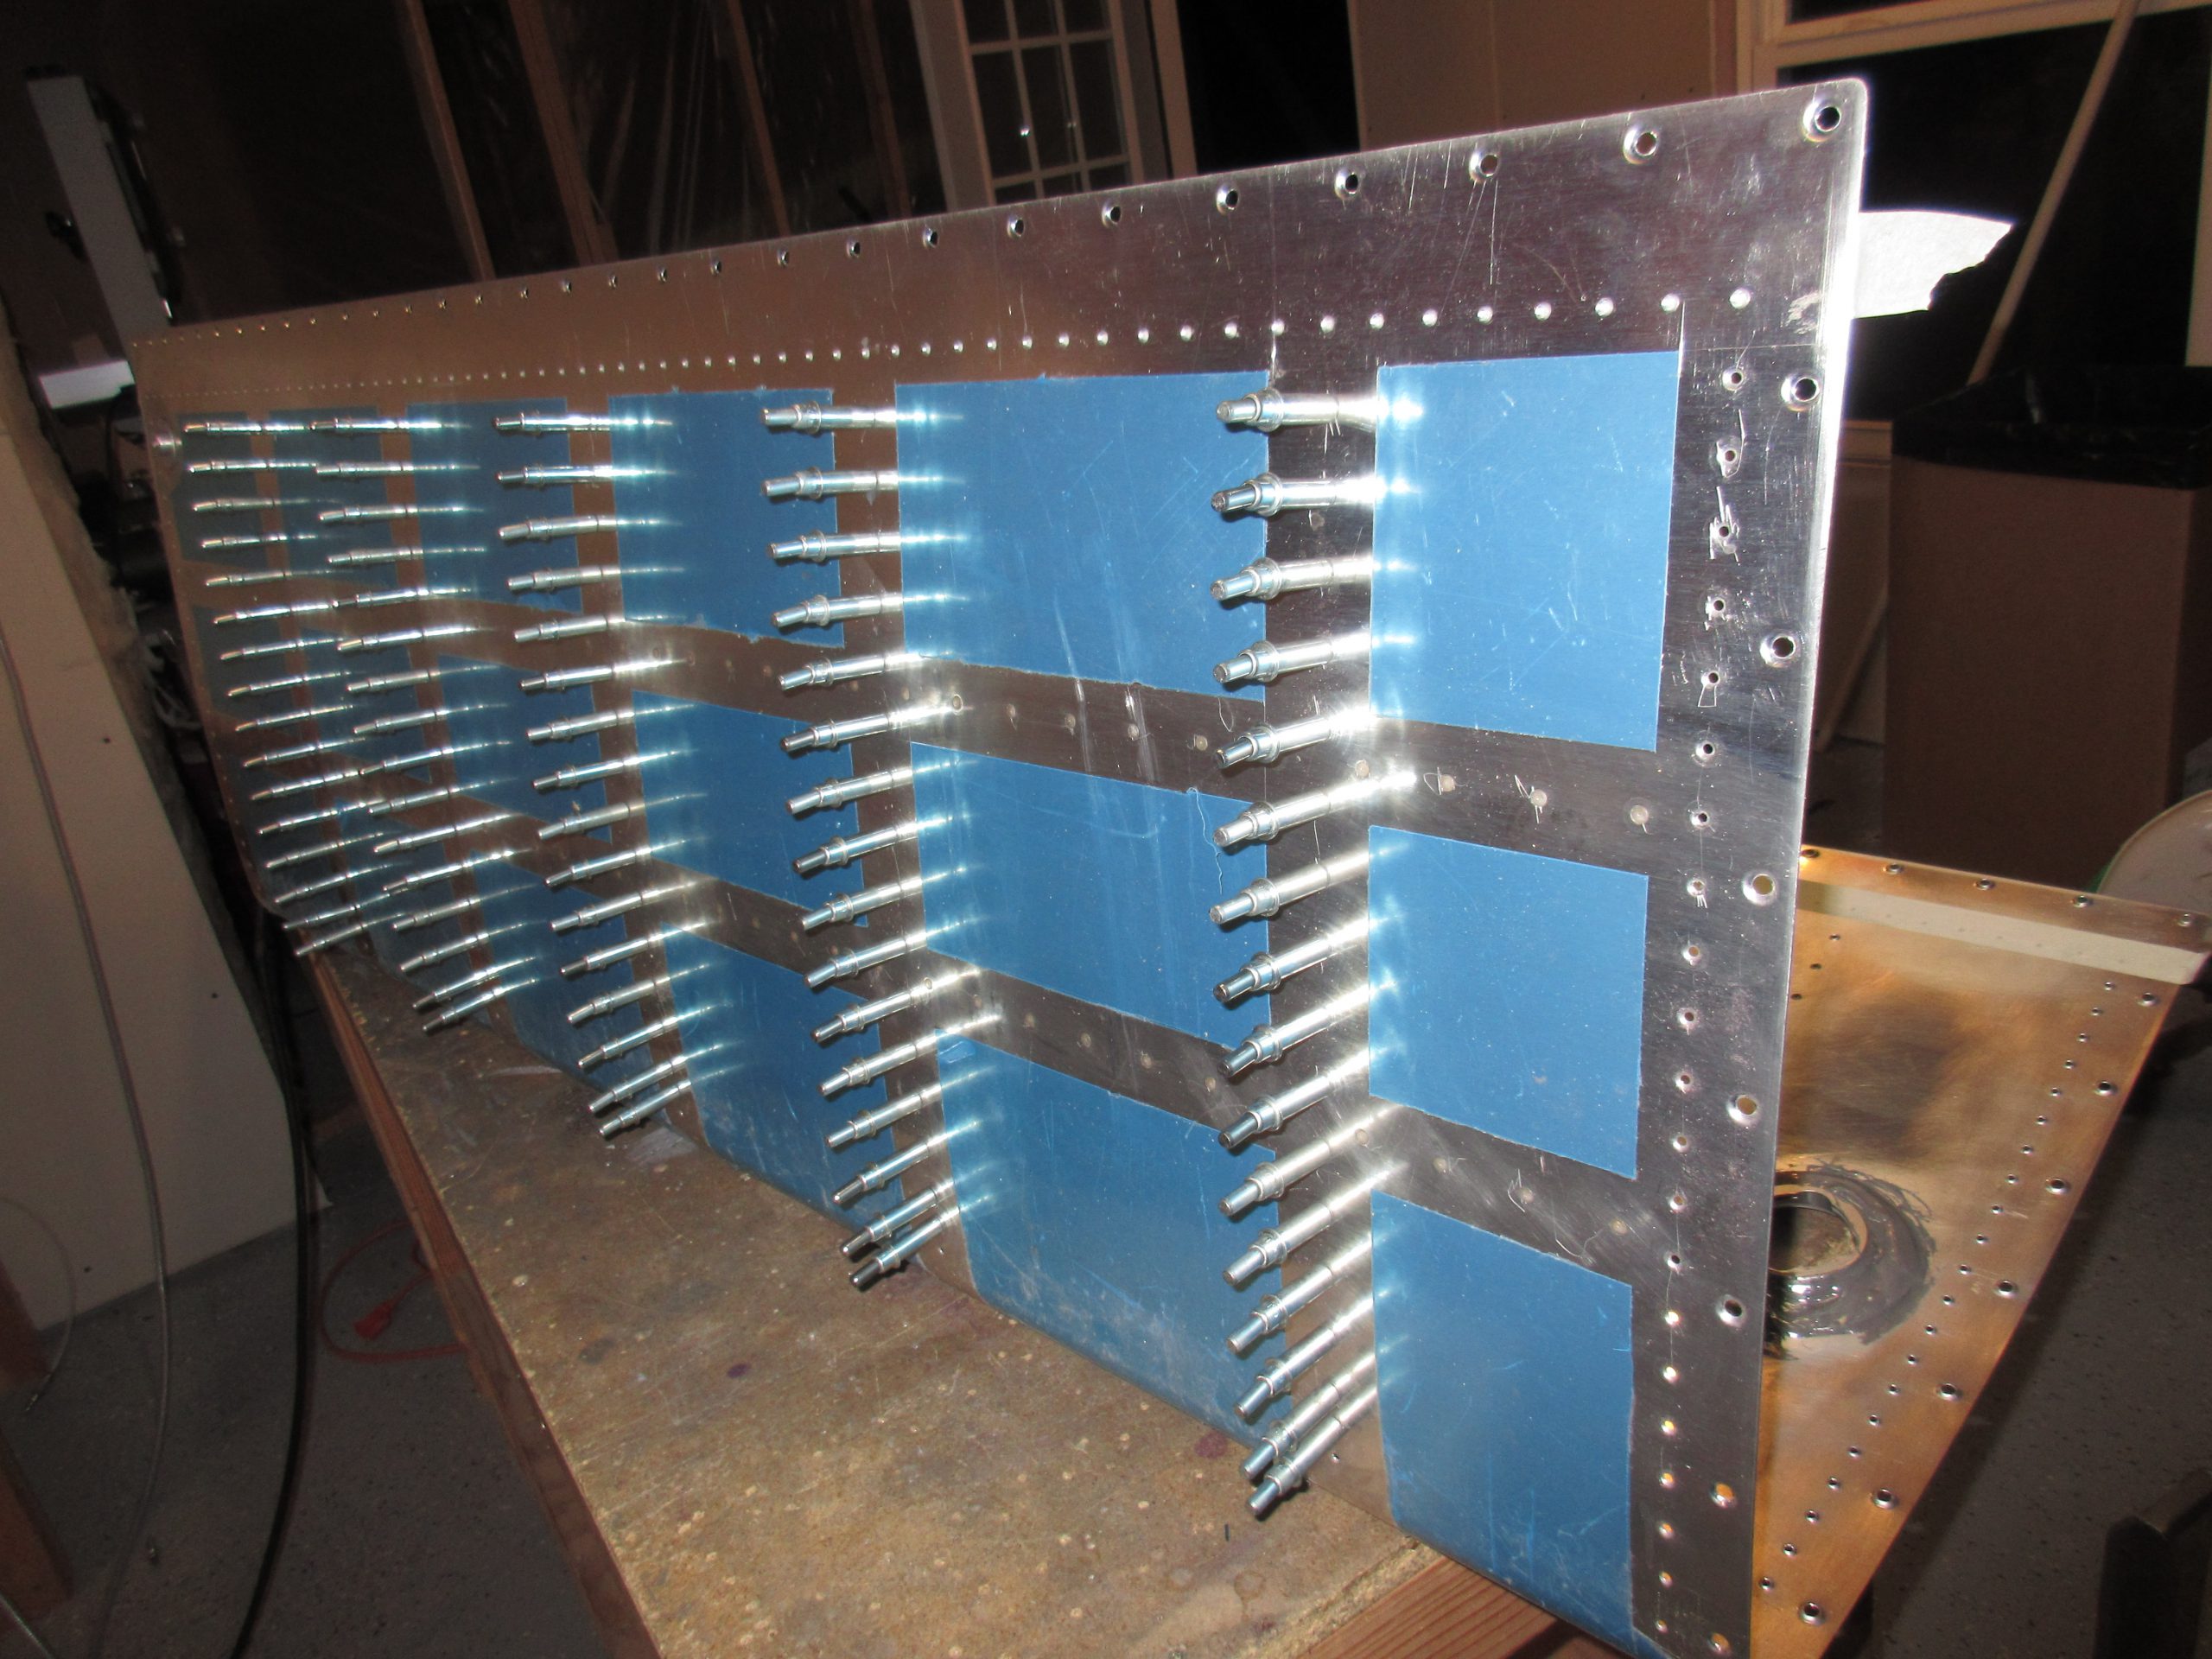
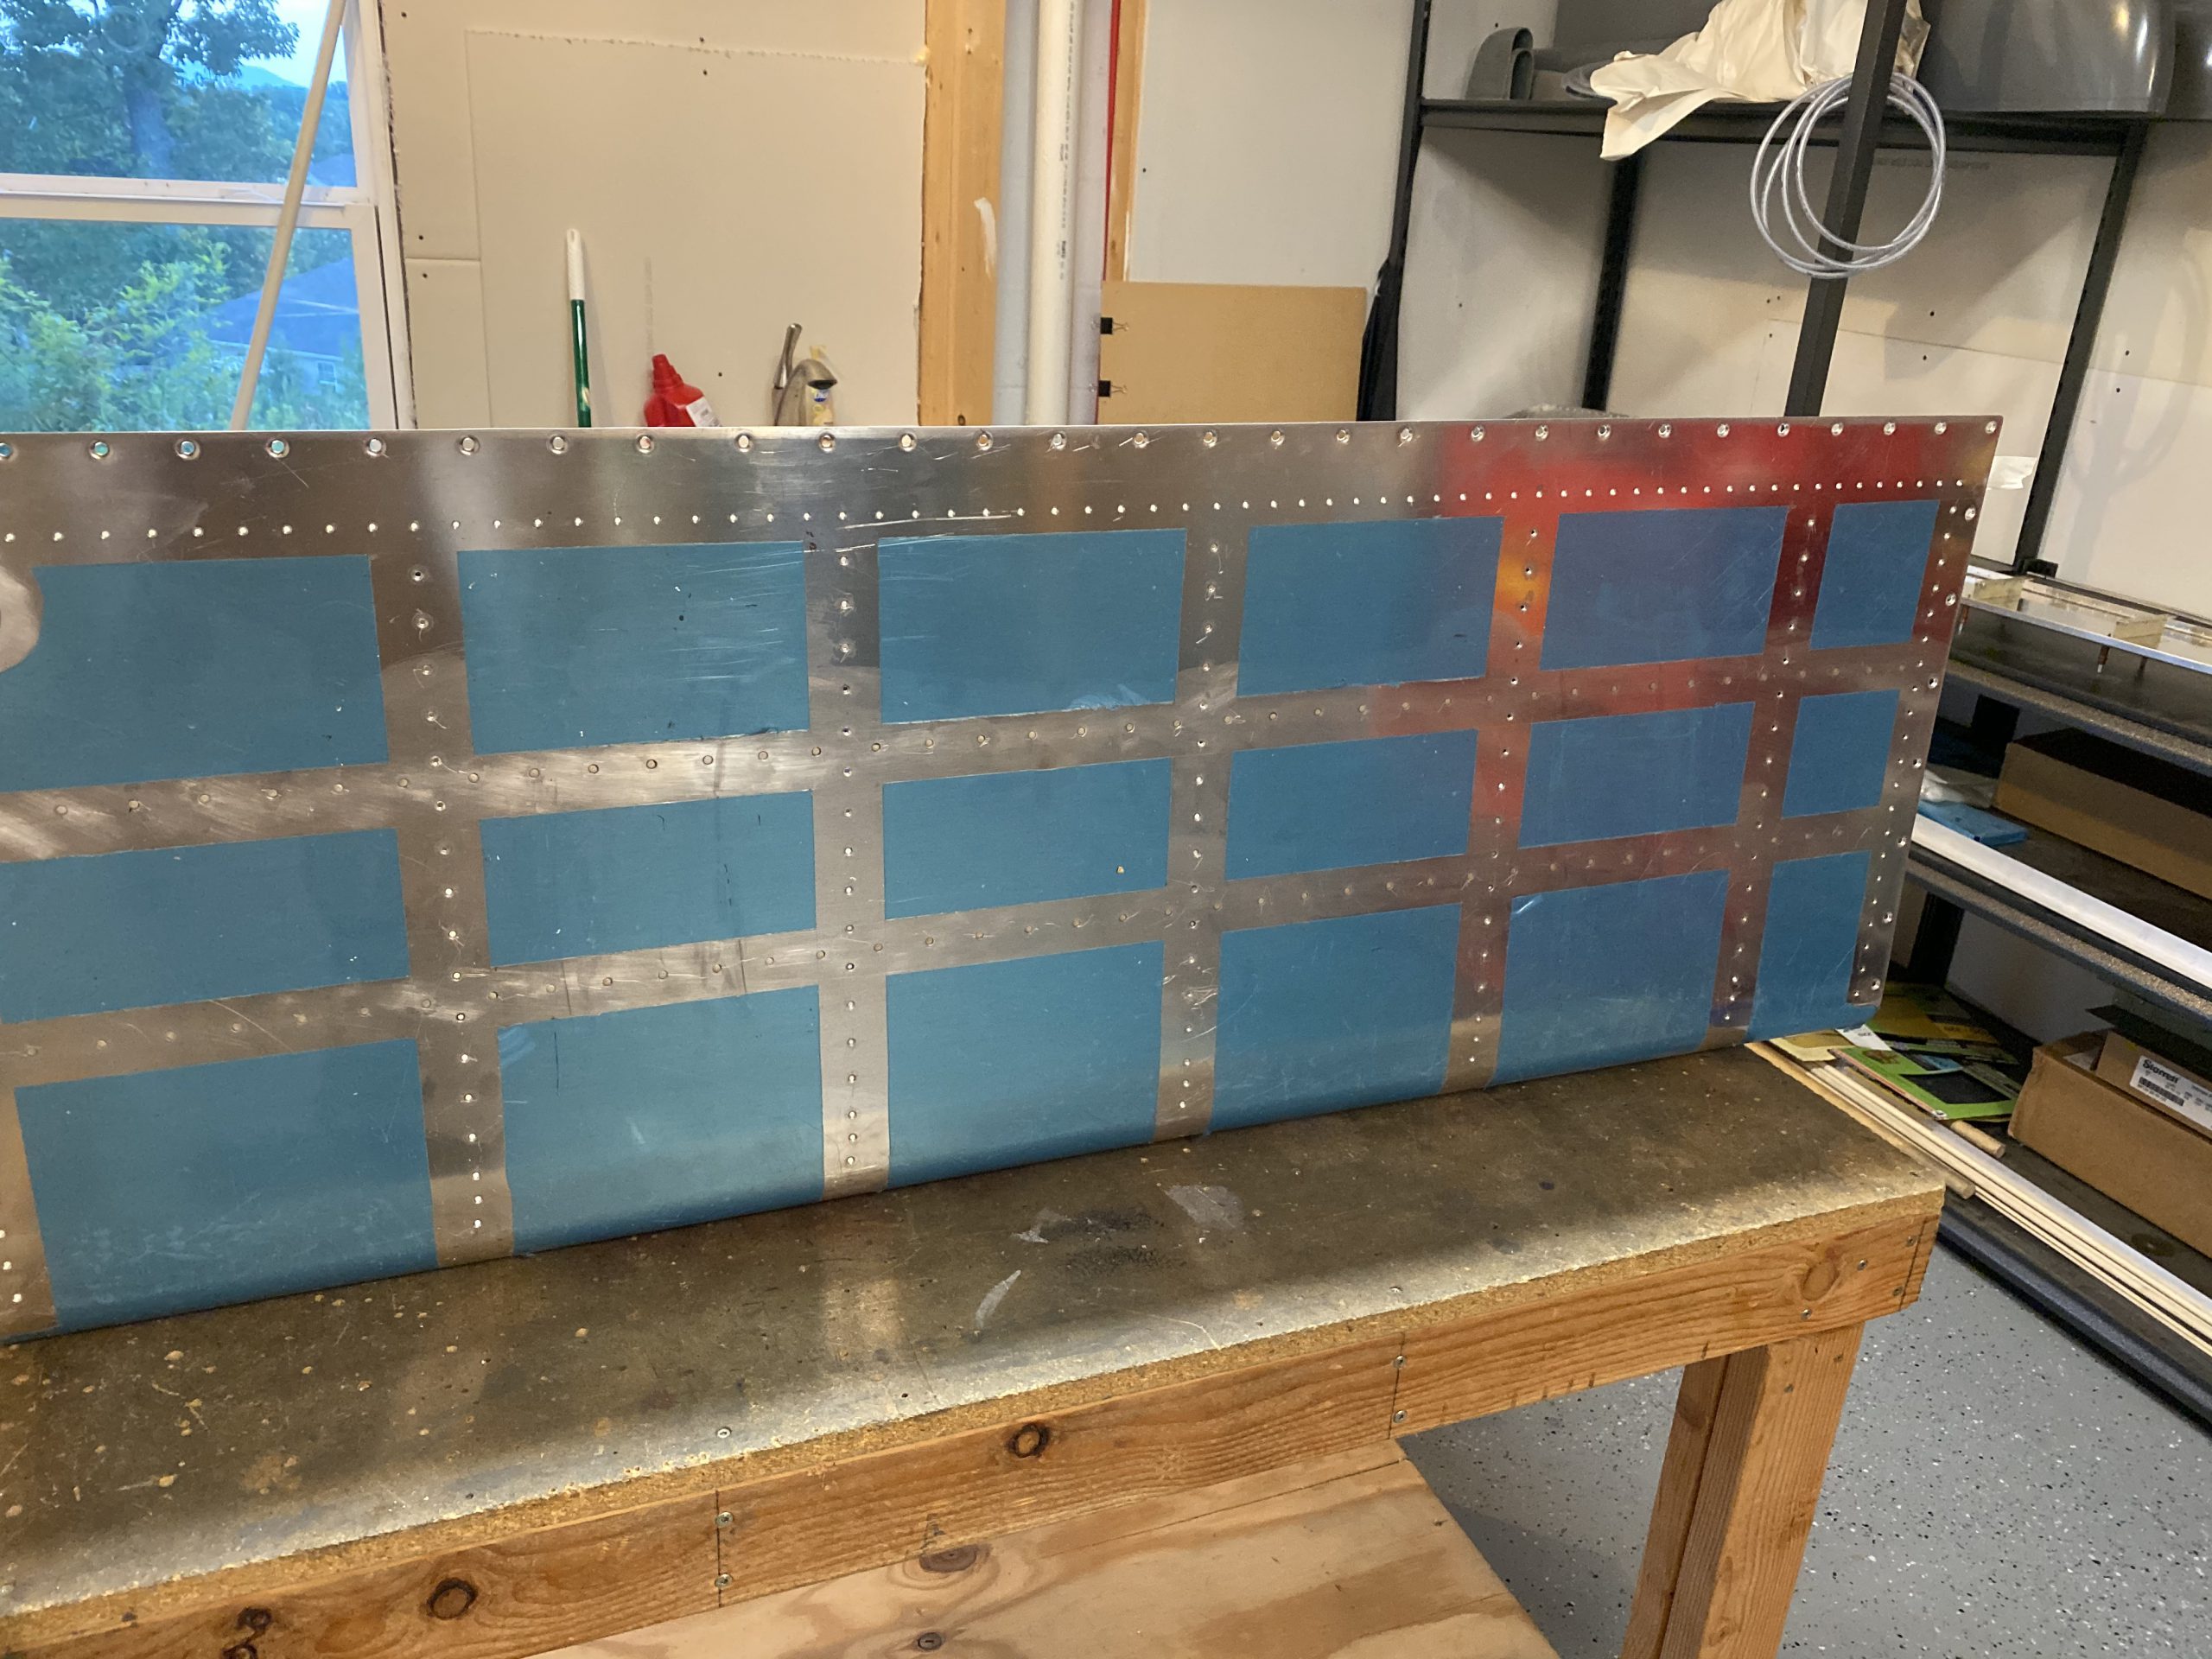
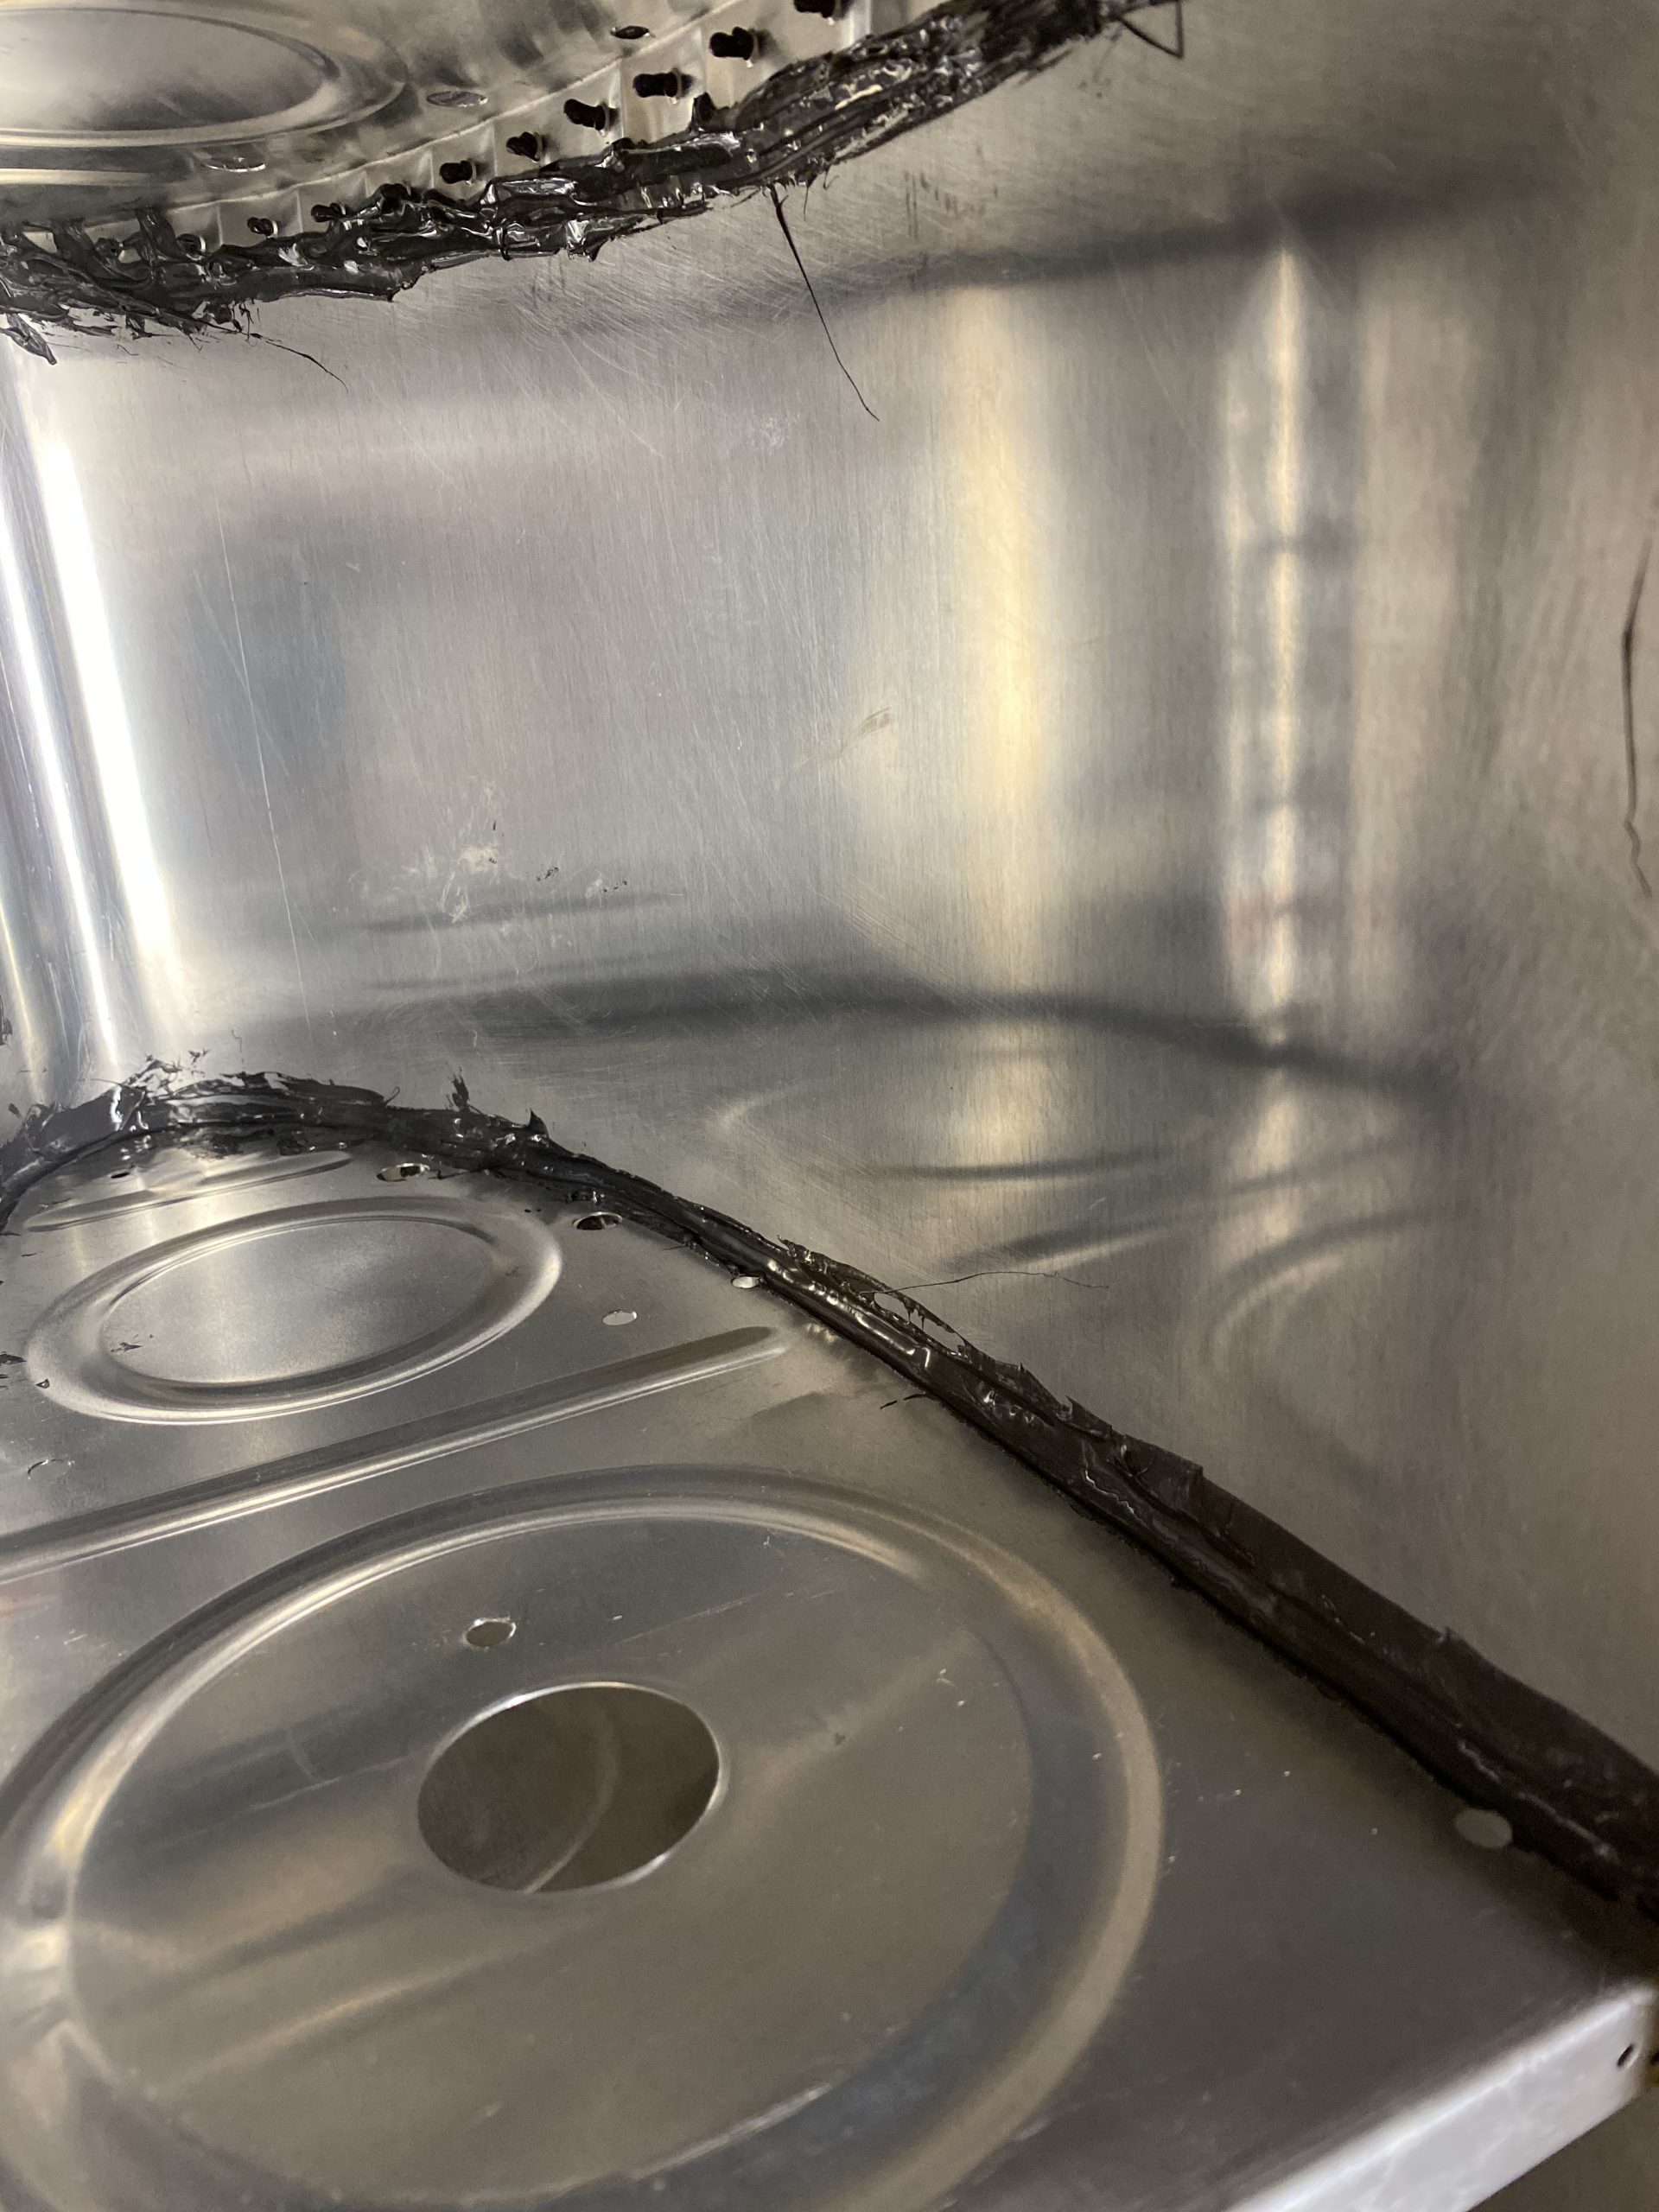
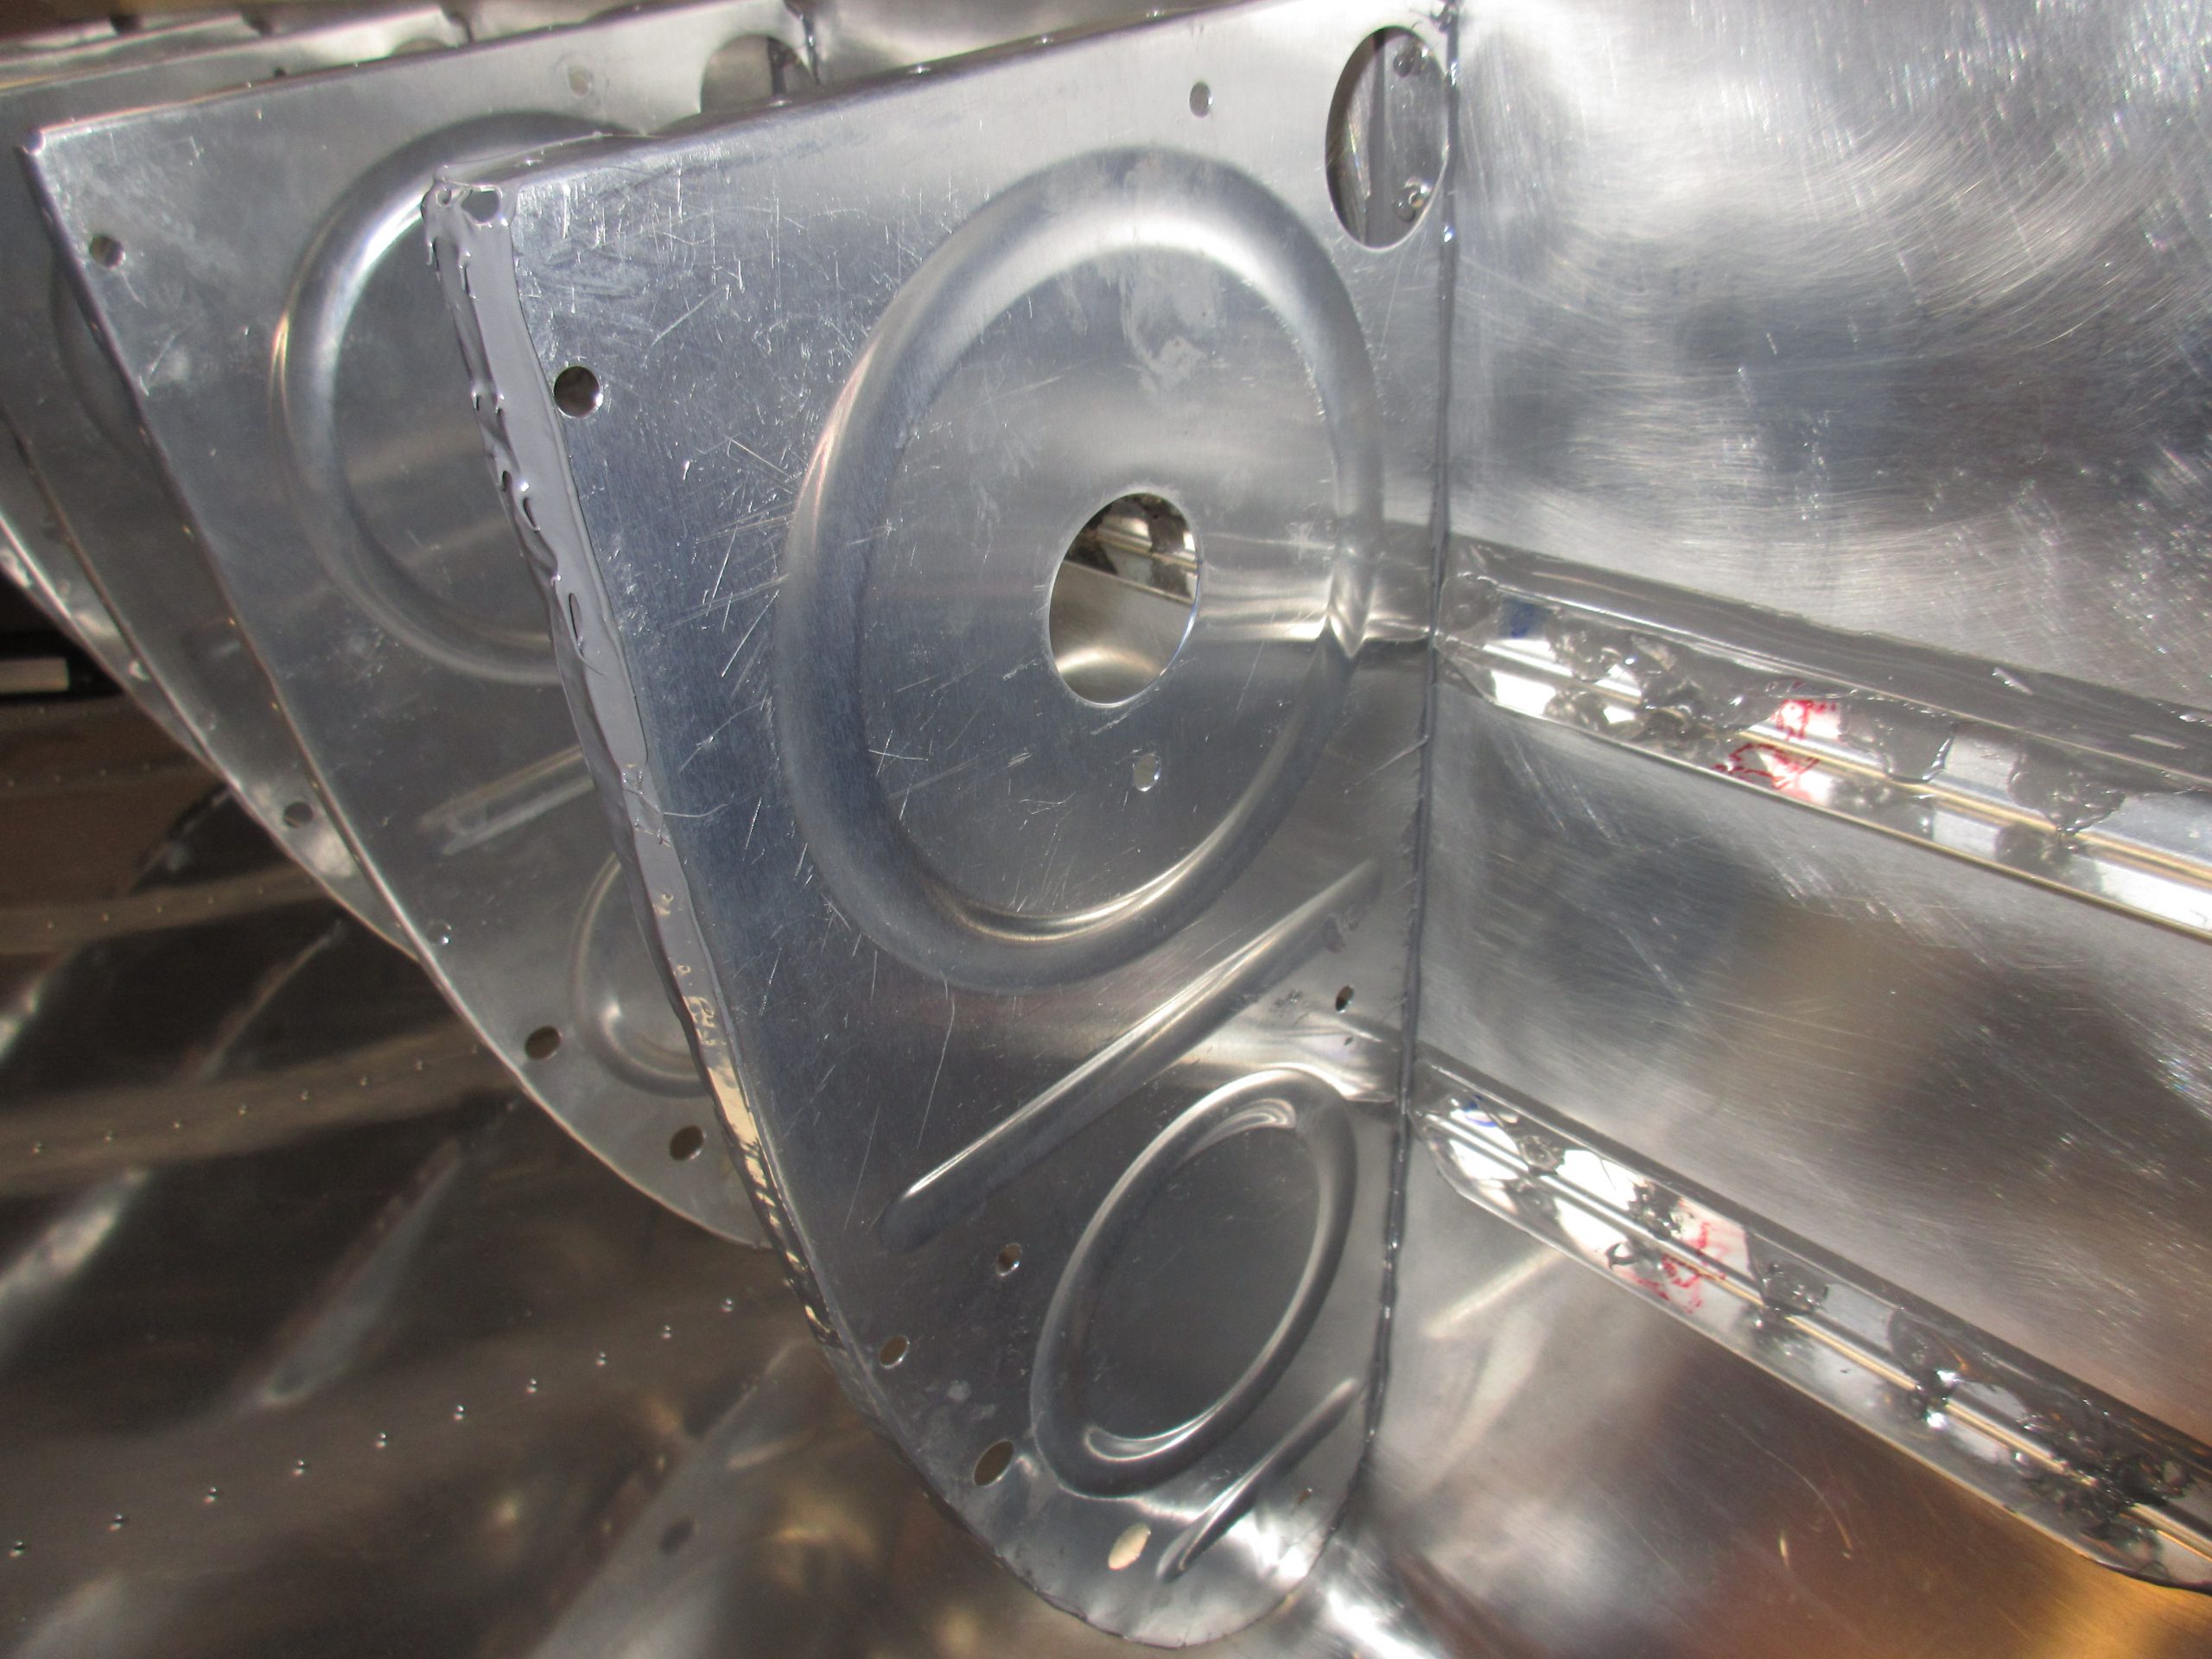
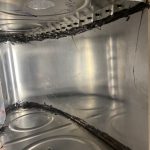
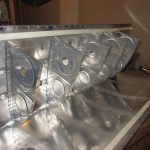
After I mixed up my sealant, I scooped it into the plastic tube for the Semco and screwed on a nozzle with a large opening. Then assembled the Semco and started with my ribs. This thing is freaking amazing! It lays out a very nice bead of sealant with a gently squeeze of the valve. What I found worked for me was this: Grab a rib, and start by laying a nice thick bead of sealant along the BOTTOM flange first, using the semco. I did go around the nose of the rib, and up an inch or so on the top flange with the bead. Then, I used a popsicle stick to smooth that new bead across the entire flange, so I could get nice even coverage when I attached the rib. After I had the sealant buttered on the flange, I clecoe’d it to the tank skin, bottom flange first. Then moved on to the next rib and did the same process. I ad my tank skin laying on its top surface, making it really easy to work on, and since I only had sealant on the BOTTOM flange, there was almost no mess. See the photo below, those ribs only have sealant on the bottom flange where its clecoed. You can sort of make out where the sealant has oozed out from the flange, leaving me a good amount to make a filet with.

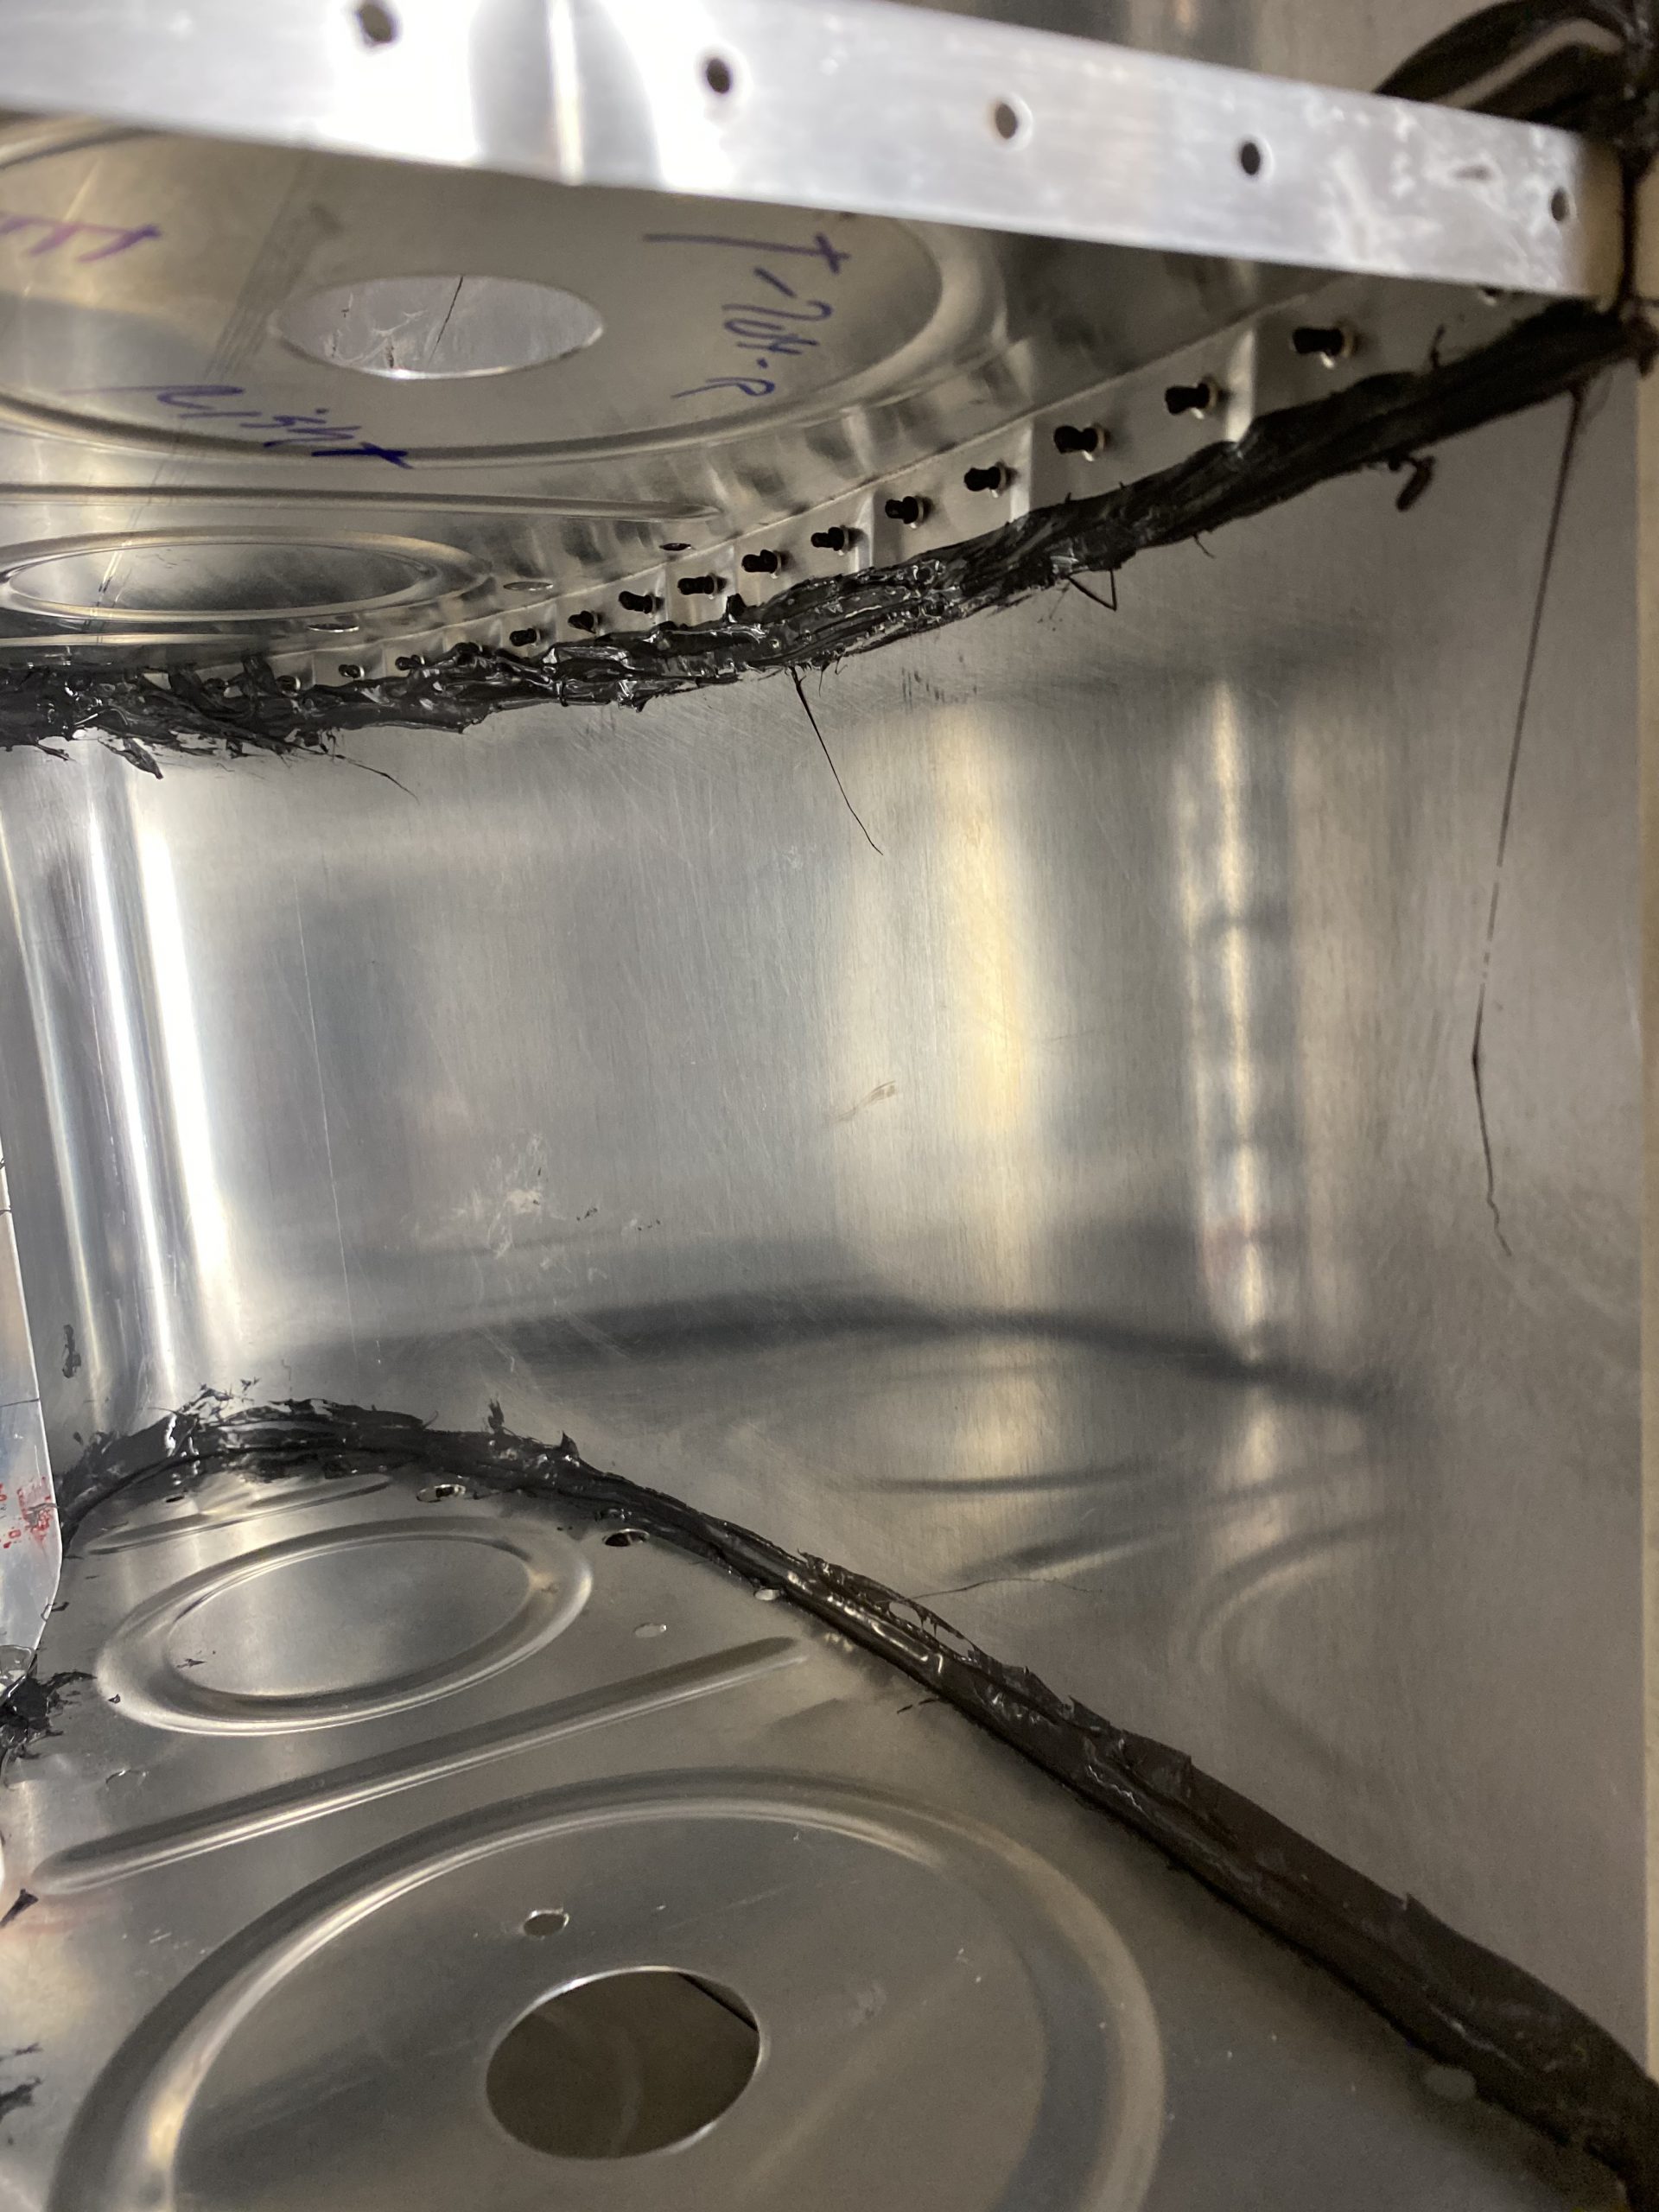
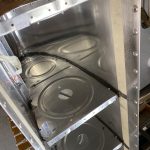
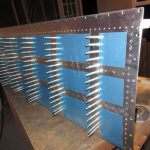
Once I had all 5 of the interior ribs sealed and cleco’d to the bottom of the skin, I flipped the skin so it’d lay on its bottom surface, and I used the semco to lay another nice bead of sealant on the TOP flanges of the ribs. Having the ribs clecoed in, made them super easy to work with and laying the bead with the semco was easy peasy. Like before, I smeared the bead across the entire flange evenly using a popsicle stick, making sure there was enough to cover the fluted areas. Then, I used my tank jig and slowly and gently inserted the tank into the jig, which helped wrap the skin around the ribs smooshing the sealant down nicely, without smearing it around. I was honestly surprised at how well this worked! Once I had the tank fully inserted into the tank jig, I grabbed my clecoes and started 100% clecoing every hole in the top of the skin, working from the leading edge back.
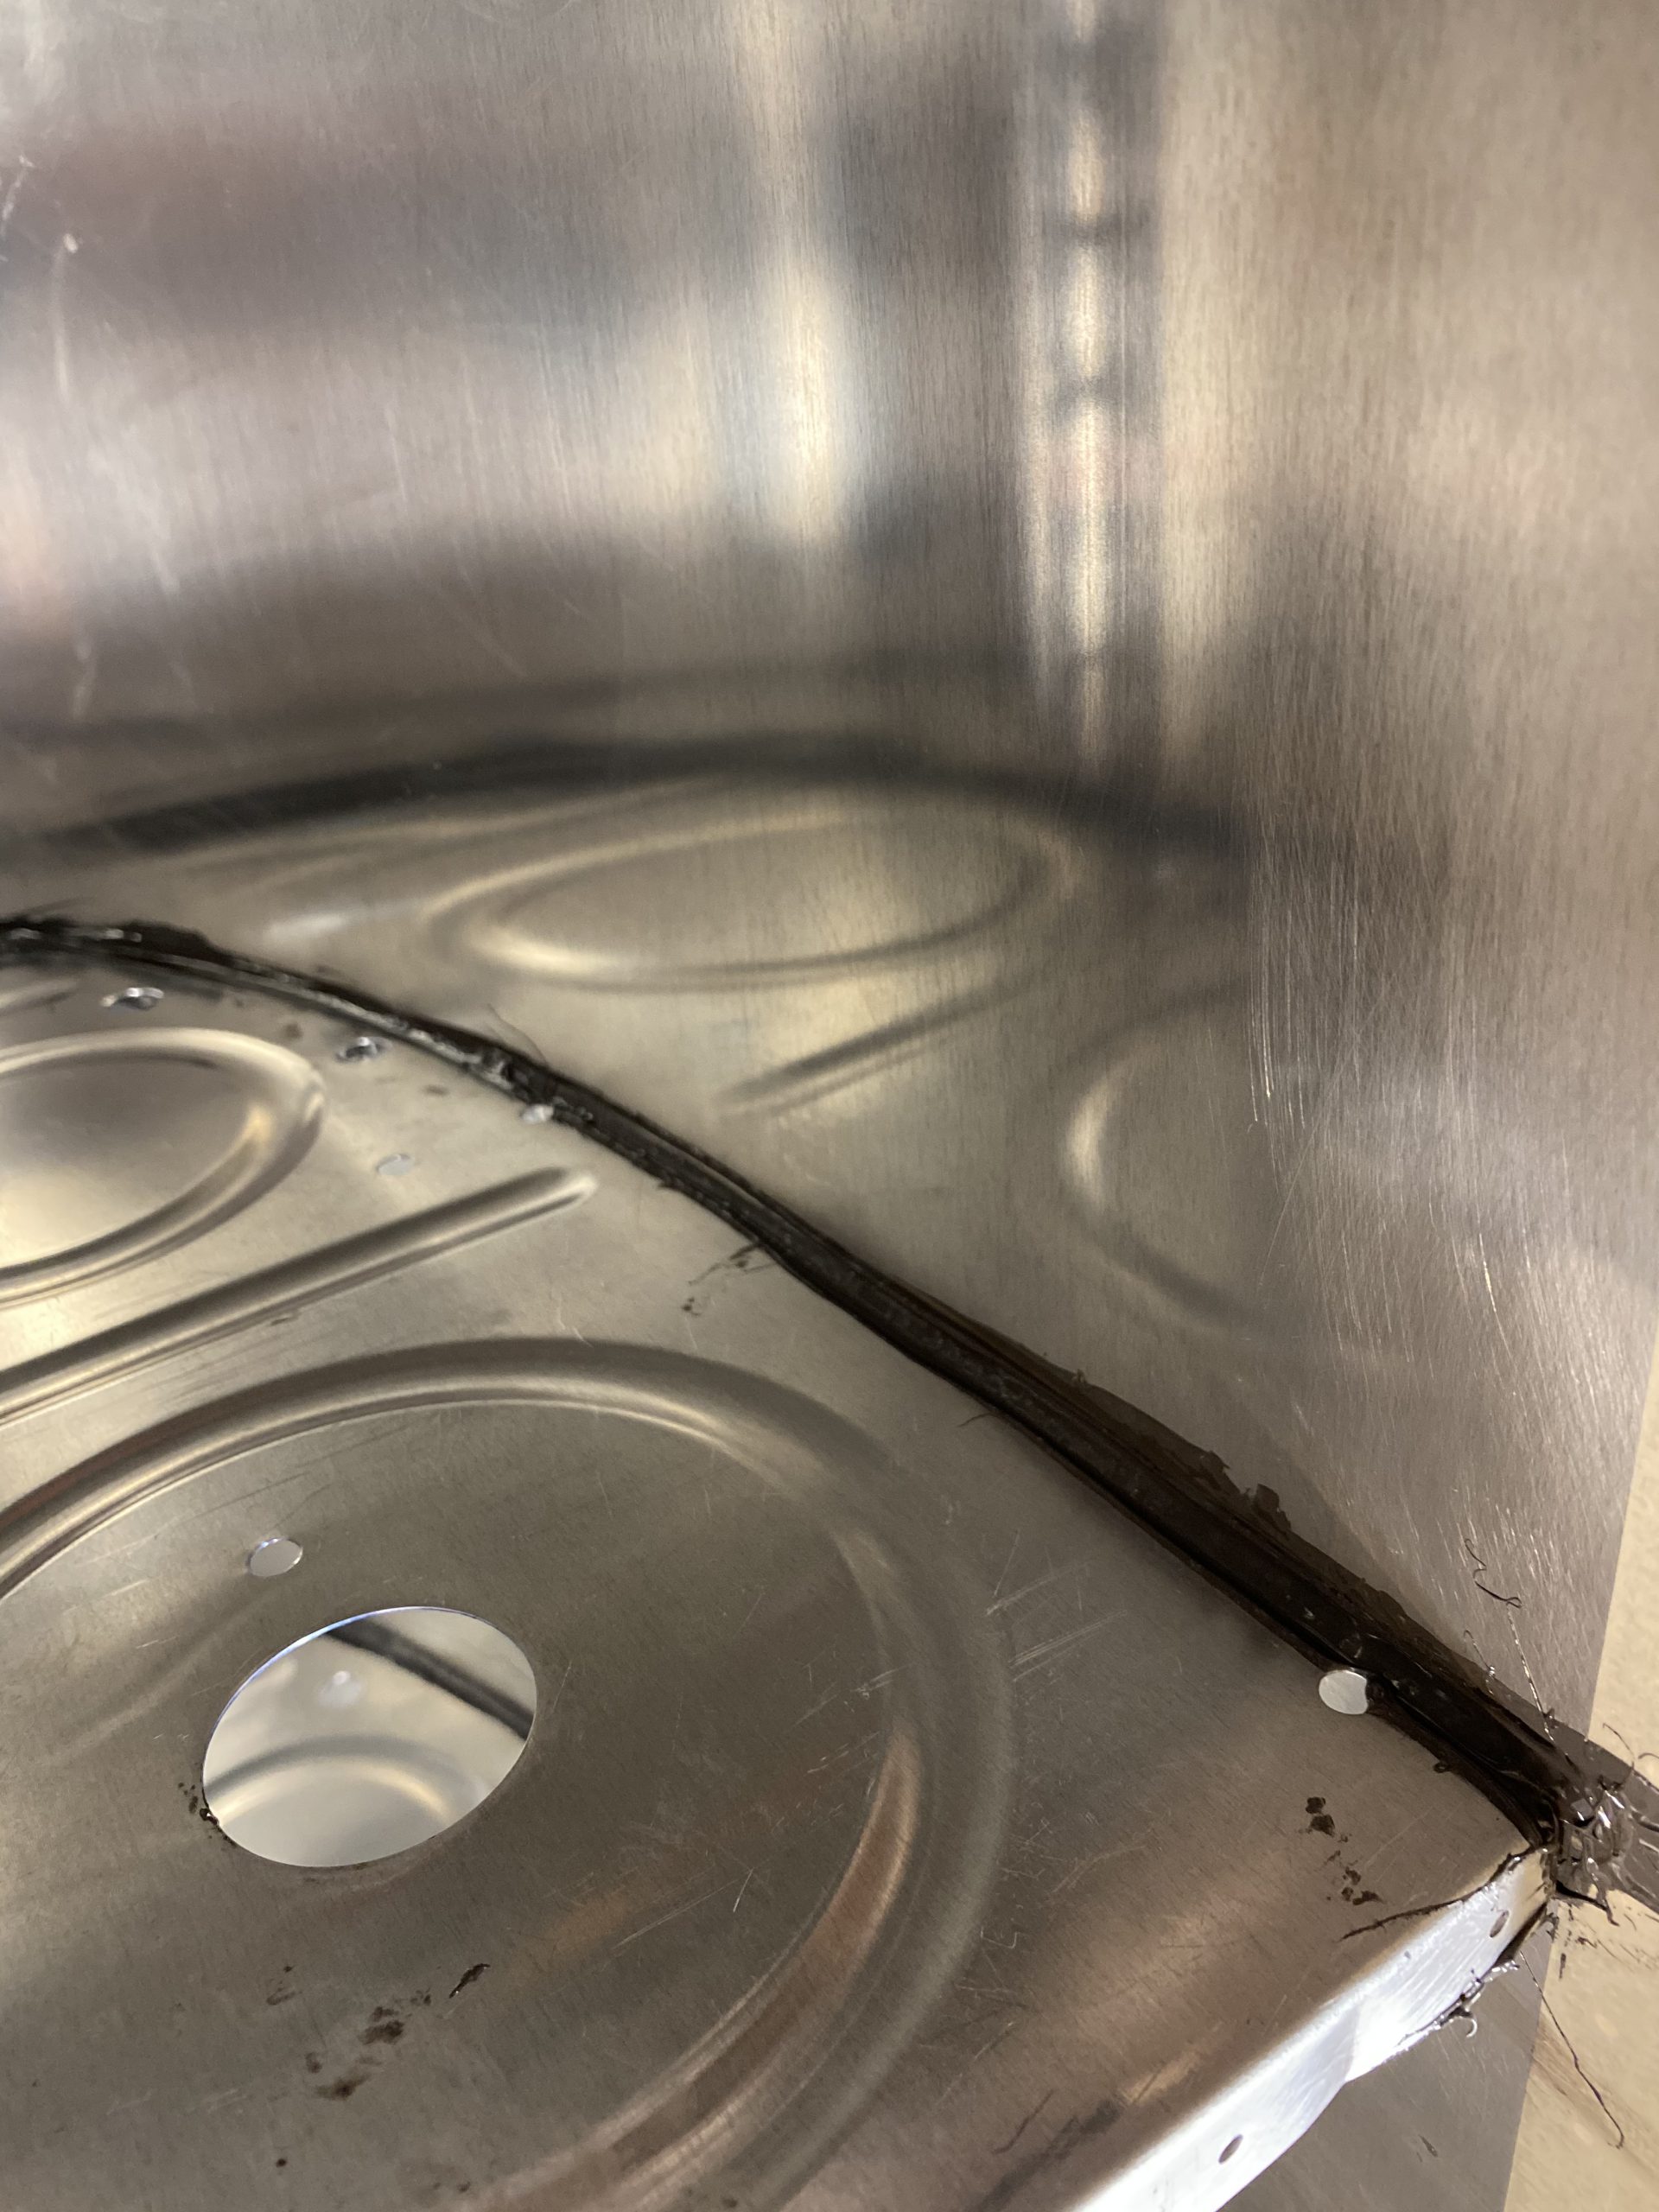
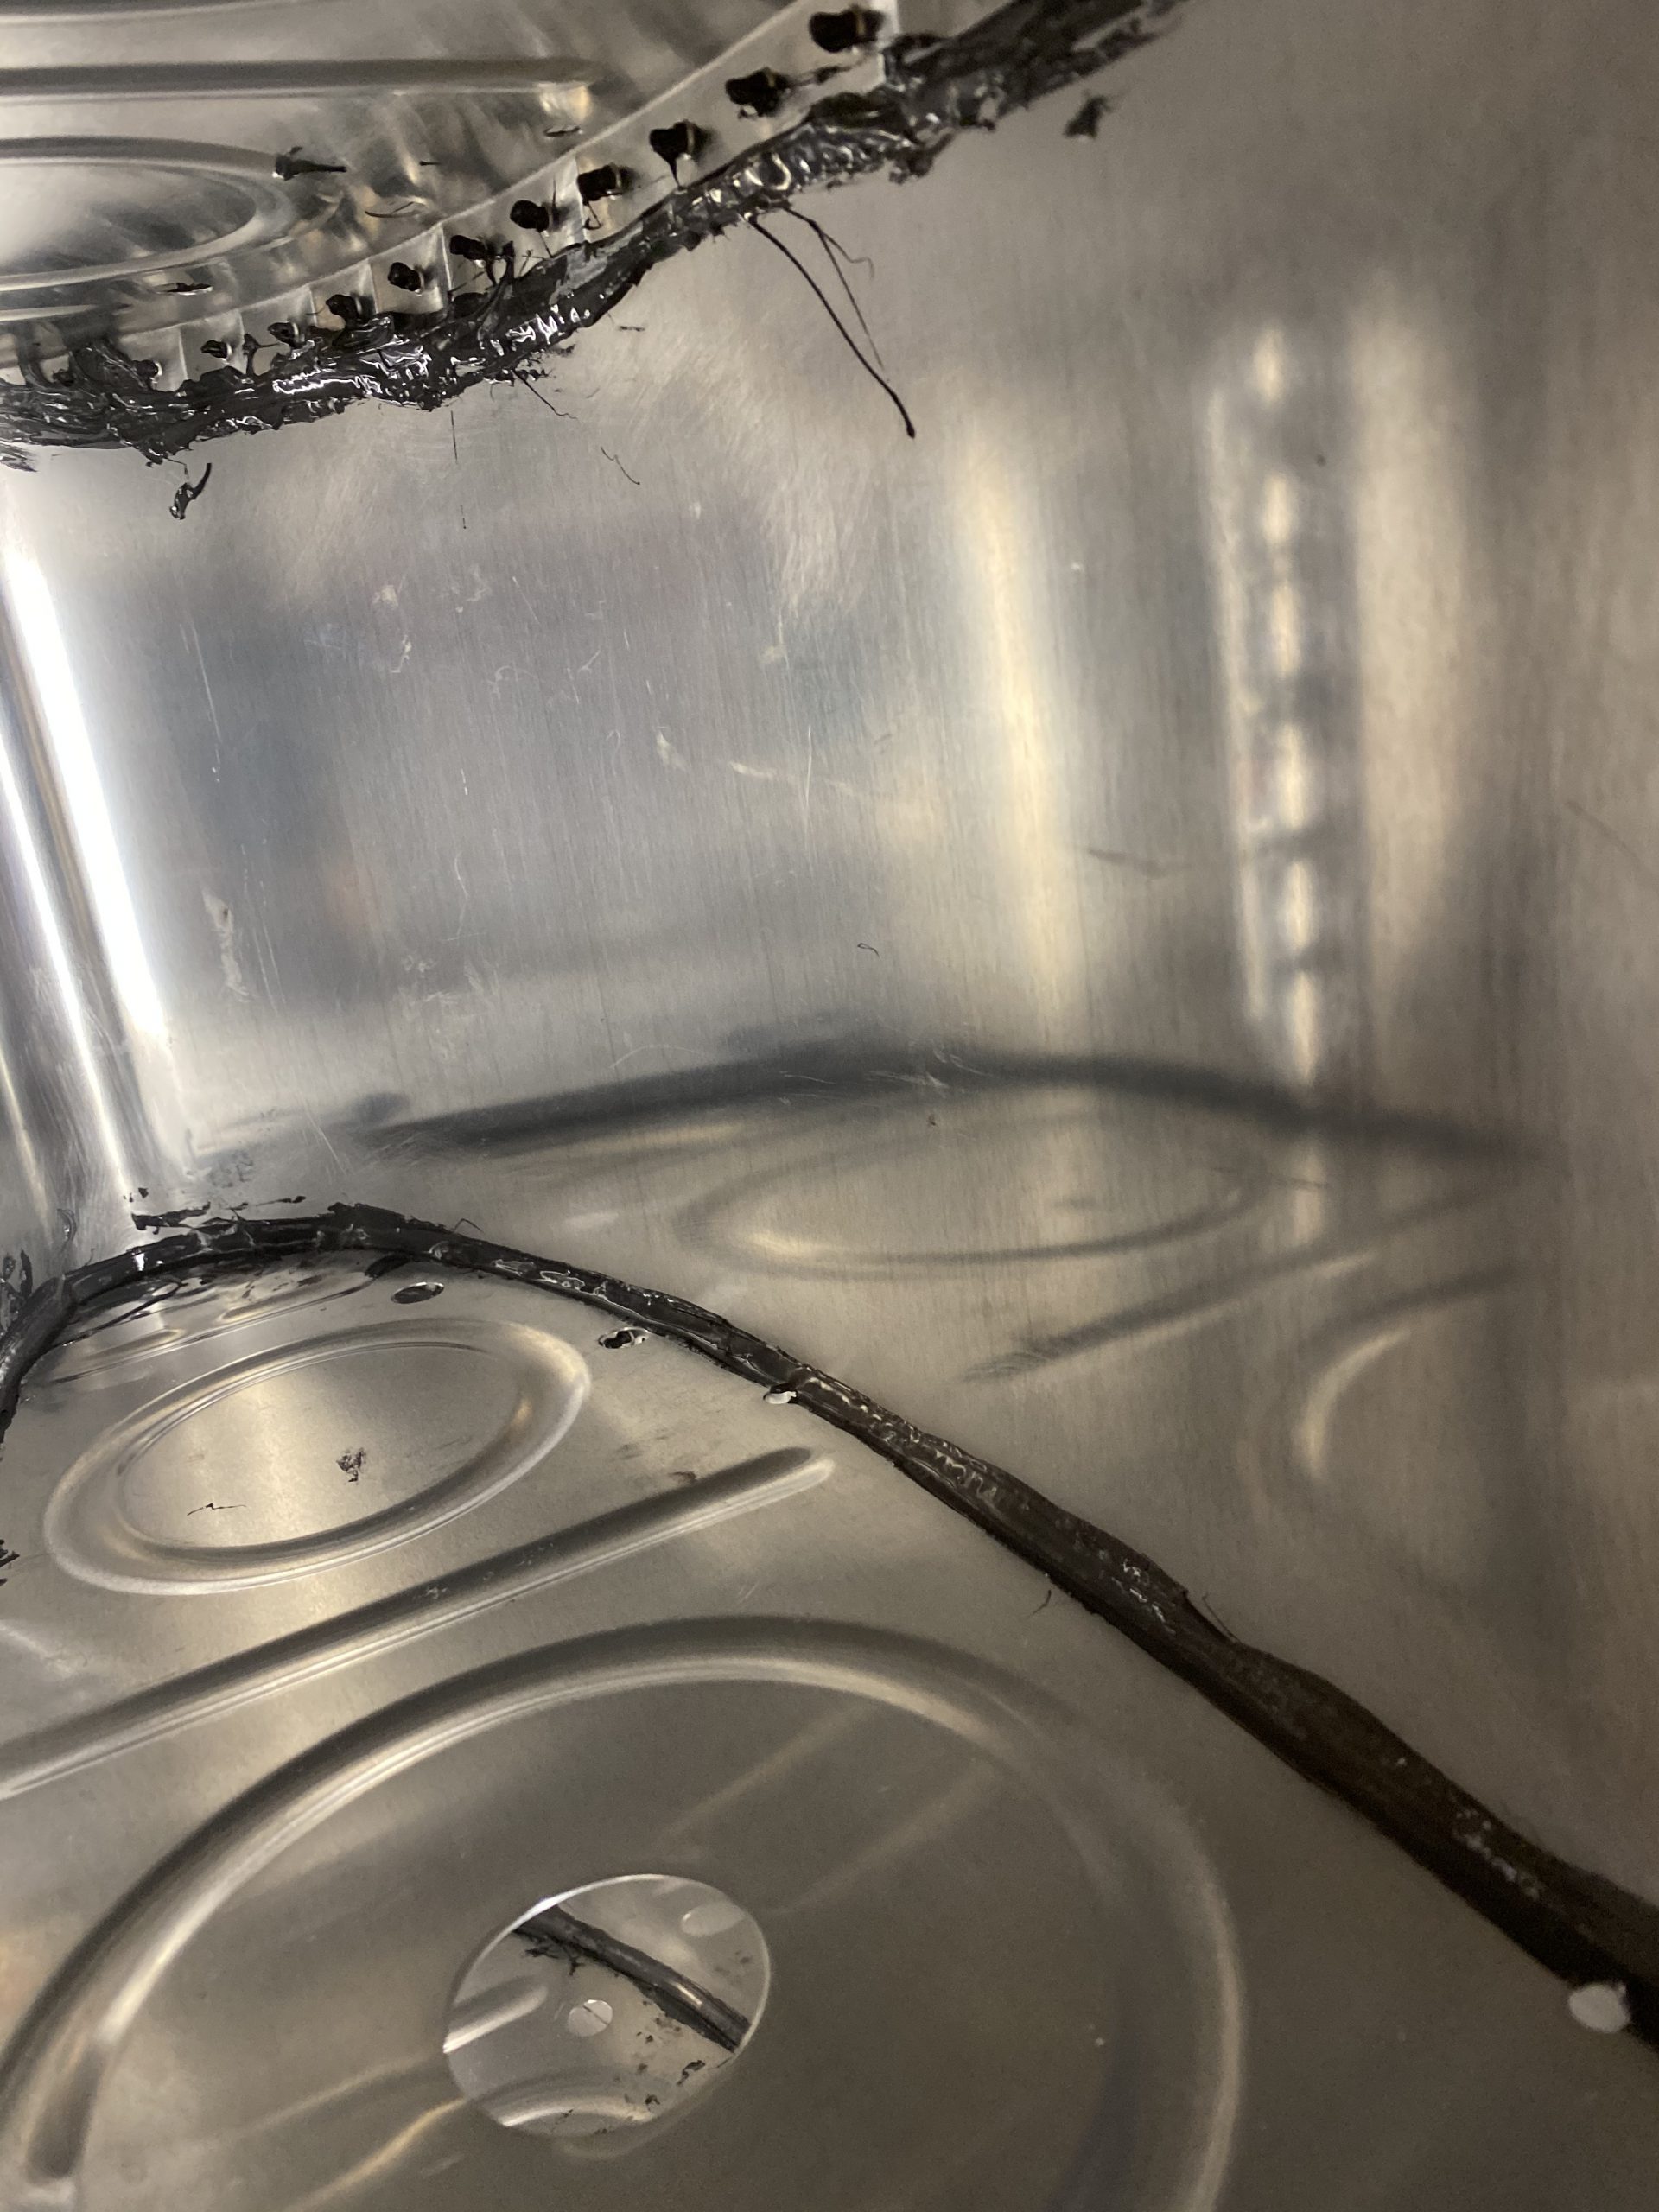
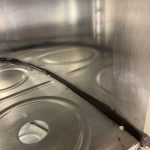
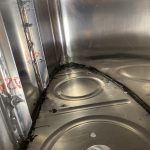
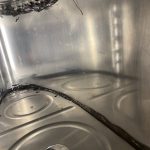
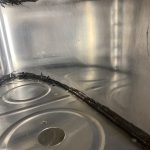
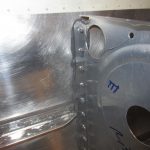
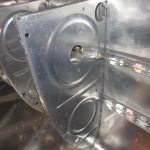
Once I had all the clecoes in every hole, I flipped my tank jig on its side, leaving the back of the tanks easier to access, and then used a filet spoon (also picked up from Brown Tool), to form my filets on the bottom of the skin, and then the top of the skin, making sure I took special attention on the ribs nose. Here are some photos of my filets:
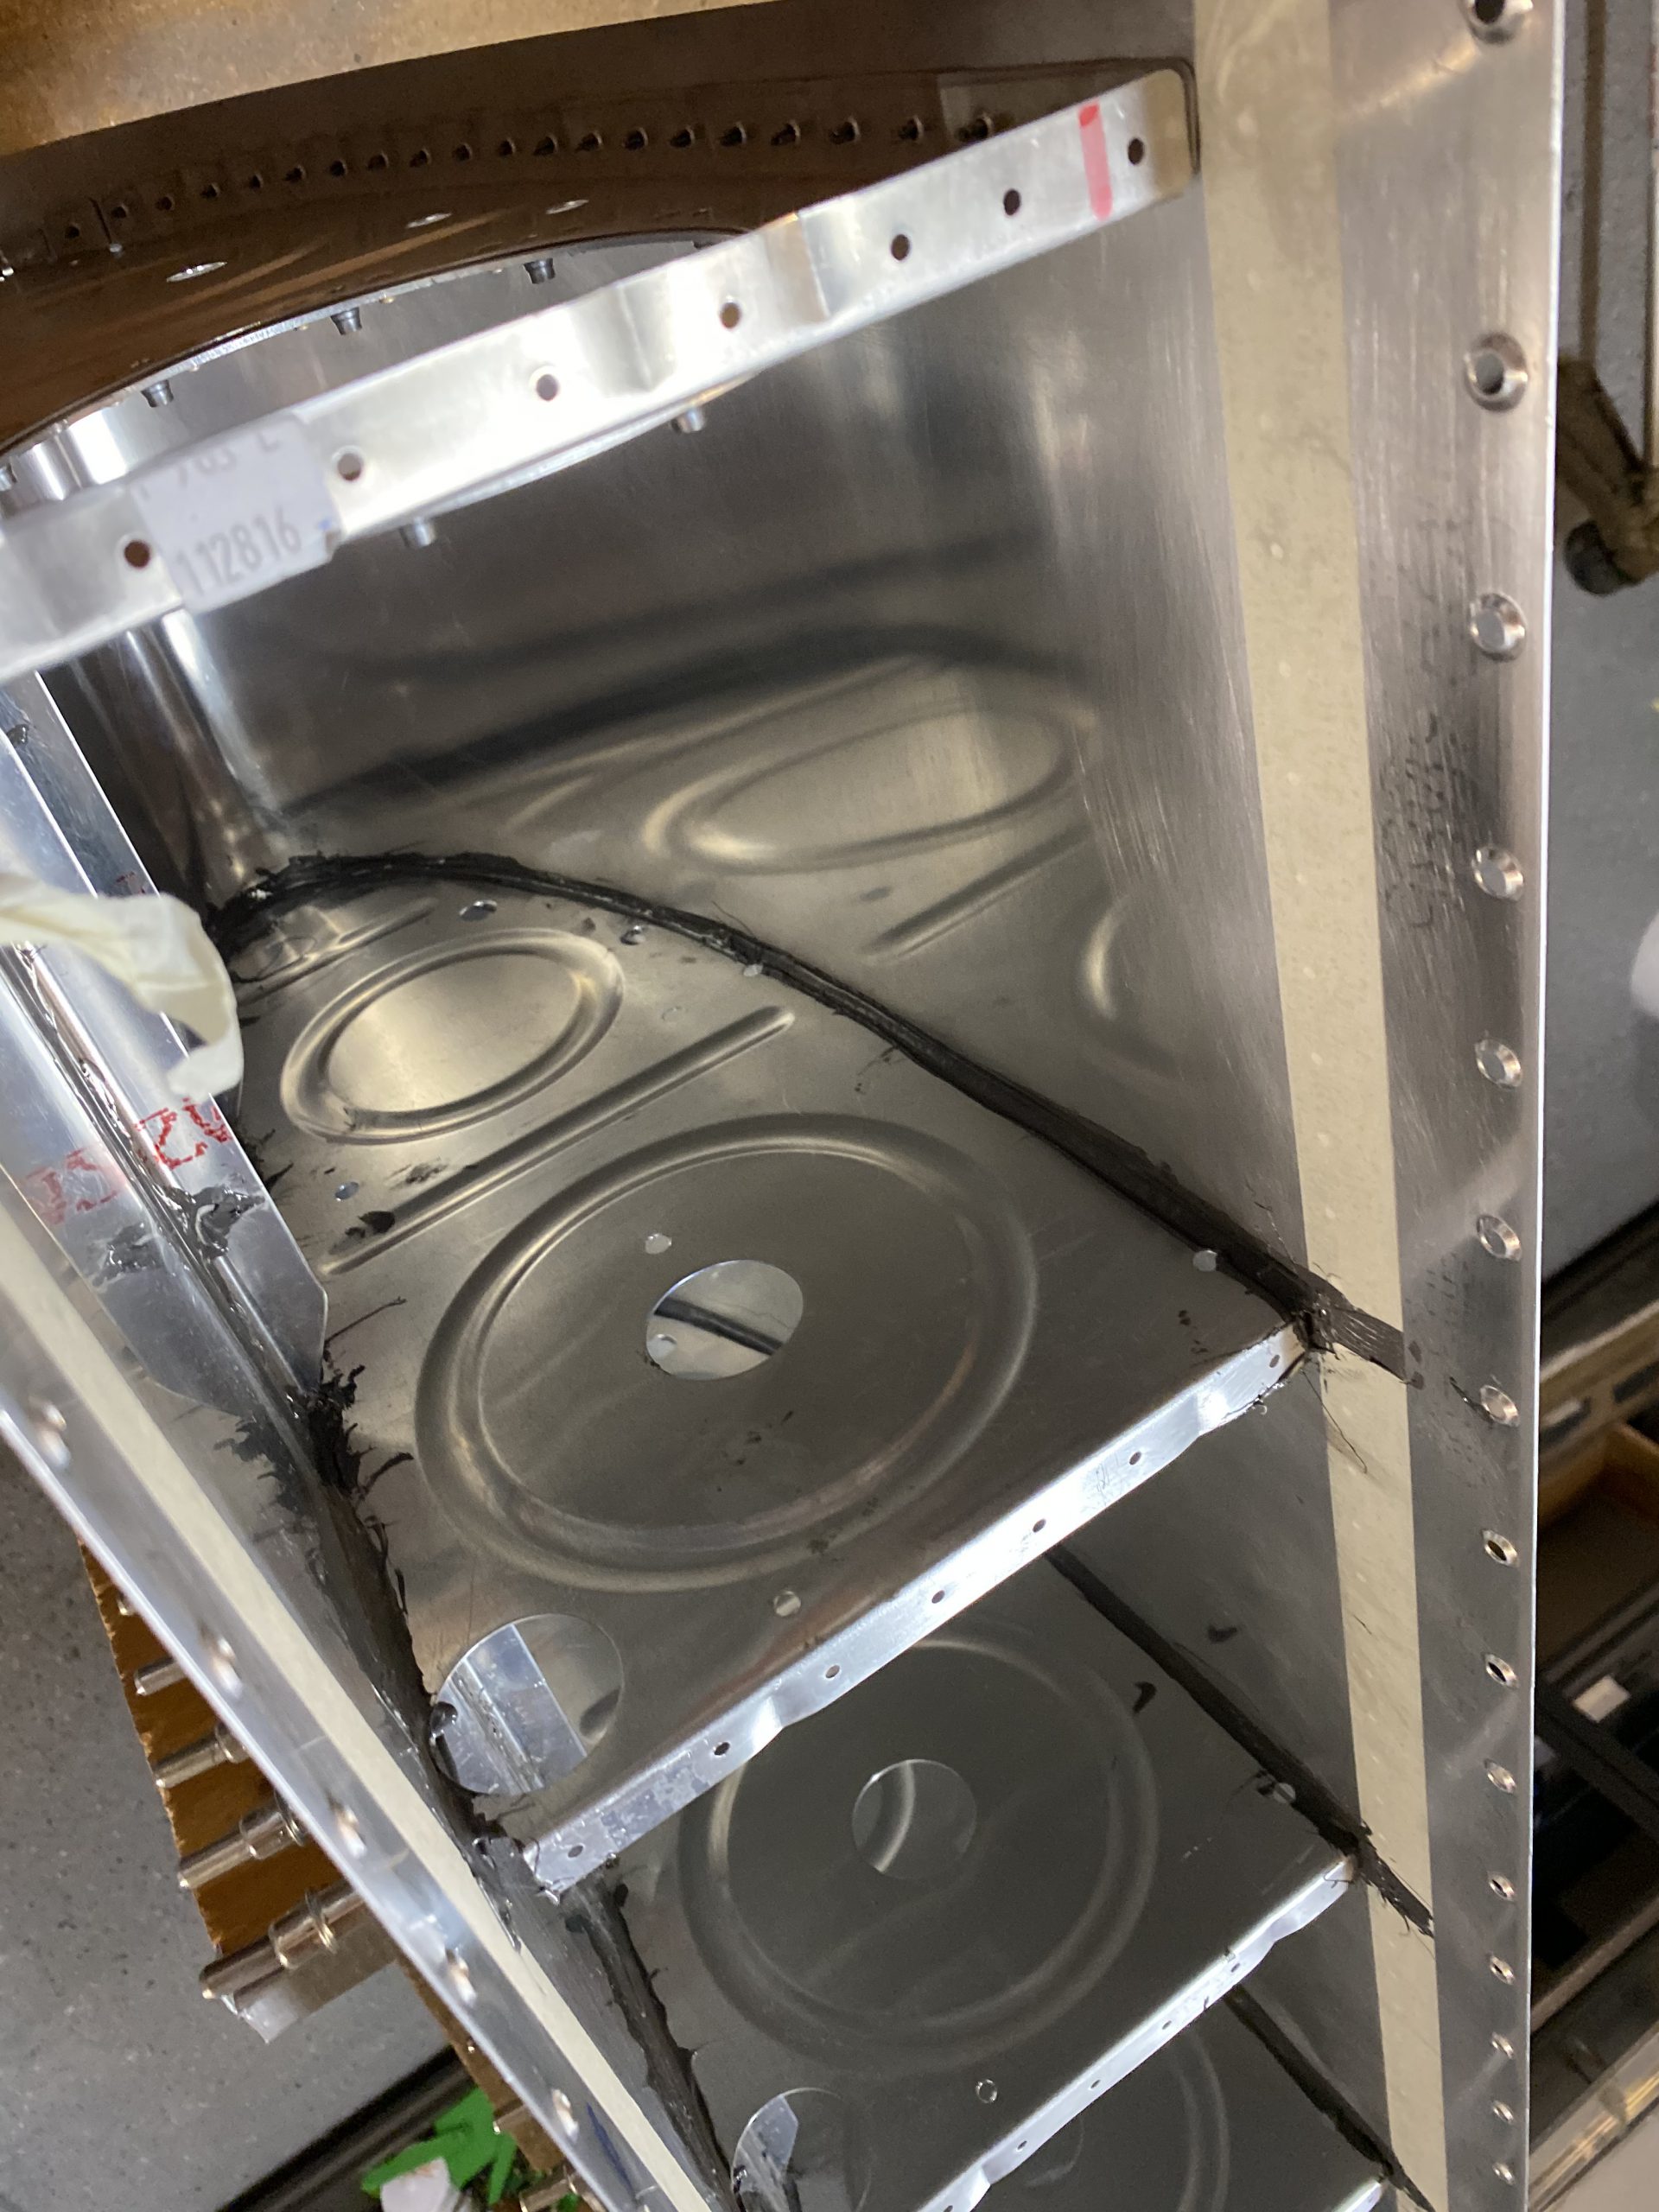
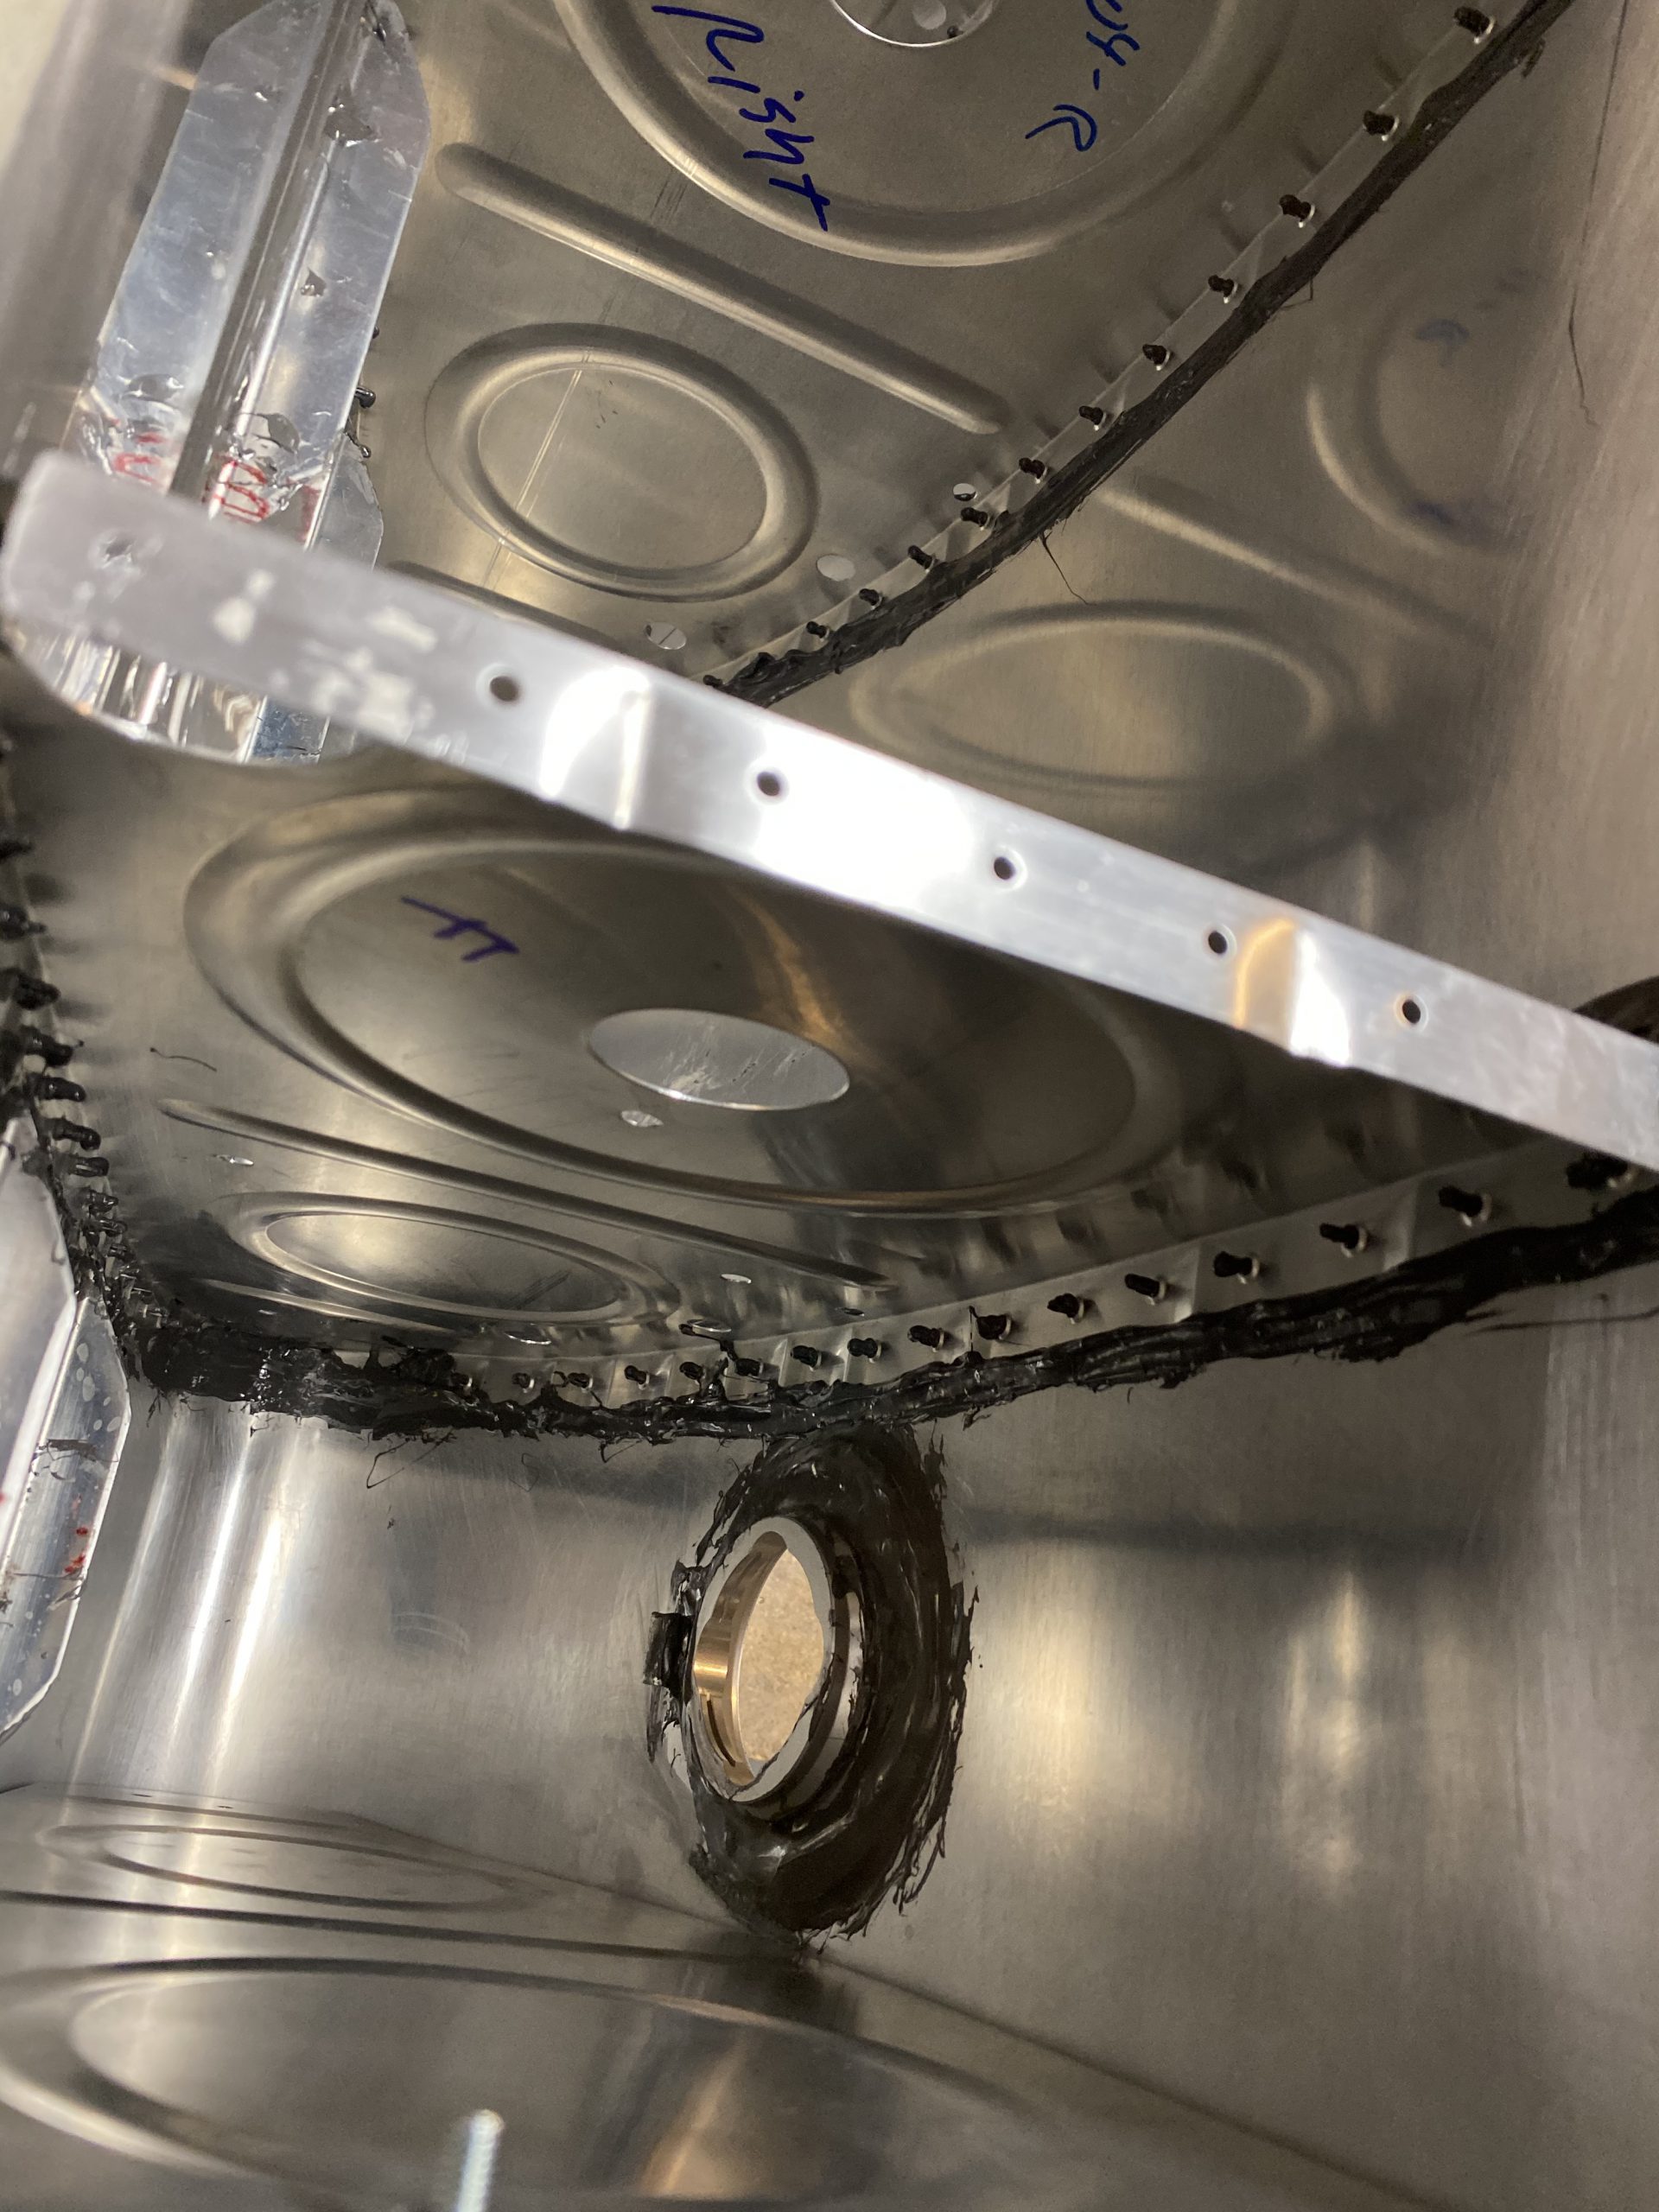
Since there was no rush to rivet things before it dried, I was able to spend a good deal of time making sure I had nice filets around the flanges. Where ever it needed, I would use the semco to squirt a little bead of sealant so I’d have enough for the filet, and then work with with the filet spoon into a nice smooth filet. There was surprisingly very little mess so far, and very little waste of sealant. I will say though, I am going to need to order another batch of this stuff. I don’t think there will be enough left over to complete my other tank. I’ll get an order in to Van’s when its close to empty as this stuff does have a shelf life.
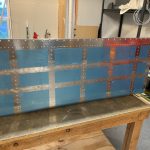
Once I had my filets done, all that was left was the tiny bit of cleanup. The plastic tube and nozzle on the semco are disposable, and make cleanup a breeze. I highly recommend picking one of these things up to do your tanks! I’ll leave these to cure at least overnight, or maybe 2 days, then I’ll wet rivet the ribs. Wet riveting is where you dab some sealant into the dimple, and then rivet. Then, you go back and dollop some sealant onto the shop head of the rivet to complete the encapsulation seal. Take a look at the photo gallery below for more pictures of how the filets turned out. I think they’ll hold up just fine. I am planning on doing a water test on these tanks before attaching the rear baffles. Thats where you get everything sealed, except for the very rear baffle, then you leave the tanks in the jig (leading edge facing the ground of course), and fill them all way up to the baffle with water and leave them sitting for a few days to look for drips. That way I can easily touch up any areas with sealant before attaching the baffles. Also, I am going to setup some cheap Wyze camera in the shop so I can record footage of me working and include in these blog posts. Stay tuned 🙂
Google Photos Link: https://photos.app.goo.gl/qhYTeQ41dfknd2yX6
-
 IMG_1719
 -
IMG_1720
-
IMG_1721
-
 IMG_1722
 -
 IMG_1723
 -
 IMG_1724
 -
 IMG_1725
 -
 IMG_1726
 -
IMG_1727
-
 IMG_1784
 -
 IMG_1785
 -
IMG_1786
-
IMG_1787
-
IMG_1788
-
 IMG_1789
 -
 IMG_1790
Hours Worked: 2.25